In my first foray into this art medium, i chose what were to be two of my first templates. That post can be found here: Faux stained glass painting. This post covers what I will be doing with the second template and a slightly different approach to what I hope to achieve.
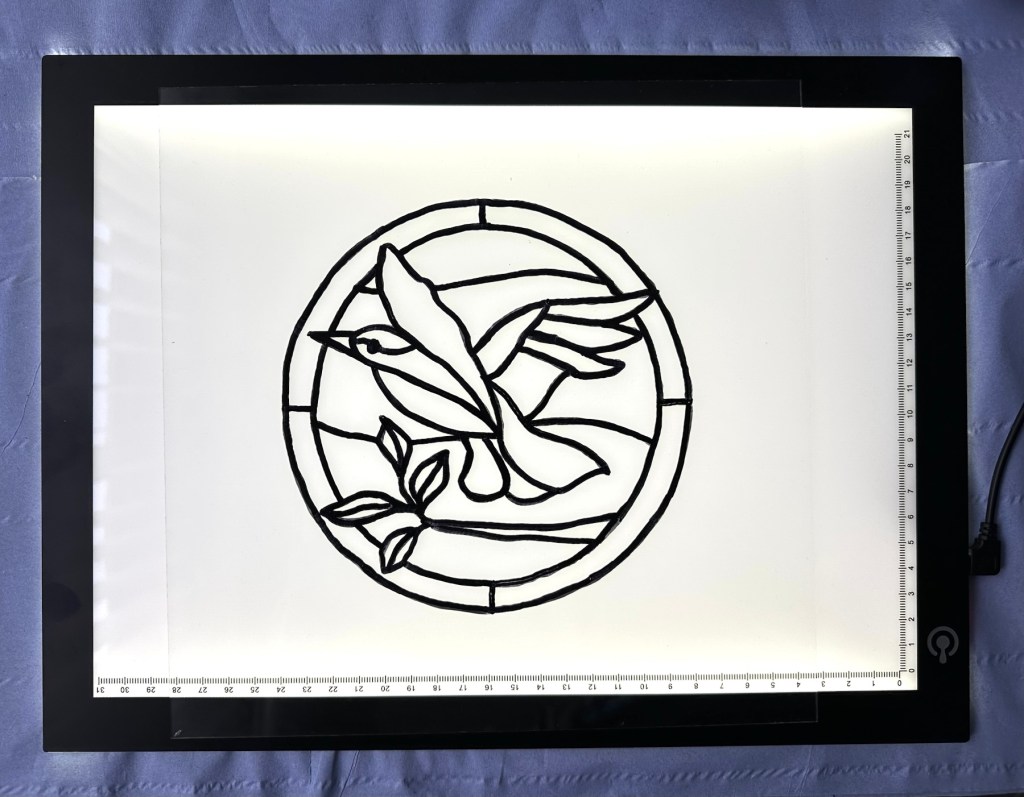
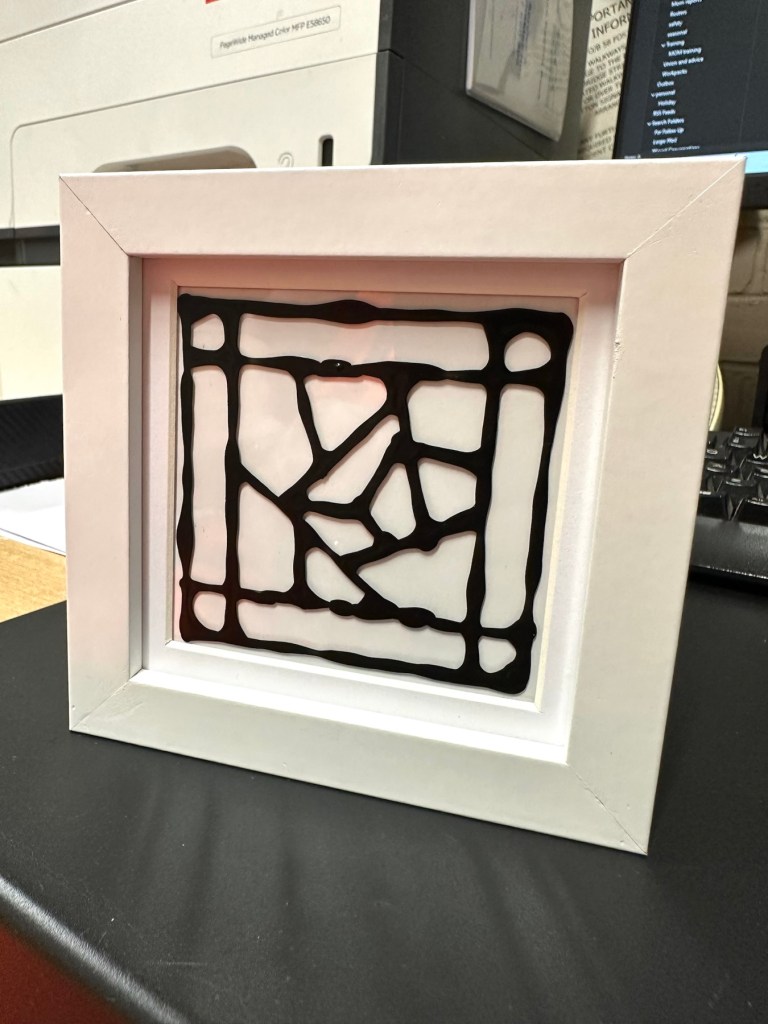
I have already traced an outline onto my glass and this time instead of using paint and glue for the lead effect I have used a Pentel permanent marker. I will do the painting on the opposite side of the outline as this will allow me to make amendments to either the outline or the paint without interfering with each other. Because the paint is mixed with glue this can easily be peeled off and re painted. The outline can be amended by using a cotton bud and some IPA. Making changes with the outline and the paint on the same side would require cleaning the whole glass and starting again from scratch. I want to avoid that, so that’s why I’m experimenting.
My second template, drawn with permanent marker
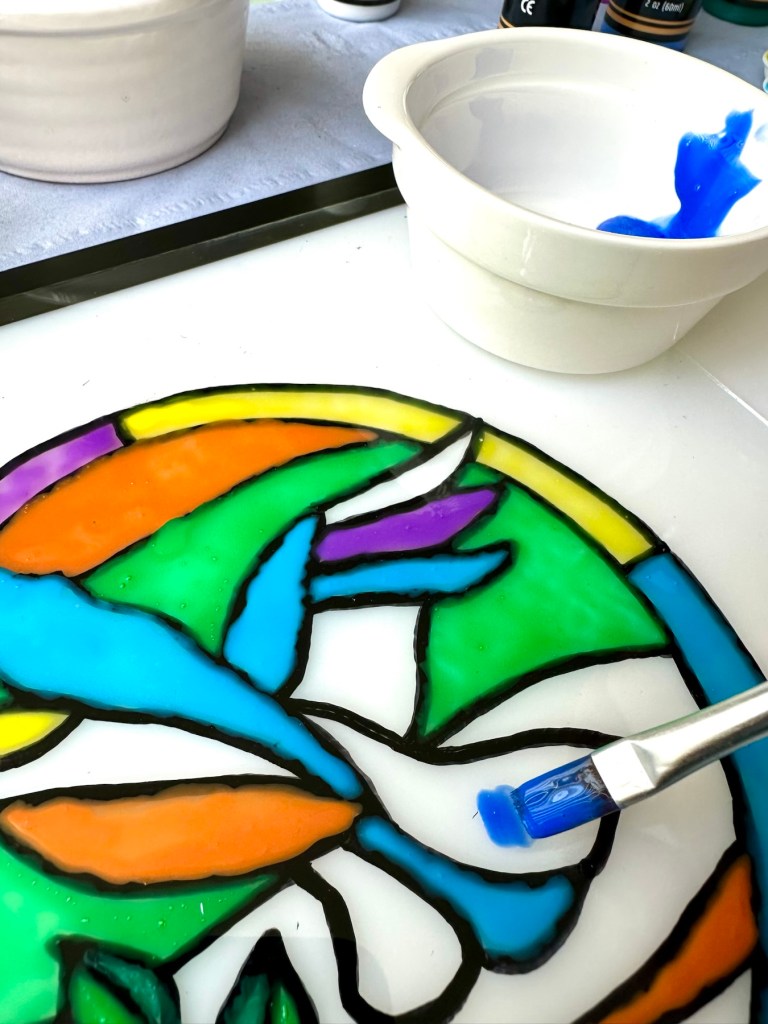
I’ve brought some new Acrylic paints, and will be using slightly more glue in the mix to try and achieve a slightly more translucent effect, to assist with the effect I’m trying to achieve.
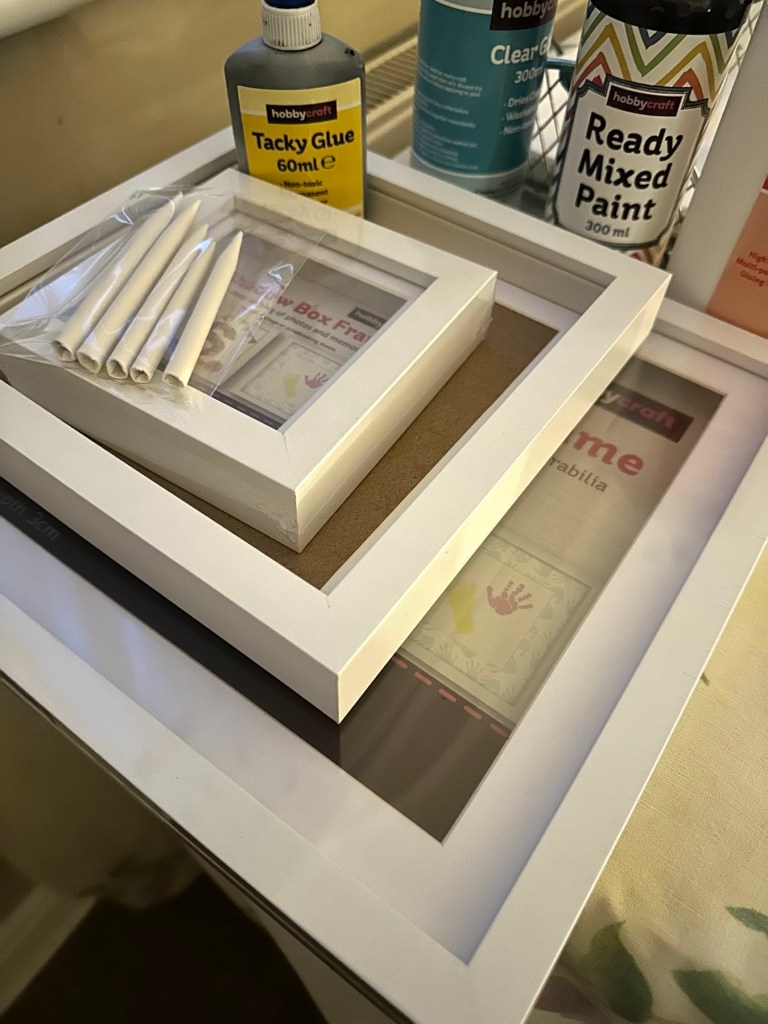
As you can see I will be using a box frame for this piece. What I want to do in this example is to put some lights in the frame, but to ensure the light is not too harsh I want to put some opaque tissue immediately behind the glass to act as a diffuser. I’ll get around to this later in this post.
Let’s get painting.
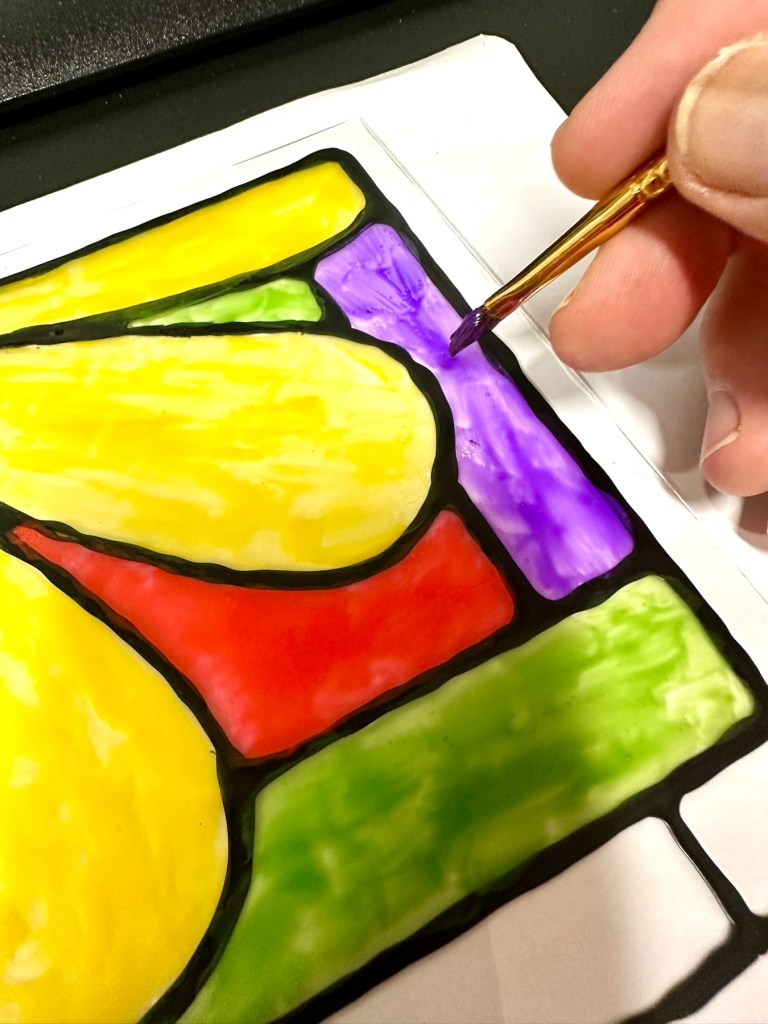
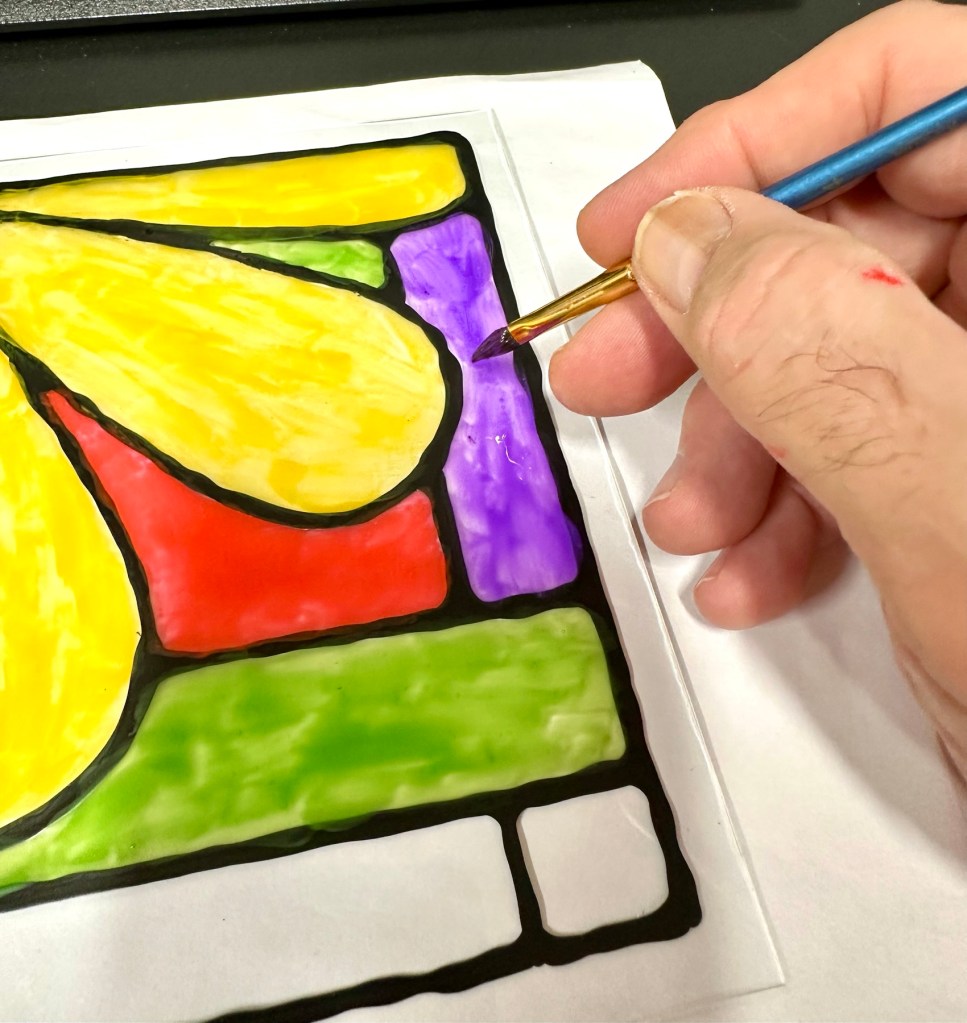
Today i’m using a small light box under the glass so i can get a good idea of how the paint is going down. It also saves me from constantly having to lift the glass to the light to see how it is looking. The glass is very thin and the less it is handled the better.
My light box
Time to paint
Time to dry
When dry I just flip the glass over and go over the out lines once again, this time I’m going to add a small sting of lights into the box for display at night.
Mounted in a box frame. I have hot glued some lights into the inside of the frame
Box frame Better at night
I’m a tad unsure about the lights but I’ll have to wait until it’s dark before I make my mind up about this one. Been fun, I’ve enjoyed it but I’m sitting on the fence regarding the lights, but you never know what’s liable to happen unless you give it a try. I may try the foil trick on this one as I think it may be more effective.
My original three frames i purchased, to use as templates for this particular Art medium
I’m new to this art medium, I don’t really know what I’m doing, but like everything I do on this site, I’m willing to give it a go, always willing to learn. So here we go.
I was watching a program on TV a week or so back and was watching a stained glass window being repaired. I was fascinated with the expertise and commitment these guys put into repairing these pieces of art. I thought to myself that this is something I would love to try but obviously I just don’t have the expertise, space or ability these guys have.
So I had a look around for simpler alternatives and that’s where I found out about Faux stained glass painting. It’s a whole lot easier, less expensive, and I have most of the tools required already.
I’ve attached a video of the technique that I’m interested in, this video has kind of sold the process to me.
I’m going to give this a go now, let’s get started.
My Subject:
I’ve chosen two simple potential templates that were free to download from the internet. As this is my first attempt I’ve chosen a couple of design templates that will be good for a first attempt at this type of art. I’ve chosen a bird and a simple flower.
The two templates I will be choosing from for my first attempt at this medium
What do I need?
Not a lot to be honest, below is the minimal requirements.
Craft PVA glue
Craft clear glue
Paints – I use acrylic, you can use pretty much whatever paint you have around.
An old cheap frame, with glass
Brushes, or sponge applicators, some tape and cleaning materials
And that’s basically all you need.
Ive been out and purchased some supplies including some shadow box frames that were on offer. These will be my guinea pigs for the purpose of this post.
Supplies
I’ve chosen the flower template for my first attempt as it is slightly less involved. I’ve mixed some black acrylic paint in with some PVA as this is what you use to form the black “Lead” type outline. I’ve done some samples on plain A4 paper to perfect the technique as it was coming out all blobby and runny, I think I’ve now perfected how much the nozzle needs opening and now I’m quite happy with the outcome.
Let’s go:
Next i tape the template to the rear of the frames glass, i then clean the front of the glass getting rid of finger prints and anything greasy that might stop the ink bonding to the glass.
Paint/glue applied a bit blobby
Using a steady hand you then just add the glue/paint to the top of the glass following the template underneath. Don’t worry too much if you get some blobs and bubbles, the bubbles can be burst by using a needle and the blobs can be dealt with when the solution dries, because the glue can be easily cut or peeled back. Don’t worry too much about little mistakes, just go with it. Don’t worry about making straight lines perfect as the irregularities just add to the authenticity of the piece. You don’t see perfect lines on old stained glass windows, so don’t worry. I use some small paper tortillons just to remove some small smudges and they work fine.
Glue and black paint mixUsing a Tortillon to clean it up a little
Now we just need to wait for the outline to dry and I’d suggest leaving this for a good eight hours or so.
Whilst I’m waiting for this one to dry I’ve done another small one with just some random geometric shapes. I love the way this one has just spread out and gained a great scruffy edged look. Can’t wait to paint it.
Just the glass, and dried outlinePlaced in its frame to see how it might look.Second trial piece ready to paint
There are many ways to do this technique and the video at the top of the page gives yet another two ways to obtain this outcome. These are my first two attempts and I’m going to try the techniques in Emily Seilhamers videos at a later date. Meanwhile back to my two attempts.
For painting you need some clear school glue and whatever your preferred paints are. I’m using some acrylic paints as I have plenty of them around. Using a tiny spot of paint you then add some glue at a slightly greater ratio than the paint, the thinner it goes on the more translucent it will be, if thicker it will be more opaque. Don’t t worry about paint strokes, it will happen as you are painting with glue. The good thing is if you are not happy with the outcome you a can always use a craft knife and just peel the offending colour off. It’s easy.
Here I’m painting, probably a little to thickly, and I’d probably be better with some glass or enamel paint. Lesson learned.
The good thing is that this paint dries really quick and in a warm room it’s probably dry in just over one hour.
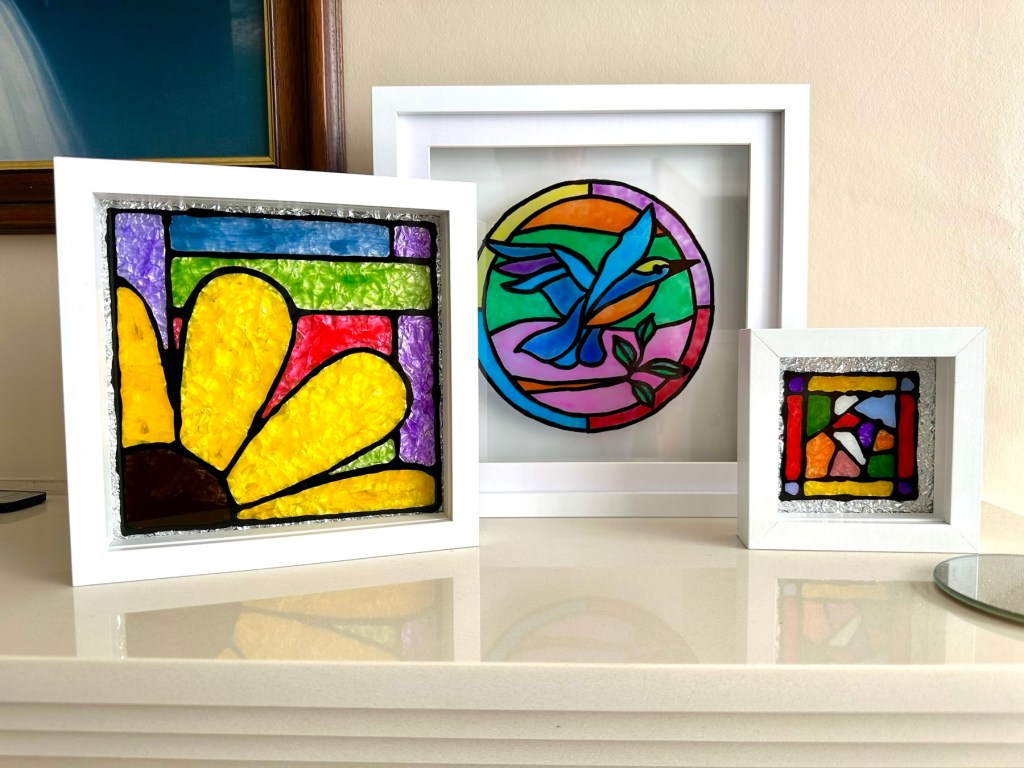
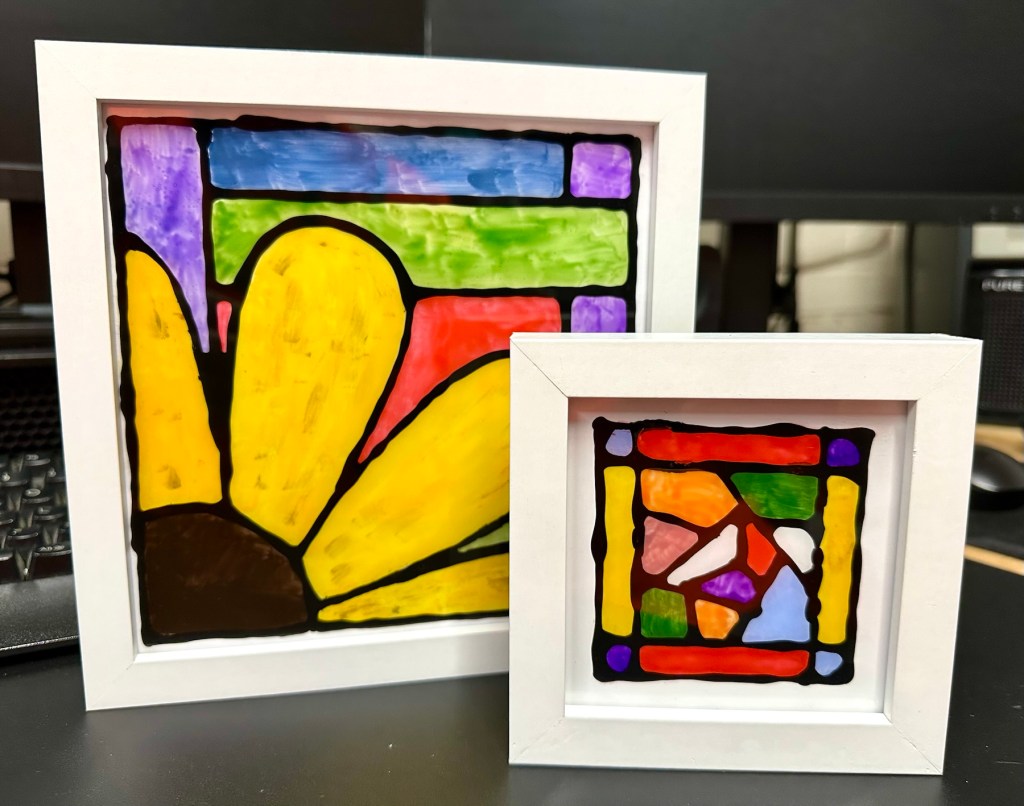
I’ve placed my two attempts in box frames. I’ve got one final thing I want to do before they are finished.
I’m quite happy with my first attempts, there are little mistakes and many things I have learned from trying this medium. I’m not going to make any changes to what I have done as I want to display them as battle scars. You know, a snapshot of what I did at the time and how I have learned from it. The next examples will be better, I have a third one of these box frames and that will incorporate all I have learned from doing these little prints. It will be just like a journey into Faux stained glass in three parts, and they will all be on display.
This project isn’t quite finished yet though, there is one other thing to do. The perfect place to display these items of course is right up against a window just the bare glass, allowing the sun to come through and show off all those lovely colours. However you can also display these pictures within frames and this finishing touch courtesy of Emily Seilhamer, completes that look.
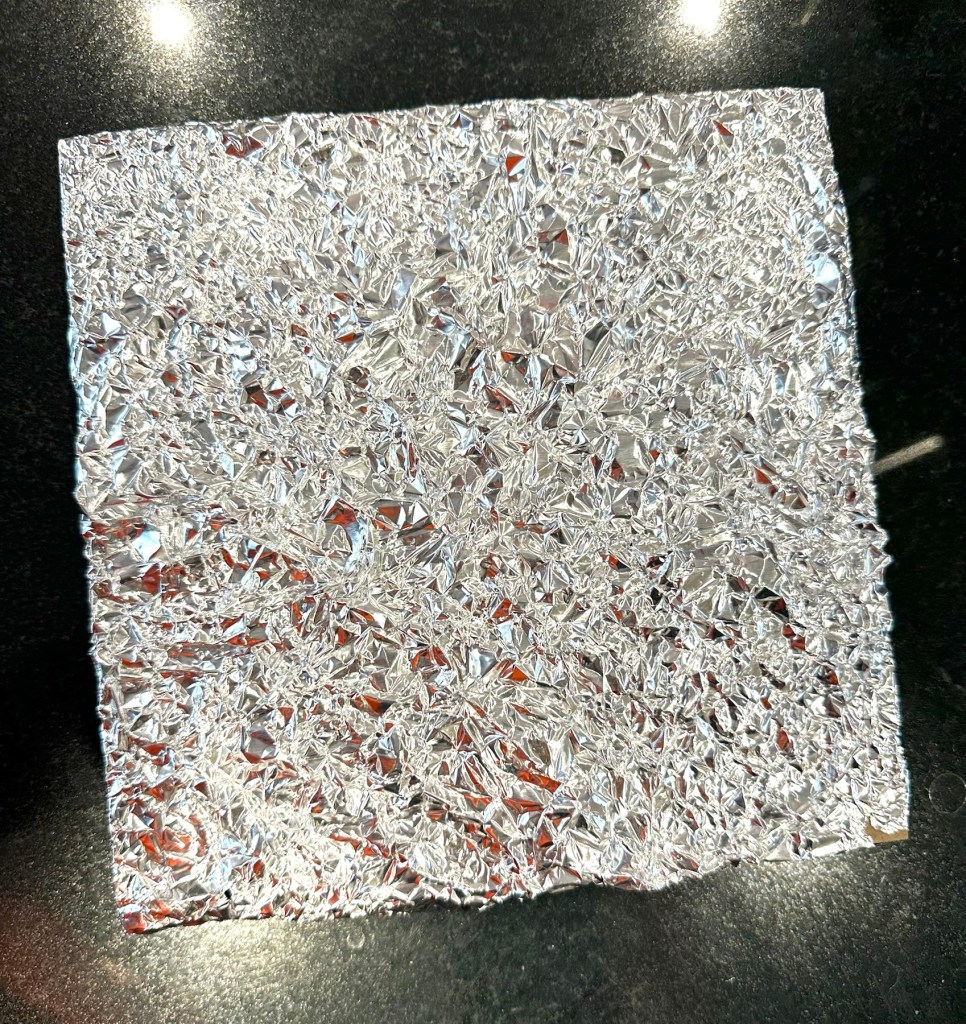
You just need some kitchen foil. Yes you heard correctly. Kitchen foil.
Cut a piece of foil just slightly bigger than the backing cover of your frame. Now scrunch it all up but not too tightly. Just move it around in your hands until it appears to have an even amount of creasing as this is to be come your light refracting layer.
Scrunched up tin foil
Attach this to the frame back and then secure it back in the frame against the glass you have painted, trim and tidy the foil using tape at the rear of the frame.
Now turn it over
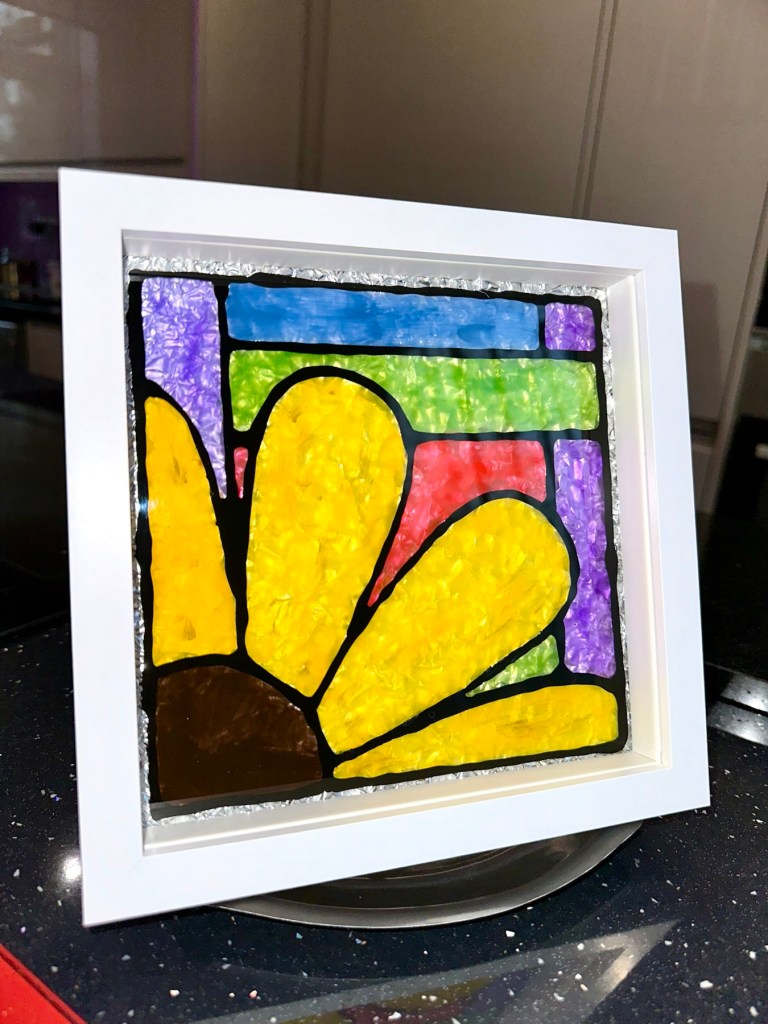
Look at the difference with the foil effect
Attempt No:1Attempt No:2
See how that tin foil now reflects all the available light and makes your picture look totally different. The refraction appears to help cover up the brush strokes we discussed earlier, and you can now display your pictures in any area of the house, and any available light will be reflected on to and will enhance your pictures.
On the fire place
I hope you have enjoyed this post, as much as I have putting it together. Thanks as always for passing by. It’s always very much appreciated.
Another iPad painting from 2012 when I must have been losing it. I just thought it would be good to do a play on words with “Sunspot” hence the Sun was drawn with a pimple on the surface.
Had a nice day out in one of the local towns, we were there looking at houses and decided to venture into town where there was a vintage car meet as well as a Sunday Market.
The old Porkpie shop – Melton Mowbray
Melton Mowbray is world renowned its Porkpies and Stilton cheese both of which have Protected designation of origin status. I do indulge in the occasional Pork pie, but the cheese is not for me, i like very bland cheeses, my favourite is probably Red Leicester.
Anyway, I digress, my main reason to visit was to purchase a print from a local artist for our football themed garden pub. The artist is based here in Melton Mowbray and his name is Ian Hallows. I’d seen this signed and numbered print of a Fox in a Leicester City scarf, and wanted it, today I brought it issue 89 of 895. It is mounted on canvas and already on stretchers. It will be a welcome addition to the already full pub. It’s signed on the frame by the artist as well.
Fox in a scarf
This is my third piece of original signed work in the pub and it fits in lovely.
Ian does a selection of sport related paintings and covers most of the football clubs in the football league.


You must be logged in to post a comment.