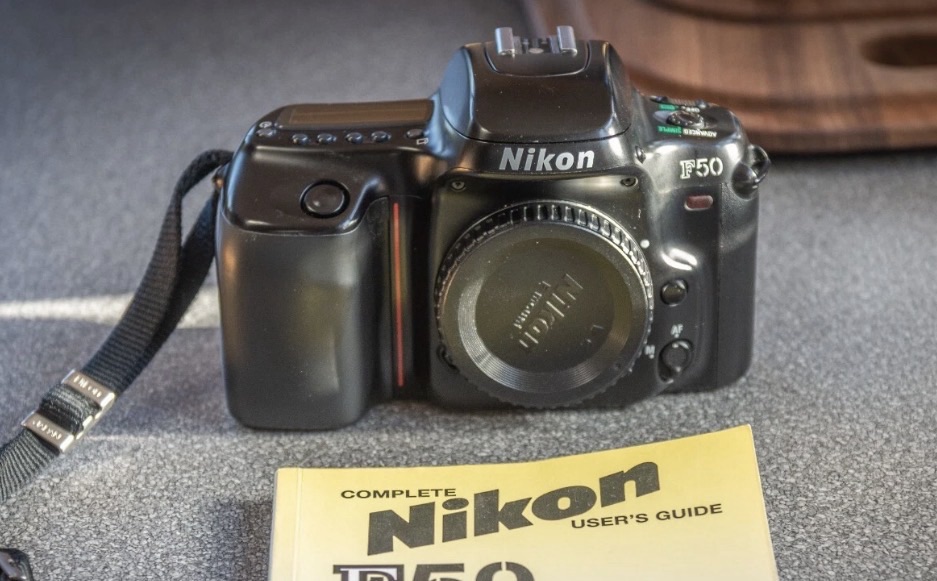
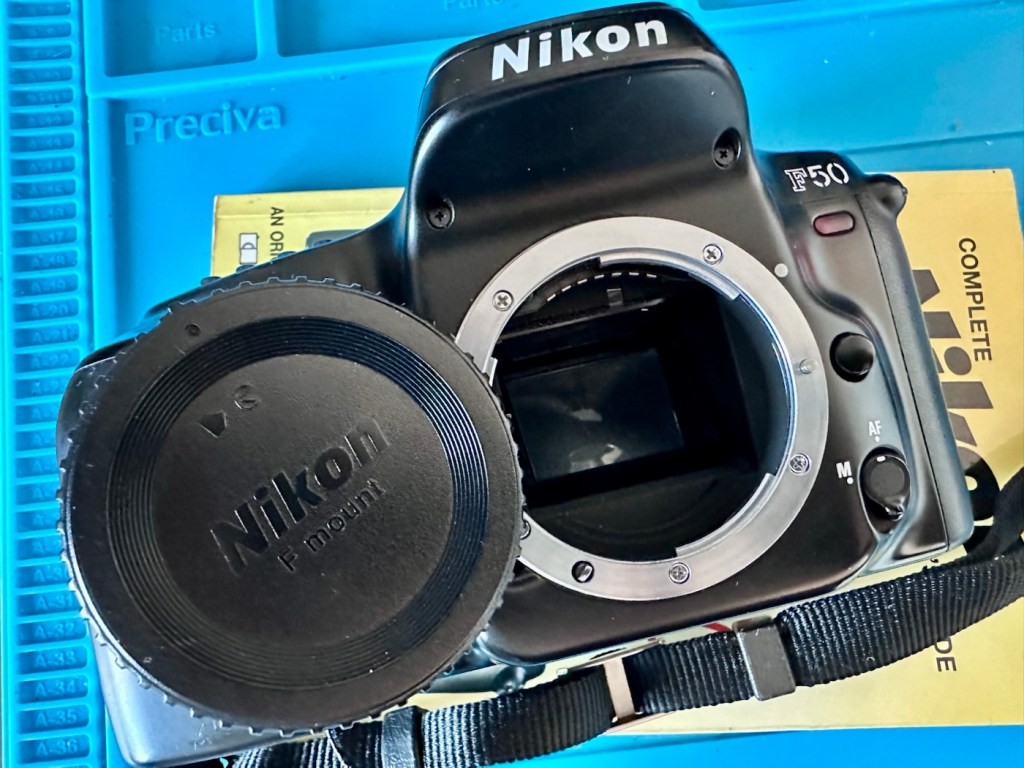
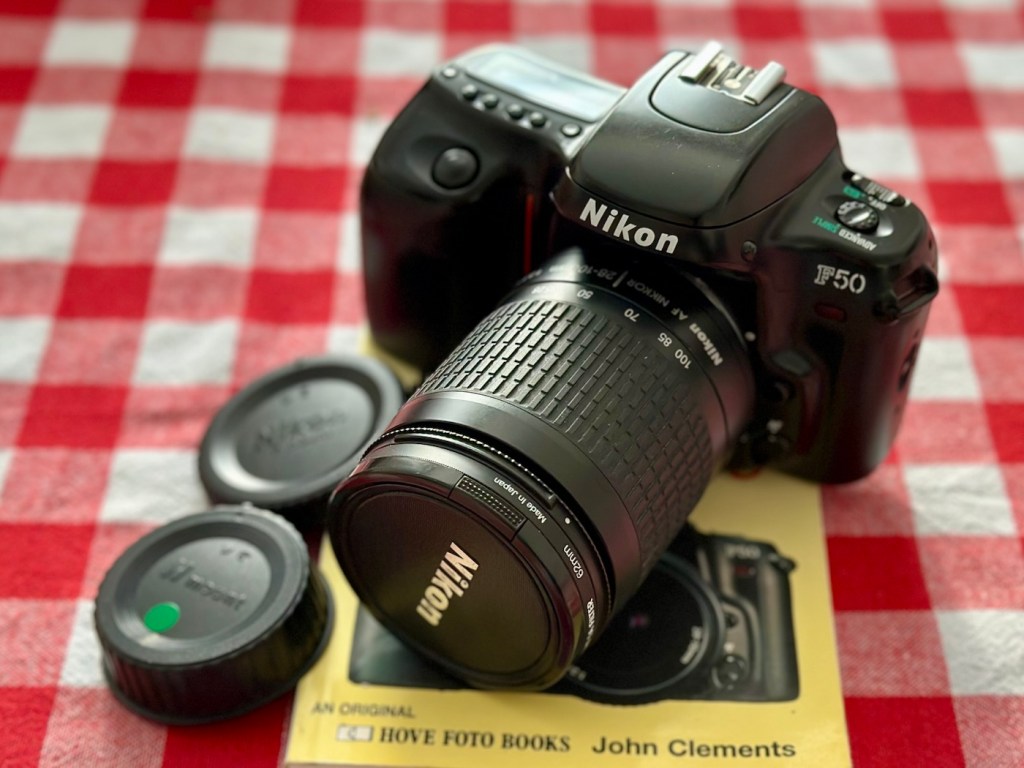
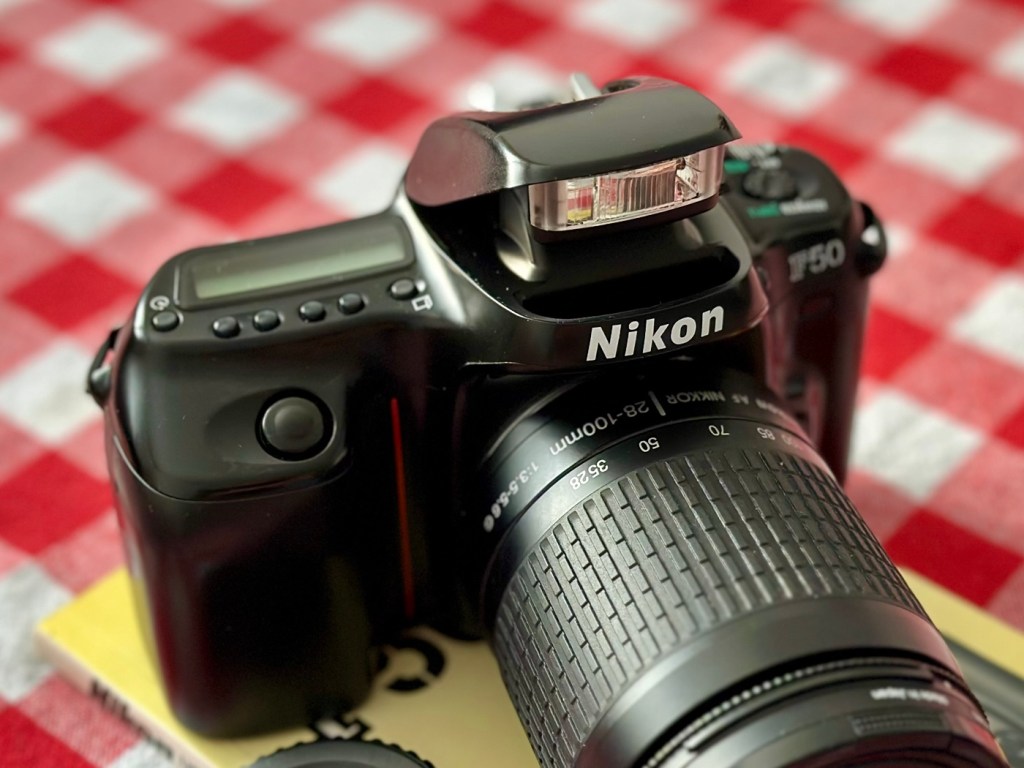
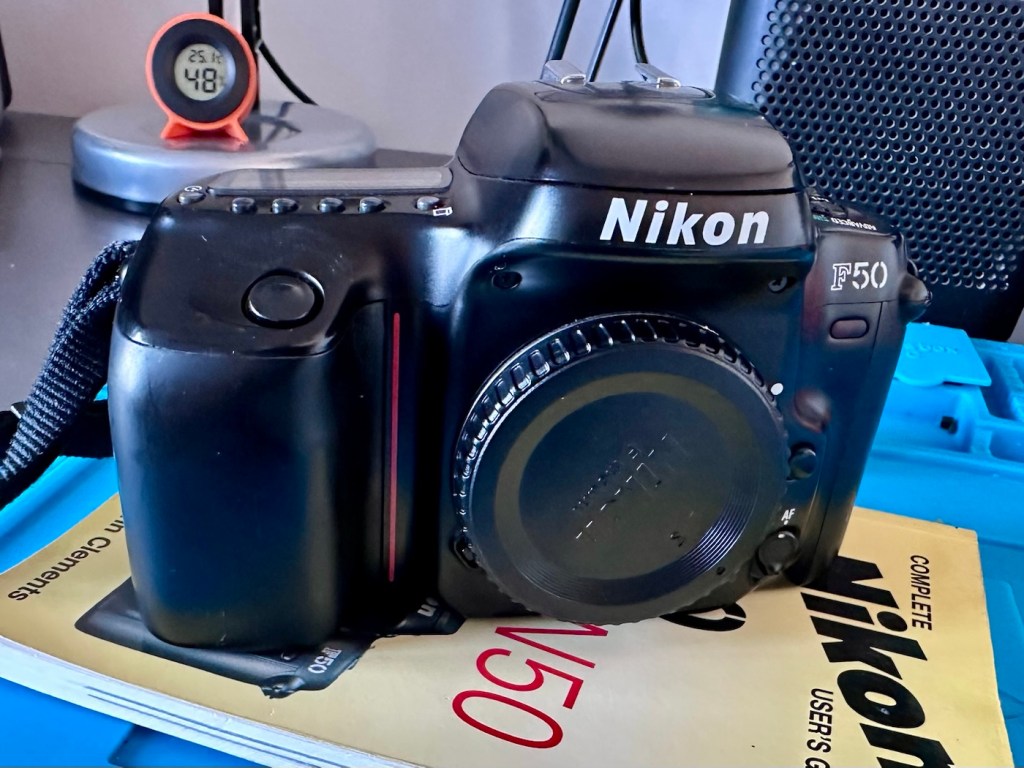
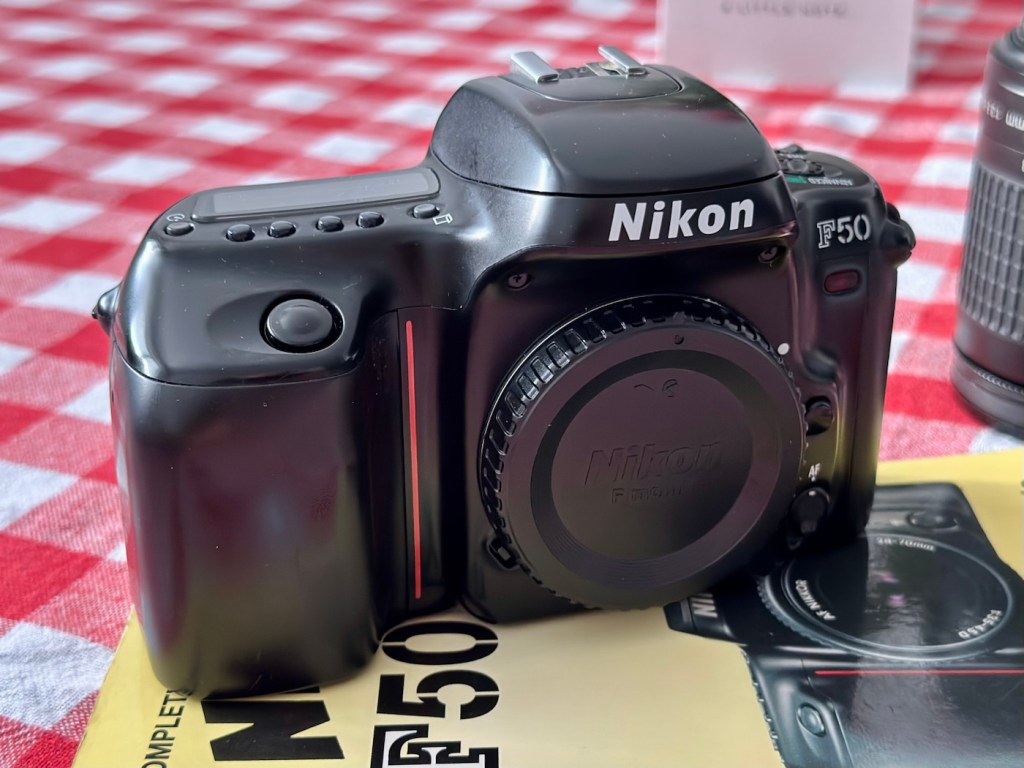
Nikon F50

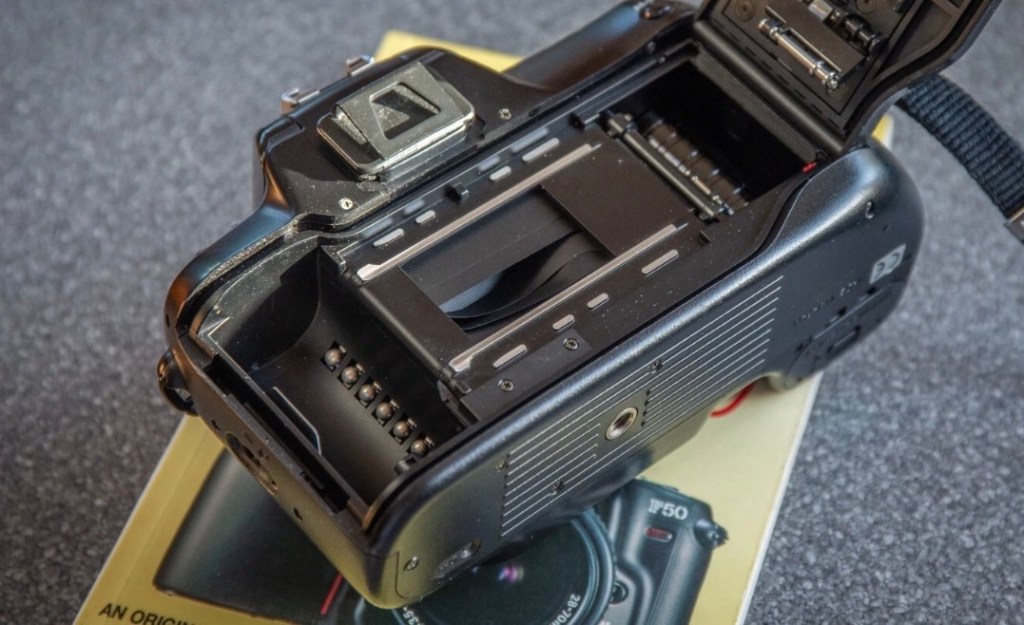
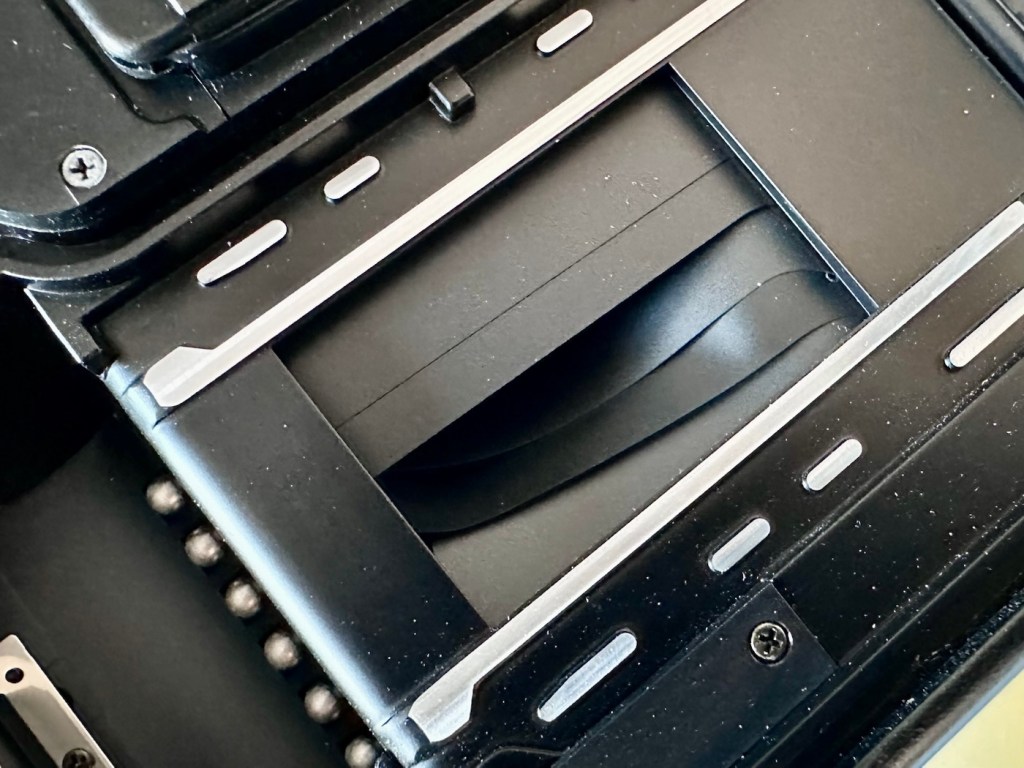
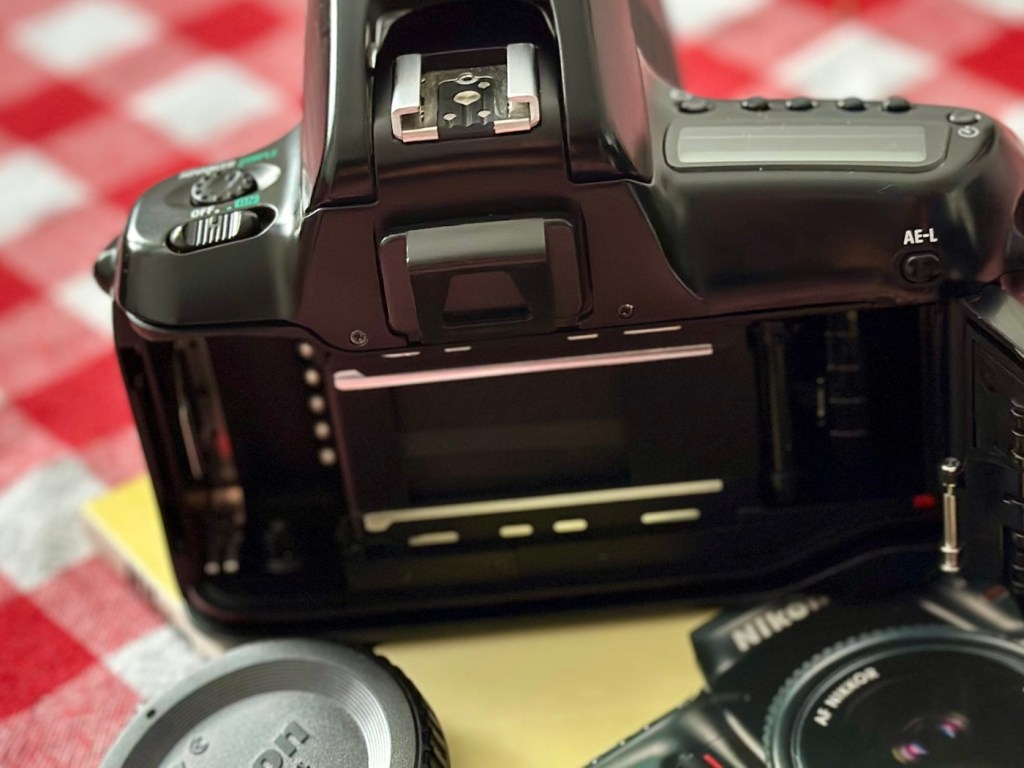
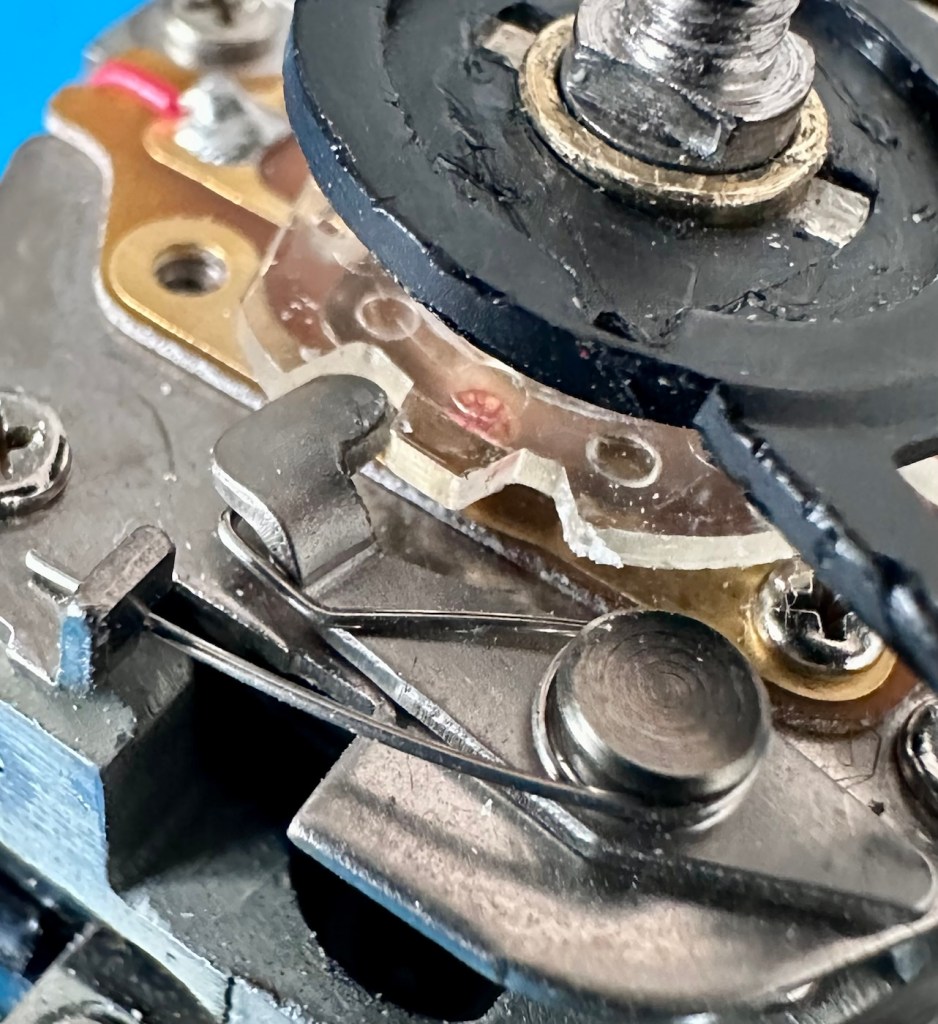
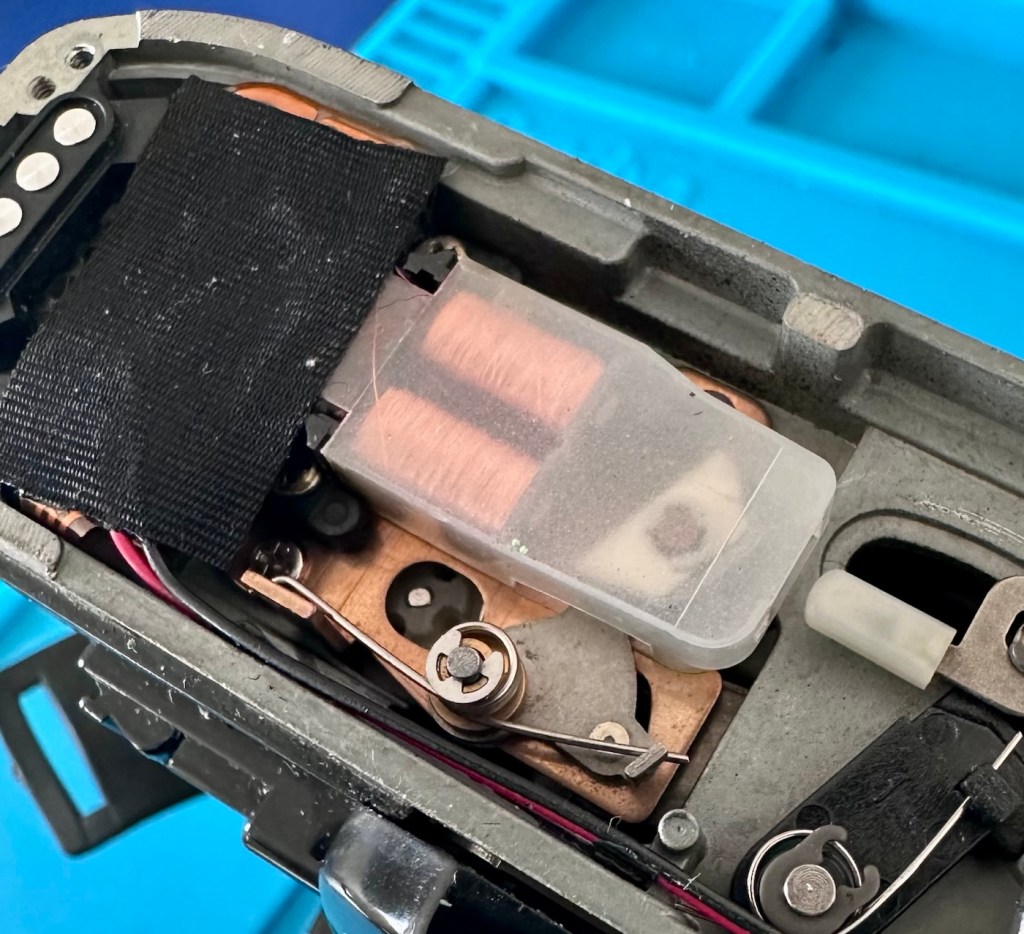
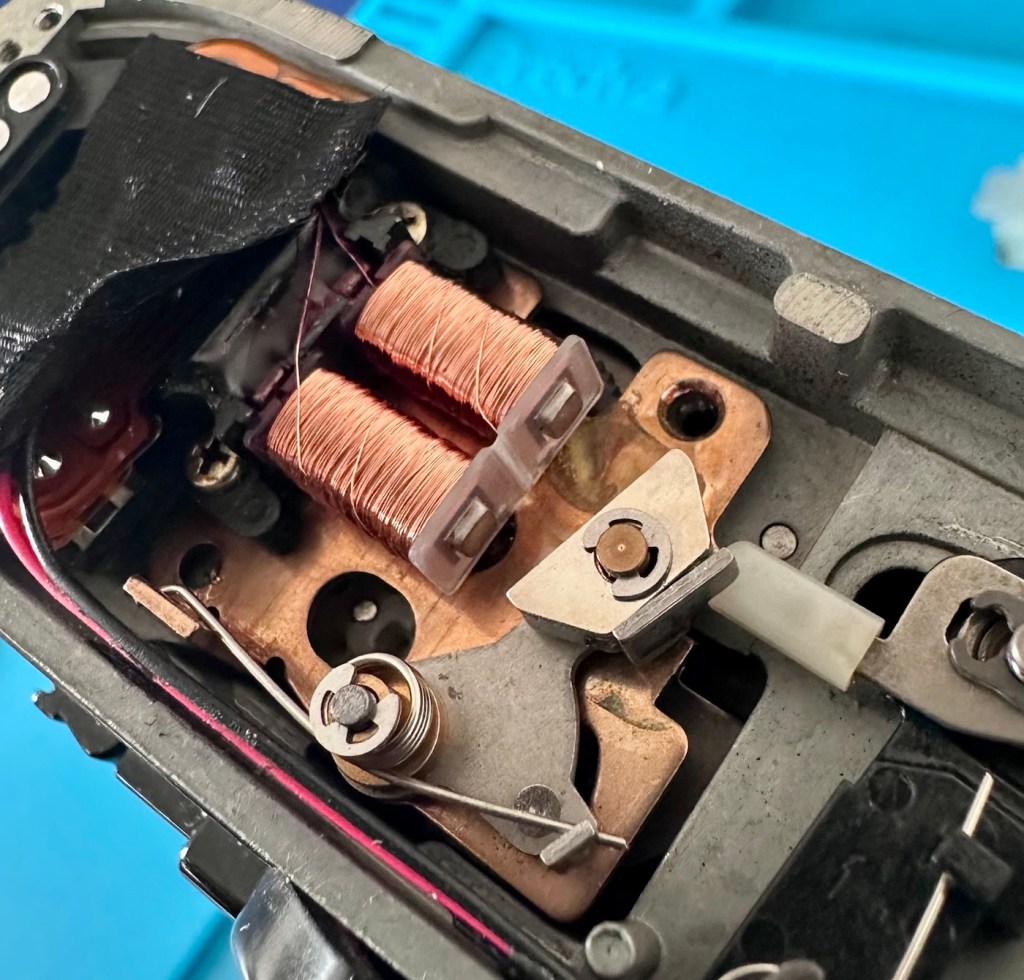
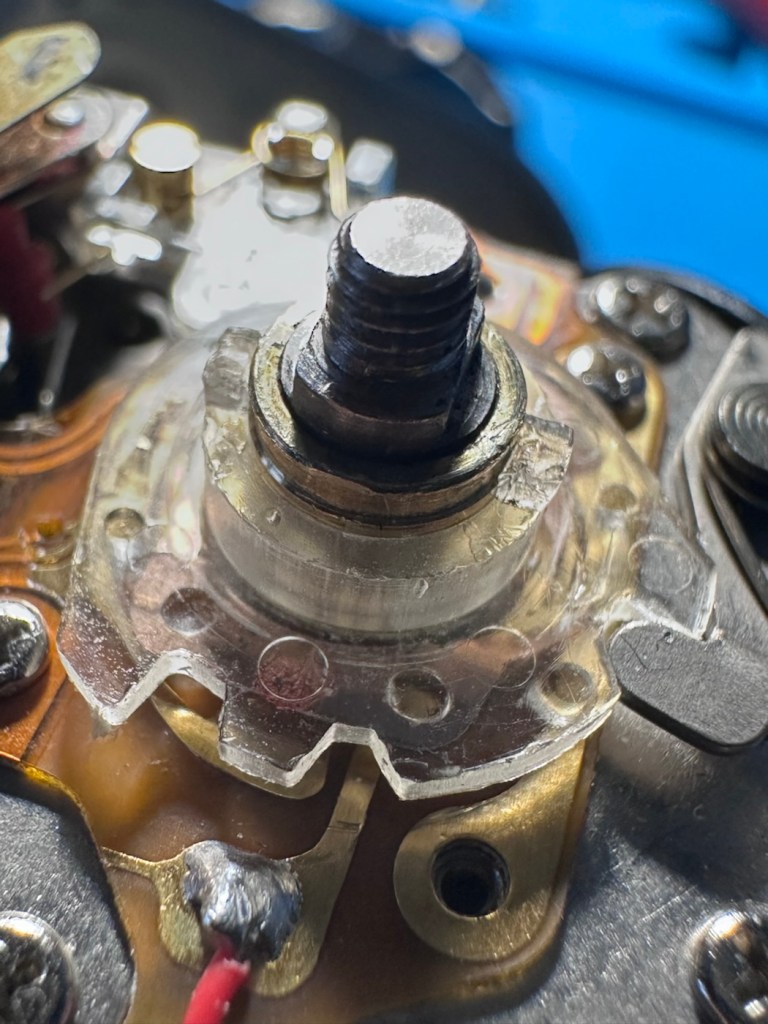
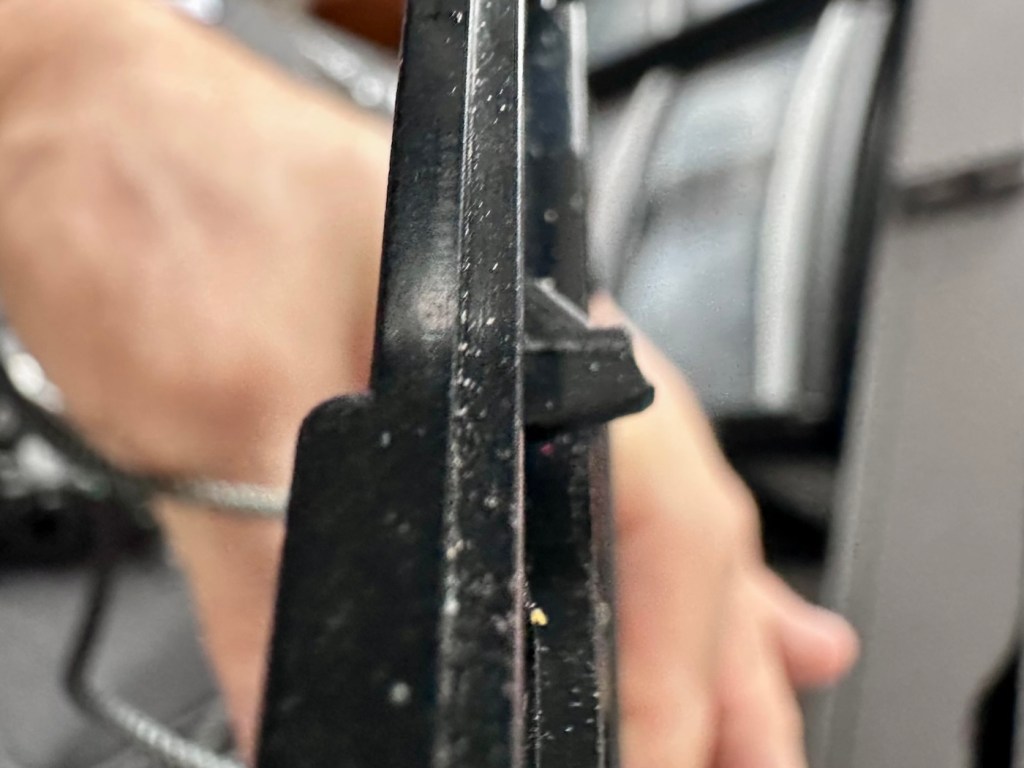
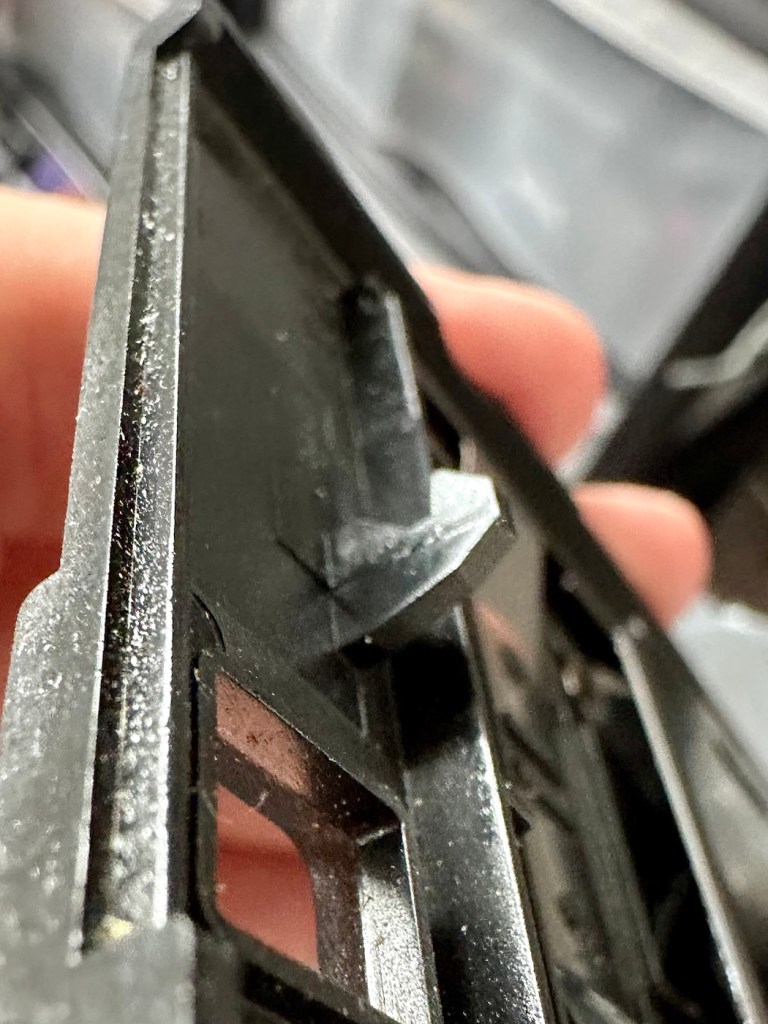
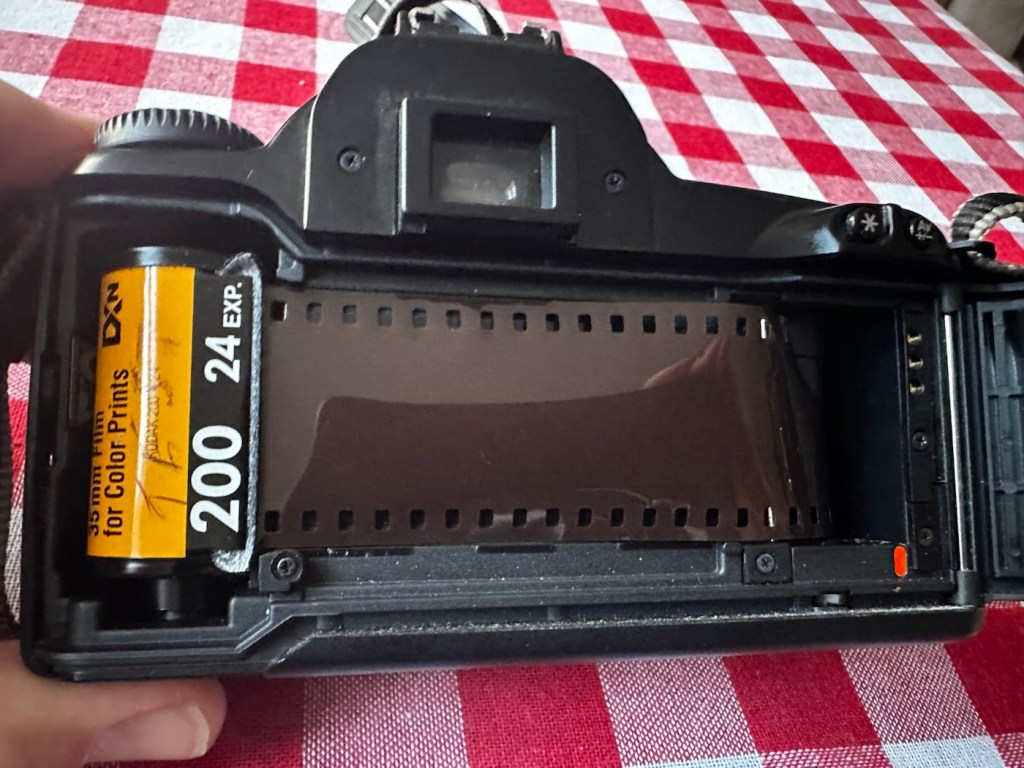
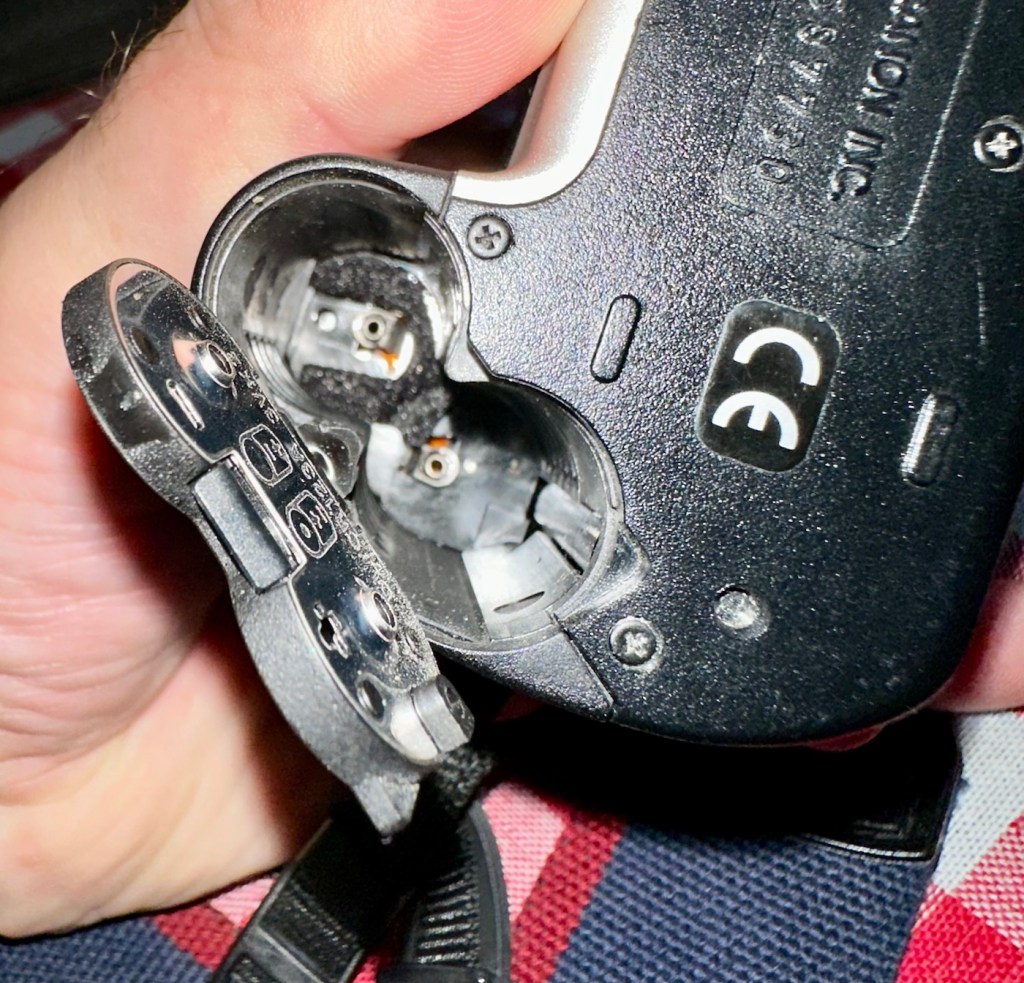
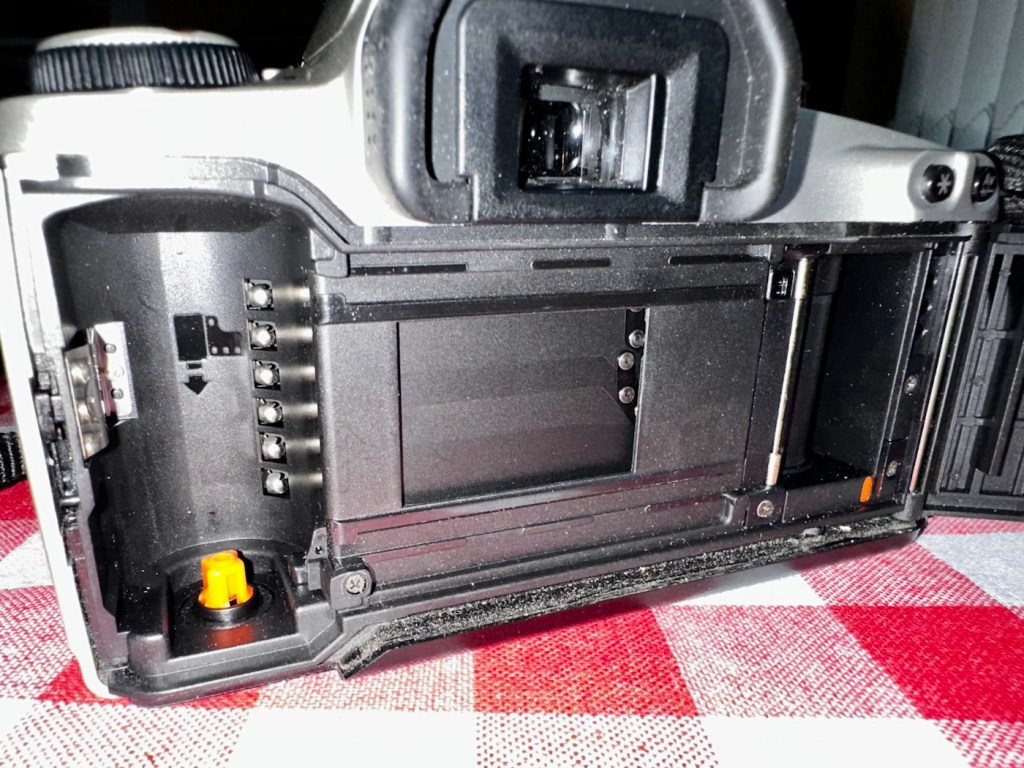
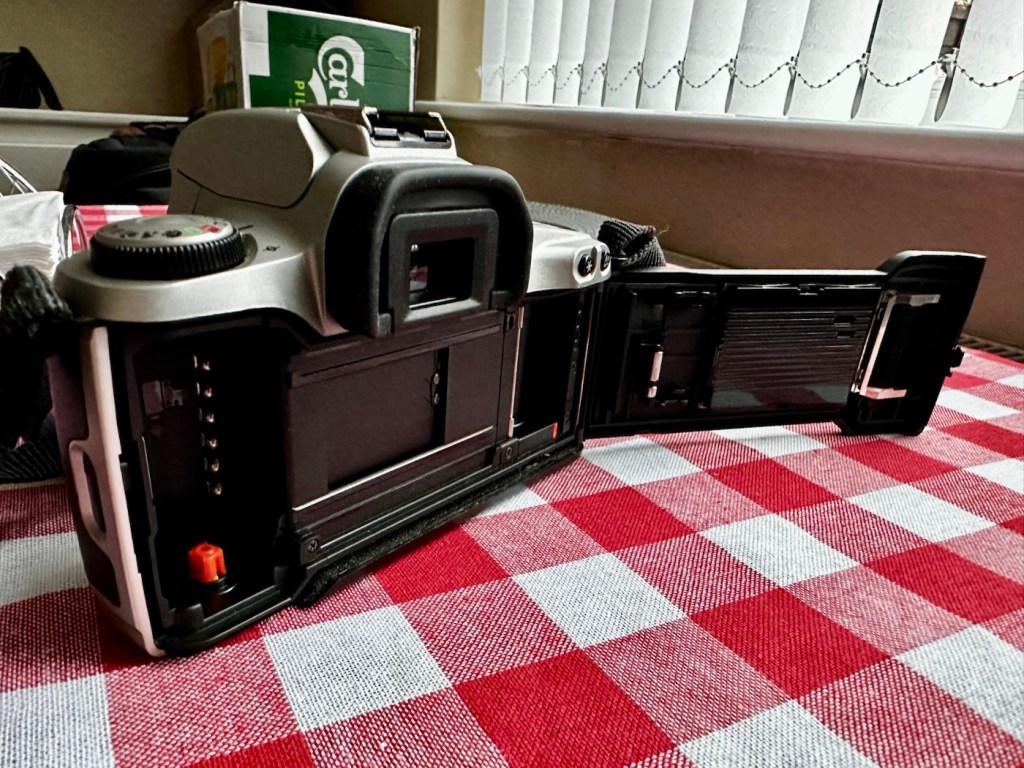
A learning camera for me, with a fault I’ve never dealt with before. Damaged shutter curtain blades. Can I fix it?

What the listing stated:

NIKON F50 UNTESTED FOR SPARES OR REPAIR. SEE IMAGES. THE REAR SHUTTER RIBBON APPEARS TO BE LOOSE – I AM UNFAMILIAR WITH OLD FILM CAMERAS SO THIS COULD BE A QUICK FIX OR NOT AN ISSUE. ALSO HAVE A FRONT BODY CAP AND STRAP – COULD BE A BARGAIN FOR SOMEONE. SOLD AS SEEN.
+
The “Complete Users’ Guide: Nikon F50/N50” by John Clements is a comprehensive textbook published in 1994 by Newpro UK LTD. This paperback book, with 140 pages, provides detailed information on the Nikon F50/N50 cameras from the 1990s. Written in English, this guide is a valuable resource for photographers looking to enhance their knowledge and skills in using these specific camera models. The author’s expertise and clear instructions make this book a must-have for Nikon enthusiasts.

EBay

As you may have already gathered, and much to the dislike of my wife, I spend a lot of time trawling the sales for cameras. I don’t particularly look for anything high end, one of my main reasons to purchase is purely for learning purposes. So why not buy a lower end mass produced camera and fix it? That’s what I tend to do. It’s a good way to learn, and if you cause even more irreparable damage it’s no problem, you will still have a selection of usable parts. Damage someone’s pride and joy though and not only do you lose reputation, you would probably be severely out of pocket financially.

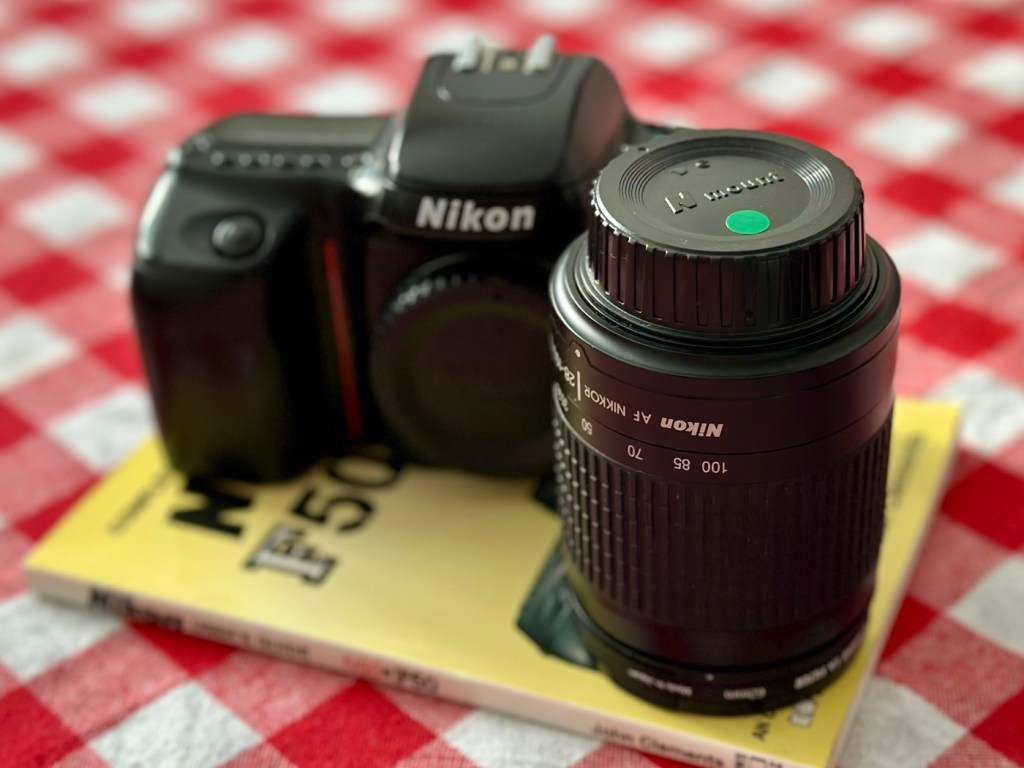
So I look for cameras with issues that I have not yet dealt with, and this camera has such a fault. It’s shutter blades have become detached from the frame in which they are set, it can be fixed if conditions are met, and one of those conditions are that the blades should not be creased. And I have my fingers crossed that this is the case. I’ve never fixed this issue before, so for me this is a learning camera. The bonus for me is that I get a body cap, a strap and an informative 140 page book on how the camera operates. And I paid the sum of £7:77 for this complete package.

Here’s a little info about the Nikon F50:

The F50 (or N50 as it is known in North America) is a 35mm film SLR camera which was introduced by Nikon in 1994. It was aimed at the lower end of the amateur autofocus SLR market.

The F50 features autofocus, TTL light metering and various “programs” (ranging from manual operation to a highly automated point and shoot mode). It could not however meter with non-CPU lenses.

It was replaced by the similarly-priced F60 (also known as the N60) in 1998.

The F50 body was made from polycarbonate and metal, and available in both “champagne silver” and black.

Notable omissions include depth-of-field preview and any form of remote shutter release.

Wikipedia

I’m now awaiting the arrival of the camera so I can carry out an in depth assessment. And prior to its arrival I’m reading up, and seeking advice on how to deal with such an issue as this shutter curtain damage.

Assessment:

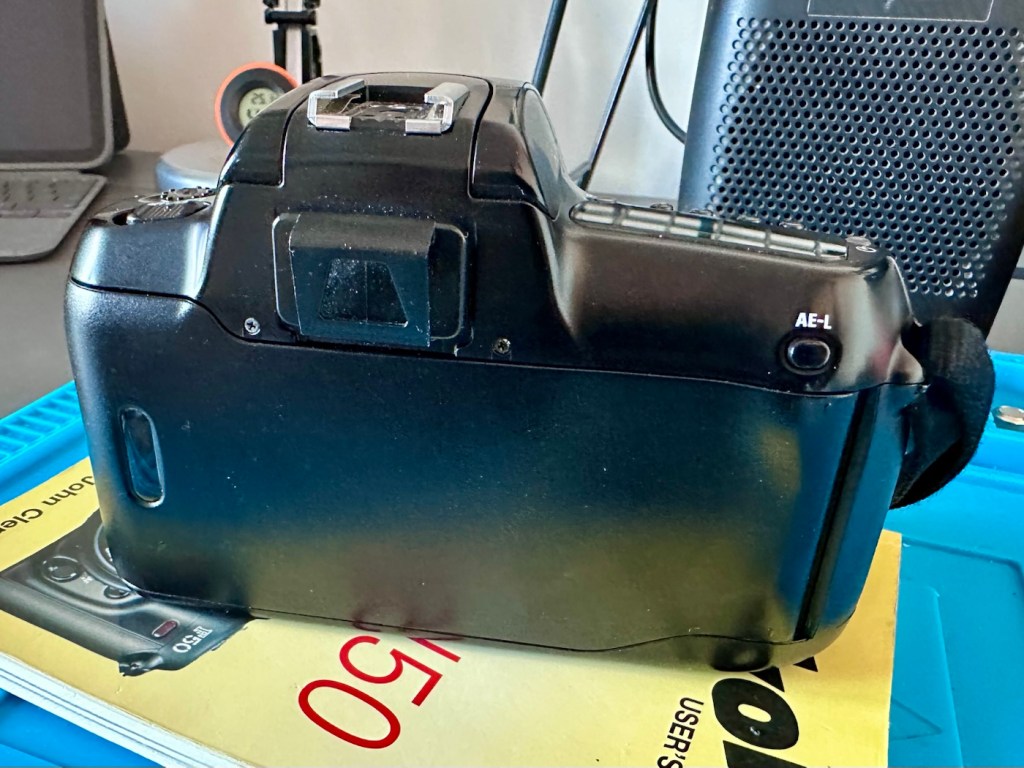
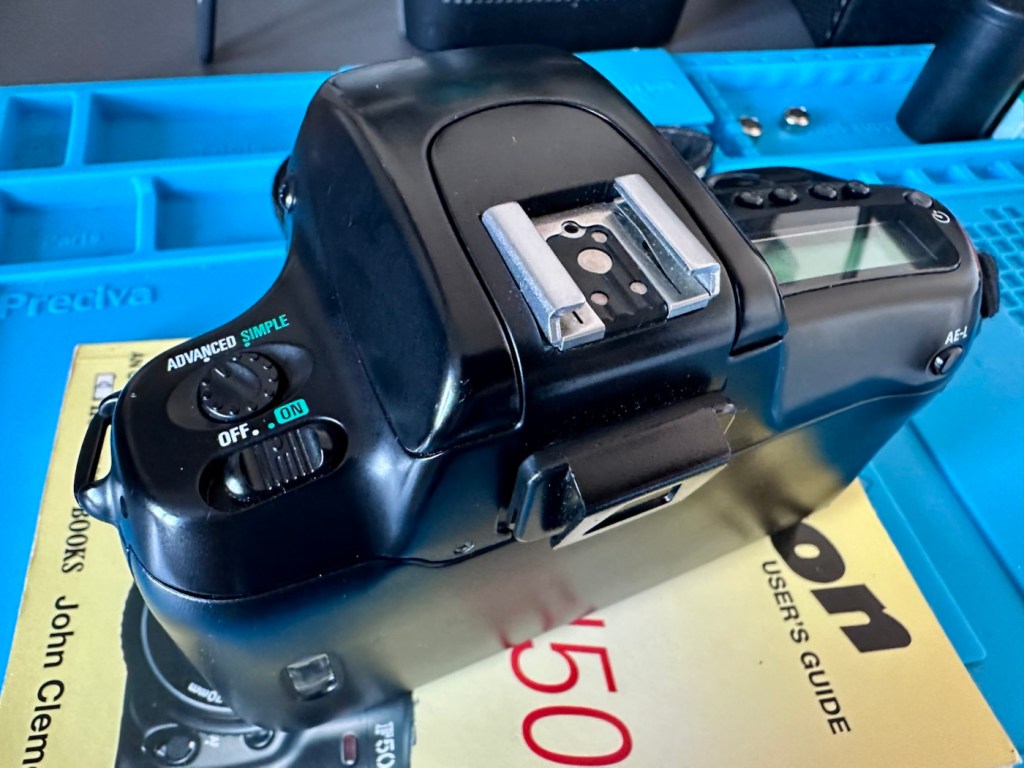
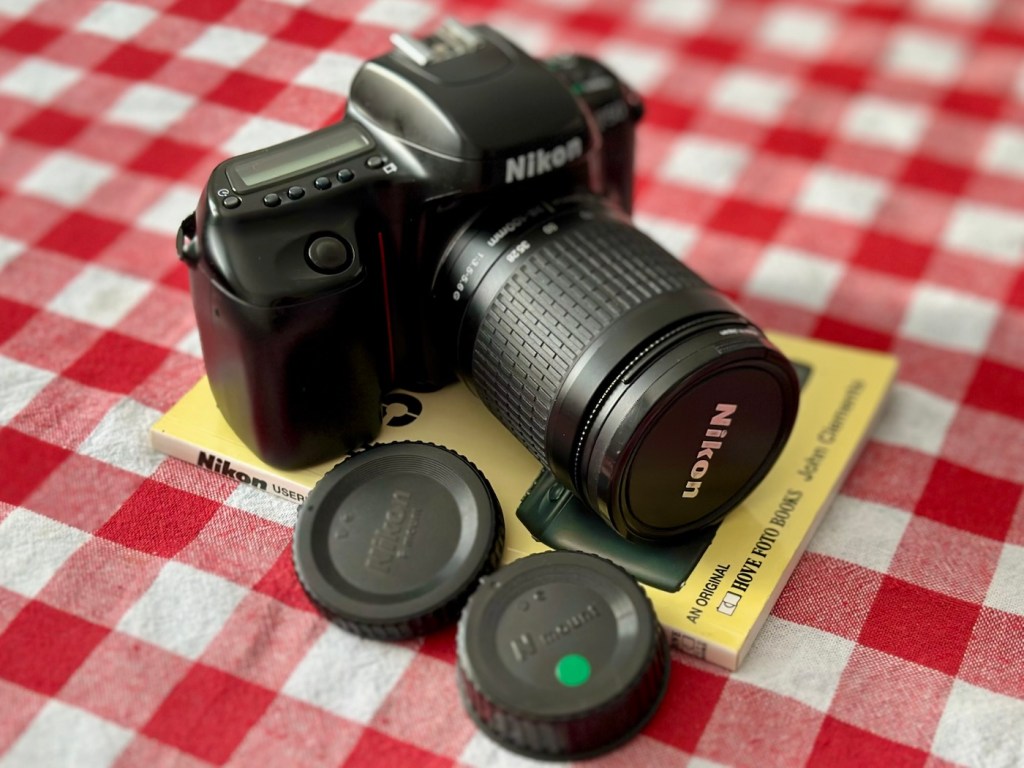
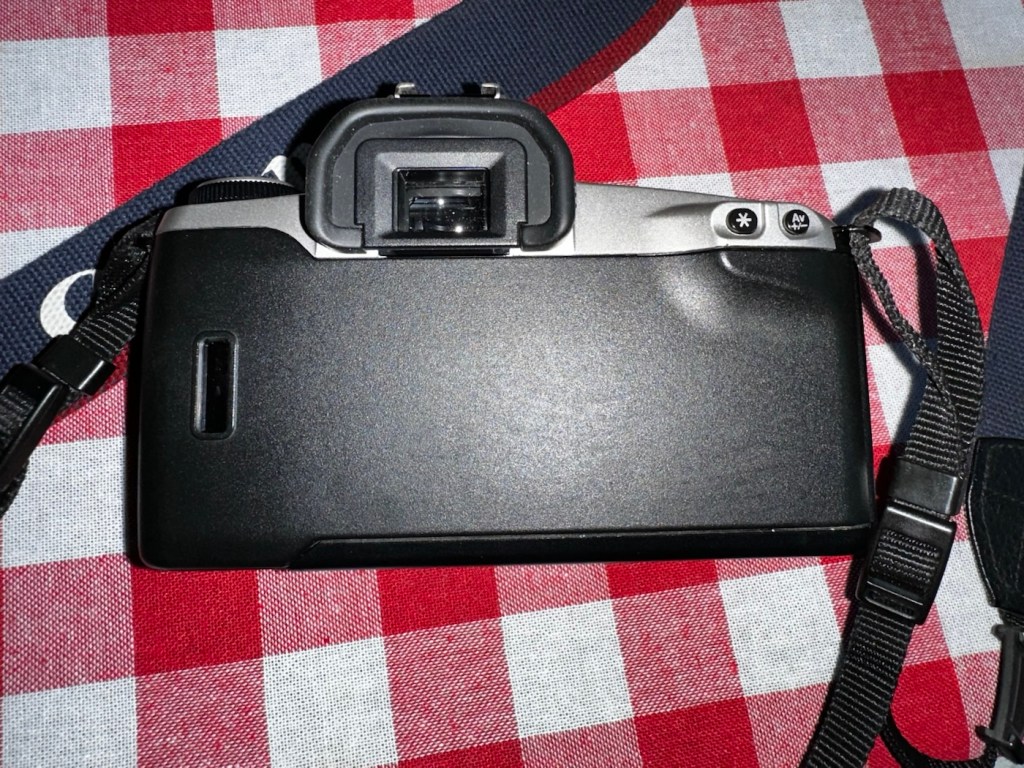
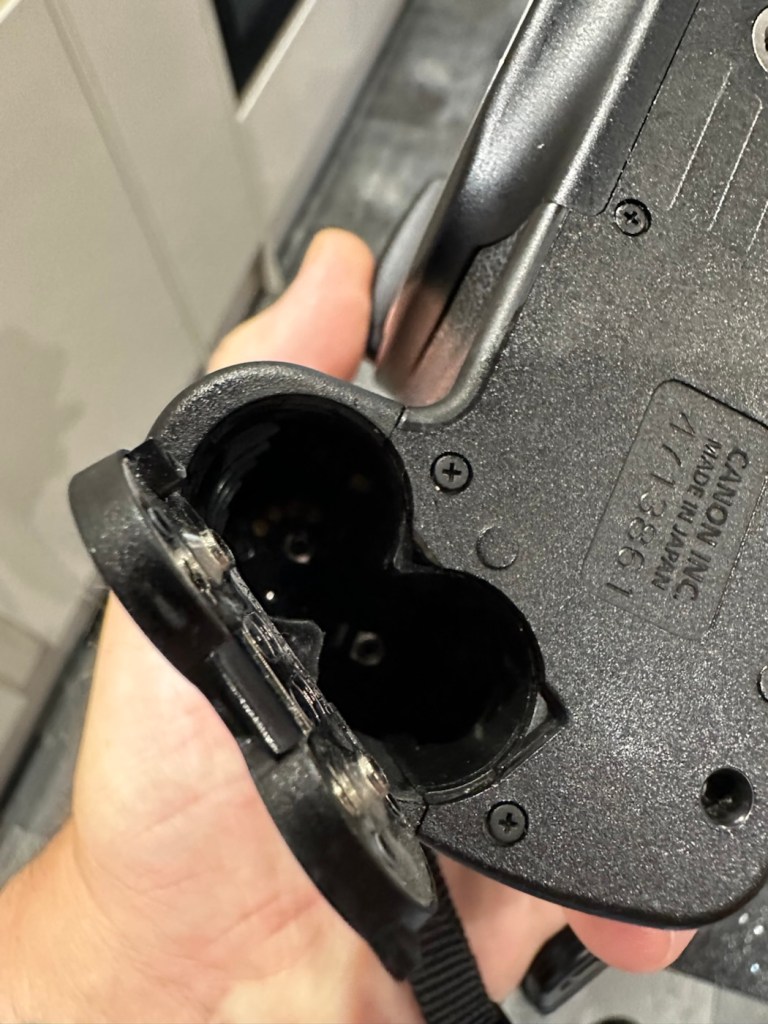
On arrival it is quite clear that prior to its shutter blade damage this camera has been very well looked after. It has no damage, scratches or signs of wear across the entire camera. It has an original Nikon body cap and narrow strap. There is even a DK-5 viewfinder cap that is a rare thing to see on a second hand unit. Battery contacts are clean and contaminant free.

And the users guide that was also received is an absolute gem of information.
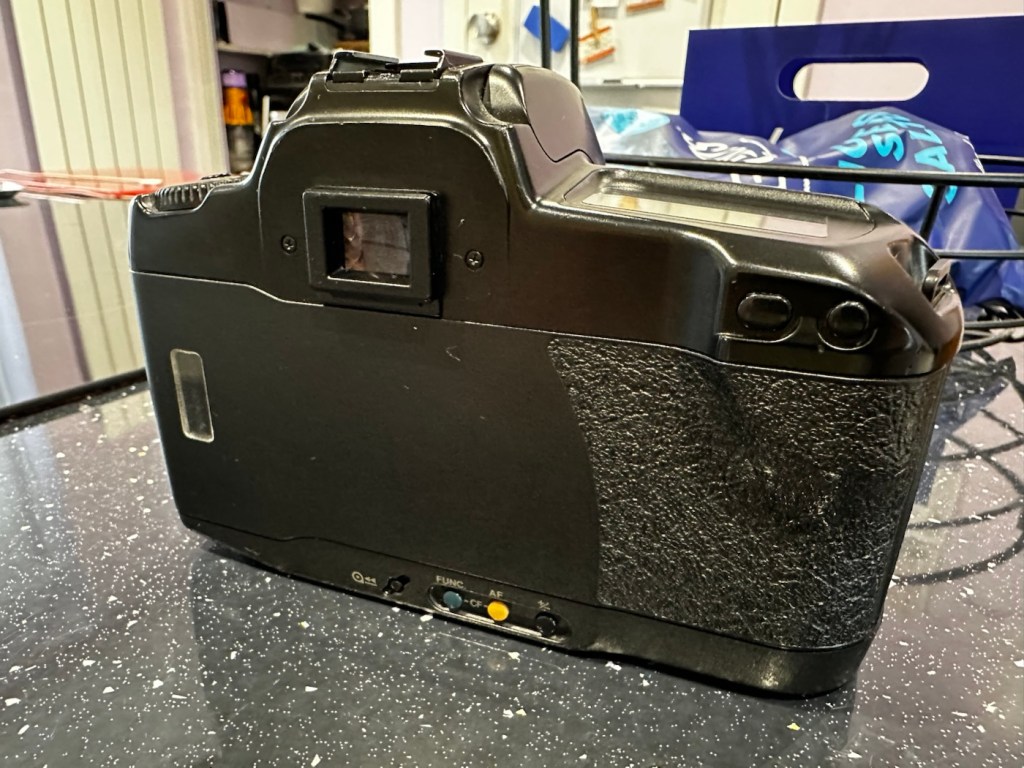
Testing beyond this is not possible at all, as the last thing I want to do is insert a battery and cause further damage. I will have to try to sort the shutter blades before I can test any further.

So let’s get straight on with trying to sort out that mess in the lens barrel.

Repair:

Whilst awaiting the cameras arrival I’ve been seeking advice on how to approach this issue, as this is my first attempt at such a fault. And after a while, looking around I found this video tutorial that first came out in 2014. I have decided to follow the advice within this video.

Fix old cameras – shutter repair

The first thing I have to do is to modify a pair of tweezers that I will be using for this repair. Firstly I have to bend them at an angle.
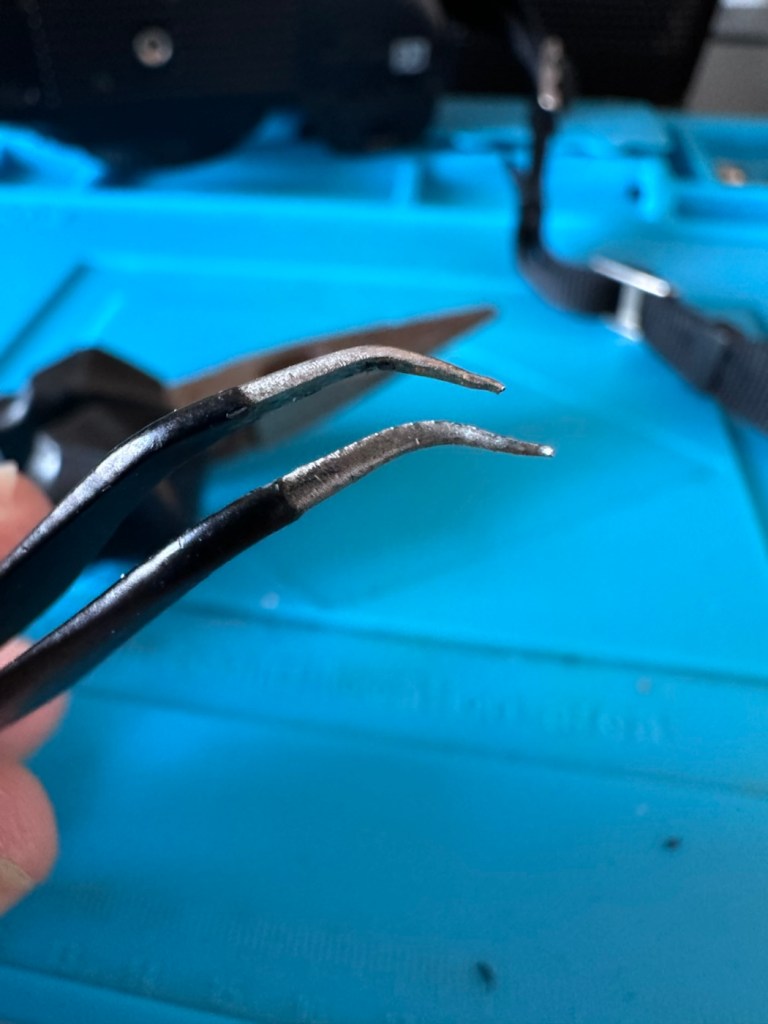
Bent accordingly

Secondly I have to put some shrink tubing over the points, heat them so they adapt to the outline of the tweezers, and whilst warm just flatten the tips as this will be the surface that handles the blades.
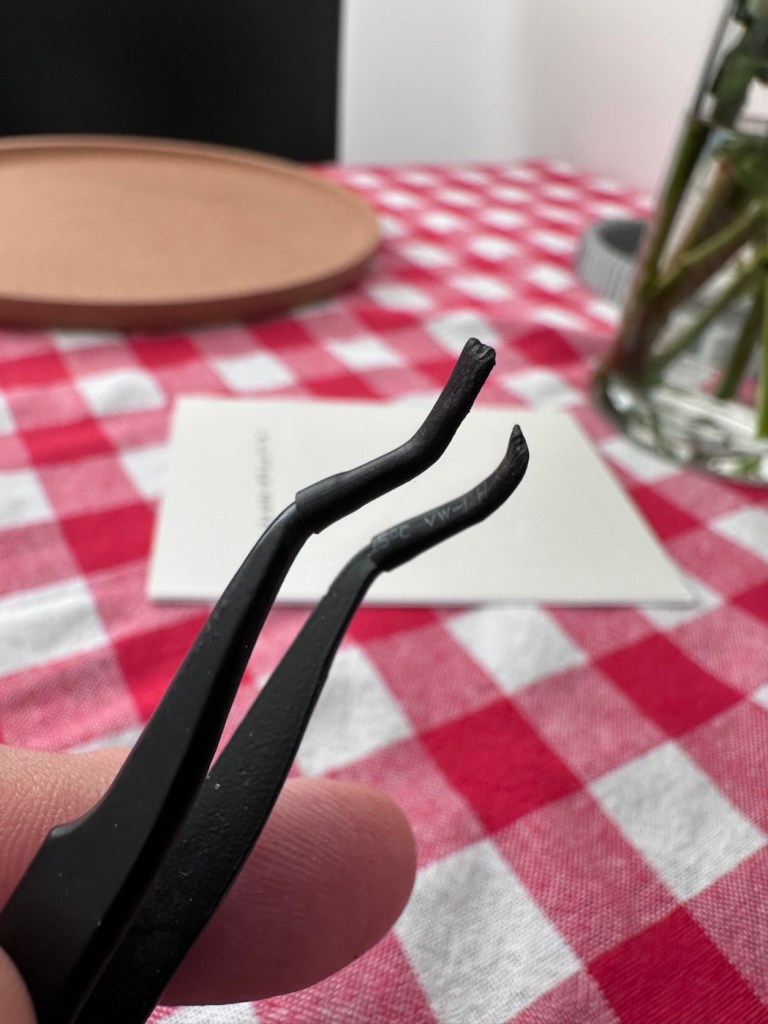
Shrink tubing added and shaped

And to be honest, once I started it took all of less than 20 seconds. Here’s the proof

It worked, and the camera works

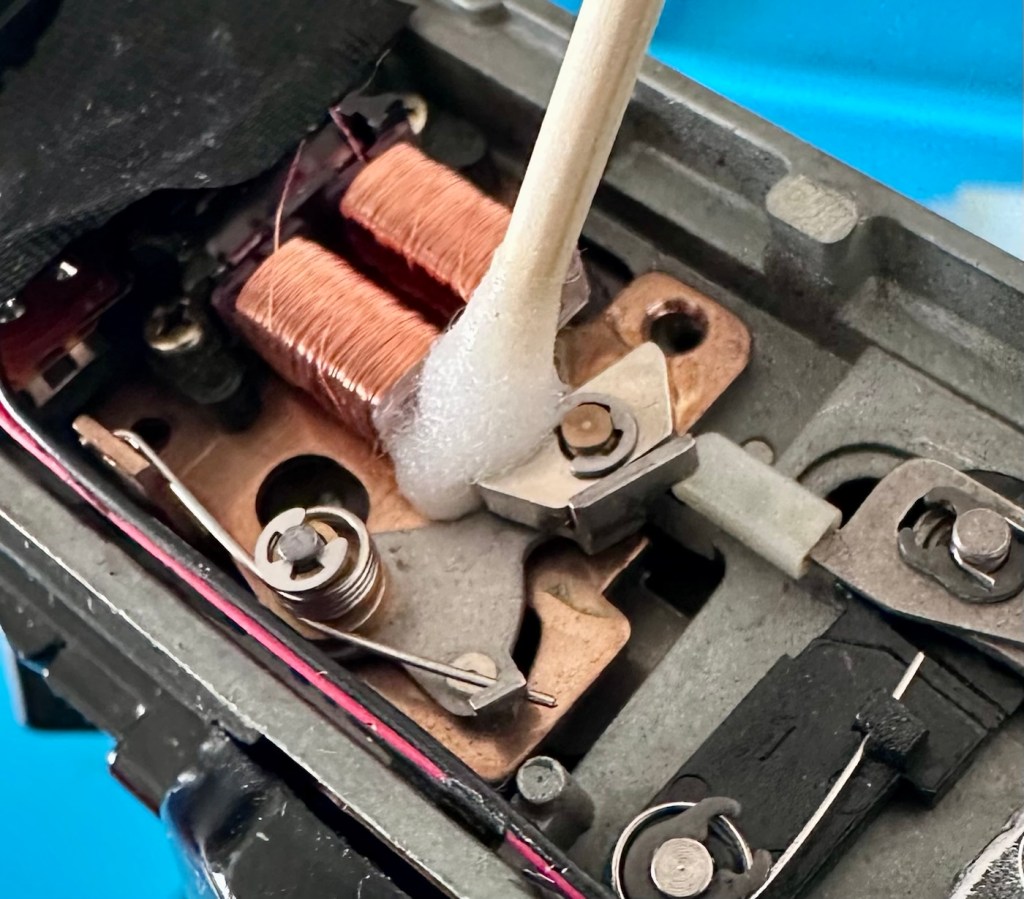
You may well be looking and thinking ooh! That looks dodgy, but believe me it works just fine. It’s been severely beaten up and it fell back into place quite easily. It doesn’t look pretty but I have tested the chamber with a very bright light and the front and the rear curtains are working well with each other and there is, or appears to be no light leakage. I will have to run a film through the camera but I am very confident that there will be no further issues.

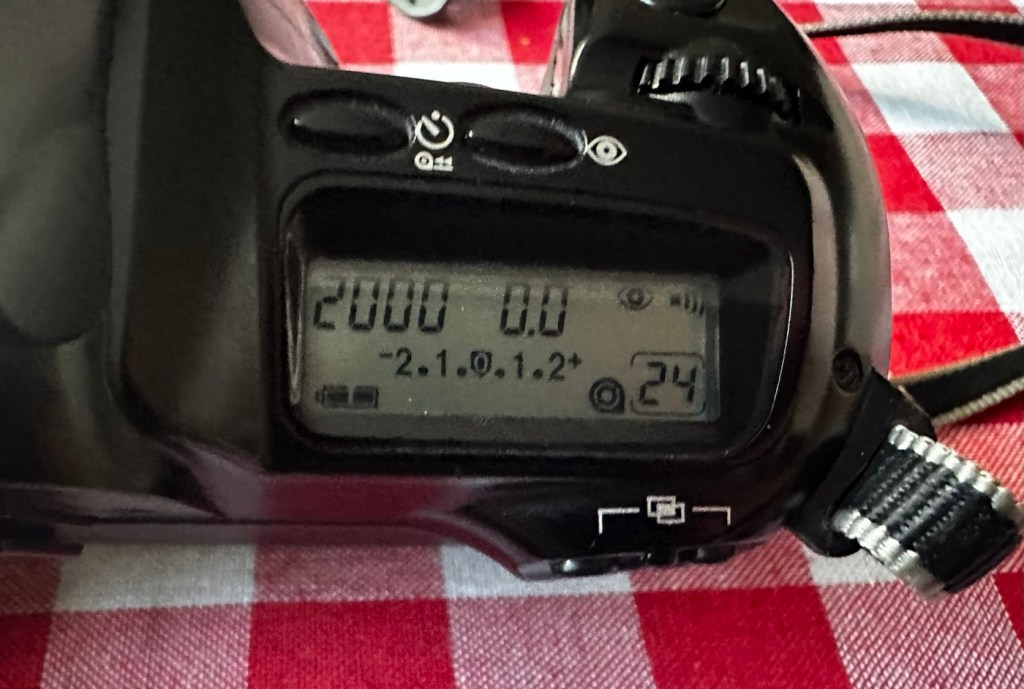
With the 2CR5 battery in place I have been able to carry out the tests that were not possible earlier, and I’m pleased to report there are no other issues and this shutter blade fault was the only problem. This camera is now working just fine, all settings, buttons, dials and switches are working as they should, as is the self timer.

With a lens connected all focus indicators in the viewfinder are good, the flash operates as it should and the info screen is clear and readable.

This camera is good to go.

Result:

In the end this turned out to be a twenty second repair, my first of this type and it went exceptionally well. A camera of this quality for just £7:77GBP with a guide book as well. is exceptional value, and I’m sure someone is going to love and cherish this camera for years to come. I’m going to run a film through it first just out of curiosity, however, I am supremely confident that there are no issues with it.
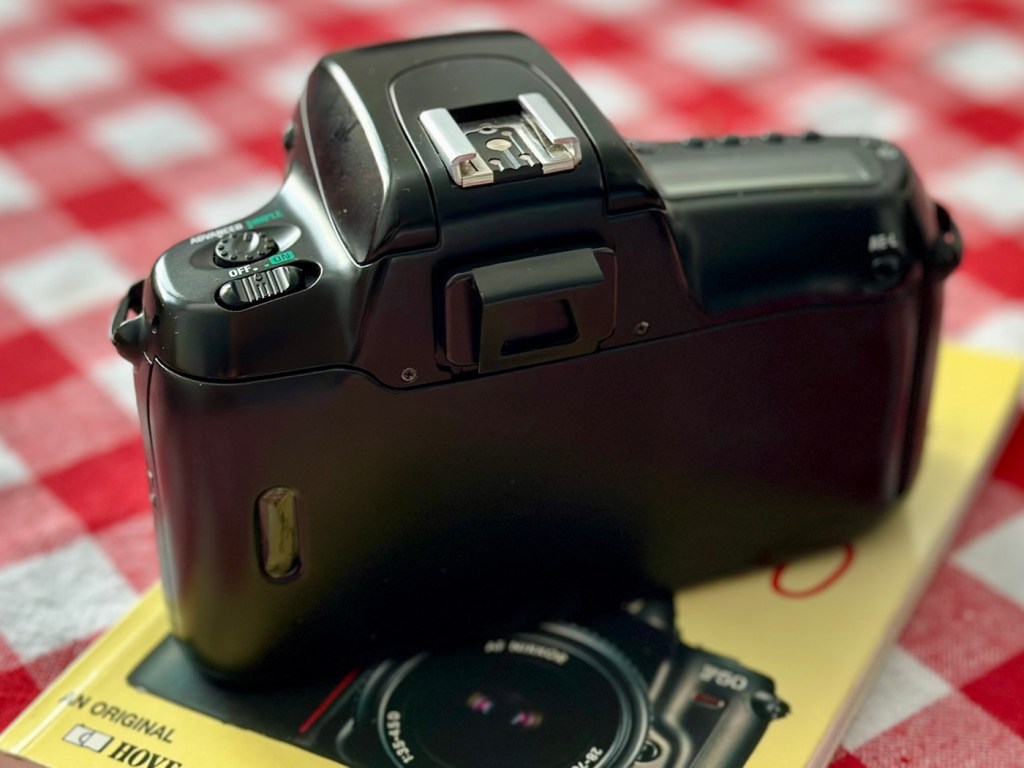
Again we have a classic case that shows just how 30 seconds of activity can bring a camera back to life saving it from the scrap heap. And a lovely looking camera it is too. Once I have run a film through I’m going to pass this on, it’s a good beginner’s camera and I’m sure it will get a lot more use, and that’s always a good thing. If Nikon produced in excess of 150,000 of these units, then I wonder how many others have suffered a similar fault and just been tossed into landfill.

Scary thought… though this one has been given a pardon.

Thank you as always for passing by. It is always very much appreciated.

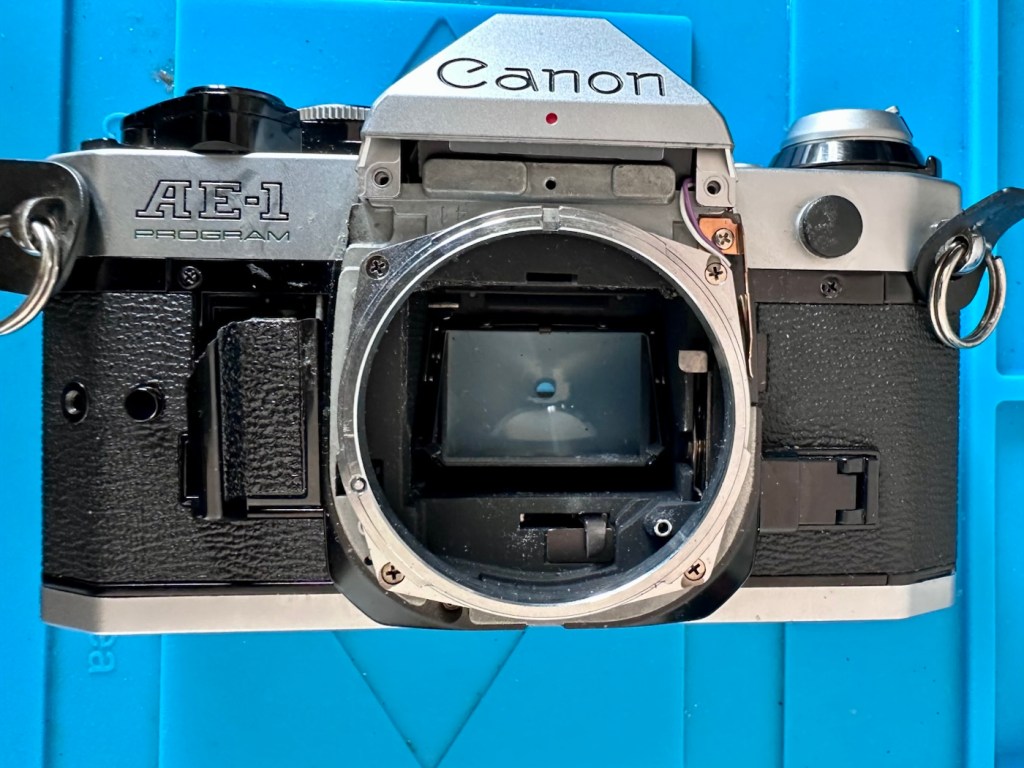
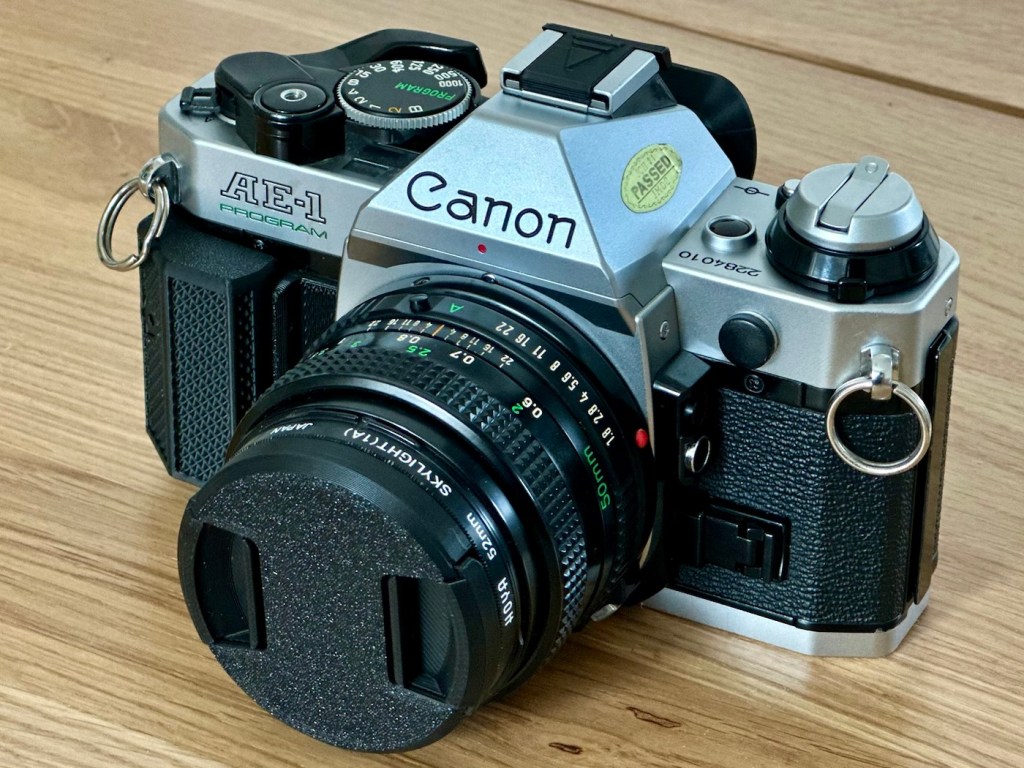
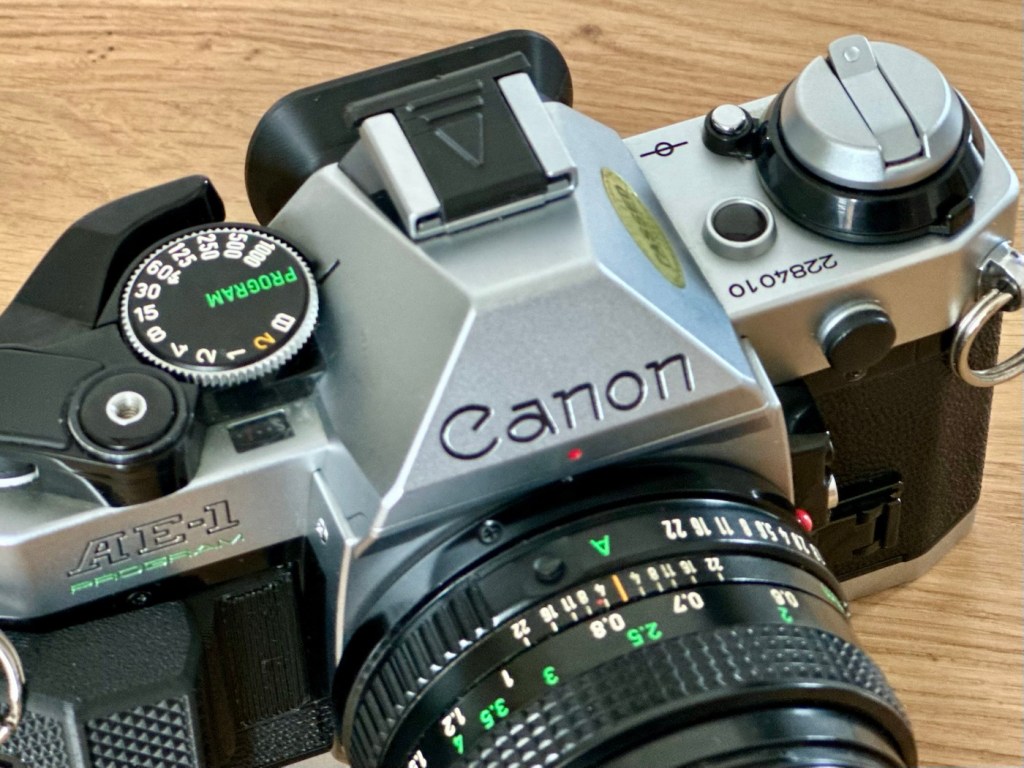
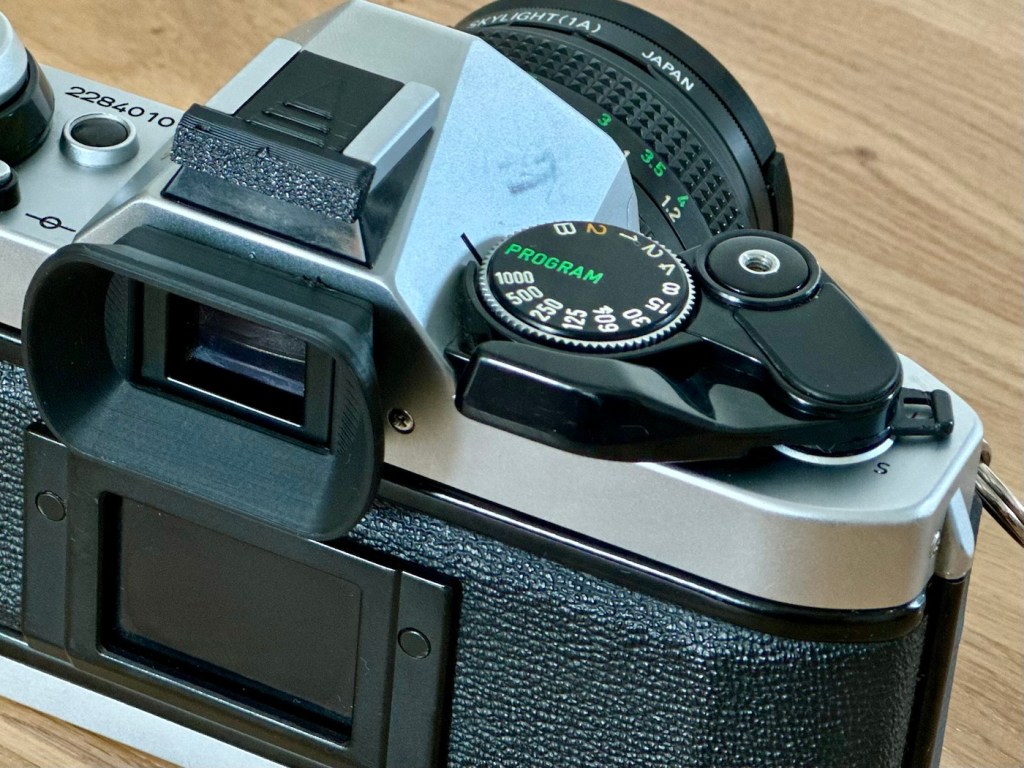
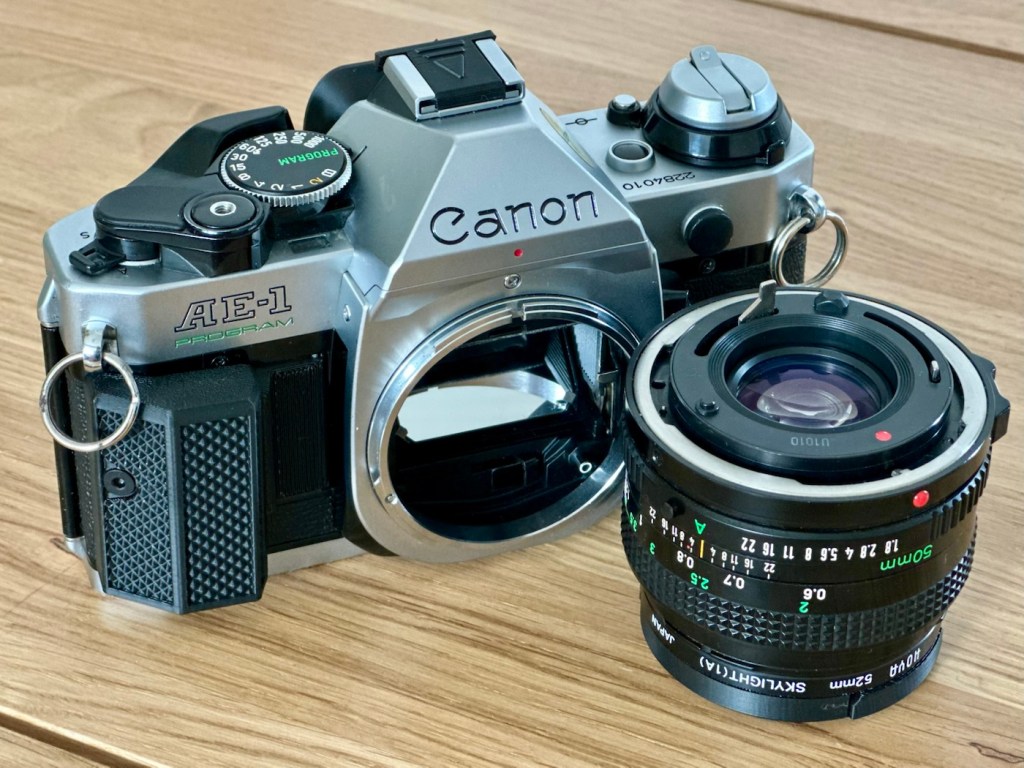
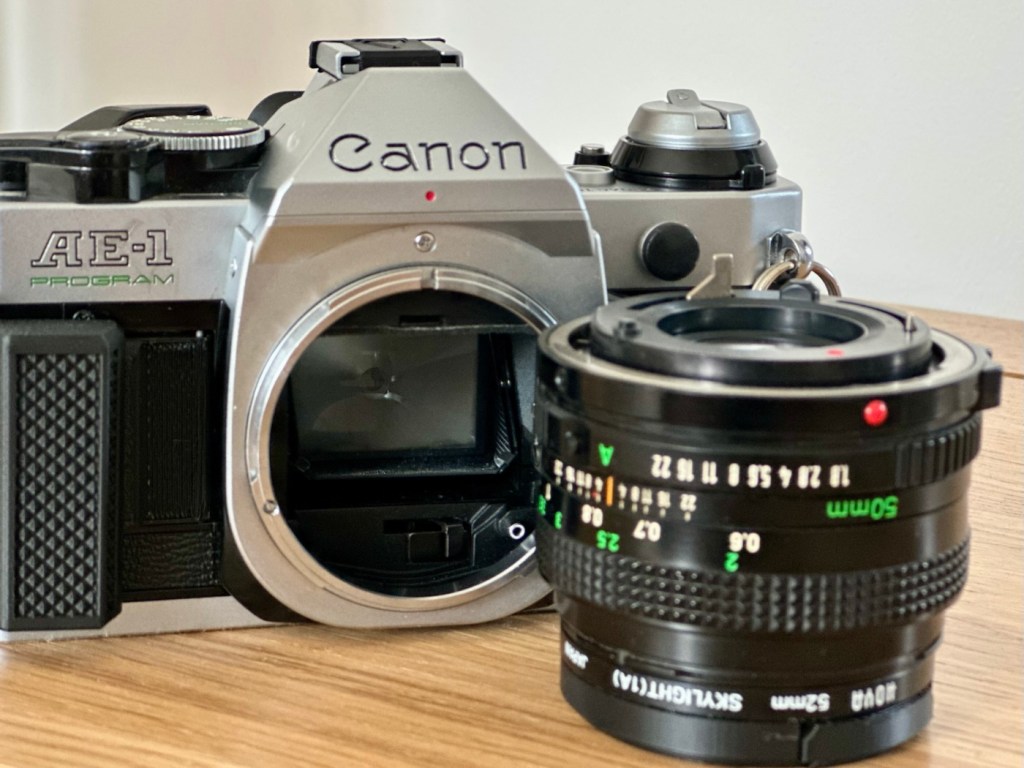
Canon AE1 – Program

I have my final piece of the jigsaw. My sixth, and final camera of the classic Canon “A” series collection

I purchased this camera as part of a job lot of 5 cameras that were faulty, read about that purchase here: More camera odds & sods

Canon AE1 – Program
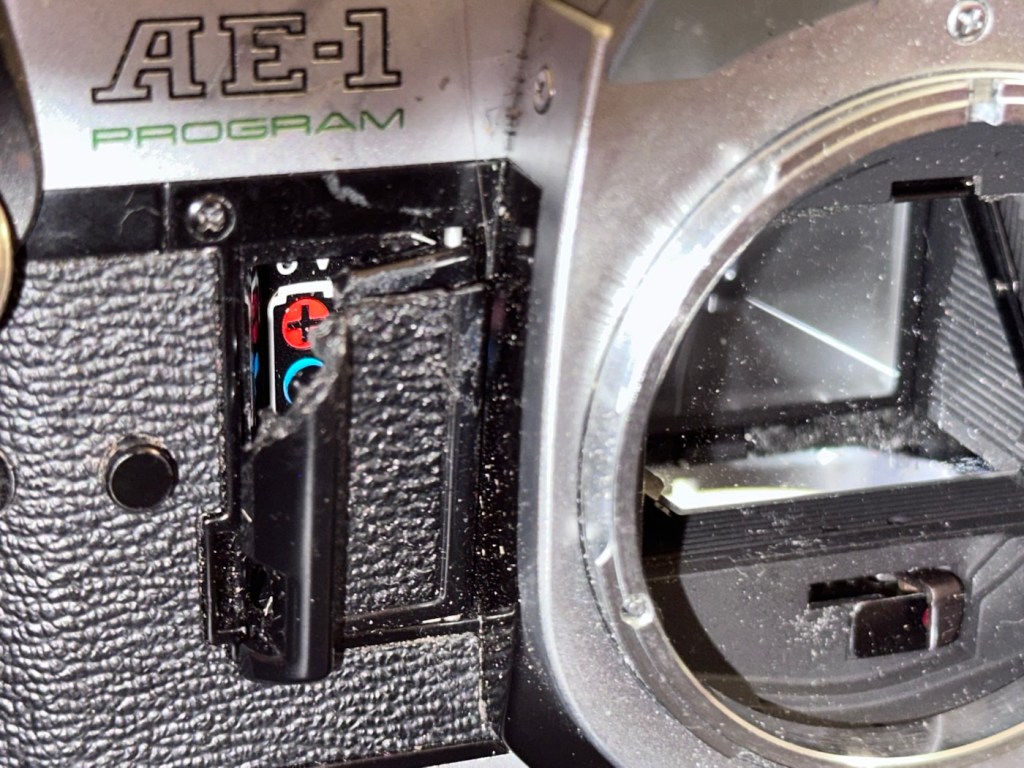
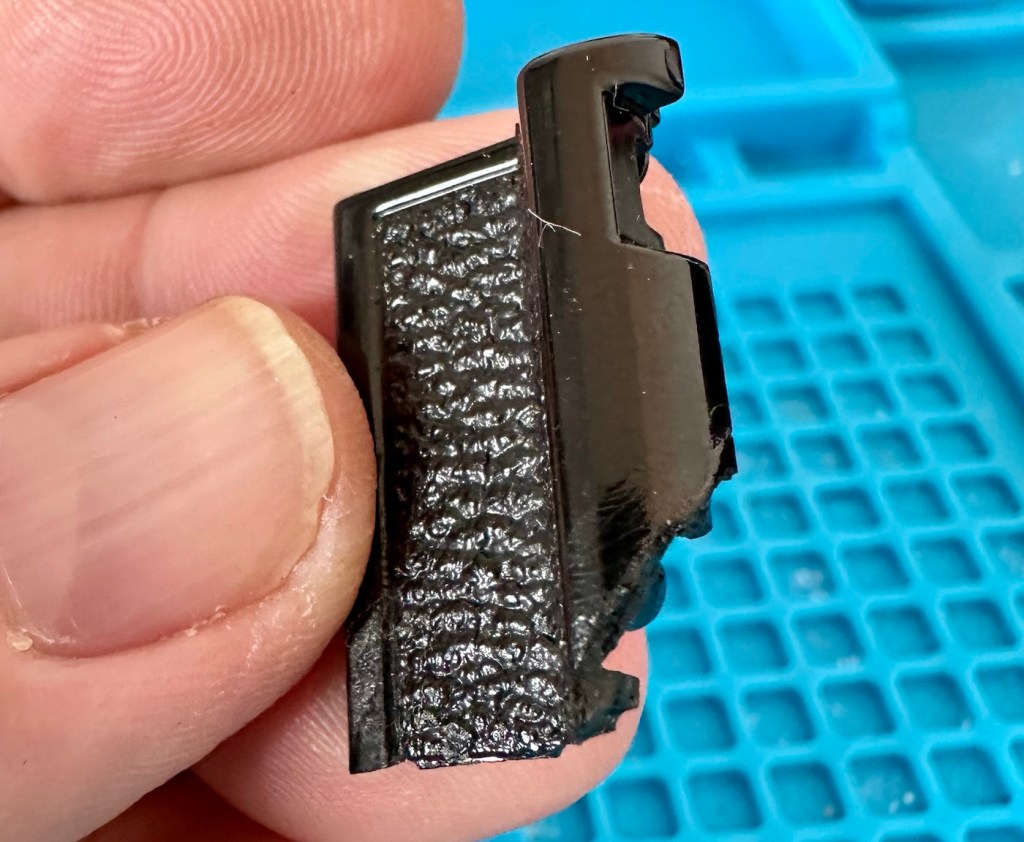
Broken battery door

I’ve been working towards purchasing the entire range of Canon “A” series cameras, and this is the final piece of the jigsaw for me. I haven’t paid premium prices, I have purchased each and every one of them as damaged items and have had to effect the repairs on them to get them working. It’s a wonderful collection of old cameras, all showing their individual battle scars but each performing without fault in taking photographs. What they were designed to do, growing old gracefully and with a now extended life span.

My complete collection

It works out that this camera has only cost me £8:00GBP, and that is a superb price to pay for one of these cameras, even if it was only for parts it would have been a bargain, however these all have the ability to be revitalised and to be given another crack at life. I have done a very brief assessment and nothing appears to be operating as it should be. Electronically this is potentially a very unstable camera, I just need to run a final test on the electrical system. It has two parts that need replacing. There is a small power winder cover that is missing, it’s not important but I will replace it purely for aesthetic reasons. Secondly the battery cover is broken, I do have a 3D file downloaded so I will see how that prints out.

This camera is currently unloved, very dirty and will require quite a bit of work just to bring it up to usable standards. I don’t wish for it to be pristine and at display standards, I want it to be clean and capable of carrying out what it was originally purposed to do, it will be used and thoroughly loved.

Here’s a little bit about the AE1-Program:

The Canon AE-1 Program is a 35 mm single-lens reflex camera that uses Canon’s FD mount lenses manufactured by Canon Camera (today Canon Incorporated) in Japan and introduced in April 1981 as the successor to the Canon AE-1, five years after that camera’s introduction.  The major difference was the addition of the Program AE mode first seen in the A-1. This mode sets both the shutter speed and aperture automatically—albeit with a slight bias towards the shutter speed setting. The user focuses the camera and then presses the shutter button. For those desiring more control, the AE-1’s shutter priority auto-exposure and full manual modes are still available.

Wikipedia

Repair

The first thing to do is to get the relevant battery in place and to see what does or doesn’t light up or function. These cameras take a standard 6v 4LR44 battery, and I have some more of these arriving later today, these cameras are reliant on that power source to pretty much do everything, so we have to have one in place to carry out an accurate assessment. Once i can see how the electrical system is working I can then make a decision on how to progress.

The battery has arrived and when it is installed, nothing happens. Electrically the camera is dead and requires attention, and that’s not good. The auto, lock, self timer switch under the winder is not moving, and hence the winder won’t wind, and the shutter won’t fire. It’s a very poorly camera. I go to remove the 6v battery and it is extremely hot, I’d suspect very close to exploding, this is not good at all. I’ve put the battery to one side, it’s now obvious that we have a short circuit somewhere causing the battery to overheat.

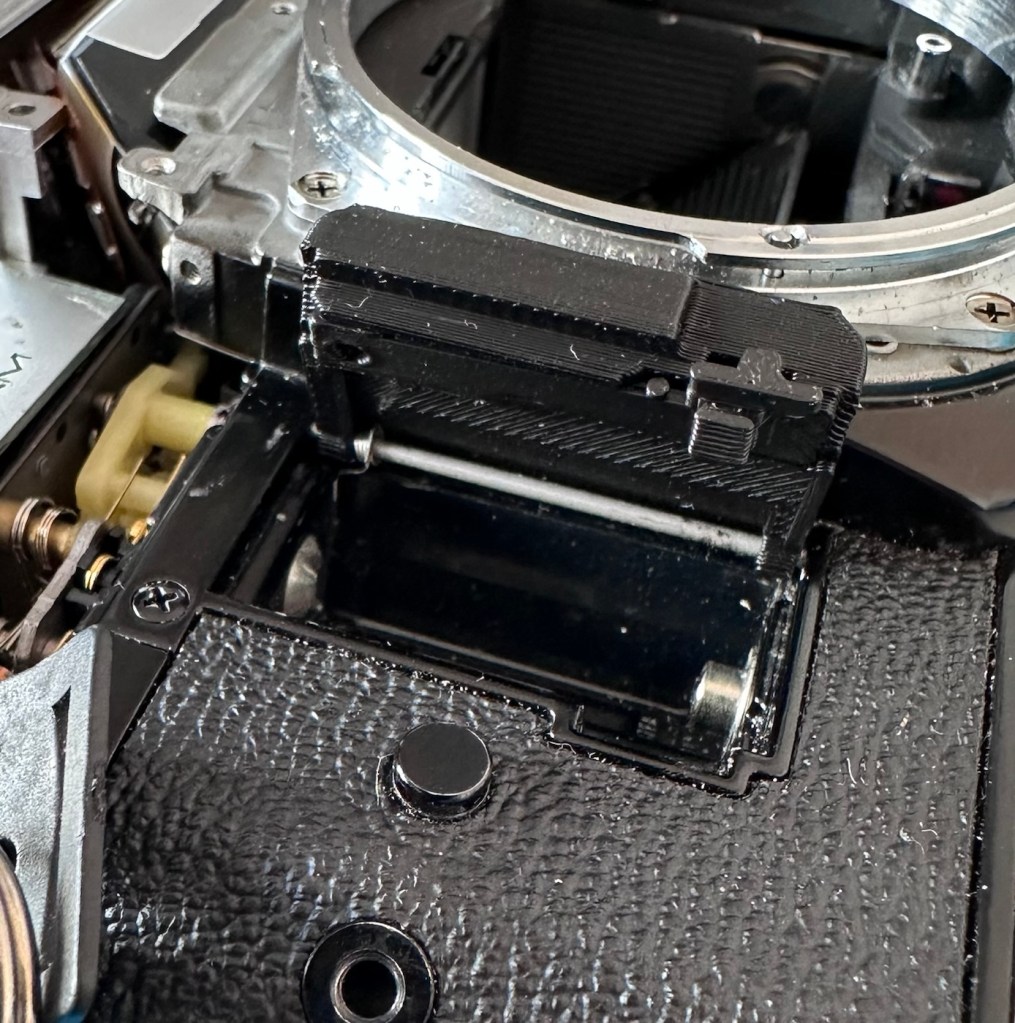
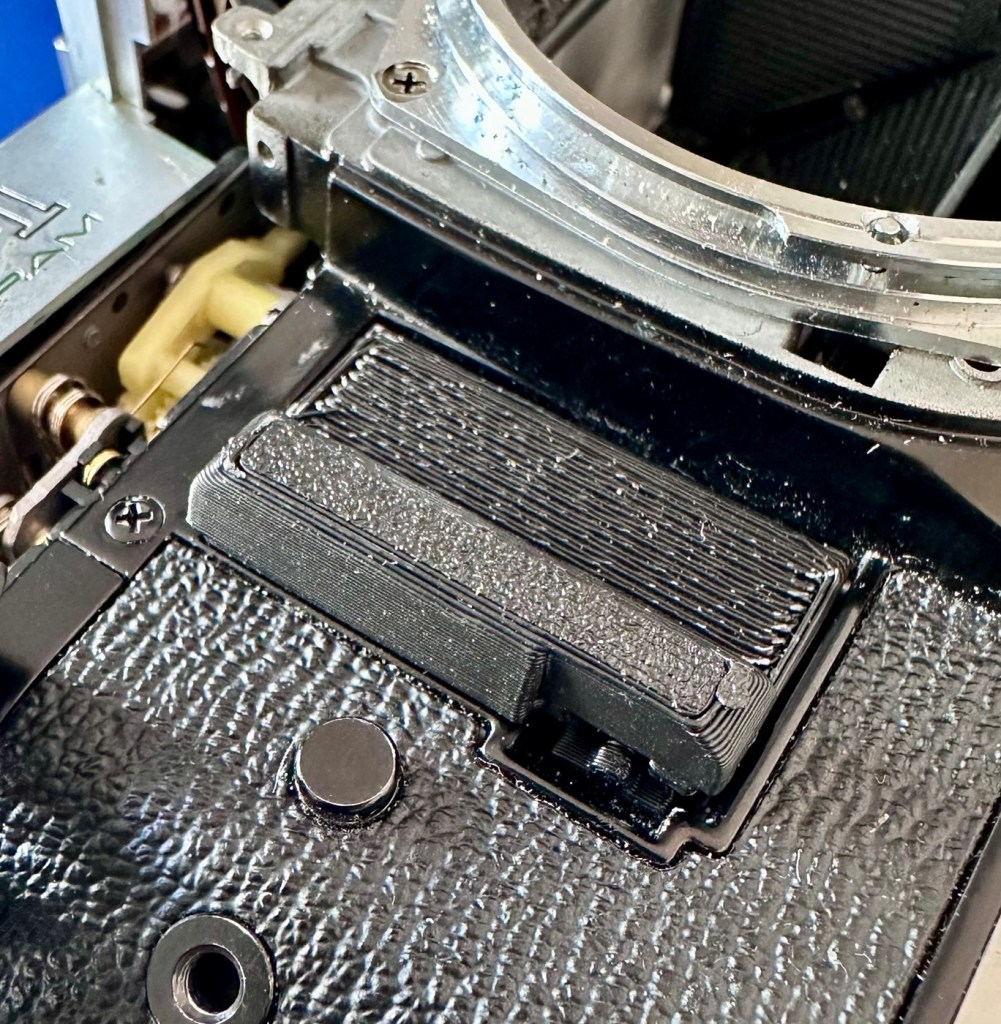
I have printed off a replacement door and catch. It’s not to the original standard but should do the job, until a quality one becomes available. To replace this door the top of the camera has to be removed anyway, so whilst I’m in there I will try to see if I can find the cause of the short circuit.

The pin that supports the door has to be pulled up through the mass of electronics to release the old door and the little spring that opens the door.

The printed door has cost me approximately 0.22p to print, and considering that Canon no longer produce the door, the options are limited to auction sites that charge horrendous amounts up to £30:00GBP, or the alternative is a 3D printed option of about £15:00GBP. Seeing this camera has cost me £8:00GBP, a layout of 0.22p will do for me just to get this camera up and running. I can always “tart” it up in the end if I choose to. To be honest, if it does a job, if the camera does what it should, then should I really worry about it? Probably not.

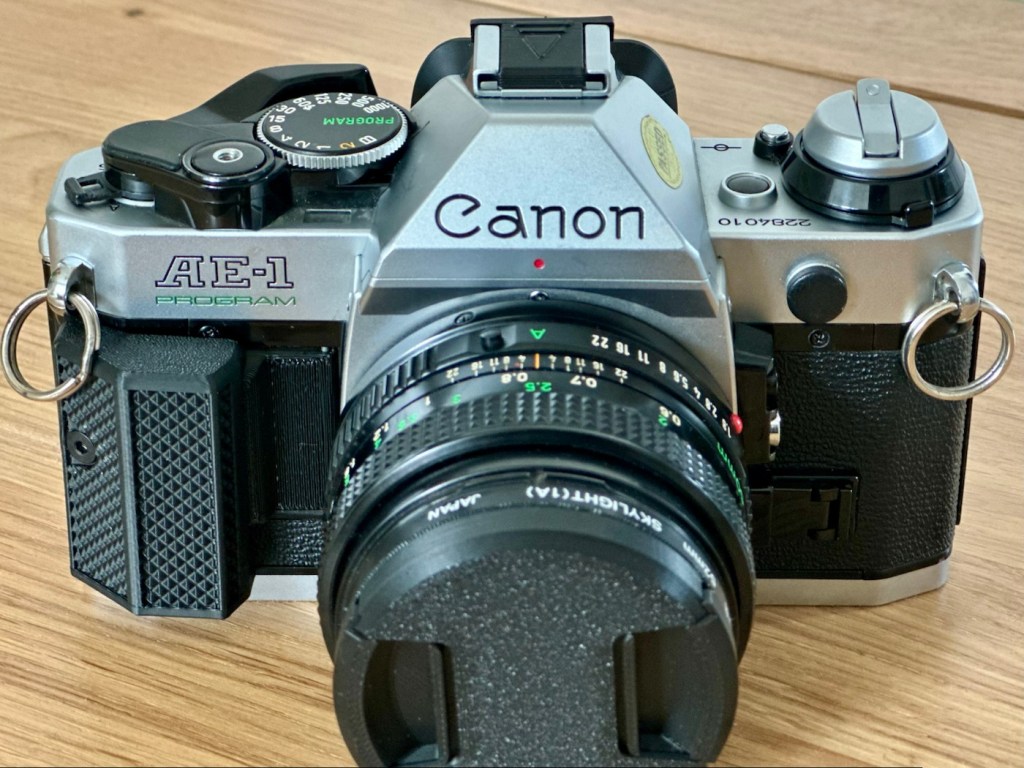
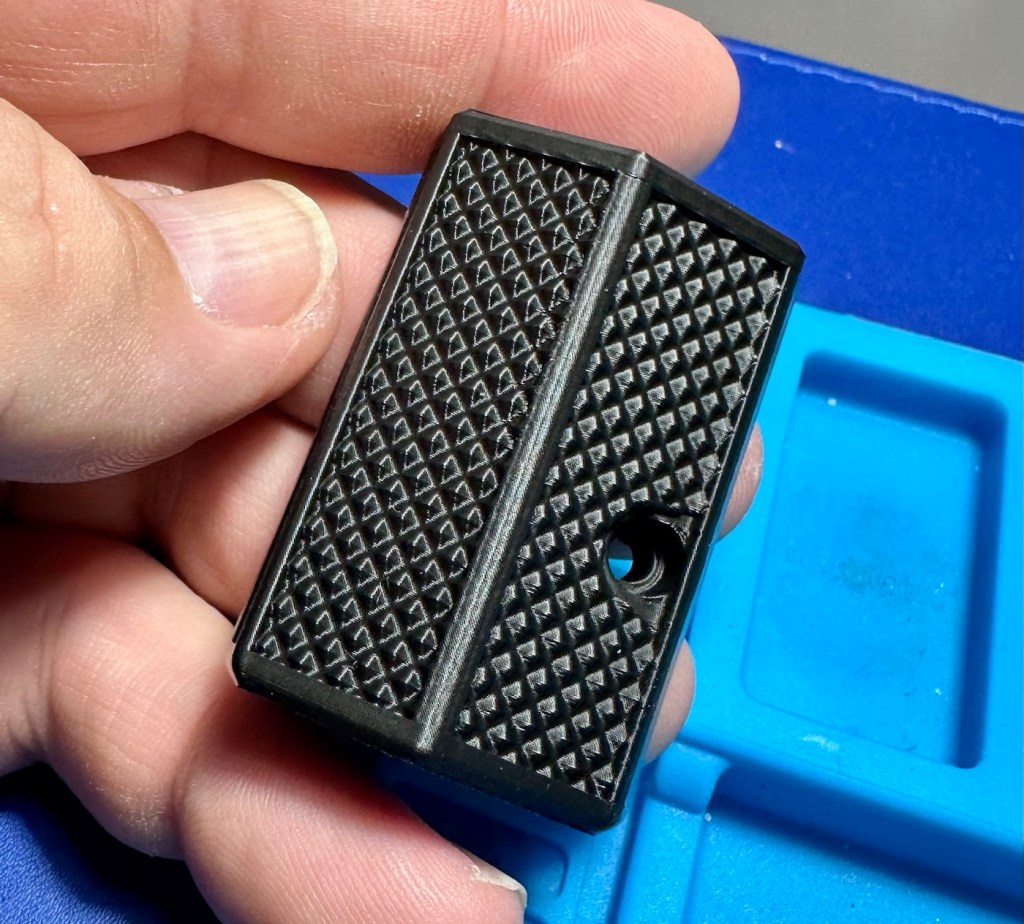
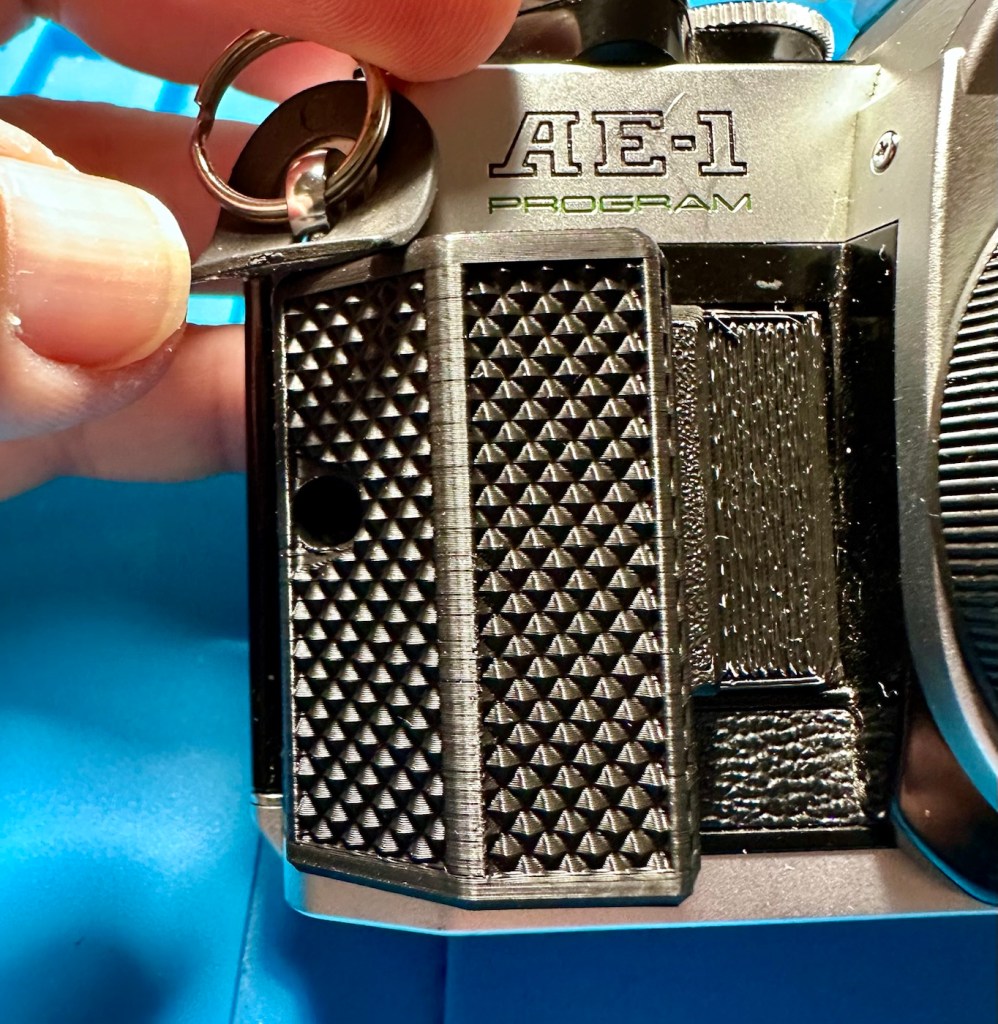
Just for the sake of it I have also 3D printed a speed grip that used to be facilitated on the “A” series cameras. These give a little more security to the battery chamber door, stop the door opening if the catch should fail, and give extra grip to the camera body. And it kind of looks nice so I have printed one out to use. I just need a black M3/8 screw to attach it.

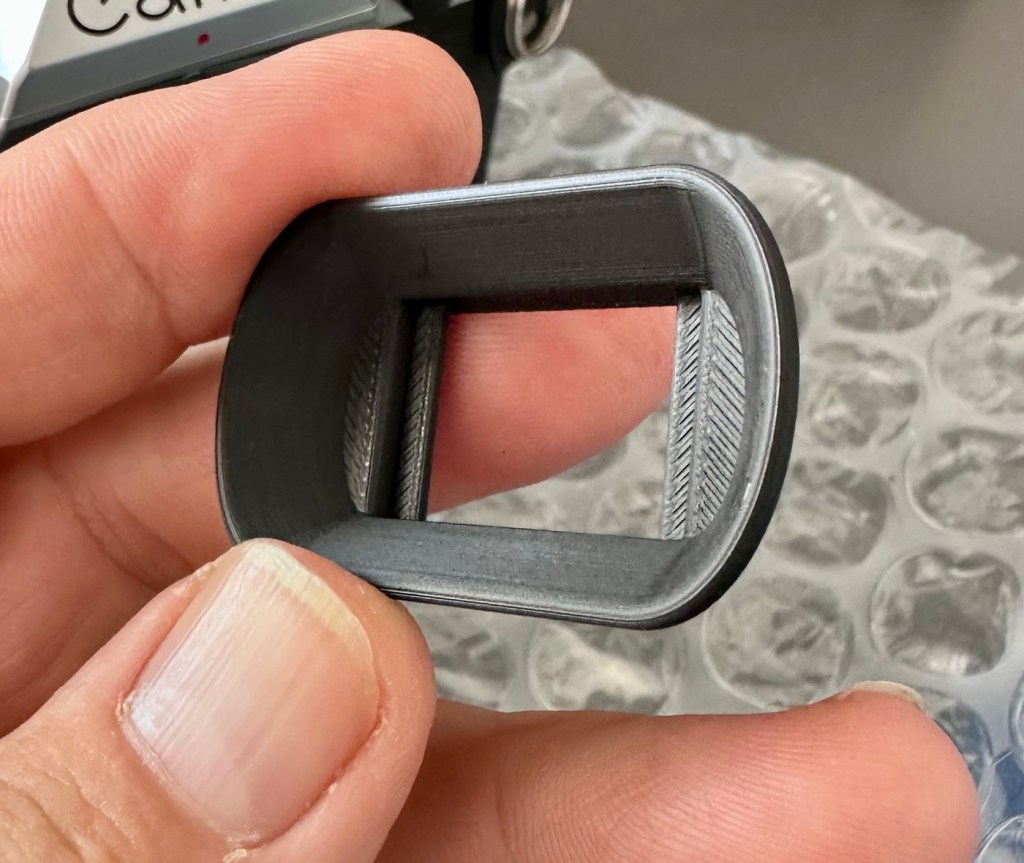
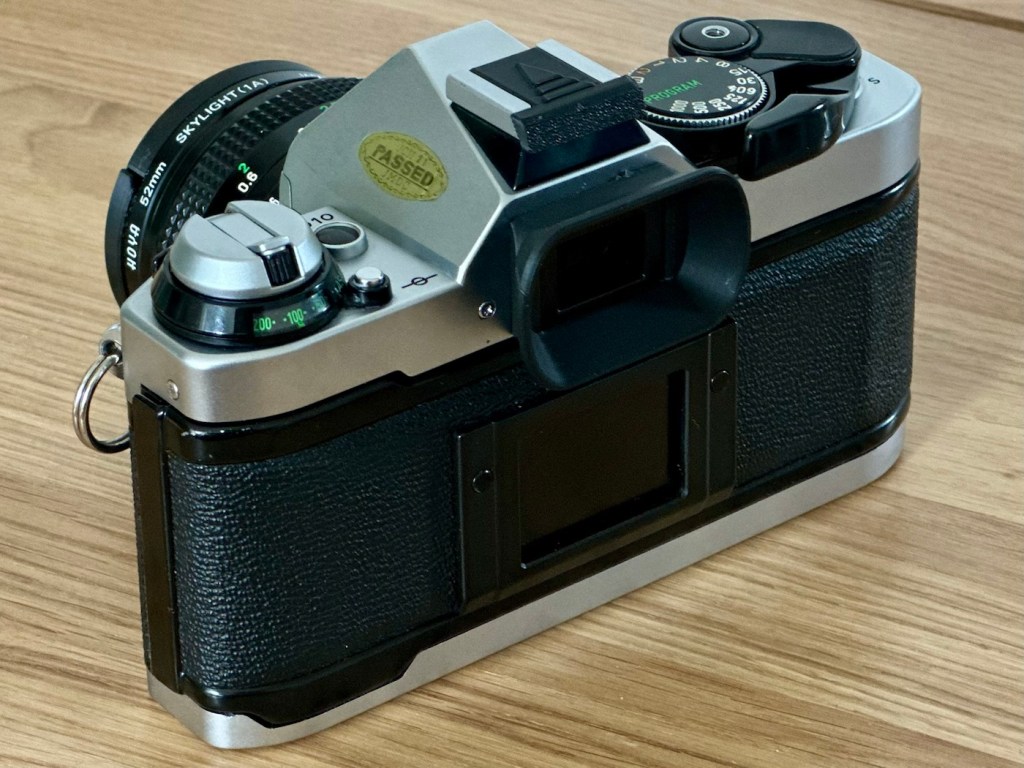
I’ve also printed off a eye cap for the camera. Just because I can to be honest, it just finishes it off in my opinion.

New eye cap

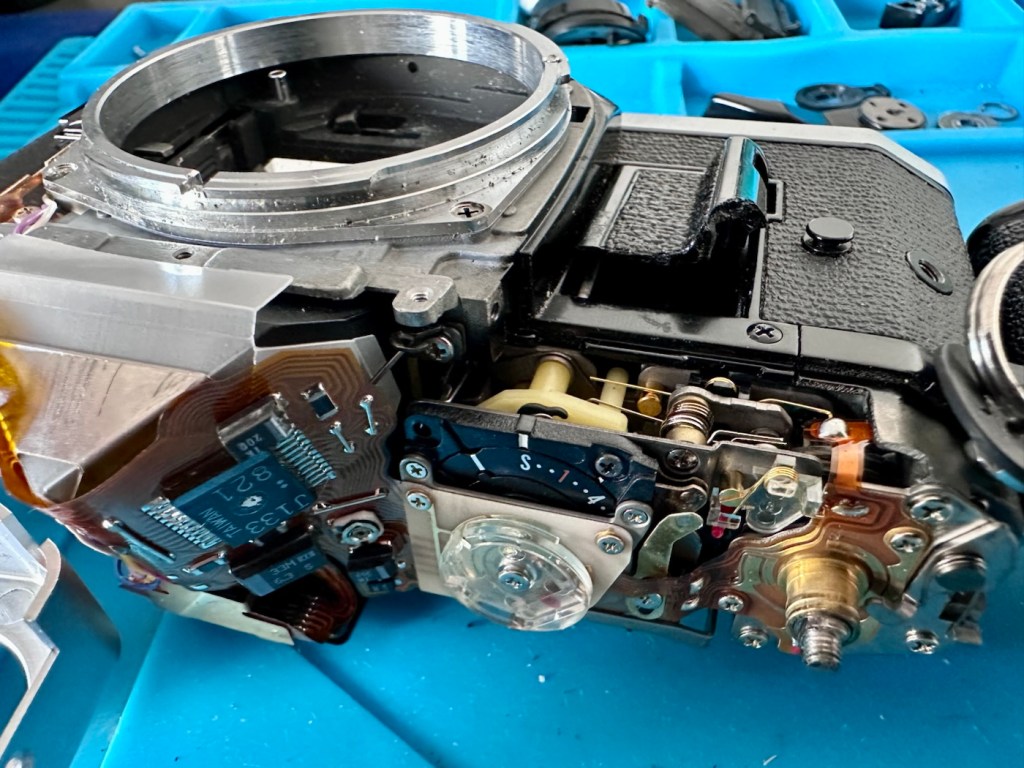
I stated that the switch that puts the camera into auto mode, switches it off and operates the self timer was seized. When the top is removed and all the relevant parts are removed the area in question can then be observed. And there was a problem.

Under the film winder is a small Perspex frame with a spring loaded catch. This operates the three settings “A” – auto, “L” – lock or “S” – self timer. The switch must have been forced in the past, as the metal catch had sprung under the Perspex plate and was firmly wedged between the copper contacts underneath causing the short.

The copper traces under the Perspex

The metal catch had to be coerced back into position, lifted slightly to sit comfortably back in the position it had previously occupied. A quick test confirmed that the switch was now behaving how it should, and clicking firmly throughout its range.

The selector switch under the film winder in the correct position

The original battery that overheated was now showing as severely depleted due to the earlier problem, this has had to be disposed of, and so into the battery recycling receptacle it goes.

With the camera now reassembled I can try a new battery, and the result is the polar opposite of what occurred earlier. Straight away the shutter fired, when I put the switch into auto mode, the shutter could be fired again in fact it could be fired repeatedly. The light meter inside the viewfinder is working and showing lights. When in auto mode, and the battery check button is pressed you hear an intermittent sounder showing the electrical circuit is now operational, the more frequent the sound the healthier the battery is. When in self timer mode it didn’t work, it should beep and after ten seconds should fire. Hopefully it’s just dirty contacts, but none the less it will need looking at next time I take the top off. And all the while the new battery has remained cool with no temperature change. We have found the short circuit and the basic camera operation has been restored.

One thing I noticed with the shutter working is that there is quite a “Shutter cough” often heard on these older unloved canon cameras. Not a real issue, this will mean further dismantling of the camera to get to the shutter area for a little clean and some light lubrication.

So, let’s deal with that little “Cough”….open wide now!

I’m going to approach this issue by going in through the base of the camera, here I can deal with two issues at the same time. I suspect someone has been in here before me as there is only one screw securing the base when there should in fact be three. I will get these replaced now as I do have a fairly good supply of spares in stock.

This is the magnet coil, it’s known to get dirty after time causing issues such as a continuous wind with no mirror movement.

Magnet coil

This camera doesn’t have that issue, but because I’m in here it’s a simple case of removing two screws, the casing and then just clean the magnet and coil contacts with some IPA.

That done, the plastic case is put back on, and the two screws put back into place. Simple job done, it’s future proofing the camera against this issue ever occurring. A blow through with an air canister and a little light lubrication of moving parts in the area and then we can move onto the next issue I want to address.

I’m going to attempt a shortcut with my oiler pen to see if I can deal with the camera cough without going too deep inside the camera. With the long needle of the oiler I may be able to reach deep enough into the internal workings of the camera to oil up the offending cogs and levers. If it doesn’t work then I will have no option but to open up the camera and get inside. It’s worth seeing if I can get the shortcut to work, it’s not a permanent fix but might buy me a year or so of cough free operation.

I’ve left the camera overnight for the very limited amount of clock oil I used to get into all the nooks and crannies, and I’ve checked when I got back home from work, and I’m pleased to say it’s has worked perfectly. Have a look at this little video below that shows how it sounded with the cough, and then after treatment.

Before and after cough

Now with the cough issue sorted it’s time to go back to see if we can address the self timer issue. With the base now secure with all its screws (I’ve replaced the two missing ones) it’s time to get the top off again and have another look around.

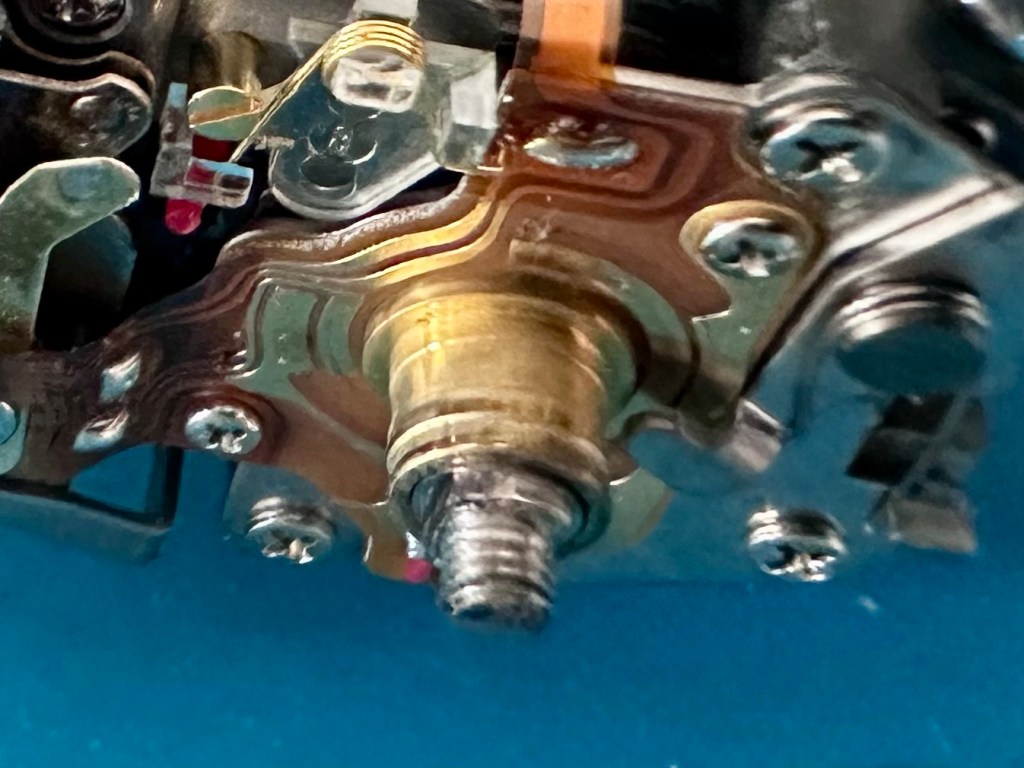
Inside the camera just below the wind on lever is the mechanism that operates the selector lever. There are four tiny copper contacts that connect with the copper circuit just below. One of these four contacts had been crushed to a level where contact was no longer made with the circuit board below.

Copper based circuit board and copper contacts under this acrylic selector

Using a small set of tweezers, I was able to bend the delicate copper contact back into shape allowing it to once again make a connection with the contacts on the circuit board. I’ve also cleaned all points of contact with IPA to ensure all surfaces were clean. A quick test at this point proved the circuit, I was now able to reassemble the camera yet again. Prior to this though I gave a good blow through the circuitry with some compressed air before sealing the top of the camera back in place.

The self timer is now fully operational.

Self timer now working

The major issues have now been addressed. Let’s get on with the bread and butter items.

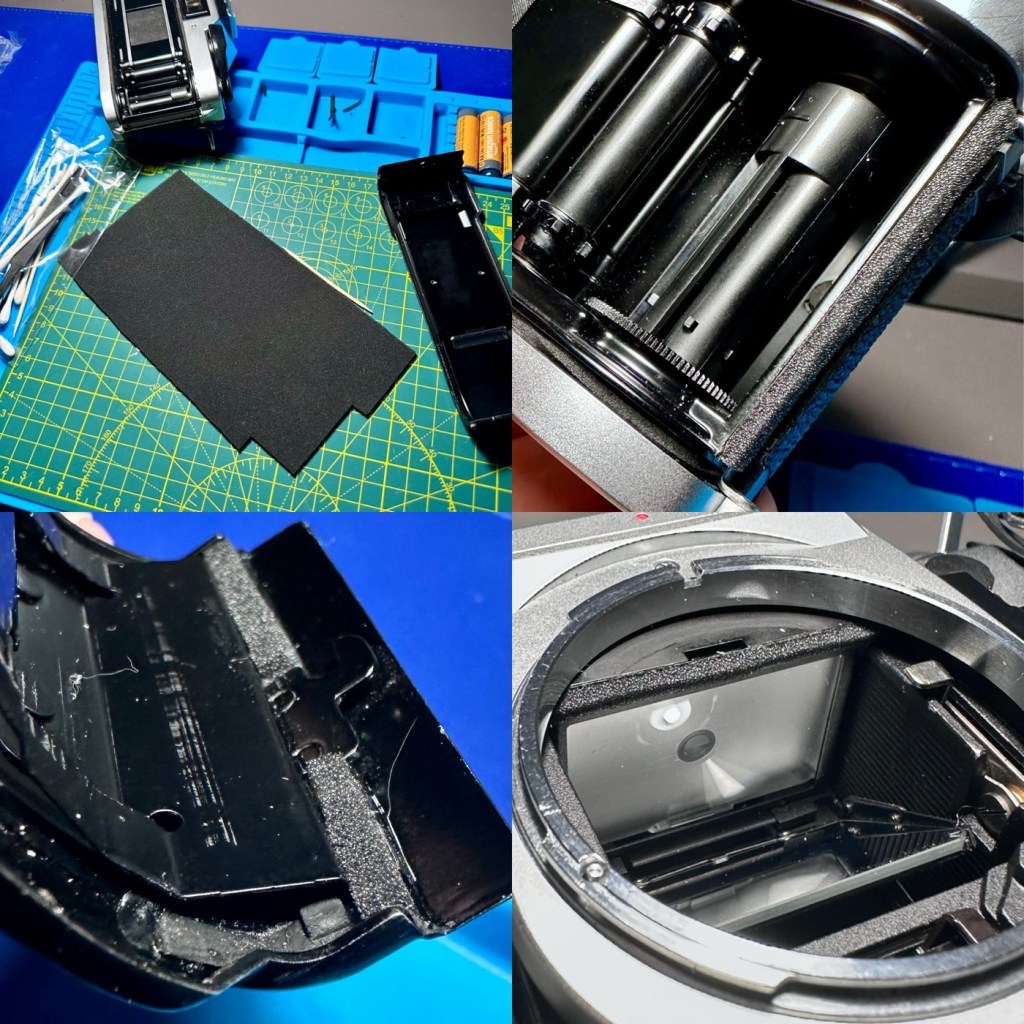
The light seals including the mirror bumper were in a very poor state and had to be removed. This took a lot of patience as the felt had broken down into dust and clumpy particles. I used IPA to soften the old adhesive and probably used about a dozen cotton buds to remove all the debris. The thing with cleaning these areas is when you think it’s clean, clean it again, and once more for luck. In theory cleanliness here is your friend as it helps you through the next stages immensely.

New felt and light seals

Once all the old felt and seals are removed, and dried, I can cut the new seals to size and get them installed. This has been completed and the new seals have gone into place without issue. Personally for me, this is the most boring but essential task in restoring old cameras. It’s one of those tasks you put off until the end as it is so fiddly and has to be just right.

With the light seals now complete, the last task now is to give the camera a thorough clean.

Result

A buff of the leatherette, and a good polish of the metal work and she is looking resplendent. A new quick grip, hot shoe cover and battery door and the look is complete. My £8:00GBP cast off, dirty, damaged and broken camera is now looking a lot healthier and is now in a good working order.

I’m awaiting a roll of XP2 black and white film to arrive, and that will be the test film for this camera. I’m probably going to feature it in my weekly 7 days and 7 photos series at some point. I will post a link to that post when it occurs.

It’s been a long time bringing this camera back to life but I’m so pleased at how it has gone. These “A” series cameras will always be my favourite because of the place they have in my photographic past. I have a few that I have been working on, but this was the one that actually completed my collection. I now need to find a suitable way to display them all, rather than leave them packed away in storage.

Thank you for passing by, as always it is very much appreciated.

Stay safe.

A bit of Black and white

Just a few black and white pictures, taken whilst testing various cameras I’ve been working on recently. Just snaps, don’t get too excited.

Just a few pictures taken recently on various cameras I’m testing out. Nothing special, just mooching around and taking snaps.

All around the Leicester / Melton Mowbray area.

Have a great day.

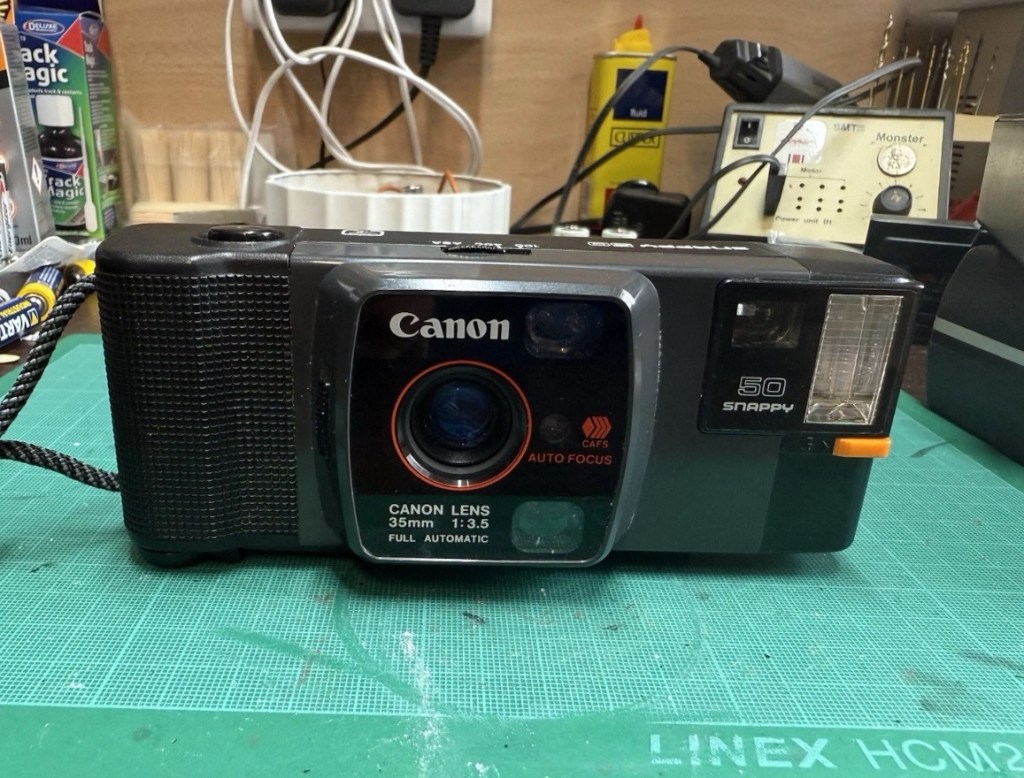
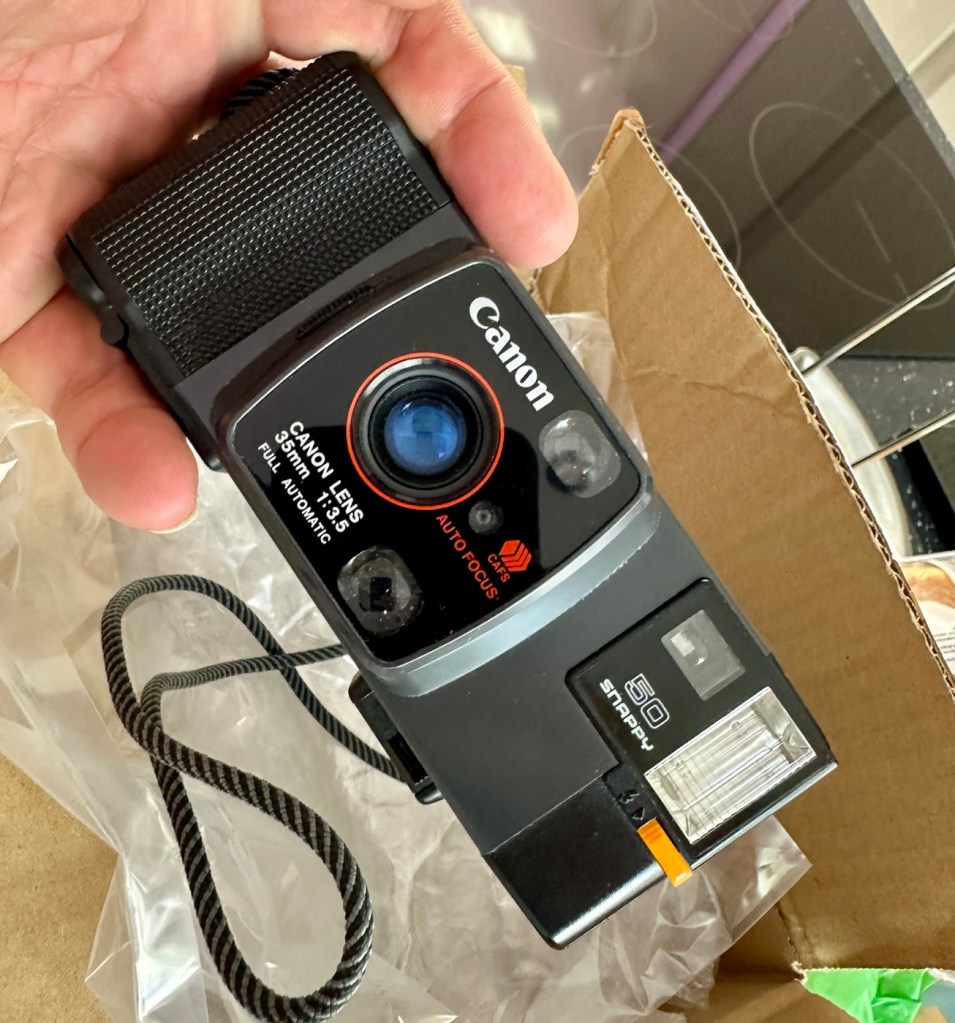
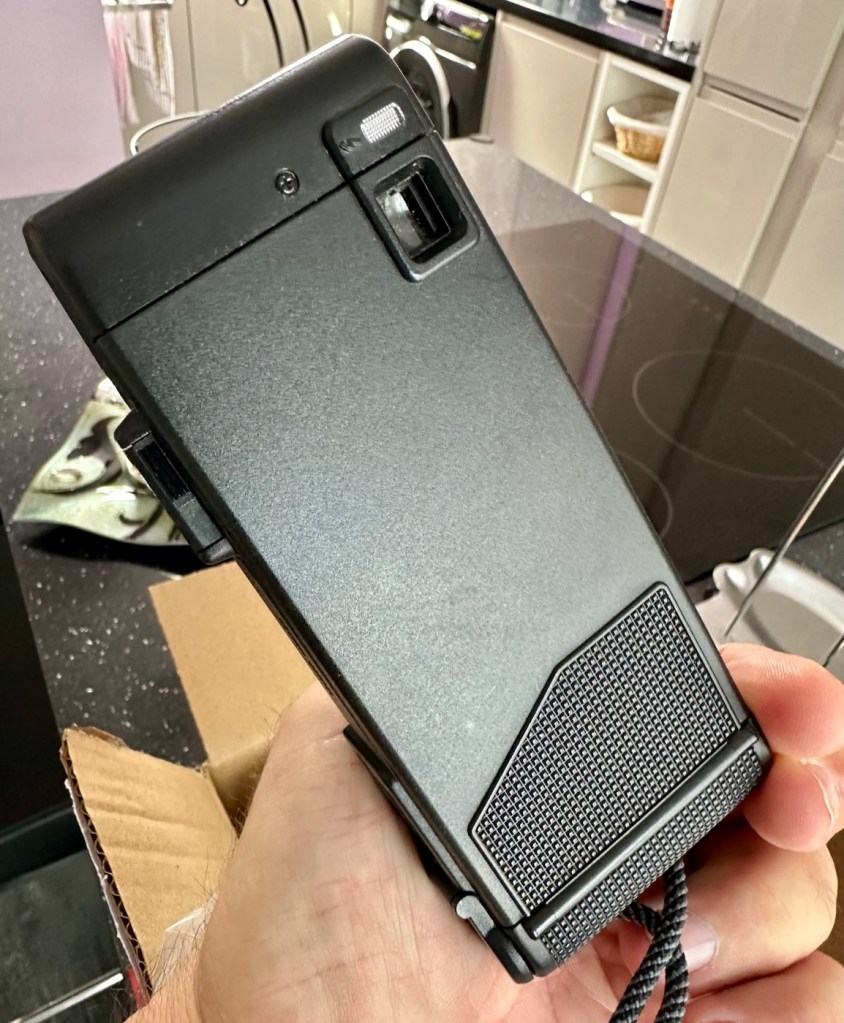
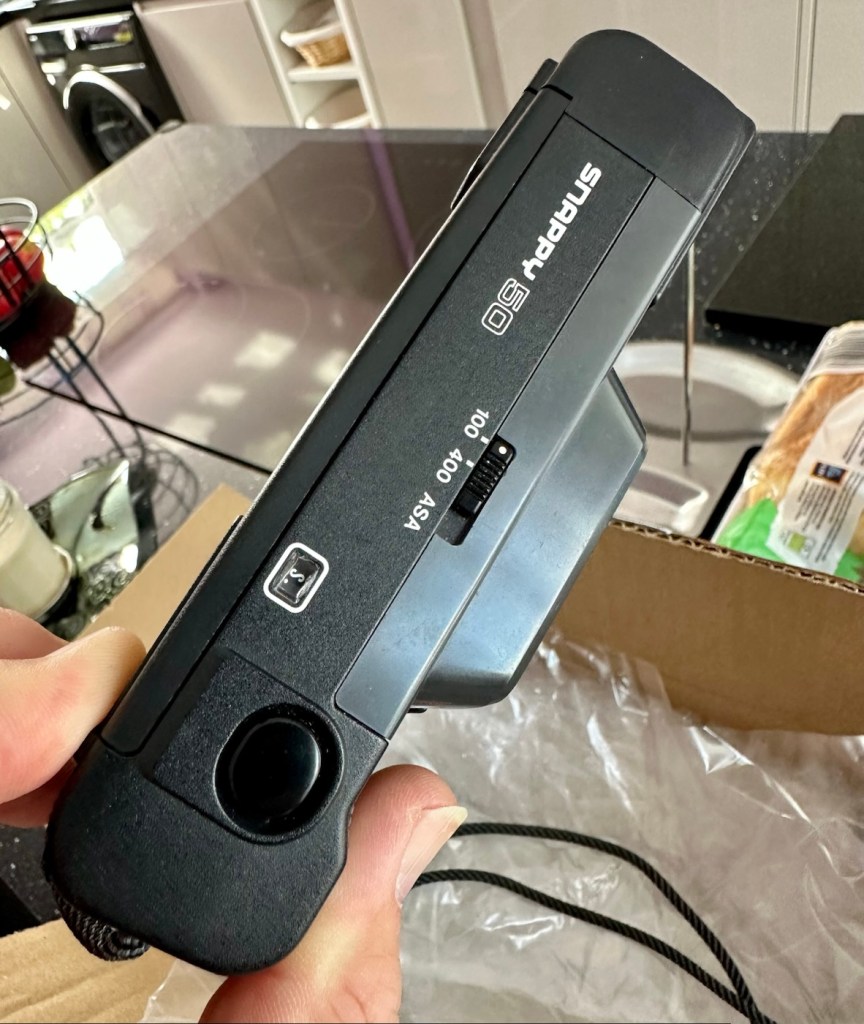
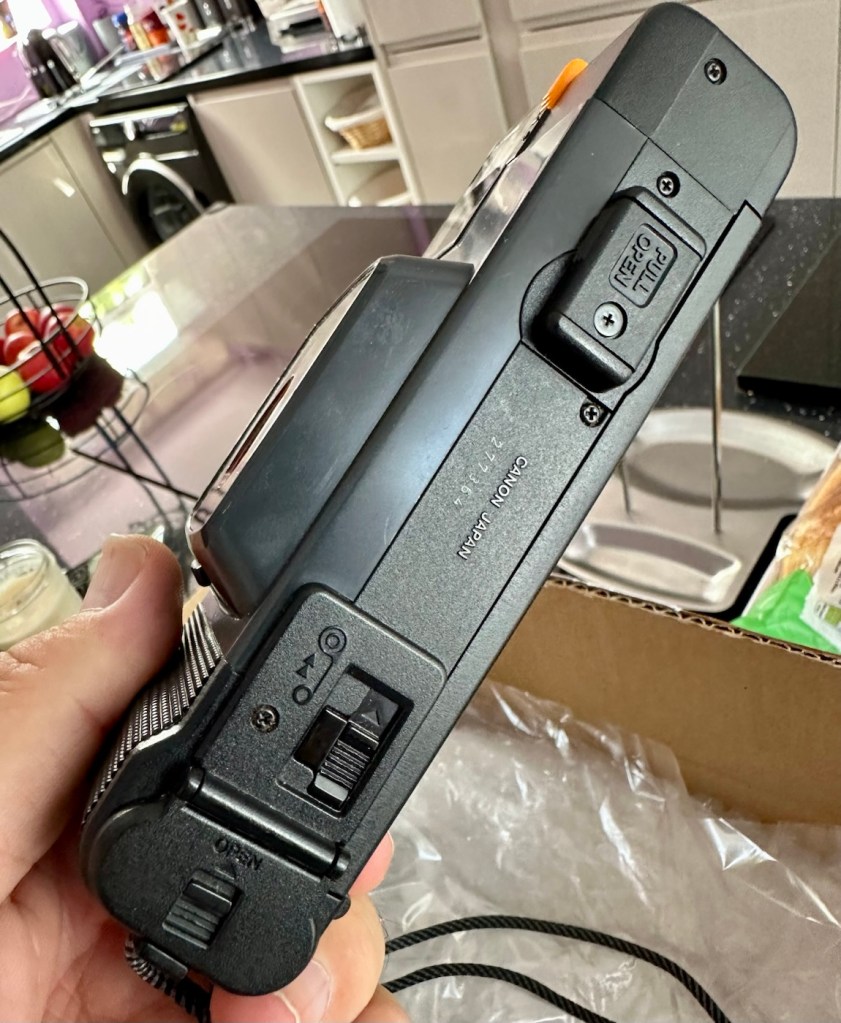
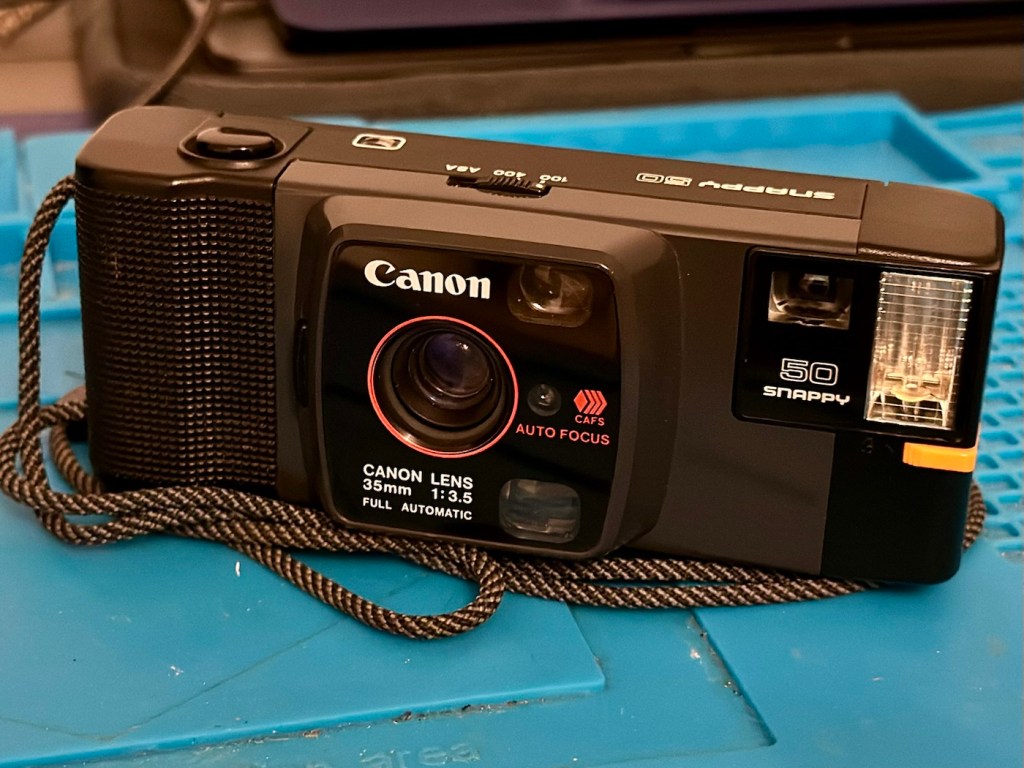
Canon Snappy 50 automatic 35mm camera

A compact Canon 35mm camera from 1982. It doesn’t work, so let’s make it work!

What the listing stated:

In generally good condition but does not power up
Sold as spares or repair

EBay

I came across one of these a few weeks back and was just taken by the shape and aesthetics of it. However i wasn’t going to pay a high price demanded by the seller, so i just hung around and waited for others to come on the market. I have just purchased this camera with free postage for a total of £1:13GBP. I’m confused, the seller will basically be paying me to take it off his hands as postage will be at least twice the value of what I have paid today. Let’s wait and see if this sale gets suddenly cancelled, as I suspect it may well do.

Anyway here’s a little bit of its history:

Released in July 1982 and based on a new concept, this is a fully automatic 35mm Lens-Shutter compact camera.

The camera height was reduced by about 30 percent, giving the camera an oblong and unique form.

The camera uses active autofocus with a solid-state near-infrared beam. EE and the aperture are controlled electronically with a program. Metering range is EV 8.6 (f/3.5 at 1/30 sec.) to EV 15 (f/9.5 at 1/350 sec.). The shutter speed is set within a range of 1/20 sec. to 1/500 sec. to suit the film speed.

There is only two film speed settings. ISO/ASA of 100 or 400.

The built-in flash (Guide No. 11 at ISO 100 in m) must be turned on manually with a switch when the camera-shake warning lamp lights in the viewfinder.

Canon

I’ll just wait now to see if it turns up. I don’t know what the problem with it is, it’s just listed as a power up problem.

Well I’m shocked, I’ve received a postage notification so it is definitely on its way. Next stop…Assessment.

Assessment:

Well, it arrived, I’m shocked. It’s got to be one of the best packaged items I’ve ever received, never have I seen so much bubble wrap protecting an item that cost just £1:13GBP.

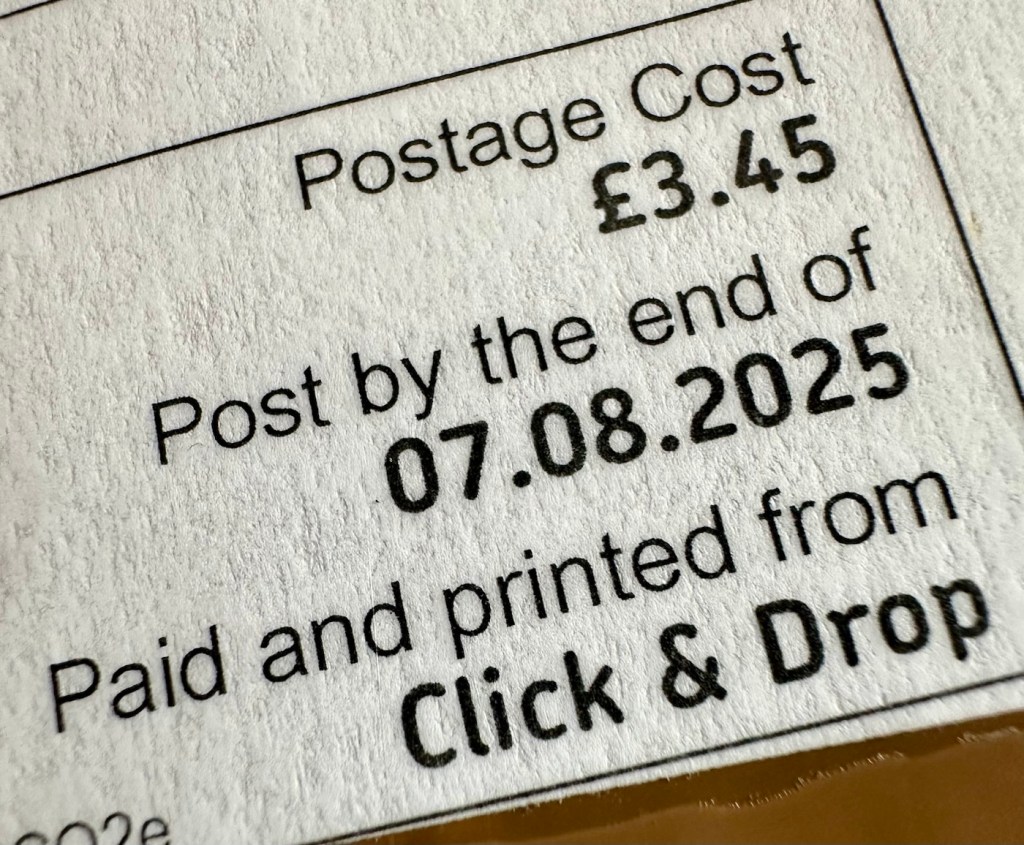
On top of that the sender has spent £3:45GBP on postage and charged me nothing. God I feel guilty now, least I can do is give him some glowing feedback.

Wow – And I paid nothing

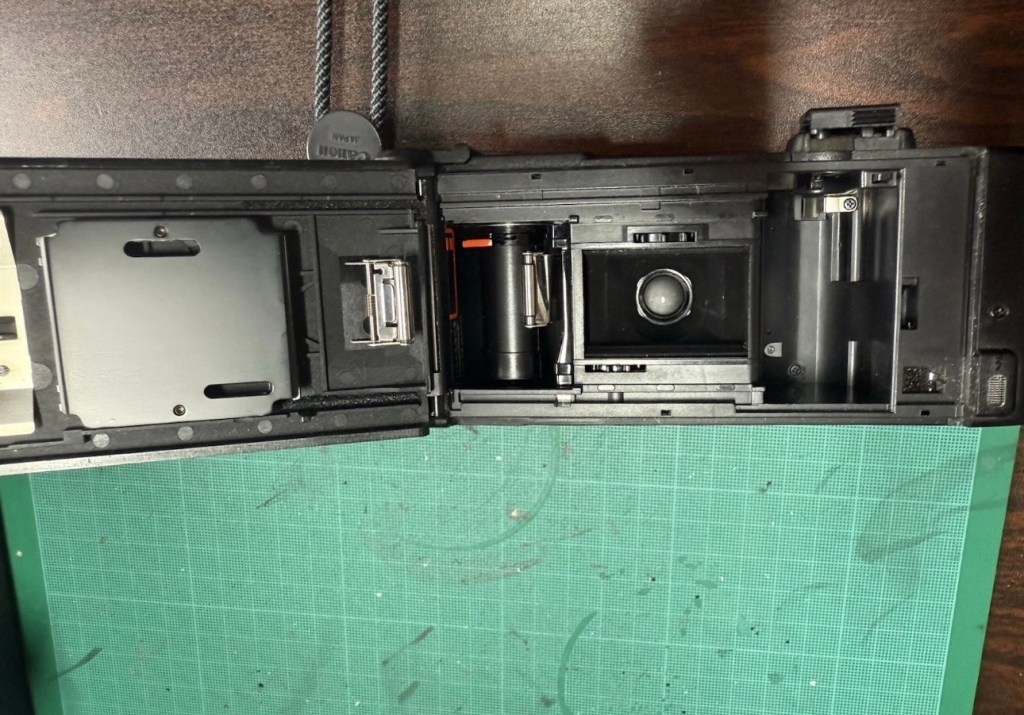
Right, back to the camera. For a 44 year old camera it really is in beautiful cosmetic condition and needs nothing but a slight dusting to finish it off. But first I put in two AA batteries and can confirm it is dead. No life at all. Also, the film door is flapping about (So there was another issue!). I’m going to have to get inside this unit to see what is wrong. To be honest the unit is such a basic one, I suspect there isn’t a lot that can go wrong with it.

Repair:

The film door issue is a simple one, and if I didn’t have a ton of spare parts spread around the place, I’d be quite annoyed to say the least. It would have been either a case of making a new catch for the door or building some Heath Robinson contraption to secure the door, looking completely out of place. However, I just so happen to have a complete rear door for one of these cameras so hopefully it should be a simple swap out of parts.

But before I do this simple replacement, I need to get the top and bottom off of the camera to check where the electrical issues lie.

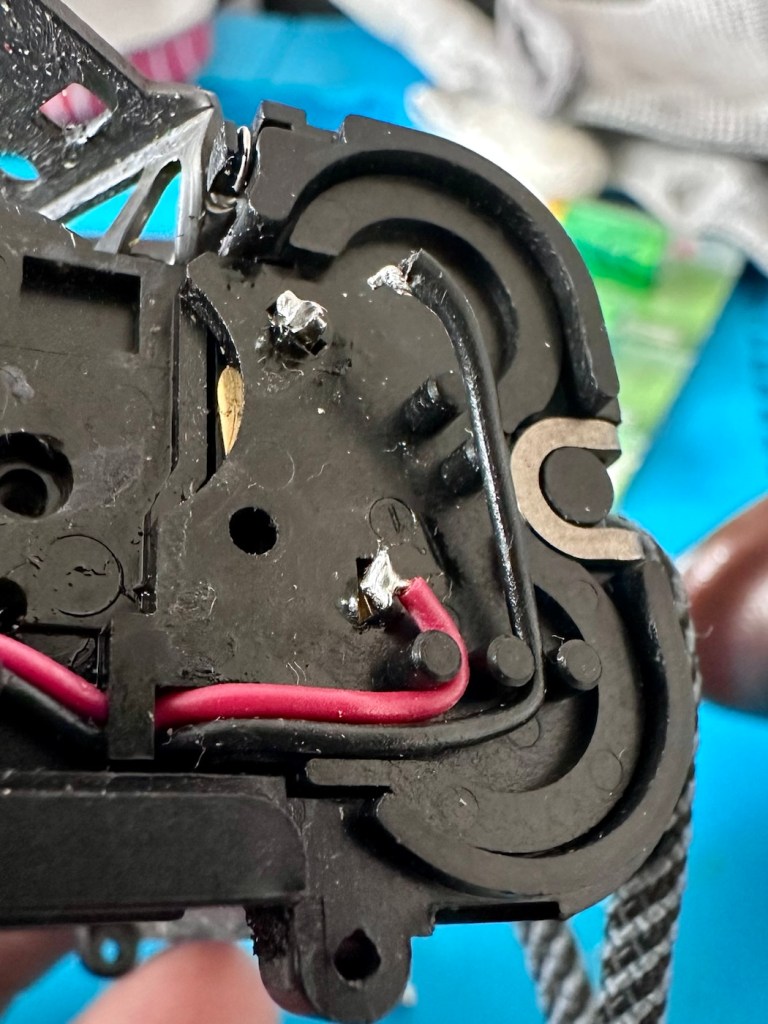
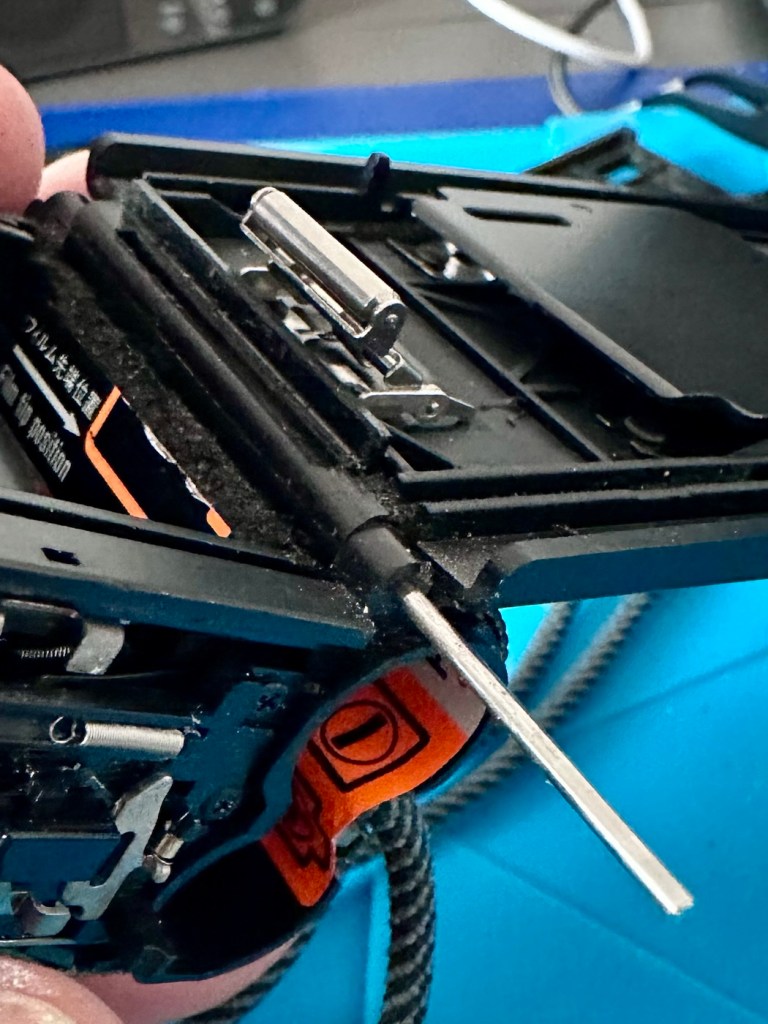
Taking the bottom off of the camera, the problem presents itself quite clearly. At the bottom of the battery chamber the negative wire has detached and needs soldering back into place.

Negative wore detached from battery chamber

I put the base back on and put two batteries into the chamber and the rewind motor instantly kicks in. We now have power. The shutter works and the winder motor operates as it should. When the rewind button is depressed the rewind motor kicks in as well, all seems to be good…..until!

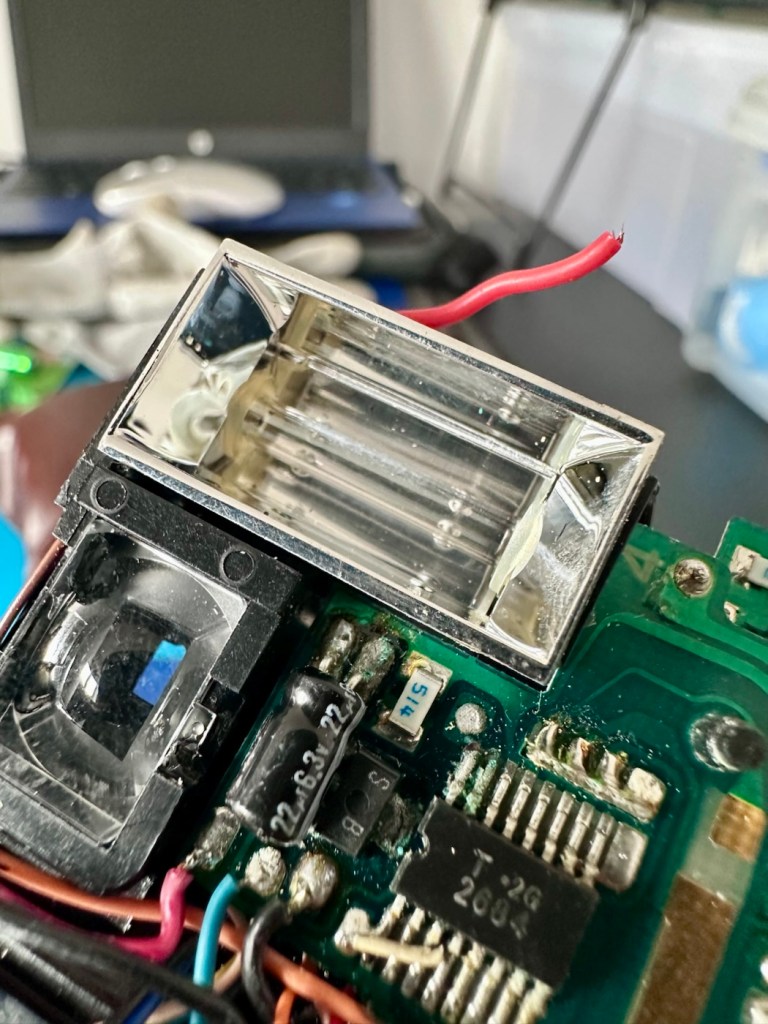
The live supply to the flash was detached

I try the flash, and nothing. Not even the usual sound of the flash capacitor charging. Damn, I hope that capacitor isn’t dead! So now I have the top off of the camera and another problem presents itself just as clearly as the first. Not a problem here as I need the top off to replace the rear door.

Rear door hinge removed and replaced

The live supply to the flash had broken loose and this also needed re soldering, in fact I re soldered about eight wires in total as it seemed that the solder joints in these critical areas could possibly be fairly. They may not be failing, but whilst I’m inside why not just do this simple task to prevent anymore premature failings?

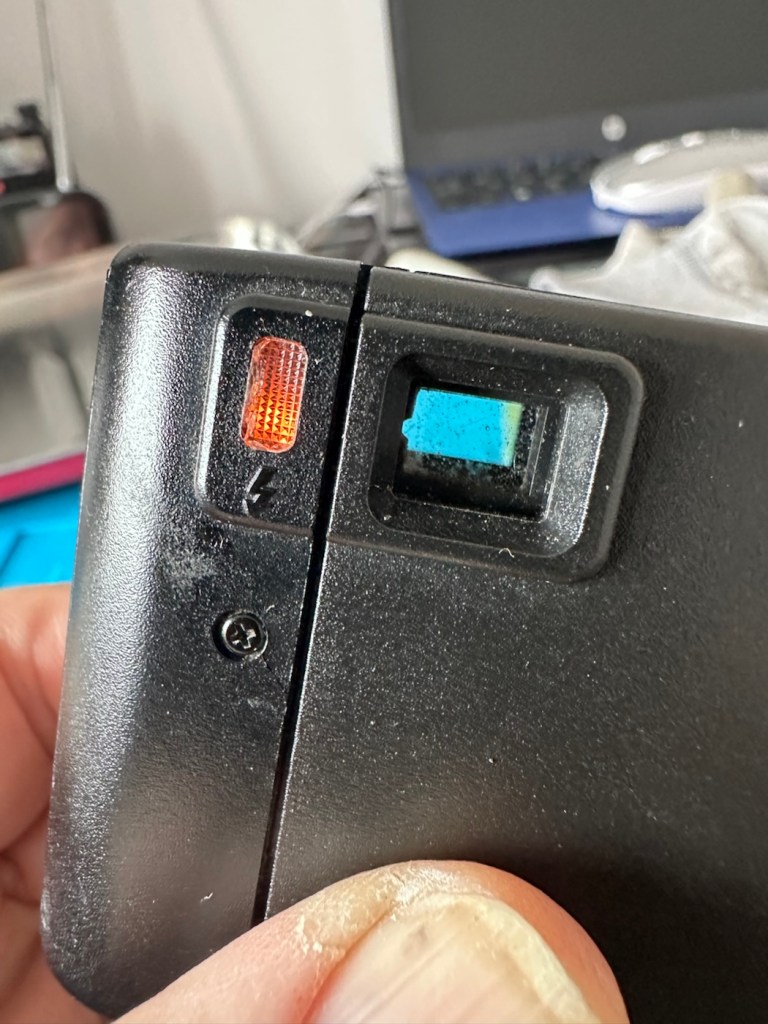
Batteries back in, flash turned on (it’s manual on this camera) and the check light illuminates. This camera is now fully operational.

Flash check light now illuminates

Result:

I’ve had a fairly simple repair here with some soldering and luckily, some spare parts available. These cameras are quite tricky to repair due to their compact build. Normally when you detach one part you have tiny springs and other parts that fly out, leaving you with a head scratching puzzle to add to your issues. However having dealt with these cameras in the past and having learned my lesson previously, I was very careful and took my time ensuring nothing occurred that would cause me any issues further along in this fix. I also open these cameras in a box, so if anything does fly out, it doesn’t fall onto a carpet disappearing into the pile, it just falls into the box, saving me the embarrassment of looking for a tiny piece of camera, that could be just about anywhere on the floor of that room. You learn from previous mistakes, I have, and i now have procedures in place to prevent such issues happening again.

All cleaned up and working
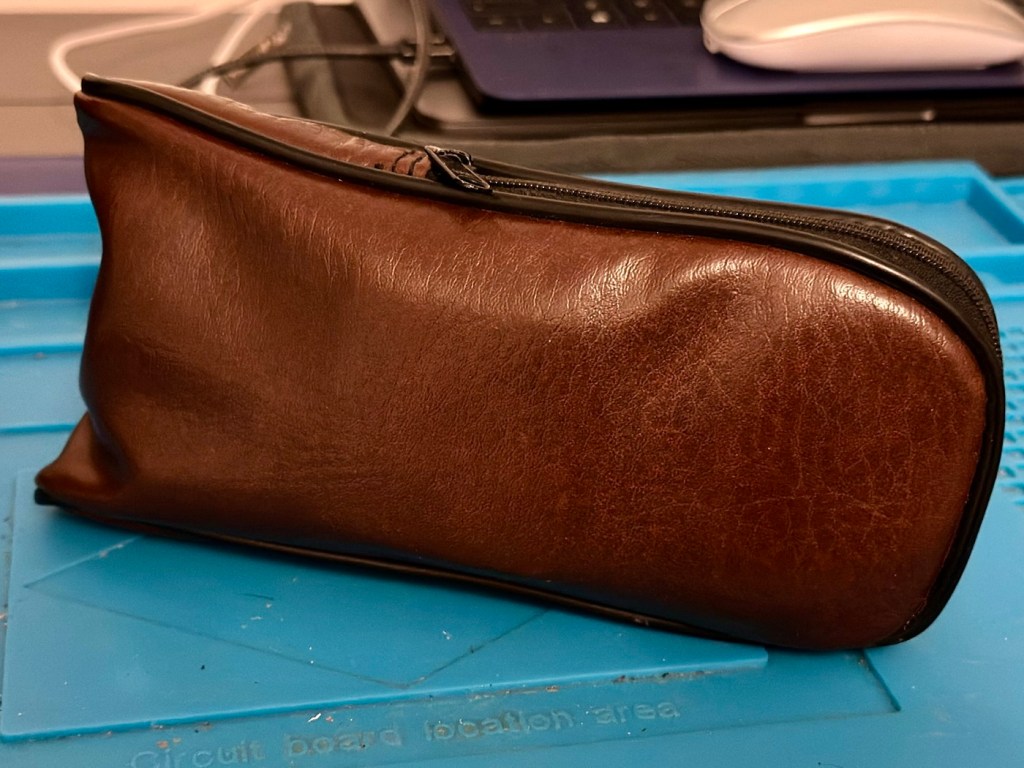
And neatly cased

We now have a lovely example of compact 35mm photography, rejuvenated, repaired and ready to get back to doing what it was designed for, creating memories.

And long may that last, another one saved from landfill, repaired, recycled and now with many more years of purpose.

Many thanks for passing by 🙏

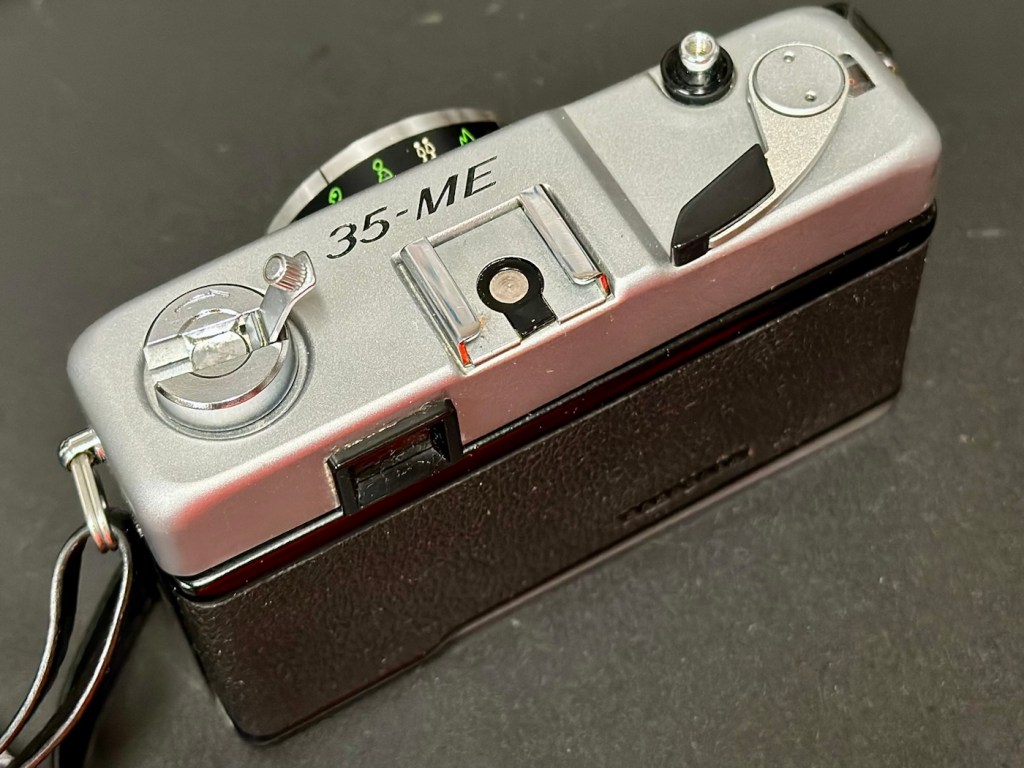
Yashica 35 ME

An old Yashica camera from 1972 with a non functioning light meter. Time to get it back into a working condition.

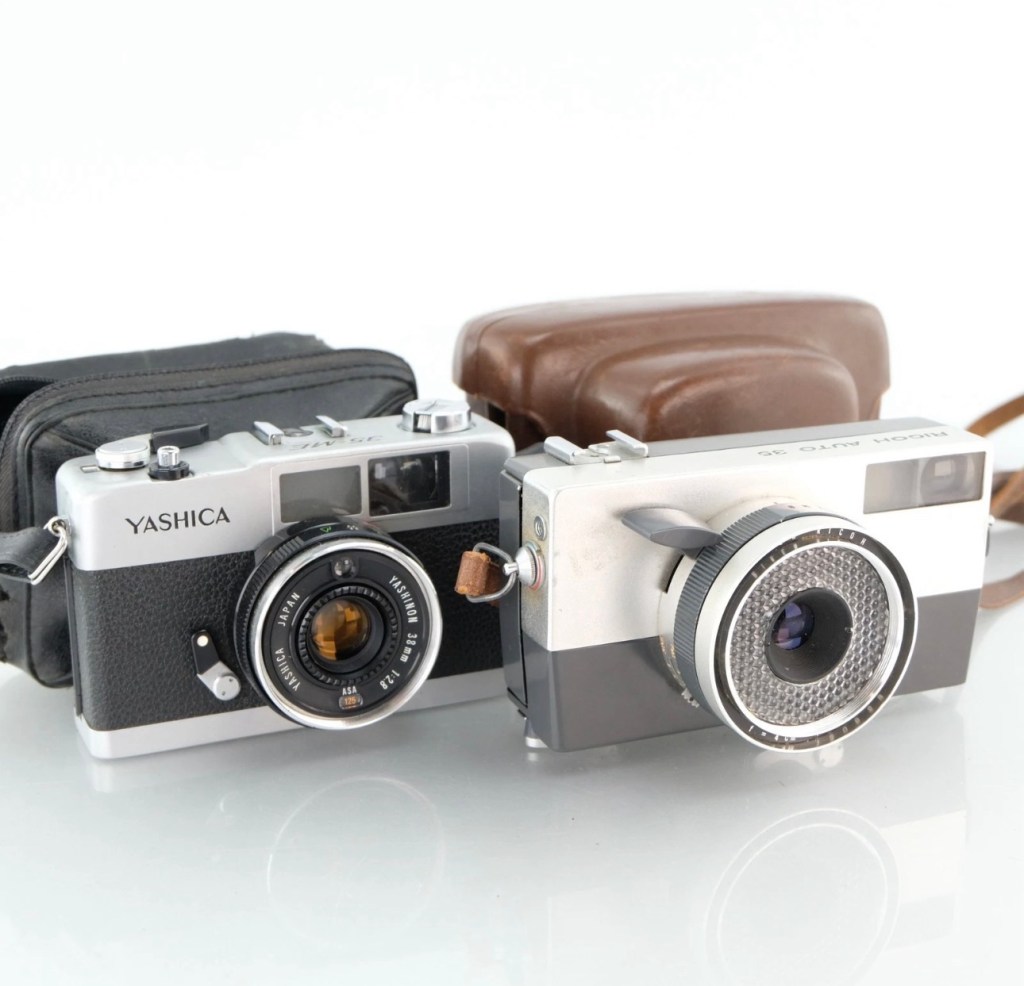
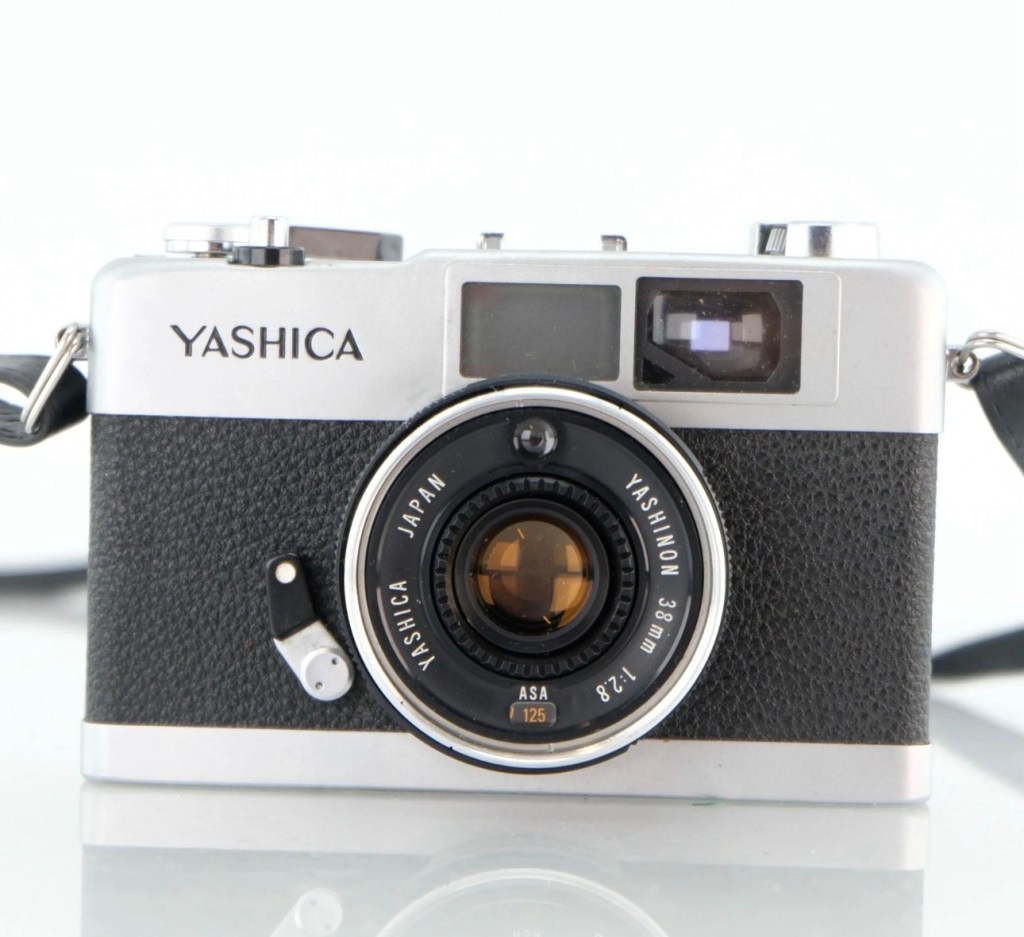
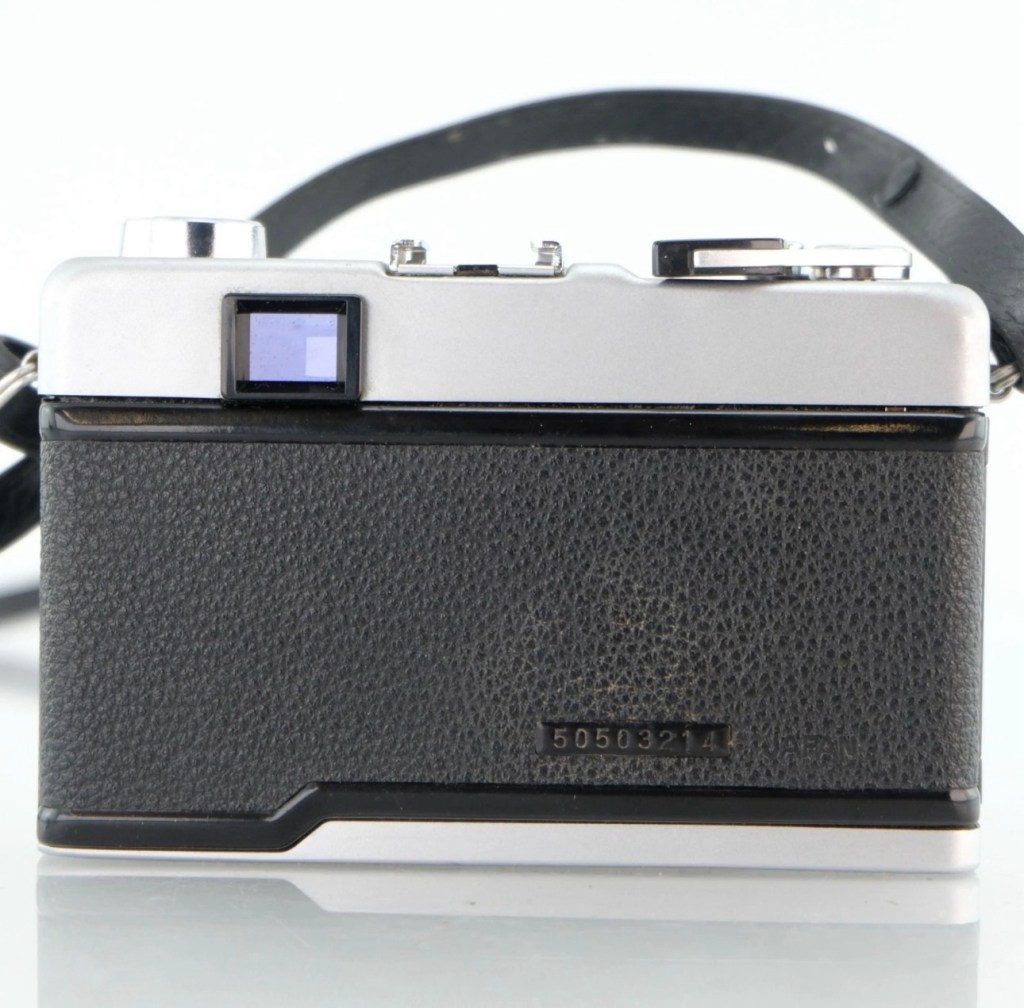
I purchased two vintage point and shoot cameras, and this post is related to the Yashica 35 ME. Both cameras were purchased for the princely sum of £4:99GBP and that equates to roughly £2:50GBP each. Both cameras were sold with the following sales statement:

This bundle includes a Yashica 35 ME and Ricoh Auto 35, two vintage 35mm film cameras ideal for collectors or those seeking parts for repair projects.

These cameras are being sold as faulty and for parts or repair only. They have not been tested for functionality and may have issues with their mechanical or electronic components.

Cosmetically, both cameras may show signs of wear consistent with age and previous use, such as scuffs, scratches, or dust. No accessories, batteries, or additional items are included, €”only the two cameras as pictured.

EBay

Having purchased from this seller before, I suspect the cameras themselves are in perfect working order mechanically, but as one camera – the Ricoh, is from 1960 and now in its 66th year of existence, I very much suspect the issue would be with it’s Selenium light cell that is more than likely now very dead. The Yashica however is from 1972 and has a CdS light cell that could also be an issue, more than likely related to the old Mercury 1.3v battery that used to supply it. Either way, even without the light sensors both cameras are very capable of doing what they were built for, however you’d just have to use a separate light meter or use the “Sunny 16” rule. Let’s wait their arrival so we can asses the issue. You can read more regarding the types of light metering used on these two cameras by reading a recent post of mine regarding their differences Photographic light sensors in older point and shoot cameras

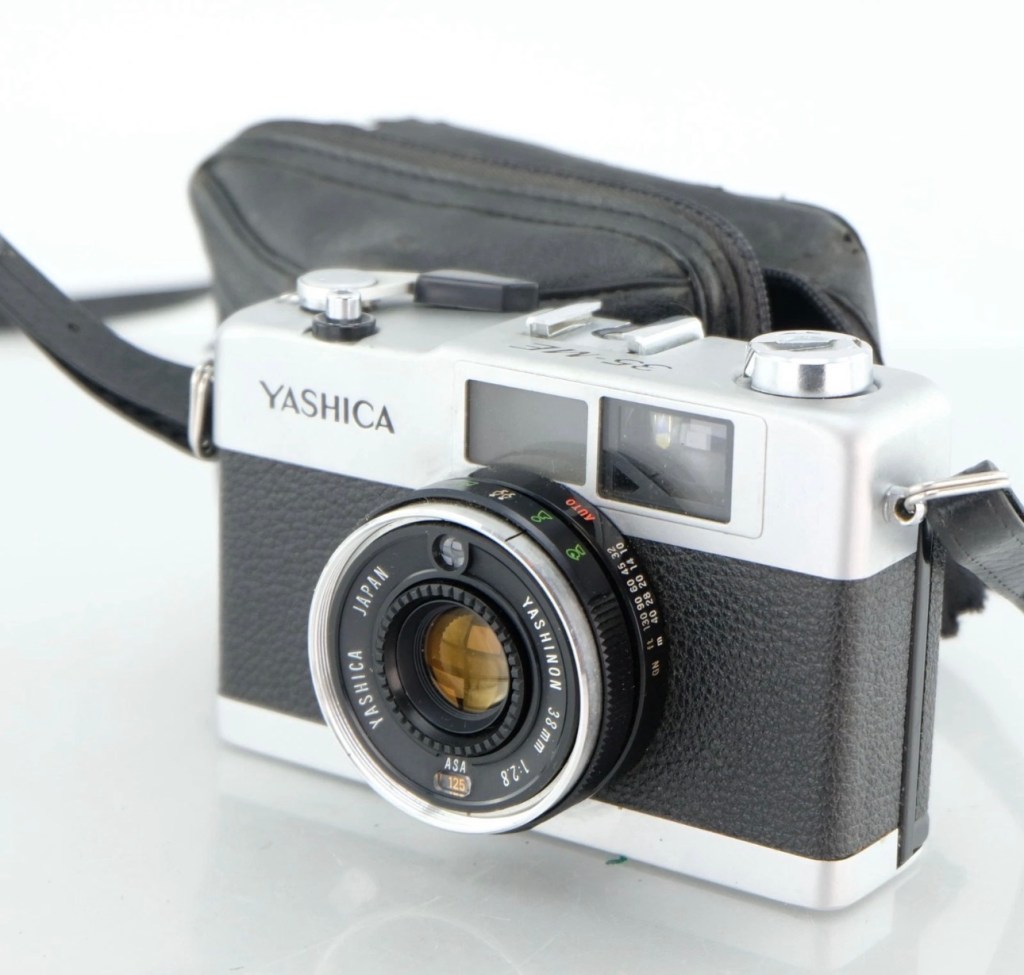
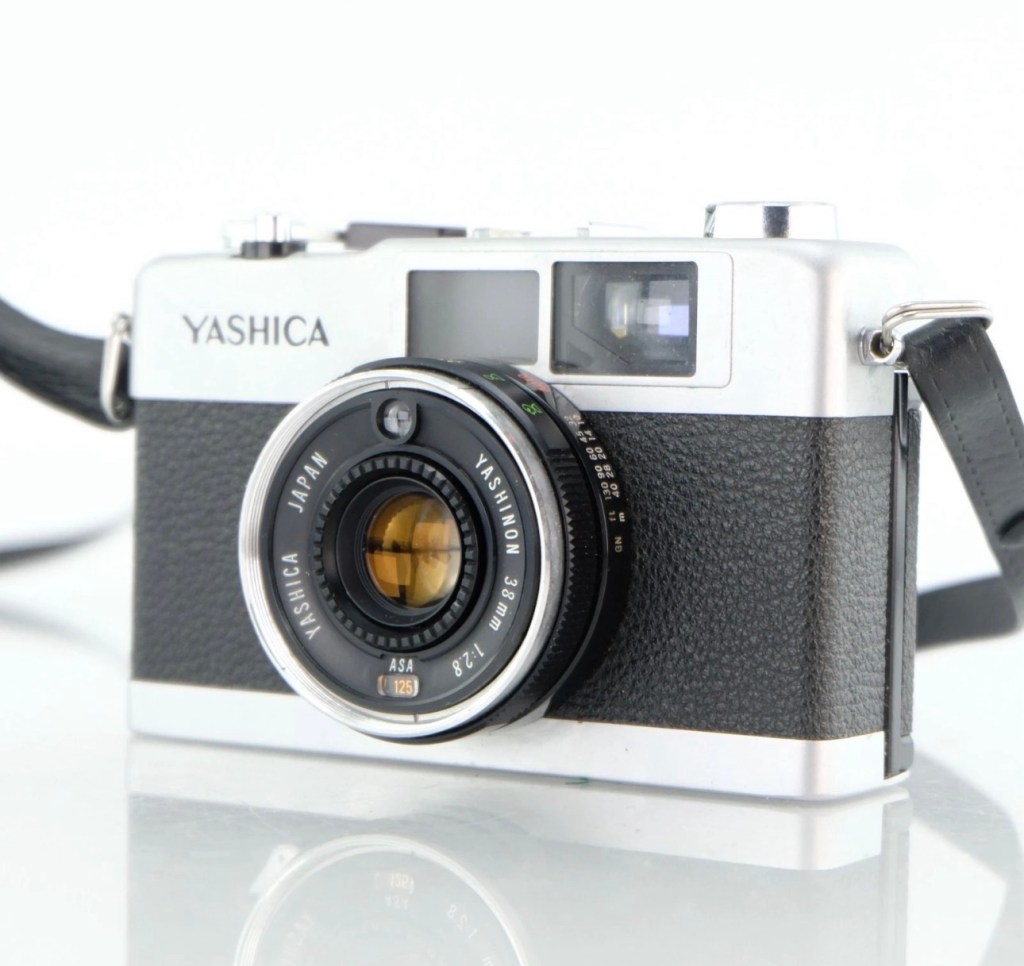
Some more photos from the seller:

Whilst we await their arrival here is a little bit about the Yashica 35 ME:

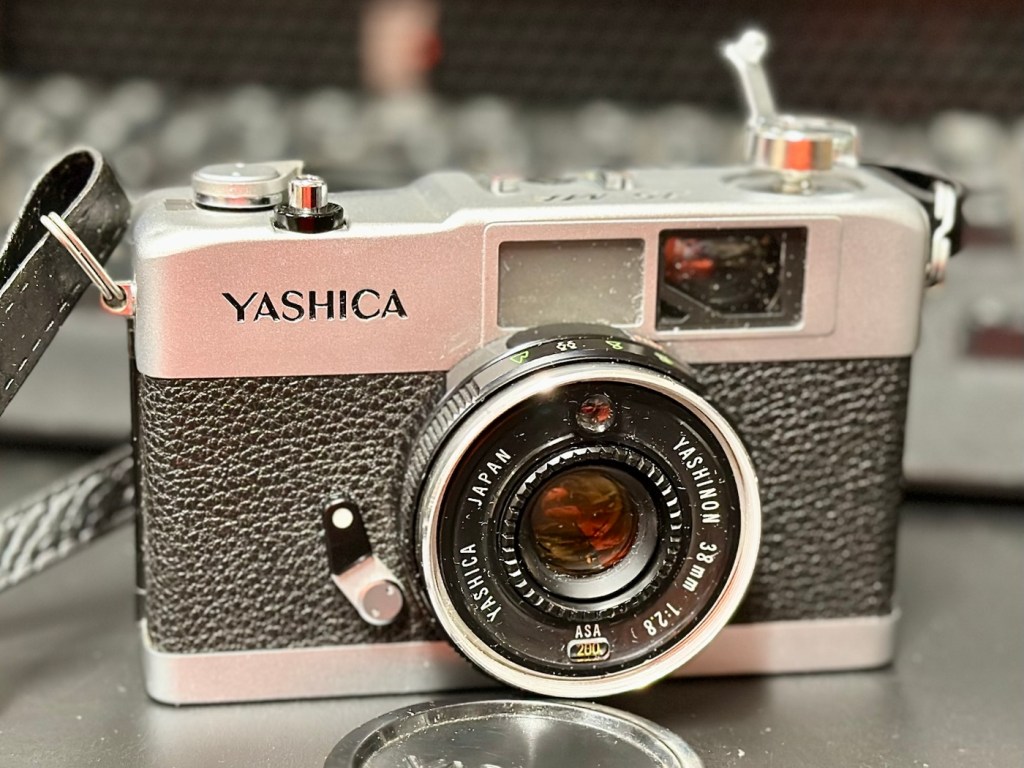
The Yashica 35-ME is a small, compact 35mm viewfinder camerawith auto exposure, made in Japan by Yashica, introduced c. March 1972. 

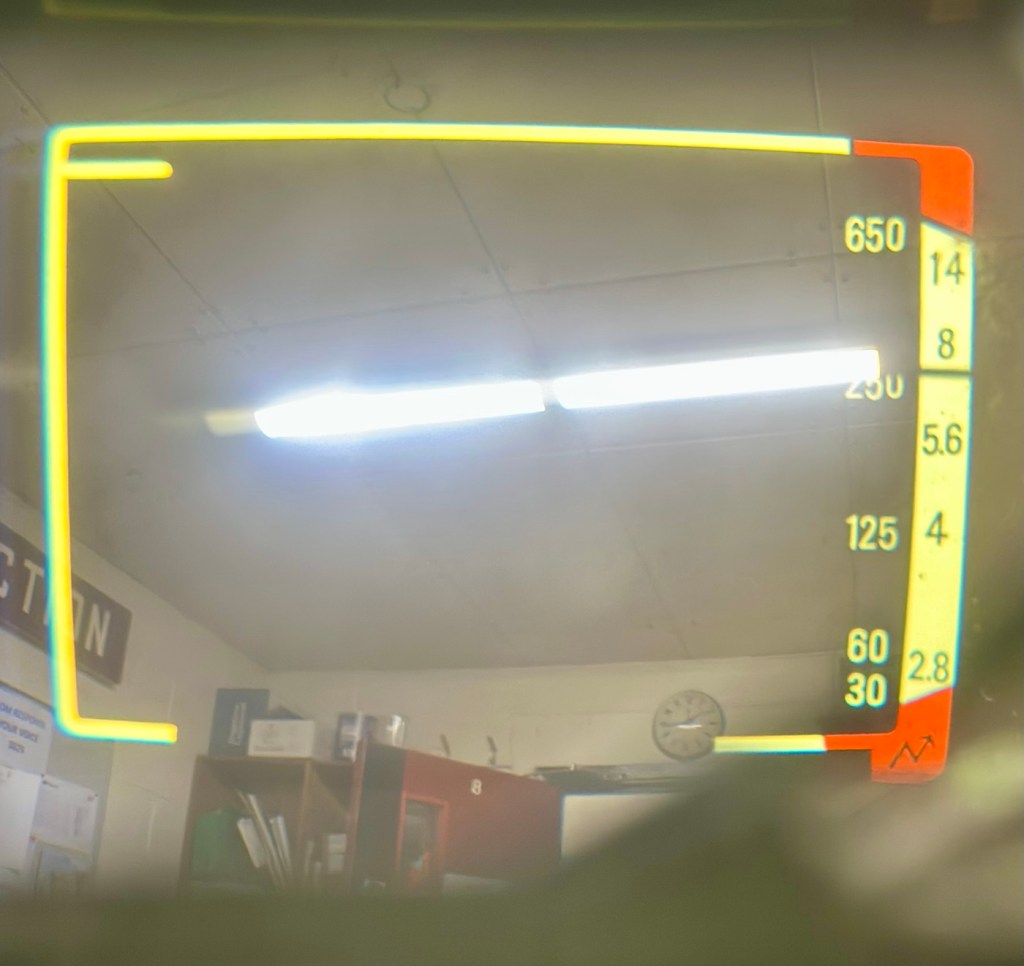
It uses a 38mm f/2.8 lens made of 4 elements in 3 groups with a screw-in filter size of 46mm. The film speedis set using a ring around the lens, with the setting window on the bottom face of the lens. The metering system uses a CdS sensor with a sensitivity of 8 to 17 EV. The viewfinder has bright line frames with parallax correction marks for focus distance of 1.5 meters or closer. The shutter display scale is on the right of the finder has speed markings 1/30, 1/60, 1/125, 1/250 and 1/650 of second. Aperture scale is also displayed at 2.8, 4, 5.6, 8 and 14. The setting for the meter uses a pointer type indicator. Correct exposure is assured when the pointer is in the yellow areas of the scales. Also in the finder scale is over exposure, under exposure zones along with symbols of the selected zone focusing settings. The top plate carries the shutter release, hot shoe and frame counter.

Specifications

  • Lens: Yashica 38mm f2.8; zone and feet/metres scales
  • Shutter: Copal auto, speed set by metering, 1/30-1/650 sec.
  • Meter: CdS sensor
  • Film speed: 25 to 400 ASA
  • Flash: hot shoe, flash sync 1/25 of a sec.
  • Power: 1.3v mercury

Camera-wiki.org

It’s arrived, it has that familiar aroma of age old mustiness, but looks a nice item, in good condition for a camera that is now 50+ years old.

Assessment:

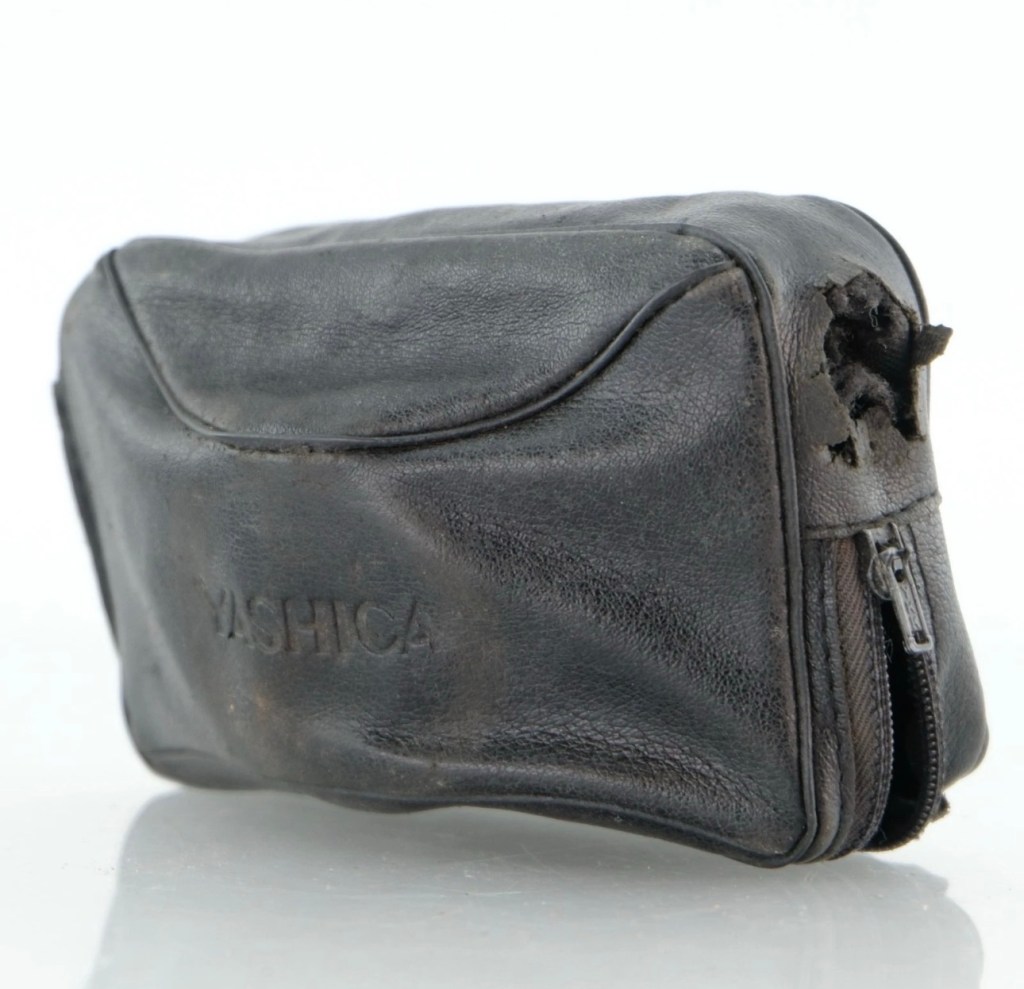
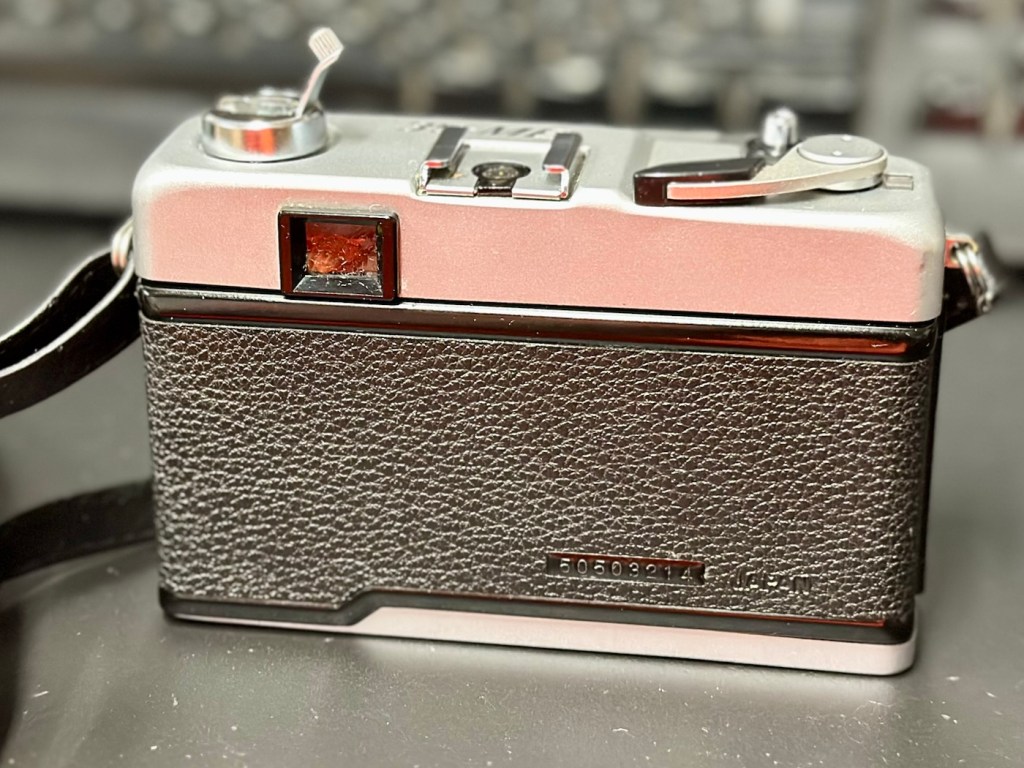
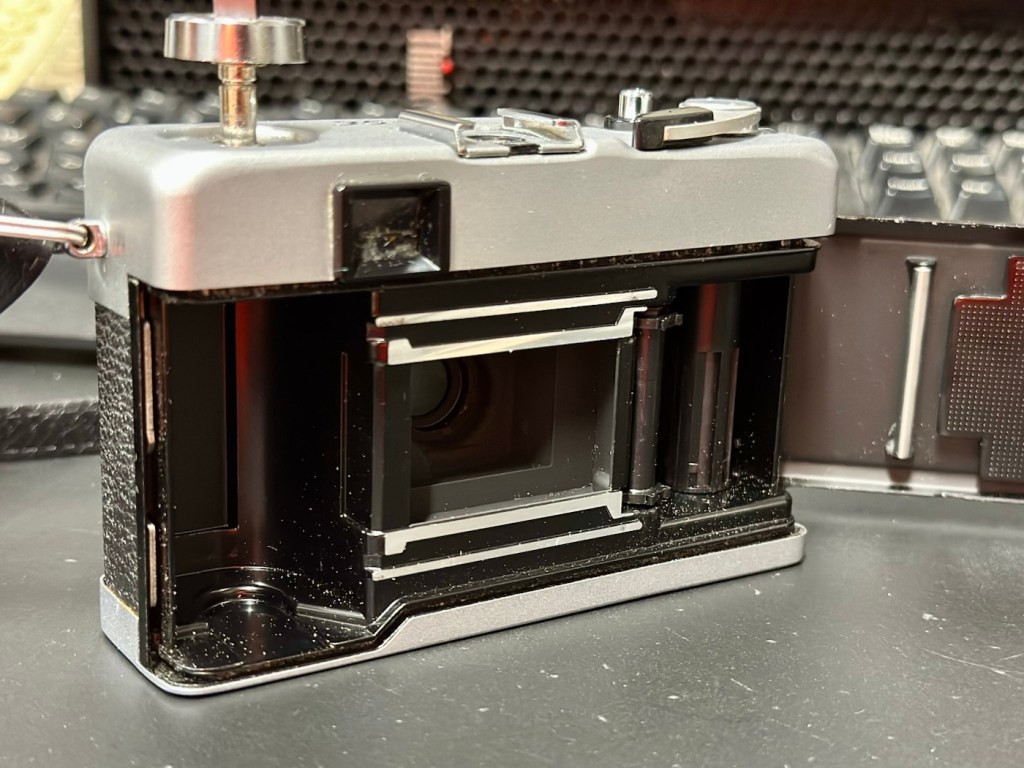
The case is quite tatty, but it does the job. The body is dusty but free of any dinks dents or scars. Inside the rear of the camera all is good, it’s clean and the light seals are ok. They will need replacing at some point, but currently they appear to be ok.

The winder works fine, the shutter fires and there is no sticking of the shutter leafs.

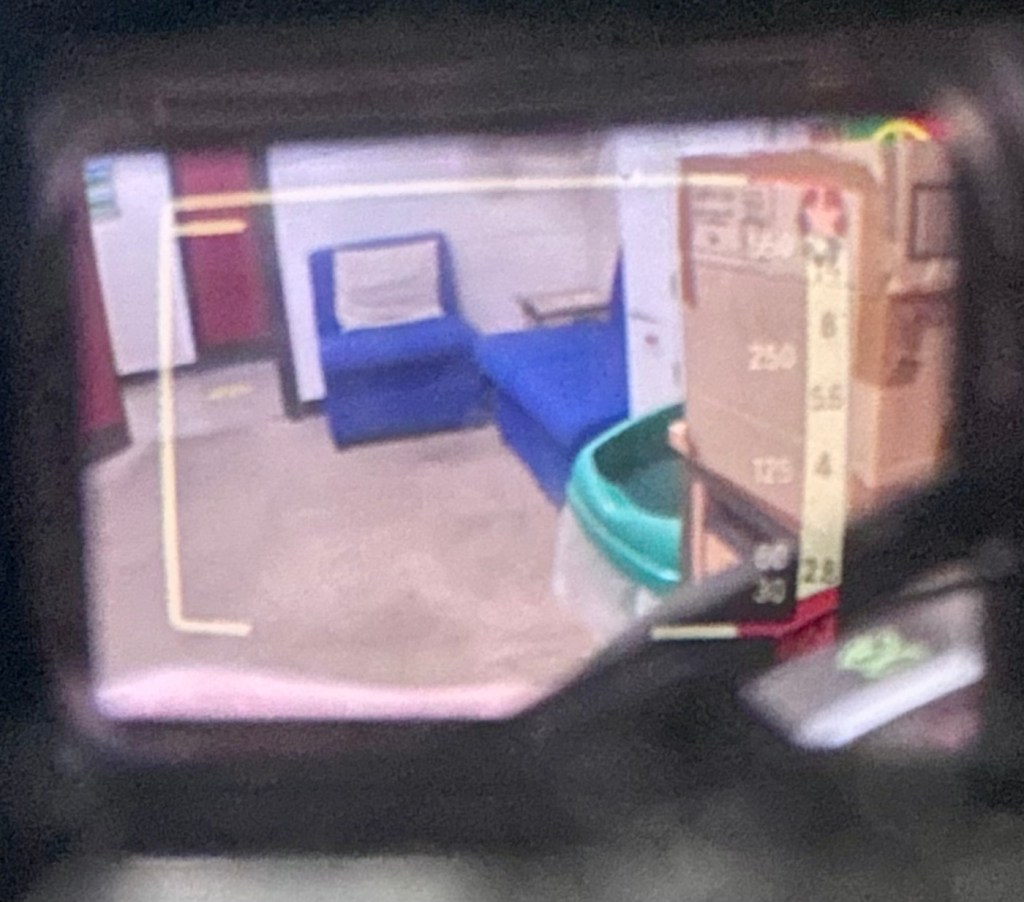
When you look through the viewfinder it’s a fairly clear view, however the exposure reading needle on the right is sitting firmly on the bottom of the scale. Moving the camera from light to dark makes no difference, the meter is not responsive. Let’s check the battery.

Meter reading does not move

Repair:

The battery that was used is an LR44 cell rather than the old Mercury 1.3v cells that used to be installed on these cameras. They are hard to come by nowadays and people tend to go with the more modern LR44 cells that have a slightly higher voltage of 1.5v. They work, however some have stated that they notice a slight overexposure of about one stop, personally I haven’t really had issues when I have made these battery changes in the past. Each to their own as they say.

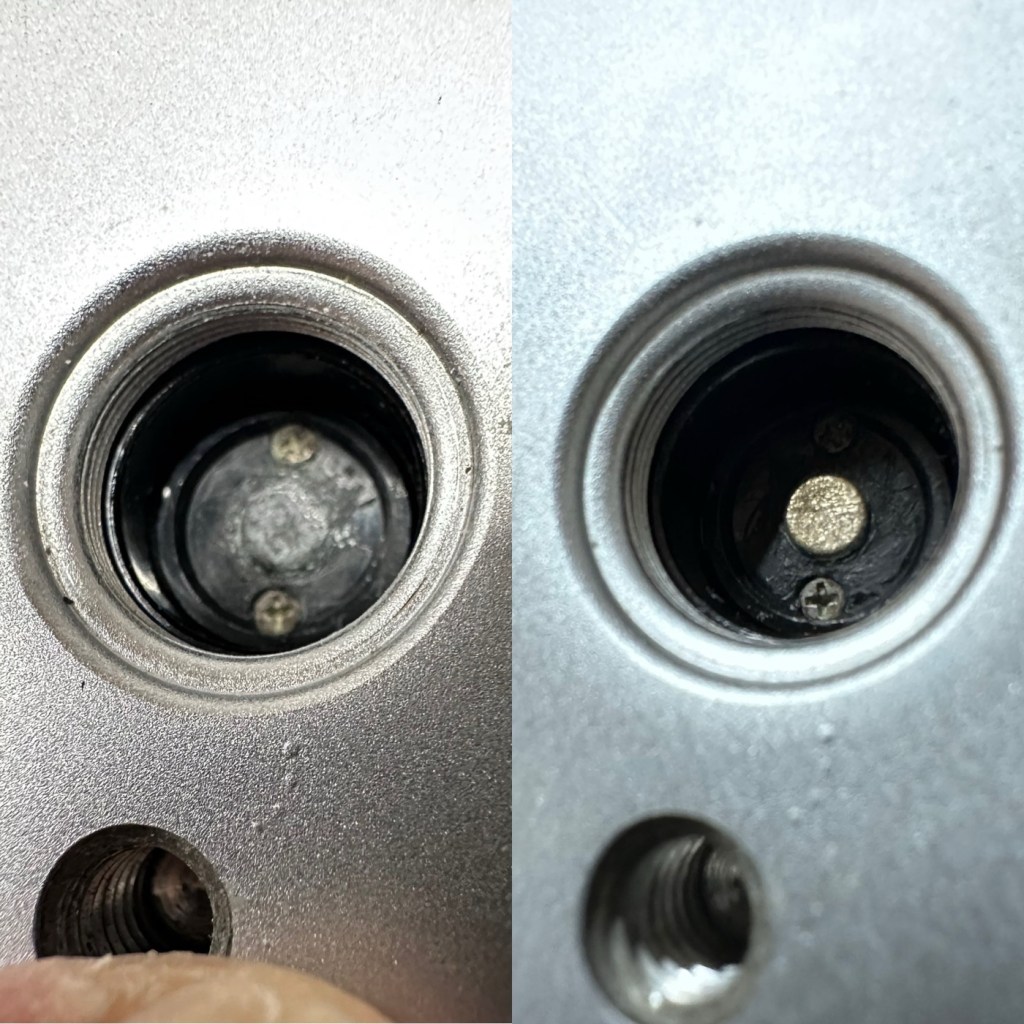
The battery currently in place was dead so I tried a new battery to no avail. When I opened the battery chamber again I then noticed some oxidation of the contacts, so a quick clean with some contact cleaner and they looked a lot different.

Before and after battery contacts

A new battery back in place, and hey presto the light meter is now working.

Light meter now working

I’ve given a good disinfectant clean. Buffed up the case to make the best of a bad thing, and it all looks good. The only thing I can do now is run some film through it to give it a final test. I have some old out of date colour film at home, so I will use one of these to run a test roll. As I stated at the beginning there is not really a lot that can go wrong with these point and shoots, and I’m confident that the only issue was with the exposure meter as everything else seems to be fine. let’s get that film run through the camera to check things out.

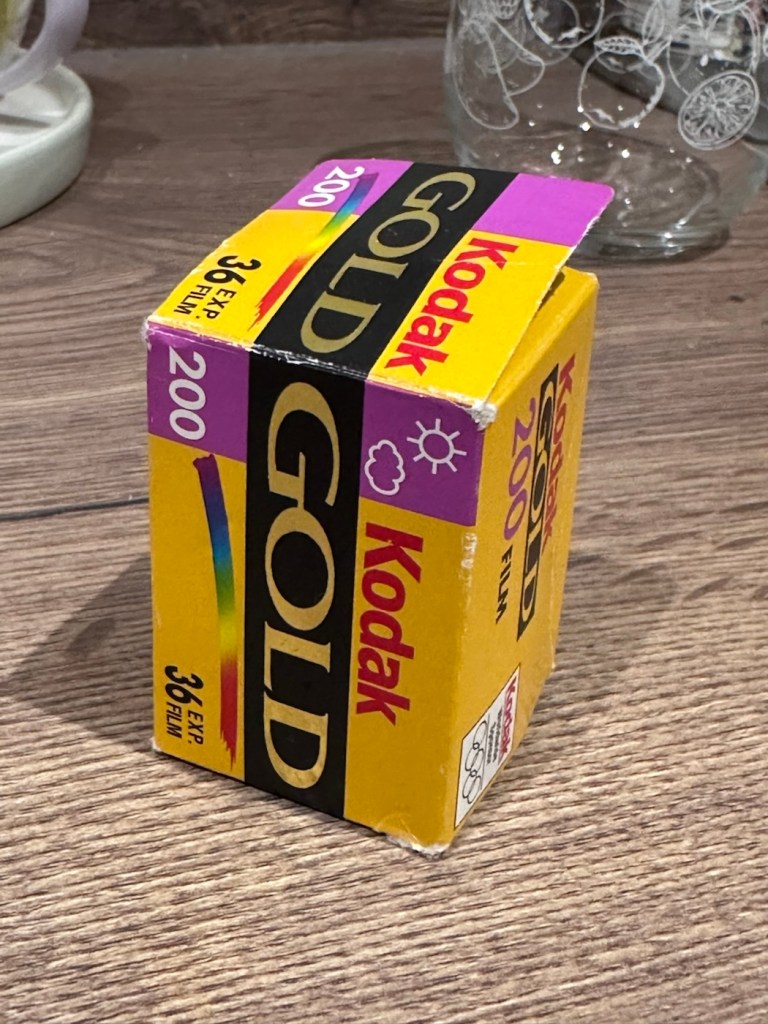
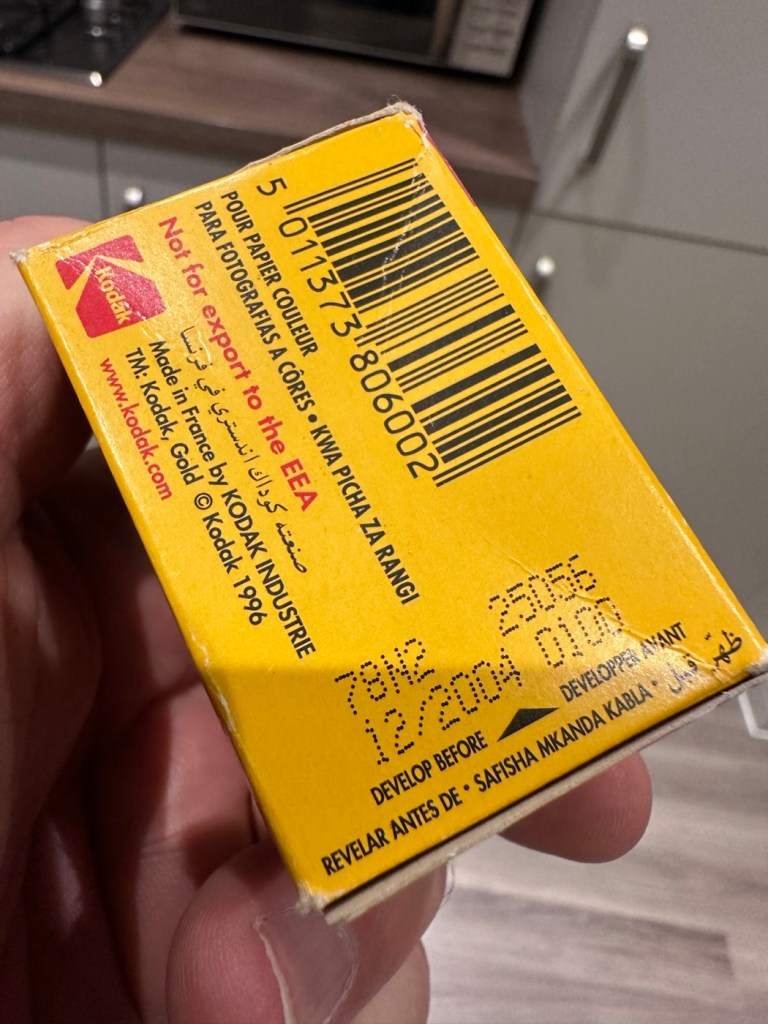
I’ve taken the film out of the fridge. It’s a roll of Kodak Gold 200ASA film, and it’s only 20 years out of date. I’ve tested a roll of this before, you can see that post here: 20yr old Kodak Gold.

The results won’t be anything spectacular, it will be grainy, it will have a colour cast and in fact might not even work at all. After this period of time the sensitively Will have dropped so I’m going to over expose this roll by one stop to attempt to compensate a bit. This 200ASA film will be exposed on this occasion at 100ASA. When I’ve exposed this it will be off to a local film developer- Classic photo supplies – for them to do the developing and scanning. Read this post regarding my rationale behind using this film: 3..2..1 – 20yrs out of date.

Result:

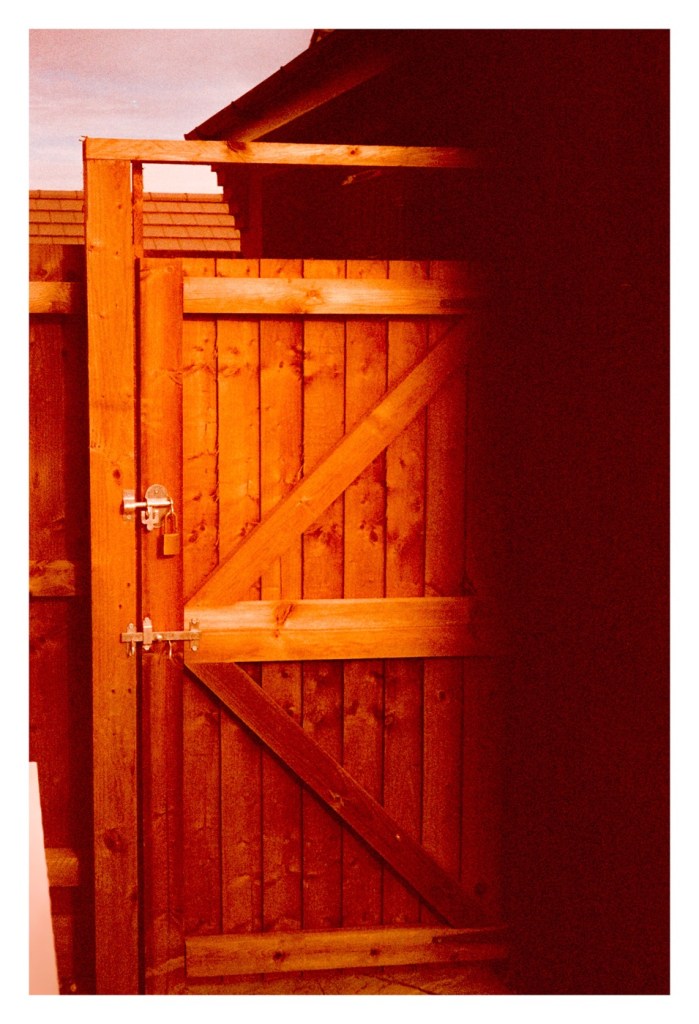
Well, the scans of the developed film have arrived back and it has proven a couple of things, one that the camera does actually work and two, that the film has definitely reached its limits, as the negatives show immense grain, and a colour cast due to the chemical structure of the film breaking down. I’m glad I only overexposed by one stop, I know that the recommended +2 stops would have been too much for this film. Below I have displayed a selection of pictures from this film, you can see the age related “colour cast” along with grain size if you zoom in. These aren’t the high quality pictures as the originals came back at about 30mpx each, and that would be far too high a resolution to show on this site, and I’d probably use up all of my photo allowance as well. So here are the greatly reduced results of those scans.

To be totally honest if you switch to B/W in editing mode, all the pictures come out fine and are completely presentable and maybe that’s the way to go with the next batch, don’t bother trying to get a good colour balance as that will never be achievable, just display in good old black and white, you can’t go wrong.

So the camera works, and this one will now be put aside until I decide how I’m going to move it on. It’s such a basic camera, the distance selections are questionable, but that’s just a remnant of the 70s technology behind it. It’s a good little point and shoot, but I do believe the likes of the Olympus trip totally outshone all other competitors in the point and shoot category.

Job done. Another old camera saved from the scrap heap, and given a new lease of life, and it probably took no more than 10 minutes to get it back in working order.

Thanks for passing by, it’s very much appreciated.

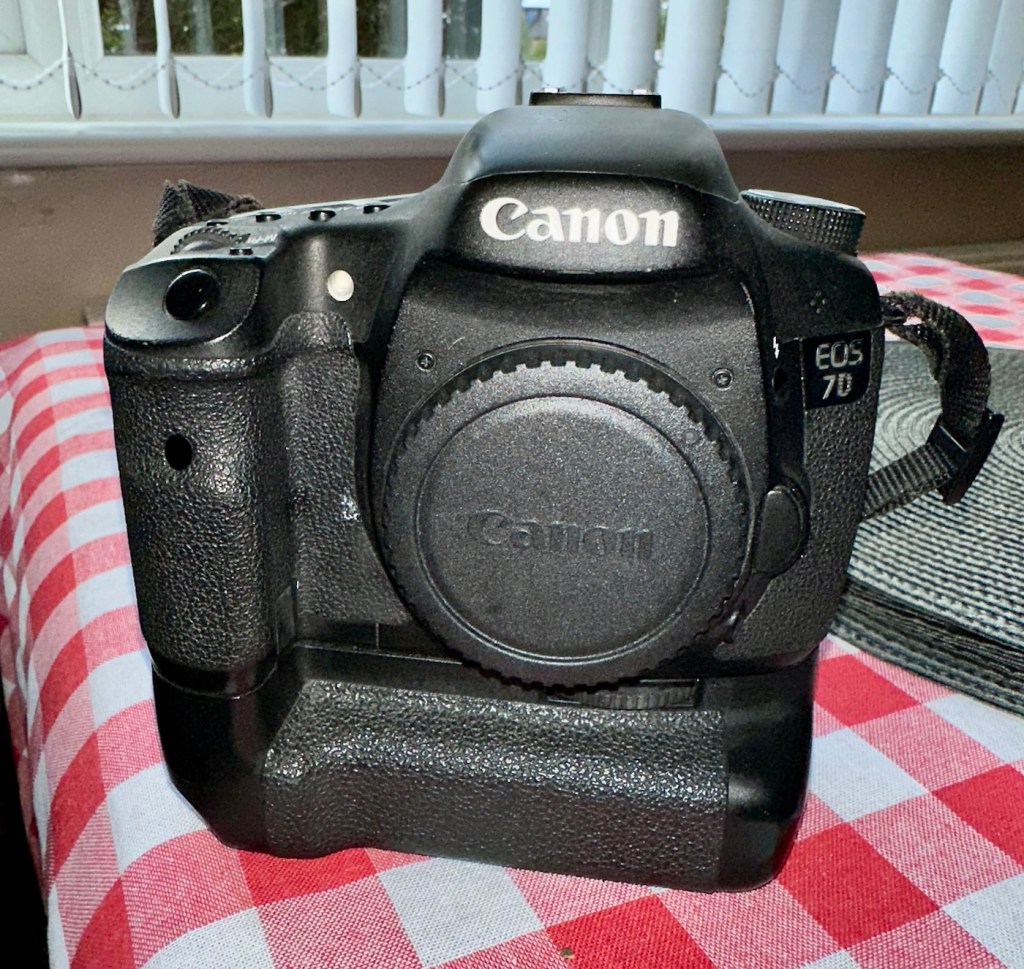
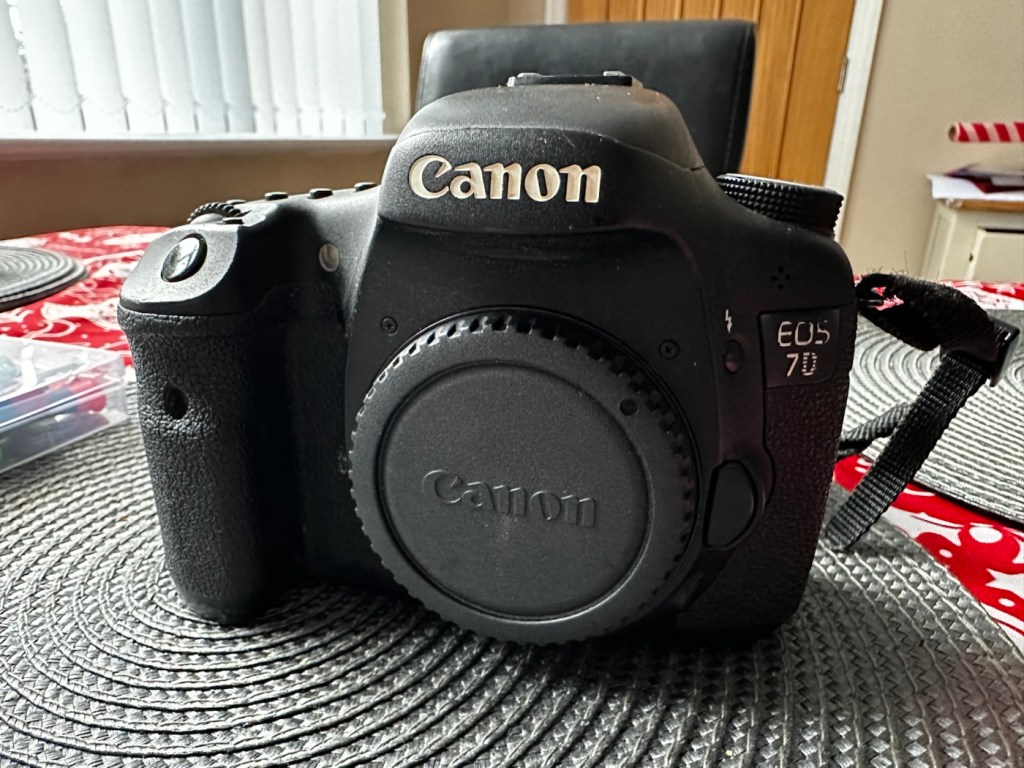
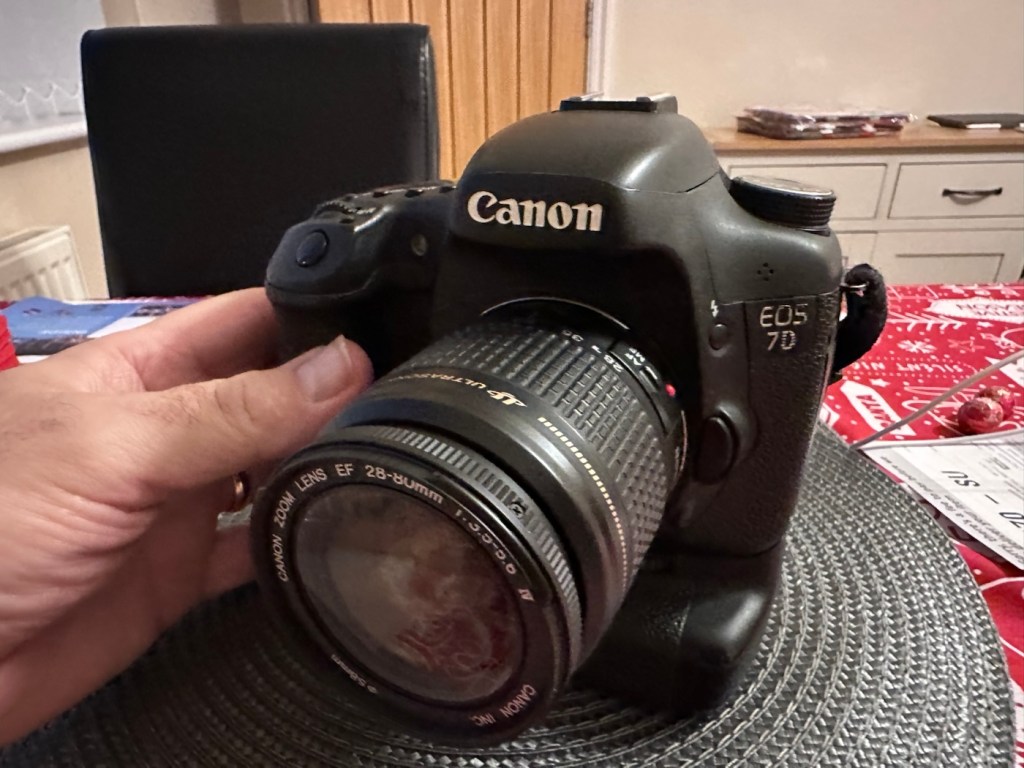
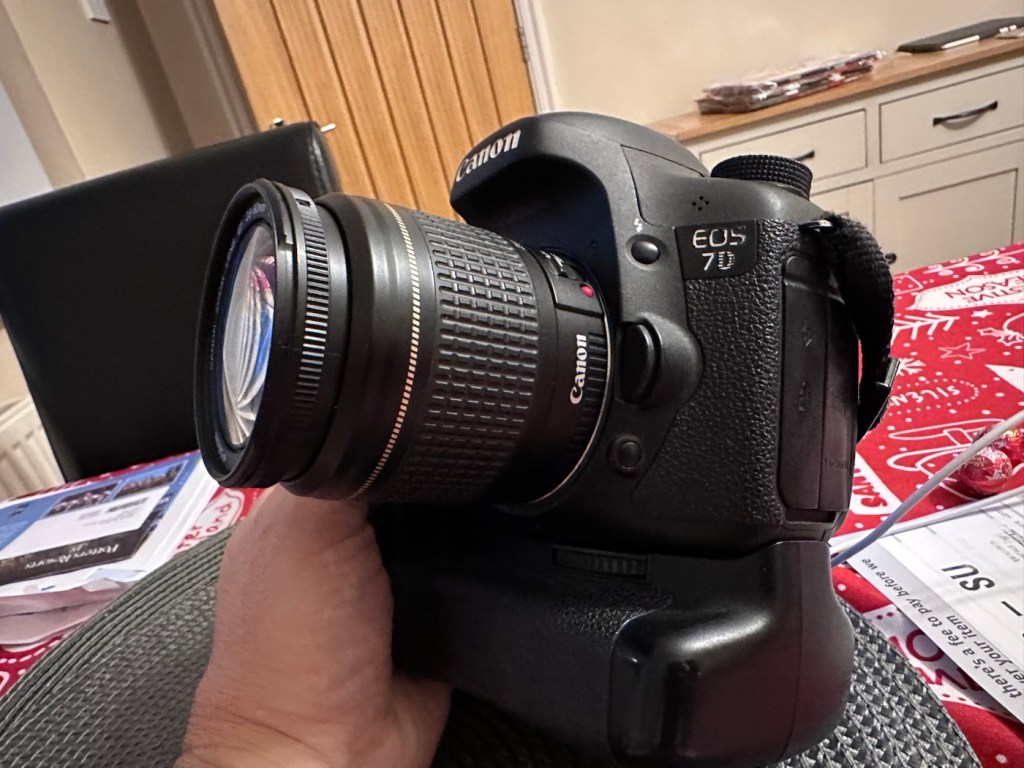
Canon EOS 7D

Can I get this classic EOS 7D operational again? It has damaged card reader pins.

I received this camera from a good friend who is a professional photographer, a few weeks back in a bundle of cameras and photographic equipment he no longer uses, he has kindly donated them to me to get working again. You can see that post, and just what was donated here: Cameras…i need more!

Canon EOS 7D

I’m in a situation where I don’t have my repair gear with me at the moment, as it is all packed and in storage awaiting our impending house move. Hence the reason I am racking up a whole load of draft posts that I can’t complete until I have my workspace back in use. Therefore any work I can do is severely restricted to inspection, cleaning and preparation with the only maintenance being attempted on the outside of the camera.

Let’s have a brief history on the Canon EOS 7D:

The Canon EOS 7D is a high-end APS-Cdigital single-lens reflex camera made by Canon. It was announced on 1 September 2009 with a suggested retail price of US$1,699, and was marketed as a semi-professional DSLR camera.

Among its features are an 18.0 effective megapixel CMOS sensor, Full HD video recording, its 8.0 frames per second continuous shooting, new viewfinder which offers 1.0X magnification and 100% coverage, 19-point auto-focus system, movie mode, and built-in Speedlite transmitter.

The EOS 7D remained in Canon’s single-digit APS-C model lineup without replacement for slightly more than five years—the longest product cycle for any EOS digital camera. Its successor was the Canon EOS 7D Mark II, announced on 15 September 2014.

Wikipedia

Structurally and cosmetically this is a beautiful camera in very good condition. However it would not have been donated to me unless it had problems. Let’s now put my detective hat on and go looking for clues.

Assessment:

As stated earlier, cosmetically there is nothing at all wrong with this camera, it even has the plastic screen cover in place. Mirror looks clean and curtain looks fine no issues here. All electrical contacts such as HDMI are in good condition with no visible damage to the ports.

One last place to check and I now believe this is where the problem lies. This is the CF card door, and when opened it reveals one possible big issue.

Bent pins

Bent pins on the CF card reader. These pins are quite small and only millimetres in diameter, in a very restricted space about 8 cms deep and 6cm in width, it really is quite a small aperture. There are two options here, one I try to gently coax these pins back into place with a fine point tool, however the pins are minuscule, and brittle and prone to breaking. I can see potentially 7 pins that are out of position, not an easy or expedient option. But I’ll have to give it a go. Option two is to purchase a new CF card reader replacement, this option carries some expense and quite a complex dismantling of the camera to achieve said replacement. Needless to say I will initially attempt the pin bending procedure. Pending on success or failure, i could venture into step two. Read on to see what occurs.

Repair:

With a fine point set of tweezers, I’ve decided to have the first attempt at seeing if I can straighten the pins. Using a bright LED torch I angle the beam slightly so I get a bit of shadow on the pins, and this allows me to see how many are bent. I can see seven pins in total that are bent, and two of these seem as if they have been forced down to about half their height. This is quite normal when people go in a bit heavy with the CF card, if these pins go down too far there is no option but to go inside the camera and push them out from inside, or replace the card reader completely. I kind of hope that I have been able to pull them out far enough for them to work. I won’t know though until I get the CF card and batteries out of storage.

The camera in question

I’ve spent about an hour, bright lights, little subject matter, and now have very tired eyes. I’ve been breathing slowly just like a surgeon heading into a part of an operation that requires the utmost concentration, and precise and very delicate movements. I think I’ve done a good job. Only testing will tell.

Speaking with my friend Jon, who this camera came from, he has stated that he rather foolishly lent this camera to a ham fisted colleague who hammered the card into the camera, causing the issues that I am dealing with today.

If we have to open up the camera, I will probably be looking at about 3 hours of work, as there is an awful lot of dismantling that has to occur, and I believe there are around 30 screws to remove just to get under the skin of this camera. It’s built like a brick, weighs about the same and is just packed with electronics.

Fingers crossed 🤞 let’s hope option number one has been successful.

Well, today I went to the lock up and dug out a small 2GB CF card and the two Canon batteries and a charger. I came home and Put the batteries in that surprisingly still held a little charge, sufficient to turn the camera on. I gently inserted the CF card only for the following message to appear on the screen, “Card cannot be accessed. Reinsert/change the card or format card with camera.” Aww shucks I thought, it hadn’t worked. I tried to format the card and the format failed, at this point I thought the pin maintenance had not worked. Damn. I was a tad annoyed.

CF card being installed

So I removed the card and checked the pins, they were ok. I reinserted the card and the same fault appeared, however this time when the option came up to format the card it worked. I was so shocked I tried it again and forced another format, again it worked!

Right it was now time to get a lens on the front and test the camera to check to see if it would write to the card, it’s only a stock lens, nothing special but absolutely fine for testing purposes. Just walking around the house I put the unit into auto, the flash popped up and I proceeded to rattle off a few random shots. And it worked, the results all came up on the rear screen.

Random shot 1
Random shot 2
Random shot 3

To say I was pleased at this is an absolute understatement. The work on the pins has worked and I now have a perfectly well working example of quite a top end camera. There’s no doubt that in the future the camera will require a replacement card reader, but for the moment it’s been given a new lease of life, and whilst I remember to be gentle with the removal and placement of the CF card, let’s just enjoy the camera and its capabilities until that time comes. In the meantime here are just a few, “Randoms” taken to test the card and camera in and around my home.

Result:

You little beauty

Time to give this camera a little buff up. (Clean)

This unit only appears to have taken 1,860 pictures. It is completely unused, and in perfect condition. And it now works. To be honest I feel more confident with this camera than I do with the mirrorless Sony that my wife purchased for my birthday. This was going to become my number two camera, however it’s just been promoted to my number one, as long as that card pin issue and repair holds up, and I have no reason to doubt that it should be a long time before any issues arise. I am confident that my repair has longevity as they say.

I want to give it a good test in daylight conditions in all modes rather than auto. I want to get a bigger CF card maybe a couple of 8GB ones, I don’t see the point in going for the bigger cards just in case there is a read/write issue in the future. It’s just an OCD thing for me, you know what I’m like.

So overall I’m really quite happy and satisfied with this camera. Of all the cameras I was gifted by my good friend Jon, all have been repaired apart from one that was beyond economic repair, even that has been broken down into it component parts, every screw recovered and will be used for spare parts. Nothing, and I mean nothing has been disposed of from this collection of cameras and accessories.

That’s what I do, I don’t waste anything. Ask the wife!

Many thanks for passing by, it’s always very much appreciated.
Canon EOS 3000

Another entry level camera, unloved, made good

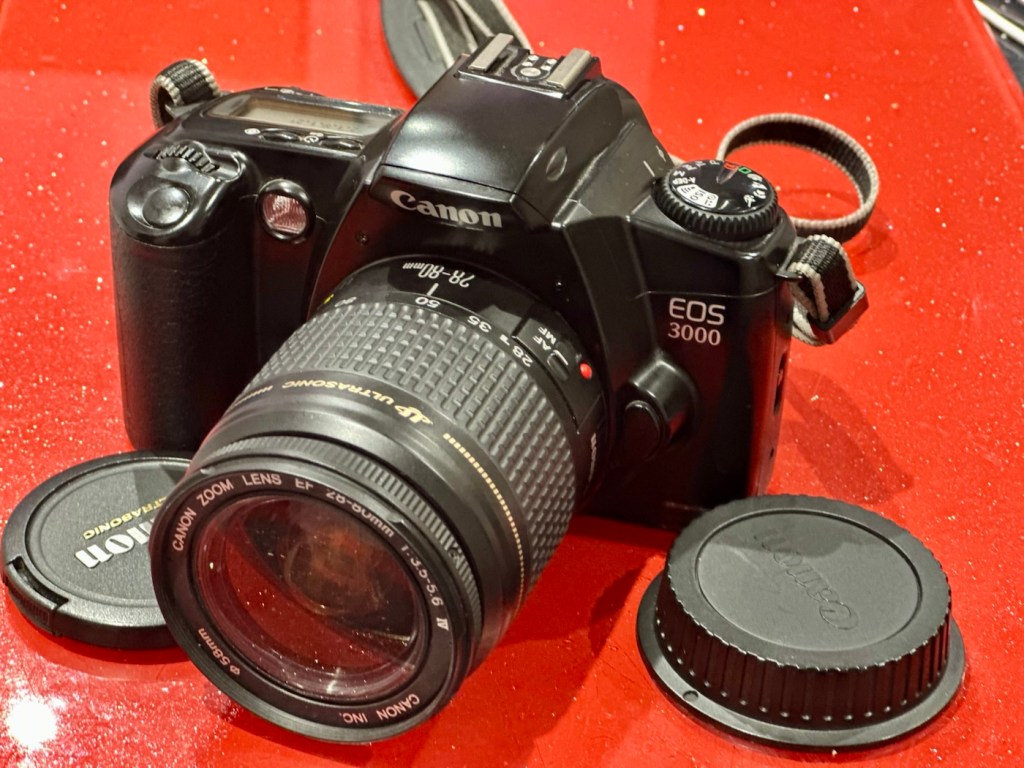
Here I have another basic, entry level camera made by Canon. Produced around 1999? this camera is probably around 26 years old. These cameras don’t have the traditional identification number printed within the film spool holder that the older cameras had, hence the precise manufacturing date is difficult to confirm.

Canon EOS 3000

This is a camera passed onto me by a good friend and professional photographer, Jon, as can be seen in this post: Cameras…i need more!

Here’s a little information about this camera:

The EOS 3000 is an autofocus SLR for 35mm film introduced by Canon in 1999. It was sold as the EOS 88 in Asia. (It was not sold in the US.) The pentamirror viewfinder and manually-activated popup flash helped keep this a lower-cost model; but a full range of autoexposure modes were included, including off-the-film flash exposure setting. Film transport is motorized and the camera requires two 3-volt CR123 lithium batteries to operate.

A compact, lightweight, low-priced SLR camera. Successor to the EOS5000, but with greatly expanded basic functions. The camera incorporates the Mode Dial and most other basic features of the EOS Kiss/EOS REBEL XS/EOS500 and includes six-zone evaluative metering linked to three focusing points. In addition, the flash is linked to the measurement point so that during shooting the flash out-put level is constantly adjusted for optimum exposure control. For reasons of cost, the flash unit is manual pop-up/retractable head type. The EOS3000 is compatible with system accessories for the Kiss and New Kiss. The high-quality design has a feel of genuine elegance.

Canon/ Camera-wiki.org

This camera was pitched at a low cost to attract people into photography, and to encourage those who were just hobbyists to upgrade to something more than the traditional point and shoots/disposables available at the time.

There is not a lot wrong with this camera as far as I can see, let’s have a look and do some tests.

Assessment:

It has a grip that’s starting to develop the sticky issue so that will need cleaning. The mirror and prism are dusty and will need a cleaning.

Sticky grip and dusty internals

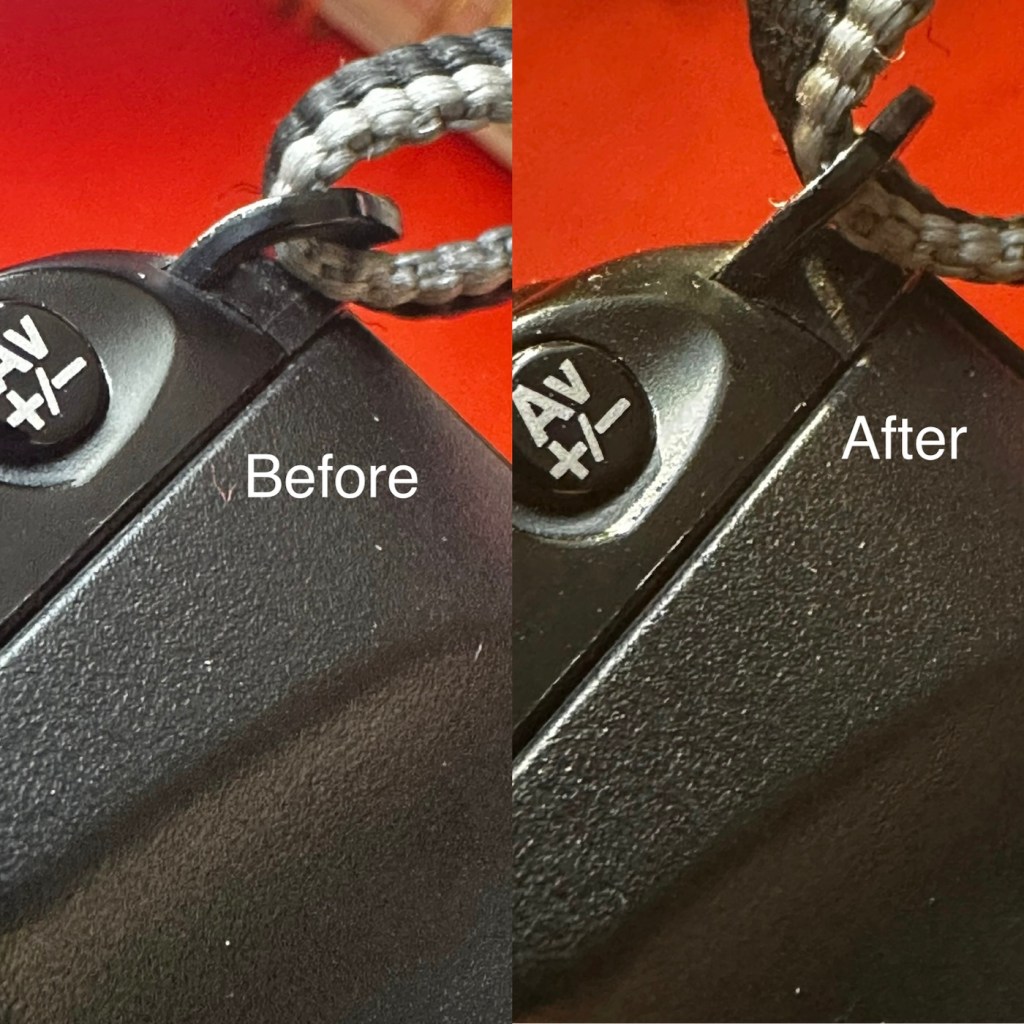
Overall the condition is very good, again this was a training camera, and seems to have had a quite low usage, as there is no scratches or marks. And only one dink as such. That dink happens to be the right hand strap holder that has been bent down to a point where the rear case does not open completely, it restricts its full movement.

Strap holder bent, restricting door opening
Door doesn’t open fully

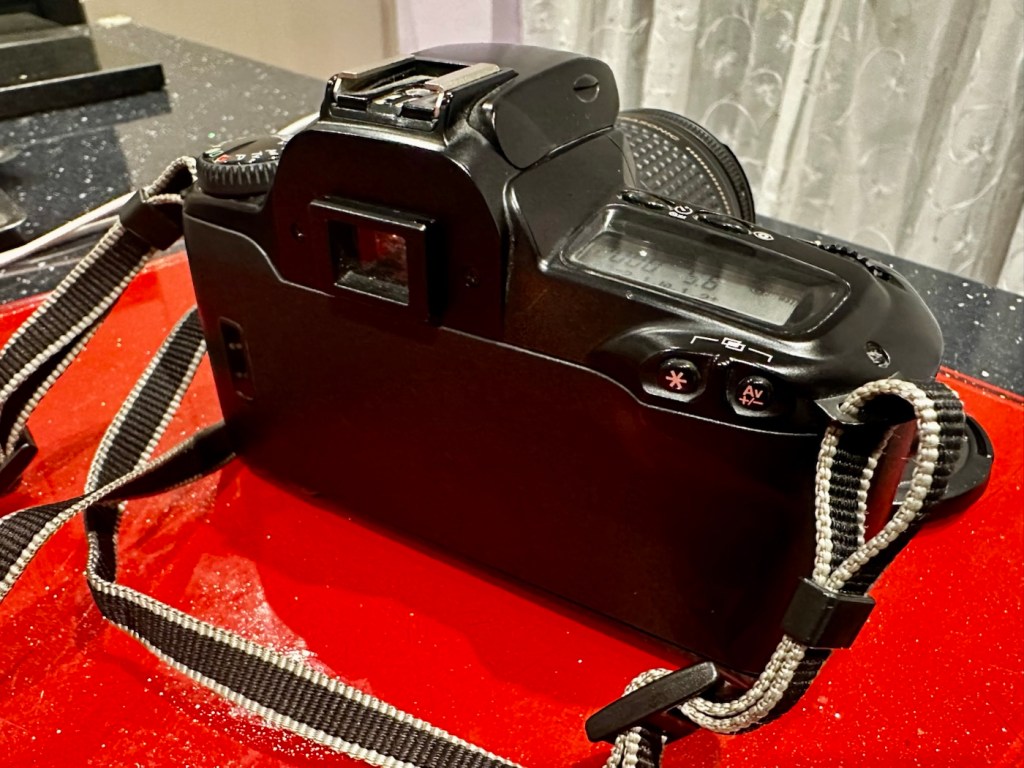
Top and bottom of camera look fine, no bleed on the LCD screen that is always a good sign

Battery chamber is clean and there is no contamination. This camera takes two 3v Lithium CR123A batteries. Let’s put two in to see if we have any life.

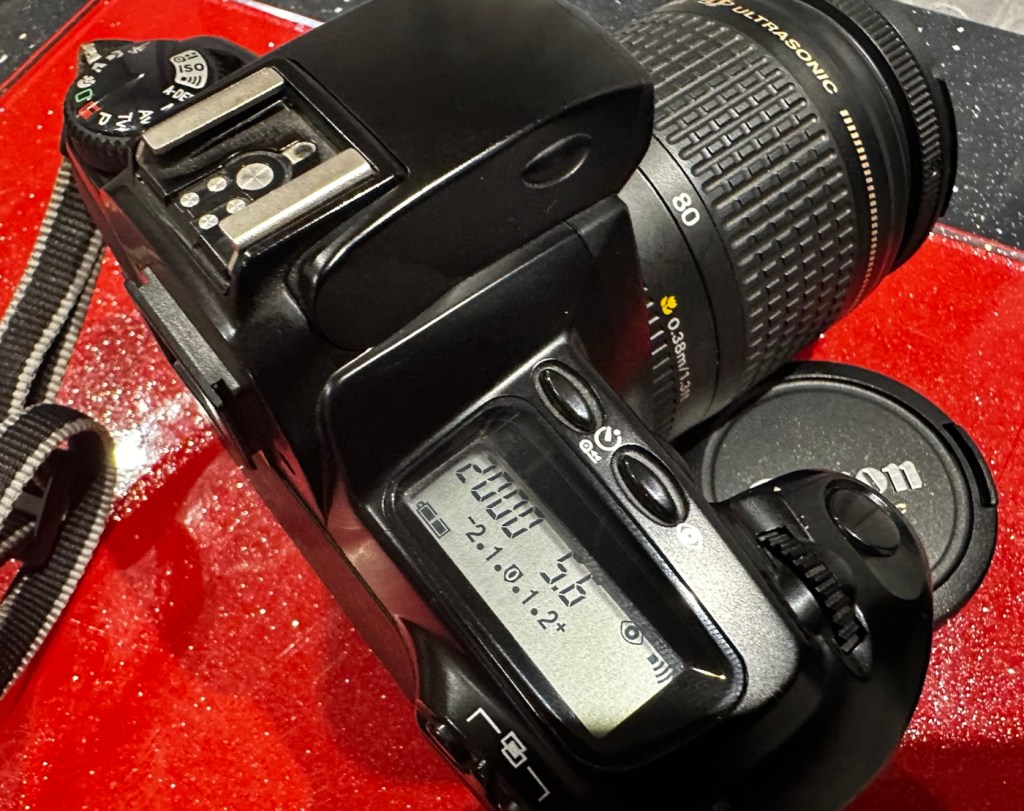
With the batteries installed we have a good display on the screen with no pixelation and it’s nice and clear. I install a roll of test film to see what happens. This camera winds the whole film onto the take up spool and winds back one exposure at a time. The take up when the door is closed works perfectly.

I then operate the shutter, to fire off the 14 exposures, all viewfinder indicators are good, with my 28-90 EF lens attached it focuses well and fires well. When the last exposure has been taken the film rewinds as expected with no issues. In reality the camera is working very well with no internal issues.

Repair:

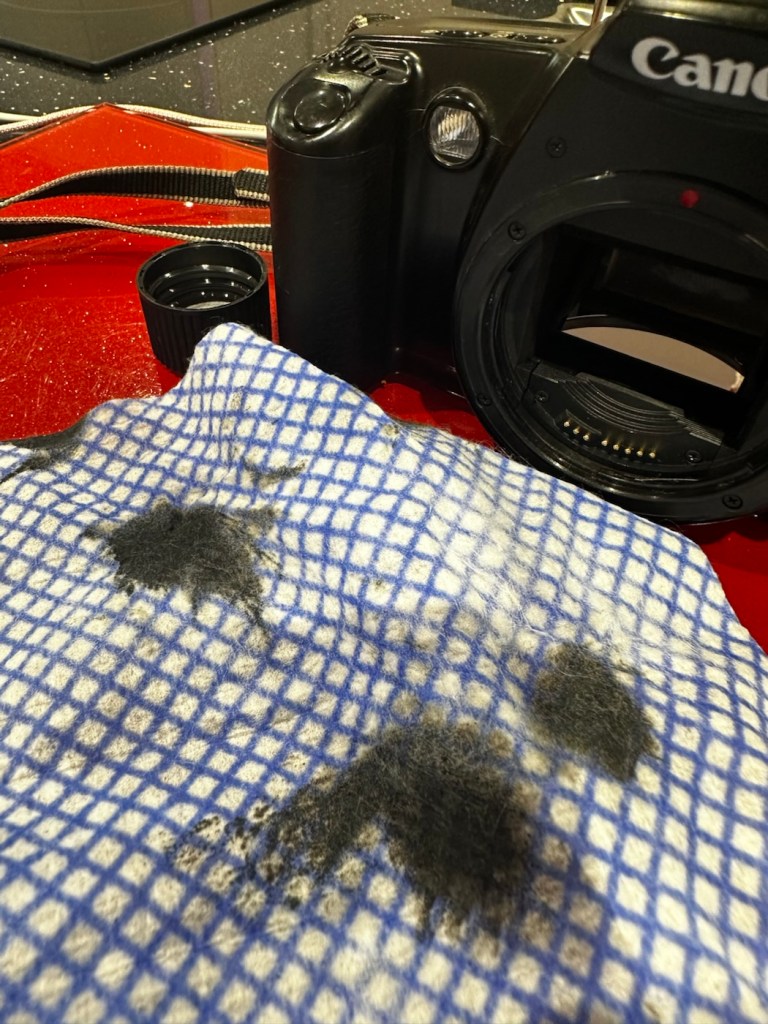
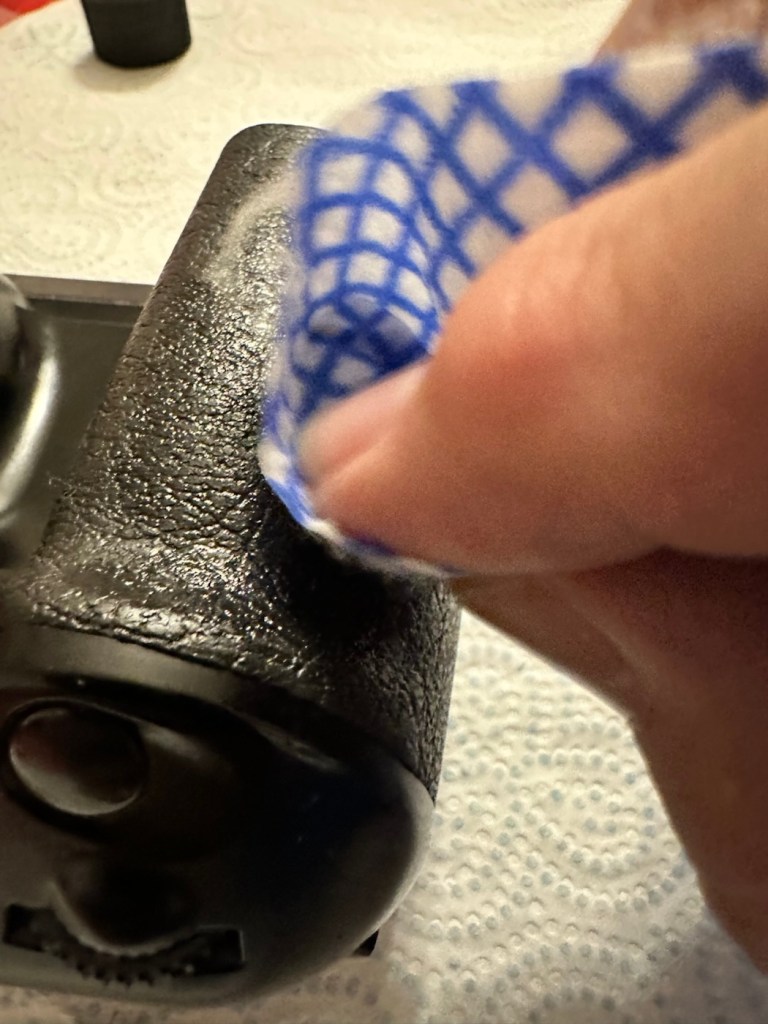
First the dirty stuff. Let’s get that goo off of the sticky grip. I use my IPA and lint free cloth method that I posted about in a previous post here: Sticky, Rubber camera grips. This one is actually worse than I thought and has taken four applications to remove the deterioration on the grip. It feels a lot more pleasant though now that it is done.

The dirt from this grip can be seen on the cloth. Each black blob is one application

The issue with the strap lug restricting the door movement. Quite simply, a gentle movement with a pair of pliers was all that was required. Gently does it as these parts are brittle and easily broken. Don’t over do it, give up when it looks right.

A little gentle coaxing was all that was required

I’ve checked the film pressure pad and this is fine, there are no sharp ridges and the light seals are good. I don’t expect them to be bad as in theory they are not that old, they are in a good healthy condition.

I have cleaned the prism and the mirror with a swab and they are now fine. Using a B setting I have opened the mirror and curtain and used some compressed air to clean throughout. A brush blower was used with the curtain closed to clean around the film spool area and back plate. A quick final blow of the mirror and the aperture is then sealed with a cap to insure no further dirt and dust gets into the internal parts of the camera.

The final action is to use some cockpit polish to finish off the exterior of the camera.

Result:

I’ve cleaned the exterior and used some ceramic cockpit polish to finish it off, I must admit it’s looking very good.

Cleaned up lovely

Here I have yet another nice little camera packed with features that will make a great camera for someone to learn the basics of traditional photography with. However, it’s remaining in my collection for the while.

It’s yet another camera that I need to test, another one that needs to have a film put through it for its final test, however I am 100% confident of it’s capabilities and the fact that it operates just fine and all its settings, buttons and controls are doing exactly what they should. When I do get to put a film through, I will link to it here.

Another successful restoration and return to use of another old camera that had been put to one side. Not that this one really required a lot of attention, just a bit of servicing and tlc.

Thanks for passing by. It’s always very much appreciated

Canon EOS 500N

A nice entry level camera, from the mid 90s, now back in working order

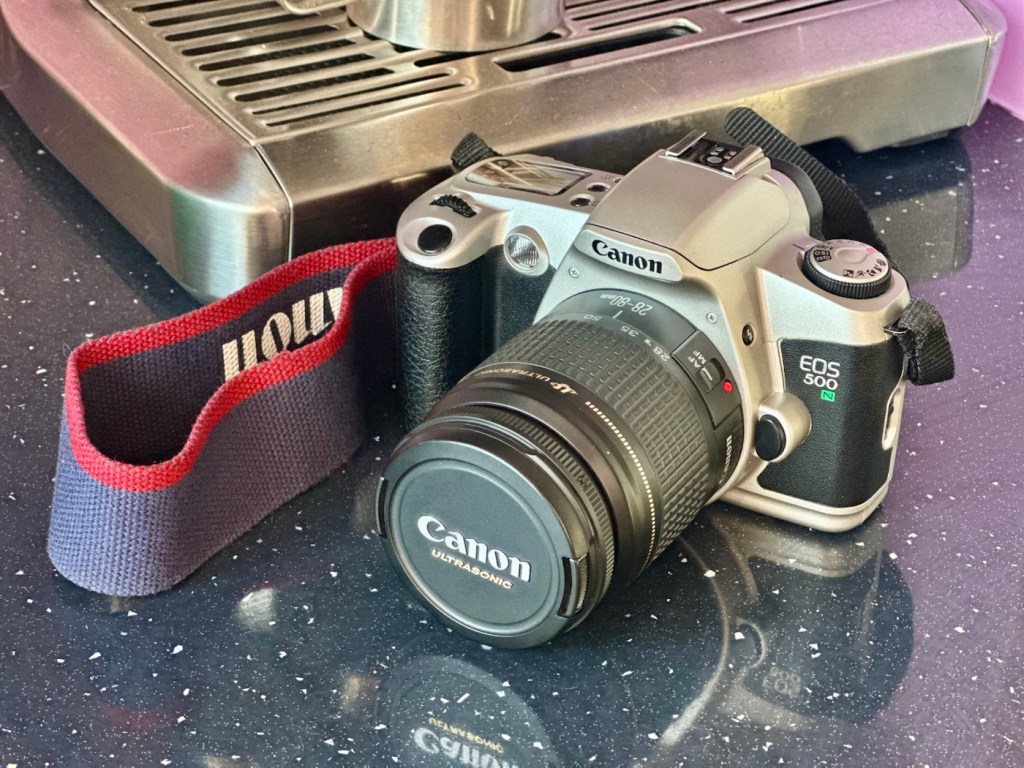
Here I have a very basic, entry level camera made by Canon. Produced between 1996-9 this camera is currently between 26 – 29 years old. These cameras don’t have the traditional identification number printed within the film spool holder that the older cameras had, hence the precise manufacturing date is difficult to confirm.

Canon EOS 500N

This is a camera passed onto me by a good friend and professional photographer, Jon, as can be seen in this post: Cameras…i need more!

I believe this camera was previously used by a large photographic organisation, to teach staff and students wishing to learn traditional 35mm film photography techniques. It was a training camera, at entry level specs.

It is a very good example of this model of camera, and despite its simplicity, low cost appearance and feel, it is in a very good condition cosmetically.

Here’s a little information about this camera:

The Canon EOS 500N is also known as the EOS Rebel G in the Americas or the New EOS Kiss in Japan. Sometimes it’s referred to as the EOS Kiss 2 as it followed the release of the EOS Kiss in Japan. This camera was released in 1996 and replaced the EOS 500. The Japanese version of the camera had the date back as standard. Its successor was the EOS-300 / REBEL2000 / Kiss III, released in 1999.

The body of the Rebel G is plastic, weighing 370 g (13 oz). The only colors available were black or a mix of silver and black. The Rebel G has an EF lens mount making it compatible with any EF lens. The viewfinder offers a 0.7x magnification, 90% coverage, center auto focus, wide auto focus and many more. The Rebel G shooting modes consisted of 6 basic modes, full auto, portrait, landscape, macro, sports and night scene. It also has 5 advanced modes, P, Av, Tv, M, A-DEP. These modes would continue on in the Rebel G series. The camera features a built in flash, and can shoot at 1 fps. The fastest shutter speed with flash was measured at 1/90 of a second.

A few new features include compatibility with ETTL type flash. It still has the same 1/90 of a sec sync speed of the previous model, but when equipped with a Canon Speedlight such as the 380EX, 220EX it can be used at 1/2000 of a sec. Focus has improved a bit as as a AF assist light is now available. Auto Exposure Bracketing (AEB) can be use from -2 to ++2 in 1/2 stop increments. The command dial now has an easier to access night scene mode. The body is able to use the BP-8 vertical grip that can also accept four AA batteries.

Camera-Wiki.org / Wikipedia

Assessment:

As Stated, this camera is in a good cosmetic condition with no sign of dents, dinks or wear. Considering this was a camera used in training I can only presume the students were extremely careful and respectful, or it was lightly used. Having worked with some of these students myself, i very much suspect, it’s more than likely going to be the latter option.

There is another such unit I have of this very same camera however that is damaged with a faulty screen that requires replacement and that will be dealt with in a future post. Meanwhile, let’s get back to this one.

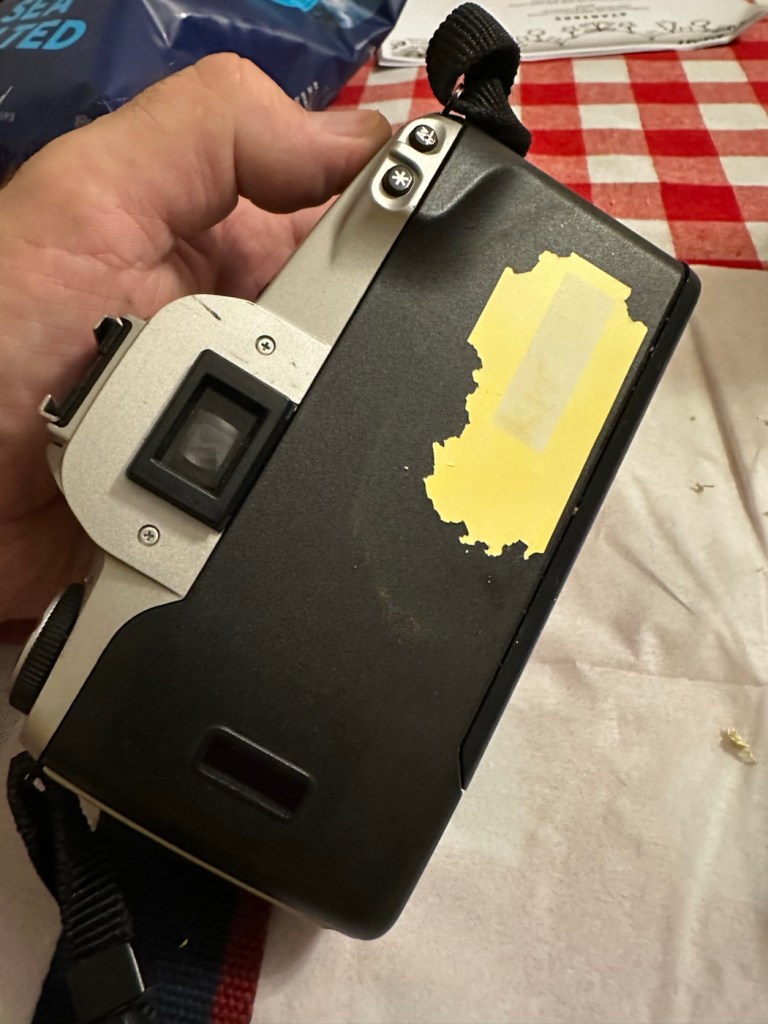
A sticker on the rear

There is an old ownership sticker on the rear and this is one of those old vinyl type ones that will be able to be removed, but just may take a little while, as they are brittle and break off into lots of little pieces that go everywhere.

The battery chamber is clean and there are no signs of contamination. The screen is clear and does not show any bleed, though I haven’t powered it up just yet.

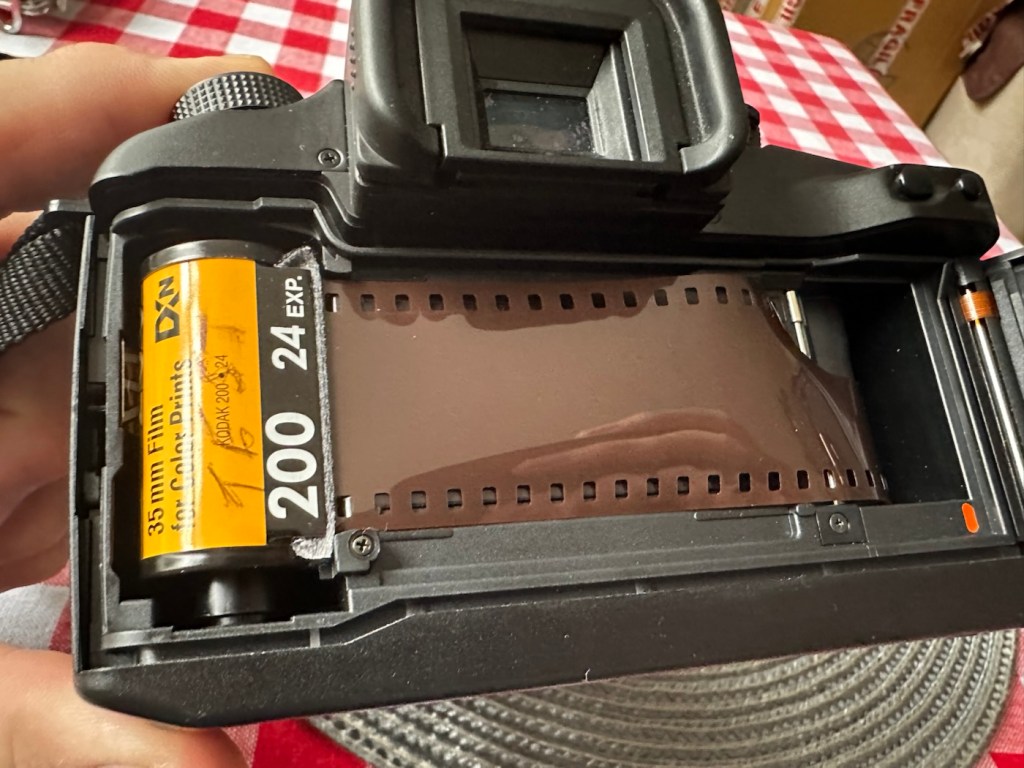
The film chamber, back pressure plate and shutter curtain all appear to be in good order. Again I will further test this when I put some batteries in and run a dummy film to check transport.

The unit is quite grubby and dusty, the mirror is dirty and the prism is as well. initially all looks good. Batteries, and the dummy film might tell us something different.

Repair:

Let’s get that sticker off the rear, a little soak in IPA to soften things up, and then using a small plastic modelling spatula to gently get under the label, I was able to remove the sticker relatively easily. If I’d used the metallic option I may well have scratched the casing. I’m happy that this option has worked well for me. A final clean at the end with some car cockpit cleaner should bring the detail out nicely.

Sticker now removed

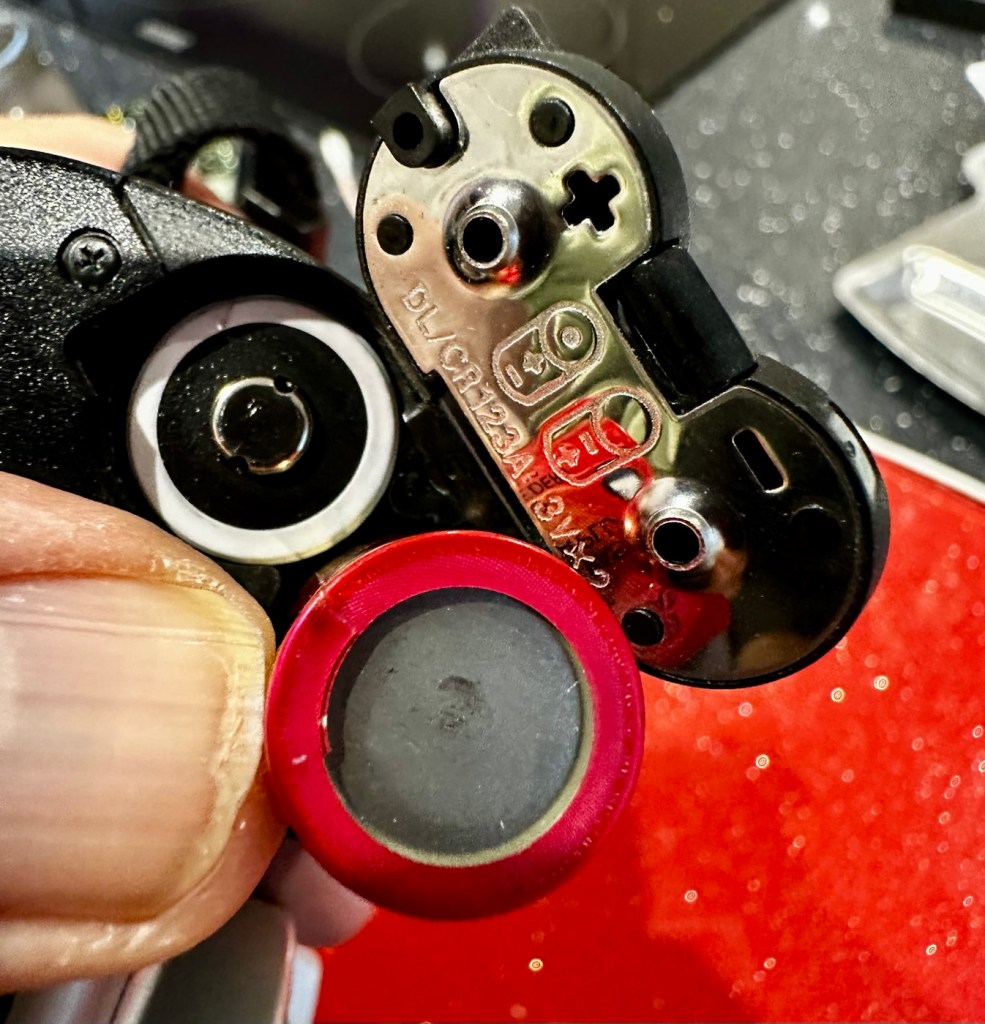
Let’s get some power in, and fire this unit up. It takes two CR123A 3v lithium batteries.

CR123A batteries
We have power

Batteries in, and everything lights up, all menus function and as stated earlier their is no bleed from the LCD screen.

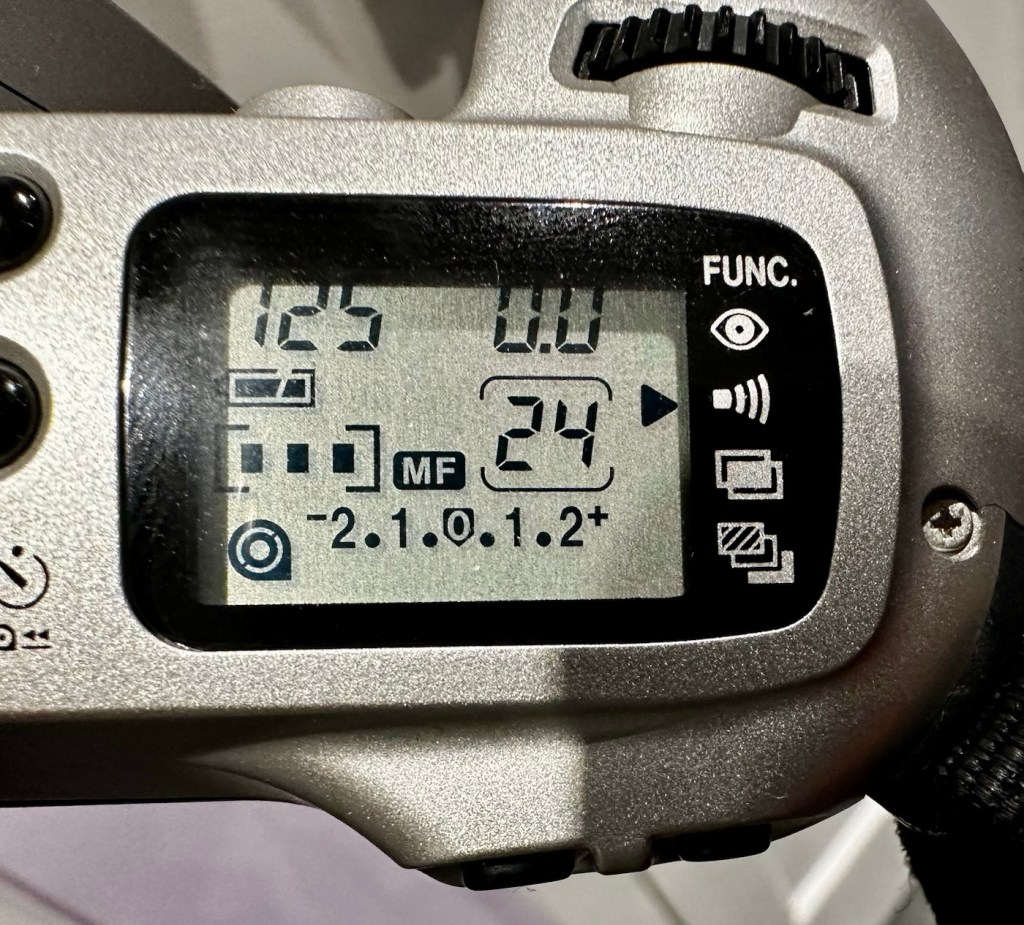
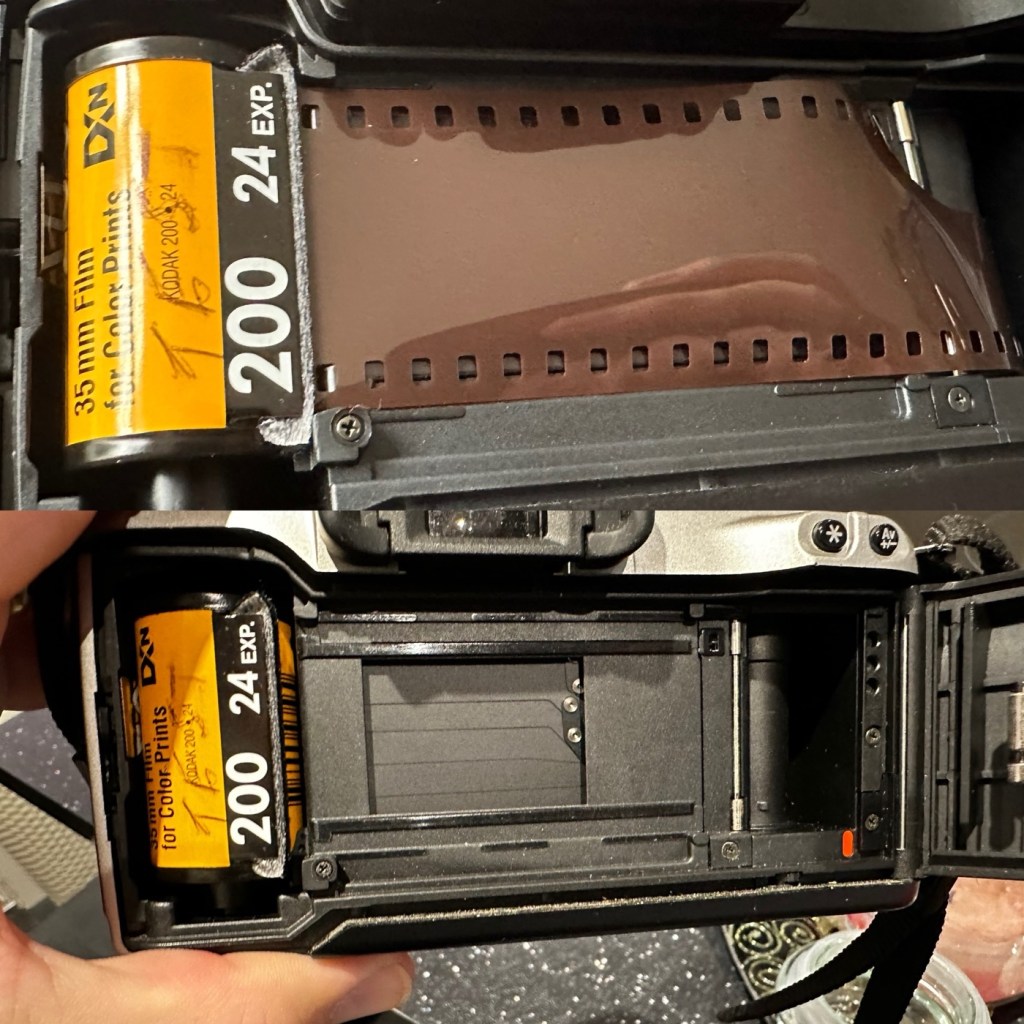
I load the film in and it instantly winds the whole film on to the take up spool. Here on the display, you can see that this roll is 24 exp and it has wound fully on to the take up spool. I fire off these 24 exposures to check the shutter and that fires fine, film transport also works well and the final rewind of the film at the end also works. In a nutshell, this camera works!

Film in and film out

I clean the prism and the mirror with a soft swab and you can just see the dust and dirt lift. A final brush over with a bulb blower completes this task. The internals are now clean.

It just needs a very thorough exterior clean and polish.

Result:

I’ve cleaned the exterior and used some ceramic cockpit polish to finish it off, I must admit it’s looking very good.

Here I have a nice little camera packed with features that will make a great camera for someone to learn the basics of traditional photography with. However, it’s remaining in my collection for the while.

Looking clean and presentable

I’ve cleaned the camera throughout and used compressed air to finish the clean prior to sealing it from the elements. It’s yet another camera that I need to test, another one that needs to have a film put through it for its final test, however I am 100% confident of it’s capabilities and the fact that it operates just fine and all its settings, buttons and controls are doing exactly what they should. When I do get to put a film through, I will link to it here.

Another successful restoration and return to use of another old camera that had been put to one side. Not that this one really required a lot of attention, just a bit of servicing and tlc.

Thanks for passing by. It’s always very much appreciated.
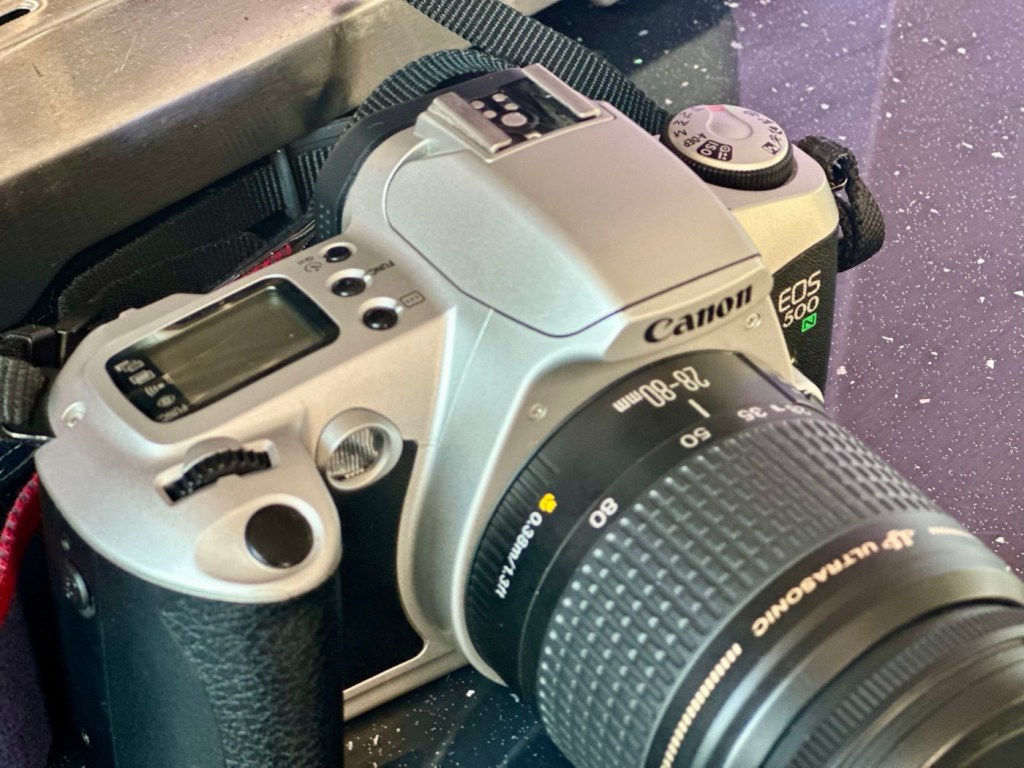
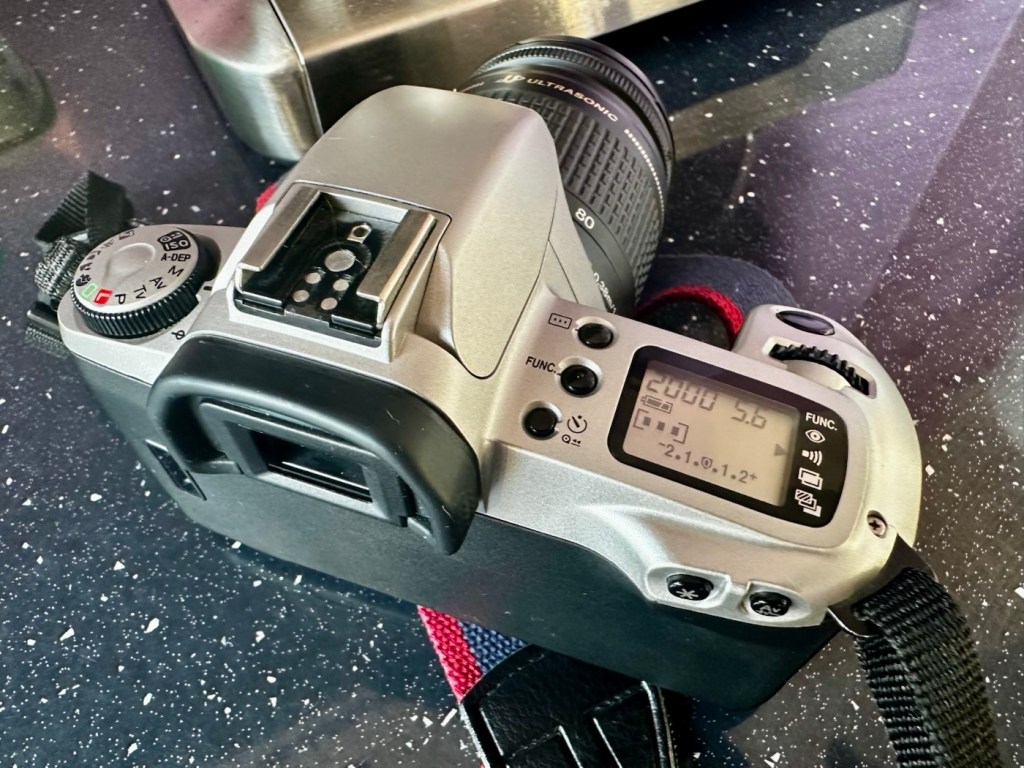
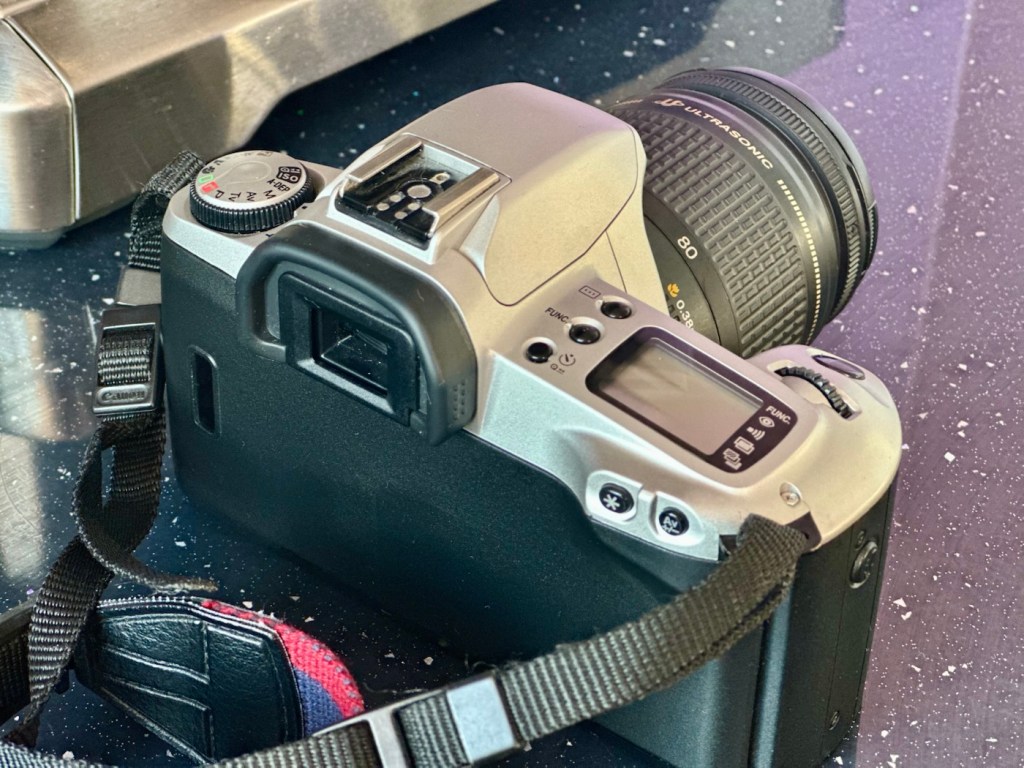
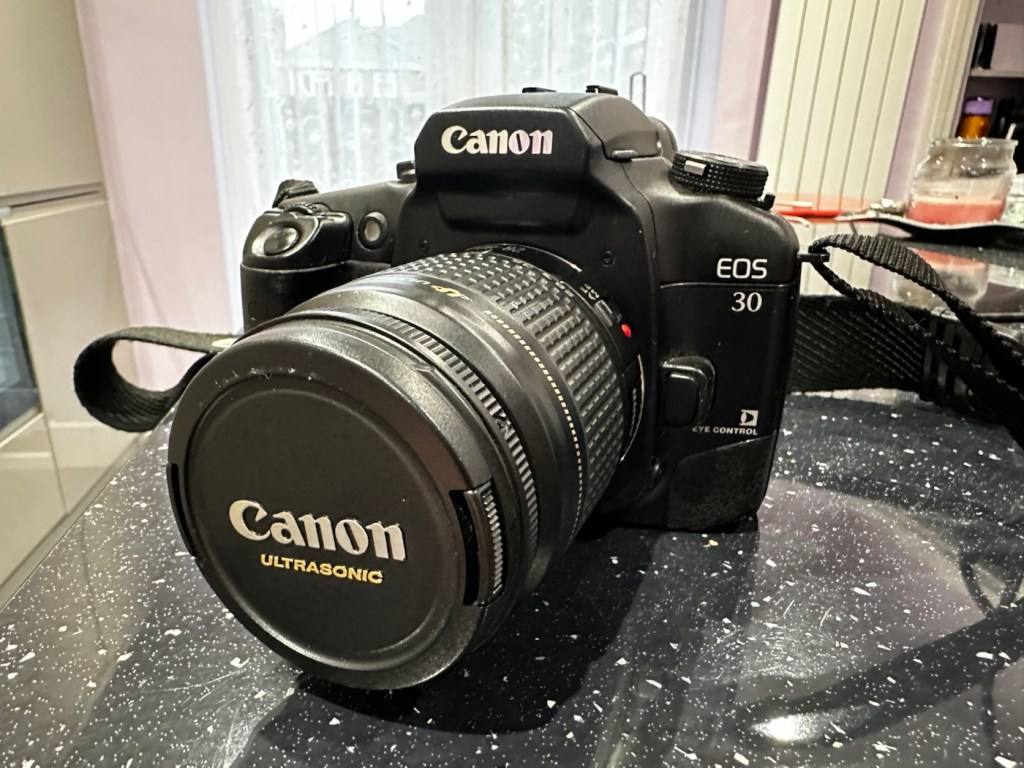
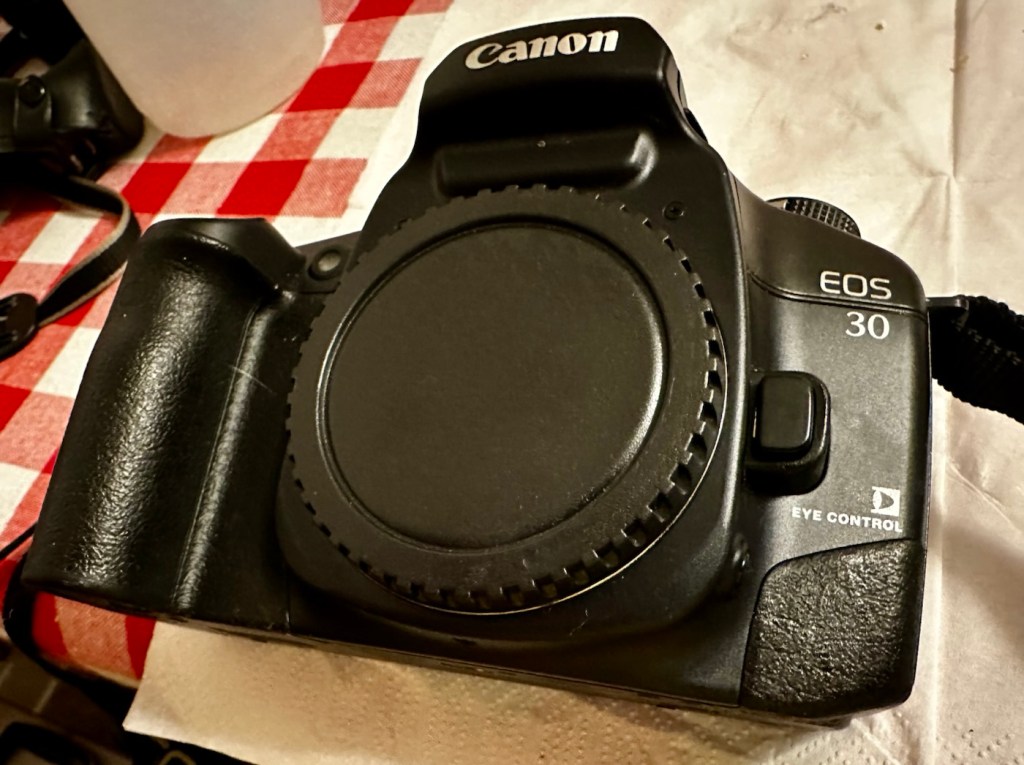
Canon EOS 30

Cleaning, repair and maintenance of an old Canon EOS 30 35mm SLR

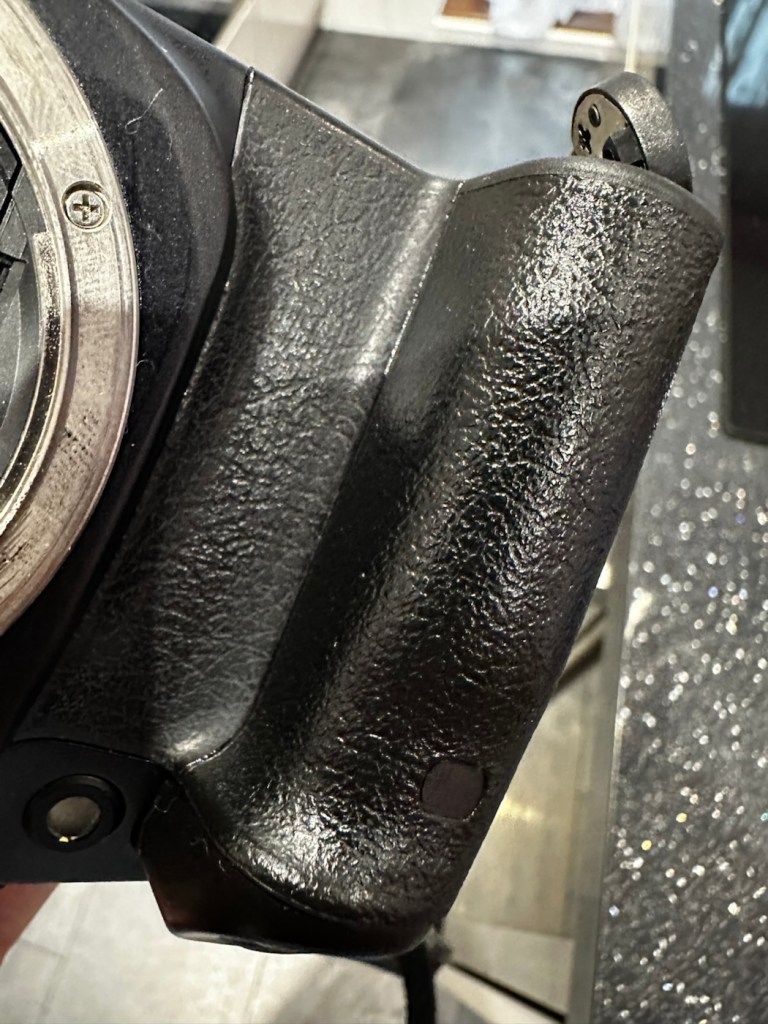
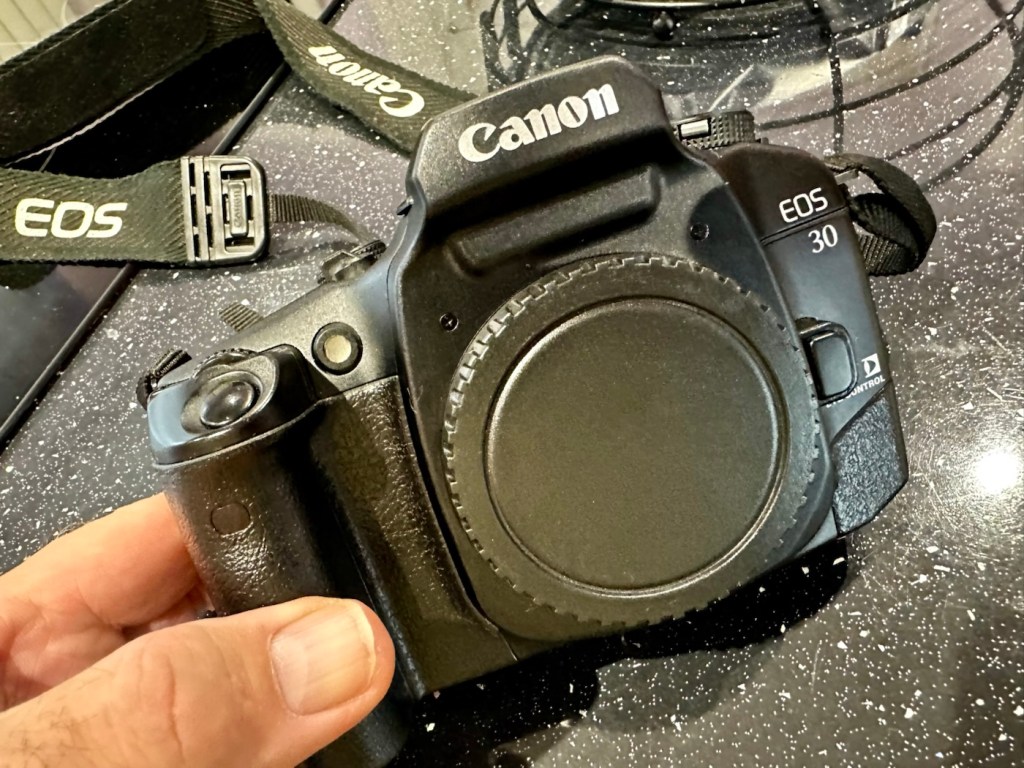
I’m calling this camera my EOS Dirty, it really is suffering a bad case of the sticky rubber syndrome that was widely experienced on cameras of this era, where the Vulcanised rubber used in its construction, had a falling out with its own internal polymers, and they then decided to part company. Creating a sticky mess. This camera is currently 25 years old, originally manufactured in the year 2000.

My hand, simply after handling this camera for no more than a minute.

That said, it’s a lovely camera with a lot of features, this was pretty much one of the last 35mm cameras that Canon produced, and they threw a lot of R&D into these units prior to producing its “D” Digital offering, hence it was packed with lots of pre “D” technology. It has “Eye” control, the Eye Control focusing feature makes selective focusing quicker for many. It uses IR to detect eye movements to determine focusing areas. Up to 5 eye presets can be stored for different users. I wonder if that still works?

This dirty sticky pup, needs some heavy cleaning

Here is some information, about this camera:

The EOS 30 (or Elan 7 / Elan 7e / EOS 7 / EOS 33 in different global markets) is a Canon autofocus 35mm SLR camera that uses the Canon EF lens mount. The camera was introduced in 2000.

There are three main auto focusing modes. Automatic, manual selection focusing, and Eye Control (EOS 30, EOS Elan 7E). It was given the 7 name because it has 7 auto focus points in manual selection mode. The Eye Control focusing feature makes selective focusing quicker for many. It uses IR to detect eye movements to determine focusing areas. Up to 5 eye presets can be stored for different users. Some users with corrective lenses may experience problems using this feature. The shutter speed ranges from 30 sec. to 1/4000 sec. in 1/2-stop increments with bulb. X-sync at 1/125 sec.

Metering modes use a TTL max. aperture metering with a 35-zone silicon photocell. The included modes are evaluative, partial and center-weighted averaging metering. The measurement range is from 1 to 20 EV (at 20-degree with 50mm f/1.4 lens, at ISO 100). The ISO can be set automatically with DX-coded film at ISO 25 to 5000. Exposure compensation can be adjusted from +/-2 stops in 1/2-steps.

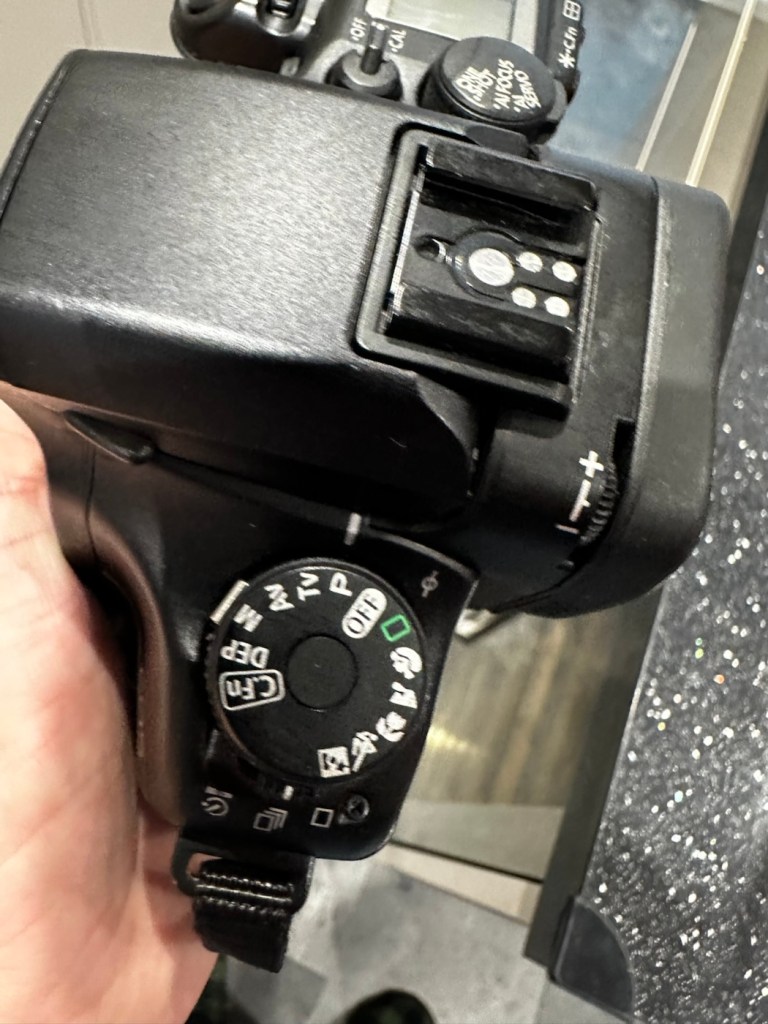
Exposure modes available include Program mode, shutter priority, aperture priority, Depth-of-field, Auto, scene modes with (Portrait, Landscape, Close-up, Sports, Night Scene), manual exposure and bulb mode. Flash exposure includes modes for E-TTL, A-TTL and TTL program flash modes. The motor drive is capable of up to 4 fps. The finder has dioptre adjustments built-in with settings from -2.5 to +0.5 dpt. Two CR123A batteries power the camera.

If equipped, the QD (Quartz Date) / Date back require the use of one CR2025 coin type battery. Imprint display modes include M/D/Y, D/M/Y, Y/M/D, D/H/M and off. The last date the unit can imprint is Dec. 31, 2019

Camera wiki.org

Assessment:

As stated in the sections above, the biggest problem with this camera is its stickiness, and to be honest that is not really a problem. I have cleaned many of these in the past and this one will be no different. Here’s a post I wrote a while back about sticky camera bodies: Sticky, Rubber camera grips

This really does feel like a lot of camera. You can see the digital “thought” that the development guys introduced into this camera in preparation for the arrival of its “Digital” brothers and sisters, I’m going to have to do a bit more reading up on its full operation and capabilities. This camera is in very good condition, no dinks, dents and very few scuffs, all doors are functional and when a battery is installed (a 2CR5 – 6v lithium) everything lights up, and appears to do what it should. I will check this thoroughly though later.

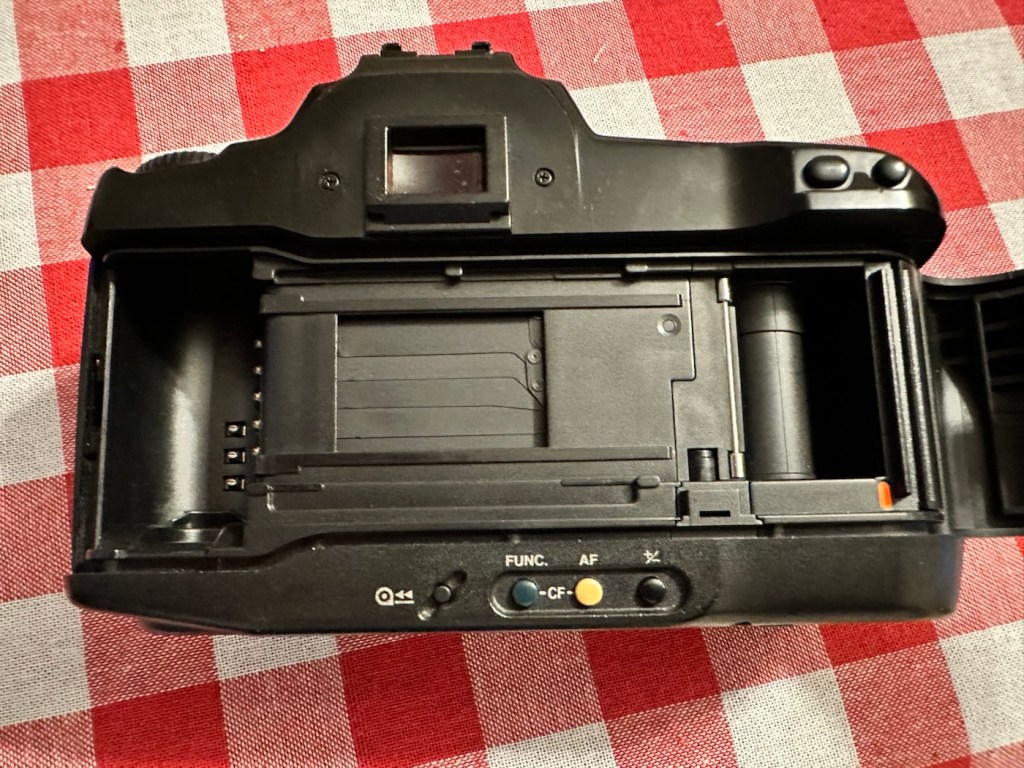
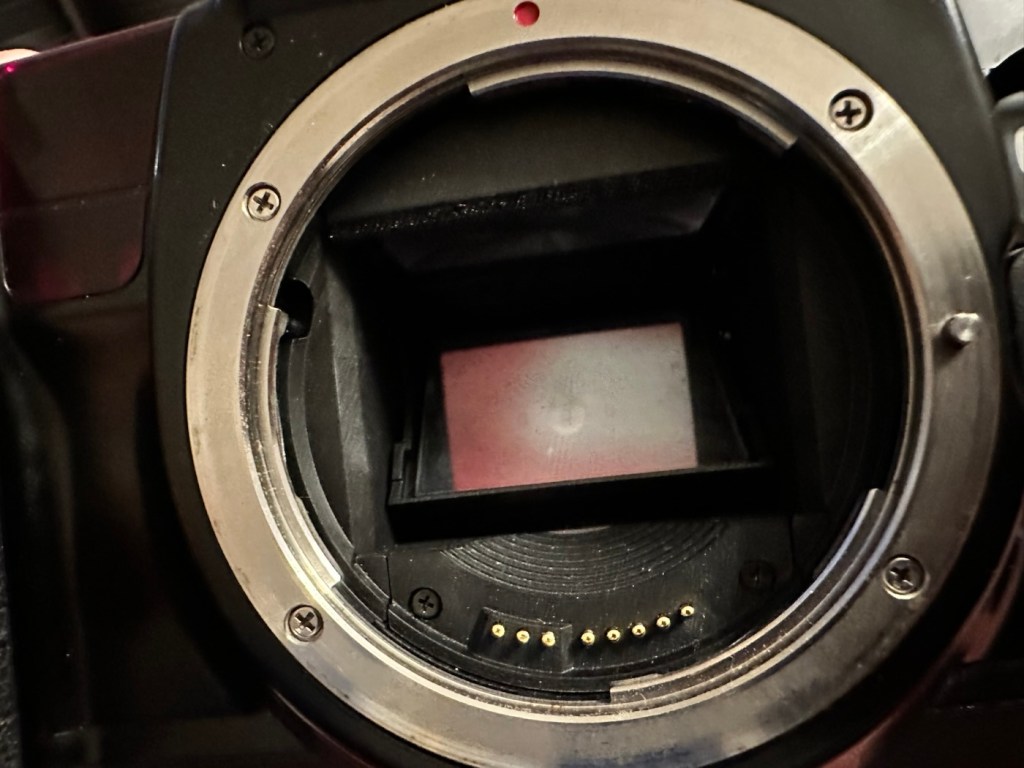
The battery chamber is clear of any contamination, and looks nice, the mirror will need cleaning and the area within it will need a blow through, the shutter curtain seems to be working well at this stage. I will test it more after the clean.

So. Let’s get on with the repair and maintenance.

Repair:

I’ve started the clean of the rubber and it is filthy. The amount of black that came off on the first clean has required me to get another cloth as it really is that bad. Another two applications and the cloth is a lot cleaner, it has removed a massive amount of goo and dirt and feels a lot better to the touch, and my hands are staying clean and that’s a good sign. I will give a final clean with the car cockpit polish that should finish it off nicely.

I’ve cleaned the mirror and prism above using a swab and the effect is instantaneous, there was a lot of dust here. Opening the curtain in a “B” setting I gave the whole interior a good blast with compressed air that has left the chamber as free of dust and contaminants as I can get it. With the curtain back down, a bulb blower and brush is all that was needed to complete the task. A lens mount cover is now in place to prevent anymore dirt getting in.

Transport tested

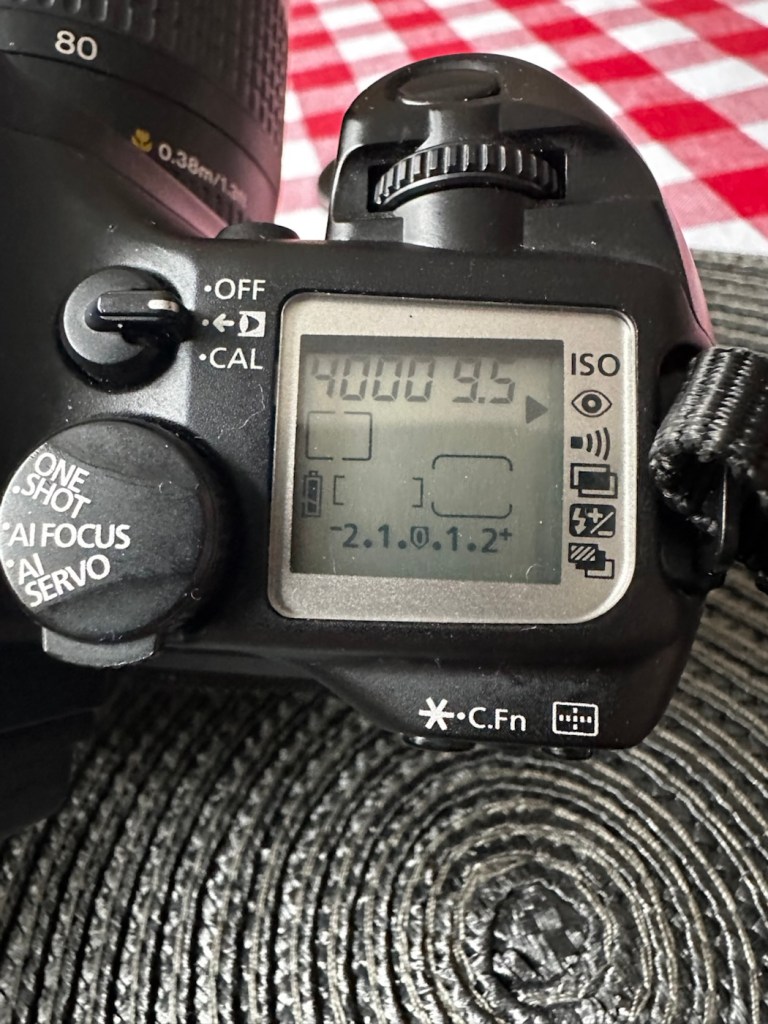
I’ve put in one of my old test films to check the camera’s function, and it’s transport & rewind, and I’m pleased to say this works just fine. At a shutter speed of 4000 I’ve never heard such a sweet sounding camera. This really feels like a lovely camera that I can’t wait to take out and run a film through.

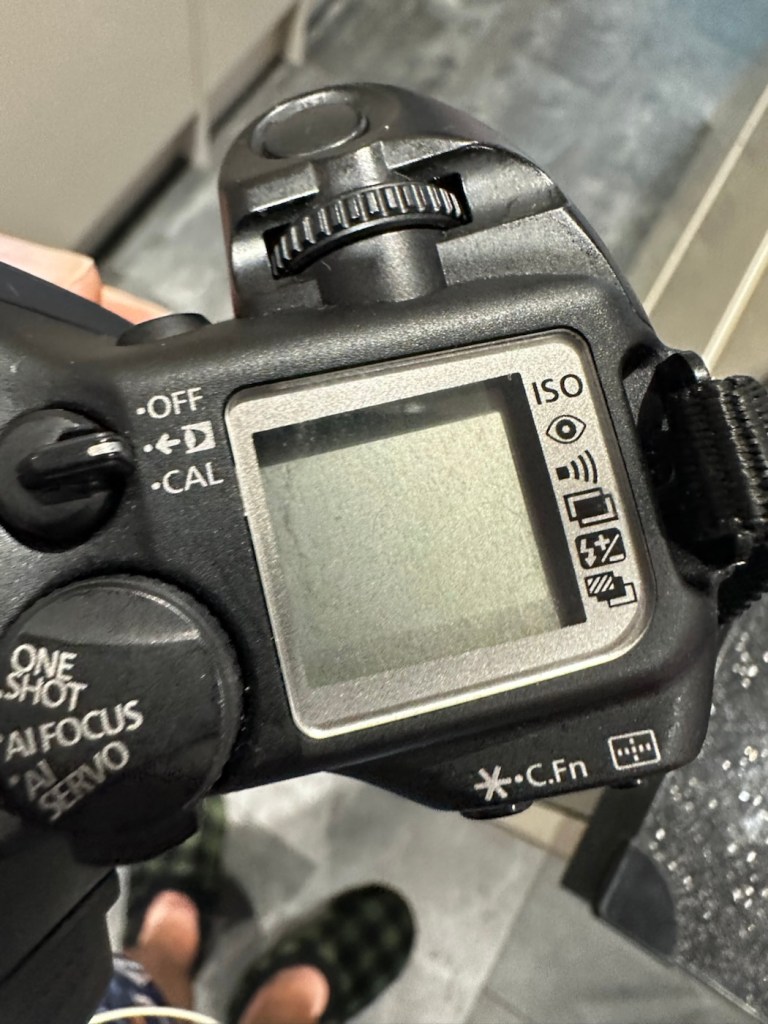
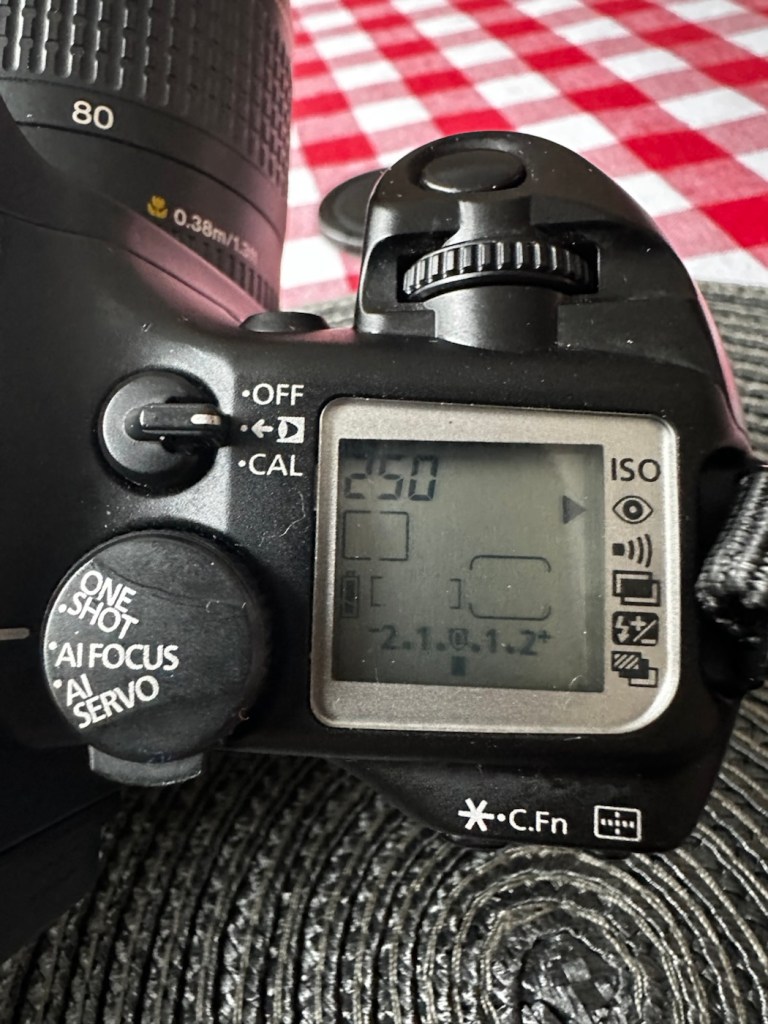
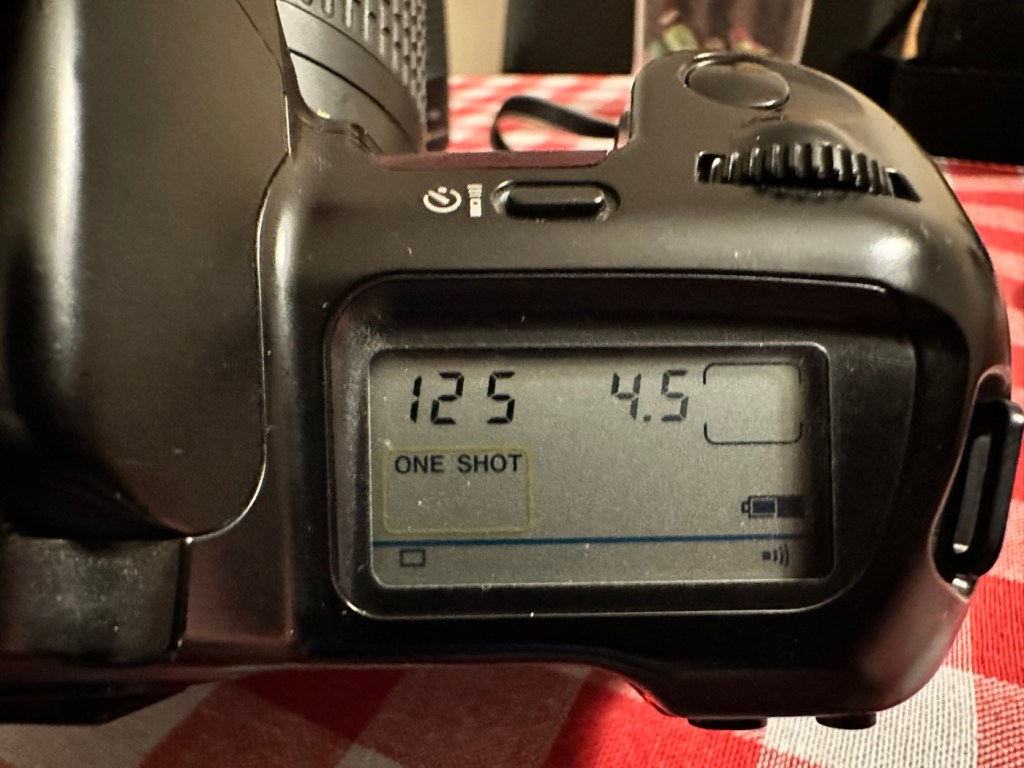
Going through the function screen, there are no bad pixels and all options are available. I have tested the eye control function and programmed my own profile into the camera, it does seem to be working, it might be a little hit and miss, I programmed it very quickly so maybe I just have to read up on it more, just to tweak its use as such.

All rear sub menus working, and buttons operable

All sub menus on the rear of the camera are operable and all buttons and dials are doing what they should. This camera is ready to go, and is in a perfect working order.

Result:

She’s a beauty

This camera was probably discarded to one side when the sticky grip problem started to rear its ugly head. It really is a shame that this happens, it’s such a simple problem to eradicate. This is an absolutely superb camera and packed with technology that would eventually have gone on to be incorporated into the soon to appear professional digital offerings from Canon. For 35mm photography this was a perfect swan song, 35mm photography had peaked with this range of cameras and Canon had perfectly produced cameras that in effect had pushed this theme of photography to its highest level. It was the best of the rest at the time.

This camera deserves some respect, it feels superb in the hand, looks good, sounds terrific and performs exceptionally well. There will always be the haters out there, there always will be. But as you will have gathered, I don’t really report badly of any of my cameras as I truly love them all. They are superb items of modern and semi modern technology that have captured history. They just deserve to be preserved and protected and most of all enjoyed.

I will shortly be posting some pictures from this camera that can be found here:

Thank you for passing by, as always it is very much appreciated.
Canon EOS 10

An old EOS 10 was in need of attention. And I was able to lend a helping hand

Here I have a Canon EOS 10, a quite superb little camera. The date code within the film barrel is HE1213, indicating that this camera was manufactured in December 1990. At the time of manufacture this camera sat firmly at the top of Canons camera tree only surpassed by the EOS1 professional camera that had been released the year earlier in 1989.

My EOS 10 35mm SLR

This camera was amongst a selection of cameras and equipment passed on to me by a good friend and professional photographer as can be seen here: Cameras…i need more!

Here is a little history regarding the EOS 10

The Canon EOS 10 is an autofocus 35mm SLR introduced in 1990. The model name was EOS 10S in the Americas, and EOS 10QD in Japan. There was a commemorative metallic-silver version introduced in 1991 to mark Canon’s 60 millionth 35mm camera sold.

The improvements over the original EOS cameras are a newly improved autofocus sensor. Focus modes include One-Shot AF for non moving subjects and AI Servo AF for moving subjects. It is able to detect and switch automatically between the autofocus modes. Shutter ranges from 30 sec. to 1/4000 sec., with B. X-sync at 1/125 sec. Similar to the EOS 750, is has a built-in flash with a guide number 12 (at ISO 100). It uses one 2CR5 lithium battery and weighs approx 625g for the body without battery.

Camera wiki.org

Assessment:

One of the nuances introduced on this camera was the barcode option. Introduced at a time where barcodes were starting to creep into our life, in a knock at Minolta and their use of specific expansion cards for specific scene settings, Canon thought it would be good to utilise barcodes that you could scan, to automatically set your camera with these options without expansion cards. Needless to say it didn’t take off and was soon dropped from later camera production. It was a sign that the development teams were looking for advancement opportunities.

That barcode mode – soon forgotten

These cameras are available at fairly reasonable prices now partly due to the dreaded sticky rubber grip issue that tends to send buyers running for the hills, god knows why, it’s an easily remedied issue that just takes a little time and patience. I did a previous post about cleaning these cameras here: Sticky, Rubber camera grips it’s all down to the polymers in the Vulcanised rubber breaking down and reacting with hand sweat and other stuff. Have a read, and never throw away a camera just because it’s sticky.

This camera has some stickiness but it is not an advanced case. It will still be cleaned in the same manner, to prevent it developing any further.

The camera is just a bit dusty and in need of a good clean. The mirror is dusty and needs cleaning, a blow out of the interior should suffice as the shutter blades are opening and closing with no issue.

The battery is a lithium 2CR5 cell. The battery chamber is clean with no signs of battery contamination, this is a very good sign. When placed into the camera the screen comes on, is clear with no damage. A lens put on the front confirms that auto focus can be achieved and the camera fires and winds as expected.

To be quite honest, there doesn’t seem to be a lot wrong with the camera. It really seems to be just a clean and maintenance issue. I’m going to give the camera a thorough look over, dust and clean, a thorough clean of the external rubber and finish it all of with a good exterior body treatment. I will then run a roll of used film through to check the DX reader is working, as well as the transport system. Fingers crossed nothing major raises its head during the repair process.

Repair:

Straight in and at the cleaning, and to be honest the rubber wasn’t too bad. I only used two applications and not a lot of dirt came off on either. After it has dried, it does feel a great deal better.

Heavy cleaning, wasn’t that heavy

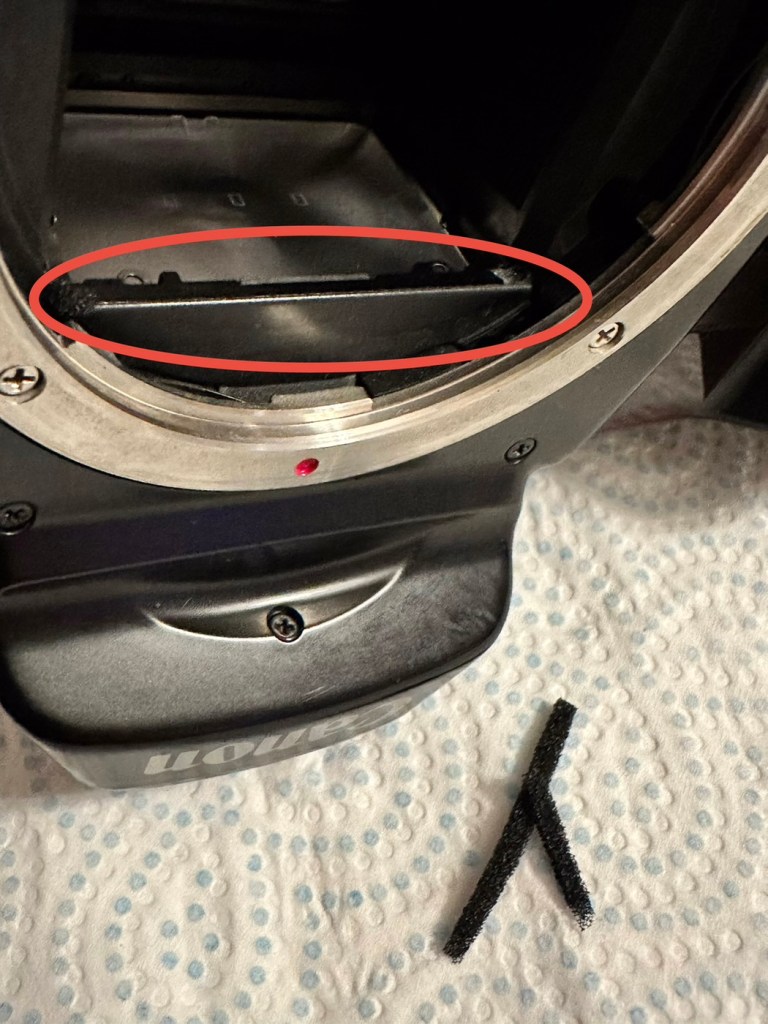
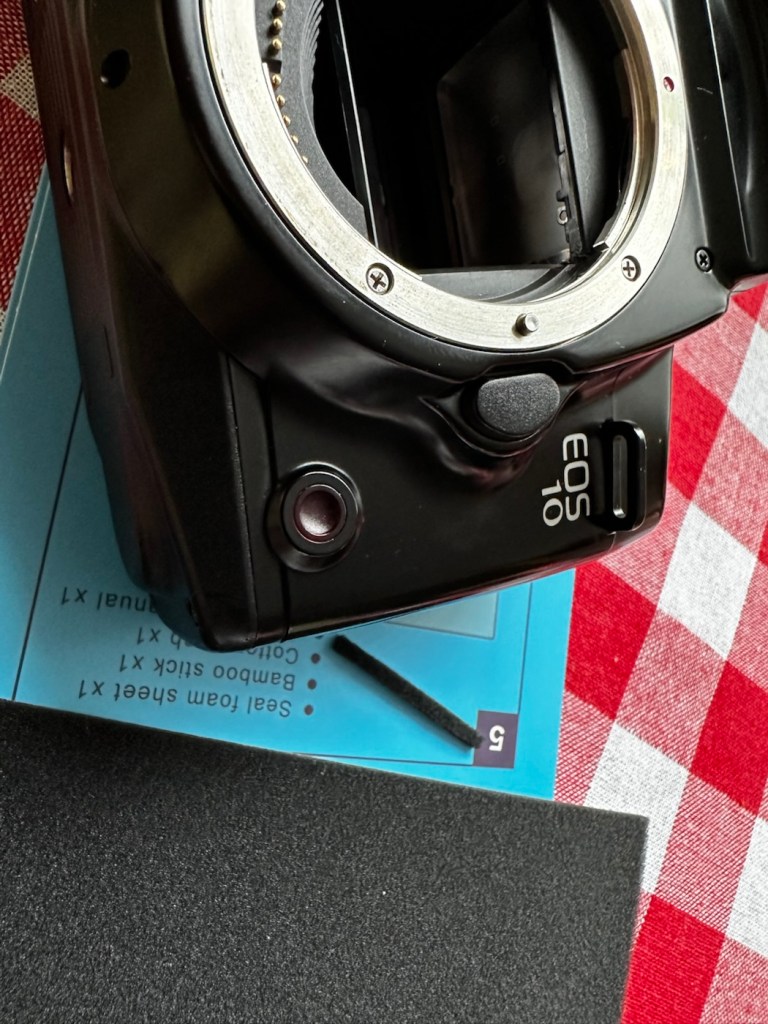
The mirror has cleaned up nicely, so has the prism above it, however whilst in there I noticed that the mirror damper felt was failing, so this I have now removed and will have to replace prior to using as I don’t want to cause any further damage.

The missing damper felt area, highlighted in red

I’ve had to order some new material that will hopefully be here shortly, as my supply, as is always the problem lately, is in storage with all my other gear pending this house move that will probably never occur. it’s a real pain in the butt not being able to access your most required kit. Hey ho.

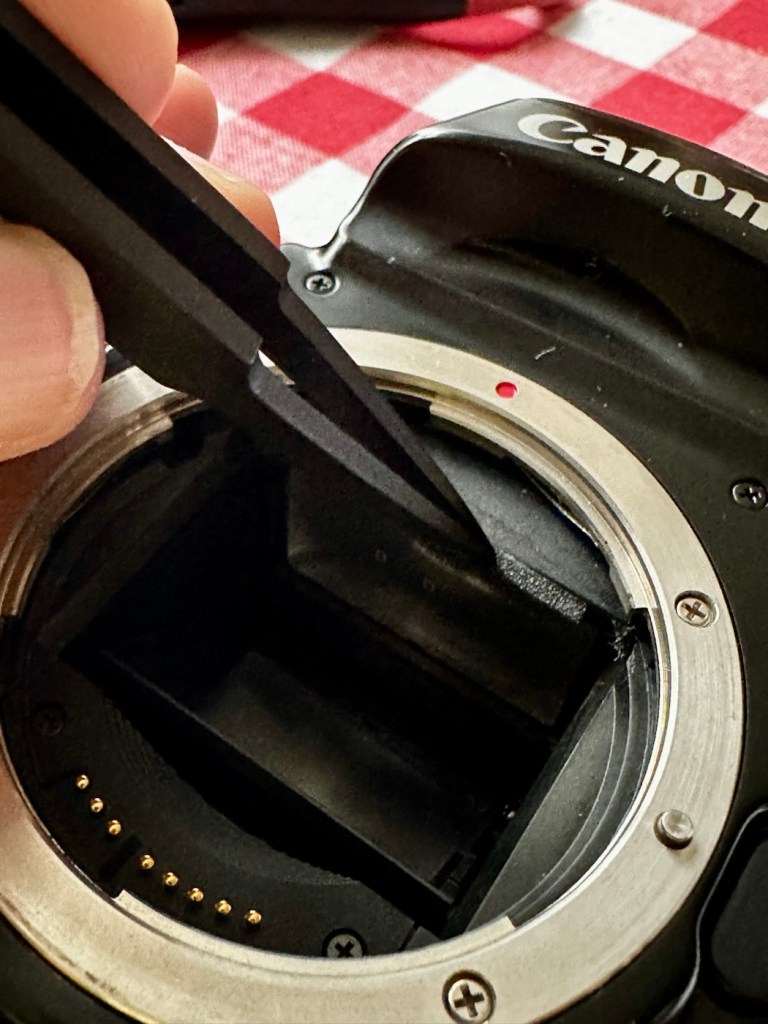
The light seal has arrived, and so I start by getting the damper felt put in place. First I cut it to size, remove the sticky back paper and just wipe the sticky bit with some water, this allows me a little more time to reposition it before the adhesive does its work.

Below is a very small video with me putting the camera into manual mode on a single exposure setting to test the actual worth of the damper foam.

All working fine

I’m happy with what has been done so far.

Strap cleaned and restored

I’ve even given the neck strap a good buff up, the rubber on it was almost white rather than black, a bit of a clean and a polish and it’s now been restored to it’s original glory.

With the new damper in place it’s now time to run a film through it, I have an old test film I use for this purpose, I’m going to set the camera to its highest shutter setting and just run the whole roll through in quick succession to check the transport and rewind.

And here is that test, it went super fine and the full roll rewound at the end.

Transport works just fine

I’ve tested all settings, shutter speeds and functions including the flash and all is as it should be. I’m happy to say that this camera appears to be in full working order.

Now for the final clean and presentation.

Result:

Well, a little bit of car cockpit cleaner has done wonders. It looks beautiful and has a nice aromatic smell as well. I know I’m biased when it comes to cameras but I think this is an absolute beauty.

All polished and looking fine

I’m really pleased with this camera, I’m heading out later today to watch a relative play football and I’m going to take this along to grab some snaps with an expired film from 20 years ago. It will be a good final test of the capabilities of this camera, and should finalise its renovation. It’s been a great camera to work on and is yet another worthy addition to my collection. I will post the photos here when they are finalised. Canon Eos 10 test shots

Thank you all for passing by, it’s always most appreciated.