Halina A1 Reflex – Test roll, it’s foggy out !

Hey hey, I’m back. Well, after my previous rant I thought it best to get back to normal or as normal as can be achieved so here we go.

If you remember a few posts back I took on an old Halina A1 Reflex cheapo camera from the 60s. It was in a bit of a state and had seen better days. It had a full refurbishment with lens fungus removed, shutter mechanism repaired and a new leatherette finish put in place to tart it up. It looked quite nice and I was quite pleased with the outcome.

Halina A1 Reflex and exposed 120 film

However that is all well if you want to use it as display piece or a bookend, but I wanted to see it work.

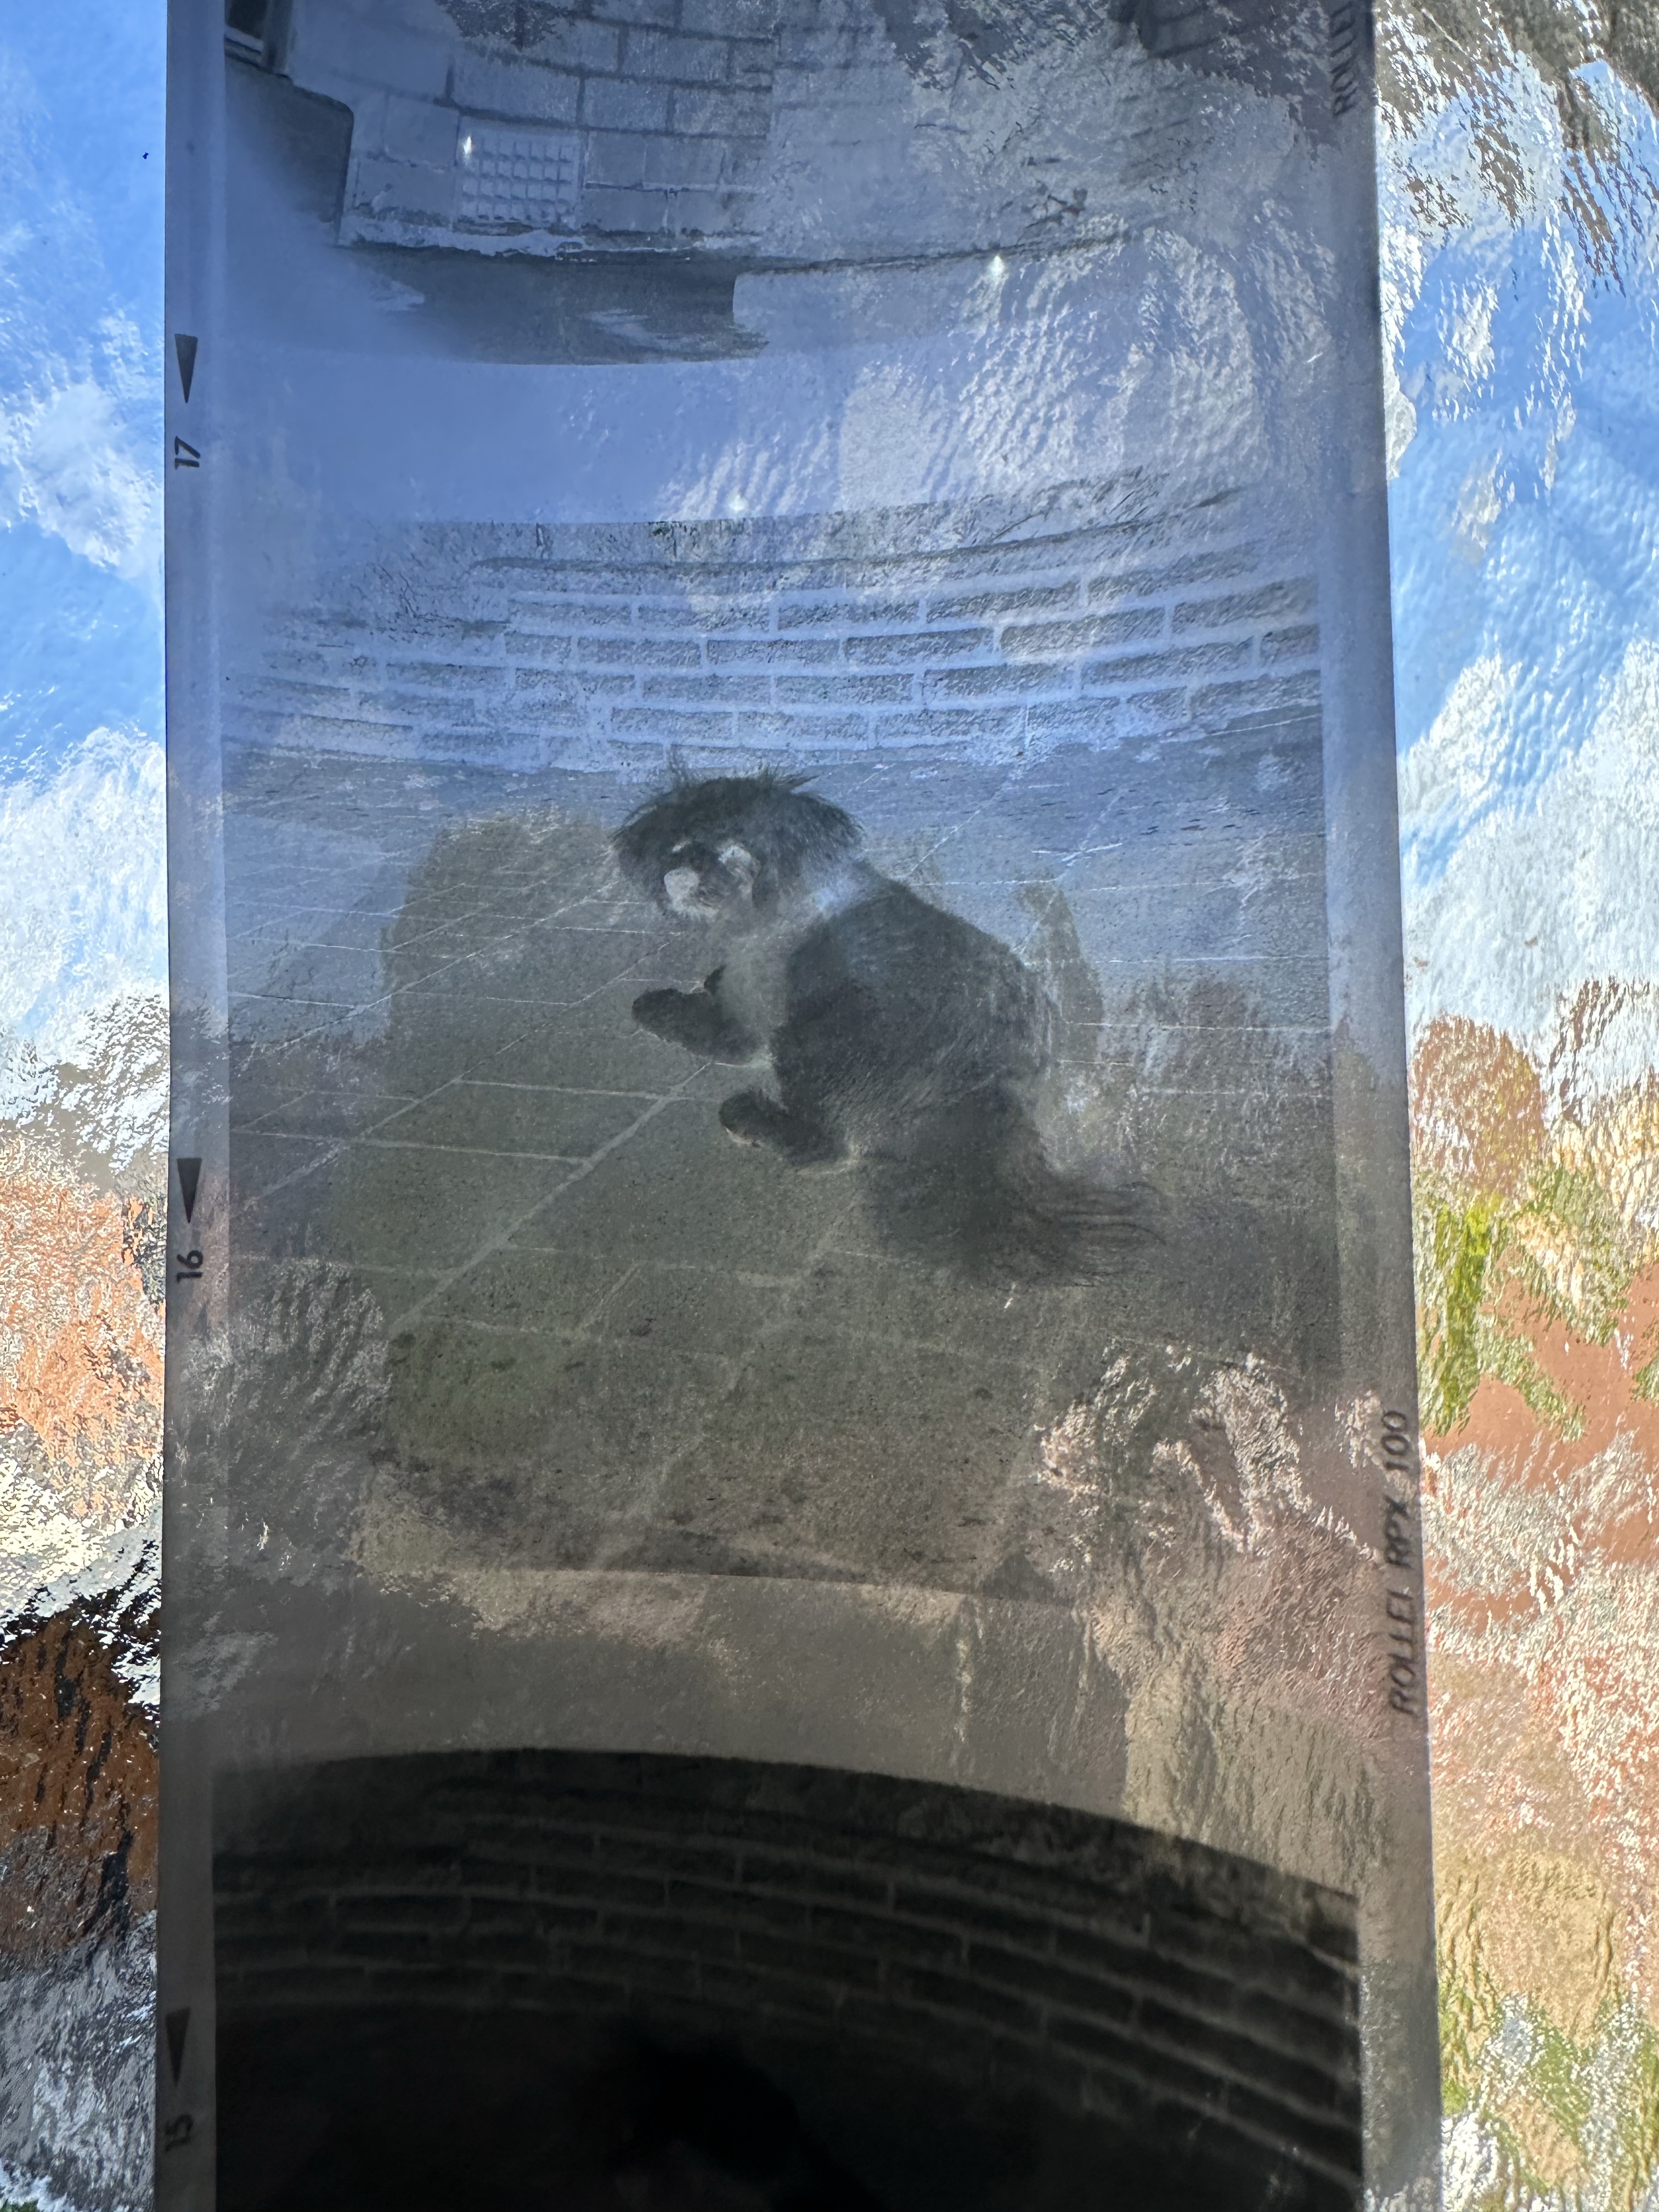
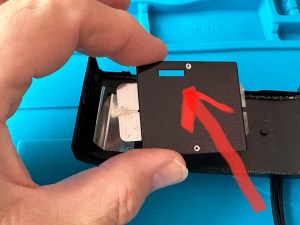
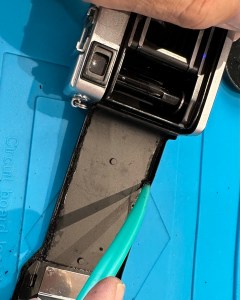
Over the last few weeks I’ve had a roll of 120 B/W film (Rollei 100 RPX) sitting in it using it once in a while whenever the weather was right, and light conditions sufficed. Seeing that I’d replaced the light seals I wanted to check whether there were any issues there and as a result of todays development of the roll this could be an issue.

Paterson tank

When exposing I’ve forgotten to wind on a couple of times, but in general i seem to have got it right. The wind on is ok and the displays in the window are visible. Barring some double exposures the settings on the lens seem to have done their job, I seem to have set both lenses up correctly so I’m happy with that.

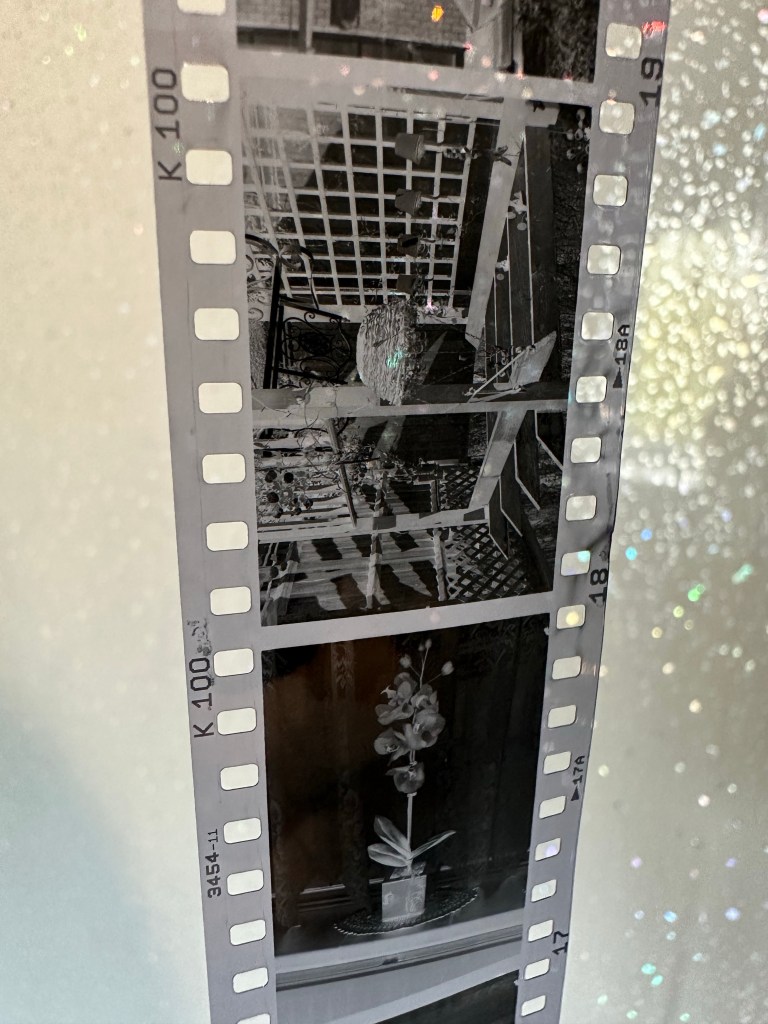
The film has an over all visible darkness that points to fogging. I think I might be responsible for this to be honest, I was a bit too impatient to get the roll loaded into the Paterson tank, I had a duvet over my head but the strong summer light was evident for the first time in ages in the East Midlands, and I shouldn’t be able to see the developer spiral….but I did briefly. Not good.

That being a problem I really do need to run another film through the camera to 100% check the light seals and then develop in the appropriate conditions.

I was silly here but another lesson learned. Be patient, don’t rush things and just do things properly.

I’m pleased the camera works, I’ll be able to get some pictures off the negatives and what I can see through a Lupe looks promising.

My 120 mask on my scanner has gone missing, so the pictures might be a little while before they make an appearance. I have another roll of film though so I’ll get that in the camera this week and get busy, and when it’s dark I’ll develop the film….properly

Have a wonderful day everyone thank you for passing by, stay safe and smile it uses less muscles than a frown 😂

Halina A1 Reflex rear door repair and new light seal

Just a couple of little jobs tonight.

The loose hinge on the rear door has tonight had a two part epoxy resin glue put on it and is clamped for the next two hours to ensure it is sufficiently secured for usage. Fingers crossed this should work.

Door hinge repair

Also the original light seal on this camera was simply string. It was black originally but seeing I have no black available and in the interest of recycling what I already have I have replaced, in keeping with the original design like for like. Yep it’s red but it’s not going to be seen anyway, is more than up to the job and the new skin will have red on it anyway so it will be complimentary in that aspect of the renewal.

I don’t have anymore to do tonight, if this all works out well and the hinge is sufficiently strong enough then I can start reskinning and reassembly.

Thanks for popping by, always appreciated 👍

Halina A1 Reflex paint touch up

Working tonight, and between jobs I’ve managed to do a few of those little tedious jobs that still need to be done on this camera.

I’ve cleaned pretty much all the parts again, used some isopropyl to really get the old ingrained dirt away and have retouched with either a gloss or Matt paint depending on what part of the camera needed touching up.

I’ve also replaced some light seal and still have a bit to do on the roll film door. I’ve also reassembled the mirror assembly after each little part of it has been thoroughly cleaned.

The smell of age that has always been an issue with this camera continues, however I have had a bit of a breakthrough today with the camera itself, it’s a strange one but it seems to work. Once the painting has been done I’ve used a cloth soaked in black shoe Polish to coat all metal areas of the body. Once this dries I buff up with a dry cloth and hey presto not only does the retouched paintwork come up lovely it now has a polished smell that has taken the dank smell away from the bodywork. Hopefully fingers crossed this can be used to combat the years of damp smell that has accumulated on this piece.

Finally I have taken every shiny piece including screws and cleaned these as well, I must say the cleaning works and these parts have all come up lovely.

The case still needs attention, I’m fighting years of damp and staleness with that and hopefully will have an acceptable solution for it soon.

I still have to get into the lens and sort the fungus issue out, there is a hinge on the roll door that needs fixing and I then need to use the templates I created last week to cut out the new leatherette for the camera. Still a small amount to do, but I hope to be able to reassemble very soon.

Have a lovely day and thank you for passing by.

Olympus 35 ECR – complete

I have processed the roll of Kentmere 100 at home today, it’s currently drying in the shower and I’m really pleased with what I’ve seen so far. The carriage of the camera is working well with even spacing, exposures look promising and no sign of fogging proving the new light seals are good.

I’m yet to run the negatives through the scanner, still waiting for them to dry but when they do I will post a gallery here. Gallery – Olympus 35 ECR trial roll

The camera in my eyes is now in good working condition, all that I did with it has proven beneficial and I’m adding this into my personal collection.

Olympus 35ECR now in storage

I’ve now packed it in a bag with all the air extracted and a couple of silica bags to stop any potential moisture. I do this to all the cameras I store for their protection and to save me having to go through the whole process of maintaining them again.

I’ve enjoyed this little project and am now happy to say….

Job done 👍

Olympus 35-ECR Light seal replacement

I have obtained some 1.5mm camera seal and have commenced the replacement of the old seal. First thing to do is measure the widths required for each of the 5 pieces needing replacement.

Easiest piece to seal is the larger segment at the hinge of the door. Setting this piece first allows you to get the start point’s correct for the longer more fiddly sections.

Door light seal replacement

When it comes to the longer runs there are two width measurements. For the seals on the back door they are approximately 2 mm wide and the ones on the camera itself are 1.5 mm wide. I have cut these myself and believe me they are awkward little buggers to get in place, I very much doubt you will do it first time (well done if you do) it’s taken me a number of attempts and to be honest I’m still not 100% happy with the results. The rear door is the second easiest piece to do as you can remove the film guard to give you some space to work.

Rear door with new light seal installed

The camera body is ultra awkward as the seal is so thin. I have put in two lengths and it’s stayed in place overnight but I may well redo it again at a later date. I will run a film through to see if it is sufficient as I suspect it may well be. My trouble is I’m just trying to be perfect but sometimes you just have to lower your expectations slightly. A couple of things I would recommend though:

  • Use an ultra sharp craft knife
  • Use a metal ruler
  • Wet the adhesive as you put it in place as it allows you some option to move it prior to sticking
  • Be patient, you will have to cut a number of strips
  • Be prepared to remove re clean and try again
  • Practice and don’t be downhearted if you fail
  • Try again
  • Practice makes perfect 👍

This is going to be a stock camera for me so there is no rush to move it on. Keep a camera spare for yourself to practice on as it will only improve your technique in the long run. This was my first attempt at seal replacement and I have learned a lot from this exercise. Come back to see the results of my test film on this camera.

Olympus 35-ECR Light seal removal

What I noticed whilst inspecting this camera was that the light seals around the rear had decayed sufficiently to require replacement, and after approximately 50 yrs that seemed to be a reasonable assessment.

Quick video of the light seal removal

This page will cover the light seal removal, it is important that the camera is thoroughly cleaned and all debris removed as this will make mthe replacement of the new light seals so much easier and less cumbersome.

Items required:

  • Isopropyl or another sufficient cleaner
  • Cotton buds
  • Cocktail sticks or plastic modelling knifes
  • Compressed air can
Remove film plate – remember the correct orientation

Remove the film plate on the camera door as this assists when cleaning, easy to do, just be careful when removing to ensure you don’t bend the retaining springs, and ensure it goes back in the correct orientation so that the small hole in the top corresponds with the winder sprocket on the camera body.

Scraping out the old light seal

There are 5 seals on this camera. Two on the camera body one top and one bottom, the same again on the rear door and a final one where the door hinges on the camera. Lightly wet these with some isopropyl and let this seep in for a couple of minutes. Using a cocktail stick or a plastic modelling tool (not metal as you will scratch the frame) start to gently remove the old seal and remove any debris away from the camera. Take your time here as it is important to get each channel clean and debris free to ensure the refitting phase goes without issue. Now wet a cotton bud with the isopropyl and run this numerous times along each edge where you have removed the seal to ensure it is really clean.

I would suggest you set a good hour aside to ensure you do this job correctly and completely, it really is that important to ensure you get good results.

When the removal of all seals is complete I’d recommend that you clean again, yep I know it’s boring what I am saying but the cleaning really is that important. When it’s done, get the compressed air can and give a few well aimed blasts of air into the areas you have cleaned making sure you do not direct any debris towards the shutter, please keep this area sheltered or you can create other issues.

The debris left over after a good clean

Once you are happy with the clean up, shut the camera door and leave it alone until you begin to install the new light seal on another occasion. Then we will clean the camera yet again 🤦‍♂️