More Camera statistics

Back in March 2023 in the early days of this site I threw some figures out there regarding the amount of cameras on the planet up to and including 2022, you can read that post here: Vintage Camera figures

In this post I’m going show a graph and some figures regarding the decline of DSLR ( Digital Single Lens Reflex ) in the last 12 yrs.

It’s becoming obvious that people are ditching the traditional camera frame for the mobile phone and tablet approach and the figures you see in decline for traditional cameras have probably gone in the total reverse and multiplied many times over for the latter. It hurts the brain to realise the total amount of picture capture devices out there, as well as the waste that this produces as a result of what has become a throwaway society in which we all must share some guilt.

I can honestly state that in the last 12 months I have purchased close to 60 Cameras, 18 radios about 14 portable cd and tape players and not one of them has been disposed of much to my wife’s displeasure. (To be honest she’s very supportive of what I do as it keeps me out of mischief.)

Anyway I’m starting to drift a bit, so in my last post back in 23 I think I stated that there were estimated in 2022 to be something like 45 Billion photo capture devices on the planet, enough for 5.5 units per person that inhabits this Ball floating in space, a phenomenal number. And now there are probably even more.

The traditional camera is being ditched though and as you can see in this graph supplied by Statista It is a seriously declining part of the consumer market.

DSLR decline courtesy of Statista

The number of digital single-lens reflex (DSLR) camera shipments worldwide has been on a downhill ride since 2012. In 2023, a total of around 1.18 million DSLR cameras were shipped by *CIPA companies all over the world. Despite the decline in shipments, the average price of digital cameras per unit has continued to remain stable.

In eleven years the annual sales of a DSLR has dropped by almost 16 million units in 2012 to a paltry 1.18 million in 2023, as I’ve stated the sales of mobile devices have probably quadrupled and risen in the opposite direction.

The question is, are traditional cameras going to be more of an antiquity in the near future or will there always be a demand? There are so many out there that I can’t see them commanding any good price through rarity as there are just so many out there.

I learnt my trade in photography back in the late 70s early 80s. Back then we did everything by hand from mixing the chemicals, manually printing using enlargers and various types of papers, dryers and drums. Dodging and shading, manually touching up any defects as work was produced. We even made dupe trans, did letrasetting and made the boss man tea. A computer does it all now….apart from the tea but I bet that’s on the horizon.

The chemicals we mixed were in 100 litre batches and were pure poison. E6 Colour developer contained Hydroquinone, and the final bath (Stabiliser) all this chemical was pure formaldehyde, we never had masks or gloves back then and after mixing a batch of these chemicals you were out in the yard for a good half hour coughing your guts up. There were many other chemicals involving ammonia and powdered citric acid and these were just a few of what we used. If you could only imaging the shear hell we went through for you to get your photographs.

Probably why I have such bad Bronchitis and Asthma nearly 45 years on.

What I’m saying is the digital world of today is immense progression and removes all that danger away from the business. It’s killed the business as much as any other big business out there. But it’s probably not as much fun or as much pleasure as doing the whole process by hand using traditional skills. Heck I bet that will kick start a conversation between the traditionalists and modernists.

Whatever way we look at things, time moves on, progression is always going to occur and we must (Even though we don’t always want to) adapt to change. And it’s going to change for everyone big time in the next decade or so.

Even though it’s like saying goodbye for a final time to a dear old friend. I enjoyed my role I played in it.

Supplementary notes

*CIPA stands for “Camera & Imaging Products Association”, which is the trade association of the Japanese photo industry.

The section “digital cameras” includes the following producers: Olympus, Casio, Canon, Kodak, Sanyo Electric, Sigma, Seiko Epson, Sony, Tomy, Nikon, Panasonic, Fujifilm, Hoya, Ricoh.

Garden solar lights

I purchased a pack of 5 of these cheap old garden lights from a local garden centre. I know if you buy cheap you pay twice but these did look quite reasonable. I know that most people only expect a season out of these lights however I try to look after mine, bringing them in during winter months when the garden isn’t being used and sunlight is non cooperative.

These were so full of promise, worked lovely for a few days and then two of them just didn’t work at all.

Broken garden solar lights

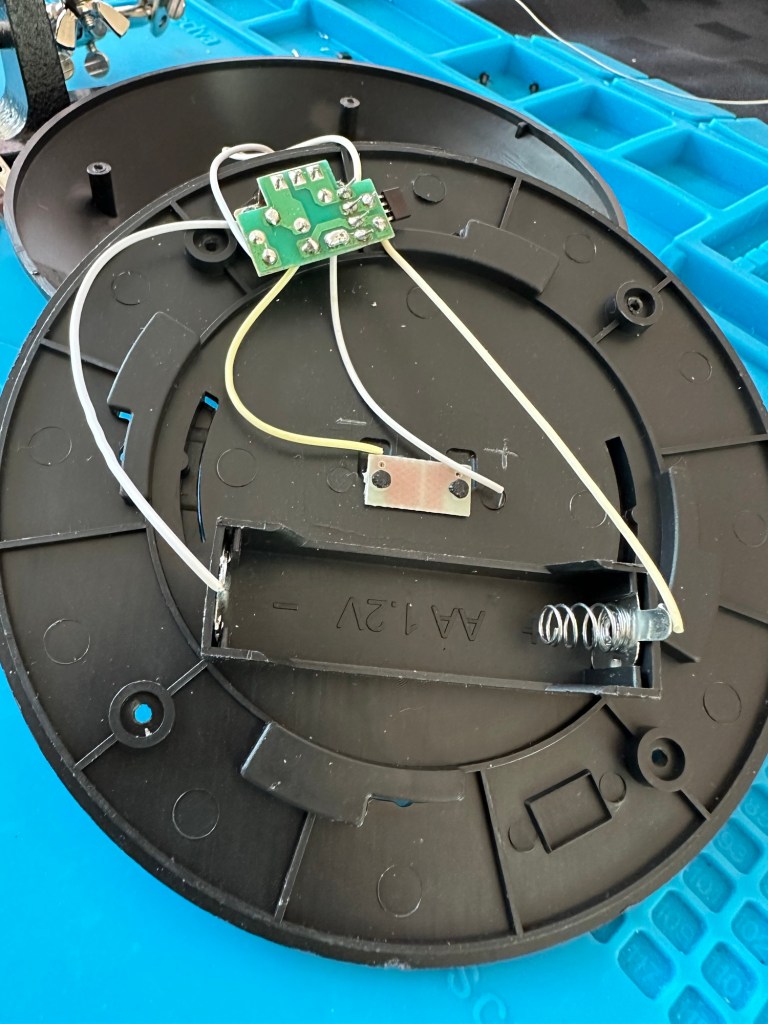
I took them apart and decided to test the batteries, both were showing 0.6v so i suspected the charge circuit was not working. When I put in a fully charged AA battery the lights came on but when exposed to light they remained on, so in a way I am right but it might be slightly more complicated. The battery isn’t charging, also the switch off is not occurring when exposed to light.

I’ve done a few tests using the multimeter, the solar panel is ok and giving a reasonable voltage under sunlight of 2.4v.

Solar panels working

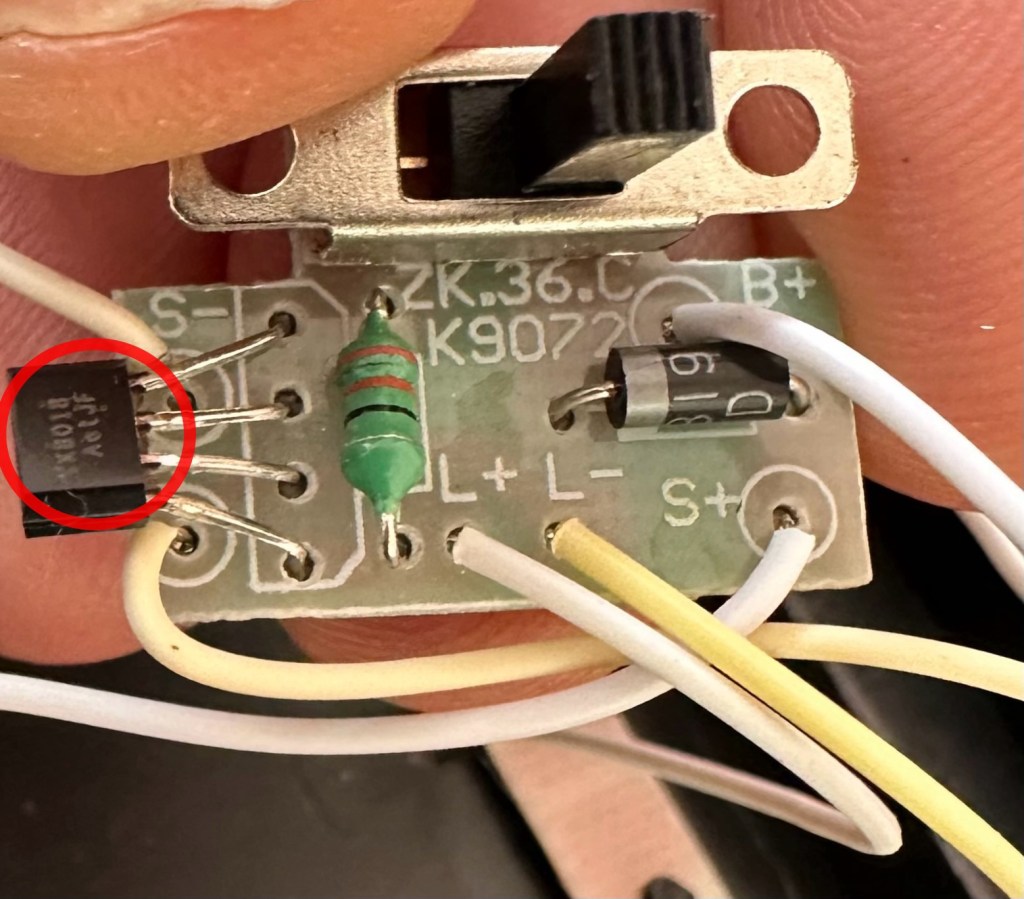
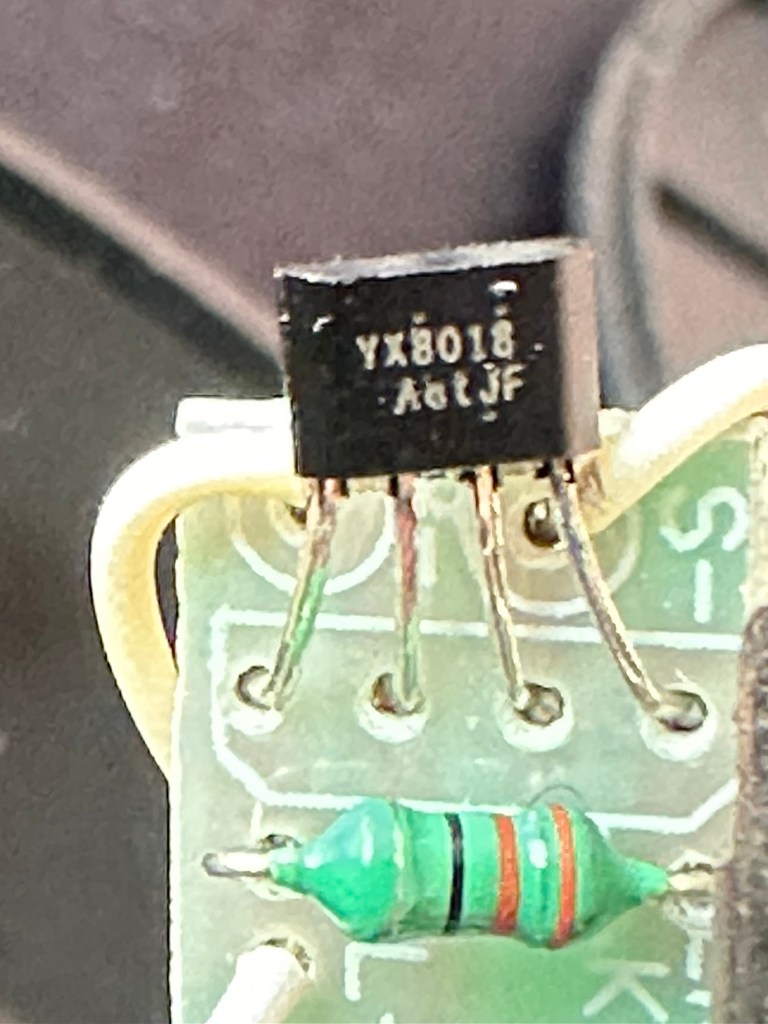
The circuit board only consists of three components and two out of the three test ok. The issue seems to be with the YX8018 controller, the small four legged component in the pictures below.

Failed component circled
Failed YX8018 component

What is a YX8018 controller?

YX8018 is a high-performance solar lawn
lamp boost control chip, which is suitable for a solar lawn lamp powered by a 1.2V rechargeable
battery in series.

The main functions include charging control, boost drive, optical control, etc.
The solar lawn lamp mainly uses the energy of
the solar cell to work. When the sunlight shines on the solar cell during the day, the light energy is transformed into electric energy and stored in the battery, and then the battery provides power for the LED (light emitting diode) of the lawn lamp at night.

It has the advantages of safety, energy saving,
convenience and environmental protection.It is
applicable to solar products powered by one 1.2V
rechargeable battery.

Conrad electronic SE

YX8018 circuit diagram

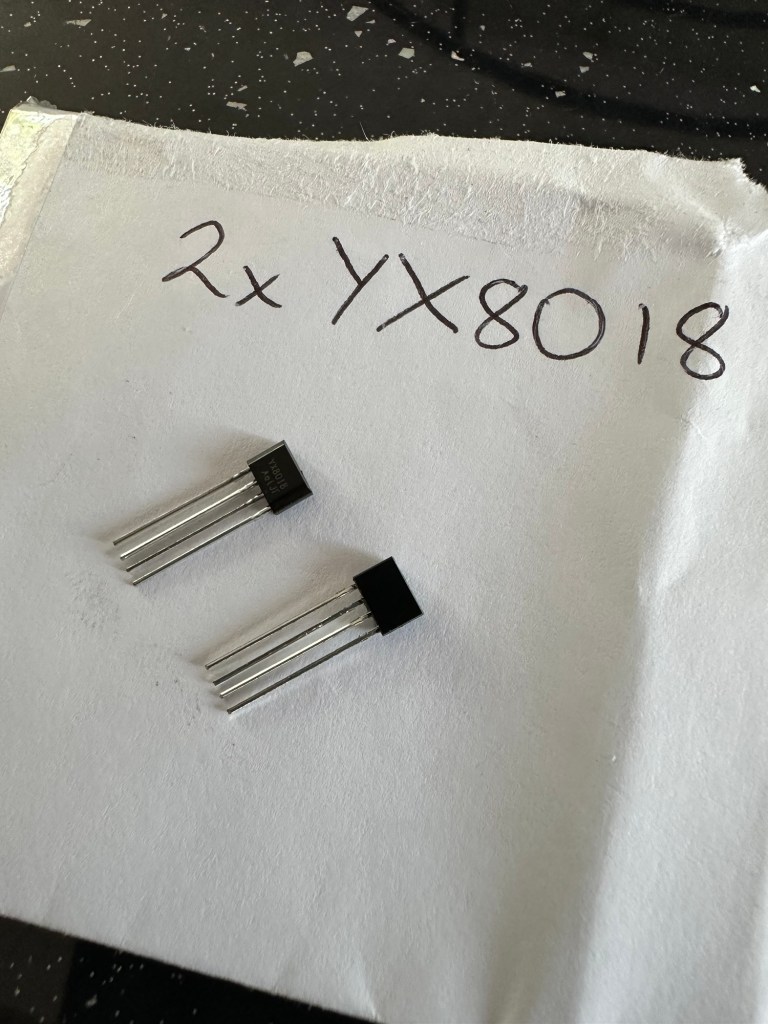
This appears to be the culprit after some basic tests have been carried out, there is about a 16% failure rate in these components so I don’t hold out a great deal of hope for the two that I’ve ordered. I shall eventually order a stack of them from China but for now I wanted some a bit quicker so I have ordered locally.

Two arrived….i now need three

Well, the two components I ordered have arrived today. But now I need three, as in the week another one has suffered the same issue. On top of that I have dropped one of the units and the solar panel has parted company. I’m now sourcing some liquid solder that may assist with getting this problem sorted. As is normal with me this little project has escalated due to my utter clumsiness. I must do better in the future. (Sounds just like one of my old school reports.)

In place ready to solder

I dismantled the two units I previously mentioned and followed pretty much the same process with each. Desolder, remove component, wick solder, put new component in place and then put a semi charged battery back in.
All soldered

I left the lights in the sun for a couple of hours and the charge has lifted from 0.8 to just over 1.1 volts so I’m happy that the charge circuit is now working.

The final test was to turn on and see what happens. Good news, nothing seen until I covered the solar panel and then the lights came on. Excellent, job done and more items saved from landfill. I must say I was really happy with my soldering on this job, it appears to be getting better.

Now working

I just need another component for that other one I broke in the week. However I won’t bother you with that one 😂

Sony ICF-480L 3 band radio assessment and repair

I originally posted regarding the purchase of this item in this blog post Sony ICF-480L 3 band radio

The radio was received earlier today. Cosmetically it is a bit tatty, batteries were placed into it and apart from a quick flash from the power light when it was switched on there was no sign of life. So the original description was false as it stated that it powered up with a very low volume. Oh well, not to worry, it now gives us something else to look at.

Tatty appearance

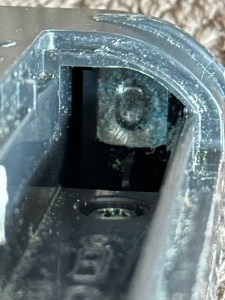
Looking in the battery compartment there looks to be corrosion, this seems to be a common problem with items I’m buying at the moment. The screws have all been tampered with so I suspect others have been inside this radio prior to my purchase, this could be interesting to see what’s already been tampered with or attempted.

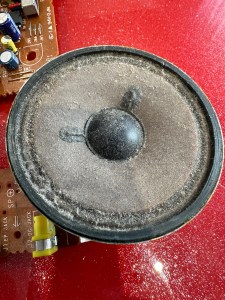
I’ve had the unit open and the first thing that comes to light is the utter filth inside. The speaker is thick with god knows what and the board and switches are also covered in the same filth. Before I do anything I’m going to get this cleaned up.

I’ve used IPA on the board and cover and on the (thankfully small) corrosion on the positive battery pole and this has cleaned up nice. I’ve used contact cleaner on all the switches and dials and these have also come up ok.

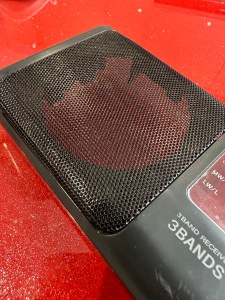
The speaker grill, I have tidied up and used permanent marker to get rid of the marks on this item. This has tidied it up really nicely.

On the speaker I just used a dry cotton bud to wipe it over but I have my suspicions with this speaker, it looks quite worn and earlier reports on the lack and consistency of sound points to this being a potential issue with this unit. There are no clicks and pops when turning the unit on, there is a power and tuning light. Just no sound.

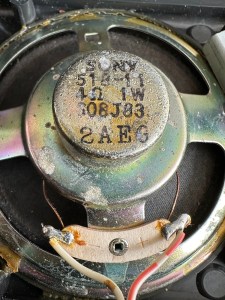
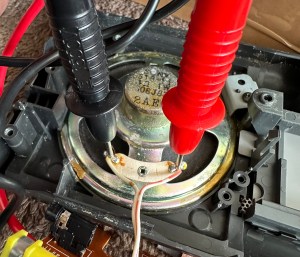
The speaker is a 4 ohm 1w speaker, I’ve used a multimeter to check its operation and it’s showing as dead, not registering at all, it should be looking at indicating something within its 4 ohm range. I’ve double checked it by putting a battery across the terminals and there are no pops or clicks so this confirms things. I now need to source a new speaker.

Trying to source this speaker in the uk is a tad problematic. There are items available but I’m not paying out two to three times the value of the whole unit. I’m going to try some thrift shops to see if there are any suitable donor units available if not I’ll have to purchase a few of them from China, and that will still be cheaper than purchasing here in the UK, crazy isn’t it? But it’s a long wait….

I did manage to get one from the Uk. Paid about £5.18GBP and it should be here in a couple of days. The annoying thing is that the postage is almost the same cost as the actual speaker and that only cost £2.69GBP. Annoying though that is, it has to be done if we want to get this fixed.

I couldn’t get a 1w 4 ohm speaker only a 1w 8 ohm speaker, this will be fine as at this level of use it will not affect output at all.

A small bit of desoldering, removal of the speaker clamp and the speaker comes away after a little persuasion. I take the opportunity to clean the board and all the battery contacts with some cleaner, and all corrosion marks and debris are now a thing of the past.

Corrosion cleaned

I put some contact adhesive on the speaker grill and put the new speaker in place, clamp is attached and I now solder the speaker wires back in place.

All screws back in place, new batteries in the rear and battery hat hatch closed, the unit looks good.

But does it work?

Radio works – have a listen

You betcha! Have a listen to the short video above to hear it as it should be.

I’m very pleased with this little project. Simple repair in the end but in my eyes it’s another item that isn’t going to landfill. And that’s a win for me, as it’s a nice little radio and I’m going to get some good use out of this.

Jobs a good ‘un 👍

Fuji Finepix S1500

Why do I do it?

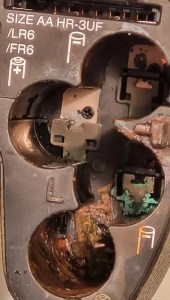
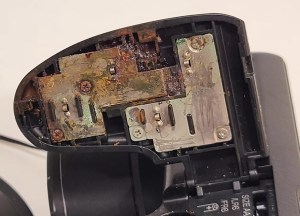
Serious battery damage

EBay listing

I like a challenge like most people. But this listing note above should have put me off, but no, I have the equipment, I have the time but do I have the patience to see this repair through. The guy wanted more than I was prepared to pay for such a camera, I got him down to less than a quarter of his original asking price paying just £6 gbp for this camera. Hopefully if it all goes bottoms up I’ll at least have some spares that can be used, if the corrosion has got to the circuitry it might be a different story.

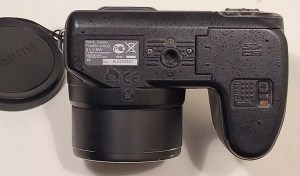
Fuji Finepix S1500

On the market in 2009 this camera was amongst the digital assault from the far east that earned the title of being a “Bridge Camera”. Unfortunately this was not one of the better versions but however was well received by the casual snap shot photographer. I had one back in the day and that was my introduction to digital photography. This particular camera will go to a young family member who is getting into photography, if I can get it working.

The plan with this one is to get it open and do a full review on just how deep the “serious battery damage” goes. I’m not too hopeful, but sometimes luck does go your way.

Keep an eye out for updates when it is received and the work I will be doing to restore it to working order.

Thanks for passing by.

More stock

I’ve spent the grand total of £91 GBP on more damaged/faulty stock today, I now have enough stuff to be working on to keep me busy for months.

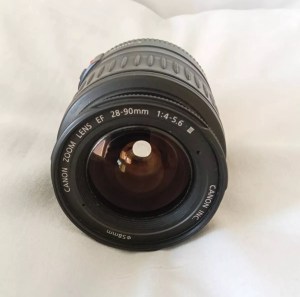
On top of the 6 Canon cameras I purchased last week I now have a further 4 Canon film cameras ( Eos Elan 2, 50E, 1000fn and an Eos 5) I’ve also got two faulty EF lenses to test the old Canons with, these will also get the repair treatment.

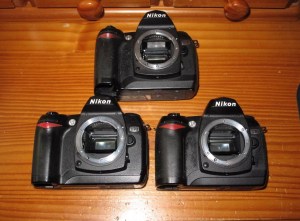
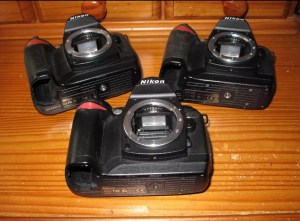
I’ve also purchased four Nikon D70 and 2 Nikon D70S units all needing the repair treatment, I’ve even blagged some spare parts here as well so overall it’s been quite a good days shopping.

Sony Discman D-121 Pt:2

Assessment and fault finding… will it work?

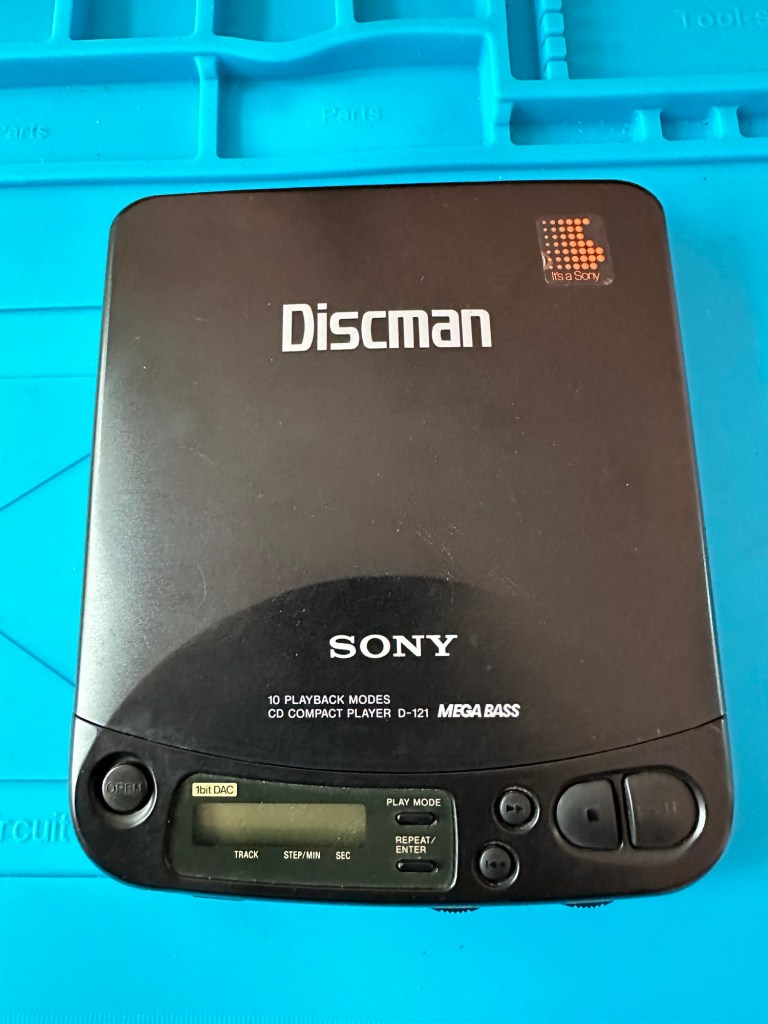
My recent purchase of a Sony Discman D-121 from EBay has arrived. Just as described it wasn’t really working so I decided to give it a once over to check condition.

Cosmetically sound

Cosmetically it’s in very good condition, open the battery compartment and it’s a different story, definite signs of corrosion and at this point I’m thinking the worst. I put two batteries in to check, the display comes on and shows some strange indication of “HI VOLTS” even though all I have are the two AA batteries in. Strange.

I do manage to play one song but that’s it, any slight move and it skips and hops and shows a raft of other error messages that don’t Instil any confidence into me that this is going to have a good outcome. Then the CD drive motor breathes its last. That’s it….kaput.

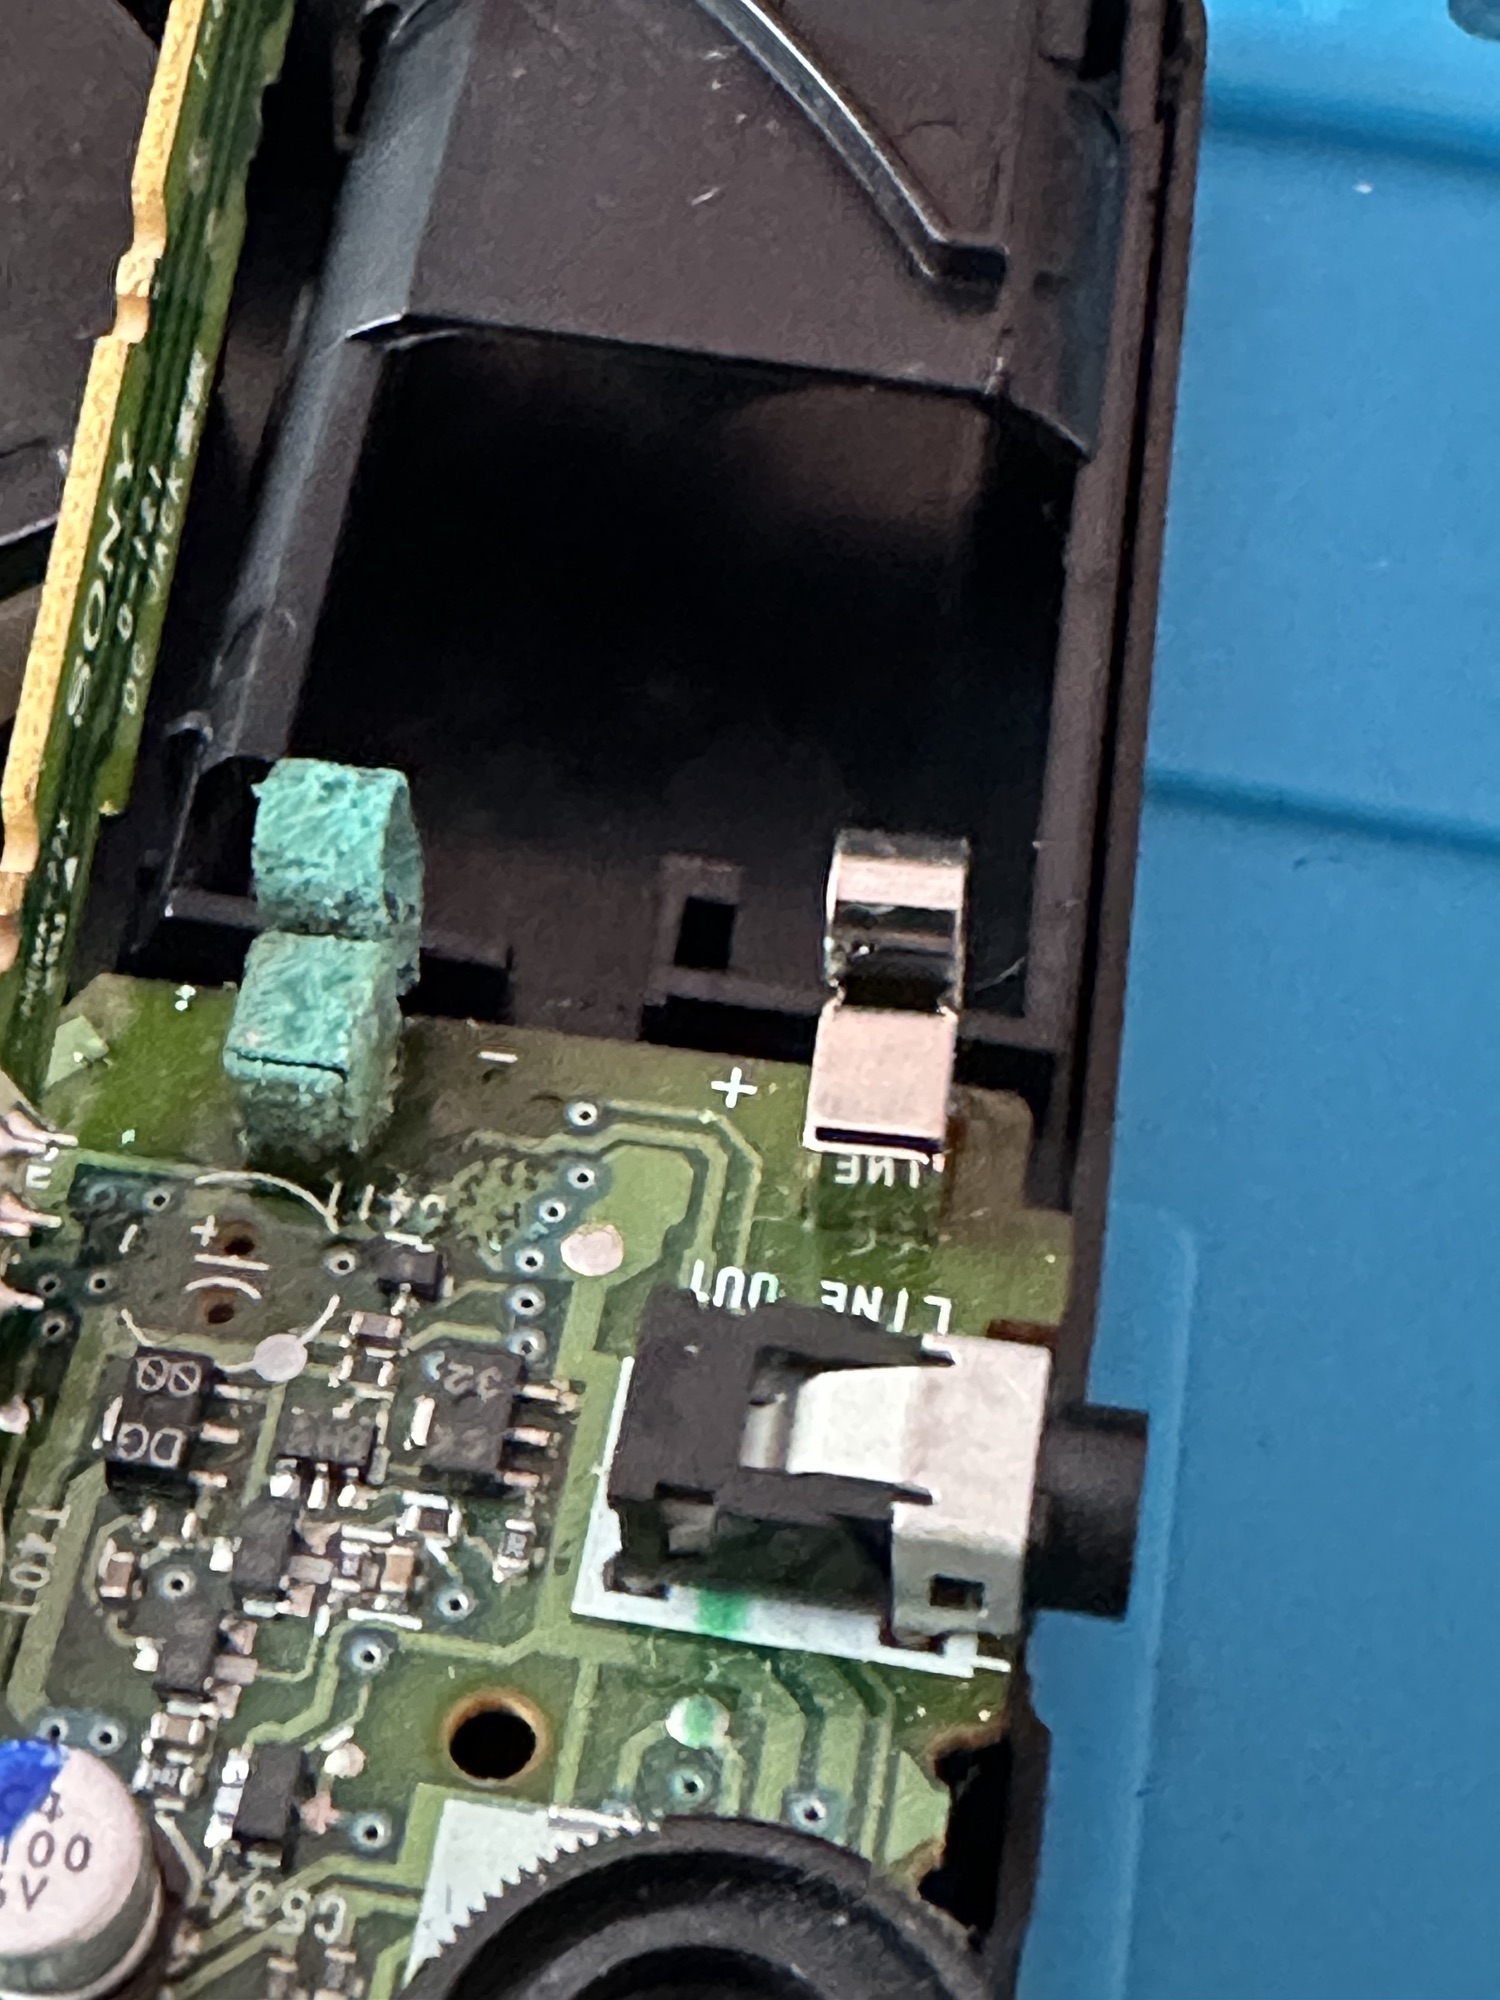
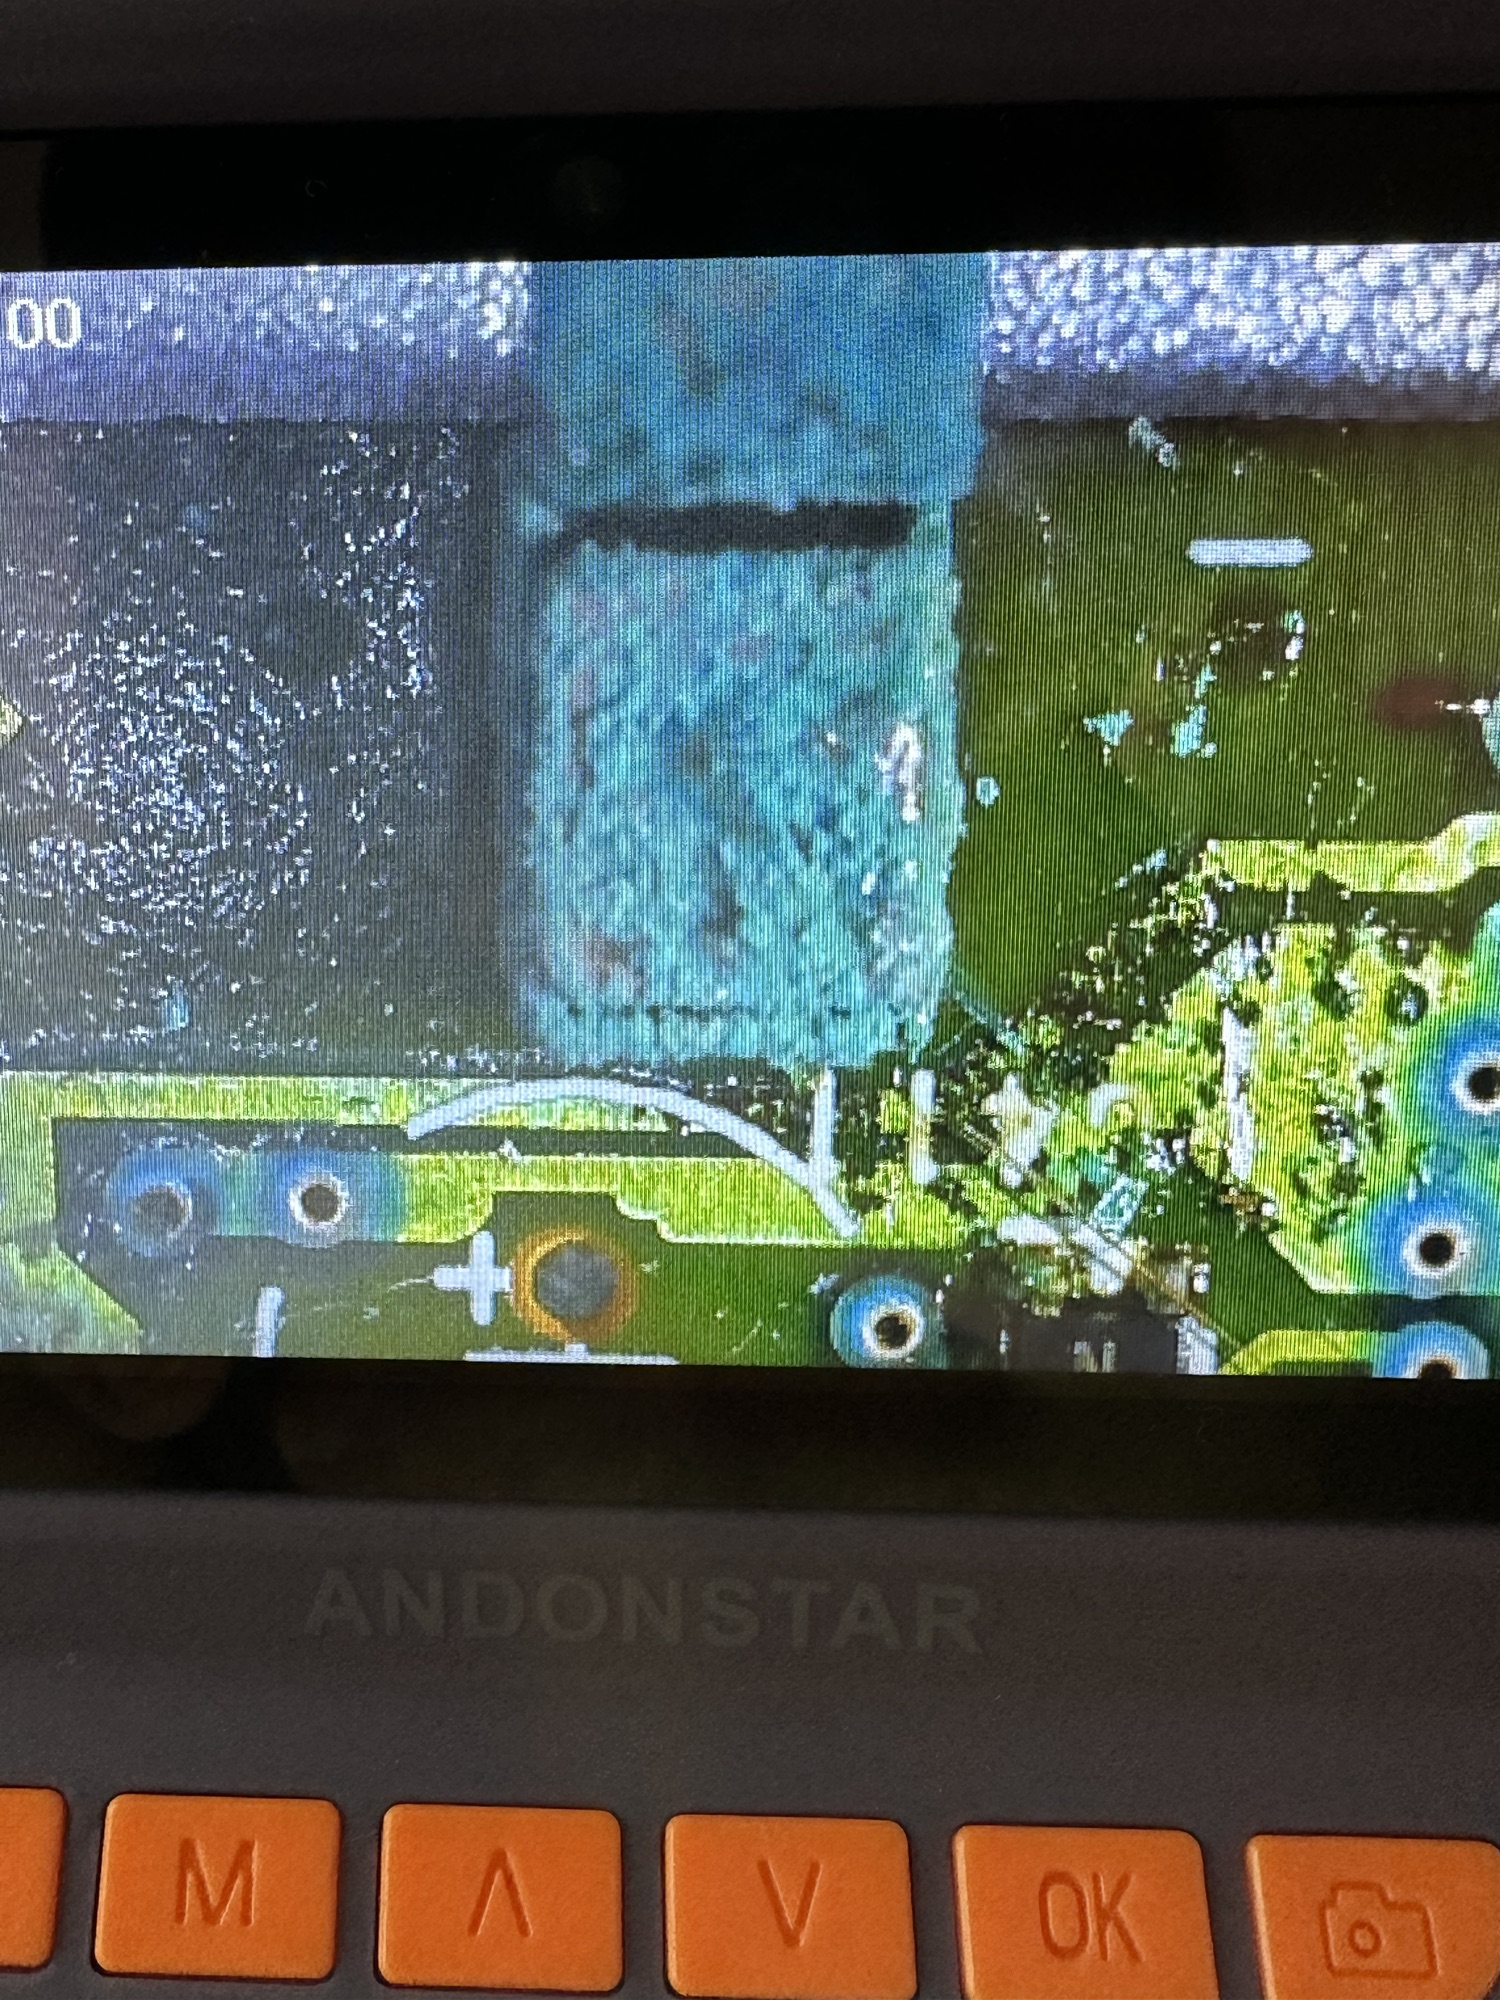
So I open up the unit, and put the circuit board under the microscope. The area around the corroded battery terminal has progressed on to the board and a couple of the circuit board tracks have been totally destroyed. A few components look to have issues and have some spurious test results. A check for continuity with the multimeter confirms that one track is dead and another is intermittent at the very least.

Under the microscope

I clean the offending section of the circuit board with IPA and this just confirms the issue, but at least it looks cleaner. If this had been the only issue I’d have happily soldered in a couple of thin wires to the undamaged track to ensure a reliable continuity.

A further look around the board, and there’s nothing blatantly obvious, but seeing this unit was produced in 1993 it’s now in its 31st year of use I also suspect the capacitors (of which there are many) may well be of that era of suspect capacitors I discussed on a previous post. Read here: Capacitor plague

The main drive motor is known to fail after time and a sure sign is if the CD jumps when moved off the horizontal, apparently this is due to bearings becoming misshapen due to use.

This unit therefore is beyond economical repair for me, and I’m not going to progress it any further. The good news is that I can use the unit for spares and as a number of these older units have interchangeable parts, I’m hopeful that as I have a few more units turning up later this week they may have a willing donor.

So the recycling goes on, and that’s always a good thing.

Happy day to you all.

Sony Discman D-121

Anyone remember these? To say they were popular in my younger years is an understatement. Originally I had the Walkman (A cassette tape version) and I came to the Compact disc quite late in the 1990’s to be honest. Lately I’ve been looking at getting a Discman as I do still have an amount of discs at home and I like to listen to my old music whilst walking the dog. Yep I have my phone and Spotify so I guess I have access to pretty much everything there is out there but I just fancy trying a bit of retro and stepping back into my formative years.

Why not buy one that needs attention? I can kill two birds with one stone, get a repair on this site hopefully and the jobs a good one.

So off to EBay I trot and find this Sony Discman D121 that the seller agrees to sell to me for my offer of £10 GBP.

I expect age related issues, as this particular model was produced sometime in the mid to late 90s. This one has an issue where the disc isn’t recognised and is intermittent. This range has a few known issues and to be honest I don’t think I will have too much trouble in getting this one going again (Famous last words 🤦‍♂️)

I’m expecting its arrival sometime in the coming week so I’ll come back to this post when it’s in my possession for an update on its condition.


Update: 9/3/24 23:11 – For some reason I’ve now purchased a damaged Discman D171 as well🤦‍♂️ I’m a glutton for punishment.

Sony Discman D171


Further update: 11/3/24 22:30 – Stop 🛑 🛑 just 🛑 😳

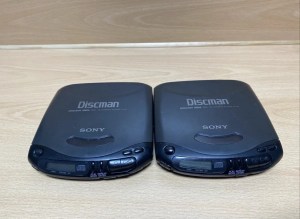
For some reason I’ve just brought another 2 faulty Discman. This time the D-141, two of them. That’s it I’ve got to stop now 😂 really I have to stop 🛑

Sony Discman D-141 x2

Thanks for passing by. Always appreciated.

Halina A1 Reflex…it’s a wrap

I have tonight added a new gallery to complete the Halina A1 Reflex renovation I completed in August of 2023. The gallery can be found by using the links in the margin or by clicking HERE.

As I don’t have the correct mask for my scanner I have had to go about getting the photos on the site in a peculiar way. Firstly I take pictures on my phone and then invert them to get a positive image, an action that I discussed in a previous article that was posted HERE.

Please don’t expect anything too fantastic, it was a test roll and mistakes were made, but a lot of enjoyment was had getting the results.

And that’s this project put to bed.

Thanks for passing by.

Capacitor plague

What the heck is that?

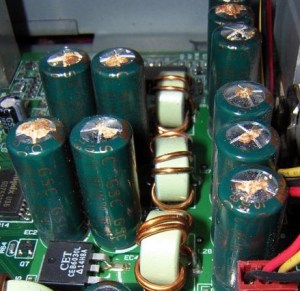
Blown capacitors

Photo copyright : Wikimedia Commons

For many this is old news and pretty much everyone involved in electronics is aware of this problem that swept through the industry in the mid to late 2000s. Chances are you may have such a unit in your home that has either luckily survived the issue to still be working, or may well be not working and assigned to that part of the house (Normally the loft) where it left until the day you move premises and visit the local tip.

Those of us that number a great many who like to tinker and repair old machines and equipment from this era are still seeing the back end of this issue to this day, its fairly easy to deal with and those that especially work with old computer motherboards and graphics card notice issues the most, its an interesting back story and ill try to cover it as best as i can in this post.

What is a capacitor?

  • A capacitor is a device that stores electrical energy by accumulating electrical charges on two closely spaced surfaces that are insulated from each other. It is like a little battery but thats where the similarities end, as a capacitor distributes energy in short bursts rather than a battery that is distributing power linearly. Originally known as the condenser, the capacitor is used within a circuit to add capacitance to that circuit.
  • Capacitance is the ability of a component to store an electrical charge – (Simple version)

What was the issue?

  • The issue was with Electrolytic capacitors produced between 1999 and 2007
  • The origins of the issue was with the use of water based electrolytes developed during the late 90s. These capacitors using this type of electrolyte were found to be exceptional components when used in power supply circuits. The problem was that the water based caps produced aluminium oxide when reacting with the capacitor “Can” and that reaction was Hydrogen. The Hydrogen built up until the stamped vent on the top broke. Resulting in a failure within the circuit.

It was only in the mid 2000s when the plague really set in, some of these capacitors would have had hundreds of thousands of hours of use and even though they would have passed initial testing protocols they were doomed to fail, and that just so happened to be in the mid 2000s.

The Blame game

It was around this time with exceptional failure rates on certain items and claims being raised against major players in the electronics industry that deeper investigation took place.

Findings

  • The cause of the failures was due to a mis-copied formula, in 2001 a scientist working for a major corporation that made these type of capacitors stole a mis-copied formula for the capacitors electrolytes. He then took this faulty formula to another company. That same year the scientists staff where he previously was employed left that company, again with the stolen formula and started their own company in Taiwan producing immense amounts of faulty capacitor electrolytes.
  • No one was ever really brought to justice for the failures, no one company ever really came clean over the issue, the tech companies tended to absorb the cost of repairs and the end result was probably that the consumer paid in the long run…nothing changes there then!

When this started to occur, many individuals in the industry jumped on the band wagon to repair these items, many selling capacitor kits for certain brands to allow those who were willing, to make their own repairs.

Today the issue still occurs but it is not so prevalent, older circuitry does still throw up some classic blown capacitors and these are fairly simple to replace, some smell quite fishy as well, so sometimes a good sniff of a circuit board can alert you to a blown capacitor…very strange!

Roberts Blutune T2 breakdown and fault finding

The radio has been received see here: Not just Dead….Fully dead and if I can’t get it going, I have at least brought a very tidy storage box.

What surprised me when first opening up this radio was the immense amount of boards and circuitry inside, I must admit I took a gulp at this and questioned my reasoning for purchasing the item. However it’s all a learning curve and I have to start somewhere, gone are the days of simple circuits on traditional radios (with big components).

I arrived home from work and sat myself down in the conservatory surrounded by test devices for about 4 hrs until I totally overloaded my self with information, creating more questions than answers, i decided to give up for the day and further research the potential faults for this unit via other sources.

To me the power board seems fine, power is going where it should, there appears to be no short circuits or component damage however in places there does seem to be some signs of leakage so I may have some components that need replacing or maybe it’s just remnants of flux and stuff left behind after initial construction.

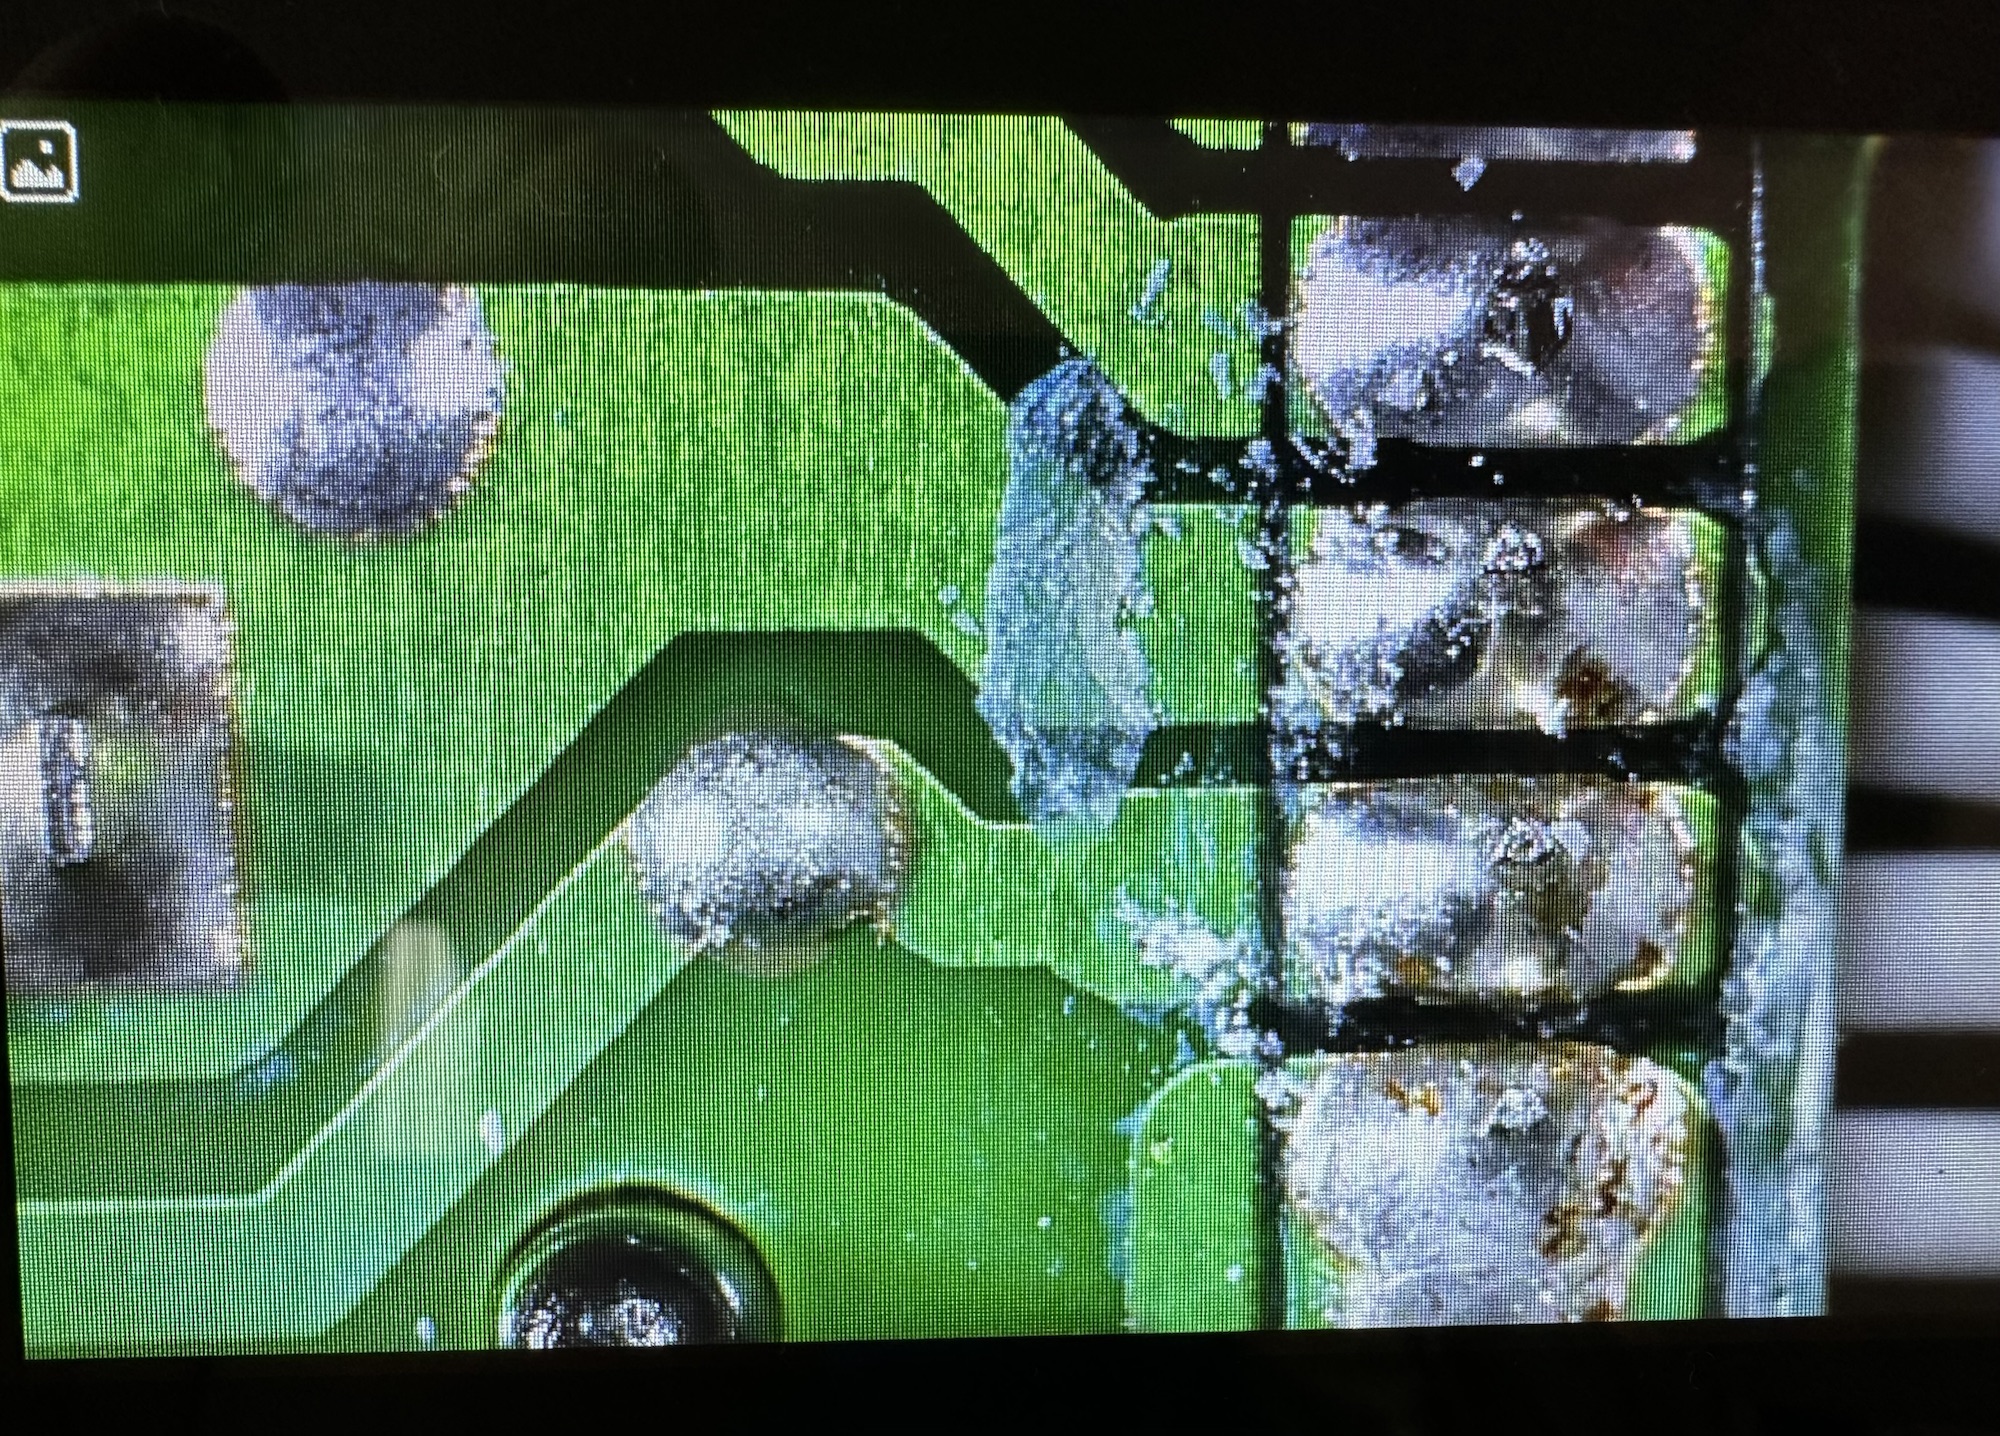
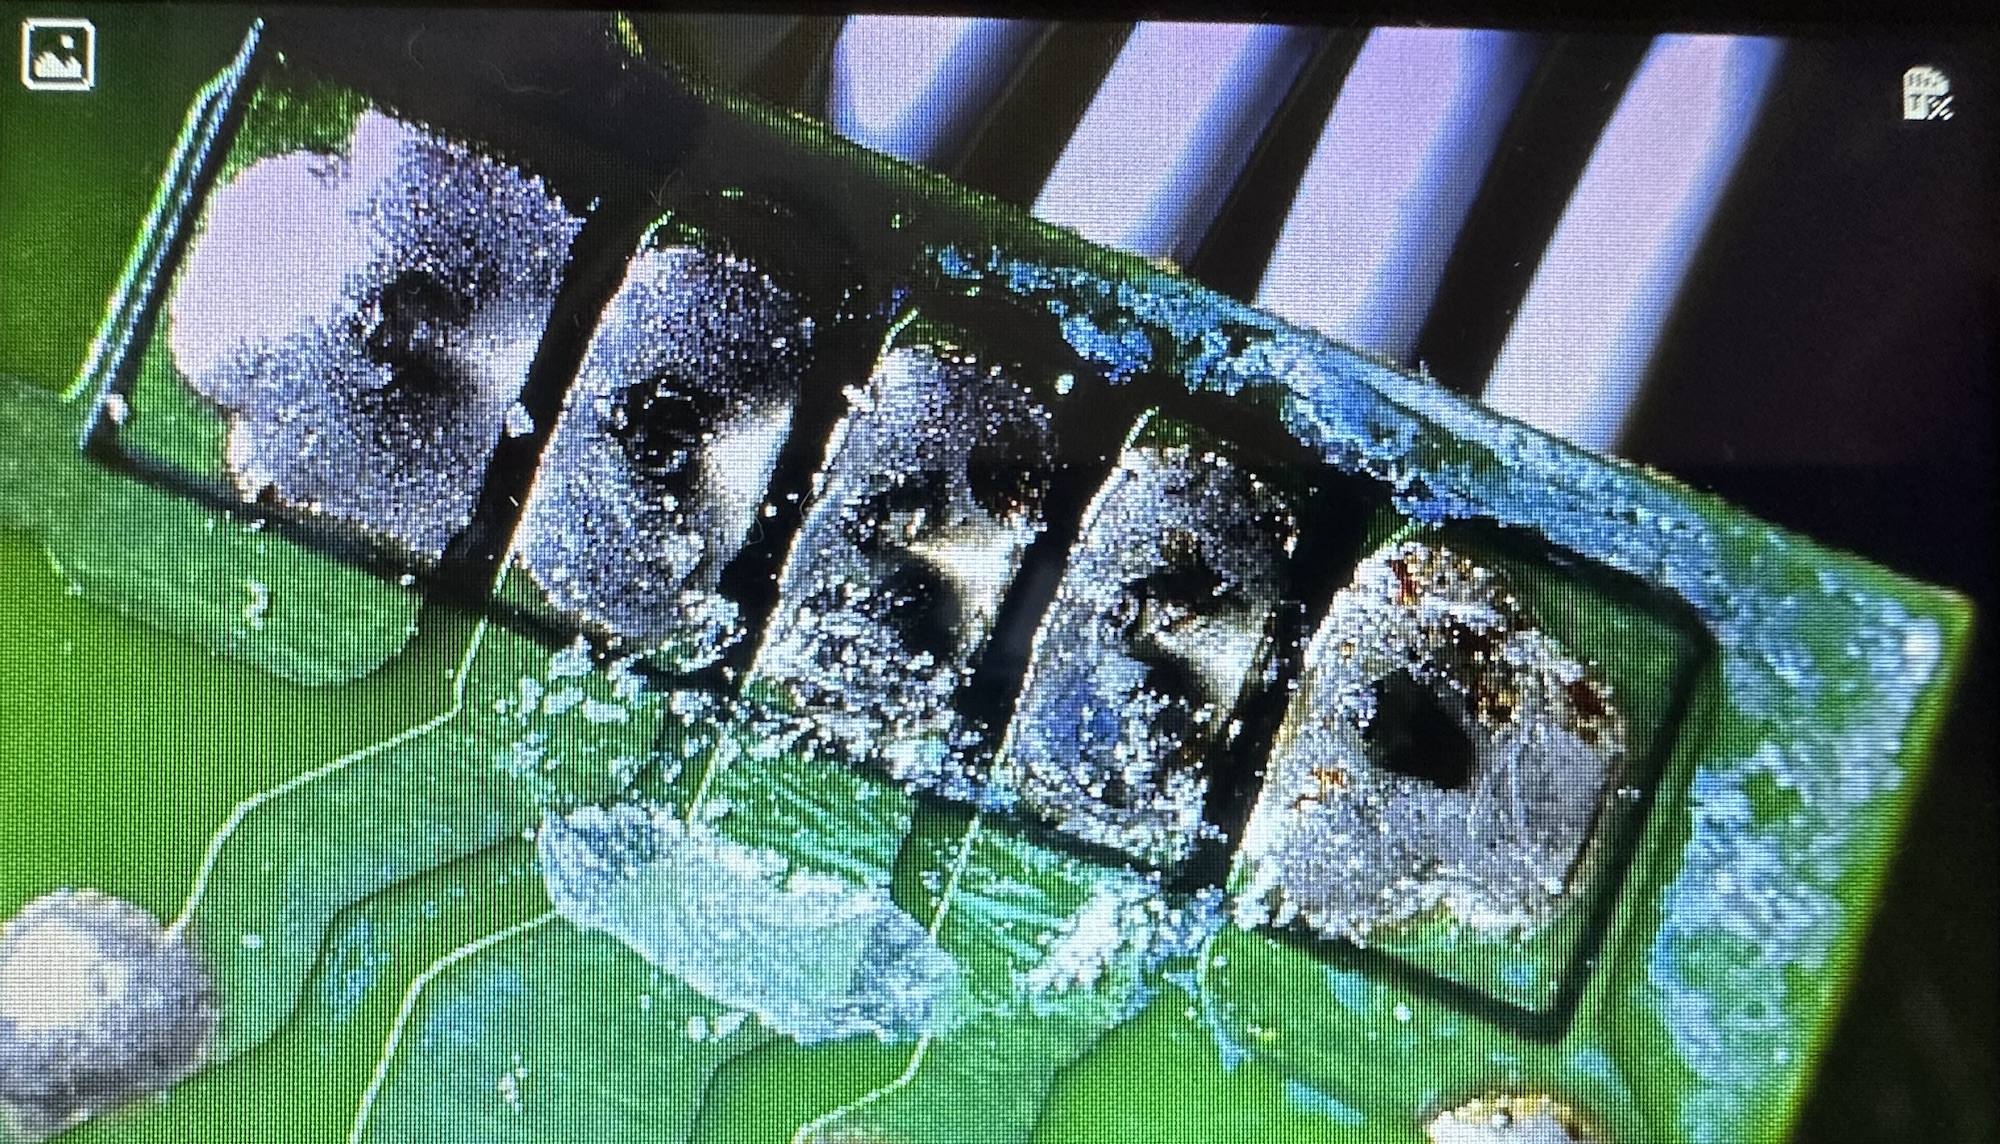
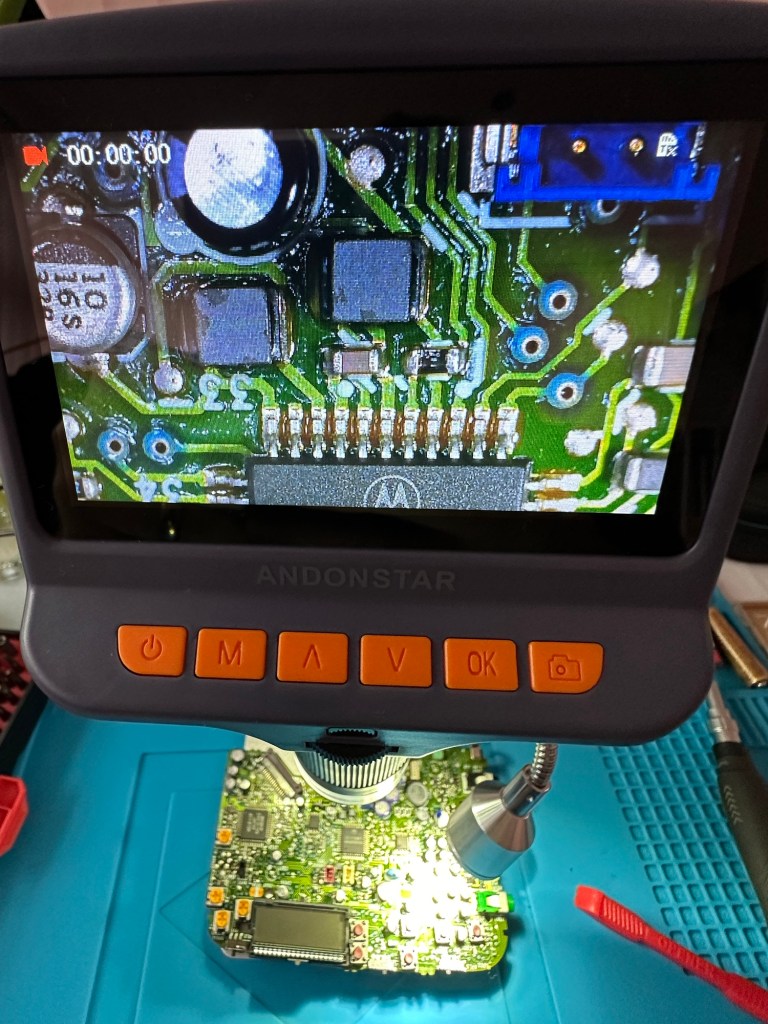
None of this can be seen by the naked eye but it becomes apparent after being placed under my new toy an Andonstar microscope viewer. It’s at the entry end of the range but it is already becoming a game changer for me, due to my failing eyesight.

Andonstar AD106S

Copyright Andonstar

Further investigation appears to highlight an inherent issue with this range of radios when they just seem to stop working (probably why Roberts ceased production).

Generally the power board isn’t an issue, it all focuses around the display board where a controller to the screen has failed or the amplifier chip has failed, hooray I say! And then I find out both components are about the size of a grain of rice… Boo I say.

I have no experience at all in components this minuscule in size, but if I can’t get to the root cause and eliminate all other possibilities I will give it a go. In the meantime fault finding will go on between other jobs and this will continue to be a job in progress that will be revisited and updated as time goes by.

The plan short term is that I’m going to borrow a thermal camera and check if there are any hotspots under electrical load. You never know I might just find something.

I shall comeback to this project at a later date.

Thanks for passing by. Stay safe, be superb. You’re a star 🌟