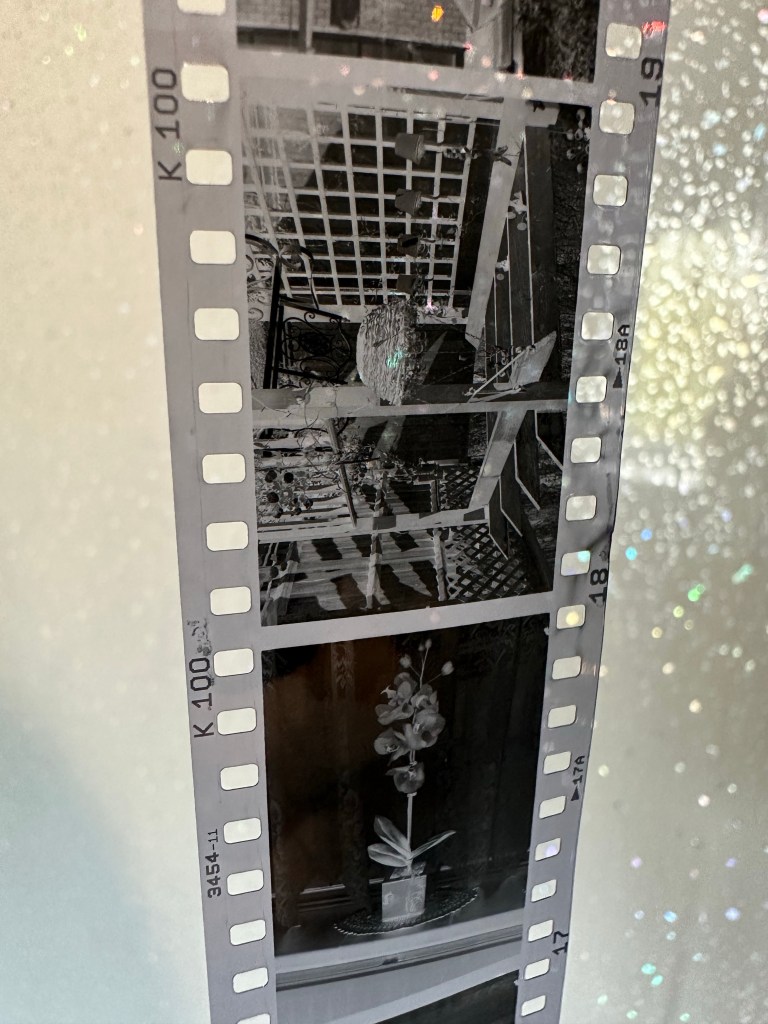
I have processed the roll of Kentmere 100 at home today, it’s currently drying in the shower and I’m really pleased with what I’ve seen so far. The carriage of the camera is working well with even spacing, exposures look promising and no sign of fogging proving the new light seals are good.
Kentmere 100 through Olympus 35ECRKentmere 100 through Olympus 35ECRCheck my gallery’s to see these results
I’m yet to run the negatives through the scanner, still waiting for them to dry but when they do I will post a gallery here. Gallery – Olympus 35 ECR trial roll
The camera in my eyes is now in good working condition, all that I did with it has proven beneficial and I’m adding this into my personal collection.
Olympus 35ECR now in storage
I’ve now packed it in a bag with all the air extracted and a couple of silica bags to stop any potential moisture. I do this to all the cameras I store for their protection and to save me having to go through the whole process of maintaining them again.
I’ve enjoyed this little project and am now happy to say….
Just an update of what’s going on with the old Halina TLR.
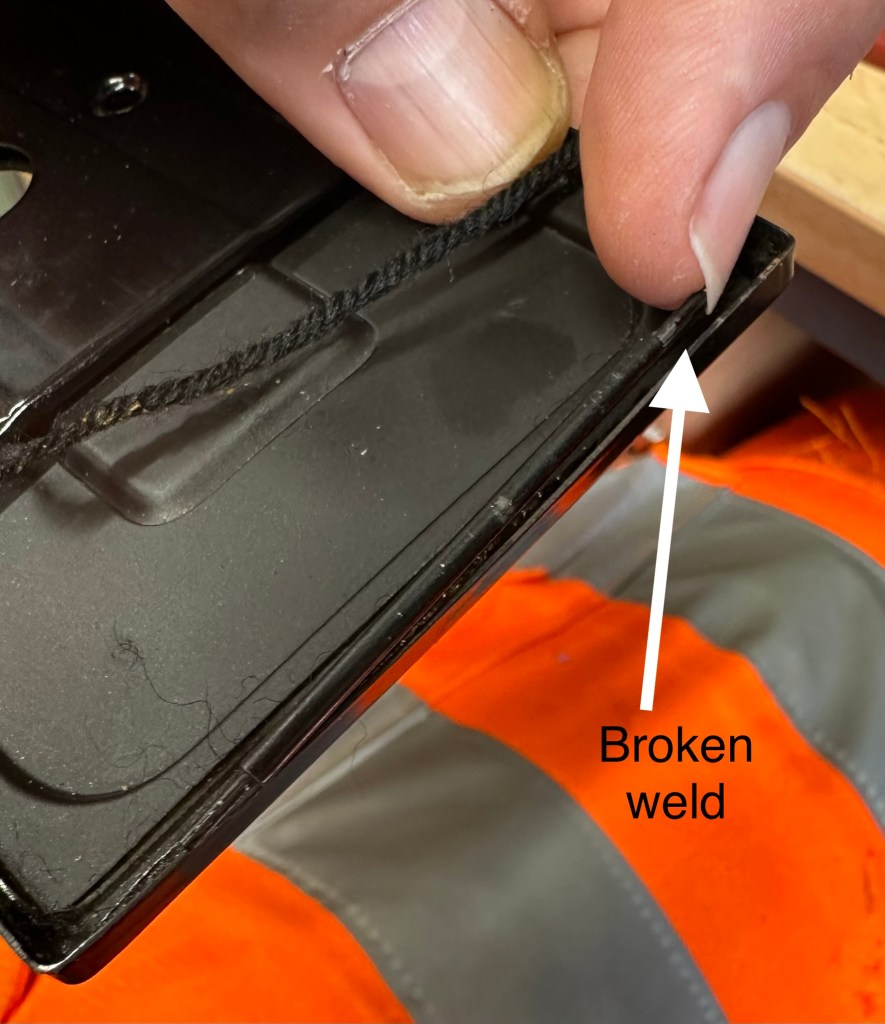
Today I have tinkered with the ground focus screen, and hood and related springs and hinges. the majority are fine but I’ve found a hinge on the rear door that has a broken weld on one side, I discovered this as I began to clean the old light seal around the back door prior to putting some fresh seal in place. I’ve stopped at seeing this as I am going to put a repair in place so as not to stress the other side of the hinge that seems to be holding. Another head scratching moment whilst I seek a solution.
Halina A1 Reflex broken door weld
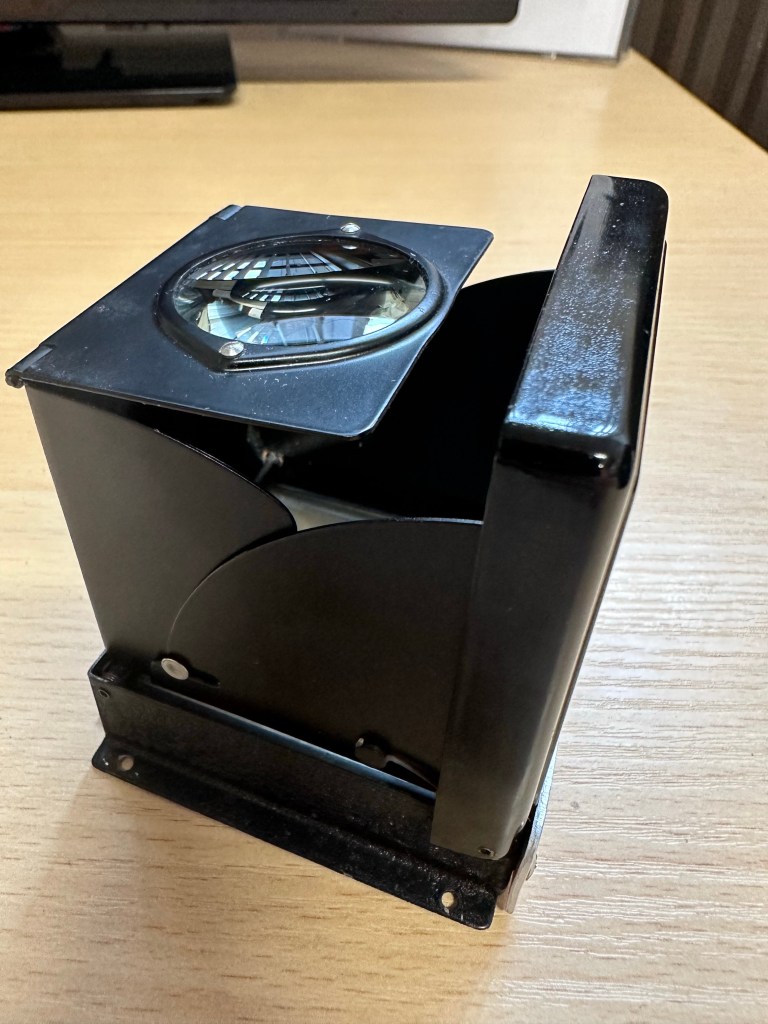
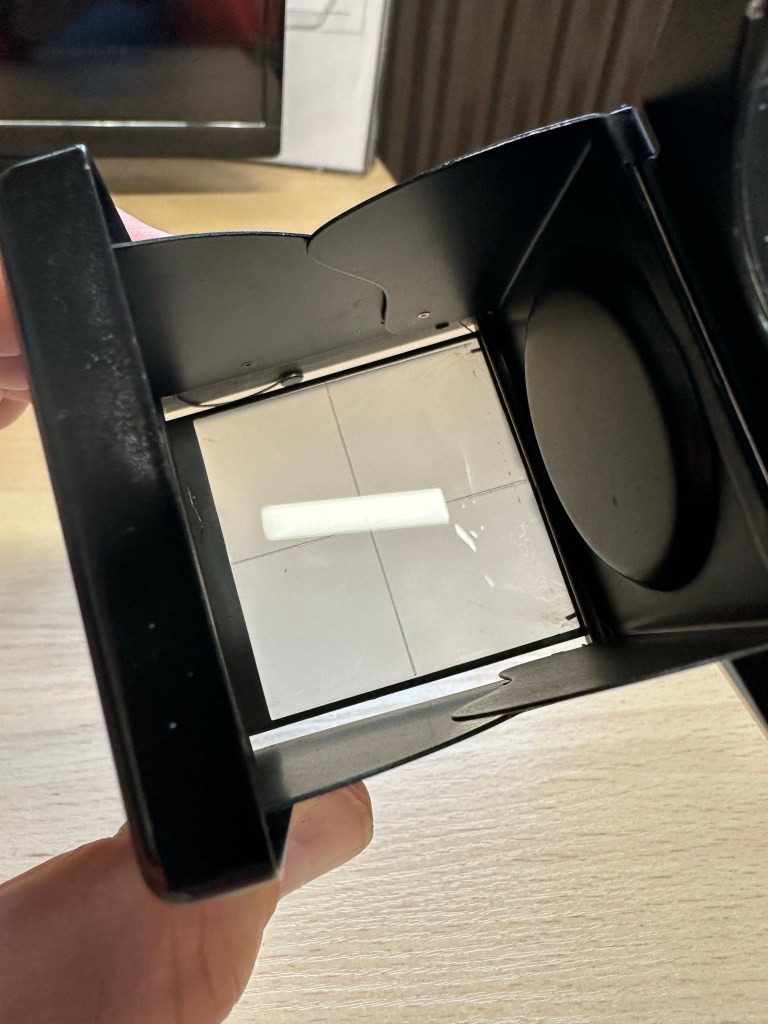
The focus screen required me to remove a couple of 60 year old springs, this went well, they are ok and I’ve cleaned them as well. The ground glass screen has been cleaned as well as all surrounding metalwork and hinges and all looks good. All went back together with no real issues.
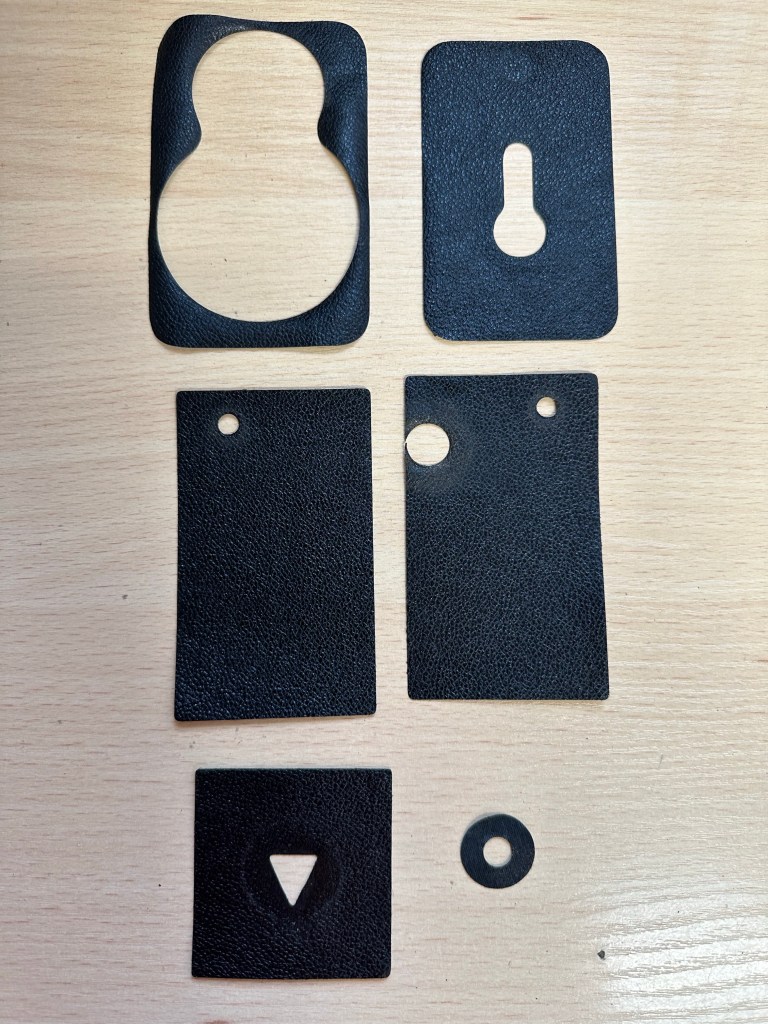
Just preparing for cutting the new leatherette for the camera, today I have just made some templates and measurements for the eight pieces that need to be cut for this camera.
Halina A1 Reflex new skin templates
Stage one of ridding the case of the dank musky smell has begun today. It’s sitting in the sunniest place I can find on a shelf at work, and in a week or so I will be placing it in an airtight bag with some silica gel packets and some suggested fragrance for a further couple of weeks to see what happens.
Currently still awaiting the right time to open the lens up and start removal of that lens fungus.
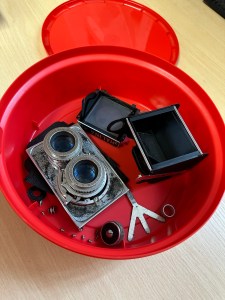
Yes. You are right the picture is of a chocolate box and not an old camera. However today in a quieter period I have dismantled in it’s entirety the Halina A1 Reflex camera – the smelly one that’s right 👍
Halina A1 Reflex in a chocolate boxCamera in a chocolate box
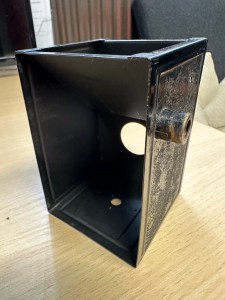
The lovely thing about this camera is that it is easy to dismantle right down to its original body shell as most of the parts are held together by screws and not rivets. This has allowed me a lovely scope for putting new leatherette on the body as I’ve been able to move all winders, locks and strap holders giving me a naked body as such to work on.
Halina A1 Reflex shell Halina A1 Reflex shell Stripped down to the body shell, minus leather
However the old leather has been kept to be used as templates for the new skin that will be attached. Firstly though it’s clean, clean, clean to remove the old adhesive and to replace some light seal within that is literally just two black pieces of string, I will upgrade this with some new up to date light seal though. I will clean everything removed today and only then will I attempt reassembly.
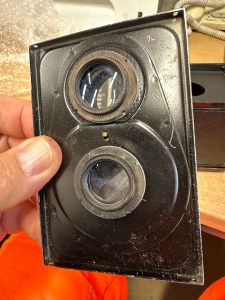
The lens assembly is going to have to be opened and recalibrated as I need to get inside to treat that fungus that was reported in earlier posts.
Halina A1 Reflex old leather panels
I have damaged a couple of small screws here that I will need to replace, couldn’t be helped as they’ve probably not moved since the day the camera was assembled. Nice to be able to do this project in small chunks due to the ease of disassembly. May need to get another sheet of leatherette as the sheet I have may not be sufficient for this task.
Only problem is still the stale old smelling case…but I’m looking into it and will share what I do with it at a later date.
What I noticed whilst inspecting this camera was that the light seals around the rear had decayed sufficiently to require replacement, and after approximately 50 yrs that seemed to be a reasonable assessment.
Quick video of the light seal removal
This page will cover the light seal removal, it is important that the camera is thoroughly cleaned and all debris removed as this will make mthe replacement of the new light seals so much easier and less cumbersome.
Items required:
Isopropyl or another sufficient cleaner
Cotton buds
Cocktail sticks or plastic modelling knifes
Compressed air can
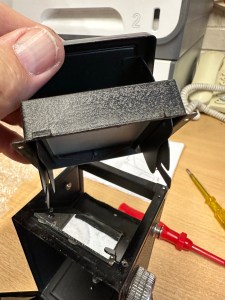
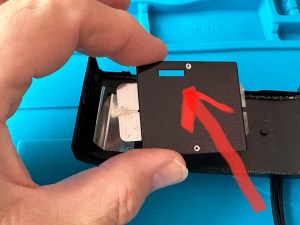
Remove film plate – remember the correct orientation
Remove the film plate on the camera door as this assists when cleaning, easy to do, just be careful when removing to ensure you don’t bend the retaining springs, and ensure it goes back in the correct orientation so that the small hole in the top corresponds with the winder sprocket on the camera body.
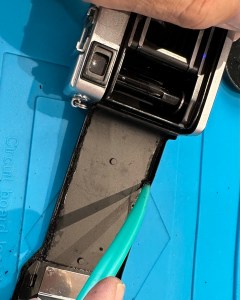
Scraping out the old light seal
There are 5 seals on this camera. Two on the camera body one top and one bottom, the same again on the rear door and a final one where the door hinges on the camera. Lightly wet these with some isopropyl and let this seep in for a couple of minutes. Using a cocktail stick or a plastic modelling tool (not metal as you will scratch the frame) start to gently remove the old seal and remove any debris away from the camera. Take your time here as it is important to get each channel clean and debris free to ensure the refitting phase goes without issue. Now wet a cotton bud with the isopropyl and run this numerous times along each edge where you have removed the seal to ensure it is really clean.
Using a plastic tool to clear the old light seal
I would suggest you set a good hour aside to ensure you do this job correctly and completely, it really is that important to ensure you get good results.
Hinge door light seal- before and after cleaning
When the removal of all seals is complete I’d recommend that you clean again, yep I know it’s boring what I am saying but the cleaning really is that important. When it’s done, get the compressed air can and give a few well aimed blasts of air into the areas you have cleaned making sure you do not direct any debris towards the shutter, please keep this area sheltered or you can create other issues.
The debris left over after a good clean
Once you are happy with the clean up, shut the camera door and leave it alone until you begin to install the new light seal on another occasion. Then we will clean the camera yet again 🤦♂️


You must be logged in to post a comment.