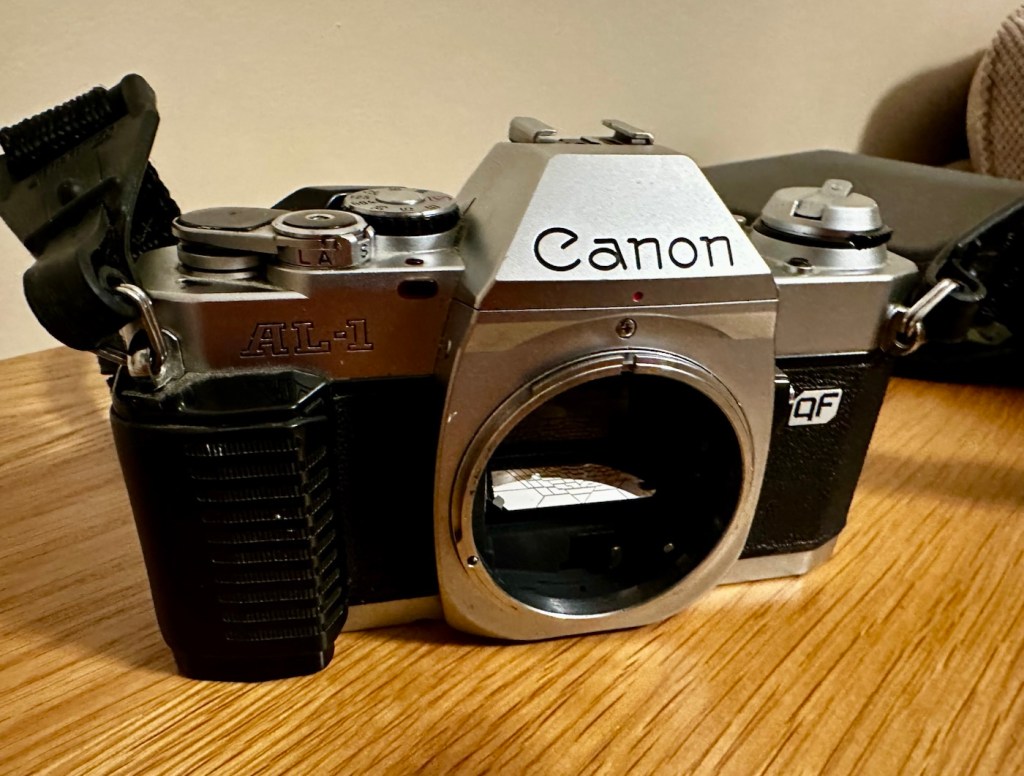
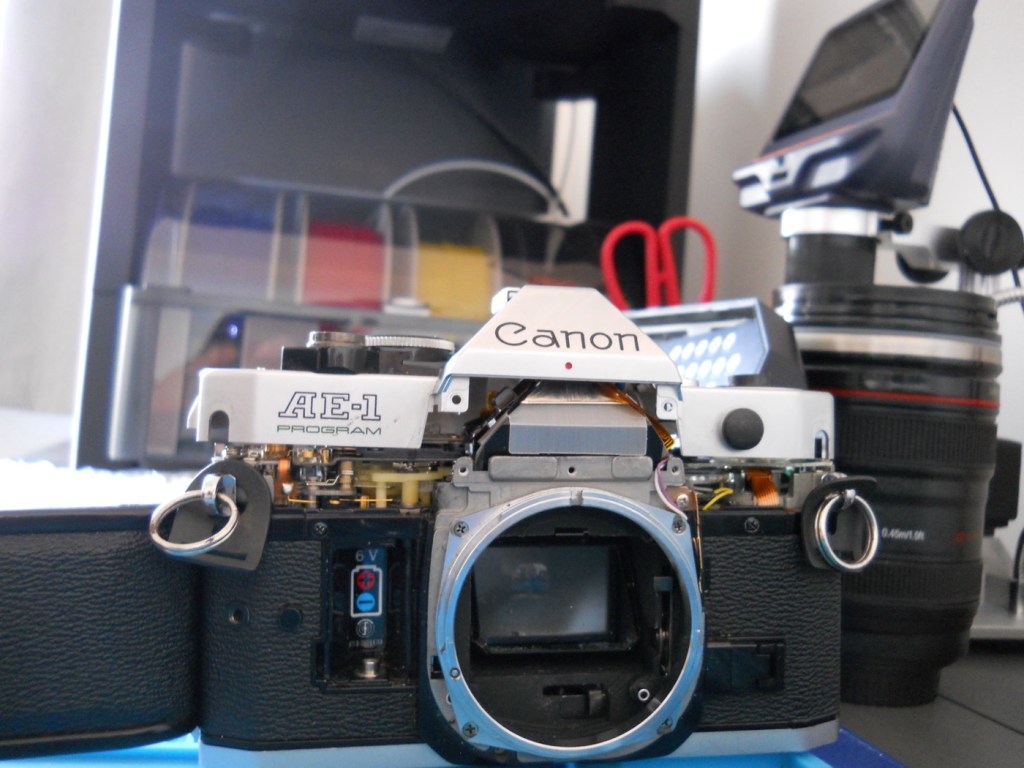
Canon AL1 QF

It wouldn’t take a rocket scientist to understand why this camera isn’t working.

What the listing stated:

This camera is untested, I put batteries in but it did nothing but to be honest, I have no idea what I’m doing with this anyway. For that reason I’m selling as spares or repairs. For its age, it is in really good condition, please look at the pictures carefully and message with any questions. 

EBay
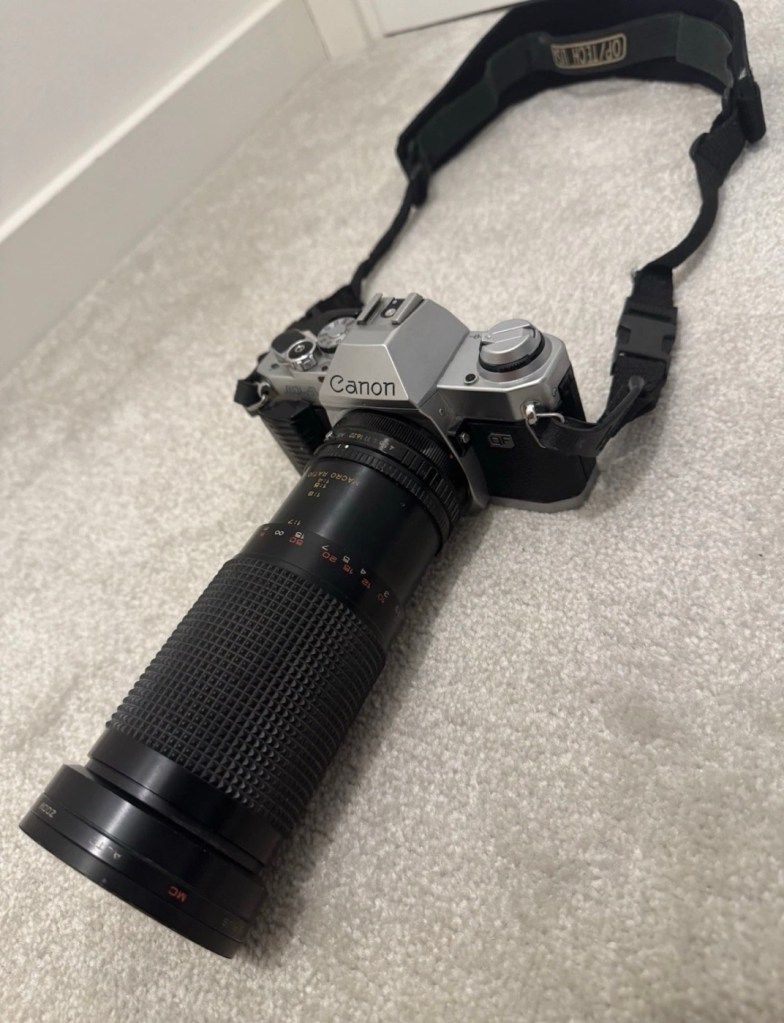
Hmmm, the seller put batteries in and wondered why it wouldn’t start up…I wonder 🤔

By the way, the QF stands for quick focus. Read on to find out more.

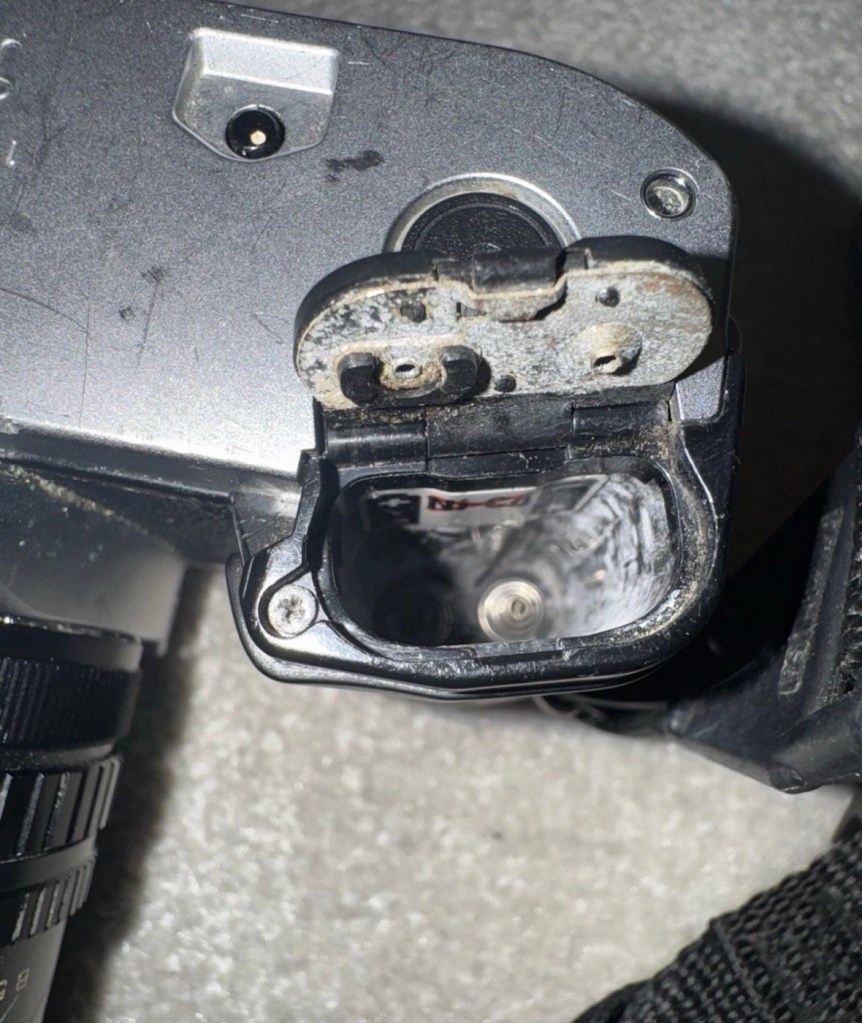
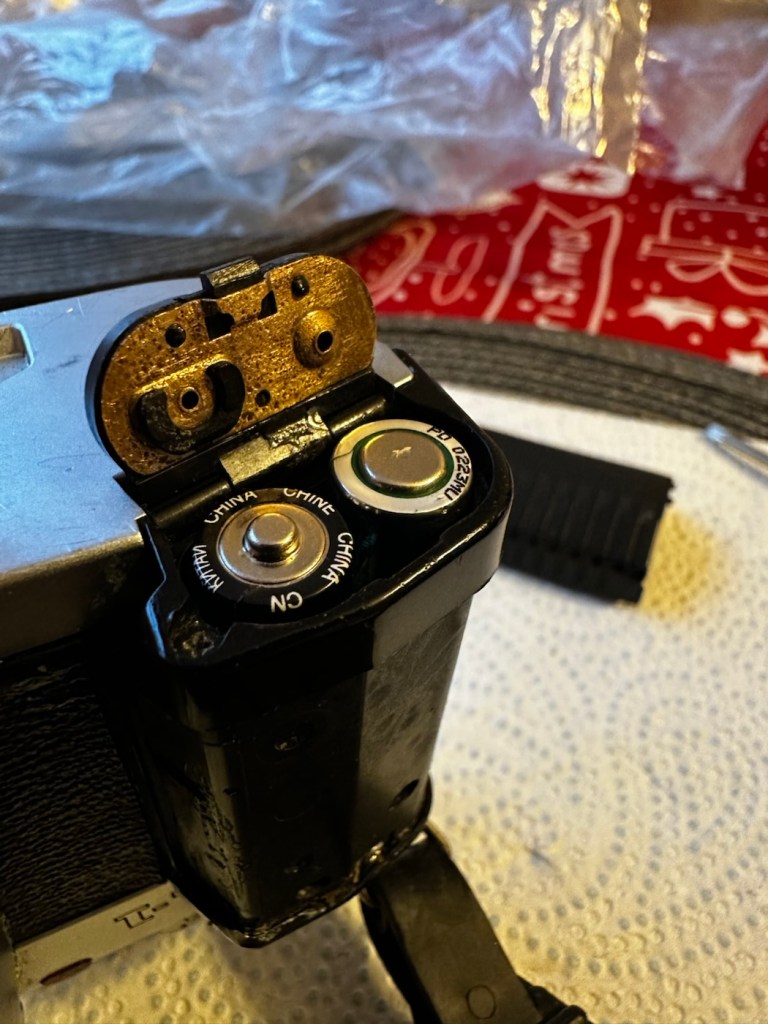
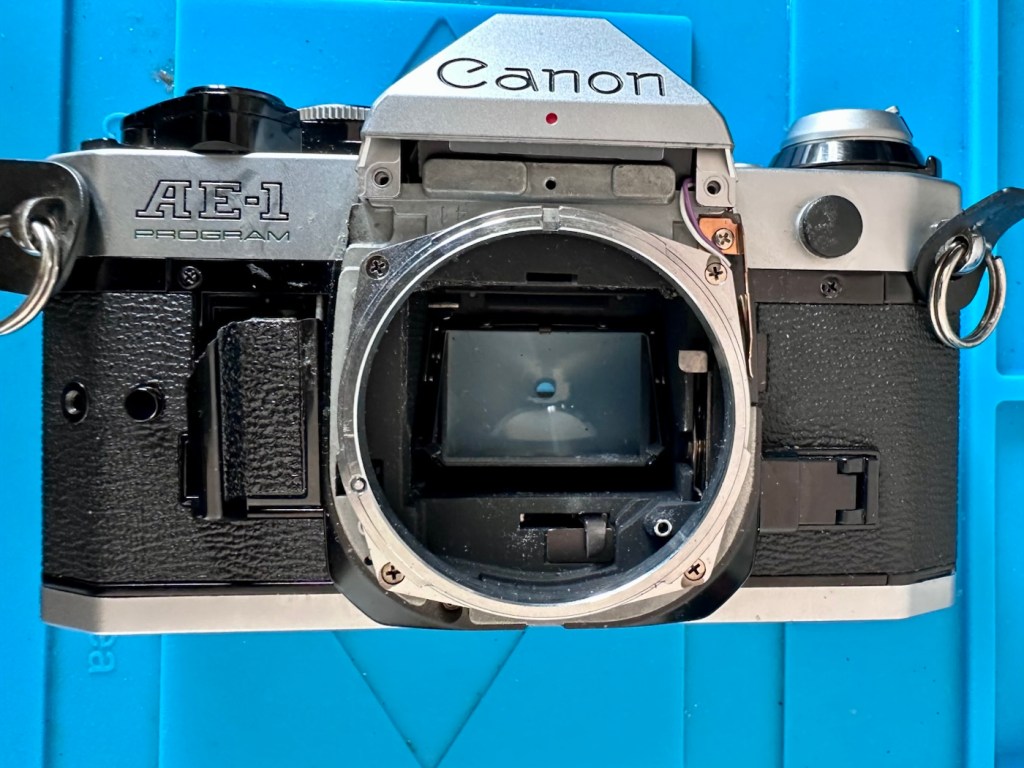
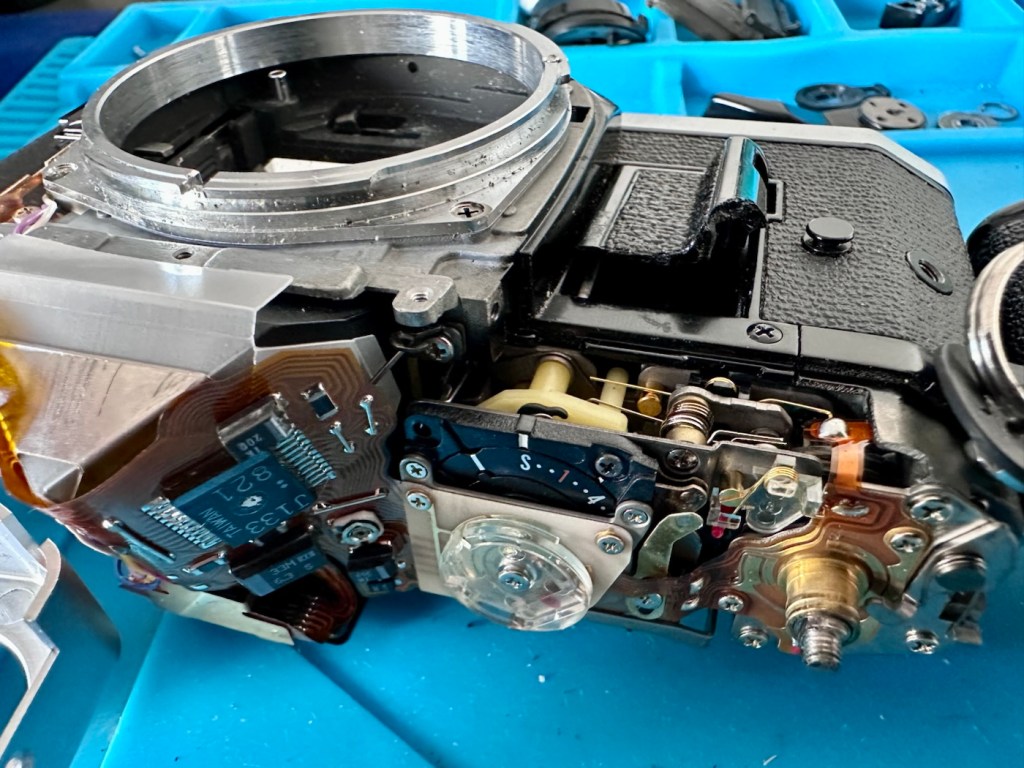
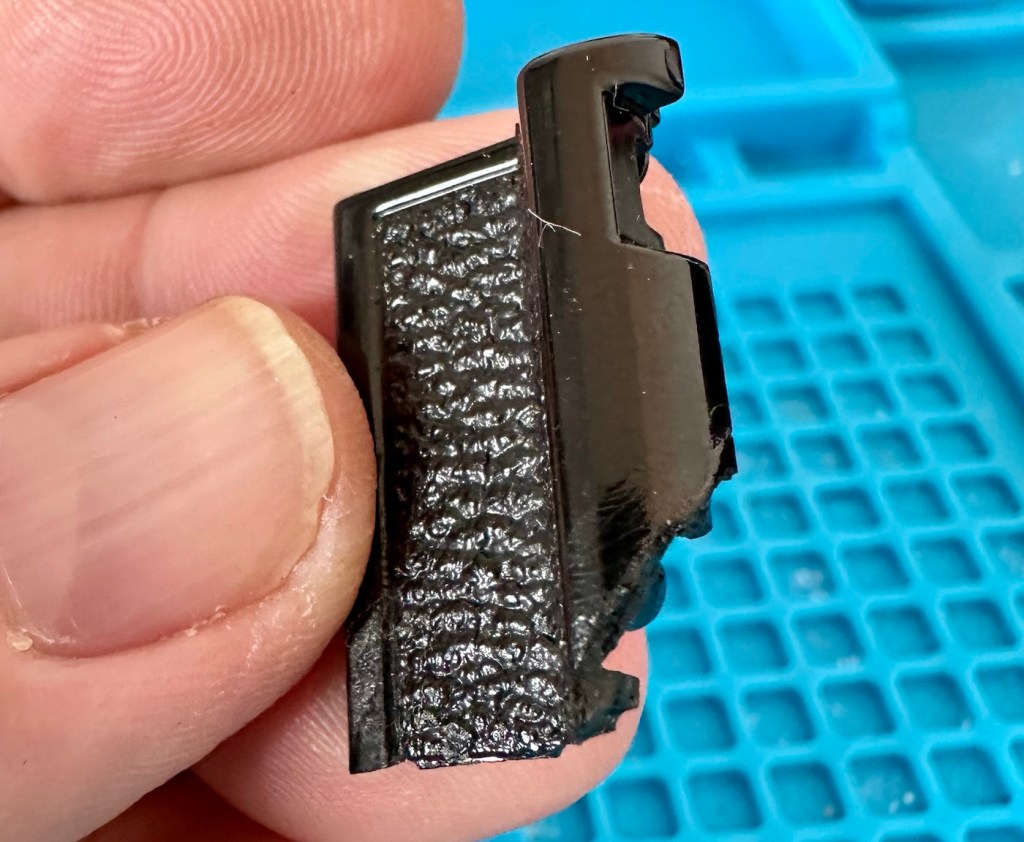
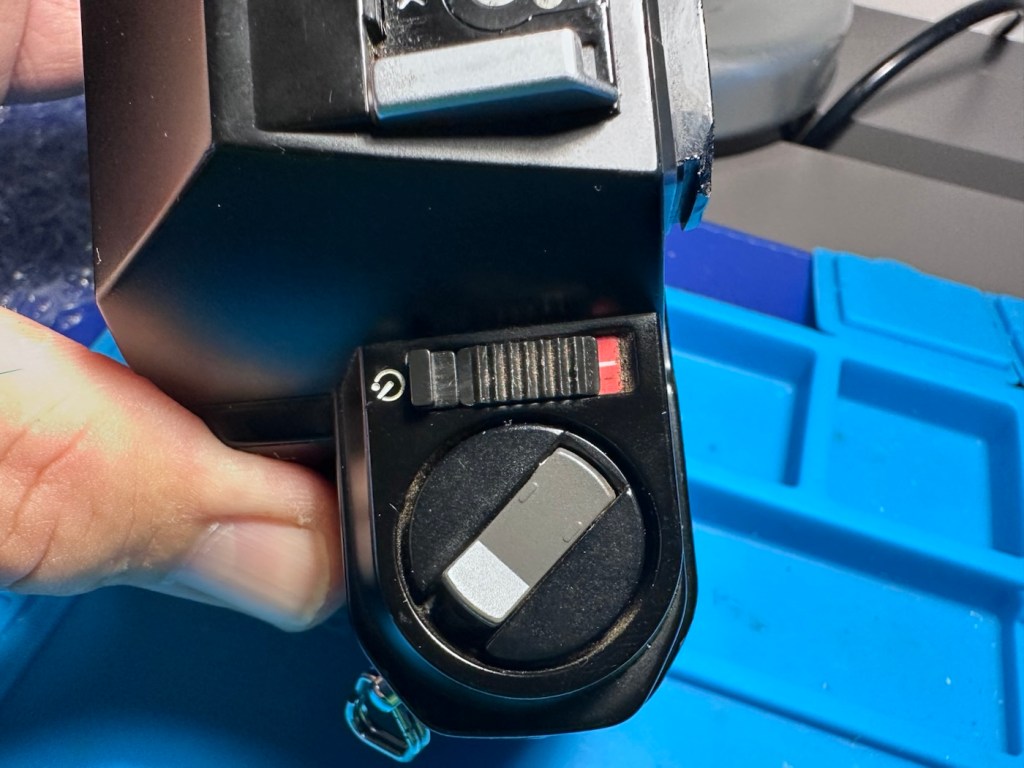
I’ve purchased this camera, paying a measly £12:00GBP, as I move ever closer to collecting the full range of the Canon “A” series cameras. This will be my fourth of the range with only two more to go. As usual I have purchased damaged or faulty candidates to repair via my site. This one is no different, and from what I can see the battery barrel and battery door have been exposed to corrosion and neglect. this will require a lot of attention, and hopefully the corrosion hasn’t made it into the internal components.

I believe it also comes with a yet unidentified large lens, that I very much suspect will be riddled with lens fungus if the battery chamber is anything to go by.

Here’s a little history about this Camera:

The Canon AL-1 was an FD mount, 35mm single-lens reflex camera introduced in March 1982. Its main feature was the “Quick Focus” focus-assist system that was aimed at those who had trouble focusing through the viewfinder – either novices, or those with poor eyesight – and was intended to head off competition from the first full-autofocus cameras from other manufacturers, such as the Pentax ME F.

As a lower-end camera, the AL-1 did not offer a long list of features. Instead, Canon focused on providing core functionality and lowering price. The AL-1 provides focus-confirmation, aperture-priority autoexposure (controlled by a through-the-lens silicon photocell), manual shutter speeds from 1/15 to 1/1000 of a second, and a 10 second self-timer. It also added a larger grip, and the convenience of using of AAA cells for power. However the battery door is one of its weakness as most of the cameras that are found today on the market have a battery door that is broken or has been replaced. Its body was constructed from a special polycarbonate that was then painted to imitate metal. An ISO hotshoe, A-series power winder connections, and cable-release socket provide an acceptable level of compatibility with accessories. It was also the last Canon SLR to use the Canon logo, which resembles the Japanese romaji font used on Canon cameras since the 1960s on a pentaprism.

The camera uses Canon’s breech-lock FD mount, and so users could choose from the wide variety of Canon FD lenses, as well as those from third parties. Users could also utilise Canon R and FL lenses, but with some limitations.

In 1987, Canon abandoned the FD mount in favour of the EF mount along with the EOS camera system, which uses the same concept as the T80 but with a new and incompatible mount designed around an all-electronic interface.

Wikipedia

Assessment:

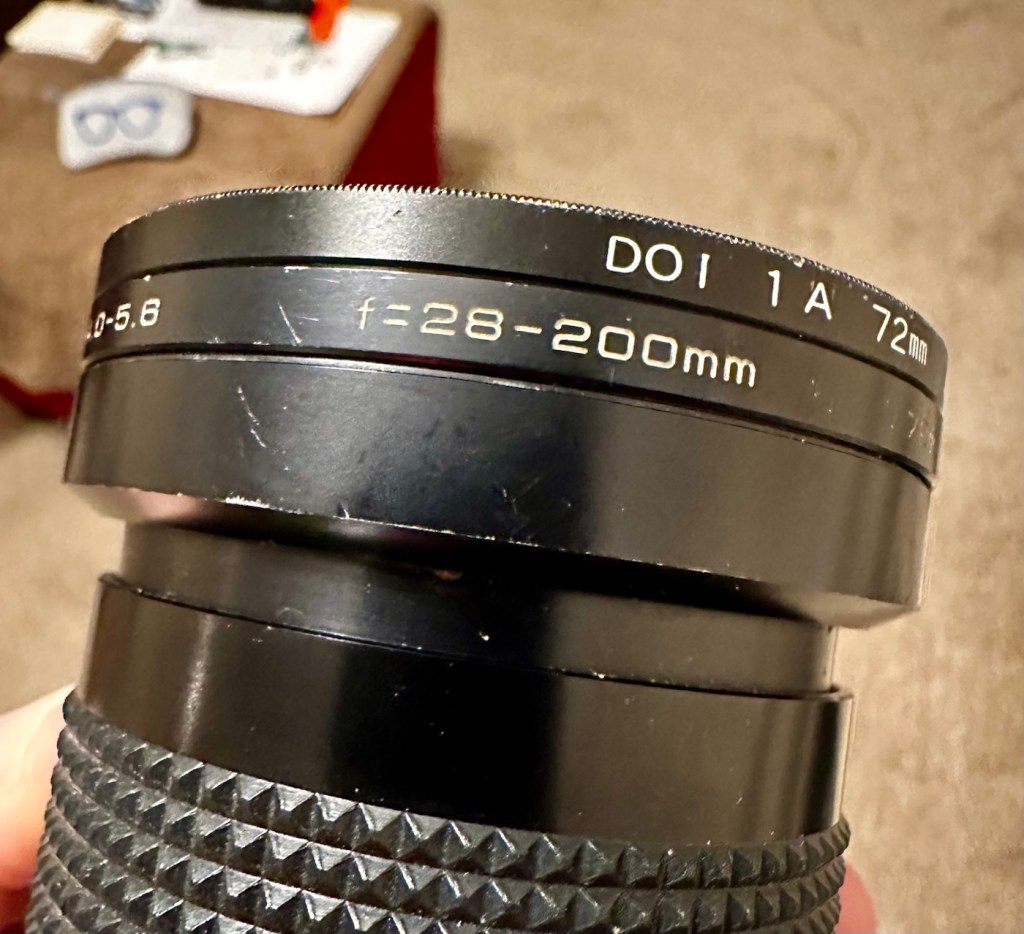
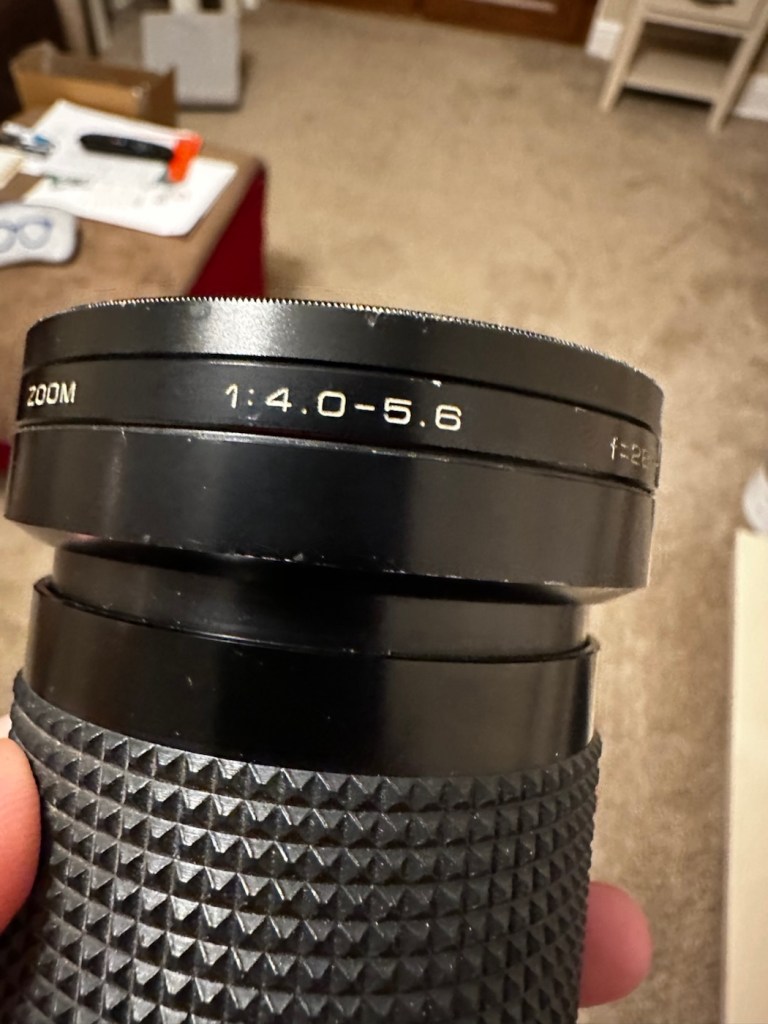
The camera has arrived. The lens that came with it is a canon mount “Sirius” 28-200mm 1:4.0-5.6. It does have signs of fungal infection and I’m not going to do anything with it at the moment, as I have a few stock 50mm lenses I can use for testing. I may get around to cleaning the lens in the mid to near distant future, if I get the time or to be totally honest, if I can really be bothered. It will probably become another post of the future.
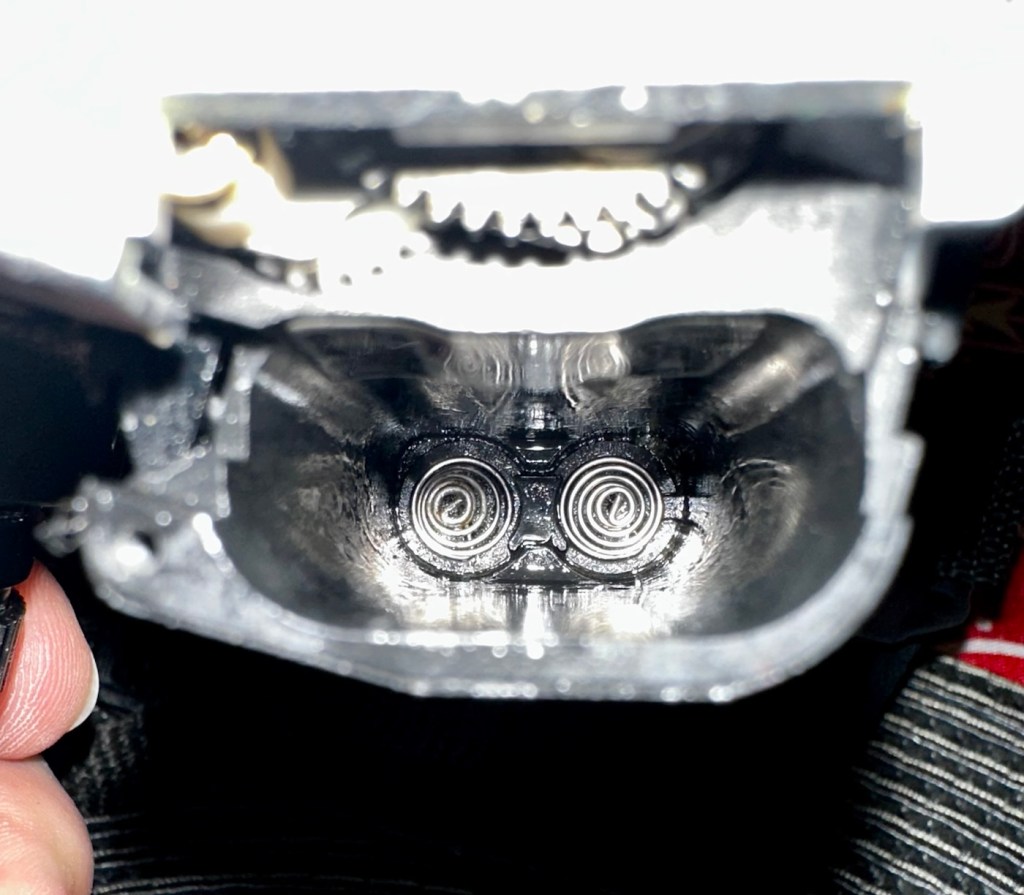
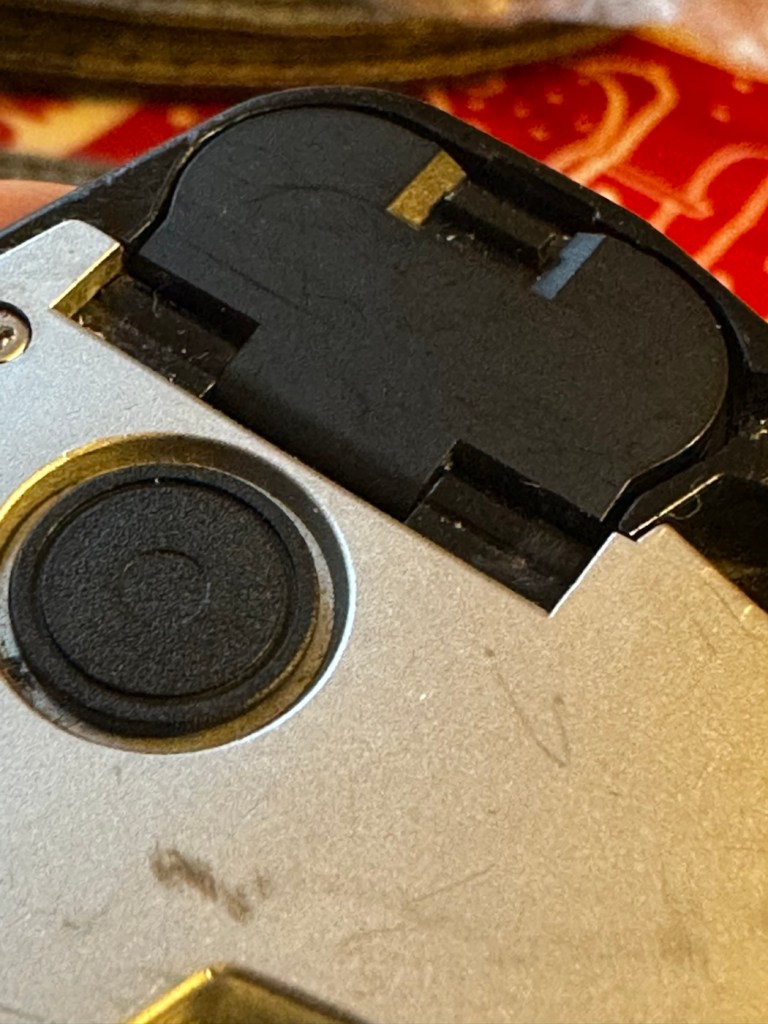
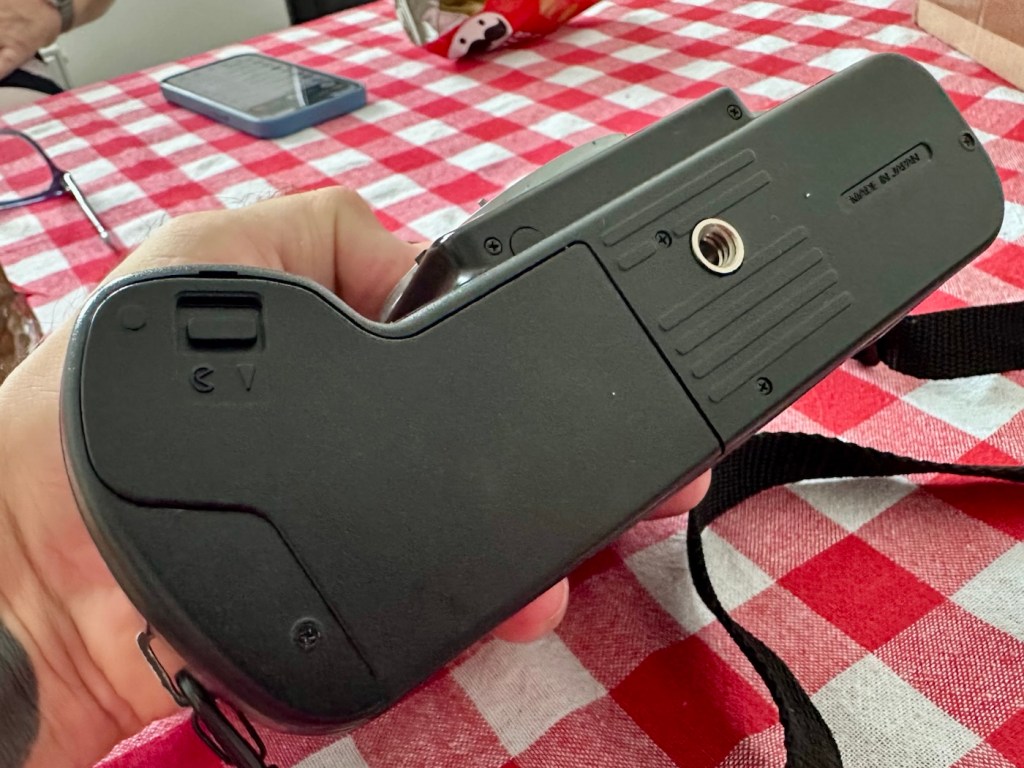
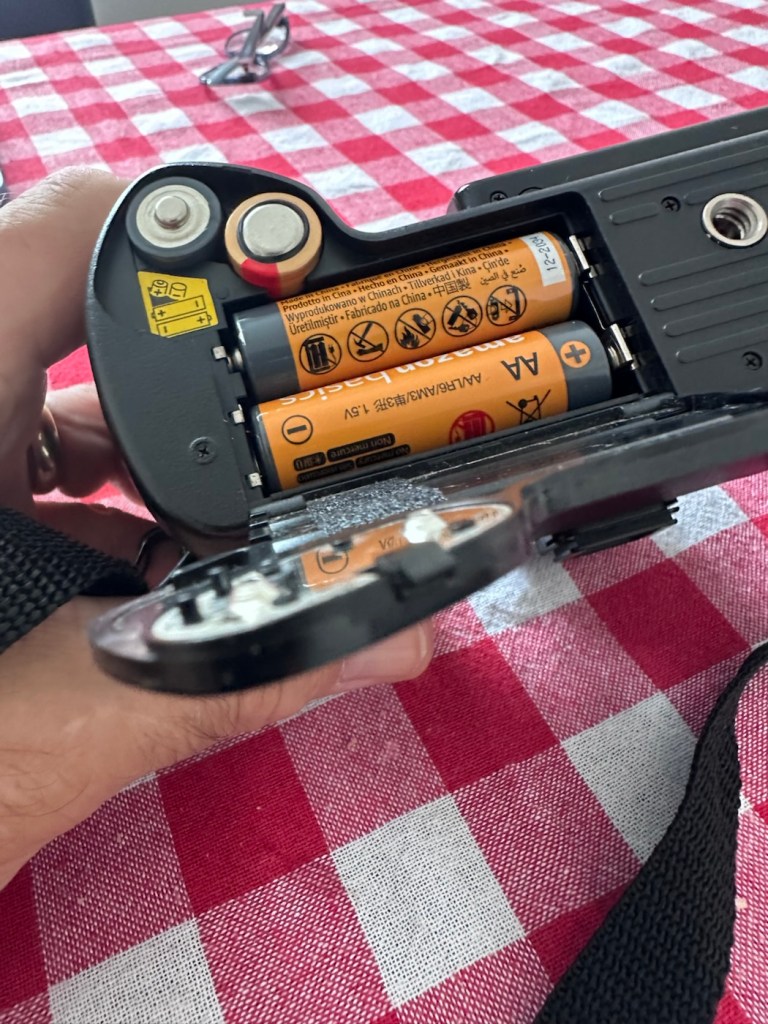
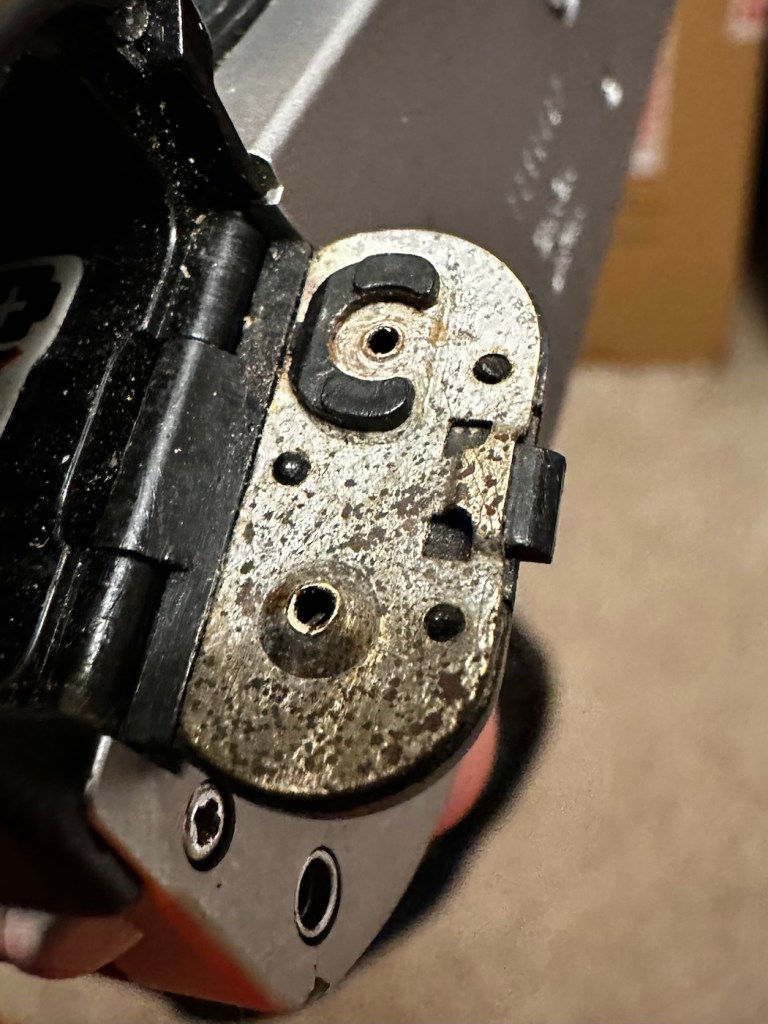
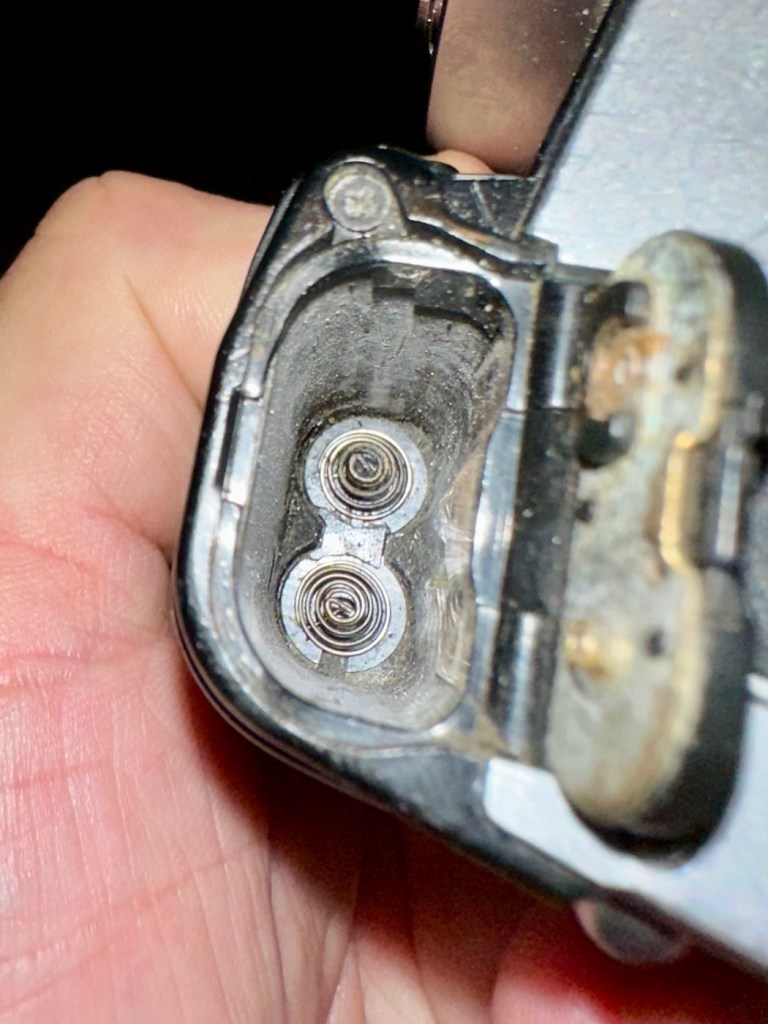
On opening the battery door you can see that the contacts are quite oxidised, and definitely require a clean. The battery chamber also needs a clean as do the contact springs at the base of the battery chamber, we need to do this as we require electrical continuity to check the cameras operation.
I have tried inserting a couple of AAA batteries after first giving the door contacts a quick rub, however I had no luck, and no power was getting through to the camera, and that’s what we need to be able to attain, just to be able to do the basics on this unit. So it will need quite a considerable clean prior to putting in new power cells.

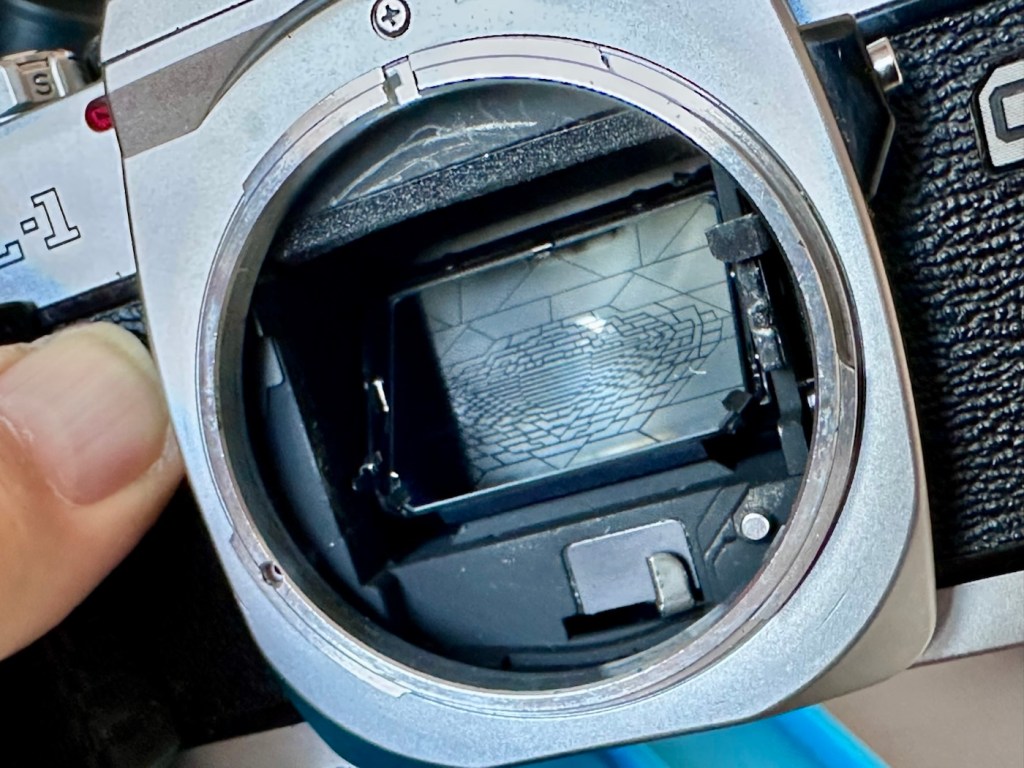
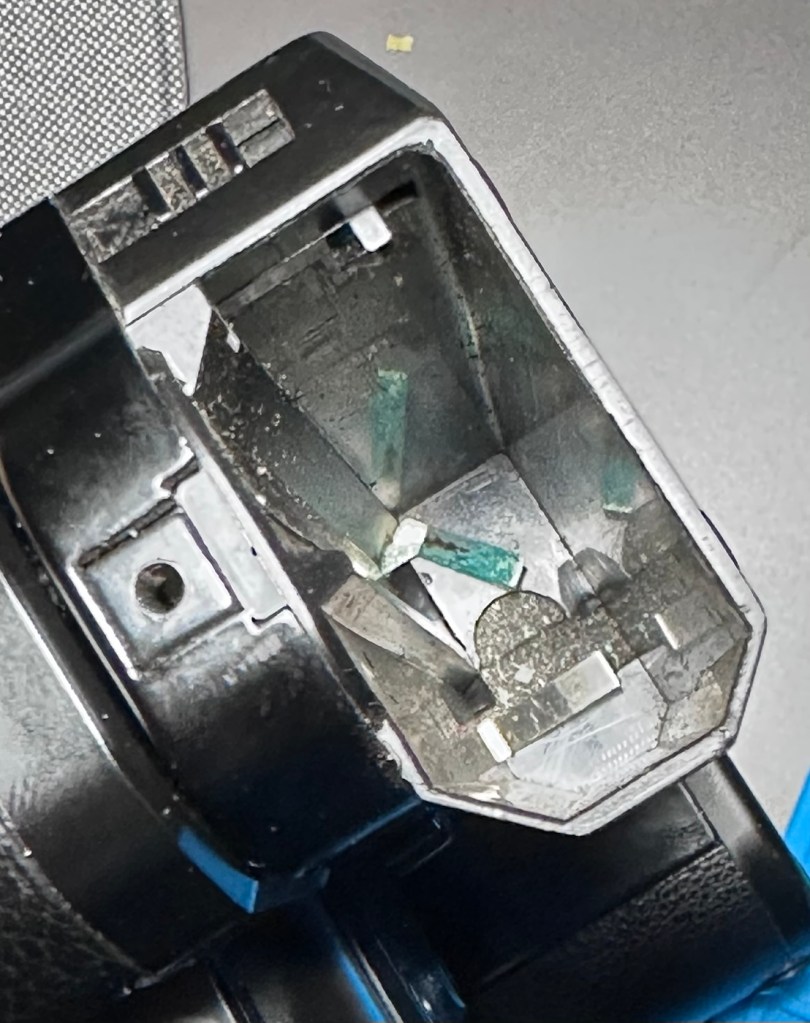
Inside the lens barrel when you first glance the mirror it looks as if it has shattered, however this is a special etching on the mirror that allows light through to a sensor placed behind the mirror that supplies information to the QF (Quick focus) system built into this camera.
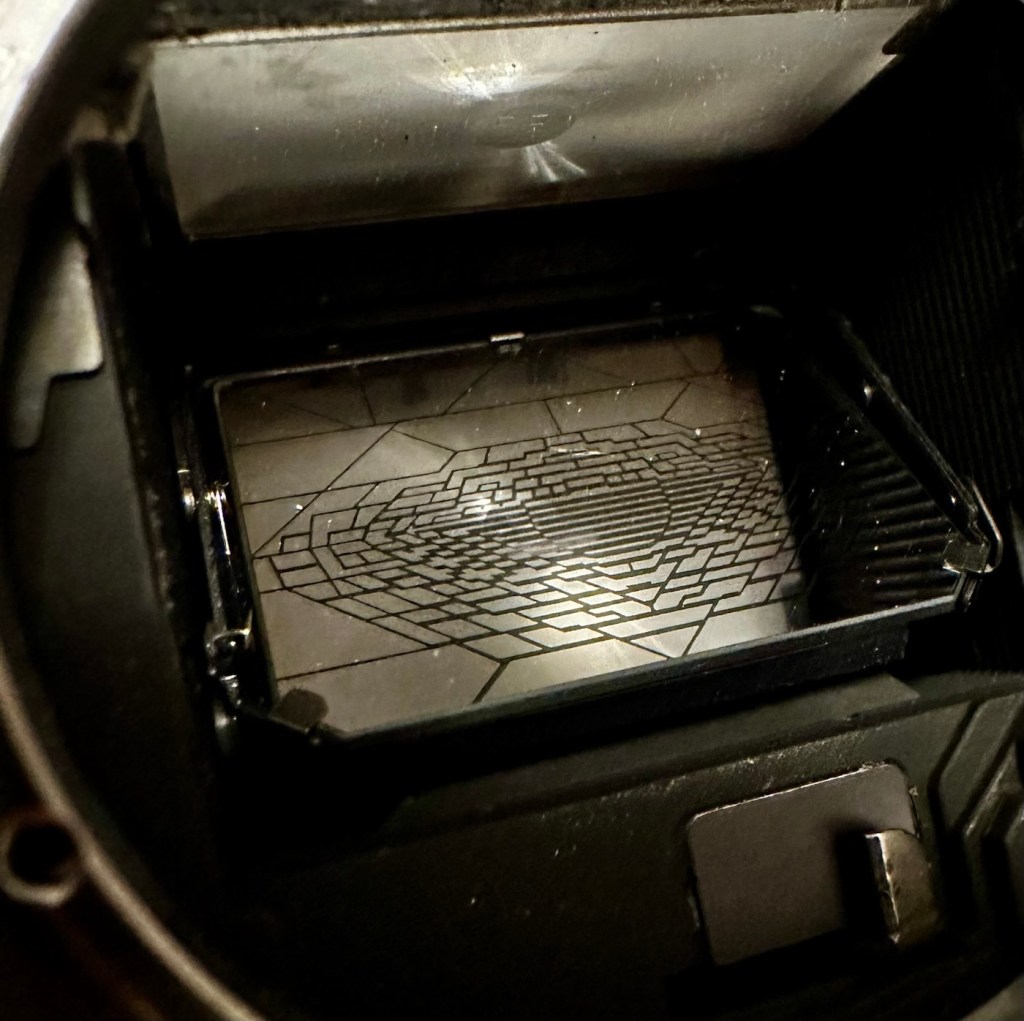
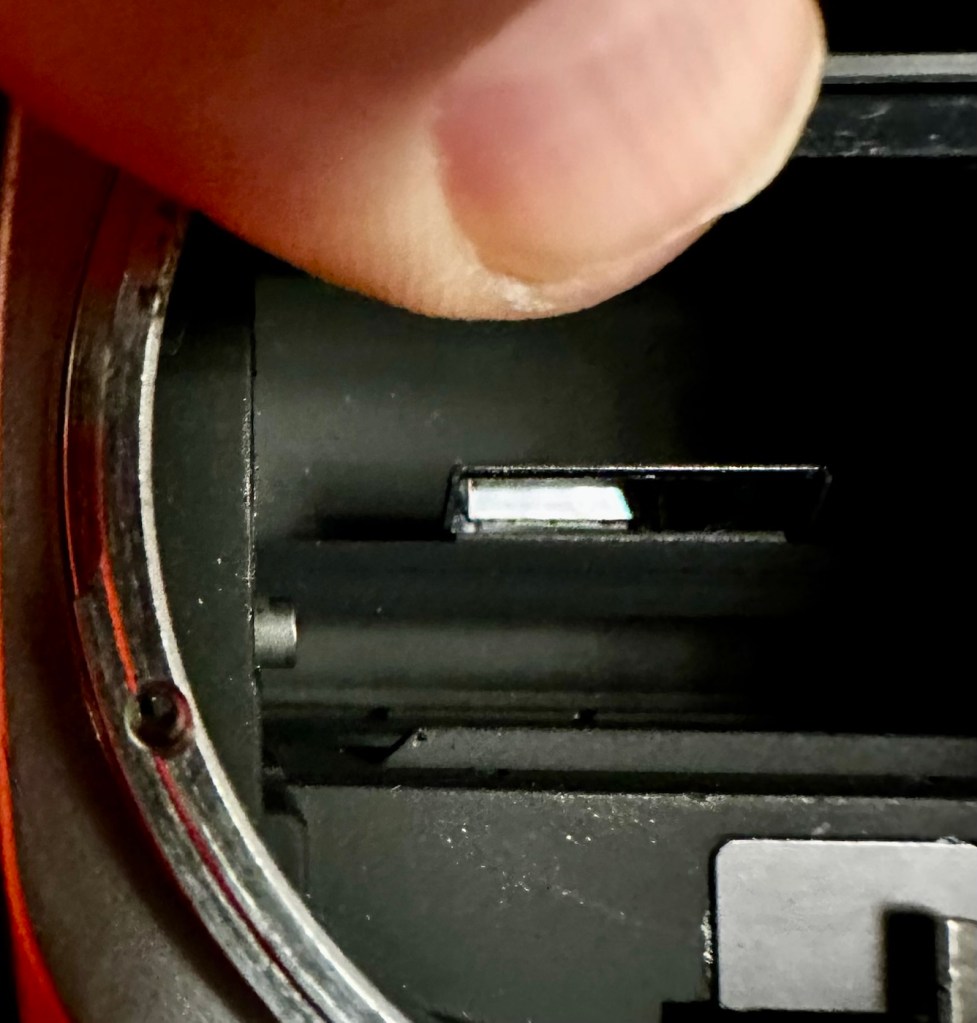
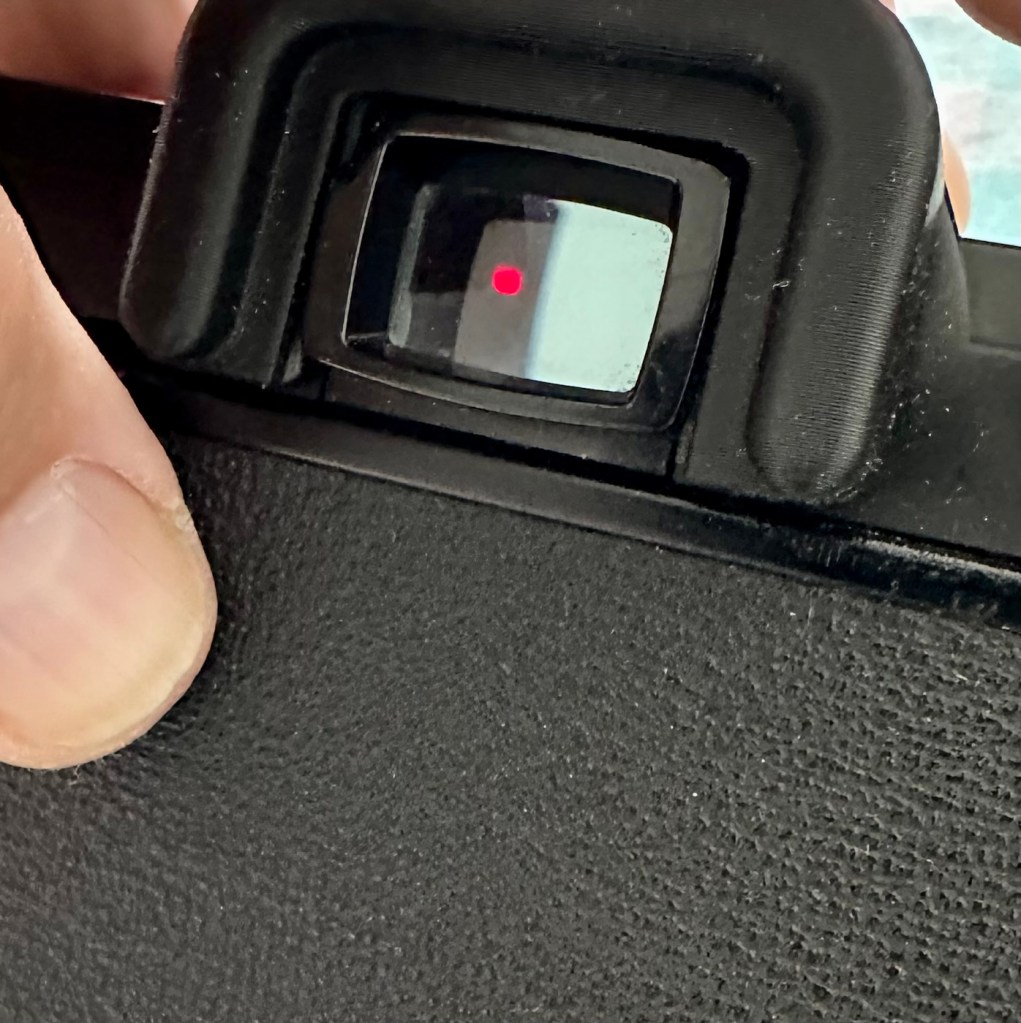
This camera does not have the typical split screen focus you find within most cameras of this age. All it has is a small rectangular two piece shape on a ground screen and that is it. This is where the QF comes in to play. You have to depress the shutter button down half way as you focus. As you focus, the viewfinder will display the exposure ratings to the right hand side of the viewfinder.
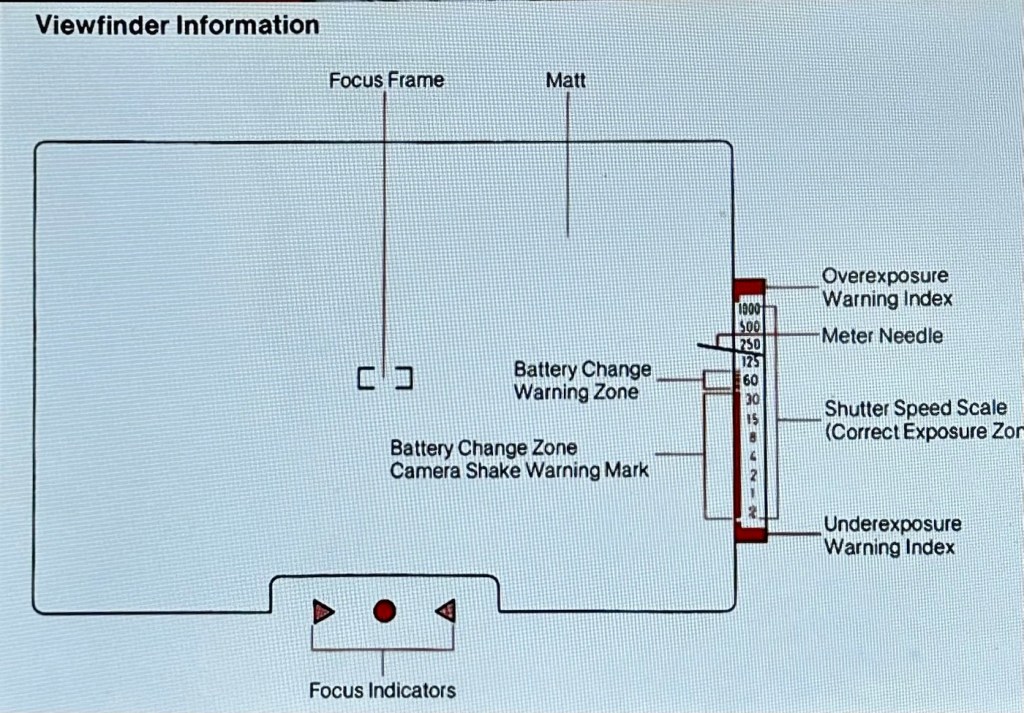
Viewfinder display info

At the bottom of the viewfinder screen is where the QF is calculated. As you focus you will see either one of two red arrows indicating that you focus the lens in the direction to which they are pointing. When the arrows extinguish and a green circle illuminates, that means the correct focus has been achieved. If you are happy with this and your shutter speed is not too slow and sits within the correct exposure zone, then go ahead and take your photo. it really is quite simple. A great system for those wearing glasses or for those with eyesight problems.

I have also noticed whilst testing the advance lever and shutter, that the take up sprocket moves freely in either direction, and this shouldn’t be occurring. The sprocket will wind the film onto the film collection point and then remain set, not allowing film to roll back and maintaining a taut film base across the rear of the shutter. It appears the rewind button at the base is pushed in permanently, and this would allow free movement of the sprocket whilst rewinding the film after use. There is an issue here that needs addressing.
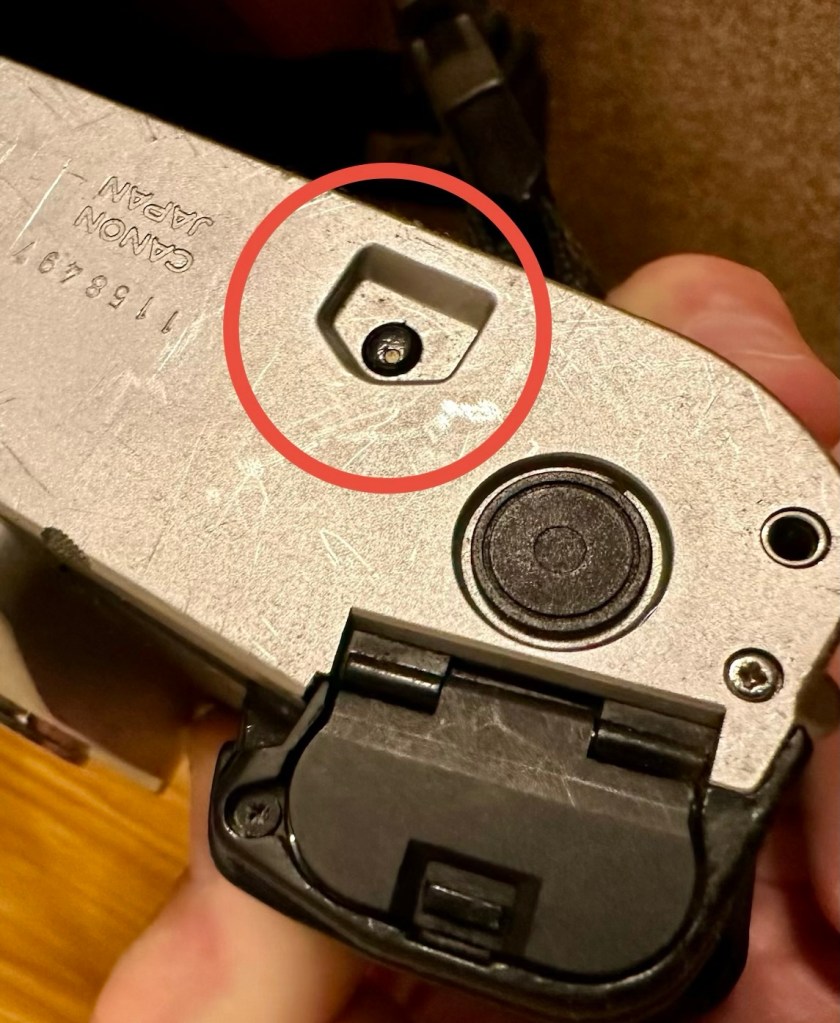
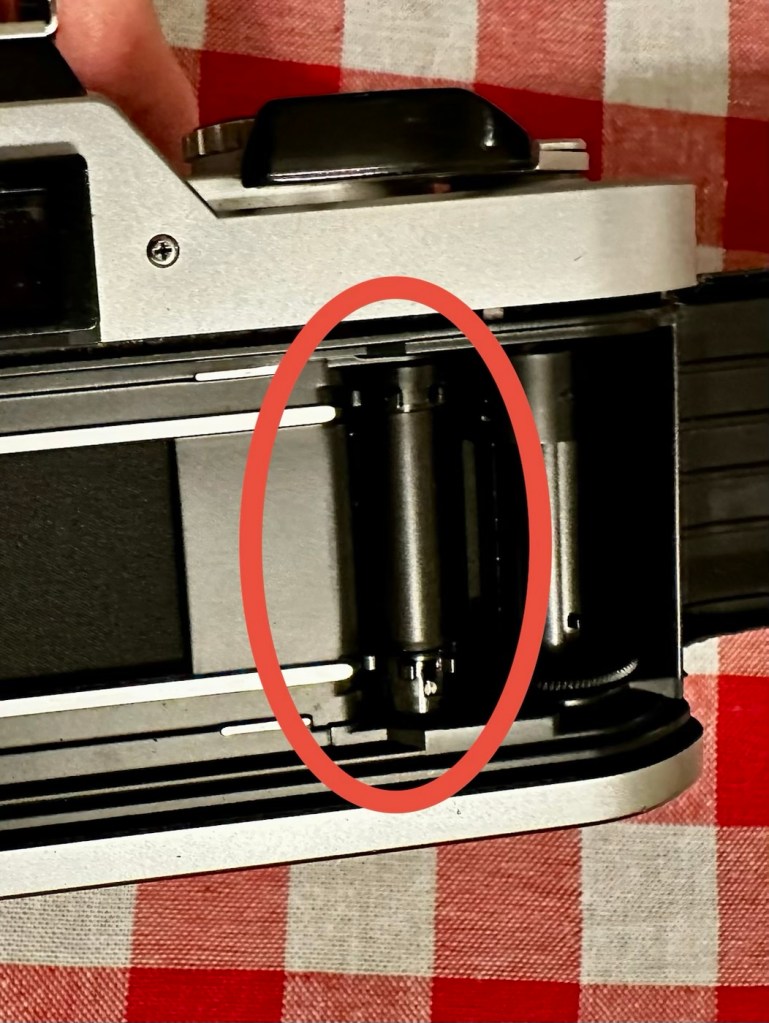
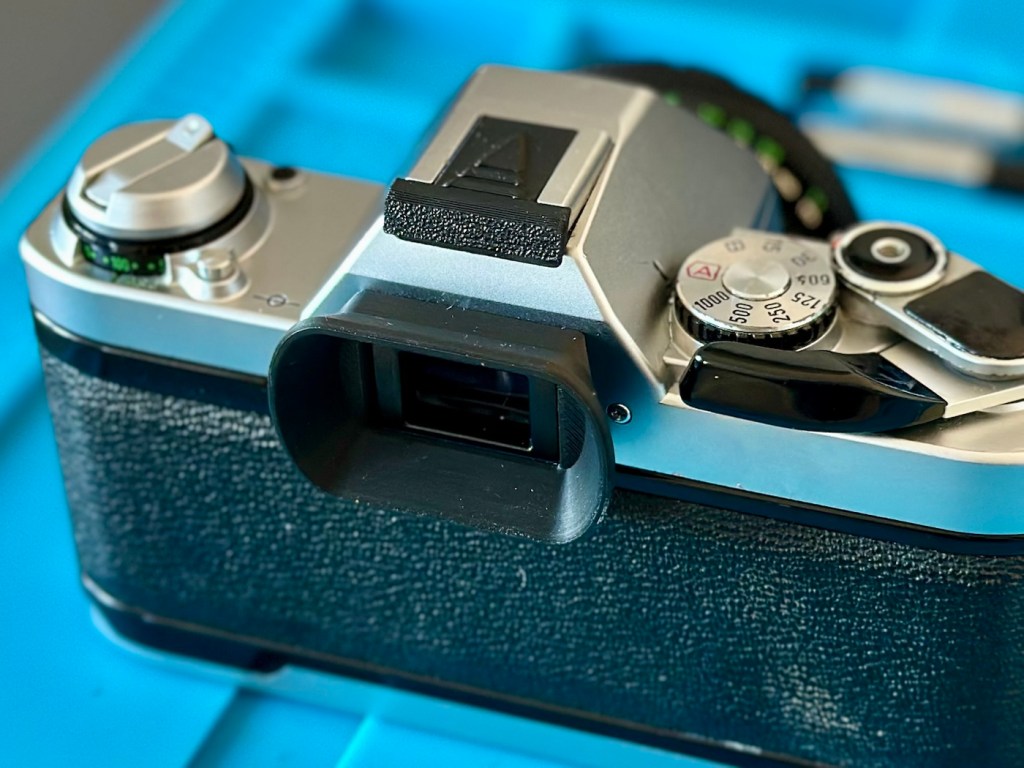
The camera itself is in a good condition cosmetically and considering its age, approx 43 years old, its condition is quite acceptable.
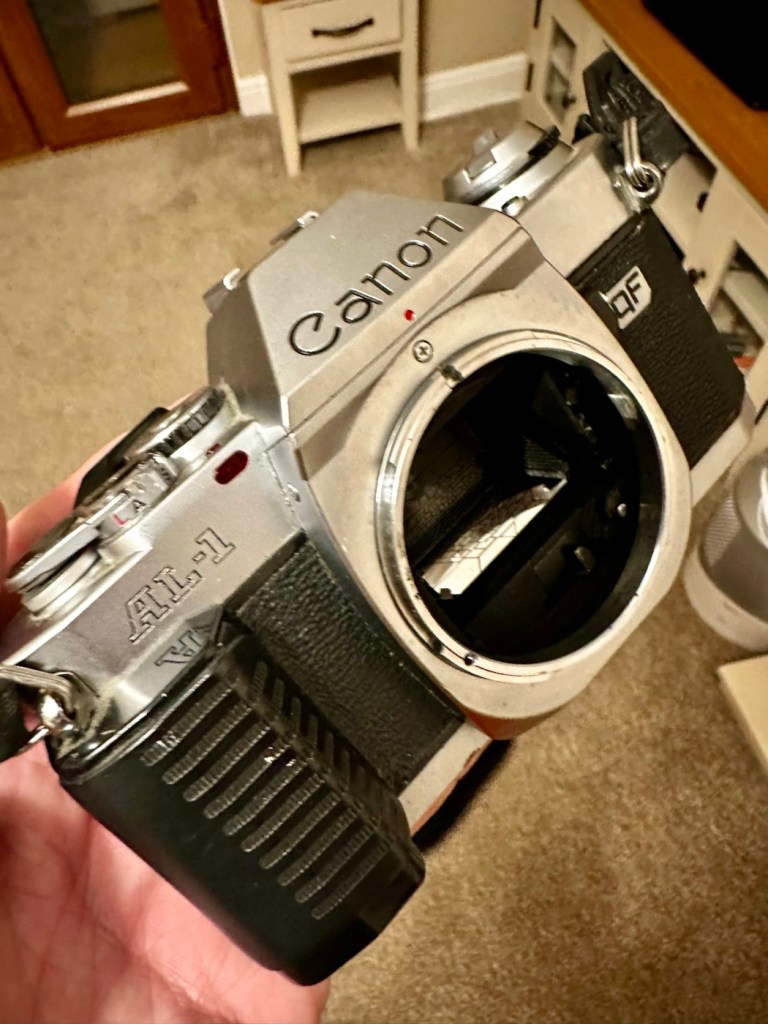
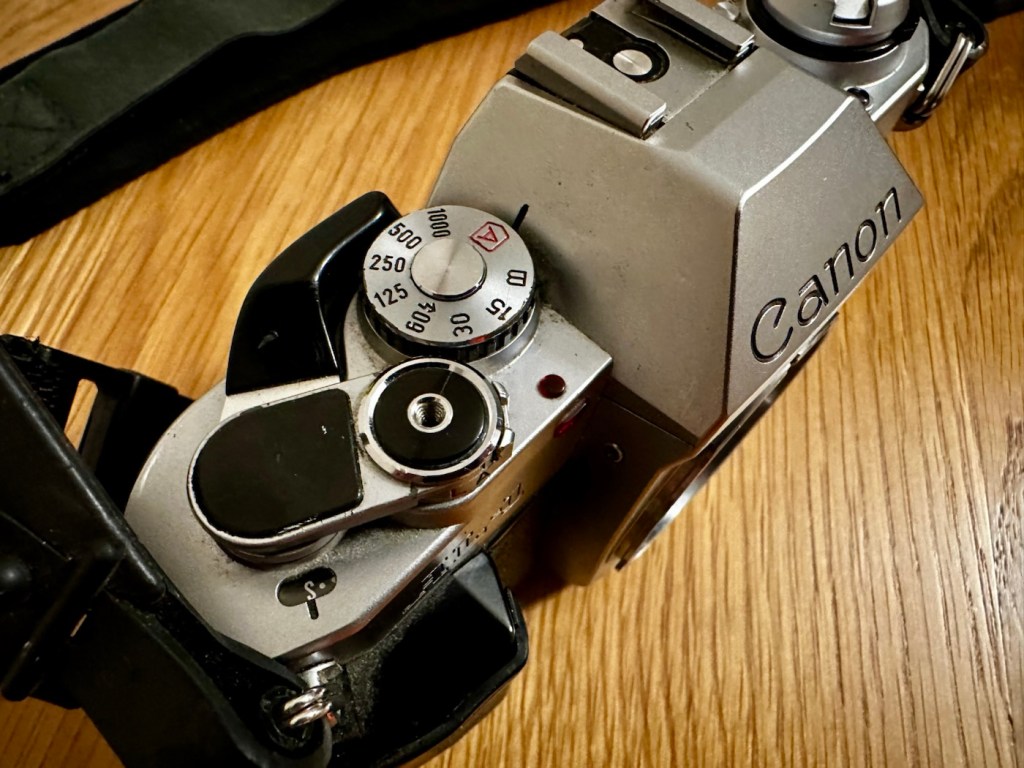
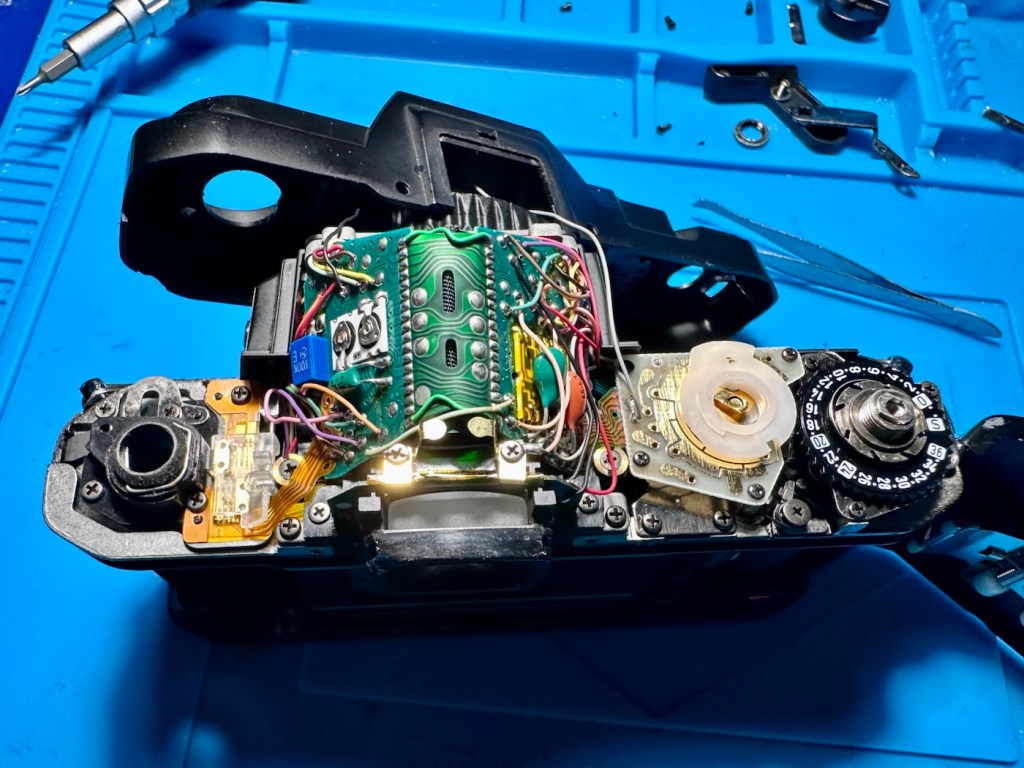
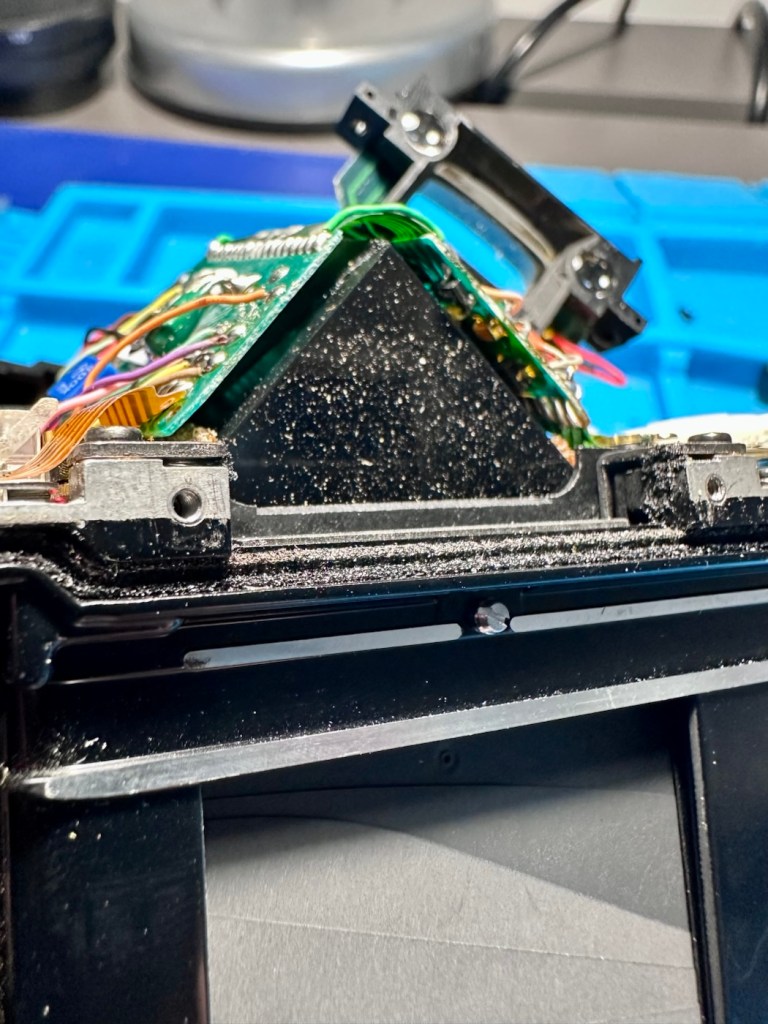
It is however very dusty and dirty and will need quite a deep clean.

I shall be leaving that big lens to one side for the purpose of testing, and will be using a standard 50mm FD stock lens for ease of movement.

Repair:

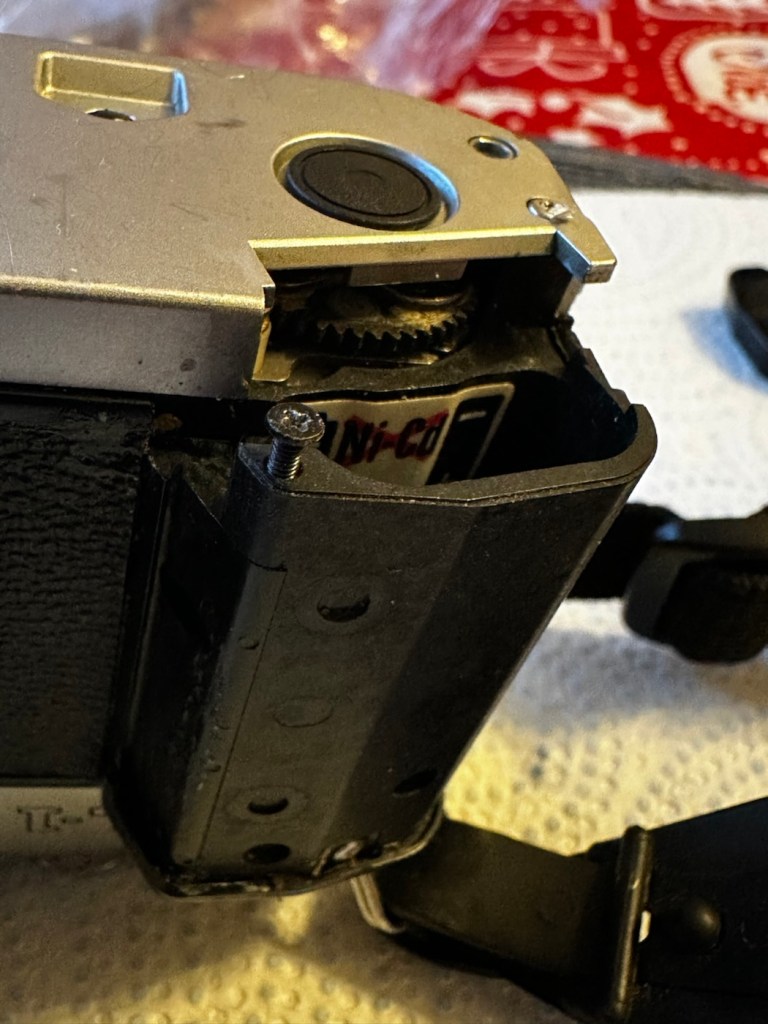
As we need power before we can do anything, my only option is to head straight for the battery chamber. I’m going to have to take the base off of the camera as there are a couple of issues that require its removal. The first will allow me a good unhindered access into the battery chamber and allow removal of the battery door that is contaminated with either battery acid or oxidisation. The second will allow me to attend to that take up sprocket issue and the depressed rewind button. I may even do some light cleaning and lubrication within this area.

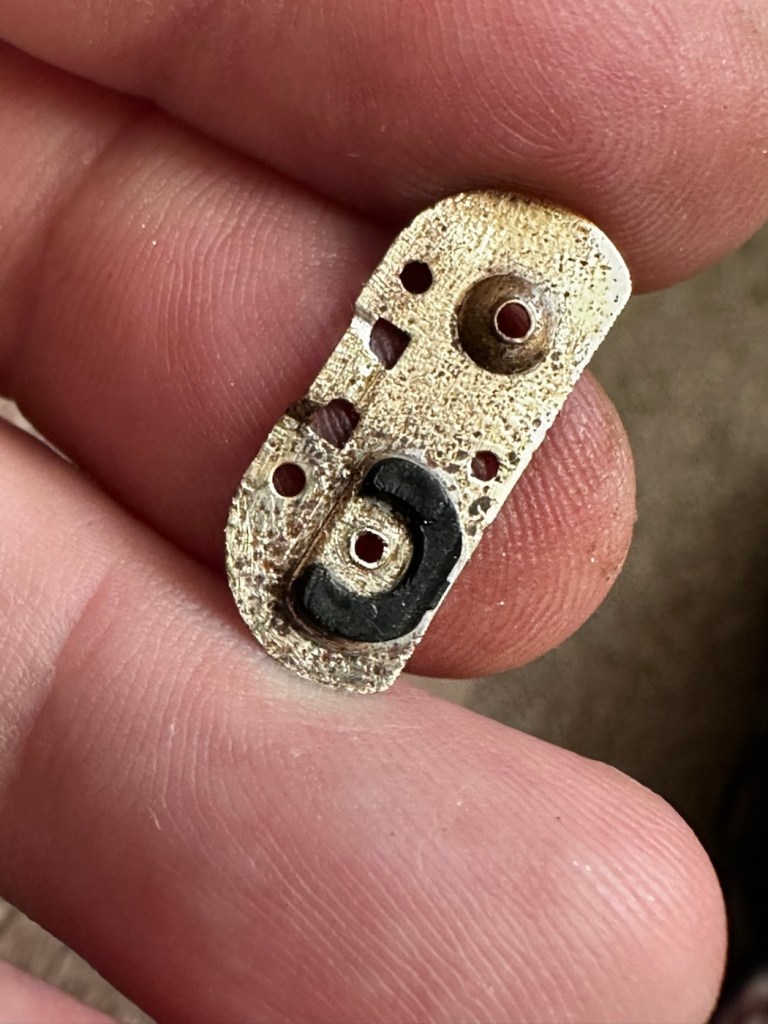
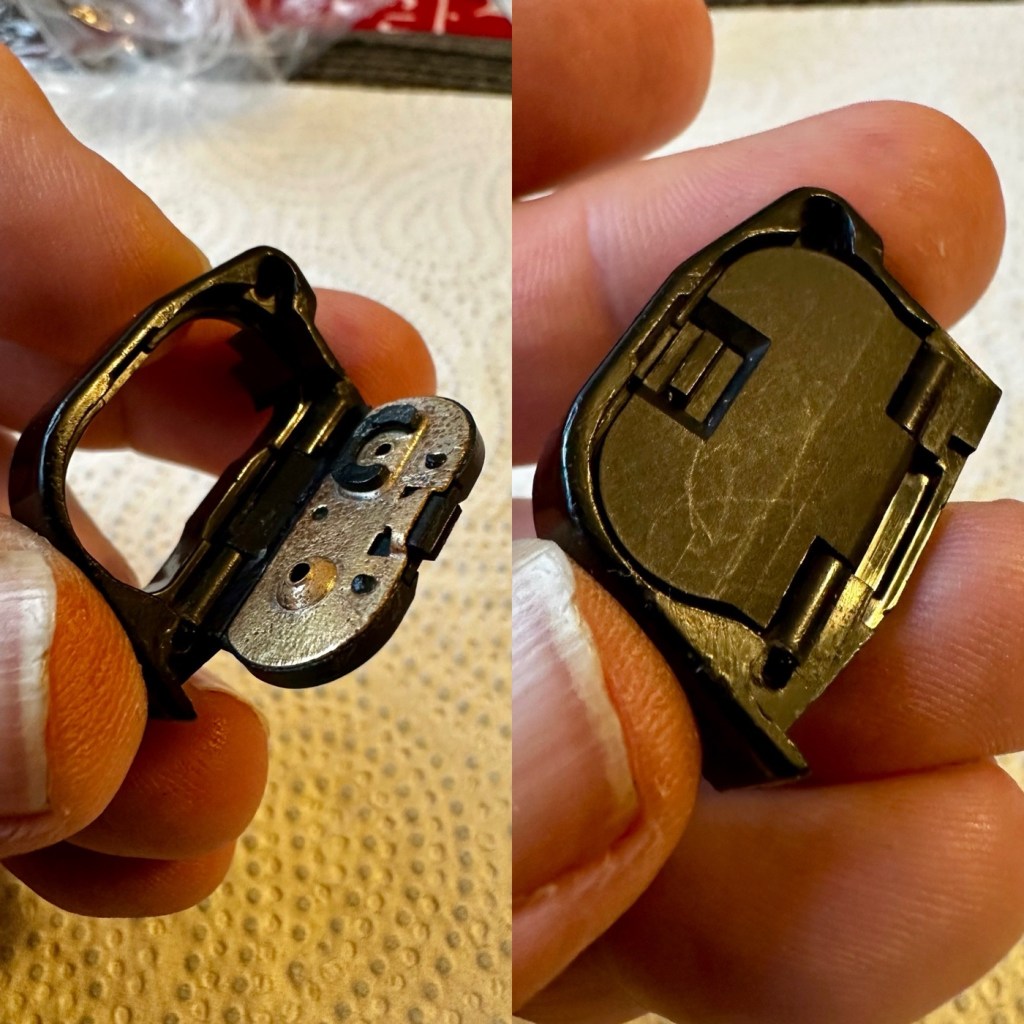
These cameras are notorious for the issue around the battery door failing. It has always been a problem around the latching mechanism, it fails and there are then a number of options to secure it ranging from elastic bands to custom made pieces of metal to sit on the base. There is a German company offering a 3D printed option for a replacement but it comes at a price in the range of three times the amount that I paid for the camera, so I won’t be venturing there. My battery base door does seem to be ok at the moment, the latch appears to be ok, the only issue being that the metal contact plate has come off the plastic door frame, as it was only held on with three plastic welds. It does allow me to clean the plate somewhat, however I now have to consider how I put it back into place, either I reweld, glue or screw. I could always use a Canon power winder that would also solve this issue. If I had the space at home and could set up my own 3D printer that I have had at home since my birthday earlier in November, boxed up in the corner of the living room, then maybe I could print my own? Either way I need the door free from the camera so as not to cause any further damage to it.
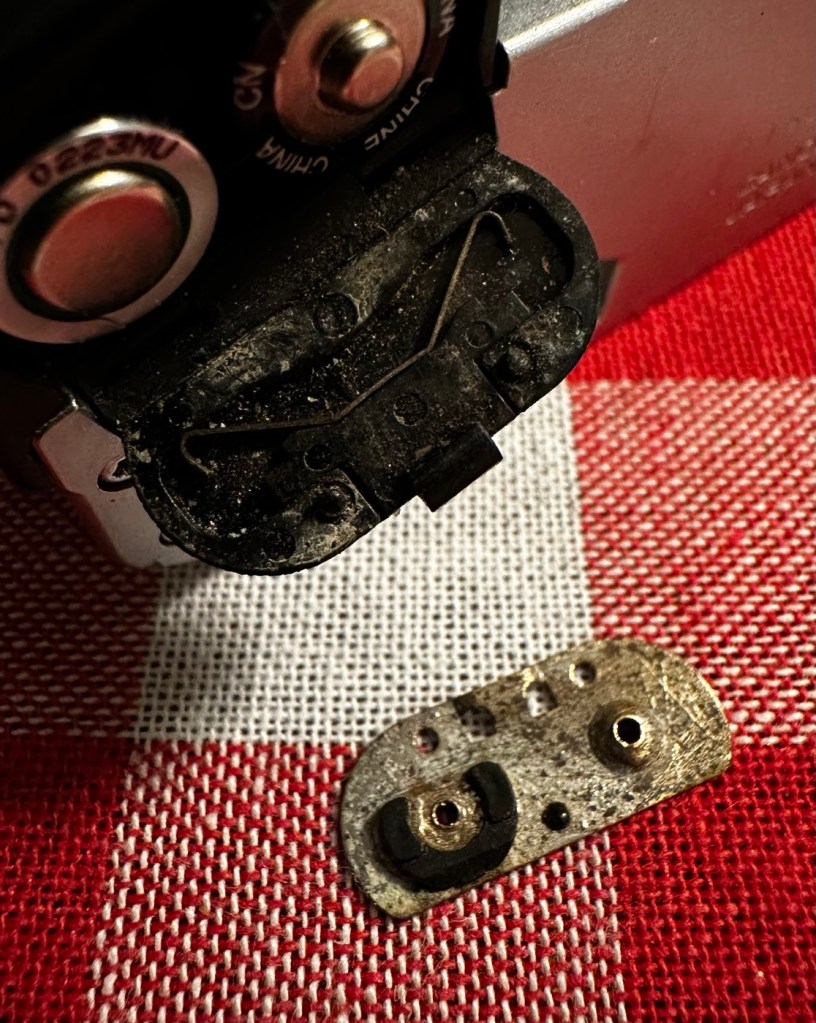
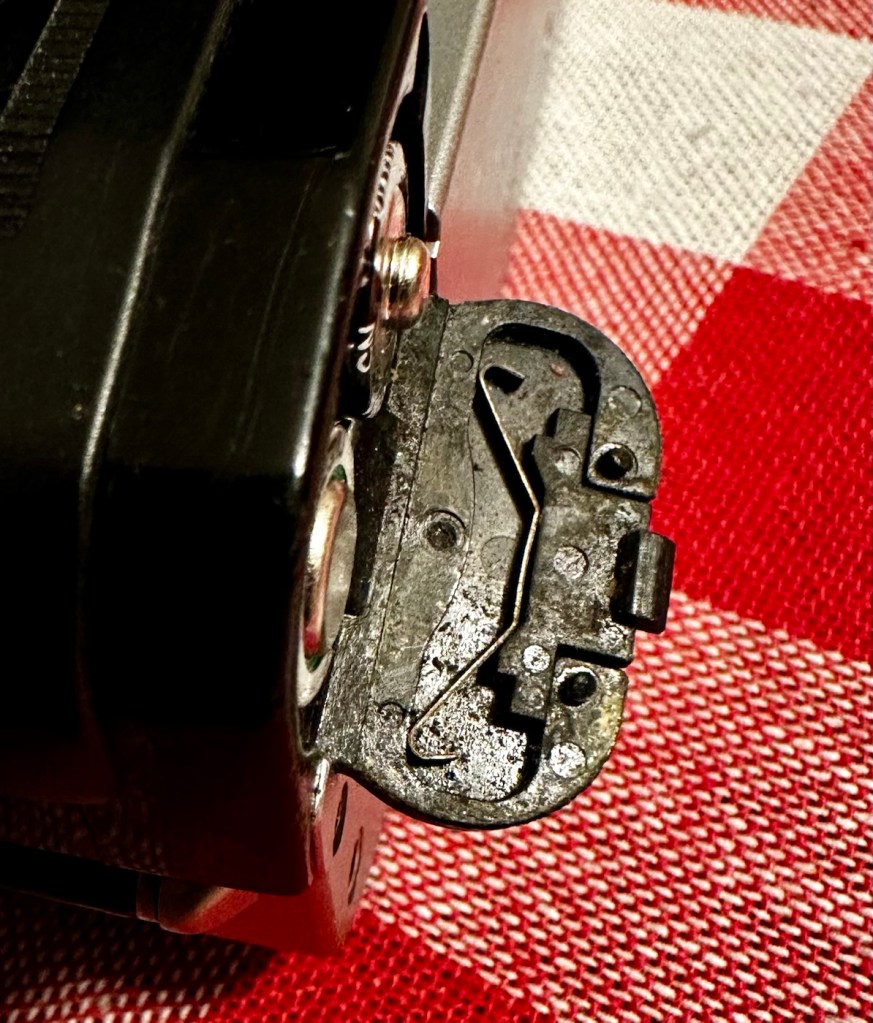
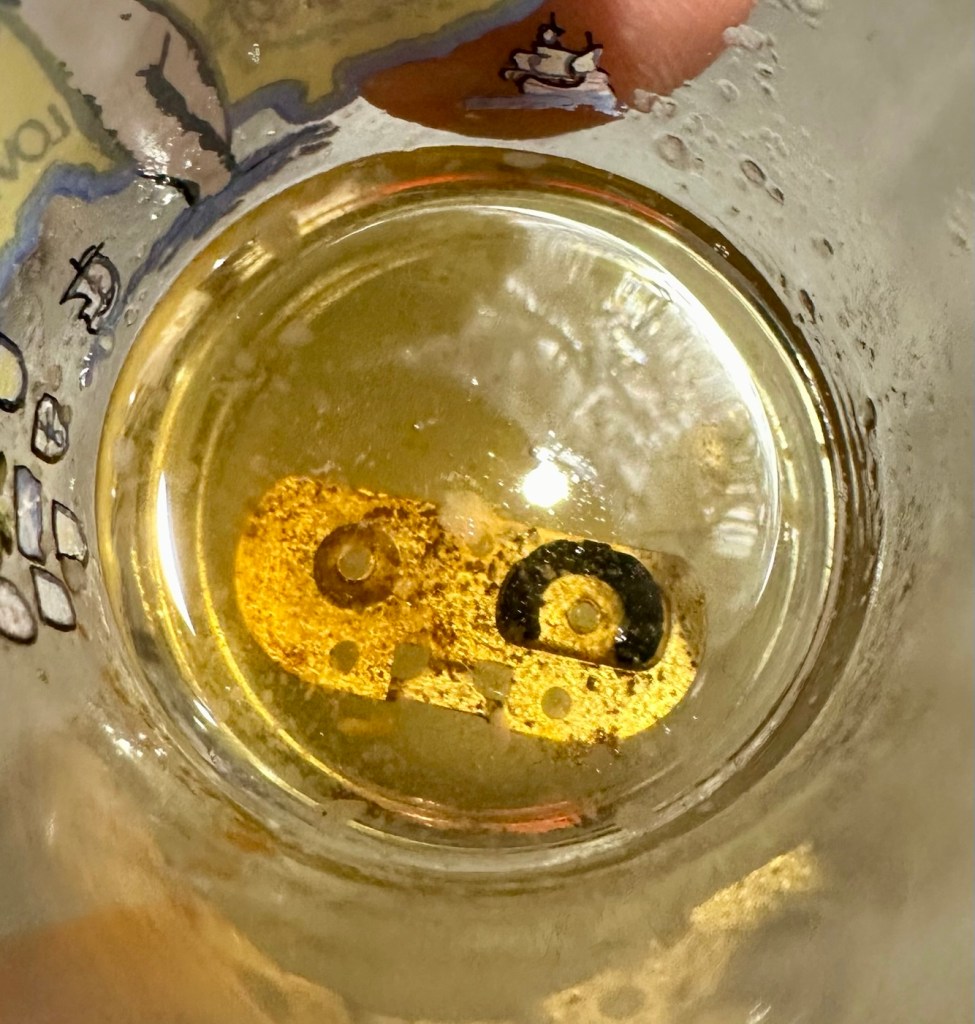
I have given a clean to the oxidised plate, by soaking it for a few hours in vinegar, that has lifted a lot of the dirt and oxidised material. I have cleaned it with IPA and then tested its continuity with a multimeter and the plate does have a good continuity across most of its surface. I’m going to just give a final buff with some fine sandpaper to improve its appearance and to ensure continuity across its surface is as good as it can possibly be. When I have achieved that, a good clean of the inner door and latch and spring will be carried out prior to its reassembly.

I’ve had the base off of the camera so I can carry out some maintenance to the battery rewind button and the top of the battery chamber. The battery door has been removed, cleaned and will shortly be reassembled and put back into place.
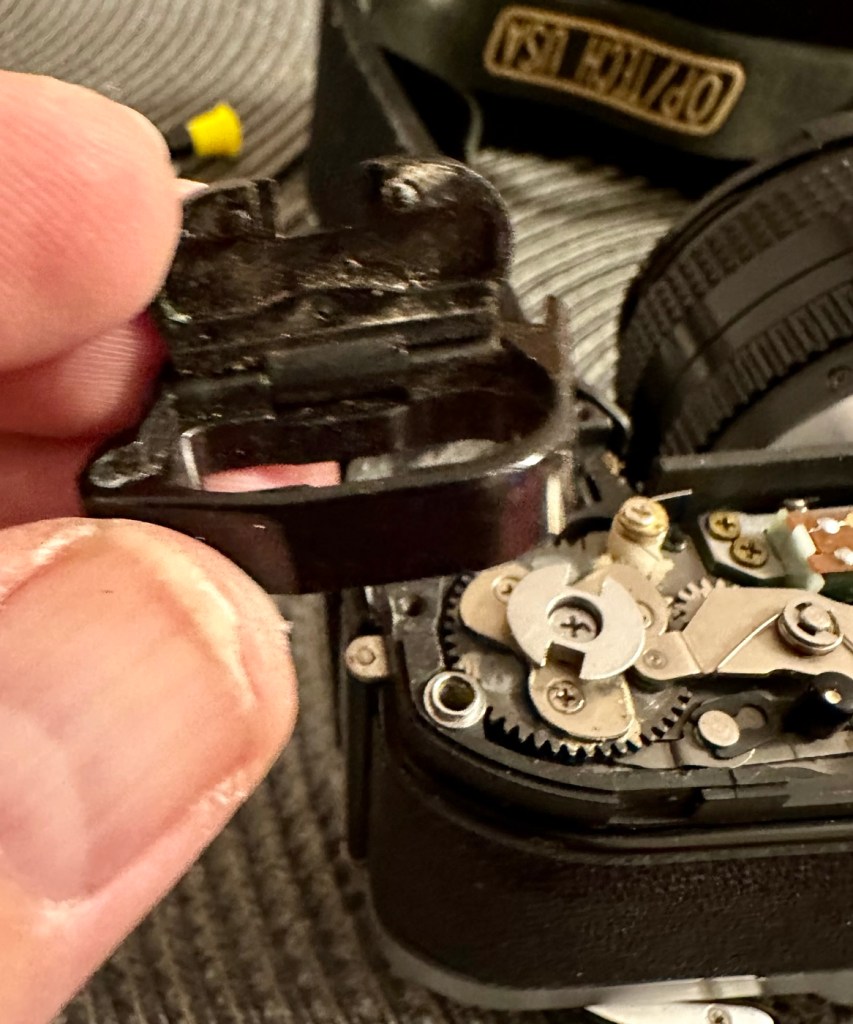
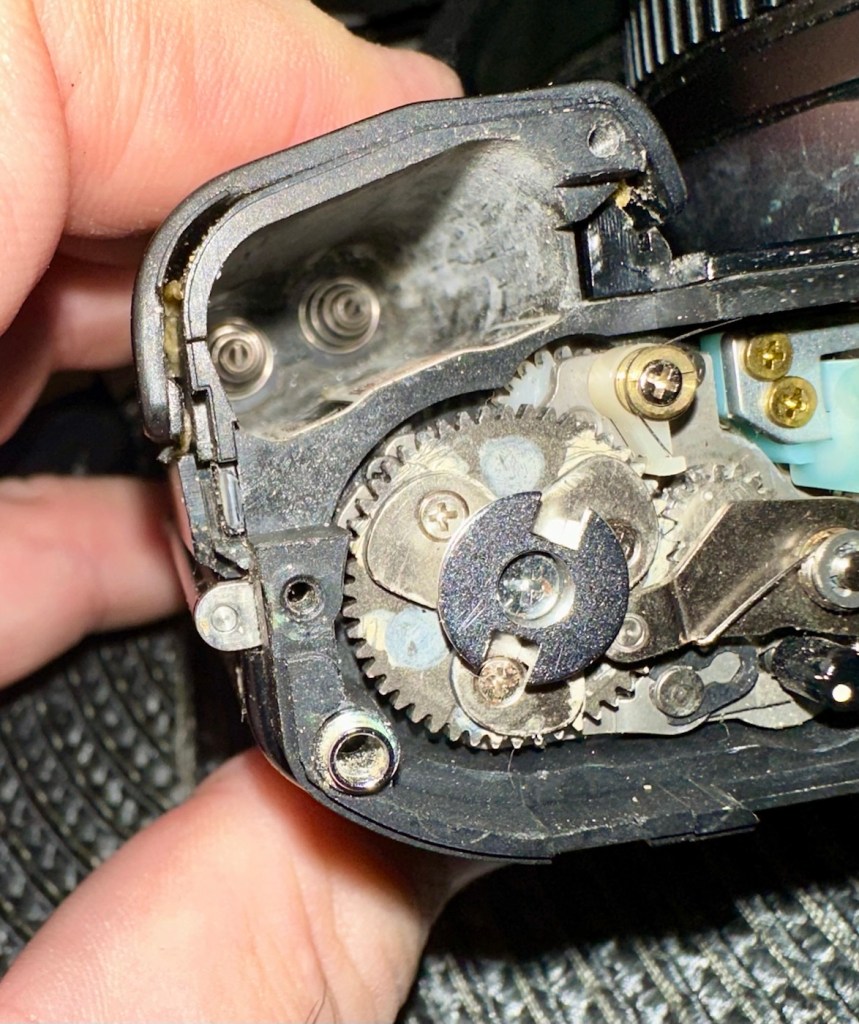
The rewind button is confusing me as it looks as if nothing is wrong, but I’m sure it is. I have made some minor adjustments to tension screws and the spool rewind without any improvement. I’ll come back to this later.
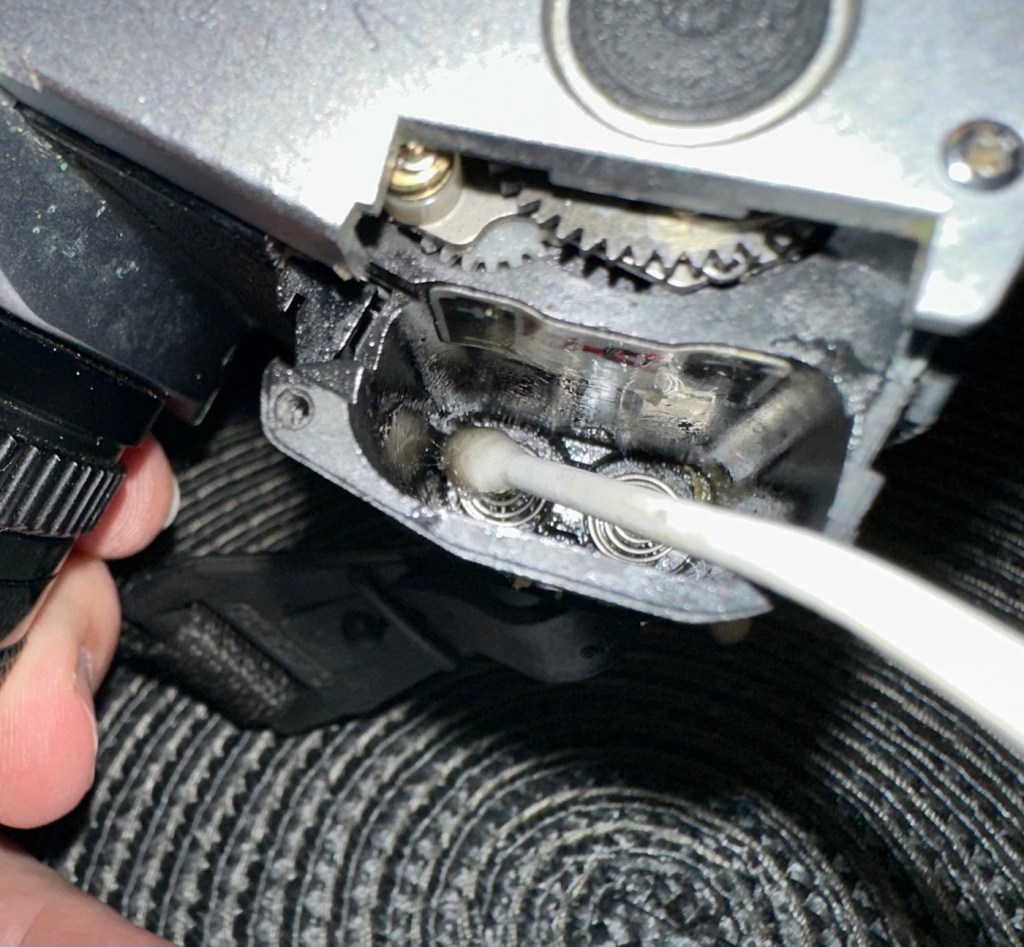
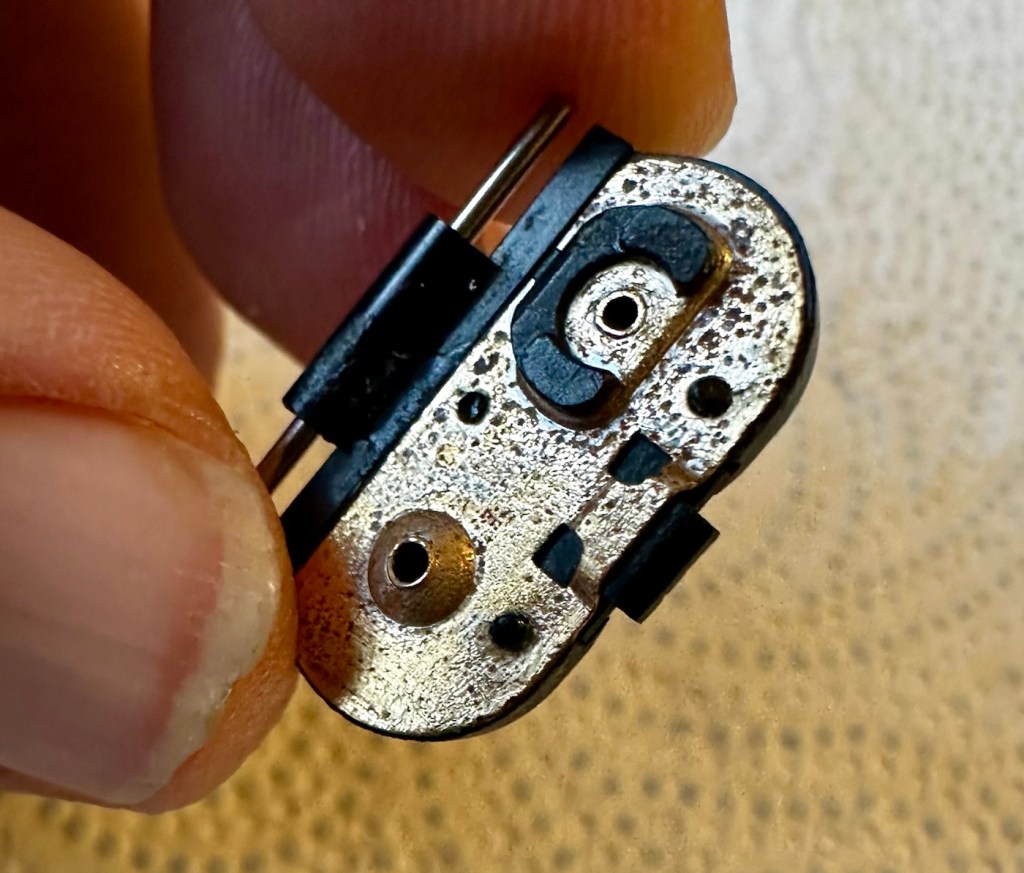
I have affixed the metal battery plate to the battery door using a small amount of superglue. I have bent the door latch spring a little to give it a bit more strength allowing the door latch to click into its stop position a lot more securely, hence the batteries will not be able to force the door open as they did previously.
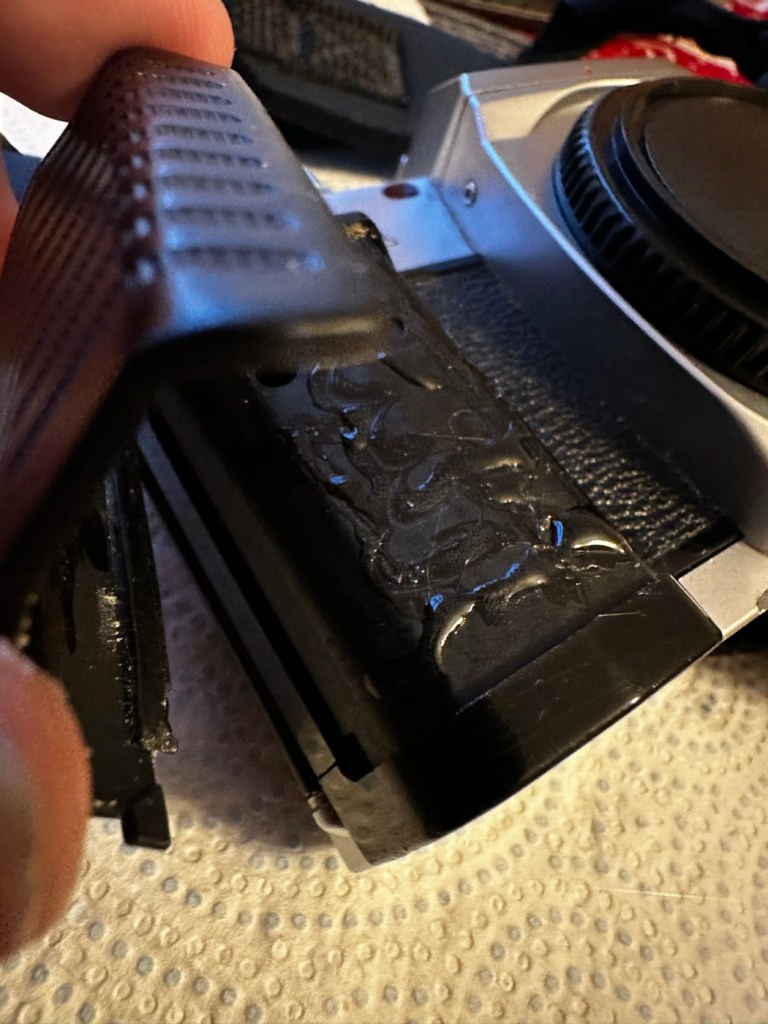
Next thing is to get the rubber hand grip back in place. For this I have used some contact adhesive.
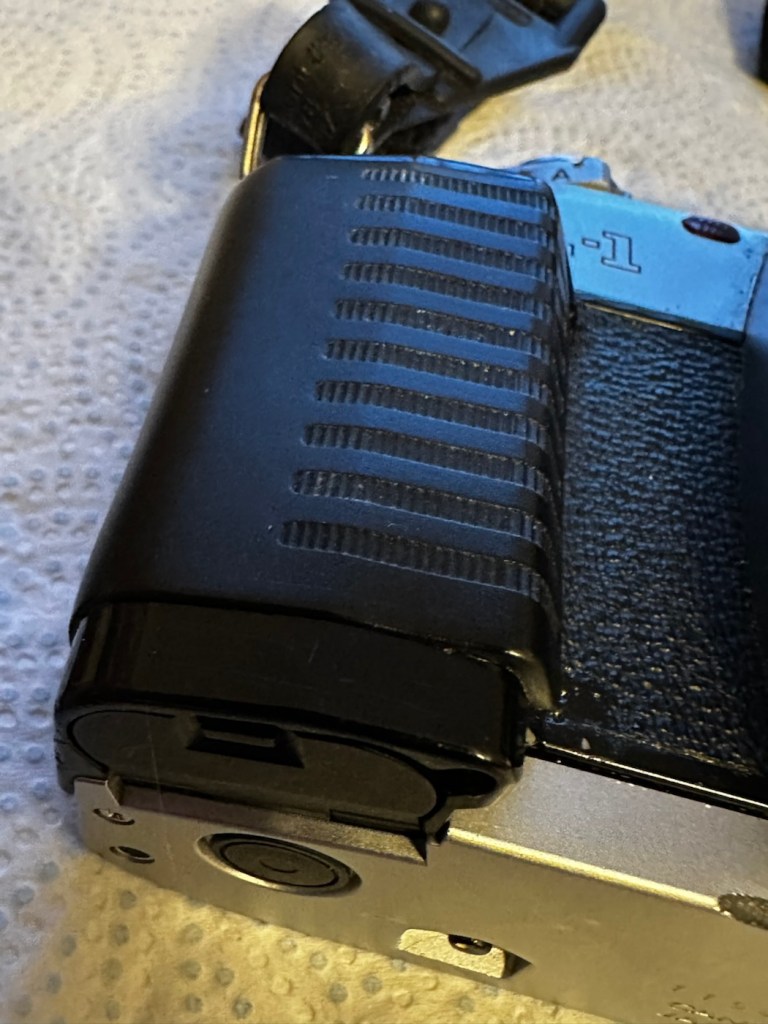
I’ve rechecked what I thought was an issue with the film rewind button, and it isn’t a problem, it is working absolutely fine and as it should be.
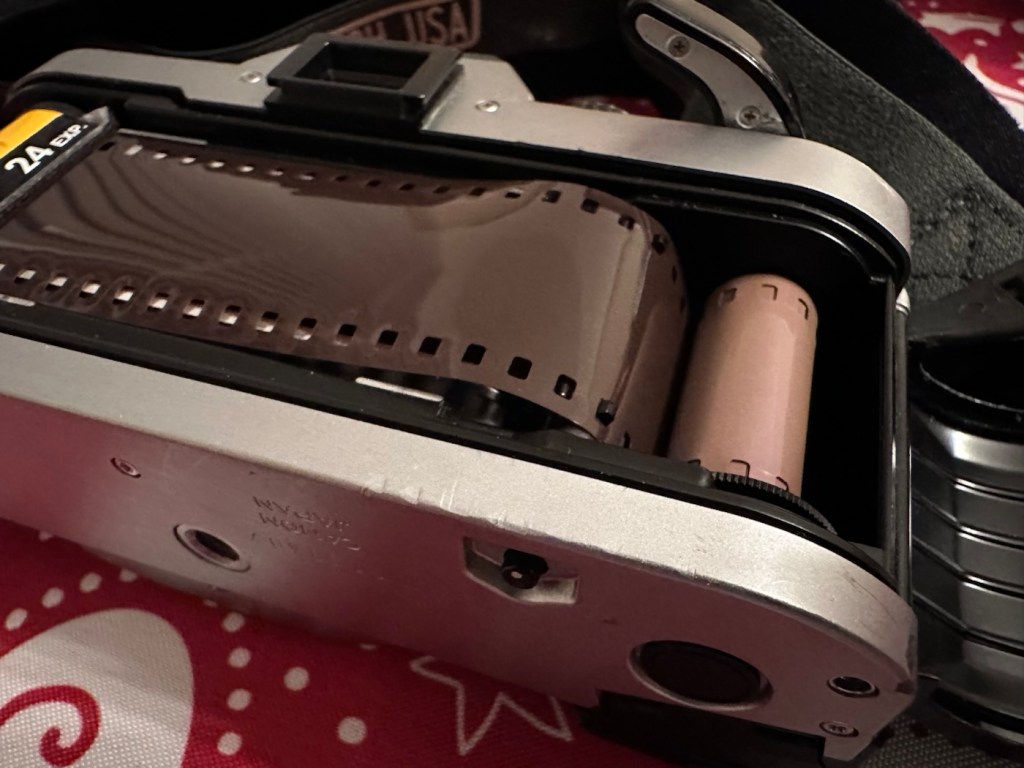
Test roll to prove rewind works

I’ve used an old test roll of film and as soon as the film is in place and winding, the bottom button pops out In theory locking the rewind spool so that it only winds towards the take up spool. When the base button is depressed, it clicks and allows you to rewind the film back towards the spool, it is working fine and was never an issue.

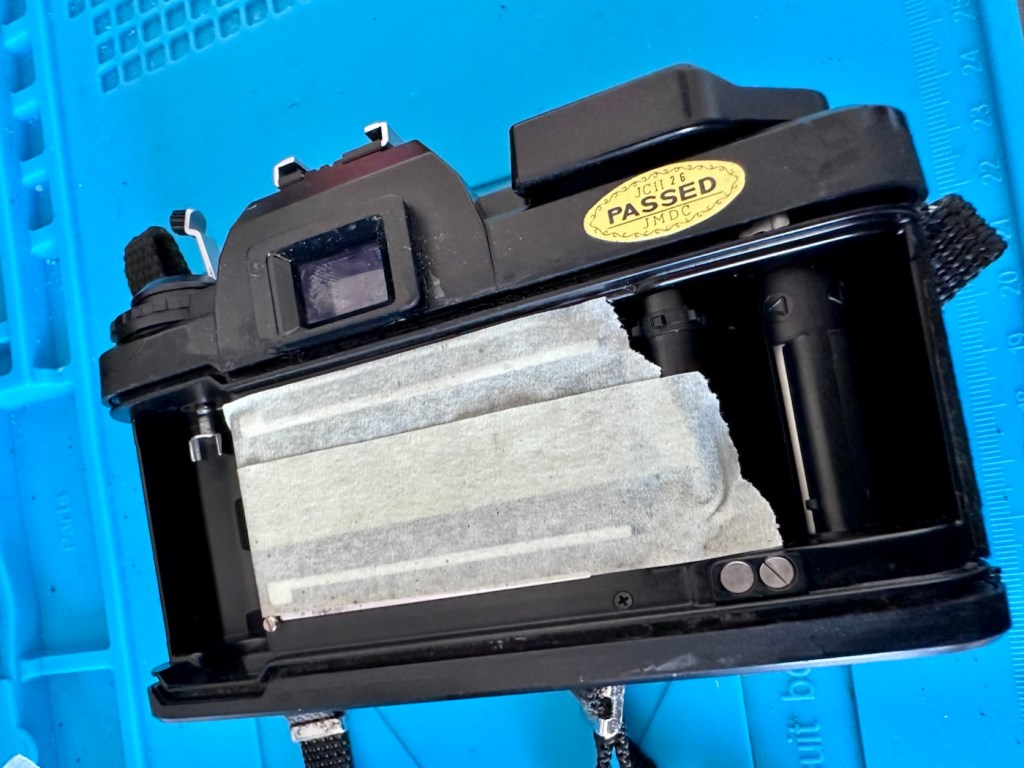
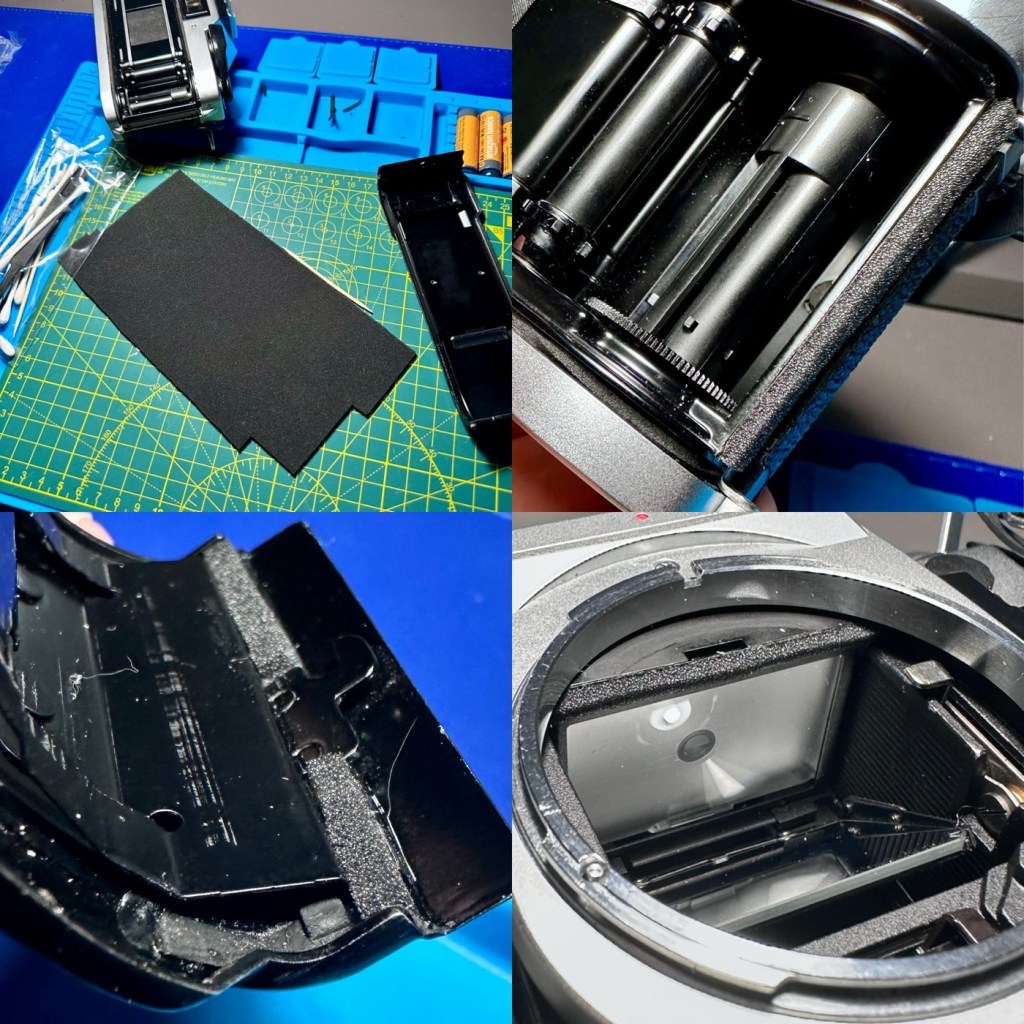
So the final job to do on this camera is to replace what is left of the light seals. There are eight pieces that need replacing on this camera, first I will hook the old seals out with a cocktail stick, I will then do this again with IPA to clean and remove the remaining bits, prior to cutting and installing the new seals.
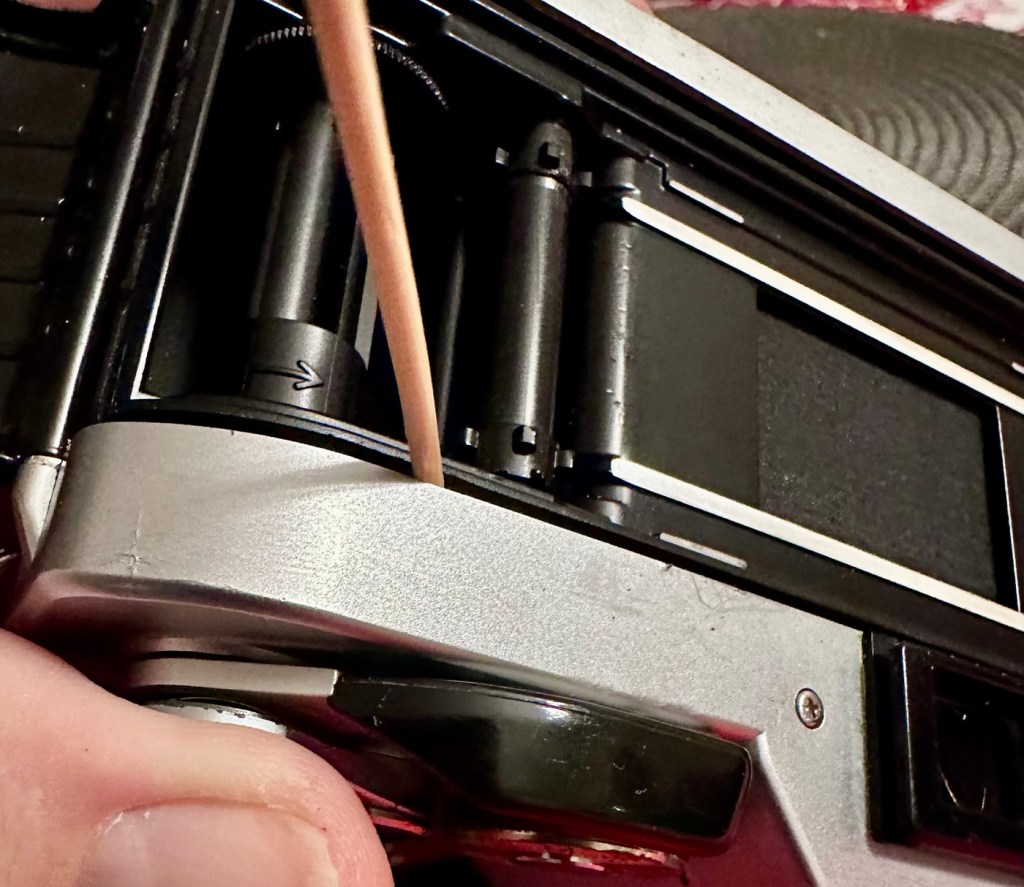
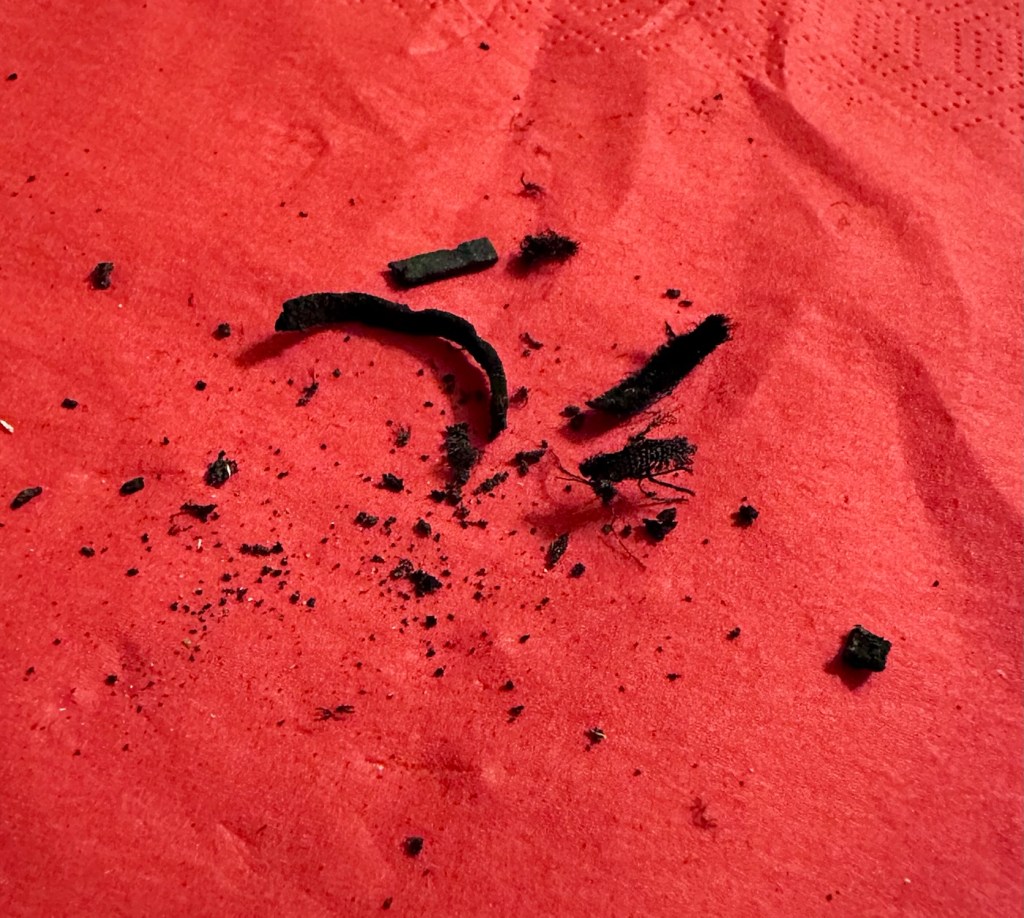
The light seals have all been replaced.
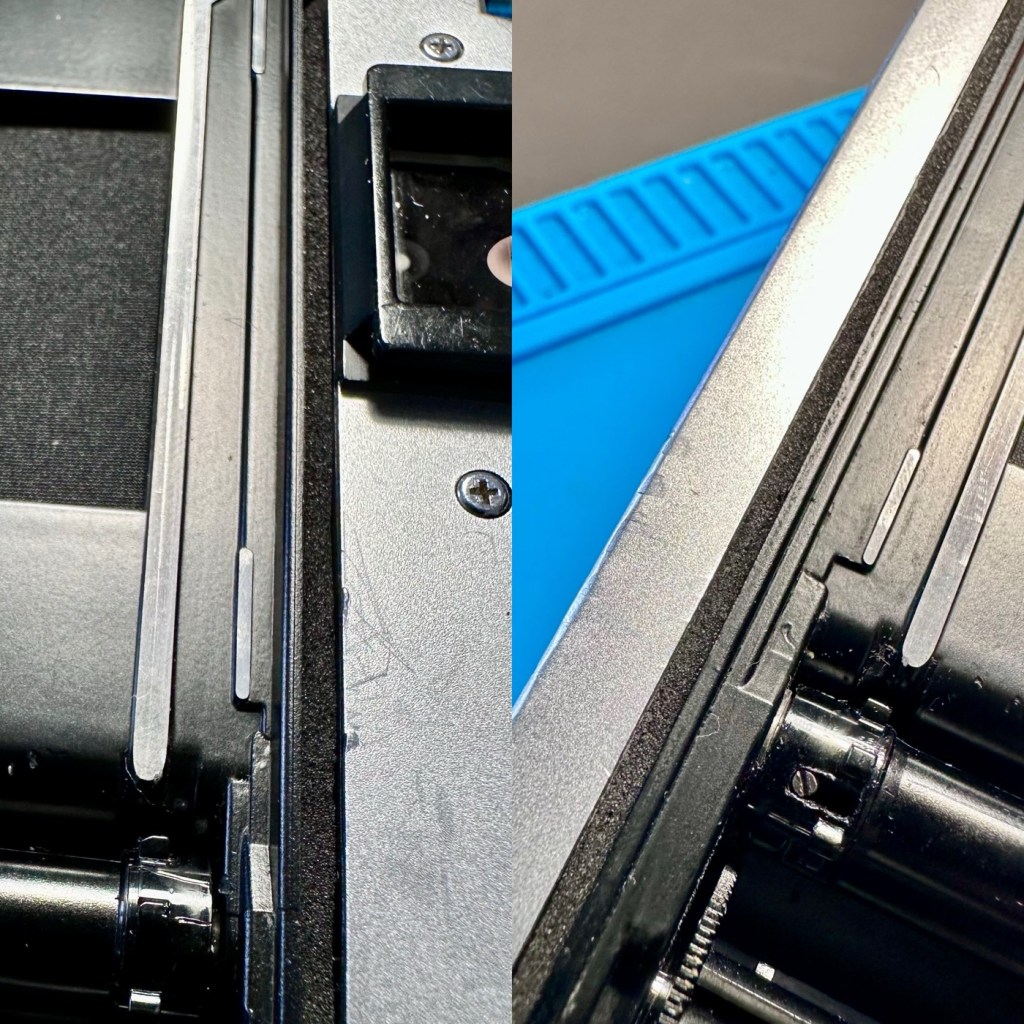
New light seals installed

To add a little bit of a finish, I have also 3d printed a hot shoe cover and an eyepiece. It tidies things up a bit.

This camera is now repaired.

Result:

I love the quick focus on this system as there is no split screen focus. Just focus in the direction of the arrows in the viewfinder and when in focus you get a green circle 🟢 brilliant. I just love seeing the development of new systems that were being used in these old cameras that today are just taken for granted. There was so much invested into R&D in those days.
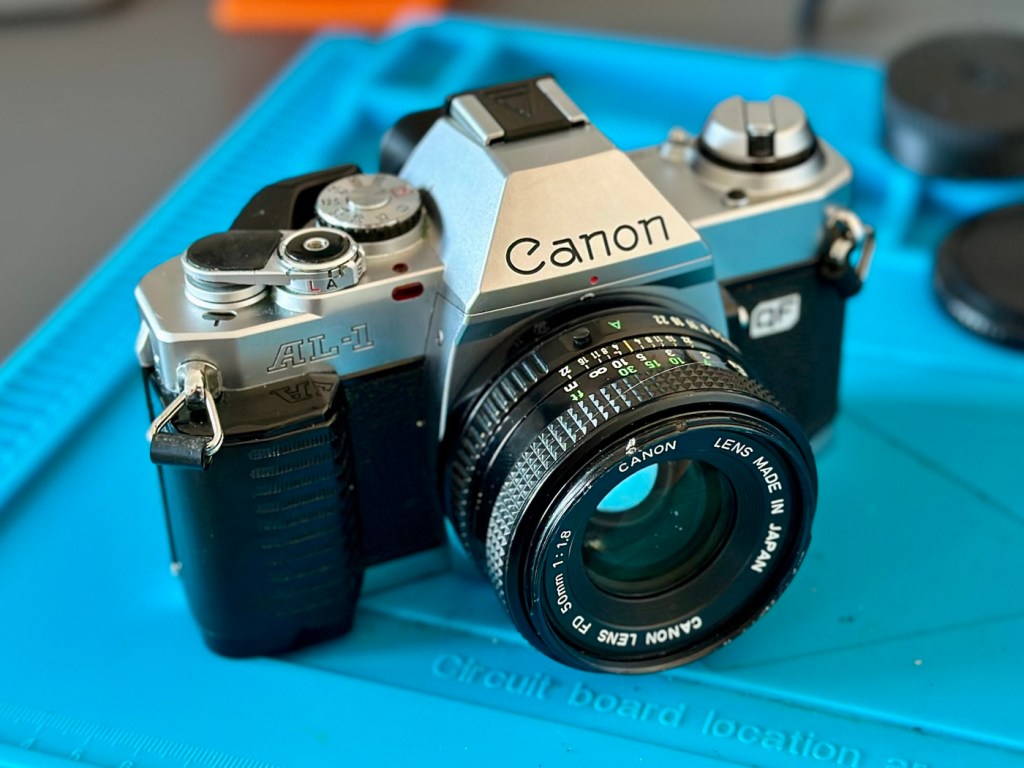
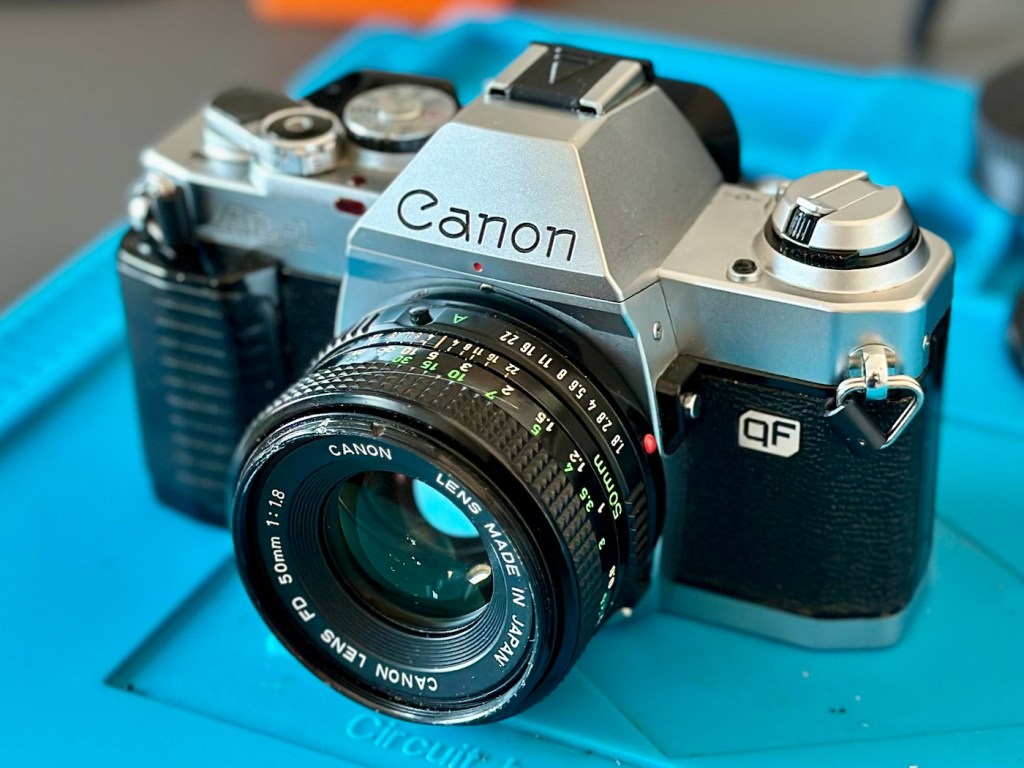
Another old timer from the early 80s given a fresh lease of life. Another one out of landfill and back into use doing what it was built to do. I love these old cameras.

Many thanks for passing by. Always very much appreciated.
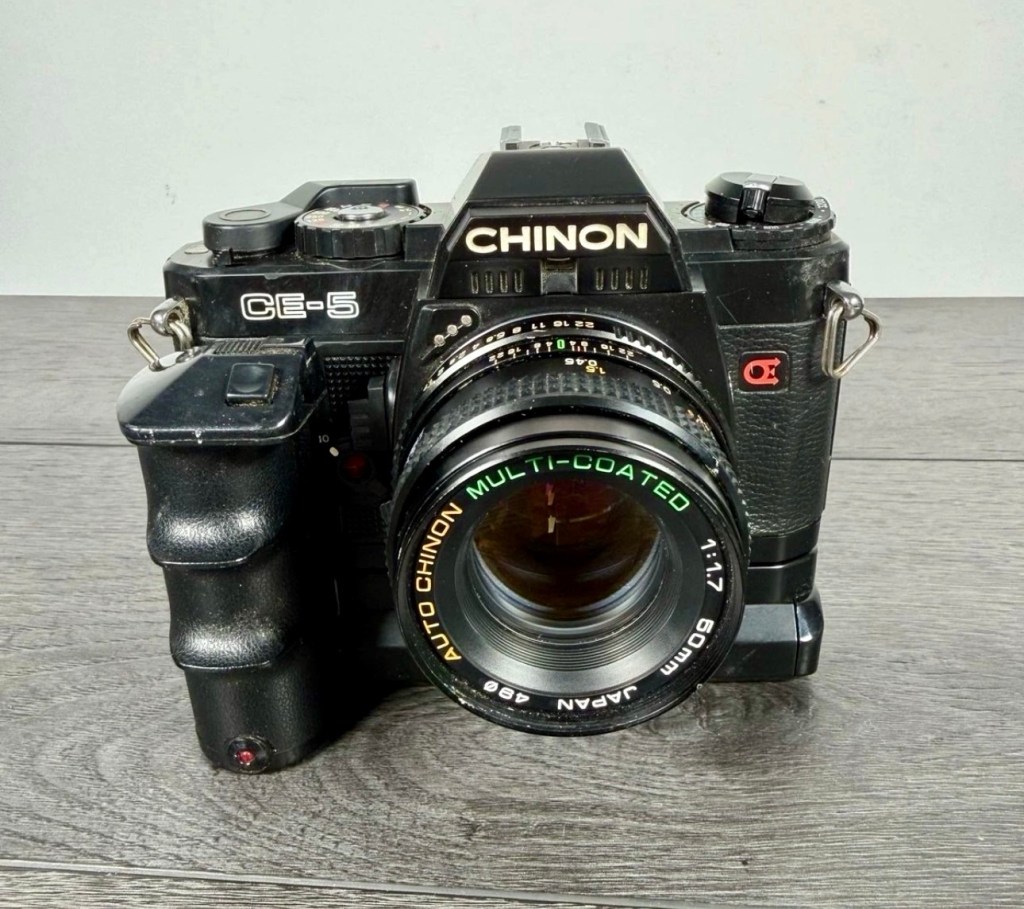
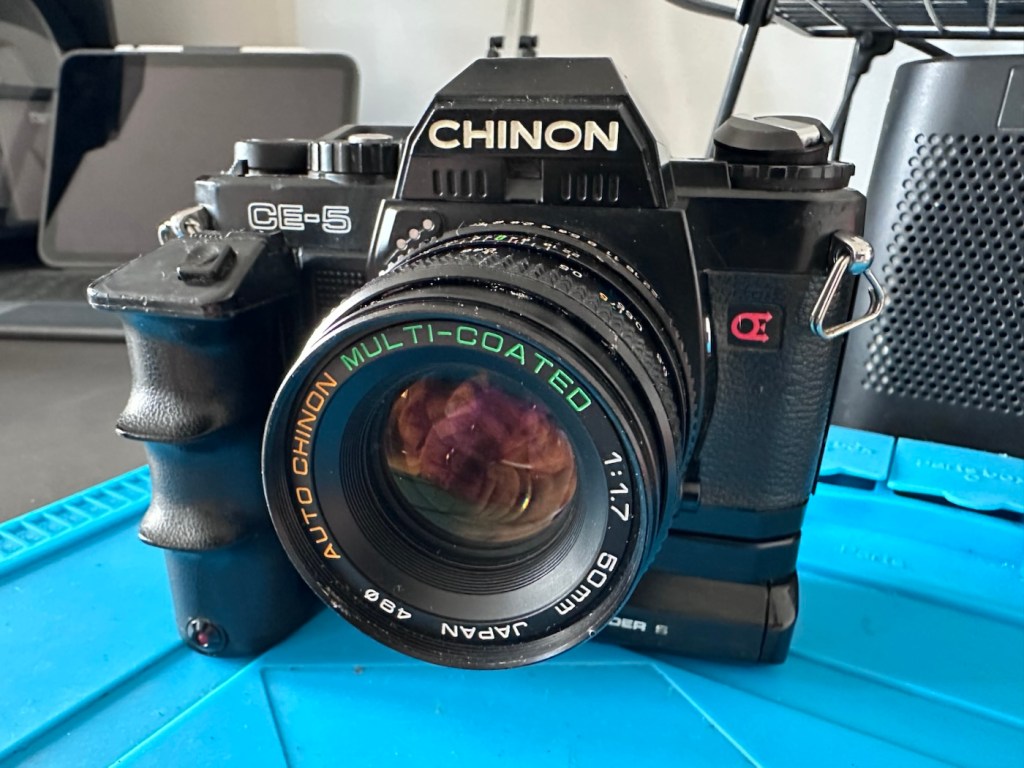
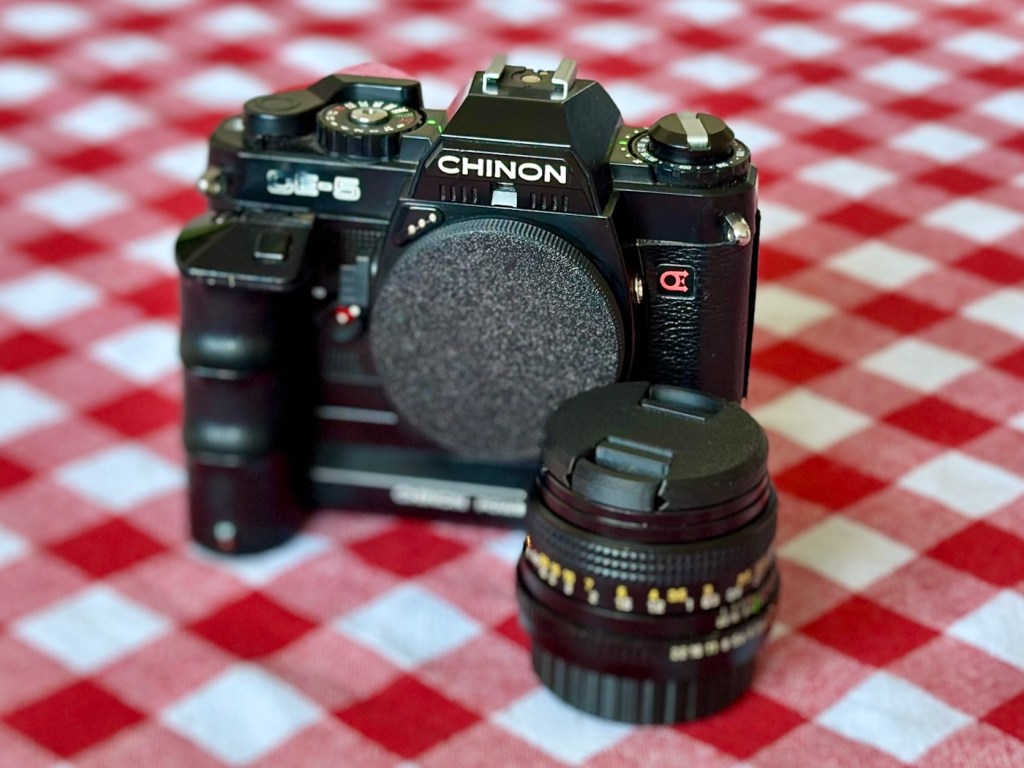
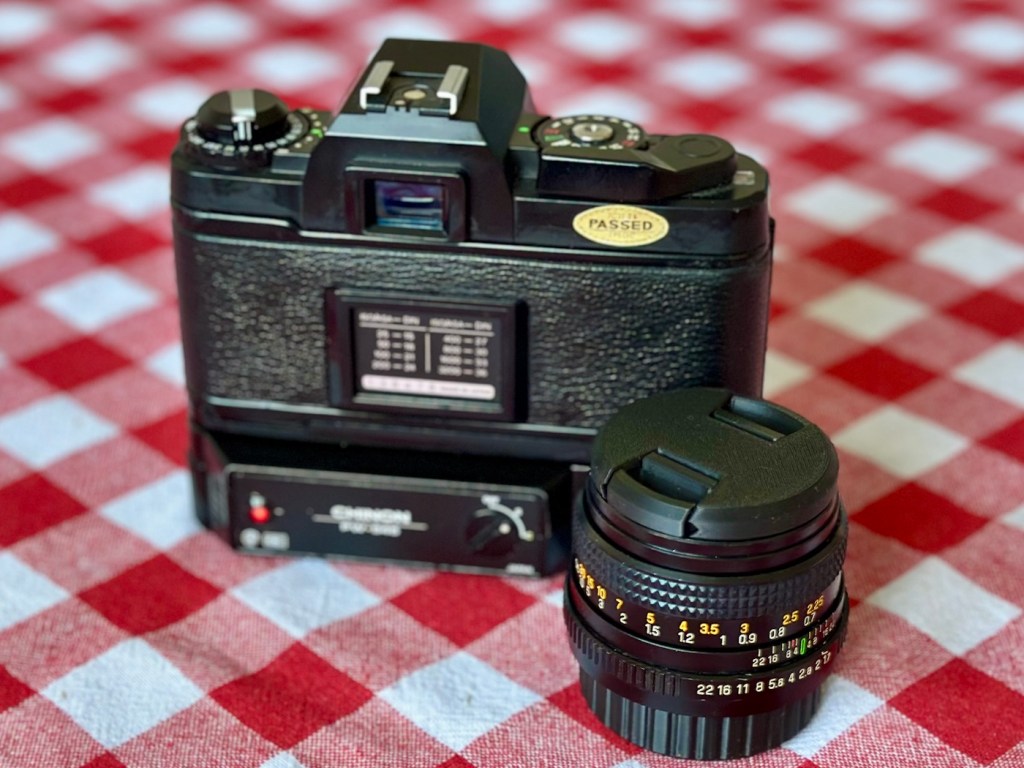
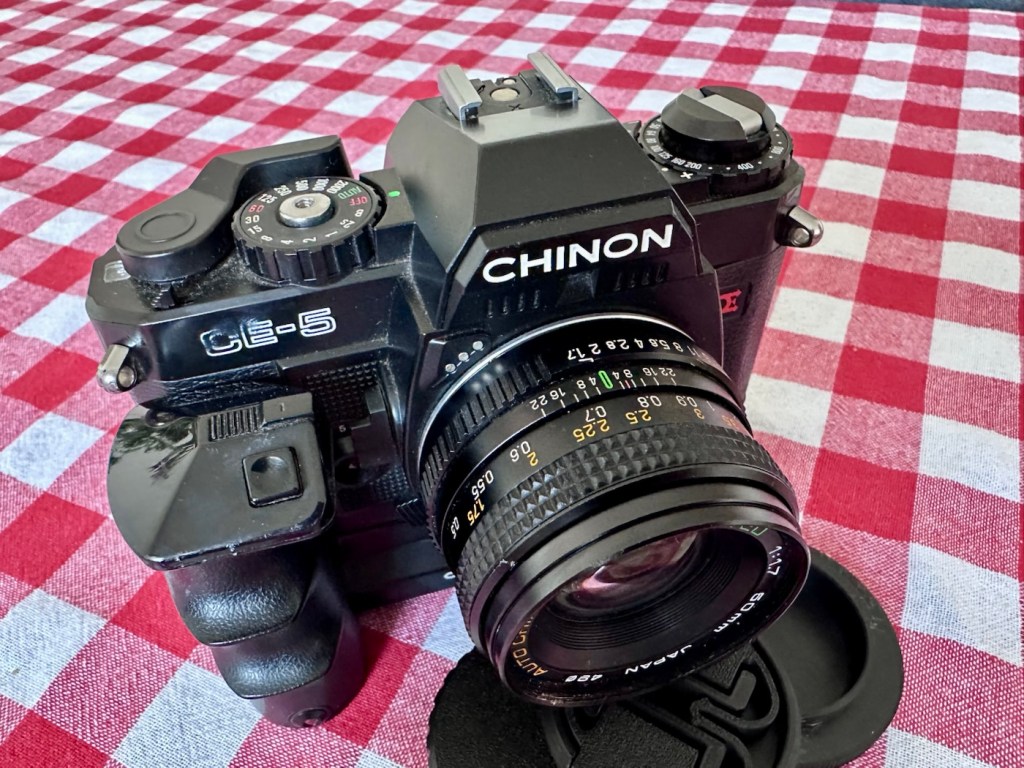
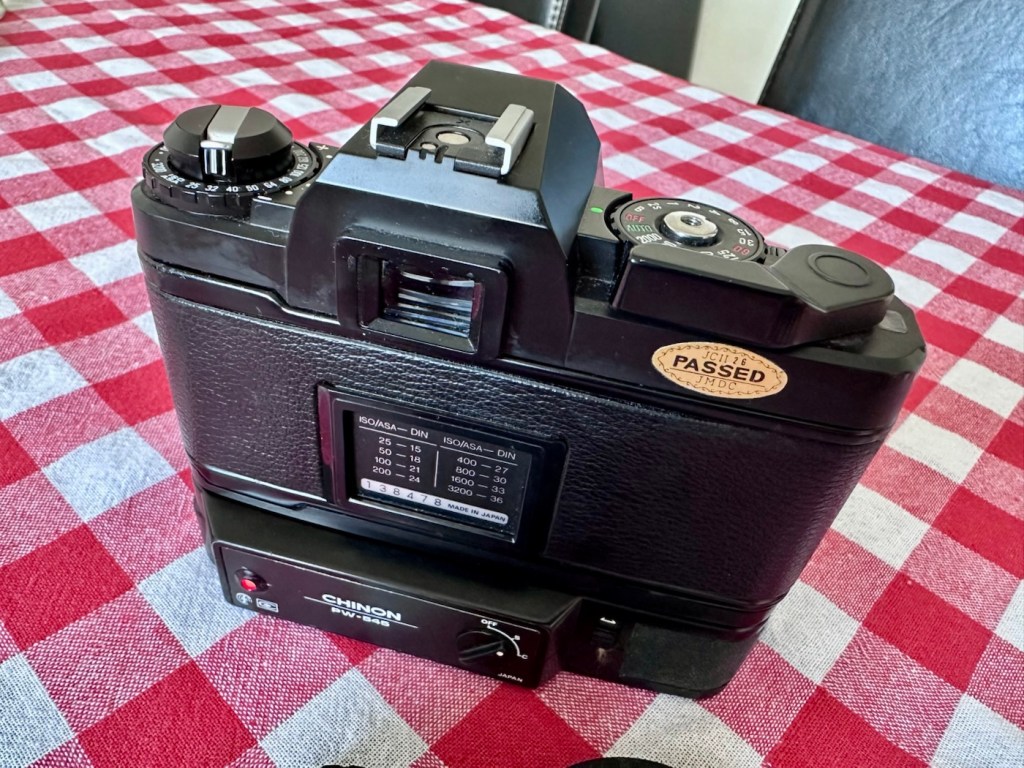
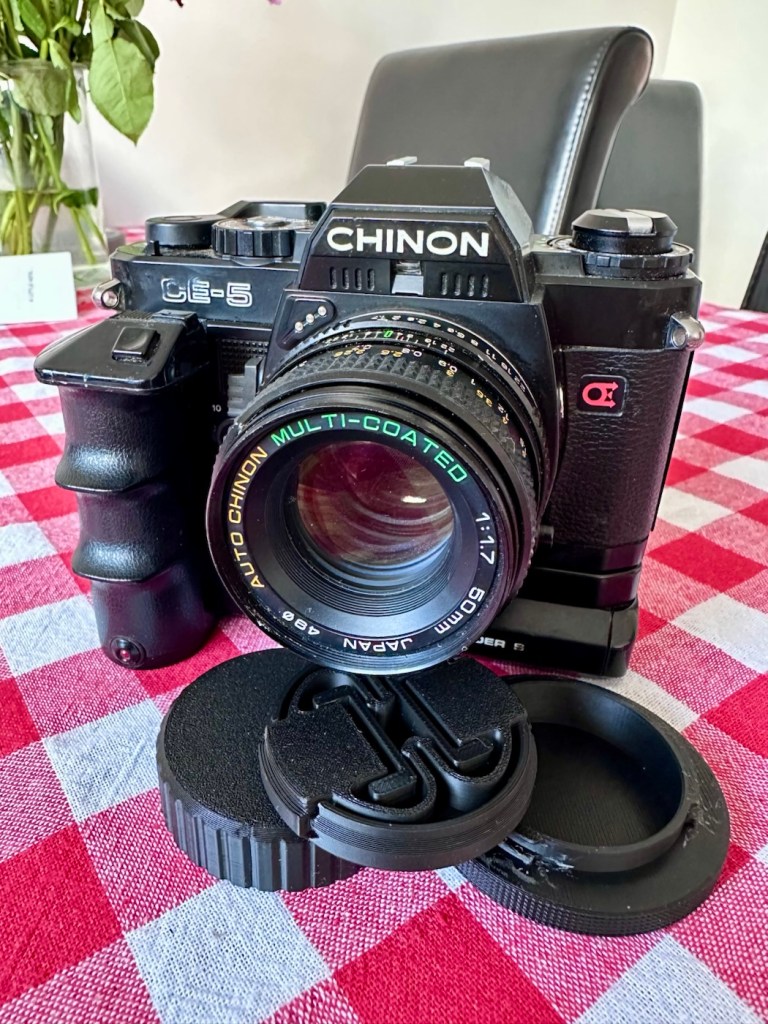
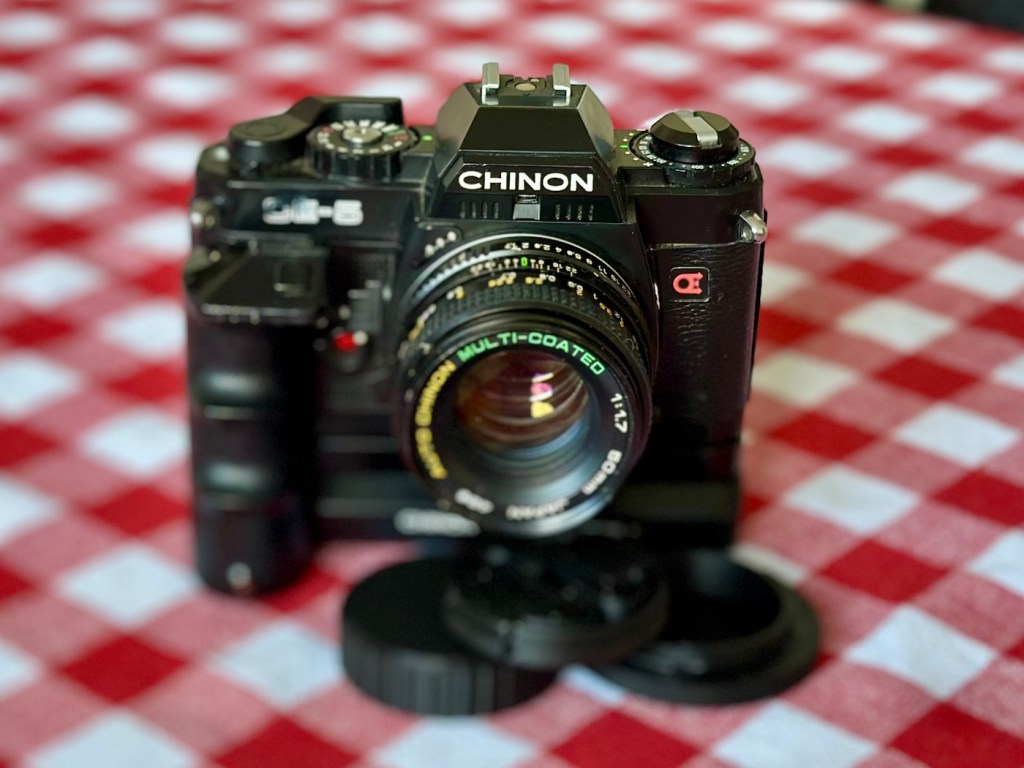
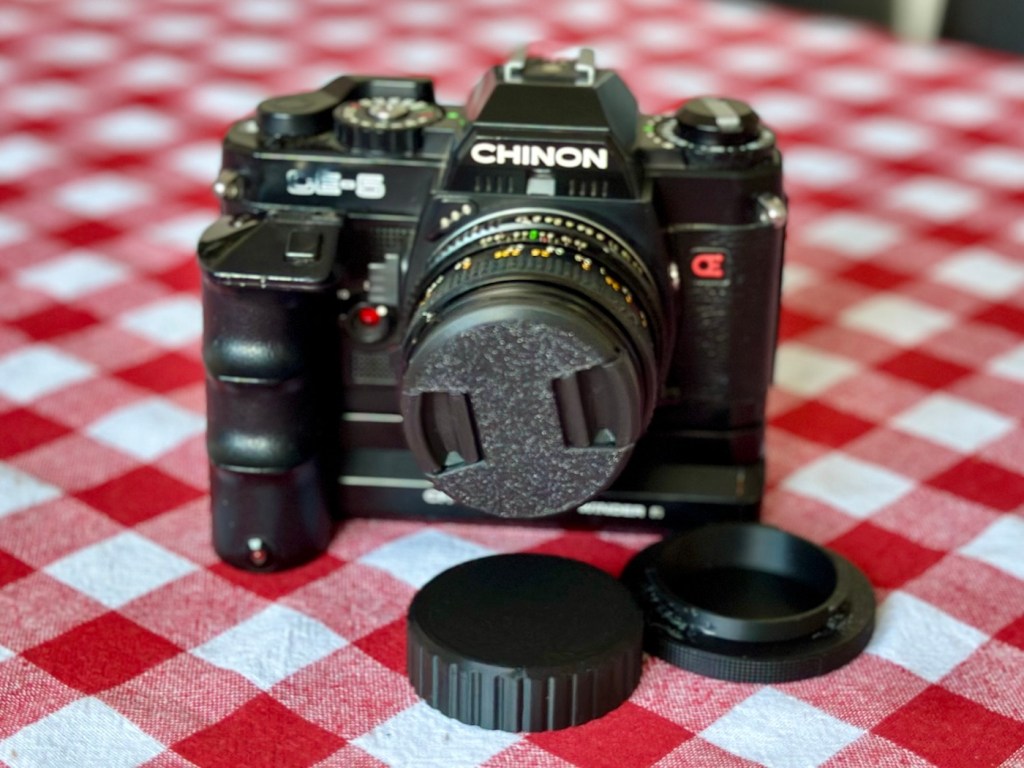
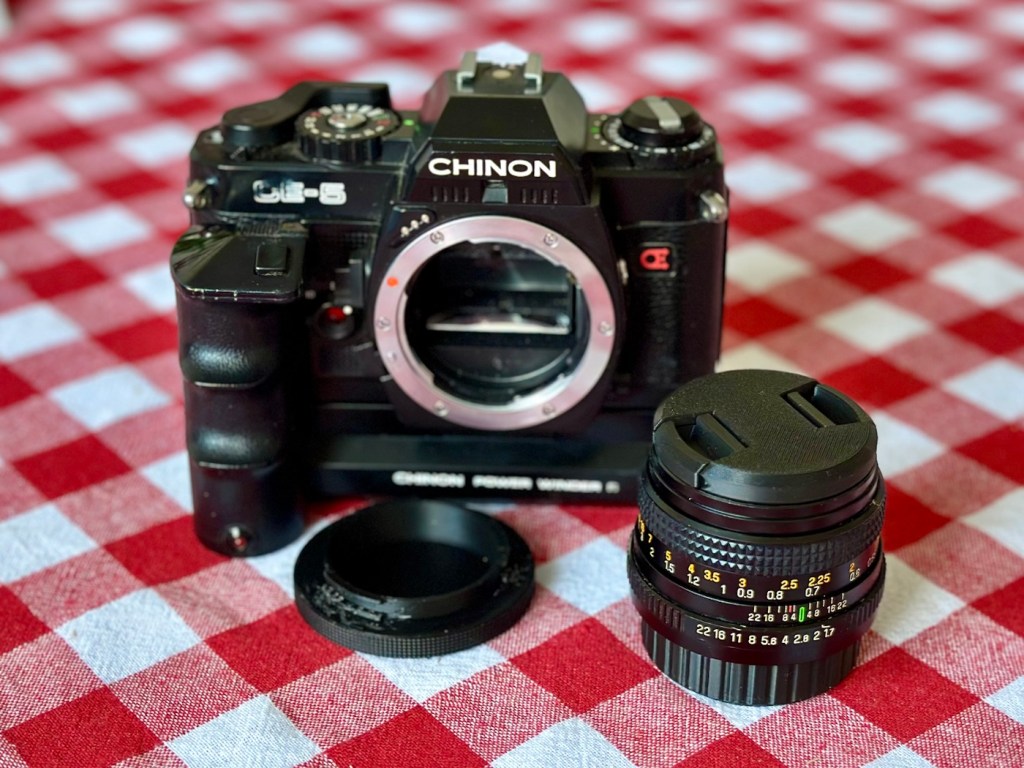
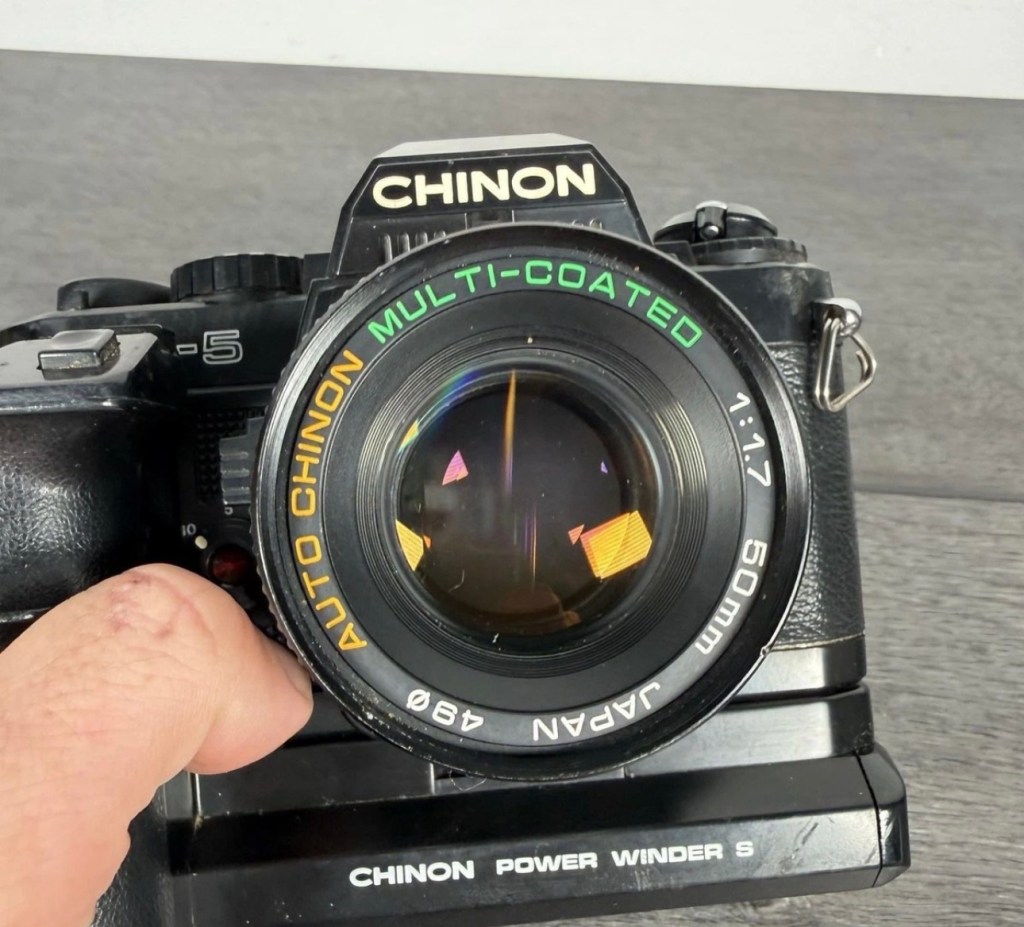
Chinon CE-5 35mm SLR and power winder

A heavily damaged Camera from 1981/2 needs some serious care and attention. A Chinon CE-5 35mm SLR.

Here’s what the listing stated:

Please review all photographs carefully as the images form part of the item description and provide the best representation of the items cosmetic condition & any included accessories Any significant flaws or relevant information will be shown below if applicable. Camera, lens and power winder are tested and working. Body and power winder show scuffs, scratches and paint wear to edges and base. Film rewind crank is damaged/loose and sits high on its spindle at a angle Light seal foam around the film door shows ageing and residue. Lens glass is clear with light dust only. Supplied as camera body with fitted 50mm f/1.7 lens and PW-545 power winder only; no caps, strap, batteries, film or manuals included. 

Brand: Chinon

Model: Chinon CE-5 35mm SLR film camera.

Colour: Black metal and plastic body with black leatherette grip panels and matching black power winder.

Type: Manual focus 35mm SLR film camera with pentaprism viewfinder and built-in light meter.

Format: Uses standard 35mm/135 film cartridges loaded via the rear-opening film door.

Lens: Auto Chinon Multi-Coated 50mm f/1.7 prime lens with aperture and focusing rings plus 49mm filter thread.

Focus: Manual focus operation through-the-lens optical viewfinder with focusing aids.

Exposure: Auto exposure and manual exposure modes with selectable shutter speeds and aperture control.

Features: Built-in light meter, hot shoe for external flash, self-timer, ISO/ASA speed dial and compatibility with electric drive units.

Power: Designed to be powered by batteries for the camera electronics and PW-545 power winder (batteries not included).

Included: Chinon CE-5 35mm SLR camera body, Auto Chinon 50mm f/1.7 multi-coated lens and Chinon PW-545 Power Winder S motor drive only; no caps, strap, batteries, film, case or manuals are included.

Country of origin: Camera and lens marked Japan.

Keywords: Chinon CE-5, 35mm SLR film camera, Auto Chinon 50mm f/1.7, PW-545 Power Winder S, manual focus, auto exposure, Japan

EBay

Probably one of the most descriptive listings I’ve encountered on EBay. This alone gave me some confidence in making this purchase, as rather than the standard “Not working” non descriptive listing, I actually have a good idea as to what the problems are here, and they can also be seen in the photos in the listing.

These units were on sale between 1981-82 in the Uk via the electrical goods store – Dixons. As a result, sales of this camera were probably not as good as if Chinon had gone out on a limb and promoted their own product. There was a lot of snobbery in the photo trade, and cameras from electrical good stores were looked on as “cheap” alternatives. However, they couldn’t have been more wrong as the quality was very high, maybe just a bit more plastic than some would like, and the lenses were equal or more advanced than a number of other lens brands available at the time.

I was just starting out in photography, I had my first job in 1982 at a colour laboratory in Bushey, Hertfordshire Uk at this time, and saving my money meant I was able to purchase this very combo I have purchased today for a total of £28:00GBP with free postage, after negotiating down the sellers original asking price of £39:00GBP.

Back in 1981-82, i believe the package for the lens and camera was about £110:00GBP with the winder coming in at about £40:00GBP. A total outlay of about £150:00GBP at the time. Considering I was probably only earning about £300:00GBP per month back then, it was closer to the end of 1982 that I purchased my combo, and by that time it was near to the end of its production run in the UK. There were AF lenses that were available as options that were so big they actually dwarfed the camera. The lens in this combo is the standard 50mm lens that it used to ship with. That said I loved the camera, it was easy to use, no fuss and the auto focus on the camera was way ahead of its time, even though I didn’t have the AF lenses to use. So far ahead of its time that it actually beat all the big players to the finish line. The big names caught on though and very soon they were flooding the market, the snobs were happy once again.

I had to offload that camera after I’d given it some good usage. Computers were appearing on the scene and the money I made from selling it went towards my first computer purchase, a Sinclair ZX81.

I wish I’d kept the camera…..

No panic though as I now have another one to revisit those heady days of 1981-82. It just needs some attention.

Here’s some info about the CE-5:

The Chinon CE-5 was a 35mm SLR camera produced by Chinon, that was one of the first cameras to have autofocus-capable lenses produced for it. It was produced for about 12 months between 1981-1982.

Specifications

The camera had a Pentax K mount (addressed to in the specifications as the Chinon “universal mount”) with which its lenses were mounted. 3 autofocus pins were present upon the top-left of the mount, which the autofocus lenses interfaced with. These autofocus lenses were rather heavy and depended upon their own large, lens-mounted motors.

The camera had two modes: aperture-priority and full manual. The shutter speeds ranged from 4 to 1/2000 seconds (stepless) in aperture priority mode and 2 to 1/2000 seconds in manual mode, in addition to a “bulb” mode. The shutter was controlled electronically in both modes; and was a Seiko electromagnetic metal focal plane shutter. A multiple exposure switch was also incorporated into the camera, alongside a 5 or 10 second self-timer. 

The CE-5 was shipped with a full ground glass screen along with a split image range finder and a microprism collar to aid focusing. Other screens were made available.

An “X sync” flash hotshoe was incorporated, with contacts especially for the Chinon range of dedicated flashes.

The camera had the dimensions 135.5mm width x 88mm height x 50.5mm depth and weighed approximately 490 grams without batteries and lens.

Wikipedia

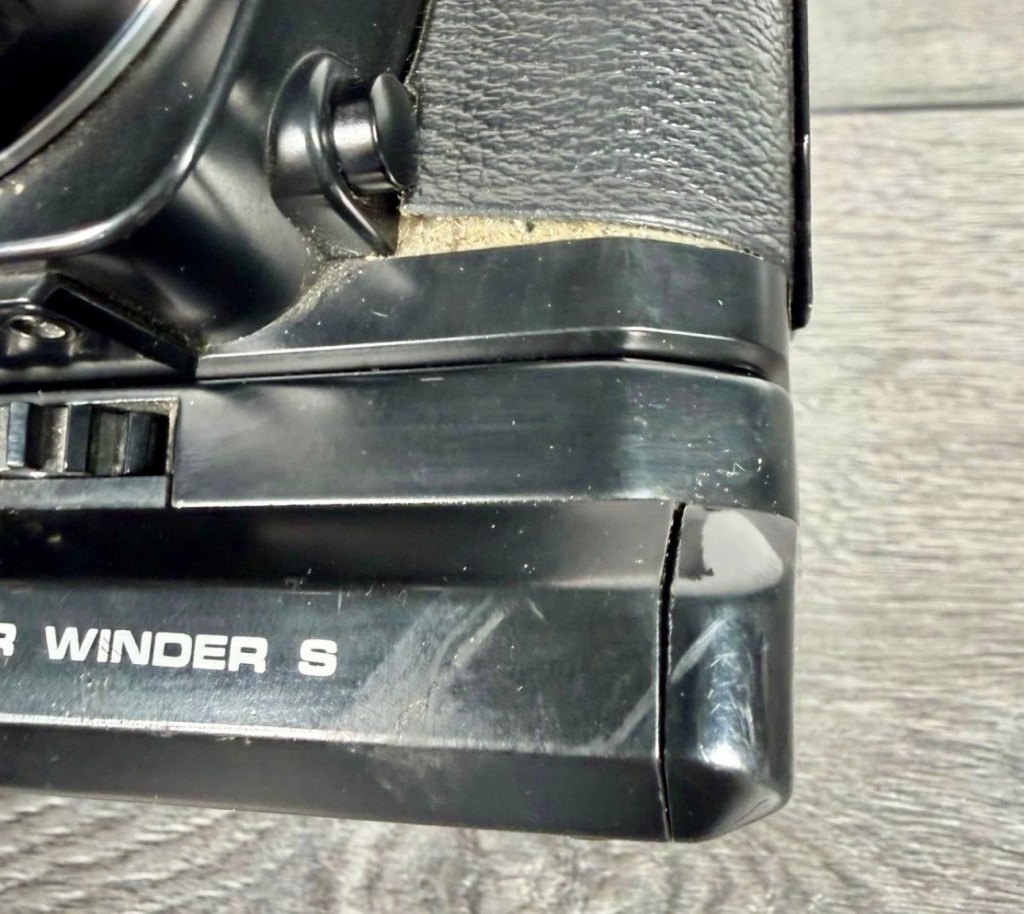
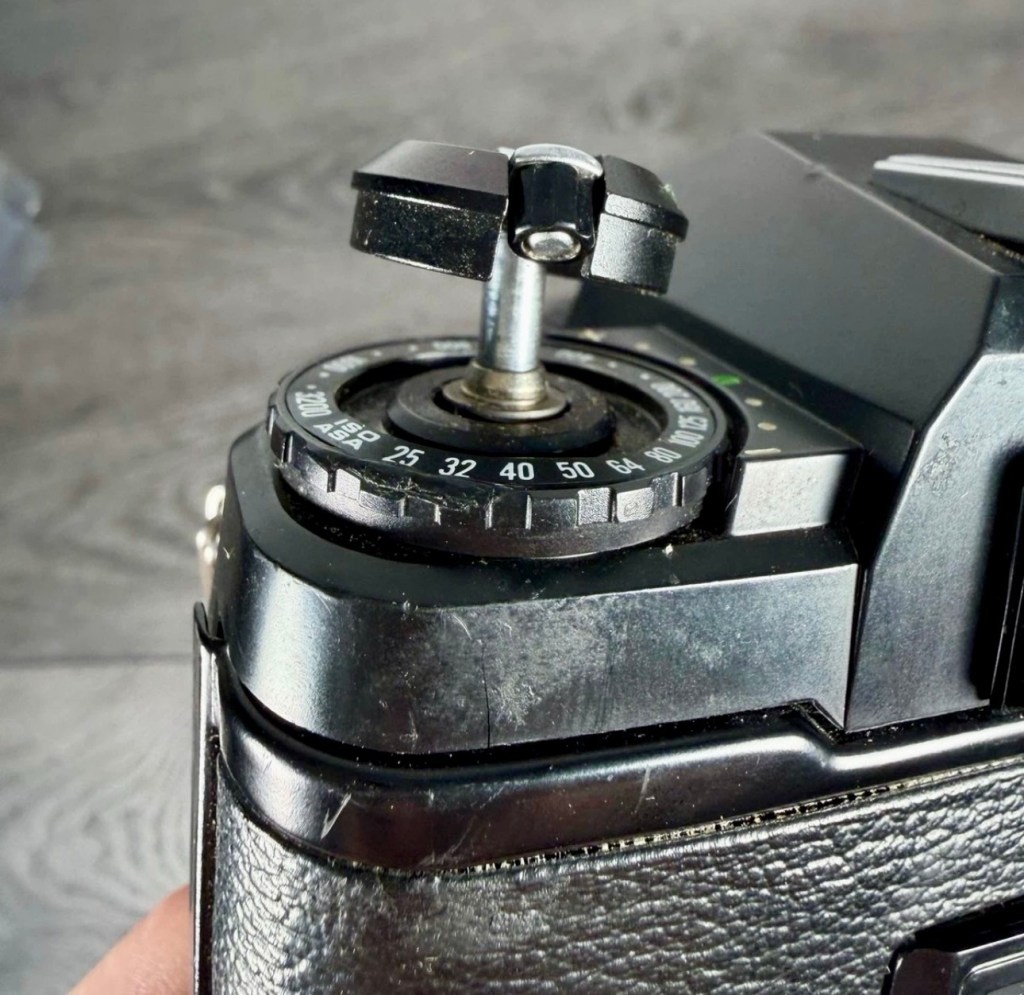
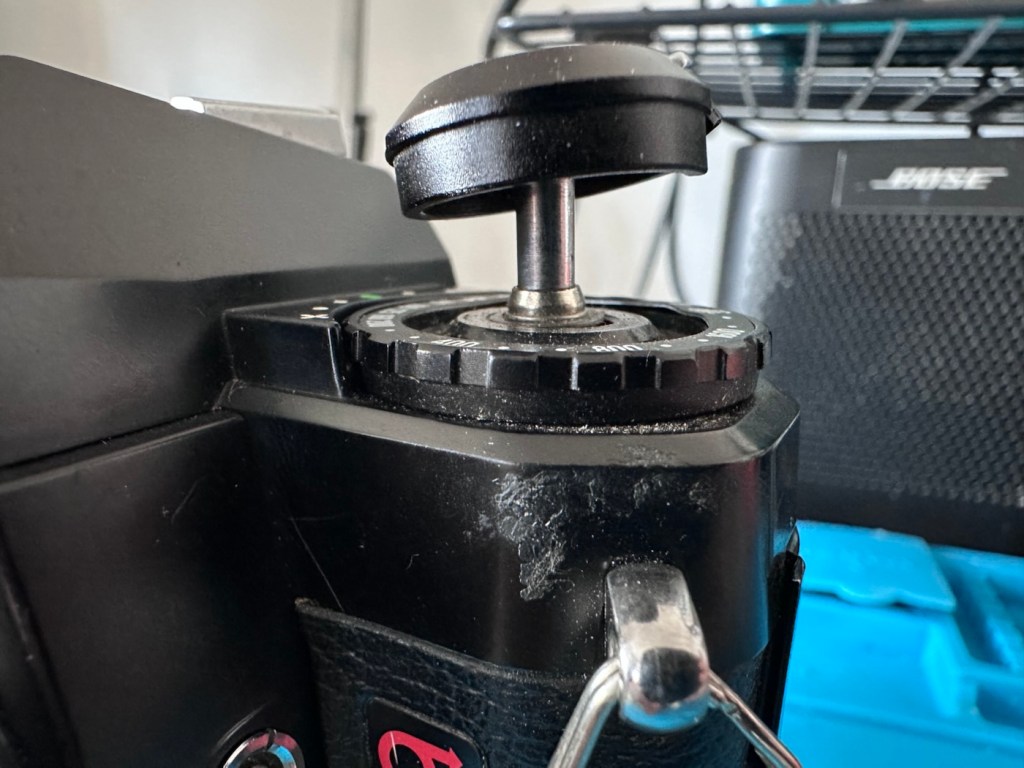
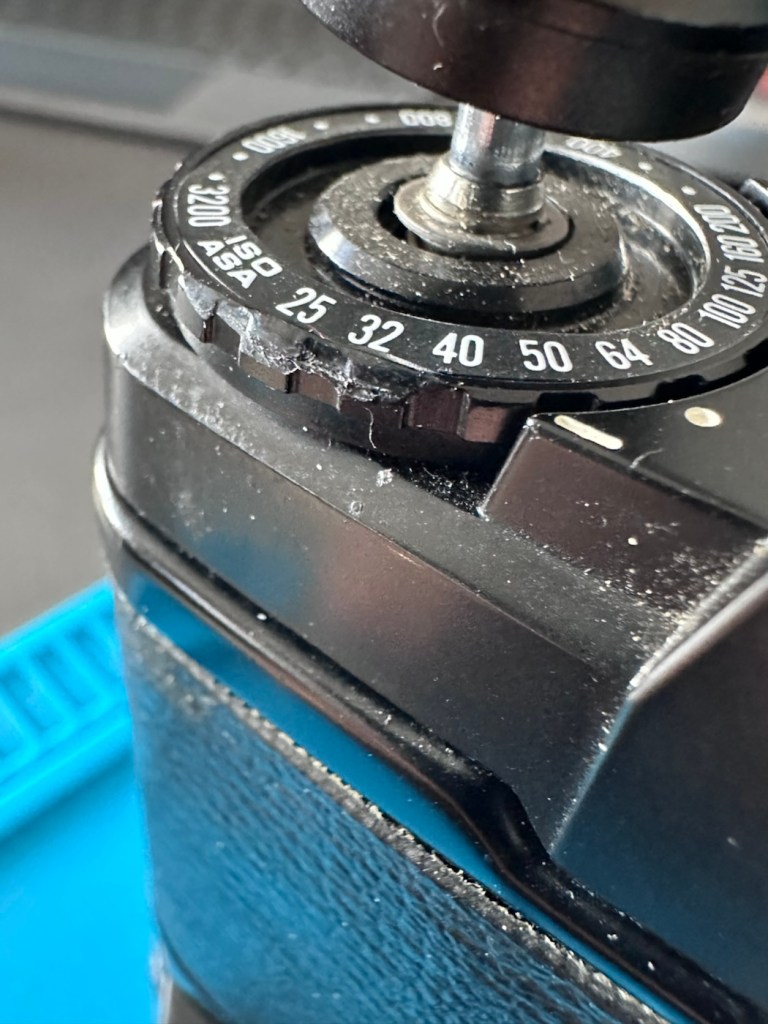
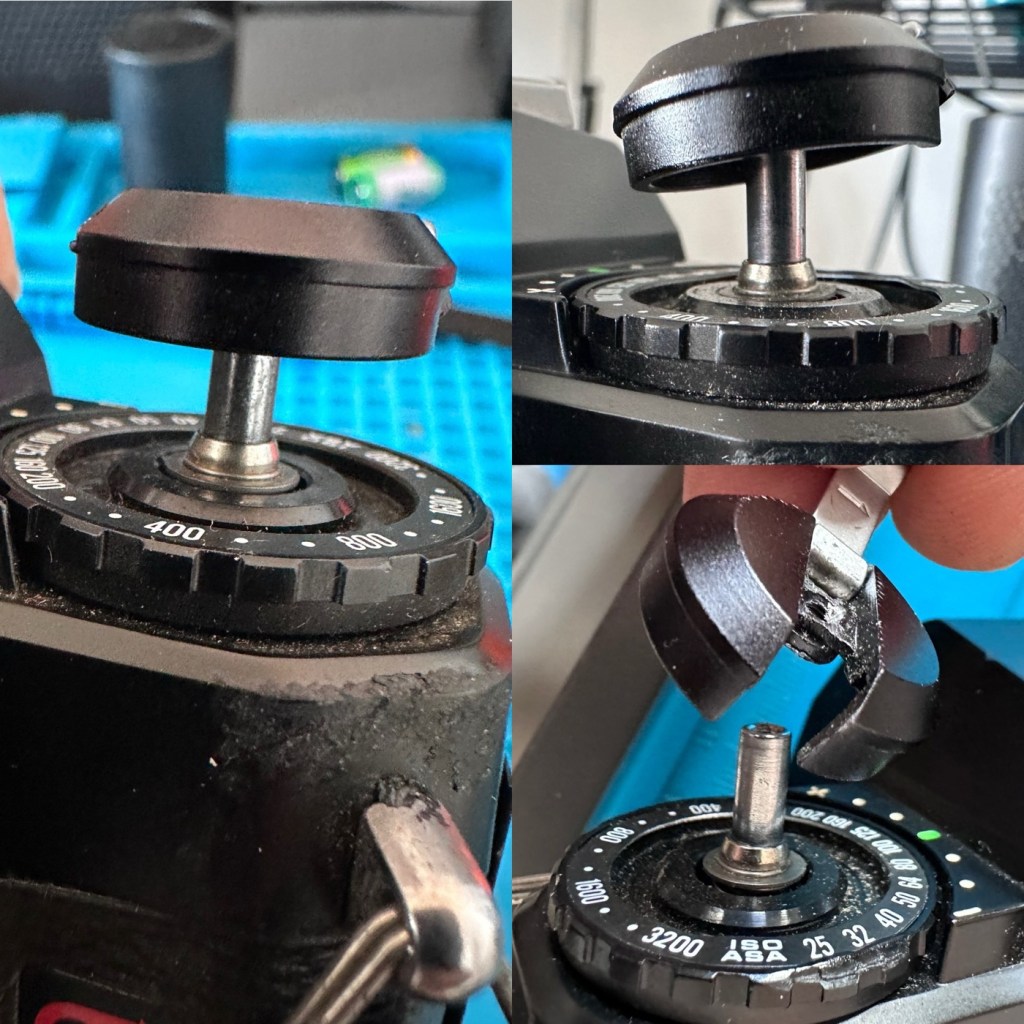
I very much suspect that this camera has been dropped at sometime. Just looking at the sale photos tells me this. It appears the corner where the rewind capstan is situated has a cracked body top, the capstan pin is also bent, the ASA counter also appears to have some damage, its fair to say this camera has suffered impact damage to that very part of the camera.

Ok so I need to now wait for the item to arrive to carry out a full assessment. The good thing is that I do already have a non working donor available in my spares box to carry out a little bit of a Frankenstein operation if I need to, and i think that operation may well be required.

Assessment:

The camera arrived and I must admit I’d forgotten just what a hefty lump it is. It is quite a weighty beast. The camera is pretty much as described apart from missing one major issue. There is an issue with the shutter mechanism timing, but I’ll come back to that later.

The camera received

The top of the rewind crank is out of alignment and there is slight damage to the ASA ring beneath it. There are scuffs and scratches all over as described but in general it is not too bad cosmetically.

When I load two LR44 batteries into the camera base everything appears to work ok, the self timer works in the 5 second and 10 second mode, all indications work through the viewfinder and the shutter fires. However even though it fires it is at a slower, probably 100th of a second speed no matter what setting you have it in, Auto, 1/2000, or B setting it’s all the same. The B setting does not work at all, when the shutter is depressed the shutter springs open as it should, however it doesn’t shut when pushed again as it should, it remains open and you have to move the shutter speed ring to another setting for it to close again. There is a definite shutter speed fault that I suspect is as a result of this camera being dropped on one edge. Hence the damage to the area around the rewind capstan.

The lens is in a fantastic condition, showing no damage, it’s clean and free from mist and fungus.

The power winder is dead. It’s in a good cosmetic condition, but a quick look inside the battery chamber shows signs of battery contamination, hopefully I can resurrect this item.

The top case is cracked.

Repair:

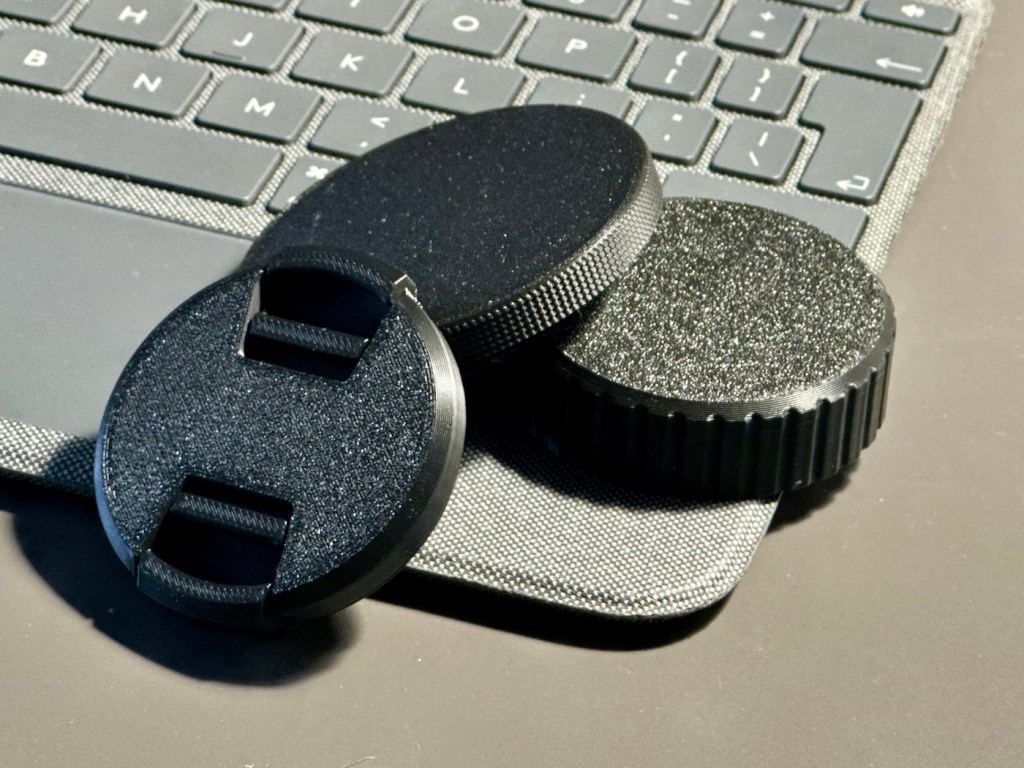
First. I’ll print off a body cap to protect the lens barrel when cleaning, I’ll also print caps for the front and rear of the lens as well, that way everything is protected from any further disturbance.

Lens cap, body cap and rear lens cap printed

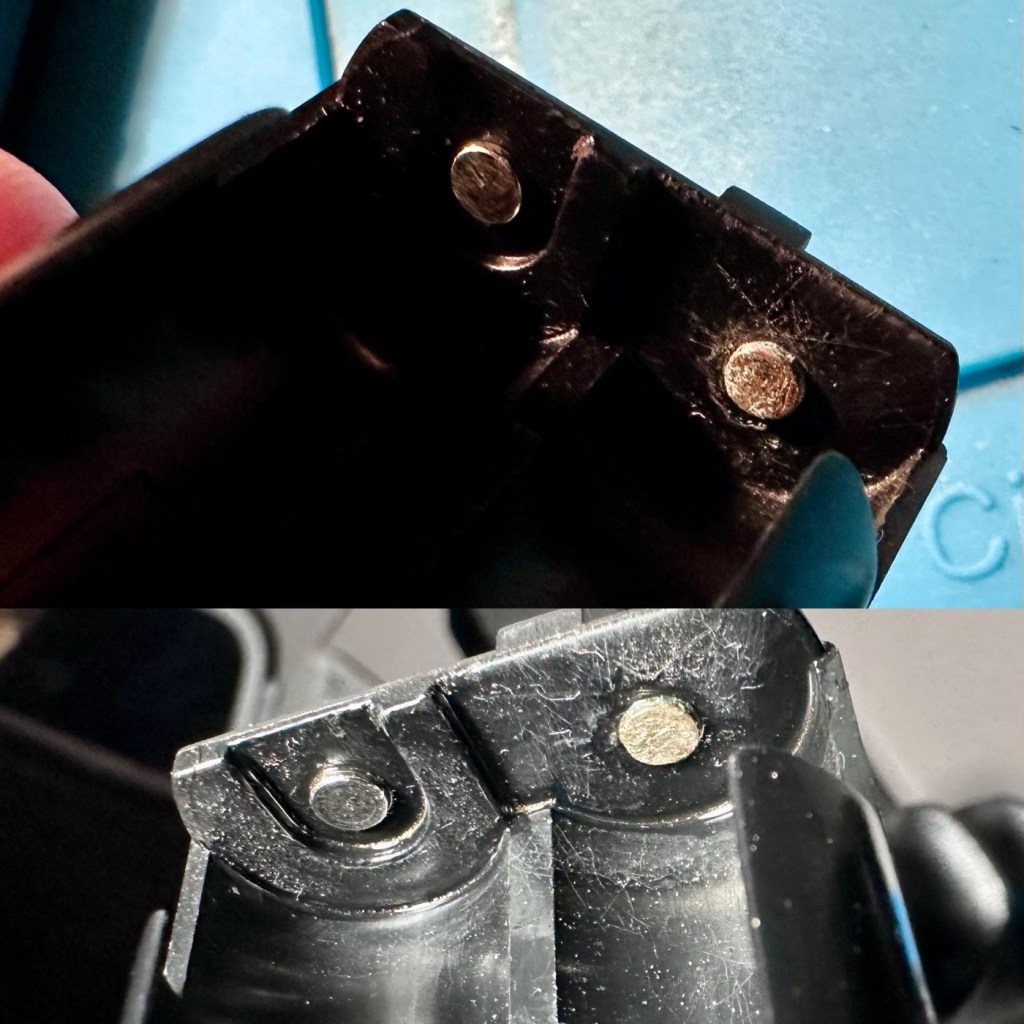
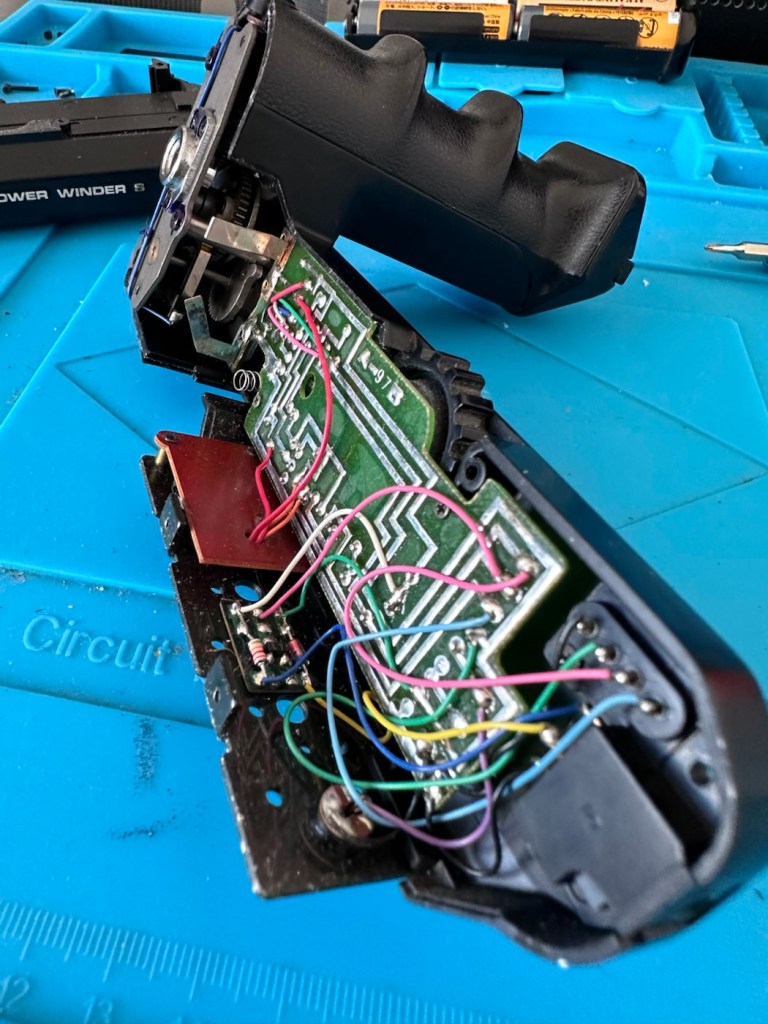
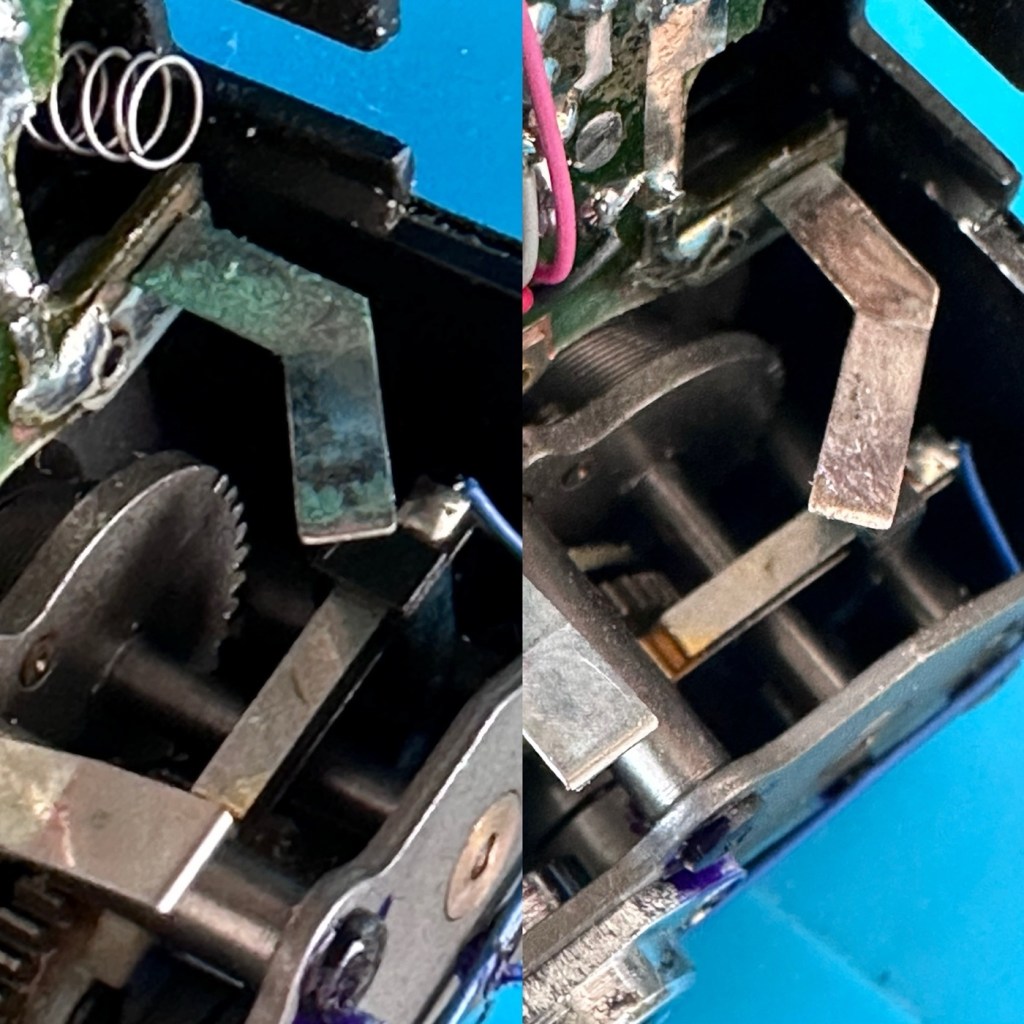
I’m going to start with the power winder as I now have it separated from the camera. There is a cartridge that inserts into the winder base that holds 4×1.5v AA batteries. The output therefore should be 6v but when the multimeter is used there is no voltage making its way through the cartridge. One of the cartridge contacts is tarnished and requires a clean. A quick buzz with my grinding tool cleans the contact and then a wipe over with a cotton bud soaked in IPA finished that clean. Batteries re installed and we now have continuity with a healthy 5.97v being supplied at the terminal ends.

Before (top) and after contacts are cleaned

However when installed in the chamber the winder is still non operational. A look into the battery chamber reveals further contamination on the contact inside that would mate with the contact I have just cleaned on the battery cartridge.

Further contamination

The power winder has to be dismantled quite considerably to access the contacts inside. You could probably do a clean without dismantling, however you will never know if any of the contaminants have gone beyond the contact. I tend to get into the machinery of things for piece of mind, and today I’m pleased I did as I was able to confirm that the contamination was only on the battery contacts.

Power winder dismantled

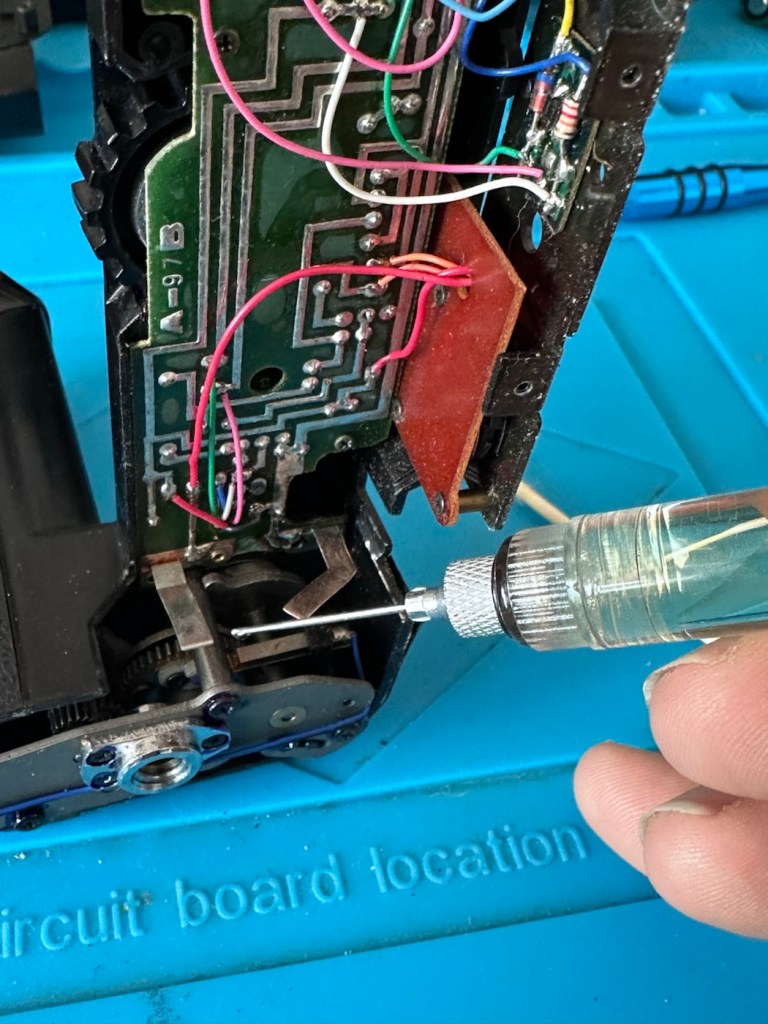
I cleaned the contamination with a grinding pen and then cleaned the contacts with some IPA. A blow through with an air gun removed some old dust and debris from the handle area, and whilst in here I lightly oiled all the cogs and gears in the handle area.

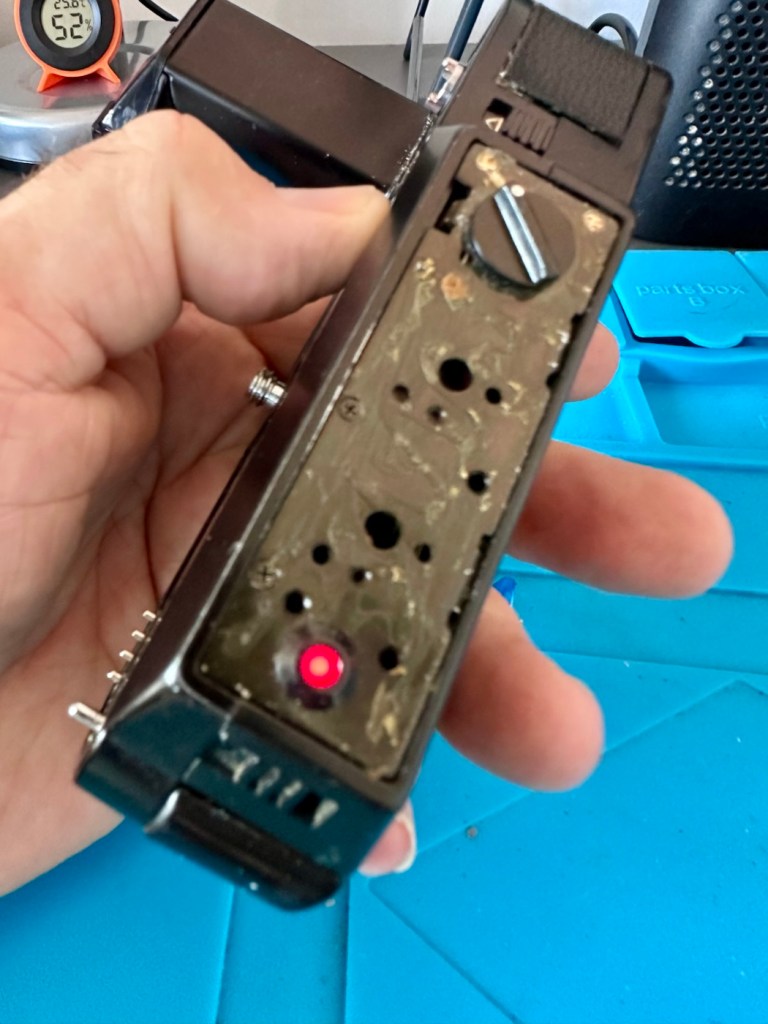
We have life

I’ve partially reassembled the winder and put the battery back in place and we have power lights when switched on. I connect the winder to the camera and it works just fine. There are two settings (S) single shot and (C) continuous shot that fires a frame every two seconds approximately. All are functioning well and working as they should. I now clean the outer of the winder of old glue and adhesive, re glue and put all skins and label back into place. This repair is now complete. Onto the camera now.

With the camera the first thing I am doing is checking the rewind capstan. When unscrewed the screw and spindle are straight, the actual damage is with the plastic cap that is bent out of shape and split on one side. As I stated earlier I do have an old donor camera so I have taken the ASA dial and the rewind capstan off of that to replace the damaged items on this side of the camera. I will also replace the cracked top as well. I must admit it looks good and appears to be functioning at this point. I’ll have to have it all off again when I investigate the shutter speed issues. But for the meantime it’s a needed job completed.

How it now looks (left) and how it did look (right)

Now we need to look at the shutter timing issue.

It took a time to get the top off due to there not being a lot of information available about breaking these units down. However I now know how to, and this took the best part of an hour for me to achieve, I’ve replaced the cracked top with the one from the donor camera.

As soon as the top was off there were three issues that welcomed me, I suspect these all occurred as a result of that drop that damaged the ASA dial and the rewind capstan.

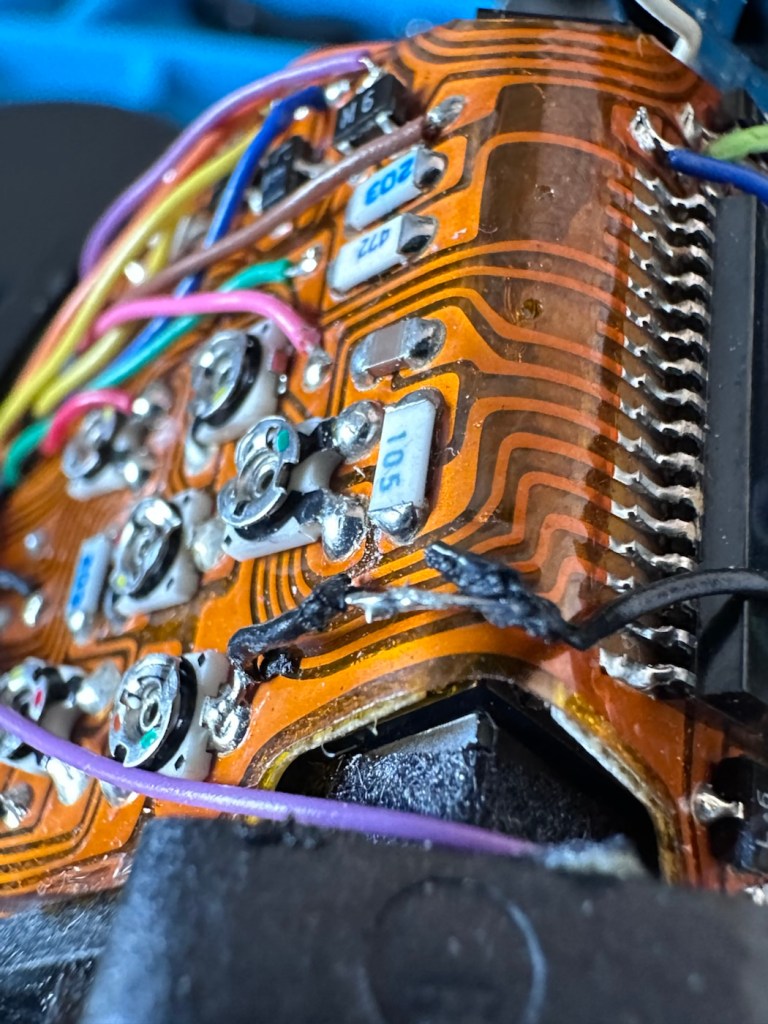
Firstly above the prism area there were what appeared to be three detached wires.

Red wires should be one and have been broken. Green wire is a rogue hot-shoe earth

In the photo above, you will see two red arrows. These wires they point to were once upon a time a single wire, somehow this wire has snapped. The wire that is indicated by a green arrow is a rogue earth wire that should be connected to the hot-shoe in the prism roof.

There was no way I was going to be able to route a new wire as it originated deep inside the body, and I just didn’t fancy going there today. Instead I melted the two ends slightly to expose some wire, I then used some multi core solder to tip the ends and as I had some room to move the wire slightly I joined the two ends back together with a solder joint. Once soldered I used some conformal coating to stabilise the joint, then covering it with a small piece of Kapton tape to ensure it was secure and not interfering with any other metal/components.

Soldered together, then conformal coating was used prior to being sealed with Kapton tape.

The rogue earth wire was then soldered back into place in the roof of the prism housing.

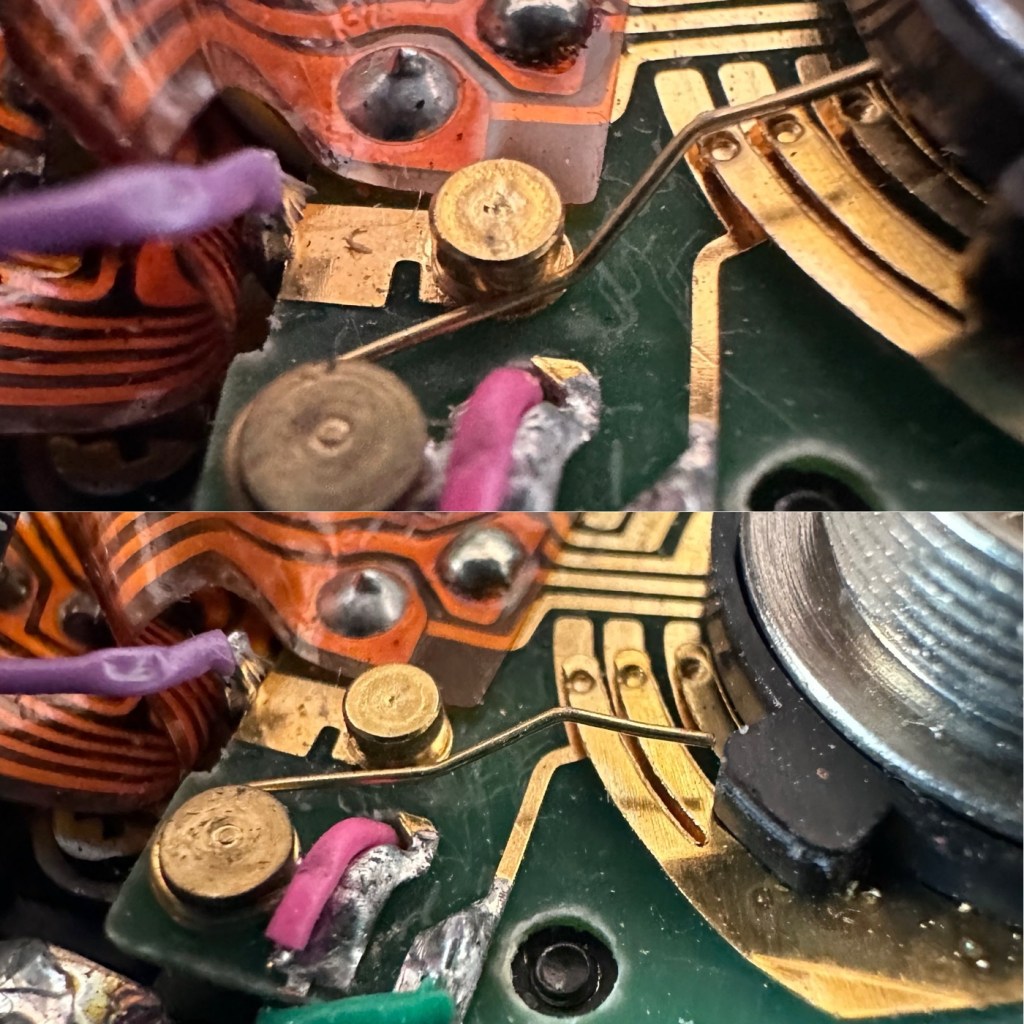
The issue with the speed settings appears to be as a result of disturbance, again related to that drop that caused the other issues. When the speed dial is removed you are left with a set of tracks with very fine copper contacts. One of these contacts is specifically for the “B” setting, it should sit shy of a contact point until it is required however from what I could see it was permanently activated, it didn’t look right so I adjusted it to sit properly, now when the dial is operated it switches in and out as it should. I don’t know how this affected the earlier tests that showed we only had one available speed, I can only presume the issue is a culmination of all the issues so far experienced.

At the top permanently on. At the bottom adjusted so it will switch in and out with operation of the dial

I have now commenced reassembly after giving a good blow through and a light clean of the contacts.

Batteries have now been installed and I’m reluctant to switch the camera on. But I have to, so I do. So far so good. I rewind the lever all good. I set the shutter to 2s and activate the shutter, it opens and then it shuts again about 2 seconds later, I move through the shutter settings and all appear to be reacting to their relative speeds, 125 sounds right, 2000 sounds very quick, they all are giving different speeds which is superb. And the “B” setting is now operational. This is fantastic. All indications in the viewfinder are as expected, and with the winder attached all systems are go. I think I’ve fixed it. Wow. I’m shocked.

Let’s get the light seals and bumper felt replaced now.

Bumper and light seals have now been replaced, an awful lot of felt came out of those grooves, I thought it would never stop coming

I always apply light seals slightly dampened on the adhesive side as this gives you a few minutes to reposition the felt, prior to it setting and drying. I’ve got it down to a fairly quick process now, I’m not perfect but I’m improving with each new set of seals.

So this camera is now complete.

Result:

We now have a perfectly good operating camera and power winder with a nice clean 50mm stock lens for a reasonable layout of £28:00GBP. It had an awful lot wrong with it, but thankfully having a spare unit to harvest parts off has helped with this repair immensely.

A lovely camera, much maligned from the early 80s now working as good as it did from the box. I just can’t wait to get a roll of film through it to show just how good a camera this was and still is.

It weighs a ton, but that’s how I love and remember my old cameras, they are such beasts but have immense character and original design appeal that modern cameras just don’t have today.

Another camera saved from landfill. A good result.

Many thanks for passing by, you know it is always very much appreciated.

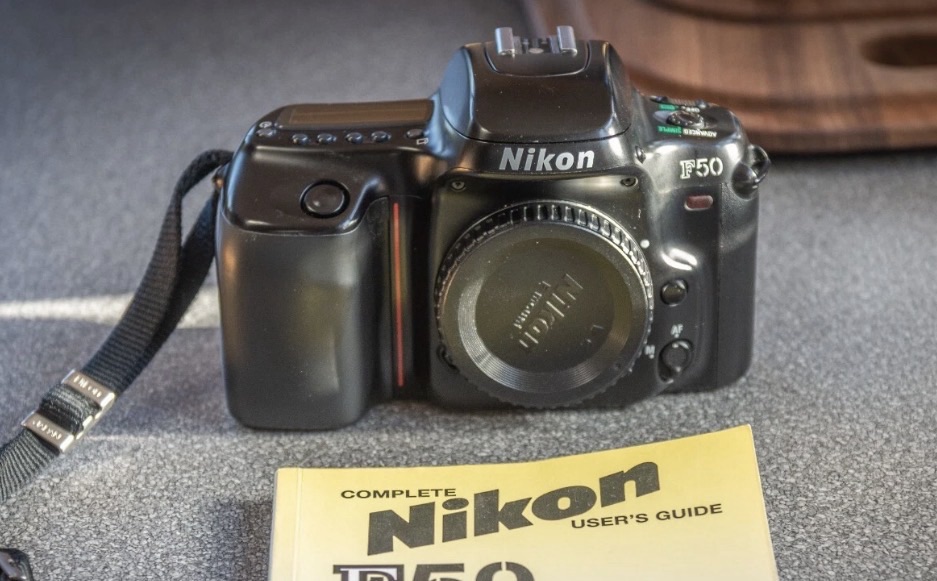
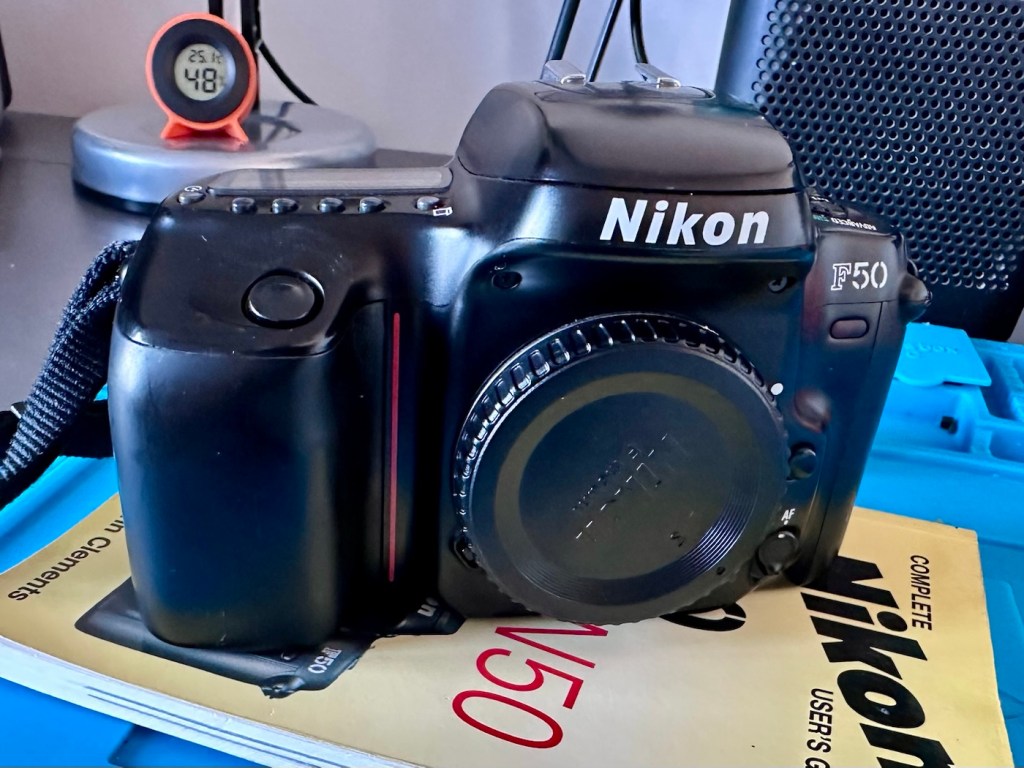
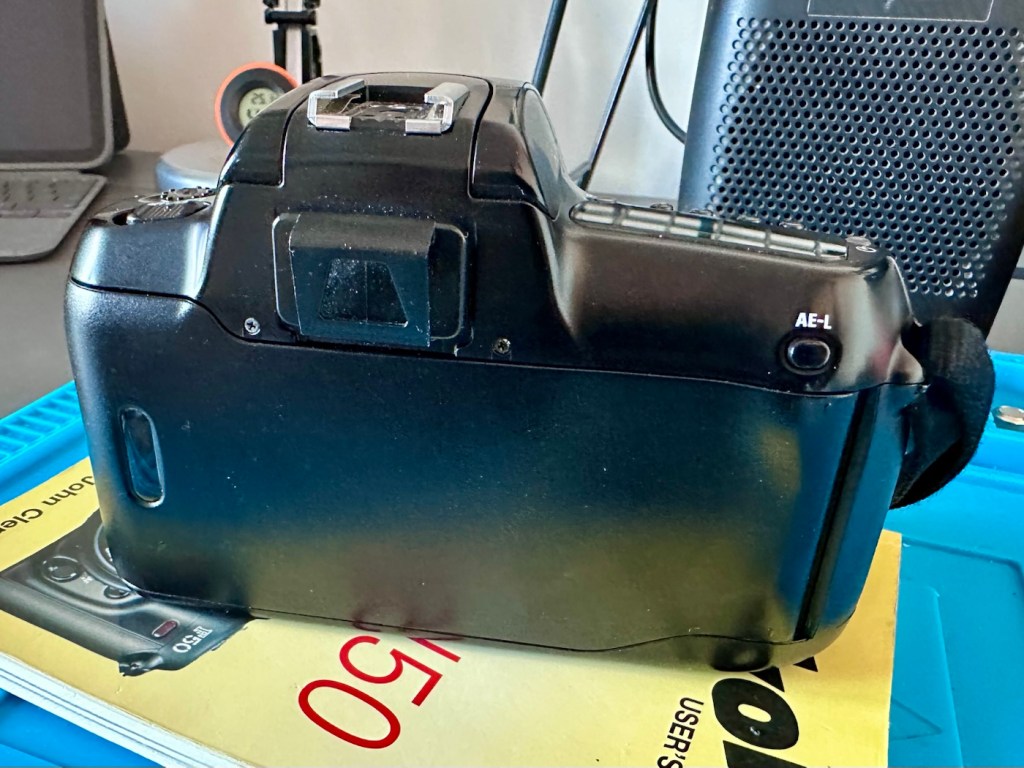
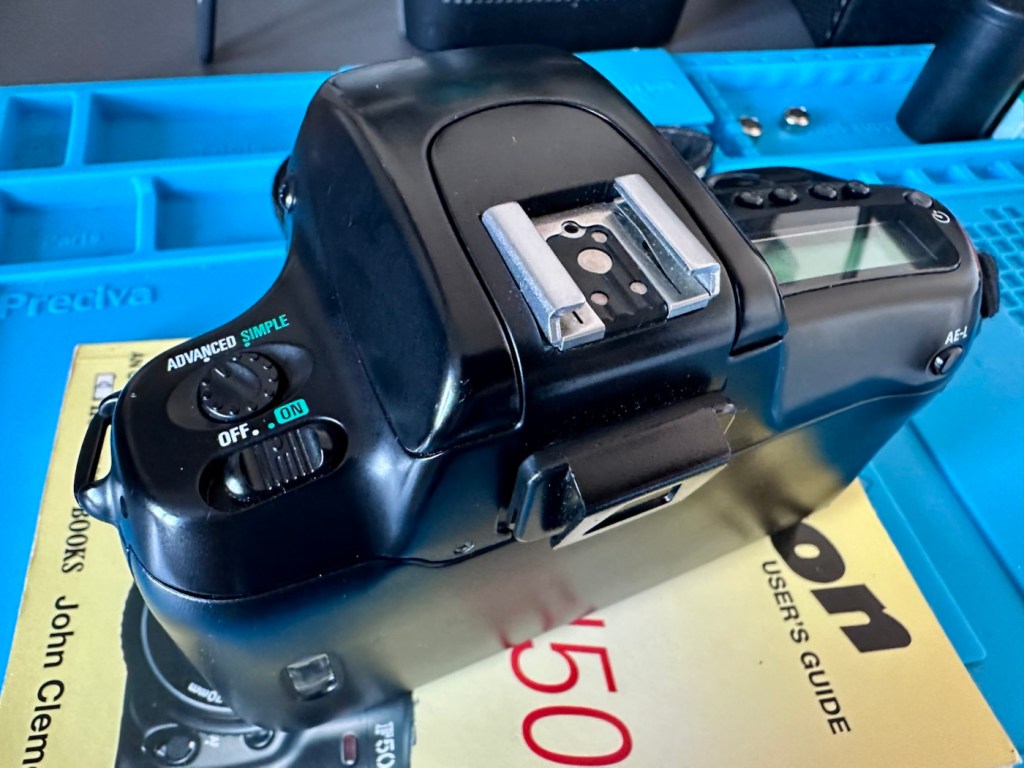
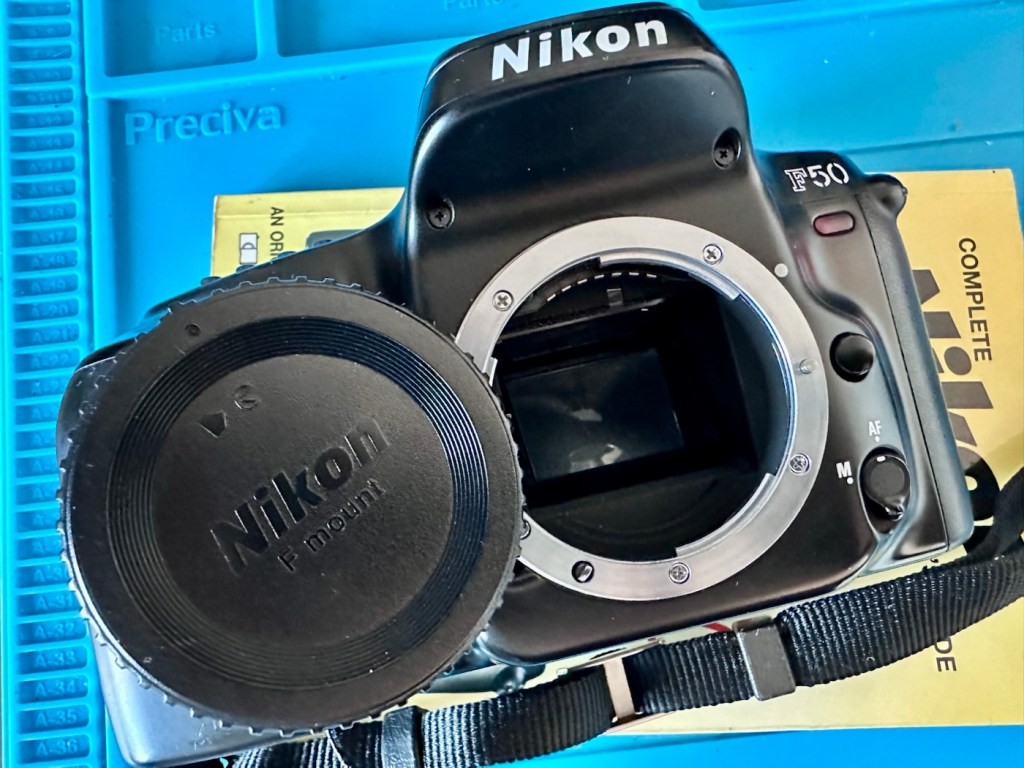
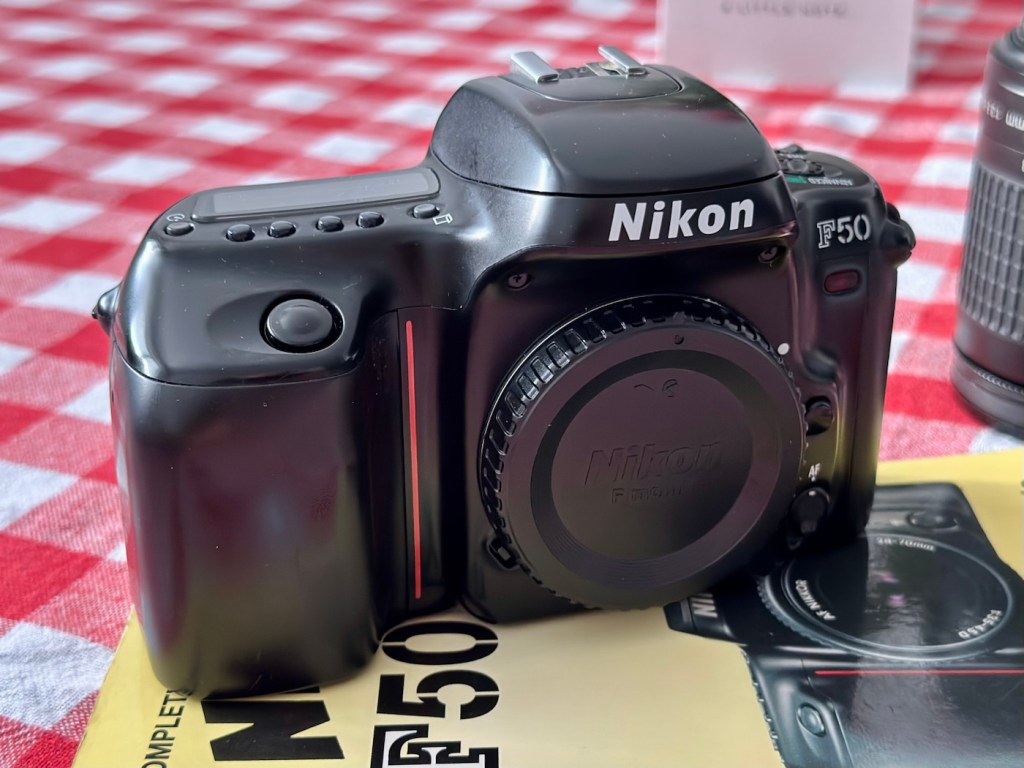
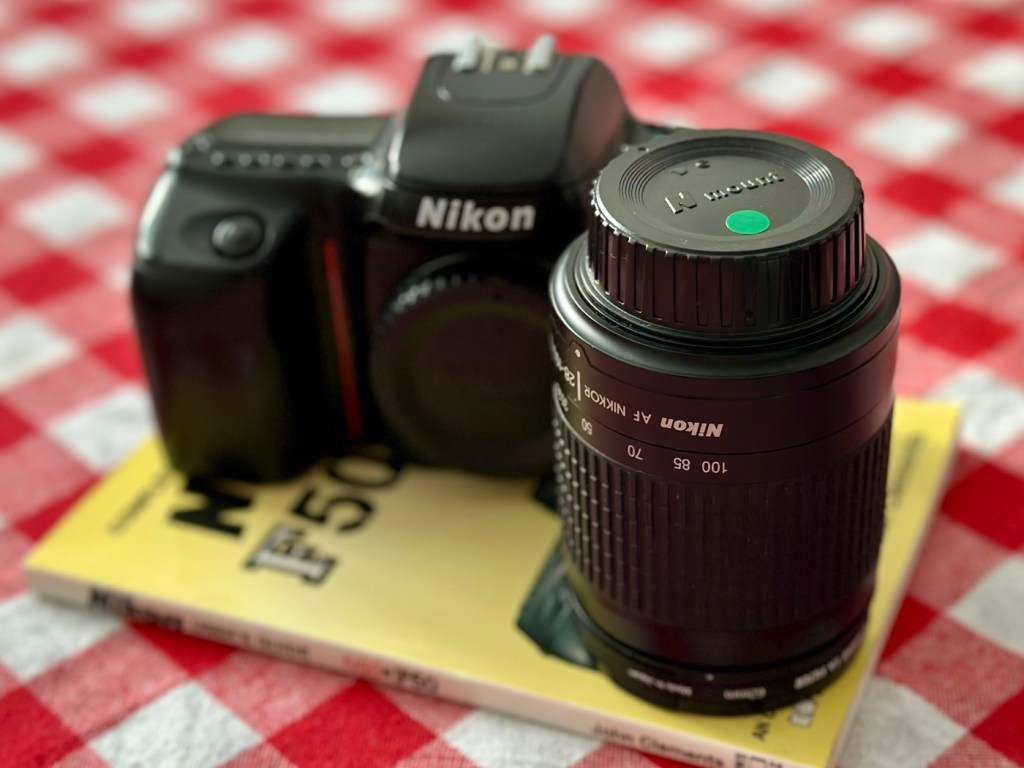
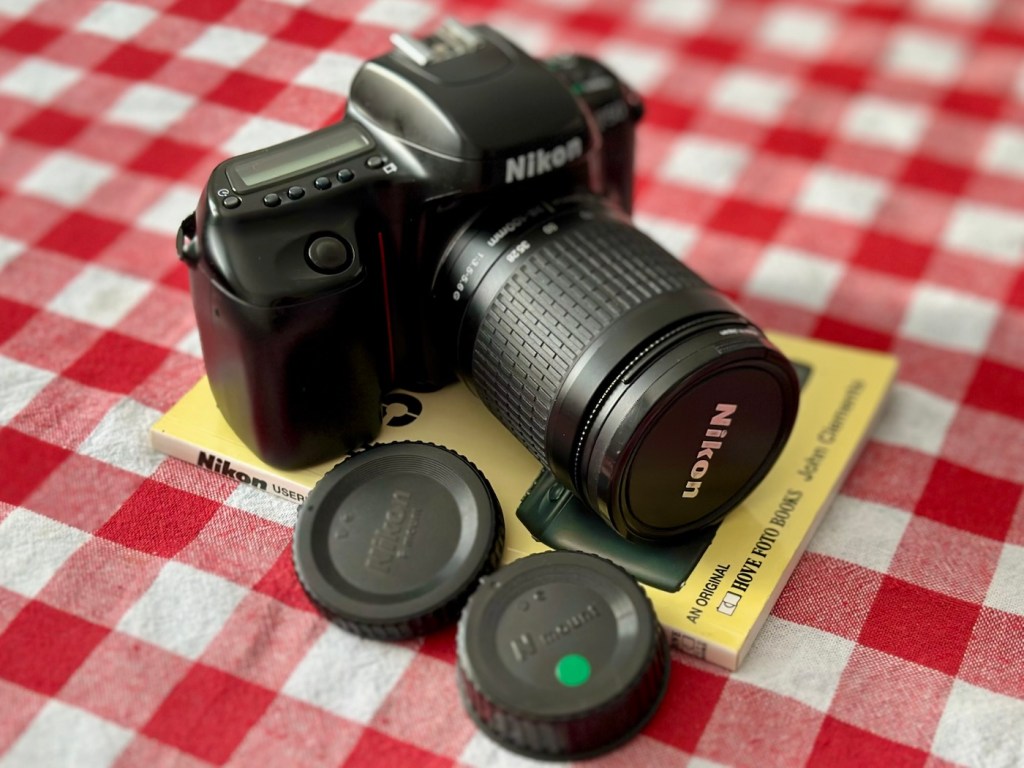
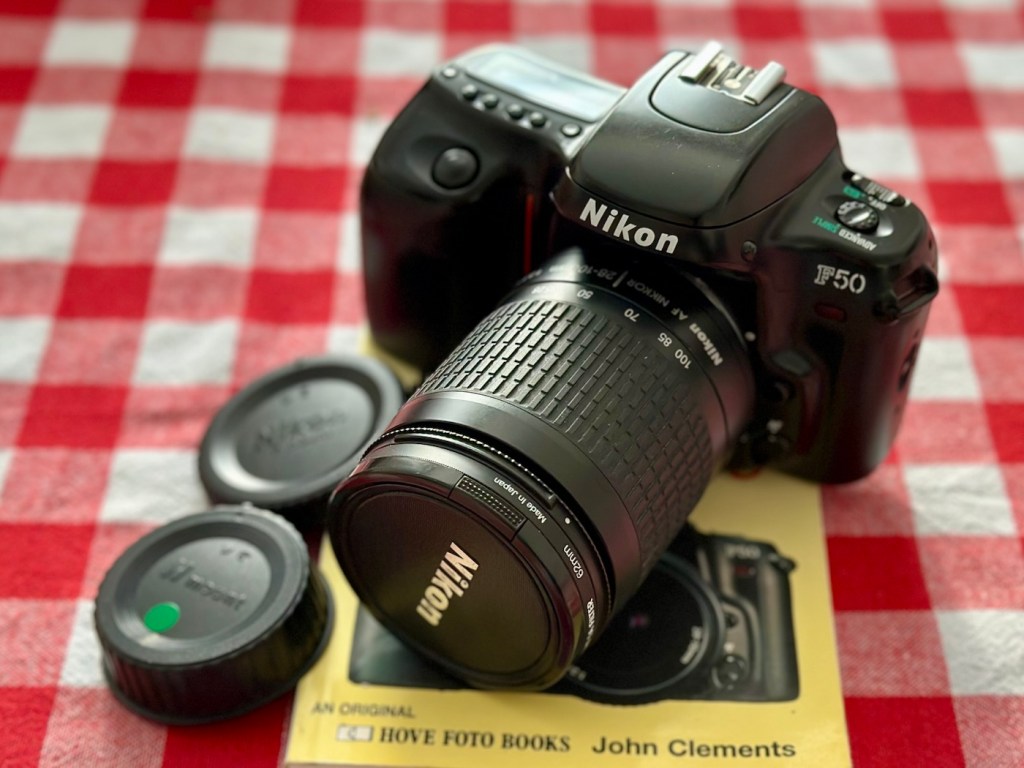
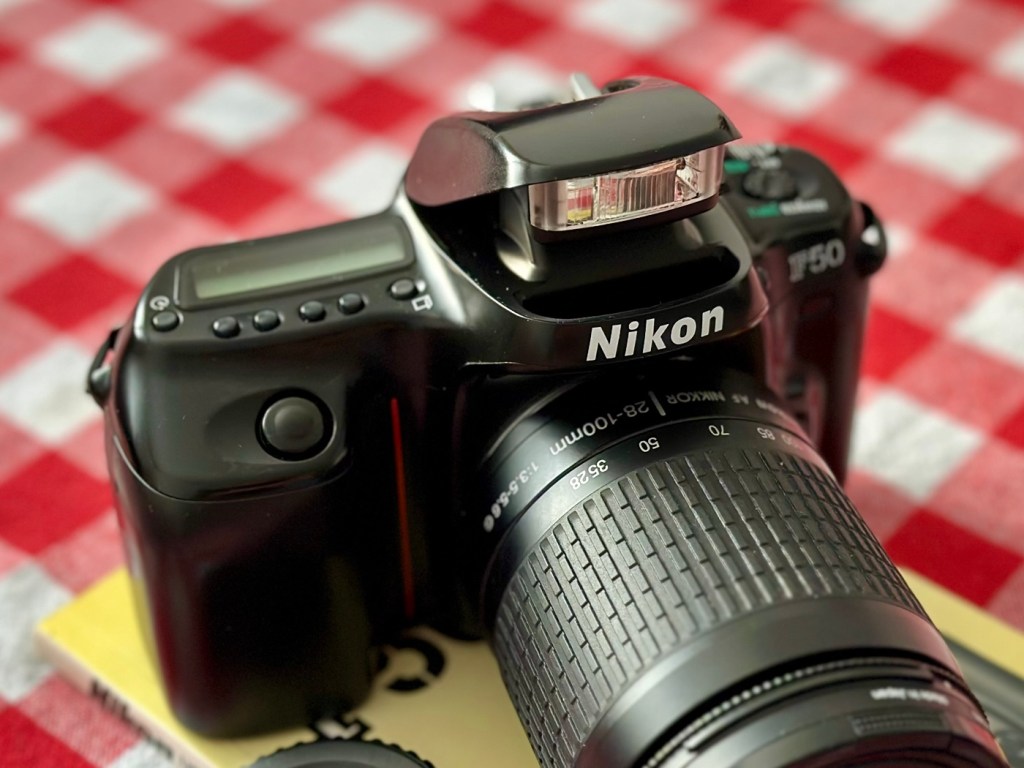
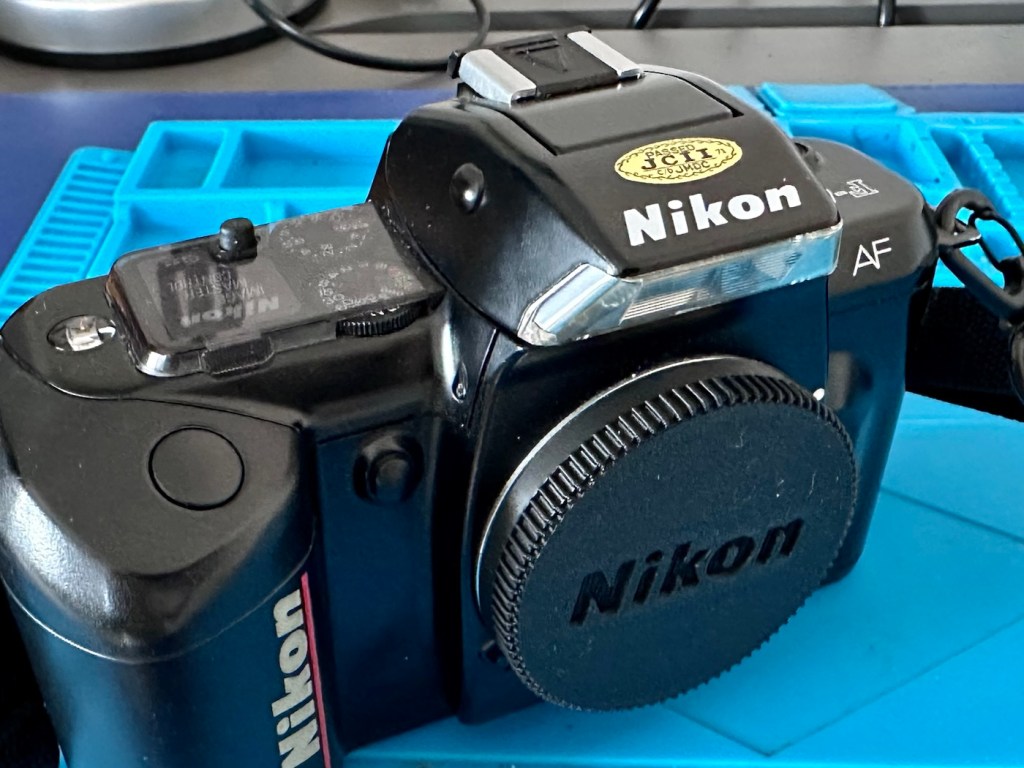
Nikon F50

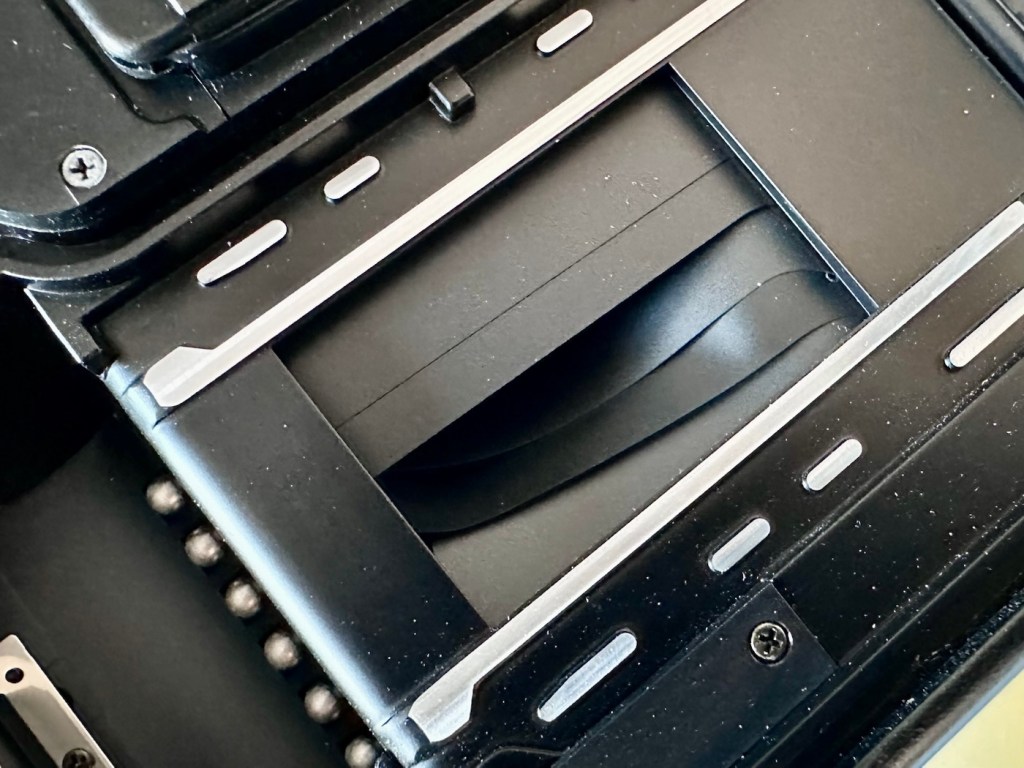
A learning camera for me, with a fault I’ve never dealt with before. Damaged shutter curtain blades. Can I fix it?

What the listing stated:

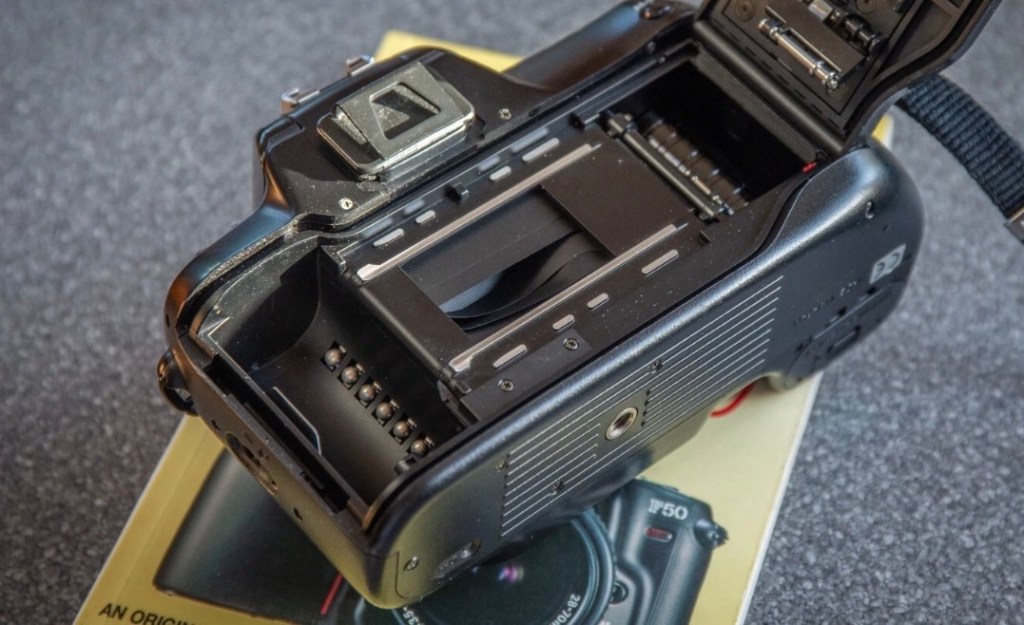
NIKON F50 UNTESTED FOR SPARES OR REPAIR. SEE IMAGES. THE REAR SHUTTER RIBBON APPEARS TO BE LOOSE – I AM UNFAMILIAR WITH OLD FILM CAMERAS SO THIS COULD BE A QUICK FIX OR NOT AN ISSUE. ALSO HAVE A FRONT BODY CAP AND STRAP – COULD BE A BARGAIN FOR SOMEONE. SOLD AS SEEN.
+
The “Complete Users’ Guide: Nikon F50/N50” by John Clements is a comprehensive textbook published in 1994 by Newpro UK LTD. This paperback book, with 140 pages, provides detailed information on the Nikon F50/N50 cameras from the 1990s. Written in English, this guide is a valuable resource for photographers looking to enhance their knowledge and skills in using these specific camera models. The author’s expertise and clear instructions make this book a must-have for Nikon enthusiasts.

EBay

As you may have already gathered, and much to the dislike of my wife, I spend a lot of time trawling the sales for cameras. I don’t particularly look for anything high end, one of my main reasons to purchase is purely for learning purposes. So why not buy a lower end mass produced camera and fix it? That’s what I tend to do. It’s a good way to learn, and if you cause even more irreparable damage it’s no problem, you will still have a selection of usable parts. Damage someone’s pride and joy though and not only do you lose reputation, you would probably be severely out of pocket financially.

So I look for cameras with issues that I have not yet dealt with, and this camera has such a fault. It’s shutter blades have become detached from the frame in which they are set, it can be fixed if conditions are met, and one of those conditions are that the blades should not be creased. And I have my fingers crossed that this is the case. I’ve never fixed this issue before, so for me this is a learning camera. The bonus for me is that I get a body cap, a strap and an informative 140 page book on how the camera operates. And I paid the sum of £7:77 for this complete package.

Here’s a little info about the Nikon F50:

The F50 (or N50 as it is known in North America) is a 35mm film SLR camera which was introduced by Nikon in 1994. It was aimed at the lower end of the amateur autofocus SLR market.

The F50 features autofocus, TTL light metering and various “programs” (ranging from manual operation to a highly automated point and shoot mode). It could not however meter with non-CPU lenses.

It was replaced by the similarly-priced F60 (also known as the N60) in 1998.

The F50 body was made from polycarbonate and metal, and available in both “champagne silver” and black.

Notable omissions include depth-of-field preview and any form of remote shutter release.

Wikipedia

I’m now awaiting the arrival of the camera so I can carry out an in depth assessment. And prior to its arrival I’m reading up, and seeking advice on how to deal with such an issue as this shutter curtain damage.

Assessment:

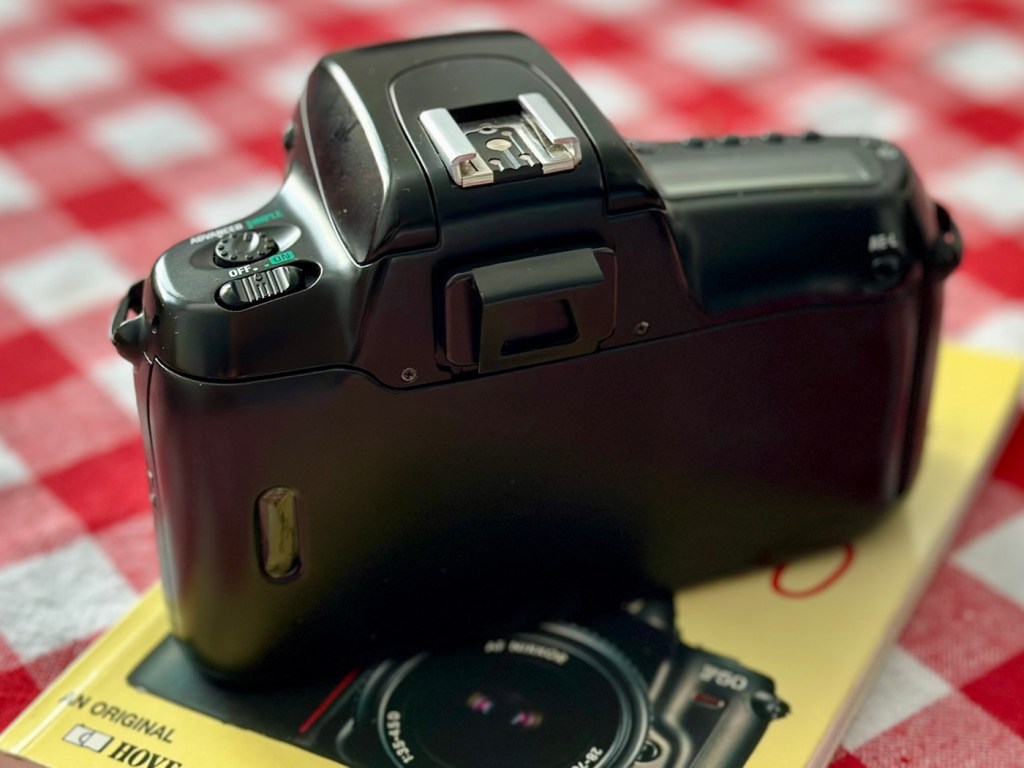
On arrival it is quite clear that prior to its shutter blade damage this camera has been very well looked after. It has no damage, scratches or signs of wear across the entire camera. It has an original Nikon body cap and narrow strap. There is even a DK-5 viewfinder cap that is a rare thing to see on a second hand unit. Battery contacts are clean and contaminant free.

And the users guide that was also received is an absolute gem of information.

Testing beyond this is not possible at all, as the last thing I want to do is insert a battery and cause further damage. I will have to try to sort the shutter blades before I can test any further.

So let’s get straight on with trying to sort out that mess in the lens barrel.

Repair:

Whilst awaiting the cameras arrival I’ve been seeking advice on how to approach this issue, as this is my first attempt at such a fault. And after a while, looking around I found this video tutorial that first came out in 2014. I have decided to follow the advice within this video.

Fix old cameras – shutter repair

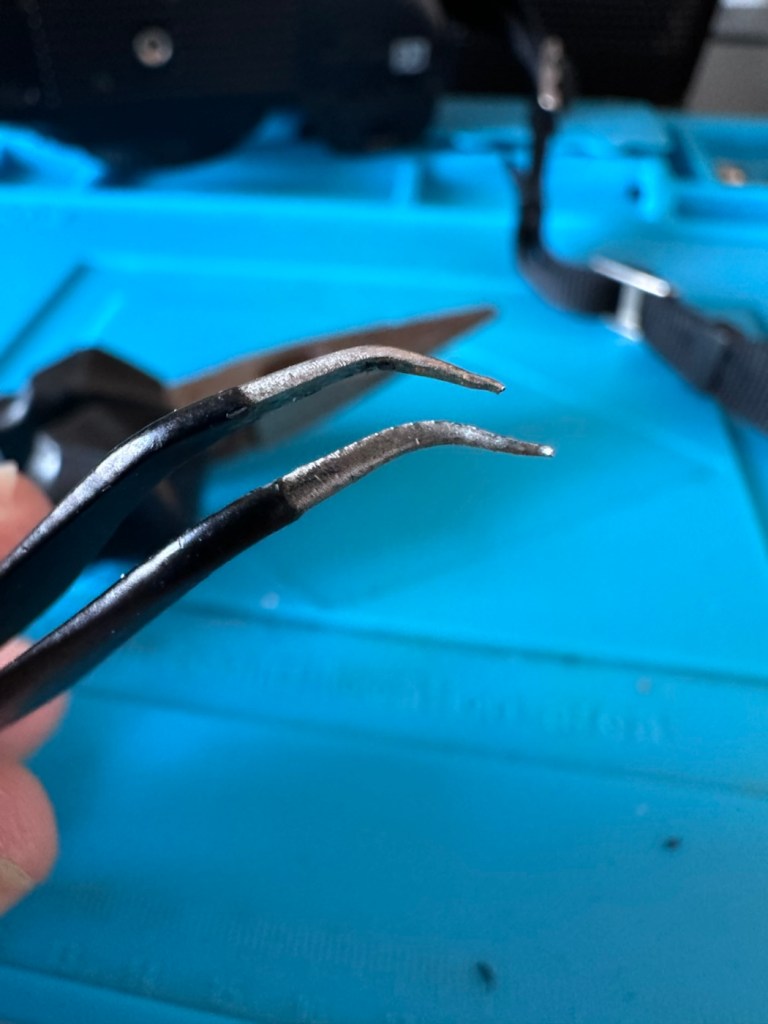
The first thing I have to do is to modify a pair of tweezers that I will be using for this repair. Firstly I have to bend them at an angle.

Bent accordingly

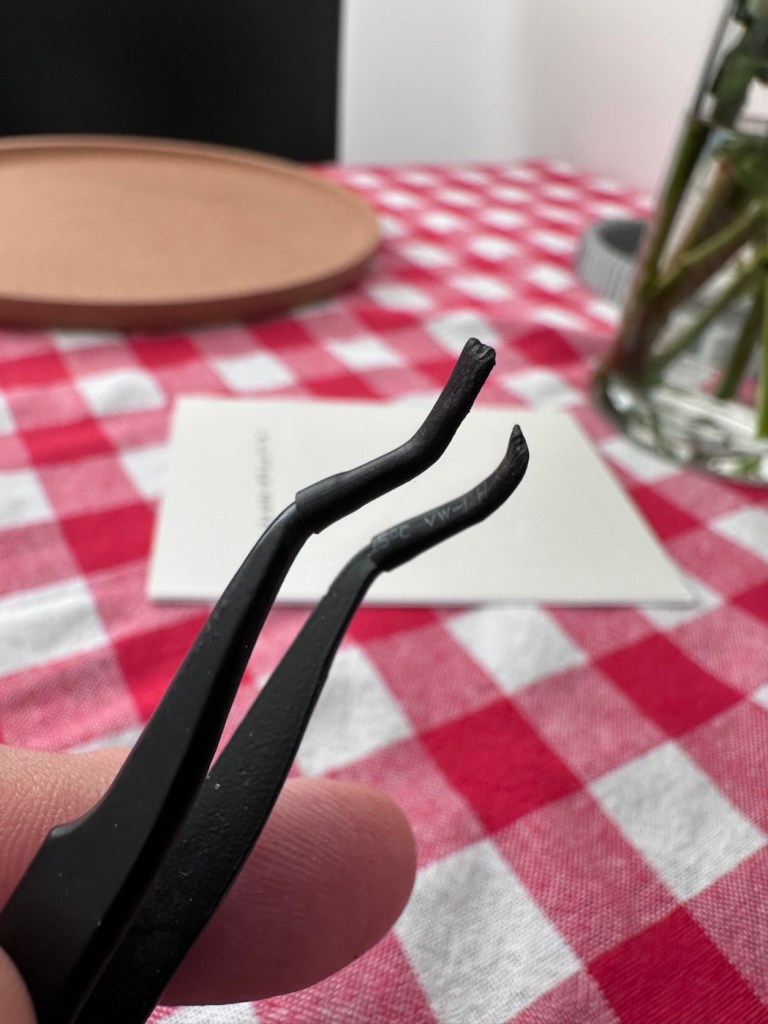
Secondly I have to put some shrink tubing over the points, heat them so they adapt to the outline of the tweezers, and whilst warm just flatten the tips as this will be the surface that handles the blades.

Shrink tubing added and shaped

And to be honest, once I started it took all of less than 20 seconds. Here’s the proof

It worked, and the camera works

You may well be looking and thinking ooh! That looks dodgy, but believe me it works just fine. It’s been severely beaten up and it fell back into place quite easily. It doesn’t look pretty but I have tested the chamber with a very bright light and the front and the rear curtains are working well with each other and there is, or appears to be no light leakage. I will have to run a film through the camera but I am very confident that there will be no further issues.

With the 2CR5 battery in place I have been able to carry out the tests that were not possible earlier, and I’m pleased to report there are no other issues and this shutter blade fault was the only problem. This camera is now working just fine, all settings, buttons, dials and switches are working as they should, as is the self timer.

With a lens connected all focus indicators in the viewfinder are good, the flash operates as it should and the info screen is clear and readable.

This camera is good to go.

Result:

In the end this turned out to be a twenty second repair, my first of this type and it went exceptionally well. A camera of this quality for just £7:77GBP with a guide book as well. is exceptional value, and I’m sure someone is going to love and cherish this camera for years to come. I’m going to run a film through it first just out of curiosity, however, I am supremely confident that there are no issues with it.

Again we have a classic case that shows just how 30 seconds of activity can bring a camera back to life saving it from the scrap heap. And a lovely looking camera it is too. Once I have run a film through I’m going to pass this on, it’s a good beginner’s camera and I’m sure it will get a lot more use, and that’s always a good thing. If Nikon produced in excess of 150,000 of these units, then I wonder how many others have suffered a similar fault and just been tossed into landfill.

Scary thought… though this one has been given a pardon.

Thank you as always for passing by. It is always very much appreciated.

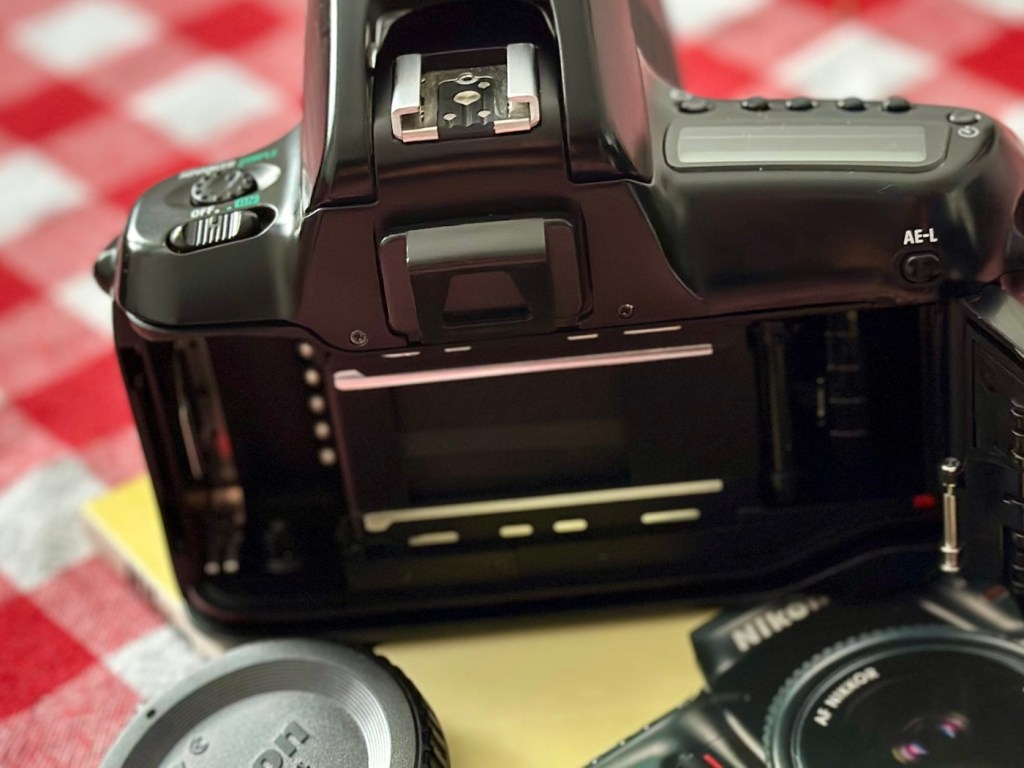
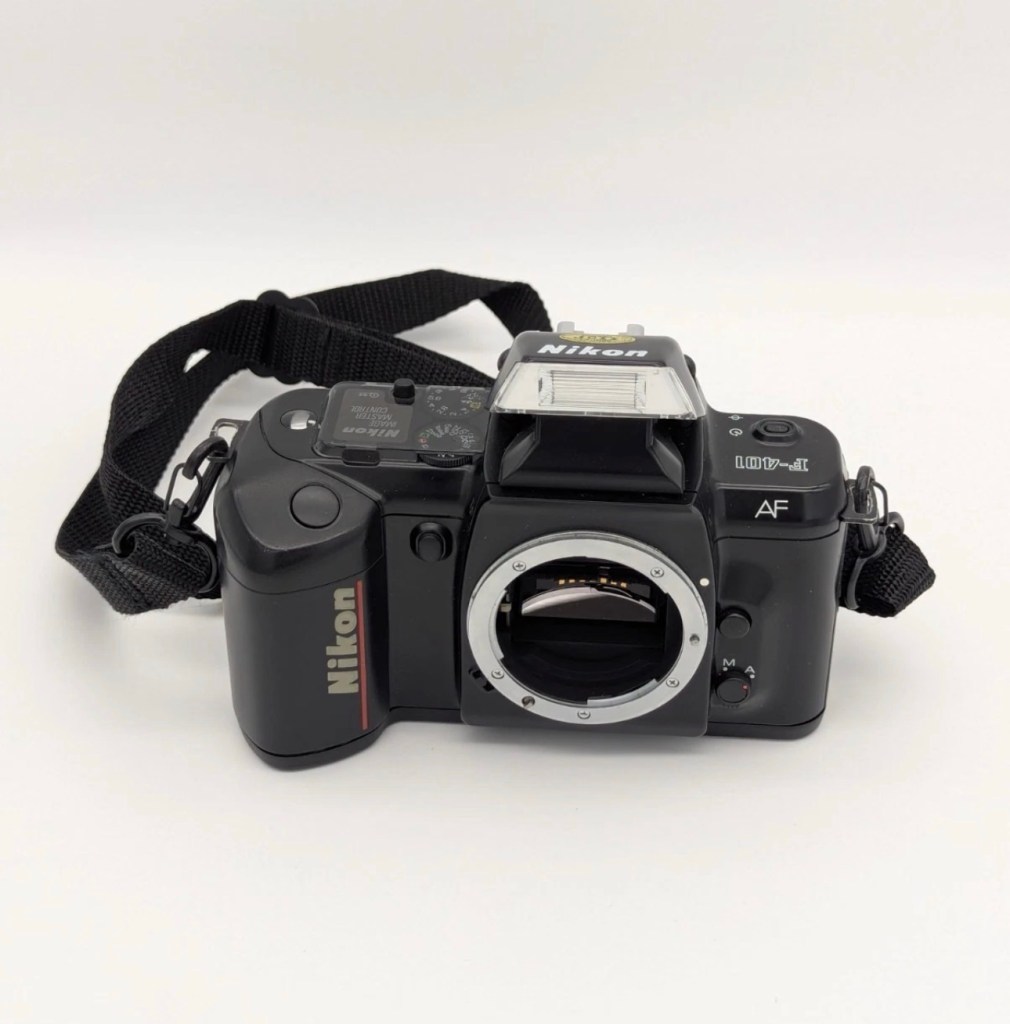
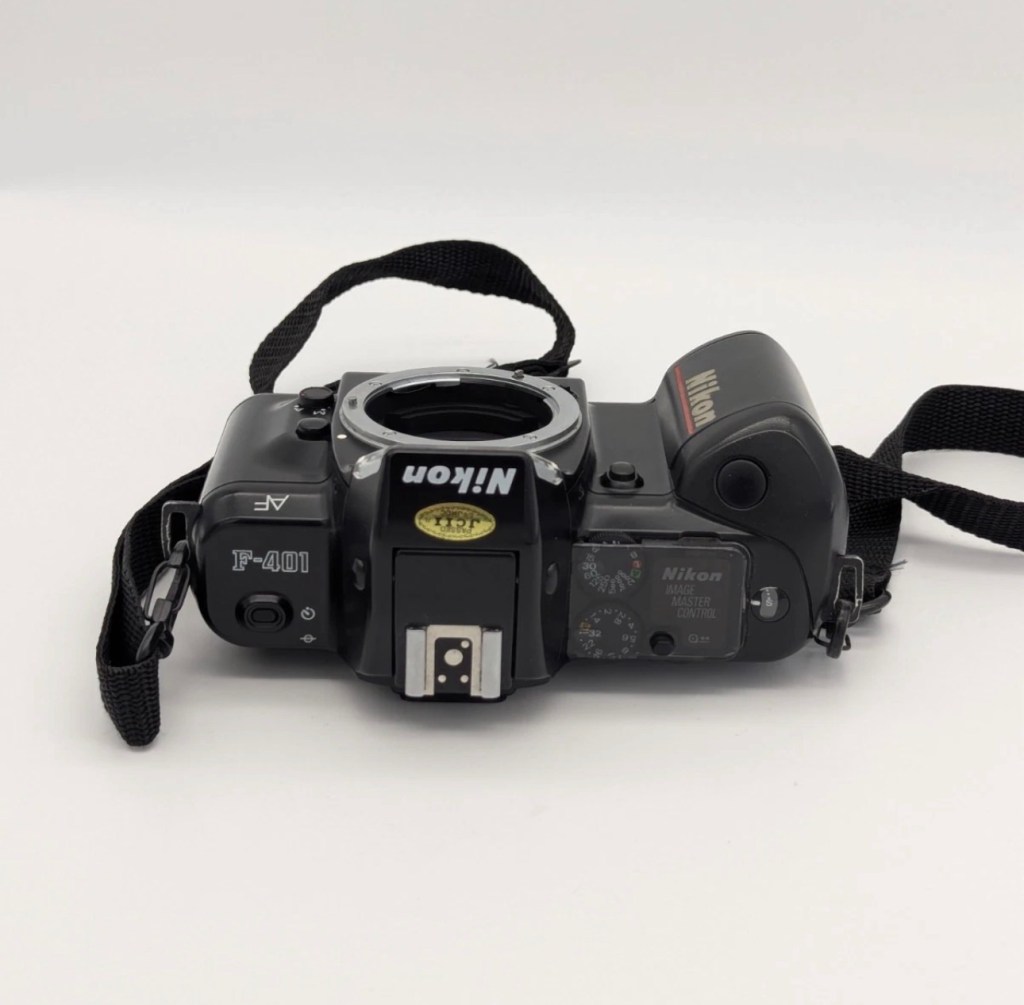
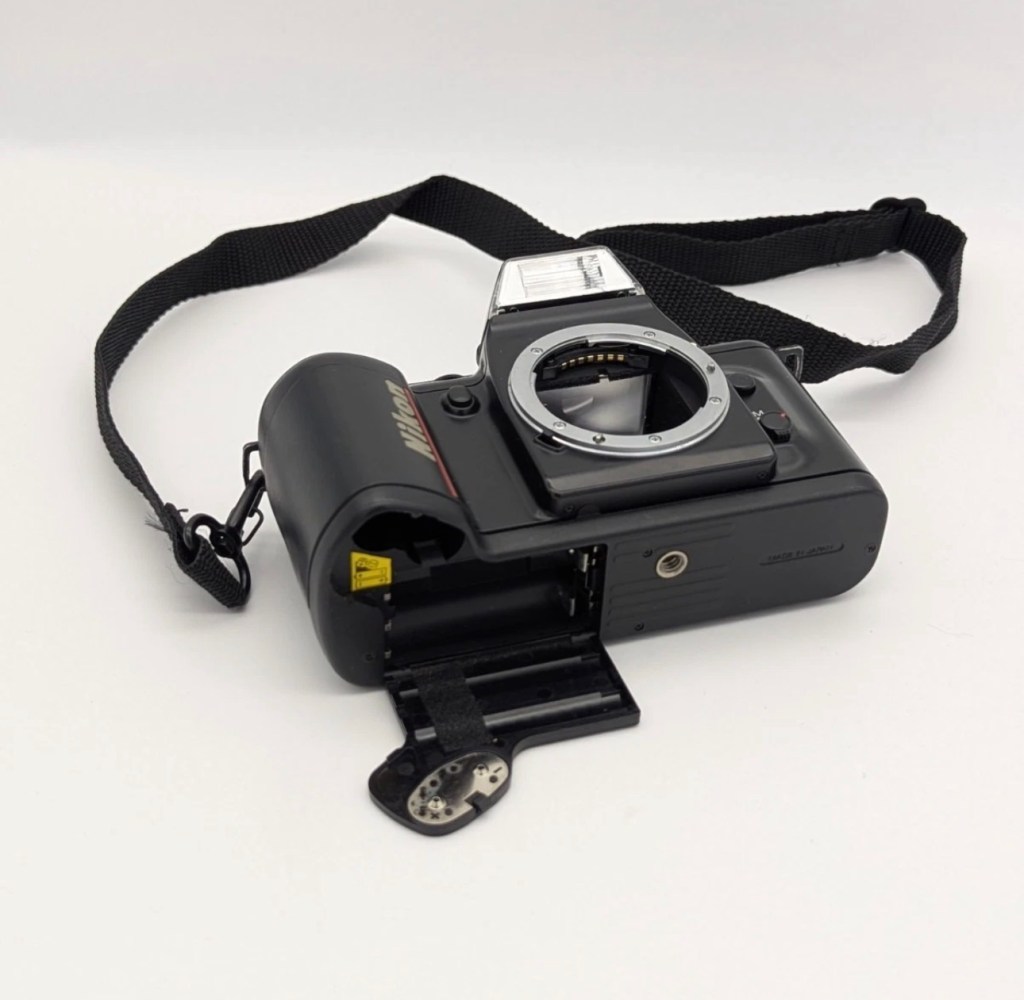
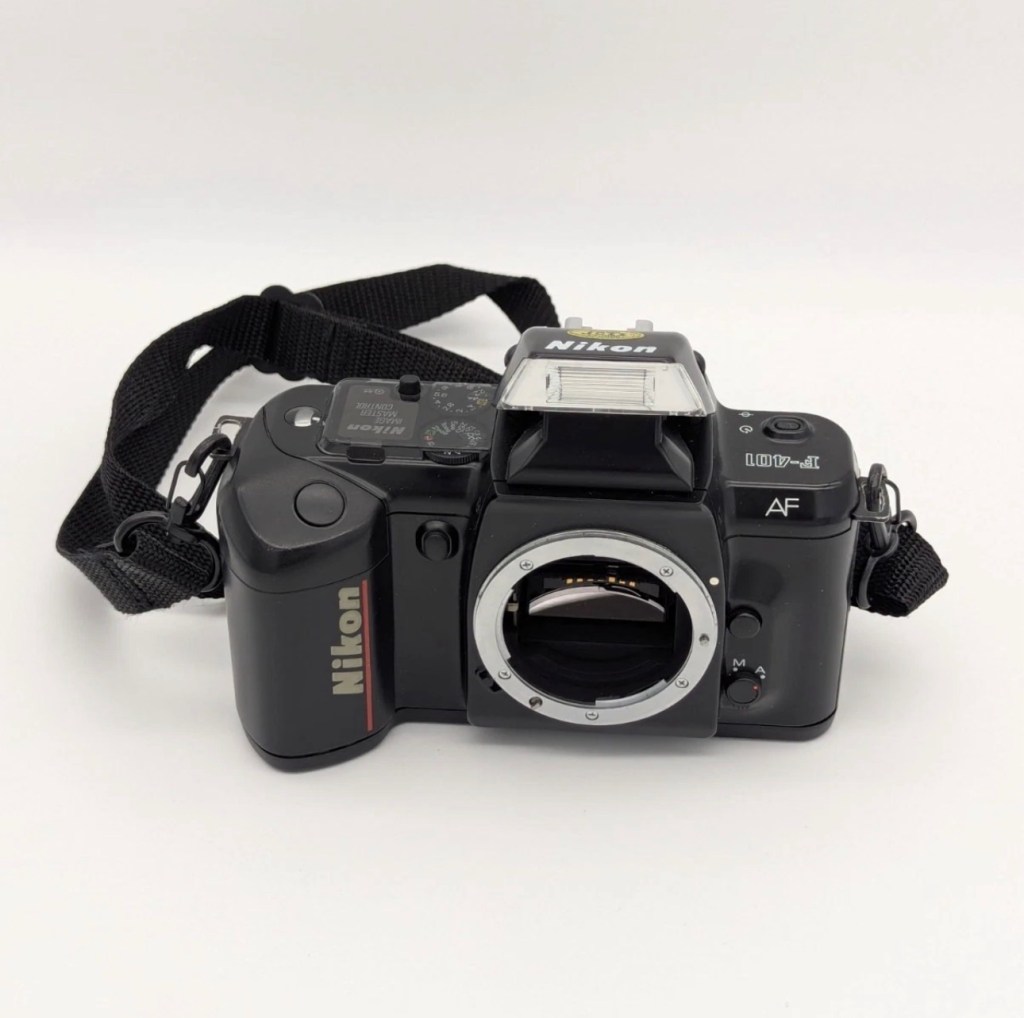
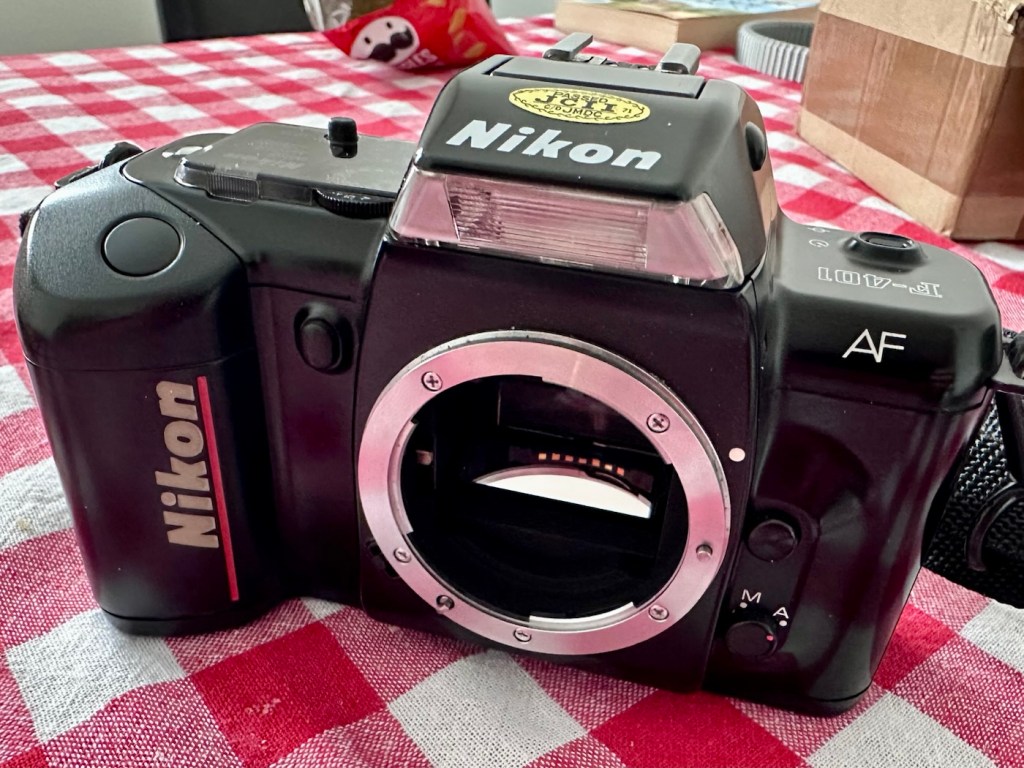
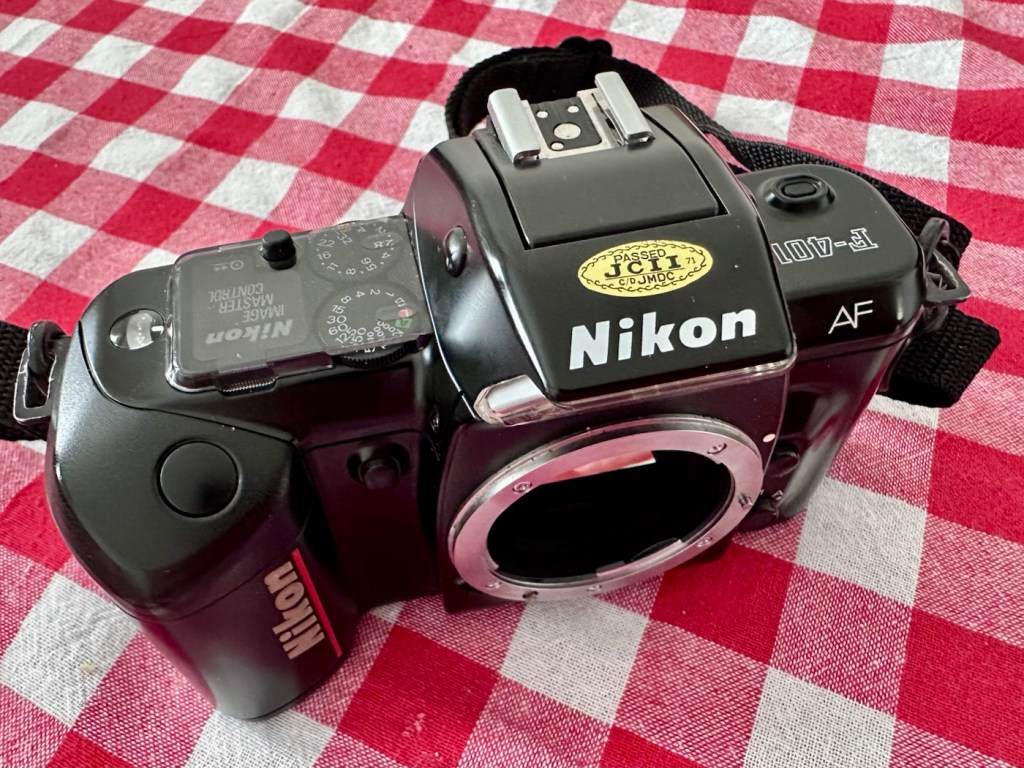
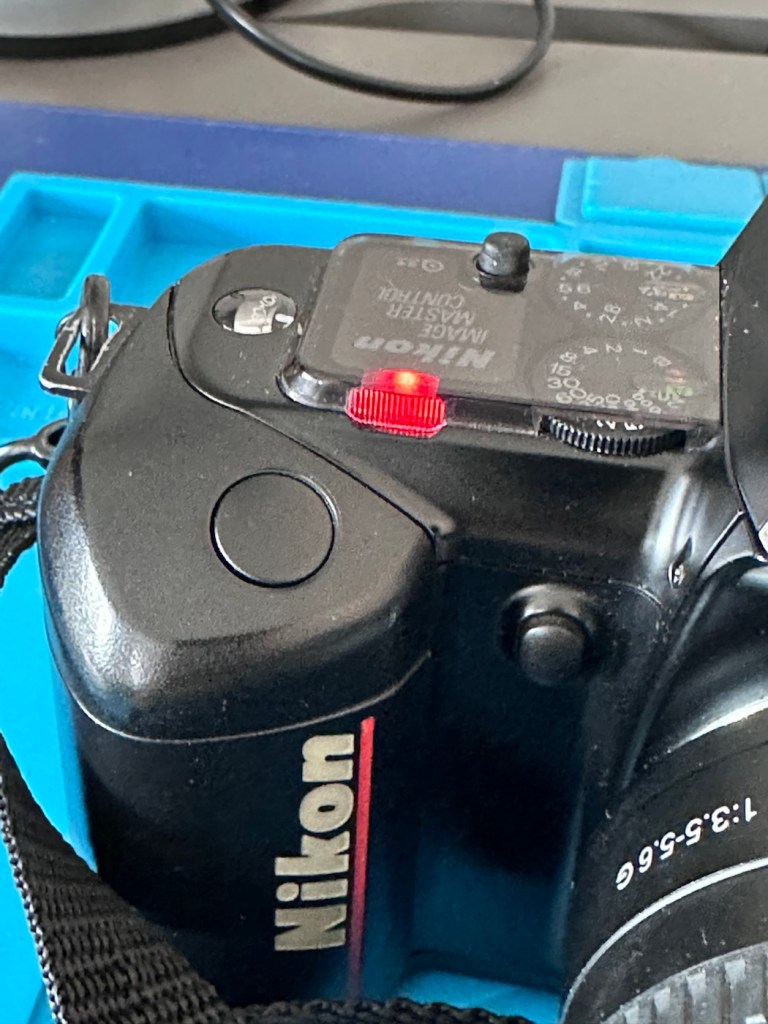
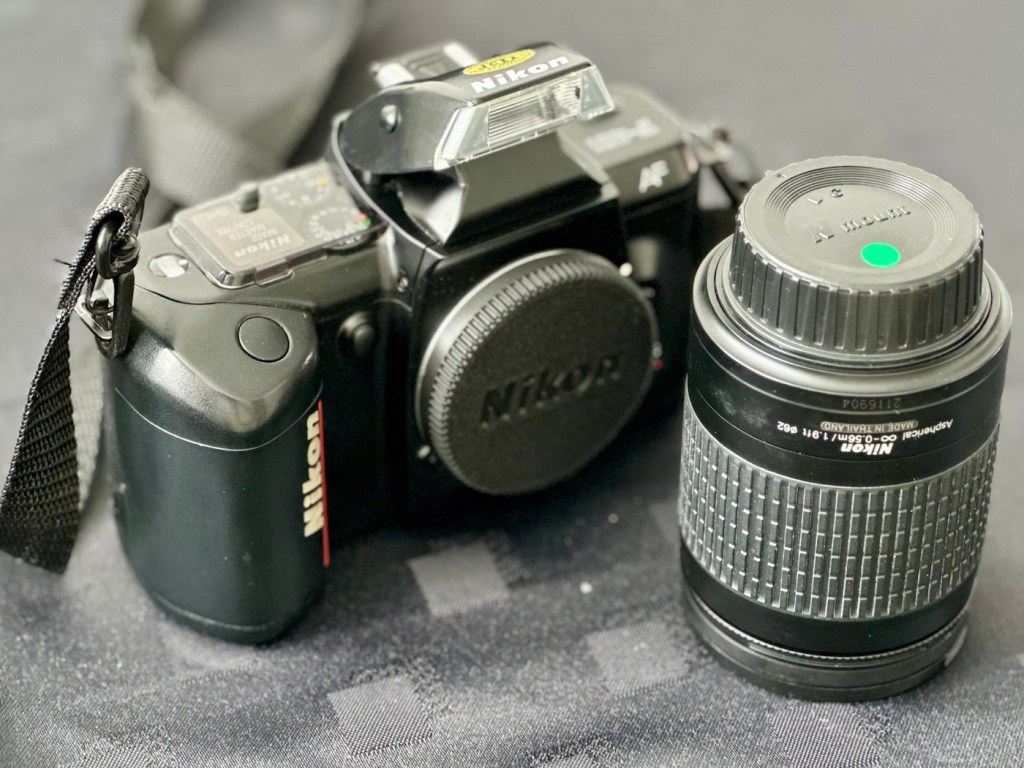
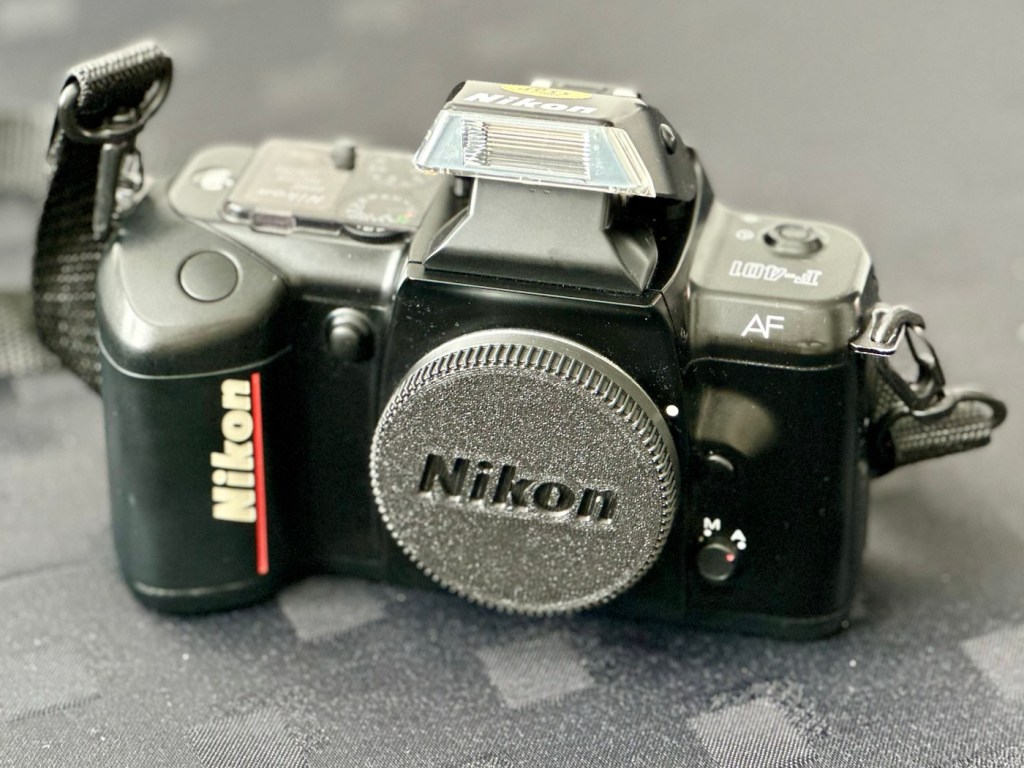
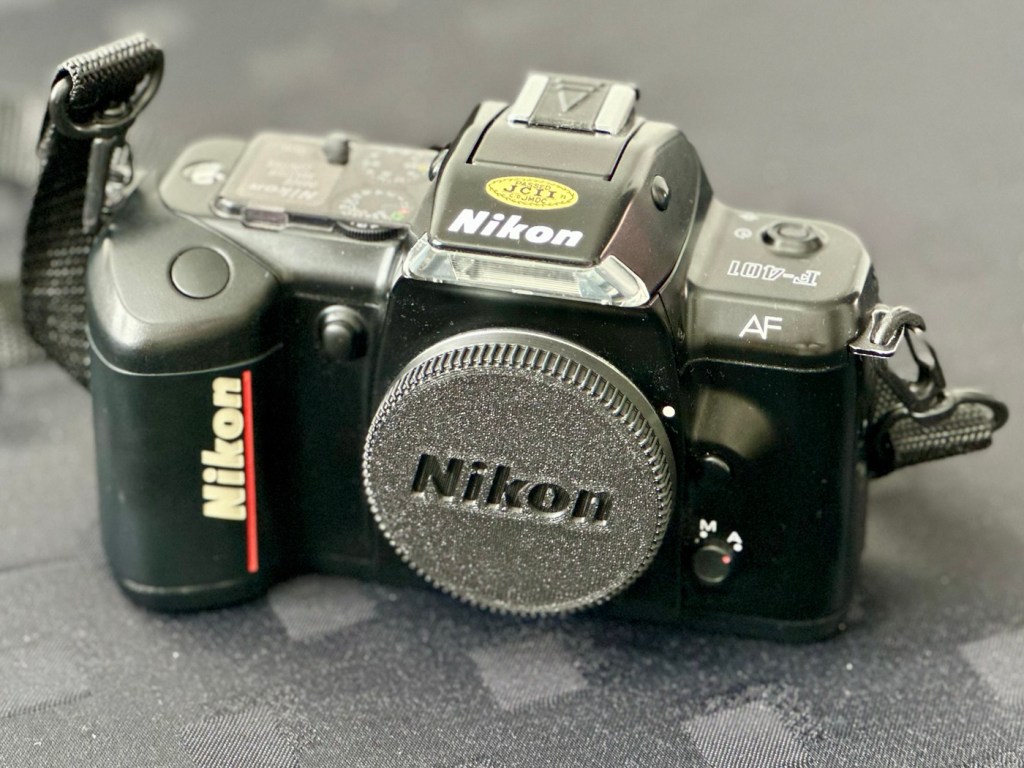
Nikon F-401 35mm SLR Film Camera

A nice little starter camera from 1987 sold as faulty when actually its operation was just misunderstood. Not so much a fix, just a lesson in why you should read instruction manuals.

What the listing stated:

Nikon F-401 35mm SLR Film Camera Body Only – Spares or Repairs. Unsure why it won’t work, I bought brand new batteries and it doesn’t want to power on. No exterior damage or scratches to suggest it’s been dropped. Battery compartment is nice and clean. Any further queries feel free to ask. Thank you for browsing.

EBay

Known pretty much as a dollar camera, it’s a Nikon but aimed at the entry level, and is of a plastic construction. The dollar tag is generally used to say just how cheaply available it is. I paid a bit more than a dollar, I paid £4:00GBP, after knocking the seller down from the £12:00GBP he was originally requesting. Still a bargain I believe, will be a nice little starter camera for someone if I can get it working.

Here’s a little about this camera:

The Nikon F-401 (N4004 in North America) was a beginner’s level, autofocus, 35mm, single-lens reflex (SLR) film camera built by Nikon and introduced in 1987. The camera represented one of Nikon’s first endeavours into consumer-based autofocus, as a follow-up to their first autofocus SLR in 1986, the Nikon F-501 (known as the N2020 in North America). The camera lacked many of the advanced features that more seasoned amateurs and professionals required, but it was a harbinger of the future as it included a pronounced, built-in grip as well as an integrated TTL Flash that is now commonplace on all but the most high-end SLR cameras.

The F-401 introduced the now common-place feature of using a thumbwheel instead of lens aperture ring to adjust the aperture. Furthermore, the camera’s lack of support for AI lenses meant that while all previous Nikon lenses could be mounted to the camera, none supported automatic exposure TTL metering. 

An upgraded version the F-401S (also known as the N4004S) was released in April 1989. The F-401X (also known as the N5005) followed in September 1991.

By the 1990s, the F-401 was part of a lineup of autofocus consumer SLRs that included the more expensive Nikon F-601 and Nikon F-801.

Wikipedia

Looking on line at other F-401s that are for sale seems to highlight that power issues are a regular point of failure for these cameras. Let’s await its arrival so we can carry out a full assessment of this unit.

Assessment:

Here’s what has arrived today with the postman

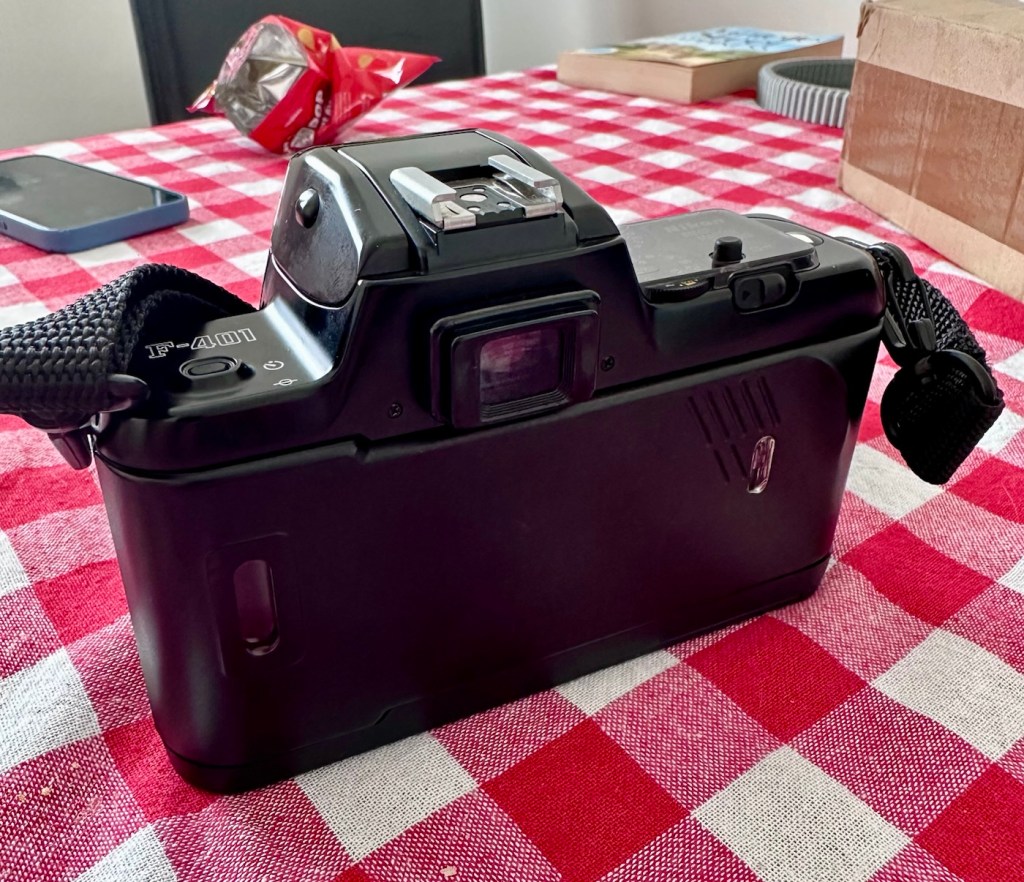
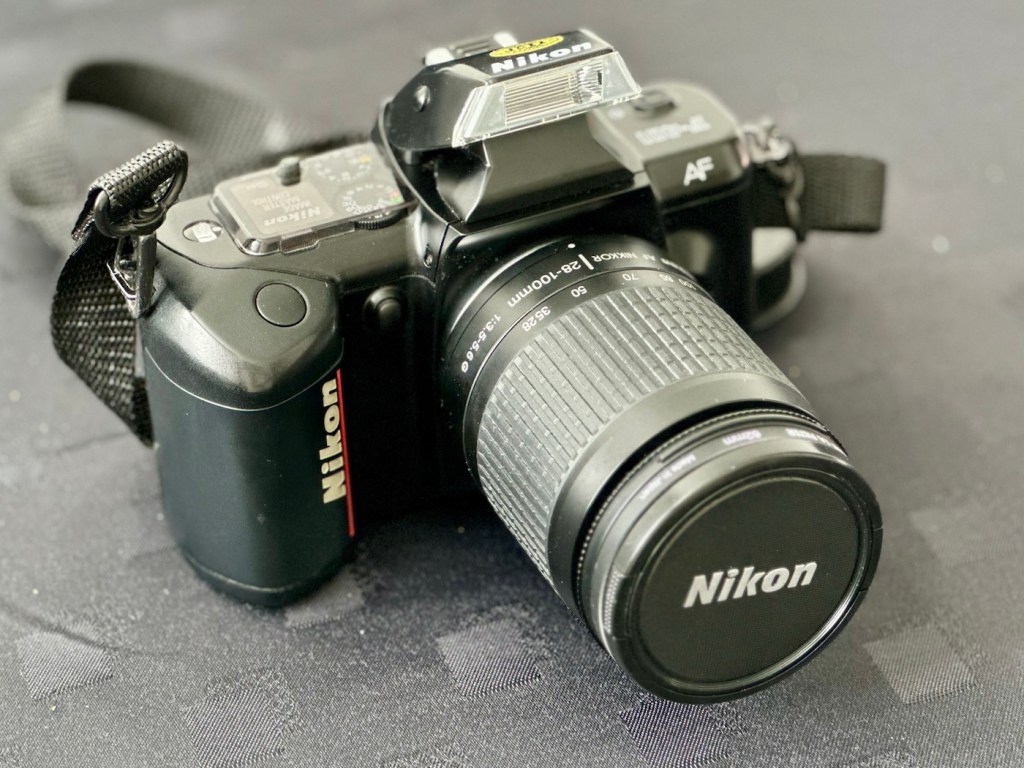
I’ve just sat at the kitchen table looking this camera over, and for £4:00GBP it’s a bargain. It’s very clean despite not having a body cap, there is only a tiny bit of paint damage near one of the strap connectors, apart from that this camera is in a very good (cosmetically) condition. A bit of a clean will take it to another level, however we will look at that once the fix has been done.

Fresh batteries installed

I have put 4 x AA batteries into the base of the camera and there appears to be no life in the camera. Contacts appear clean, the batteries are good, let’s take a deeper look into what the issue may be.

Repair:

As I always do with any camera I purchase, I like to ensure the lens barrel, mirror and curtain are protected. In this case I will therefore 3D print a suitable body cap, and a hot shoe cover. If I then have to start any in depth cleaning at least I won’t have to worry about any excess debris intruding into this area.

New body cap and hotshoe cover

The next thing I really study with any new camera that I obtain is the instruction manual. If some of the sellers actually did the same then they’d quickly realise, that sometimes there are no issues with the unit, it can really just be down to the quirkiness of the camera and how its controls work. Each camera brand differs slightly, so if you have no experience with a specific brand, it can quickly come across as the camera is not working. In a lot of cameras I deal with this is not the case. Knowledge really is king here.

And I suspect that this very camera may just well be a case of the sellers lack of operational knowledge.

I really feel like a fraud here, there is a button on the rear of the camera directly behind the shutter button. Here there is also a small slide switch. This combination of slide switch and button allows you to rewind the film when finished. The button appeared depressed, and when pushed a number of times along with moving the switch side to side the button then popped up and the camera kicked in to life.

Rewind slide and button. This was stuck down

A little contact cleaner placed behind the slide and down the side of the button ensured a free and easy operation. When the rewind procedure was used at least six times it has worked perfectly without issue.

When the rear of the camera is opened, the exposure counter resets as it should. When it is closed again and the shutter button is depressed, three quick fire actuations occur forwarding the film to its first exposure. All is working well.

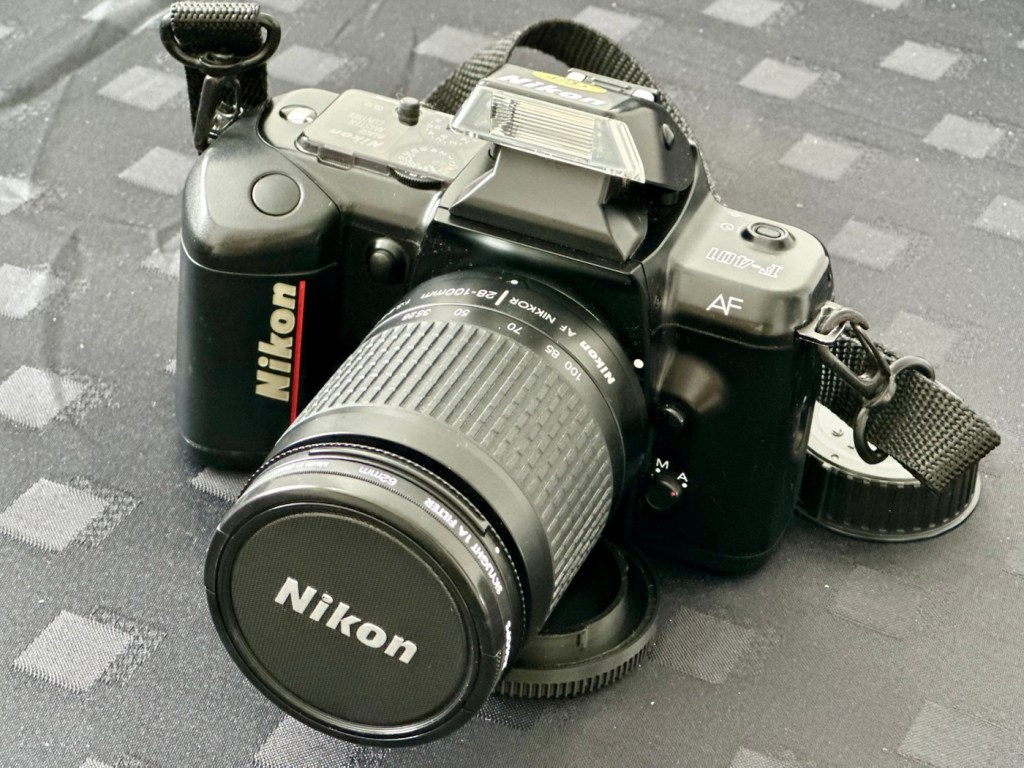
A Nikkor 28-100 lens on the front confirms all indications are working in the viewfinder, and auto focus appears to be just fine. All aspects of operation on the camera have been tested and everything is doing exactly what it should be doing. This camera was never broken. Its operation was just mis-understood.

Result:

£4:00GBP is a very good price to pay for a fully operational camera, even though it was purchased as a faulty item. Every camera i purchase, I always download a .pdf instruction manual file to store on my server. Nine times out of ten a brief read of just the setup information can sort out a myriad of issues, and if the seller had done the same they would have been able to up their sales prices accordingly. I’m not complaining though as I’m able to bag a bargain on many occasions.

Here’s how this little unloved piece of camera looks after I have sorted it out, cleaned it and paired it up with a suitable lens:

To think if this camera had not been purchased it would have just been chucked in the waste. Instruction manuals are supplied for a reason, and it’s always wise to refer to one when things start to go wrong, nine times out of ten there isn’t a problem, just a minor misunderstanding.

Take it from me, instruction manuals are good. I have hundreds stored electronically referencing cameras I have had, through my hands over the past years.

Thanks for passing by, and as always it is very much appreciated.

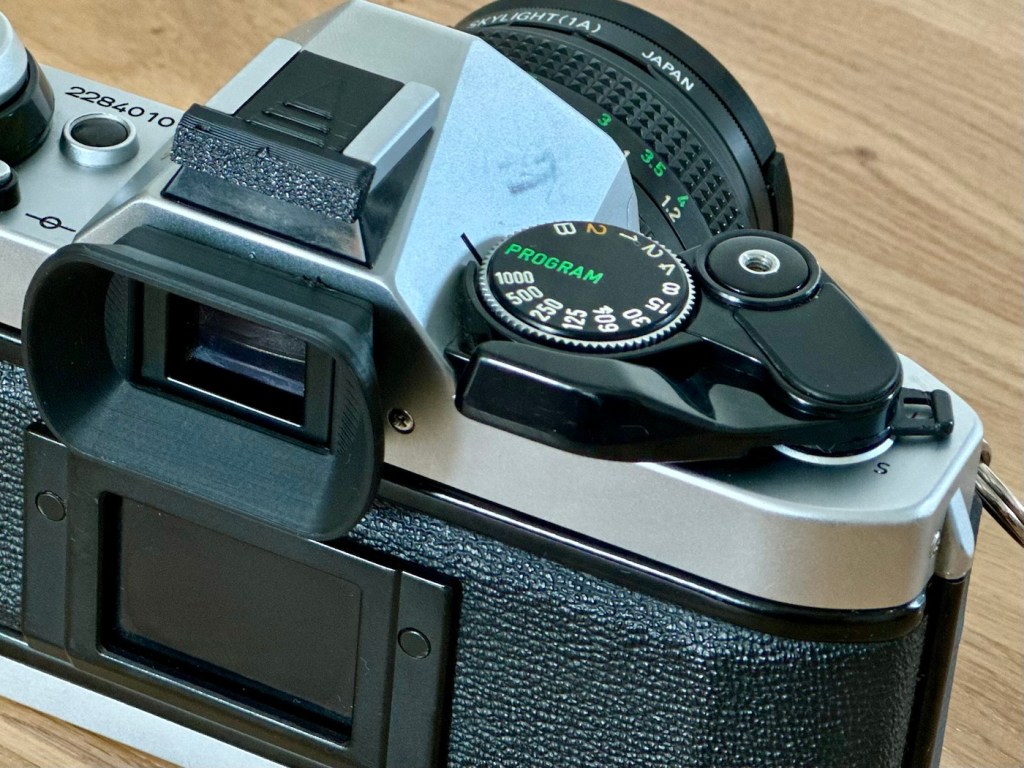
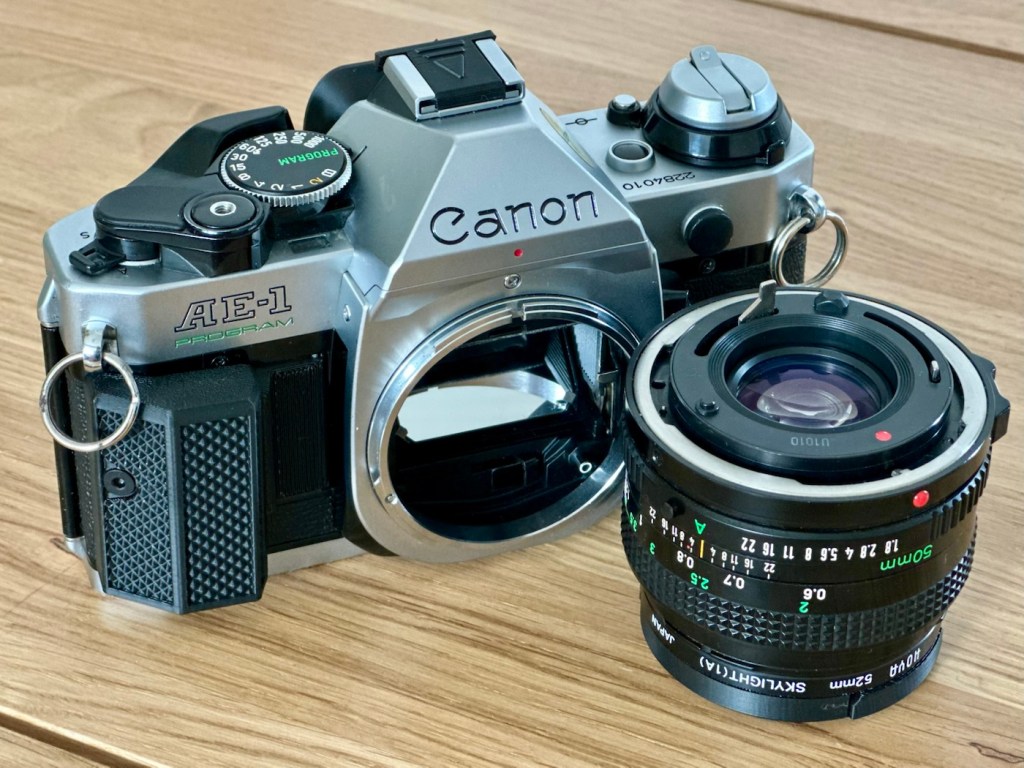
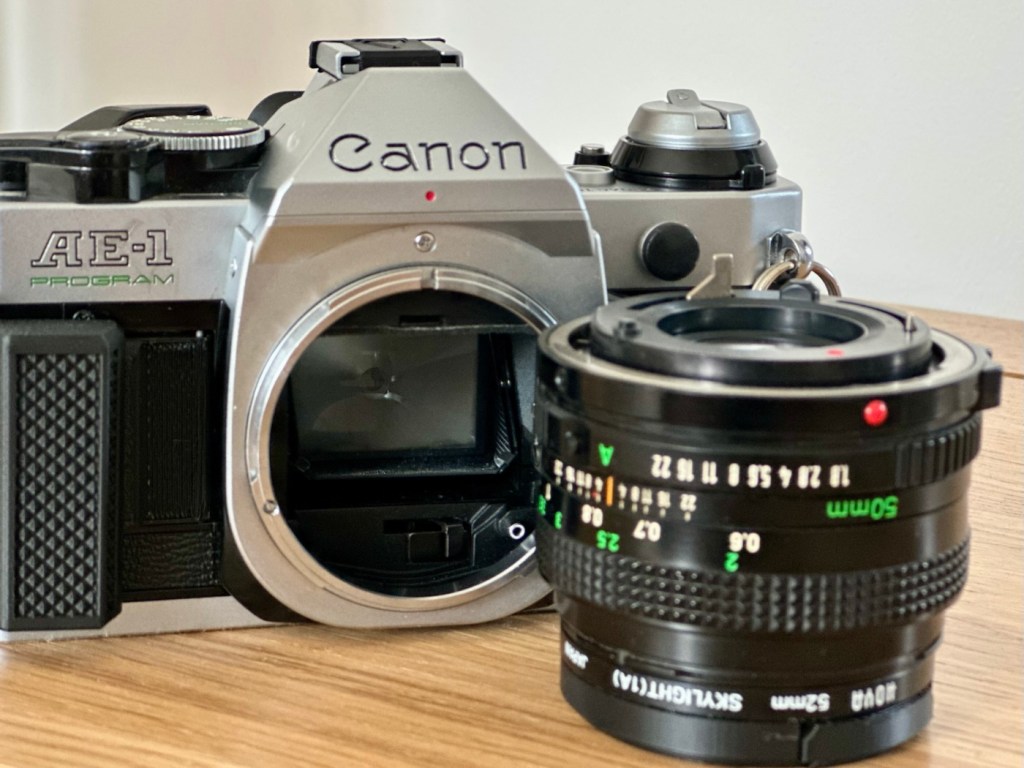
Canon AE1 – Program

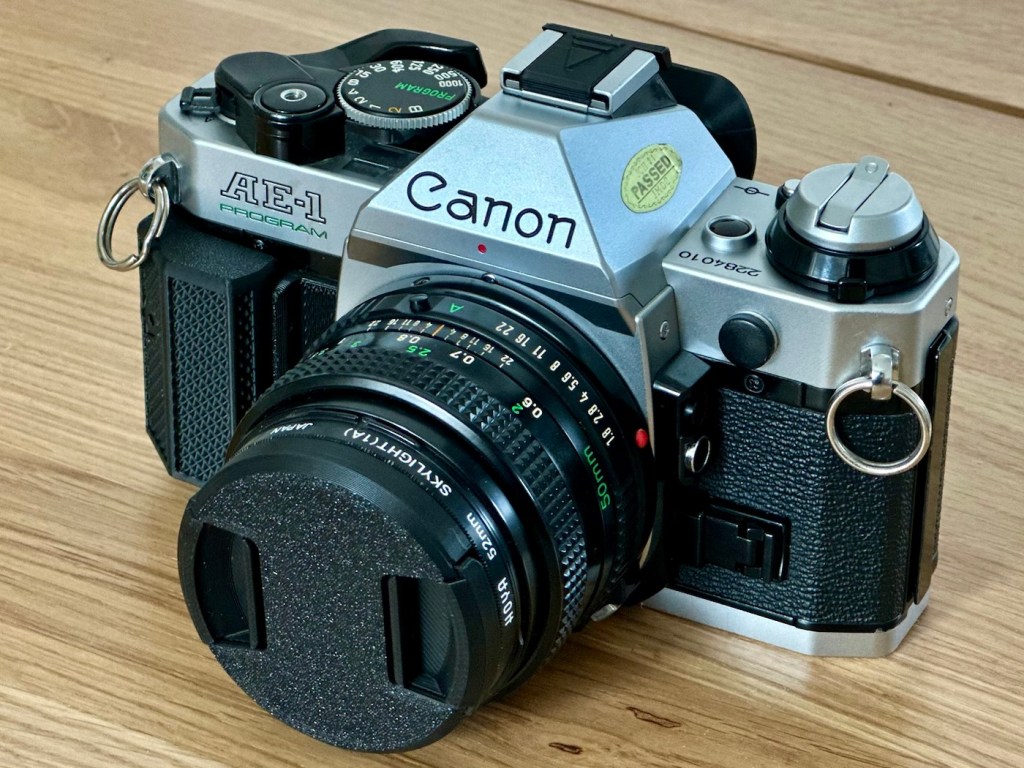
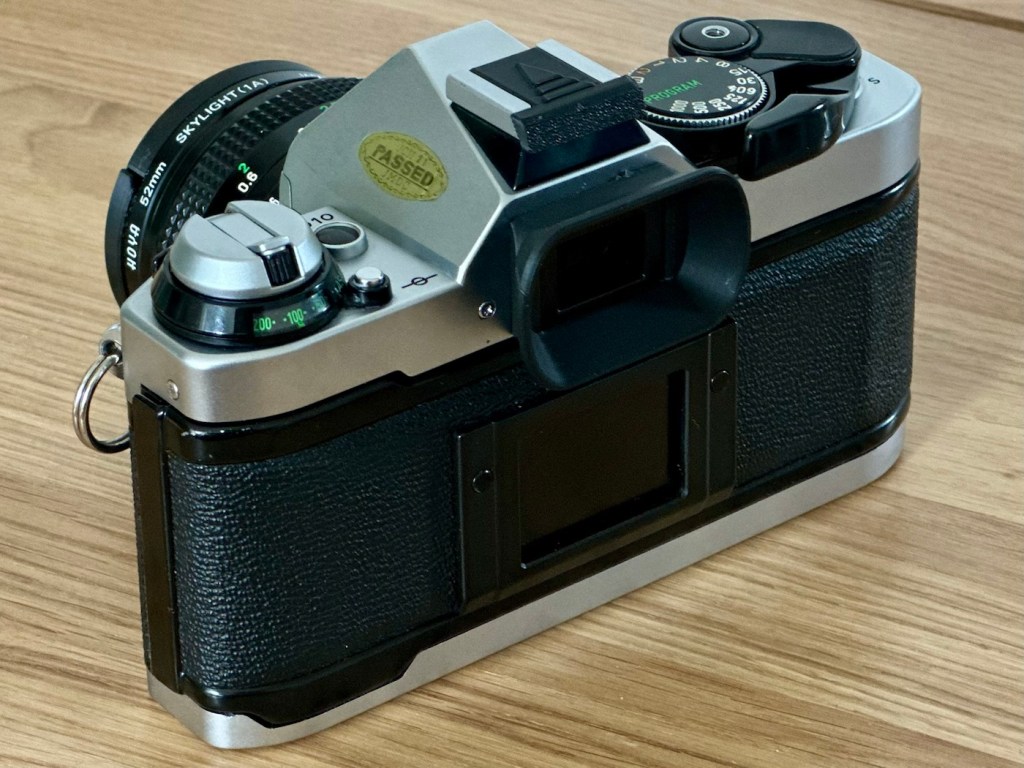
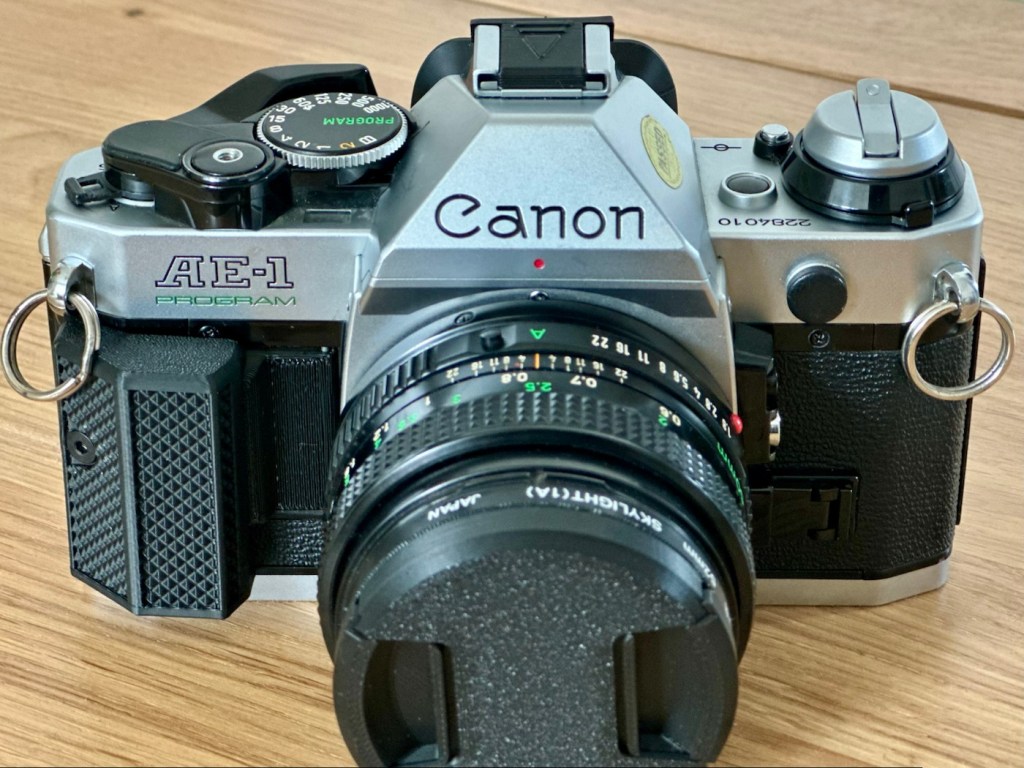
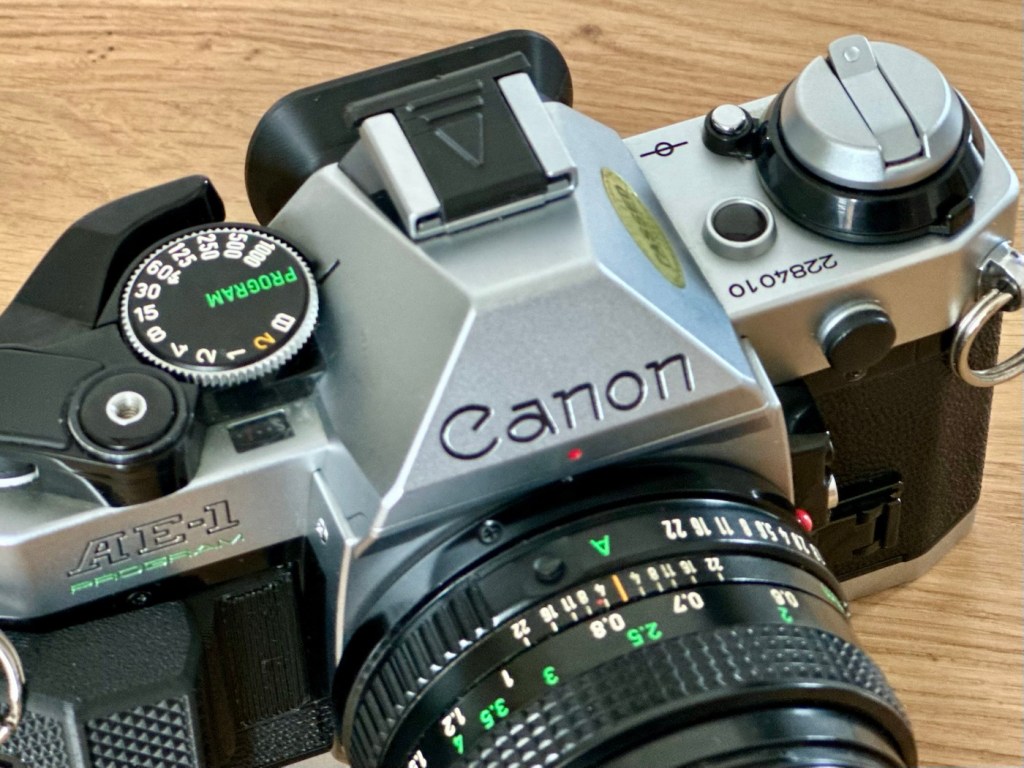
I have my final piece of the jigsaw. My sixth, and final camera of the classic Canon “A” series collection

I purchased this camera as part of a job lot of 5 cameras that were faulty, read about that purchase here: More camera odds & sods

Canon AE1 – Program
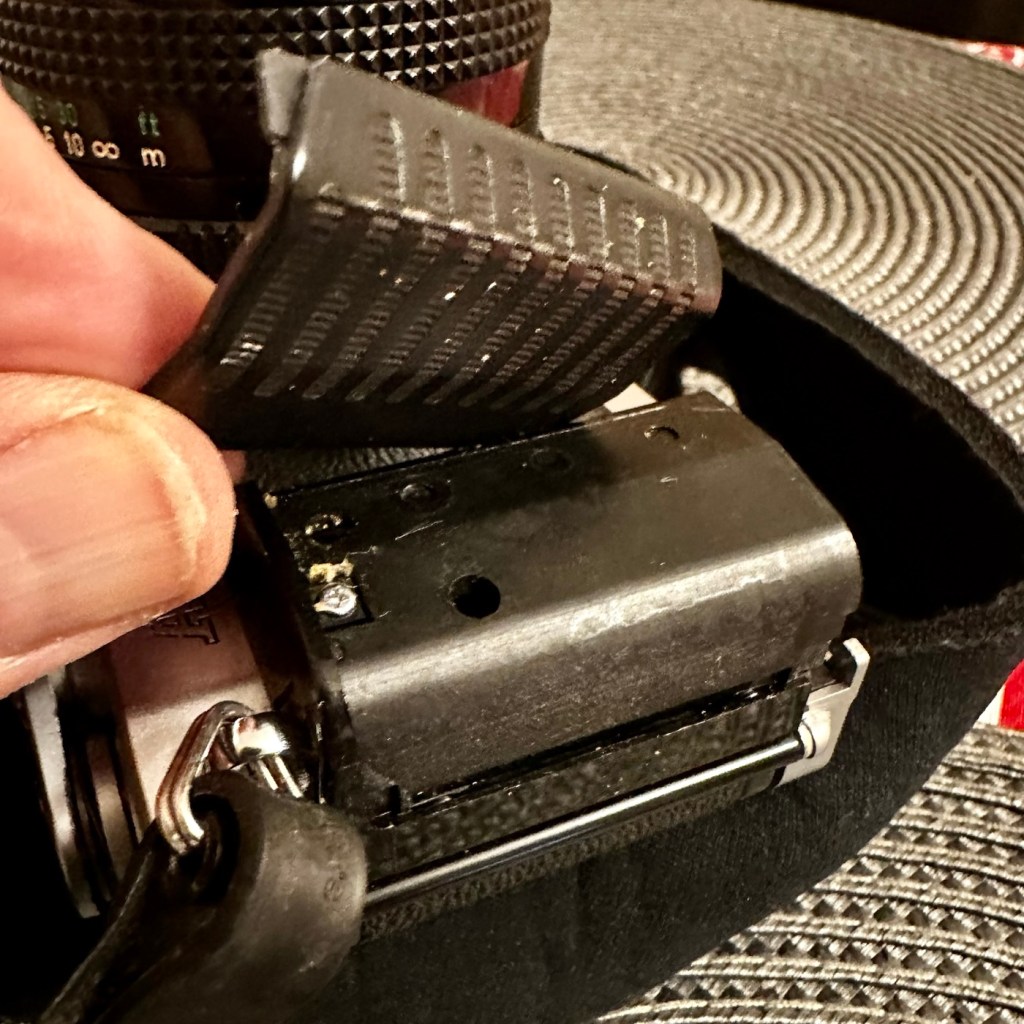
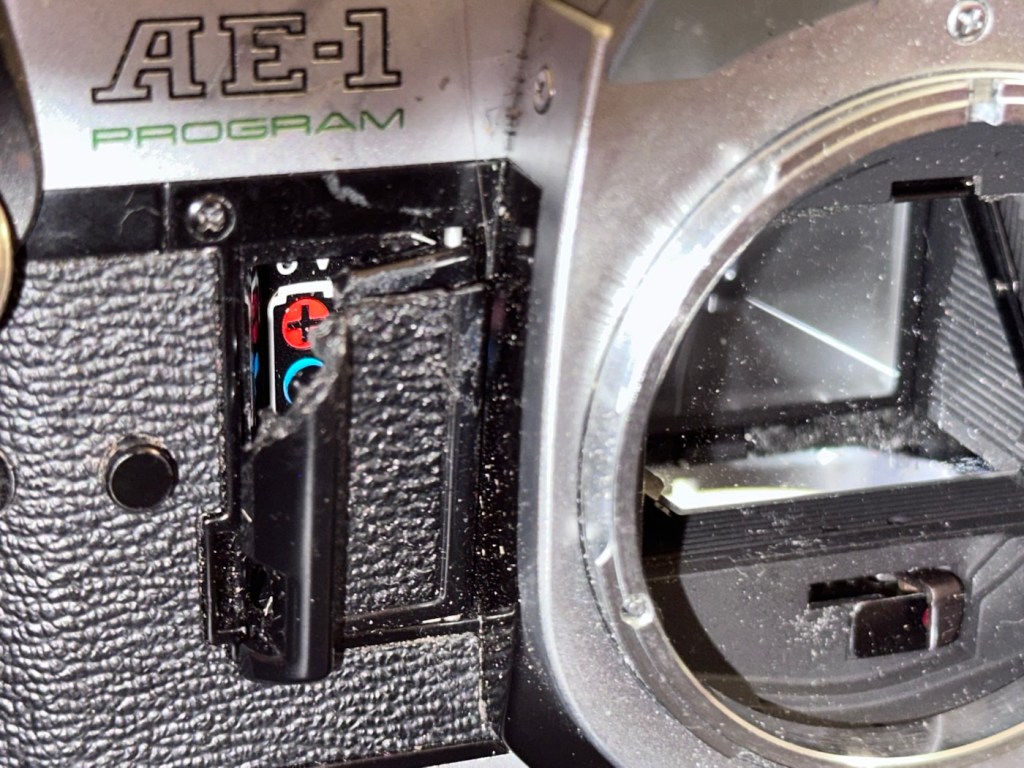
Broken battery door

I’ve been working towards purchasing the entire range of Canon “A” series cameras, and this is the final piece of the jigsaw for me. I haven’t paid premium prices, I have purchased each and every one of them as damaged items and have had to effect the repairs on them to get them working. It’s a wonderful collection of old cameras, all showing their individual battle scars but each performing without fault in taking photographs. What they were designed to do, growing old gracefully and with a now extended life span.

My complete collection

It works out that this camera has only cost me £8:00GBP, and that is a superb price to pay for one of these cameras, even if it was only for parts it would have been a bargain, however these all have the ability to be revitalised and to be given another crack at life. I have done a very brief assessment and nothing appears to be operating as it should be. Electronically this is potentially a very unstable camera, I just need to run a final test on the electrical system. It has two parts that need replacing. There is a small power winder cover that is missing, it’s not important but I will replace it purely for aesthetic reasons. Secondly the battery cover is broken, I do have a 3D file downloaded so I will see how that prints out.

This camera is currently unloved, very dirty and will require quite a bit of work just to bring it up to usable standards. I don’t wish for it to be pristine and at display standards, I want it to be clean and capable of carrying out what it was originally purposed to do, it will be used and thoroughly loved.

Here’s a little bit about the AE1-Program:

The Canon AE-1 Program is a 35 mm single-lens reflex camera that uses Canon’s FD mount lenses manufactured by Canon Camera (today Canon Incorporated) in Japan and introduced in April 1981 as the successor to the Canon AE-1, five years after that camera’s introduction.  The major difference was the addition of the Program AE mode first seen in the A-1. This mode sets both the shutter speed and aperture automatically—albeit with a slight bias towards the shutter speed setting. The user focuses the camera and then presses the shutter button. For those desiring more control, the AE-1’s shutter priority auto-exposure and full manual modes are still available.

Wikipedia

Repair

The first thing to do is to get the relevant battery in place and to see what does or doesn’t light up or function. These cameras take a standard 6v 4LR44 battery, and I have some more of these arriving later today, these cameras are reliant on that power source to pretty much do everything, so we have to have one in place to carry out an accurate assessment. Once i can see how the electrical system is working I can then make a decision on how to progress.

The battery has arrived and when it is installed, nothing happens. Electrically the camera is dead and requires attention, and that’s not good. The auto, lock, self timer switch under the winder is not moving, and hence the winder won’t wind, and the shutter won’t fire. It’s a very poorly camera. I go to remove the 6v battery and it is extremely hot, I’d suspect very close to exploding, this is not good at all. I’ve put the battery to one side, it’s now obvious that we have a short circuit somewhere causing the battery to overheat.

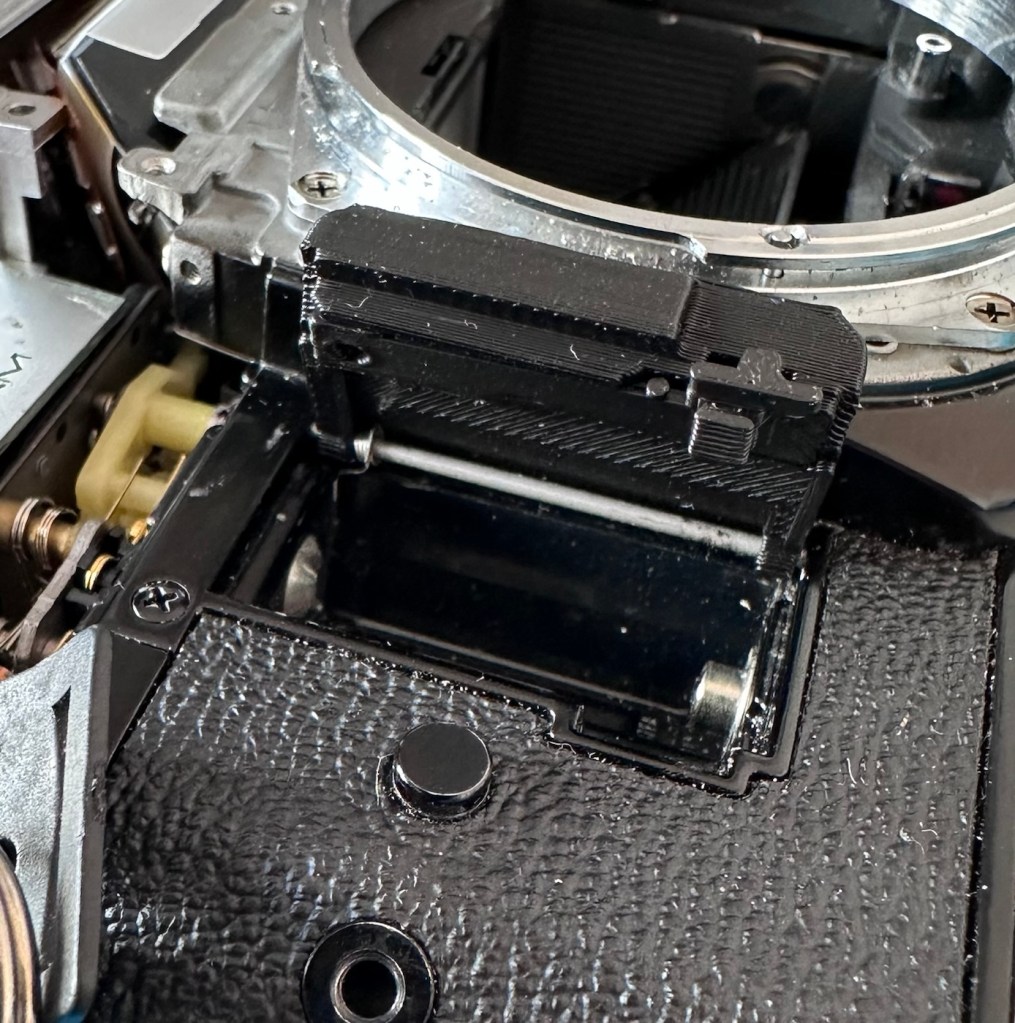
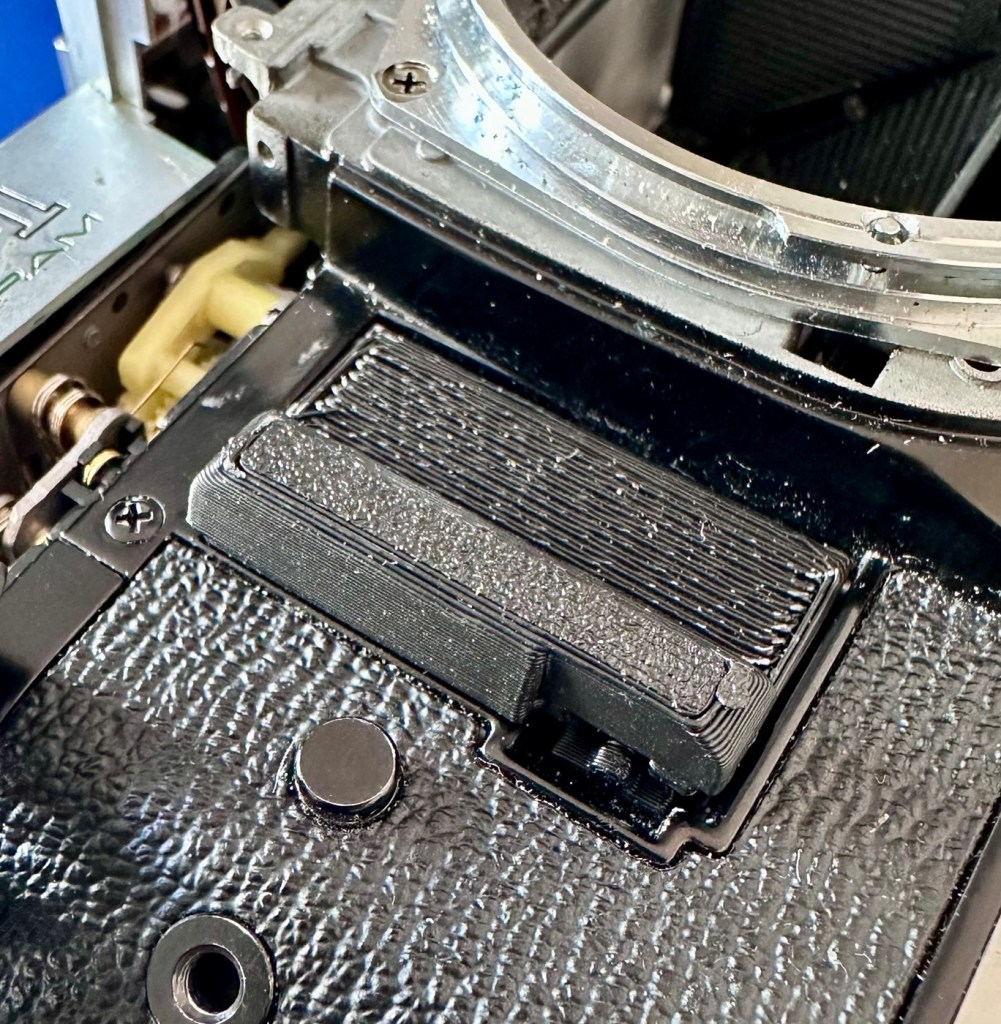
I have printed off a replacement door and catch. It’s not to the original standard but should do the job, until a quality one becomes available. To replace this door the top of the camera has to be removed anyway, so whilst I’m in there I will try to see if I can find the cause of the short circuit.

The pin that supports the door has to be pulled up through the mass of electronics to release the old door and the little spring that opens the door.

The printed door has cost me approximately 0.22p to print, and considering that Canon no longer produce the door, the options are limited to auction sites that charge horrendous amounts up to £30:00GBP, or the alternative is a 3D printed option of about £15:00GBP. Seeing this camera has cost me £8:00GBP, a layout of 0.22p will do for me just to get this camera up and running. I can always “tart” it up in the end if I choose to. To be honest, if it does a job, if the camera does what it should, then should I really worry about it? Probably not.

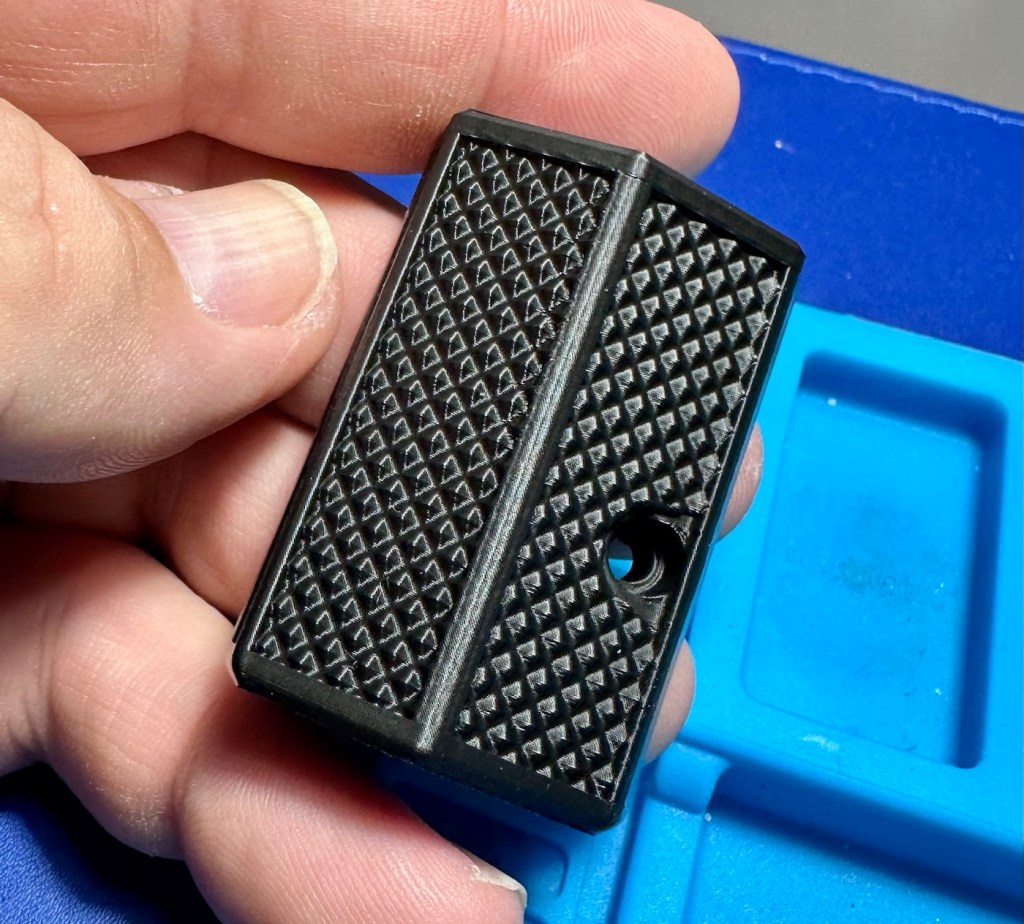
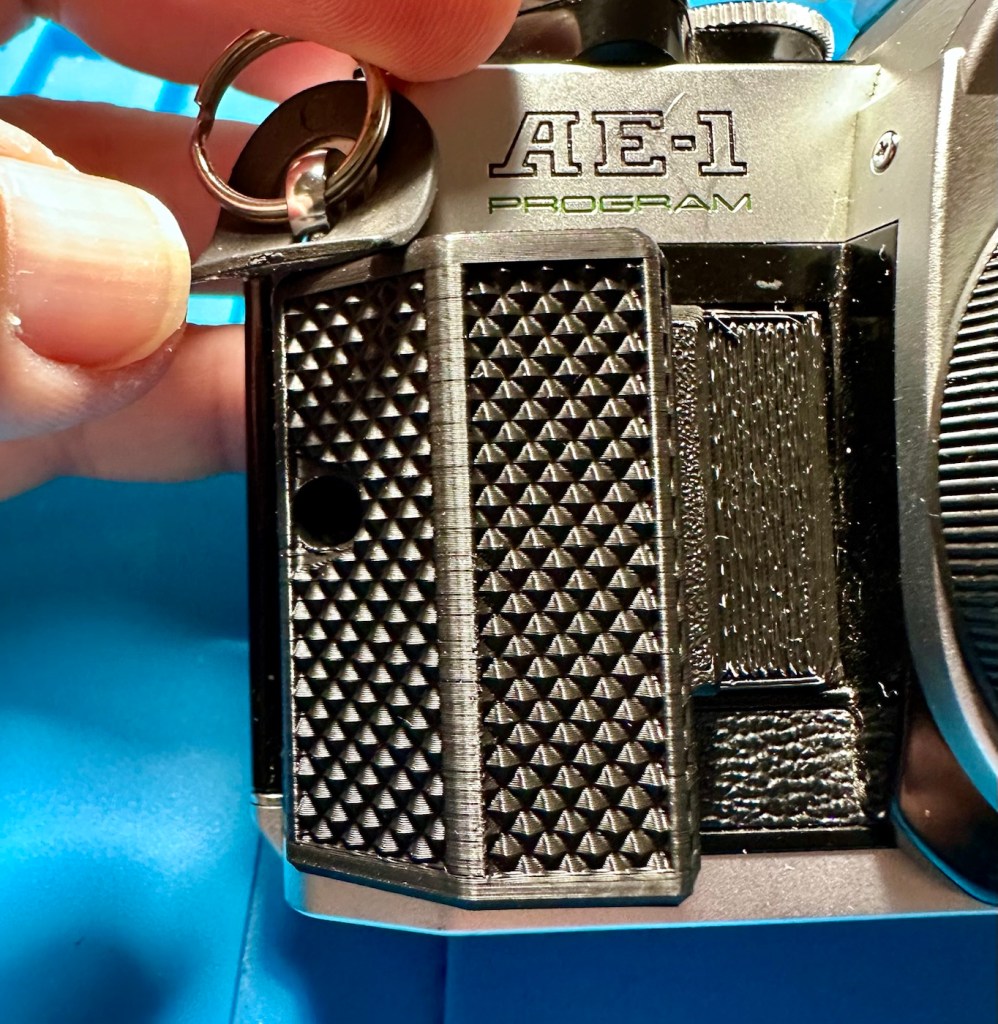
Just for the sake of it I have also 3D printed a speed grip that used to be facilitated on the “A” series cameras. These give a little more security to the battery chamber door, stop the door opening if the catch should fail, and give extra grip to the camera body. And it kind of looks nice so I have printed one out to use. I just need a black M3/8 screw to attach it.

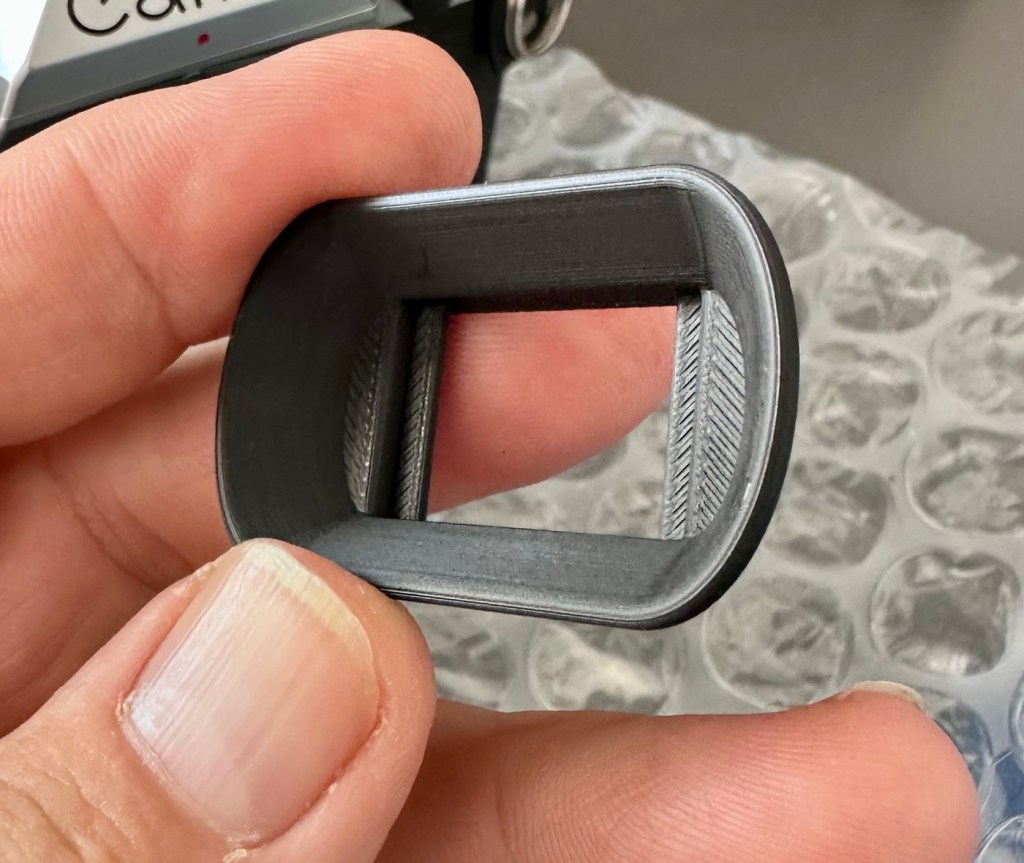
I’ve also printed off a eye cap for the camera. Just because I can to be honest, it just finishes it off in my opinion.

New eye cap

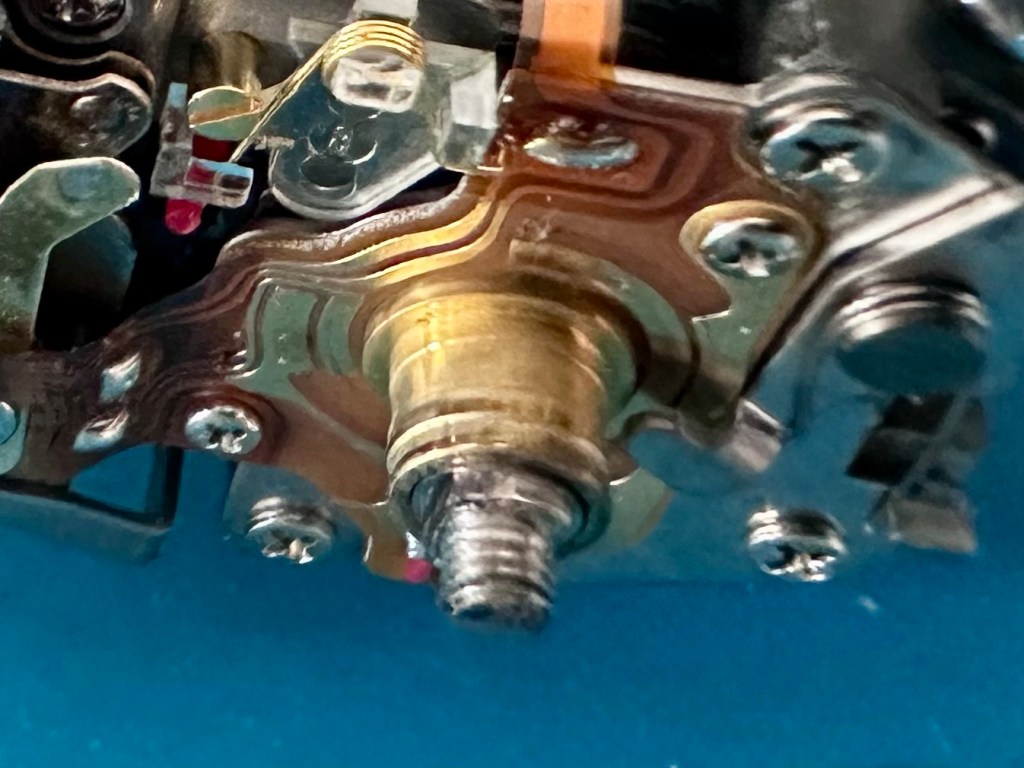
I stated that the switch that puts the camera into auto mode, switches it off and operates the self timer was seized. When the top is removed and all the relevant parts are removed the area in question can then be observed. And there was a problem.

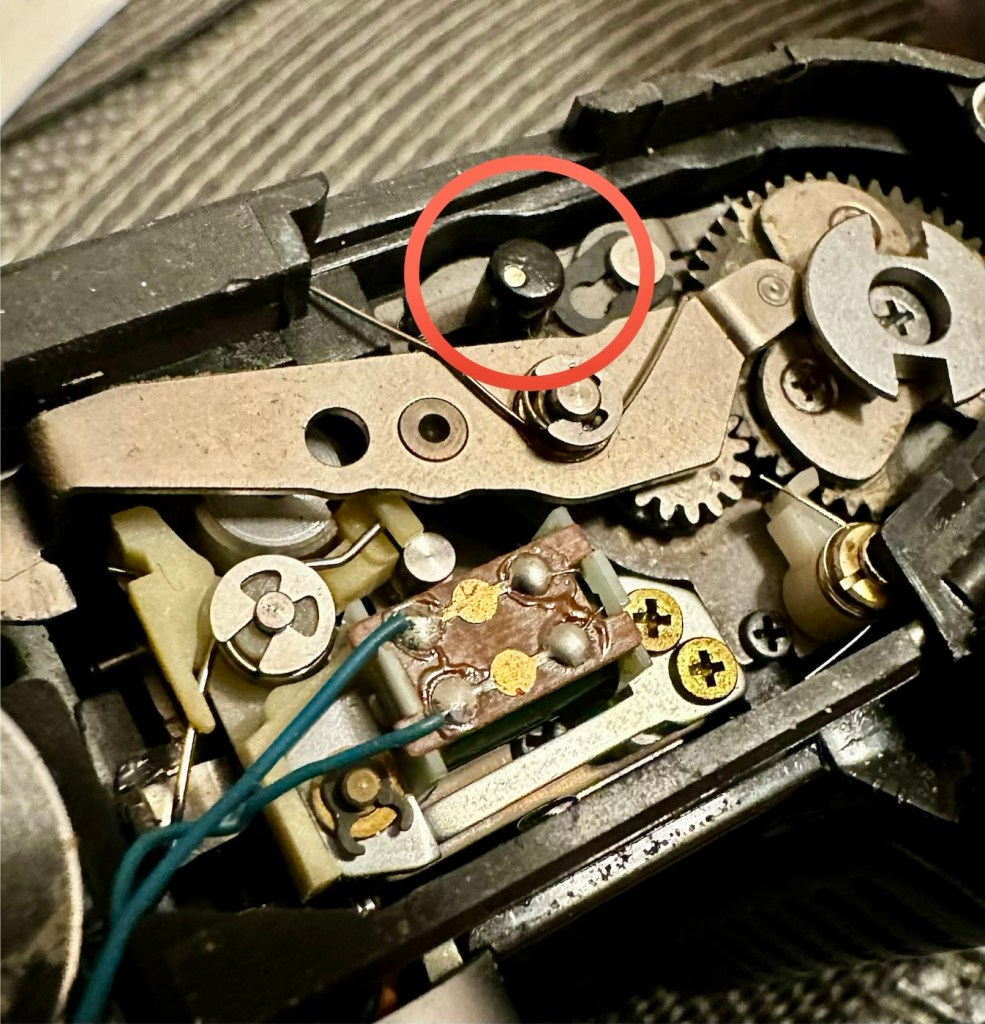
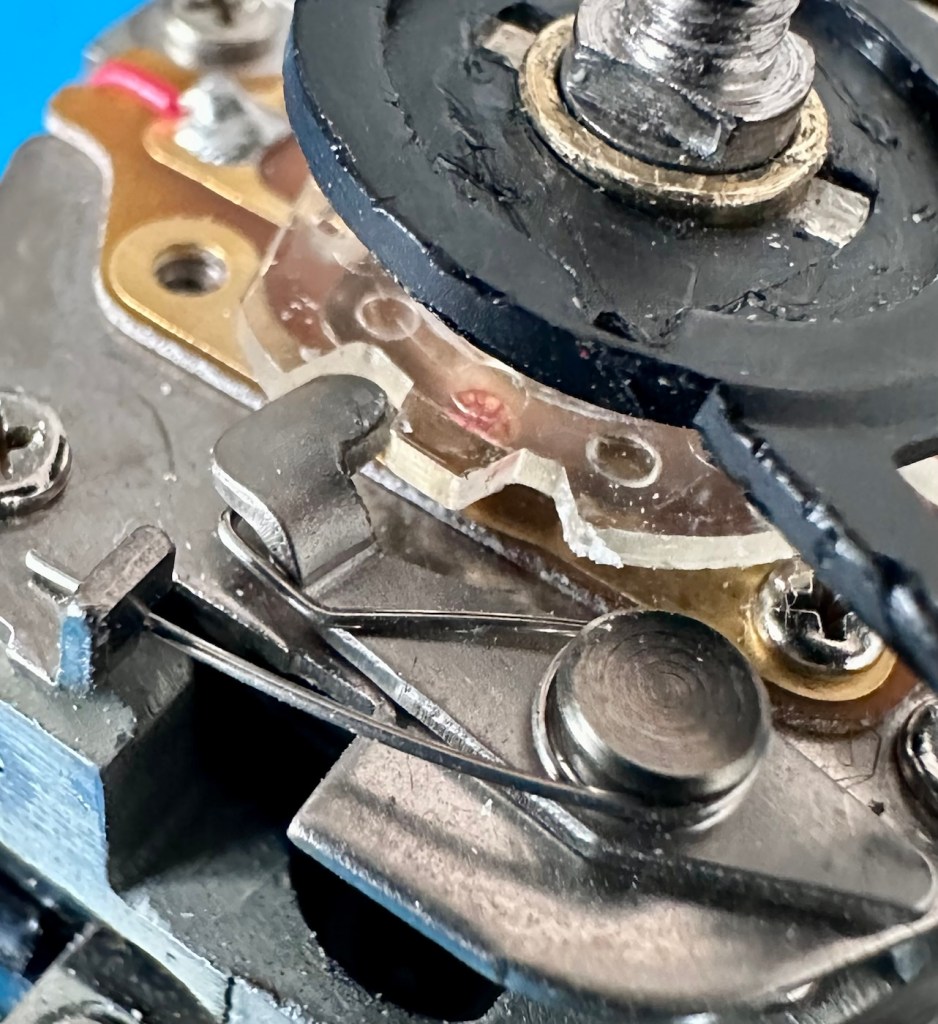
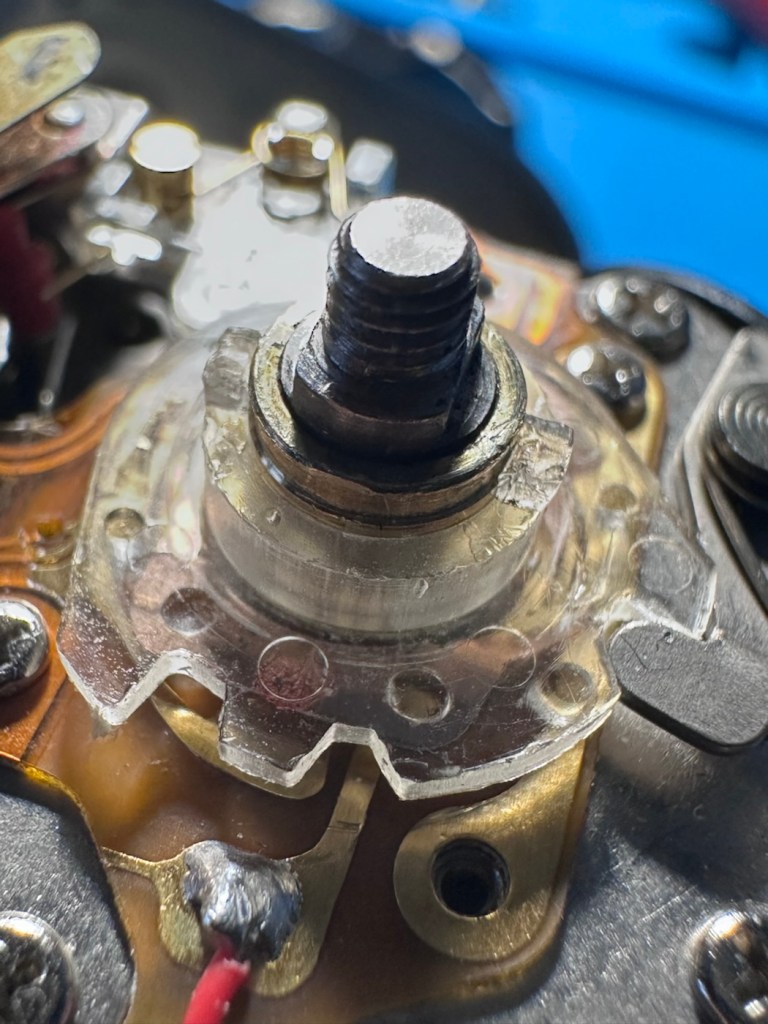
Under the film winder is a small Perspex frame with a spring loaded catch. This operates the three settings “A” – auto, “L” – lock or “S” – self timer. The switch must have been forced in the past, as the metal catch had sprung under the Perspex plate and was firmly wedged between the copper contacts underneath causing the short.

The copper traces under the Perspex

The metal catch had to be coerced back into position, lifted slightly to sit comfortably back in the position it had previously occupied. A quick test confirmed that the switch was now behaving how it should, and clicking firmly throughout its range.

The selector switch under the film winder in the correct position

The original battery that overheated was now showing as severely depleted due to the earlier problem, this has had to be disposed of, and so into the battery recycling receptacle it goes.

With the camera now reassembled I can try a new battery, and the result is the polar opposite of what occurred earlier. Straight away the shutter fired, when I put the switch into auto mode, the shutter could be fired again in fact it could be fired repeatedly. The light meter inside the viewfinder is working and showing lights. When in auto mode, and the battery check button is pressed you hear an intermittent sounder showing the electrical circuit is now operational, the more frequent the sound the healthier the battery is. When in self timer mode it didn’t work, it should beep and after ten seconds should fire. Hopefully it’s just dirty contacts, but none the less it will need looking at next time I take the top off. And all the while the new battery has remained cool with no temperature change. We have found the short circuit and the basic camera operation has been restored.

One thing I noticed with the shutter working is that there is quite a “Shutter cough” often heard on these older unloved canon cameras. Not a real issue, this will mean further dismantling of the camera to get to the shutter area for a little clean and some light lubrication.

So, let’s deal with that little “Cough”….open wide now!

I’m going to approach this issue by going in through the base of the camera, here I can deal with two issues at the same time. I suspect someone has been in here before me as there is only one screw securing the base when there should in fact be three. I will get these replaced now as I do have a fairly good supply of spares in stock.

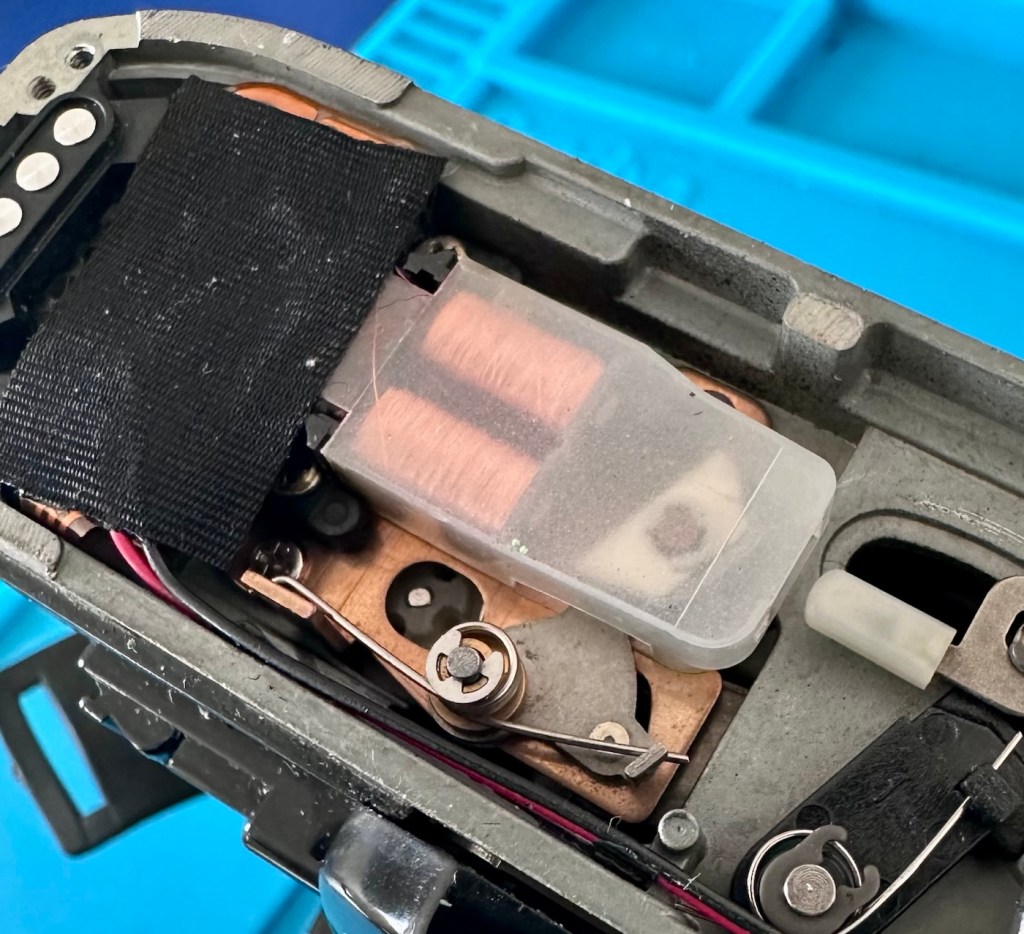
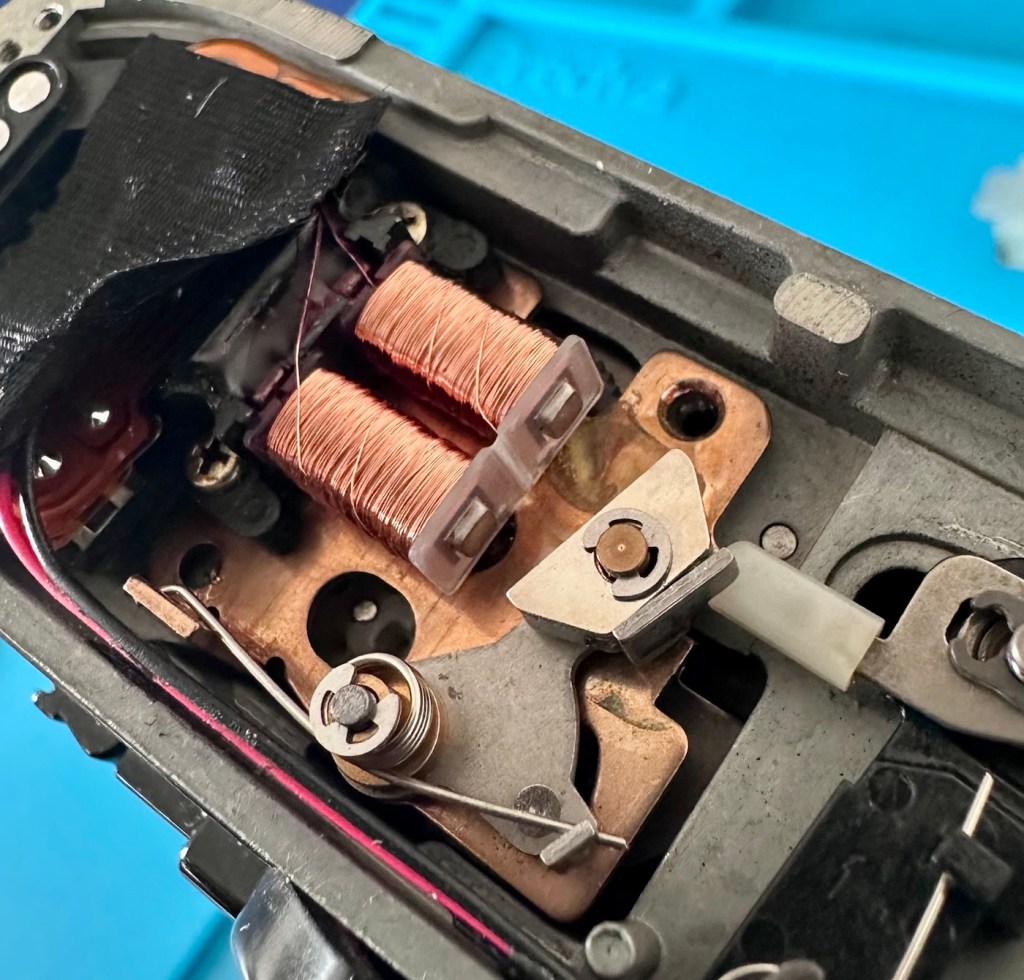
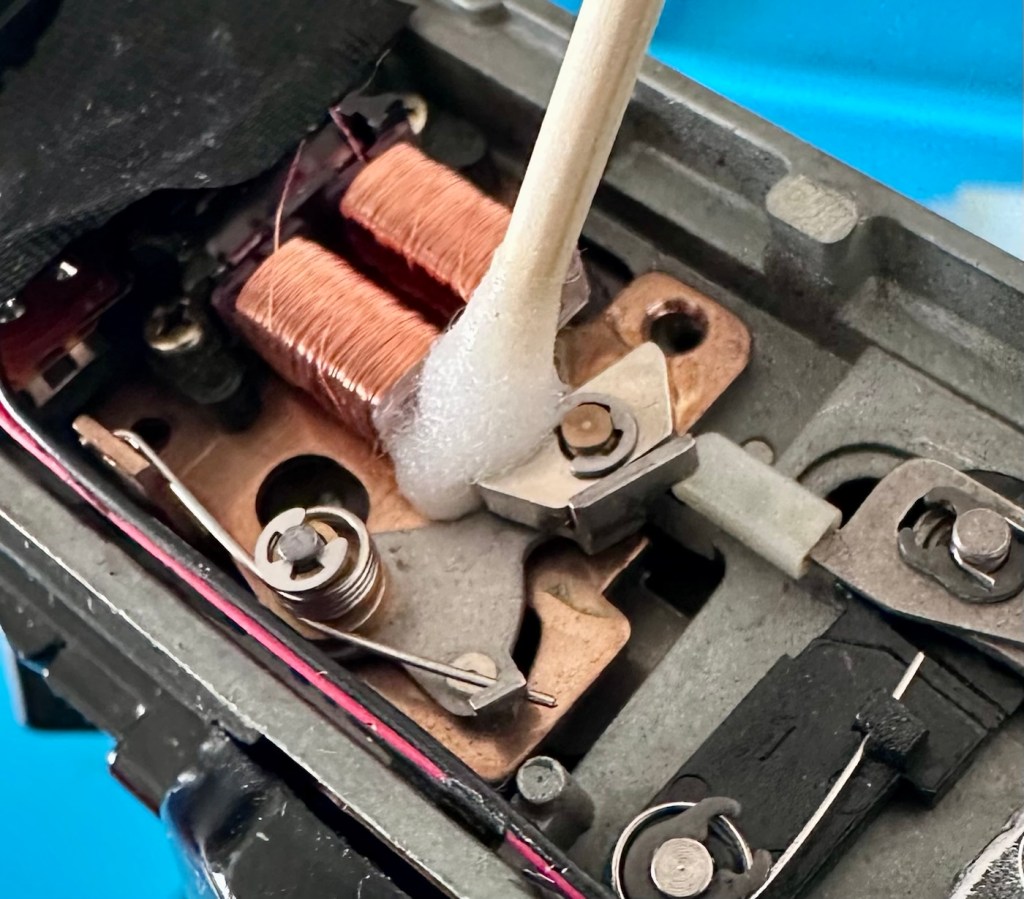
This is the magnet coil, it’s known to get dirty after time causing issues such as a continuous wind with no mirror movement.

Magnet coil

This camera doesn’t have that issue, but because I’m in here it’s a simple case of removing two screws, the casing and then just clean the magnet and coil contacts with some IPA.

That done, the plastic case is put back on, and the two screws put back into place. Simple job done, it’s future proofing the camera against this issue ever occurring. A blow through with an air canister and a little light lubrication of moving parts in the area and then we can move onto the next issue I want to address.

I’m going to attempt a shortcut with my oiler pen to see if I can deal with the camera cough without going too deep inside the camera. With the long needle of the oiler I may be able to reach deep enough into the internal workings of the camera to oil up the offending cogs and levers. If it doesn’t work then I will have no option but to open up the camera and get inside. It’s worth seeing if I can get the shortcut to work, it’s not a permanent fix but might buy me a year or so of cough free operation.

I’ve left the camera overnight for the very limited amount of clock oil I used to get into all the nooks and crannies, and I’ve checked when I got back home from work, and I’m pleased to say it’s has worked perfectly. Have a look at this little video below that shows how it sounded with the cough, and then after treatment.

Before and after cough

Now with the cough issue sorted it’s time to go back to see if we can address the self timer issue. With the base now secure with all its screws (I’ve replaced the two missing ones) it’s time to get the top off again and have another look around.

Inside the camera just below the wind on lever is the mechanism that operates the selector lever. There are four tiny copper contacts that connect with the copper circuit just below. One of these four contacts had been crushed to a level where contact was no longer made with the circuit board below.

Copper based circuit board and copper contacts under this acrylic selector

Using a small set of tweezers, I was able to bend the delicate copper contact back into shape allowing it to once again make a connection with the contacts on the circuit board. I’ve also cleaned all points of contact with IPA to ensure all surfaces were clean. A quick test at this point proved the circuit, I was now able to reassemble the camera yet again. Prior to this though I gave a good blow through the circuitry with some compressed air before sealing the top of the camera back in place.

The self timer is now fully operational.

Self timer now working

The major issues have now been addressed. Let’s get on with the bread and butter items.

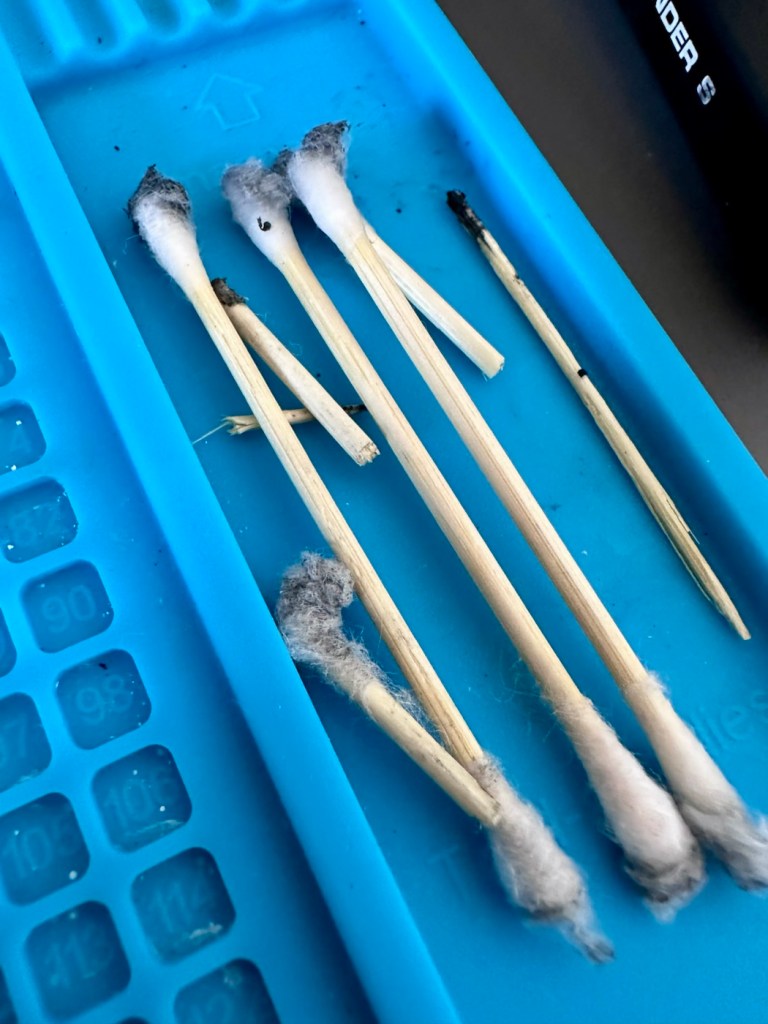
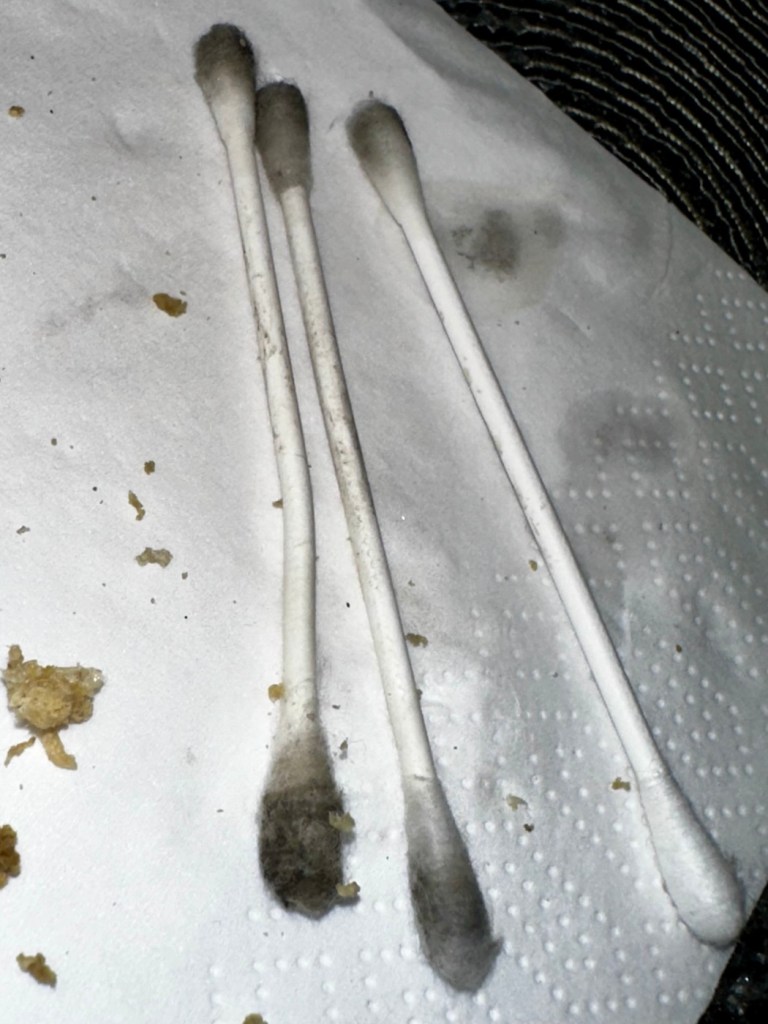
The light seals including the mirror bumper were in a very poor state and had to be removed. This took a lot of patience as the felt had broken down into dust and clumpy particles. I used IPA to soften the old adhesive and probably used about a dozen cotton buds to remove all the debris. The thing with cleaning these areas is when you think it’s clean, clean it again, and once more for luck. In theory cleanliness here is your friend as it helps you through the next stages immensely.

New felt and light seals

Once all the old felt and seals are removed, and dried, I can cut the new seals to size and get them installed. This has been completed and the new seals have gone into place without issue. Personally for me, this is the most boring but essential task in restoring old cameras. It’s one of those tasks you put off until the end as it is so fiddly and has to be just right.

With the light seals now complete, the last task now is to give the camera a thorough clean.

Result

A buff of the leatherette, and a good polish of the metal work and she is looking resplendent. A new quick grip, hot shoe cover and battery door and the look is complete. My £8:00GBP cast off, dirty, damaged and broken camera is now looking a lot healthier and is now in a good working order.

I’m awaiting a roll of XP2 black and white film to arrive, and that will be the test film for this camera. I’m probably going to feature it in my weekly 7 days and 7 photos series at some point. I will post a link to that post when it occurs.

It’s been a long time bringing this camera back to life but I’m so pleased at how it has gone. These “A” series cameras will always be my favourite because of the place they have in my photographic past. I have a few that I have been working on, but this was the one that actually completed my collection. I now need to find a suitable way to display them all, rather than leave them packed away in storage.

Thank you for passing by, as always it is very much appreciated.

Stay safe.

Seven days in seven pictures. Week two

Week two of Seven days, seven pictures

Welcome to week two of me documenting my week with one picture every day taken on an old camera that i have previously repaired.

So for week two, we are going to use a Canon Powershot S5 IS Digital Bridge Camera that I repaired back in July 2025 – Canon Powershot S5 IS

Canon Powershot S5 IS

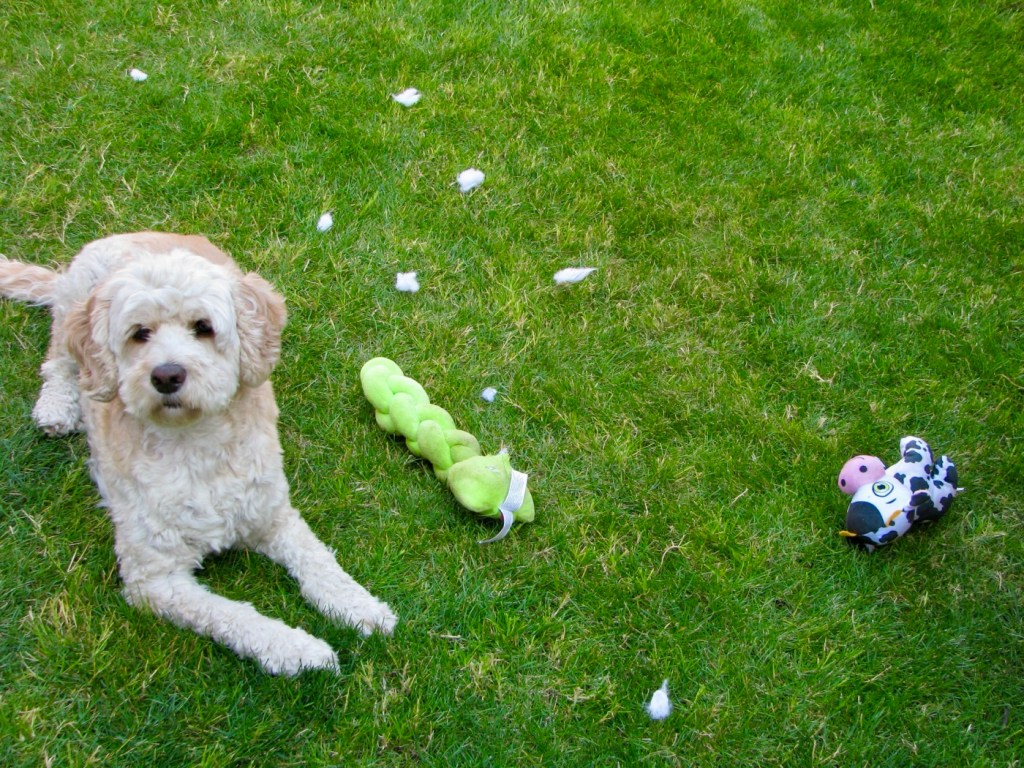
Sunday: it’s the 23rd August. It’s been a nice warm day, we’ve had numerous members of the family visit. It’s been a lovely day. It’s one of those days where I’ve taken a handful of good photos, but for the purpose of this post I have to be brutal and pic just one. So here it is, meet Barney, my nieces dog, we brought him a new toy today that was demolished within about twenty minutes. If it has a squeaker in it, it’s his dog bound duty to remove it, and the balls of stuffing surrounding him shows that this mission has been a success. He never eats the squeaker though, he always leaves that to one side. Mad, but a lovely dog.

Monday: it’s the 24th August. A bit of shopping today. But before we can go out and do any, we have to wait for the Amazon lady to arrive with more shopping. Did I mention my wife loves shopping?

Tuesday: it’s the 25th August. Working today, and whilst I was carrying out some checks in the Oakham area I couldn’t help but notice the amounts of elderberries on the bushes. I remember as a child collecting lots of these, so my father could make his elderberry wine.

Wednesday: it’s the 26th August. Another working day, and today i was carrying out barrier checks on a number of crossings in our area. This one was at Brooksby crossing just outside of Melton Mowbray.

Thursday: It’s the 27th August. The yard at work, and since I’ve never been to Blackpool tower I may as well show this lovely old, still working traction unit class 37 (37407) named “Blackpool Tower”

Friday: it’s the 28th August. No work today “Hooray” it’s one of those days of just catching up with things. I’ve had to fix an extractor fan in one bathroom and adjust the timings on two other fans, I’ve also put a new raised flower bed under the front window in preparation for the spring bulbs that will be planted in the next few weeks, just letting the soil settle for a while prior to the planting.

Saturday: it’s the 29th August. New shoes. Well for attending football at least, hence they have the club badge embossed on the rear. Heading south today to meet up with family so these will get their first outing today. The weathers still very wet, however wet is wonderful as far as I’m concerned.

Seven days in seven pictures. Week one

Week one of Seven days, seven pictures

I have so many cameras hanging around the place that I have fixed over these last few years. I have therefore decided to select a few of them to do a little series entitled seven days in seven pictures. One camera for each week. I will choose a random camera, and choose one picture on each day that has a little story behind it. For me, just as my working week does, the seven days will run Sunday-Saturday.

It could be from any era of camera I have fixed, and for those who take the time to read my posts you’d realise that it could be anytime from about 1920 to the present day. With all the cameras I currently have (about 125 in storage, and growing) this series could go on longer than the soap opera Coronation street has appeared on the telly box ( That comment will be lost on anyone outside the UK).

So for week one I’m going small, with this lovely little portable camera.

A Nikon Coolpix L22, I repaired this way back in 2023, I was going to pass it on to a family member, kind of pleased I kept hold of it though. Here’s the link to the original post: Nikon Coolpix L22

Nikon Coolpix L22

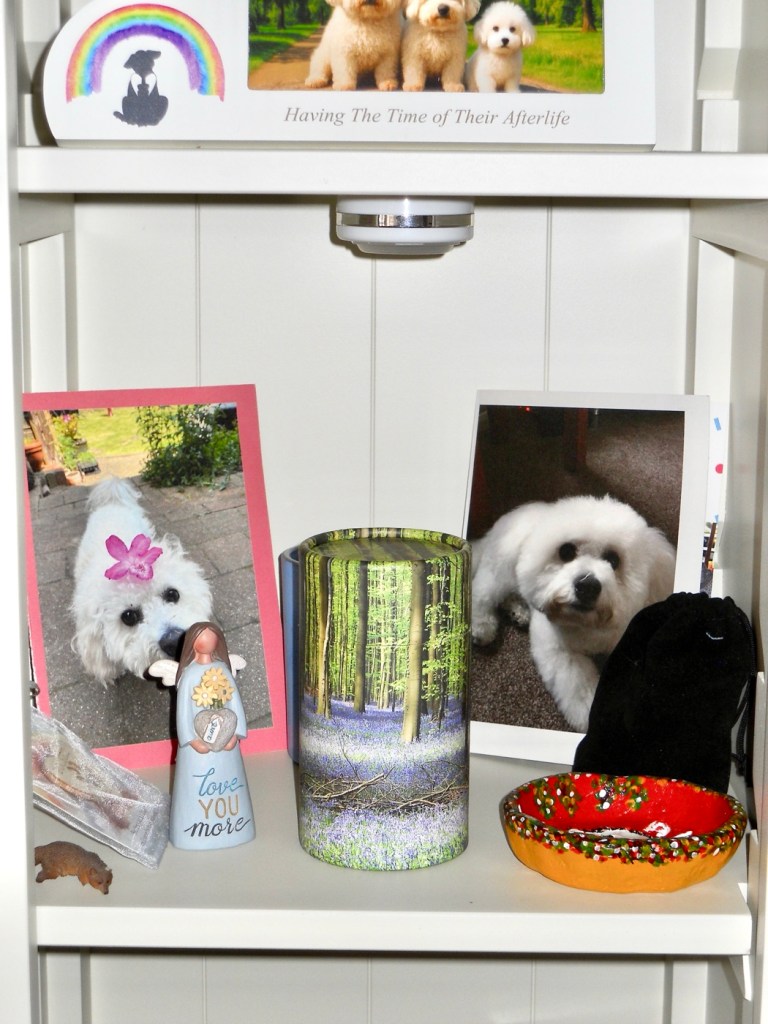
Sunday: it’s the 16th August. I’ve just finished a run of night shifts and for the first time in what seems like months, the temperature has dropped to a nice cool temperature and it’s lovely. To be honest there is only one subject i can choose for today, it’s exactly two years to the day when we lost our beloved little dog Alfie. This is a little display we have on a unit in our living room, often spoken to, touched and stroked, his ashes and pictures dominate this shelf. He was a beautiful and much loved companion and confidant, who we will always miss, he was such a big part of our family. Beautiful boy ❤️

Monday: It’s the 17th August. I’ve been asked by work to do a buckshee night tonight, so the wife and I are going to go out for some lunch today. And today’s photo is from the Grange farm centre where we ate. I go to buy plants, the wife goes to fill the garden with pottery figurines. In this case a couple of sheep, a hedgehog and an Owl. No plants for me though.

Tuesday: it’s the 18th August. On the grand scale of things, this is a quite boring picture, but quite relevant. In the Uk, and especially in my location we haven’t had rain in over 50 days now due to a quite spectacular heatwave. That dry spell ended about 1 am in the morning when we had the first rains. Beautiful, the smell was gorgeous and for the first time in a long period the air was fresh and clean.

Wednesday: it’s the 19th August. Today’s been a funny kind of day where time has run away with us. However Wednesday is a day where we meet up with a couple of friends and spend an evening indoor bowling at our local bowls centre. We’re pretty new to it and are still learning the finer details of it all, however we are improving weekly and enjoying it thoroughly. It’s great company.

Thursday: it’s the 20th August. It’s a wet start, it’s been wet all day, in fact it’s been wonderful. It’s always good to see some rain especially after the bone dry heatwave period we’ve just gone through. My garden water butt went from bone dry to full in just one small rainstorm, and that butt holds just over 100 litres. I need more water butts. I had to therefore complete indoor tasks today, so I decided to get my garage sorted, stuff put up on the walls and a new set of shelves built. And that’s today’s boring picture, an uninspiring photograph of the interior of my garage using the cameras black and white setting. Still a bit to do, but it’s looking a lot tidier now.

Friday: it’s the 21st August. We’ve been busy most of the day, I had to drop my wife off to have her nails done whilst I had an appointment at the hospital about an issue I’ve had dragging on from last year. The good news is that I’m now discharged with no further treatment or appointments required, I’ve been given the all clear and now been told to just get back out there and enjoy myself. Picture wise it’s not anything exciting, once home I continued work on a camera I’ve been playing about with for a few months, with the 3d printer in the background that has been used to create replacement parts for this very camera.

Saturday: it’s the 22nd August. Back to work today for a day, as I’m covering a colleague who is unwell. It’s been a pleasant day, not too hot and I’ve been all over Leicestershire and Lincolnshire today. Ive taken a lot of pictures and to be honest it’s been hard to make a choice from them all. In the end I’ve settled on this nice picture of the signal box on the Leicester- Peterborough line at Uffington. The colours are lovely, the weather was just fine and the light was good. This little camera really does come up trumps at times.

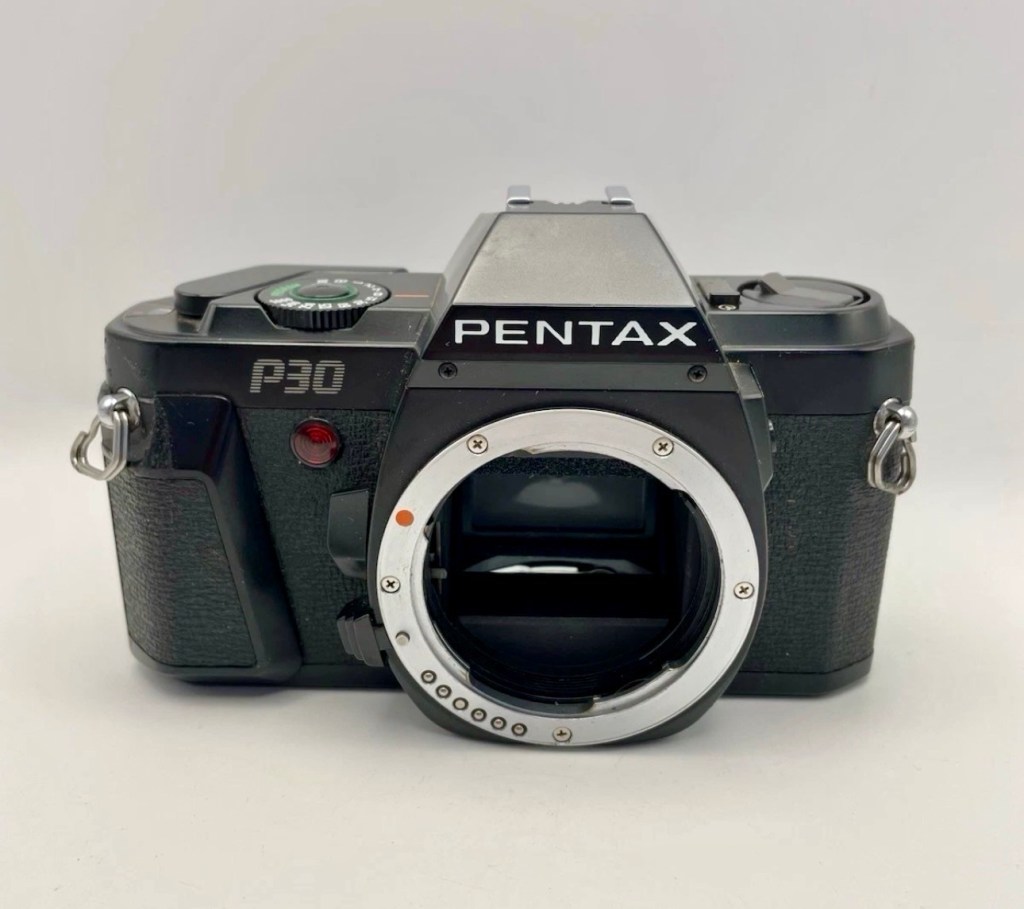
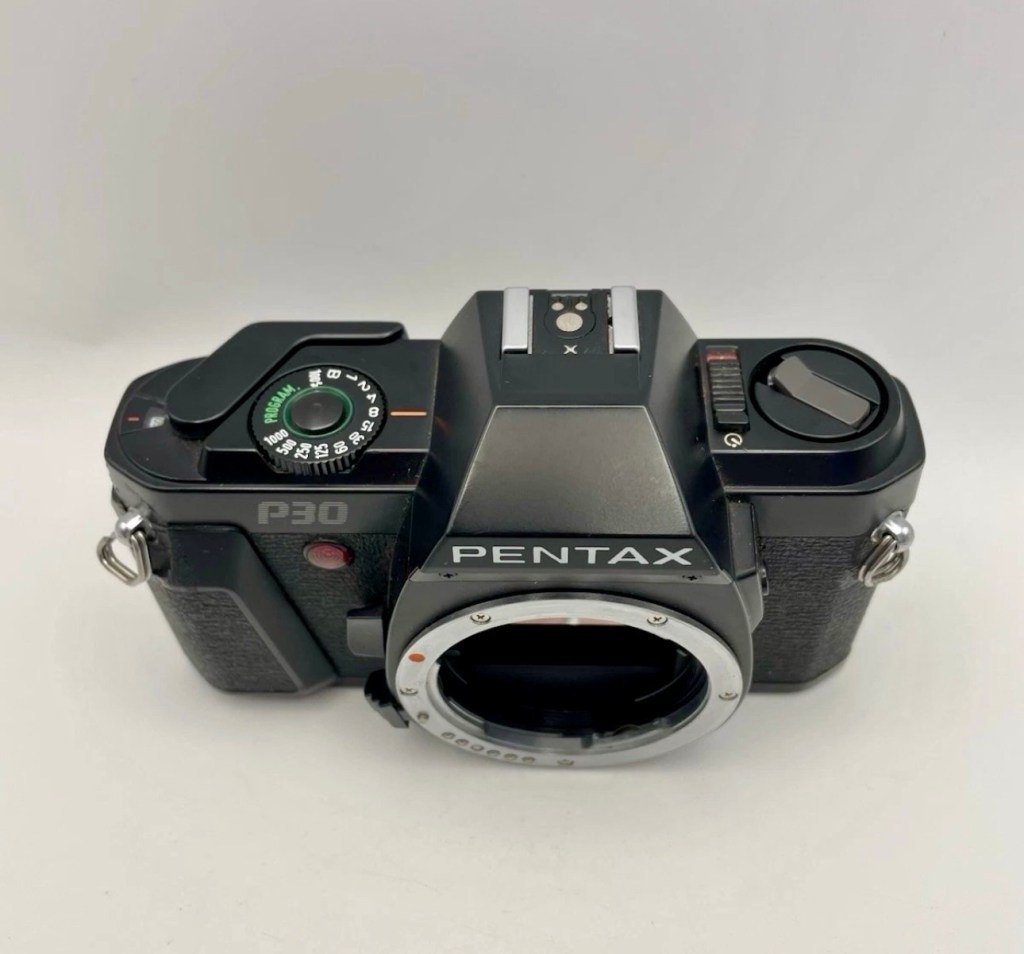
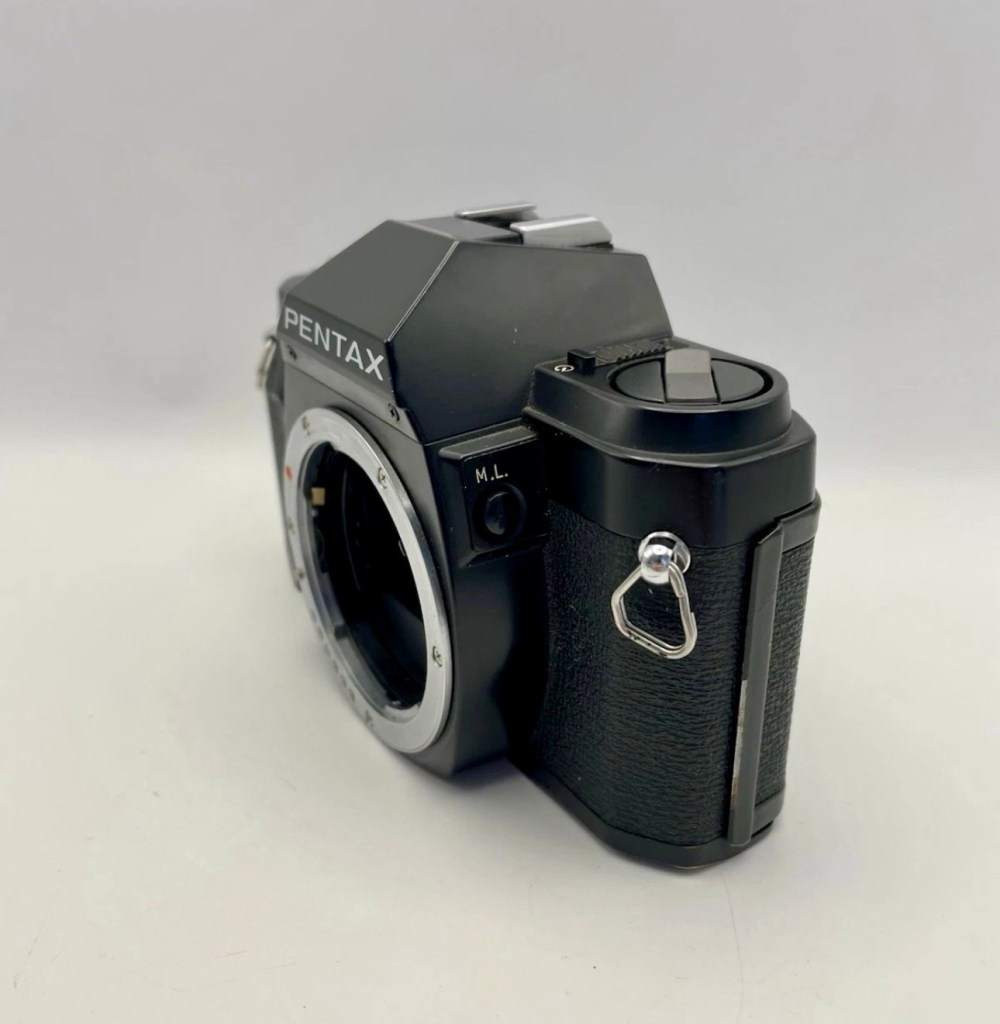
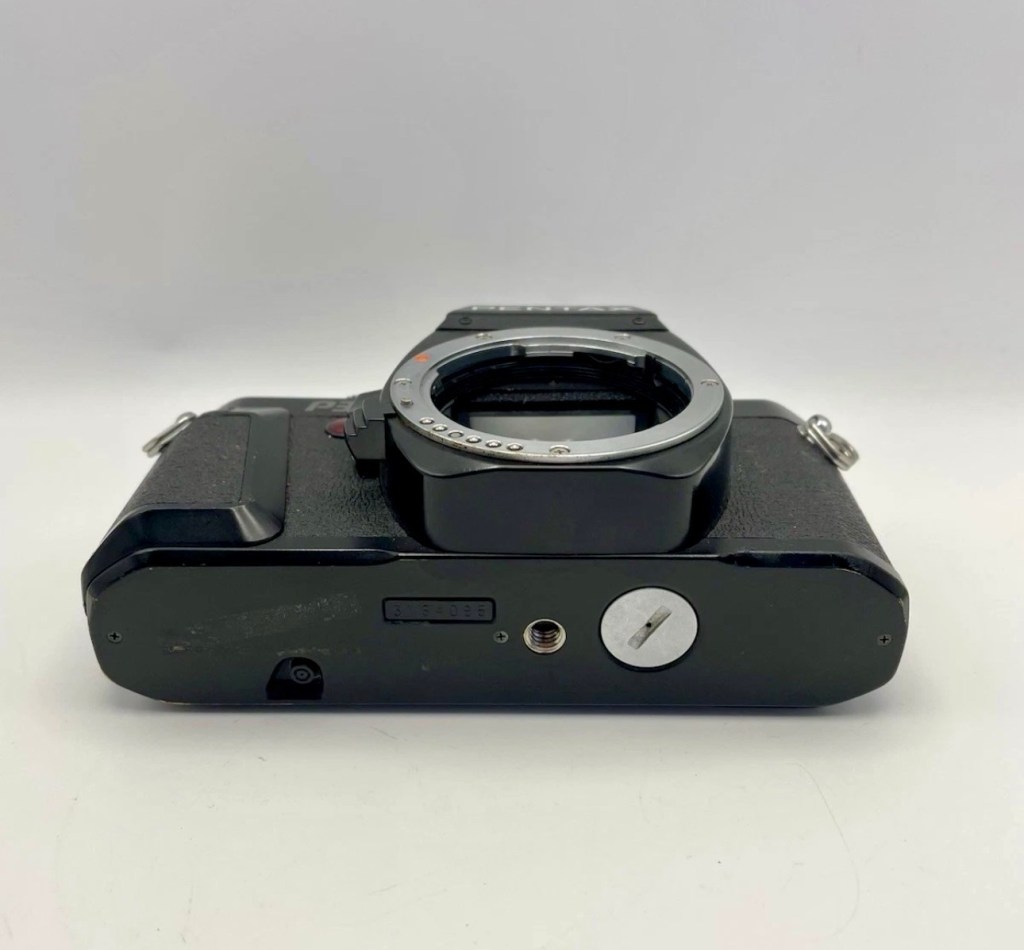
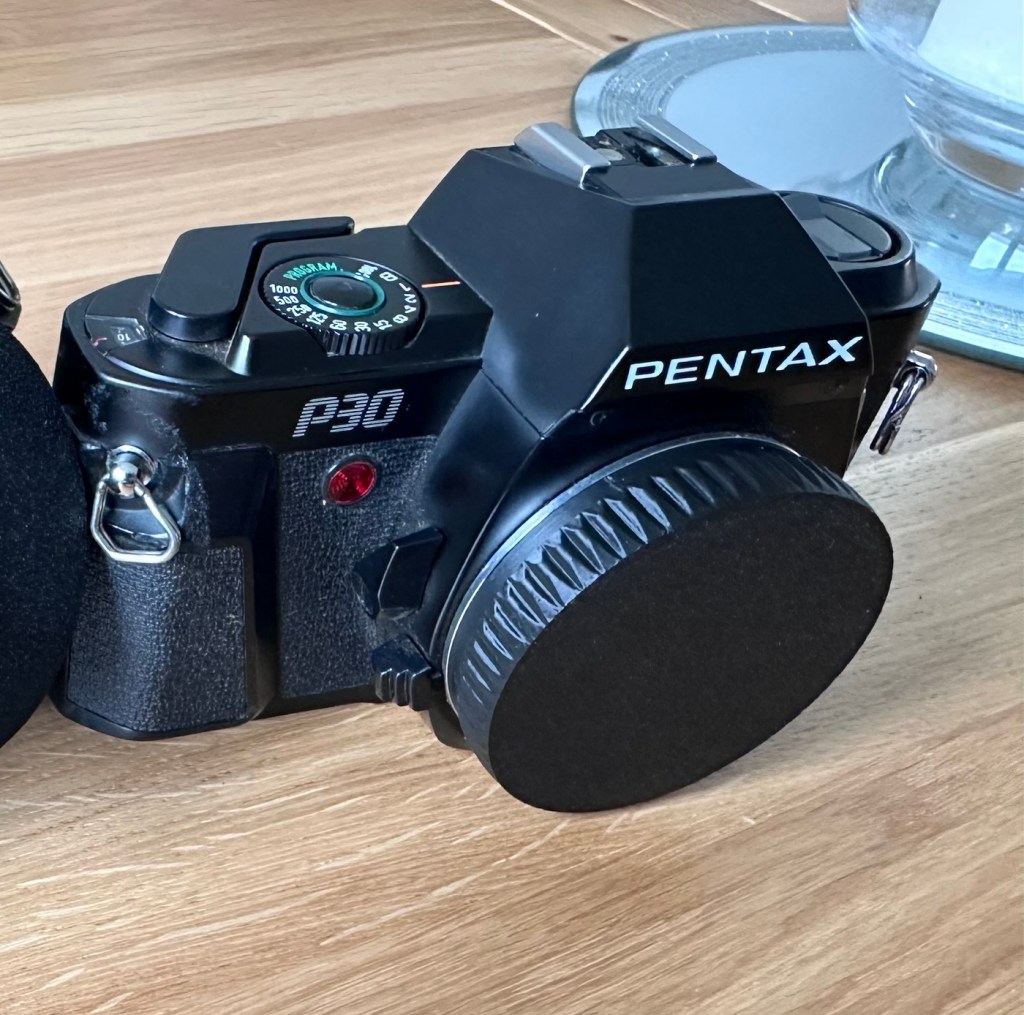
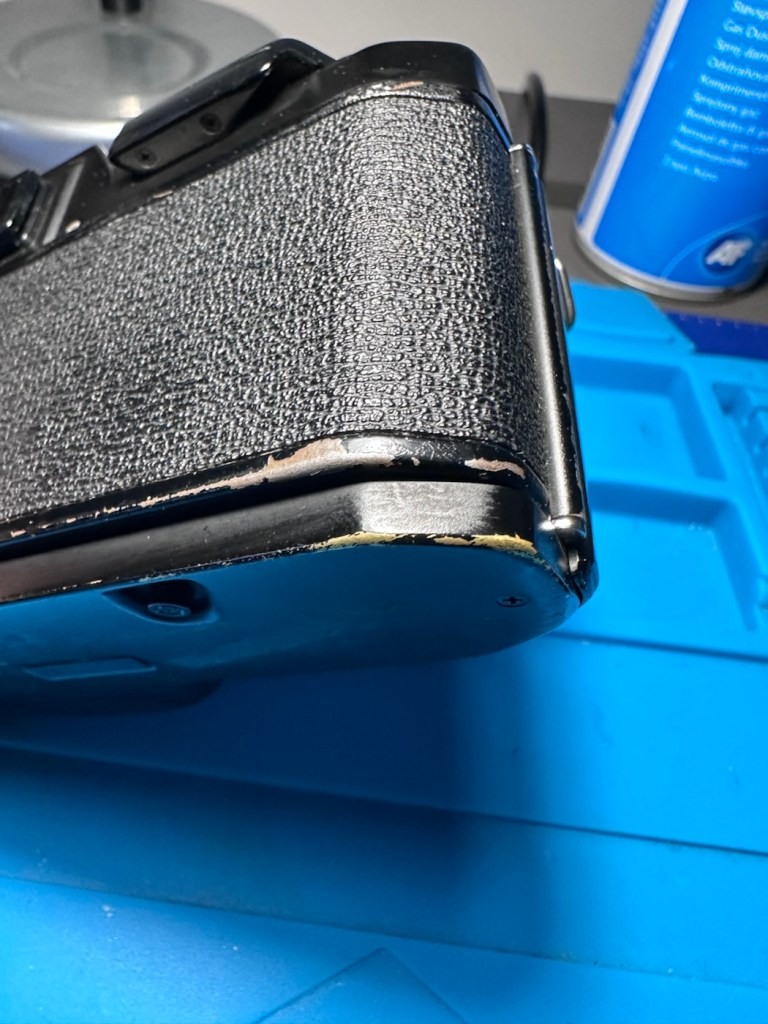
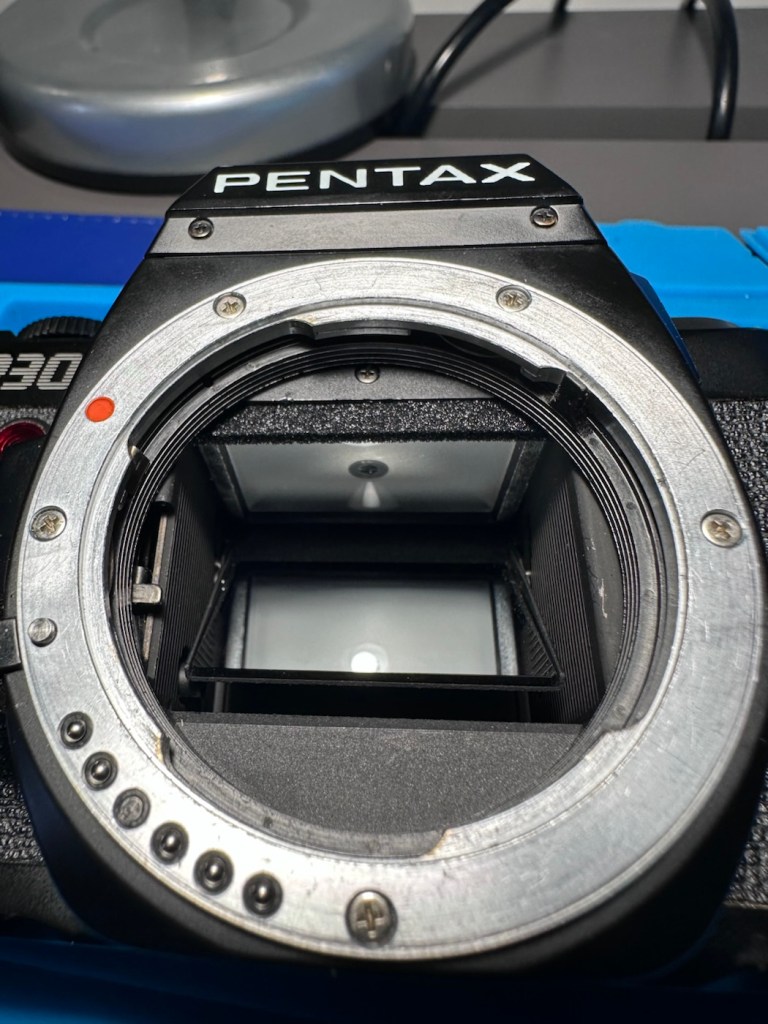
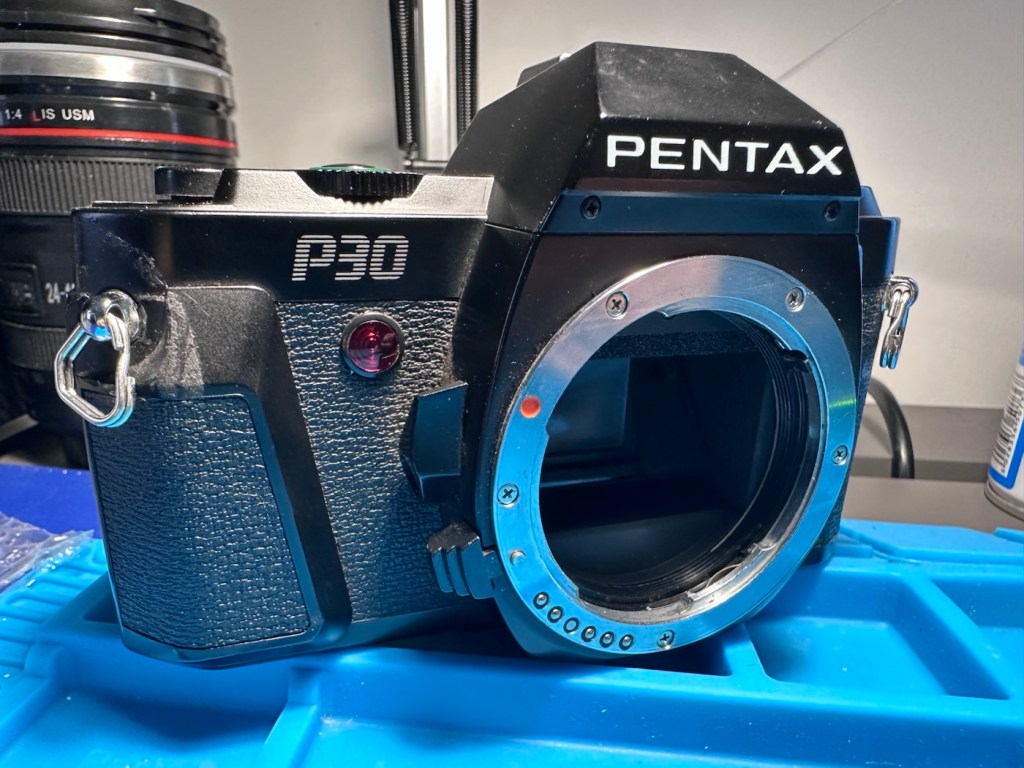
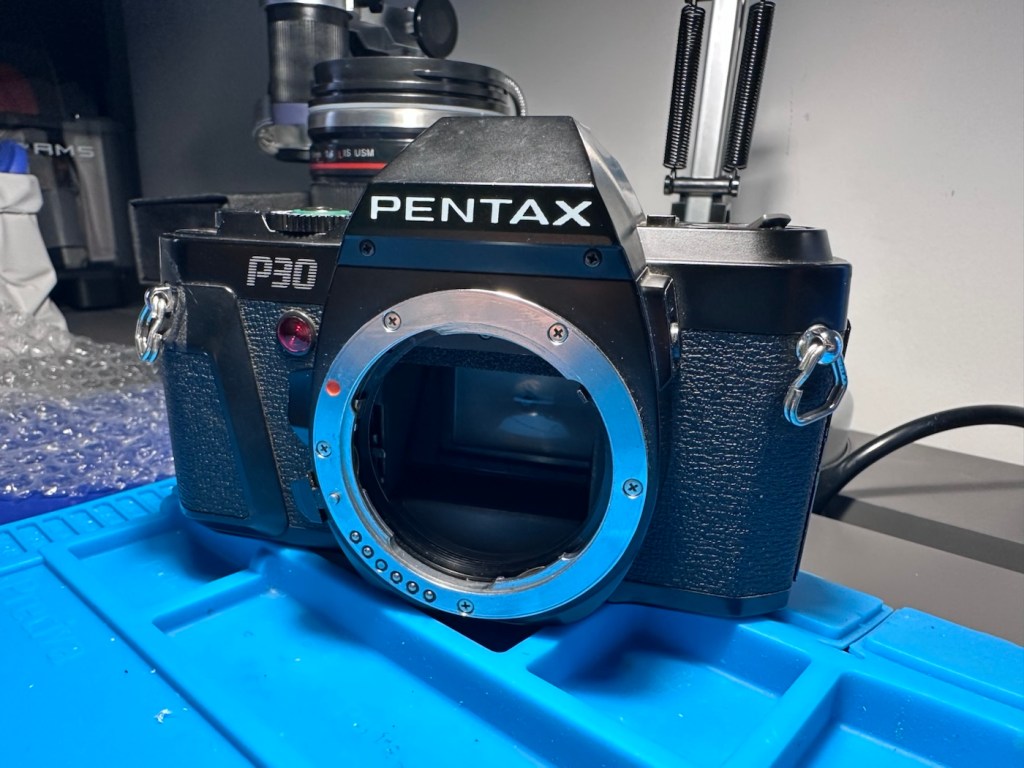
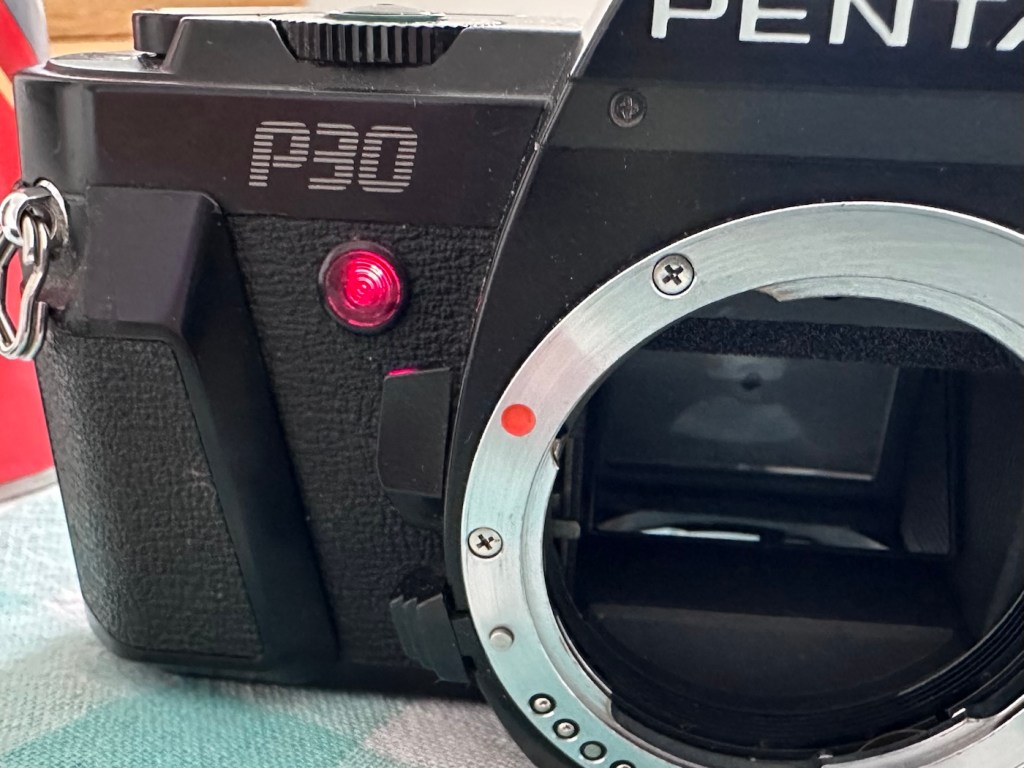
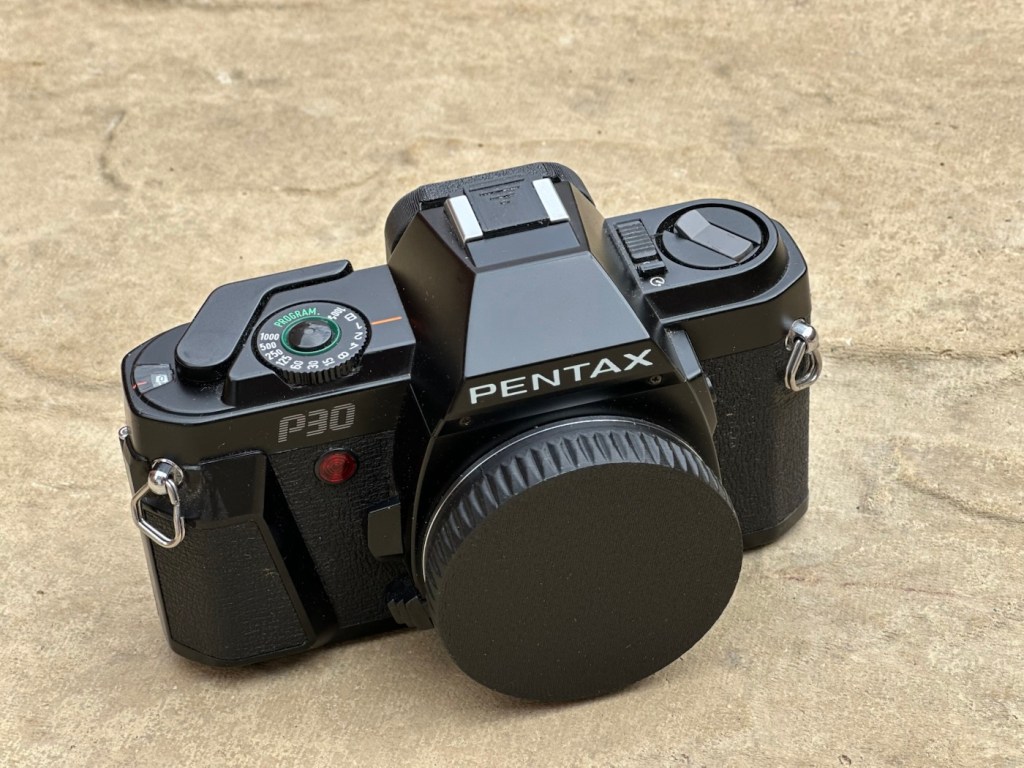
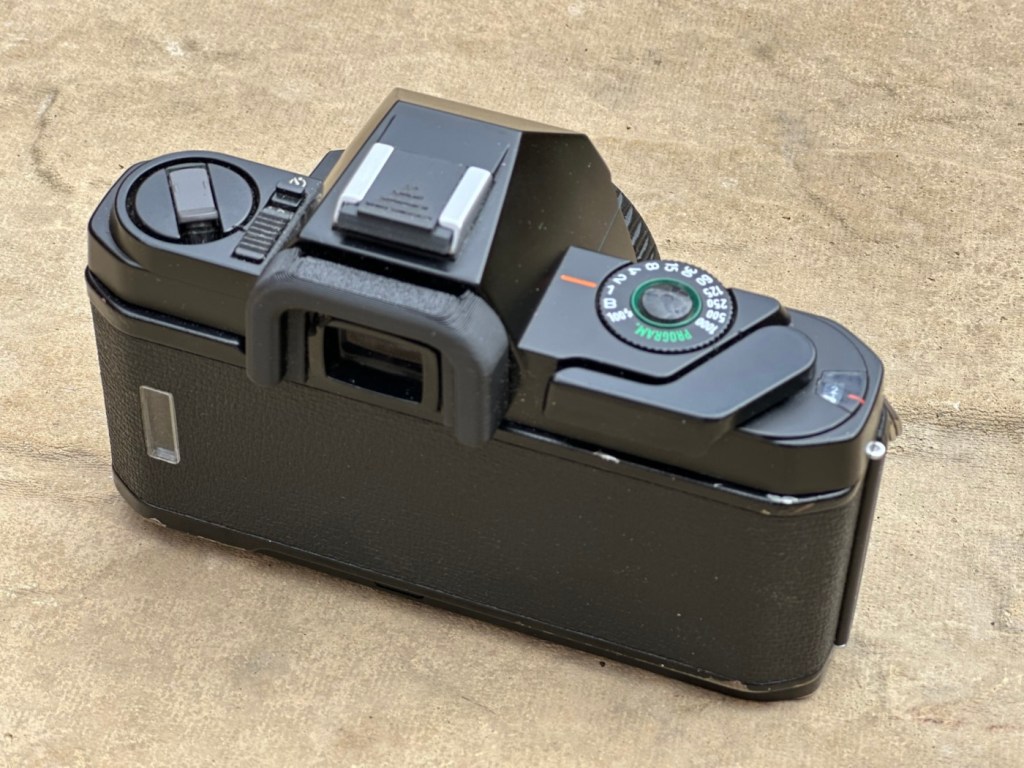
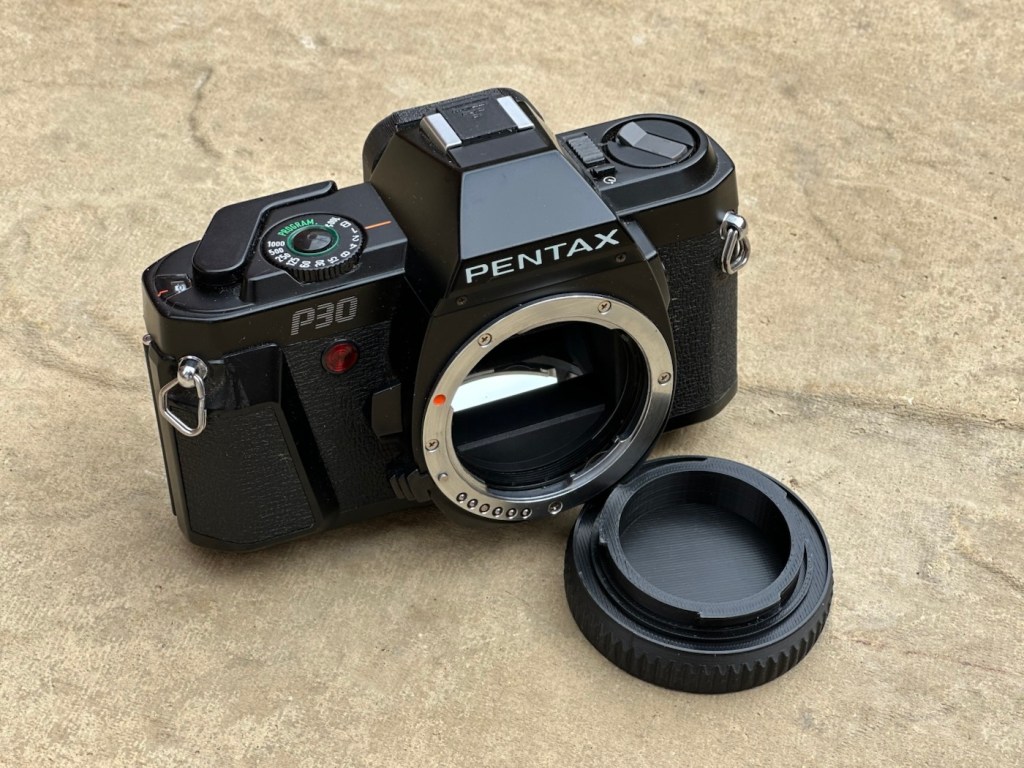
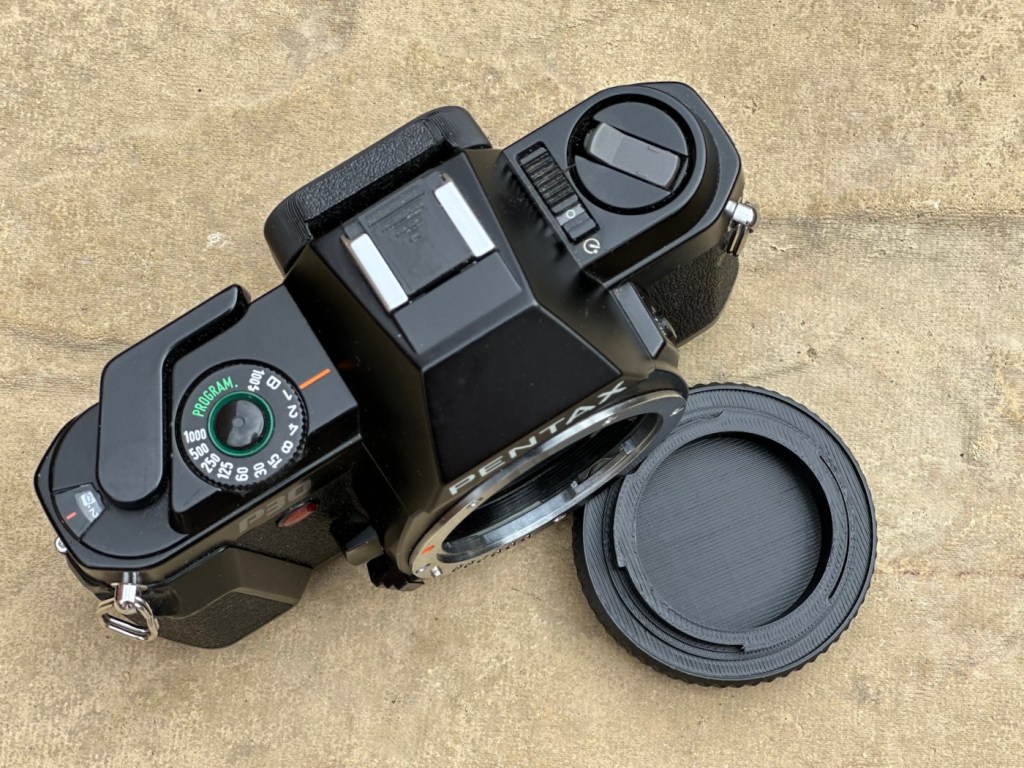
Pentax P30 35mm SLR

Another “K” mount camera, this time it’s a Pentax P30. A “Plastic fantastic” from 1985. Can I fixit? Should i fix it?

What the listing stated:

Pentax P30 35mm SLR Film Camera Body – Spares/ Repairs

The camera appears to be unresponsive upon testing.

EBay

Here’s a little bit about this camera:

The Pentax P3 (US), P30 elsewhere, is a 35mm film SLR released by Pentax in 1985. The plastic body was a departure of the lineage that produced the ME and Super A; with a more amateurish camera. The P3 was a departure of the P5/50 as it returned to a speed dial instead of buttons.

It uses the KA-mount bayonet to convey aperture information and have P mode (Av when M or K series lenses are used) and can use any manual focus lens up to the FA series. 

  • Viewfinder covers 92% of image with 0.82x magnification. Split-image matte focusing screen (horizontal)
  • The P3/30 uses a classic manual film advance lever with 130° throw.
  • It has program, manual, X and B exposure modes on a dial with speeds of 1 to 1/1000 sec. However on P mode exposures up to 8s have been observed. The X mode provides automation with some Pentax flashes. No exposure compensation is available, but the camera has an Exposure Lock button.
  • The meter is a center-weighted type with a range of 1 to 18 EV. A scale of speeds is shown in the viewfinder and LEDs show the selected and recommended (blinking) speeds.
  • Film speeds can’t be set manually, the P3/30 uses DX Encoding film with a ISOrange of 25 to 1600. There is a plastic window in the film door.
  • Self timer is in the main power switch for ~12s.
  • DOF Preview lever is located above the bayonet lock.
  • It uses two 1.5v SR44 or LR44 button batteries.
  • The US version is all black, while in the rest of the world it was dark gray

There are two revisions of the body, early versions can’t use a cable remote release, while late versions can. 

A similar improved Pentax P30n/P3n/P30t became available three years later. This camera incorporated Aperture Priority exposure, and a diagonal focusing screen (P30t)

Camera-wiki.org

Another camera from the 80s – this one was 1985 when the manufacturers went plastic and the styling of the earlier cameras was starting to decline. Cameras were starting to look decidedly cheap and nasty, and this is probably the one that single-handedly punished Pentax, with a totally amateur looking camera, horrendous feedback at the time, and previously happy photographers were deserting Pentax for other manufacturers, who were offering better packages and capabilities at the time.

However this camera did have its fan base, and a lot of amateurs learnt their trade on these units due to their cost, and relatively low price for associated add ons such as lenses and flashes.

I never had one until now. I suspect the guy I usually buy from threw this in my direction, due to knowing he’d probably have issues selling it on. I’ve paid a total of £3:75GBP for this one. I think it’s worth it.

It’s the second “K” mount camera I’ve brought in two days. And guess what? I don’t have one of those lenses. Looks like I’m going to have to purchase one for my collection and for testing purposes.

Anyway, let’s await its arrival so we can assess its issues.

Assessment:

First things first, I’ve printed out a body cap on the 3D printer for when i complete the clean, allowing me to protect the mirror, shutter and lens chamber area.

A new body cap printed to protect the lens chamber

Overall the camera looks used, it’s in one piece meaning that everything is there that needs to be there but it does show signs of being a little bruised, battered and dirty.

All seals appear ok, the mirror bumper felt is in a good condition as well, and the film chamber is clean. Shutter appears to be operating just as it should.

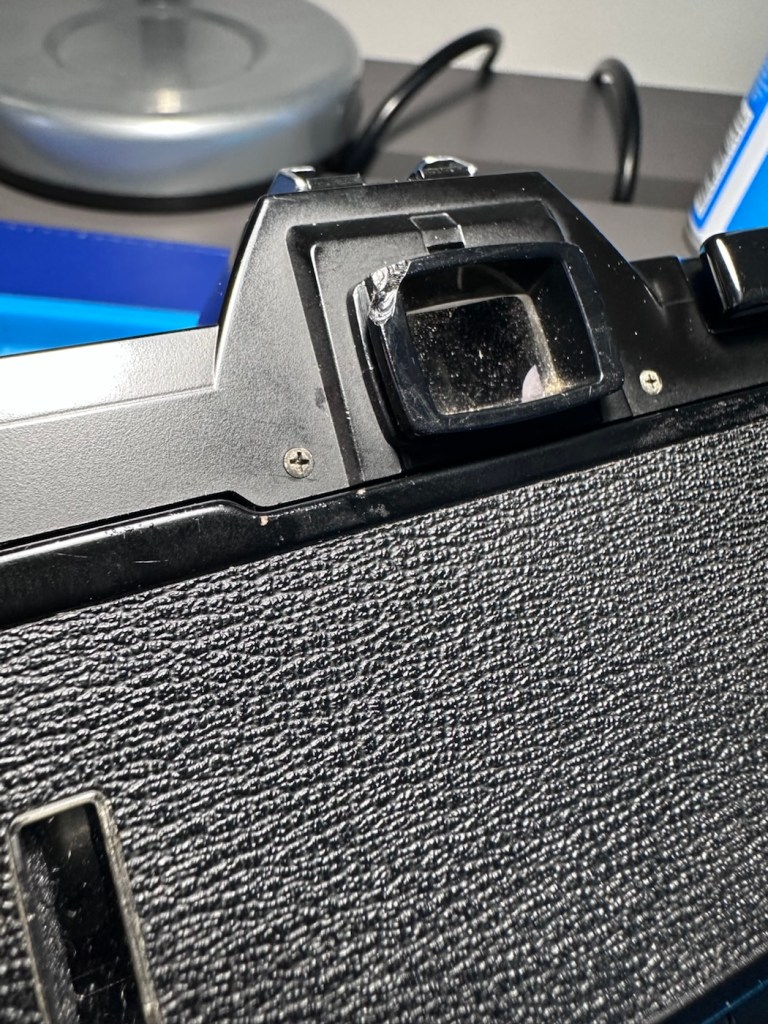
The only real issue I can see is a build up of dust and dirt behind the viewing lens, though this won’t affect any pictures being taken, a clean would help the photographer get a clearer view of what they are focusing on.

Repair:

The description has stated that the camera is unresponsive. Well I’ve put batteries in place, switched the camera on and it is dead. But I can see an issue. The battery cap appears tarnished. A quick attack of the tarnishing with the grinding pen and a good wipe over with a cotton bud soaked in IPA soon sees to the tarnished battery cap. Hey presto, life is restored when batteries are put back into place. The meter inside is fine, and showing lights and indicating as it should, the light that flashes when the self timer operates is also ok. To me everything is indicating just fine. That’s all that was causing the unresponsiveness, the dirty contacts.

The next step didn’t really need to be done, however me being me I just couldn’t let it go. There is quite a bit of build up of dirt behind the viewing glass and I will have to get into the camera to access this. There is no other way.

Removal of the top of the camera requires the removal of six screws, the winder handle and a couple of securing bolts, you can then carefully lift the top clear being careful not to damage the two hot-shoe cables in the prism area.

With the top off, a couple of more screws holding the viewer in place require removing to detach the viewer from the prism area. This then reveals a very dirty filtered triangular prism that has collected over forty years of airborne detritus. A simple clean with a swab is sufficient, followed by a good air blast to finish off. The small viewing lens has a similar clean and then the camera can be reassembled.

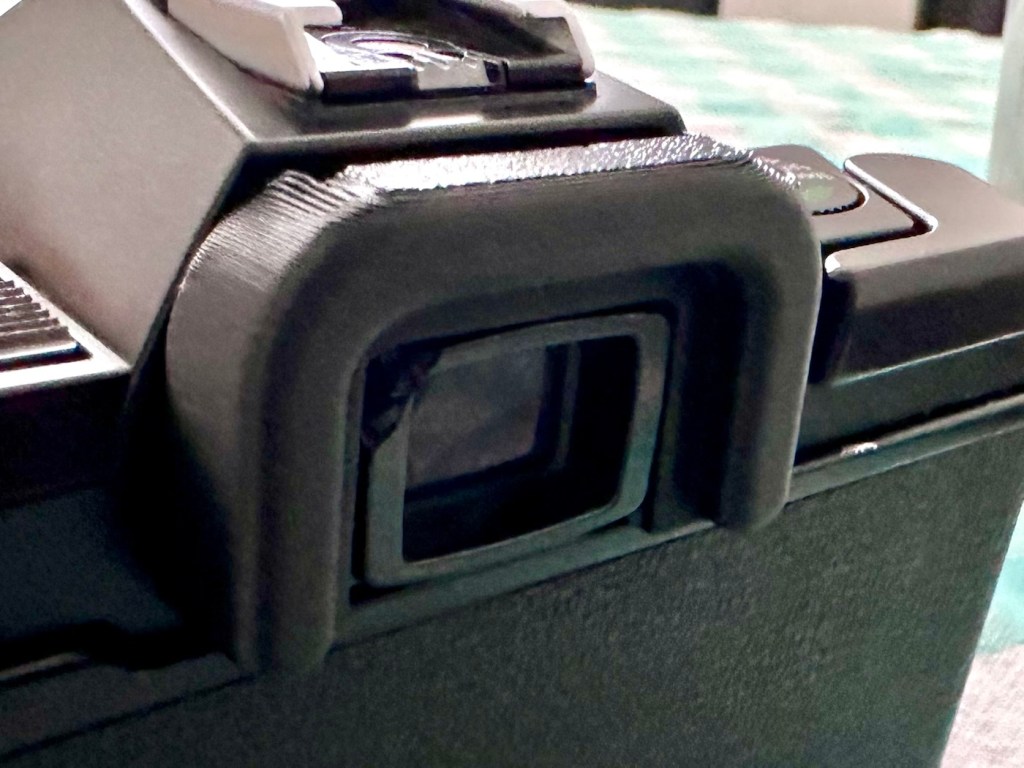
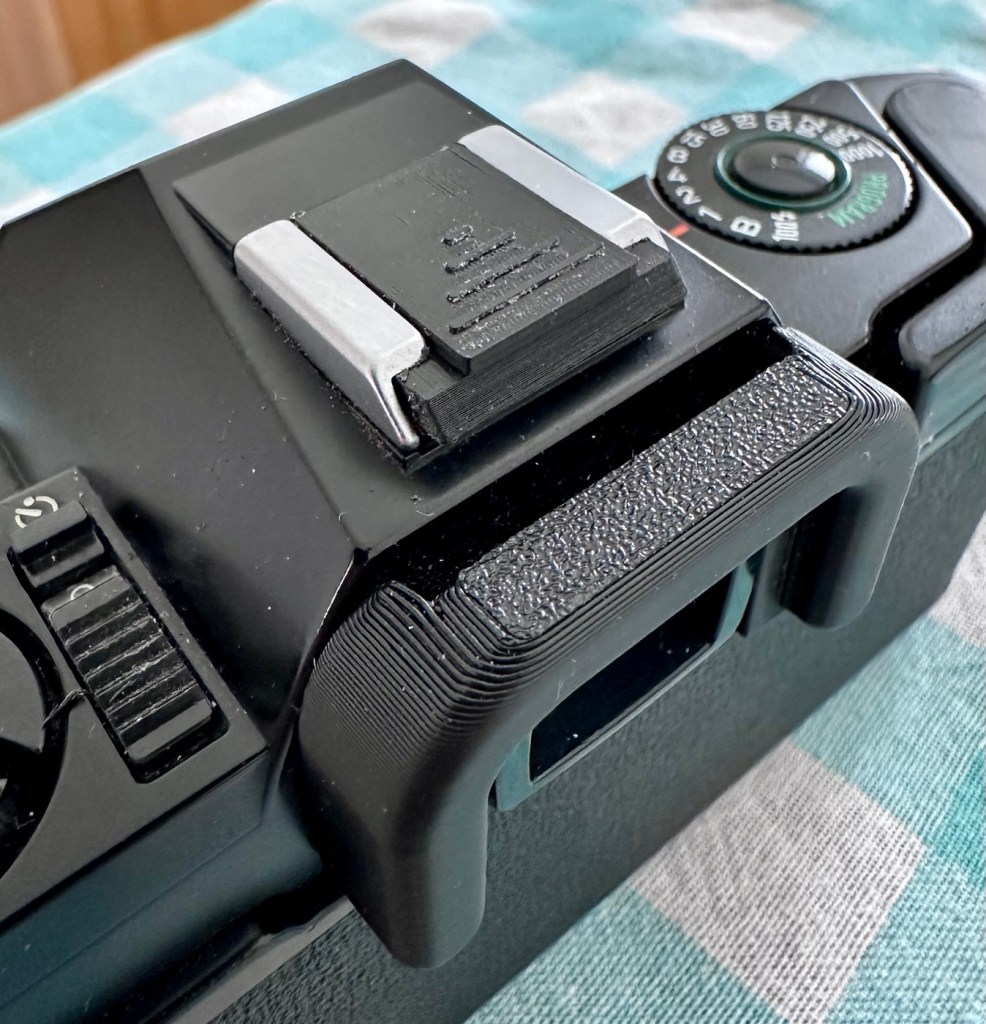
I’ve printed an eye cup to cover up that damages around the eyepiece, again it’s not really needed but just tidies the area up a bit.

New eyepiece printed

Just print a hotshoe cover for the top and that’s it all done.

Hot shoe cover

Finally it’s time for a good cleanup.

Result:

For an outlay of £3:75GBP this is a period and usable camera. Will I use it though? Probably not, I’ll probably pass this on to the hospice to get some money from, as to be quite honest I doubt I’ll be able to sell it on.

It’s a nice little learning camera, looks smart after a clean up, and has now had its life expectancy extended due to the easiest of repairs. I’ve said it before, how many similar units have just been disposed of due to only requiring a quick clean? Scandalous really.

Anyway, this one lives on. Someone will have a nice little camera what with the resurgence of film stock currently enjoying a second coming.

One more saved from landfill, small goals, small results.

Thanks for passing by, as always it is always very much appreciated.

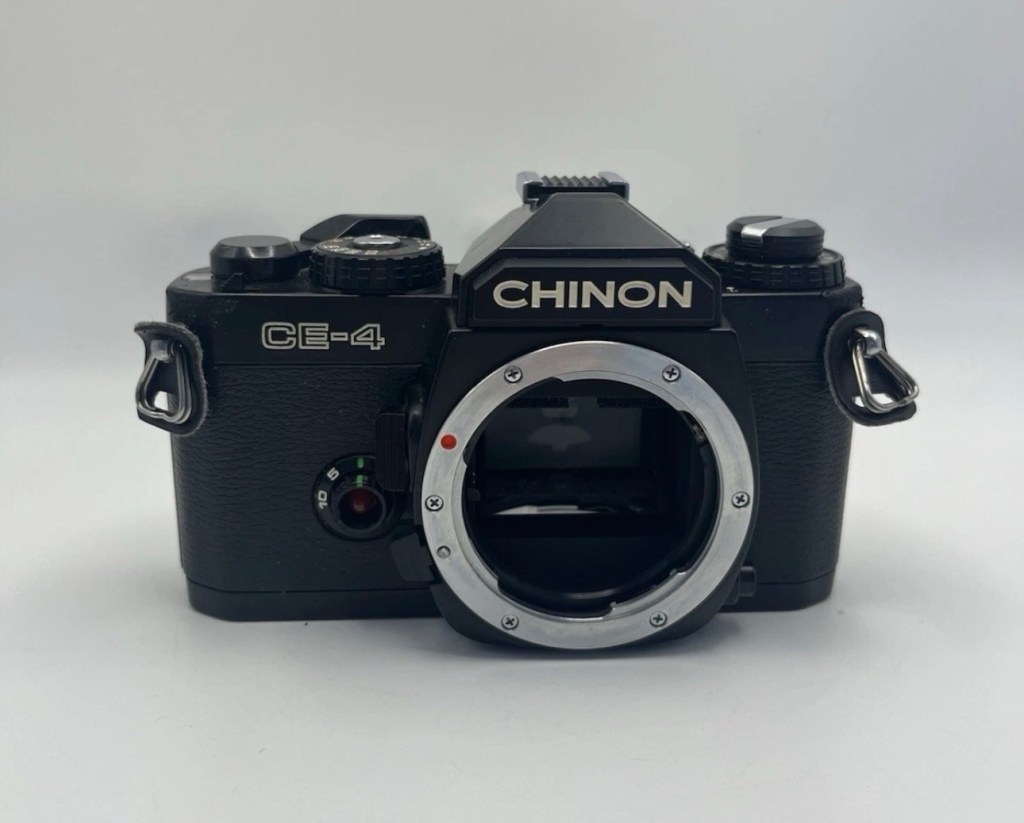
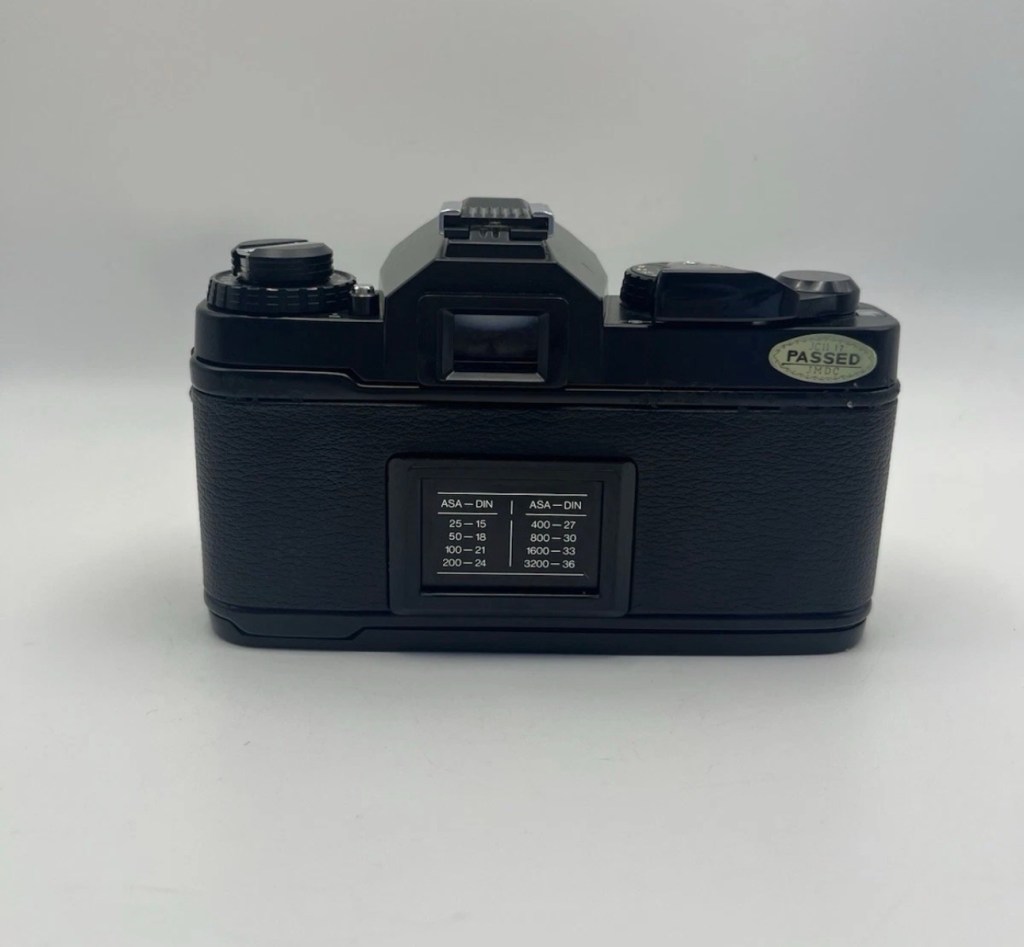
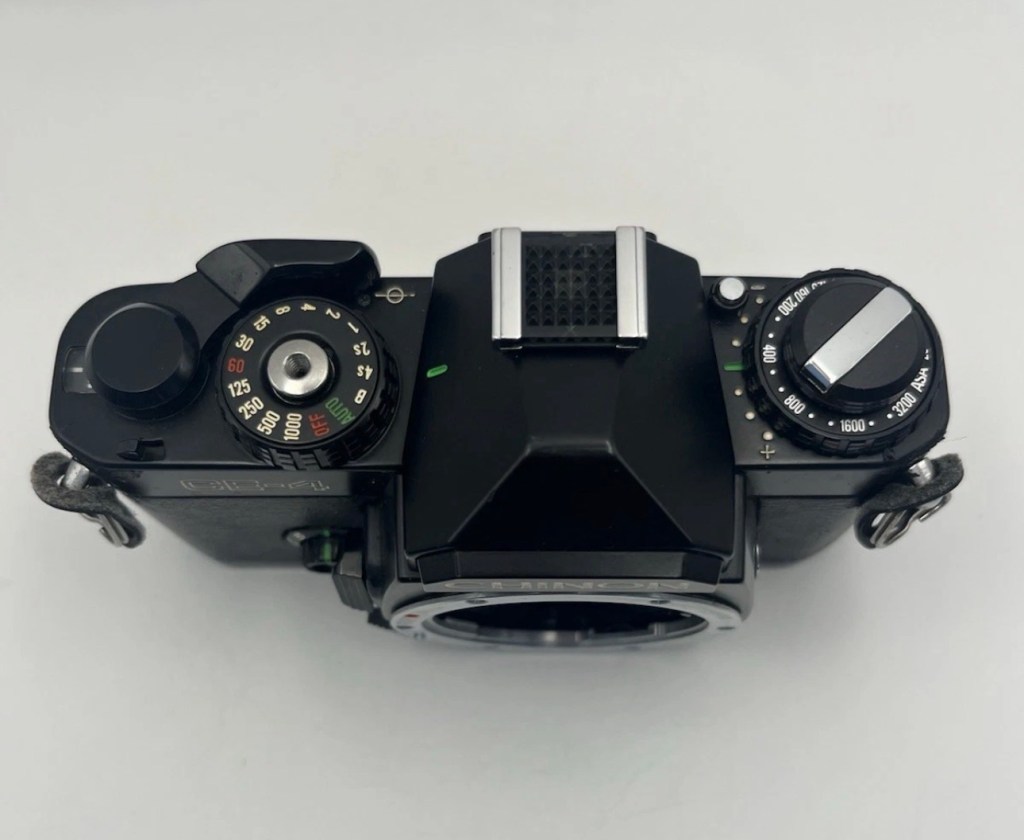
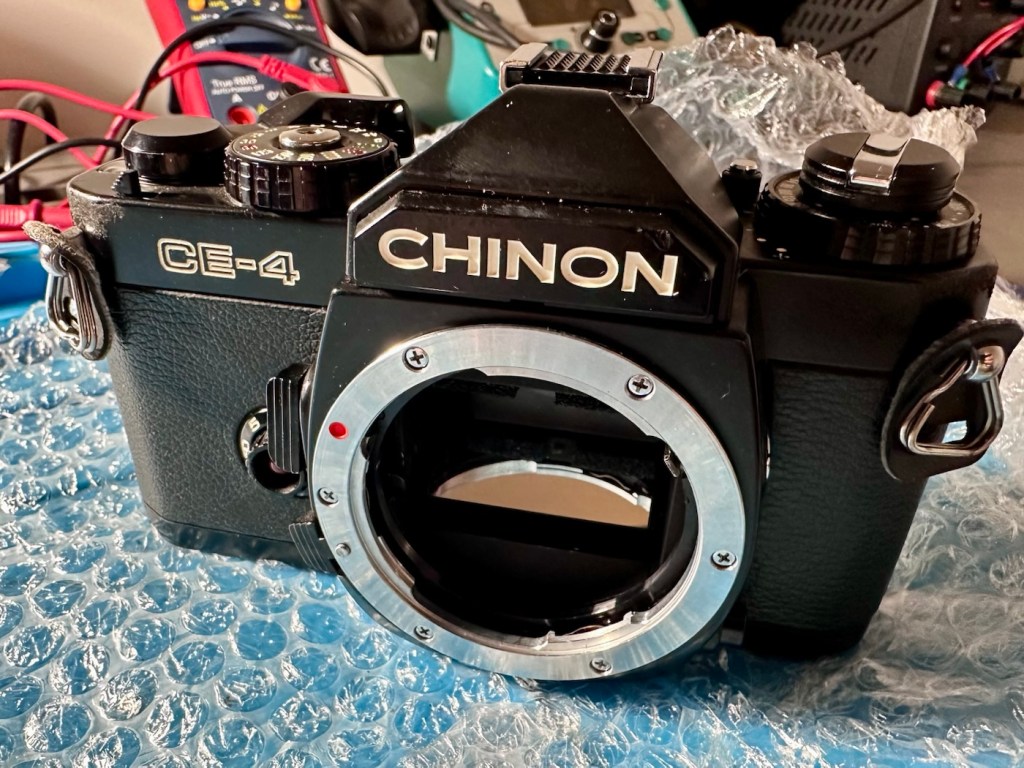
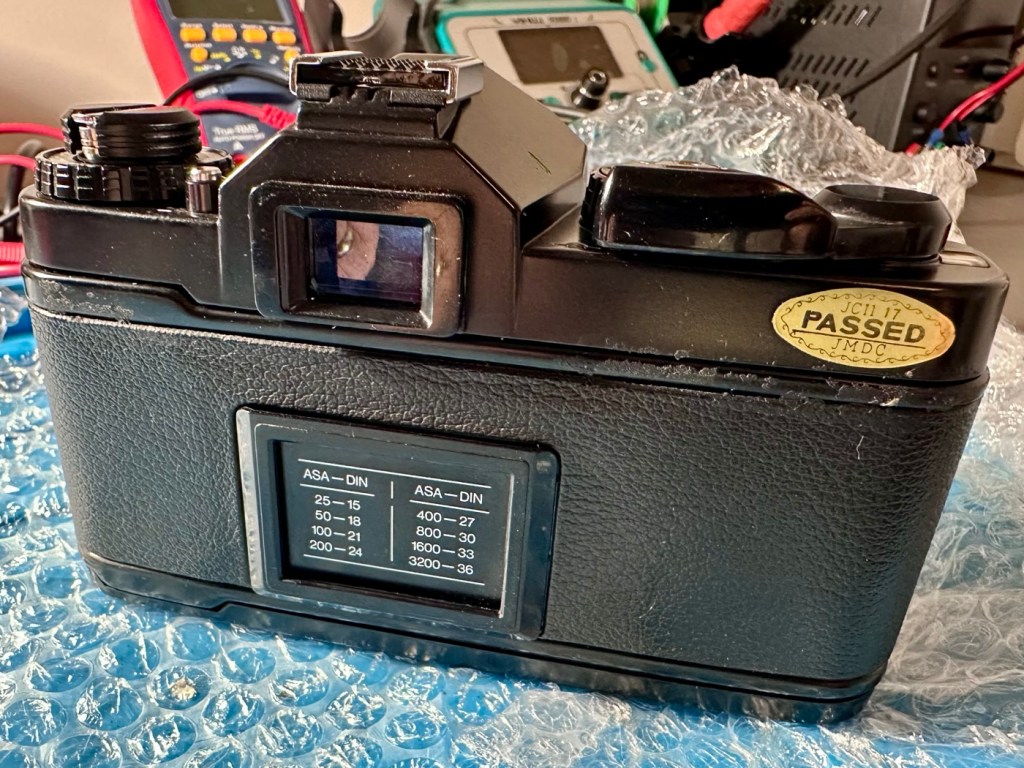
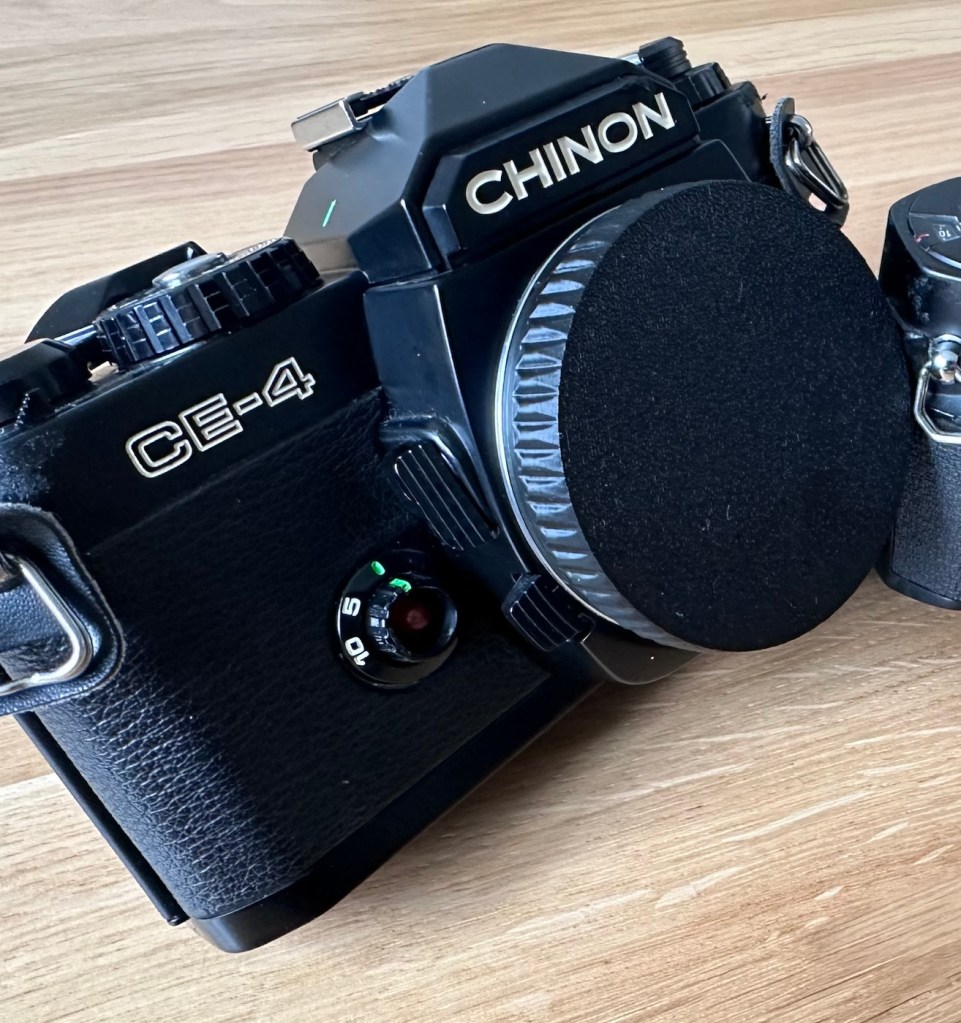
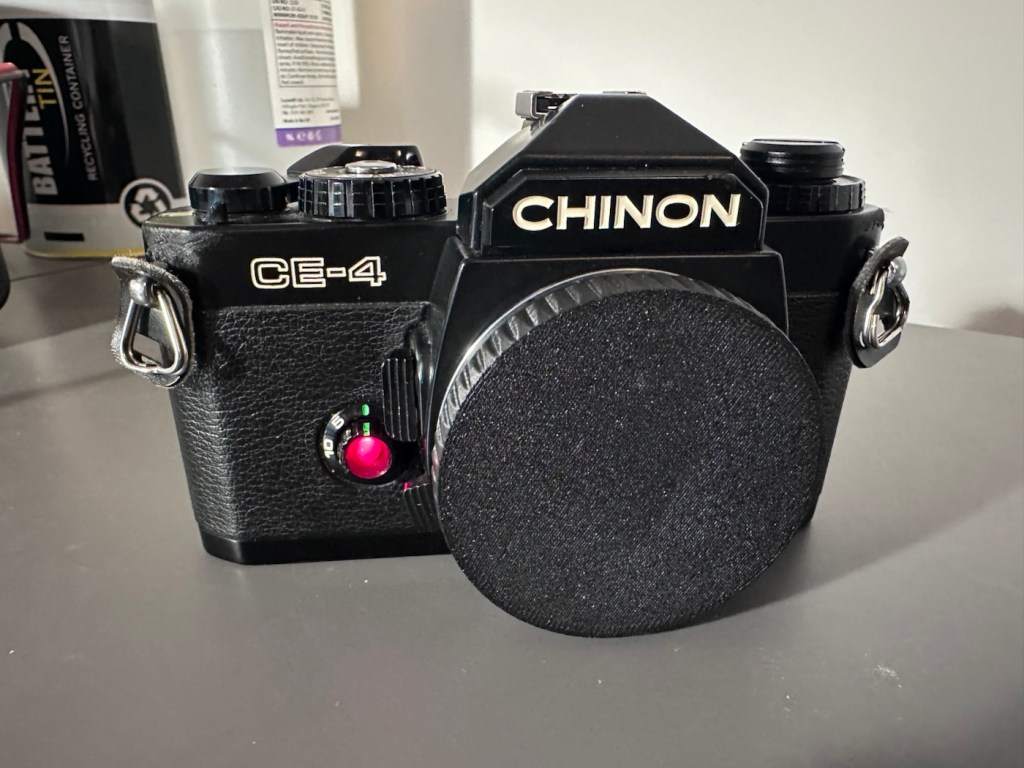
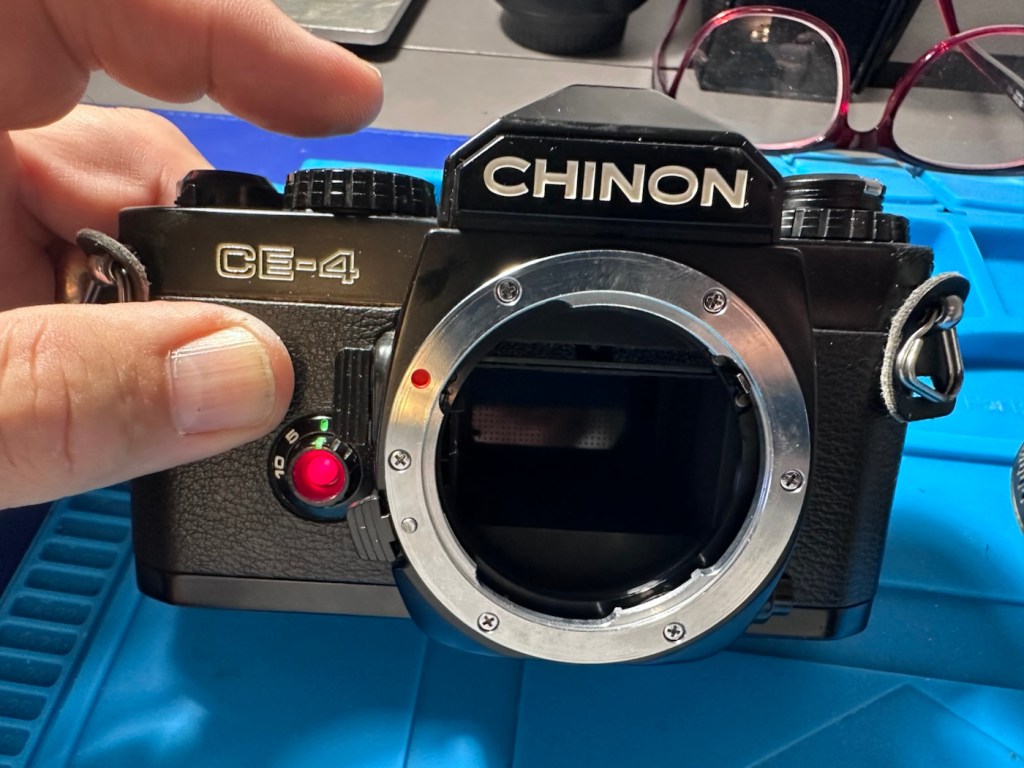
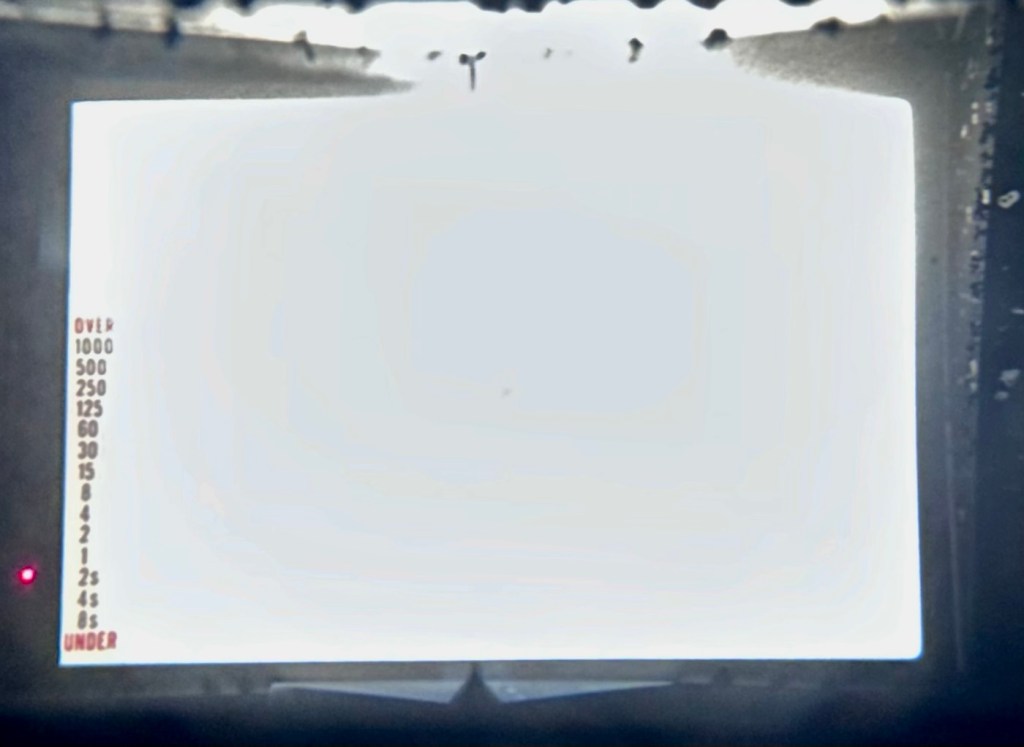
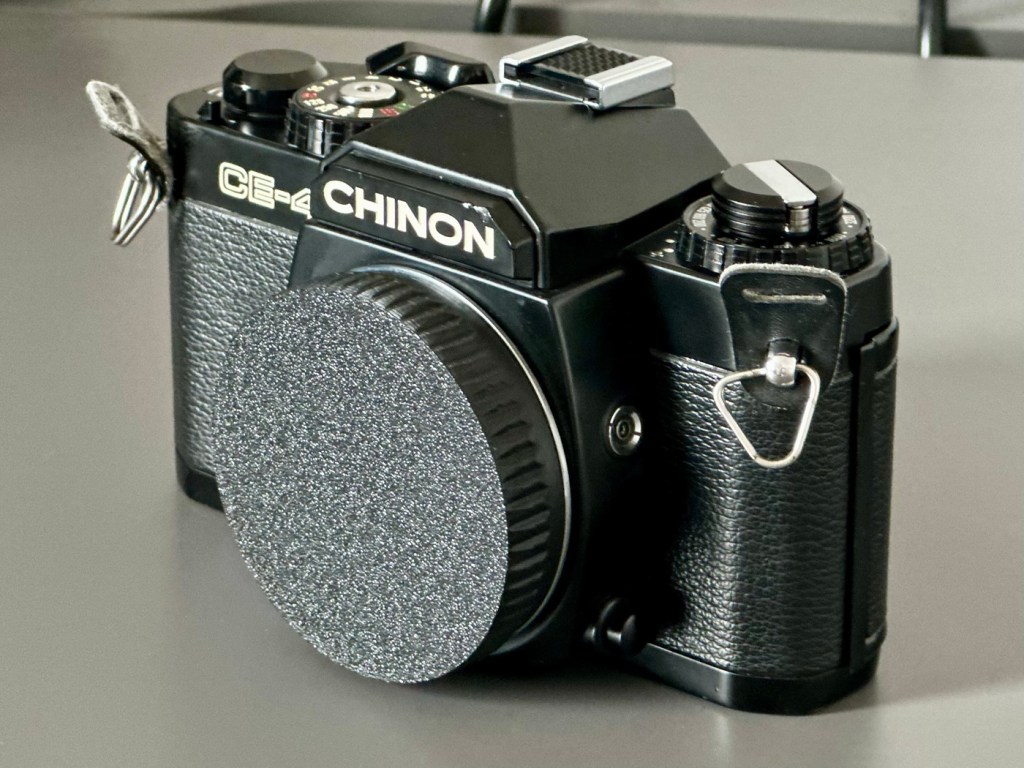
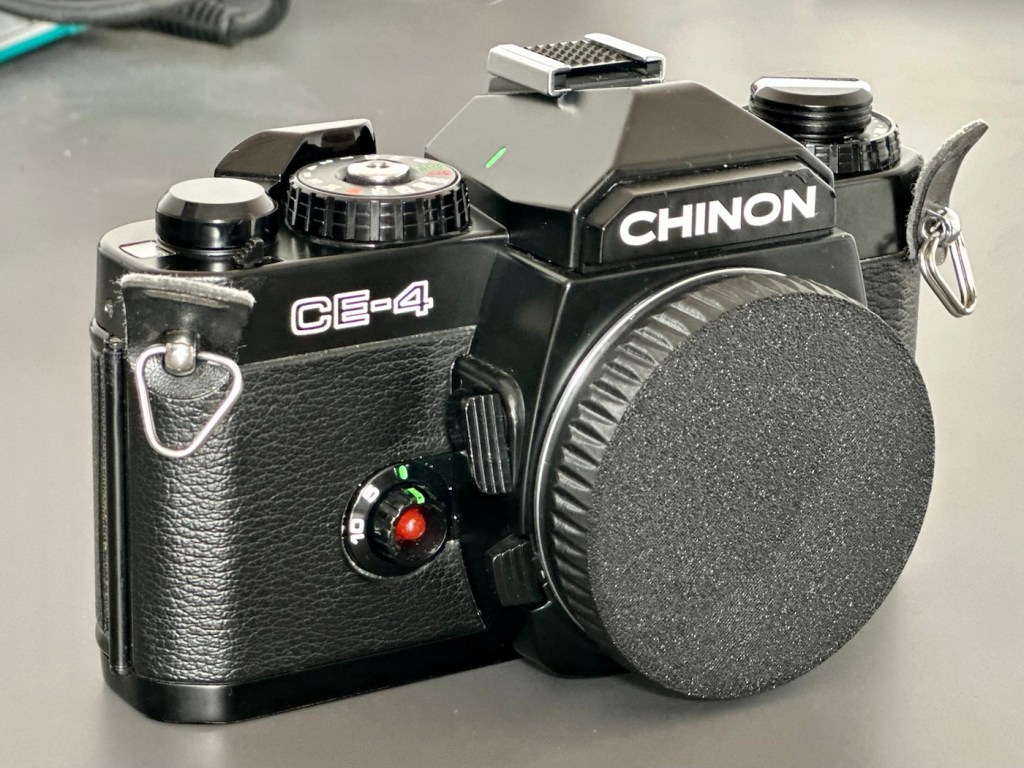
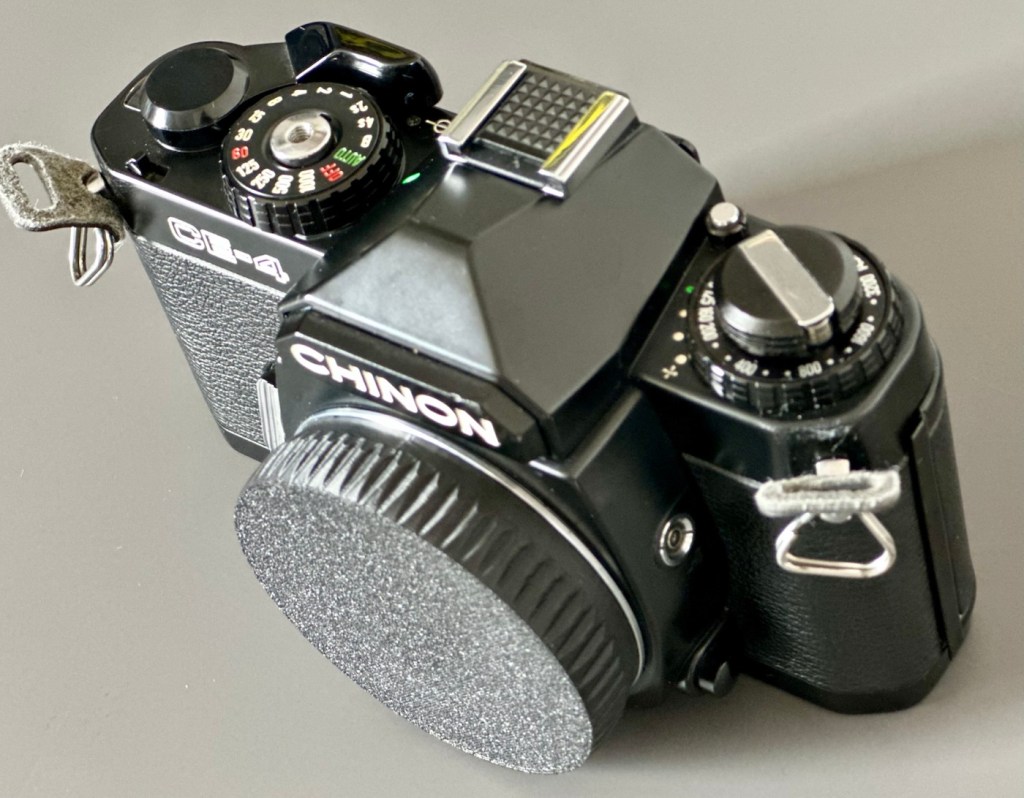
Chinon CE-4 35mm SLR

I was a snob back in my teenage years and wouldn’t buy anything without a Canon or Nikon name tag. How wrong was I? I now have one needing some TLC, so let’s get it working again.

What the listing stated:

Chinon CE-4 35mm SLR Film Camera Body – Faulty – See Details

I tried testing the camera with batteries and initially it seemed to function and the camera fired at accurate speeds but after a couple of times firing it, it stopped responding and now I can’t get it to function at all.

Please note batteries aren’t included.

EBay

Here’s a little bit about this camera:

The Chinon CE-4 was the model which transitioned away from the 42mm screw mount used in the Chinon CE-3 to the Pentax K-mount. It’s an automatic 35mm SLR compact camera with aperture priority exposure system (AE).

Maker: Chinon

Dates: circa. 1980

Variants: black, CE-4s

Camera Type: 35mm SLR

Focusing: manual


Lens mount: Chinon Universal Bayonet Mount (Pentax K-mount)

Shutter: Seiko MFC electromagnetic focal plane, vertical, metal 
from 8s to 1/1000

Exposure meter: TTL, open aperture,
center weighted by two silicon blue photo cells. EV -2-19

Exposure modes: aperture priority, manual, Bulb

ASA/ISO range: 25 to 3200 ISO

Finder screen: fixed split-screen

Flash shoe: fixed hot shoe, contact for dedicated flash

Flash speed: 1/60

TTL Flash: no

Motor drive: Chinon Power Winder S

Battery: 3 ×1.5V Alkaline (LR44, A76) or 
3 ×1.5V silver oxide (SR44, S76, G-13)

Dimensions: 135.5x85x50.5 mm

Weight: 485g

Camera- wiki.org

A previous seller approached me offering this camera and we settled for a price of £5:00GBP. A fair price for a camera born around 1980 and readily available at nationwide electronic stores around the time. I always avoided them, because as a teenager I had been infected by the snobbery of people around me, if it wasn’t Canon or Nikon it was crap.

I was a snob back then. Now I’ll buy anything, and I like the look of this so I brought it.

My reasoning in a nutshell. If it takes photographs, it’s good. Buy it. Sold!

Let’s await its arrival, and get it assessed.

Assessment:

Cosmetically this camera looks fine, apart from the name plate being detached from the fascia. This is easily remedied with some superglue to hold it in place.

As an addition i’ve printed out a body cap on the 3D printer for when i complete the clean, allowing me to protect the mirror, shutter and lens chamber area.

Body cap printed to protect lens chamber

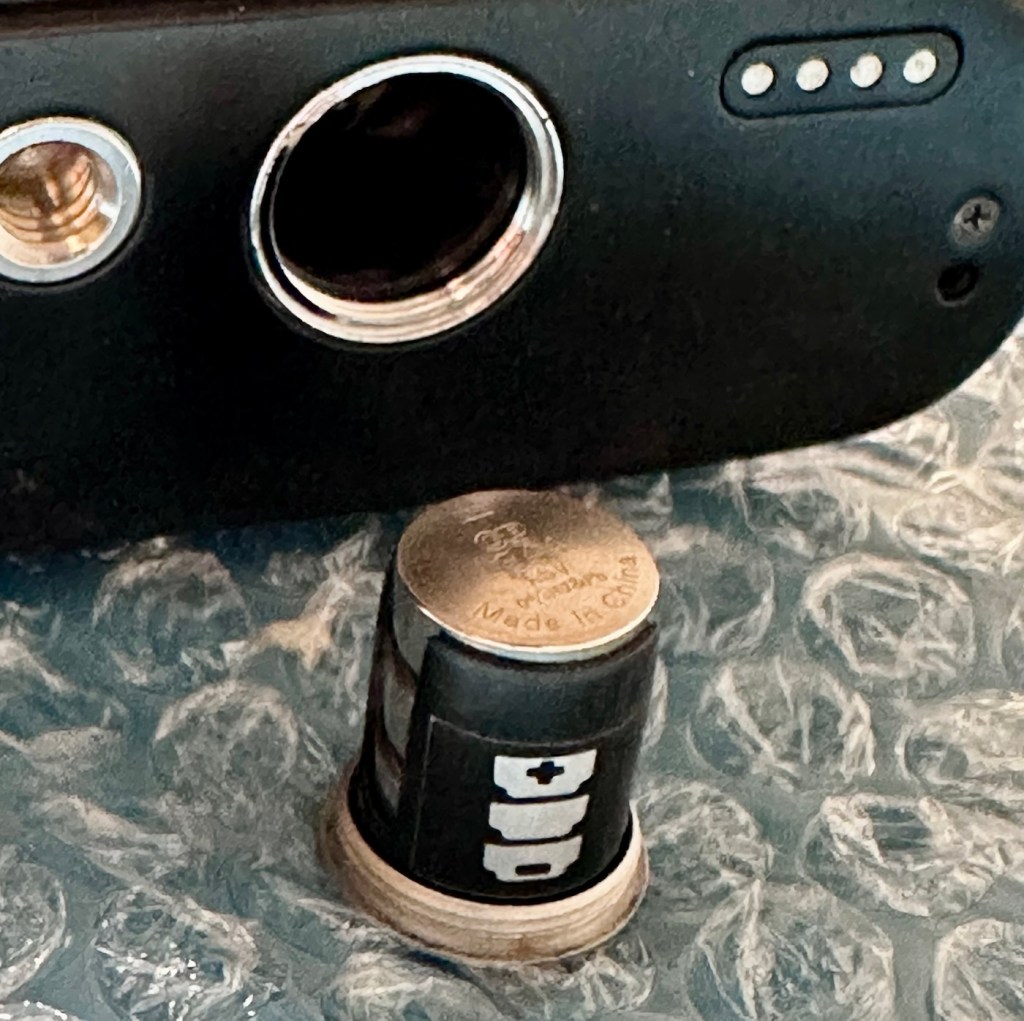
This camera takes three LR44 batteries and with these installed the camera is dead. There is no life, and no indication from the exposure meter in the viewfinder.

The battery holder with its three batteries

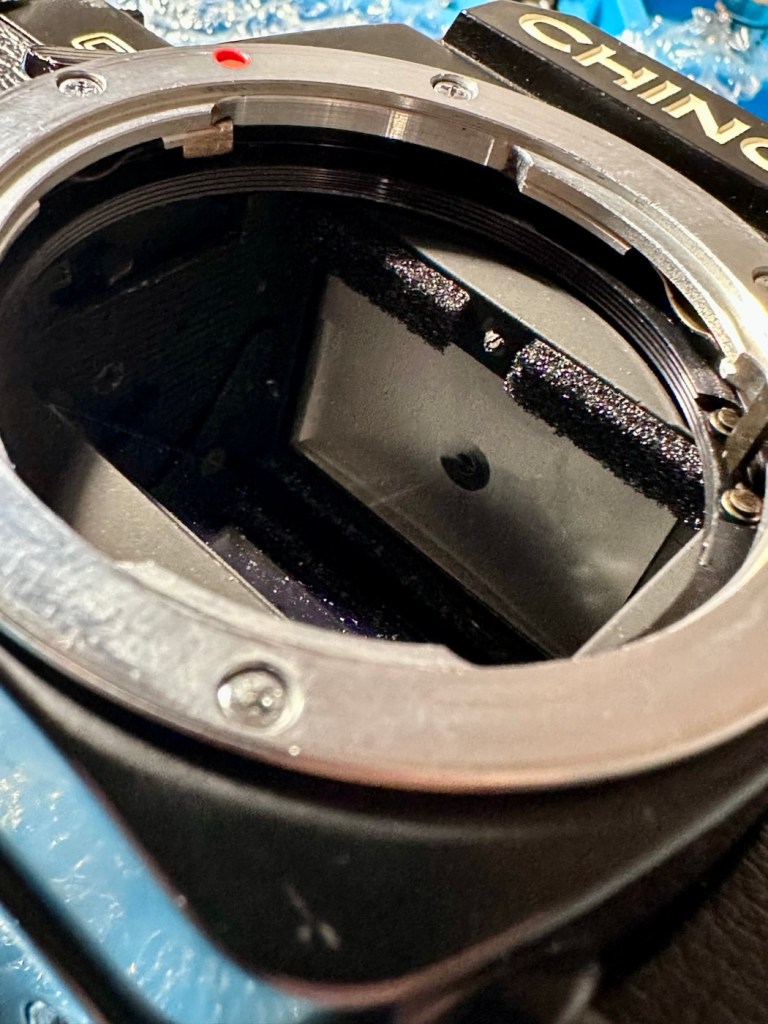
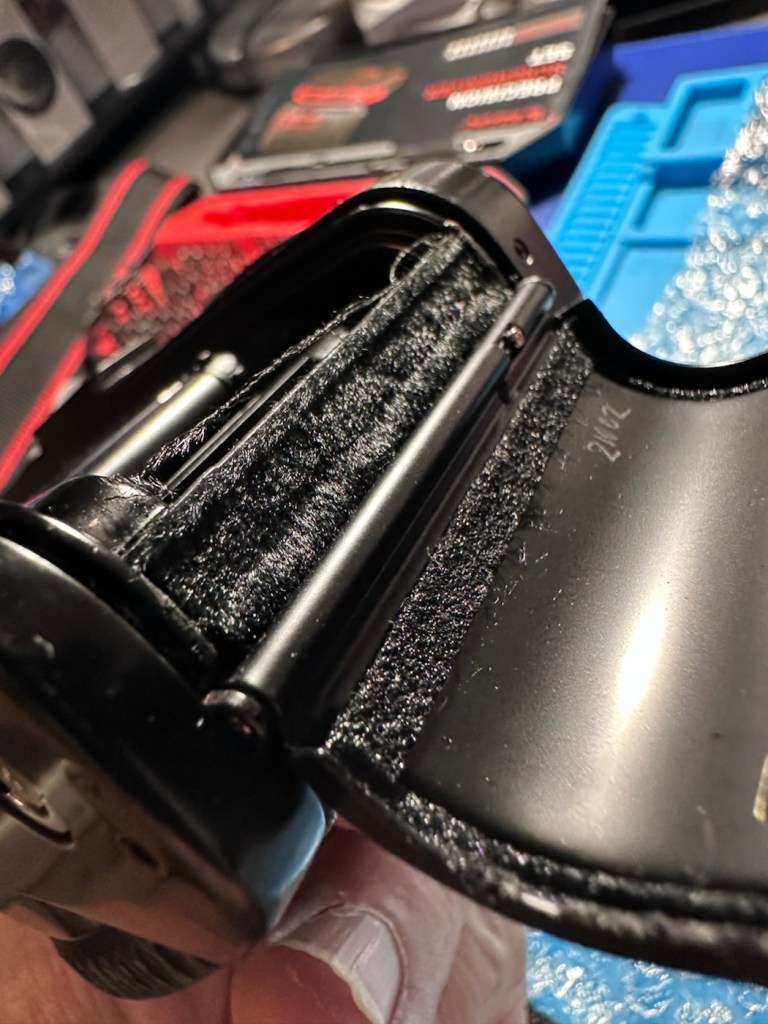
The bumper felt in the camera barrel is in excellent condition and does not need replacing. It’s a similar situation with the light proofing around the film chamber, they don’t need replacing just yet.

All buttons, dials and levers appear to be working just fine. There is no meter reading in the viewfinder due to the electrical issue. Let’s get onto that now, as it looks as if there is not really much else wrong with this camera.

Repair:

So generally with electrical issues it’s always best to start with the simple things first before diving in and opening up the camera for dissection.

First things first, are the batteries any good, yep they have all tested as working fine, let’s move on. Is the power getting through to the camera via the battery holder. No it’s not. Let’s check the battery holder.

The battery holder showed no continuity when I used the multimeter probes on it, the whole inside of the holder had bad tarnish, preventing power getting through to where it was needed. A quick clean of the area with a grinding pen and some IPA to clean up, and you can now see your face in it. A quick check with the multimeter and continuity is restored. Whilst I’m in the mood for this kind of cleaning I also clean the contacts in the camera base. These weren’t so bad, however a quick blast with the grinding pen and a clean up does not go amiss.

The three batteries are reinstalled and hey presto, the light meter and all functions now appear. All this camera required was a five minute clean to resurrect it.

To test the camera fully I now need a K mount lens to check its functions. I’m looking for a basic one just to use for testing, just as well really as I also have some other K mount cameras coming up shortly. However, I am supremely confident this camera is working fine, so a lens is not the probity at this stage. I will probably move this on to the local hospice that I have dealings with.

A good clean is all that is now needed. I have cleaned the internals and sealed them by putting the body cap in place. Now I need to give attention to the exterior.

Result:

Sorry It’s a boring one, but hey it’s a win. Following a plan of attack starting with the most basic of checks, can be boring and repetitive, but also extremely beneficial as it’s not always the big issues inside the camera, nine times out of ten the issues are a lot more basic.

It just goes to prove that a lot of the items out there deemed as broken, are just in need of a little maintenance. If only people would just take a little time to look after their stuff, there would be less equipment thrown in to landfill.

Here is the camera after a good clean.

A little £5:00GBP camera has been given a reprieve and can live on for a few more years yet. As long as there is film being produced, this camera has a purpose. It’s a basic, but superbly capable camera that will keep its new owner happy for a good few years yet.

Let’s hope they have many happy moments capturing wonderful memories for many years to come.

Thanks for passing by. Always very much appreciated.
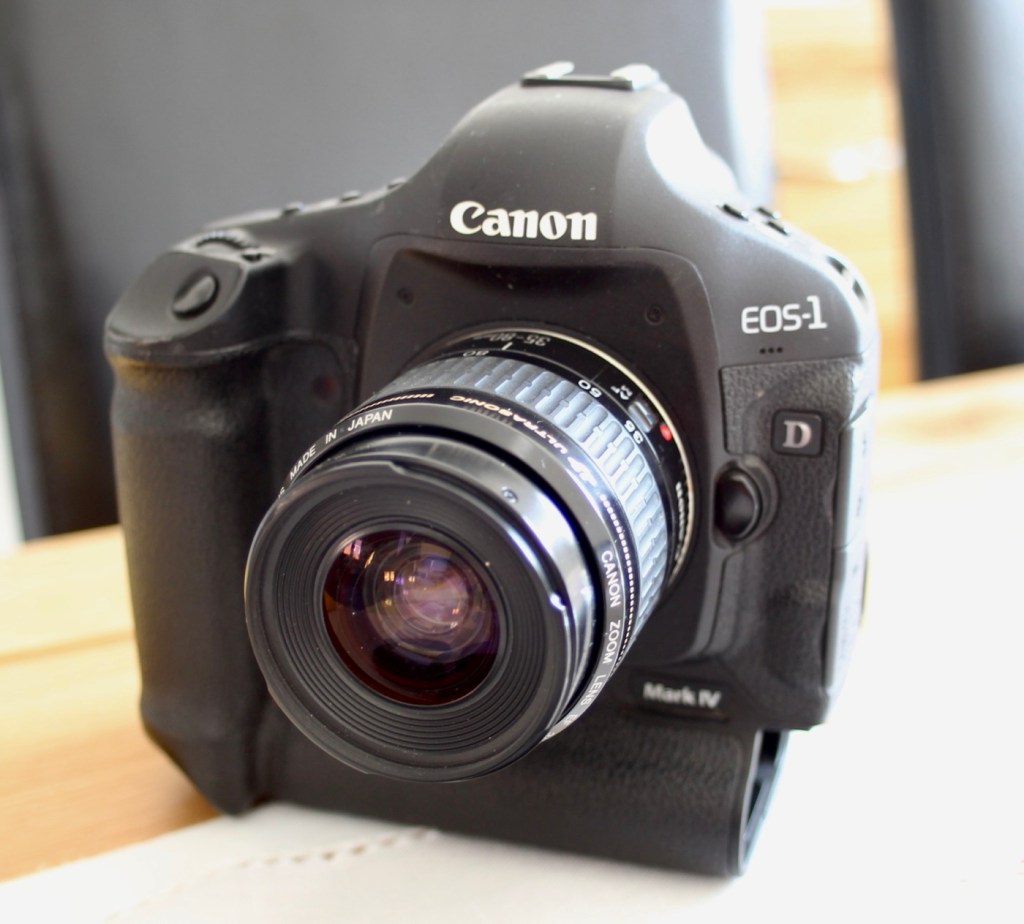
Canon EOS 1D MkIV

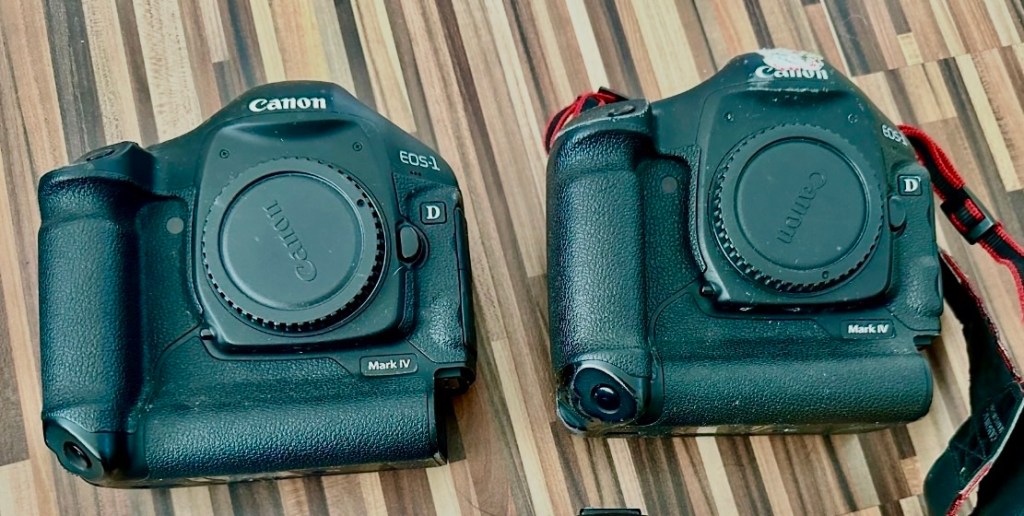
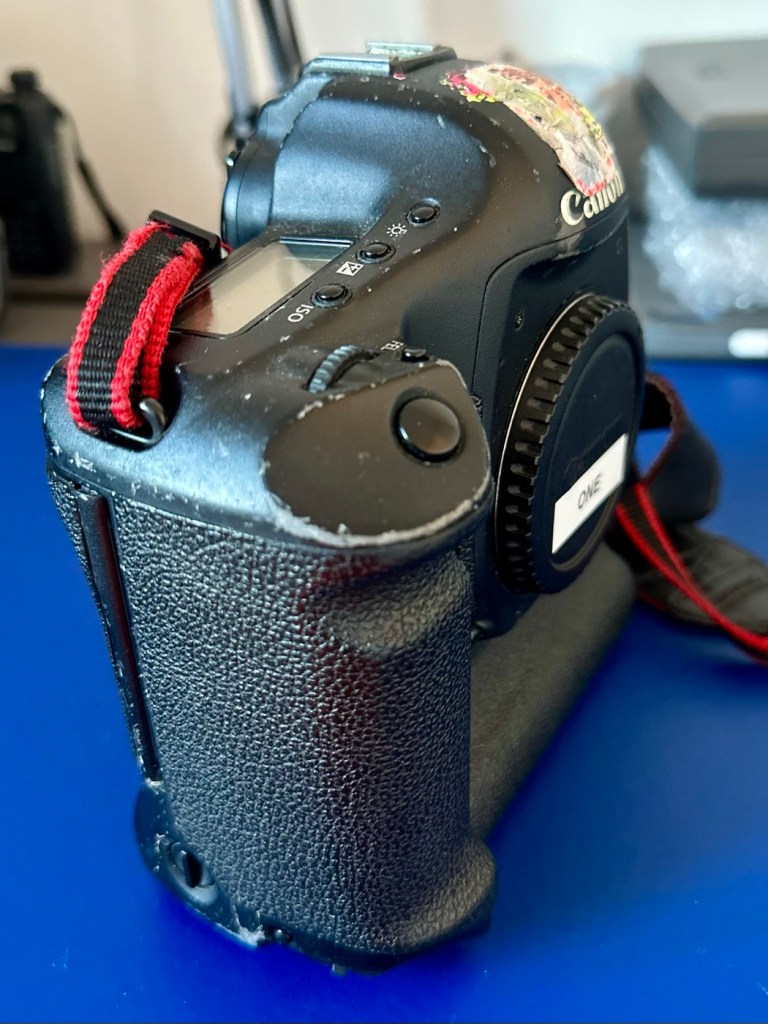
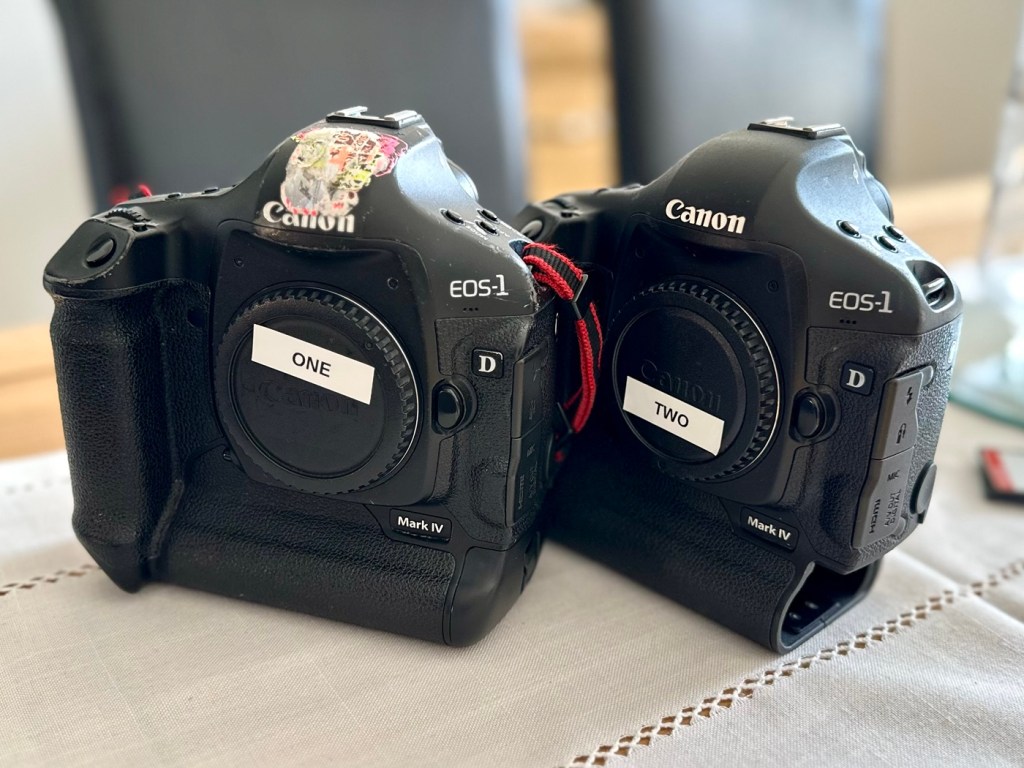
Two late production Canon EOS1D MkIV cameras, both heavily used ex-syndicate sports photographers cameras. Do they work? Can they be repaired?

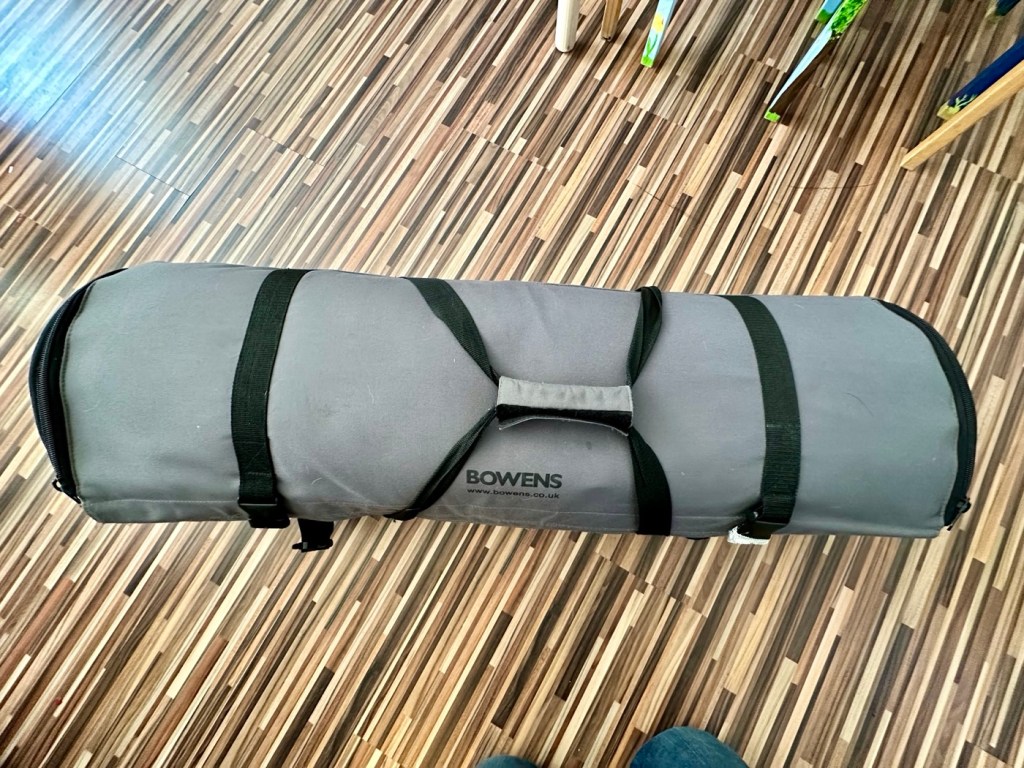
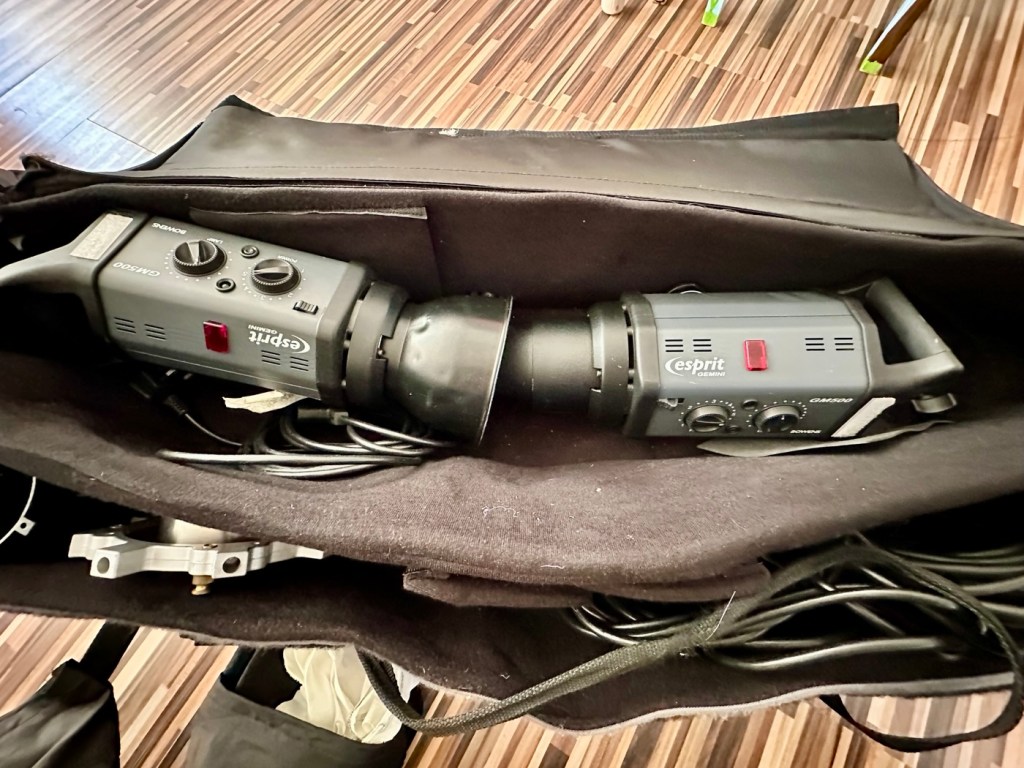
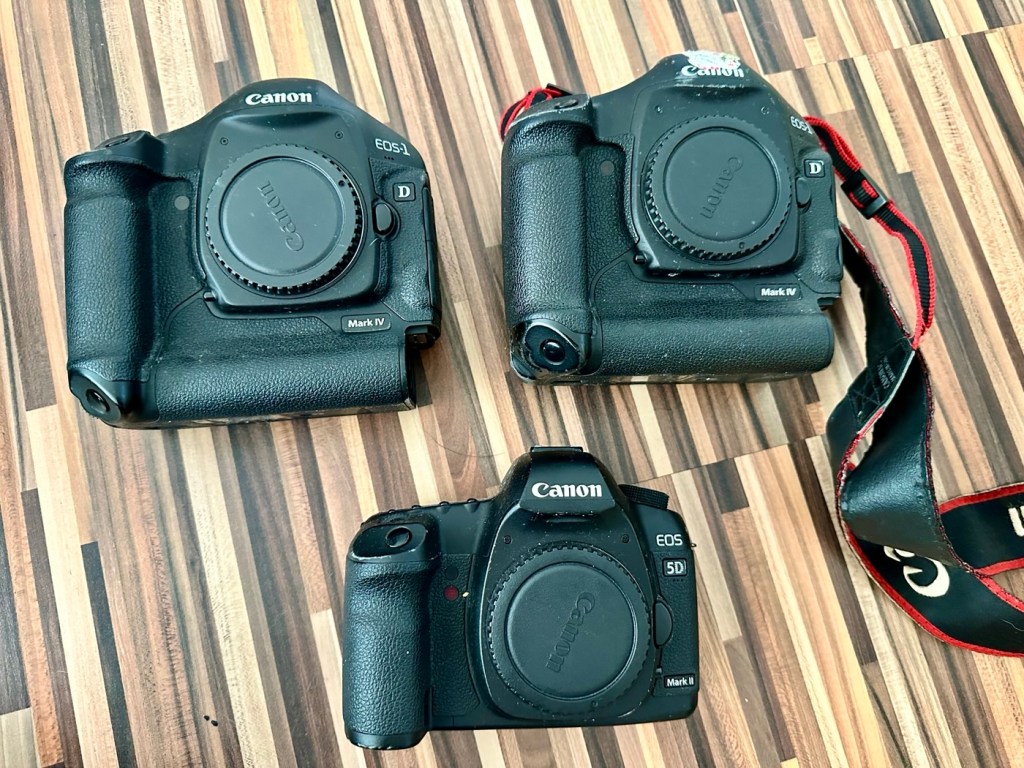
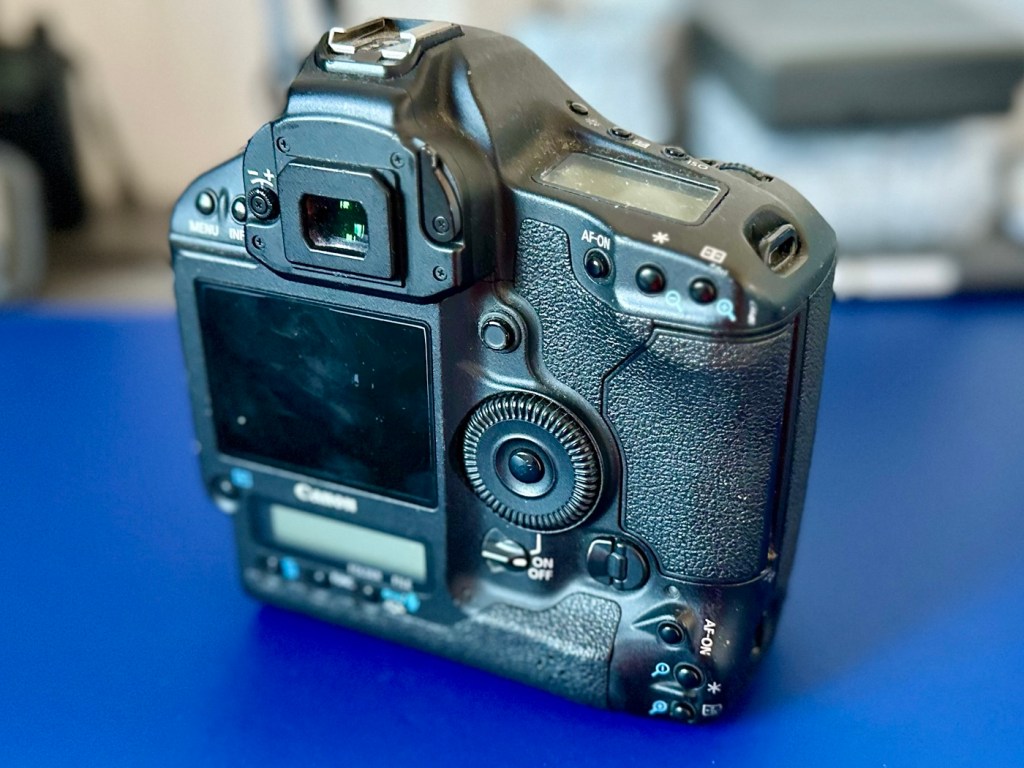
I’ve been approached by an old colleague who used to be a syndicated sports photographer, he had a number of items he wanted to “get rid off” as they were just taking up space in his new house. “Would you be interested?” You betcha, so as a result I’m now the owner of a complete Bowens lighting system, two Canon EOS 1D MkIV cameras and a Canon EOS 5D MkII camera.

My days of fussing and farting about with lighting rigs has now long passed, so I know a youngster starting out in the business who is a very talented young fellah, I have donated this equipment to him and he will certainly have a use for this lighting setup. He has been approached and accepted the offer, I think he is quite happy with his new acquisition, here’s hoping his talents continue to flourish.

However the cameras are mine as no one wants this old stuff anymore 😂

Having already in the past, repaired a film version of the EOS 1 here: Canon EOS1 N HS I have now become the owner of two Canon EOS 1D MkIV versions, the digital upgrade of this superb camera. This post covers the assessment of the 1D’s the 5D can be found here: Canon EOS 5D MkII

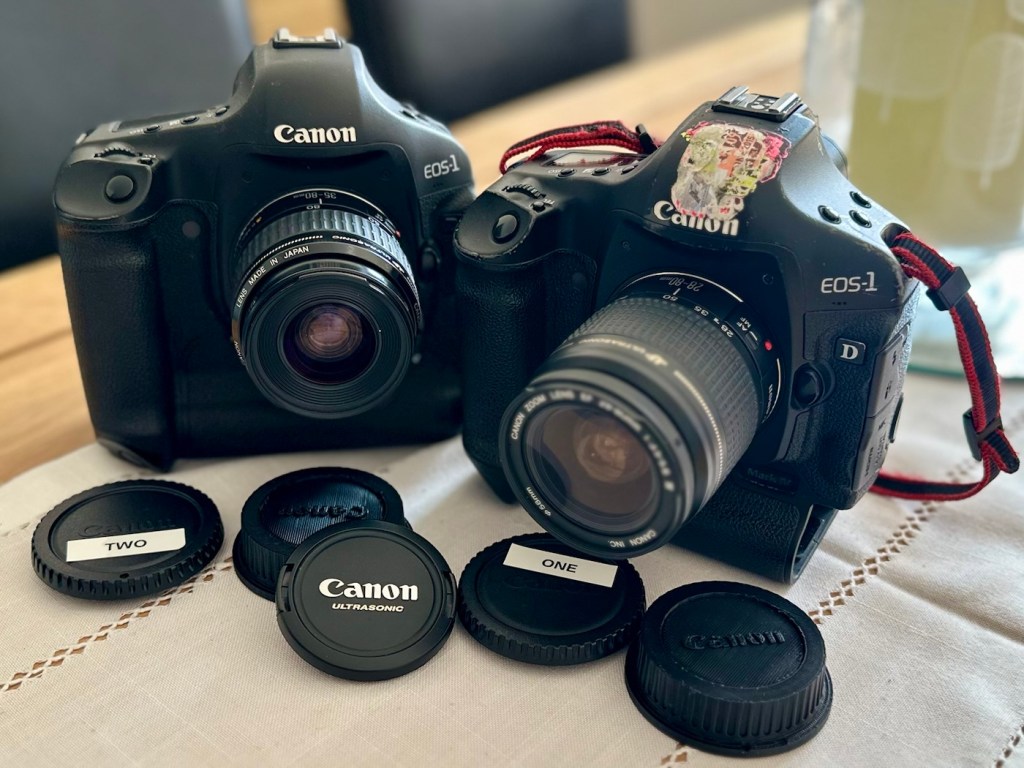
The two Canon EOS 1D MkIVs

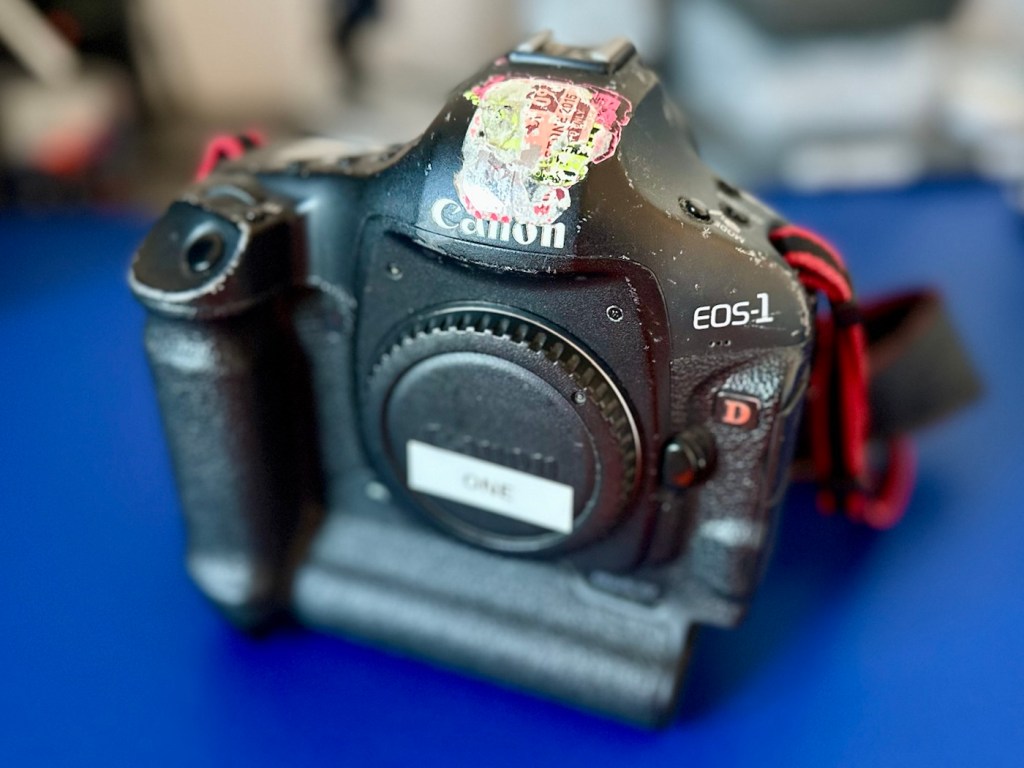
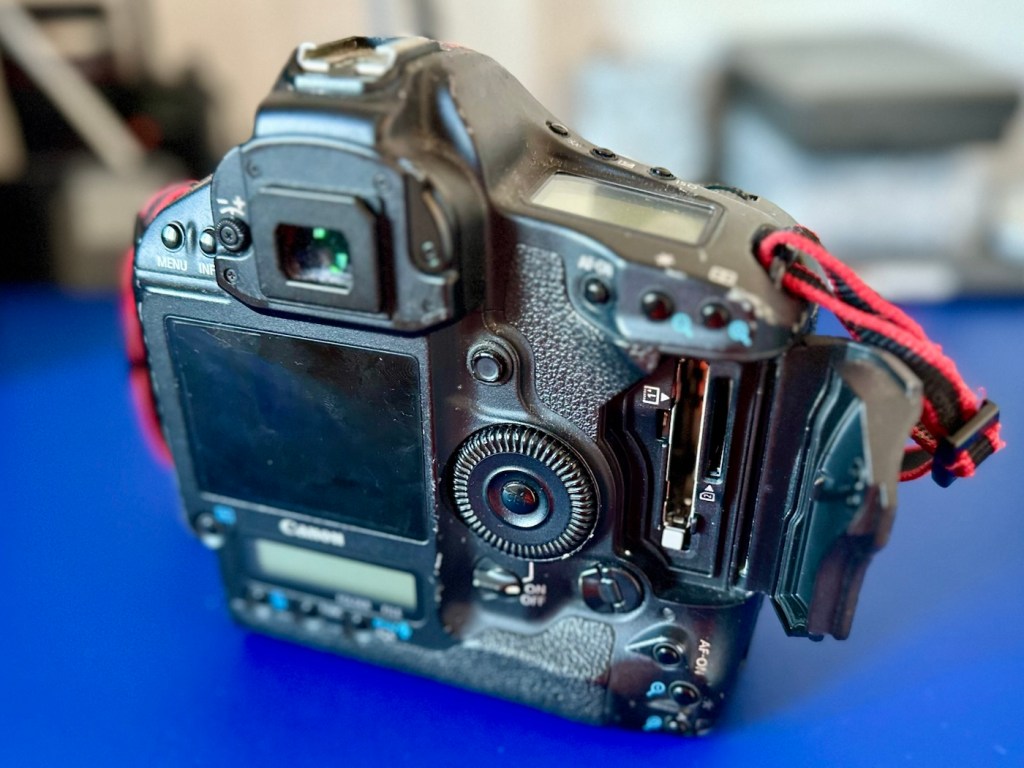
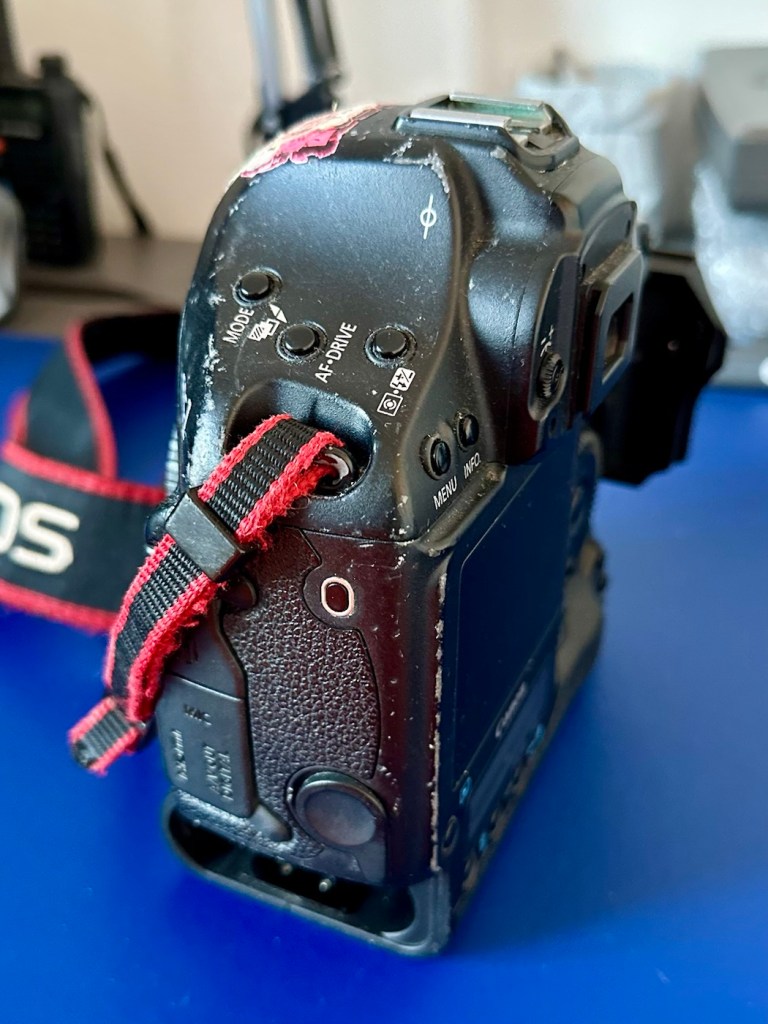
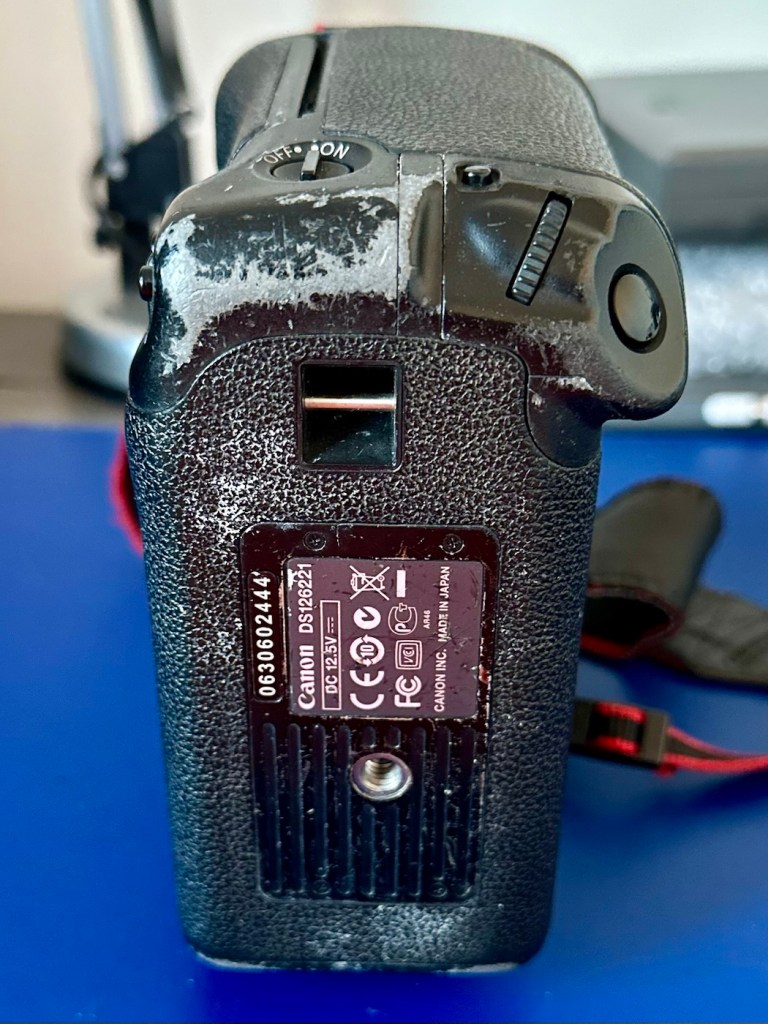
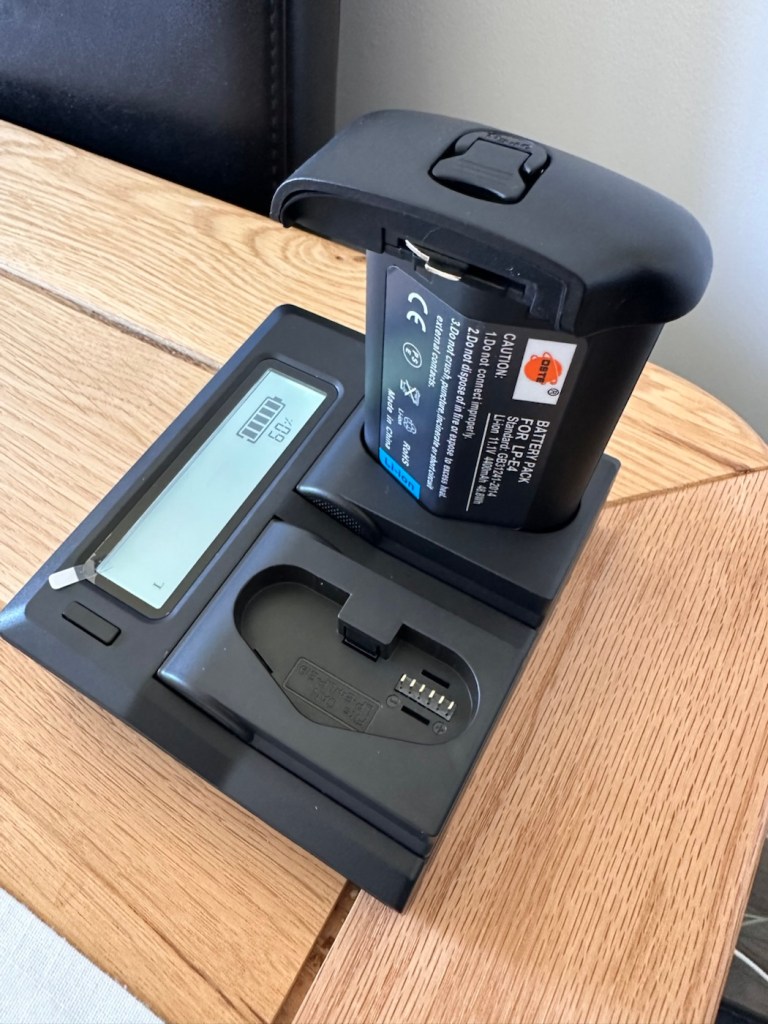
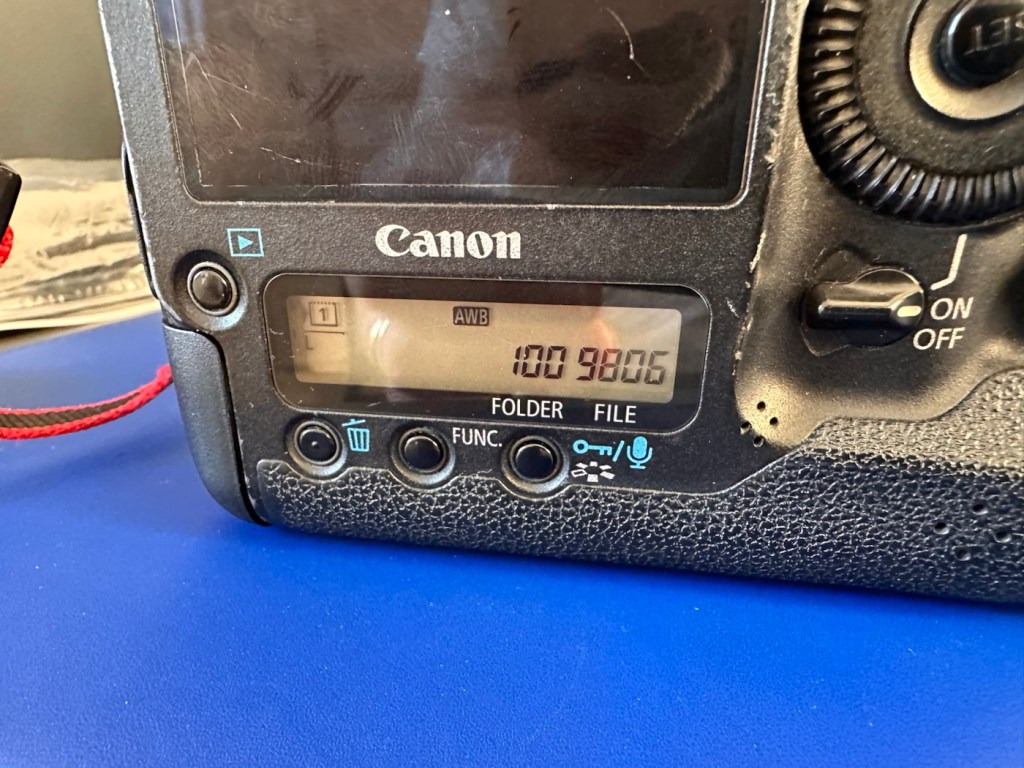
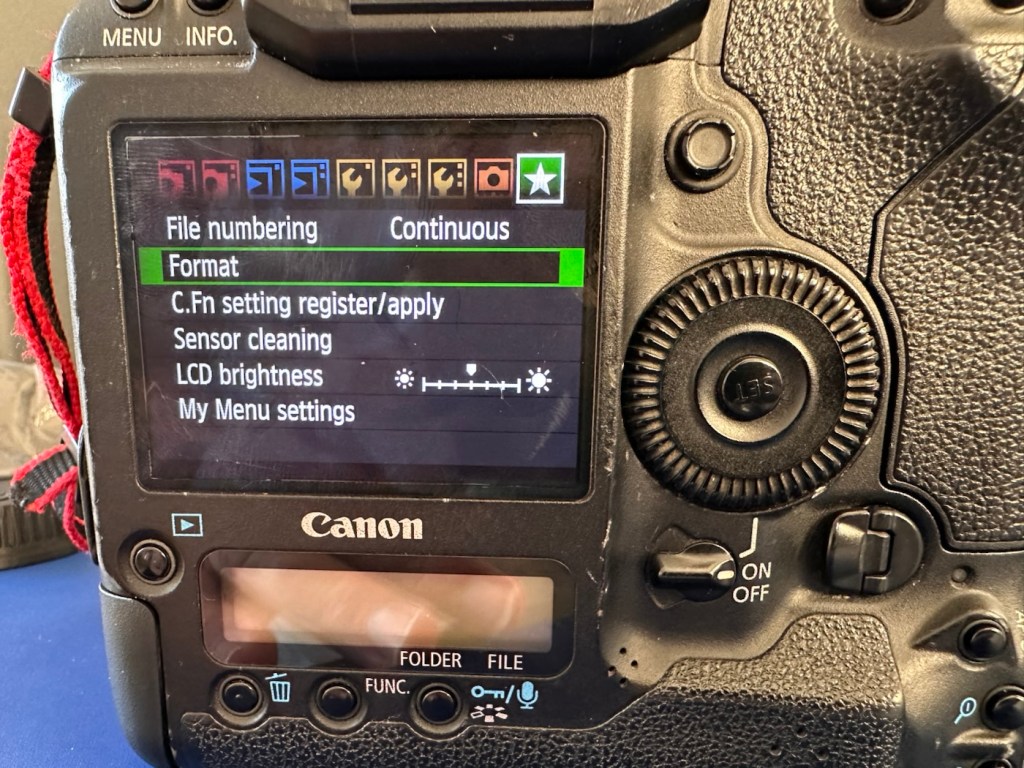
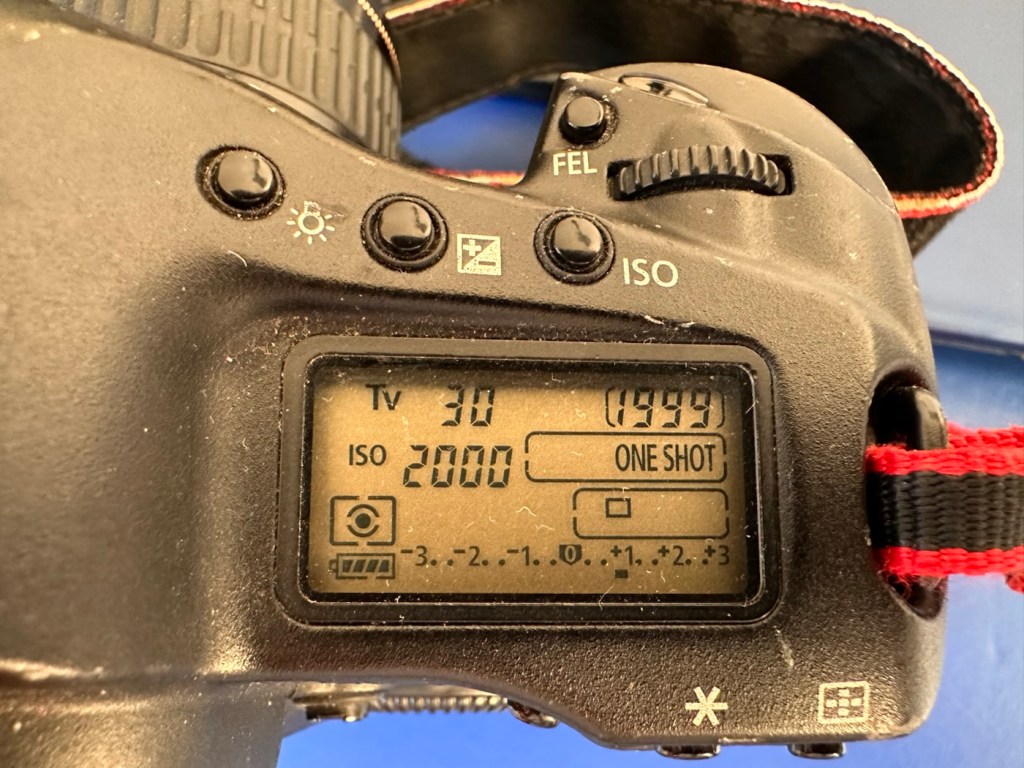
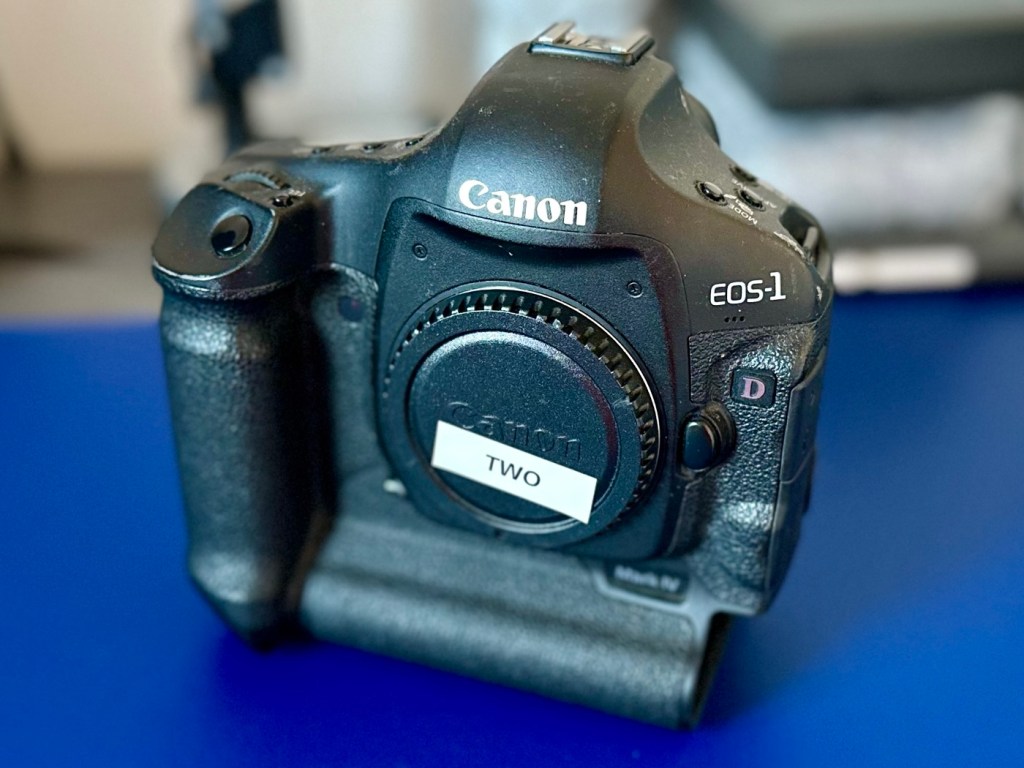
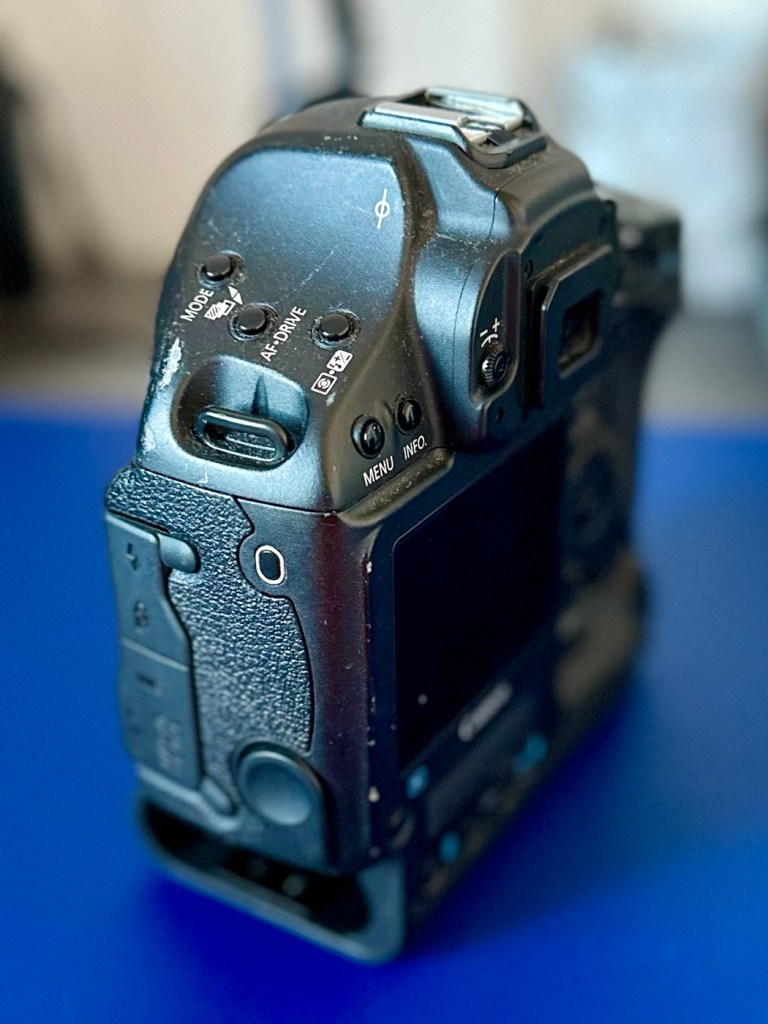
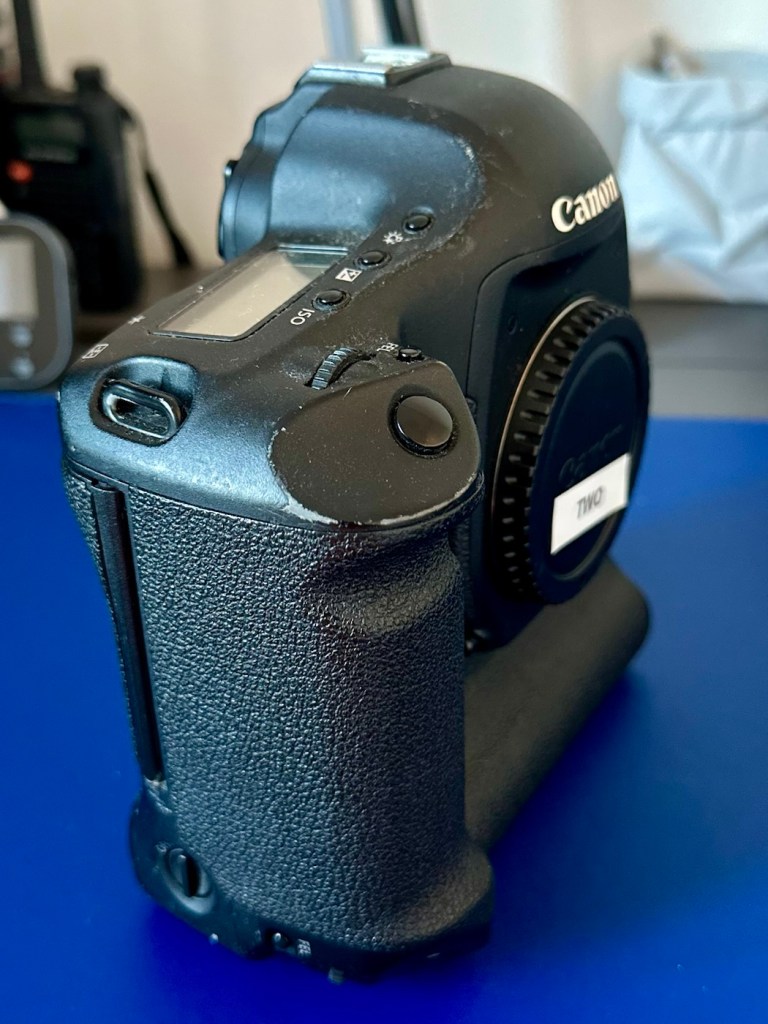
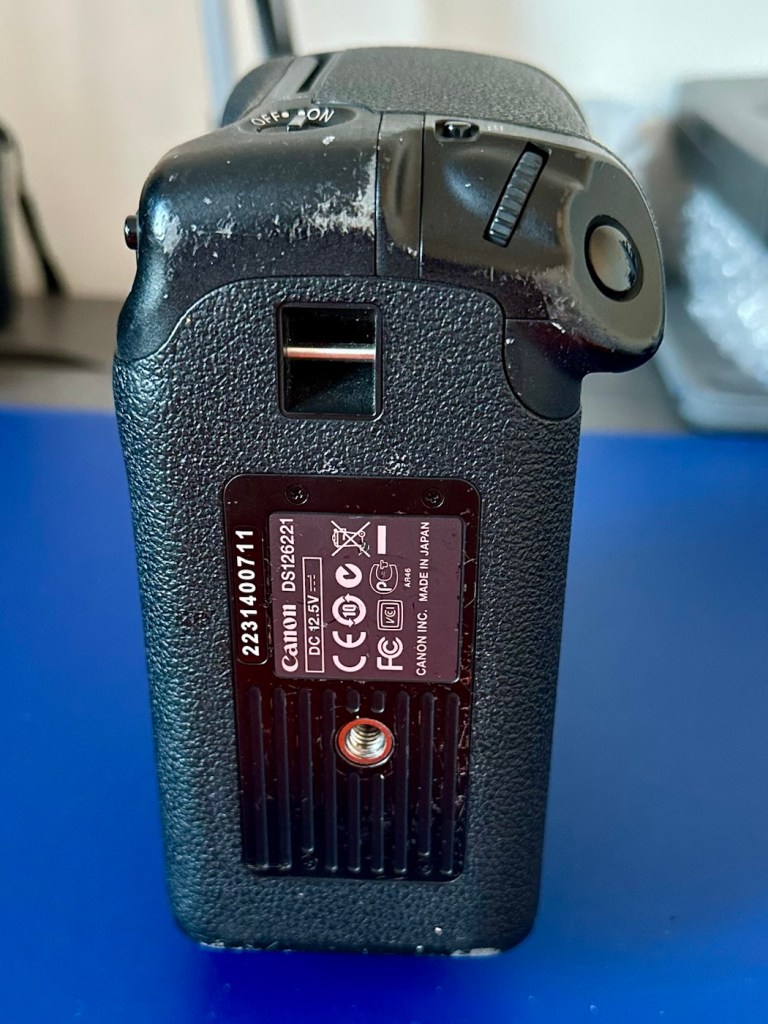
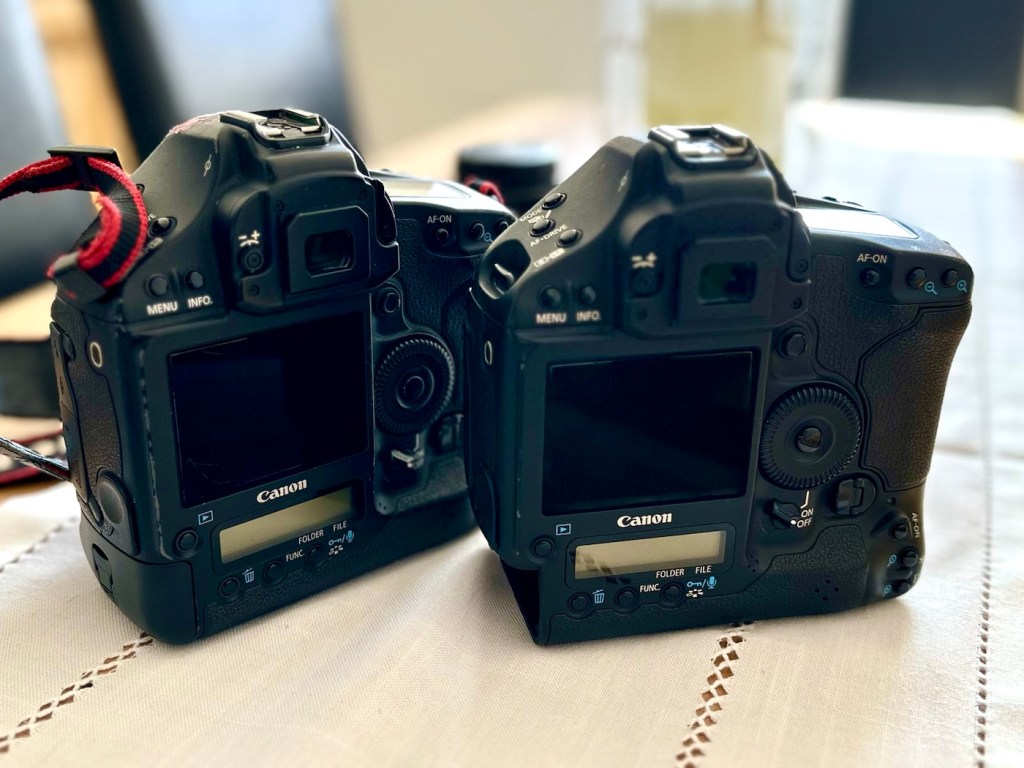
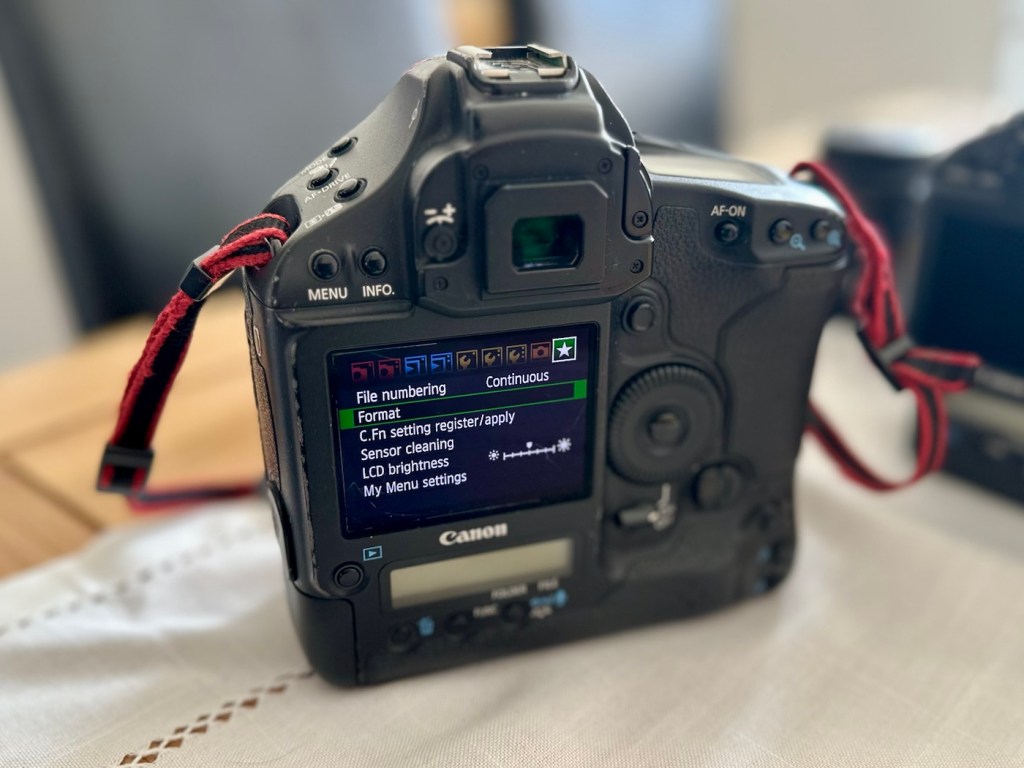
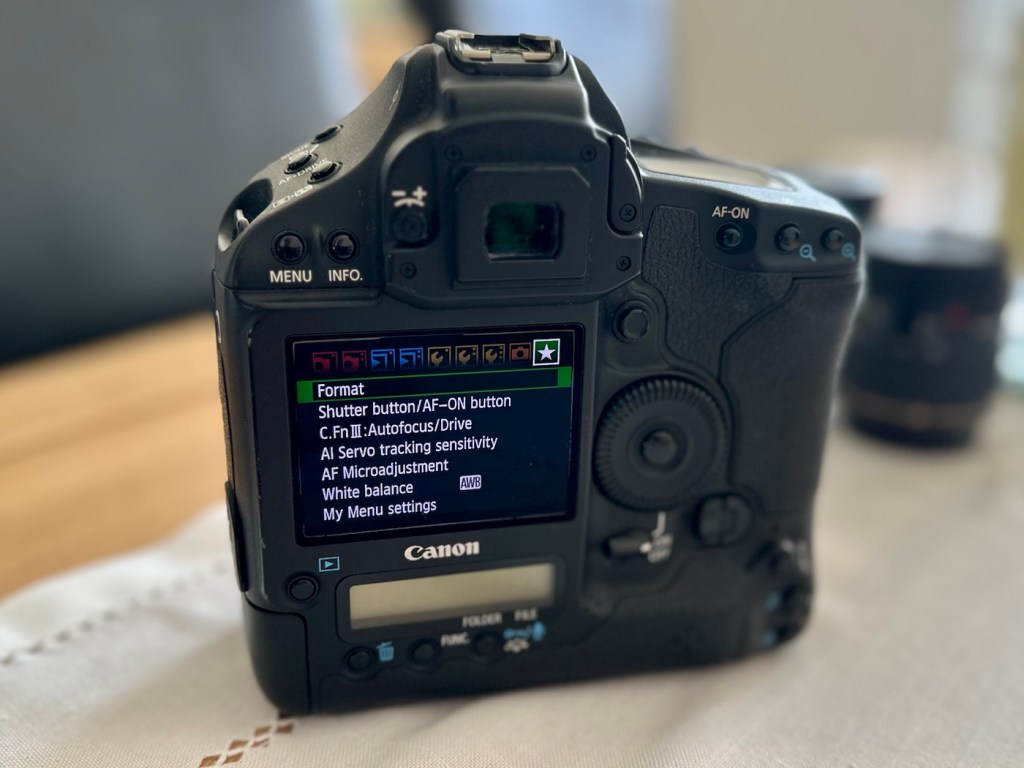
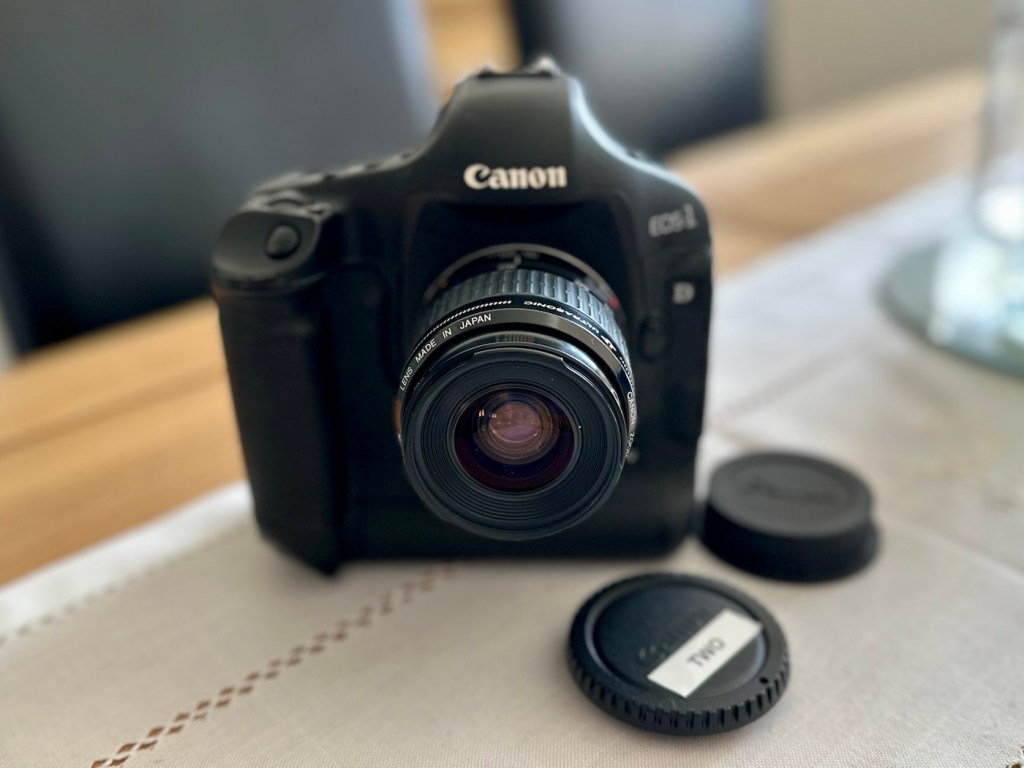
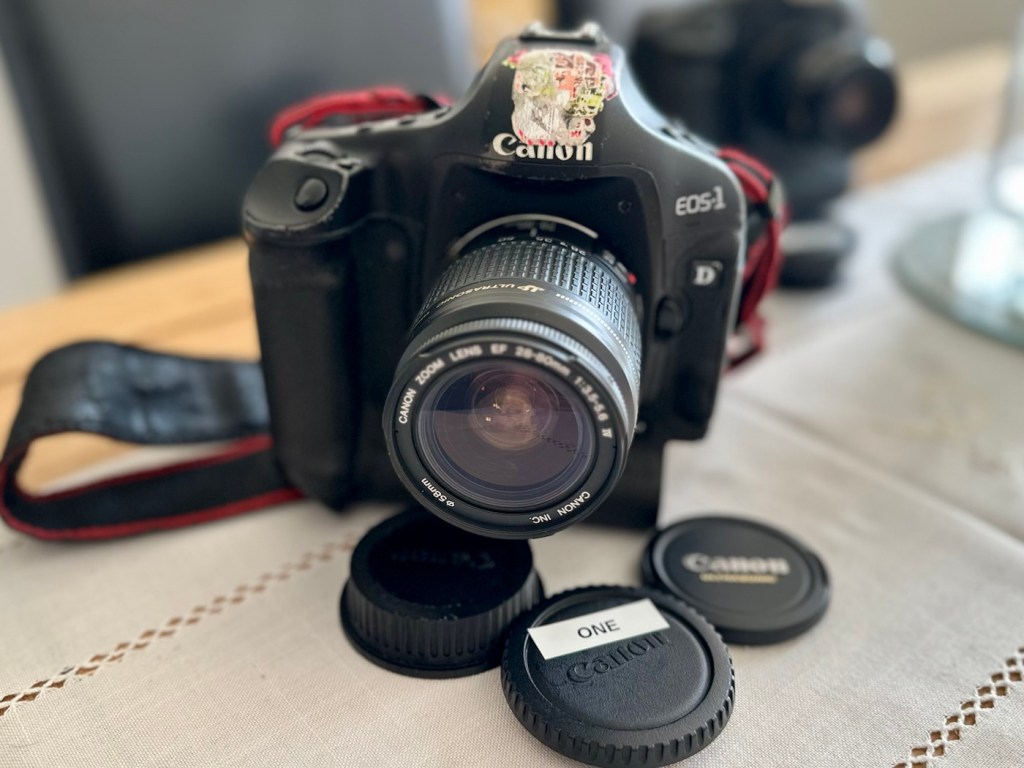
To test these two beauties I’m going to have to invest some money into my equipment store. These cameras take a battery that neither came equipped with, an EP4 battery that currently costs around £19.00GBP per unit. On top of that a charger is required costing approximately £23:00GBP so there will have to be an outlay of approximately £42:00GBP just to get these units tested. Is it worth it? Yes, I think it is, I will then have a spare battery and charger for future use, and if the cameras don’t work? I can then sell them on or use them for spare parts as they have cost me absolutely nothing. When I go through the assessment and repair of these cameras I will refer to them one camera at a time. The camera that has stickers on the top of the camera pentaprism area will be referred to simply as “One” whilst the other will be “Two”. Nice and uncomplicated.

But first here is a little bit of information regarding this camera, the Canon EOS-1D MkIV.

The EOS-1D Mark IV is a professional 16.1 effective megapixels digital single lens reflex camera (DSLR) camera body produced by Canon. The EOS-1D Mark IV is the successor of the Canon EOS-1D Mark III and was announced on 20 October 2009, just four days after Nikon announced the D3s. It used to be the only Canon APS-H format DSLR to feature HD video recording at 1080p resolution.

It was discontinued in mid-2012 with the introduction of the Canon EOS-1D X, which replaced both the EOS-1D Mk IV and the EOS-1Ds Mk III.

It received a Gold Award from Digital Photography Review.

Features:

  • 27.9mm × 18.6mm; 16.1 effective megapixels APS-HCMOS sensor
  • Dual DIGIC 4 image processors
  • Canon EF lens mount (excludes EF-S)
  • New autofocus module (45 AF points with 39 cross-type AF points)
  • Integrated sensor cleaning system
  • 1.3× crop factor
  • 100–12800 ISO speed equivalent (expandable to L: 50, H1: 25600, H2: 51200 or H3: 102400)
  • 30–1/8000 sec. shutter speed and bulb
  • Shutter unit tested to 300,000 cycles
  • Auto Lighting Optimizer
  • Magnesium Alloy weather sealed body
  • Eye-level pentaprism viewfinder with approx. 100% coverage at 0.76× magnification
  • Live preview mode
  • 3.0 in, 920,000 dots Clear View II TFT color, liquid-crystal monitor with 160° viewing angle
  • 10 frames per second continuous shooting (Large JPEG: max. 121 frames, raw: max. 28 frames)
  • Dimensions (W×H×D): 156 × 156.6 × 89.9 mm

Wikipedia

Assessment:

I’ve had to bite the bullet and purchase a battery and charger to be able to test these cameras. Look at it as an investment. As promised the assessments will include exactly the same checks, but they will be done individually.

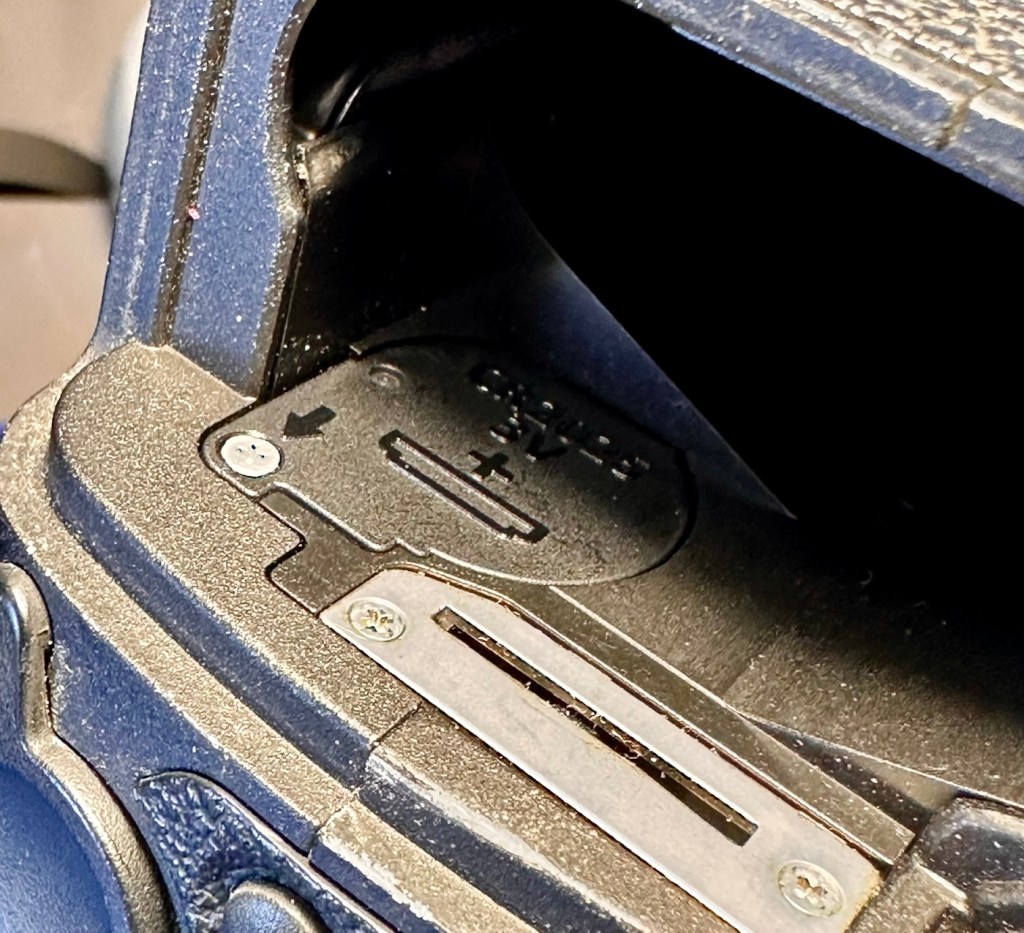
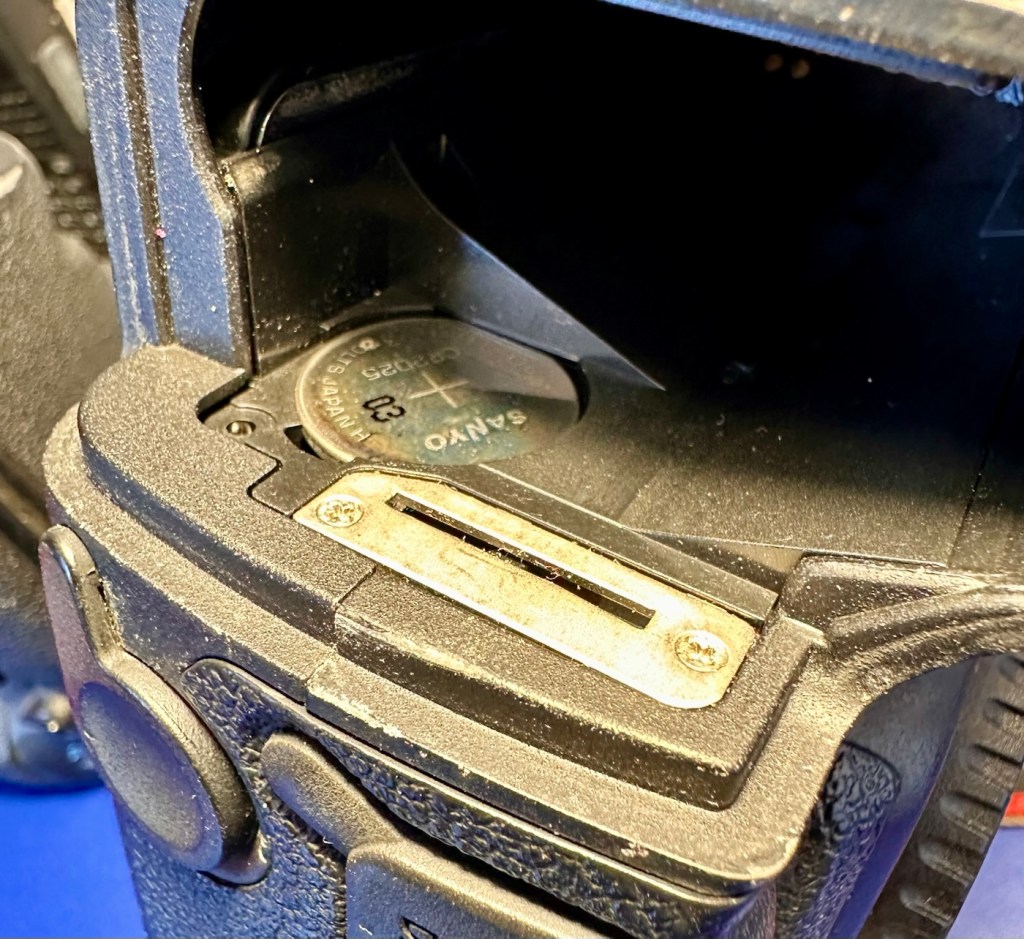
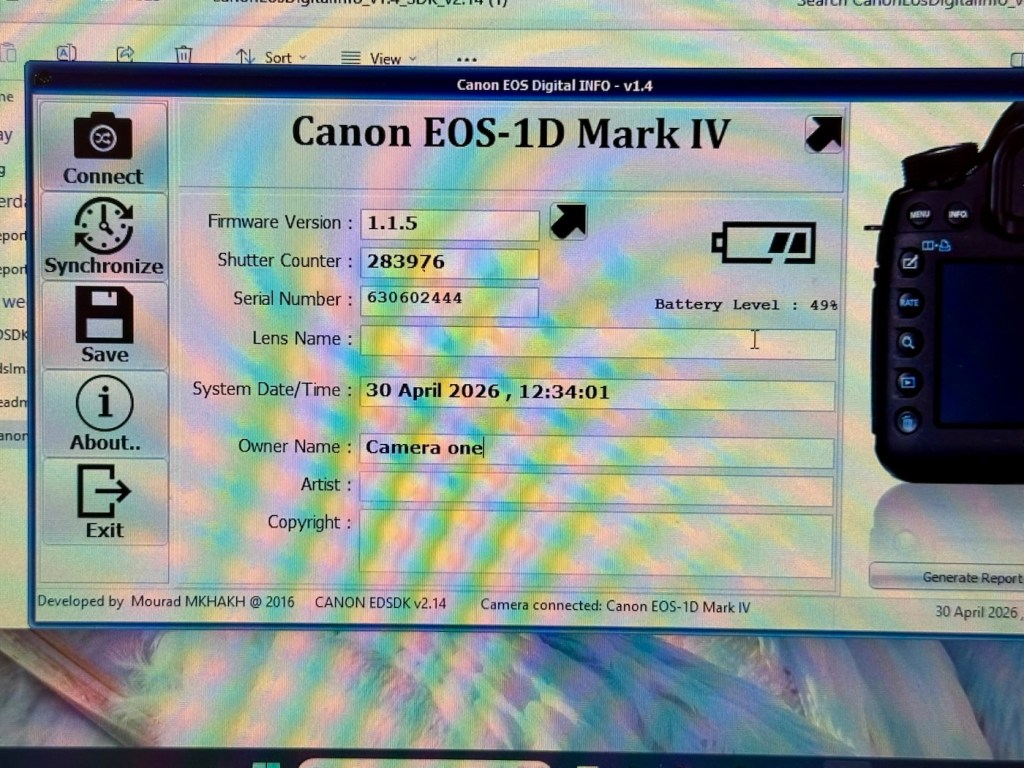
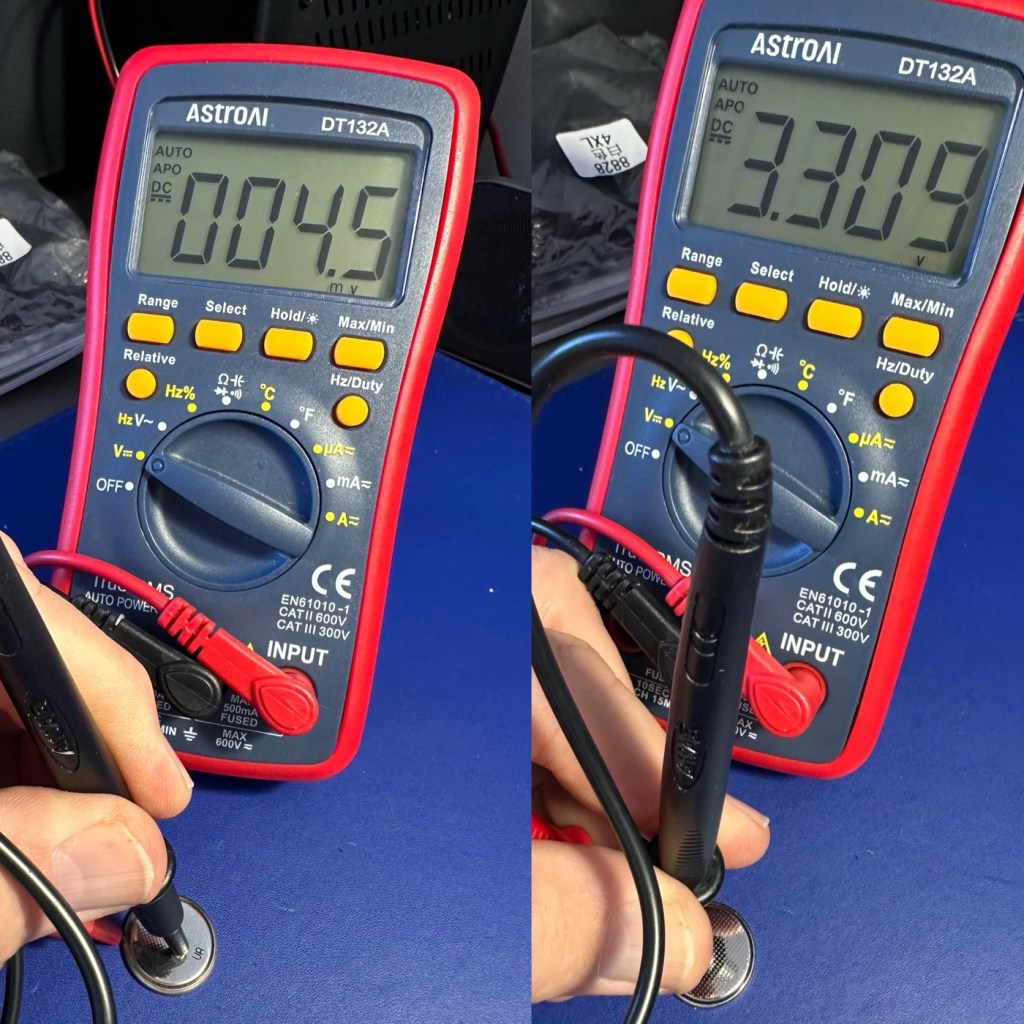
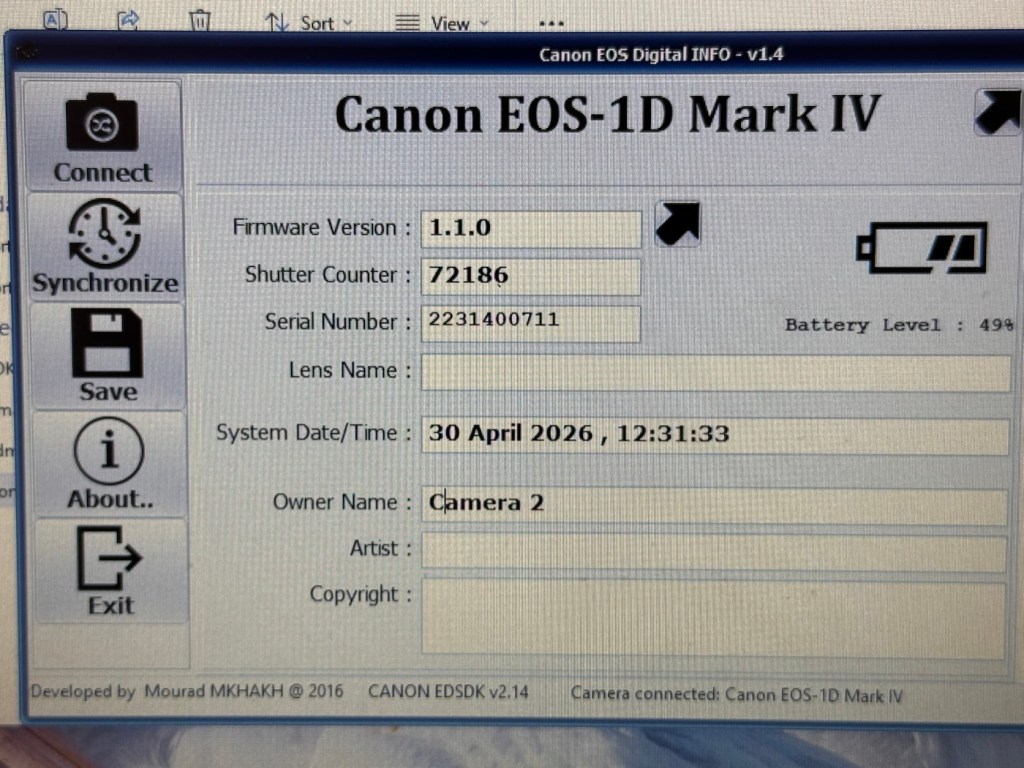
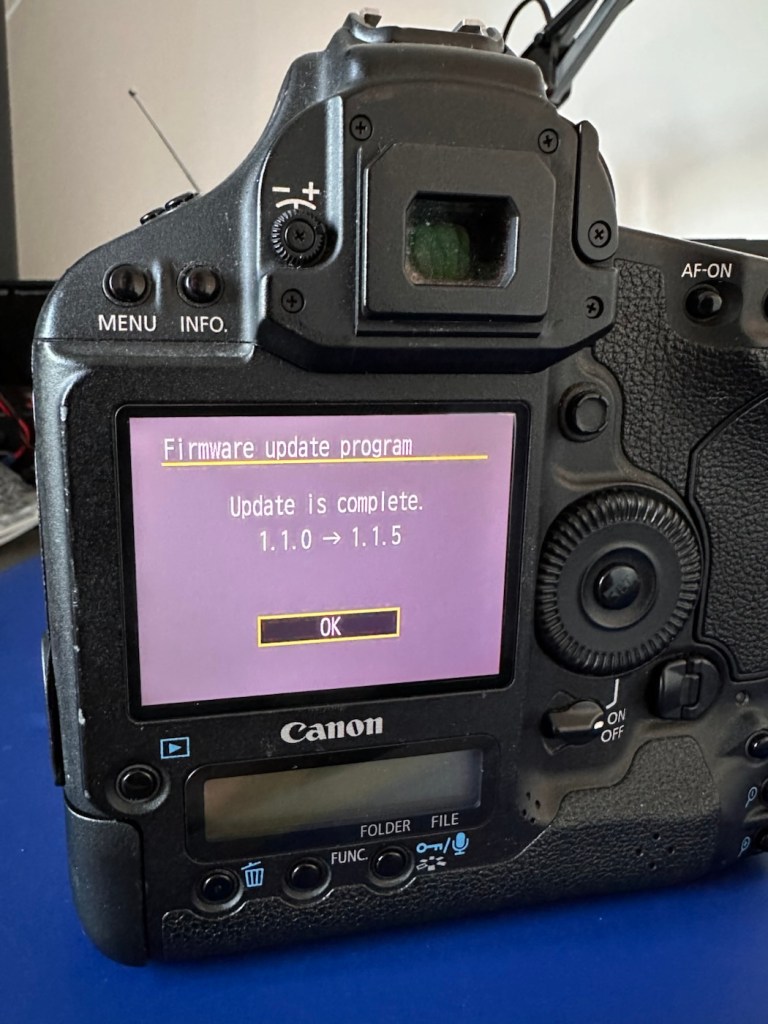
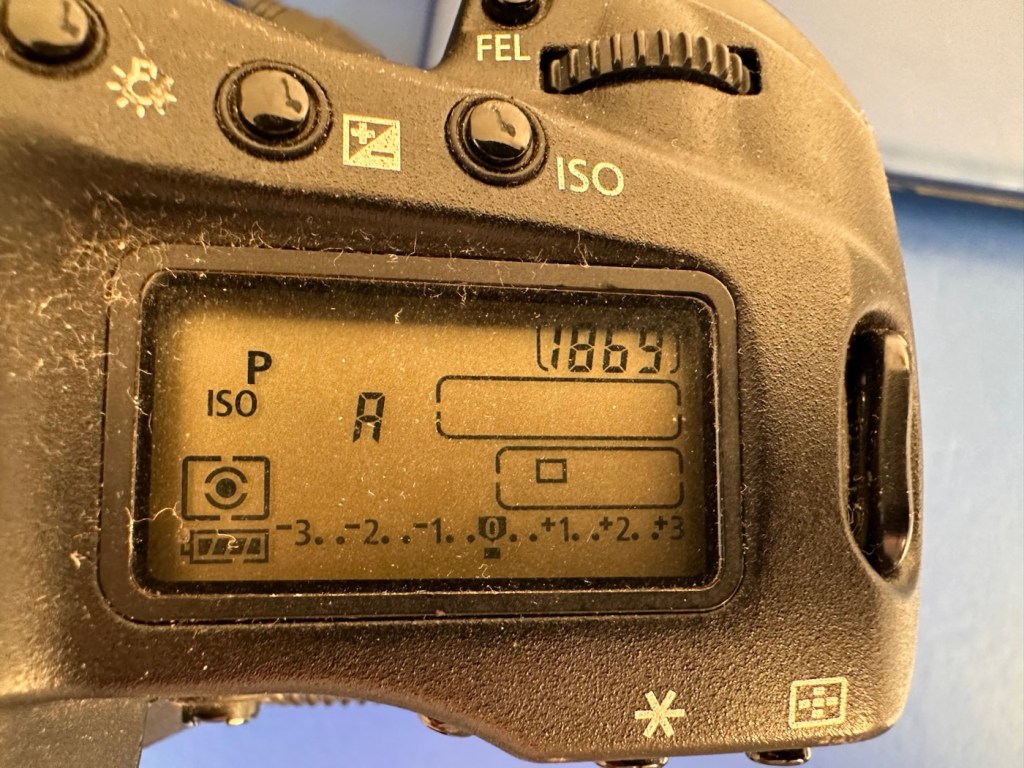
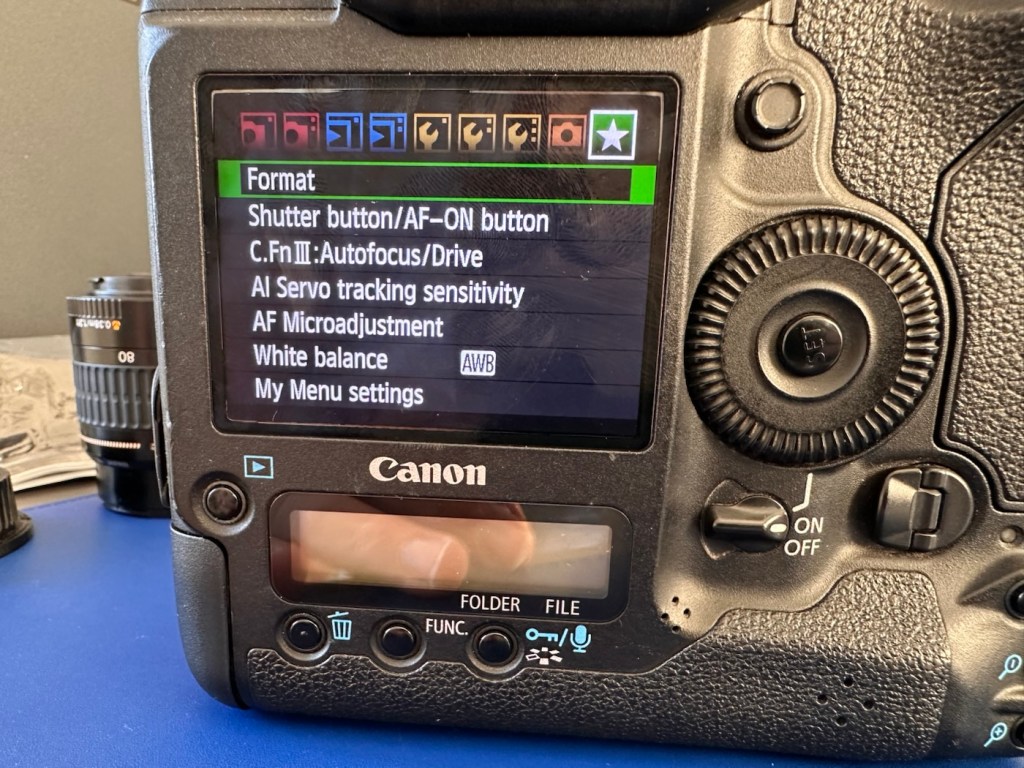
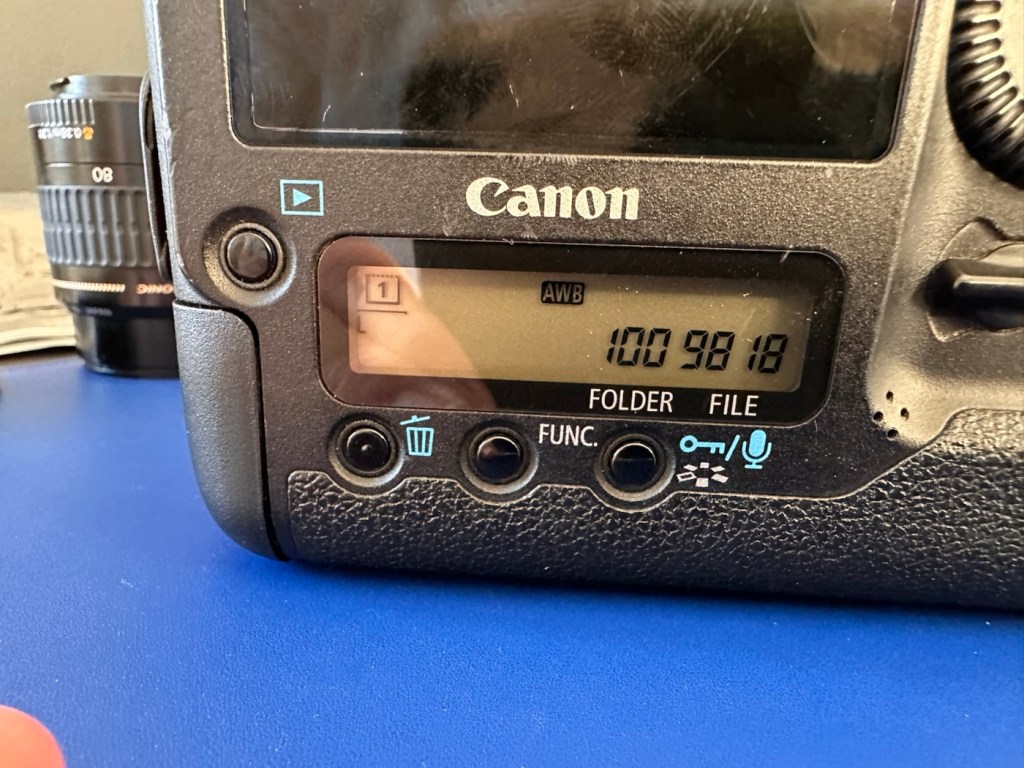
I want to check shutter counts and firmware versions, but to carry out these tests I really do need power in the units. Clock backup batteries are installed on these cameras and these will need to be checked to see if they are still effective as I’ve no idea how long ago they were changed.

Camera one:

Here are the pictures:

I can pretty much pinpoint the last time this camera was used, as in the CF card slot there was a 16GB card installed and when downloaded there were six photos on the card, below you can see two of these images.

The photos show a football ground, it’s the Queen’s Park rangers ground in London, and you can see the Stanley Bowles stand just to the right. The photographer is in the usual position where you would find sports photographers attending a football match. The exif data in the photo gives the date as 30th August 2022, and if you check records you will see that QPR were Playing Hull City that evening, and QPR were the winners 3-1. We have a date that informs us this camera was last used almost four years ago. Interesting isn’t it?

So of the two cameras this one seems to have had the hardest life, I very much suspect this one is the older camera (it is I have checked the Canon database and it’s construction date is June 2013, the second camera is October 2014) This date may seem contradictory due to the fact the production run officially ceased in 2012, It is very possible for a Canon EOS-1D Mark IV to have a 2014 manufacturing date, even though the camera was officially withdrawn in late 2012. Professional cameras often have long production runs that continue well after their retirement date. Cosmetically it appears the most beaten up and used, with a number of old press pass stickers in the pentaprism area. There are no signs though of deep gouges or cracked and damaged metal so I’m confident this camera has not been dropped. It has had a tough life. It’s a tough camera though.

The CF card and SD card holders are both in a good condition, both accept cards without having to use any force and all pins are in a good condition, I’m confident there are no issues in the memory card area.

The clock battery is accessible at the point where the main battery fits in to place.

The battery is a CR2025 lithium coin cell. When tested the battery has a value of 3.028V. This is a sufficiently good charge for its purpose and is good seeing that this camera has not been used for the last four years.

Holding a good charge

Moving on I’m looking in the lens barrel and the pentaprism and both mirror and viewfinder are extremely clean and clear. The rugged, bruised exterior has protected the delicate, clean and tidy interior. It certainly is a very well constructed camera.

All lovely and clean inside

The next thing I do is test the actual workings of these cameras, however that can’t be done until later today when the battery and charger that I ordered a couple of days ago arrives.

The battery and charger has arrived:

It’s here!

First thing I have done is to put the battery in its uncharged state, into the cameras just to see if there is life and the news is good with both. This Camera, number one has the following information.

Camera one information

It was the most beat up camera and it does have the highest shutter count at 283,976 actuations, the shutter life cycle of these cameras is 300,000 actuations as tested by Canon, so it is a very high count but still has a bit of life in it before it reaches the potential shutter count ceiling.

The good news is that this actual camera does have the latest firmware update of 1.1.5 so at least that doesn’t have to be downloaded and installed.

Battery now fully charged I have finally been able to put this camera through its paces test wise. And hells bells I’m so impressed. It was already set in quick fire mode so when I pushed the shutter button I was shocked to see just how quick this camera responded. It was rattling off shutter actuations at a breath taking 10 frames per second, wow, the sound was amazing!

10fps mode….impressive

It’s not hard to see why you can get such a high shutter count on these cameras with such shutter activity, it absolutely makes sense why these cameras are used in high speed activities such as sport and wildlife photography.

All displays are working as normal, all button actions and dials are doing exactly what they should be doing. This camera is in a good healthy condition.

As an older camera it is packed to the rafters with settings and possibilities, there is so much to learn around its operation, its capabilities and settings. It’s built like a tank, weighs a ton, makes a lot of camera noise that I relate with the good old days and I just absolutely love it.

Even the shutter bumper foam is in good condition and does not require replacing yet.

Camera two:

Here are the pictures:

Camera two is only 16 months younger than camera one, and you can see that difference in cosmetic condition immediately. The wear and tear on this model is considerably less than that found on its counterpart. This camera had no CF card inside so there was no way of putting a last used date on this one.

As with camera one there are no signs of the camera being dropped, no damage to the metal casing being cracked and no sharp dents visible. The Cf card and Sd card holder both take cards without any force having to be applied, and all pins are in a good order. I’m confident there are no issues in the memory card area.

The clock battery reading is a very low 4.5mV it is very dead. I have therefore replaced this with a CR2025 3V lithium coin battery reading a lot healthier 3.30V.

Clock battery reading, before and after

Again as in camera one, the viewfinder and mirror are both very clear and the lens barrel is very clean, having been protected by the rugged camera exterior.

Weird face in the mirror – it’s clean though

With the new battery that had just arrived installed, it kicks into life and I am then able to get the following information from the camera.

Camera two information

This camera in comparison to Camera one has a really low shutter actuation count of 72,186. The tested shutter count by Canon is 300,000 actuations, so this camera still potentially has a lot of life left in it.

The camera firmware will need to be updated to the latest firmware of 1.1.5 as it currently has a slightly older firmware installed of 1.1.0.

Ok, I’ve downloaded the firmware file and extracted it to the CF card I’m using in the camera. Let’s get it installed.

The camera firmware is now updated.

As in camera one, with the newly charged battery installed the immense high speed of the shutter is highly impressive. All buttons, dials and switches function as they should and all displays are clear and sharp in appearance.

All serviceable parts remain in a good condition, even the mirror bumper foam is in a good state and does not require attention yet.

Repair:

I’m now going to condense this section into a mix of both cameras. It’s a bit of an anti climax for anyone wanting to see a meaty repair post as that’s just not going to happen here. Both these cameras, though used and in one case extremely highly used, have both been maintained and looked after during their life. So for me my job has been easy, and going forward I will just maintain them in a similar manner.

A quickly shot image indoors

I see absolutely no point in tampering with them now, they are working just fine and are in a perfectly good condition. Their construction is so solid with their metal weather sealed bodies, that the last thing I want to do is compromise that construction and security just to fill space in a post..

A quickly shot image outdoors

All I’m going to do at this point is polish both cameras. Camera one with its beaten up body and press pass stickers is just going to stay like that, I want that to remain as a constant reminder of its use, and its purpose as a high usage press photographers camera, it’s a work of art in itself and that’s how it will stay. Camera two, again will jut be polished, it’s the more acceptably presentable “Cosmetically” camera and with its lower shutter count and will probably be the unit i will concentrate on using myself.

A few pics from the two of them:

I’m only using very basic test lenses on these units and I must admit, even with basic optics the visual returns are quite impressive. The colours are so rich, and I love that there is also the setting to do some pure black and white shots if you so wish.

This is my new (Old) favourite camera. Why do I just fall in love so easily ❤️

When these cameras first came out they were commanding a price of around £4,000.00GBP and people were more than happy to pay that cost.

Here I am a few years later and I have been gifted two of them for the grand old price of…..Nothing.

I’m a lucky old fellah I’d say.

Result:

I present to you, two wonderfully heavy, cumbersome, noisy and beautifully constructed pieces of photographic history, and both are an absolute joy to behold.

My new long term relationship has just begun (Don’t tell the wife 😂) and I am so looking forward to getting these cameras out to a sports or wildlife watching event. To many, I know they will say, why do you want to carry one of those around, why not go mirrorless? Well, I’ve got that gear as well but I hardly use it. I’m an old 80s-2000s guy who loves the old technology, just like I love old noisy aircraft, I love to hear a camera working, it puts a smile on my face. And the chances of me owning one of these beauties when they first came out was an absolute zero. Now I have two, and I have some serious catching up to do.

Thanks for passing by, as always it’s very much appreciated.
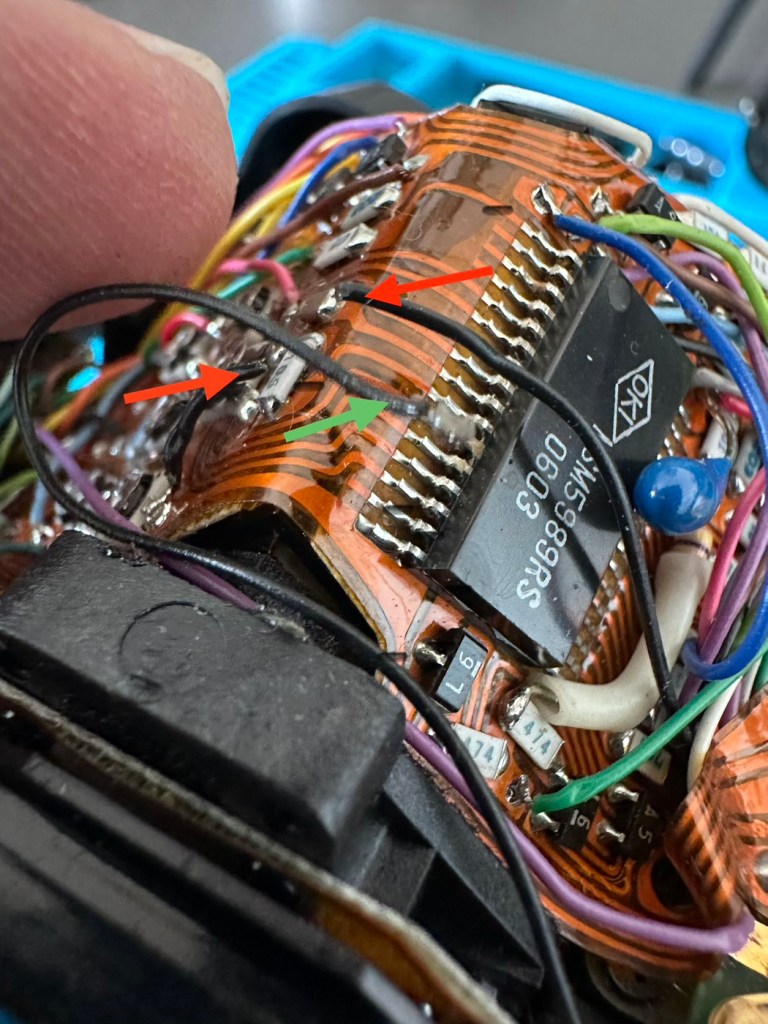
Stay safe.