I have tonight added a new gallery to complete the Halina A1 Reflex renovation I completed in August of 2023. The gallery can be found by using the links in the margin or by clicking HERE.
Negatives on light tableNegatives on light table
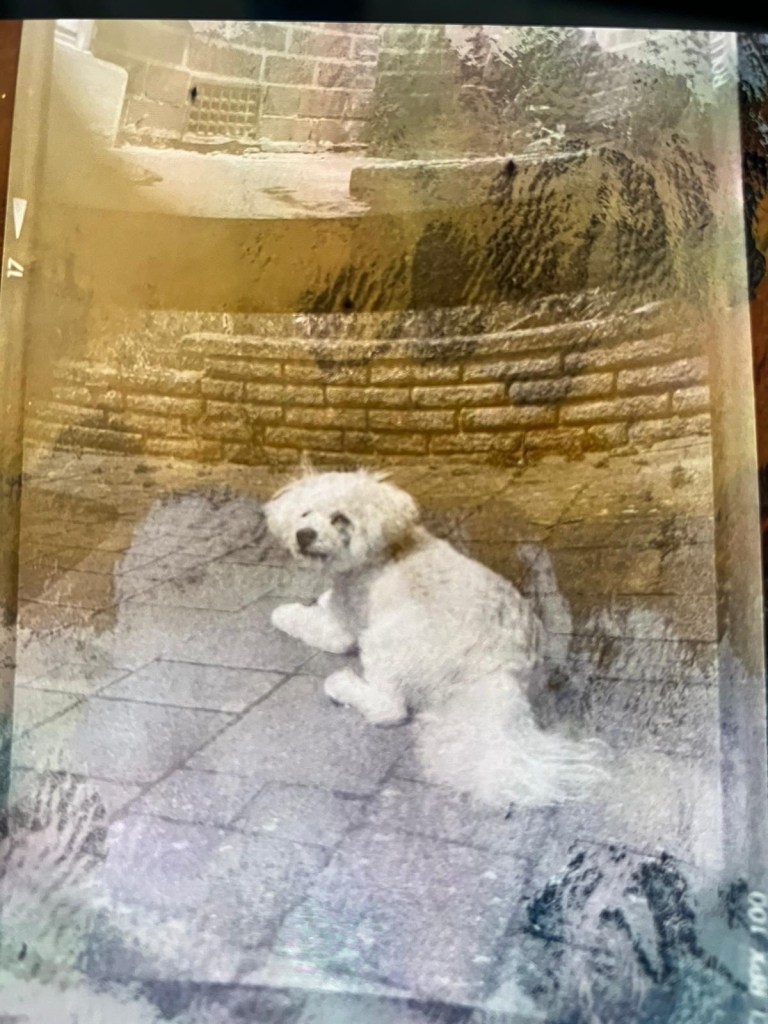
As I don’t have the correct mask for my scanner I have had to go about getting the photos on the site in a peculiar way. Firstly I take pictures on my phone and then invert them to get a positive image, an action that I discussed in a previous article that was posted HERE.
Please don’t expect anything too fantastic, it was a test roll and mistakes were made, but a lot of enjoyment was had getting the results.
Following on from yesterdays post regarding fogging on negatives. If you remember I’ve lost the mask for my scanner so I’m currently unable to utilise this service.
The Negatives waiting to be scanned
However I had some time and took to the internet to find out if there was a way to view in the short term until I found the mask for the scanner. It appears the phone you have in your hand can more than likely do the deed without having to down load any apps.
Now I have an iPhone, however the same is also available on Android but I’ll stick to the iPhone route. It’s all about inverting colours
Firstly venture to settings, Accessibility, Accessibility shortcut and then choose classic invert. A tick will appear by your choice and then just come back out to the Home Screen. Now every time you triple click on the side home button the screen colours will invert.
StandardInverted
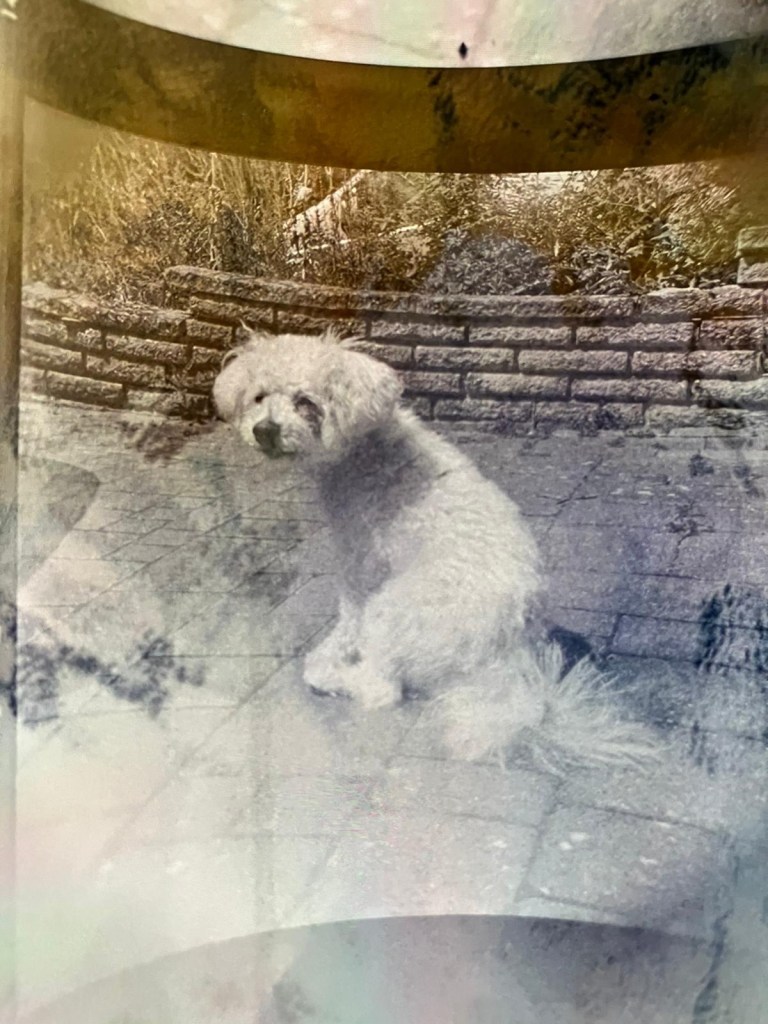
Now if off you triple click again the colours go back to standard. Well I’ve tried this on the same negatives above from yesterday and it gives you a good idea of what you are going to get. These pictures are direct inverts of the negatives at the top of this post with no cropping or adjustments, I just wanted you to see the possibilities you have available to you in your hand. If you use a light box and some glass I’m sure you’d get quite acceptable results.
Negatives all inverted
Great little tool for those old negatives you have laying around that you were thinking of getting printed but weren’t quite sure.
Hey hey, I’m back. Well, after my previous rant I thought it best to get back to normal or as normal as can be achieved so here we go.
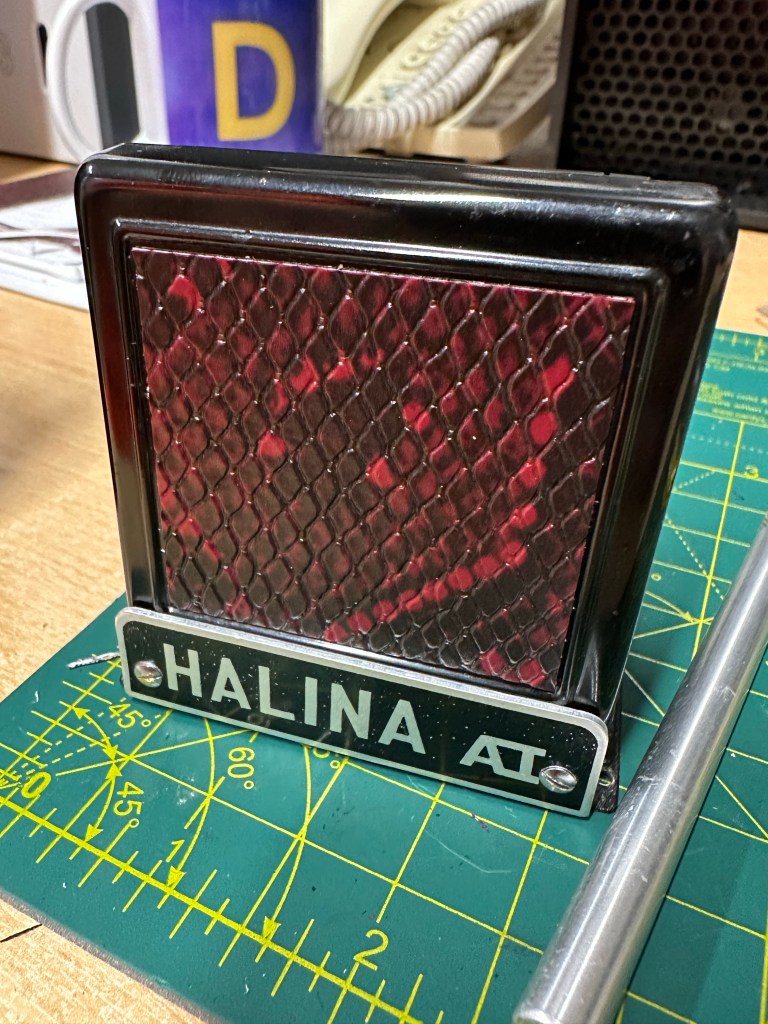
If you remember a few posts back I took on an old Halina A1 Reflex cheapo camera from the 60s. It was in a bit of a state and had seen better days. It had a full refurbishment with lens fungus removed, shutter mechanism repaired and a new leatherette finish put in place to tart it up. It looked quite nice and I was quite pleased with the outcome.
Halina A1 Reflex and exposed 120 film
However that is all well if you want to use it as display piece or a bookend, but I wanted to see it work.
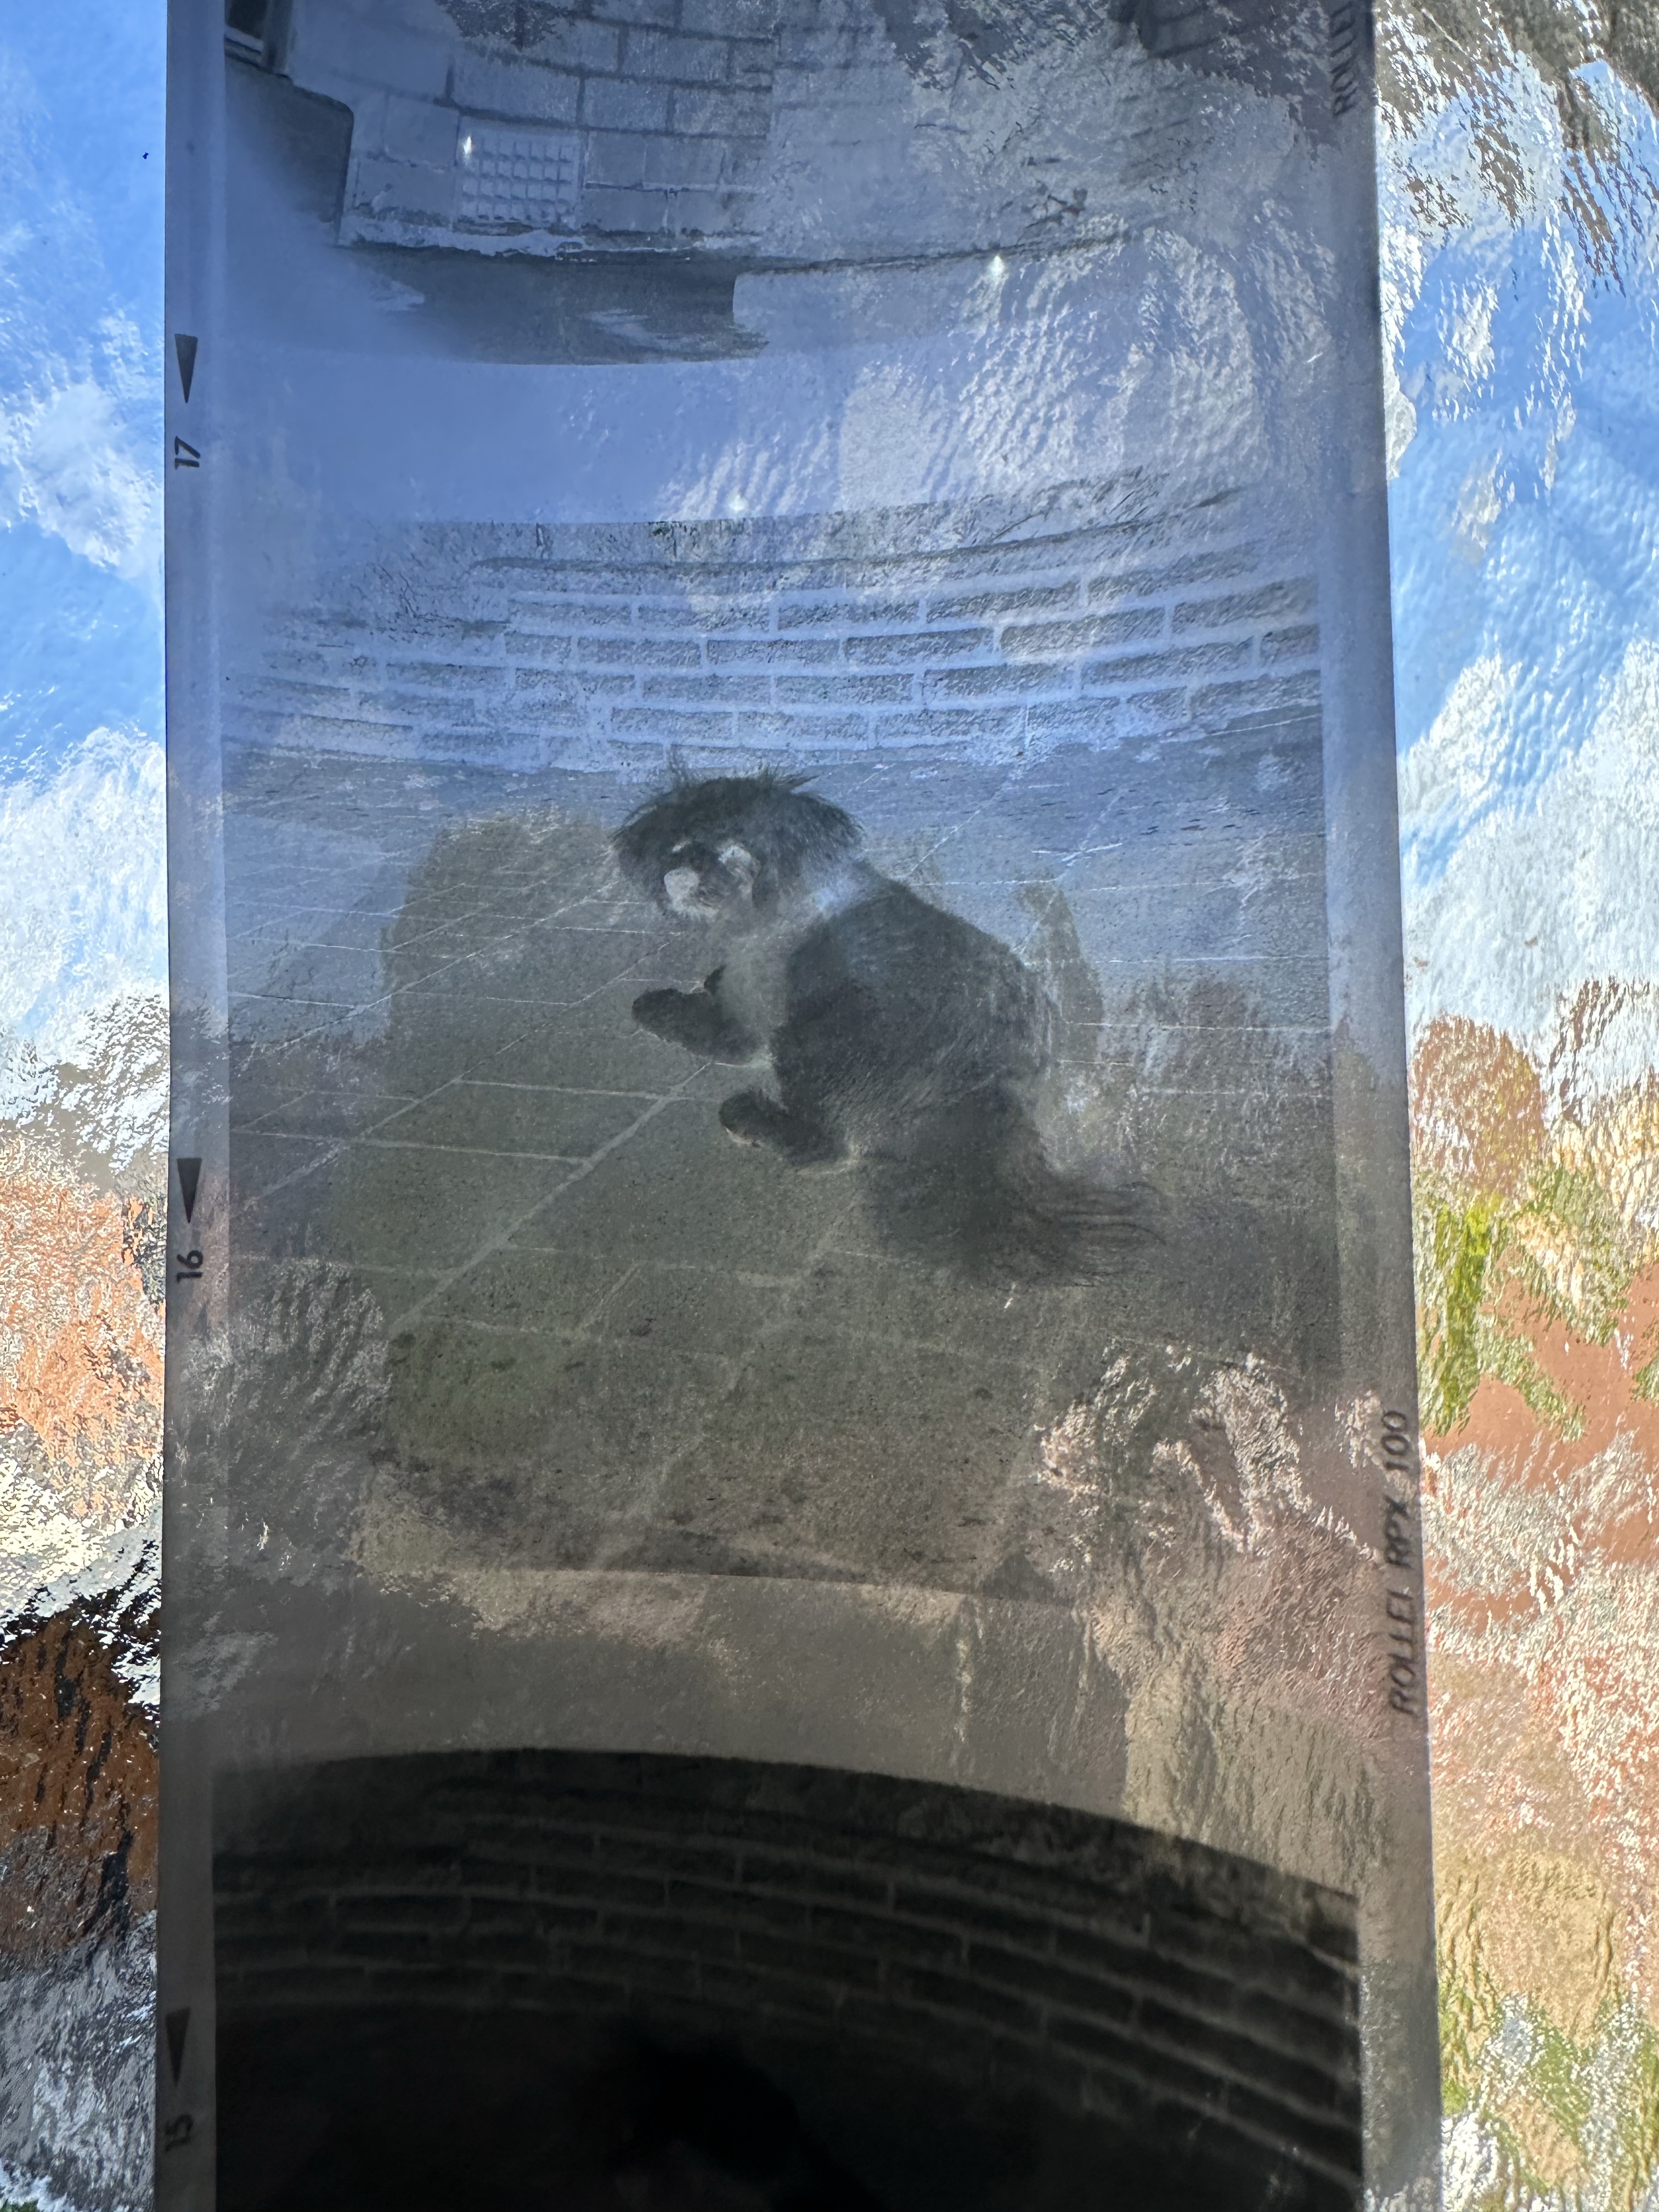
Over the last few weeks I’ve had a roll of 120 B/W film (Rollei 100 RPX) sitting in it using it once in a while whenever the weather was right, and light conditions sufficed. Seeing that I’d replaced the light seals I wanted to check whether there were any issues there and as a result of todays development of the roll this could be an issue.
Paterson tank
When exposing I’ve forgotten to wind on a couple of times, but in general i seem to have got it right. The wind on is ok and the displays in the window are visible. Barring some double exposures the settings on the lens seem to have done their job, I seem to have set both lenses up correctly so I’m happy with that.
The film has an over all visible darkness that points to fogging. I think I might be responsible for this to be honest, I was a bit too impatient to get the roll loaded into the Paterson tank, I had a duvet over my head but the strong summer light was evident for the first time in ages in the East Midlands, and I shouldn’t be able to see the developer spiral….but I did briefly. Not good.
You can see the background fog
That being a problem I really do need to run another film through the camera to 100% check the light seals and then develop in the appropriate conditions.
I was silly here but another lesson learned. Be patient, don’t rush things and just do things properly.
I’m pleased the camera works, I’ll be able to get some pictures off the negatives and what I can see through a Lupe looks promising.
My 120 mask on my scanner has gone missing, so the pictures might be a little while before they make an appearance. I have another roll of film though so I’ll get that in the camera this week and get busy, and when it’s dark I’ll develop the film….properly
Have a wonderful day everyone thank you for passing by, stay safe and smile it uses less muscles than a frown 😂
Today I watched a program on TV and a guy actually restored an old camera, he fitted some new leather to an old Kodak camera and it seemed relatively easy. Now I always try to do things the difficult way and look for perfection in every thing I do, that’s my down fall at times as I can sometimes set my personal barriers too high. Perfect is good but not always achievable, sometimes you just have to do your best, what more can someone ask of you?
What I’m getting at here is that this is a task I have been putting off, putting more time into planning what I’m going to do rather than just getting on with it. As I’ve stated a number of times on this blog, you only learn by your mistakes and as this is my first time doing this task, I’m just going to do my best and learn – knowledge is king 👑
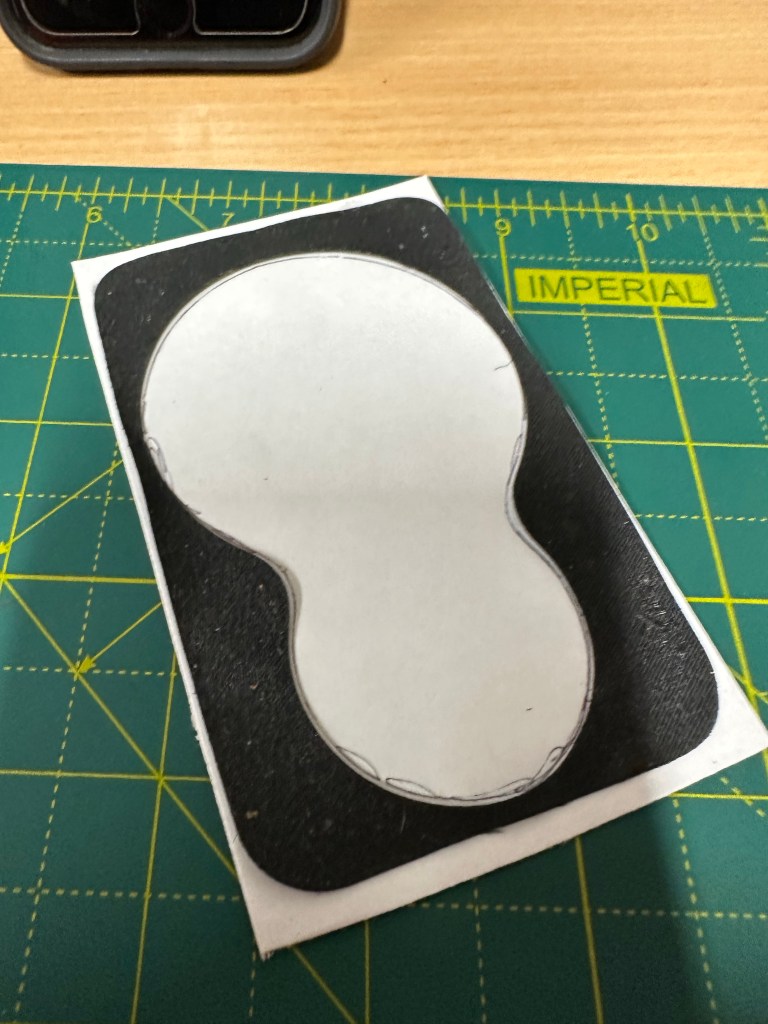
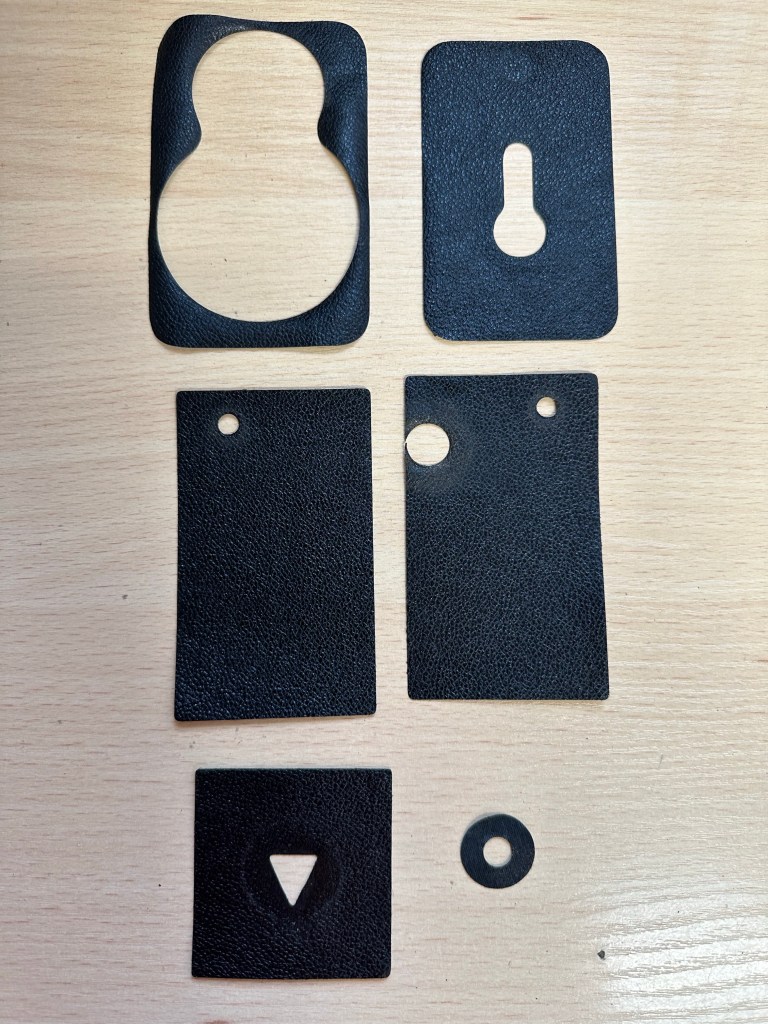
After removing each old worn piece of leather, I made a template. Using a glue stick I was able to position the templates on the leatherette trace around it and then cut out using a craft knife and scissors.
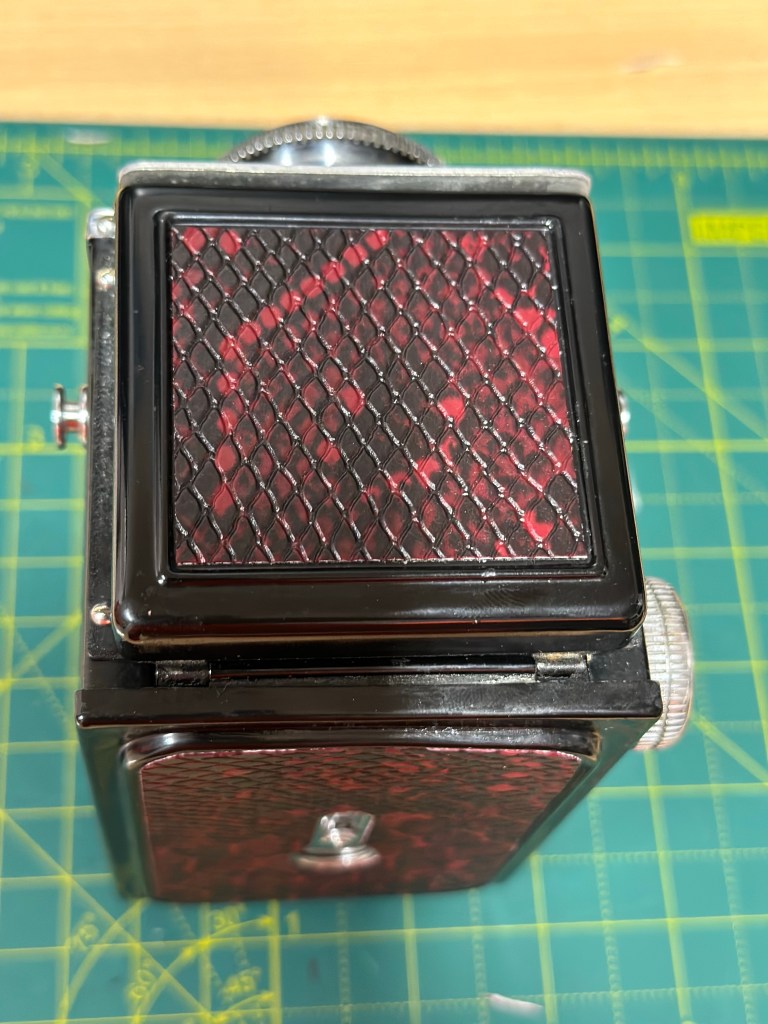
Leatherette templateHalina A1 Reflex top viewHalina A1 Reflex left side minus fittings
I shouldn’t have worried as the whole process went really well, the leatherette was easy to manipulate and cut well. The one learning point is that in the future I will source a punch to do the circular pieces that went on the external wheels as it’s a bit cumbersome trying to cut perfect circles with scissors, though not impossible.
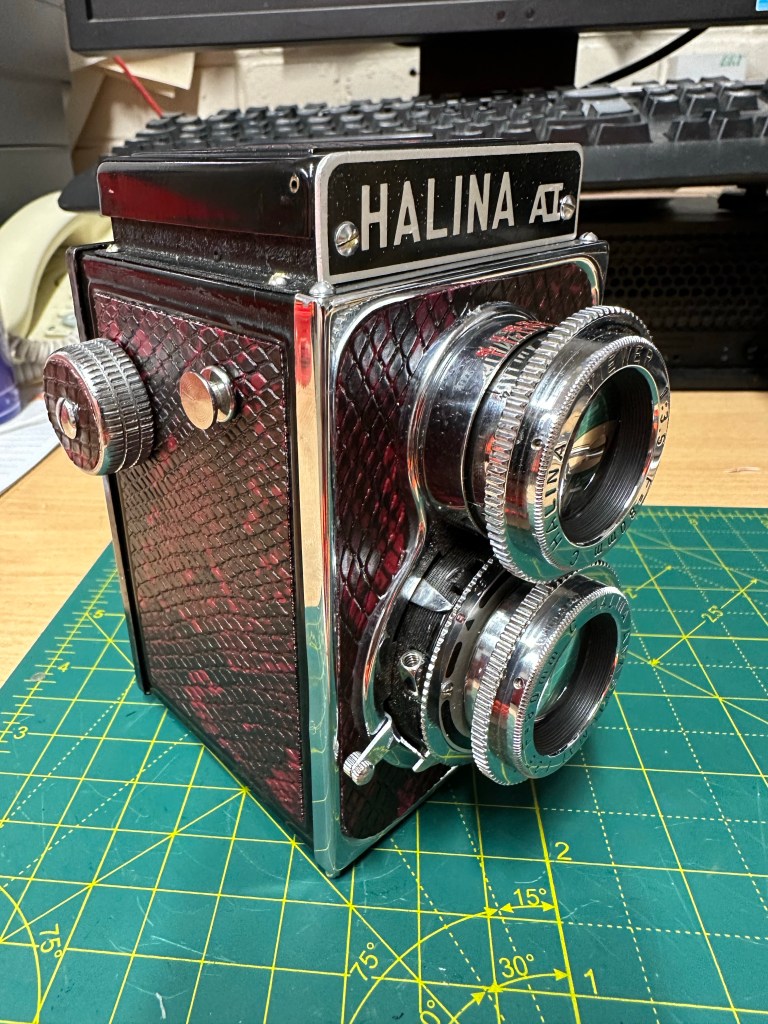
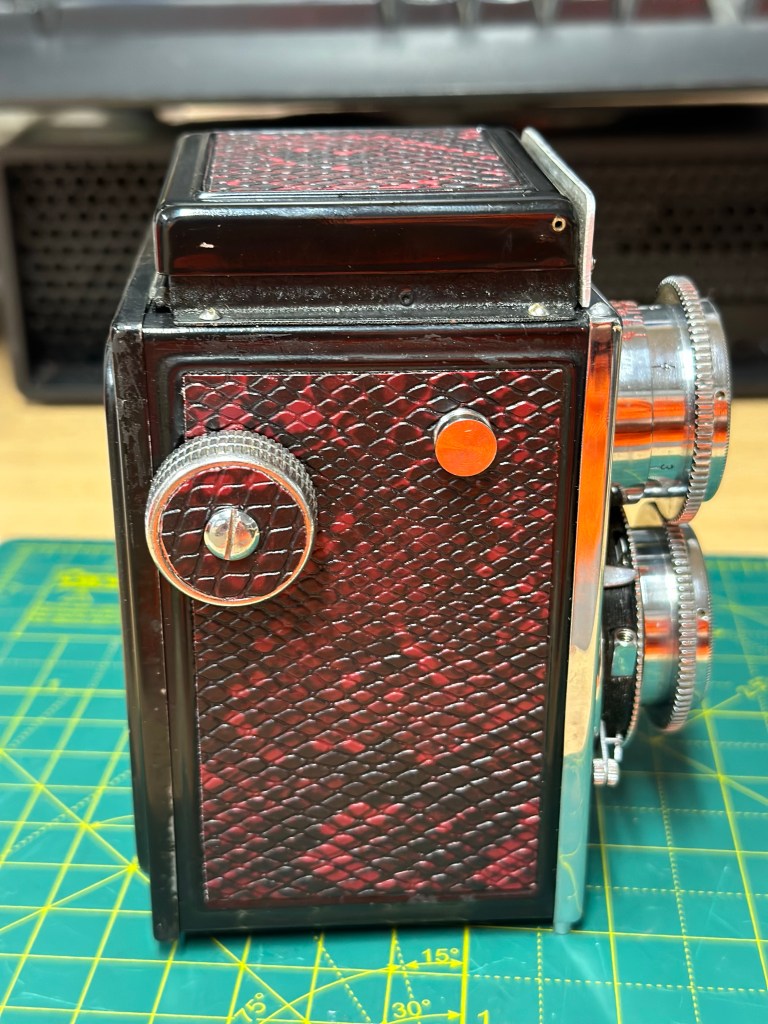
Halina A1 Reflex side on viewHalina A1 Reflex right sideHalina A1 Reflex left sideHalina A1 Reflex rearHalina A1 Reflex front view Halina A1 Reflex right sideHalina A1 Reflex top viewHalina A1 Reflex bottom view
I am really pleased with the new leatherette, it’s totally changed the look of the camera. The fact it is clean and lenses are functional and shutter works as it should is testament to the hard work I’ve put into this camera. I plan to run a film through it shortly as I do have a couple in the fridge at home for this purpose.
BeforeAfter
Today I’m looking at cleaning the case and polishing it up. I doubt I will do much more than that and then I can put this project to bed. Once the case is done I will put final pictures up here on the site.
A quick run through….
Once again thanks for dropping by. You know it’s greatly appreciated 🙏
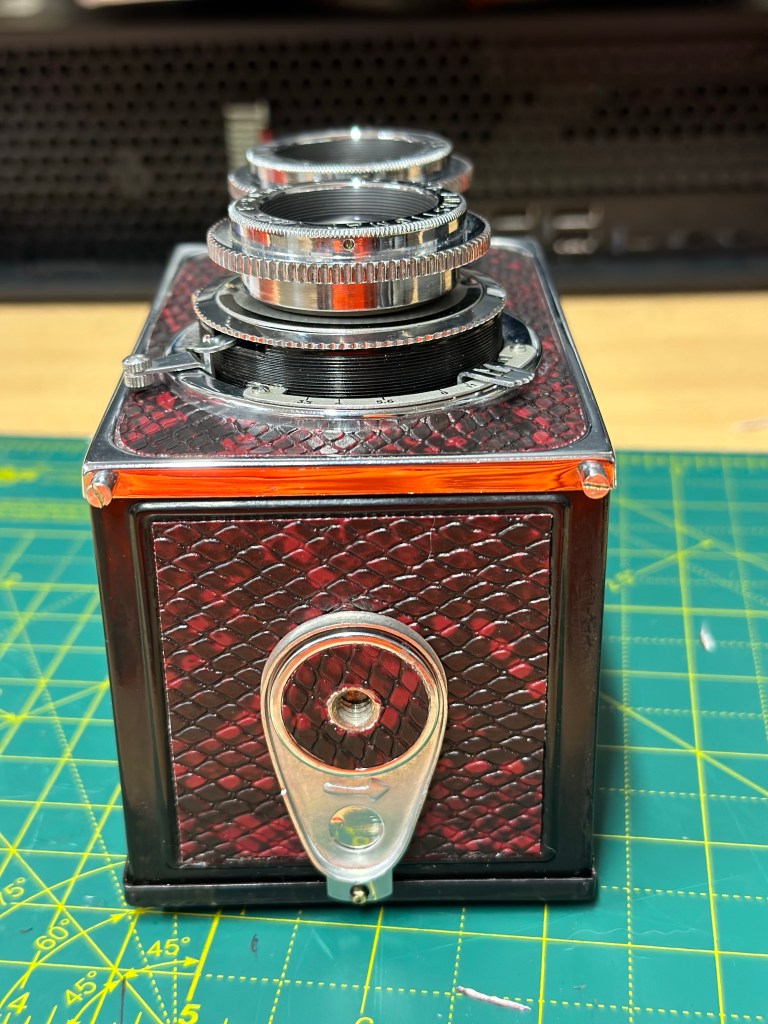
The loose hinge on the rear door has tonight had a two part epoxy resin glue put on it and is clamped for the next two hours to ensure it is sufficiently secured for usage. Fingers crossed this should work.
Door hinge repair
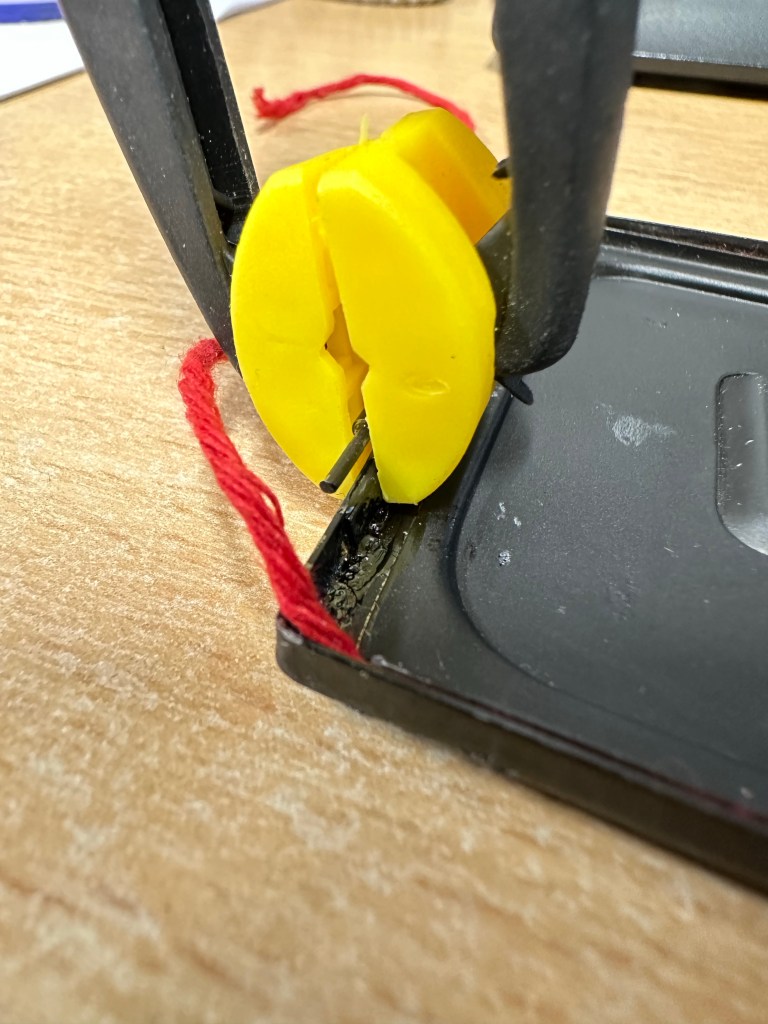
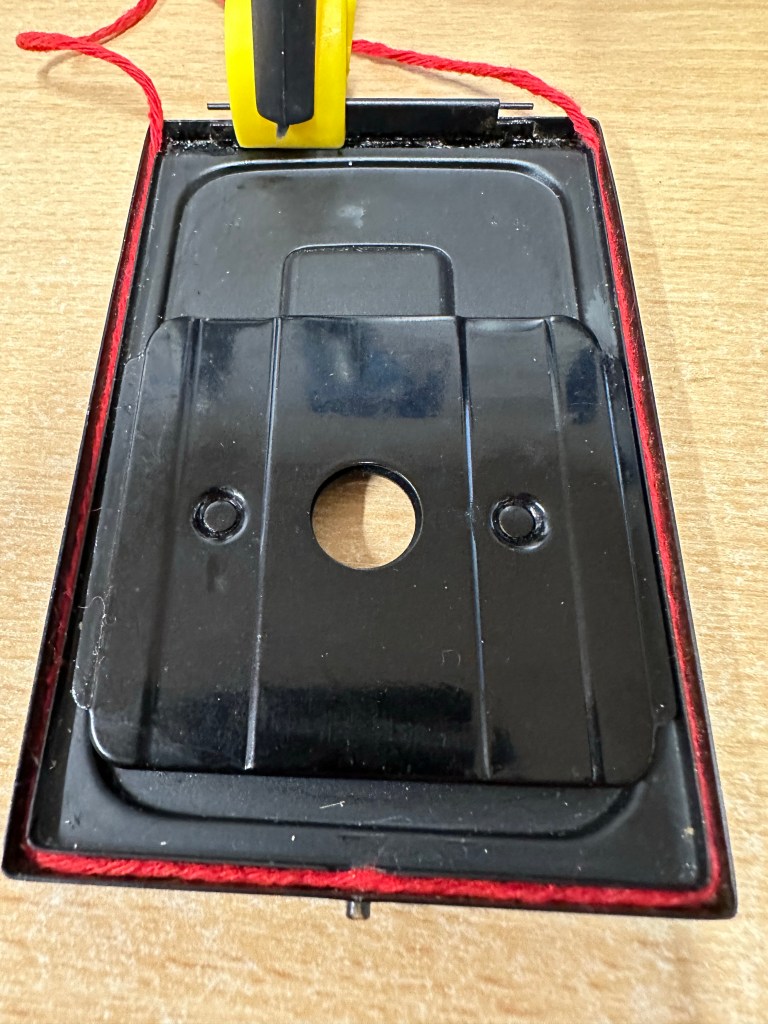
Also the original light seal on this camera was simply string. It was black originally but seeing I have no black available and in the interest of recycling what I already have I have replaced, in keeping with the original design like for like. Yep it’s red but it’s not going to be seen anyway, is more than up to the job and the new skin will have red on it anyway so it will be complimentary in that aspect of the renewal.
Installing new rear door light sealRear door light seal replacement
I don’t have anymore to do tonight, if this all works out well and the hinge is sufficiently strong enough then I can start reskinning and reassembly.
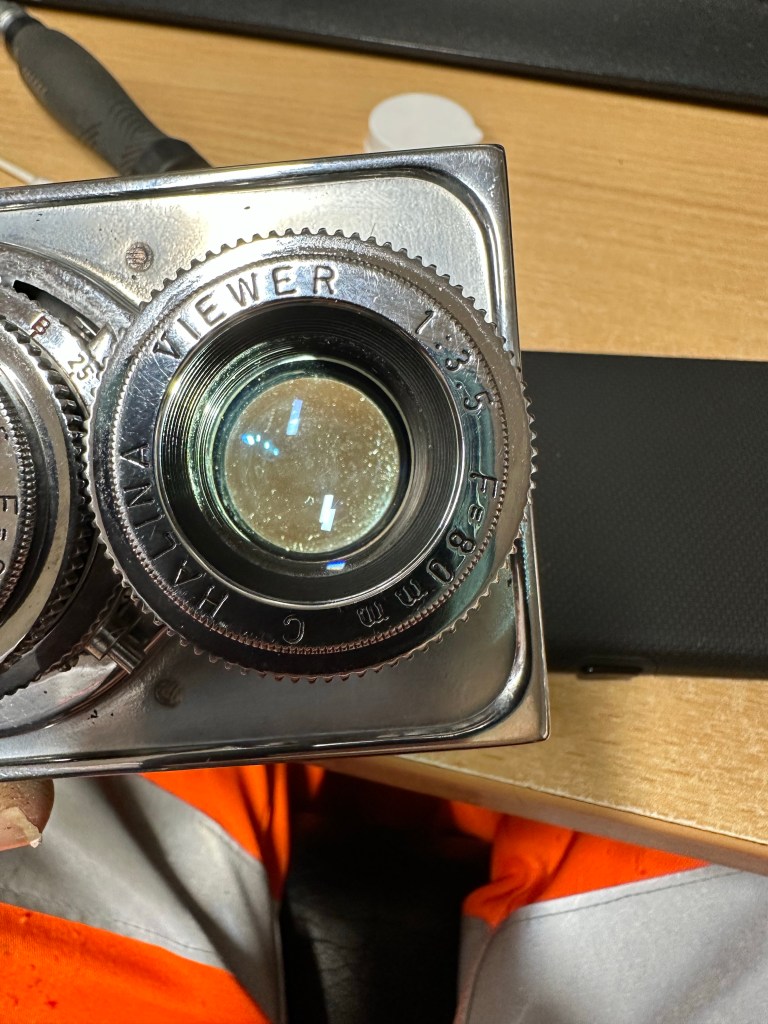
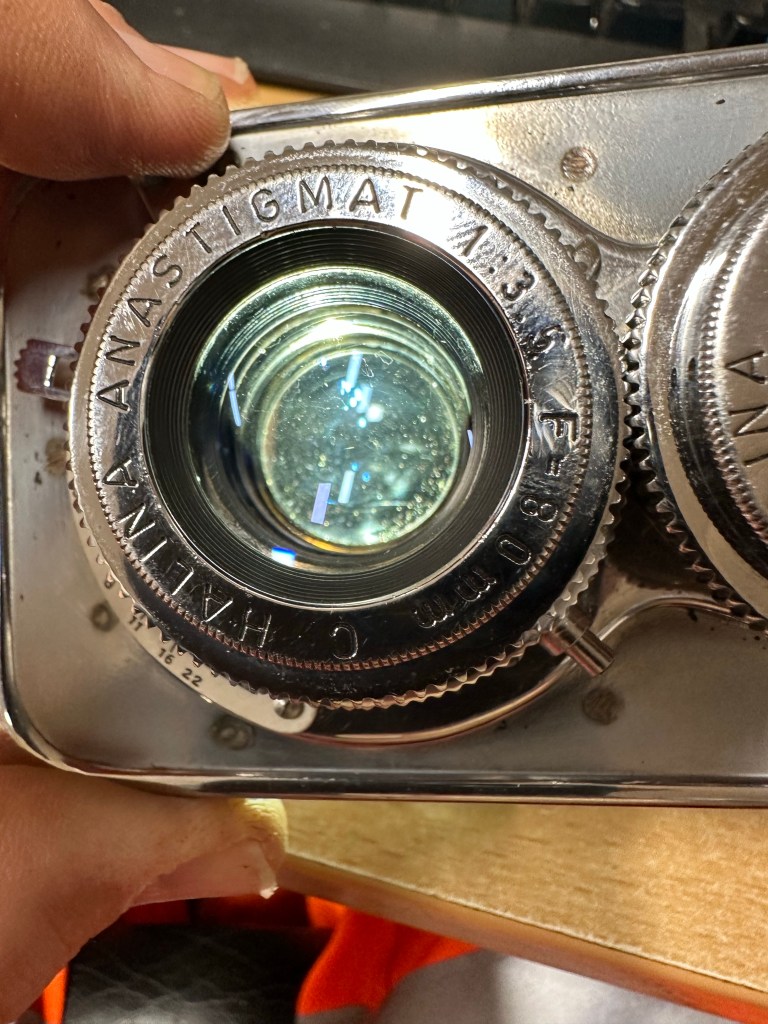
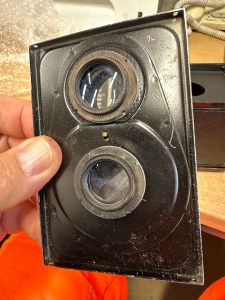
So tonight I have brought my smallest set of screwdrivers and other tools in to work to continue work on the old Halina project I have been immersed in. Tonight between jobs I intend to deal with the fungus issue on the taking lens.
Fungus removed with peroxide Halina A1 Reflex viewing lens
I have previously removed the camera faceplate and the two lenses are connected to this. On the rear of the faceplate is a brass connector that when removed allows you into the back of the taking lens into the shutter curtain and aperture curtain.
This allowed me to dry clean as such both curtains and I used a little graphite dust (tiny tiny proportion) to lubricate both curtains and finally after many years allowing the shutter to work as it should. A good blow with some compressed air dealt with any remaining dust.
With the setting on “B” I was able to access the lens element in front of the curtain, this was cleaned with a 50/50 mix of peroxide and distilled water to remove the offending fungus. I allowed this to dry and lightly polished the element with a cotton bud when dried. Again compressed air was used to finish.
Halina A1 Reflex Lens fungusHalina A1 Reflex taking lens minus fungusBefore and after
I repeated the above for the other two elements of the lens (this is a three element lens) and then did the same with the viewing lens.
When reassembling it’s important to ensure the elements are fully dry. The elements were all wiped over before reassembly and given a last blow prior to being resealed and checked with a bright light.
Fungus removed from Halina A1 Reflex
This was the job I was most concerned with but thankfully it went well and I am pleased with the outcome. The fungus issue has now been eradicated and hopefully it will stay away. Just a couple of little jobs to do now prior to reassembly of the camera and we can then put the new leatherette on the body.
Working tonight, and between jobs I’ve managed to do a few of those little tedious jobs that still need to be done on this camera.
I’ve cleaned pretty much all the parts again, used some isopropyl to really get the old ingrained dirt away and have retouched with either a gloss or Matt paint depending on what part of the camera needed touching up.
Halina A1 Reflex black paint touch up Halina A1 Reflex film box
I’ve also replaced some light seal and still have a bit to do on the roll film door. I’ve also reassembled the mirror assembly after each little part of it has been thoroughly cleaned.
Halina A1 Reflex new light sealHalina A1 areflex mirror reassembly
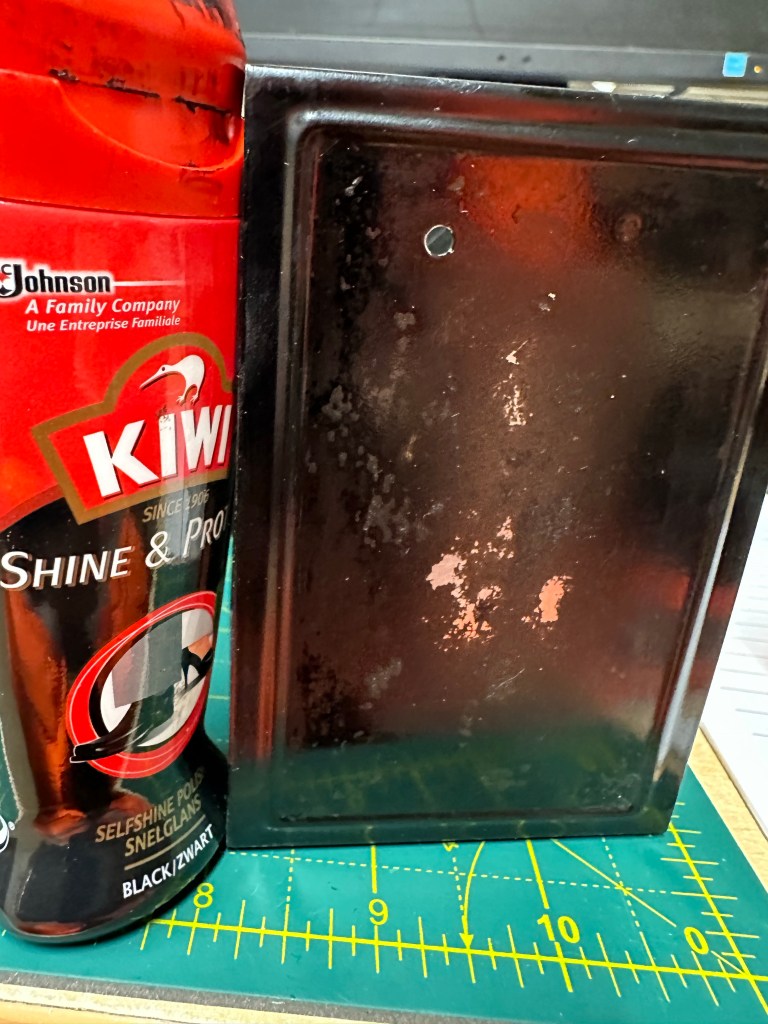
The smell of age that has always been an issue with this camera continues, however I have had a bit of a breakthrough today with the camera itself, it’s a strange one but it seems to work. Once the painting has been done I’ve used a cloth soaked in black shoe Polish to coat all metal areas of the body. Once this dries I buff up with a dry cloth and hey presto not only does the retouched paintwork come up lovely it now has a polished smell that has taken the dank smell away from the bodywork. Hopefully fingers crossed this can be used to combat the years of damp smell that has accumulated on this piece.
Shoe shine….All the silver bits cleaned
Finally I have taken every shiny piece including screws and cleaned these as well, I must say the cleaning works and these parts have all come up lovely.
The case still needs attention, I’m fighting years of damp and staleness with that and hopefully will have an acceptable solution for it soon.
I still have to get into the lens and sort the fungus issue out, there is a hinge on the roll door that needs fixing and I then need to use the templates I created last week to cut out the new leatherette for the camera. Still a small amount to do, but I hope to be able to reassemble very soon.
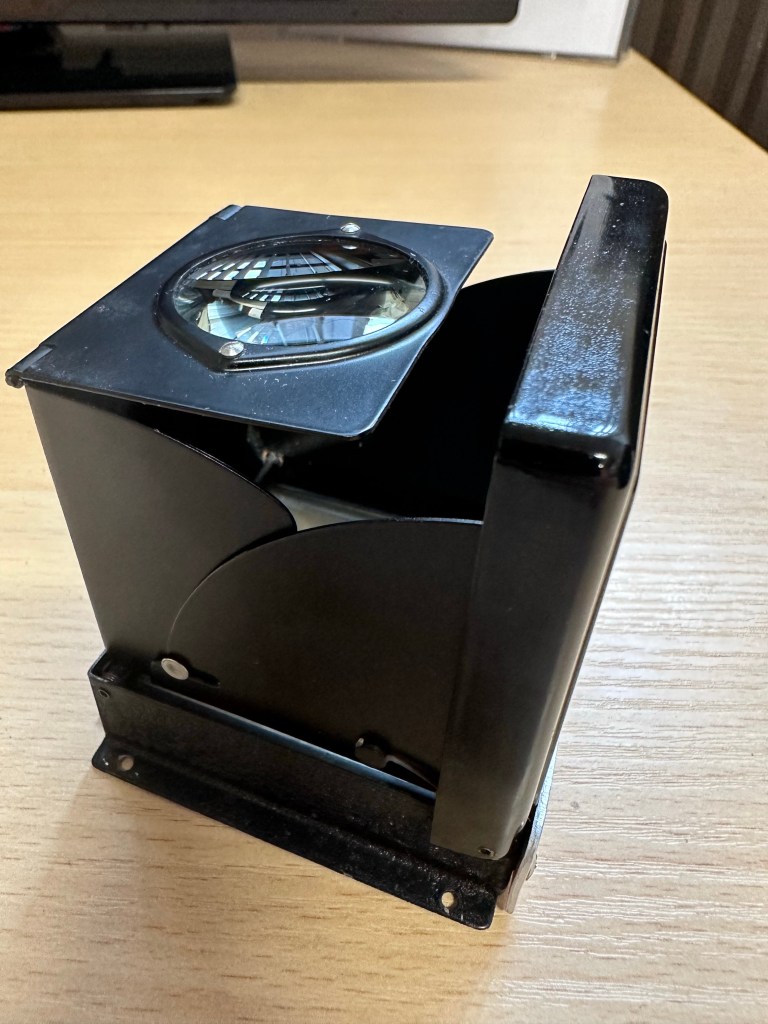
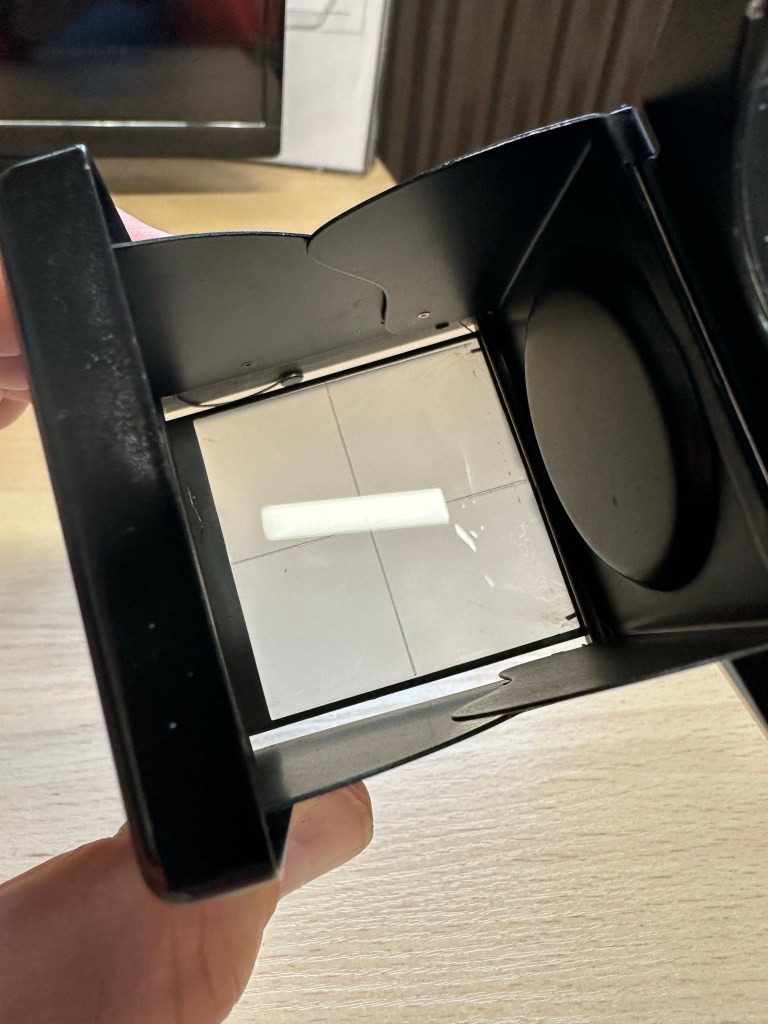
Just an update of what’s going on with the old Halina TLR.
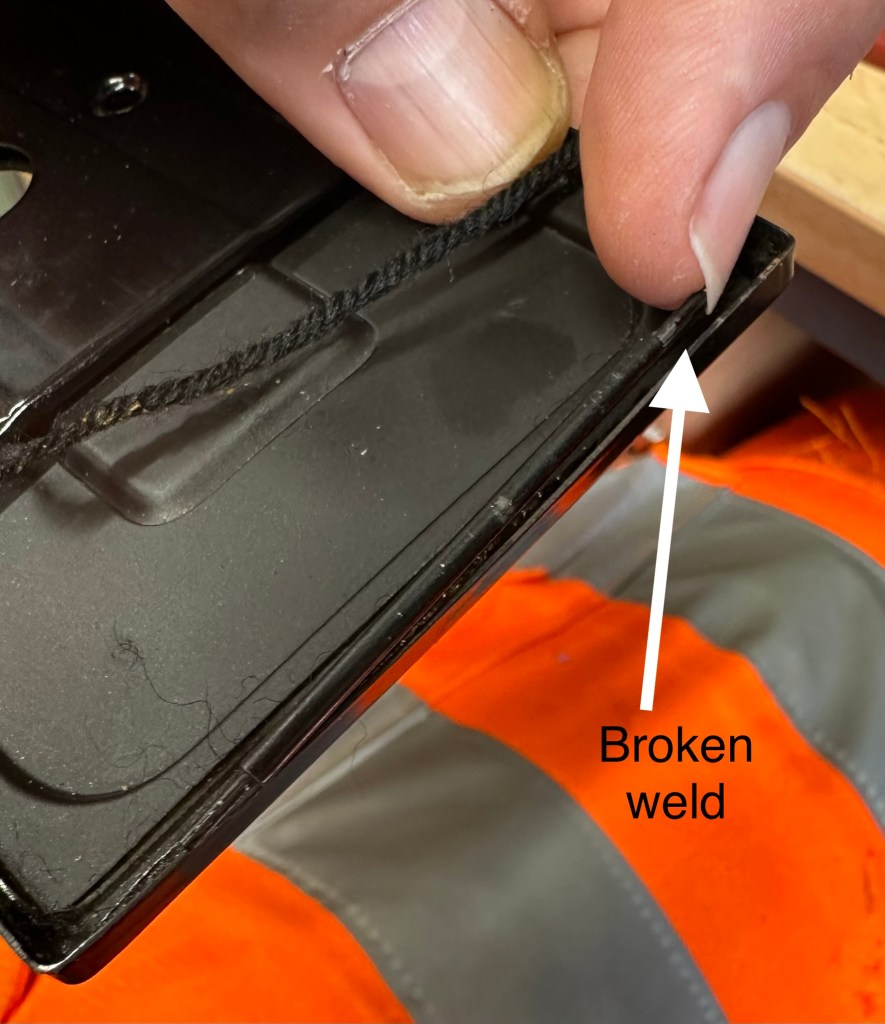
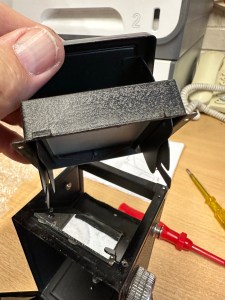
Today I have tinkered with the ground focus screen, and hood and related springs and hinges. the majority are fine but I’ve found a hinge on the rear door that has a broken weld on one side, I discovered this as I began to clean the old light seal around the back door prior to putting some fresh seal in place. I’ve stopped at seeing this as I am going to put a repair in place so as not to stress the other side of the hinge that seems to be holding. Another head scratching moment whilst I seek a solution.
Halina A1 Reflex broken door weld
The focus screen required me to remove a couple of 60 year old springs, this went well, they are ok and I’ve cleaned them as well. The ground glass screen has been cleaned as well as all surrounding metalwork and hinges and all looks good. All went back together with no real issues.
Just preparing for cutting the new leatherette for the camera, today I have just made some templates and measurements for the eight pieces that need to be cut for this camera.
Halina A1 Reflex new skin templates
Stage one of ridding the case of the dank musky smell has begun today. It’s sitting in the sunniest place I can find on a shelf at work, and in a week or so I will be placing it in an airtight bag with some silica gel packets and some suggested fragrance for a further couple of weeks to see what happens.
Currently still awaiting the right time to open the lens up and start removal of that lens fungus.
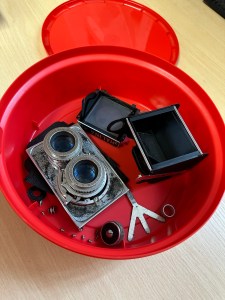
Yes. You are right the picture is of a chocolate box and not an old camera. However today in a quieter period I have dismantled in it’s entirety the Halina A1 Reflex camera – the smelly one that’s right 👍
Halina A1 Reflex in a chocolate boxCamera in a chocolate box
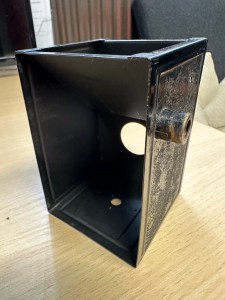
The lovely thing about this camera is that it is easy to dismantle right down to its original body shell as most of the parts are held together by screws and not rivets. This has allowed me a lovely scope for putting new leatherette on the body as I’ve been able to move all winders, locks and strap holders giving me a naked body as such to work on.
Halina A1 Reflex shell Halina A1 Reflex shell Stripped down to the body shell, minus leather
However the old leather has been kept to be used as templates for the new skin that will be attached. Firstly though it’s clean, clean, clean to remove the old adhesive and to replace some light seal within that is literally just two black pieces of string, I will upgrade this with some new up to date light seal though. I will clean everything removed today and only then will I attempt reassembly.
The lens assembly is going to have to be opened and recalibrated as I need to get inside to treat that fungus that was reported in earlier posts.
Halina A1 Reflex old leather panels
I have damaged a couple of small screws here that I will need to replace, couldn’t be helped as they’ve probably not moved since the day the camera was assembled. Nice to be able to do this project in small chunks due to the ease of disassembly. May need to get another sheet of leatherette as the sheet I have may not be sufficient for this task.
Only problem is still the stale old smelling case…but I’m looking into it and will share what I do with it at a later date.
Managed to get the shutter firing after a while of blasting with compressed air and constantly cocking and firing the mechanism until it clicked into life. Probably stiff due to not being used for a number of years and left in storage. When I get the unit apart I will help it along with a little clock oil.
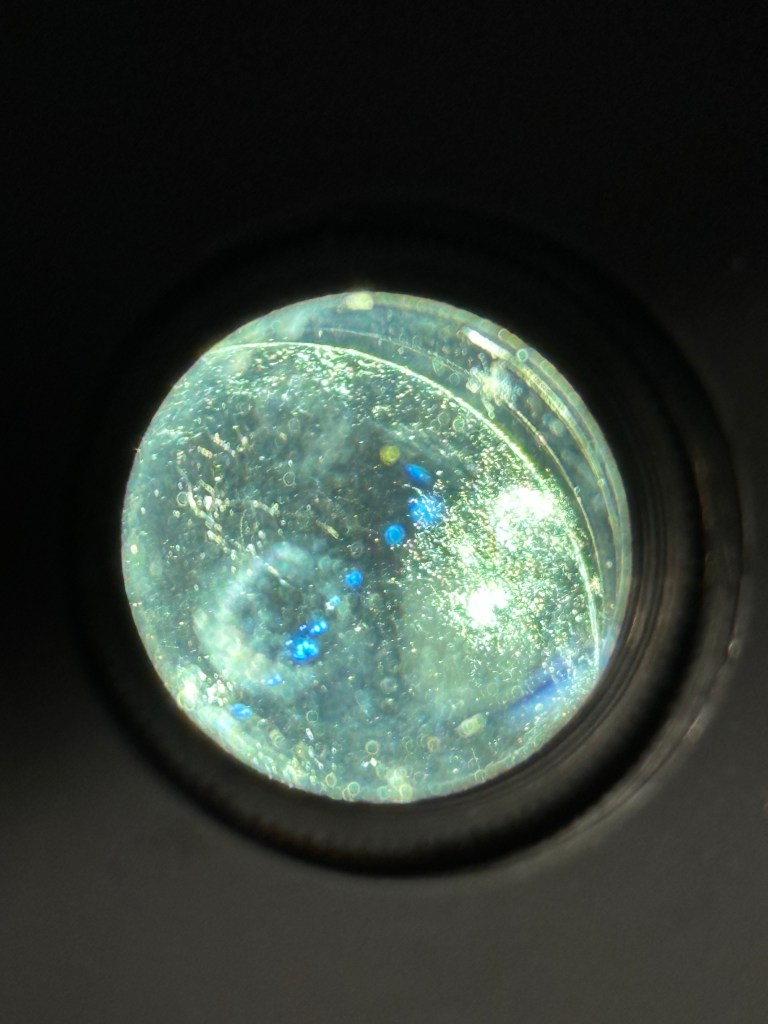
Halina A1 Reflex lens fungus
When shining a light through the back of the camera with the shutter open the fungus issue on the lens is most apparent, this is a three part lens I believe so it’s going to take some time and patience to achieve, but it’s do able, but it will have to wait a while.
Shine a light for all to see…..fungus
So I’ll leave you with this for today, the smell of years of dampness invades when ever I get this camera out of its box and to be honest I think that will be my biggest challenge with this unit. Any ideas and tips on how to assist with this problem gratefully accepted 👍


You must be logged in to post a comment.