

I have used many brands of film processing chemicals over the years, mixing batches of over 500 litres right down to the smaller amounts used with Patterson tanks for home processing and that’s where I am today.
For the next few films I process at home I will be using a set of chemicals I’ve not really used before however I have heard some good things about them so I’m willing to give them a try. If it doesn’t work I can always default to my previous plan of using my old reliable setup I’ve used in the past.
Thinking of processing your own film? Check this link below at Digital truth to see process times for all kinds of films in all kinds of developers – it’s an incredible source of information for photographers of all abilities.
Digital truth – Massive Dev Chart
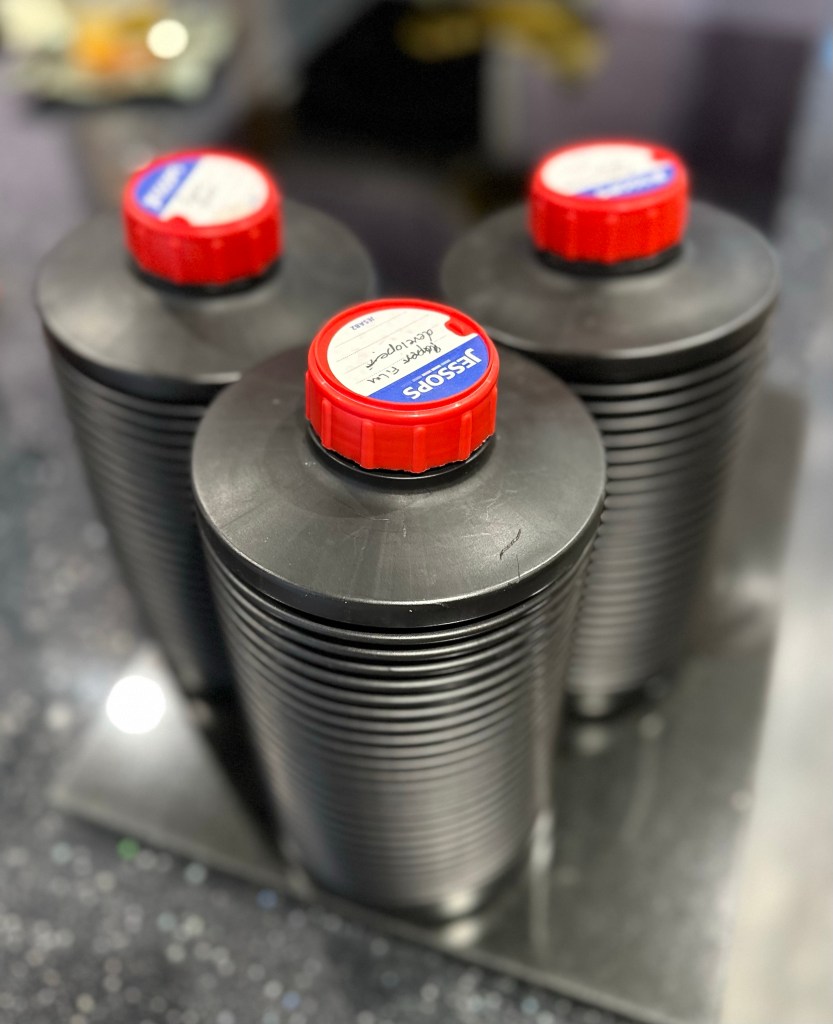
I batch mix my fixer a litre at a time as it stores well in collapsible bottles and I should be able to do a good few films and reuse the chemicals, you just need to monitor the time it takes for the fixer to clear the film as this indicates if it needs replacing or not. General rule of thumb is it should clear almost instantly on fresh chemicals, however give it at least 4 minutes to clear the film, and as the time increases to take between 8 – 10 minutes to achieve the same result, then it’s probably worth mixing a new batch. Disposal of spent chemicals should always be done responsibly following local guidelines.
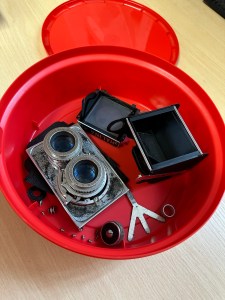
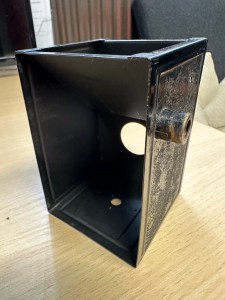
I’m not too concerned if the new setup doesn’t get the desired results, I’m using some old film to test the old cameras I’ve fixed, so I’m happy to go back and reshoot some pictures if I have to, it’s a classic case of suck it and see.
The developer I will be using is Bellini Hydrofen, (comparable to Kodak D76 or Ilford ID11) I mix this as and when needed in quantities of around 300ml (for a single 35mm film) as it doesn’t store, and needs to be used on the day as such. I don’t usually use a stop bath as such I just use some water. I will also be using their photo flow as a uniform drying solution but to be honest this isn’t really necessary.
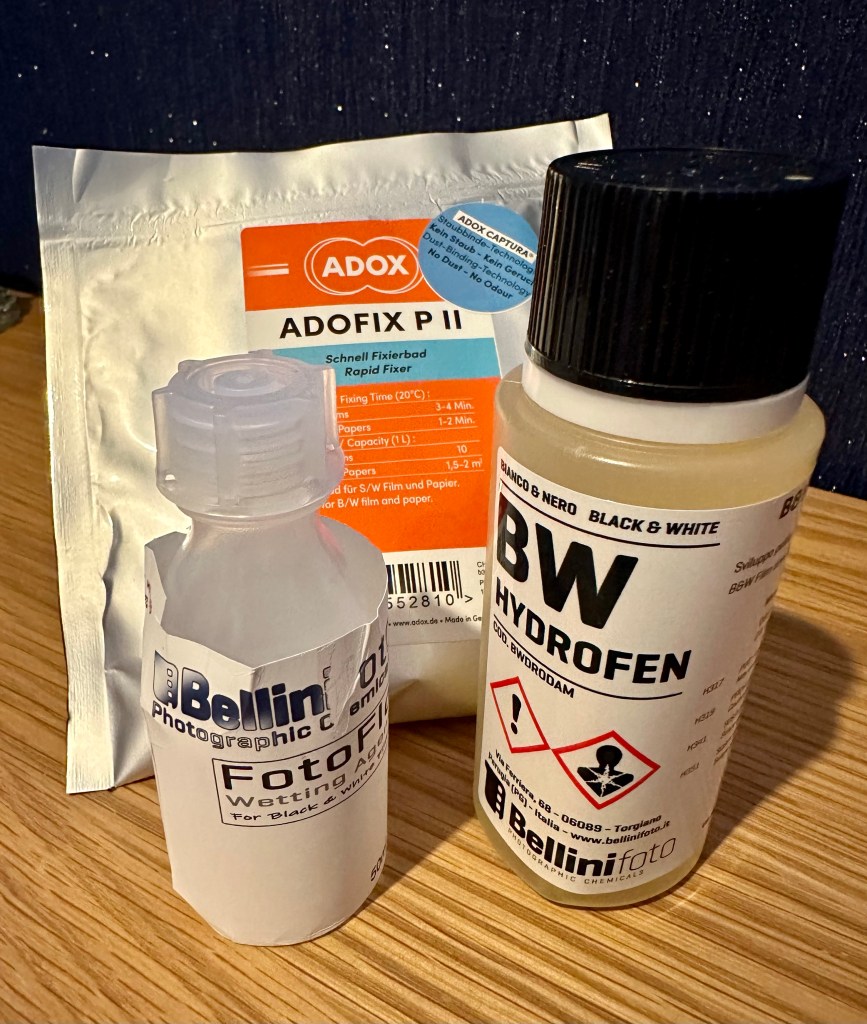
The fixer I will be making in a 1L batch is Adox Adofix P, it’s a simple enough mix so I’ll quickly go through it with you.
Developer
- Mix is 1-39 so if I need 300ml I just divide that figure by 40 (300 / 40 = 7.5) so I know I need 7.5ml of solution and then just top up to 300ml with water in the measuring jug. Simple – that’s the developer made. Just ensure it’s at 20 degrees centigrade temperature wise.
Stop bath
- Simple, just water – let’s move on
Fixer
- Again this is easy. I have a pouch of powder to make 1L of solution. Put approx 700ml of water at a temperature between 20-26 degrees Celsius in your measuring jug, mix in the powder and when this has dissolved just top up with water to the 1L mark. Simple – then decant into your storage bottle and the job is done.
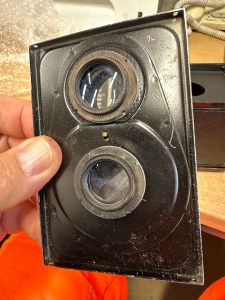
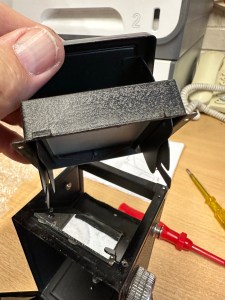
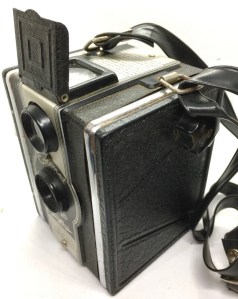
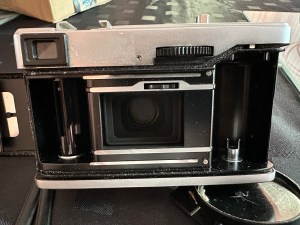
So that’s the chemistry done, now to put it all into action to process the first film I have used to test a recent camera I have worked on. The camera is the Olympus 35 ECR and the film will be a roll of Kentmere 100 B/W that expired about 4 years ago. I will cover this in a later post. Thanks for browsing my ramblings 👍


You must be logged in to post a comment.