

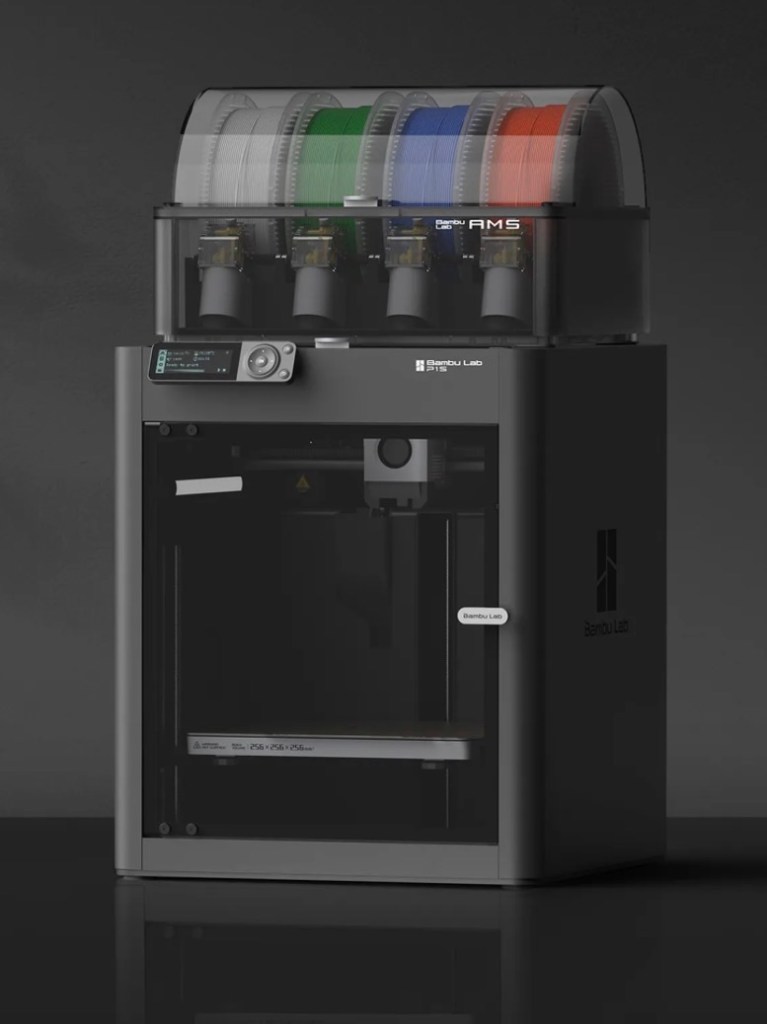
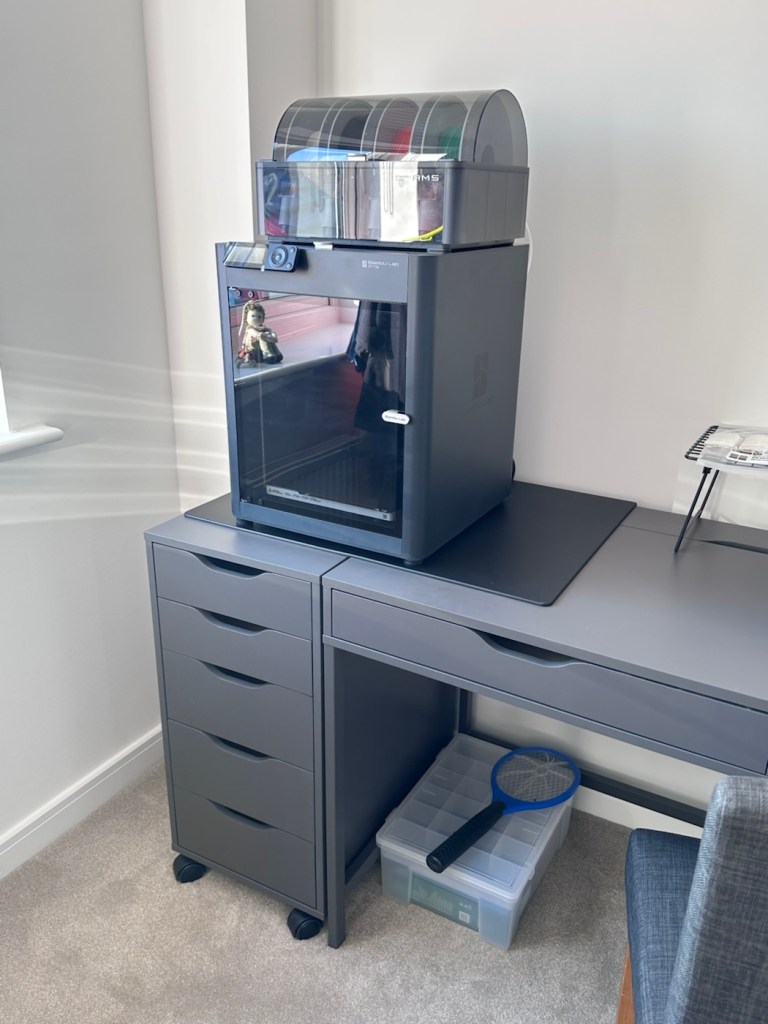
Those of you who watch this site with eager anticipation (I’m joking 🙃) may remember a post that I published in November of 2025, when as a result of all the money I received as gifts for my birthday, I went out and purchased myself a Bambu PS1 Combo 3d printer: I’ve taken a dive….
I’ve not printed a single thing 3D in my life and to be quite honest I haven’t got a clue on what to do, but as usual I’m willing to learn. I’ve had a number of occasions over the past couple of years where I’ve needed an obsolete part for a project, I’ve had to go as far as Italy to get parts printed whereas with this equipment I could have done so my self, cogs and gearing are a regular item that I come across that I could also use this equipment to produce. See, it will serve a use to me once I have my workspace configured.
That time has arrived….
Now we are safely moved in to our new home, and all the important stuff has been attended to, attention has switched to getting my work area up and running, and I will shortly be uploading a post regarding the inside my work area.
However, this piece of equipment has been in storage since November, almost 4 months now and needed to be put into action as soon as possible. Seeing that the workbench was now in place it only seemed right that the printer was now unpacked.
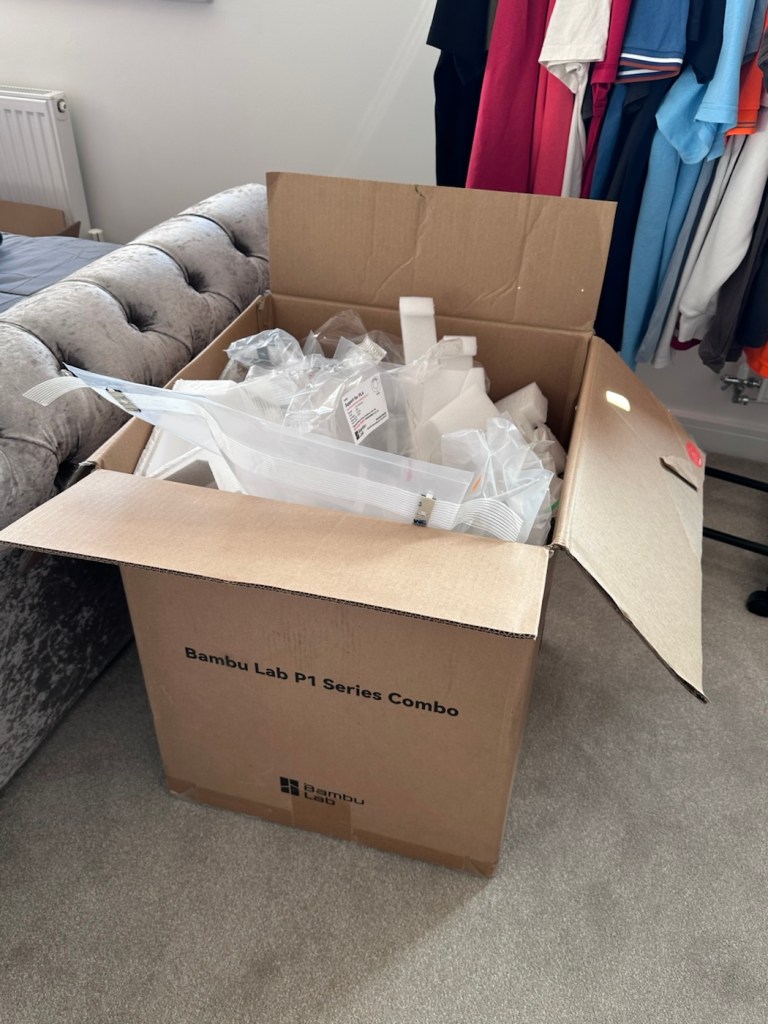
Even to do the unboxing there is a QR code to link you through to the process to follow, it is very informative as these printers are packaged so well, there are screws and supports to remove, put in place to stop sensitive parts being damaged or dislodged during transport.
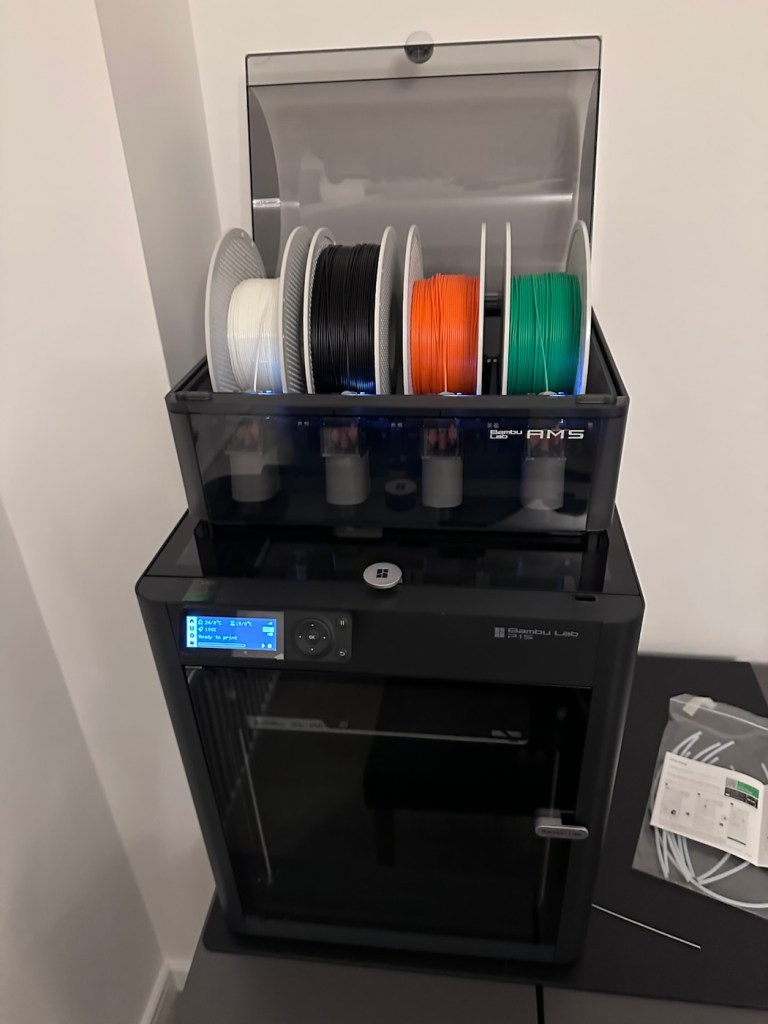
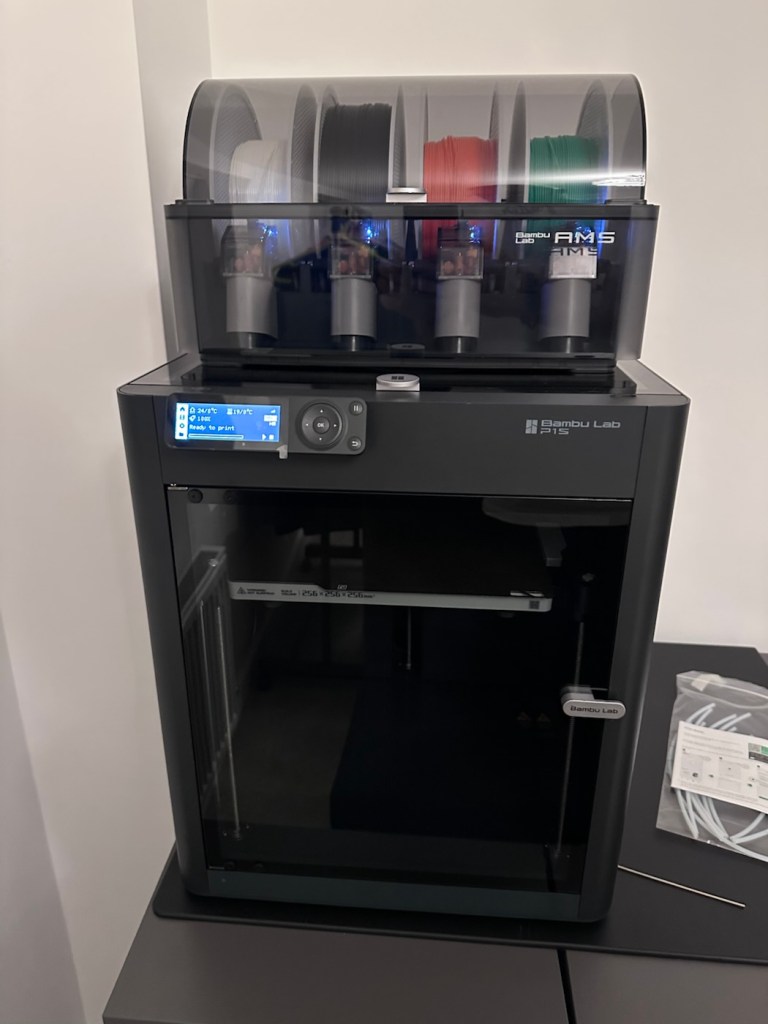
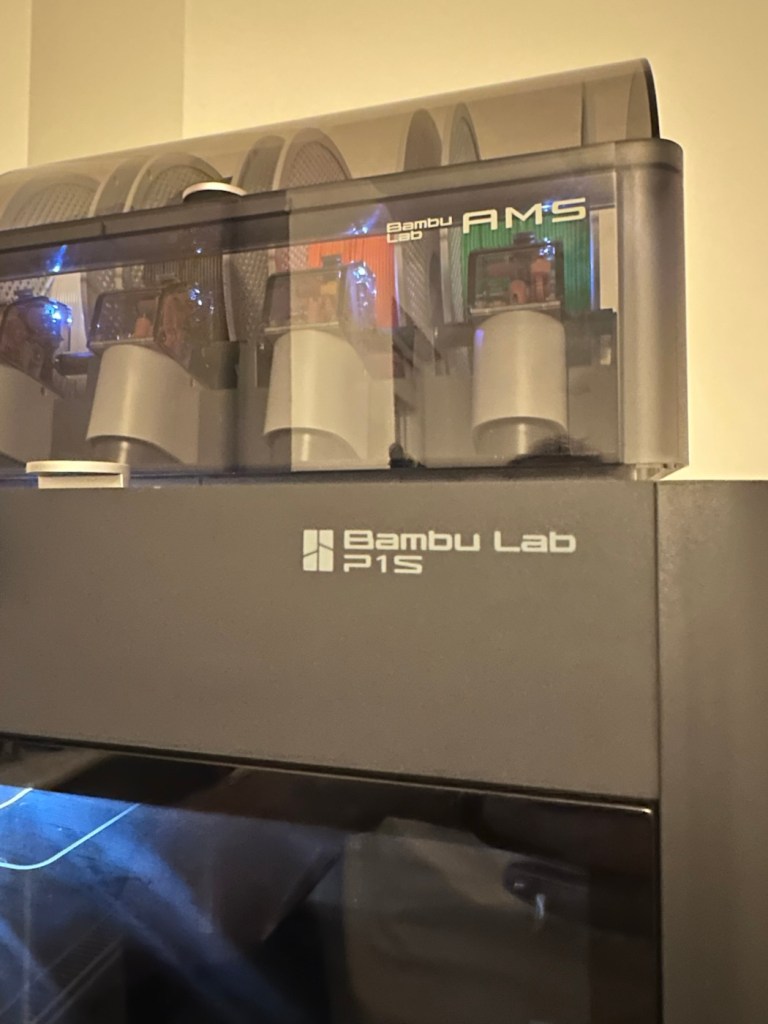
When you follow this system of unpacking, you are also linked to an app called, “Bambu Handy” that really is the control system for your printer. Here you register, set up blue tooth and WiFi options and the app then becomes your monitoring and control for your printer. At the moment I’m sticking with just this app, once you are more experienced there are a number of more complex programs you can then use for design and editing purposes. For now I have found my level. I now install what is called the AMS system on top of the printer, it is an automated feed for using more than one coloured filament, the printer can move from one colour to the next automated, without interrupting the print process.
But that creates a little waste product….
And there is my first print project.
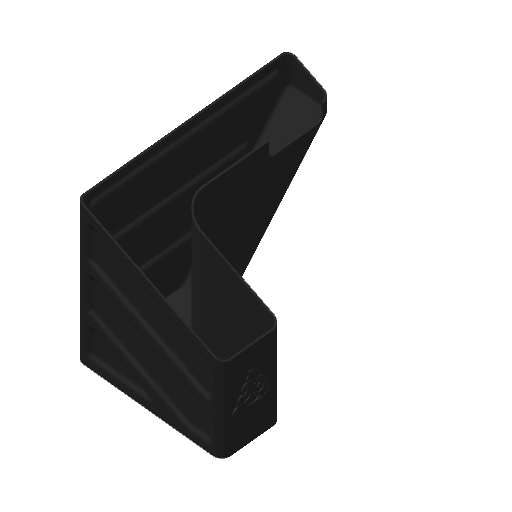
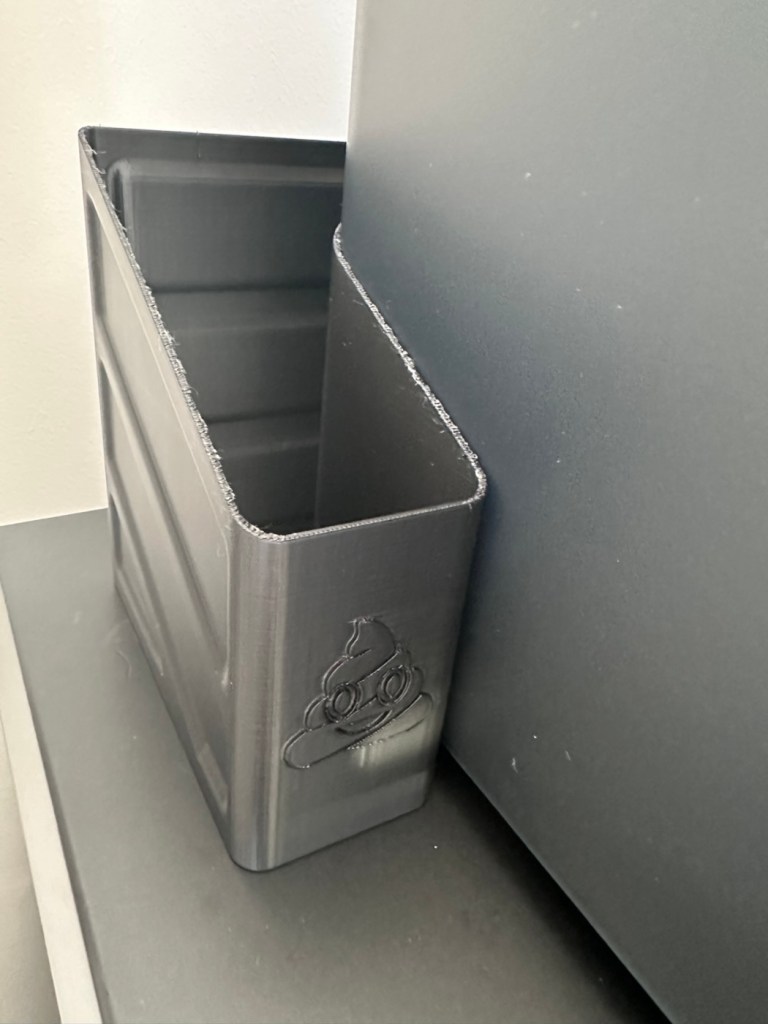
When the printer initially primes, or when it changes colour it will create a little waste as it clears the nozzle of one filament to use another. This waste then exits the rear of the printer onto the floor, or work bench depending on the positioning of your printer. For this reason people then install what is known as a “Poop bin” to collect such waste. Here is a draft picture of the one I will print for this printer.
Now, this app fortunately comes with absolutely thousands of pre programmed prints covering all aspects of printing technology from home, toys, educational and everything in between. Fortunately, because “me” as the totally clueless, doesn’t have to learn basic CAD and slicing techniques, because some clever individual has already done that for me. And for that I am very grateful.
There are a number of tools and equipment you can print for these printer units, it’s as if they are self maintaining and developing. All very clever stuff.
But a “Poop bin” is a necessity if you don’t want to suffer the wrath of your other half by spewing out randomly produced plastic waste on to her nice new carpets. That is not conducive to a happy and peaceful existence 😂
So a “Poop bin” is my first ever 3D project….so here goes.
A simple selection on the app, of the item you require, a few settings get amended, the printer does some calibration checks and then the process starts, this particular print takes about 4.5 hrs to complete. Fortunately the system has an inbuilt camera so you can check progress or even get a timelapse at the end. You can basically shut the door, turn off the light and walk away, you can always check in, but sitting there just watching for 4.5 hours can get a tad boring, and is just like watching paint dry, so why not just walk away and do something more useful. I did just that, and went to assist the wife with some chores.
Here is the said timelapse of the print. 4.5 hrs in about 30 seconds. The dark periods are brief and were just me messing with the onboard light settings.
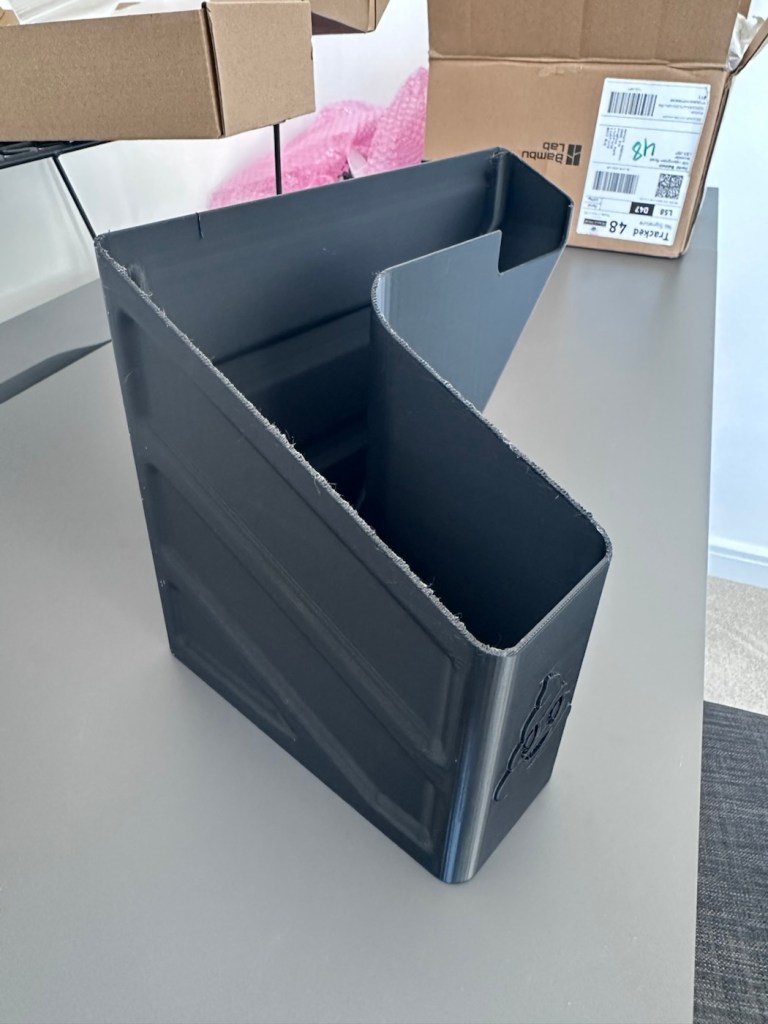
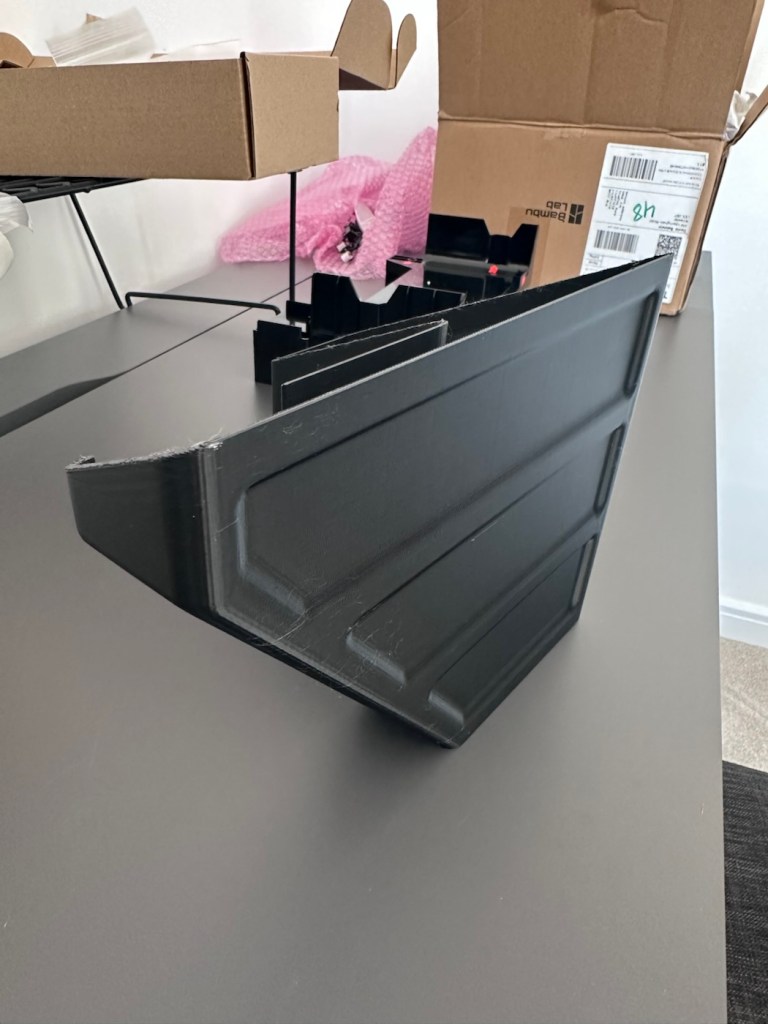
Here’s the actual finished article, and situated at the printer.
So that’s it really. Still learning but quite happy with what’s been learned so far, the desk and everything needs some fine tuning and there is a lot of gear still to be added but we are now off to a flying start.
One thing I did notice was that there was some vibration and noise, however I did get gifted some anti vibration feet with the package when I purchased the printer, I have now installed these so hopefully the next print will be a little bit more peaceful, not that it was particularly bad anyway.
And that concludes this post. Thanks for reading, it’s always appreciated and I hope this day finds you well and at peace.


You must be logged in to post a comment.