

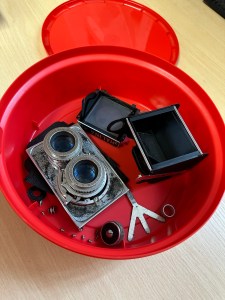
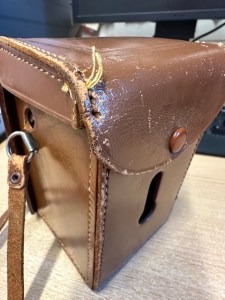
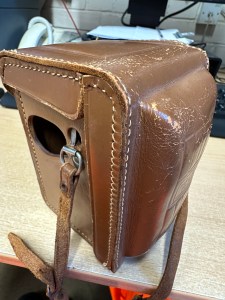
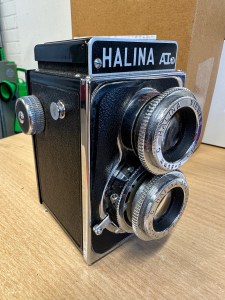
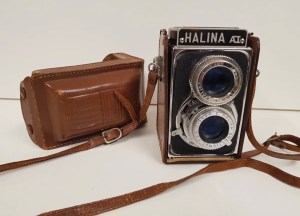
Yes. You are right the picture is of a chocolate box and not an old camera. However today in a quieter period I have dismantled in it’s entirety the Halina A1 Reflex camera – the smelly one that’s right 👍

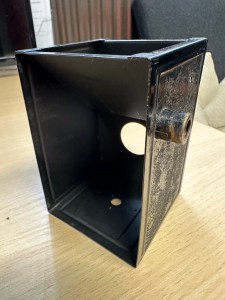
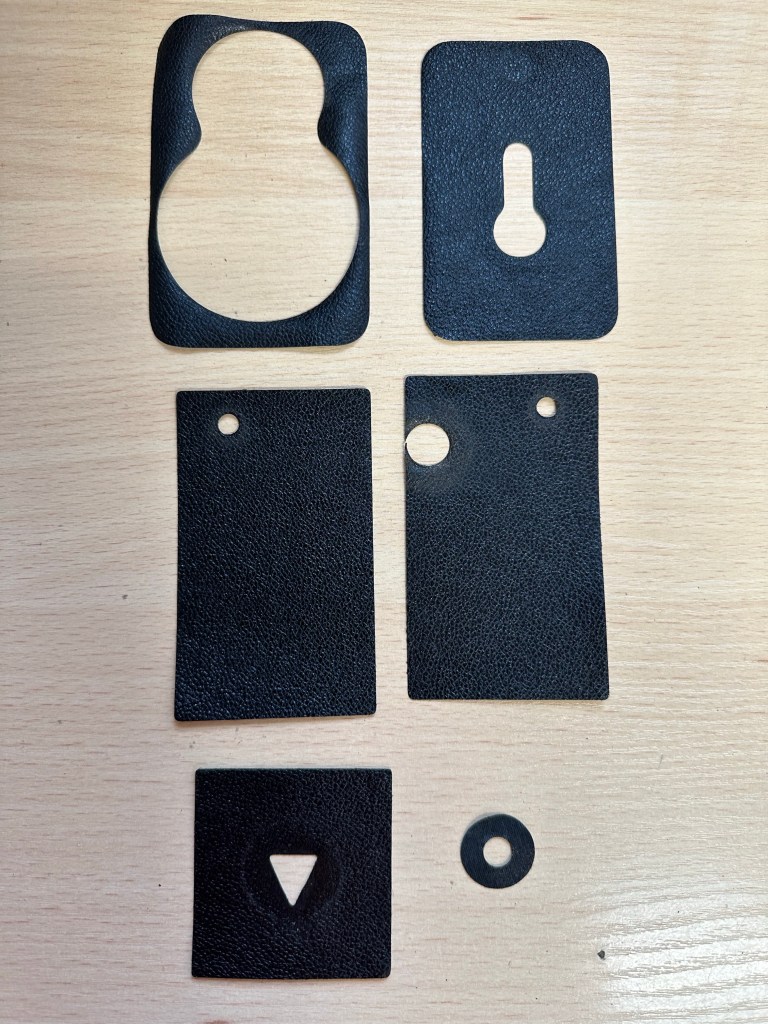
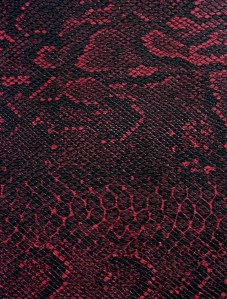
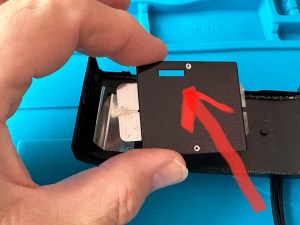
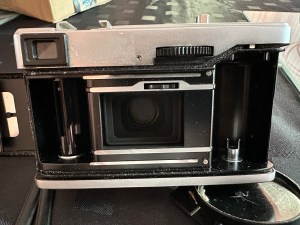
The lovely thing about this camera is that it is easy to dismantle right down to its original body shell as most of the parts are held together by screws and not rivets. This has allowed me a lovely scope for putting new leatherette on the body as I’ve been able to move all winders, locks and strap holders giving me a naked body as such to work on.

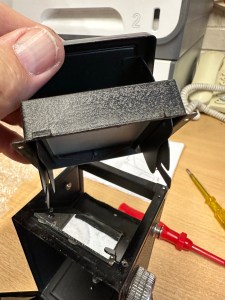
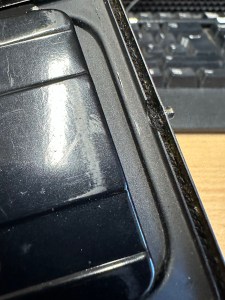
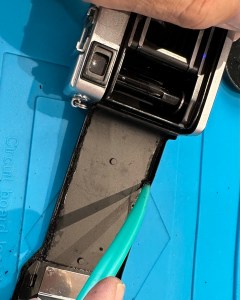
However the old leather has been kept to be used as templates for the new skin that will be attached. Firstly though it’s clean, clean, clean to remove the old adhesive and to replace some light seal within that is literally just two black pieces of string, I will upgrade this with some new up to date light seal though. I will clean everything removed today and only then will I attempt reassembly.
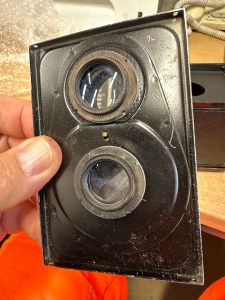


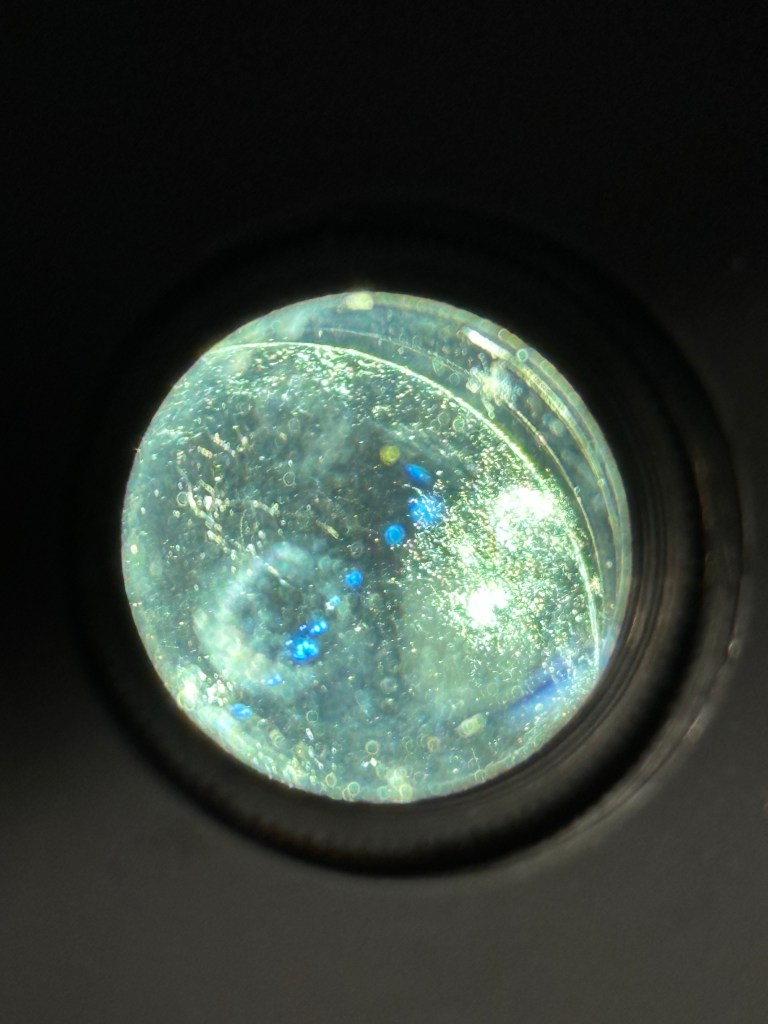
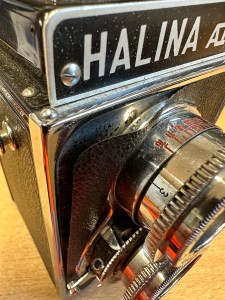
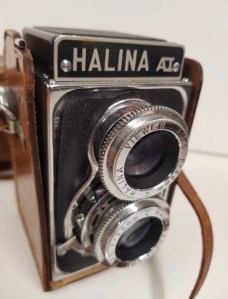
The lens assembly is going to have to be opened and recalibrated as I need to get inside to treat that fungus that was reported in earlier posts.
I have damaged a couple of small screws here that I will need to replace, couldn’t be helped as they’ve probably not moved since the day the camera was assembled. Nice to be able to do this project in small chunks due to the ease of disassembly. May need to get another sheet of leatherette as the sheet I have may not be sufficient for this task.
Only problem is still the stale old smelling case…but I’m looking into it and will share what I do with it at a later date.


You must be logged in to post a comment.