

I love working with flashguns, but believe me they are highly dangerous and potentially deadly pieces of kit, once you get under the skin otherwise known as its protective casing. I inherited this one from a good friend of mine who is a professional photographer, the post regarding what he passed on to me can be found here: Cameras…i need more!
Now please do not go delving into the back of these things unless you know what you are doing. Yes they might only be powered by 6-9v of power from your batteries, however in the process of getting to the point where they unleash a lightning flash for your photographic opportunity, they have passed through a component called a flash capacitor, this component greatly amplifies the voltage from that measly 6-9v from your batteries up to what is now between 3-400v for the flash. Yes, you read right right, 400 VOLTS.
That can kill, and if it doesn’t, you have been very fortunate, but you will probably bear an entry and exit burn where you made contact with that very component. If it goes across both hands it’s probably going to go right through that pump in your chest that keeps you alive – your heart, and that can be fatal. You have been warned – take heed!
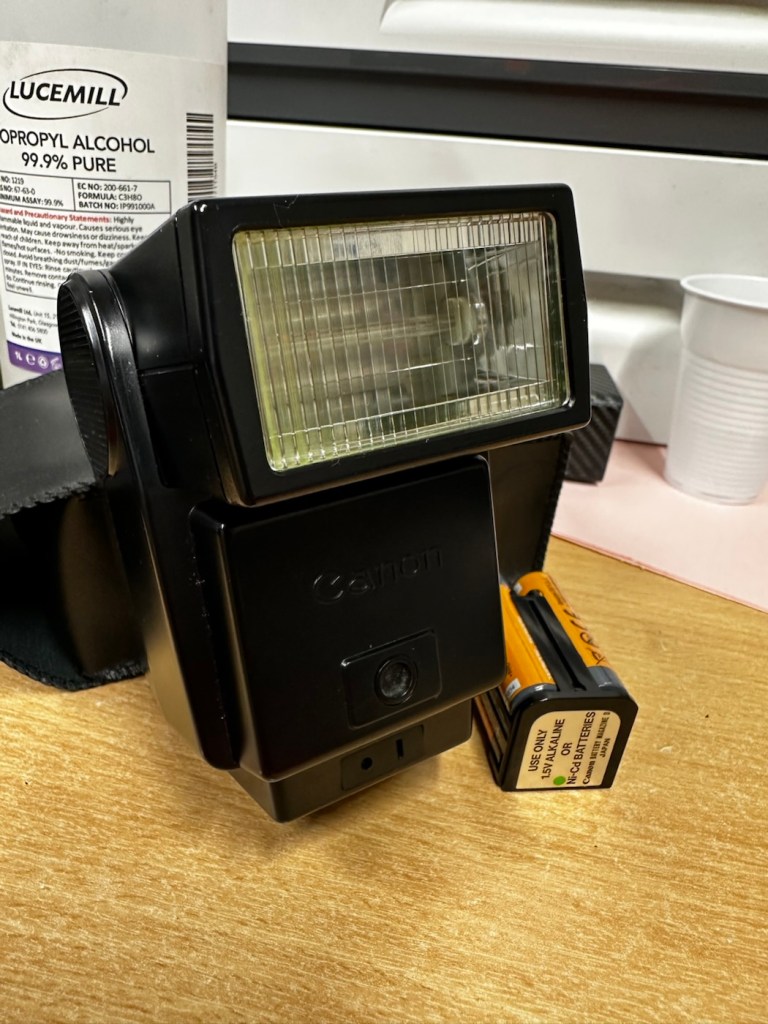


I must admit I’ve done something here I don’t usually do, and that is clean before searching for the problem. This unit had two or three old company stickers on it that I have now removed. I then gave it a quick clean and a buff and I must admit it has come up very well. I will give it another clean when i have finished, as well as a final polish with some cockpit cleaner.
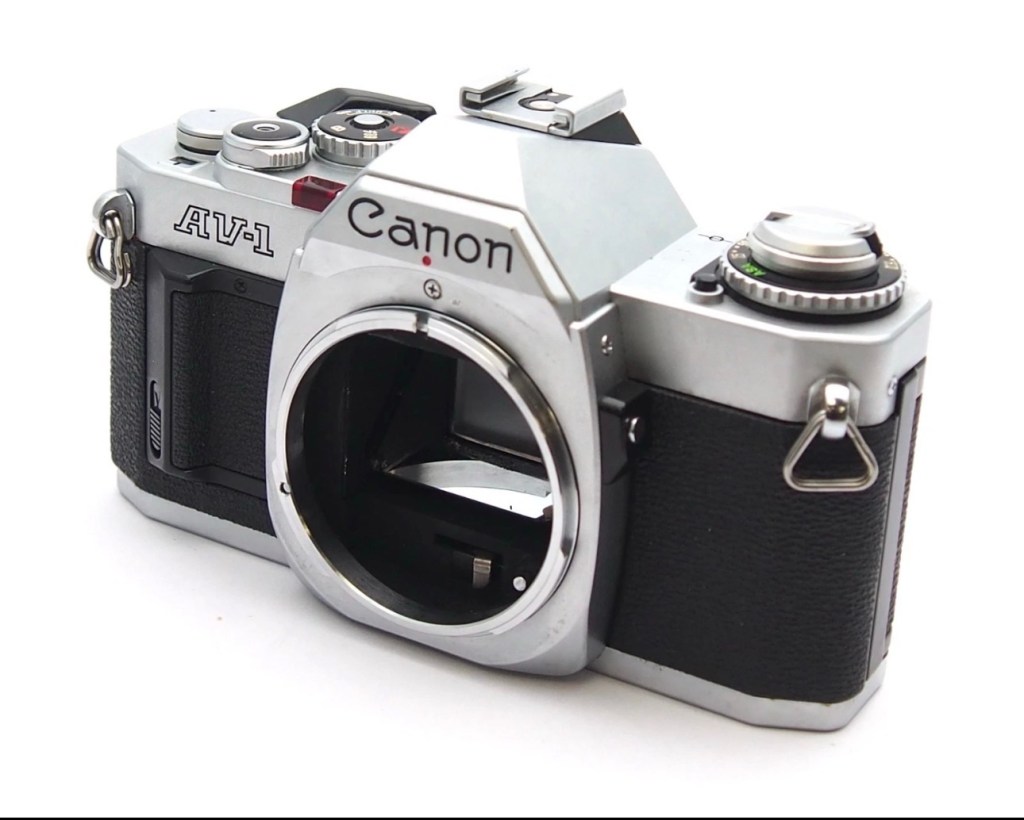
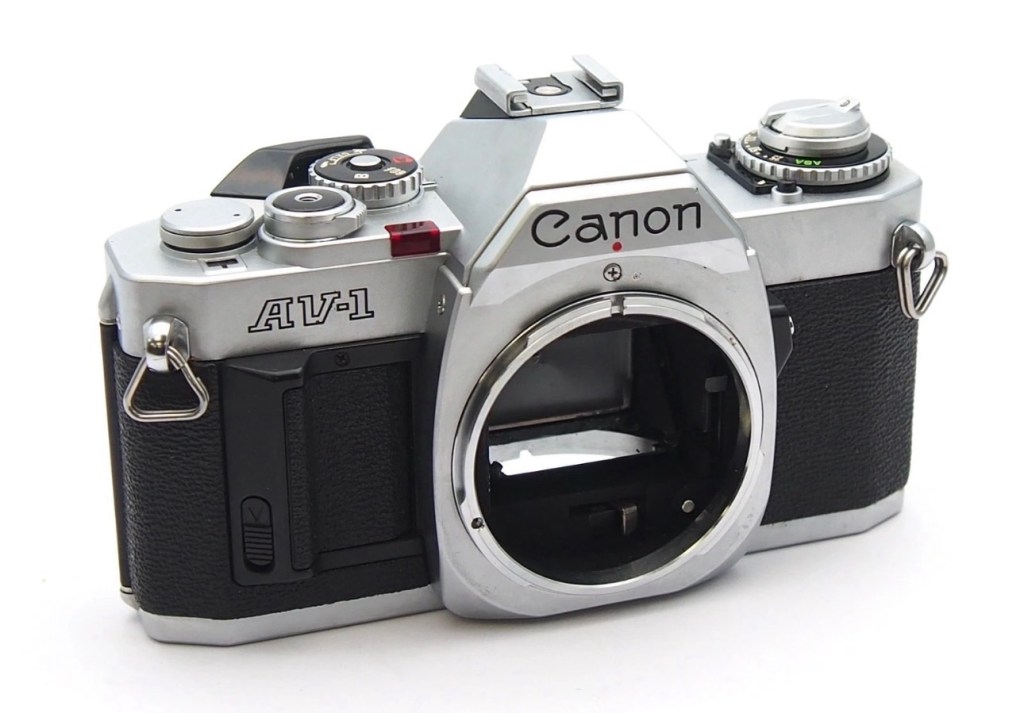
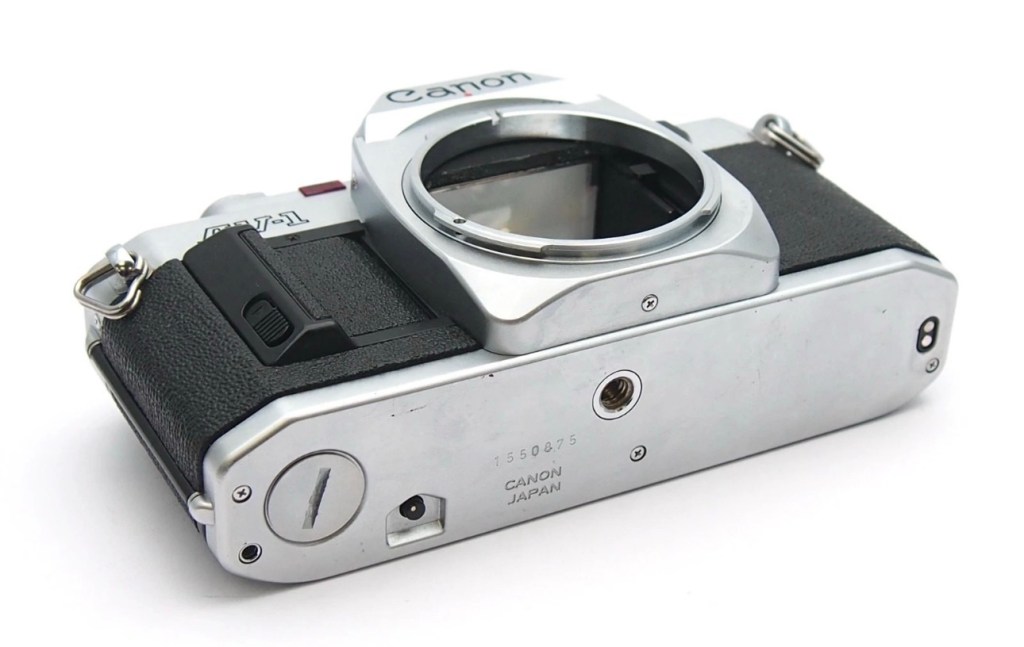
Production of this flash unit commenced in 1978 for use with the Canon “A” range of cameras that were being produced around this time. It can also be used with some other camera ranges. Before we get into exactly what is wrong with this specific unit, let’s look at some information regarding the spec of this flashgun:
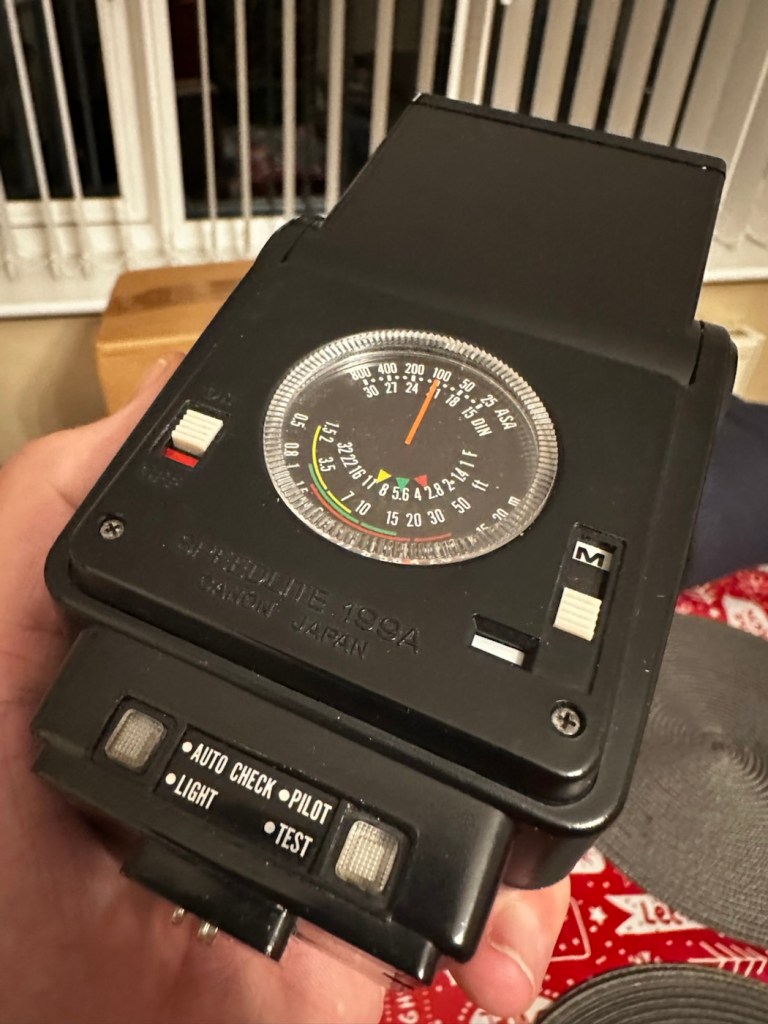
The Canon Speedlite 199A is a dedicated, thyristorized flash unit designed for operation with Canon “A” series cameras. The Speedlite 199A features a high Guide Number of 98 with ISO 100 film, three automatic flash ranges plus Manual and automatic bounce flash capability. The most powerful shoe-mount Speedlite in the Canon line, the 199A is recommended for use with the Canon A-1 or any “A” series camera with motor drive or Power Winder A due to its high power and very rapid recycling time.
Technical Specification: –
Type: High-powered shoe-mount flash; automatic, thyristor type
Guide Number: 98 (ISO 100, feet), 60 w/wide adaptor
Recycling Time: 10 seconds with Alkaline-Manganese batteries 6 seconds w/Ni-Cd batteries
Number of Flashes: 100- 1000 w/Alkaline-Manganese batteries 50-500 w/Ni-Cd batteries
Auto Flash Ranges: 3
Auto Apertures: (ISO 100) Red-f/2.8 Green-f/5.6 Yellow-f/11
Bounce:Yes
Flash Coverage: For 35 mm format, covers angle of view of 35 mm lens; covers 24 mm w/adaptor
Color Temperature: Daylight
Power Source: 4 “AV size Alkaline or Ni-Cd batteries
Dimensions: 3-1/8 x 3-1/4 x 4-1/2 in.
Weight: 1 lb., 1-5/16 oz.Mir.com
Asssesment:
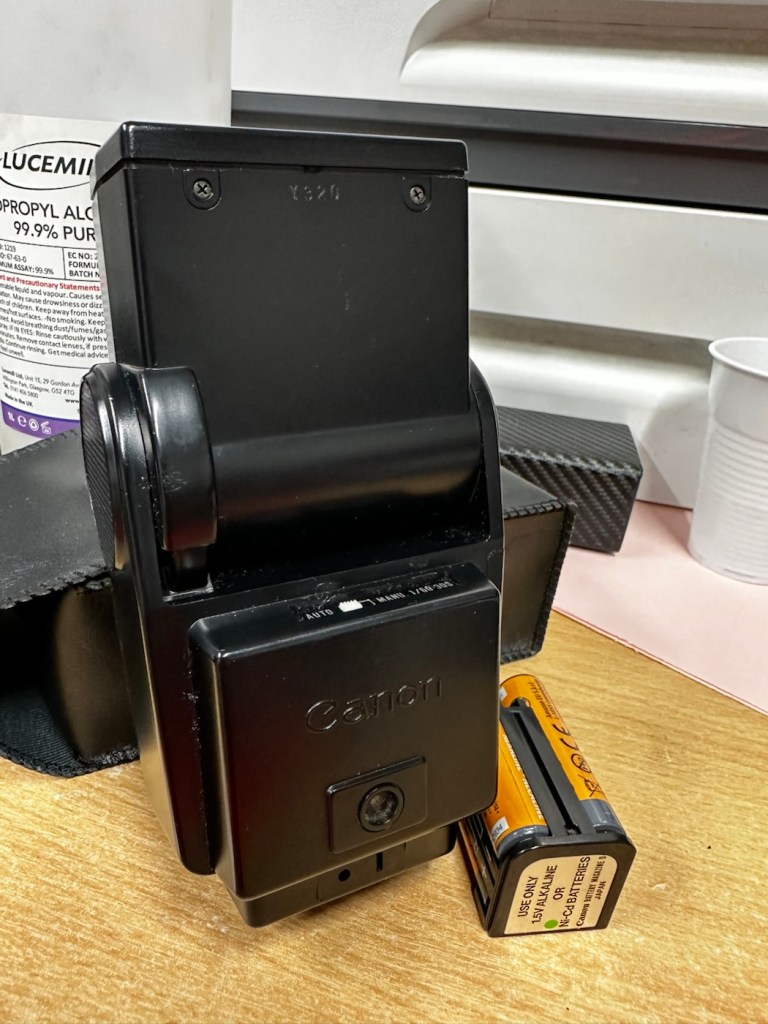
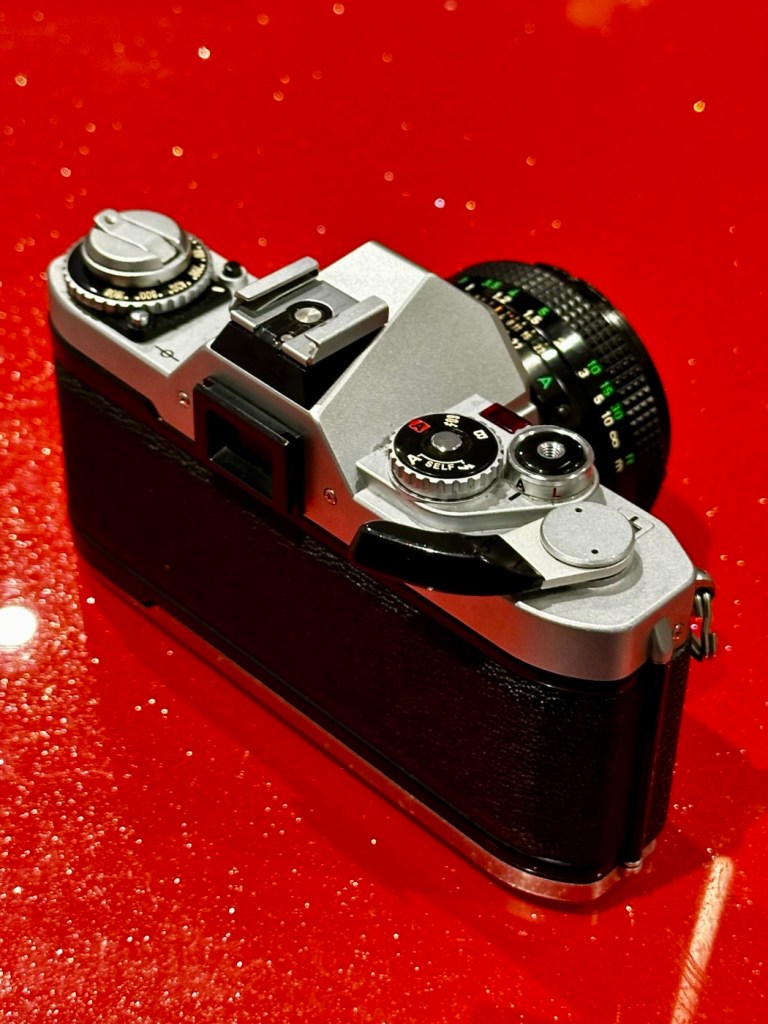
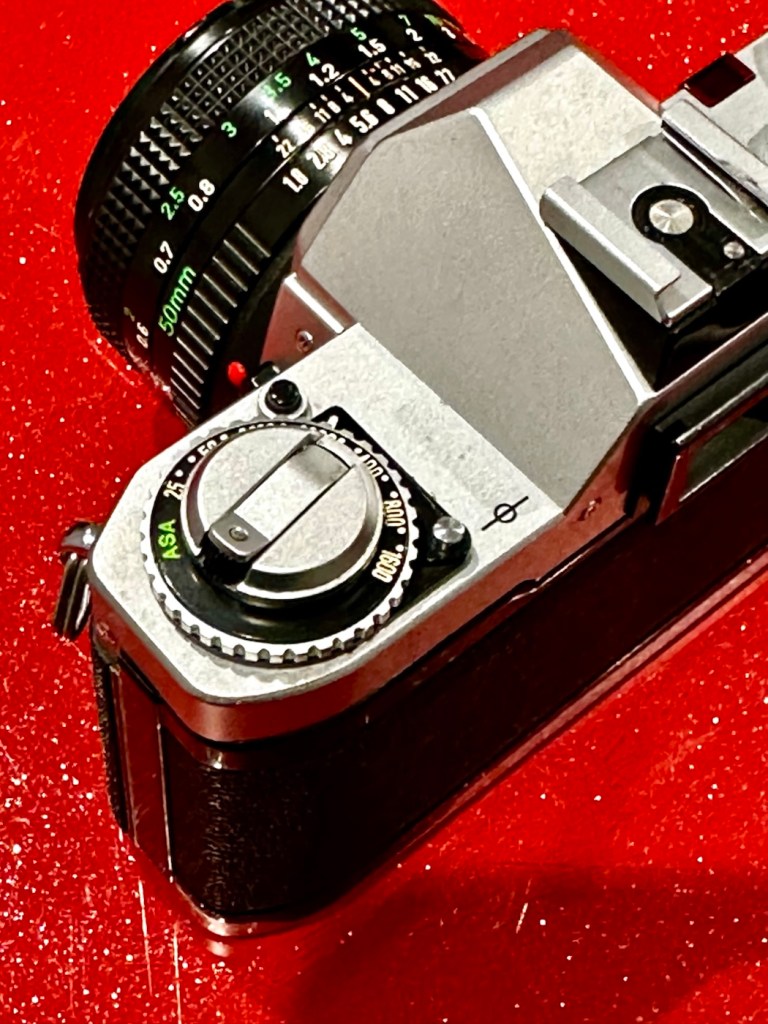
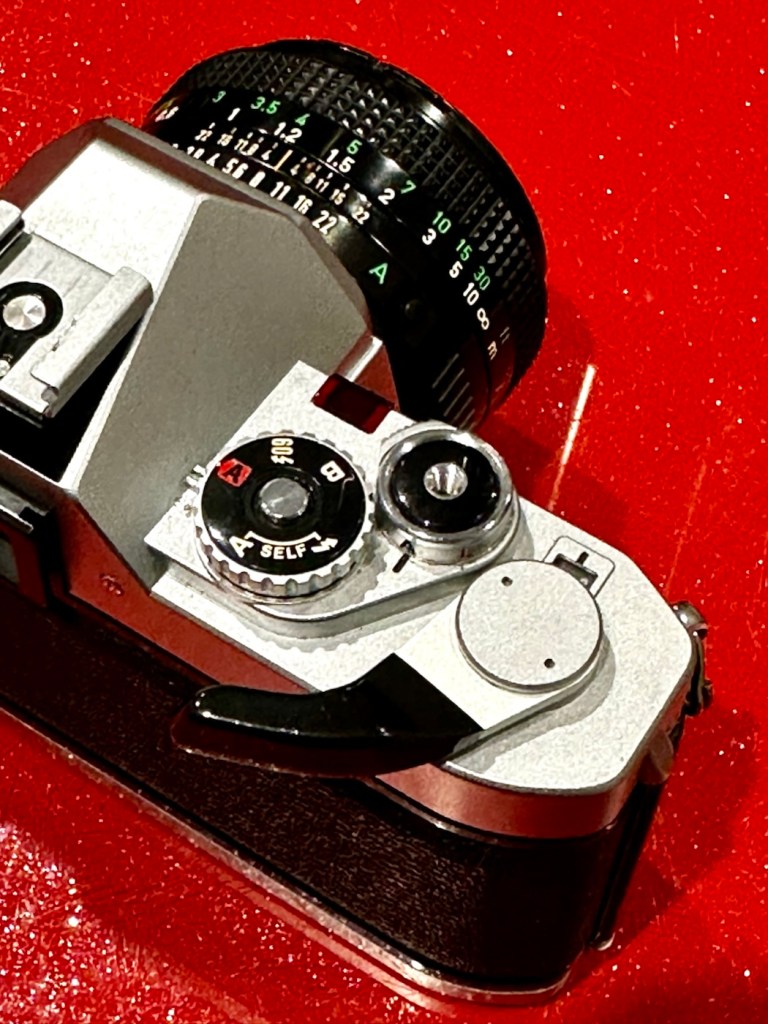
As you can see in the photos above, and as I stated at the beginning, I’ve gone arse about face on this one and cleaned it prior to diagnosing what the actual issue is. Please forgive me as I was in a cleaning mood at the time, and if I’m in that mood everything gets cleaned.
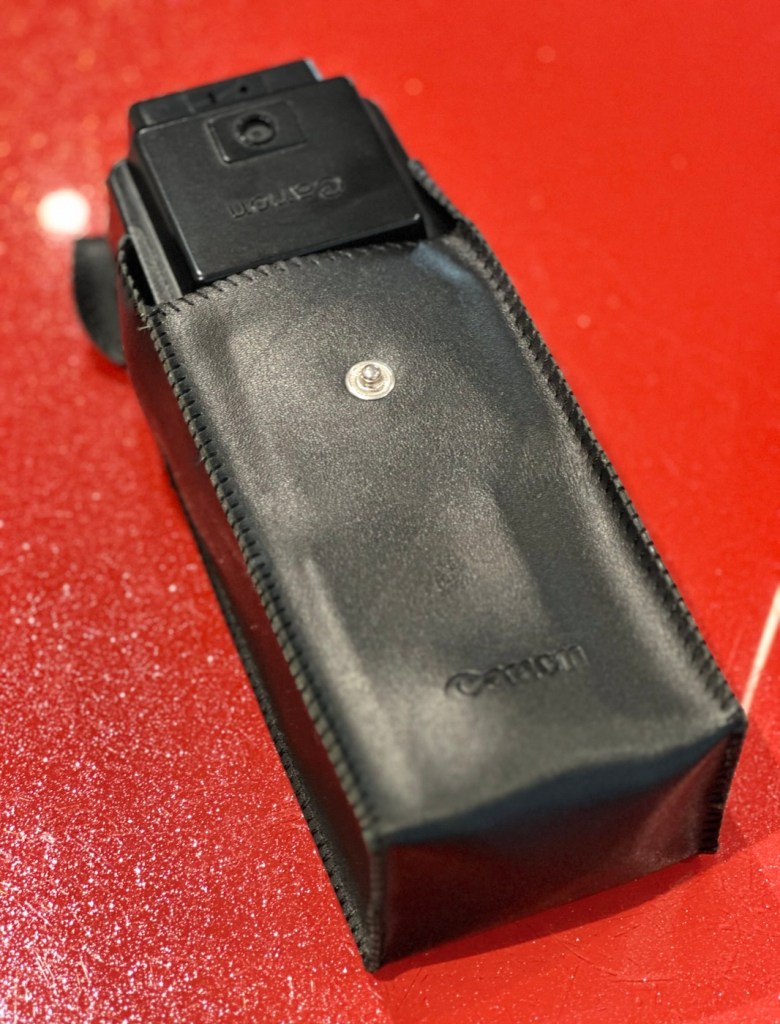
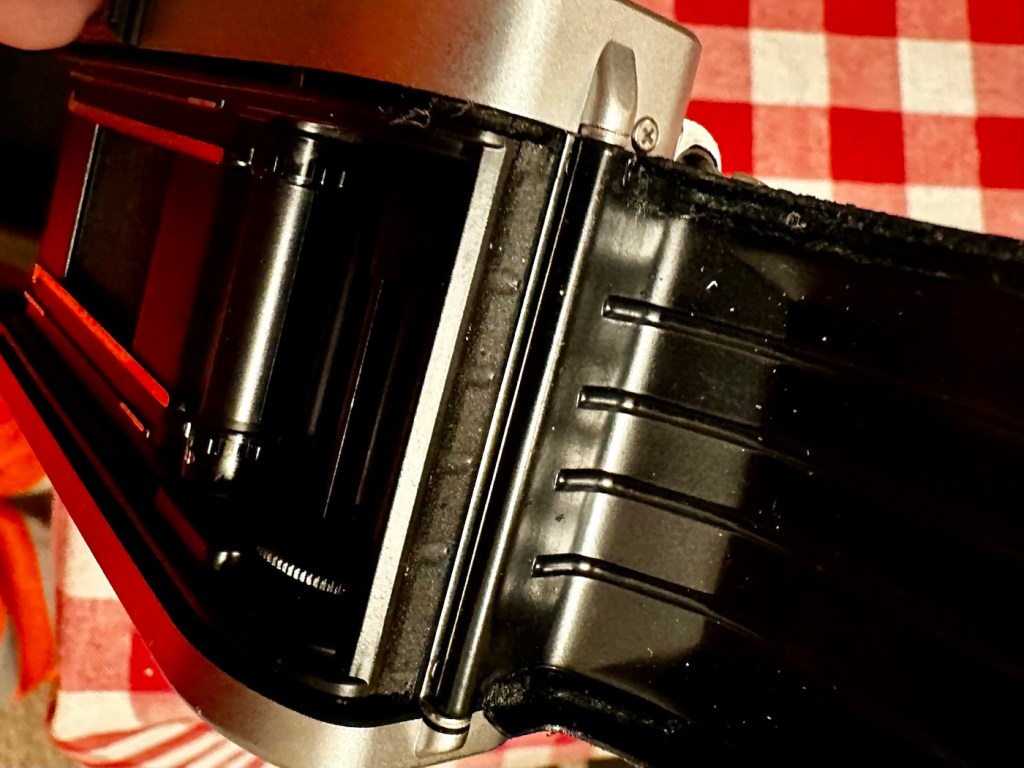
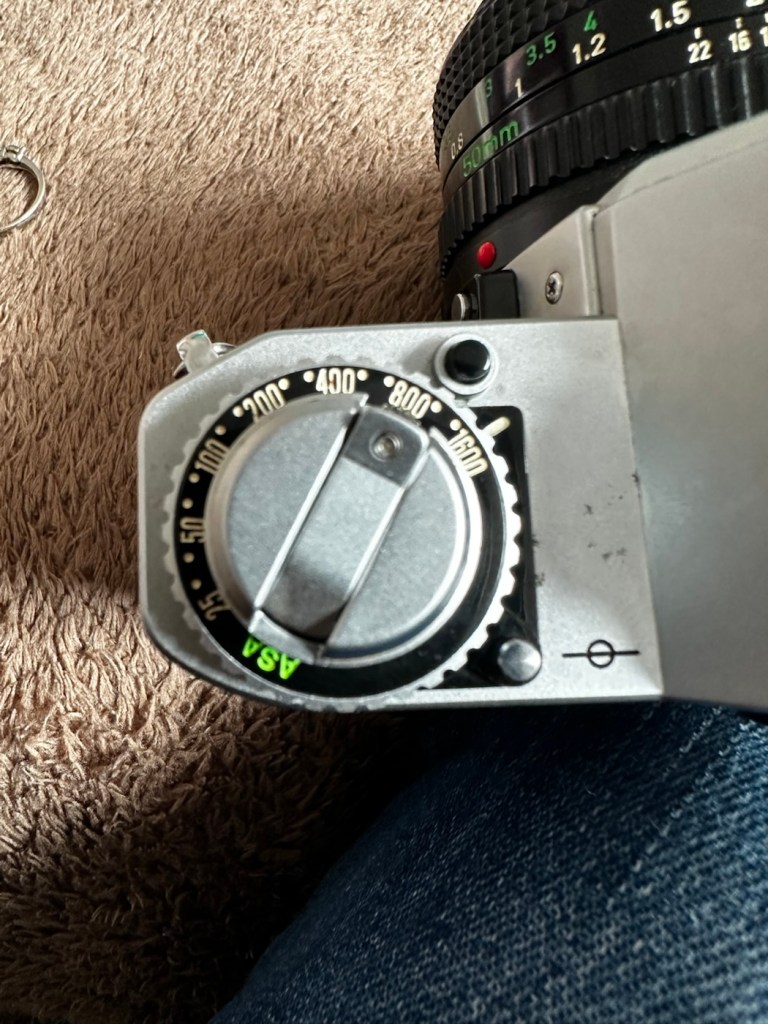
It runs off of four AA type batteries that fit in to a cassette that sits in the side of the unit. All contacts are clean and there is no sign of any battery leakage. You can see the cartridge in the photos above. The flash unit comes in a Canon branded leatherette pouch that is in absolutely perfect condition. Inside the pouch is a diffuser / wide angle lens that slides over the actual flash head. The whole unit looks fantastically clean and tidy, with no signs at all of any damage or wear.
Put the batteries in though, and turn on the switch. And nothing. It’s dead. Kaput.
With these old flash units you were always used to hearing that family high pitched whistle when you turned it on. That was the system telling you that the capacitor inside was taking a charge and getting ready for business. Over time, the capacitor can loose its effectiveness, it semi retires if you like, and on occasions it retires fully, it dies a death. I very much suspect this is what could possibly have happened here, I just hope ours is in a deep sleep and can be woken up.
So as we move on to what we are going to do, the only issue here is that it’s simply not accepting a charge, and we will then discuss the two options on how we may now breathe life into this geriatric flash gun.
One thing that always annoys me when I search for possible ways of approaching the repair, is the attitude of people who have grown use to us all being consumer driven, the attitude stinks. These units can be purchased for very small amounts now and they loudly advise,”Just buy a cheap replacement and throw that one away!” This annoys me as you well know, because that’s not what this site is about, if I can repair something, no matter how inexpensive it is, I will. There is no need for this continuous throw away attitude. It’s a good way to learn just how things work.
Rant over, let’s move on….
Repair:
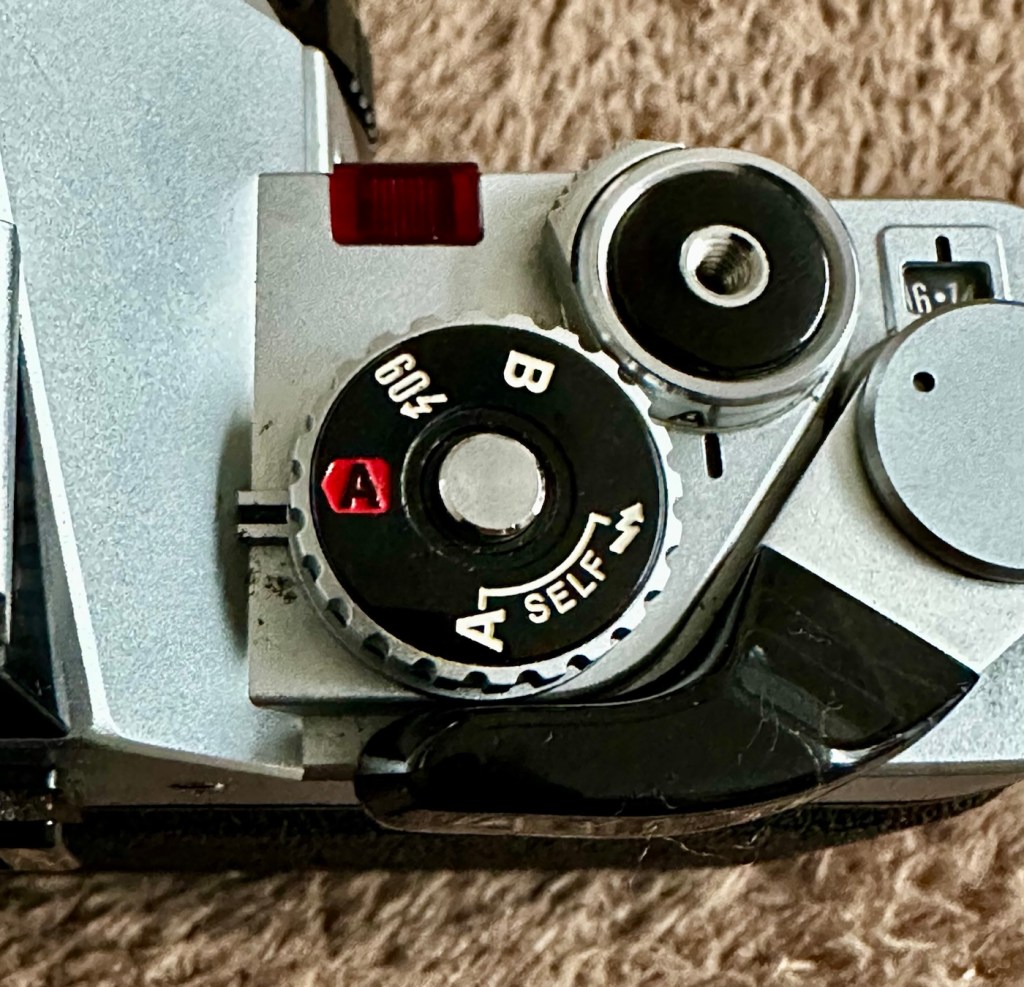
One of the easiest and least invasive, and therefore safest ways to start investigations, to look for a remedy, is to first get a nice fresh batch of alkaline batteries. With these in place within the unit, turn the flash power switch on and just leave it like that for anywhere between 2-8 hours. It has been known in the past, to act like a trickle charge as that flash capacitor has not been active for god knows how many years, it kind of revives it. It sometimes works, more often than not it doesn’t. But it’s worth giving it a try. So here goes. If this doesn’t work then our only other option is to get the unit opened up and to replace that beast of a flash capacitor.
I’m just coming off of a night shift and will shortly be heading off to bed, what better time to try this method out. So I’ll see you in a few hours 👋
I’ve arisen from my pit about five hours later, and what do you know….
Well, it’s only gone and bloody well worked hasn’t it?
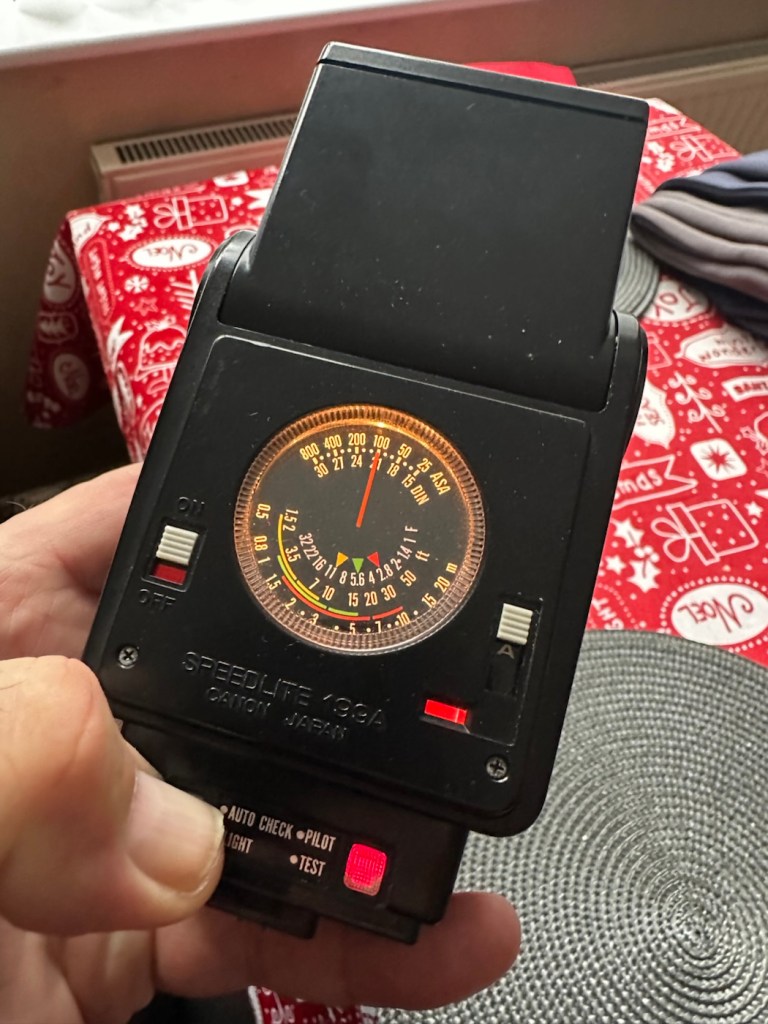
Sometimes it’s the simplest of procedures that can bring old equipment back to life, and when the fix is non invasive, going no where near those dangerous internal components, it can only be a good thing can’t it? And to think this was just placed in a box for disposal. Well it’s got a new lease of life now.
I’m really pleased with this so let’s move on to the final stages and get this little beauty polished and presented.
Result:
And yes it is a result, a result of patience and perseverance and thinking outside of the box as they say, in office inspired corporate management speak.


In a number of these “repairs” it’s best to exhaust all other options prior to getting the screwdrivers out, just like a surgeon explores all options prior to getting the knives out. I’m in no way comparing myself to a surgeon, you wouldn’t want me anywhere near you with a scalpel! I’m just using it as a pretty poor comparison, so I guess it’s best I shut up now and just get on with whatever I’m supposed to be doing.
So that’s another little repair put to bed, and another piece of electrical detritus pulled from the arms of the scrap man. I always feel a great sense of accomplishment when I mange to get these old bits of kit working again. It frightens me to think just how much salvageable tech equipment gets discarded when it could quite easily have its life extended with the minimal amount of intervention.
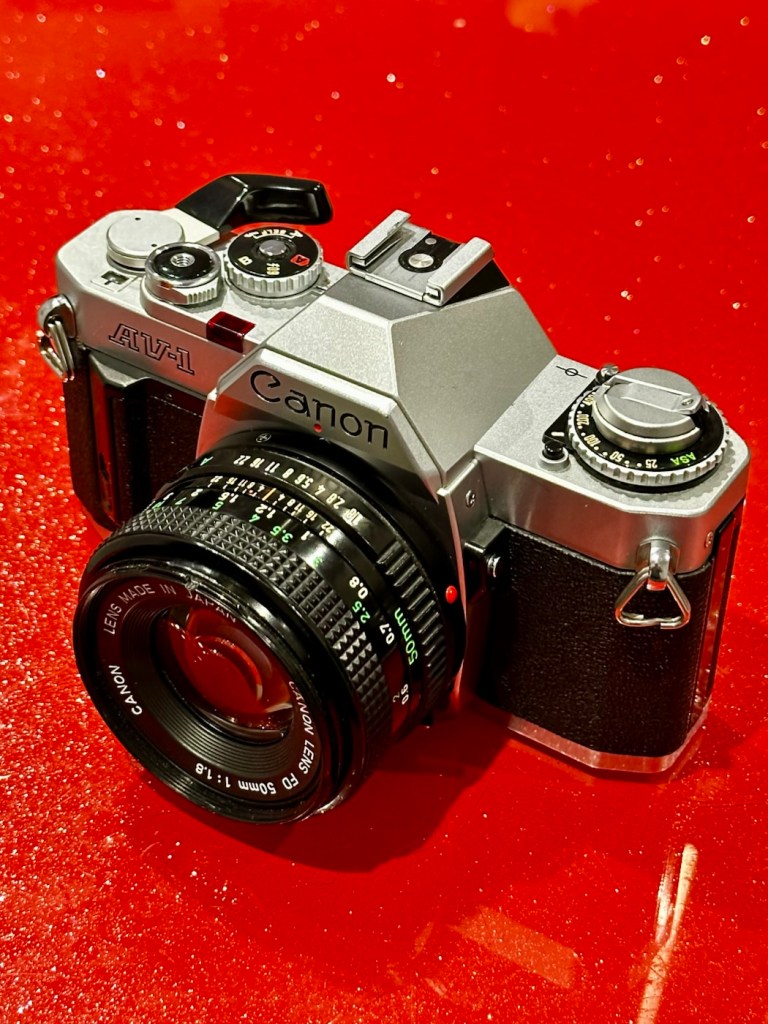
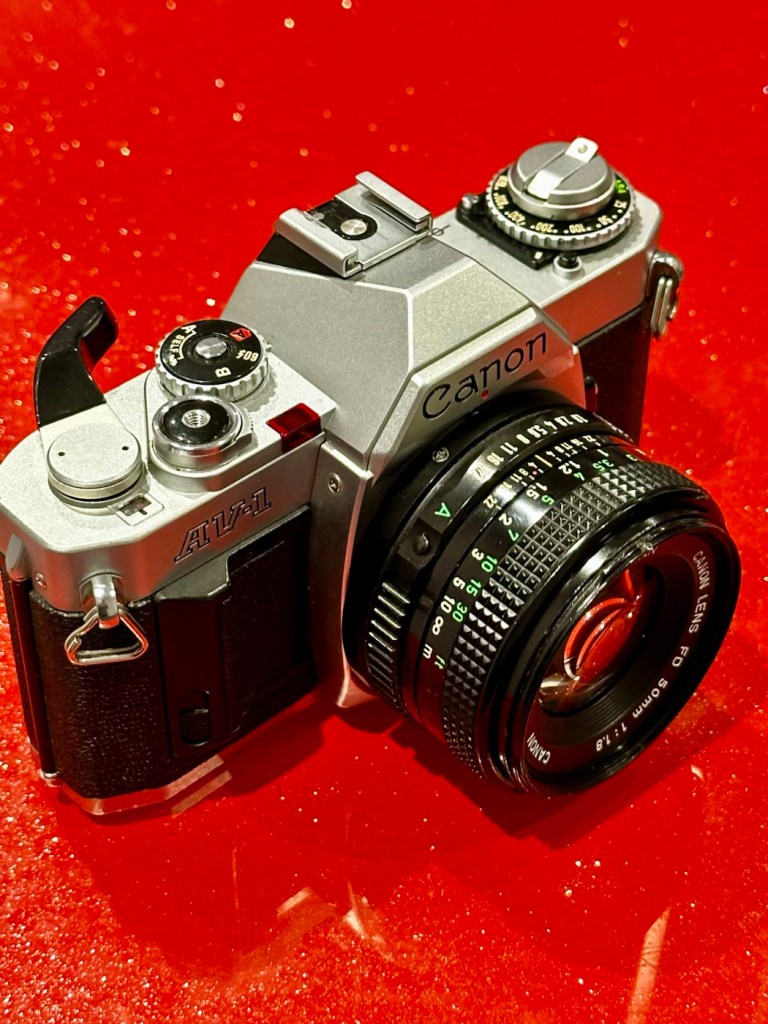
My plan is to add this flash to my Canon “A” series collection as that is what it was originally designed for. And I may well add a link here, when I get to use it whilst testing any new “A” series cameras that just happen to come my way, as they invariably do, that require my attention.
As always, thanks for passing by. It’s always most appreciated.


You must be logged in to post a comment.