We have tried a few batteries but the unit does not power up so beig sold for spares.
EBay
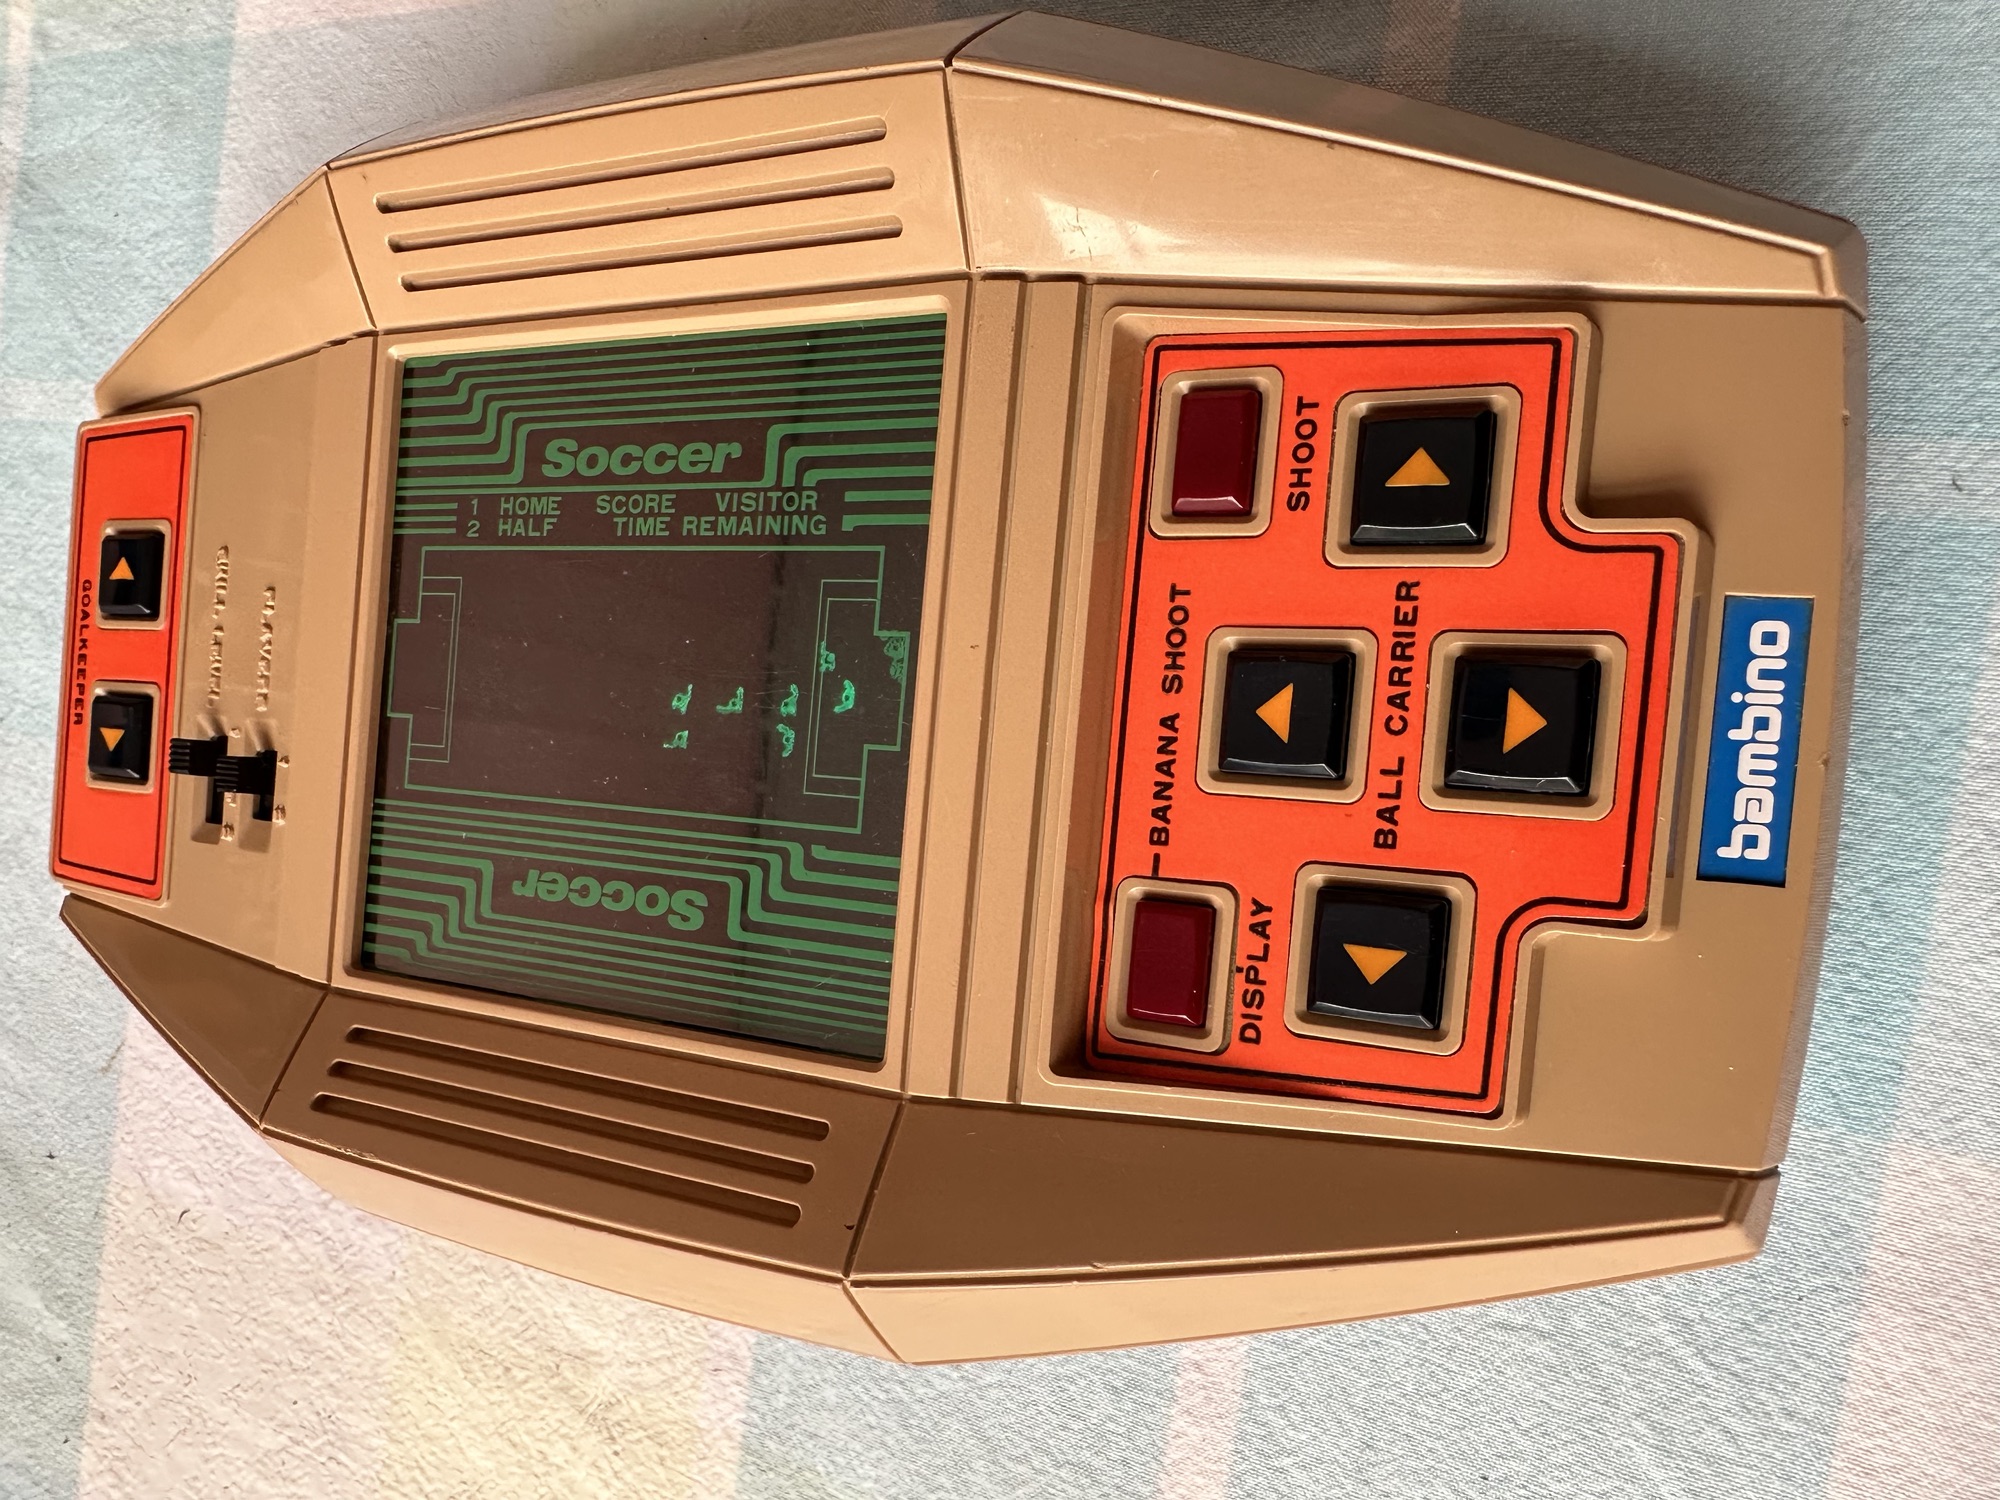
I obtained this for a very reasonable price considering the amounts being charged these days for similar battery operated 1970’s items.
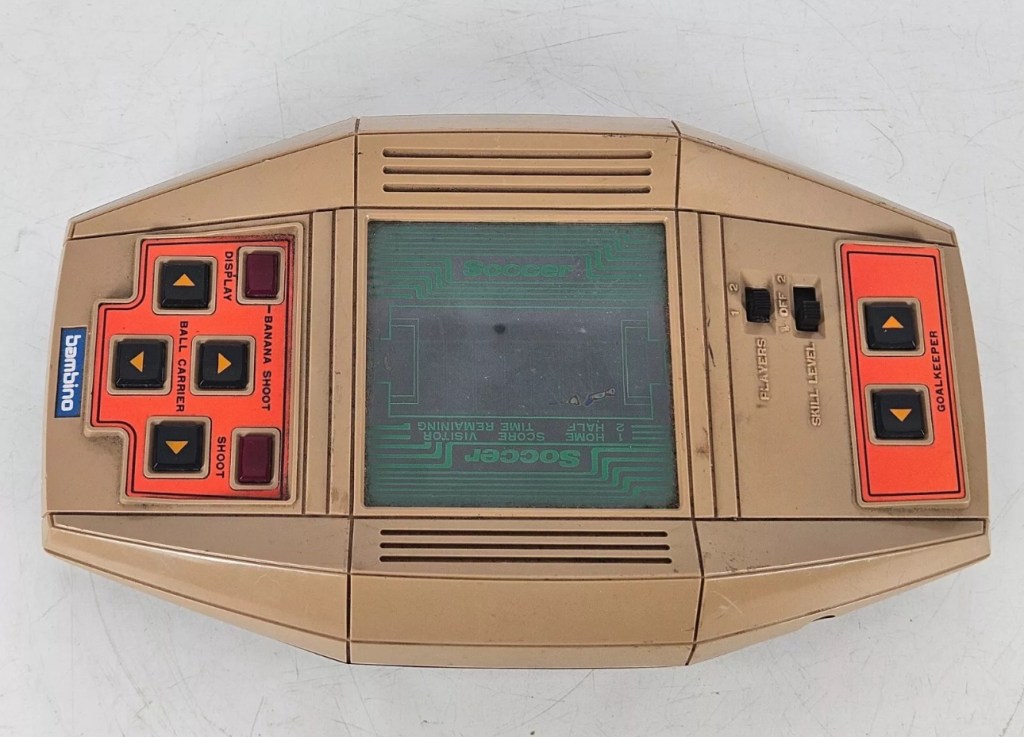
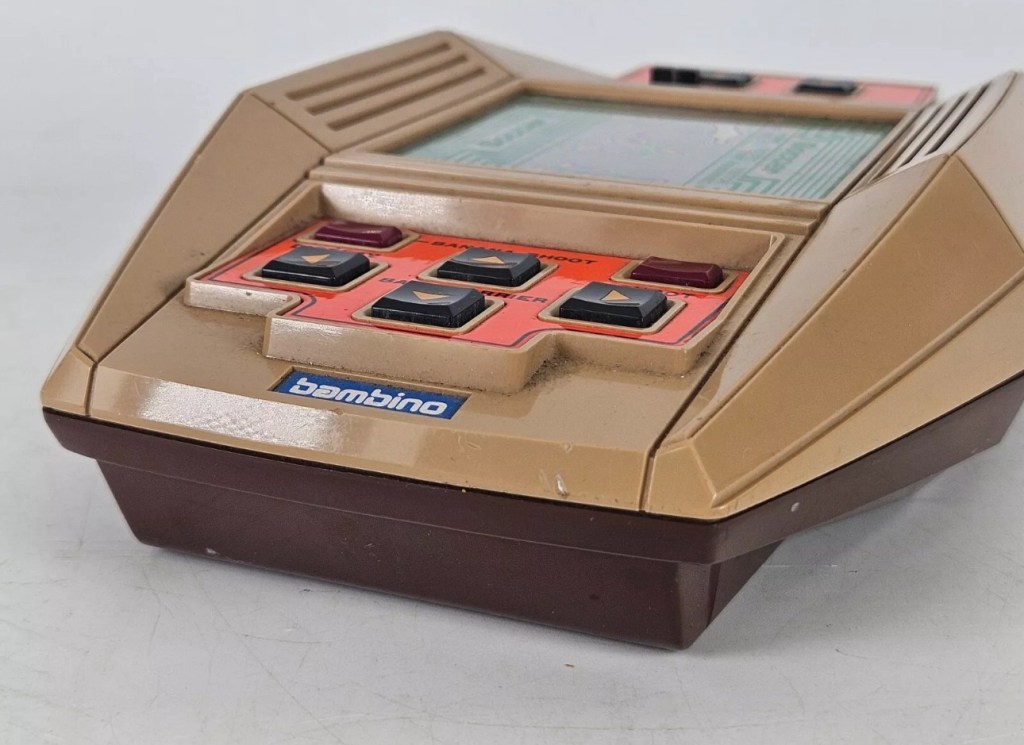
Bambino gameLooks tidyNo Corrosion Bambino Kick the goal soccer game
This unit was assembled in 1979. From initial pictures a few things are pleasing. It looks fairly tidy, the battery cover is supplied, there appears to be no corrosion and the labels appear intact. However actual delivery and when it appears in my own hands may prove otherwise so I’ll await its arrival to give a final judgement.
Well the item has arrived and considering it’s 45 years old it appears to have had a good life. A few small knocks and scars, no more than what you would expect….lets get some batteries in and see what occurs.
A few cold solder joints needed re flowing45 years old and clean as a whistleGame pads all to cleanButtons to clean
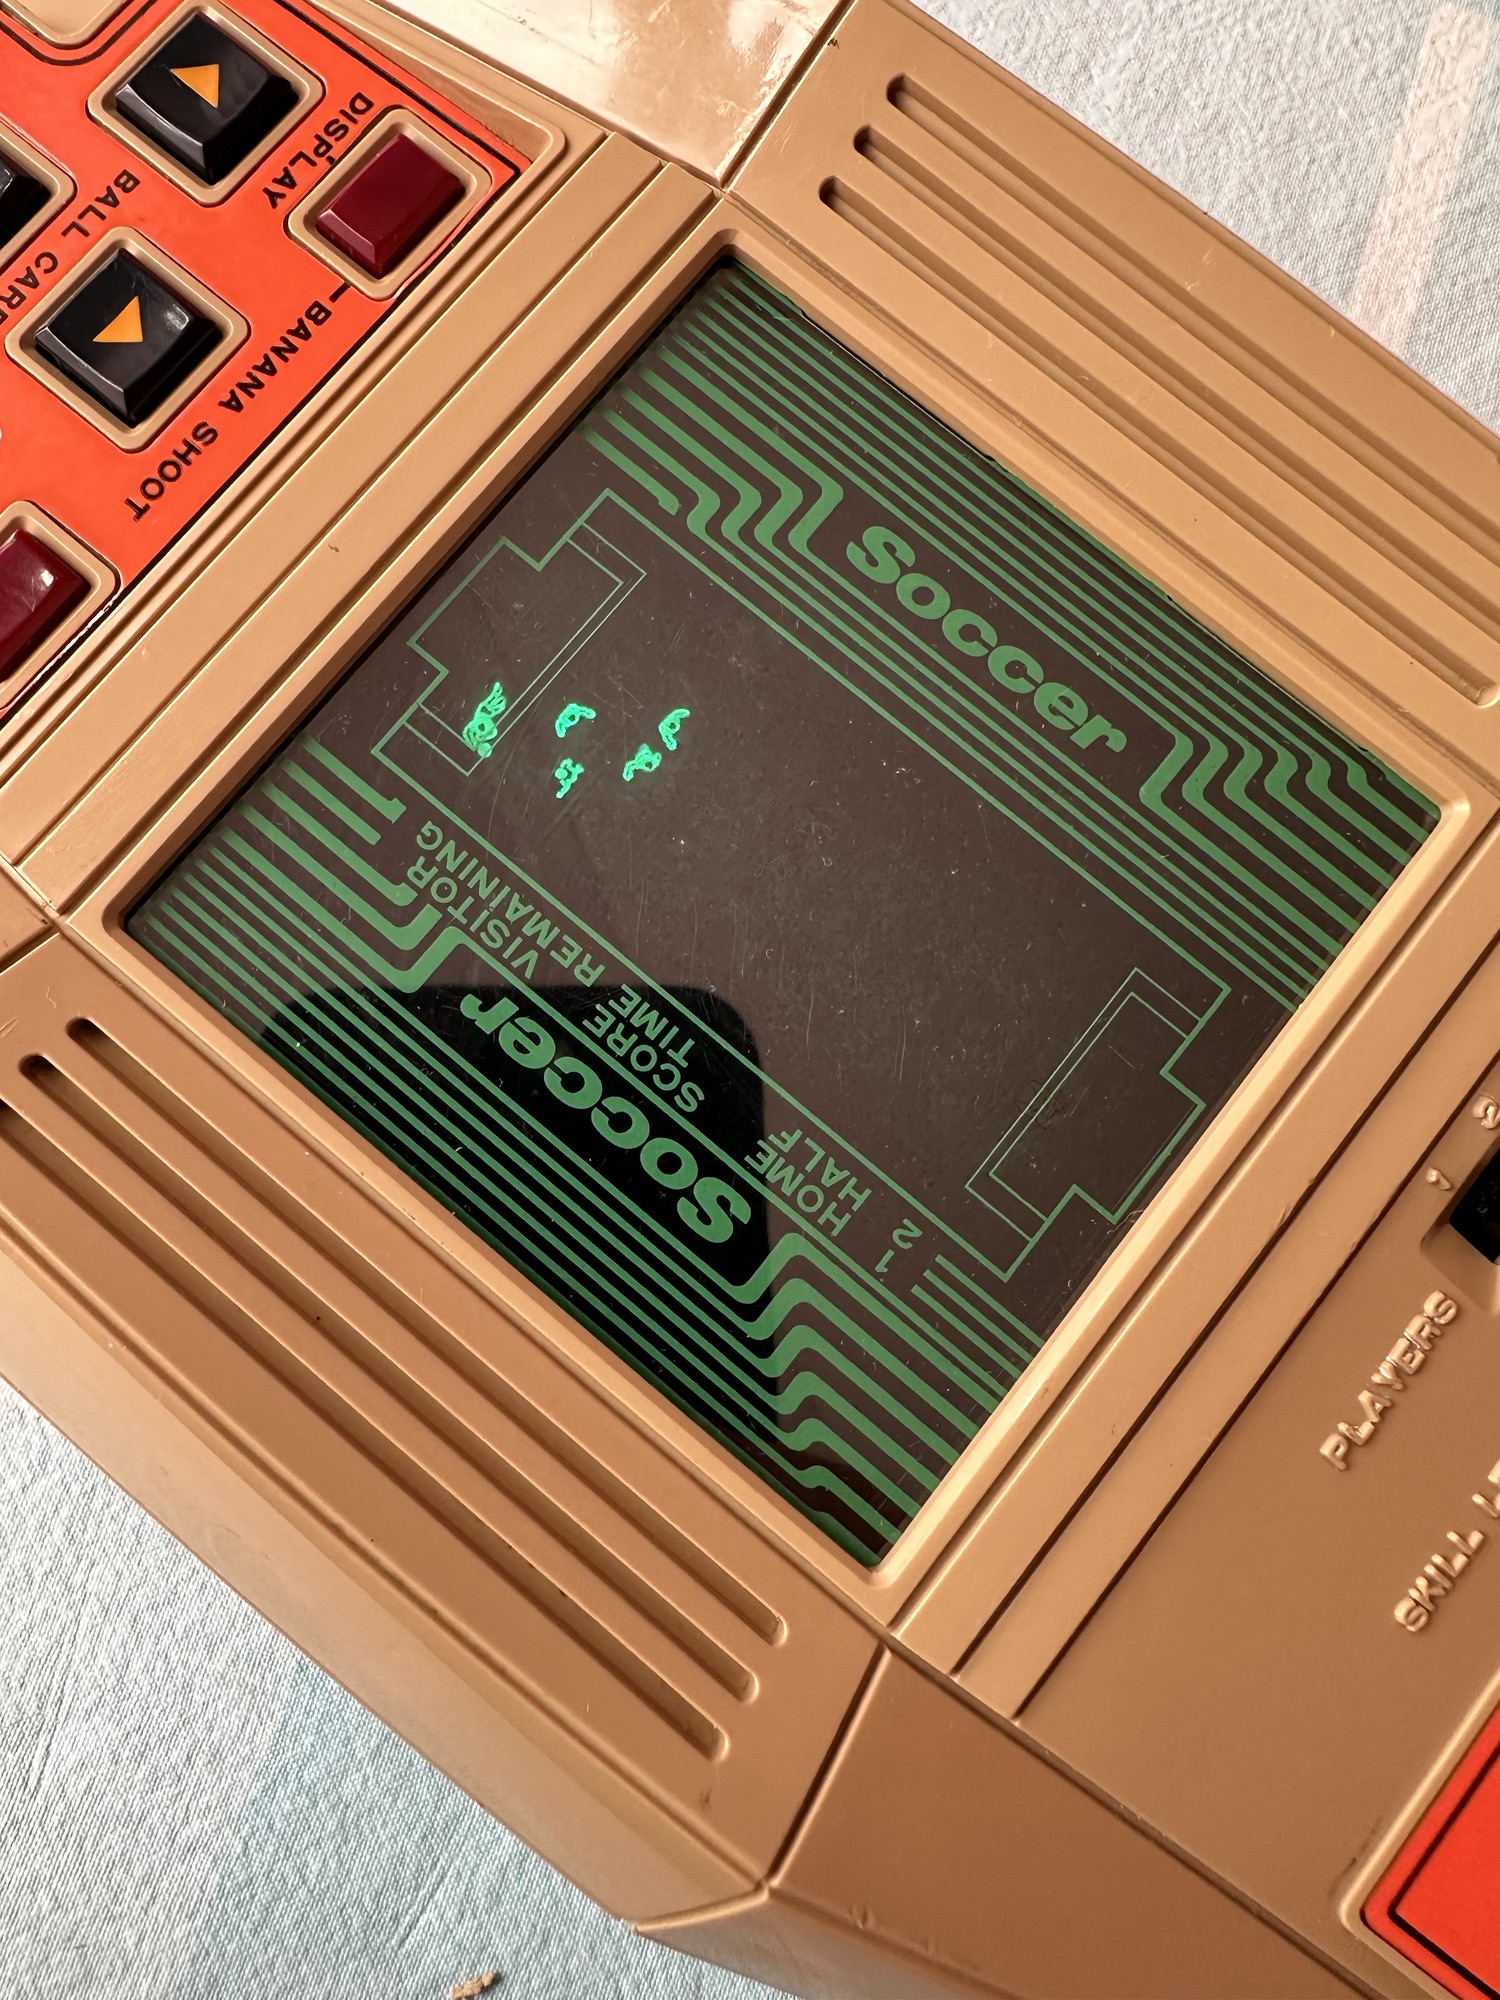
Inside is amazing, no LED screen just a tube that looks like an old Cathode Ray tube that you’d have on a TV. (Actually known as a Vacuum fluorescent display) Thank god this isn’t damaged as it would be game over. Wiggling a few contacts and I can hear the speaker crackling, closer inspection shows some cold solder joints so I quickly reflow these and it all springs into life. Excellent.
Lovely old display- more like a cathode tube
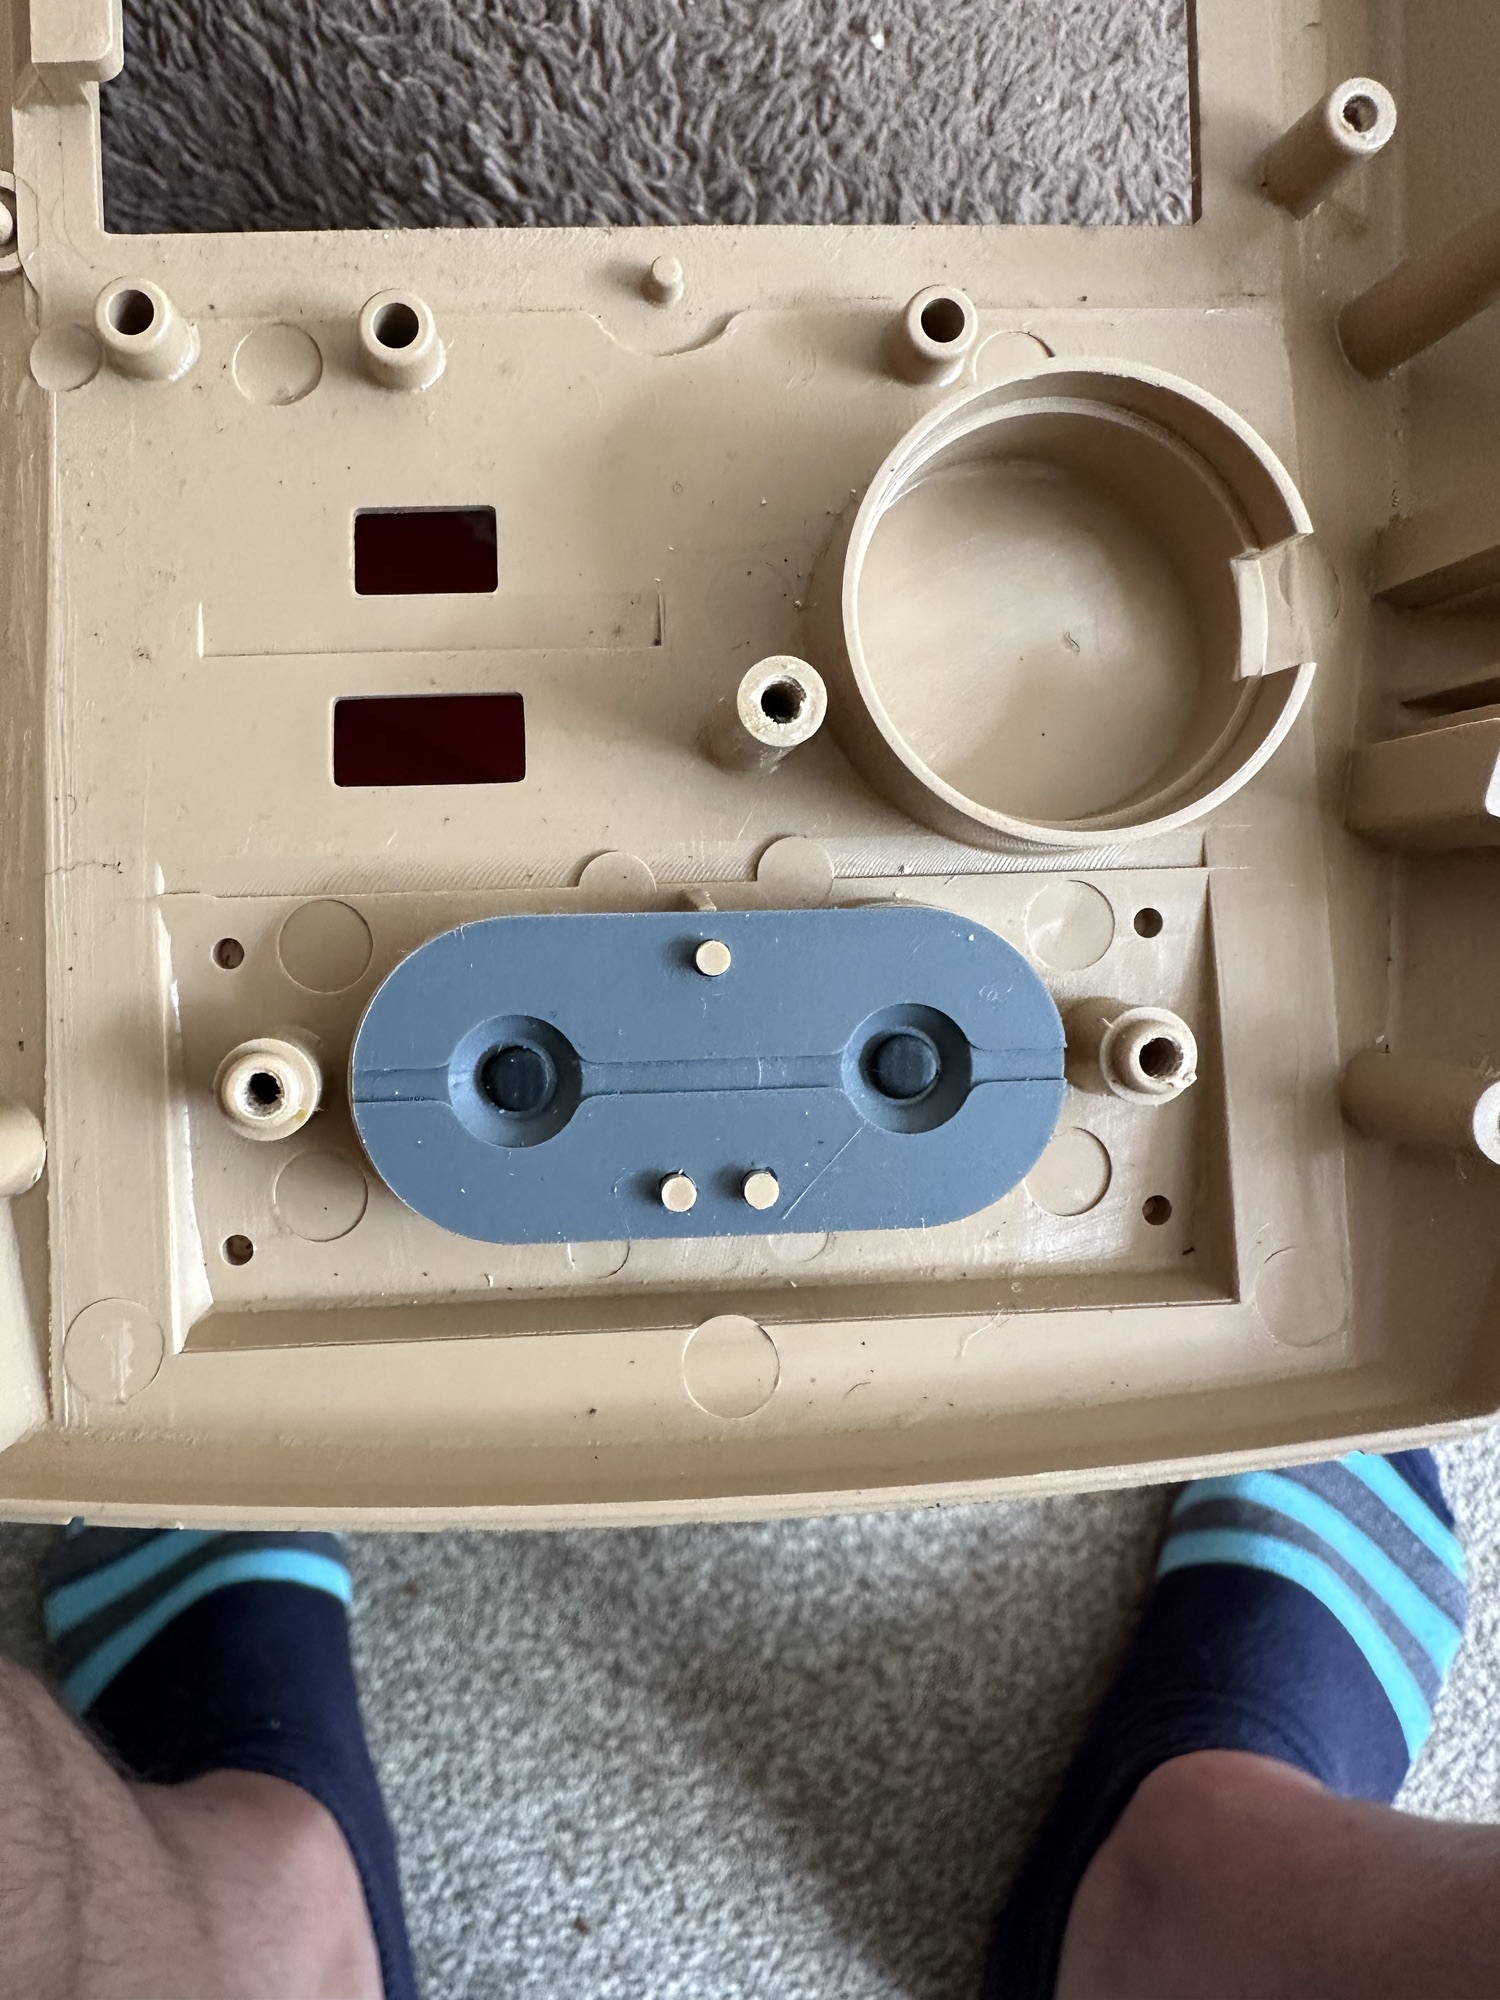
I’ve decided to take it all apart and give the parts a good deep wash in some soapy water.
Bath time Drying off
I’ve cleaned the two switches with a contact cleaner, I’ve cleaned the screen membrane and all buttons and their attached membranes as well.
Looks stunningAssembled and workingNice and clean
The whole shell has also been cleaned in all the nooks and crannies, and it looks superb.
Before and after
Now assembled it is in full working order, everything works as it should and the display is bright. The batteries are a tight fit but that’s not so much of an issue. Once you get into the game it’s quite addictive as single player mode is a right challenge as the computer is a great goal keeper 😂
Just can’t score – computers goal keeper is too good
Again it’s been quite a simple fix but an enjoyable one. It’s always good to see something that is about to be disposed of brought back to life and saved from the landfill. I paid a total price of £12.71GBP for this unit, and items of a far worse condition are currently selling in excess of £40GBP on EBay. However this is going into our games box in the garden pub for use by the family, especially the kids who I hope will appreciate the height of technology we had in the 70s.
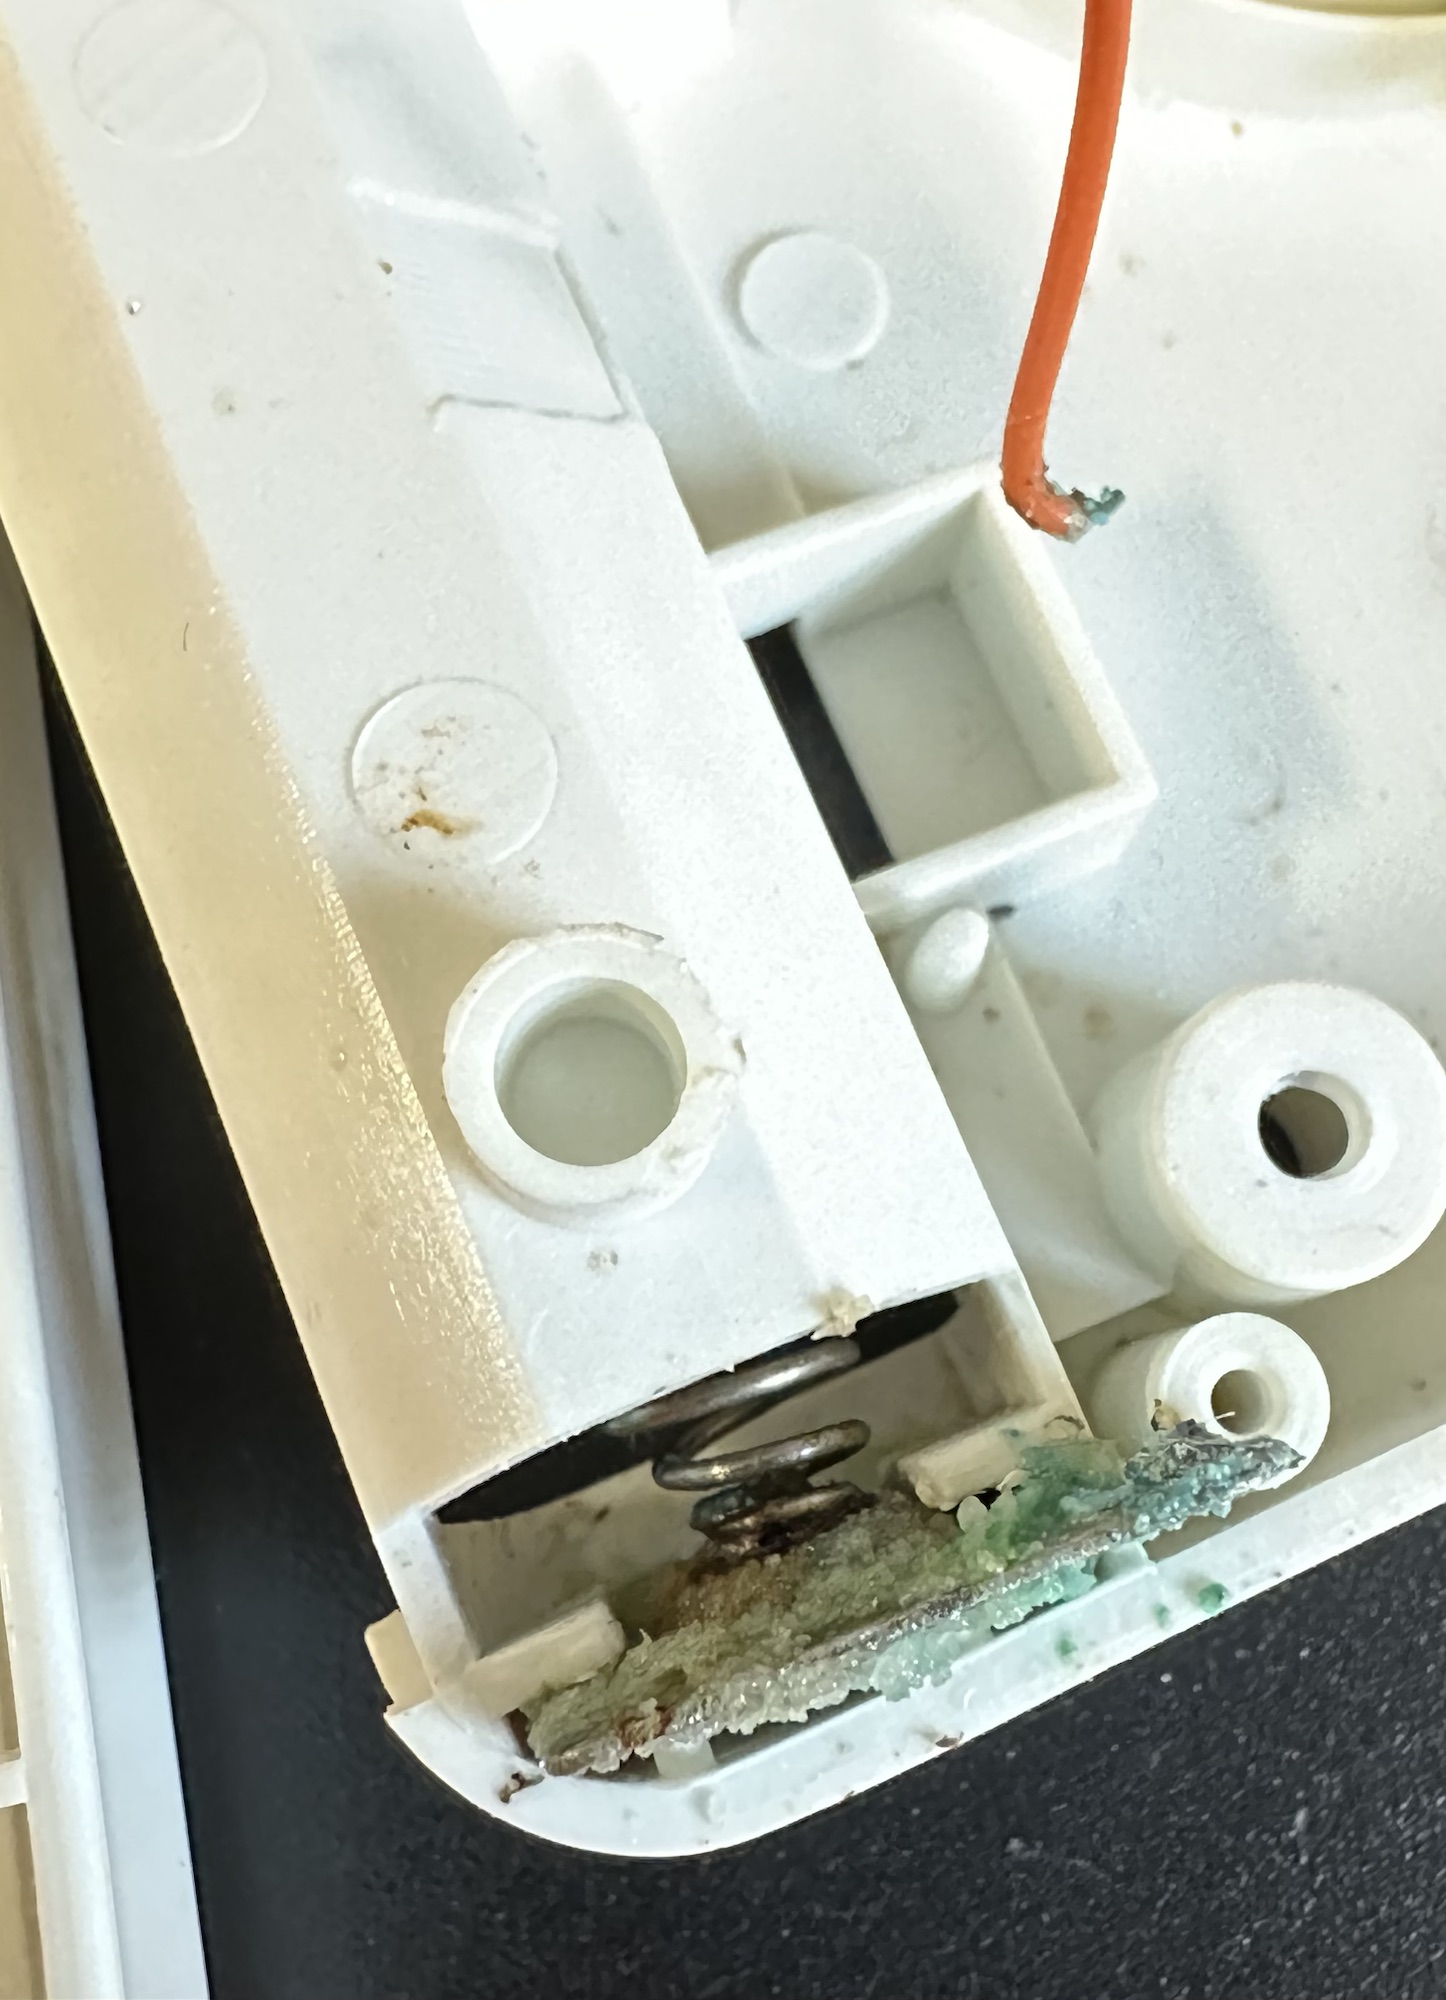
Console is sold as nonworking, shows no sign of life. Item is in good physical condition but there is a lot of corrosion in the battery compartment
Ebay
I’ve decide to look into what seems to be the “New Antique” sector of retro gaming. The prices being commanded for 1980s/90s old school gaming is crazy with many small handheld items that would have cost a couple of pounds being sold into the hundreds. Absolutely nuts!
Sonic – Tiger console
My decision making process on this was simple. I love hedgehogs, we have plenty of hedgehog visitors to our garden, so what better game than “Sonic the Hedgehog?”
Anyway, at the cheaper end I managed to bag this for £9 GBP. If I get it working, those units are selling between £20 – £45 so I should at least get my original outlay back, pending on what work needs doing.
So here we go….
Well, it’s arrived and cosmetically it looks fine.
Looks good cosmetically
Now I opened the battery compartment and could see no corrosion, on opening further I noticed some of the screws had been threaded so I guess someone has been in here before me. And I was right. The corrosion can be quite clearly seen on opening the unit.
Bad corrosion and detached wireCleaned, broken but going to repair
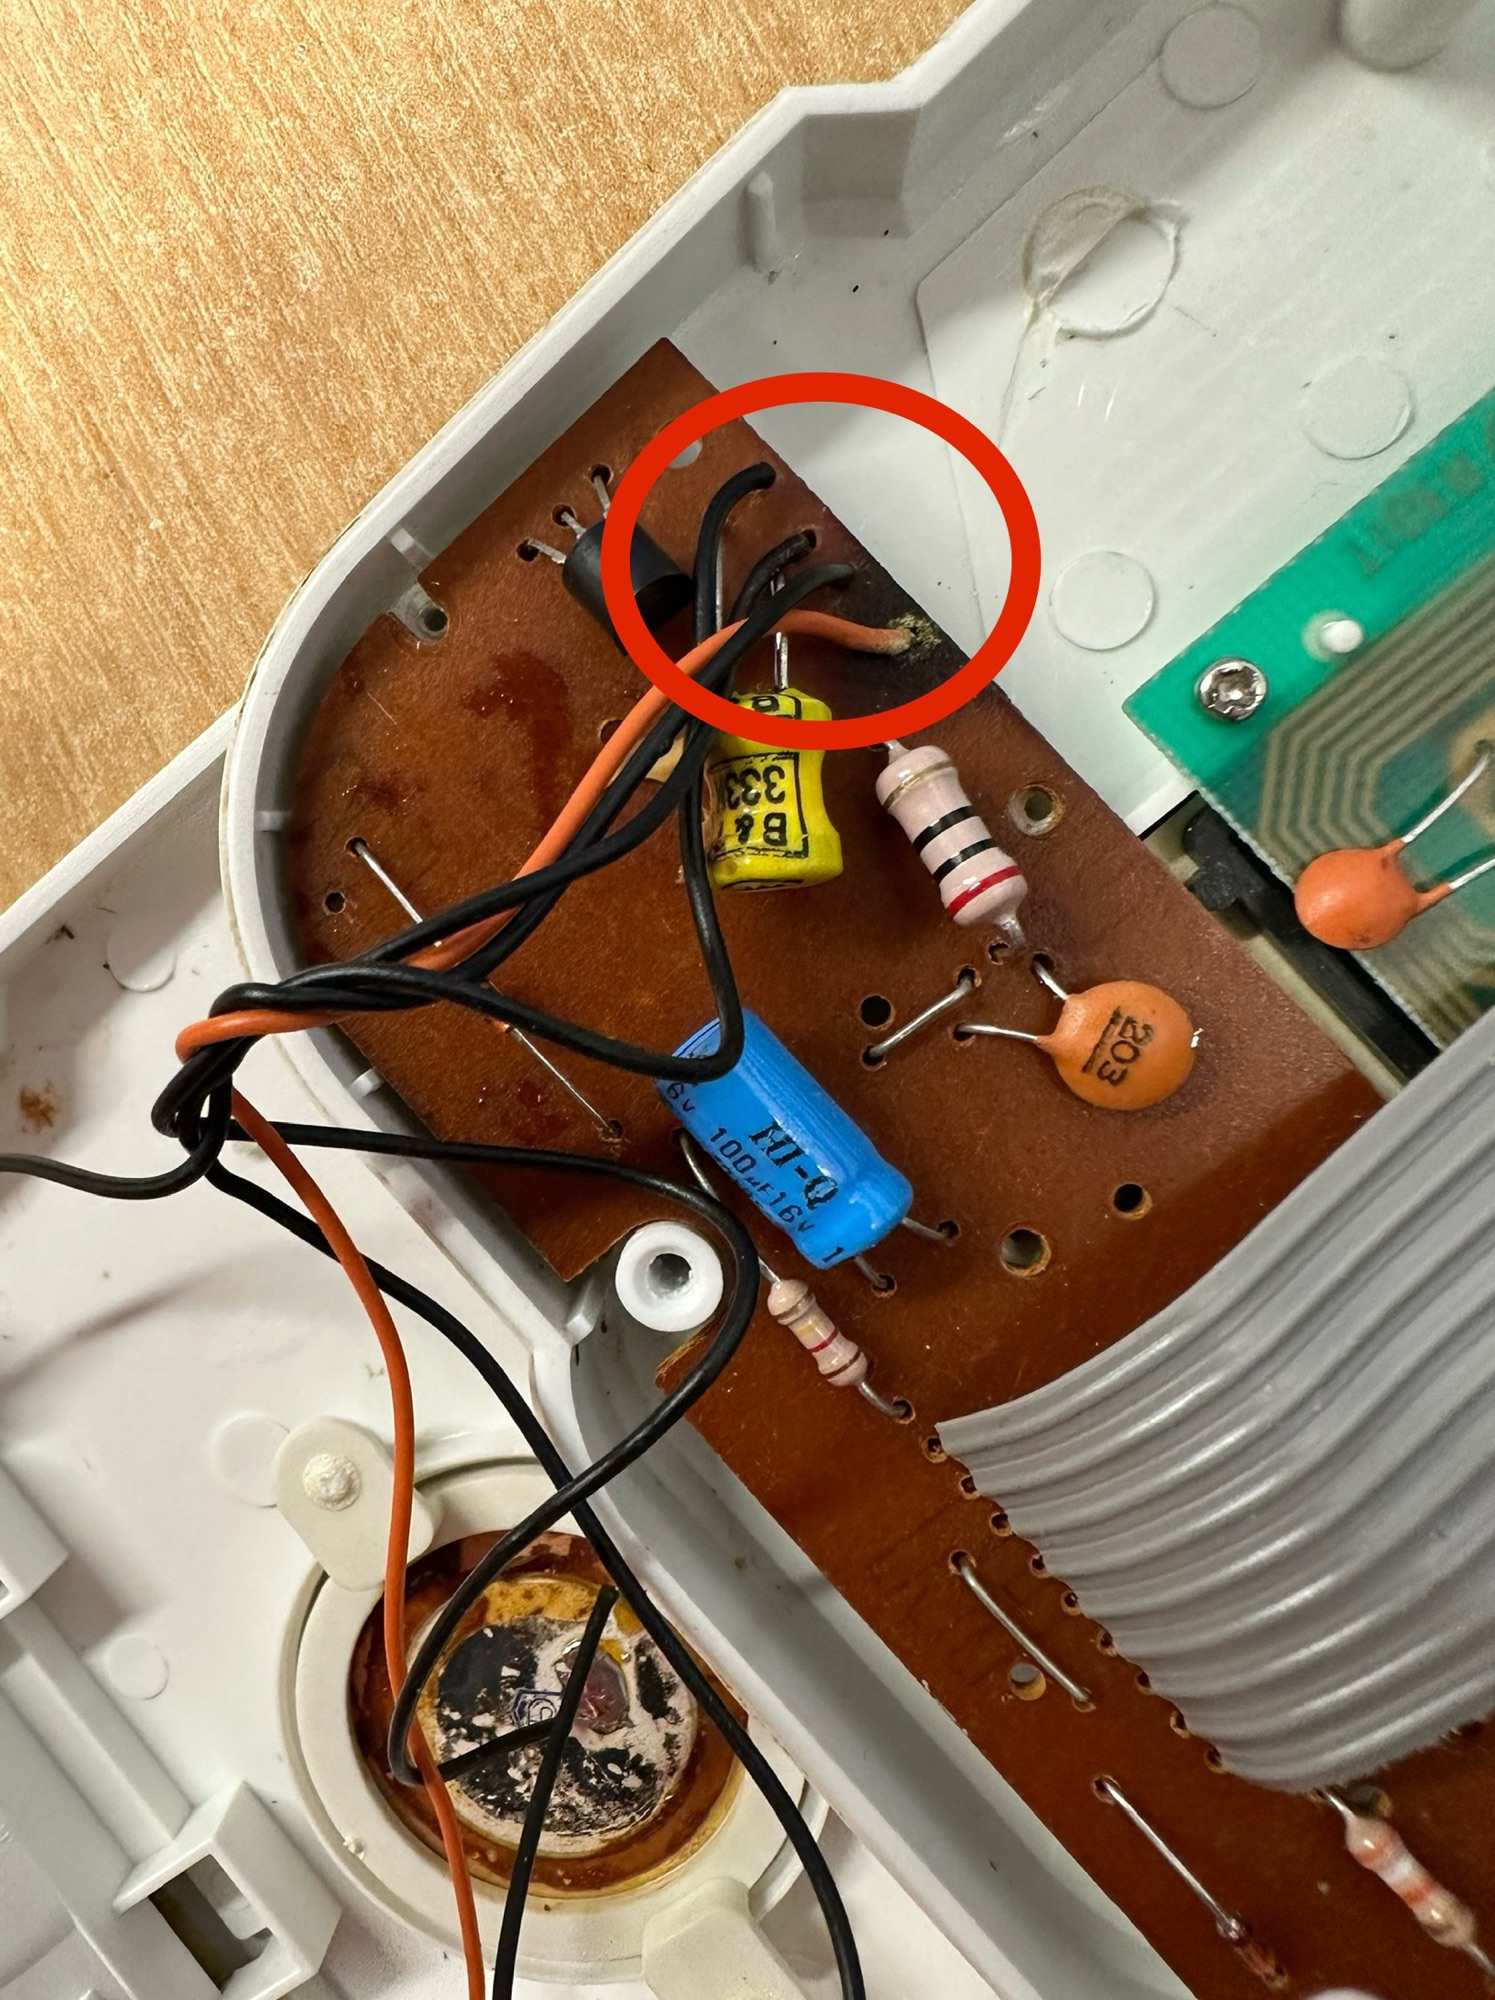
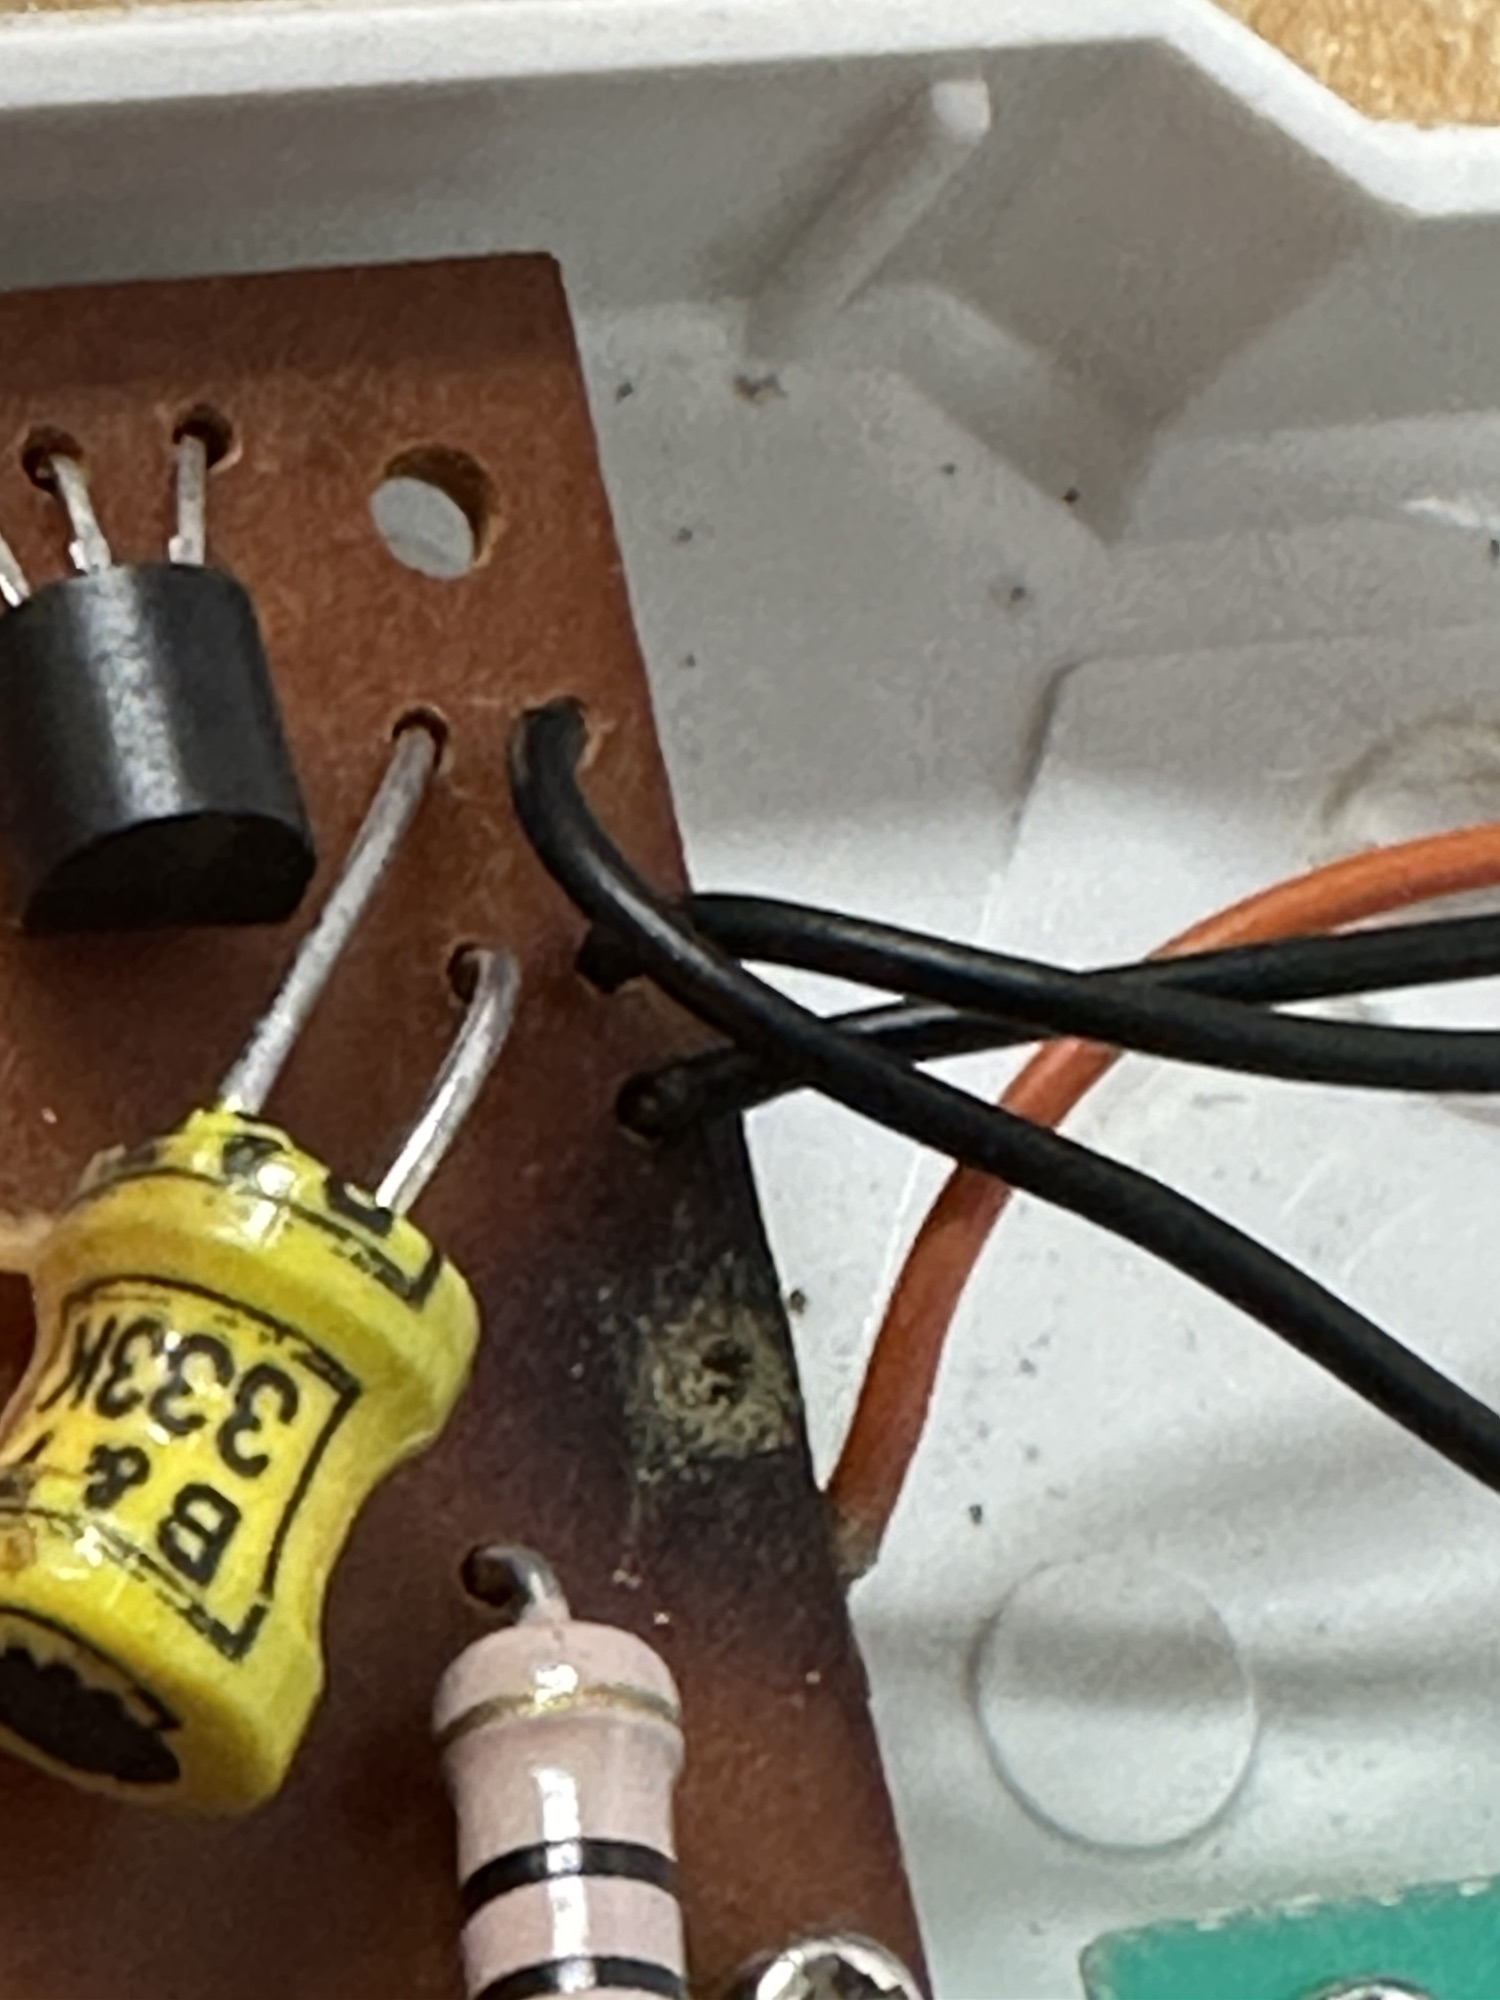
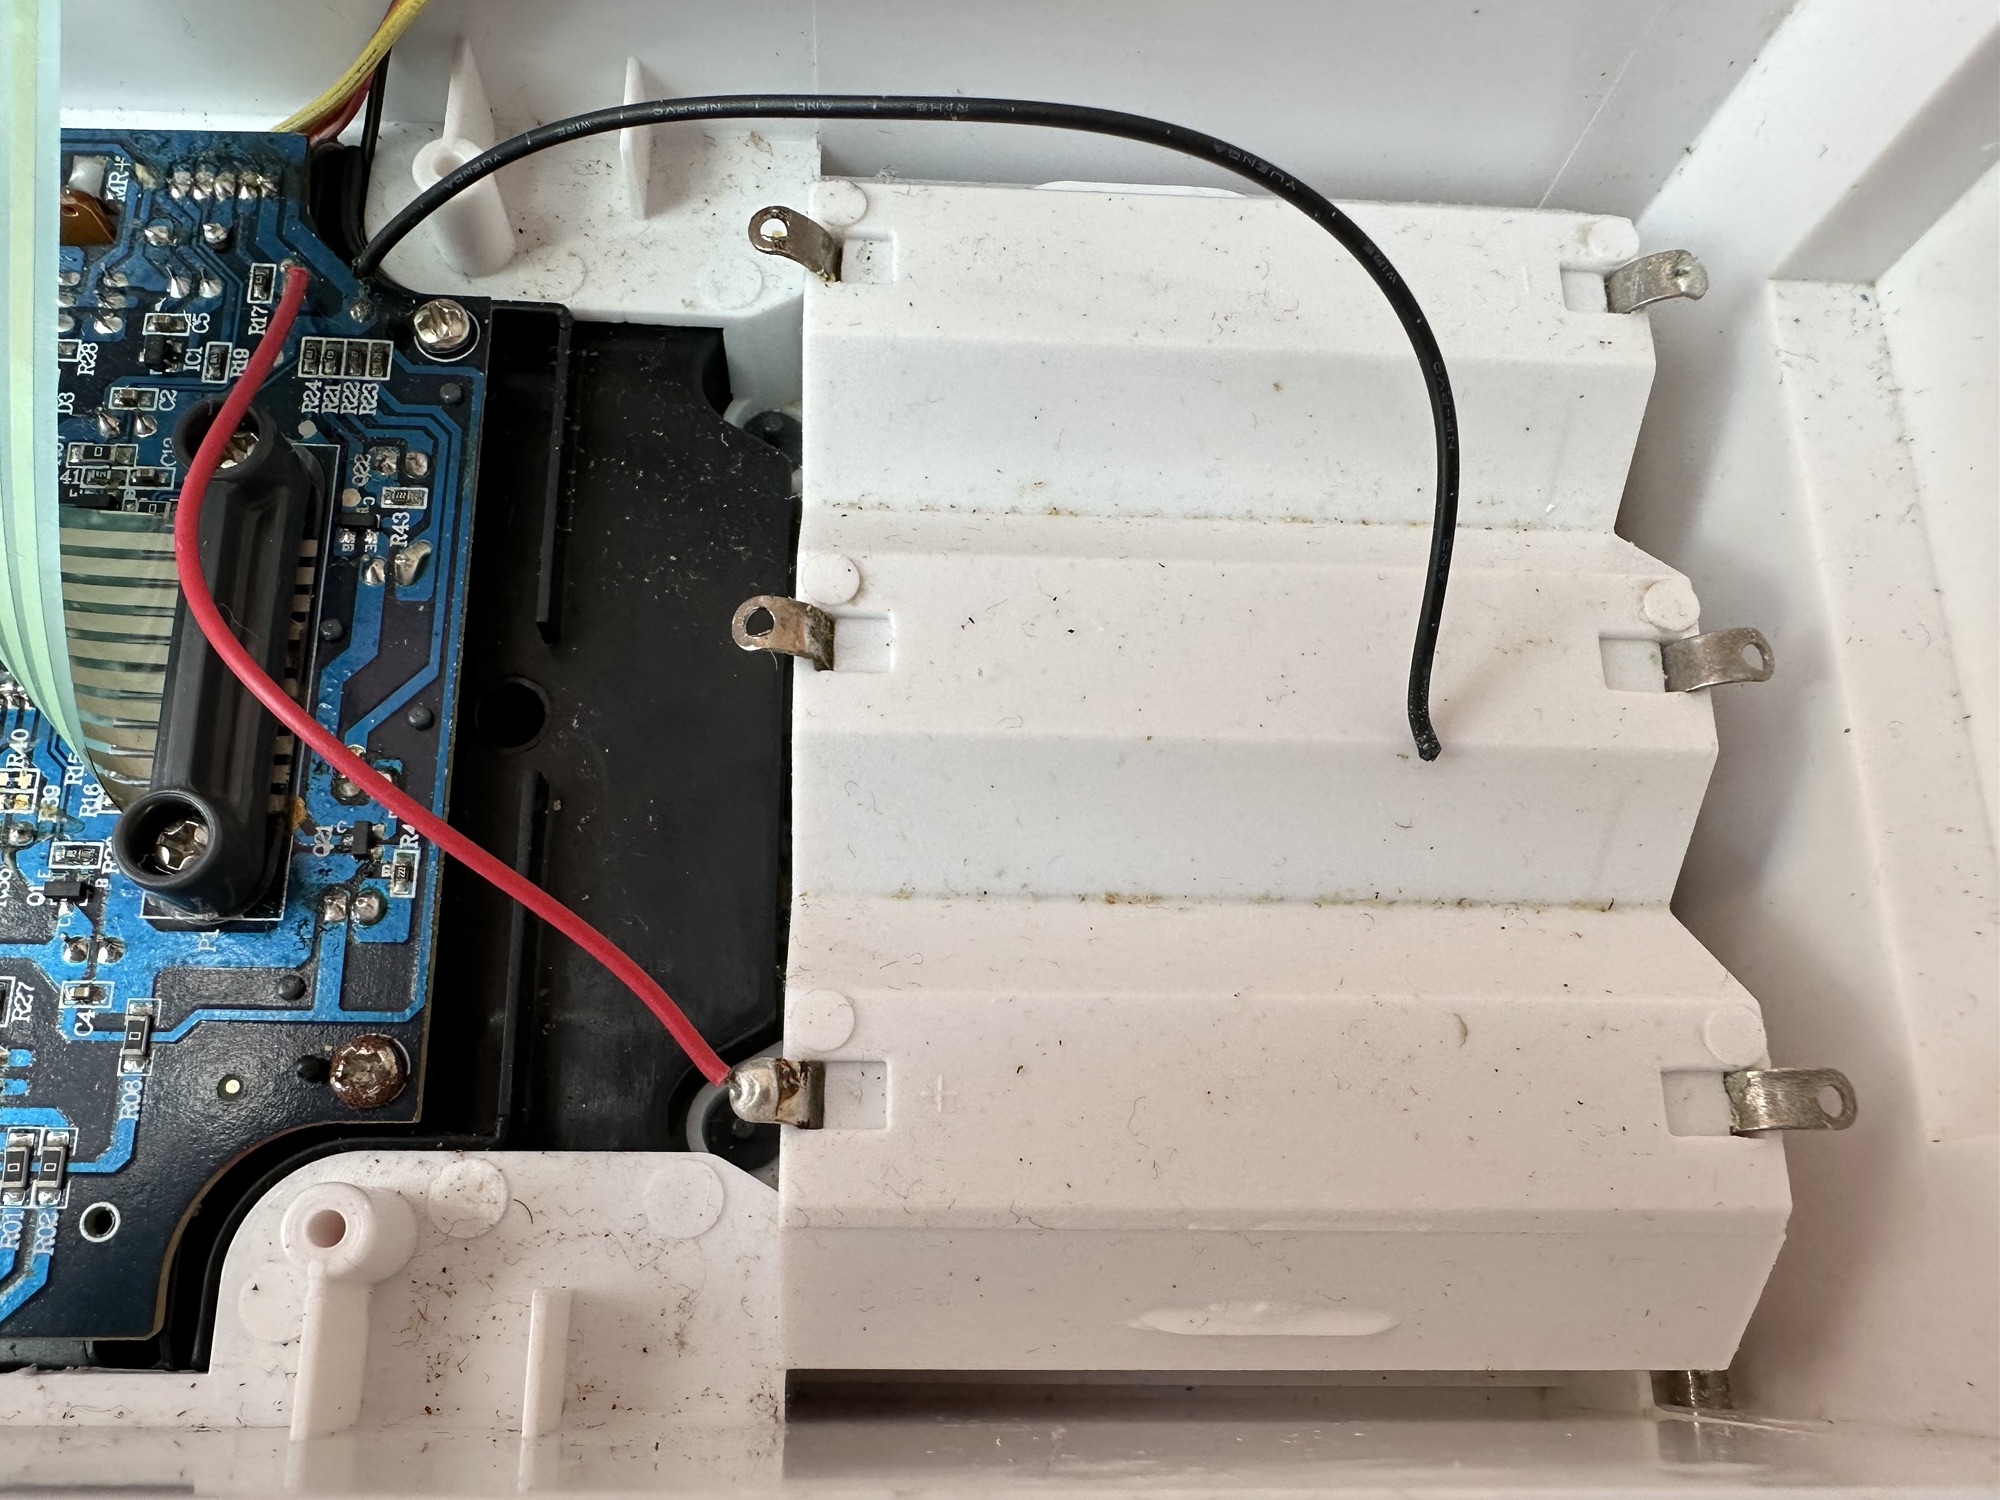
Where the corrosion is on the negative terminal, a wire is also disconnected, hooray I thought, an easy fix. Hold on tiger, it’s not that simple. it appears the corrosion has leaked down the wire to where the negative wire joins the circuit board, in fact all four wires at this point are holding on by threads of wire. These will need re soldering.
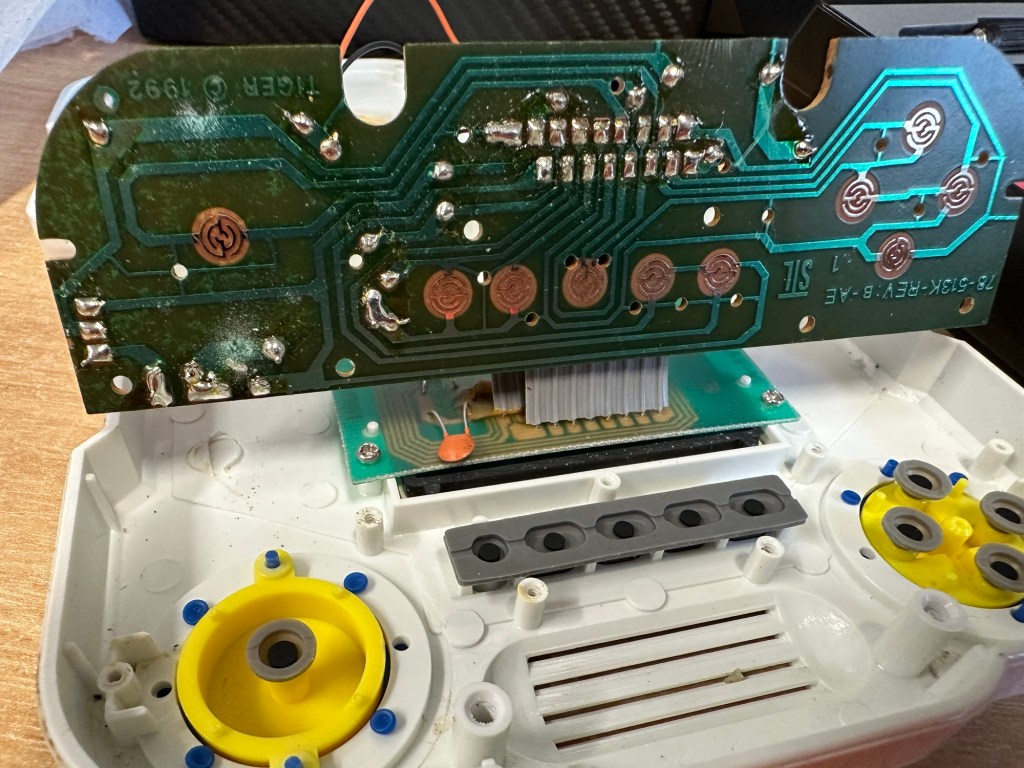
This game appears to be from 1992 according to the stamp on the main board.
Loose wires circled Corrosion
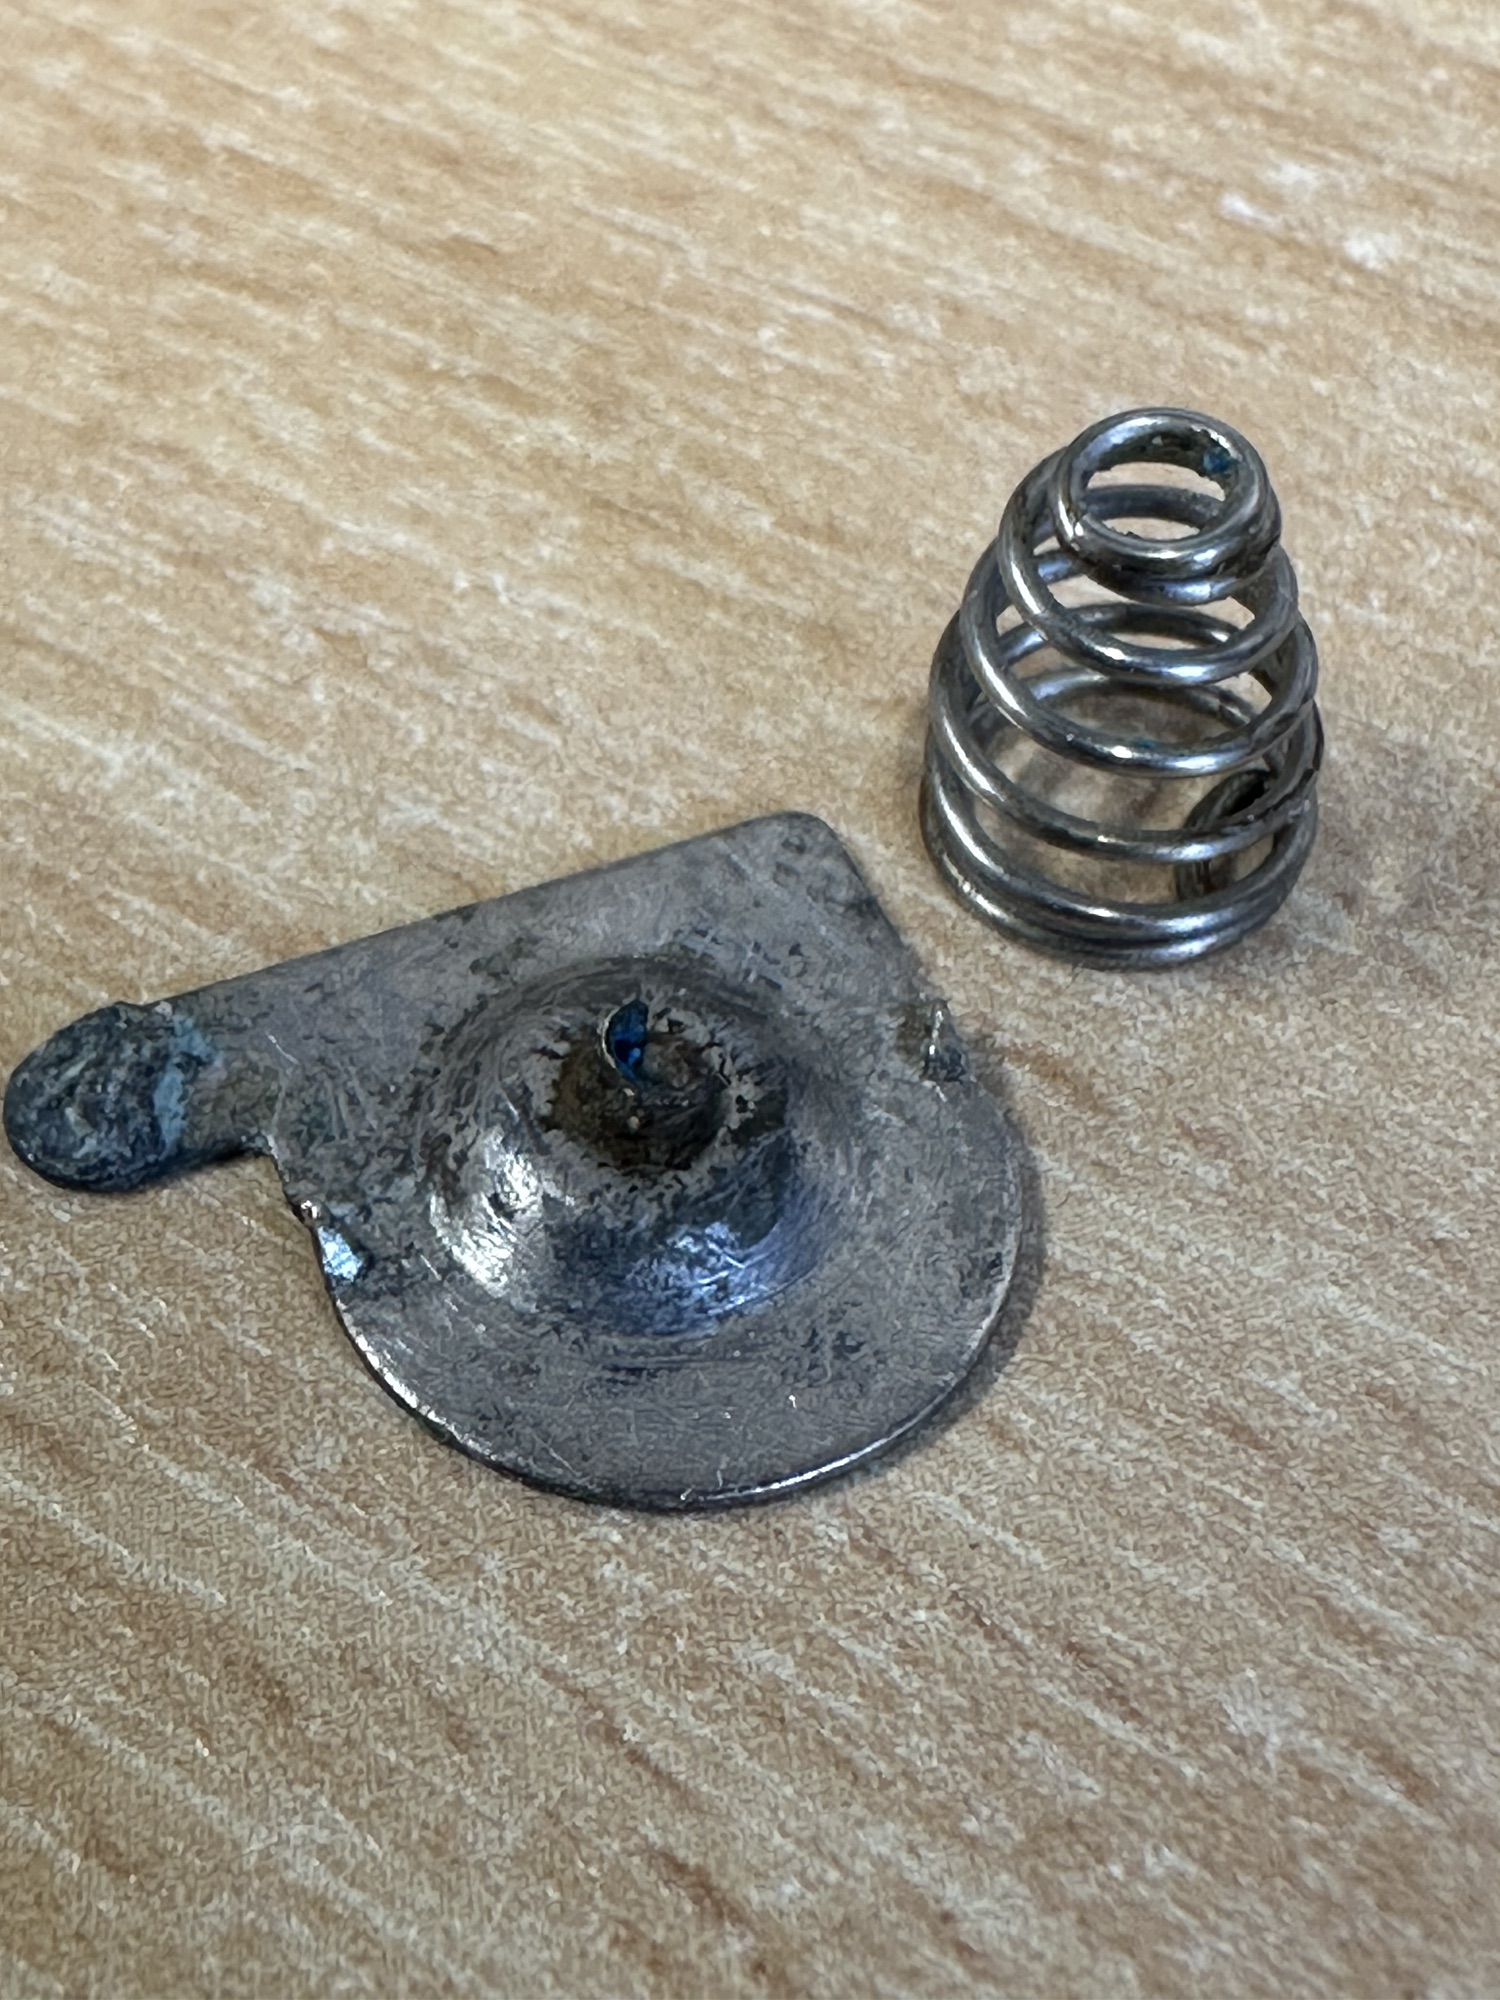
The negative terminal connector is broken, i have some replacements on order but I’m going to repair this one.
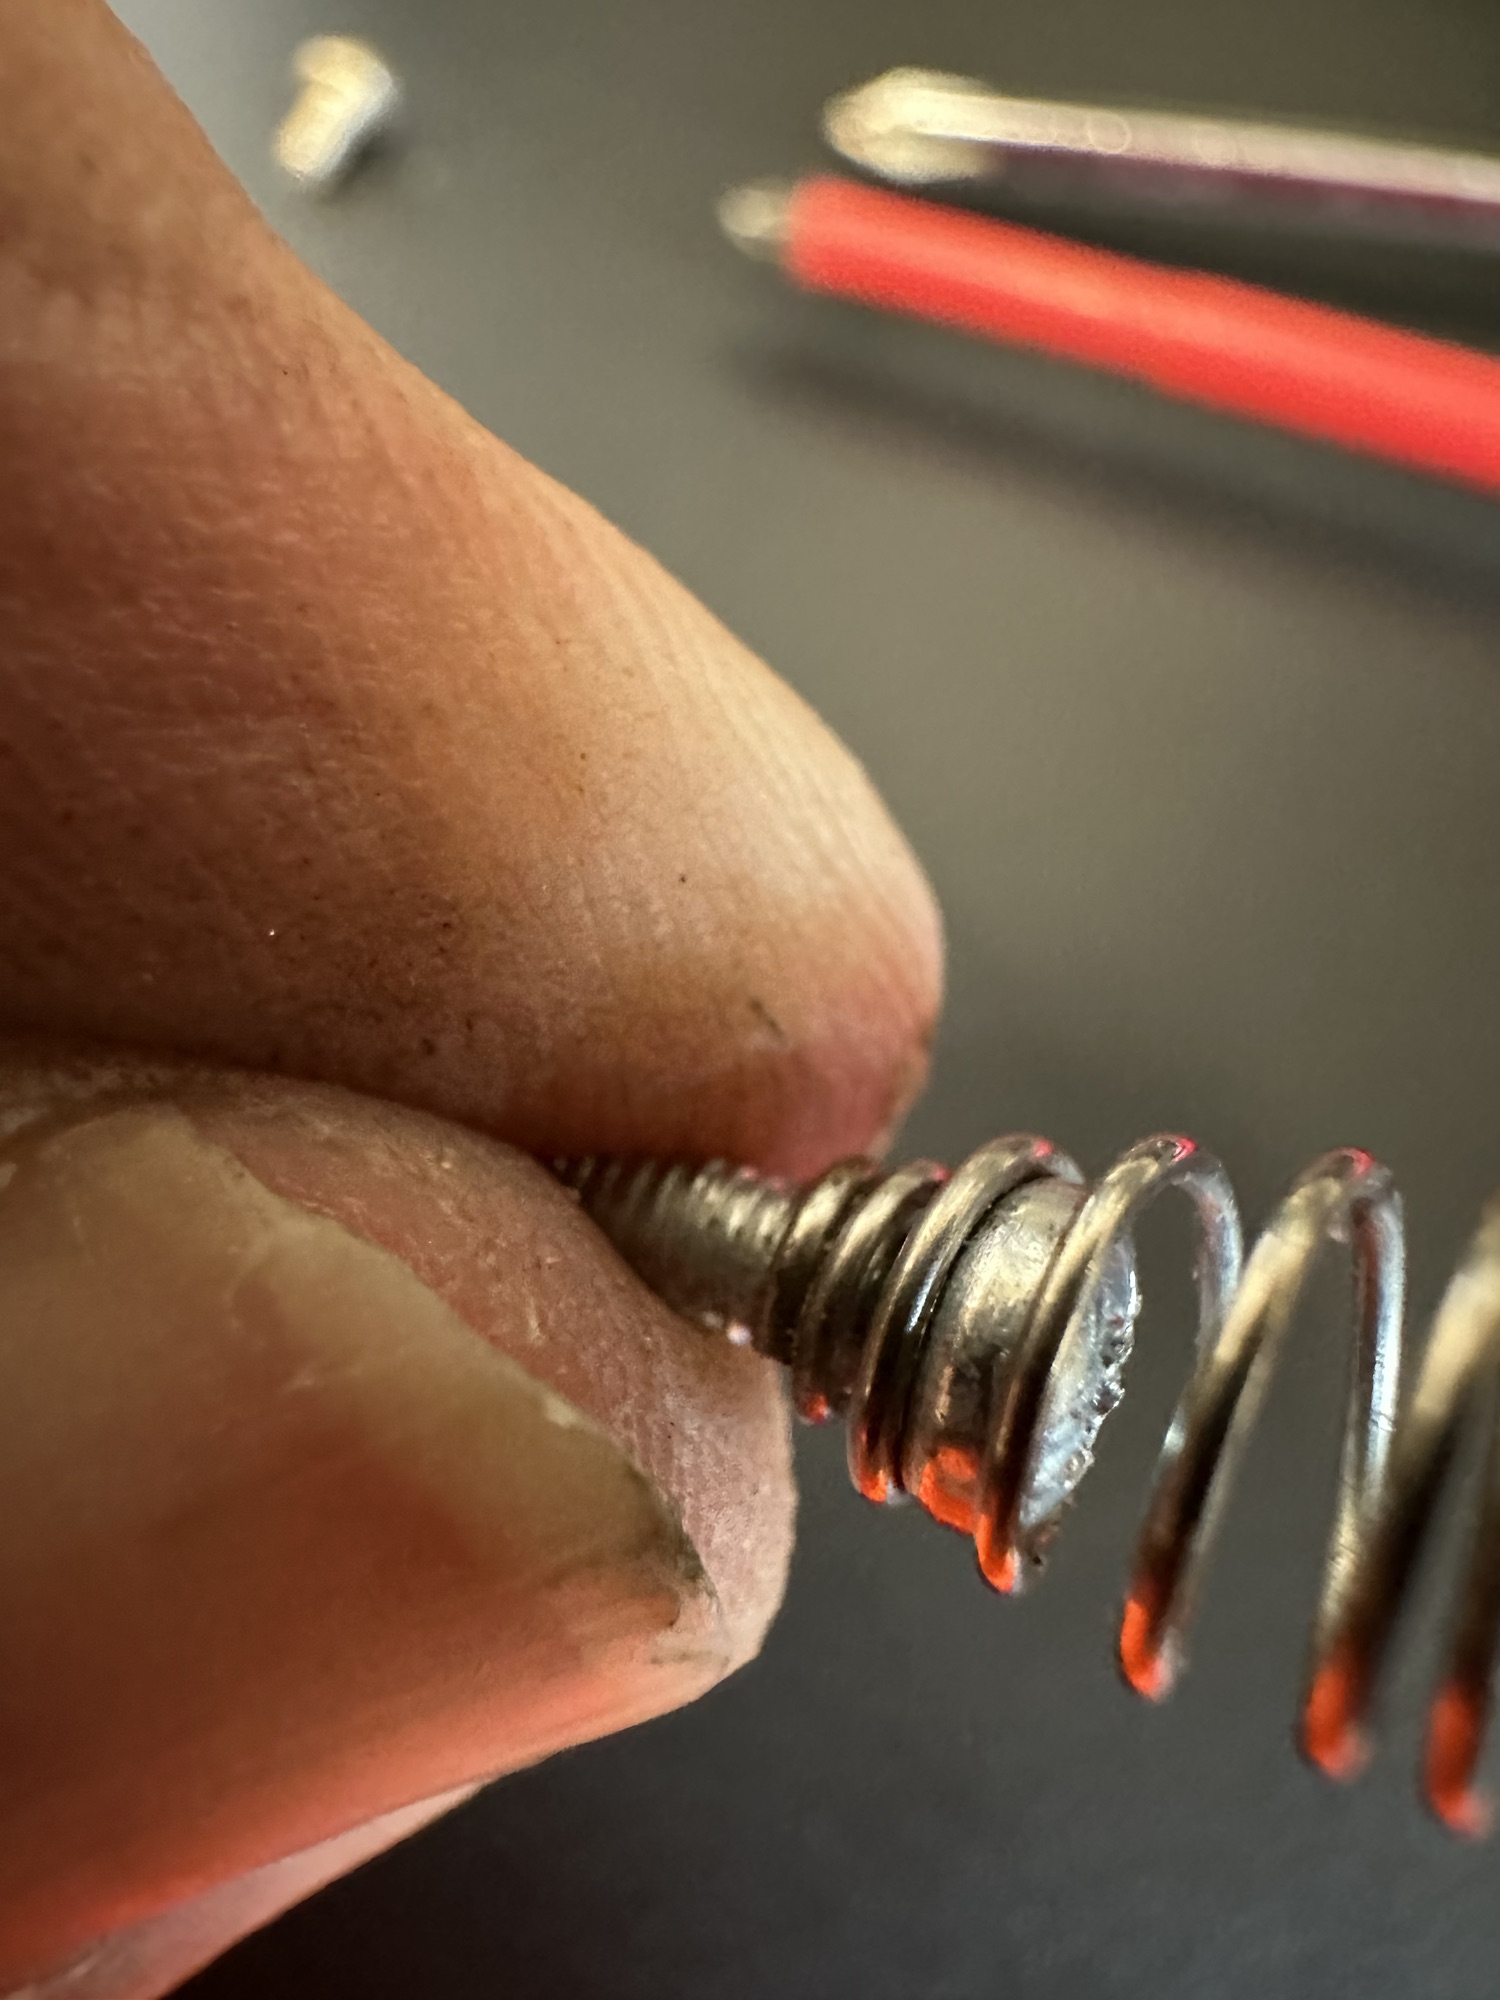
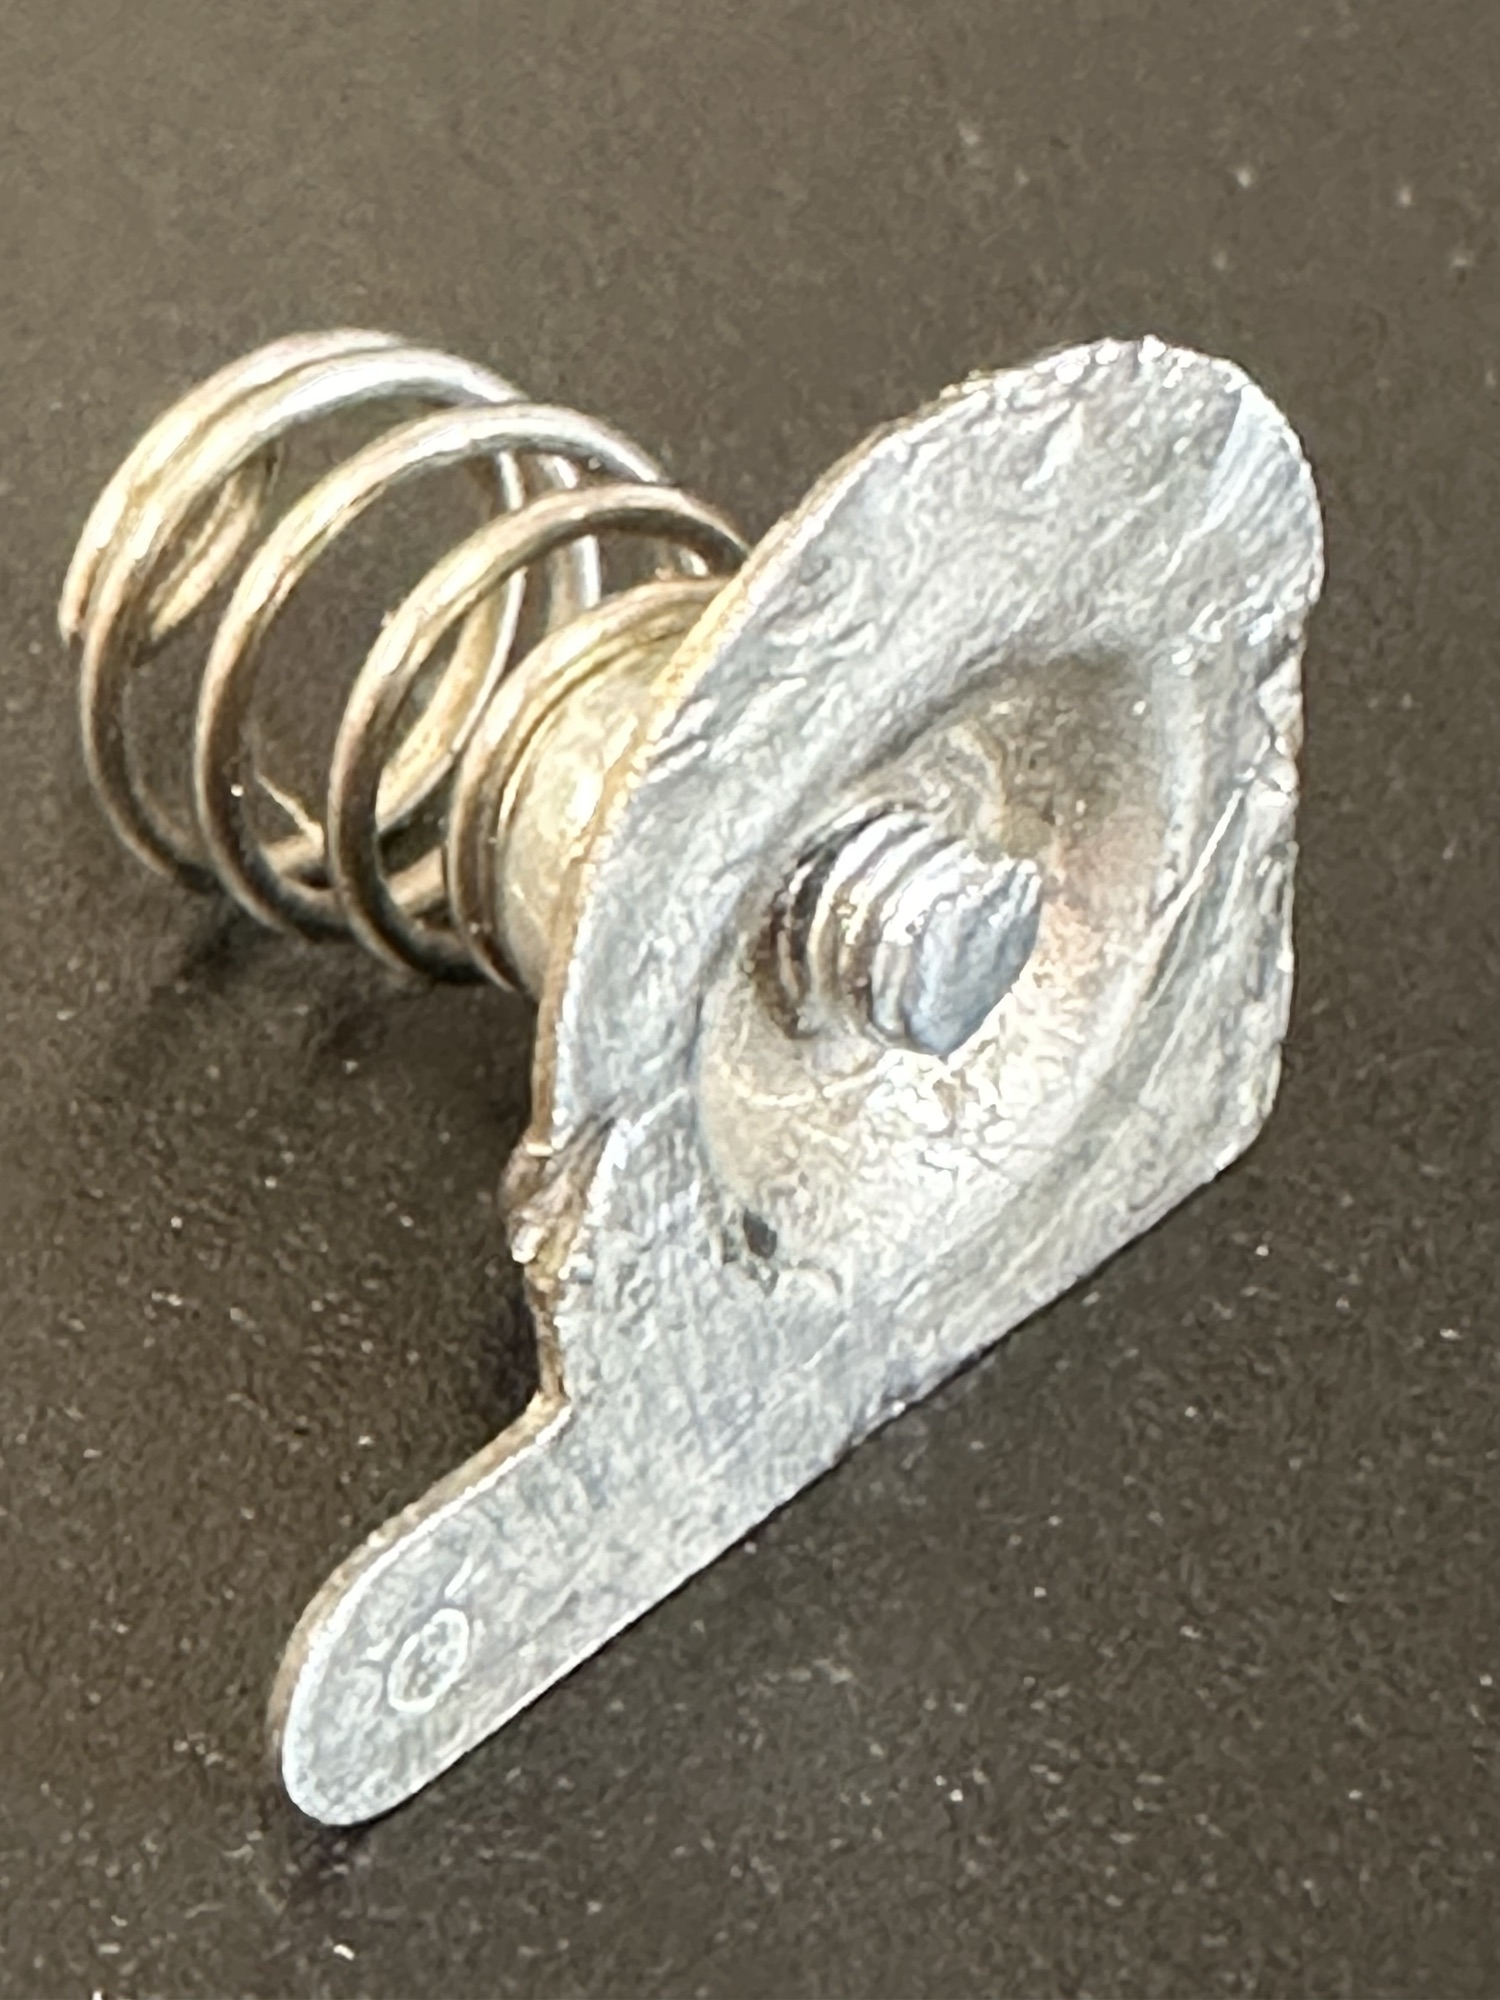
I’ve taken the corroded rivet out that held the spring. I’ve found a small screw and have used this to connect to the plate. I’ve cleaned the whole lot with wire wool and have cut off the excess screw and filed it all down. It now looks as good as new and no cost involved. I will finish it off with a dab of solder on the back to ensure good contact is maintained.
Rivet removedFirst a screwNow to cut off the excessFiled down All polished and good to go
Peering underneath at the board it all looks ok, needing just a good clean with IPA. However, I’m not really going to be able to confirm this until I’ve re soldered and checked continuity from the batteries.
Signs of light corrosion under board
There could be some damaged tracks, again I’ll know that when all the basic setup and tests have been done. There is also a possibility the speaker could be damaged as the corrosion has reached there. I’ll test with the multimeter in the meantime. That all checked out ok and the speaker is fine.
I’ve given a good overall clean with some IPA and the entire unit inside and out looks as good as new.
Cleaned shellCleaned board
I’ve replaced both the power cables from the battery unit as one had fallen off and the negative one had looked as if it had been crushed. I was changing so it made no odds to change the other.
New power cables
I ran some checks with the multimeter and everything is fine, all tracks are good and it looks as if the corrosion was localised, this unit has dodged a bullet.
Batteries in and it’s now working well, see this video short:
When you don’t know what you’re doing
However, as I’m not a gamer I have absolutely no idea what I’m doing, it makes a lot of noise and appears to work but god knows what I do. It certainly does a lot more than it did when I received it.
Here I purchased the toy I most wanted back in my teenage years. Unfortunately I wasn’t available to get the original MB version produced in 1979 so I had to settle for the latter “improved” version made by Zeon Ltd that was made in 2010.
It’s arrived and to be honest dosen’t look too shabby, needs a bit of a clean up and maybe some new transfers applying but we’ll get to that at another time, for now we need to try and get the machine up and running.
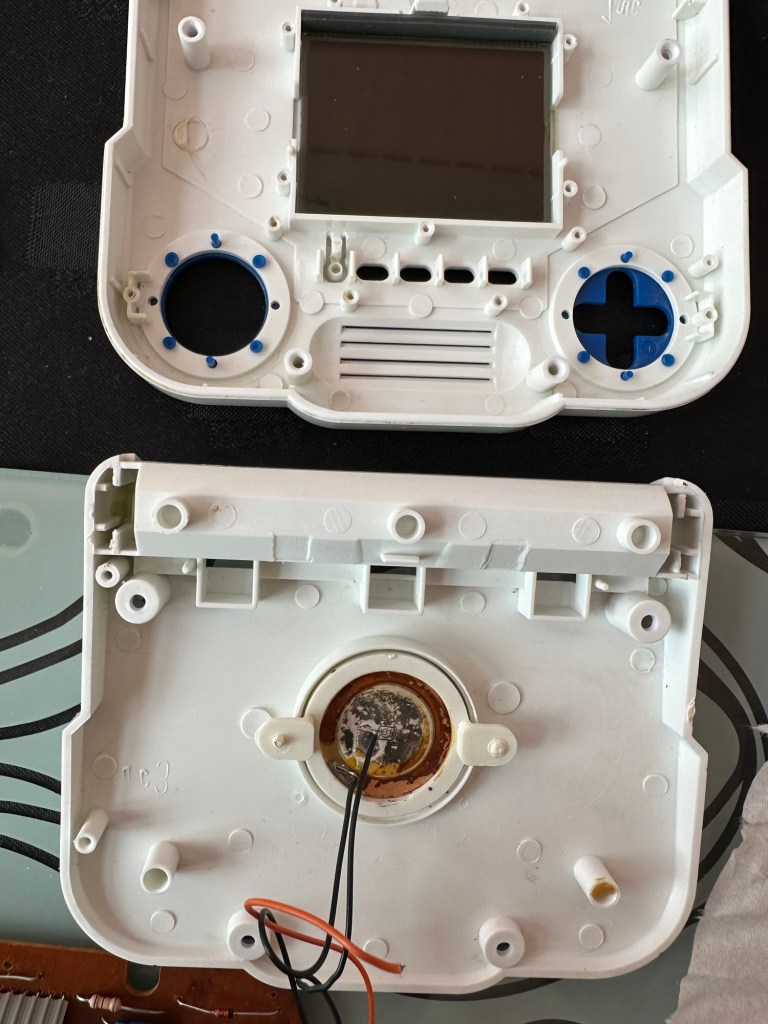
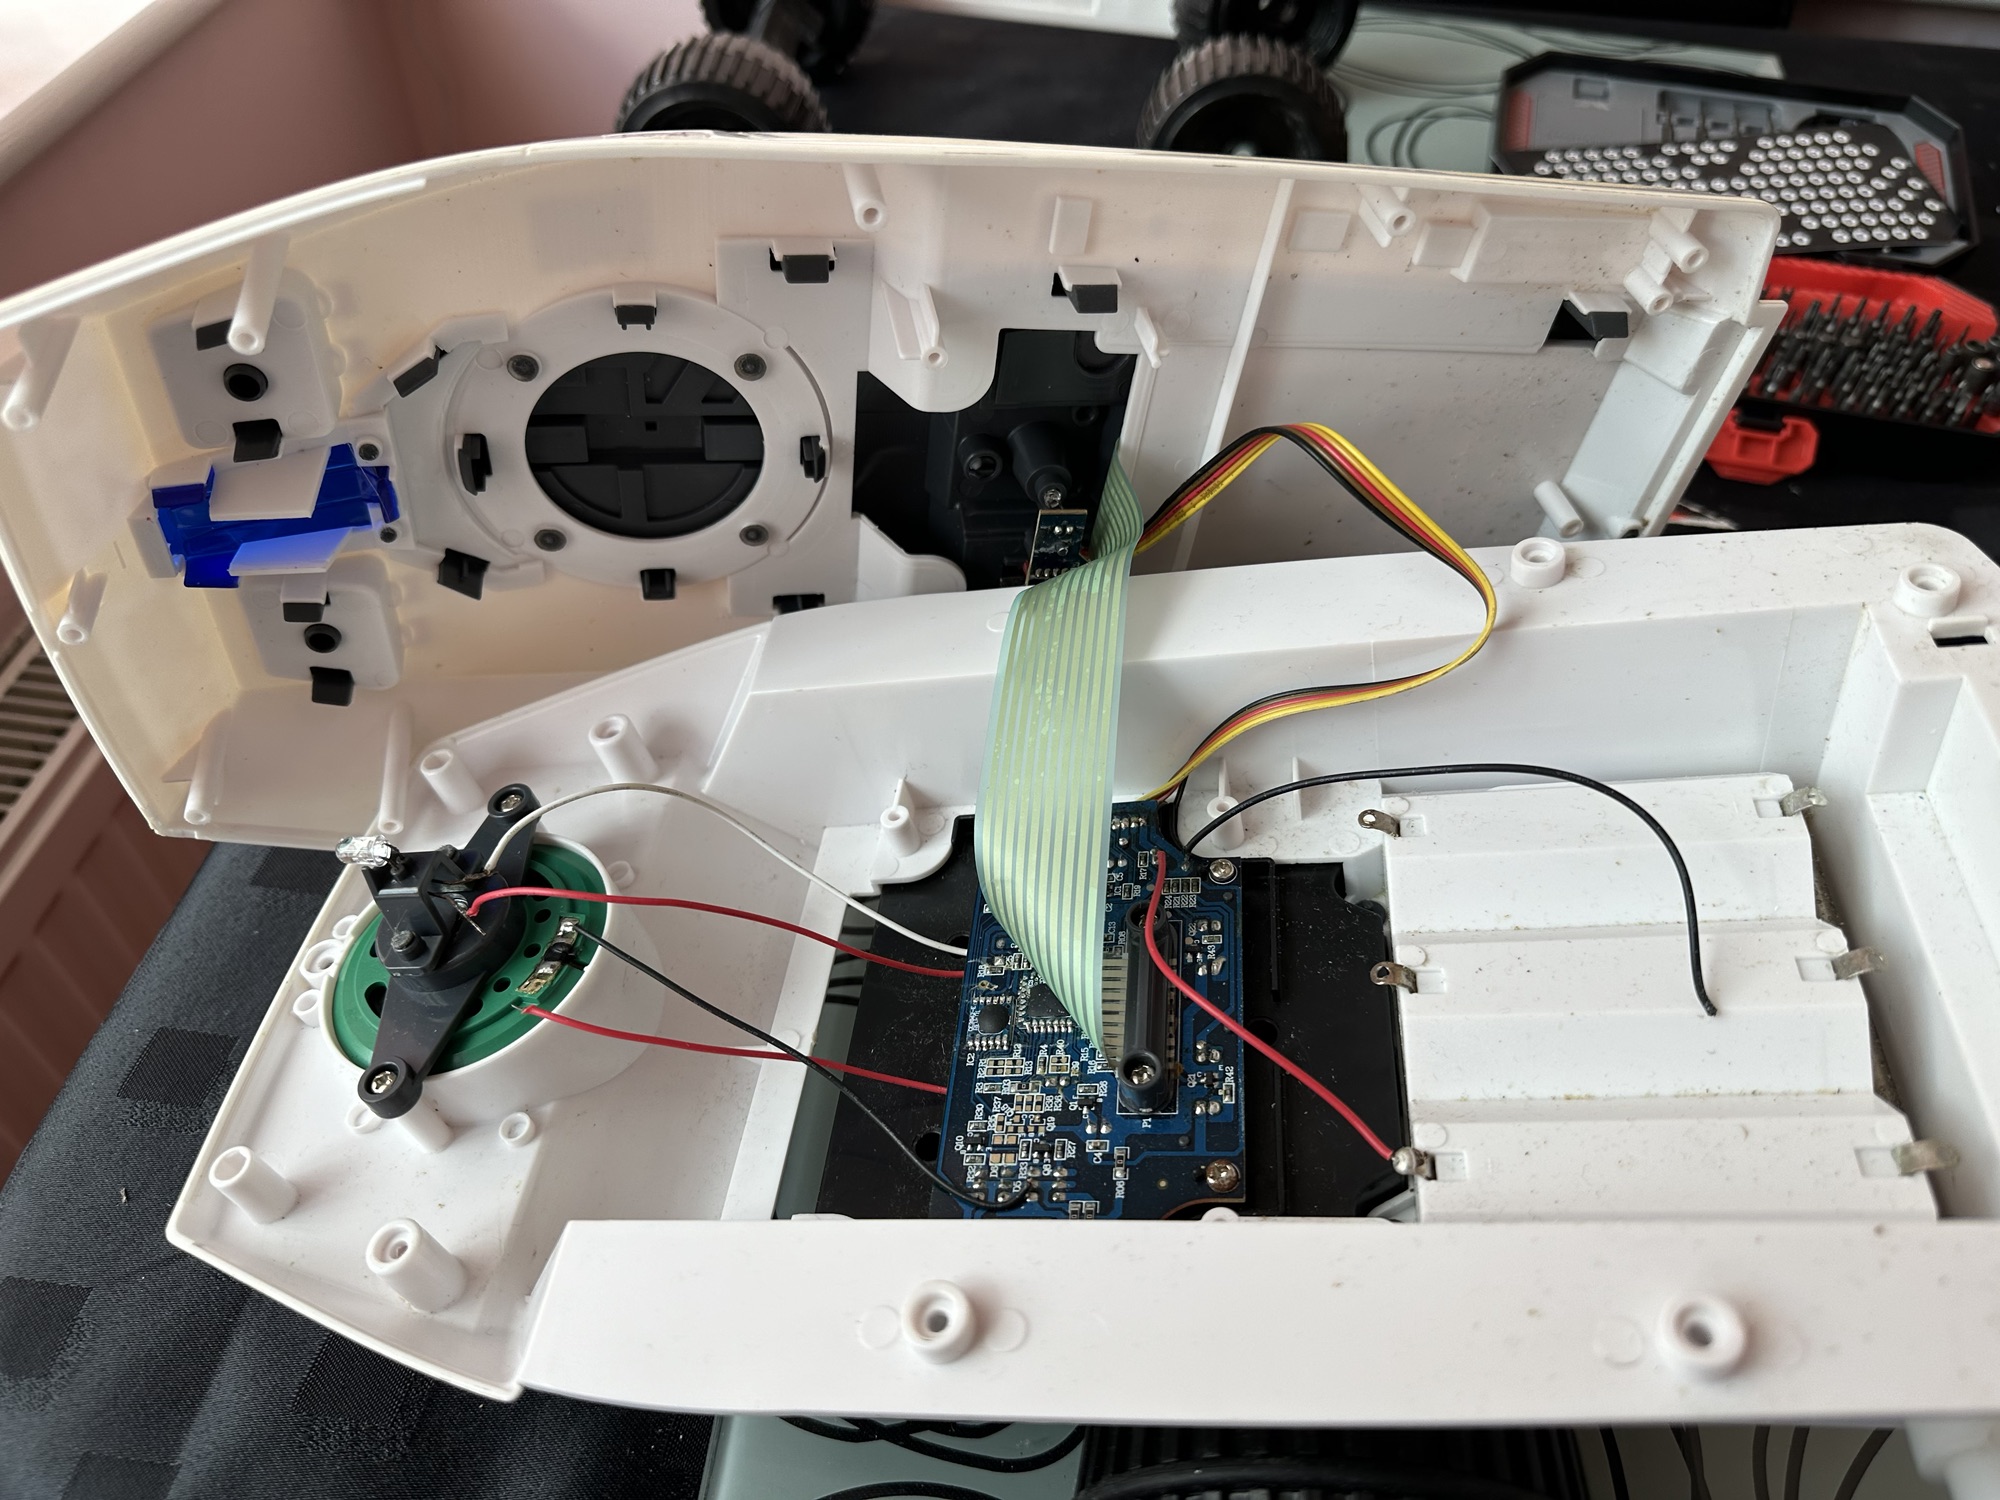
I’ve eventually managed to get the lid off. This unit was built to ensure that it was difficult to get into so repairs couldn’t be carried out. Some of the screws are buried under fascia dressings, and if you aren’t careful you could end up snapping some of the body shell.
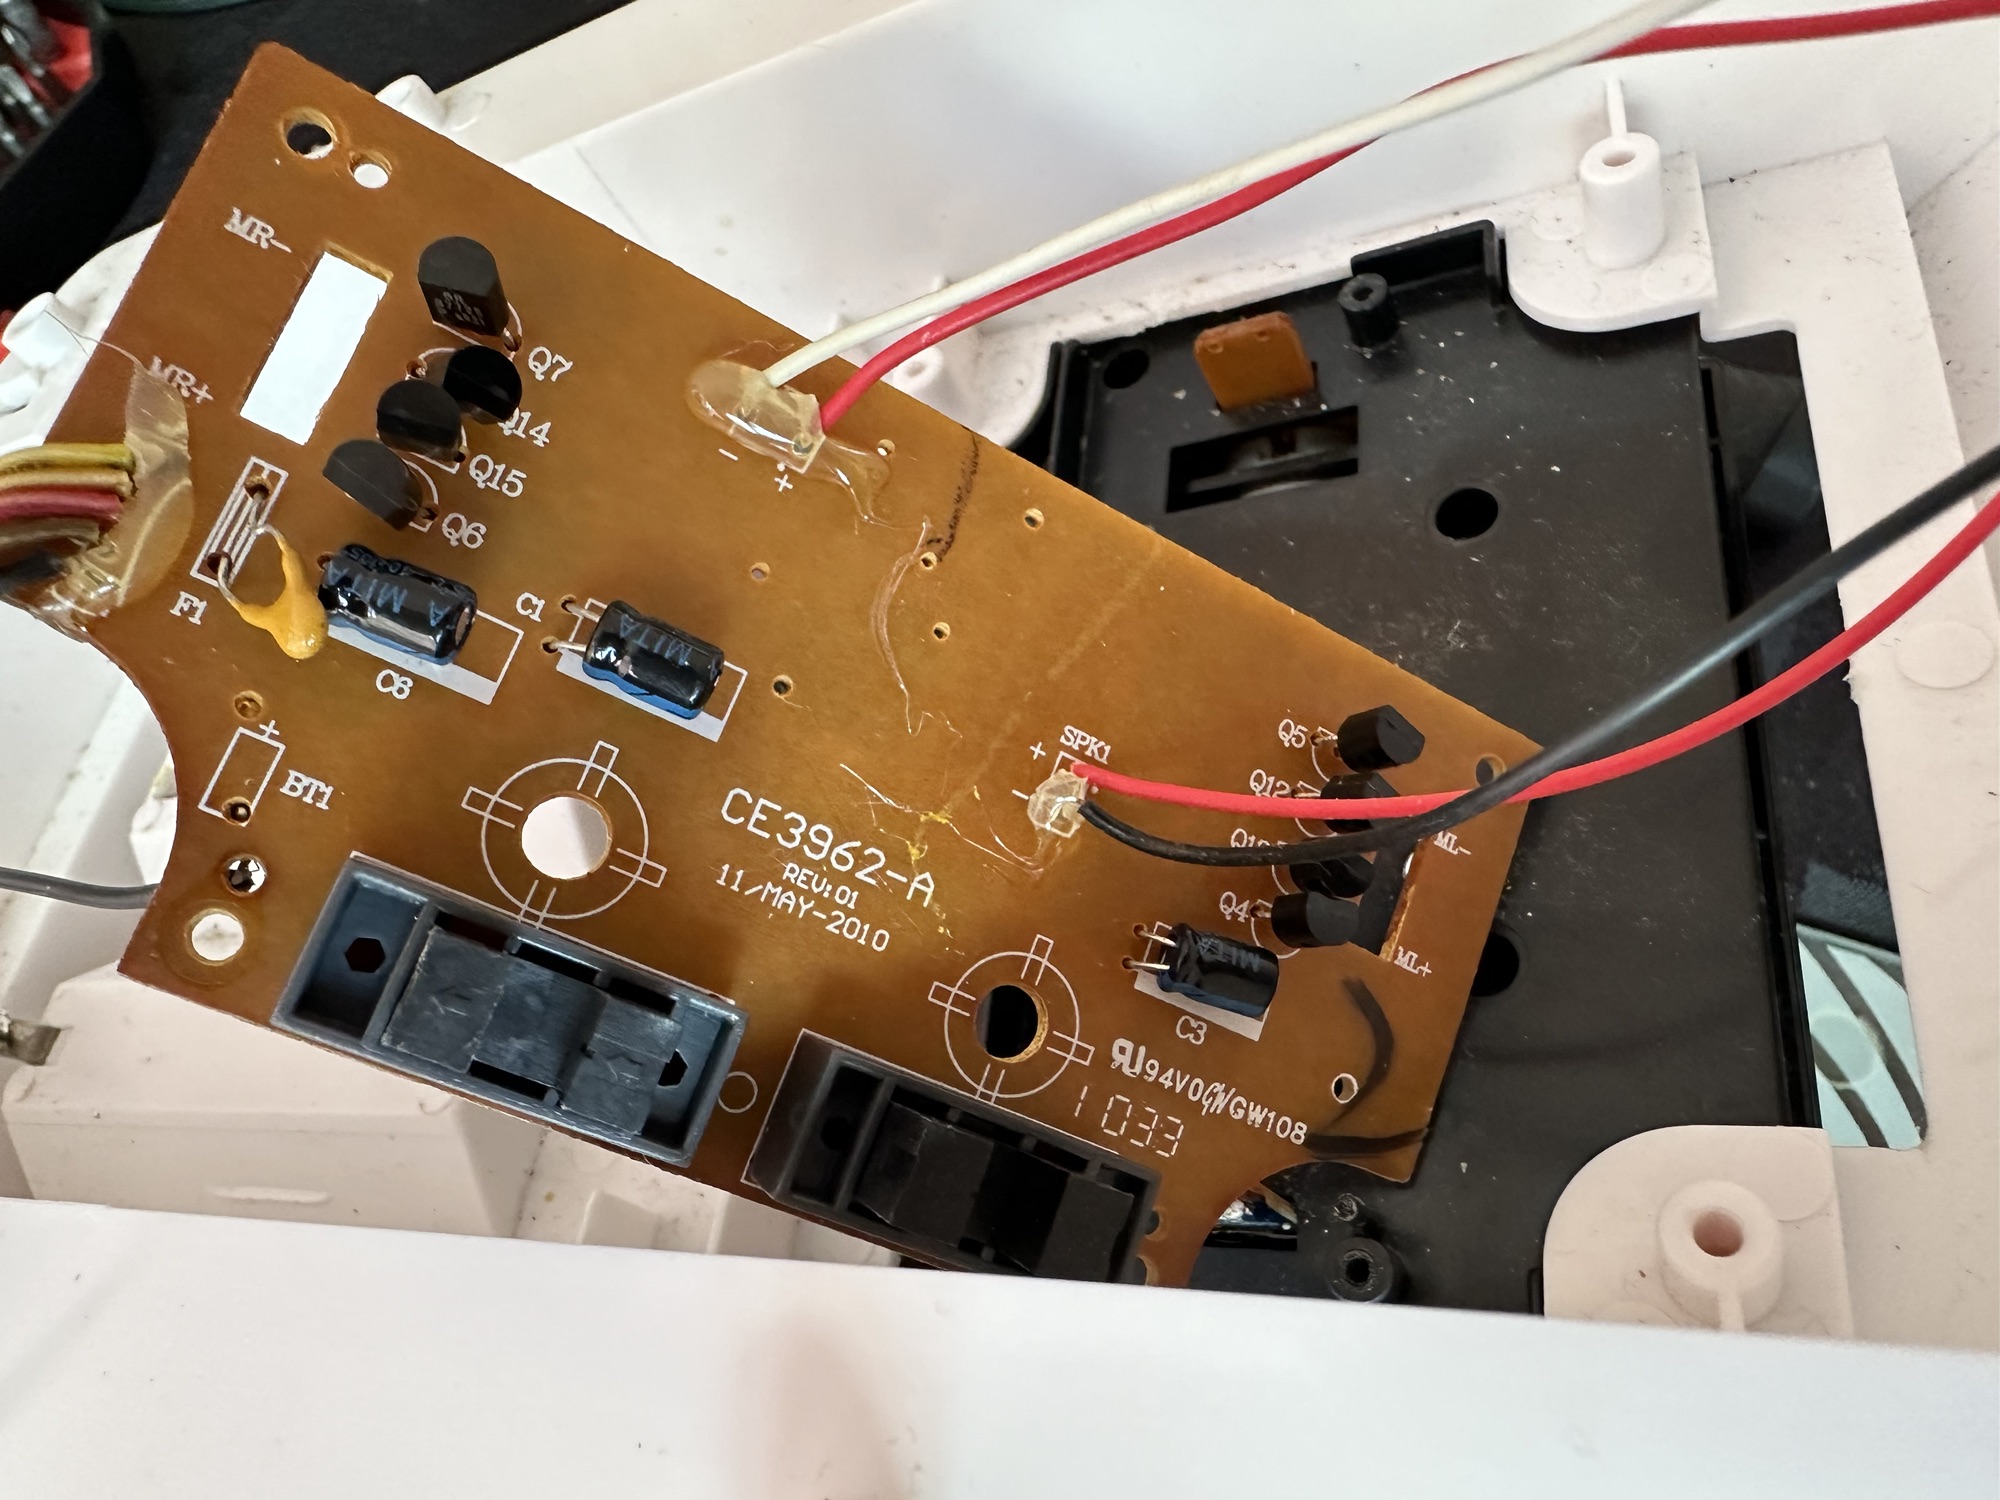
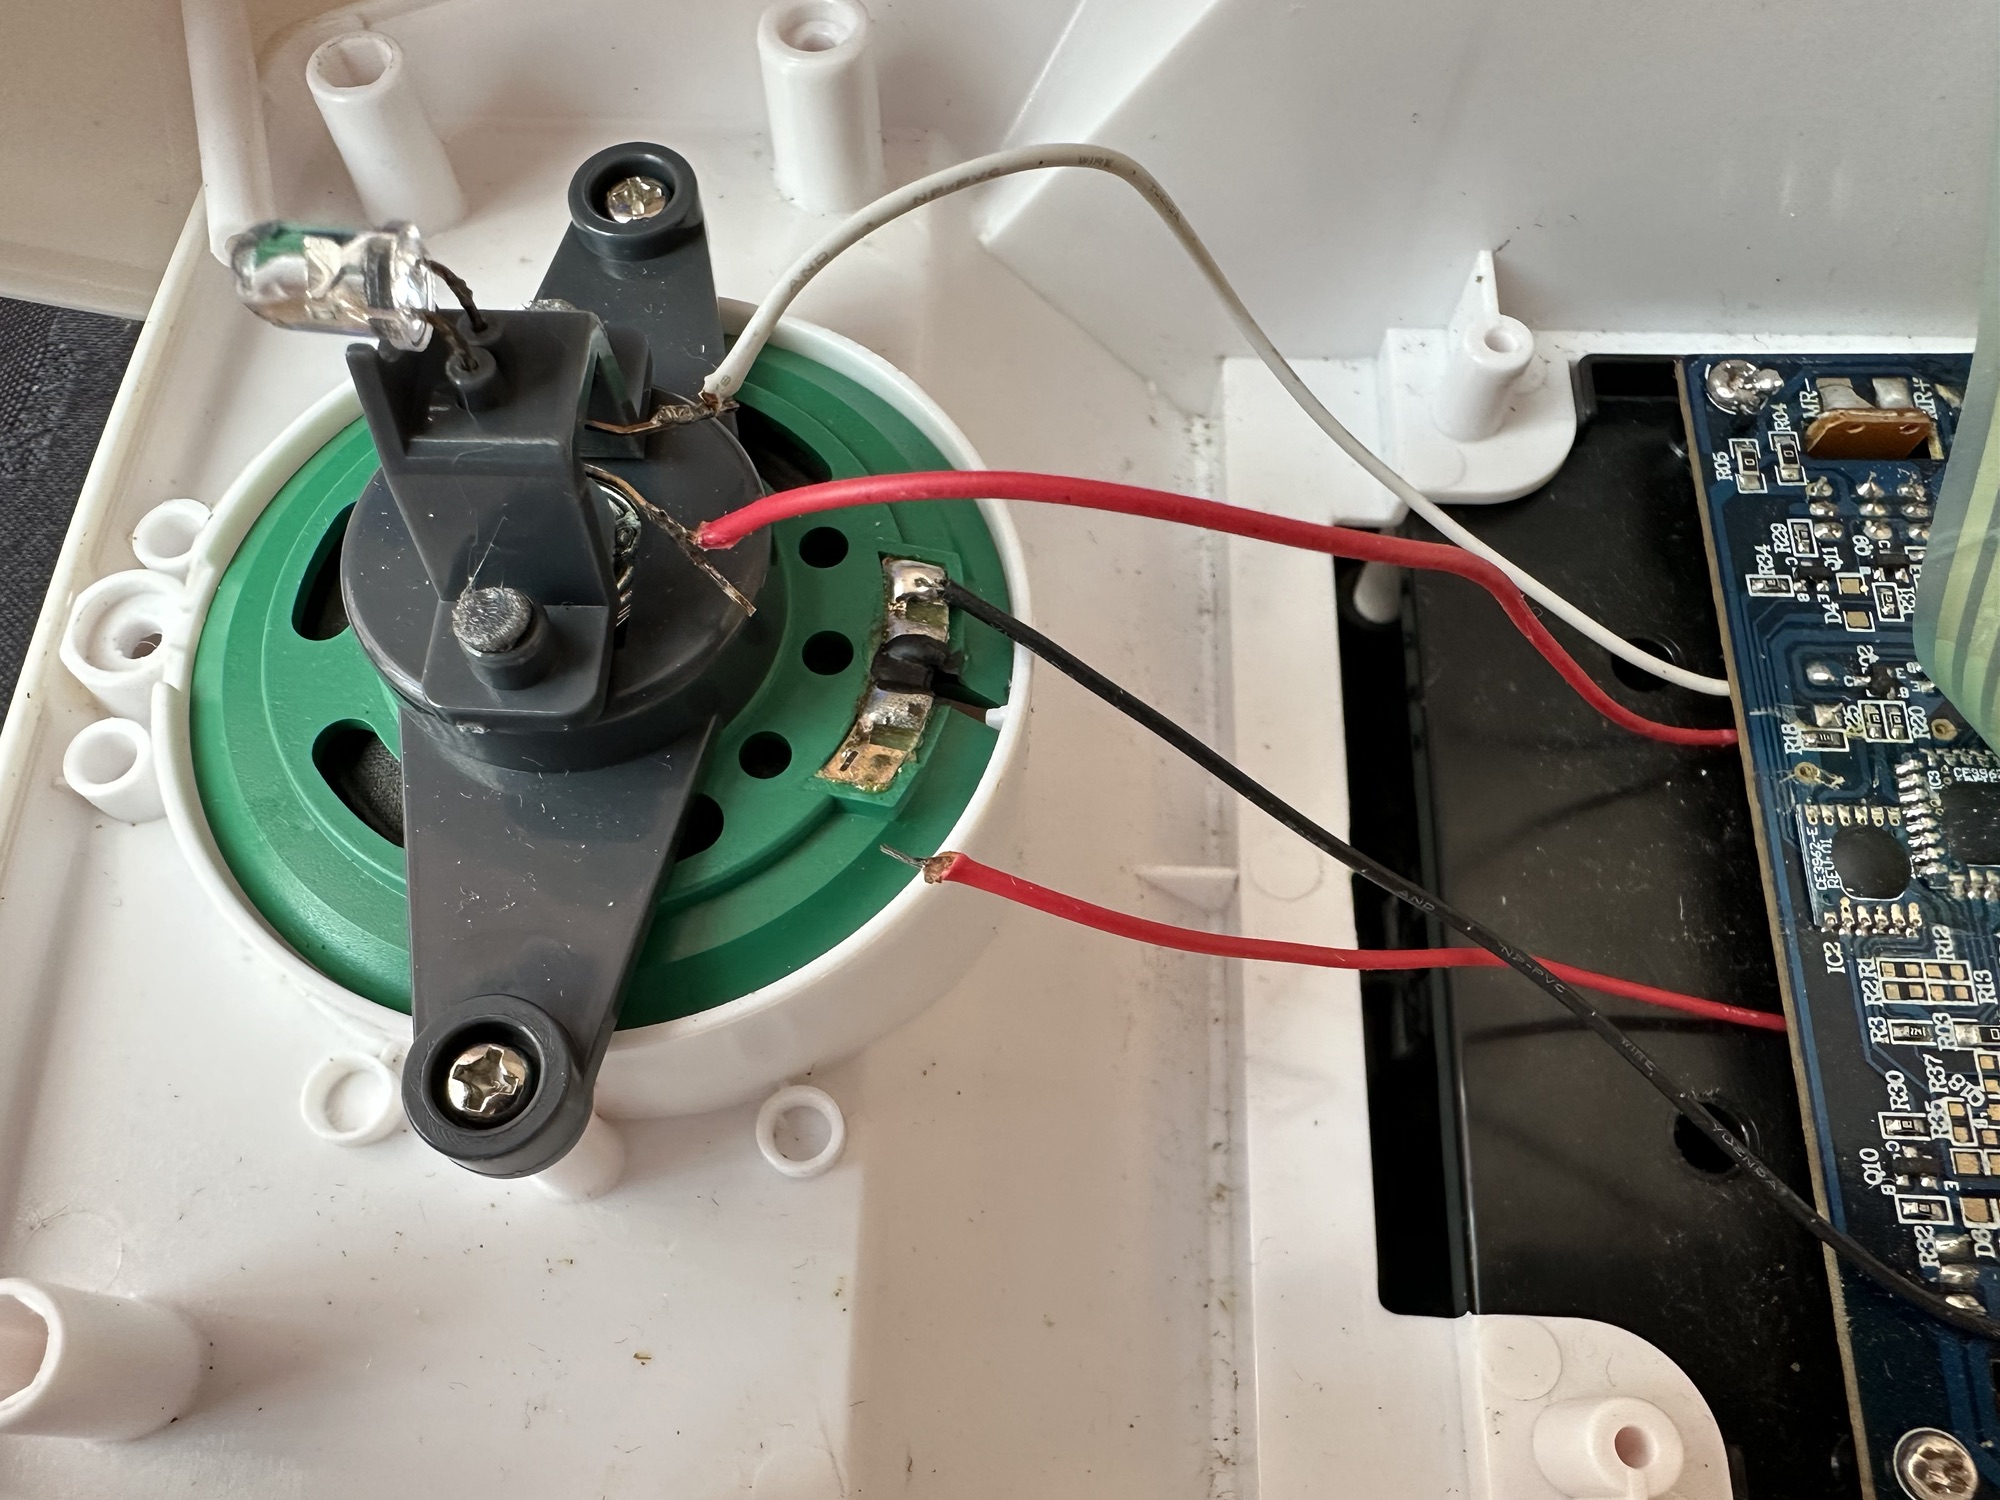
Big trak body shellBig trak circuit boardDetached speaker wireDetached battery wireBig trak wheels removed
With the two halves of the body shell detached it’s obvious there are some detached wires. One was a battery wire, one was a speaker wire. Oh if this was the issue wouldn’t it be great? But it wasn’t. I soldered these wires back into place, put the three D types in place and it was still dead.
I’ve now desoldered all connections from the circuit board to assist in carrying out checks for continuity and tracing voltage. I can also check the board under the microscope. I may change all the capacitors for SMD ones.
I started checking continuity and tracing voltages and was doing really well until I got to a large section of the main board where everything seemed dead and unresponsive. What the heck was going on here? And then I noticed the wire had detached from the positive probe of my multimeter thus ending any further testing for today. I need to order some new probes. Well, I’ve ordered some nice new probes and croc clip connectors as well, so as soon as they arrive I’ll get back on with the testing. They arrived and were damaged on arrival, so back to the drawing board.
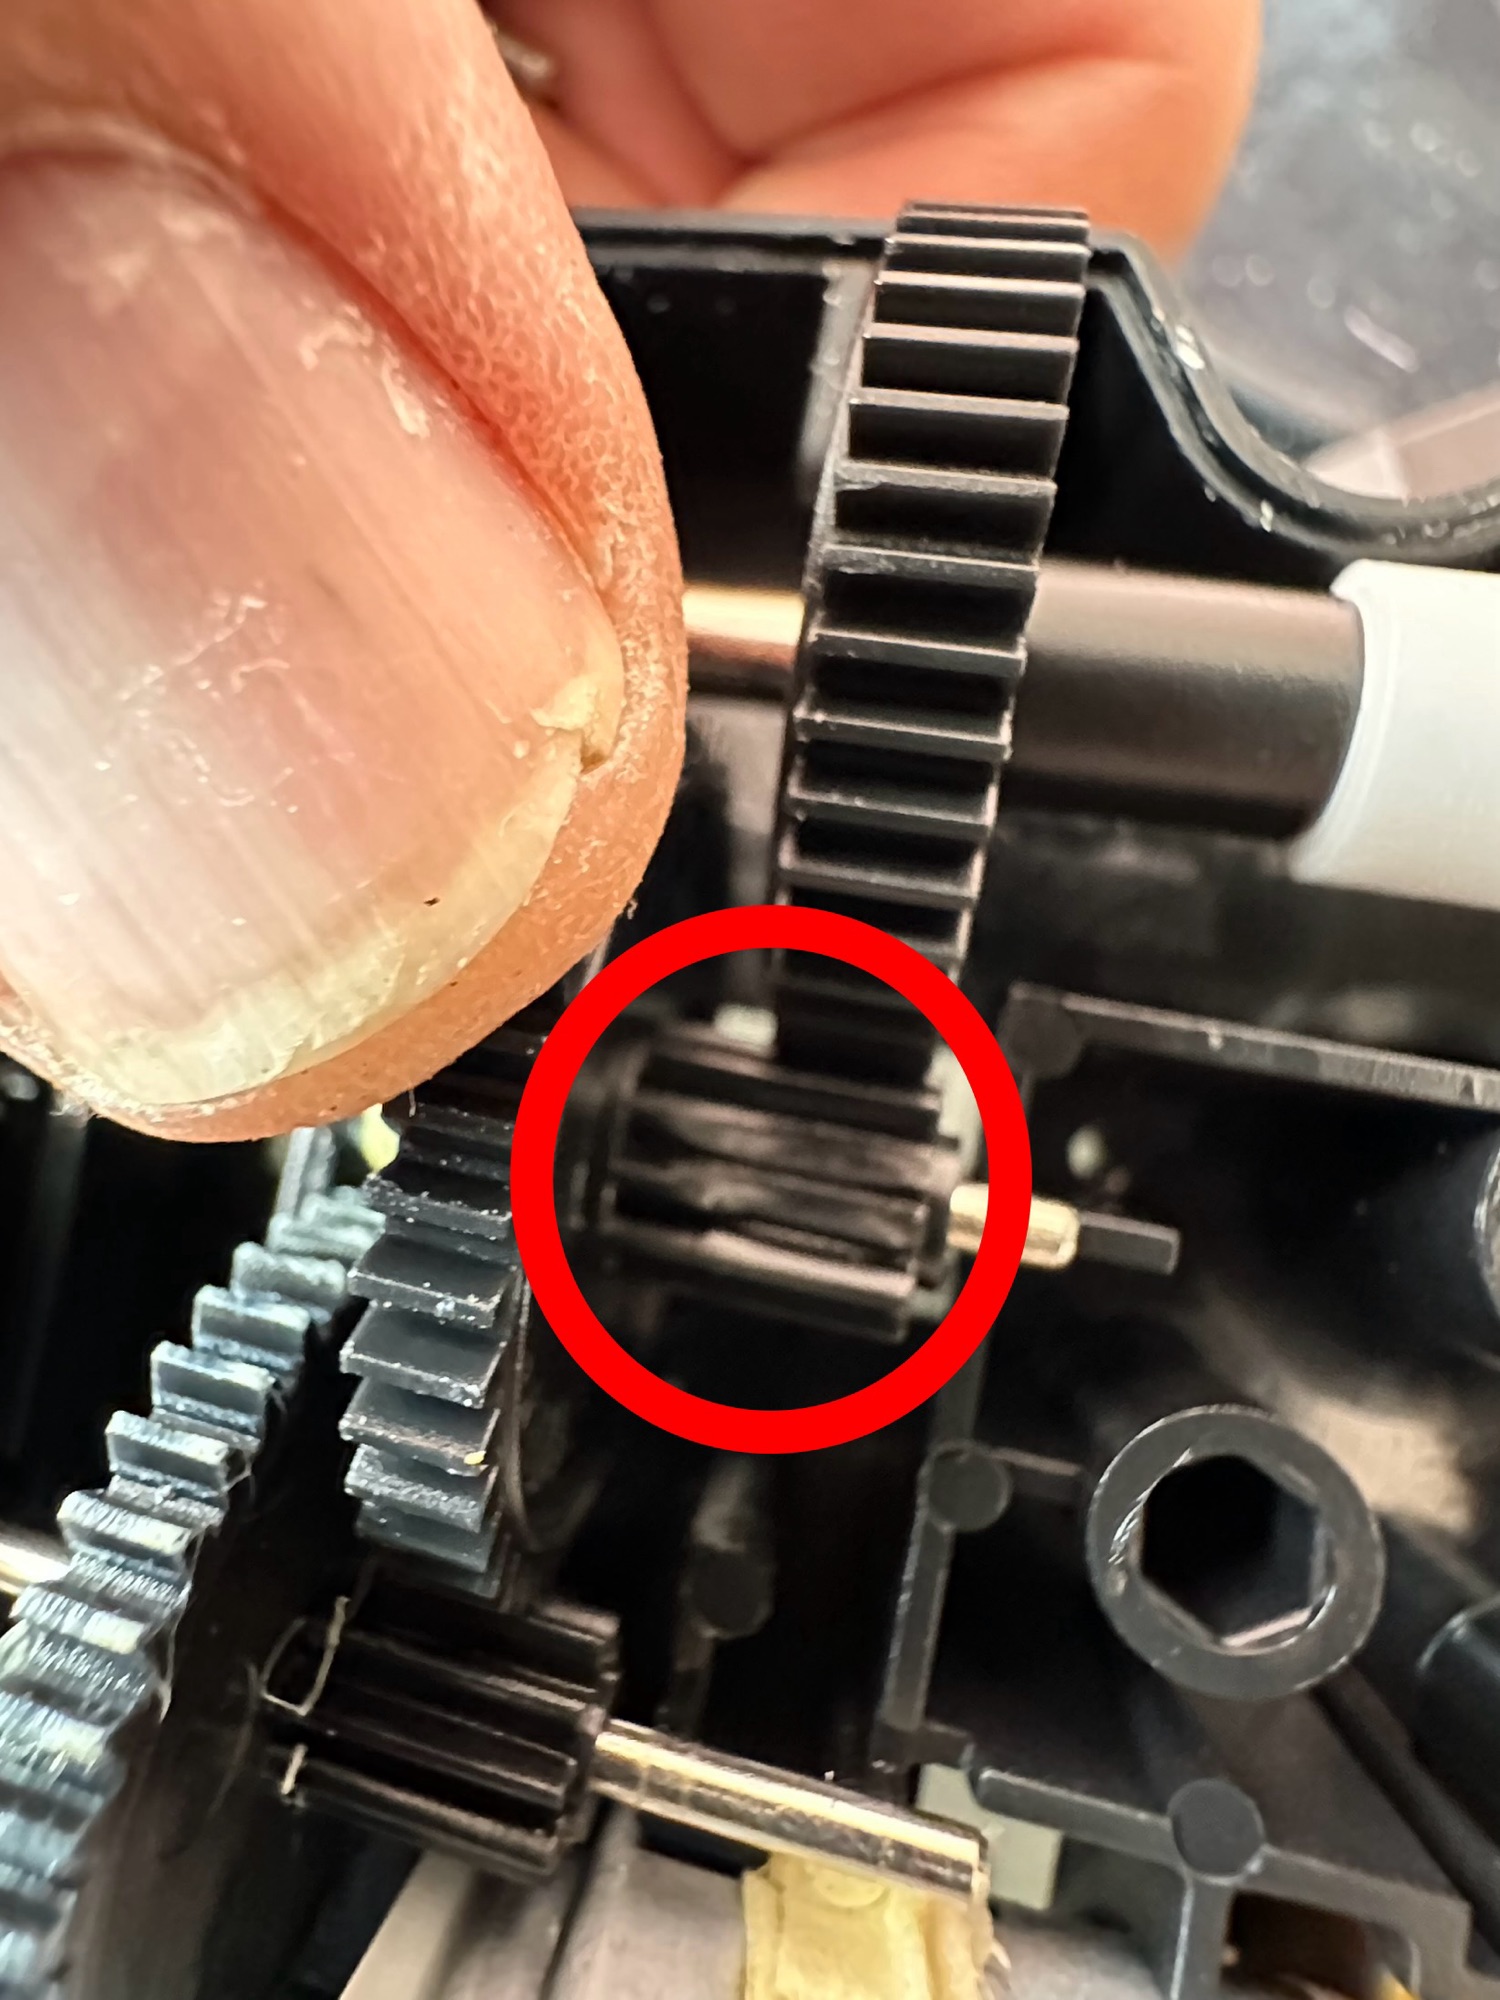
Big trak worn cogsBig trak worn cogs
I took the drive train to pieces and here it became apparent that a number of the cogs are damaged. I believe there is also some issues with the motion detector but I can’t confirm that until I get some power into the motors. I can’t find spare cogs online so I have ordered myself a second damaged unit to use as salvage. To be honest this new unit has all the transfers in place so I will probably use that shell and the guts of my original unit to form one complete Big Trak.
New donor Big Trak – better than my original one
The donor unit has arrived and boy I’m impressed. It’s in far better condition than my original one, so as expected this one will become the working unit and my original one will be come the donor. Any parts left over will be sold on as spares or even used on another damaged one if I can source it.
My new Bigtrak
If you look at the video above you will see the new Big Trak going through the motions. However the one thing it dosen’t do is turn. Could be a wheel sensor issue who knows. Good thing is that the cogs haven’t broken as the drive wheels are both solid and not free wheeling.
There are only two real issues with the donor here. Firstly it will not do the turn command and secondly, one of the drive wheels is damaged. Luckily I have a spare wheel so this was swapped over, some decals were missing but I coaxed these off my old truck with a hot air gun and reapplied them with no issues.
Missing decalsDecals applied
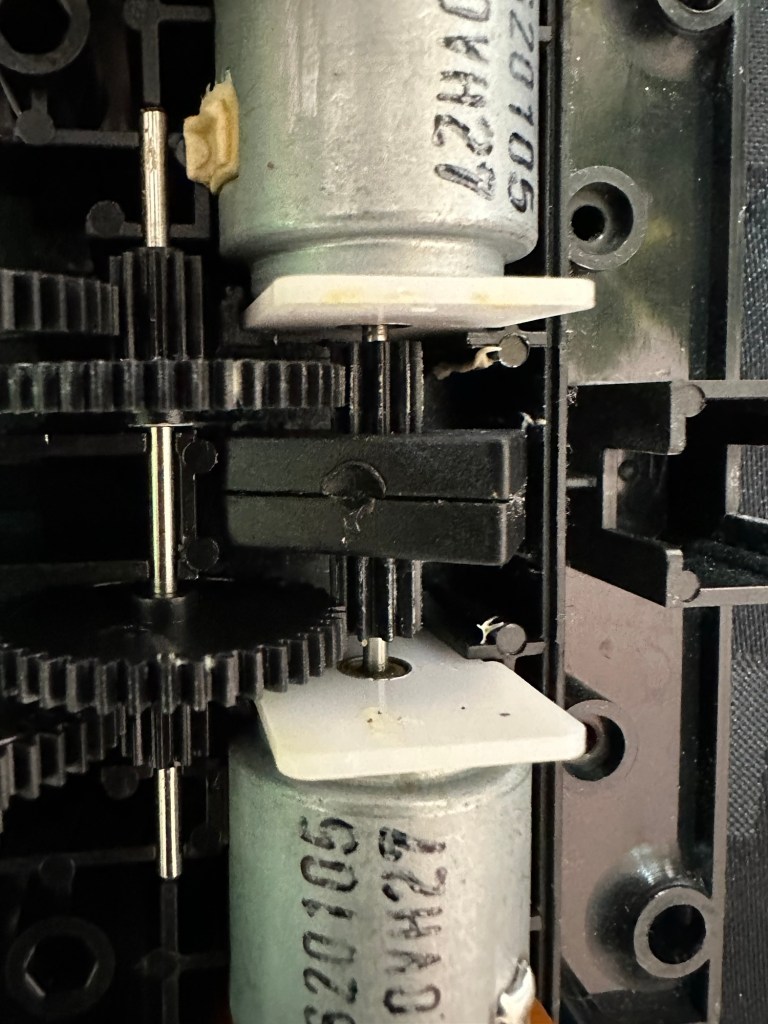
Looking into the drive issue meant opening the gear box. In here we have two magnetic independent gear controls that should have a gap between them, these two were stuck together thus rendering independent motor operations of the turning control useless.
Magnetic sensors joinedMagnetic sensors as they should be
I removed the two motors and repositioned them and the cogs holding the magnetic gear, this gave a gap of about 3mm that now allows the wheels to turn in opposite directions allowing the unit to turn.
Now the Magnetic sensors are adjusted….it turns
Whilst in this gear box I was able to confirm the issue with my old gear box and it really is all down to two damaged drive cogs that I need to obtain. I’m pleased with that as I could now get two good working units for just a small outlay once I can source some cogs. I will have to repair the wheel I removed to replace the one on my new unit however I have an idea how I’m going to remedy this and again it’s a low cost option. But that’s a job for another day.
2:18 of rebuild magic
So if you look at the video above, it’s the full fix that I posted on YouTube. Really pleased with this fix, again I’ve learned quite a bit about these units and I’m going to have immense fun programming it. My wife dosen’t understand my excitement over this toy, but all my old buddies and colleagues understand it as they grew up in the same era. Maybe it’s the male menopause, reliving the past and all that.
But hey, it keeps me occupied and out of mischief so who should worry about that
This one is going on my shelf so when the kids visit I can show them the joys of basic programming we experienced back in the day.
I’ve just brought one of these, it’s a toy and I’m heading for the senior end of adulthood:
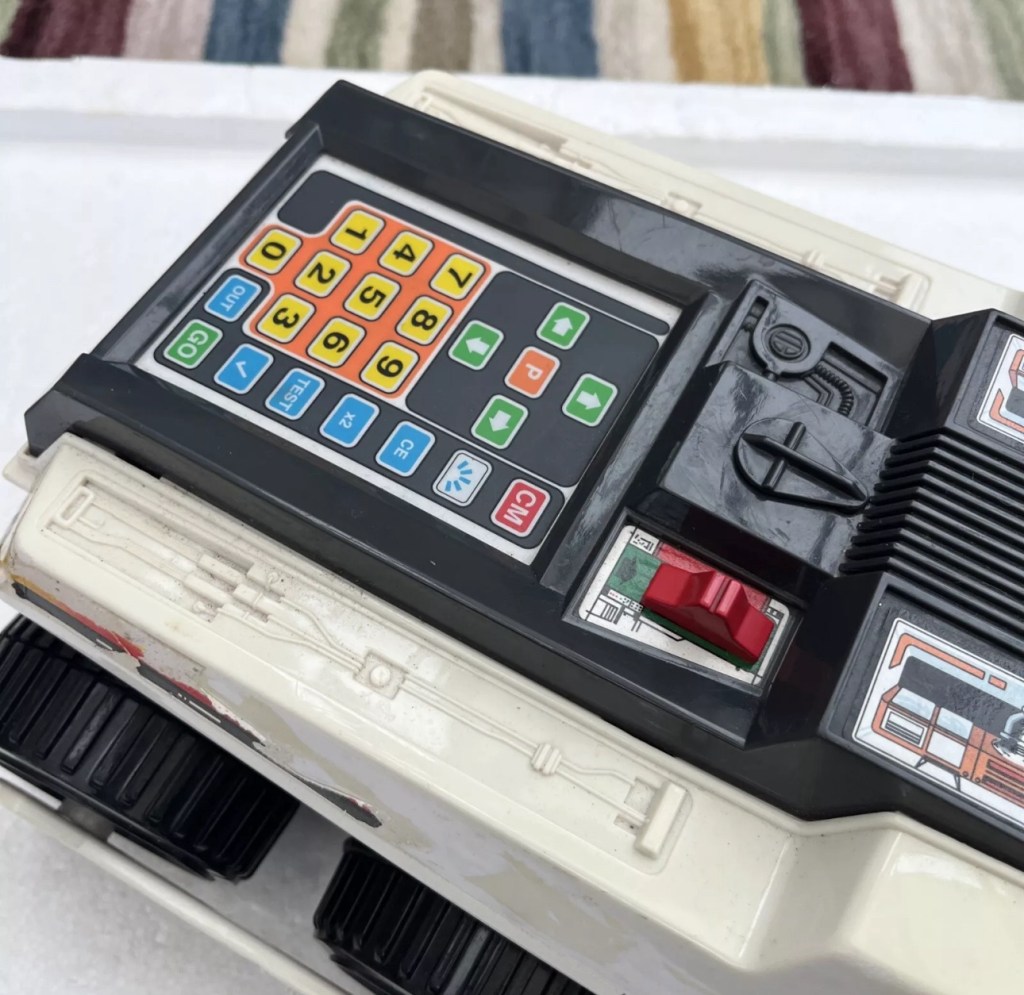
Big Trak CE3962
BIG TRAK / bigtrak is a programmable toy electric vehicle created by Milton Bradley in 1979, resembling a futuristic Sci-Fi tank / utility vehicle. The original Big Trak was a six-wheeled (two-wheel drive) tank with a front-mounted blue “photon beam” headlamp, and a keypad on top. The toy could remember up to 16 commands, which it then executed in sequence. There also was an optional cargo trailer accessory, with the UK version being white to match its colour scheme; once hooked to the Bigtrak, this trailer could be programmed to dump its payload.
WikipediA
Here’s what the original listing said:
Item probably does not work. I recall attempting to fix corroded terminals years ago and it’s still not working. I do not have D cell batteries to test now.
EBay
I was just browsing around as I do and this popped up on my timeline, the wife is going to disown me for bringing such junk into the house, however for a split second 14 year old me was in the house and a flood of memories, not all good came back to me. These toys came out in 1979 when I was aged 14. My friend over the way from me was brought one of these for Christmas and I experienced one of my first ever episodes of Jealousy. Back in 1979 I believe they retailed for approximately £39 Gbp, and my parents weren’t about to part with hard earned cash to invest in developing technology like computing – “It’ll never last, it’s just a fad” (Famous last words).
I made every excuse possible to go around his house to play and even offered to look after it for him when he went on holiday, he never let me though and I believe at that moment my friend realised what the term obsessive meant, as he was experiencing it big time with me.
Now I own one, however this is the later version from 2010, it only cost me £9.99 Gbp and its probably a wreck, but I’m really going to treat this like a proper full sized car restoration and I want this to work, crikey I’ve even found out I can buy the original decals from Australia, so it’s patently obvious the obsession is still there.
I can’t say I have genuinely looked so forward to a parcel arriving as much as this one. I sincerely hope I have no regrets…. And I have all fingers crossed.
This is going to be a labour of love and I can’t wait.


















 Foxes Den
You must be logged in to post a comment.