Straight to the point. I think it doesn’t work. 🤷♂️
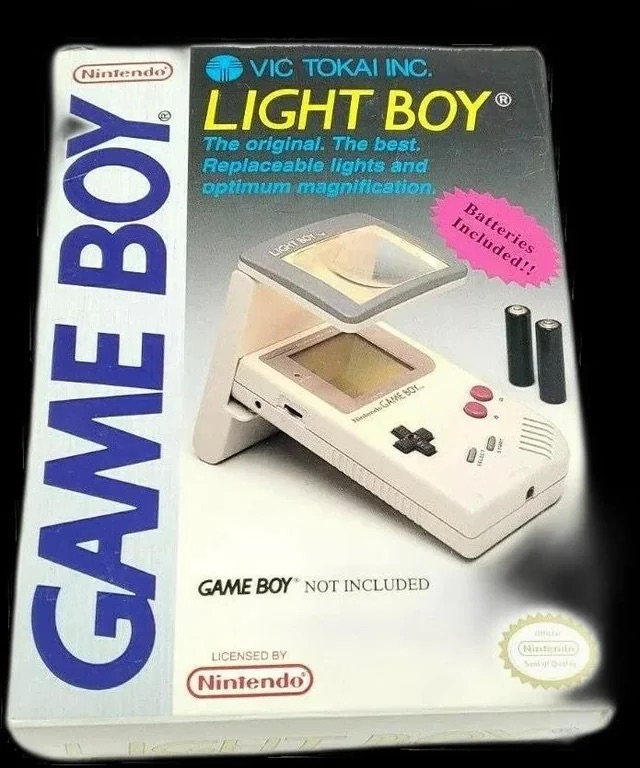
The original Light Boy
My original Light boy, for the Nintendo Game boy
Ive got a Game boy, I love it. However the biggest issue has always been as soon as it goes dark you’re stuffed. As the screen was never back lit you either had to tape a torch to your head or sit under a bright light. The Nintendo Light Boy went a little way to eliminating the need for the torch by incorporating a light and a magnifier within a unit that connected to the console.
This one doesn’t work though, which is good for this blog. I paid a good price of £14:95GBP considering original ones like this are selling between £40-£90GBP. There are cheaper alternatives, but hey, why?
Shouldn’t be the hardest fix I’ve ever attempted, but it will be a great addition to my Game Boy collection.
Assessment:
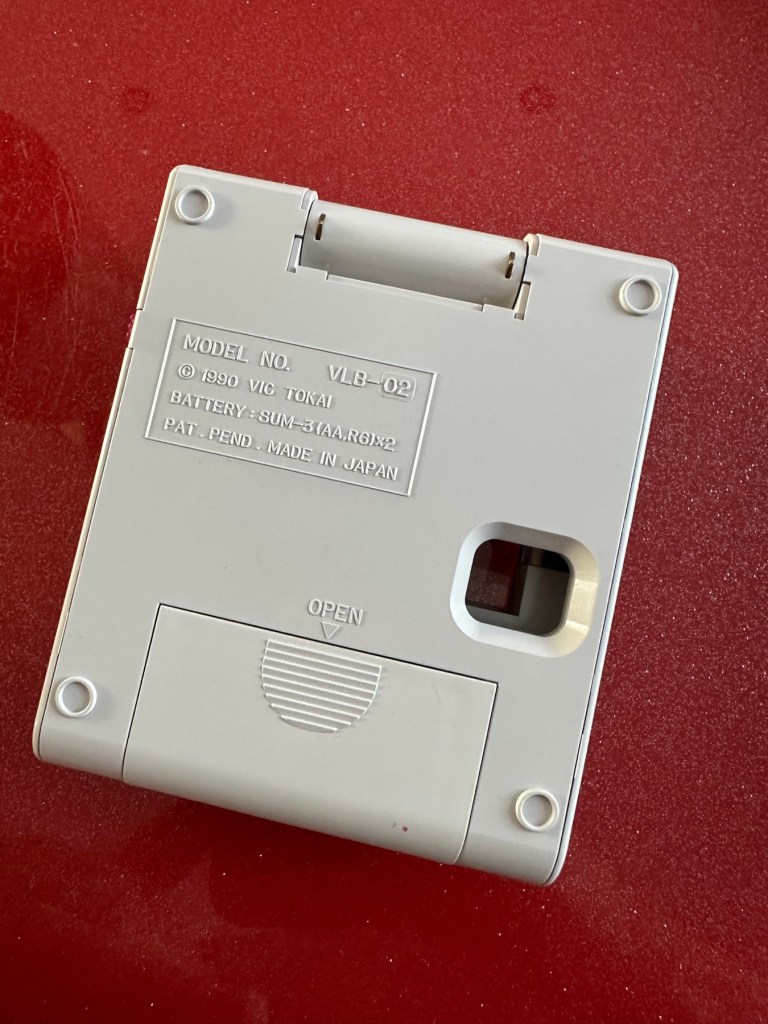
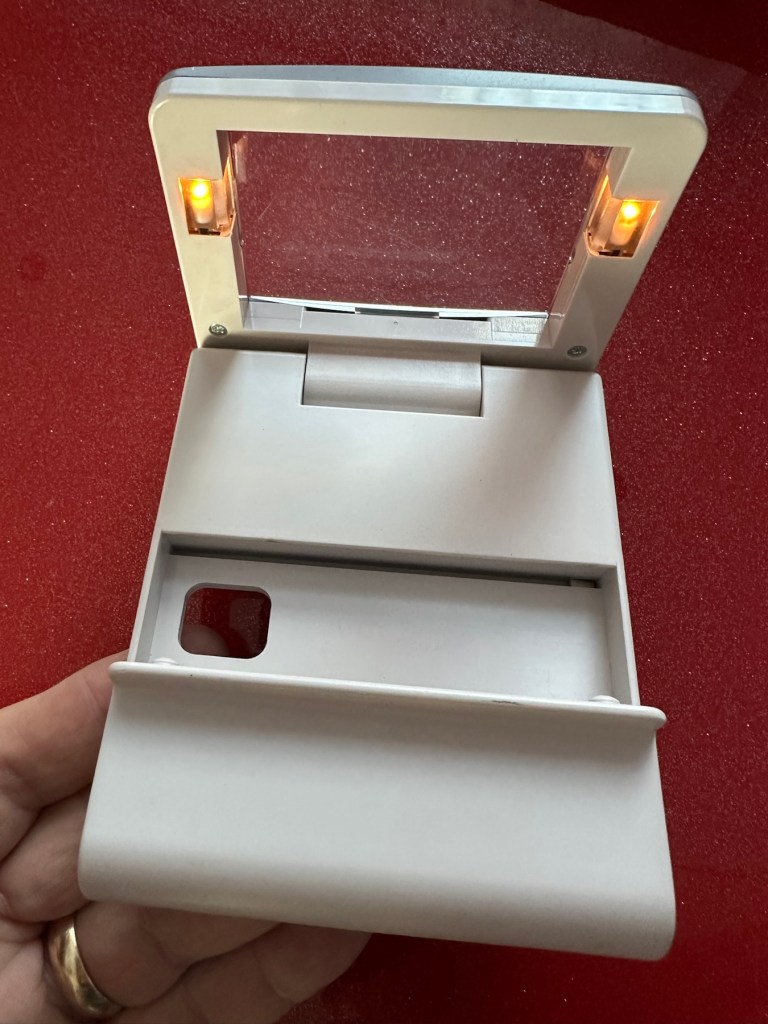
The unit has arrived and is in a very good cosmetic condition with only a few slight scuffs and marks that should polish out. Two AA batteries have been put in and switched on and true to the description in the sale, it doesn’t illuminate. Glass lens is in good condition and the screen folds as it should.
Looks tidy, just light not workingSome small marks. Nothing too bad or permanent
Repair:
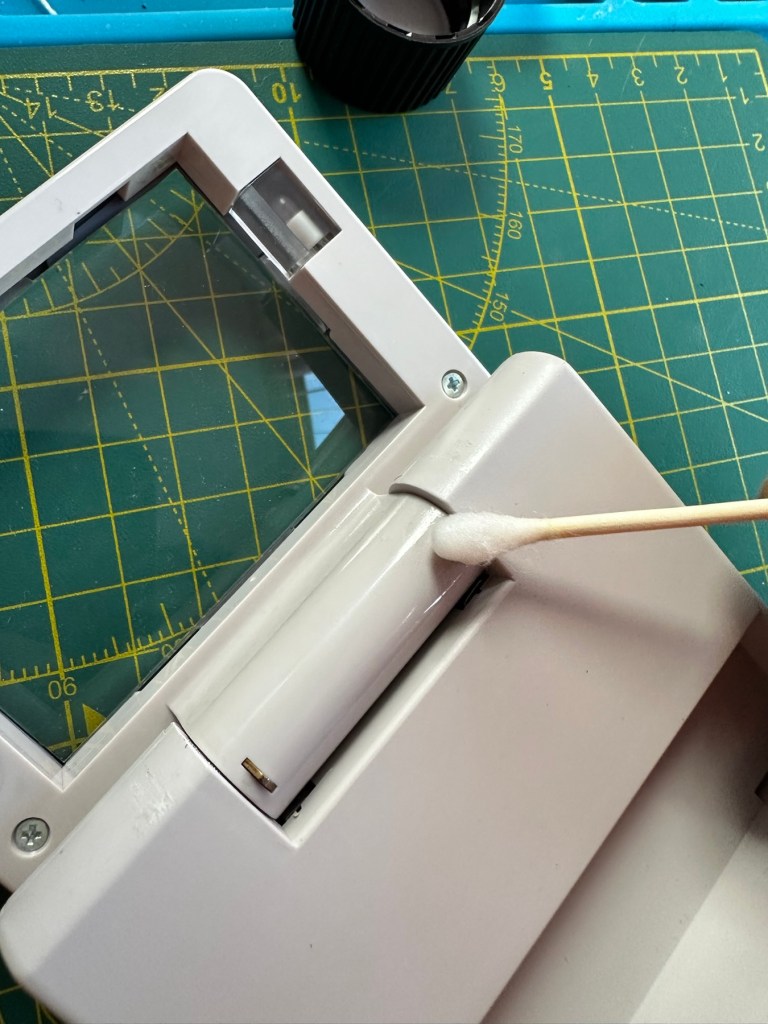
This is a really simple circuit to be honest. Two batteries, two lights and a switch. That’s about it. The screen pivots and on here there are two teeth that make a contact with two small plates on the main unit when the screen is at 90 degrees to the console. When the switch is on, the lights should illuminate at this angle, and when closed contact will be lost and the lights extinguish.
Teeth on the screen hingeTeeth connection with plate turning on lights.
When I put batteries in there was a very dim intermittent flicker, aha I thought, dirty contacts and they sure were.
I cleaned the switch and the contacts using some IPA and removed a fair amount of old dirt from the contacts. The switch was operated 30 or 40 times to really get to anything that was deep in the switch, and this worked.
A good clean with IPA was all that was needed.
Batteries back in and unit at the correct angle, switch to the on position, and hey presto we have a constant uninterrupted supply of light.
We have light. It’s working.
The little marks and scuffs on the shell were all removed with a little cleaning solution. This item is now in a perfect state of repair and looking right handsome!
Result:
This is undoubtedly the easiest repair I have had yet but I’m not complaining. It always amazes me about the sellers on these platforms. I purchased this as spares and repairs damaged, when there was absolutely nothing wrong with it, well at least it only required a tiny bit of maintenance. They could have done this themselves and easily have charged a price at least three times what I paid for this unit. Fools 😂
All assembledWorking as intendedAll assembled, cleaned and working
Anyway their loss is my gain as they say, I now have a perfectly good item in perfect working order and now looking as good as new. And all it needed was a clean and some TLC.
Sometimes it all goes so well. Today is one of those days.
Thanks for passing by. It is always most appreciated.
I’ve been reading through today’s blogs, and this particular one really struck a note with me regarding mistakes we all make with blogging. This post was created by “Lifesfinewhine” and it contained some great advice especially around those who seem intent on bombing your pages. You know those people who like about 20 posts in 20 seconds, come on guys These posts have taken days and even months in some cases to put together and you can read them in seconds?….i don’t think so. Just don’t do it. Read them, and make contact. I don’t bite.
Have a look and see what you are doing wrong. Some great advice here.
One piece of advice is to let people know you will be away for a while so as you don’t lose followers, I’m guilty of this as I must admit that the prompts I normally rely on to kick me into action, have for the last week or so already been answered at some time in the past. I must be more original and organised in my blog attempts, this won’t happen again. I promise.
A simple candle
I was given a lovely gift by a neighbour yesterday. They make their own candles for a hobby, and all they ask of us is that we give them any old candle jars or holders in return. I think, the ability to bring light into anyone’s life is beautiful, and a simple gift like this to my wife and I, is a wonderful thing. We sometimes just sit there in the dark with nothing but a candle burning, watching its flame dance around in wild abandon and just talk. It’s a wonderful moment in time and makes you really appreciate all you have.
It really is the most simple things that sometimes bring the most joy.
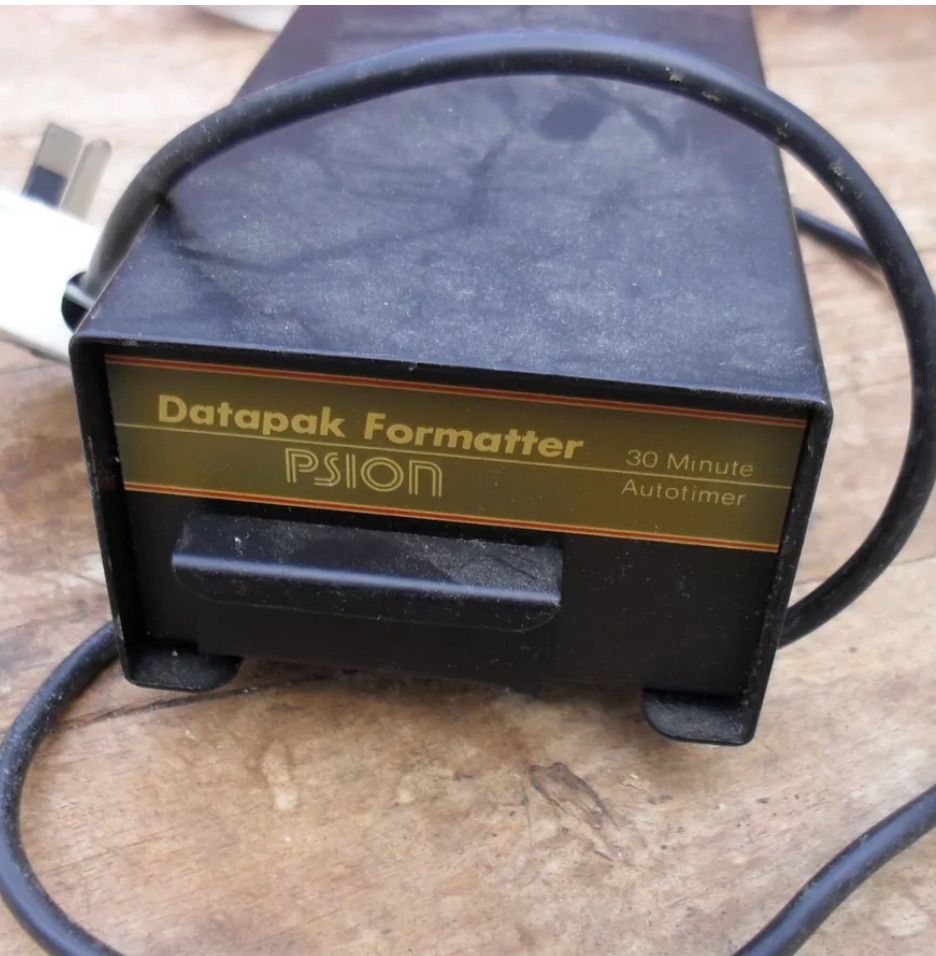
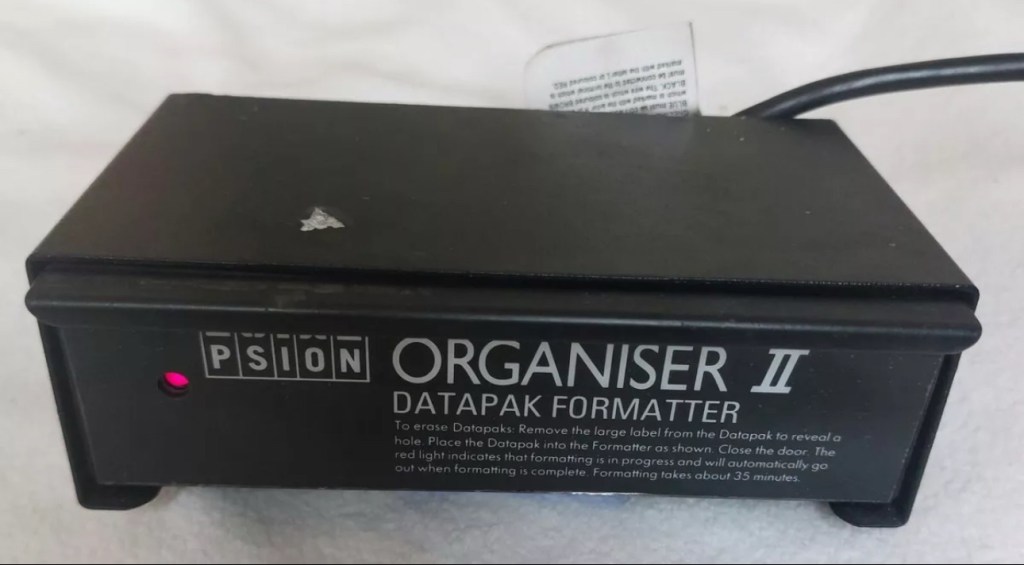
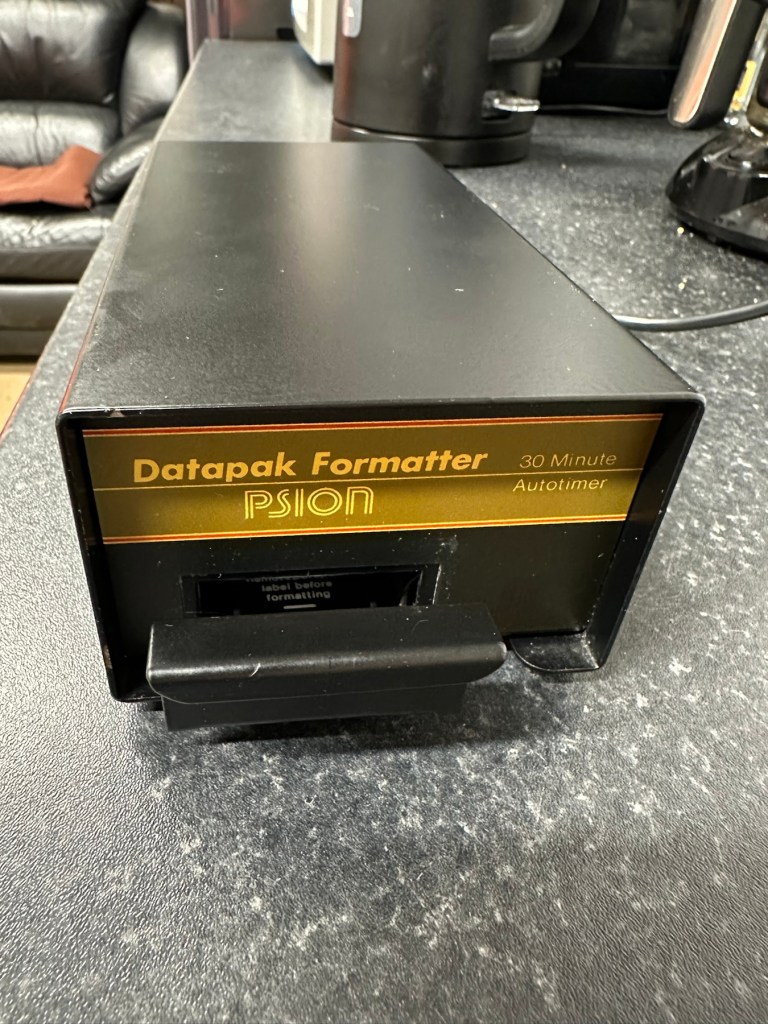
Most EPROMS made around this time in the 1980s had memory that could be formatted by using a method of exposing them to high levels of Ultraviolet light for between 10-30 minutes. The Psion Datapaks required about 30 minutes of “exposure” in one of these units to format the drive.
The unit I have purchased a Mk1 formatter
By high levels of light, i mean UV light around the wavelength at or close to 253.7nm. A UV light you may have in your home or in the form of a torch operates at somewhere around 395nm, a considerably safer wavelength of operation than what is needed to format these EPROMS.
The UV light spectrum. As you can see the wavelength we need to format the Datapak at 253nm falls into the dangerous UVC Shortwave spectrum. The standard house hold UV light or torch falls into the much safer UVA Longwave category at around 395nm. Picture courtesy of The Hepacart blog.
This unit was purchased after I had spoken to the seller, a nice chap that specialised in old diy tools and computer peripherals, but wasn’t quite sure what this unit did or how it operated. He had stated that the red light was working, but nothing else. My concern here was that the UV light inside was broken, and these tubes i believe are known as low pressure mercury discharge tubes, and finding them in this size is pretty difficult to say the least. The UV tube in this unit could potentially be 40yrs old as this is a Mk1 unit circa 1984. I just don’t know if its tube has ever been replaced at all in its lifetime. Have a read of this post by Dave Curran who had similar issues sourcing a light supply for one of these units, it resulted in him having to make a hybrid concoction combining one of these units and a cheap Chinese import – Eprom eraser/upgrade
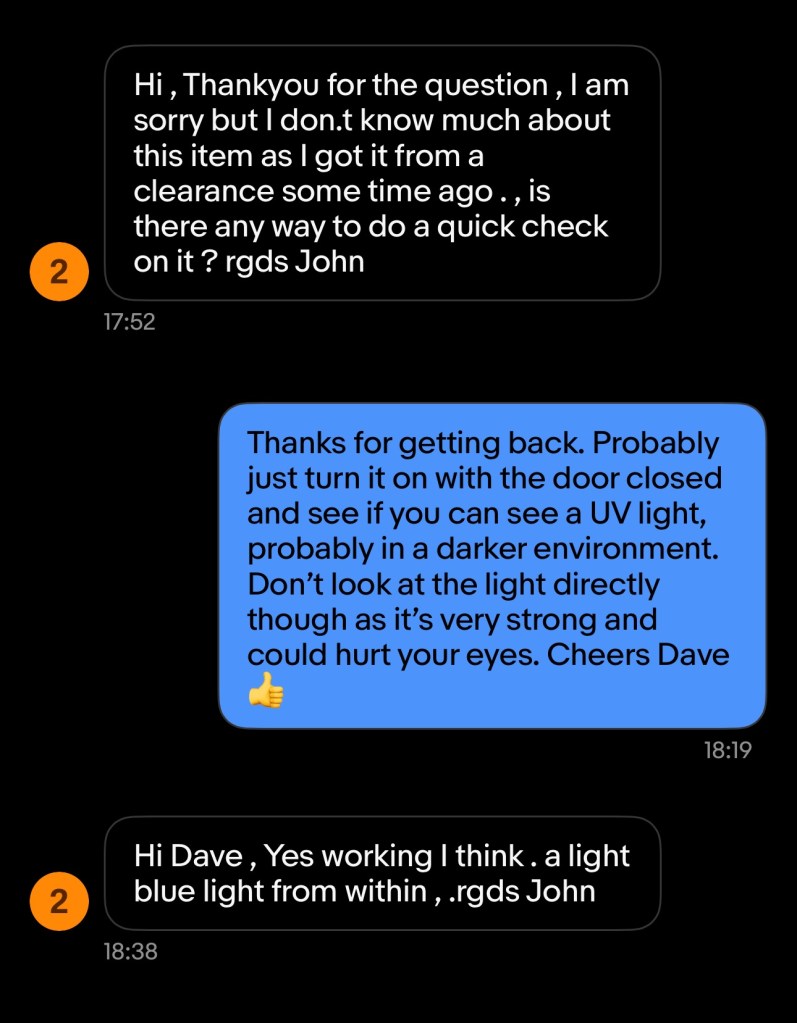
I asked the seller, John, if the Ultraviolet light inside was operational and I have supplied a screen shot of his reply:
The reply to my question
When I received John’s reply I jumped in with an offer and this was accepted. He had been so helpful. I’m now awaiting the unit, but I’m now a lot more confident that the unit, and most importantly the UV light is currently operational. However it’s probably going to be subjected to some pretty rough conditions on its delivery journey, so I’ll keep my fingers crossed for now.
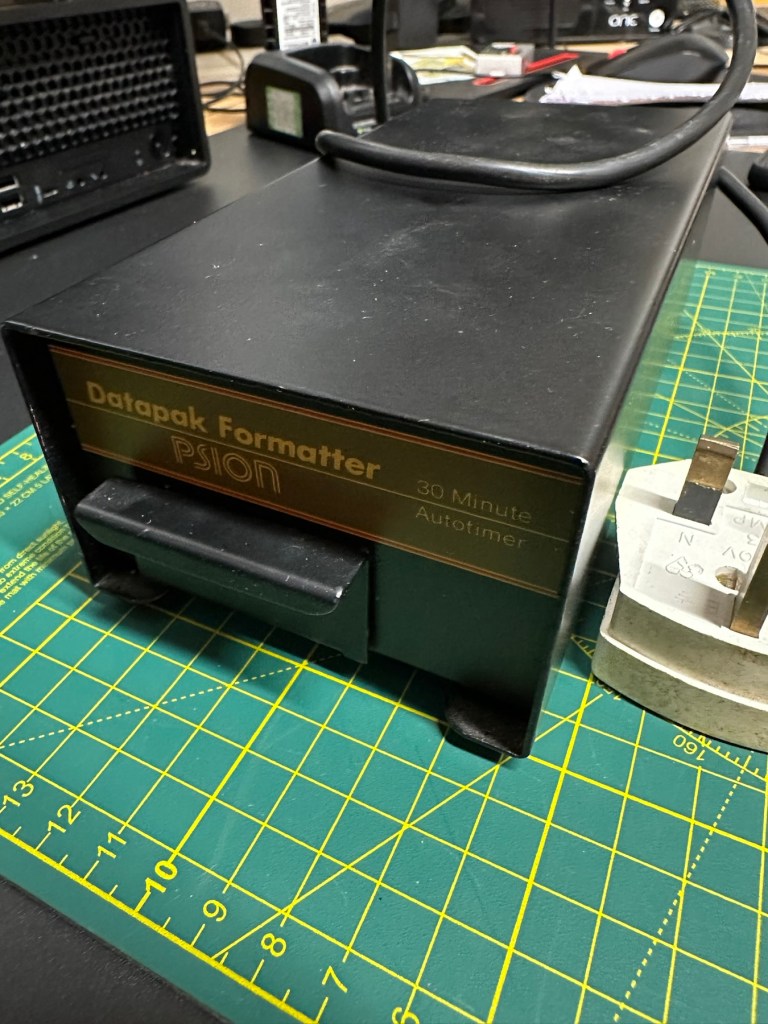
This formatter is a series one version that came out around the same time as Psions Mk1 organiser first appeared on the scene, circa 1984. It was used right through to when the MK2 organisers were released sometime between the years 1986/89.
Mk1 version (My unit) MK2 versionThe two available Psion branded formatters
This unit will be cleaned, opened up, checked for electrical and mechanical stability, its safety features will be confirmed and it will then be reassembled and PAT tested prior to use. Once this is done i will attempt my first format of a Psion Datapak whilst the unit is in my possession. However we have a little way to go just yet, before we can consider carrying out that task. The seller was very prompt at getting the unit out to me as it has arrived less than 24hrs later.
Dirty Filthy
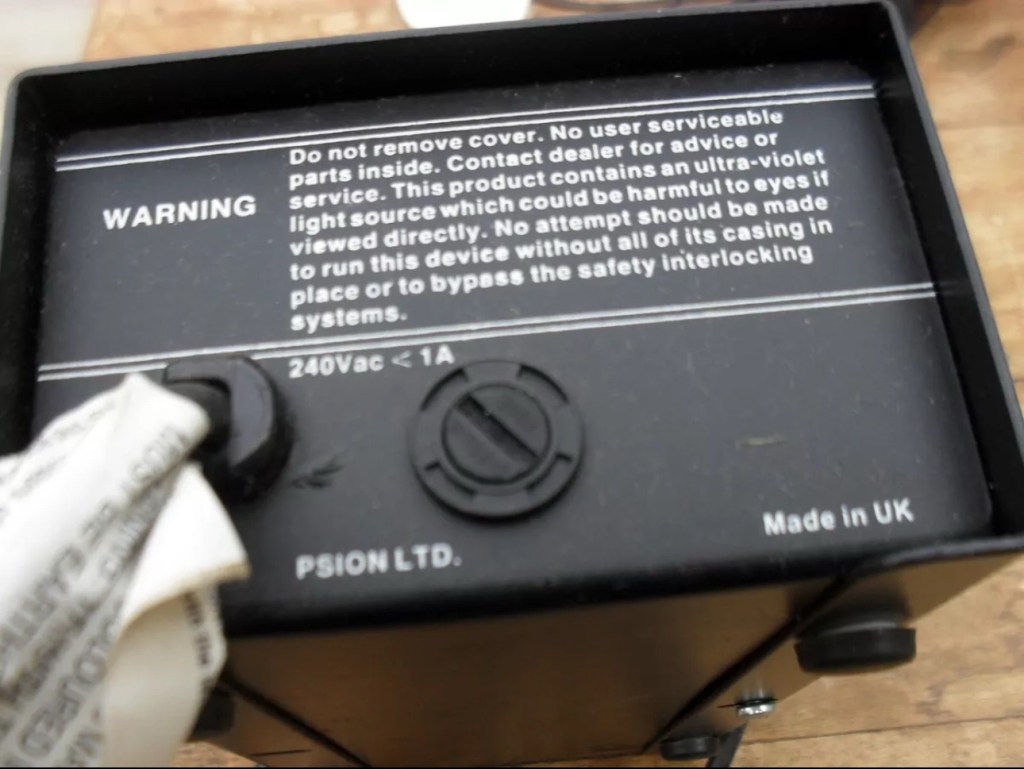
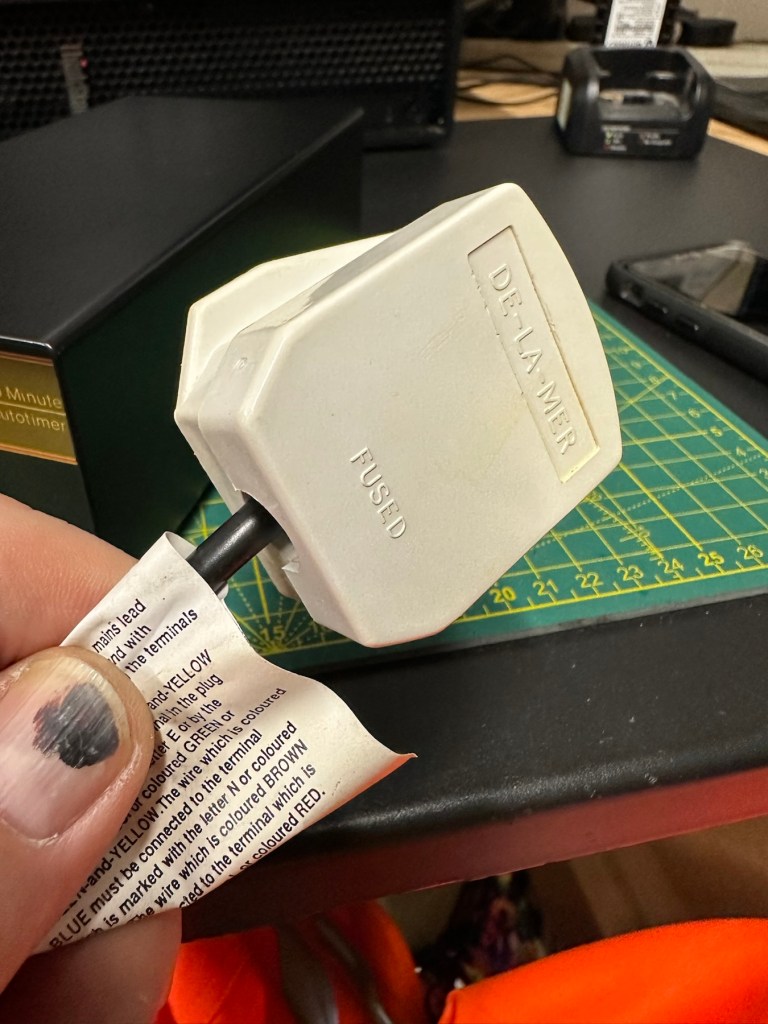
The general condition on first inspection is that it looks good, but it’s very dirty and has a slight musky dampness to it. I have given the plug and the cable and case a good clean with a bit of degreaser and this has cleaned well. I’ve done this just so getting inside is a slightly more pleasant experience without my hands getting covered in gunk. The unit looks a lot bigger in the pictures. It only measures 19cm L, 10cm W and 7cm H, so in theory it’s relatively small.
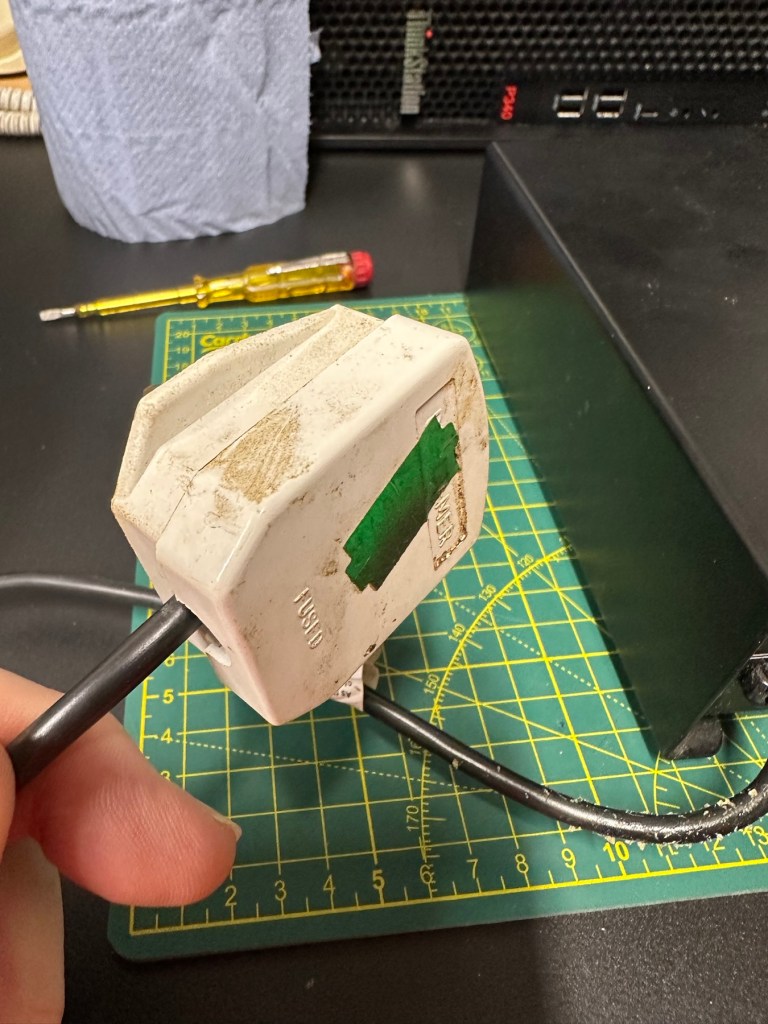
Before I do go inside I have first checked the plug, it currently is carrying a 13amp fuse that is way to large for this unit. It only requires a 3amp fuse so I have replaced this. I haven’t used the Pat tester yet I’m just using the multimeter, and I’m a bit concerned as there is no continuity between the earth pin and the unit case. Time to get inside.
Inside the unitWait! No connection to the earth wire.There was a potentially dangerous earthing problem
Inside looks tidy but I then become aware of a problem immediately. The earth wire from the mains cable is just sitting there in mid air connected to nothing. No wonder there was no continuity. I have now connected this back in place where it should be and I now get a good earth continuity throughput the casing. All other connections checked and tightened accordingly. This proves that the Pat test would have failed miserably. This was a potentially dangerous situation, that’s why it’s best to carry out these checks on any old powered units you get from a third party. Trust no one.
Next I need to check that the safety switch that turns off the UV light when the drawer is opened is operating. Again I use the multimeter to probe the switch and this seems to be ok. A good listen to the action confirms that it is clicking in and out. A quick clean inside and then the internal checks are complete.
The safety switch clicking in and out
There is no real way to test for actual operation until the safety case is back in place, that’s the safest way. Case on and another quick clean and the unit is looking good .
BeforeAfterLooking nice and clean
At this point I’ve carried out the Pat test before plugging it into the mains and the results have come back good and it’s a pass, the earth is good. I’m now confident about plugging the unit into the mains.
Door closed light is on inside Door open, light offThe safety switch confirmed as working
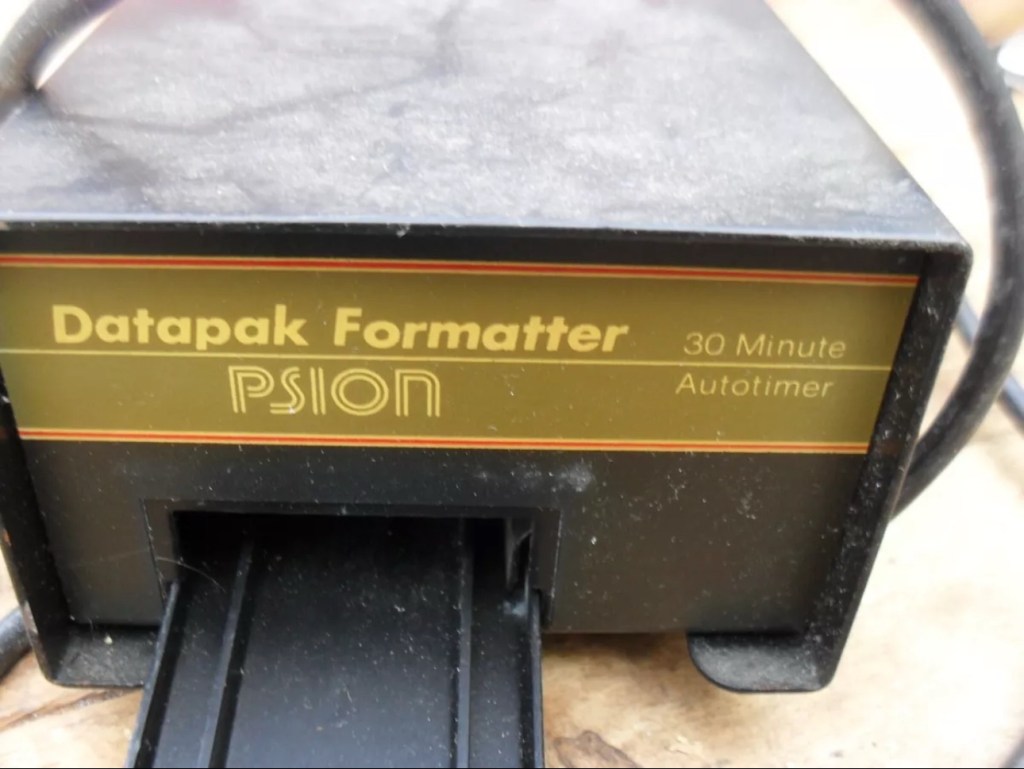
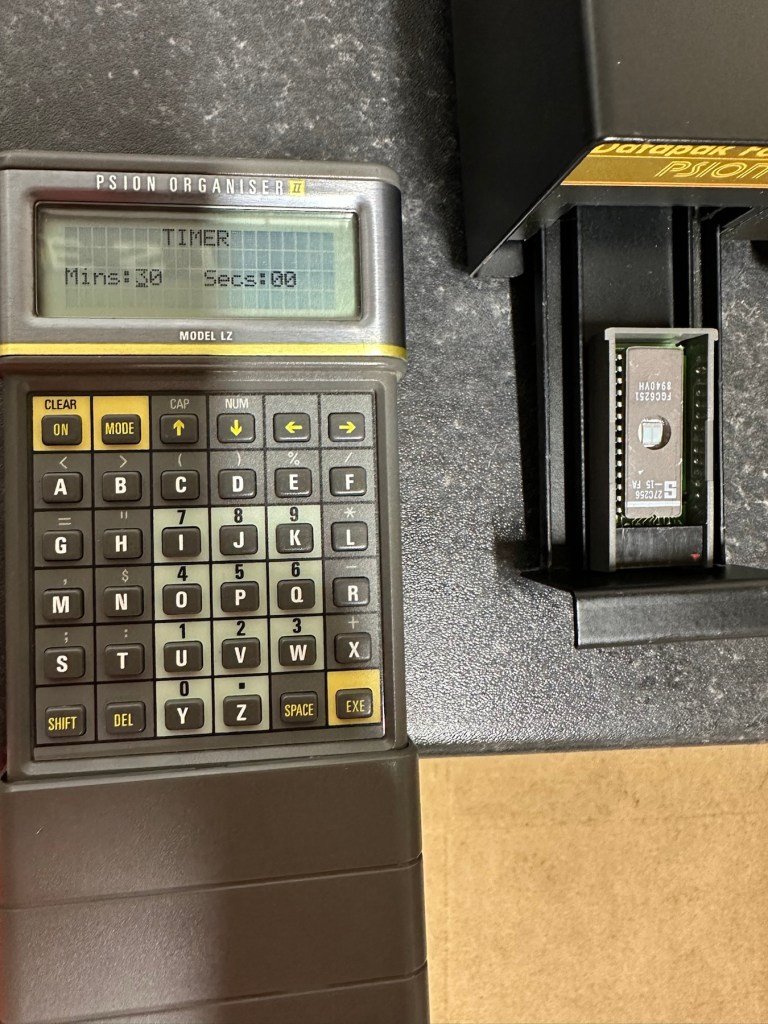
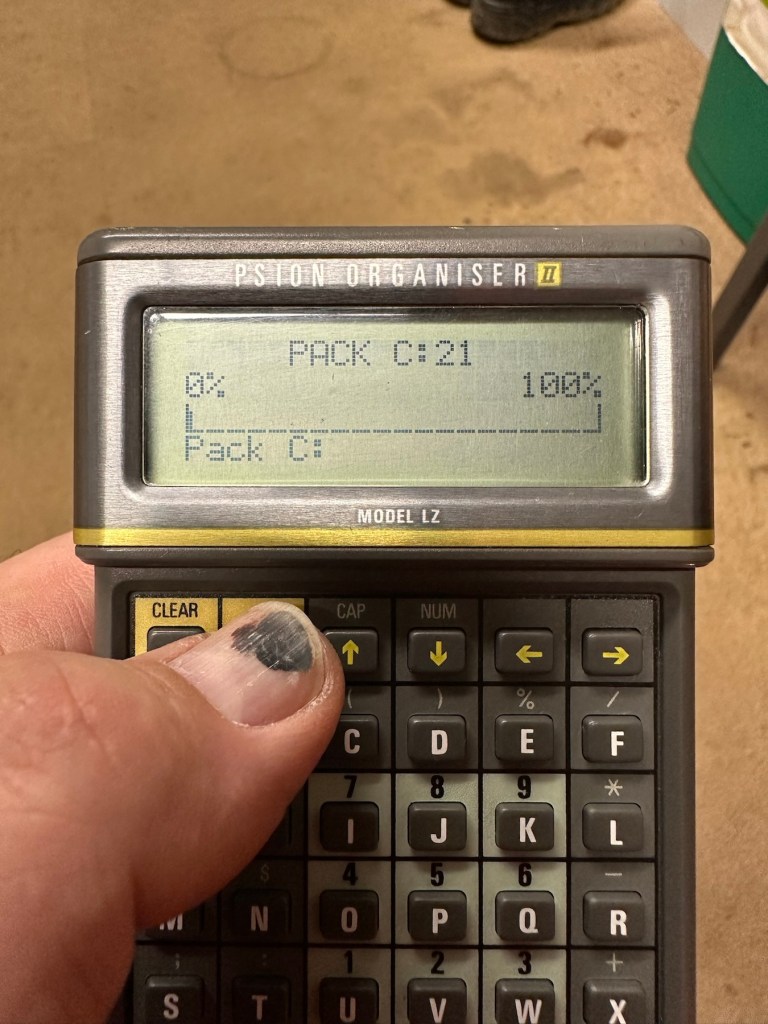
Everything seems fine I now just need to place a Datapak inside to see if the format process works. Also it’s a good time to check if the 30 minute timer is working. No time like the present, so I’ve found a suitable candidate and what better way to do the 30 minute countdown than with a Psion organiser I just happen to have hanging around. Here goes 🤞
The unit has been on about 15 minutes and all seems fine, the unit is not overheating and there is nothing occurring that shouldn’t be occurring. Fingers still tightly crossed. 🤞 The Psion timer duly sounded at the 30 minute mark, the unit turned itself off about 2 minutes later.
It continued about another 2 minutes after the timer finished
So 32 minutes seems to be the actual time under the lamp. Not too bad considering its age. The unit was only slightly warm to the touch after this time. I’ve left the Datapak to allow it to get to room temperature before testing it .
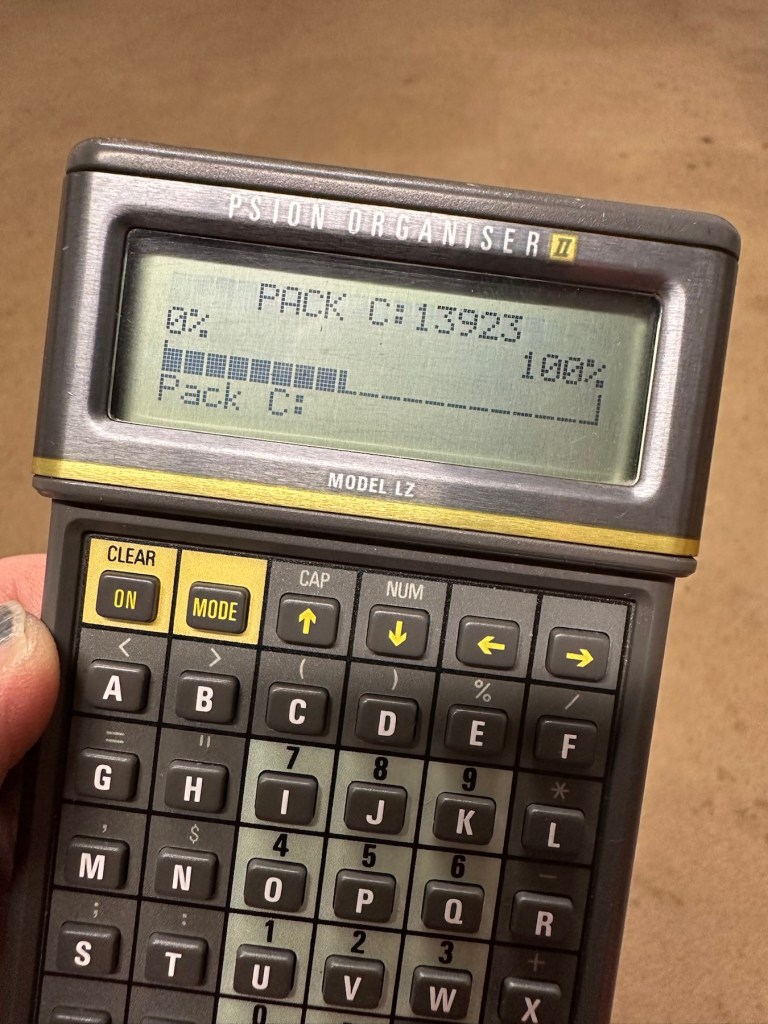
Success the system is sizing
Here we go, and it’s fantastic news as the format has worked. When plugged in it has informed me it is going through the sizing process that occurs on these organisers when you put in a newly formatted pack.
BeforeAfter
And when you go to check the info you can see the previously stored old data has now been deleted.
I now have a very useful, safe and working item of equipment. A very slight mustiness remains but that is only to be expected with an item that is 40 years old that you have had no input into how it is stored. I’ll probably store this in a sealable bag with some silica gel sachets to try and draw that mustiness out. I’m really pleased with this project and now have a very handy piece of kit to boot.
As I said earlier, make sure you always check thoroughly any items electrical such as this, coming from a third party. It’s your life, preserve it, safety first and trust no one. It’s a good mantra in this aspect or restoration.
Another item saved from landfill 👍
Thanks for taking the time to follow this project.
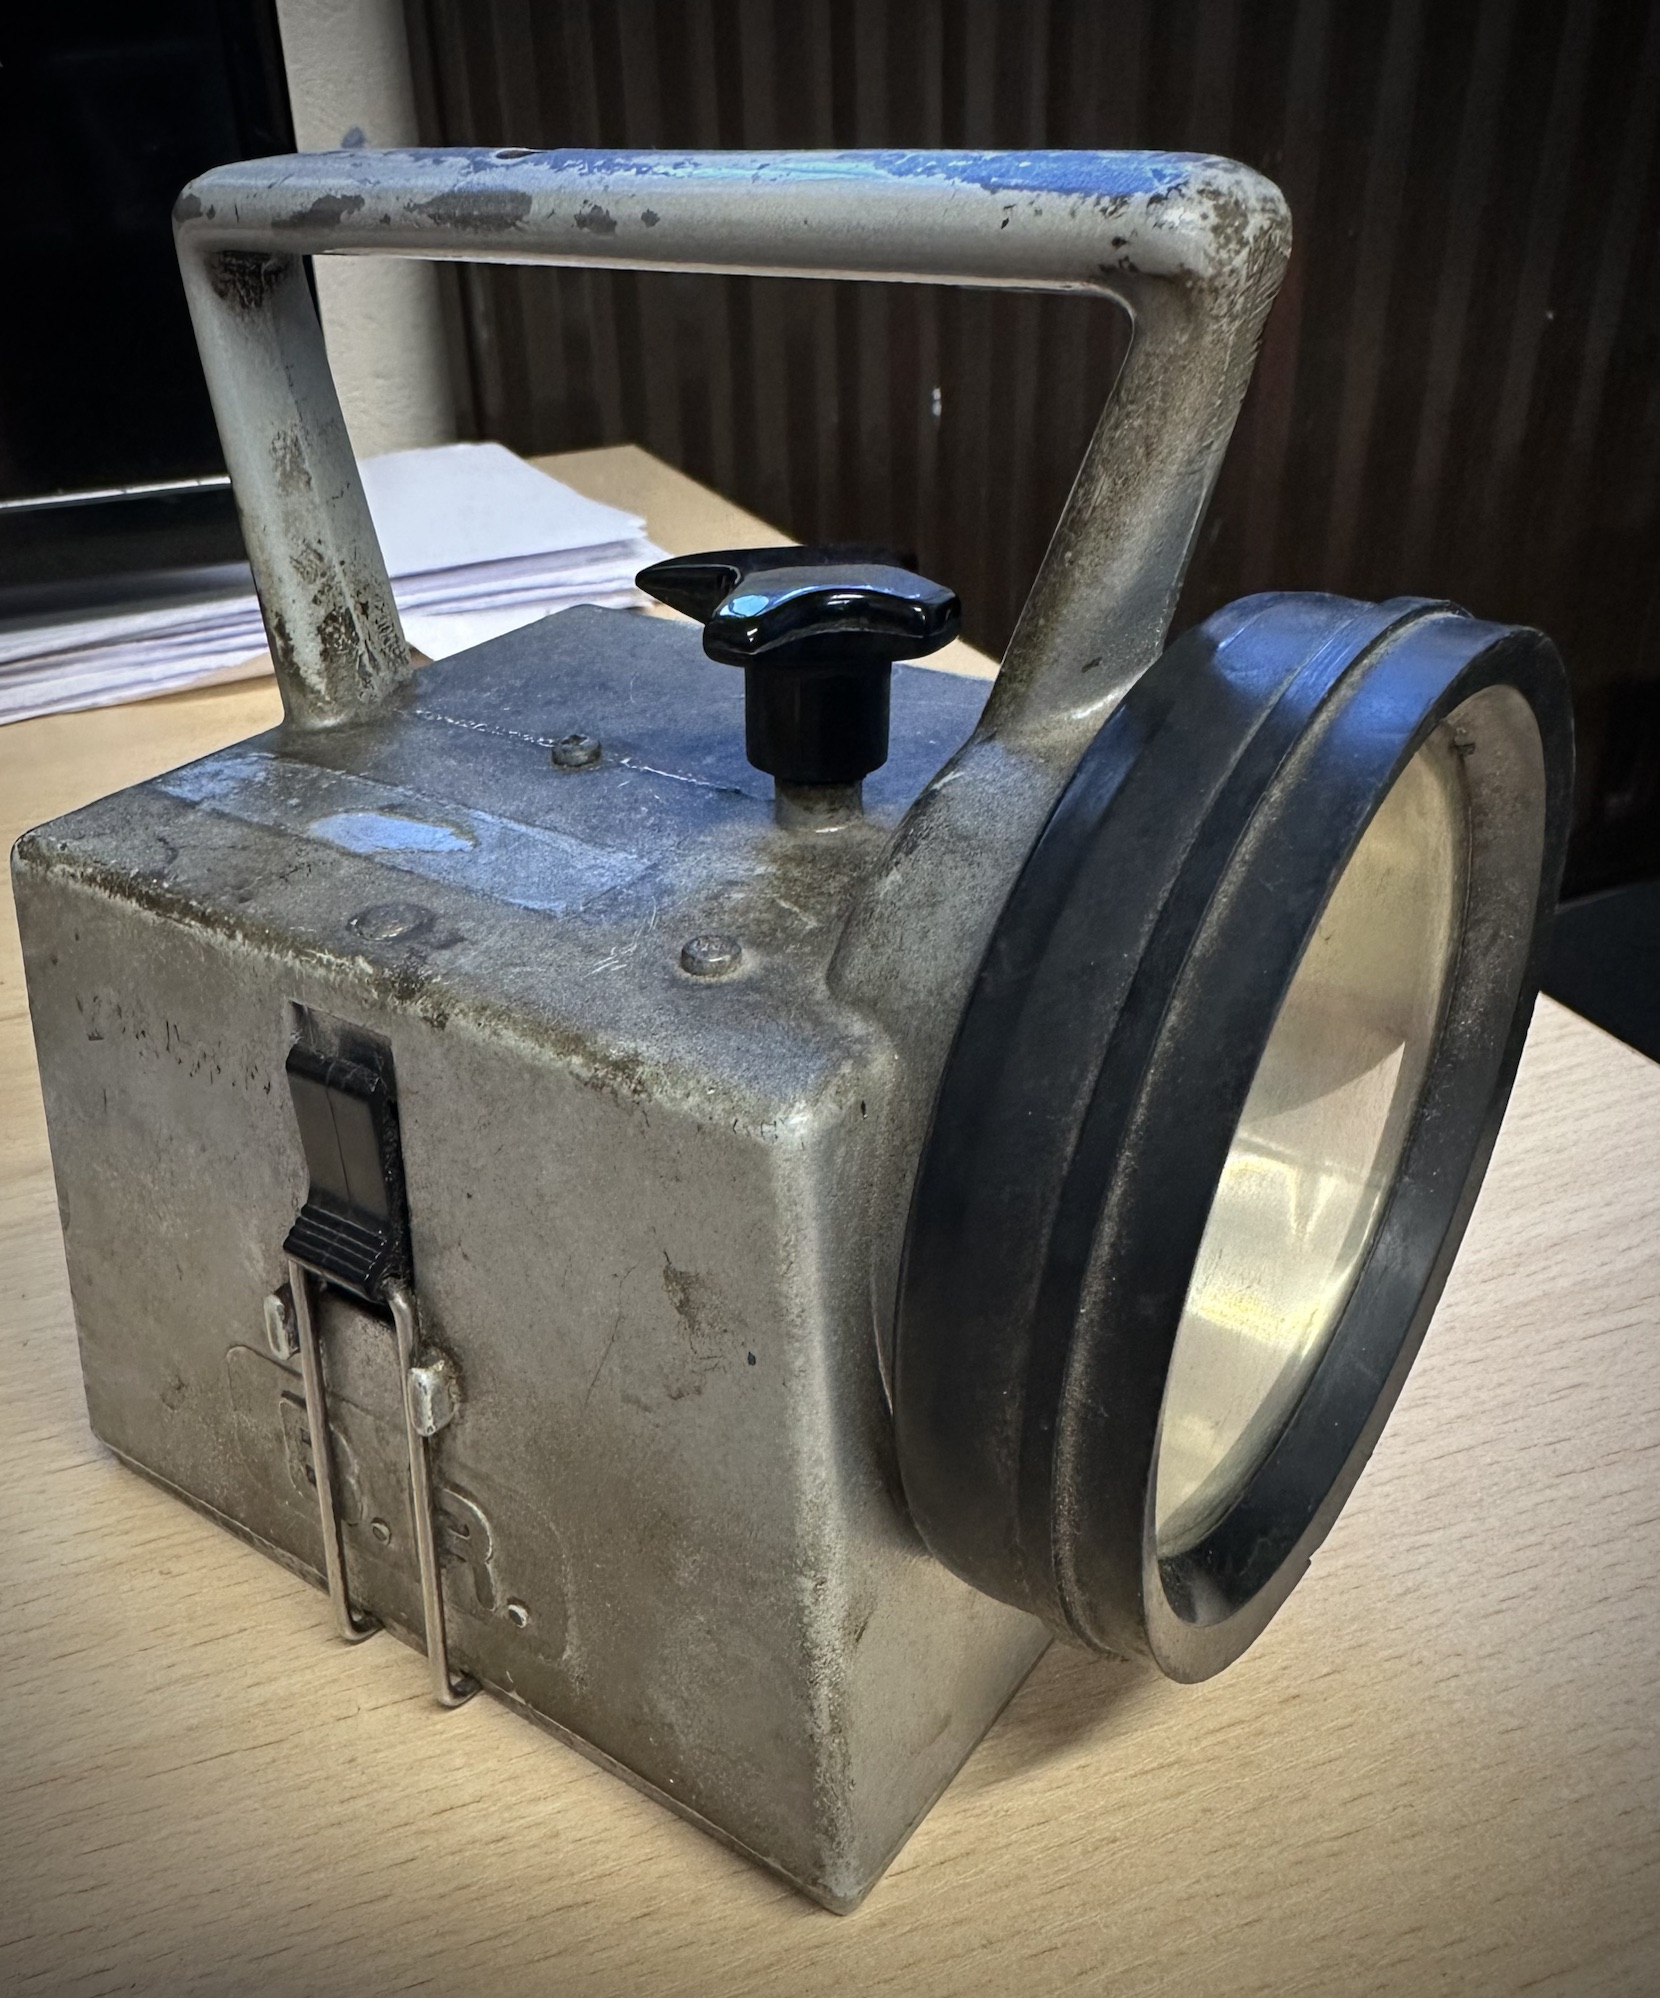
The Bardic lamp was introduced into the British railway system by the Bardic company of Southampton sometime around 1962. Just about everyone who has worked on the railway since then in a trackside role was given one as a personal issue.
Fast forward to today and new plastic LED lamps are being issued, however they don’t have the appeal of the old lamps, they break easy and the lens colours are not true Red, Green and Amber that they should be. The old style Bardic lamp is still in use many of which are still being used today. I still have the original one issued to me back in 1992.
This post is going to cover a basic power conversion for these lamps that will hopefully result in them being used for many more years.
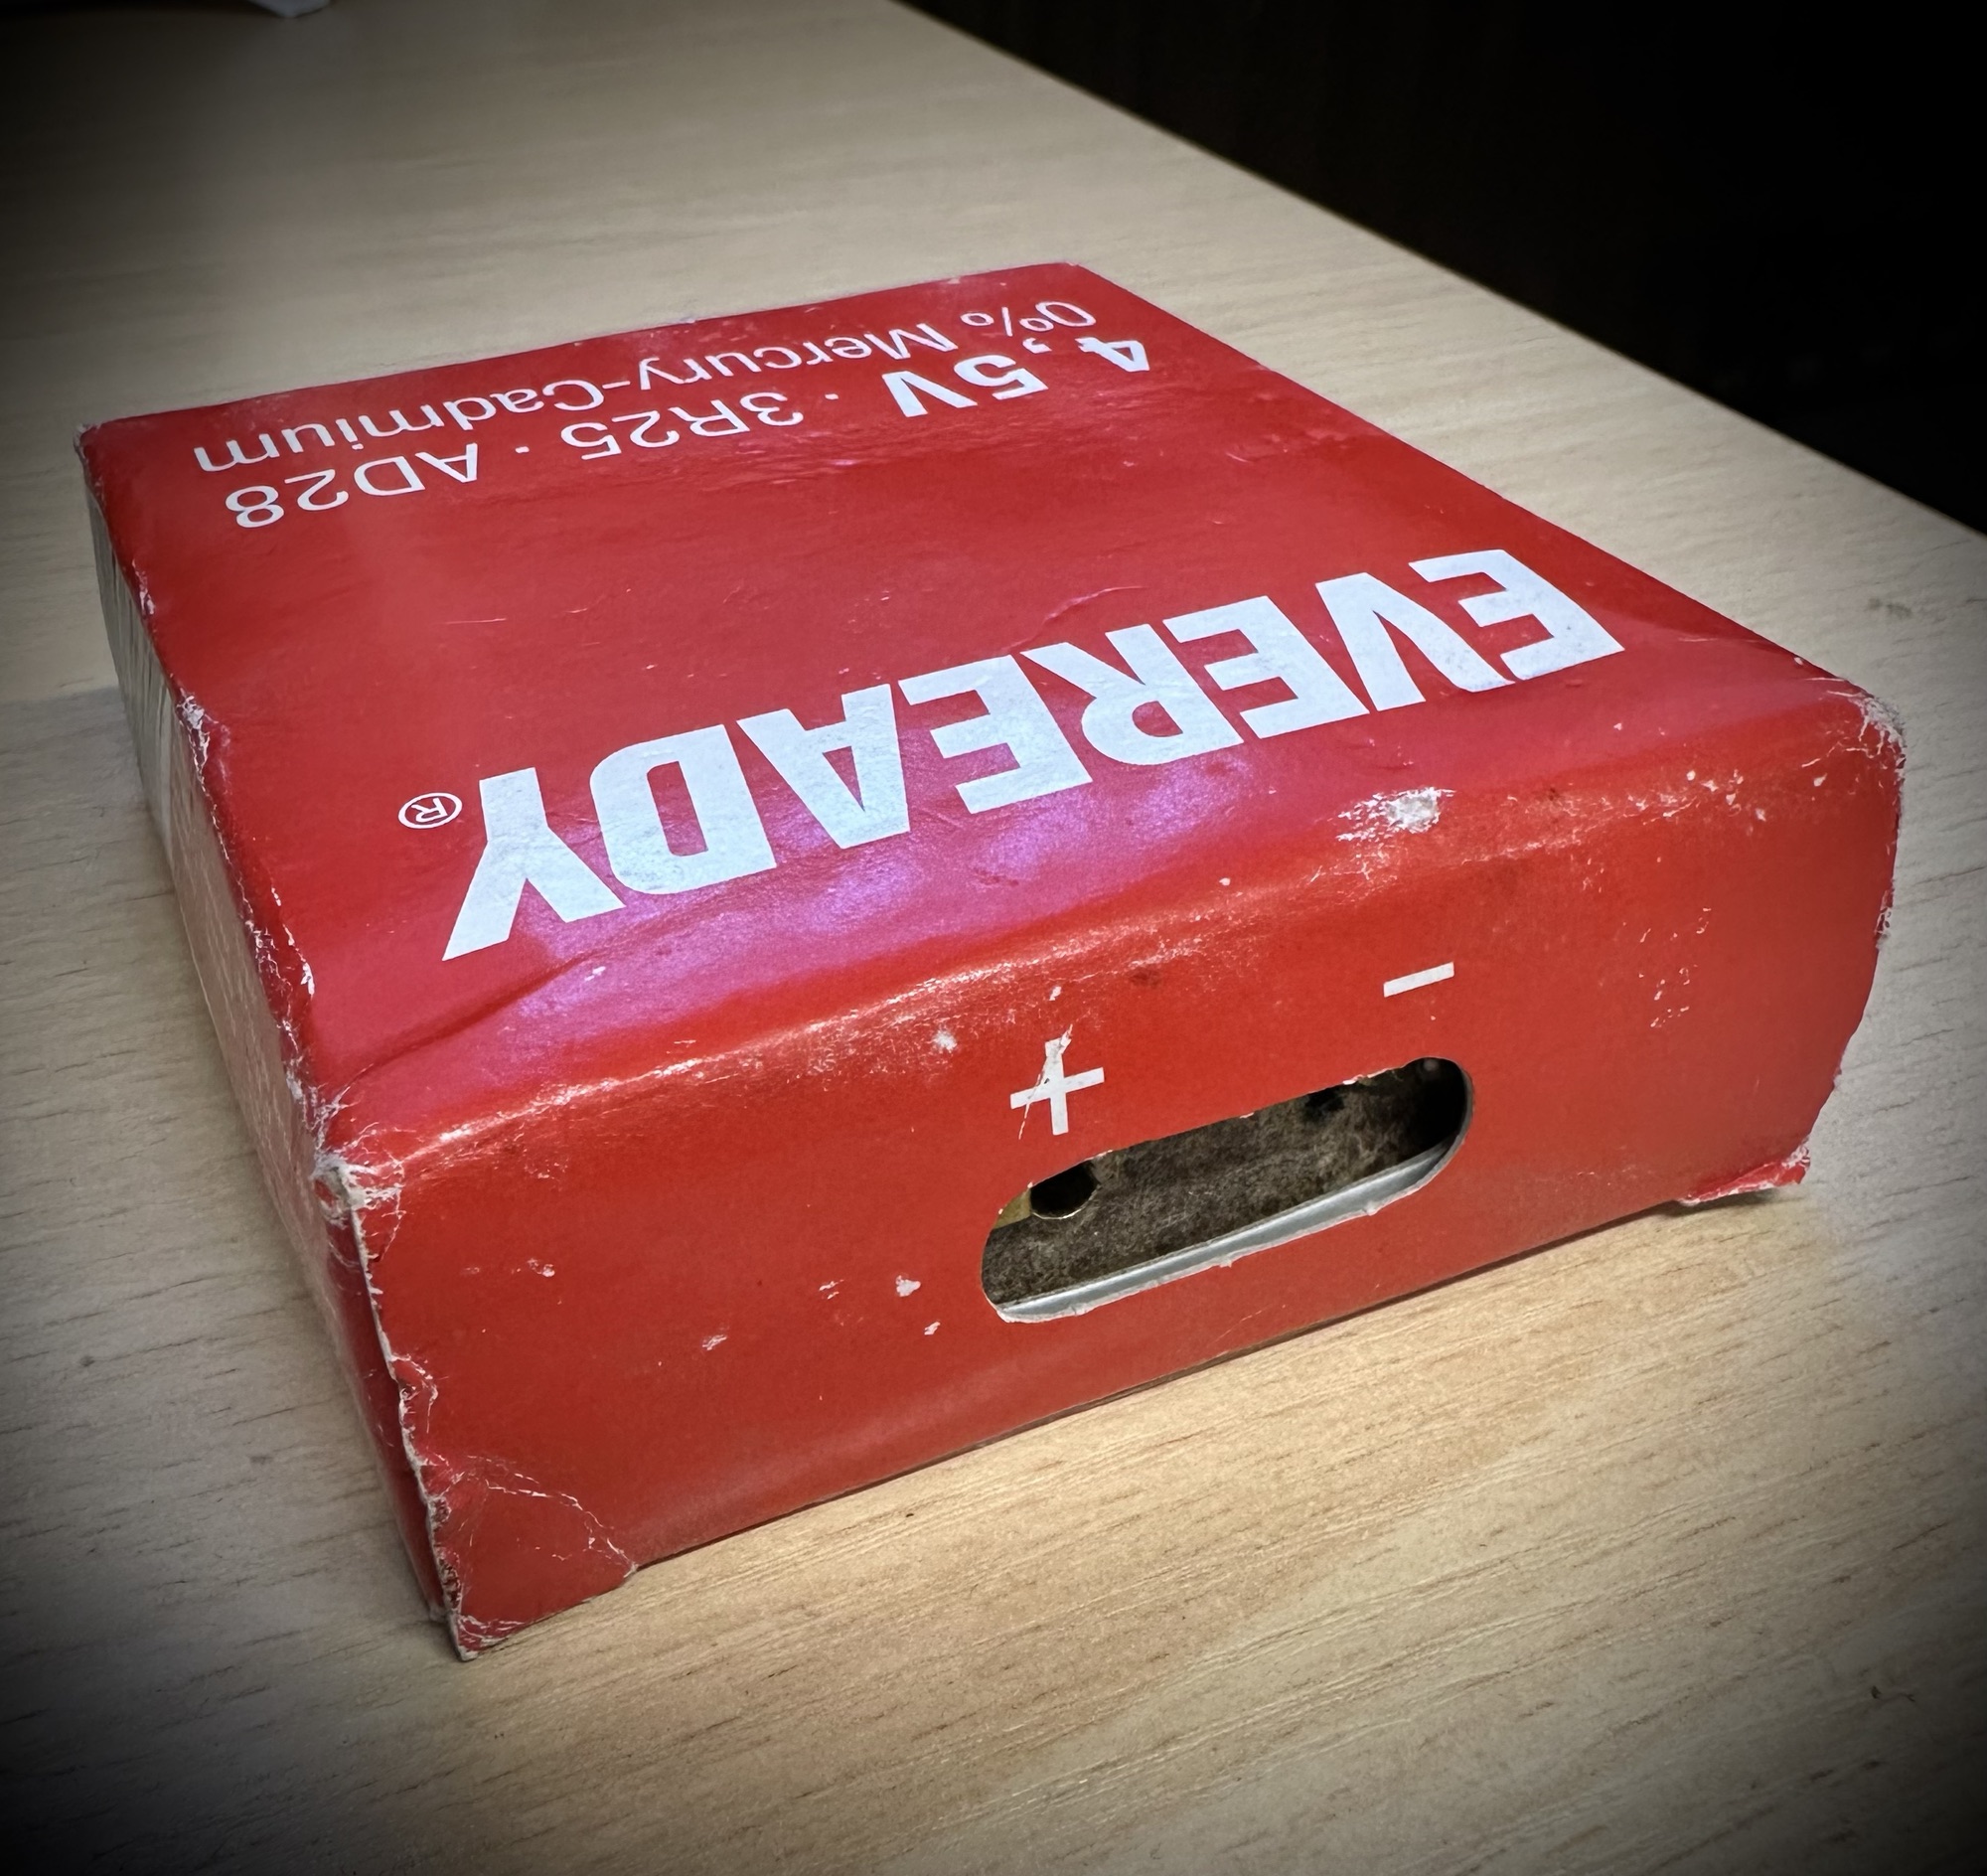
Bardic lampEver ready AD28 batteryTwo that I have recently converted at work
The fundamental issue with these lamps is that they use an old Mercury cadmium battery that accepts two pins that insert into the top of the cell. Even though these batteries used to be available for a reasonable amount of money, nowadays it is unethical to purchase these batteries due to their construction they have in theory been banned, so they are no longer manufactured. They can though still be purchased via the web at extremely inflated prices, however they can’t guarantee that they would still work – so you take your chances.
With this simple conversion we can extend the life of this unit and save it from being cast aside as waste. The conversion is very cheap, uses std “D” cell batteries and can be converted by anyone – even me. Kits to do this can be purchased for around £10 (GBP) on line, but this one should not cost more than £2 (GBP) even less if you have the parts as spares.
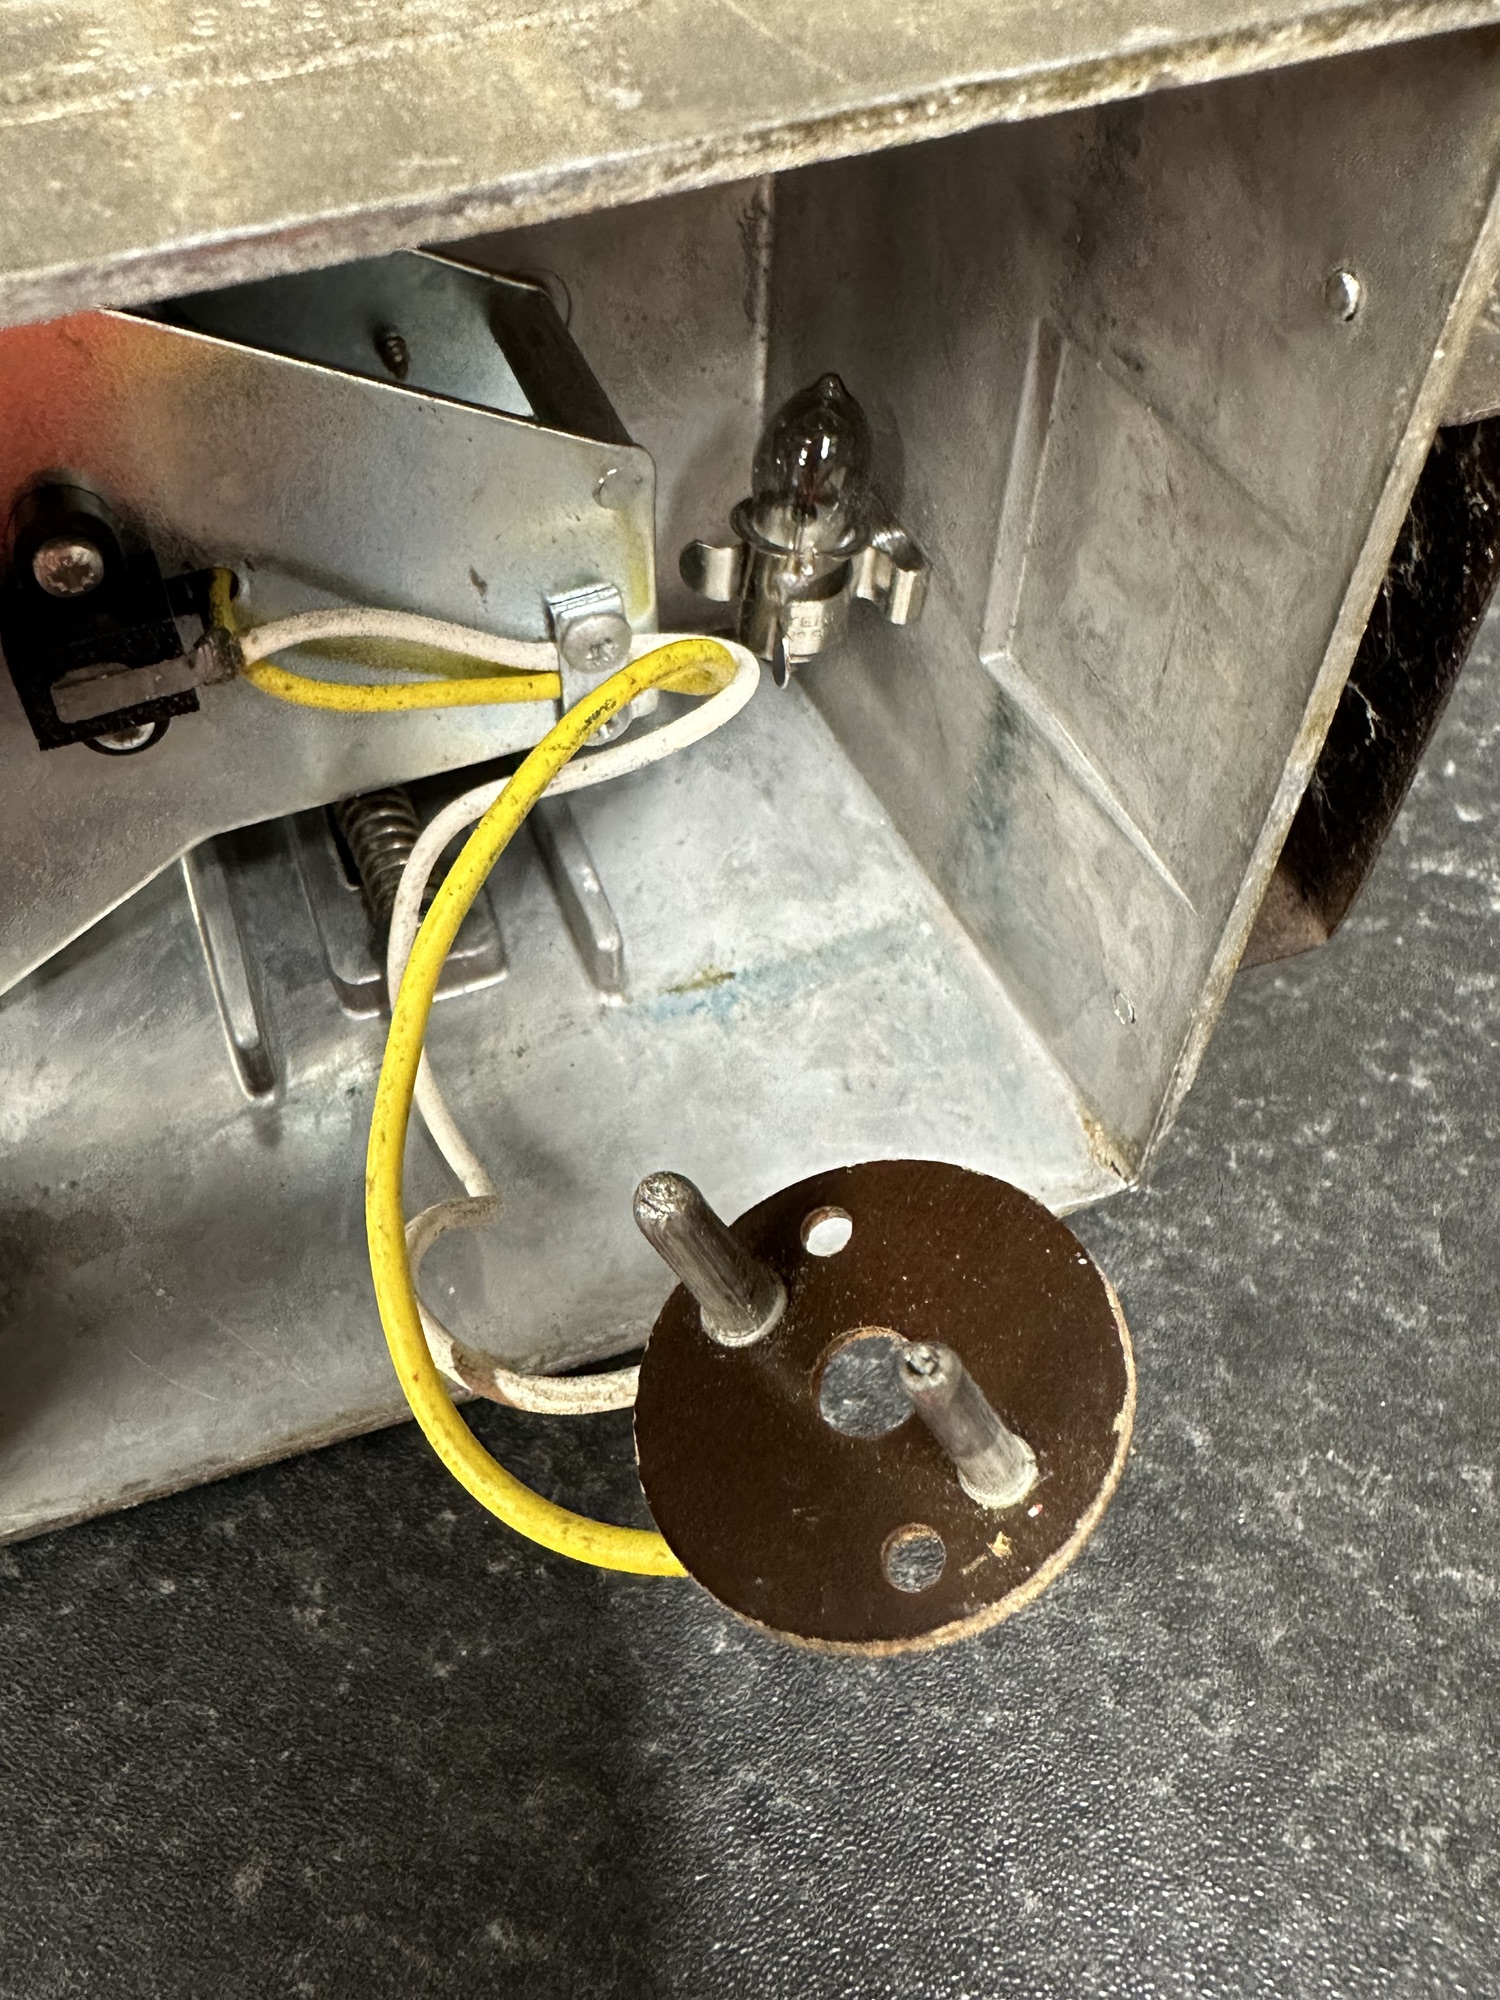
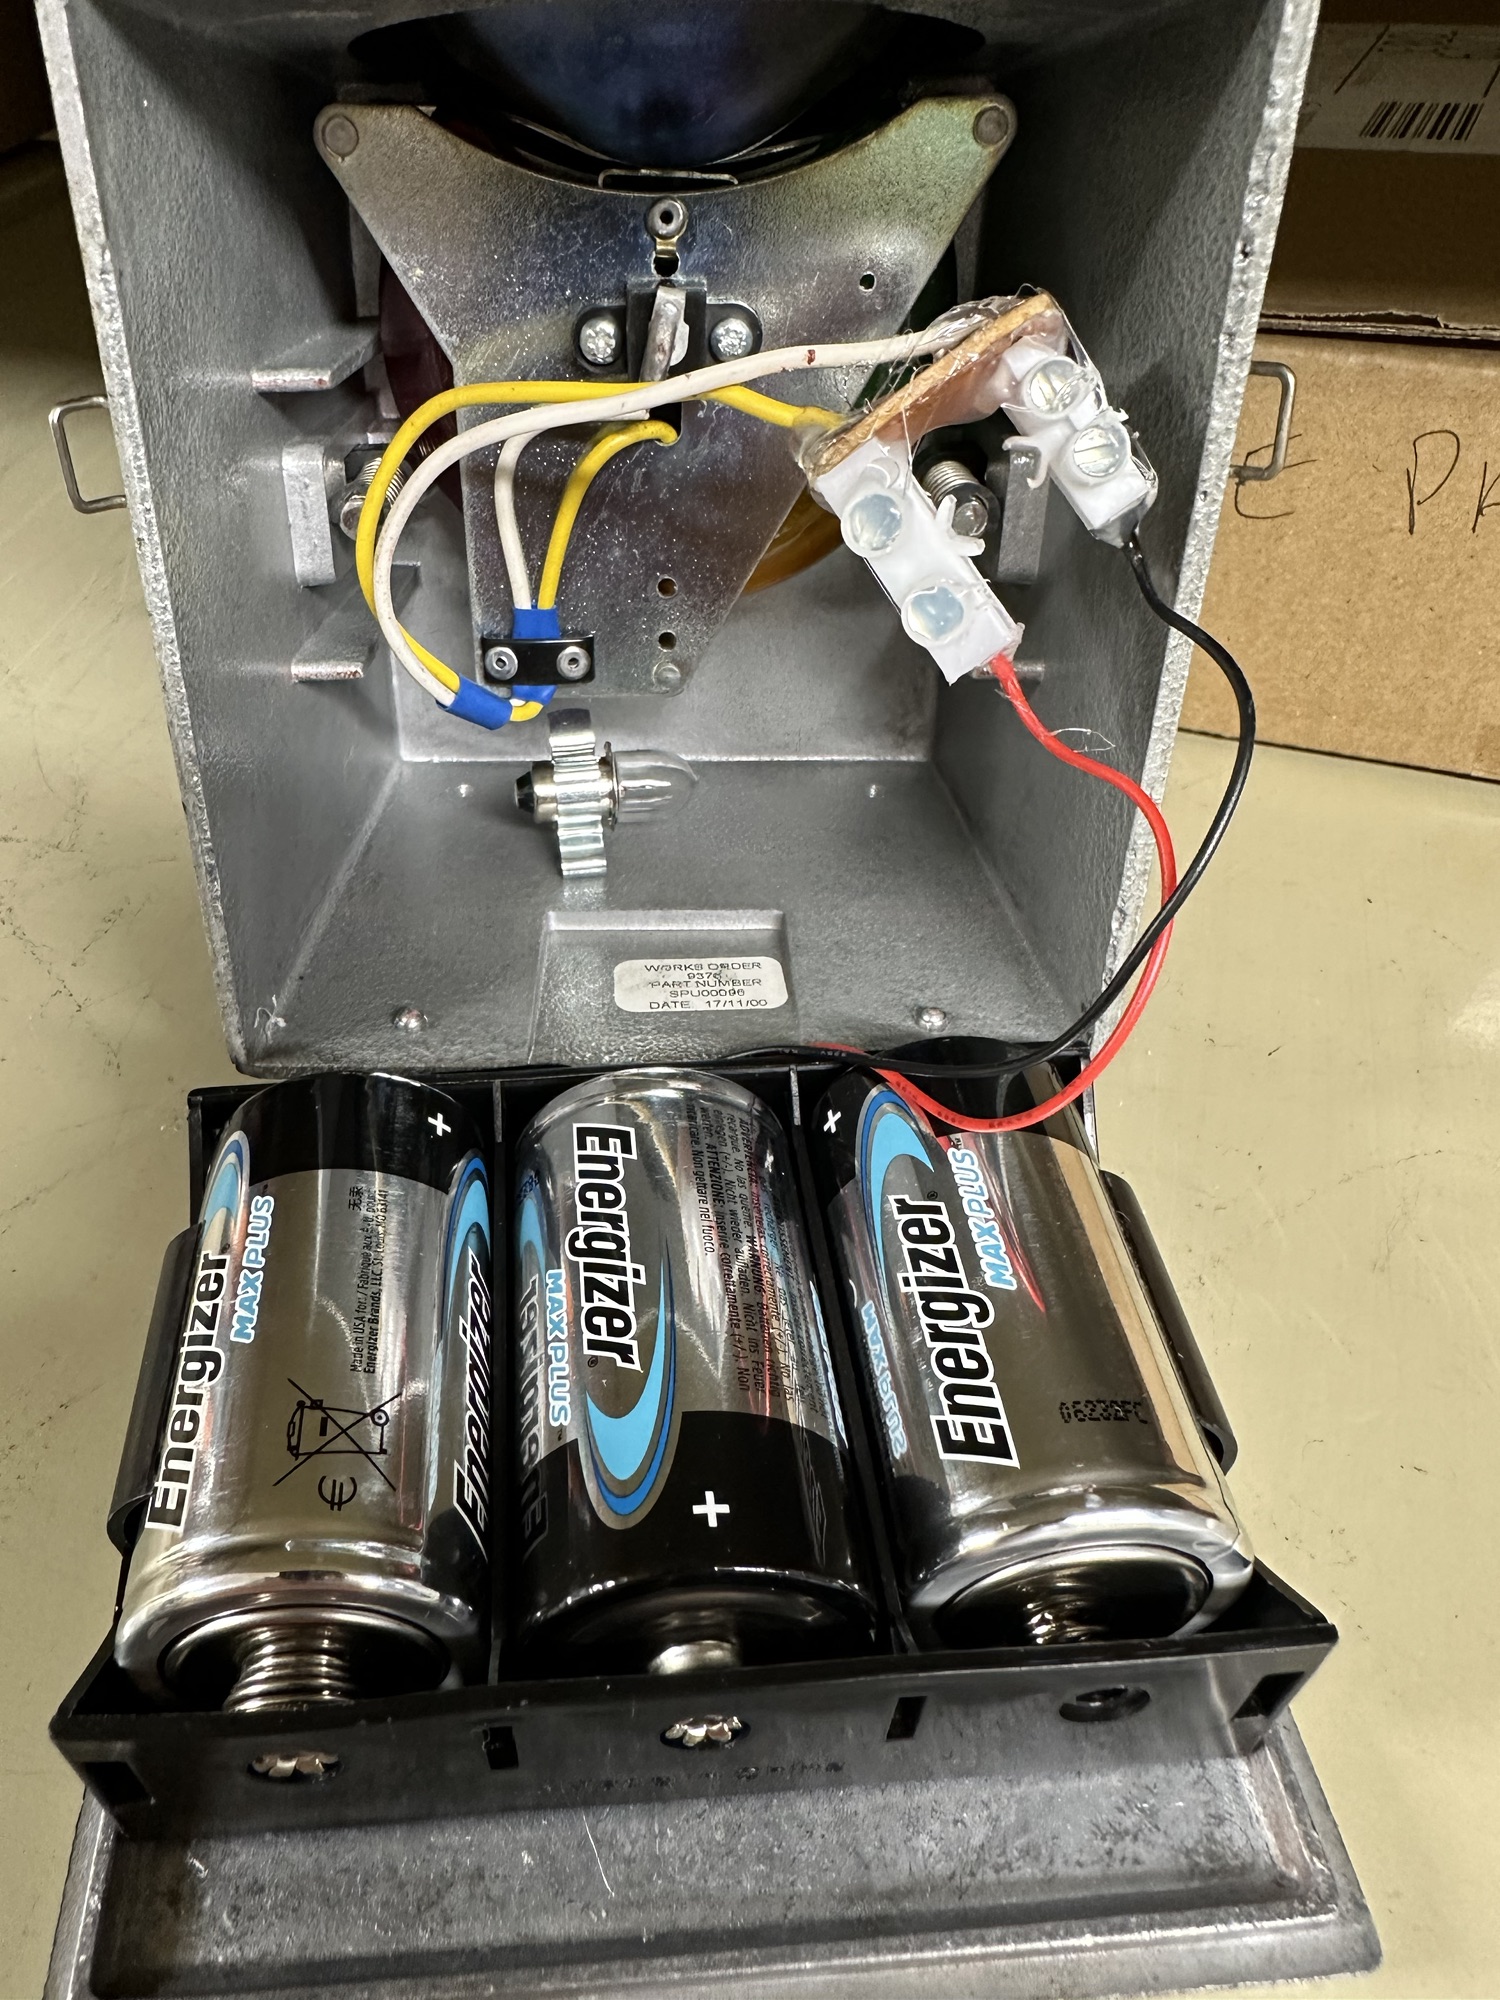
There are two ways of doing this conversion, the way the kit works is to use a couple of electrical “Choc bloc” adaptors to connect to the male pins of the AD28 connector (I’ve used that example on this page). The cheaper option is simply to have a 3 cell “D” type battery holder, cut the old AD28 connector off, solder the two wires together and use some heat shrink to cover the solder joints. Simple.
This really is a ten minute job that increases the lifespan by years.
Bardic lamp old AD28 connector Bardic lamp conversion
The conversion is completed with the D cell battery holder being stuck to the base with some hot glue. I’ve also put some on the chocolate bloc connectors for some extra strength and protection from the damp.
We recycle these batteries at work with a company that we have connections with, I also take spent batteries to the local supermarket that also recycles. The old AD28 batteries go to a specialist company for recycling/disposal.
Pretty basic and I now have a constant supply of these coming into us from our locations throughout the East Midlands awaiting conversion. We now do the basic simple conversion with our own stock and I think we have the conversion cost down to about £1.80 GBP per unit. A very cost effective simple conversion that will keep a 50+ year old lamp going for a few more years.


You must be logged in to post a comment.