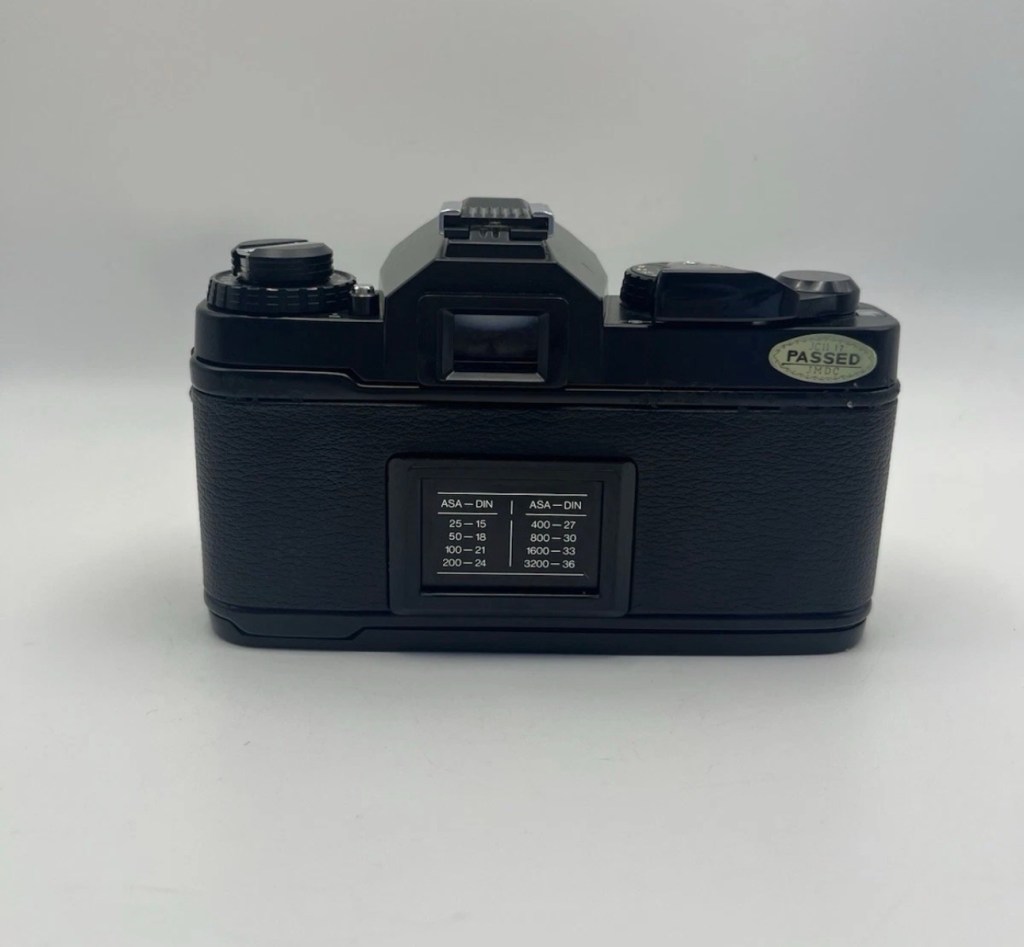
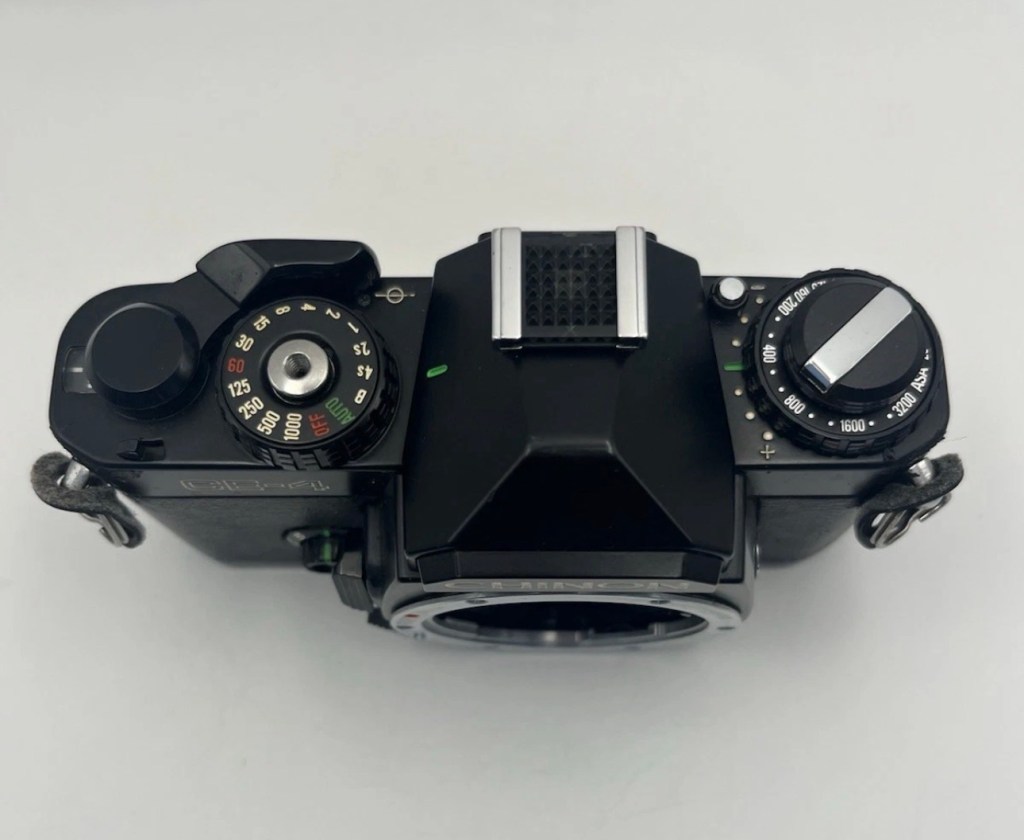
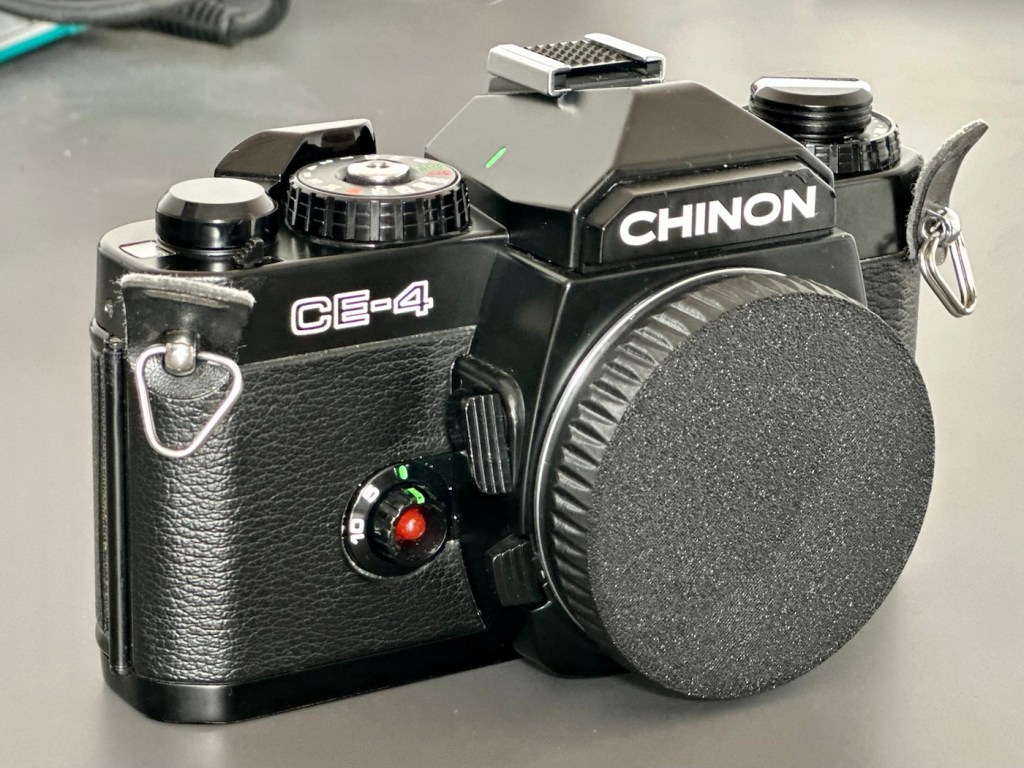
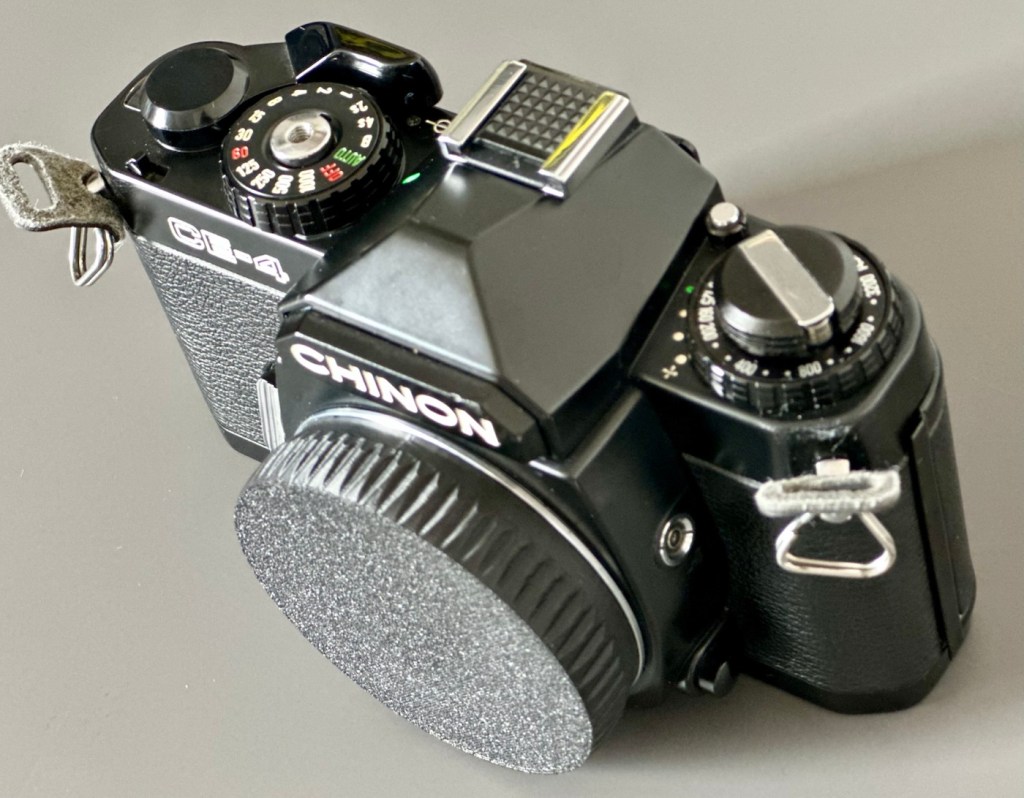
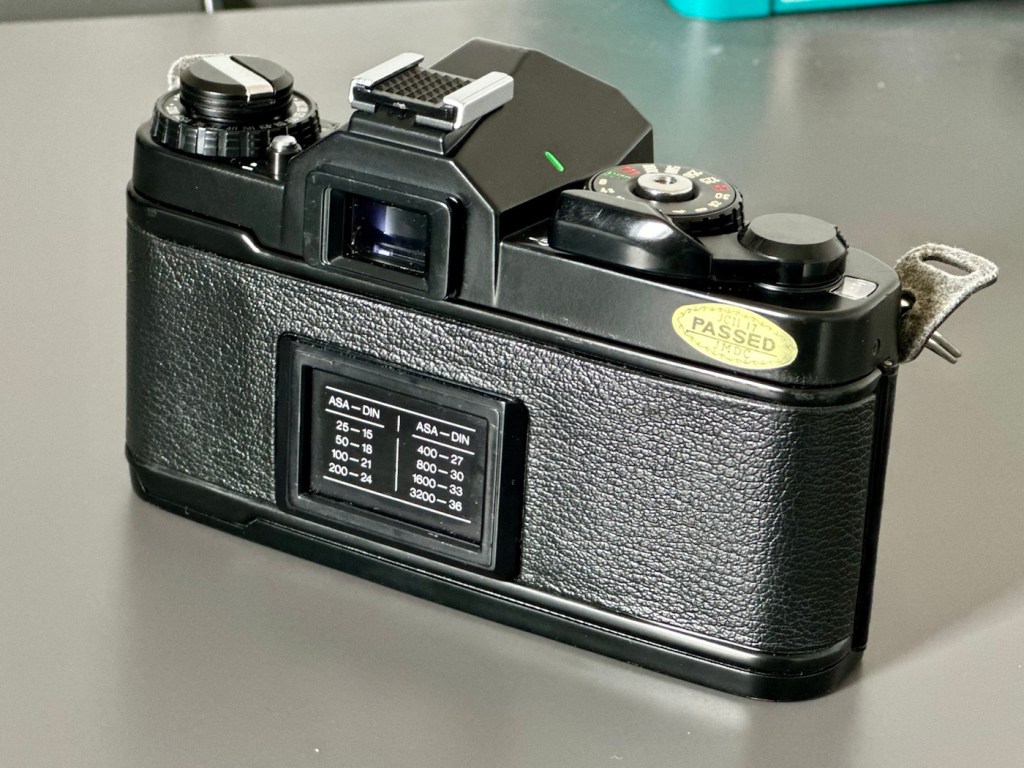
Chinon CE-4 35mm SLR

I was a snob back in my teenage years and wouldn’t buy anything without a Canon or Nikon name tag. How wrong was I? I now have one needing some TLC, so let’s get it working again.

What the listing stated:

Chinon CE-4 35mm SLR Film Camera Body – Faulty – See Details

I tried testing the camera with batteries and initially it seemed to function and the camera fired at accurate speeds but after a couple of times firing it, it stopped responding and now I can’t get it to function at all.

Please note batteries aren’t included.

EBay
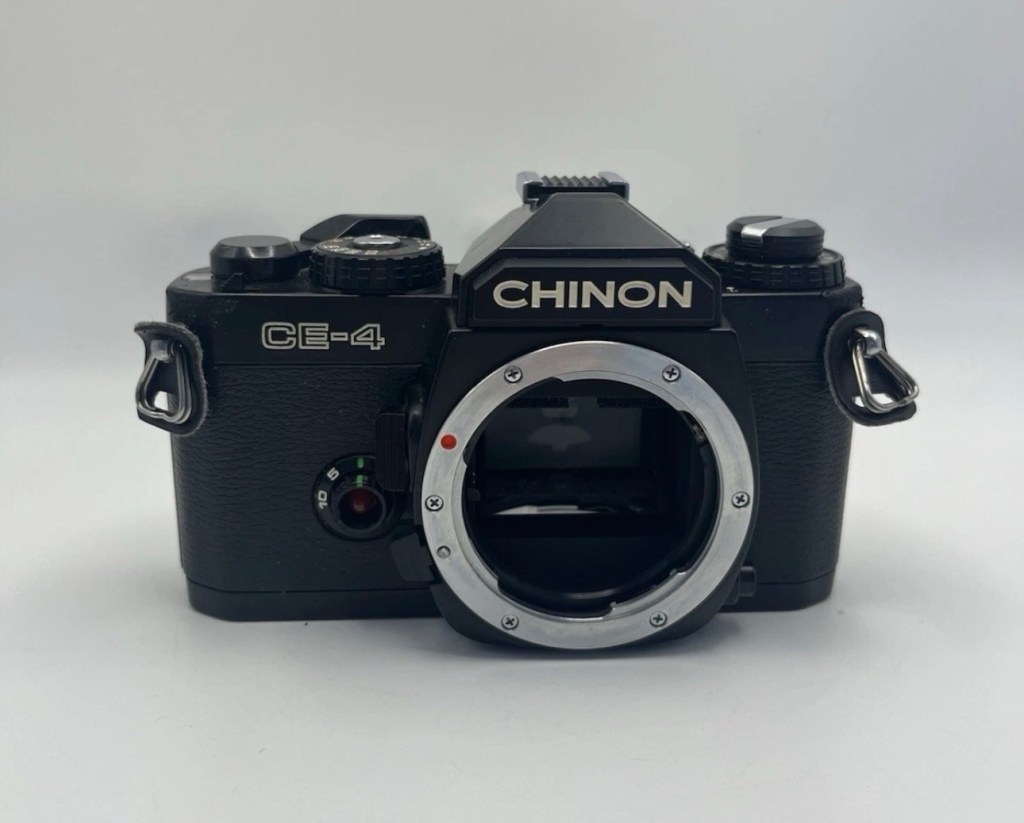
Here’s a little bit about this camera:

The Chinon CE-4 was the model which transitioned away from the 42mm screw mount used in the Chinon CE-3 to the Pentax K-mount. It’s an automatic 35mm SLR compact camera with aperture priority exposure system (AE).

Maker: Chinon

Dates: circa. 1980

Variants: black, CE-4s

Camera Type: 35mm SLR

Focusing: manual


Lens mount: Chinon Universal Bayonet Mount (Pentax K-mount)

Shutter: Seiko MFC electromagnetic focal plane, vertical, metal 
from 8s to 1/1000

Exposure meter: TTL, open aperture,
center weighted by two silicon blue photo cells. EV -2-19

Exposure modes: aperture priority, manual, Bulb

ASA/ISO range: 25 to 3200 ISO

Finder screen: fixed split-screen

Flash shoe: fixed hot shoe, contact for dedicated flash

Flash speed: 1/60

TTL Flash: no

Motor drive: Chinon Power Winder S

Battery: 3 ×1.5V Alkaline (LR44, A76) or 
3 ×1.5V silver oxide (SR44, S76, G-13)

Dimensions: 135.5x85x50.5 mm

Weight: 485g

Camera- wiki.org

A previous seller approached me offering this camera and we settled for a price of £5:00GBP. A fair price for a camera born around 1980 and readily available at nationwide electronic stores around the time. I always avoided them, because as a teenager I had been infected by the snobbery of people around me, if it wasn’t Canon or Nikon it was crap.

I was a snob back then. Now I’ll buy anything, and I like the look of this so I brought it.

My reasoning in a nutshell. If it takes photographs, it’s good. Buy it. Sold!

Let’s await its arrival, and get it assessed.

Assessment:

Cosmetically this camera looks fine, apart from the name plate being detached from the fascia. This is easily remedied with some superglue to hold it in place.
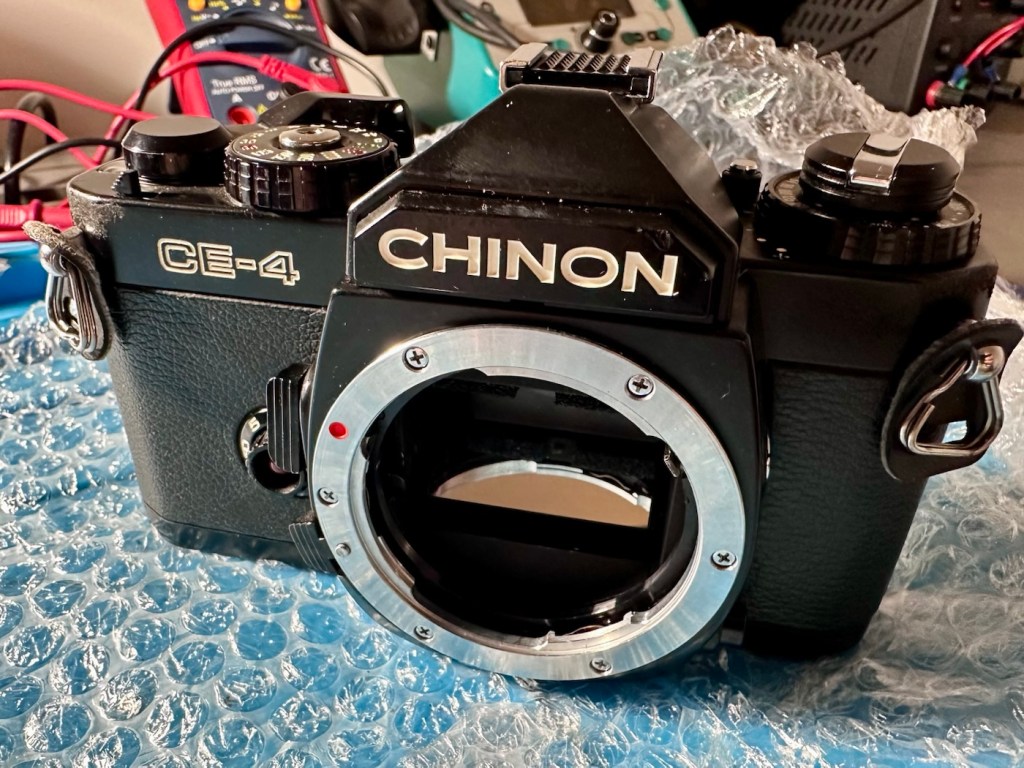
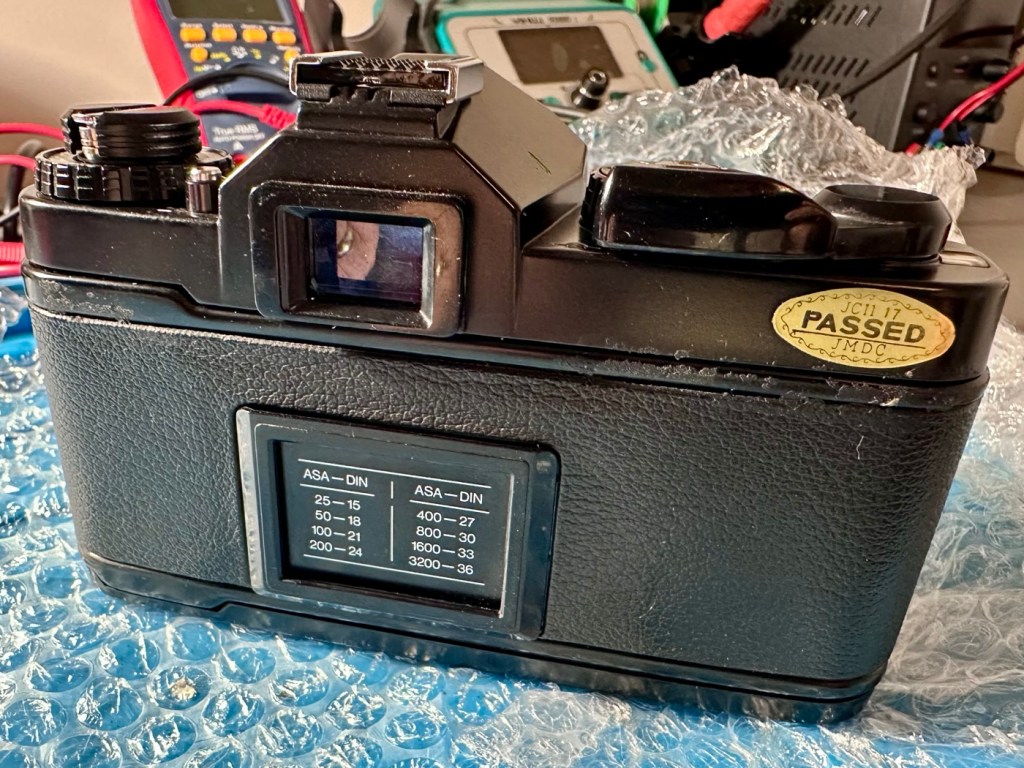
As an addition i’ve printed out a body cap on the 3D printer for when i complete the clean, allowing me to protect the mirror, shutter and lens chamber area.
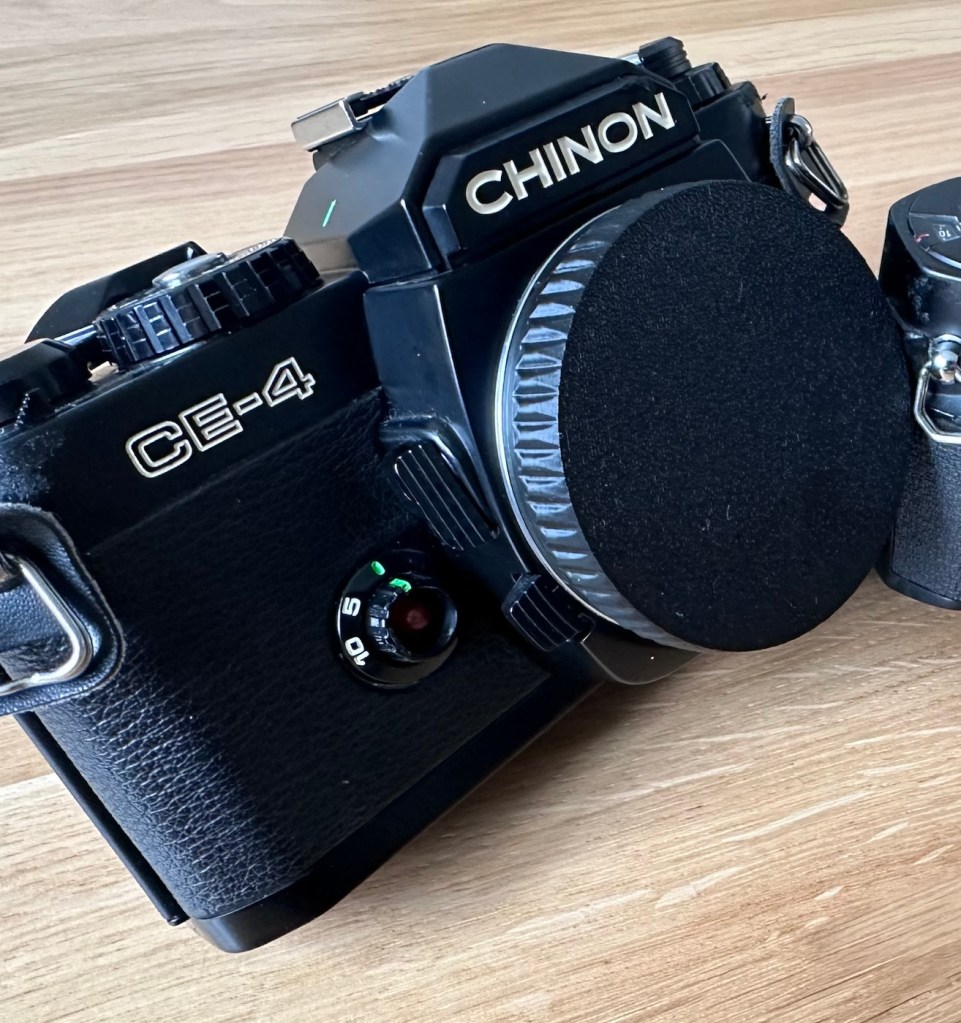
Body cap printed to protect lens chamber

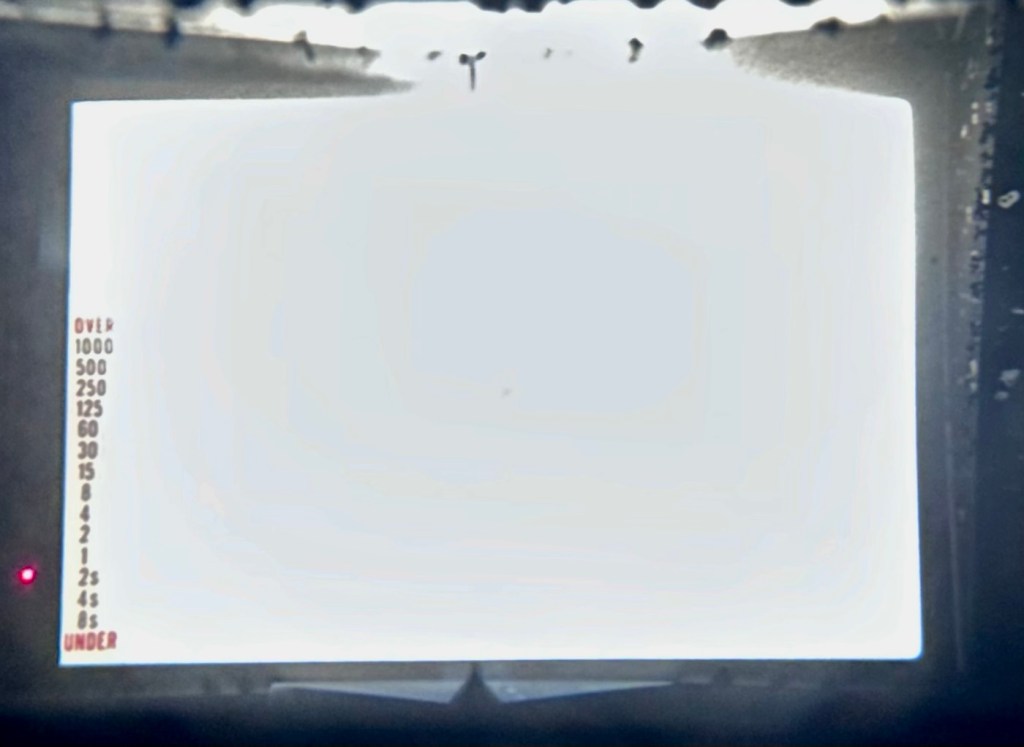
This camera takes three LR44 batteries and with these installed the camera is dead. There is no life, and no indication from the exposure meter in the viewfinder.
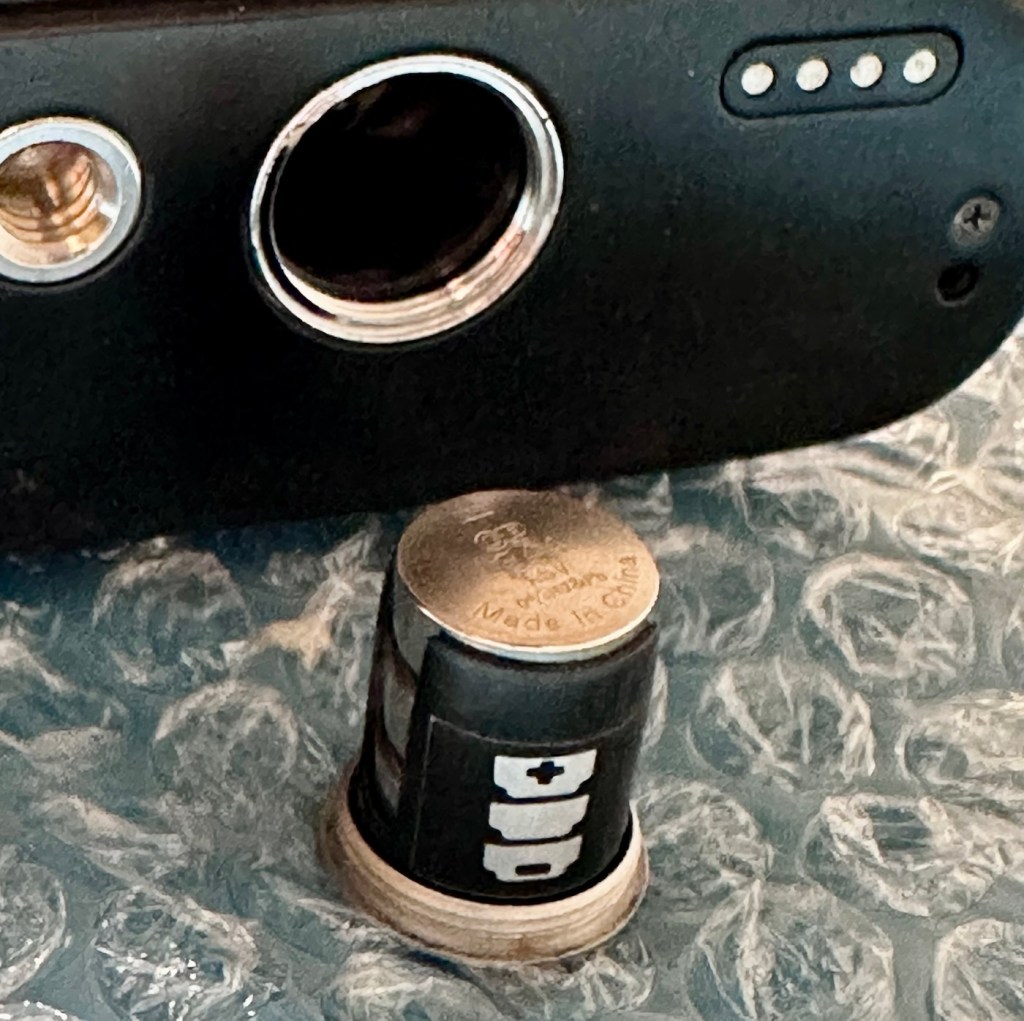
The battery holder with its three batteries

The bumper felt in the camera barrel is in excellent condition and does not need replacing. It’s a similar situation with the light proofing around the film chamber, they don’t need replacing just yet.
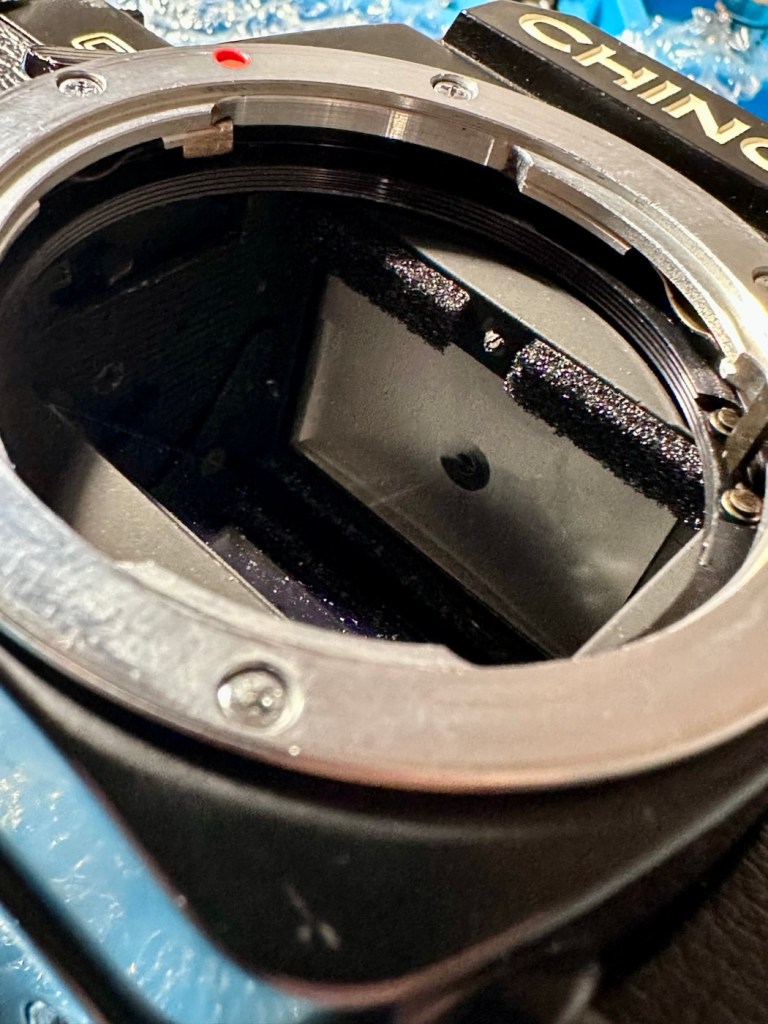
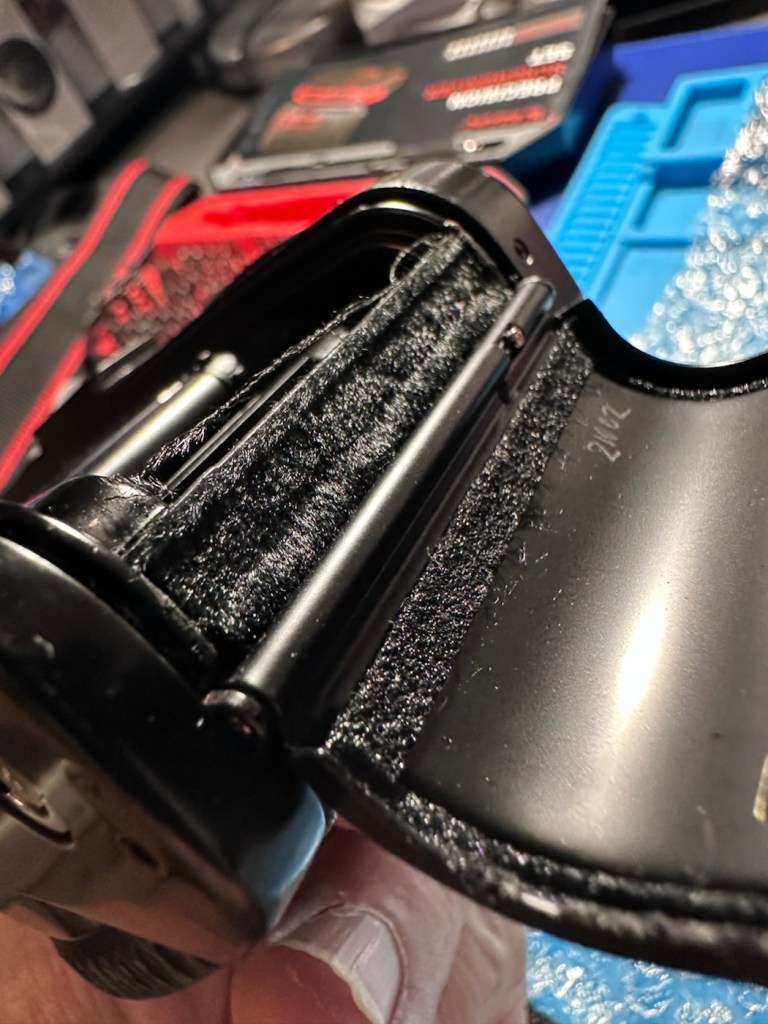
All buttons, dials and levers appear to be working just fine. There is no meter reading in the viewfinder due to the electrical issue. Let’s get onto that now, as it looks as if there is not really much else wrong with this camera.

Repair:

So generally with electrical issues it’s always best to start with the simple things first before diving in and opening up the camera for dissection.

First things first, are the batteries any good, yep they have all tested as working fine, let’s move on. Is the power getting through to the camera via the battery holder. No it’s not. Let’s check the battery holder.
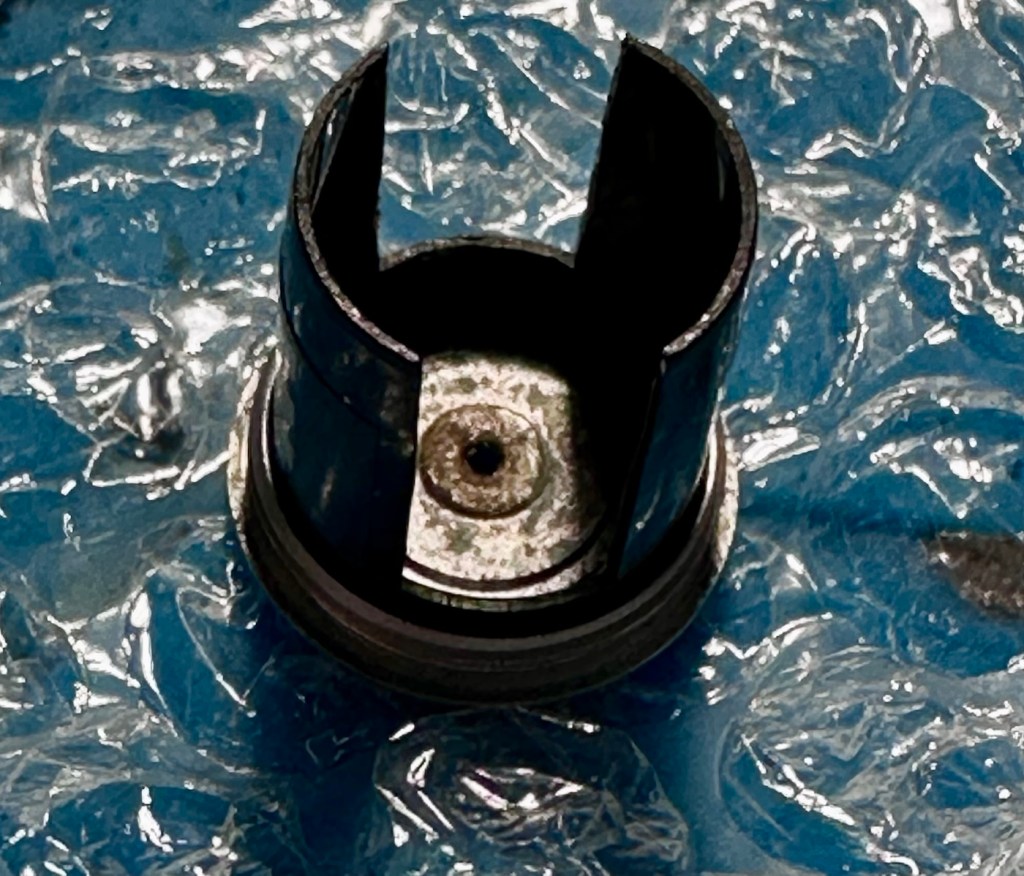
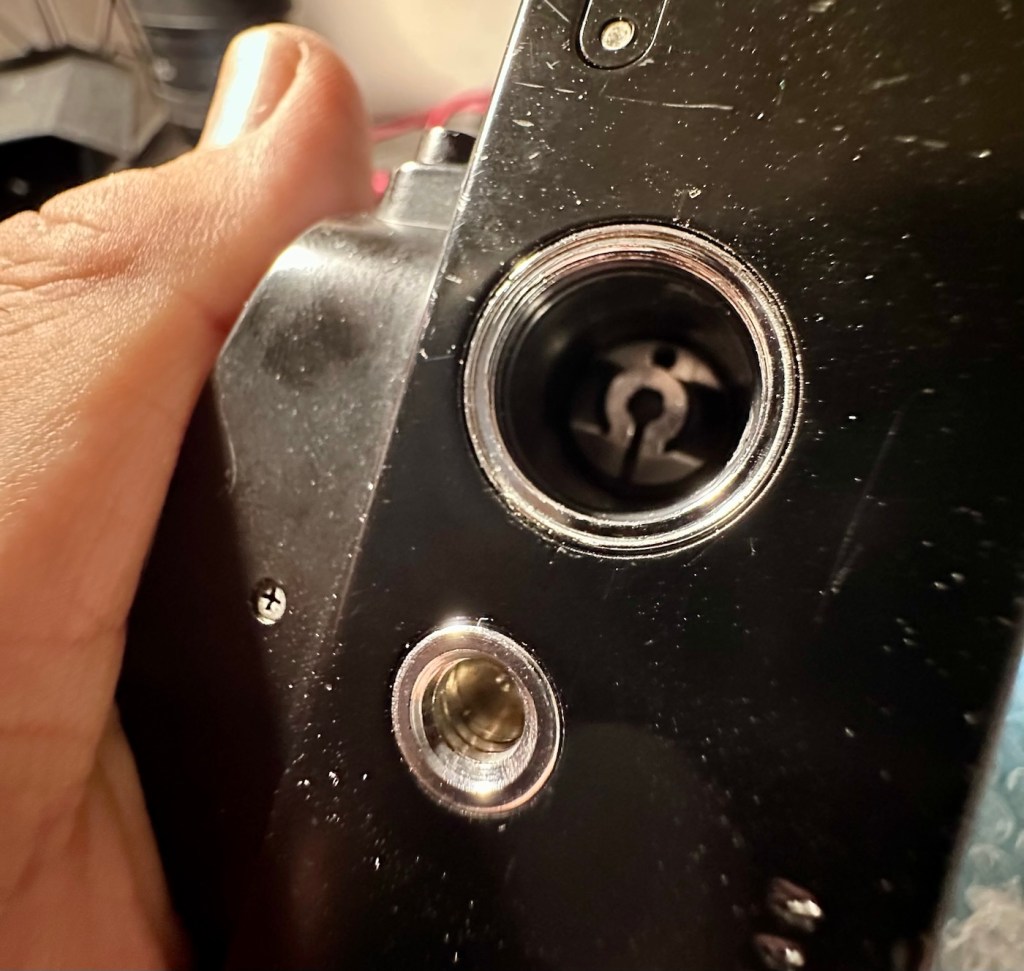
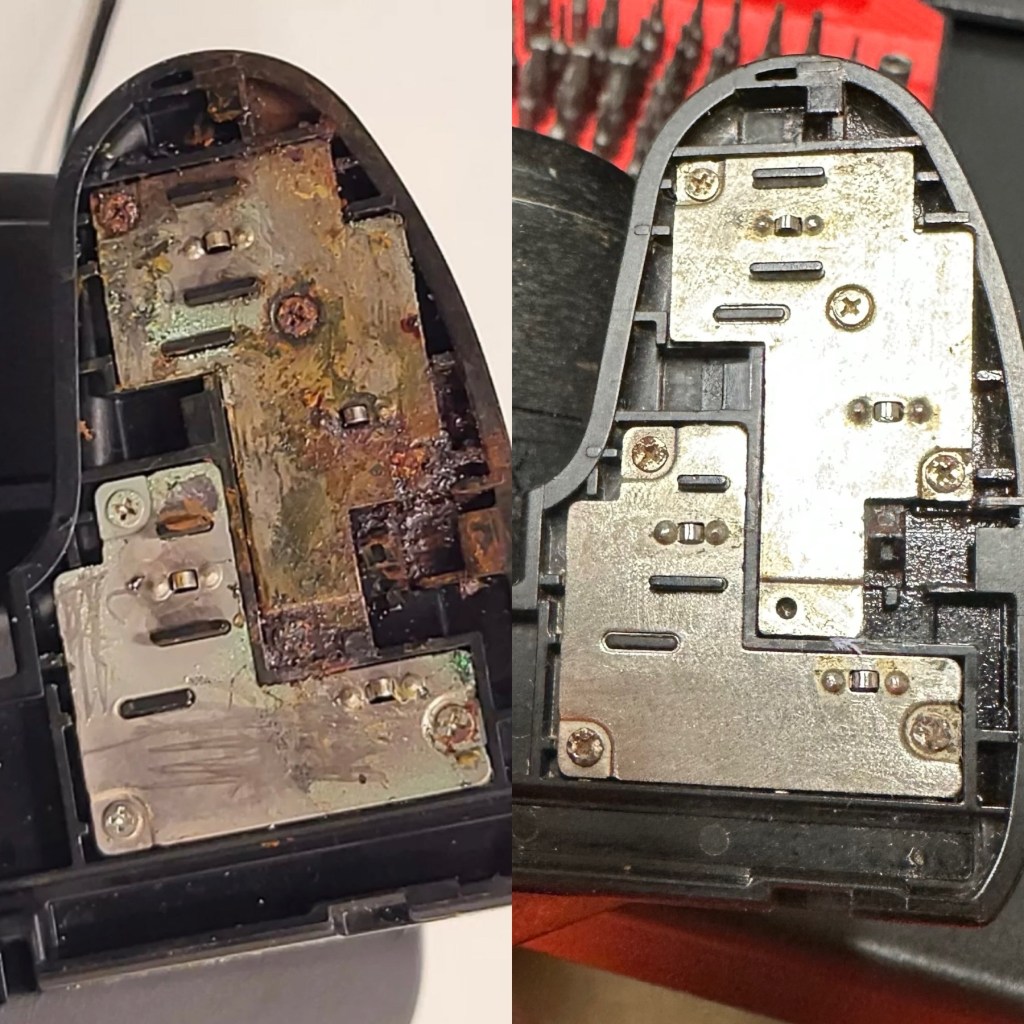
The battery holder showed no continuity when I used the multimeter probes on it, the whole inside of the holder had bad tarnish, preventing power getting through to where it was needed. A quick clean of the area with a grinding pen and some IPA to clean up, and you can now see your face in it. A quick check with the multimeter and continuity is restored. Whilst I’m in the mood for this kind of cleaning I also clean the contacts in the camera base. These weren’t so bad, however a quick blast with the grinding pen and a clean up does not go amiss.

The three batteries are reinstalled and hey presto, the light meter and all functions now appear. All this camera required was a five minute clean to resurrect it.
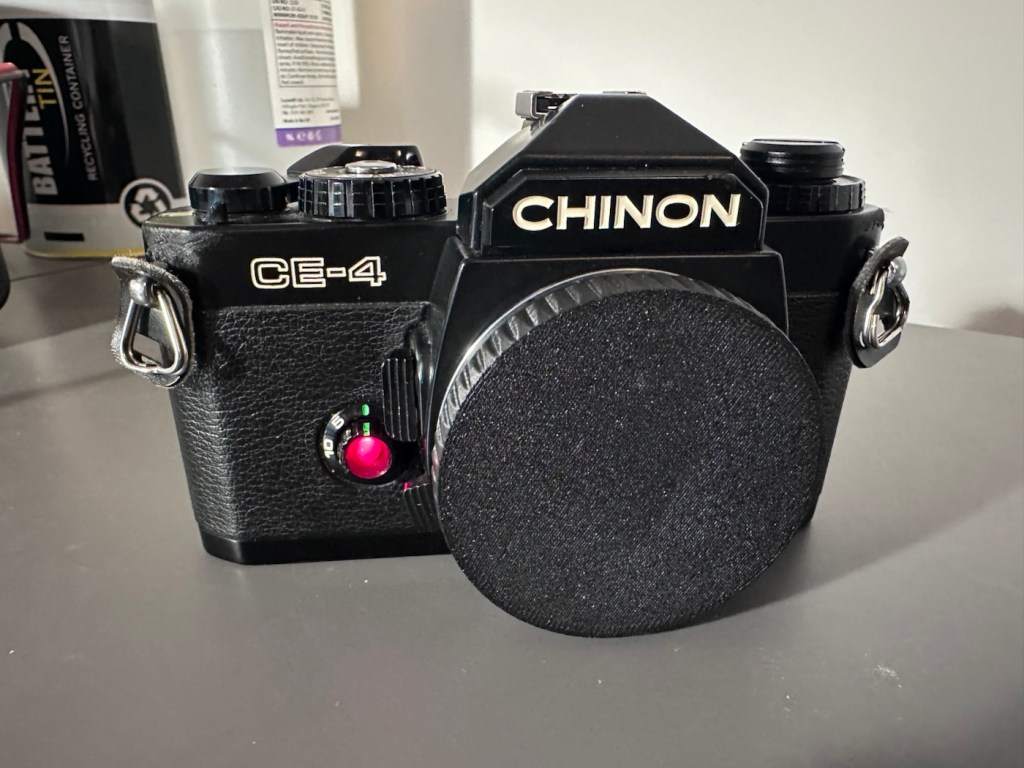
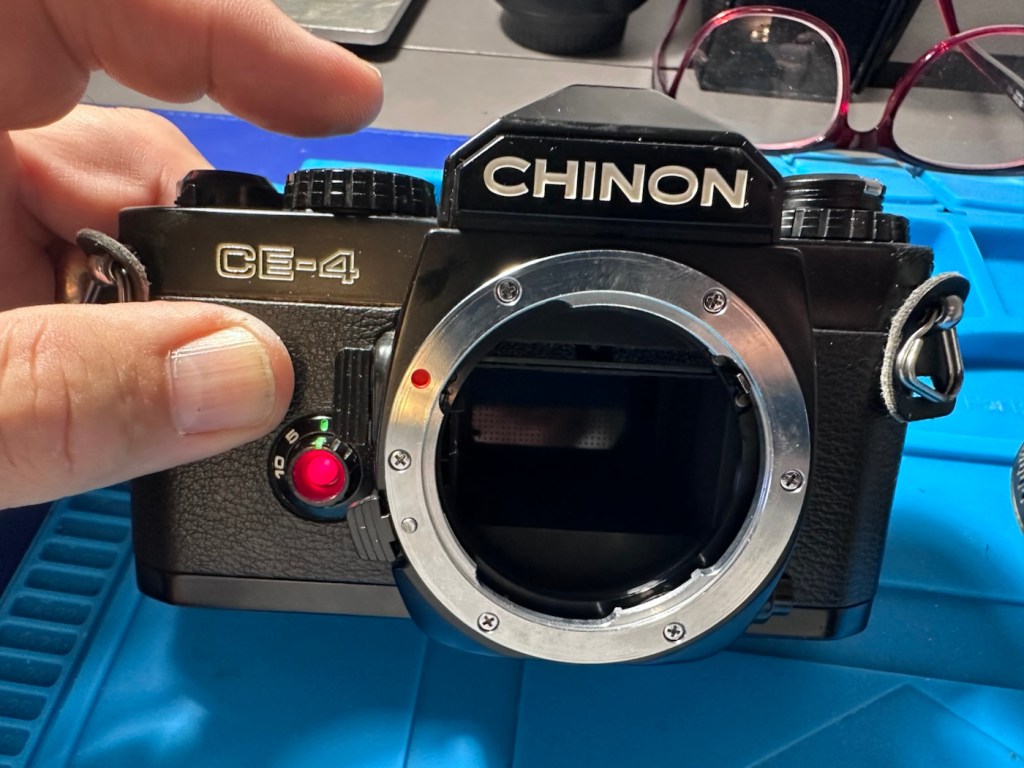
To test the camera fully I now need a K mount lens to check its functions. I’m looking for a basic one just to use for testing, just as well really as I also have some other K mount cameras coming up shortly. However, I am supremely confident this camera is working fine, so a lens is not the probity at this stage. I will probably move this on to the local hospice that I have dealings with.

A good clean is all that is now needed. I have cleaned the internals and sealed them by putting the body cap in place. Now I need to give attention to the exterior.

Result:

Sorry It’s a boring one, but hey it’s a win. Following a plan of attack starting with the most basic of checks, can be boring and repetitive, but also extremely beneficial as it’s not always the big issues inside the camera, nine times out of ten the issues are a lot more basic.

It just goes to prove that a lot of the items out there deemed as broken, are just in need of a little maintenance. If only people would just take a little time to look after their stuff, there would be less equipment thrown in to landfill.

Here is the camera after a good clean.
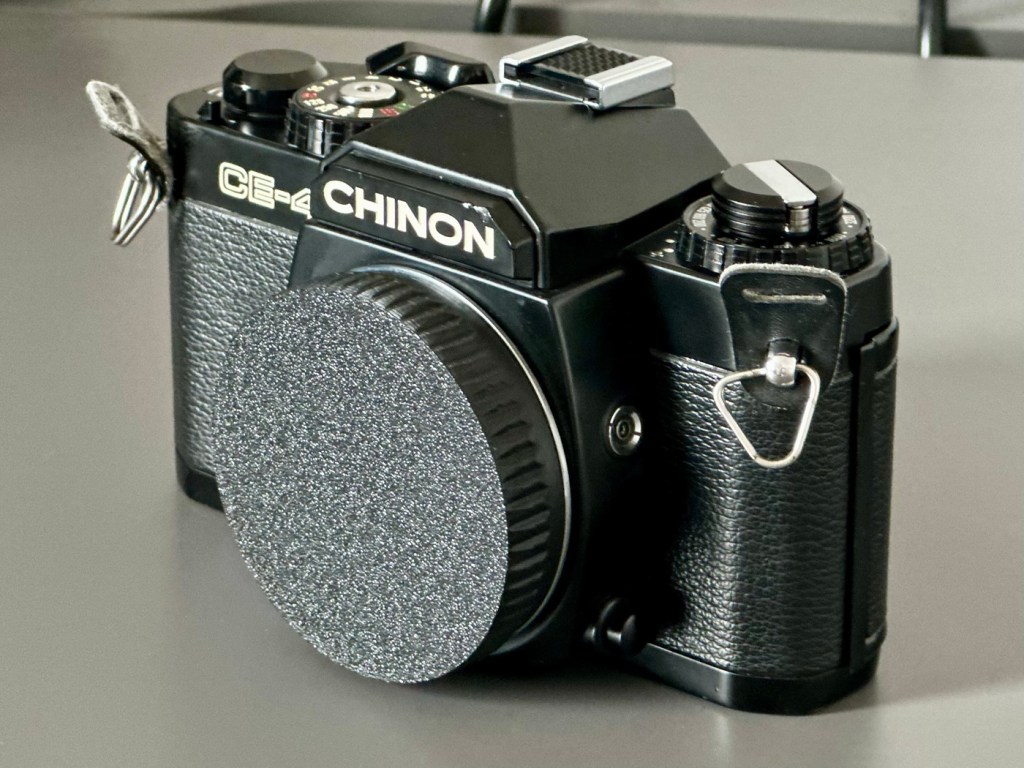
A little £5:00GBP camera has been given a reprieve and can live on for a few more years yet. As long as there is film being produced, this camera has a purpose. It’s a basic, but superbly capable camera that will keep its new owner happy for a good few years yet.

Let’s hope they have many happy moments capturing wonderful memories for many years to come.

Thanks for passing by. Always very much appreciated.
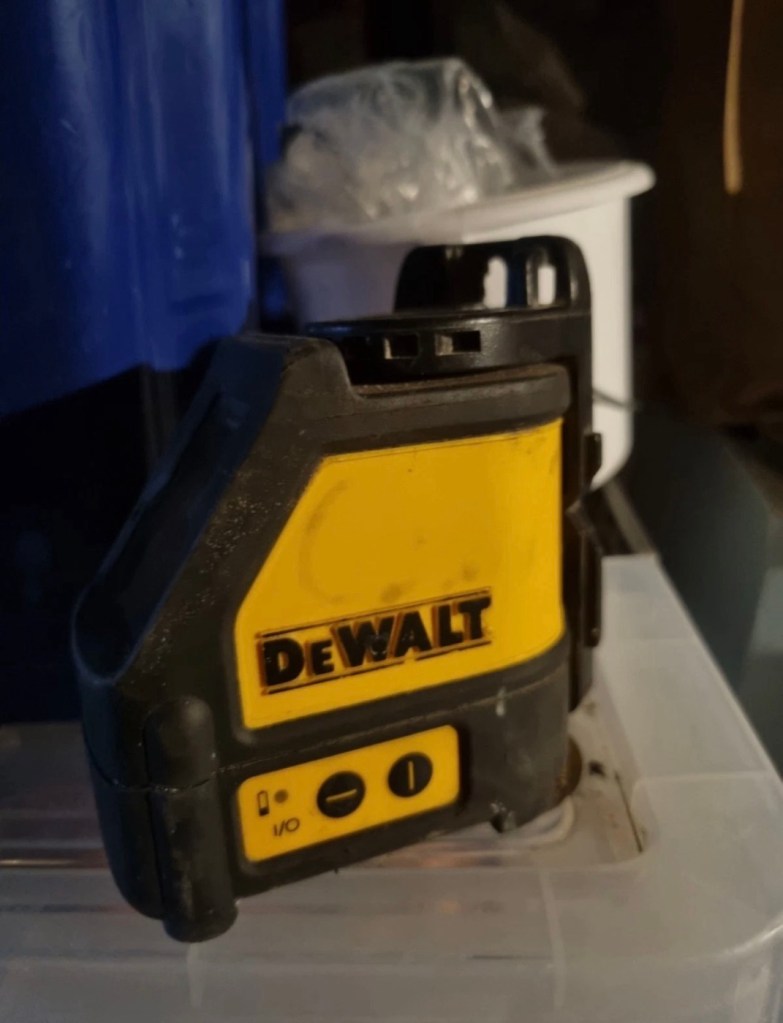
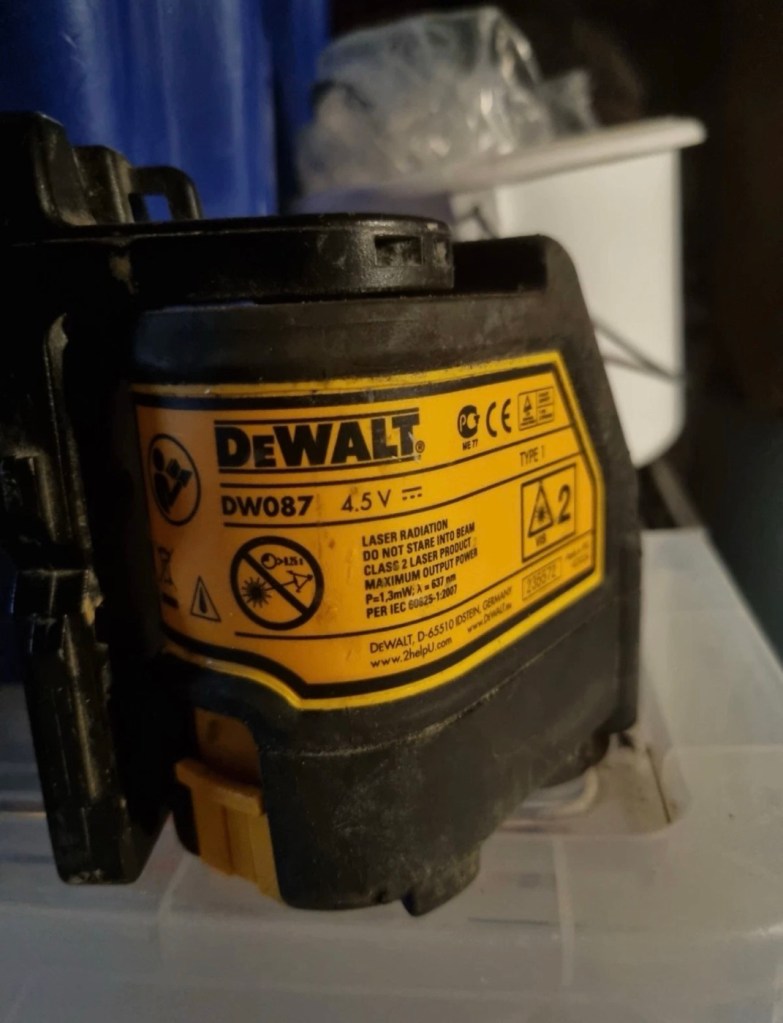
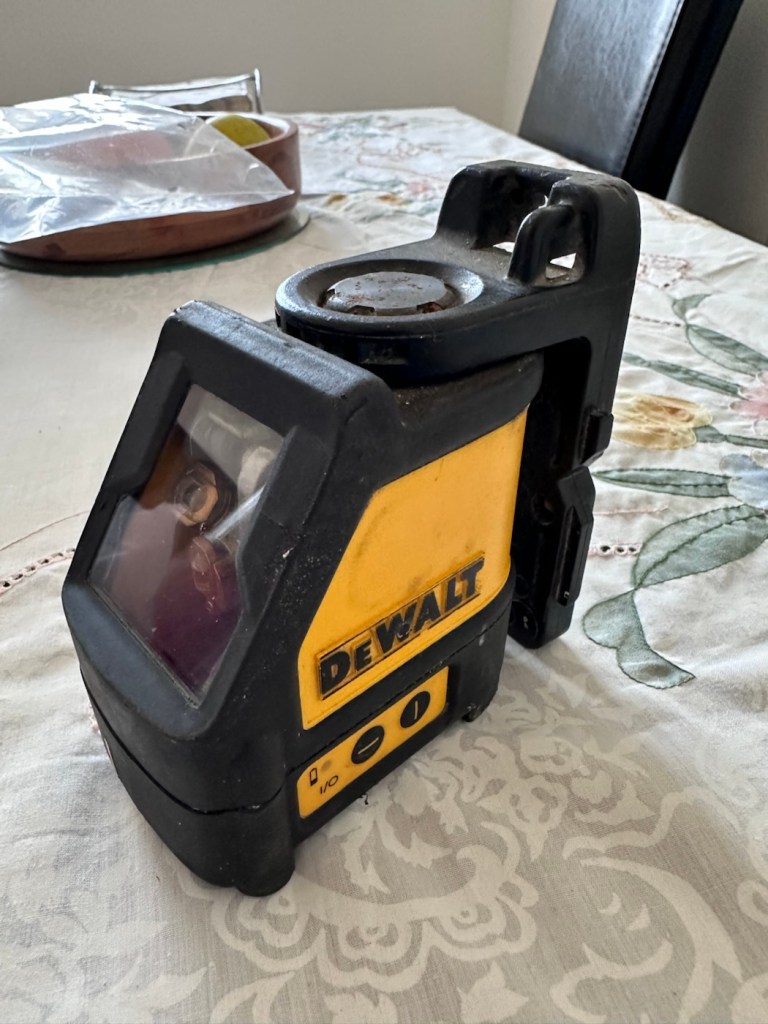
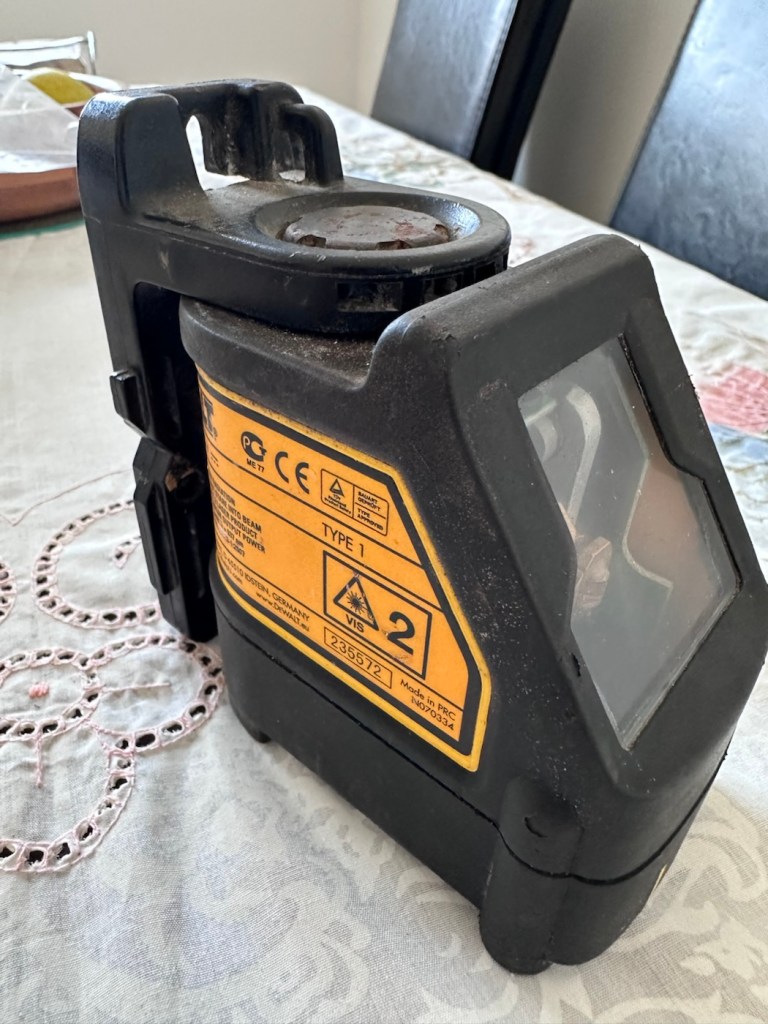
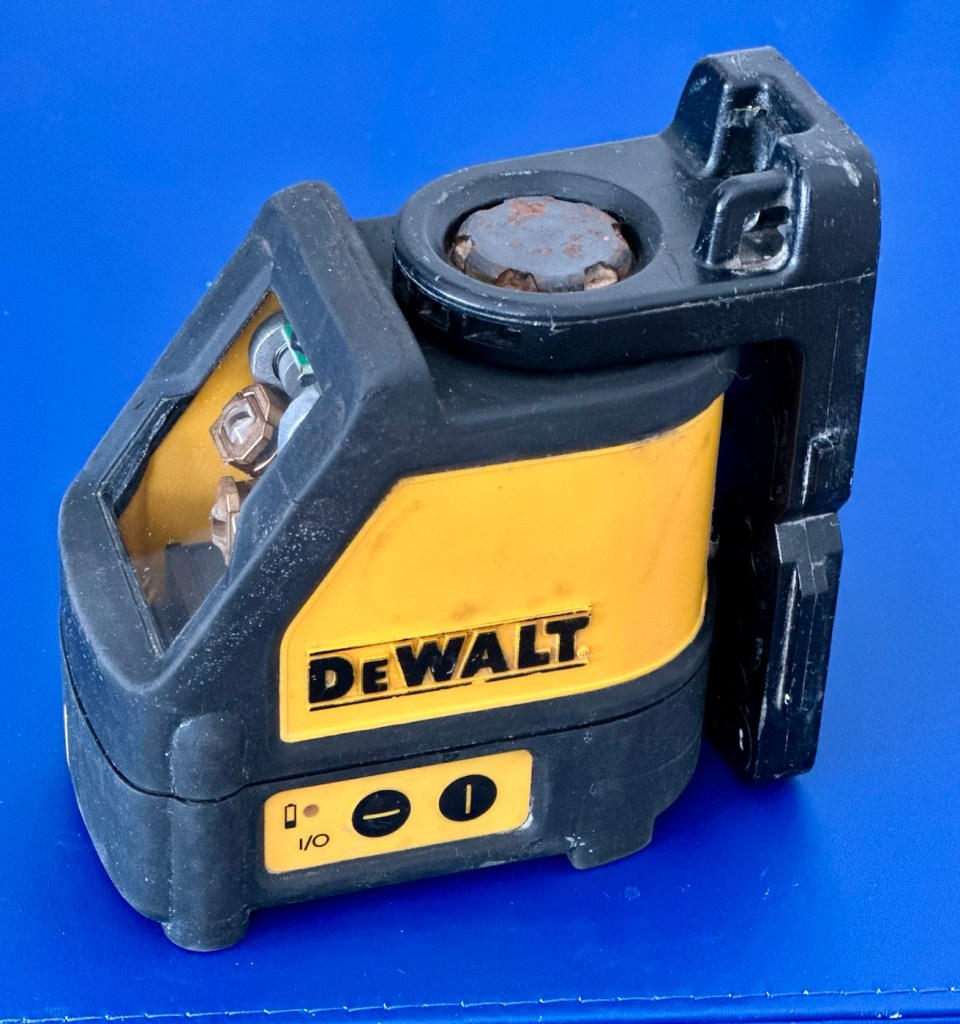
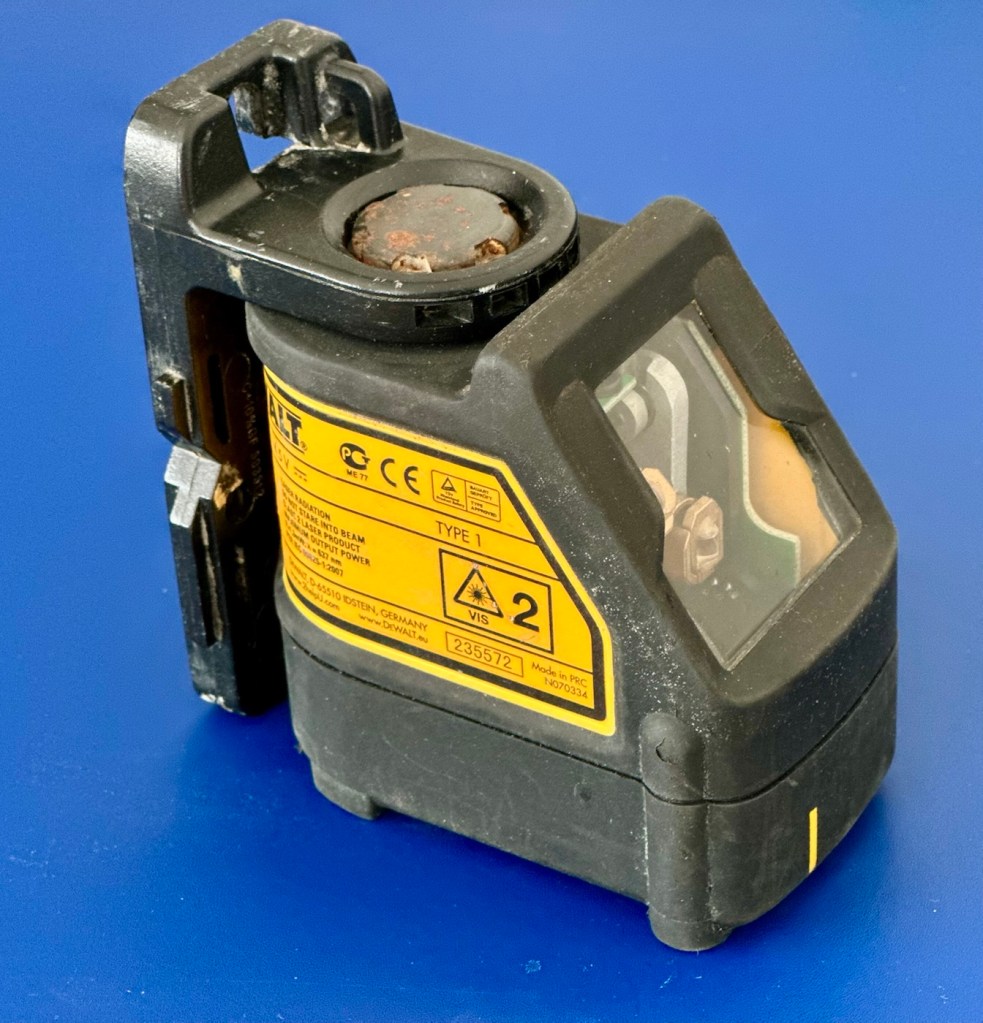
Dewalt DW087 Self-Levelling Cross Line Laser

Just picked up a badly damaged Dewalt laser levelling unit. Old and damaged, can I bring it back to being useful again? I can only try.

What the listing stated:

think the batteries melted in the chamber. does not work at all.

EBay

Straight to the point, the words “severely knackered” I think, would probably be a more appropriate quote, however I must be patient and await its arrival.

When working and from new, these little laser levelling units retailed for approximately £175:00GBP. However they are of the older red laser model and new units use a green laser, so the older red laser version is now out of production, but still well sought after on second hand markets where it can still command prices in the £50-60:00GBP range. I’ve paid the princely sum of £6:00GBP for this one, so I’m very happy with that. If I can get it working it will go into my own tool kit for use.

Here’s a little about this unit:

A new DeWalt DW087 (or the DW087K kit) generally retails for around £178 to £185. However, because this specific model is an older red-beam line laser, used or refurbished units are widely available across secondary markets, typically ranging from £50 to £80 depending on condition.

The DeWalt DW087 (often sold as the DW087K) is a self-leveling cross-line red laser. It projects bright horizontal and vertical lines with an accuracy of ±0.3 mm/m and features an indoor visibility range of up to 15 meters. Powered by 3 AA batteries, it includes a built-in magnetic pivot bracket for quick metal mounting.

So. Basically it used by tradesmen and women to set up a visual laser projection around an area. Just think about putting up kitchen cabinets or worktops, and you’ve probably witnessed one of these in action. The one I have purchased sounds as if it is in a pretty poor condition, the lack of pictures showing the battery area speaks volumes and is probably hiding a crime scene, however I’ll just have to wait and see.

Assessment:

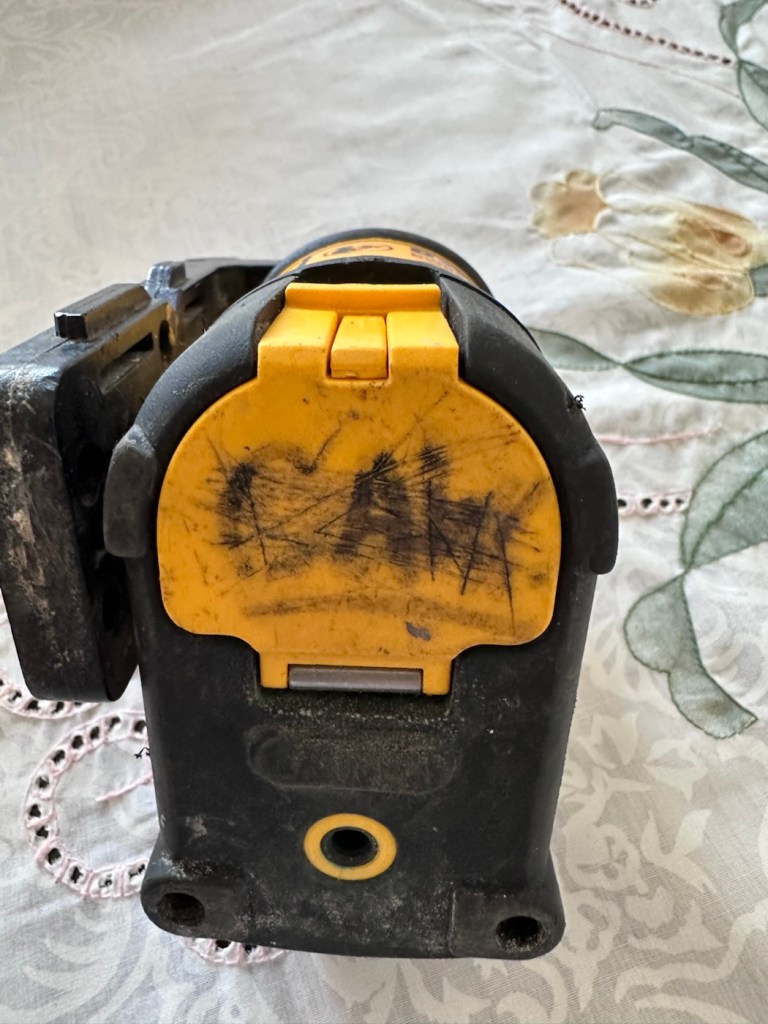
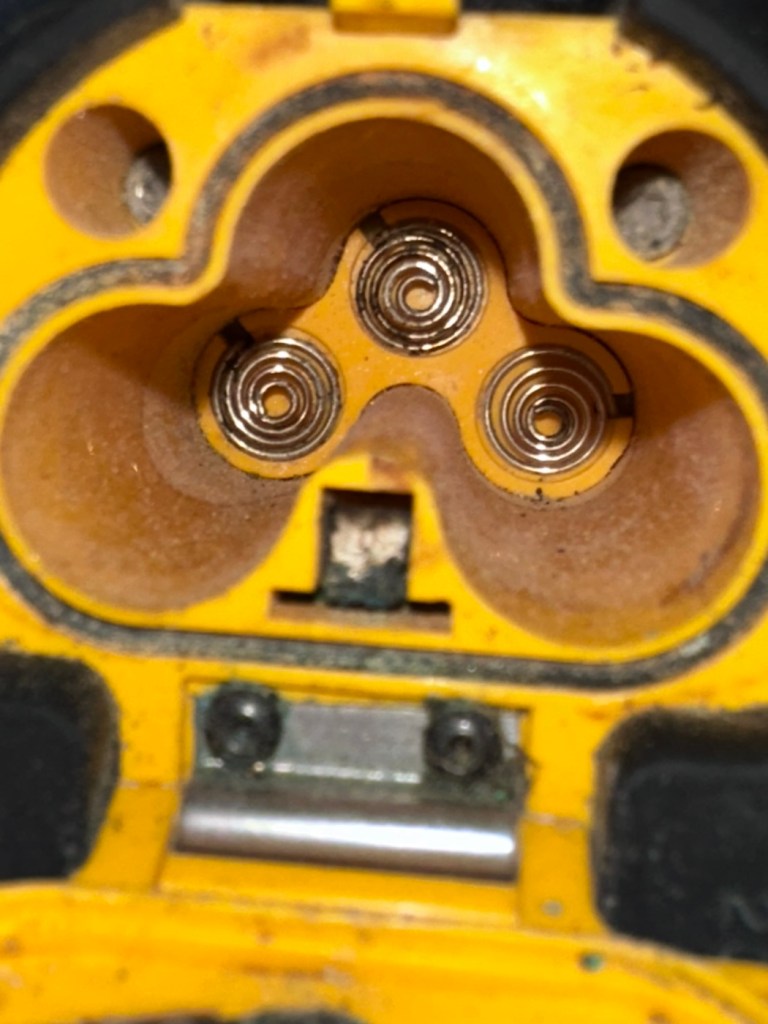
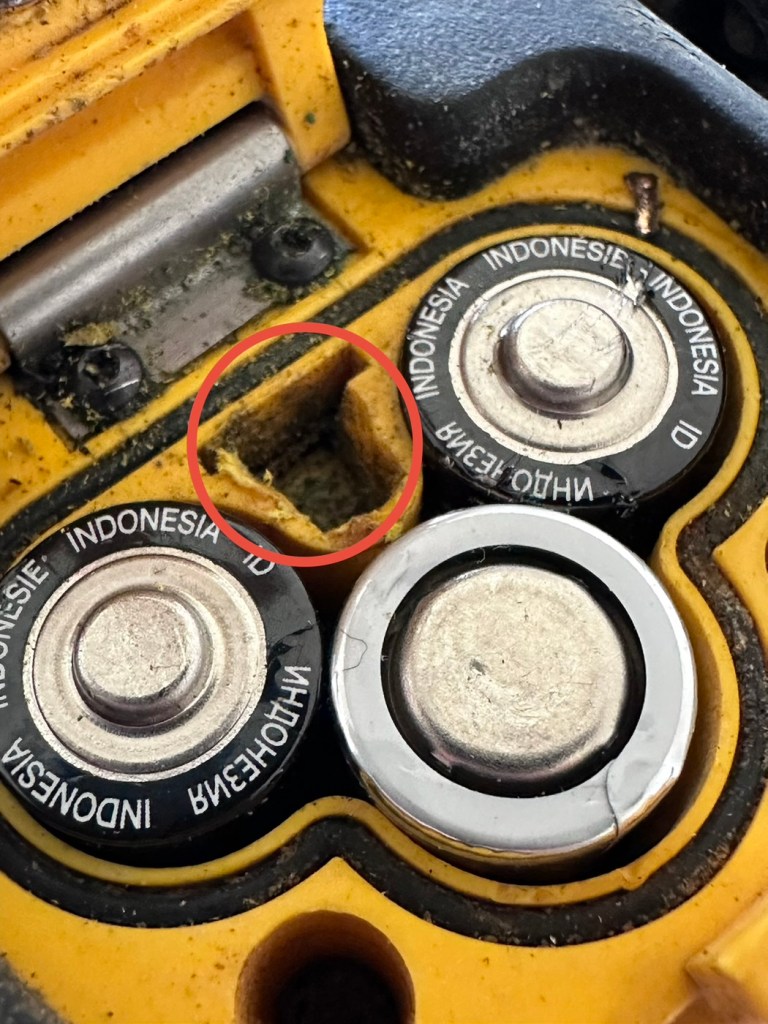
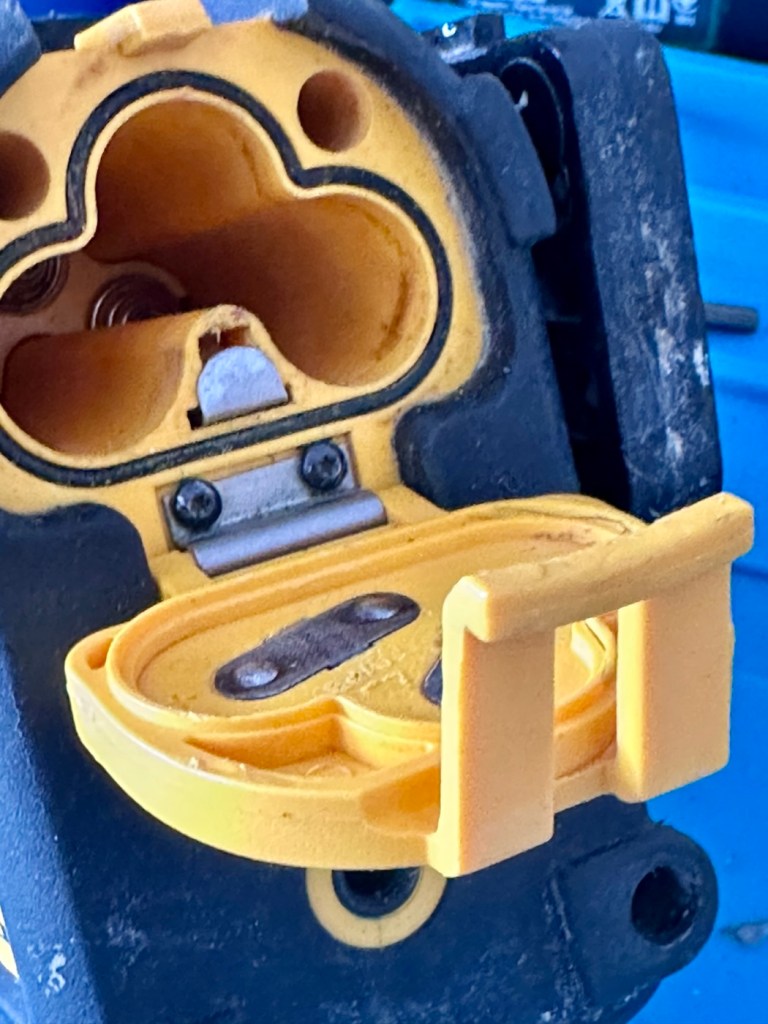
It has arrived. It’s as expected, looks like it’s been around a few building sites and most definitely does not work. The good thing is that the description of the batteries melting in the chamber was not so, in all truth it appears they have corroded the contacts a little, and one point of contact required to complete the circuitry appears to be broken.

It’s dirty no doubt about that, but it can always be cleaned.

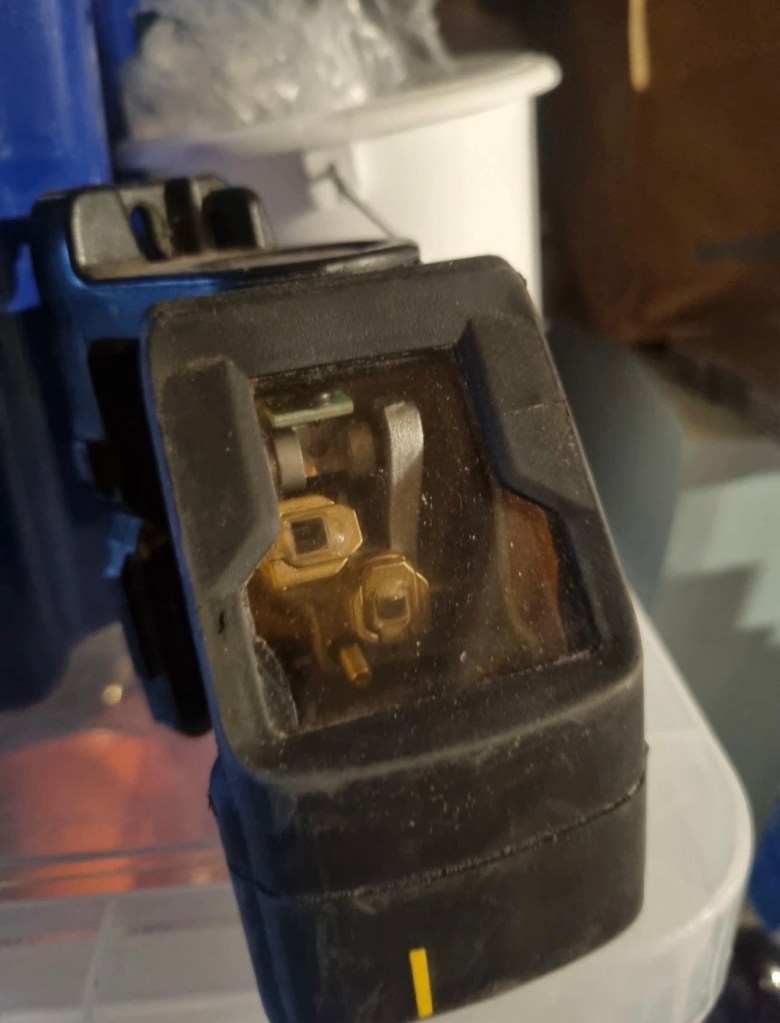
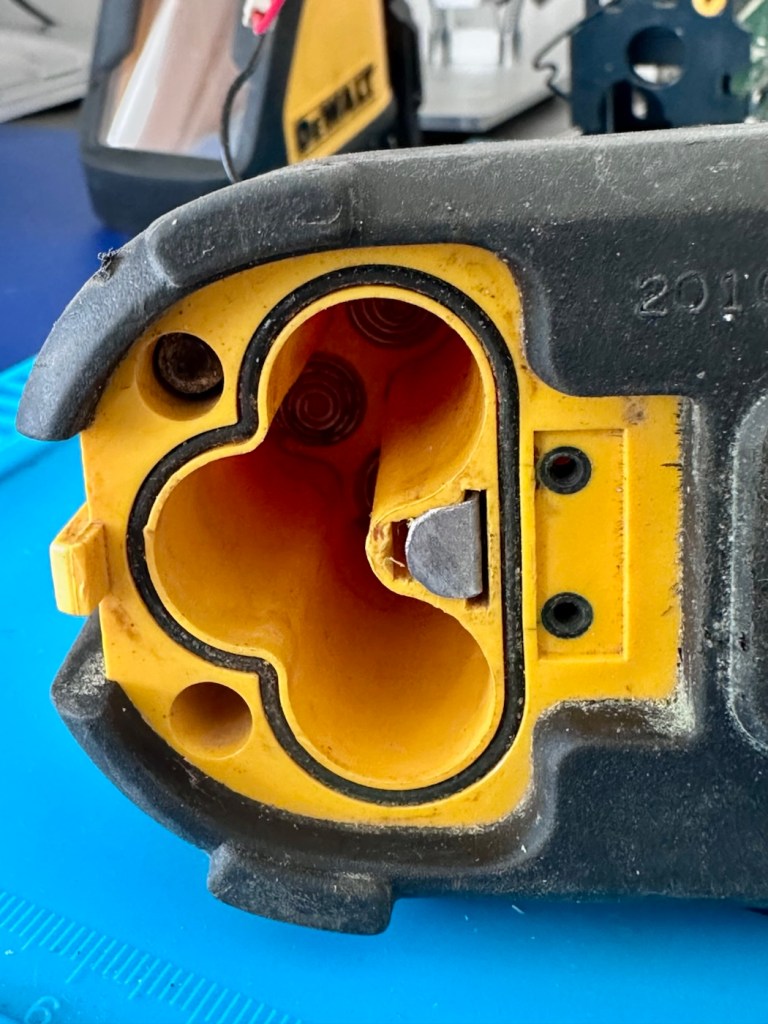
The missing contact

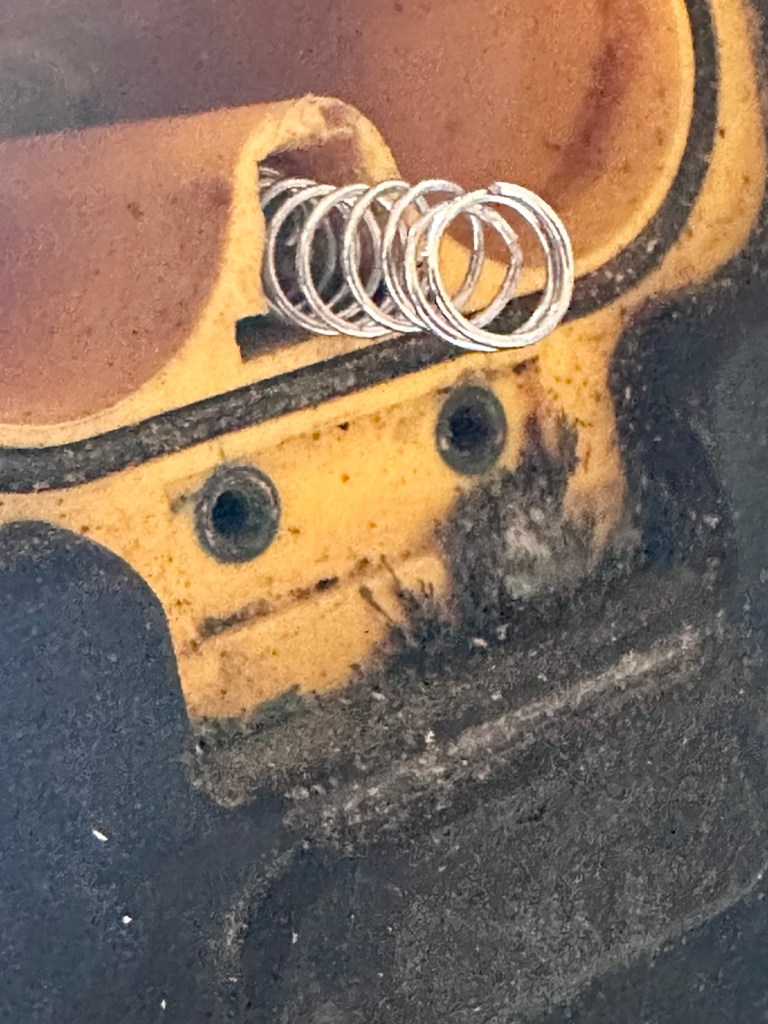
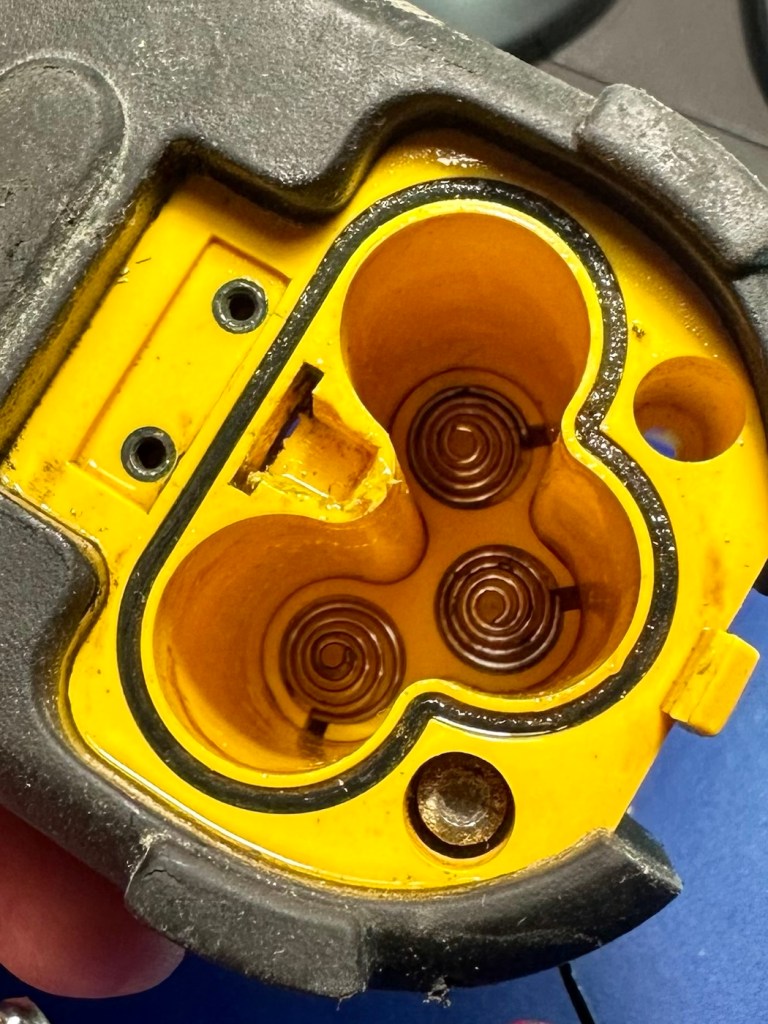
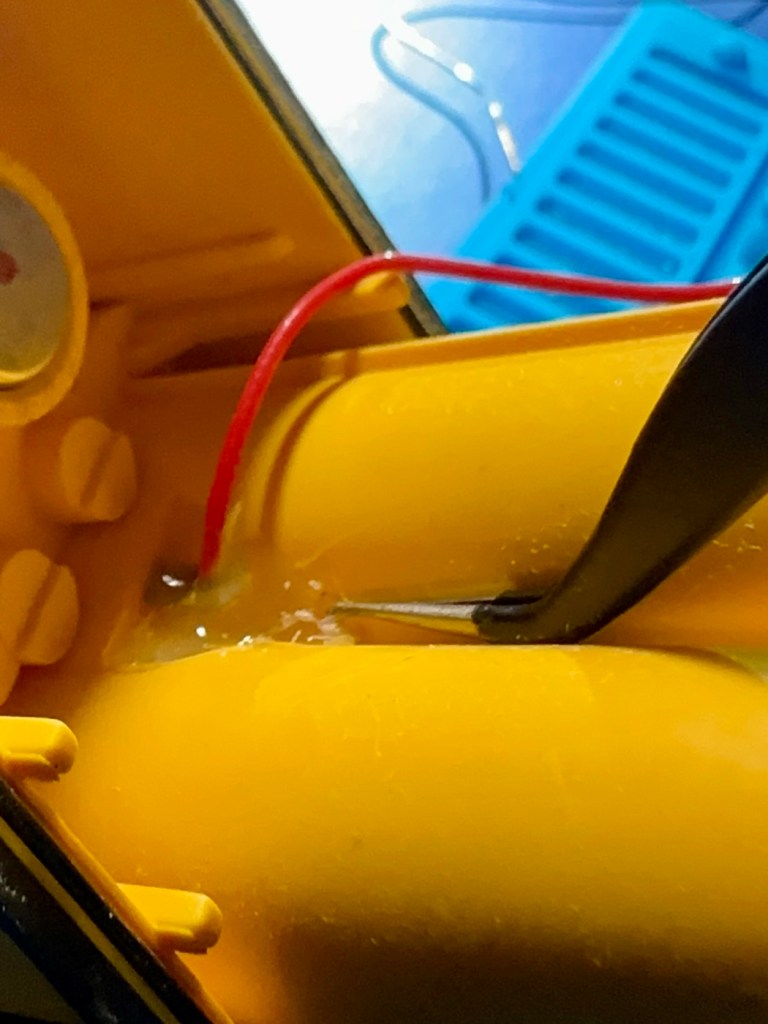
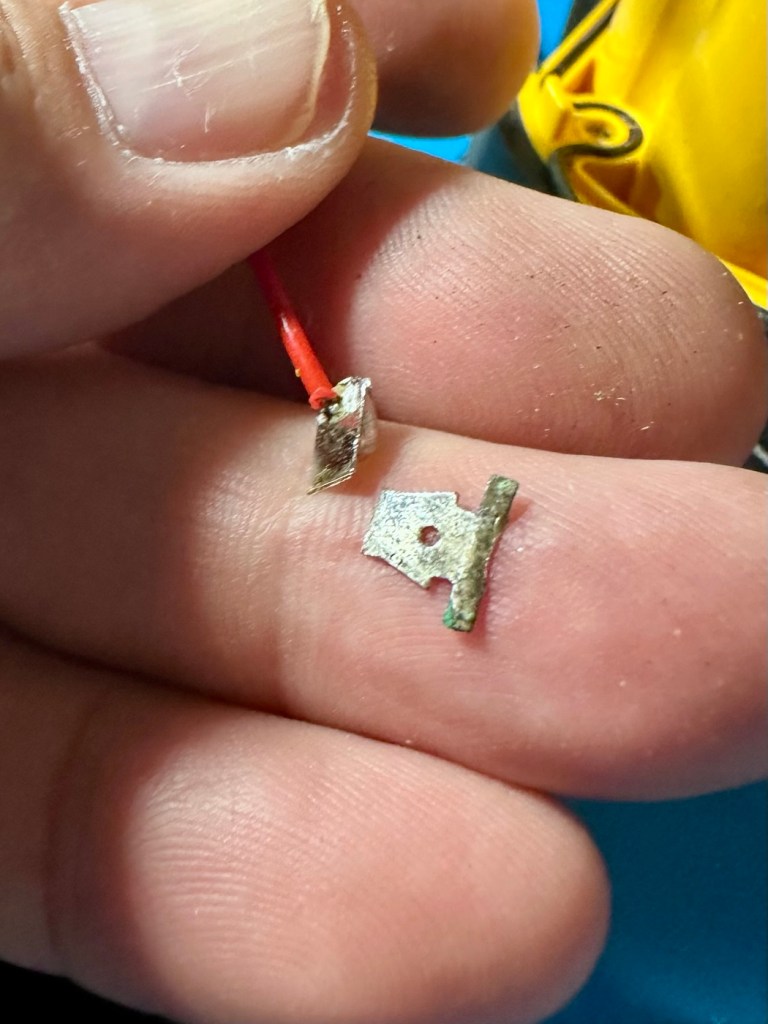
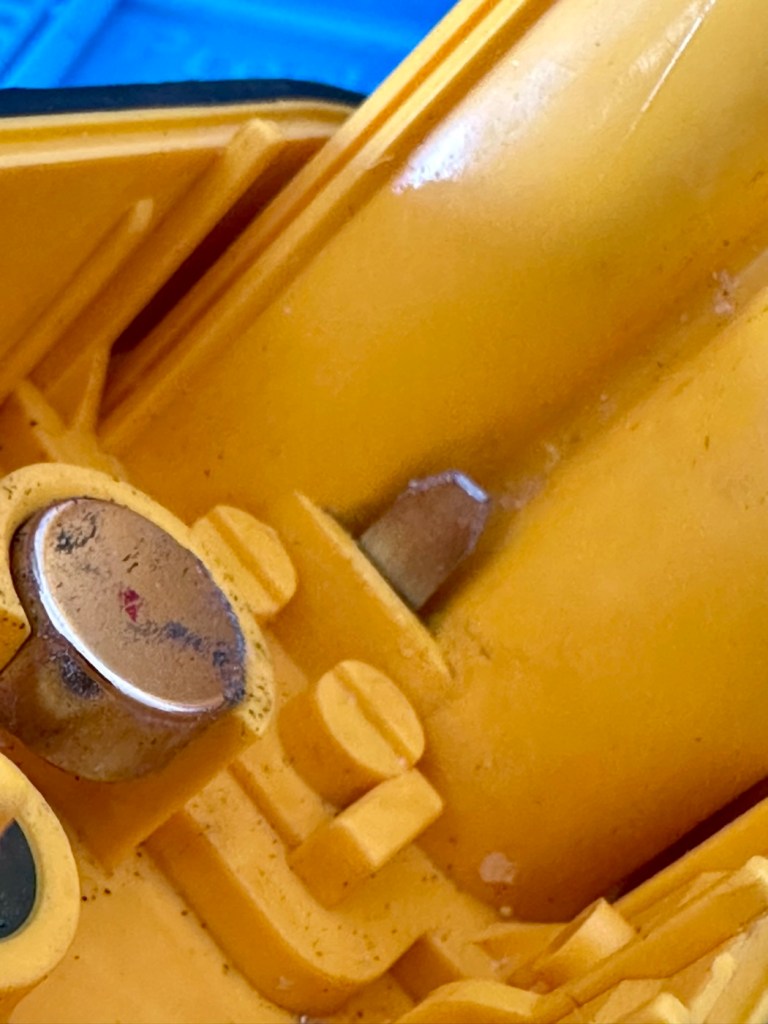
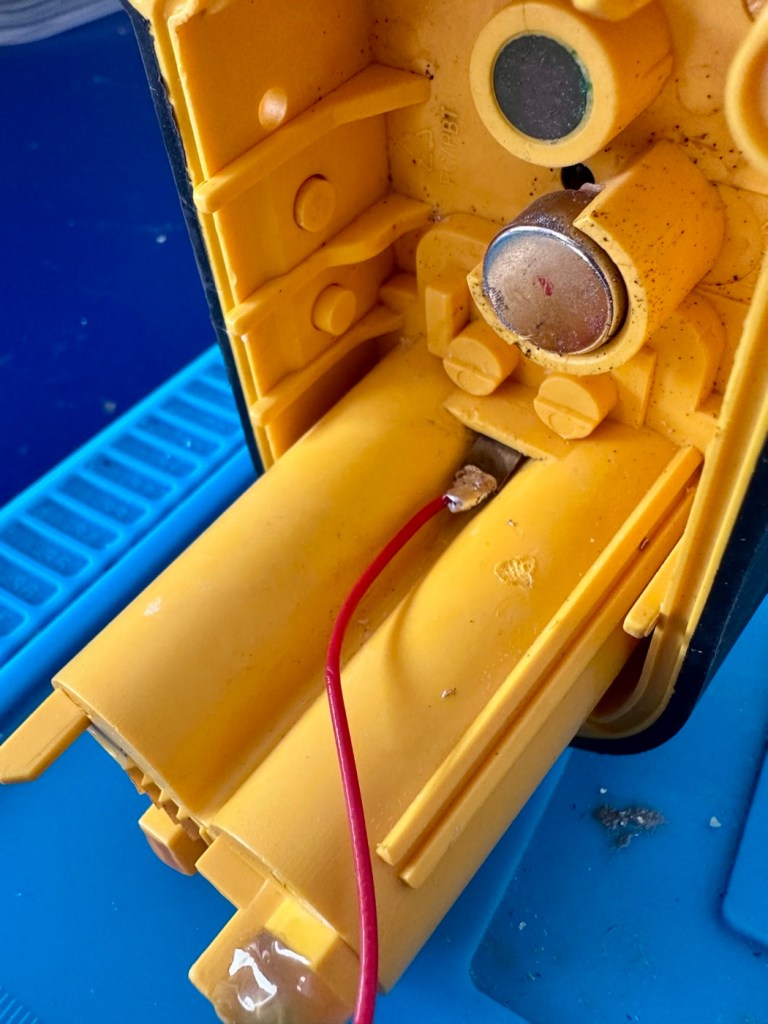
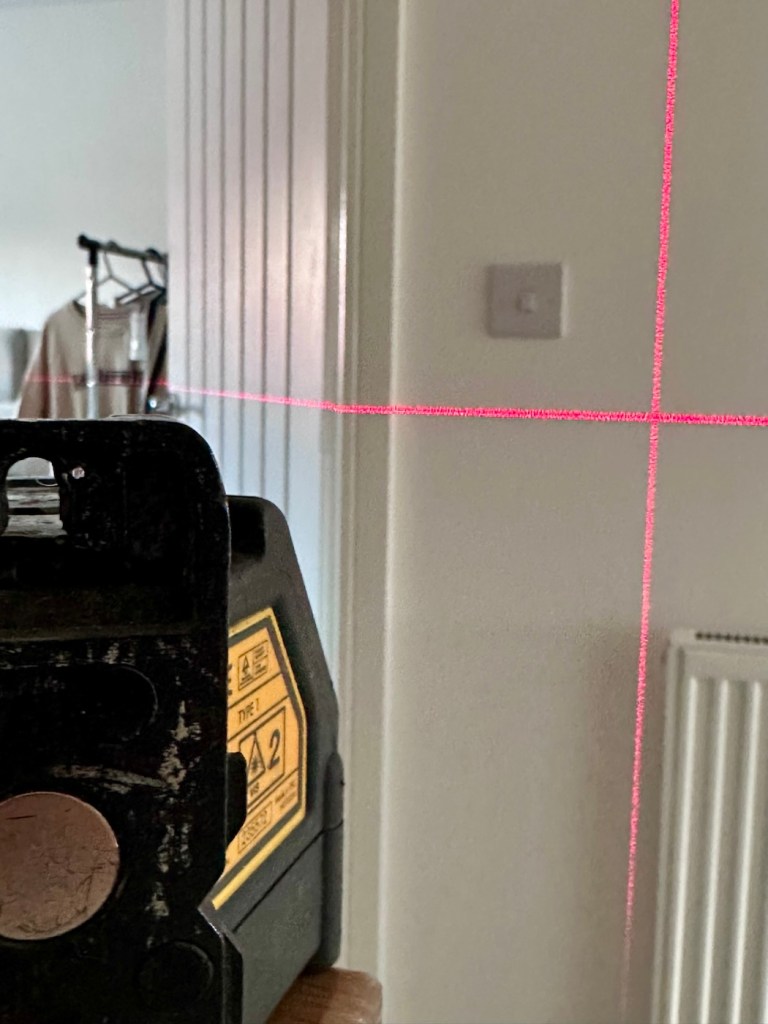
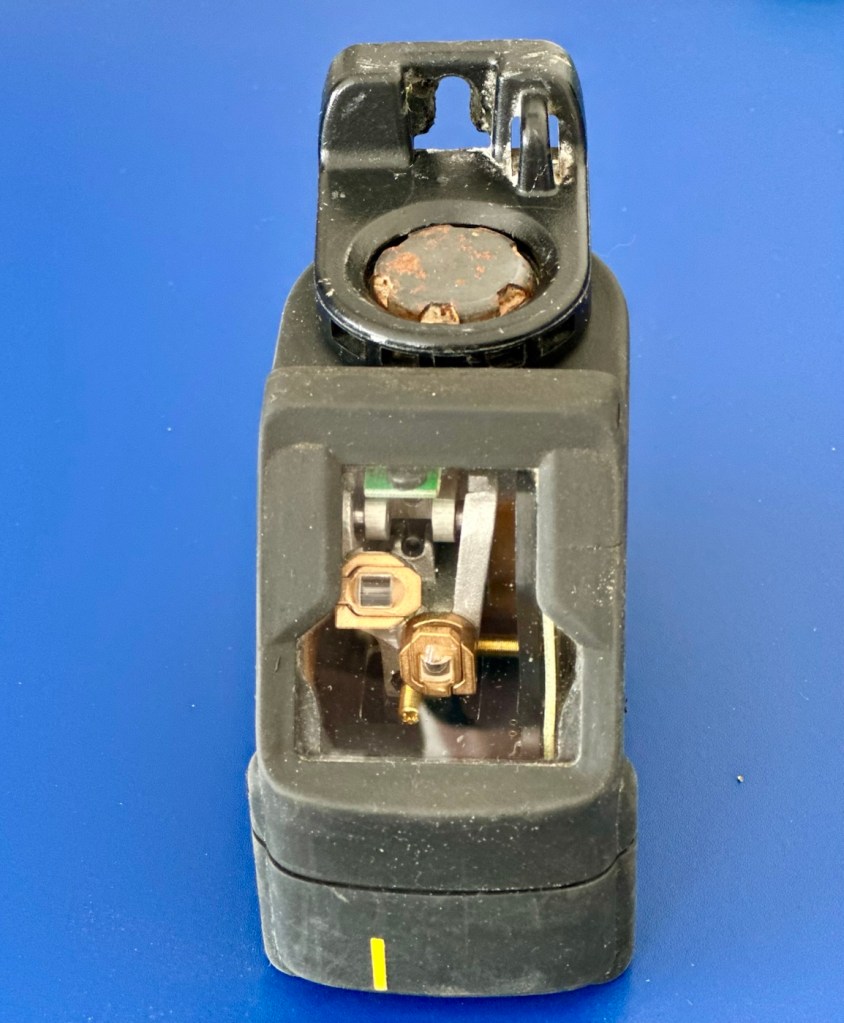
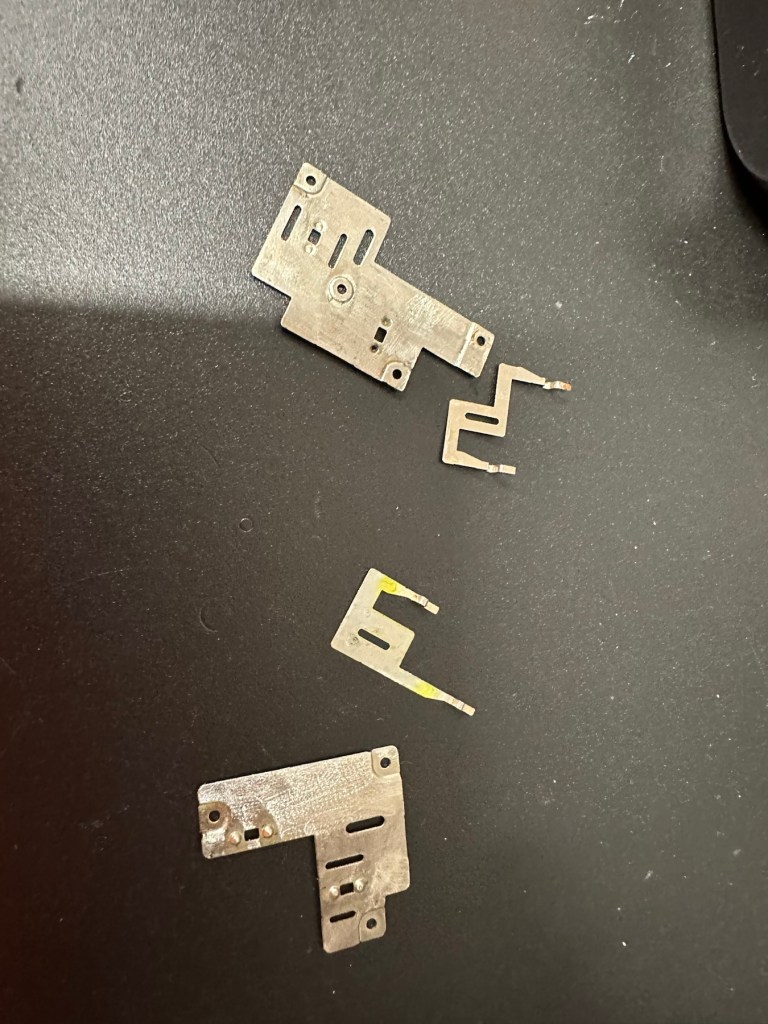
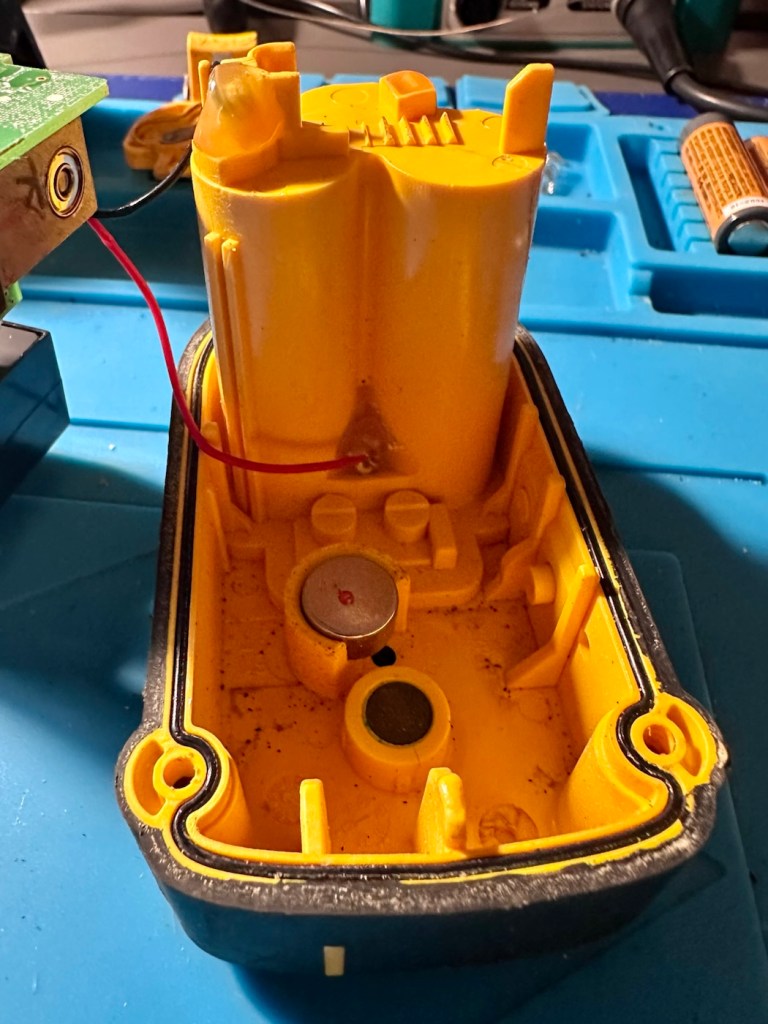
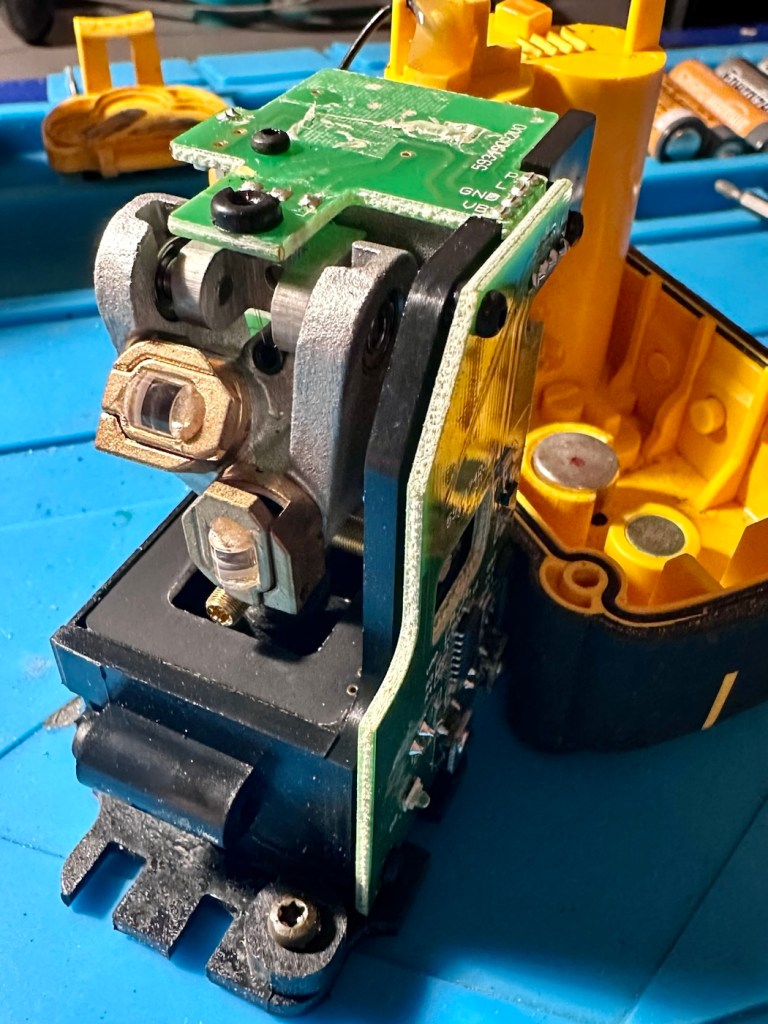
There is a missing contact as highlighted in red, in the picture above. This connects with the battery contacts in the battery lid. When a circuit is made the level will work. There is a small piece of metal strip at the base of this hole, the remnants of the contact that should be there. I have managed to get the unit working by temporarily putting a small spring in here to bridge the contact. This will have to be replaced or repaired though.

Repair:

The first thing to do is to get the unit disassembled, and that is surprisingly easier than I thought. Four screws later and the body can be pulled apart. Another two screws removes the battery flap. Easy.

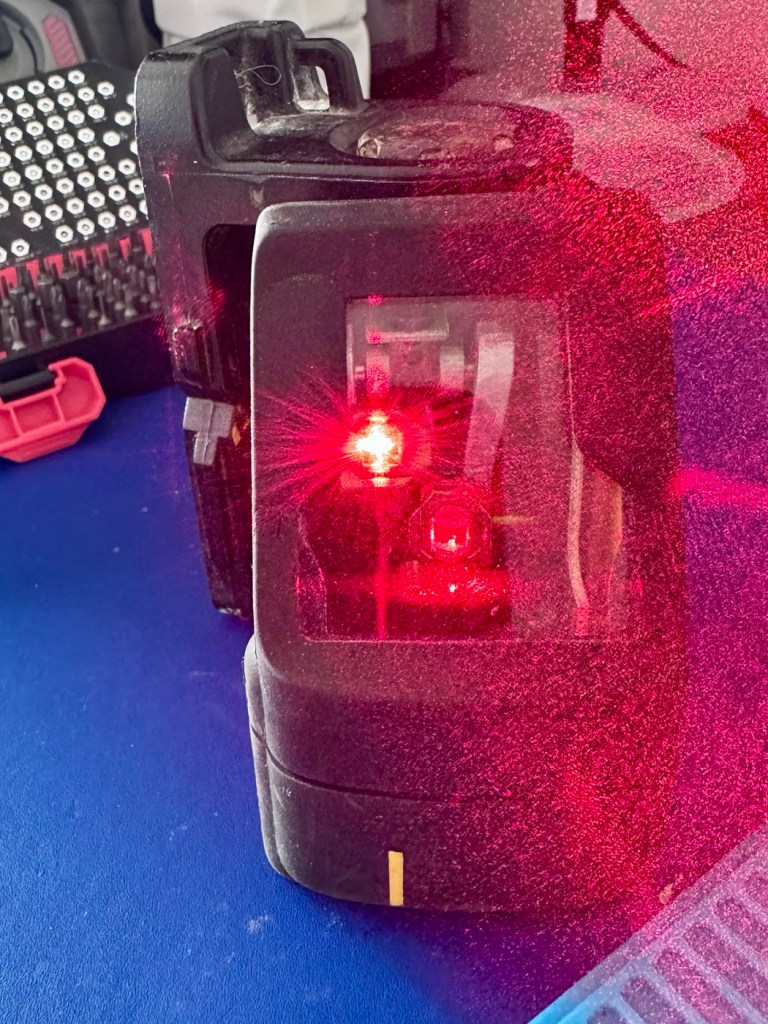
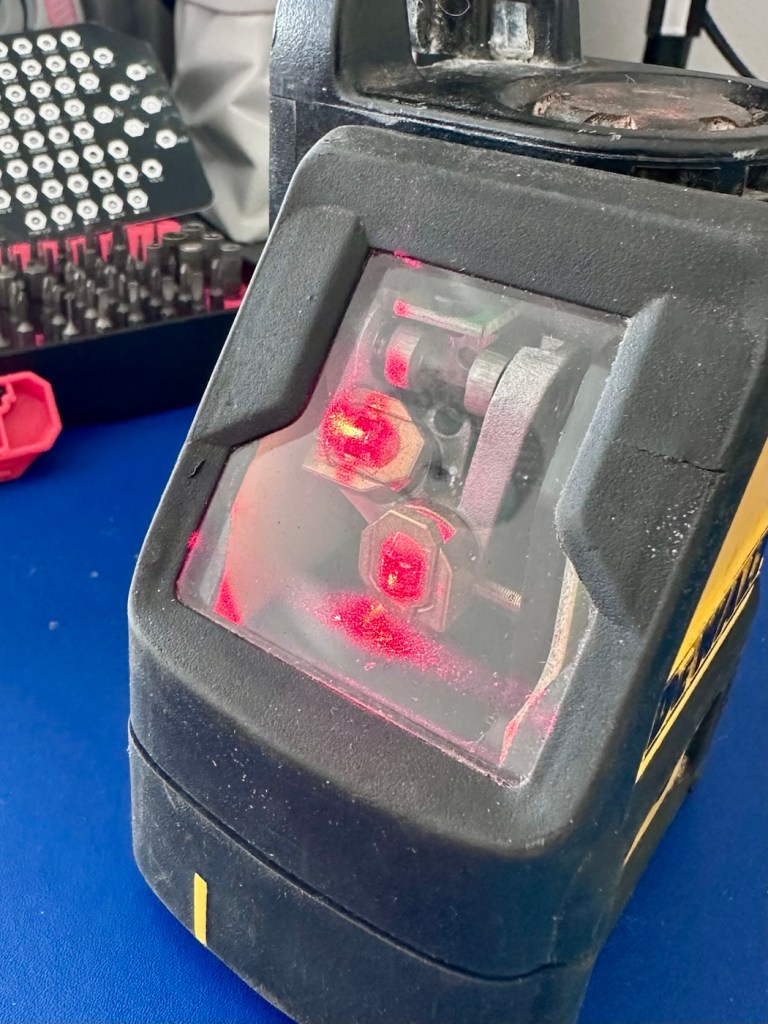
There are a couple of rubber gaskets that fit in between the two parts to ensure an airtight seal and to stop the ingress of dirt. I have given the lenses a clean with a camera lens cloth, I have cleaned both inside and out of the window and given a good blow through with some compressed air. I have used a multimeter on the power led in diode mode just to check that it is operational, and it is. There is nothing else needing attention within the internals.

Turning my attention to the battery chamber and battery lid I give both a thorough clean, the negative terminals in the battery chamber are cleaned with an IPA solution to improve their appearance, the whole chamber is cleaned in the same manner and is looking good.

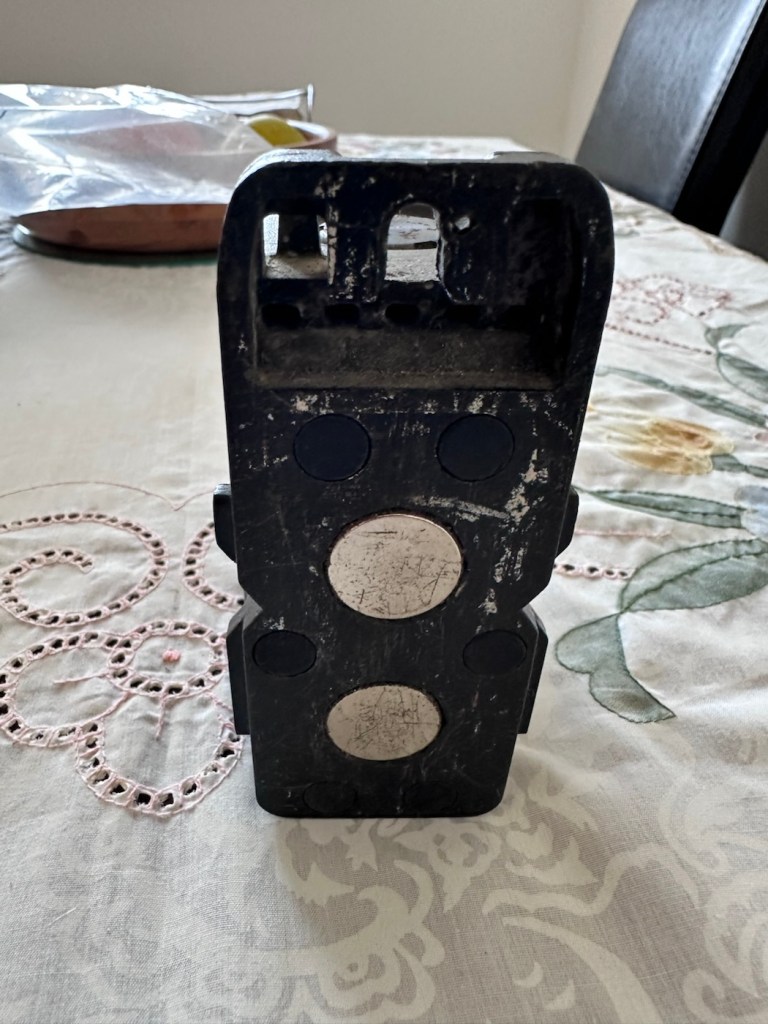
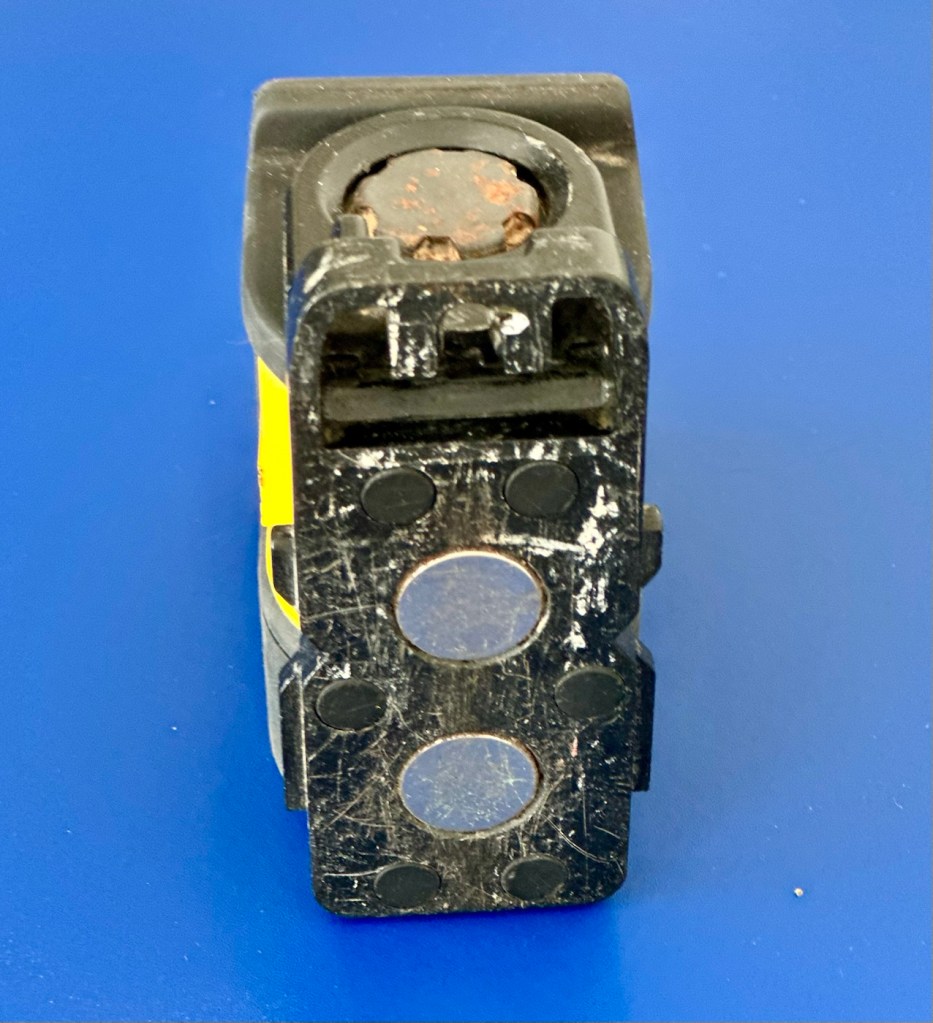
There was a collection of what appeared to be iron filings where the battery lid joins the body, and this is because on the opposite of this point, there is one of two strong magnets that keep the lasers level. Holding the unit over a bin and lifting the magnet out ensured a nice little rainfall of iron filings into the bin and not all over my workspace. With the magnet now replaced I gave this same area a further good clean with IPA.

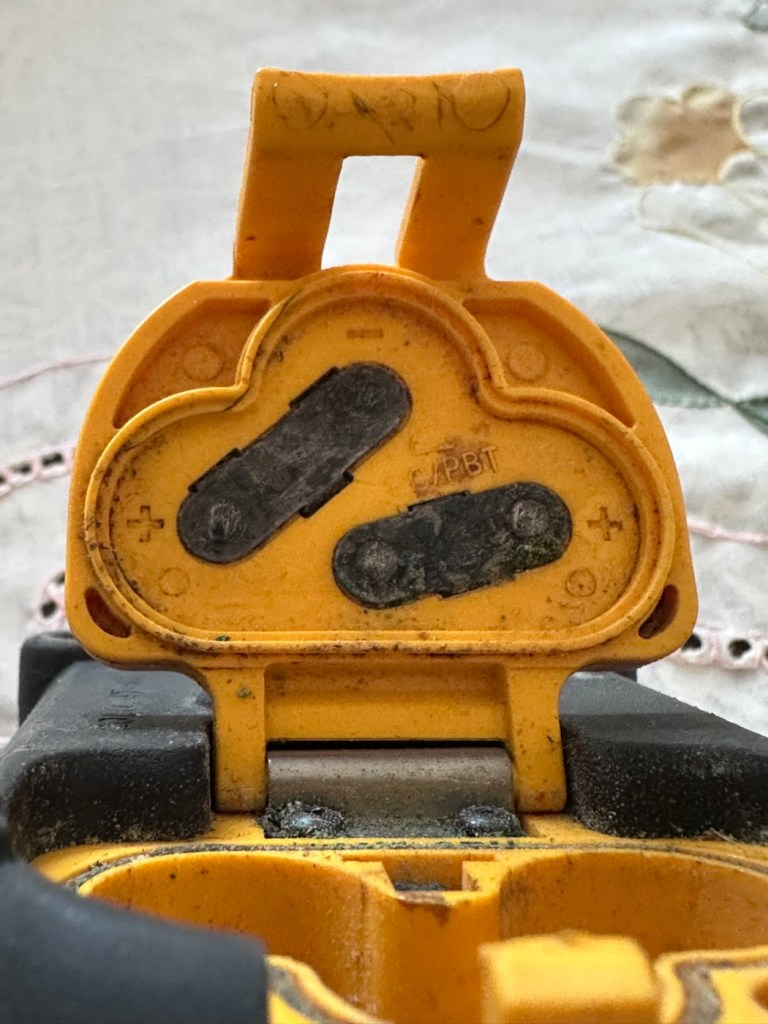
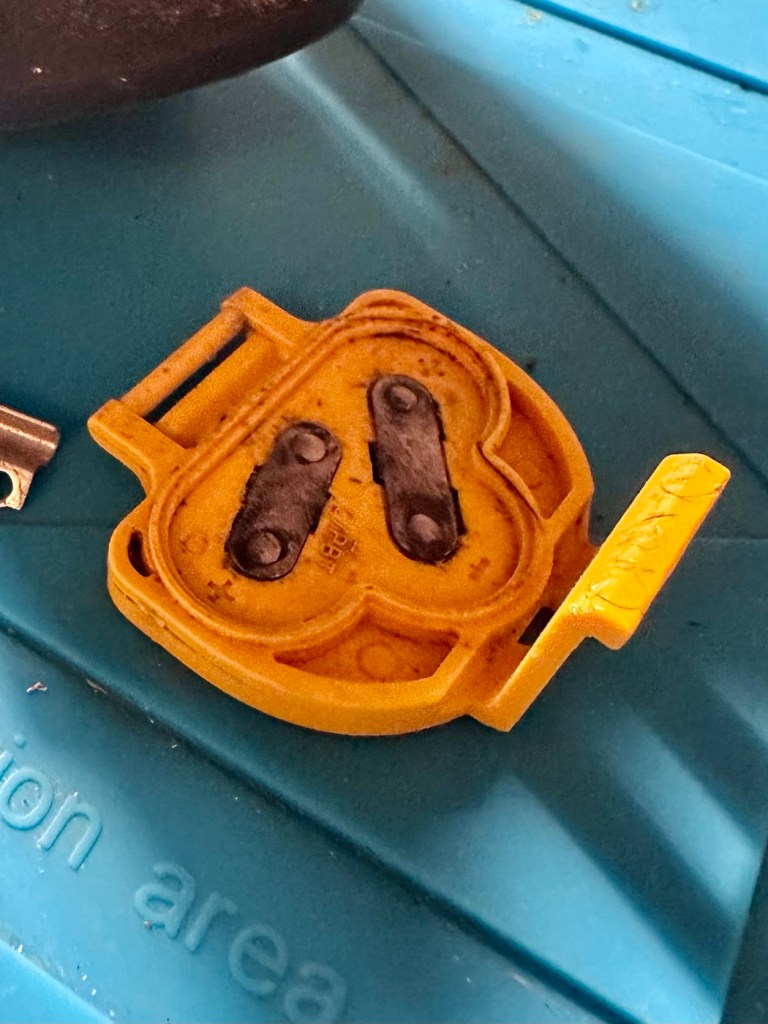
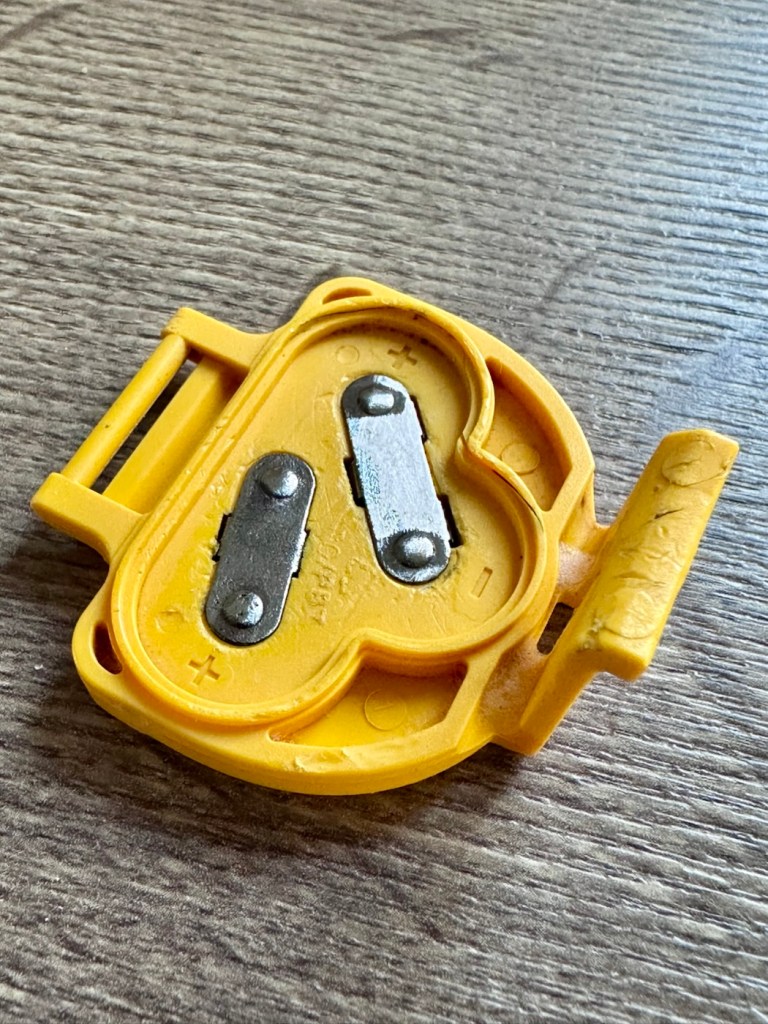
The battery lid has been left to bathe in a dish of white vinegar to help remove the remainder of the tarnishing to the battery contacts attached to it. It’s worked ok, a final tidy with a grinding pen has brought this up well, looking a lot better than it previously looked.

I now need to look at that broken contact.

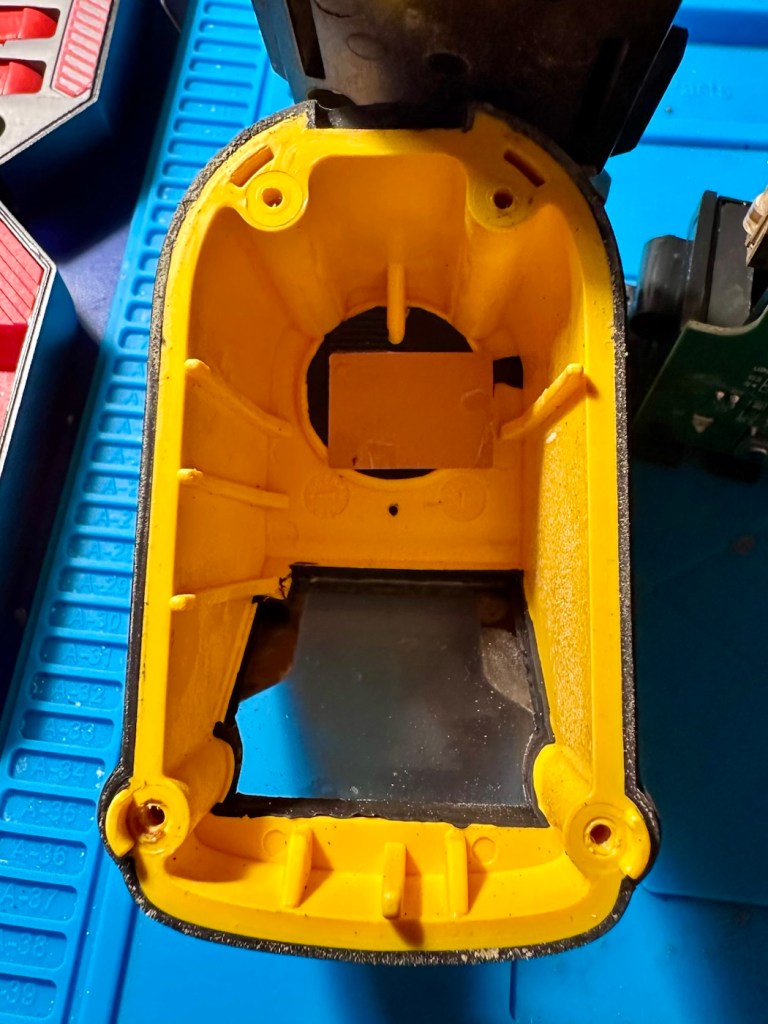
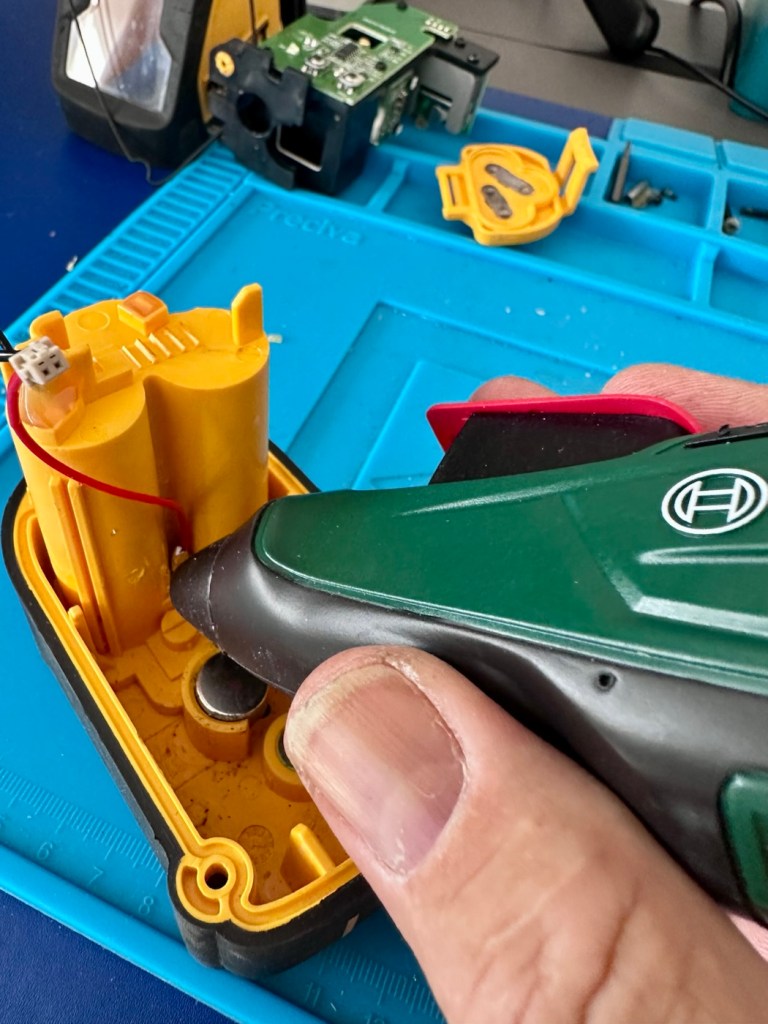
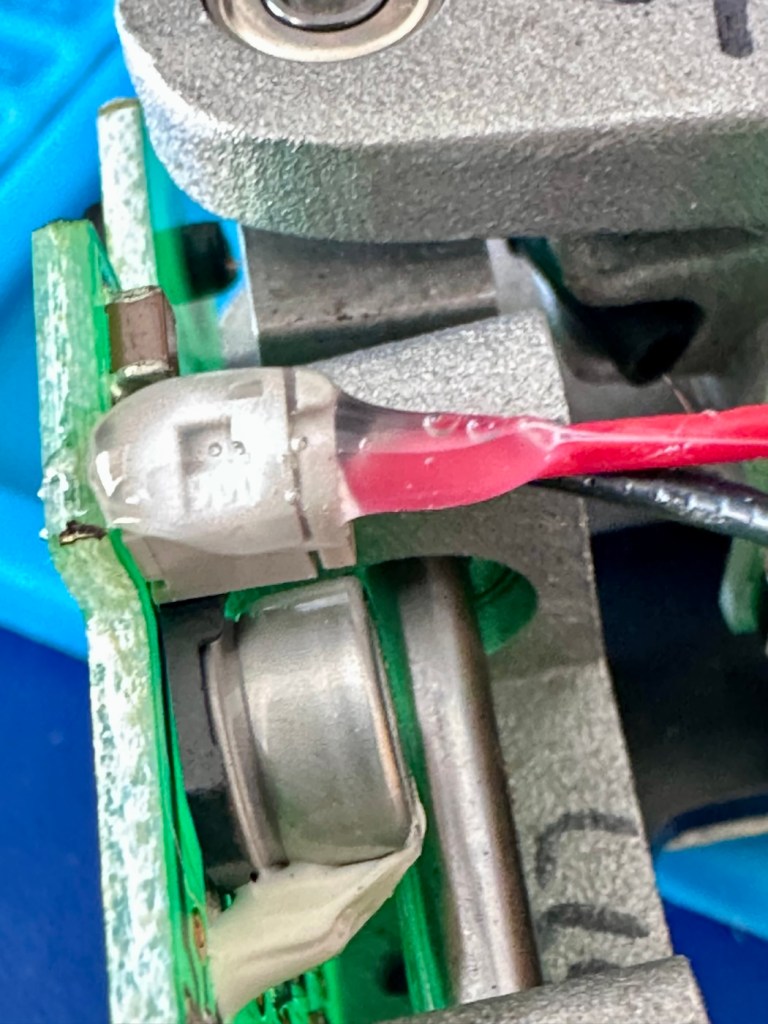
The wiring for the contact has been hot glued into place on the reverse of the battery chamber. I used some IPA to loosen the old glue and that allows me to remove the remainder of the broken contact. The top part missing from the inside of the chamber has long gone. I will have to fabricate a replacement myself. The wiring you see above was also hot glued to a plug on the main circuit board. Again, an application of IPA softened the glue and I was able to remove the plug from the circuit board to be able to work freely on the battery chamber. When the work is complete I will re glue both these items back into place prior to reassembly.

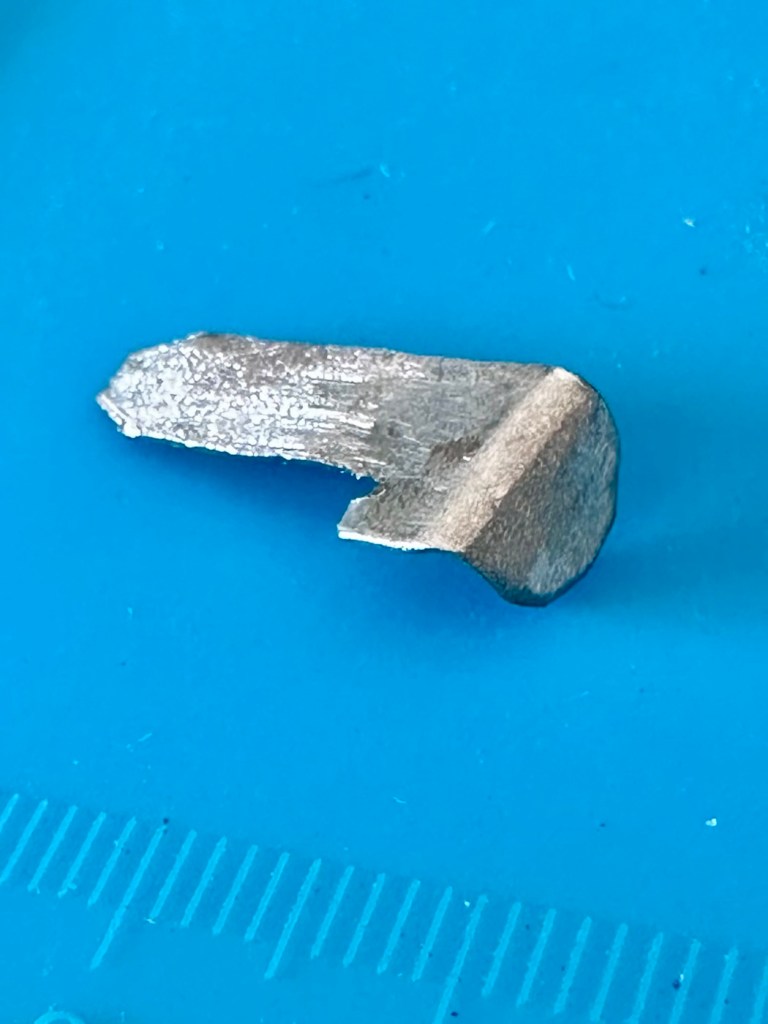
I’ve formed a small contact out of a piece of pliable metal to use in the device.

It fits nicely and is cut in such a way that it won’t push through into the chamber when a slight pressure is applied. I’ve hot glued both surfaces that I had removed glue from in the first place to gain access. Now the unit is being reassembled they’ve been glued just as they were previously.

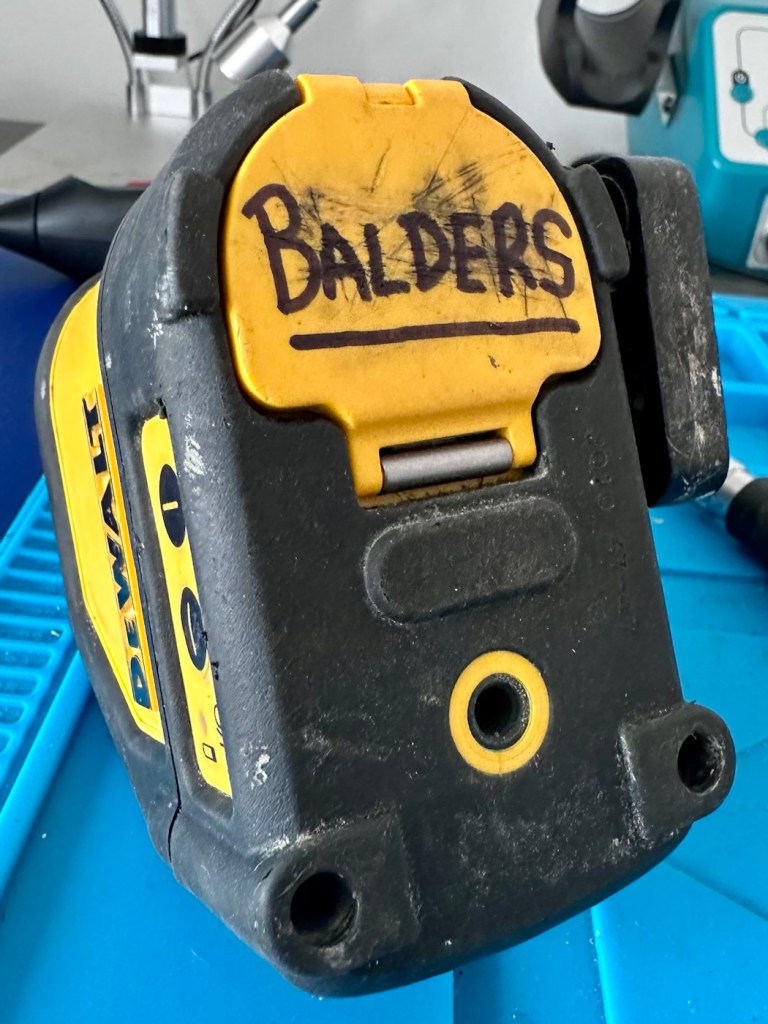
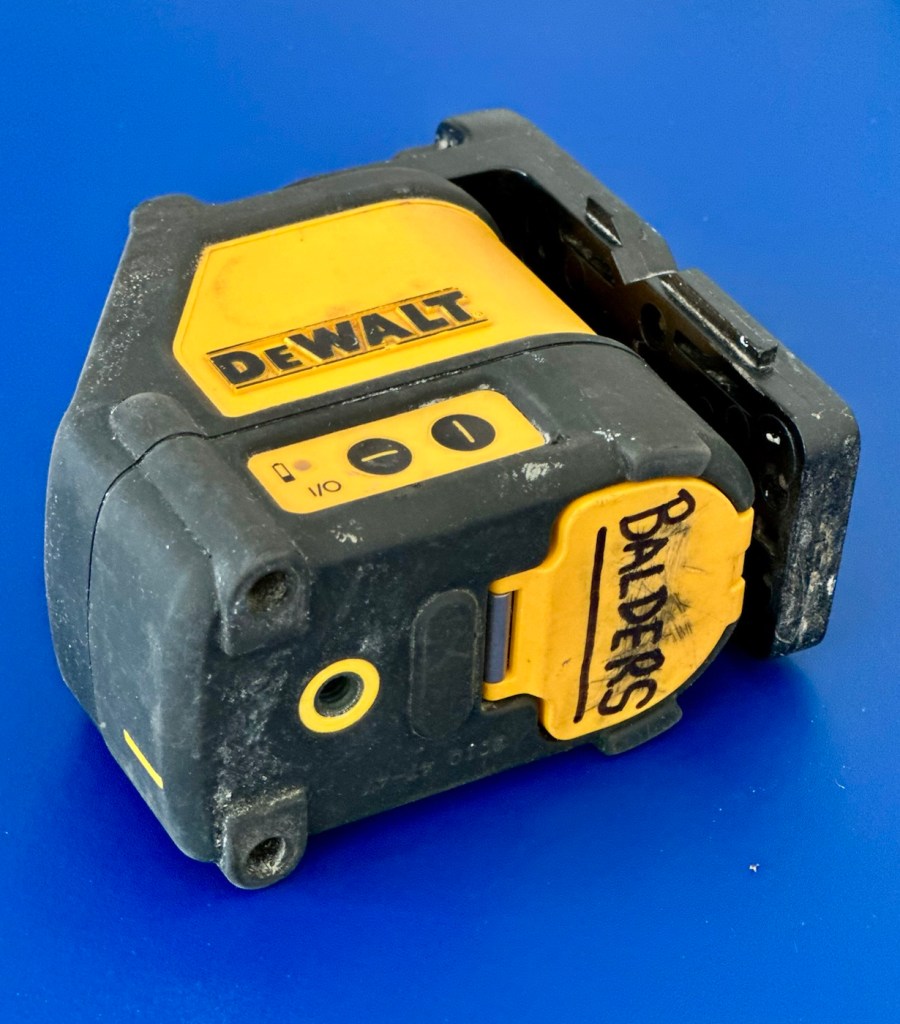
Now the unit is back in one piece it’s now time to reattach the battery chamber lid, and in time honoured tradition, I’ve daubed my nick name on the lid, as this will now go into my toolbox in my garage.

Now all that is left to do is switch it on.

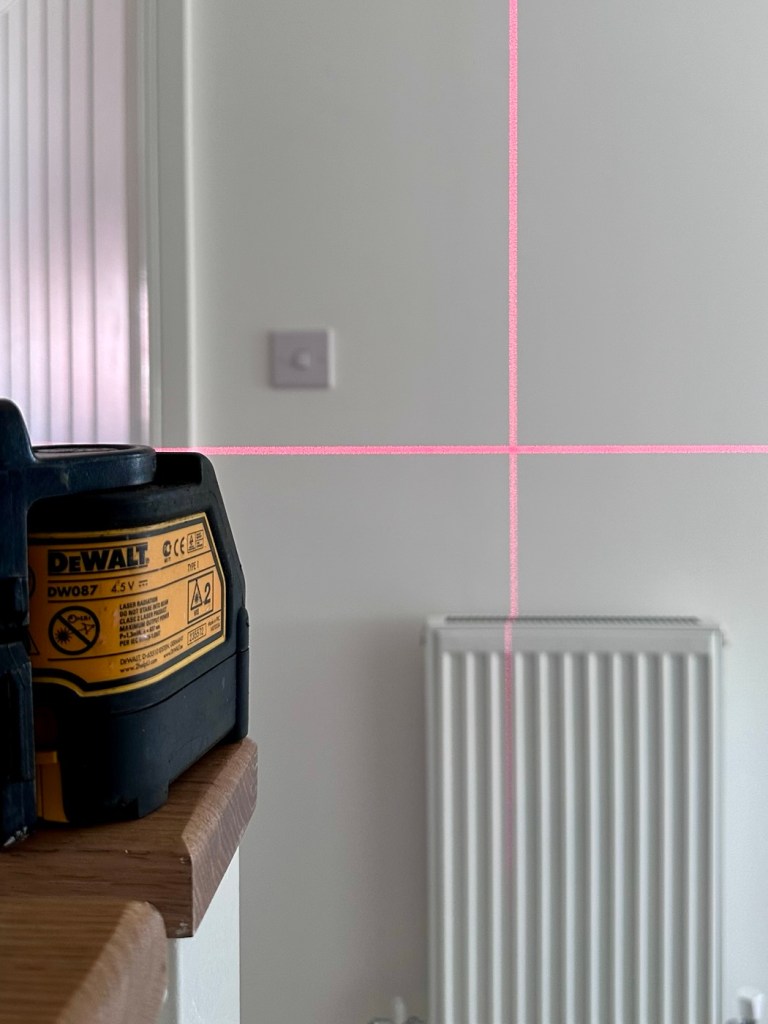
And it works just fine….

Let’s now just give it a practical clean, it’s a working item for rugged situations so it isn’t going to look “Shop” new. But it will be an awful lot cleaner.

Result:

A tool that originally retailed for £175:00GBP and available on the auction sites, in good working order of between £60-£90:00GBP was purchased, non operational for the grand total of £6:00GBP. If that isn’t a bargain then I don’t know what is.

For little more than a couple of hours work I now have a valuable practical item to add to my toolbox because someone else just couldn’t be bothered to spend the time on it to get it working. Lucky me.

Definitely another item saved from landfill, with a new lease of life that should go on for many more years yet.

I’m very happy with it, this was a pleasure to work on.

Many thanks for passing by, as always it is very much appreciated.

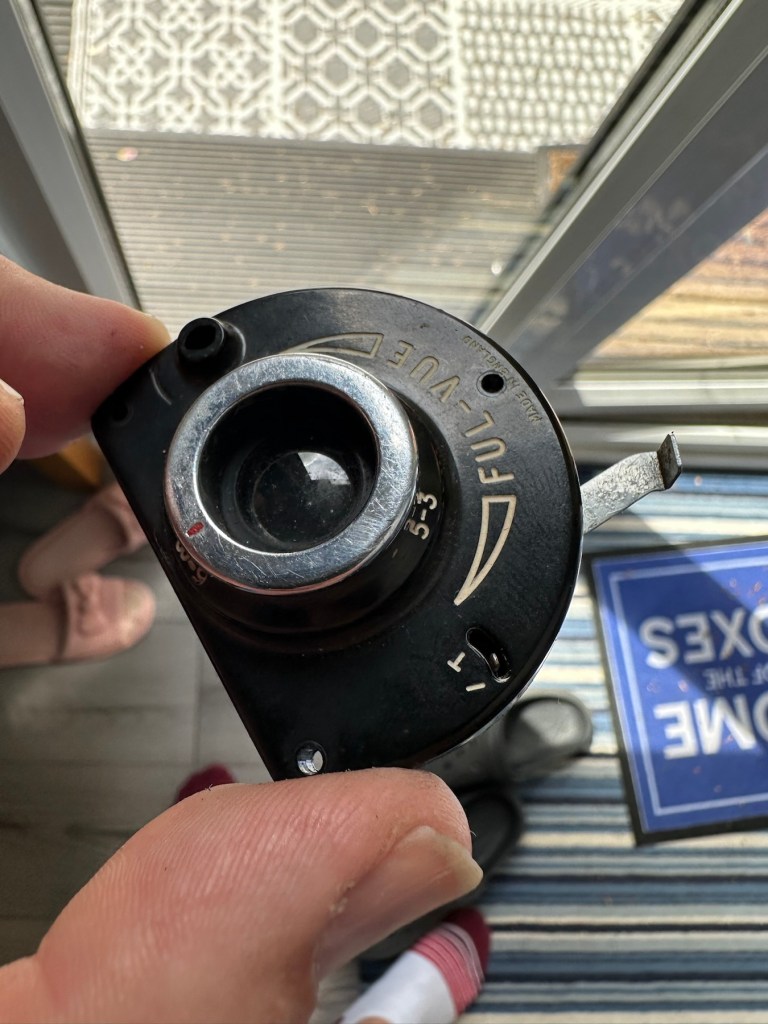
Ensign Ful-Vue II

I’ve had this camera sitting around since March 2023, when I first wrote about its purchase along with a couple of other cameras here: New old stock 📸

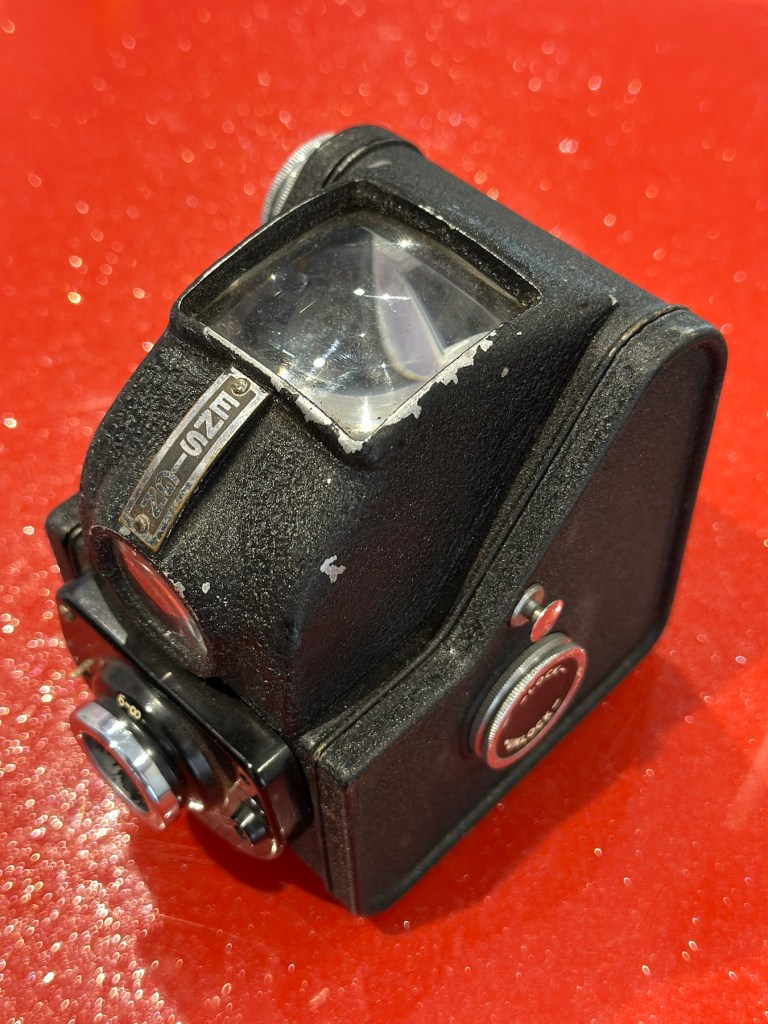
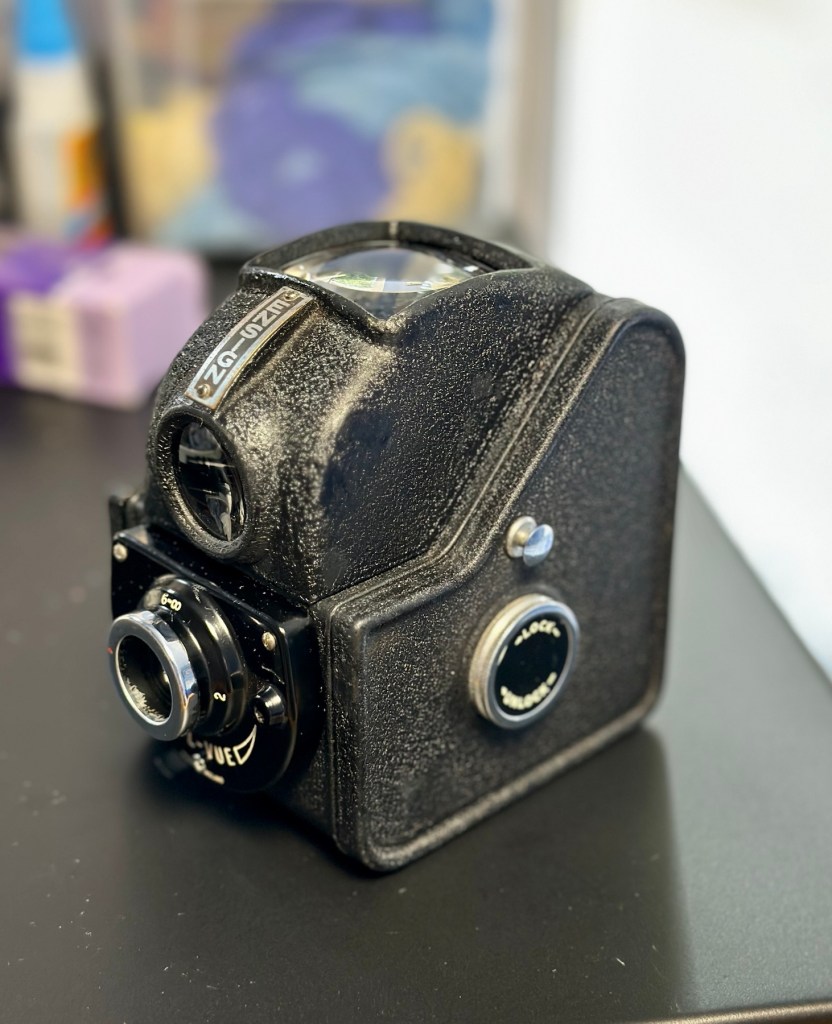
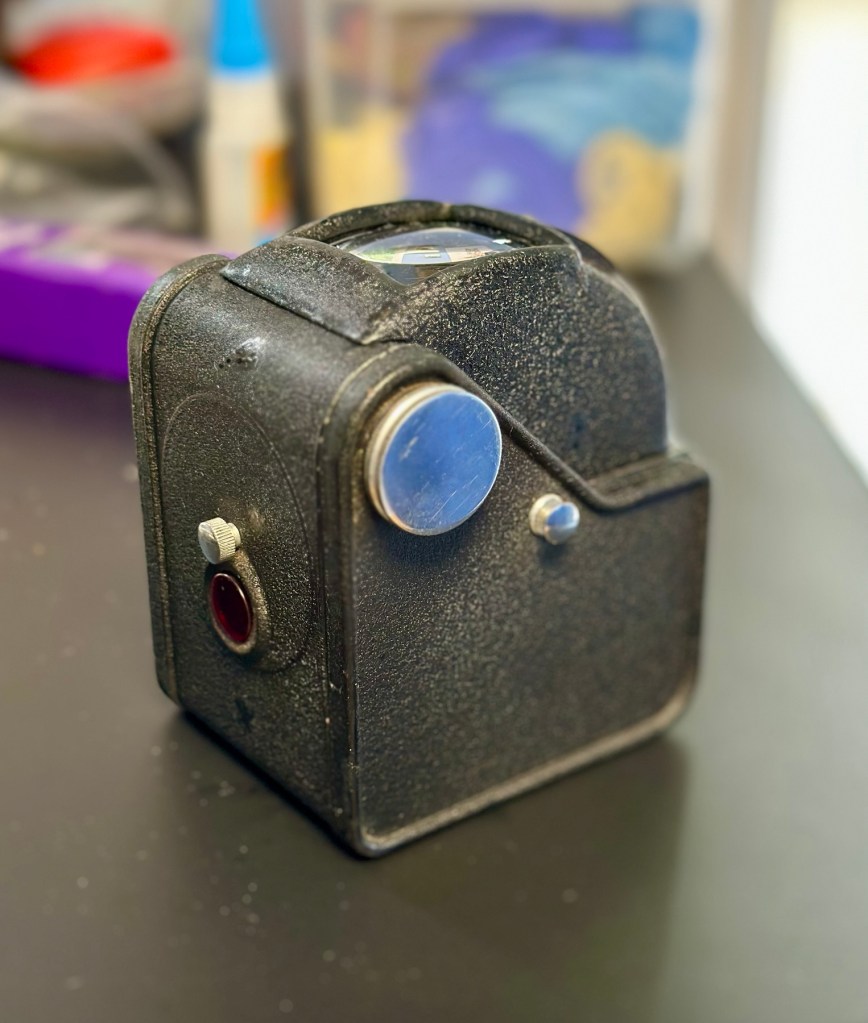
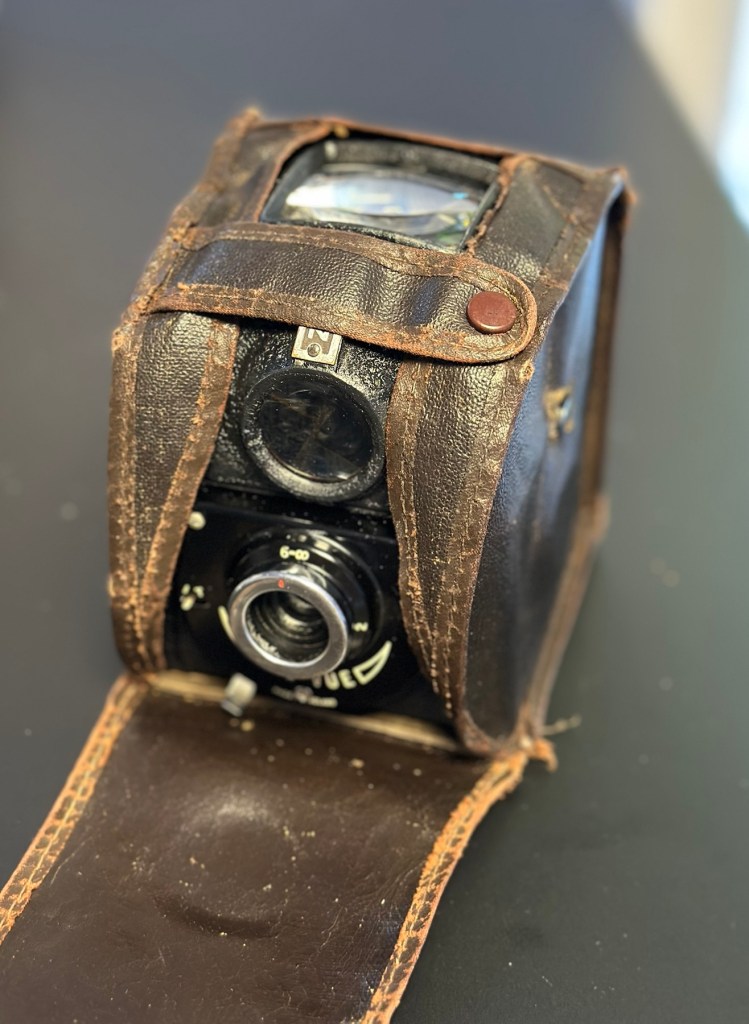
Barnet Ensign Ful-Vue II

I’m not sure what I paid for these cameras but it wouldn’t have been a great deal. I love the Ful-Vue due to its looks and the kind of Art Nouveau feel it has about it. It’s a very basic mass produced camera of its time and It is an old 120 film camera, and the bonus is that this film type is still readily available, in fact I still have a few rolls in my fridge at home today.

The shutter is an all mechanical, spring loaded system which swings a piece of metal over a hole to create the exposure. The approximate timing is 1/30th of a second and that’s slow. It is understandable when taking in to account that ISO 400 wasn’t that common in the 50s and would have produced very noisy results. It was far more common to use ISO 50-100 film and that would’ve required a slower shutter speed at the approximate f11 of the lens of this unit.

I obviously want to get it back into full working order. And want to do as sympathetic a restoration as possible. It’s a 120 roll film camera with a 6cm x 6cm frame inside, it was a cheap and cheerful camera of its day, sold as, “Easy, even for a child to use.”

In the meantime, here’s some history about this little camera:


Barnet Ensign Ross Ful-Vue II

Originally released in its initial form in 1939, this version was introduced in 1950 after further improvements were made. The new flash synchronised shutter, the turn-able lens barrel allowing three different distance settings instead of two, an all-plastic front panel, and an optional flashgun. The improved version was called Ful-Vue II. Pictures were 6×6cm on 120 film. It has been stated that colored models (red, white and blue) were sold in 1952-3, to celebrate the coronation of Queen Elizabeth II; However, no other evidence for these cameras has been seen: in particular, the Ful-Vue is not mentioned in a coronation advertising supplement to the BJP Almanac of 1953. Colored Ful-Vues were advertised as ‘Ful-Vue à la Mode’ in late 1952. Examples of the regular Ful-Vue II, repainted and presented as the colored model, have been seen in online auctions.

Camera wiki.org

So I estimate this camera to have been produced sometime between 1950-54 when this particular model had its production run, just prior to yet another version becoming available. Making this particular camera approx 70+ years old. Let’s have a look at the unit that I am now in possession of.

Assessment:

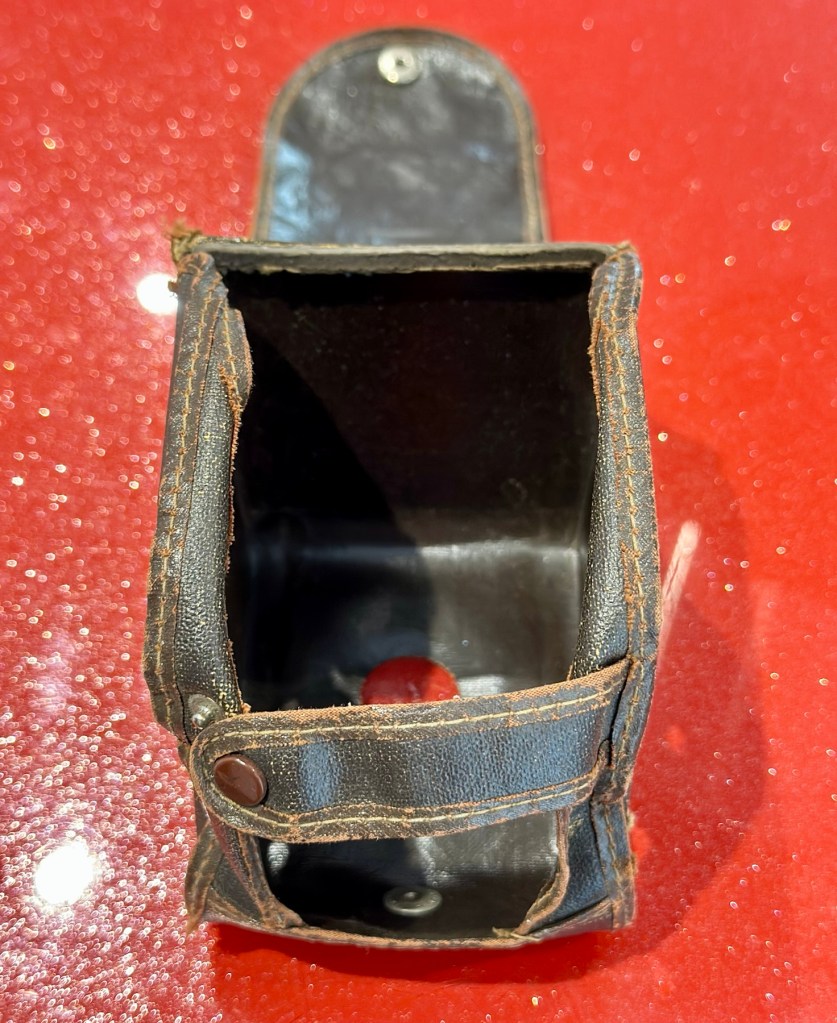
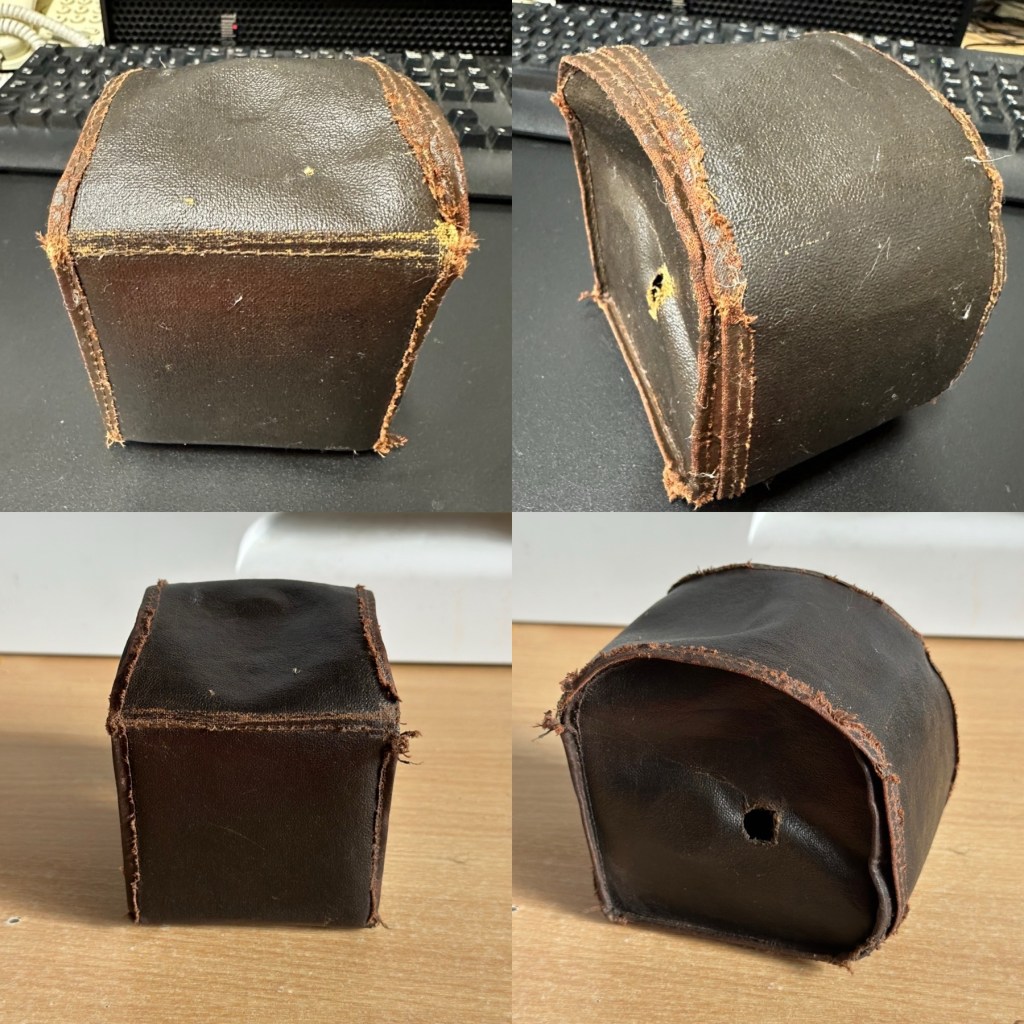
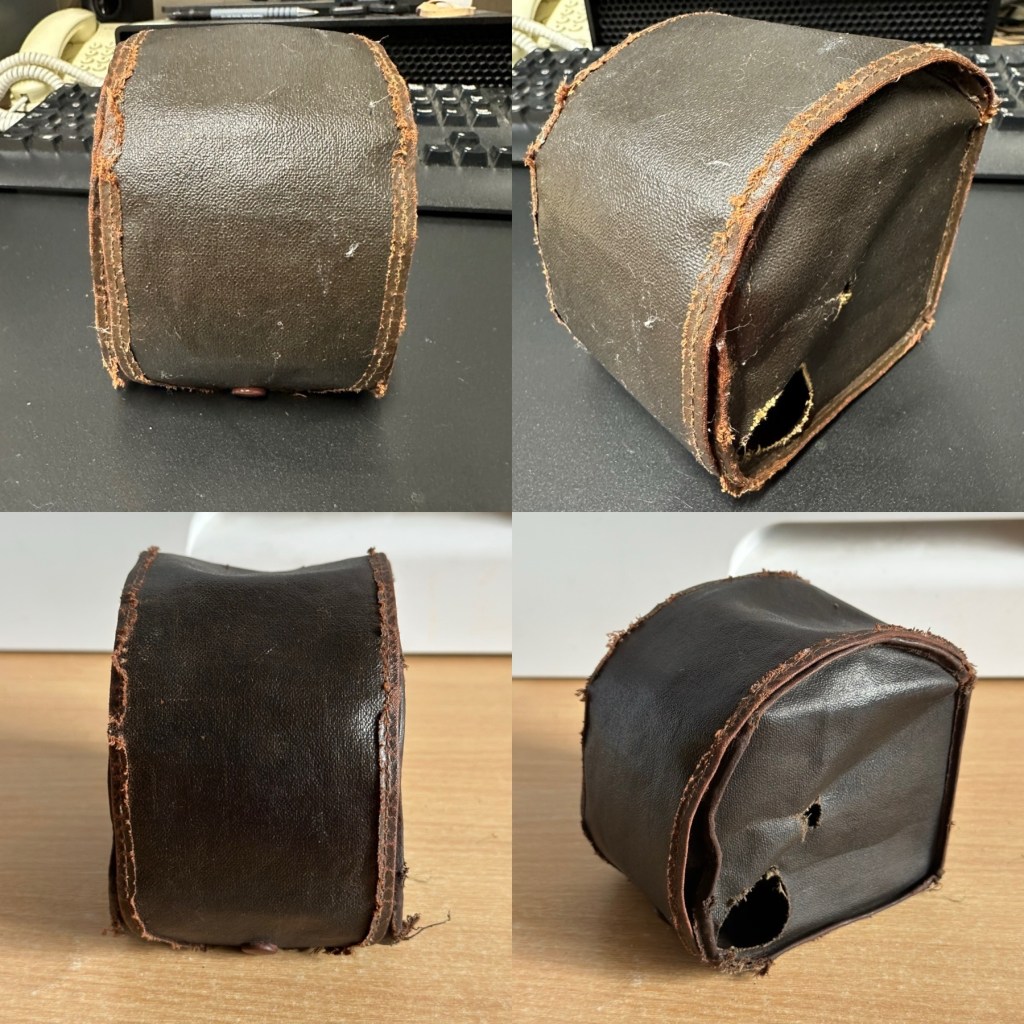
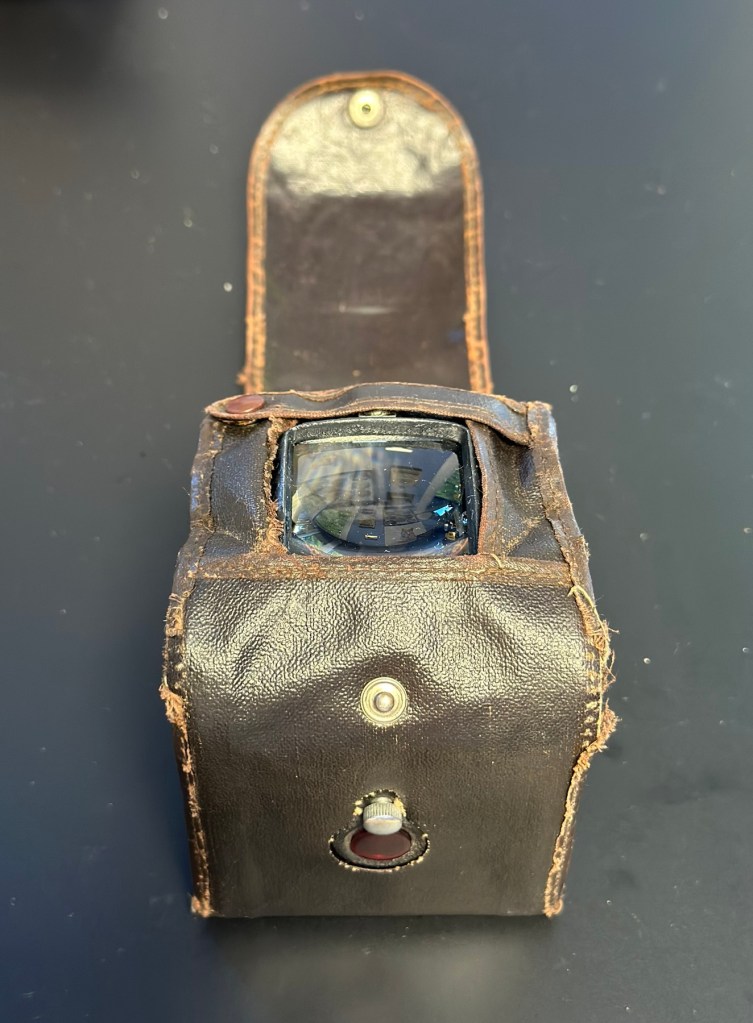
The case is leather and is very dry and brittle, it’s complete, so I may well look at revitalising this one just as I did to an old Kodak camera in this old post: Kodak Brownie reflex. If I do, I will cover its repair in the following section.

The camera itself is in quite a good condition cosmetically, it has chips off the paint and a little wear and tear that will require some attention. There appears to be a screw missing on the front plate, this will be replaced.

The mirror inside the viewfinder seems to have moved and will need reseating, all glass and mirrors appear quite foggy and need a good clean, all workings within the camera inside appear ok. Light seals appear ok but may well need replacing purely due to their age.

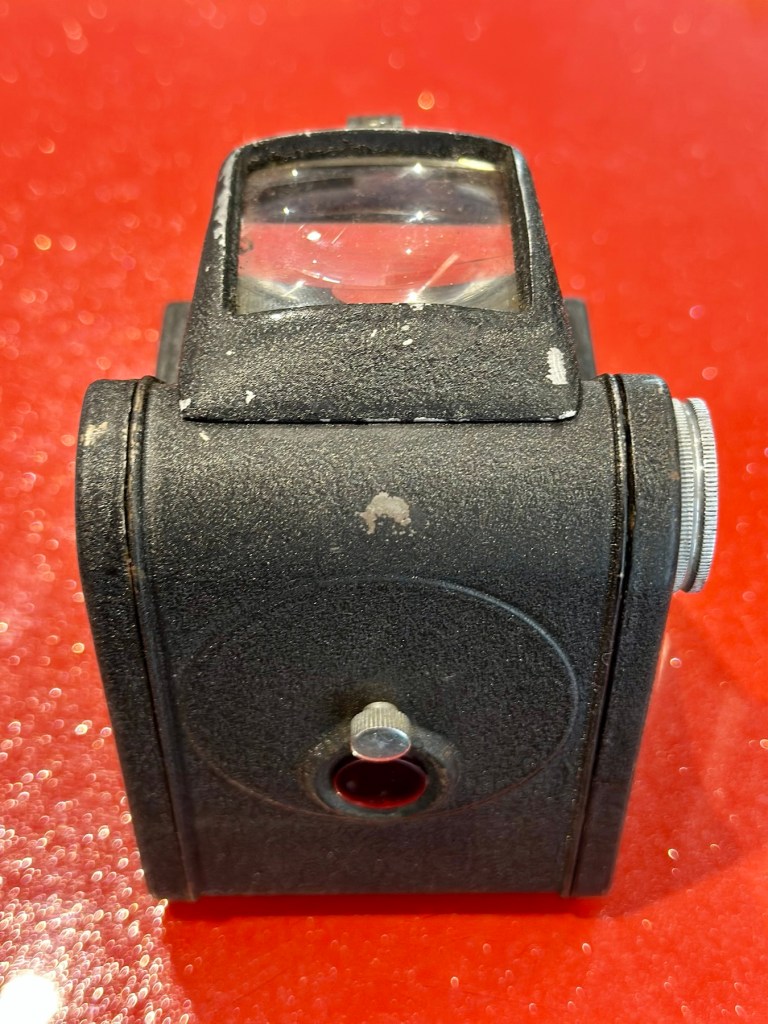
The lens barrel and shutter mechanism will be checked over to check correct operation, however at first glance, all seems to be ok. There is a little red window on the rear panel where you can see the film exposure numbers. A little thumbscrew can be turned to blacken this window out, this will be very handy for when we try to install a colour film to prevent any fogging issues.

Repair:

I want this to be a sympathetic restoration, so I will endeavour to keep the look and feel of the unit as original as possible.

The case:

I’m starting with the case as this is probably going to be the most time consuming and will require numerous periods of drying and moisturising, it’s probably about 70 years old now and to be honest has probably had no care taken of it during that time.

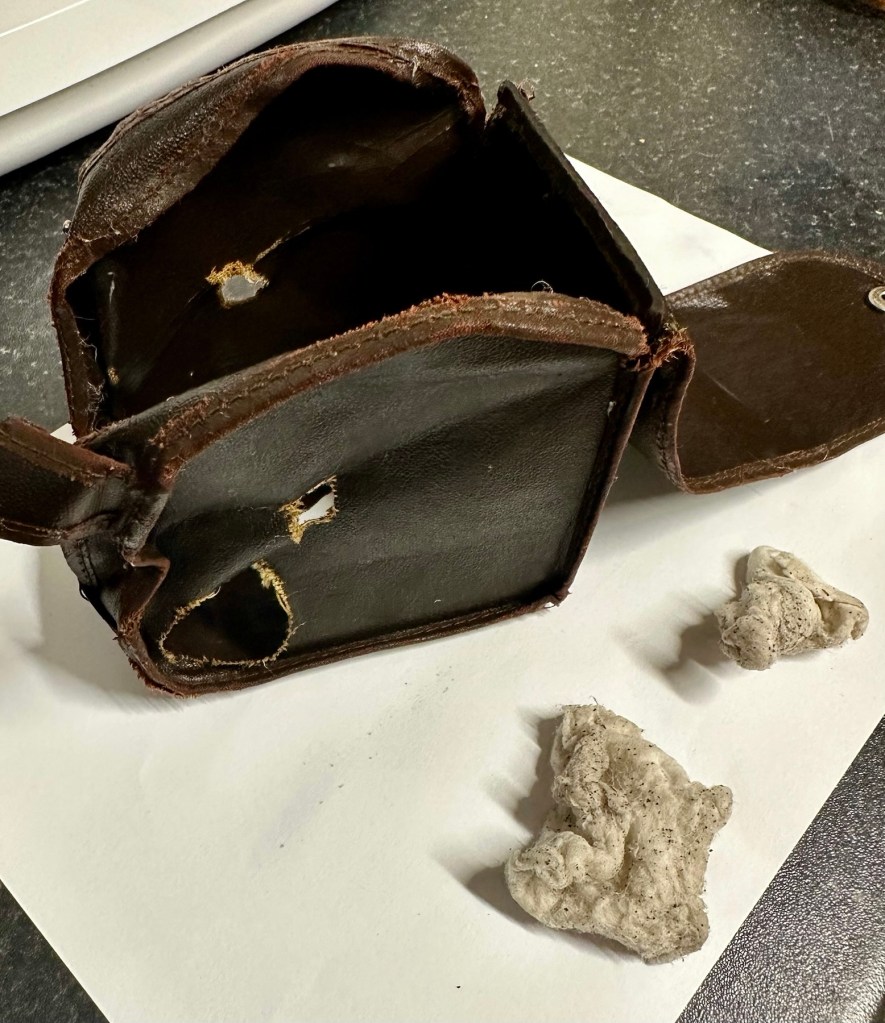
Using some mild detergent, but just the soap suds on a cotton pad I have gently wiped all over the case, paying special attention to any old folds in the material. This has had a dual purpose of removing ing a lot of age related dirt (As you can see in the photos above, that show the dirty cotton pads) as well as adding a little bit of moisture but not too much. I want to do this in stages to minimise any more damage. I will now let this dry for 24 hrs and I will then do the same again.

24hrs later I have cleaned the case again, in exactly the same manner. let’s leave it another 24hrs and then apply a little polish to give it back some colour and a little bit more moisture. I’m keeping it as low cost as I can, no doubt a brown shoe polish will suffice for the result I’m looking for.

I’ve treated the leather and polished it twice using a black shoe polish. The third coat I have given is a tan regimental high gloss polish. I’m leaving this for a few hours and then I will buff the case up. I’m not repairing stitching or holes as I want it to retain age and it’s old look. I just want the leather to look healthier, last a while longer and to get some moisture back into what was a very brittle leather case.

I have today buffed the case up after all the treatments of the last couple of days. The case feels lovely and soft and much more pliable than when I first started on it. I’m now going to bring this part of the repair to an end as that’s as far as I wish to take it at this time. I want it to still carry its signs of age. Without further a do, let’s move on to the camera.

The camera:

I have decided to totally dismantle the camera and work on it bit by bit. In this case there is not a great deal to dismantle.

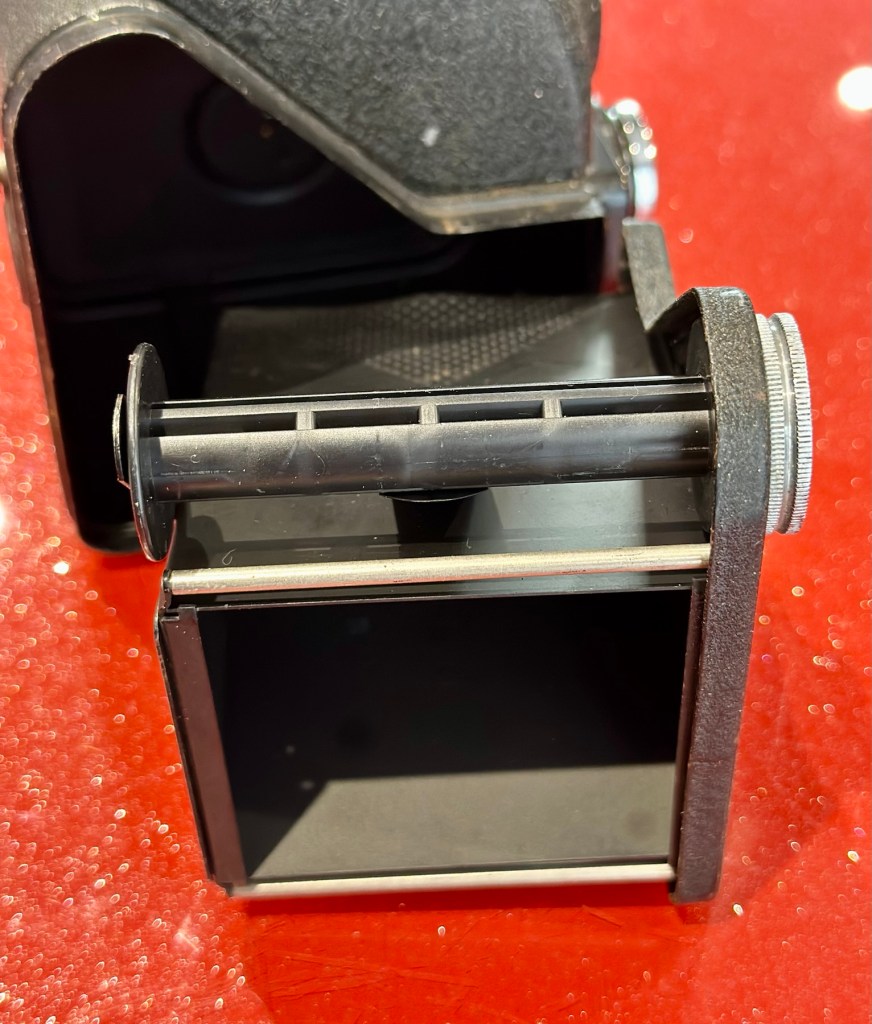
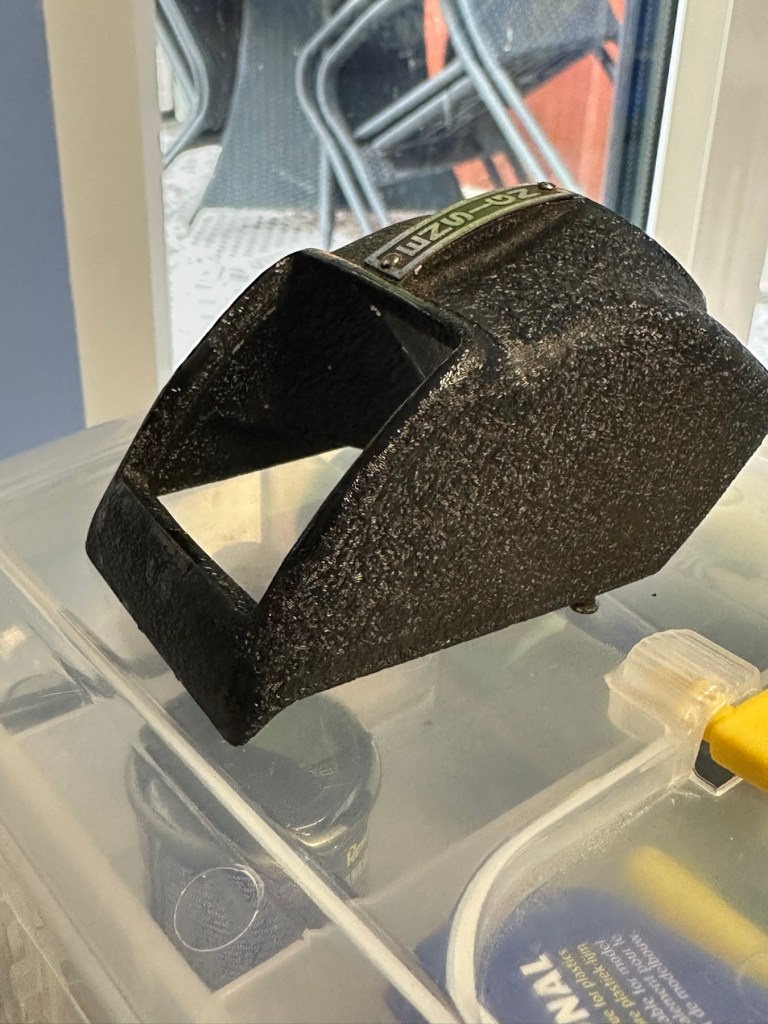
Firstly I release a retaining clip inside of the main body and this releases the “Viewing head” on top of the camera. This part of the camera contains the mirror that has become detached, and two glass optics that complete the viewer section of the camera. There is a single spring structure that holds both pieces of glass in place, release this and they just fall out. Easy.

I’ve started by placing the three optical items above in a mild warm detergent soak. I will leave these there for about an hour, in hope that a soak will help in cleaning that muck off the back of the mirror. The two other optics are in great condition and I’m sure the soak and then a final rinse will be all that they require. This treatment worked just fine, and now onto the next part.

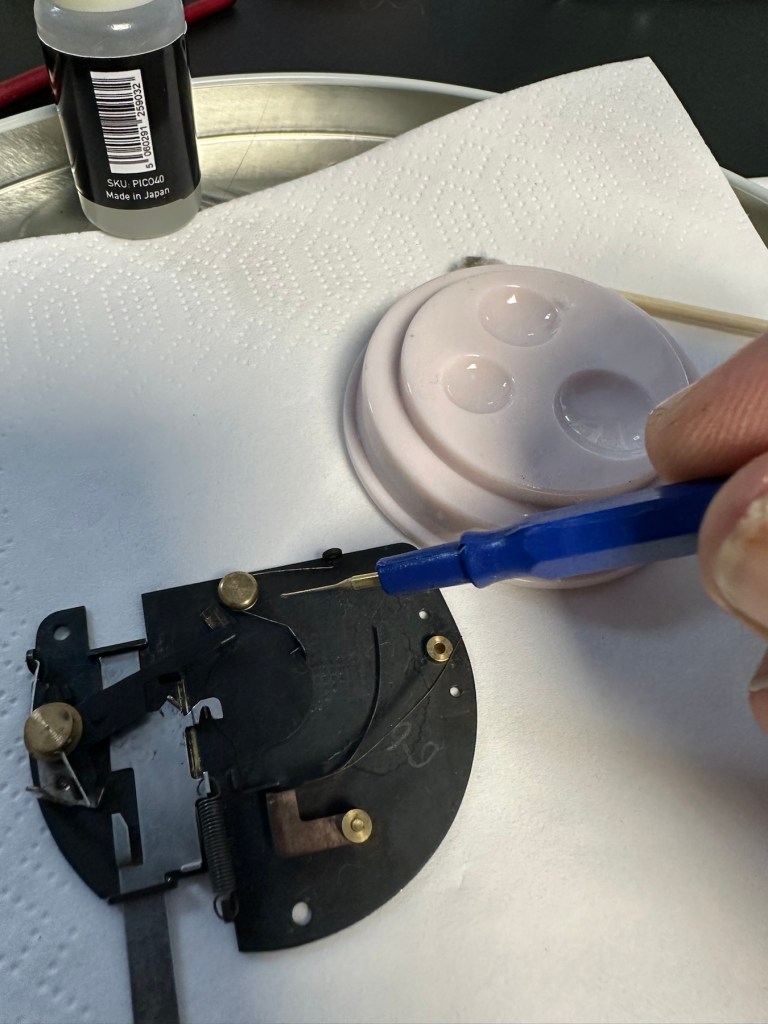
Next I’ve removed the shutter mechanism from the camera body.

Here is a very small video showing the simplicity of this shutter mechanism

A The mechanism is beautifully simple and is such a lovely piece of work to look at. To think im probably the first person to look in here in the last 70 years is special. All I’m going to do here is very carefully get rid of as much old ingrained dirt as possible and very gently clean the shutter leaf. I will use a minuscule amount of clock oil on the mechanism only, I will use some fine graphite dust on the actual leaf part of the shutter.

The lens and mechanism have been cleaned now and reassembled, all tested, and working as expected.

The body work is fine apart from some small chips and paint flakiness. I’m going to retouch these missing areas with some enamel paint and a bit of thickener to enable me to obtain the stipple effect of the original paint job. Then I will finish with a nice black polish.

Let’s now get the mirror back in place and the head back on the camera unit.

And that’s it. Apart from a little polish we are now done here

Before and after

Result:

I’ve put quite a bit of work into this little camera. Some people will ask why bother as it was only a cheap mass produced camera? Well, I like it, it’s a lovely little camera and it deserves to be displayed. Now, as it’s also working it’s a big bonus. It gives me something to do, and it’s how I relax, as I’ve been shoulders deep in DIY at home recently and doing my shifts at work, so this is a welcome distraction for me.

So that’s another one saved from scrap. This camera will now go into storage where I will vacuum pack it with some silica packets to prevent it from getting damp. I’m surprised just how good this camera “smells” considering its age, there is no mustiness at all compared to some cameras I get from this era.

Many thanks for popping by, you know it is always very much appreciated.
Have a super day.

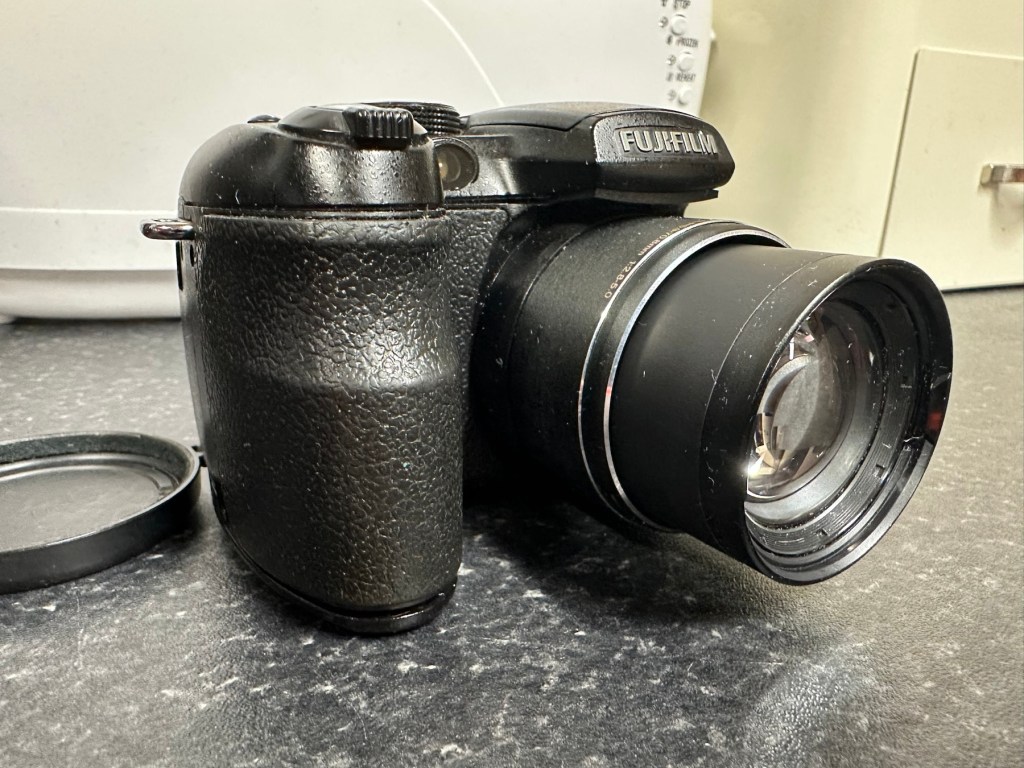
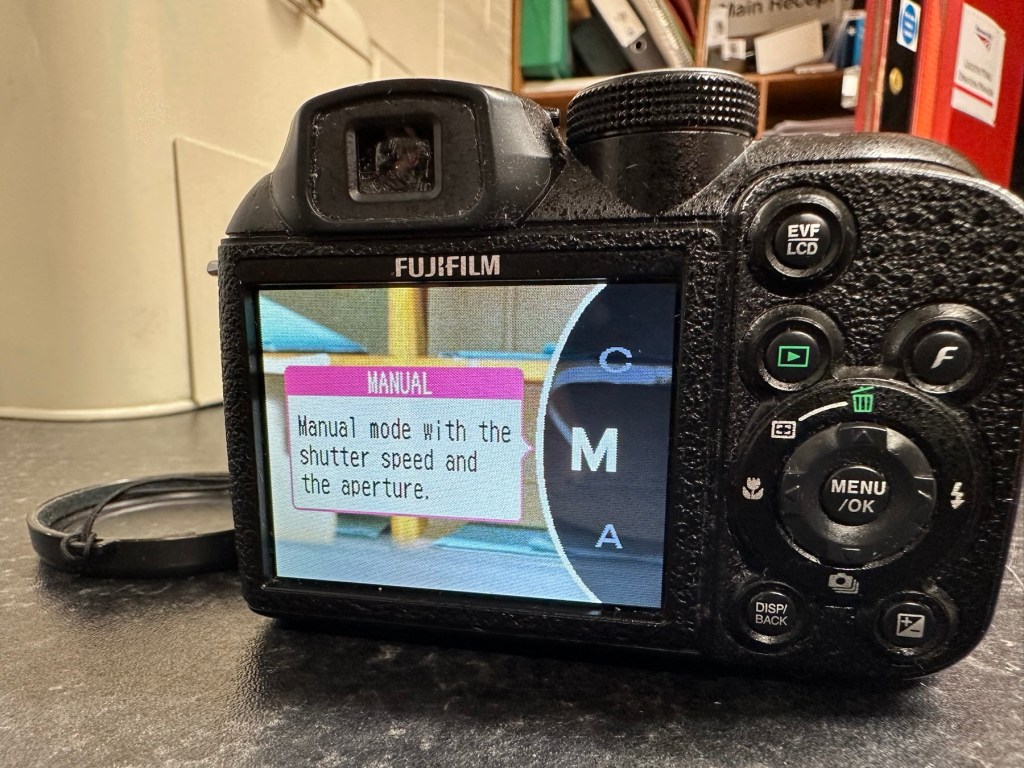
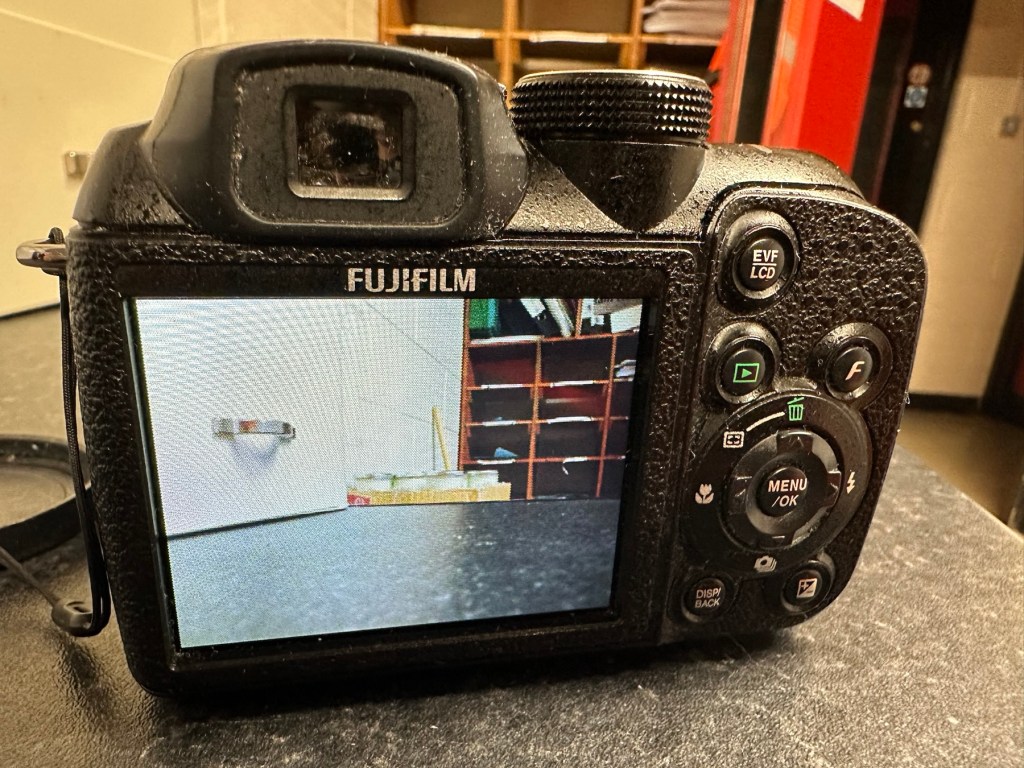
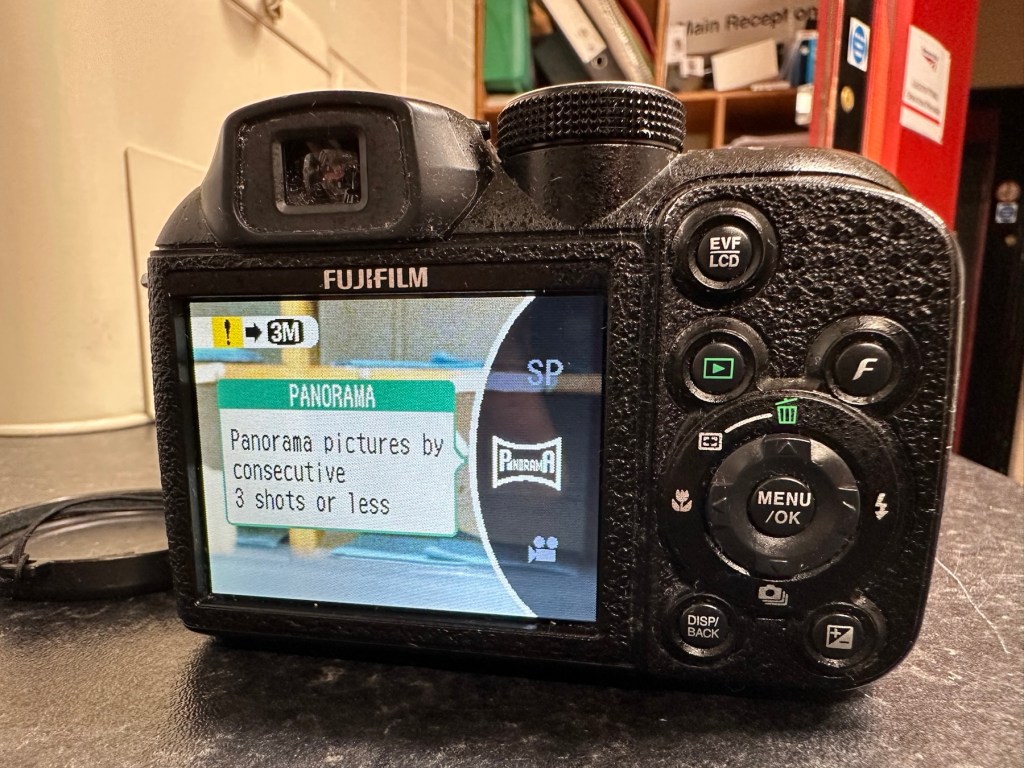
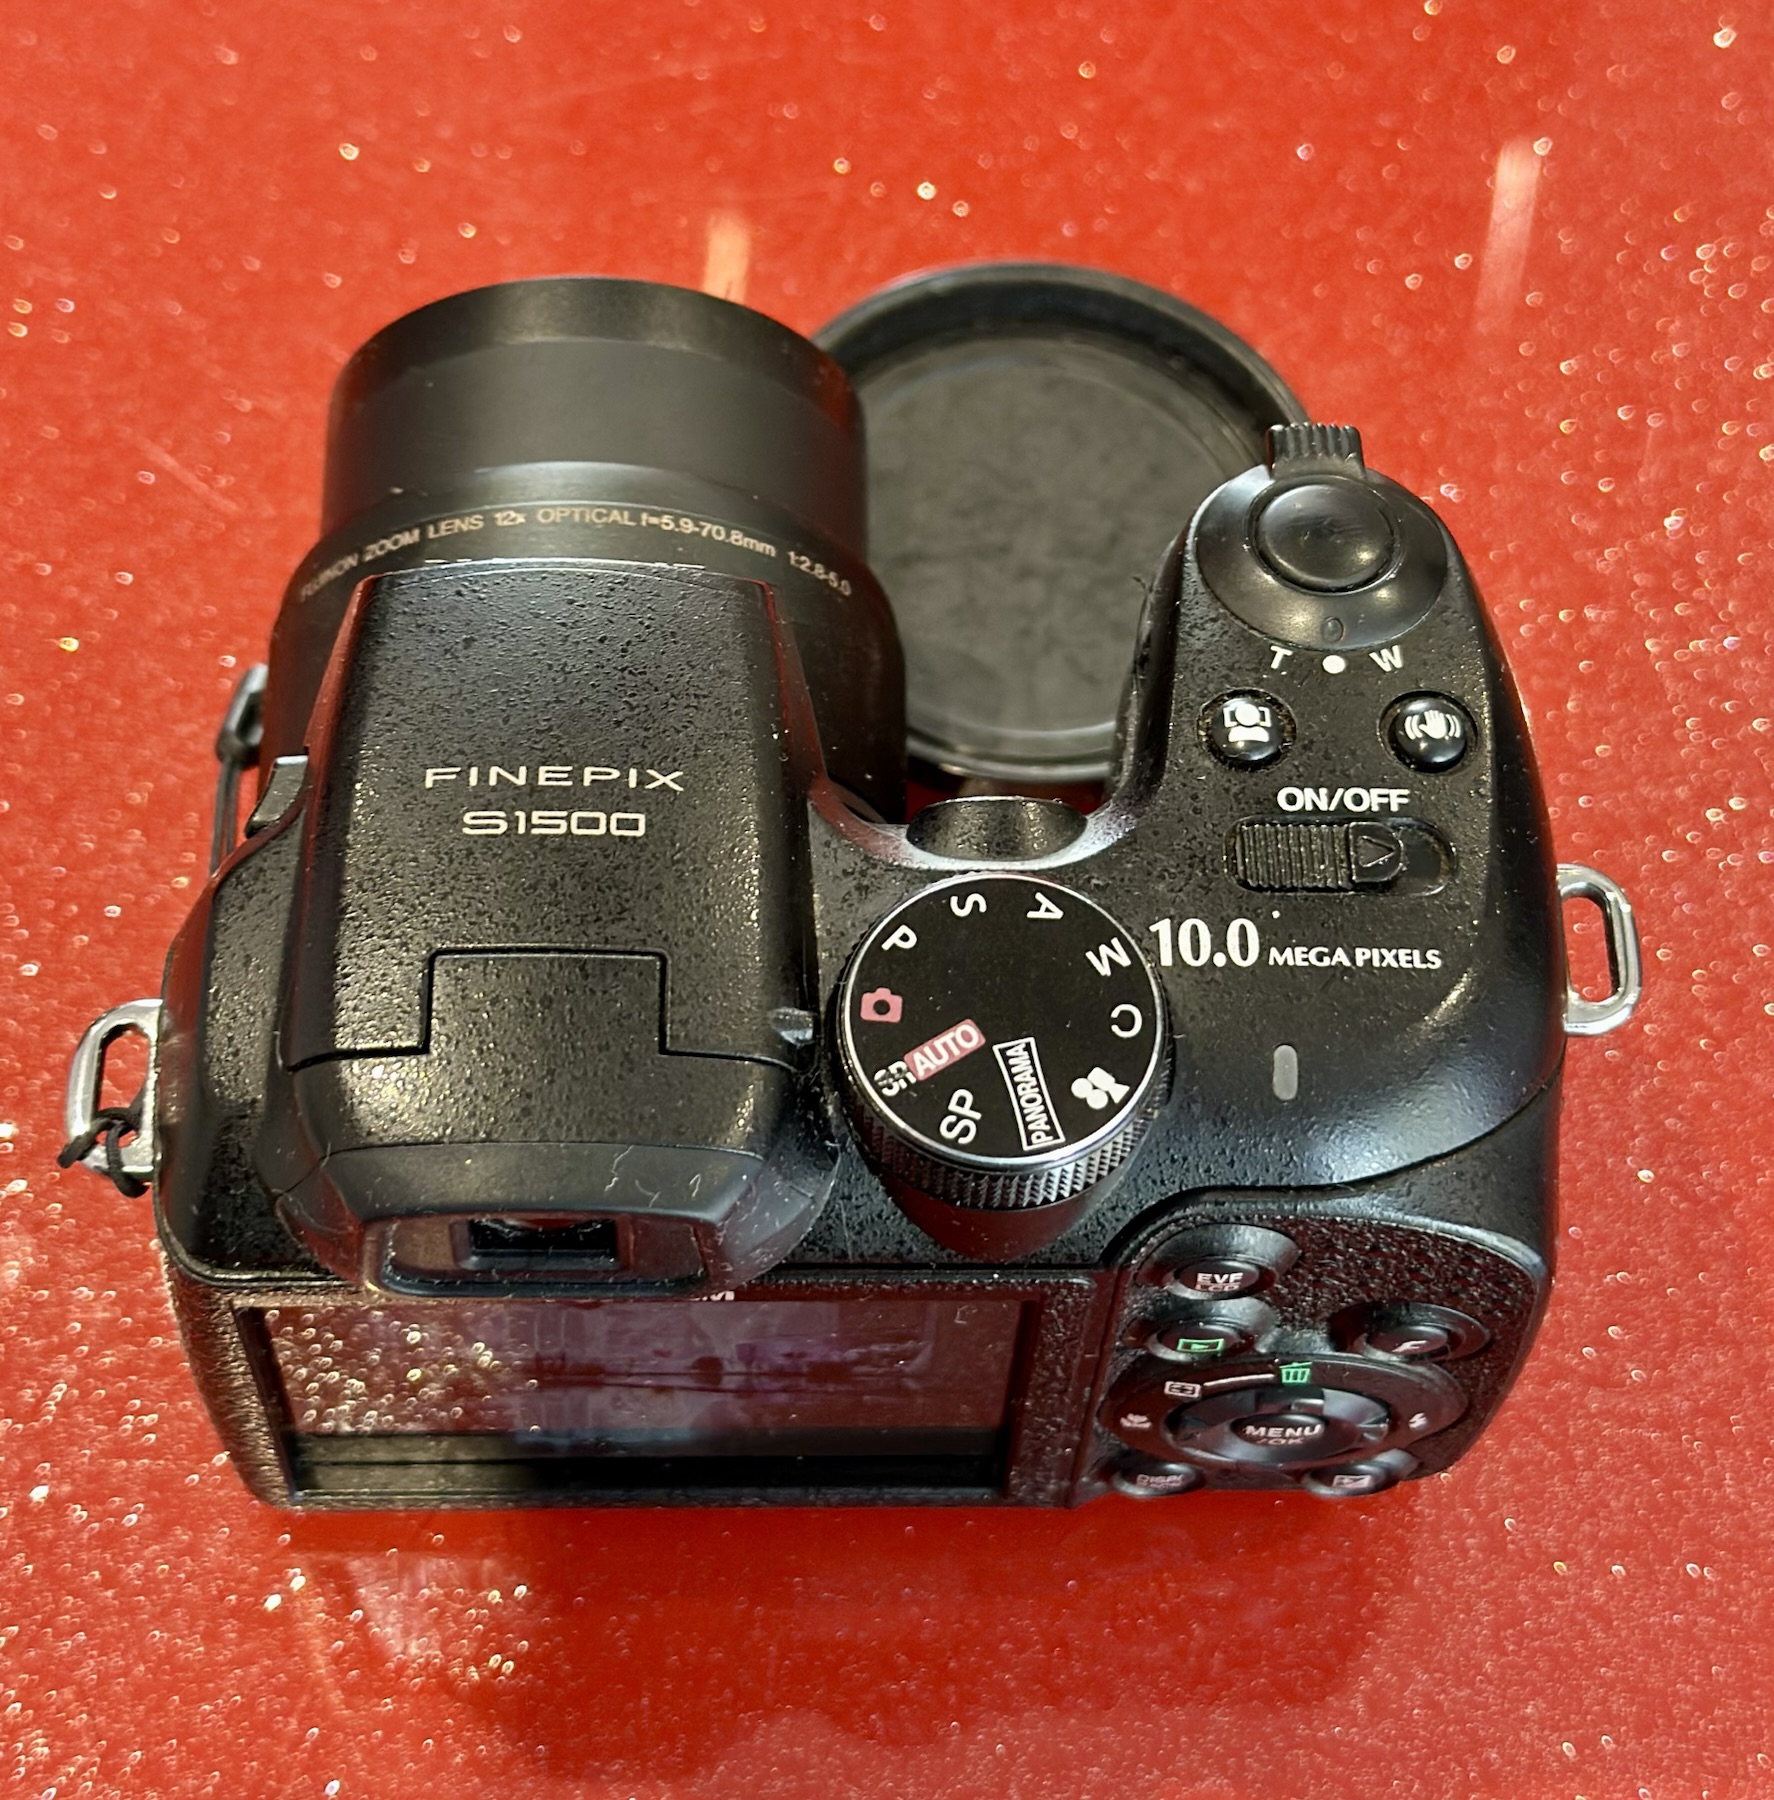
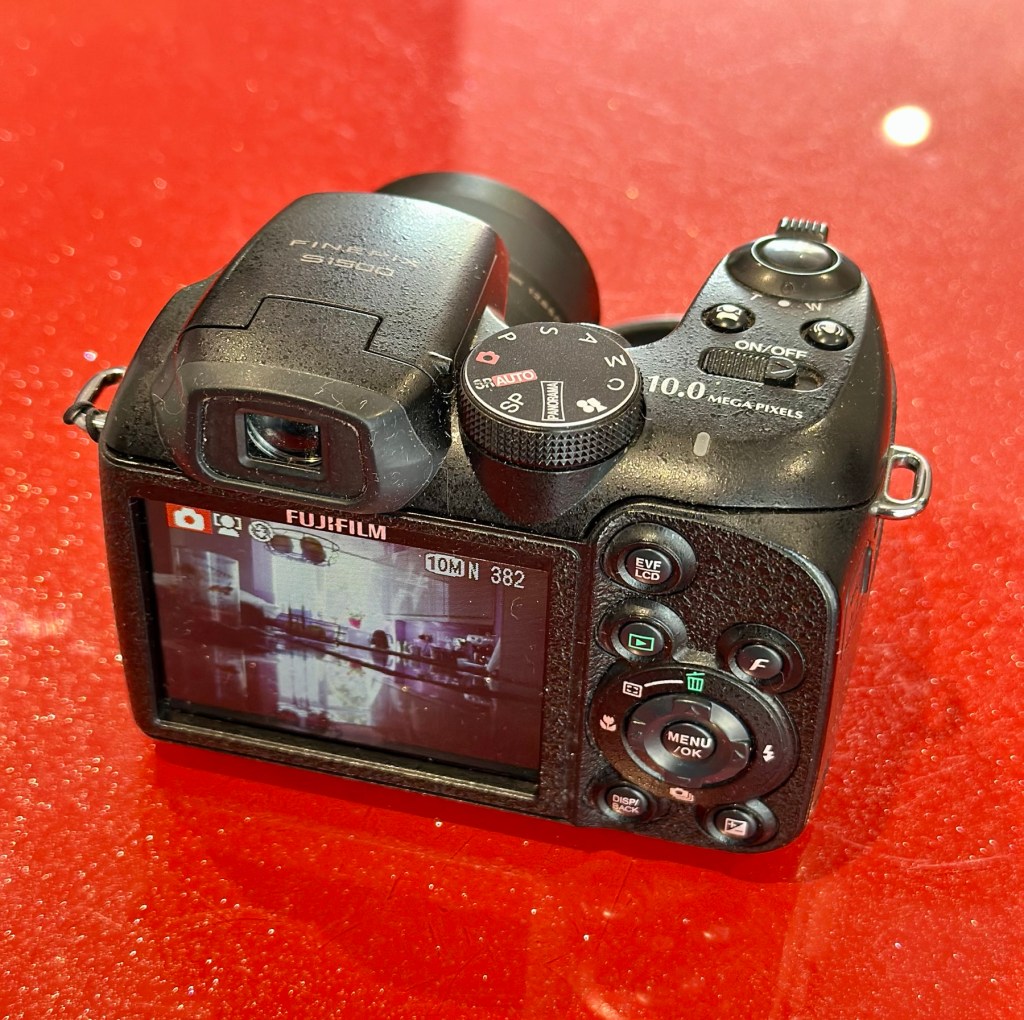
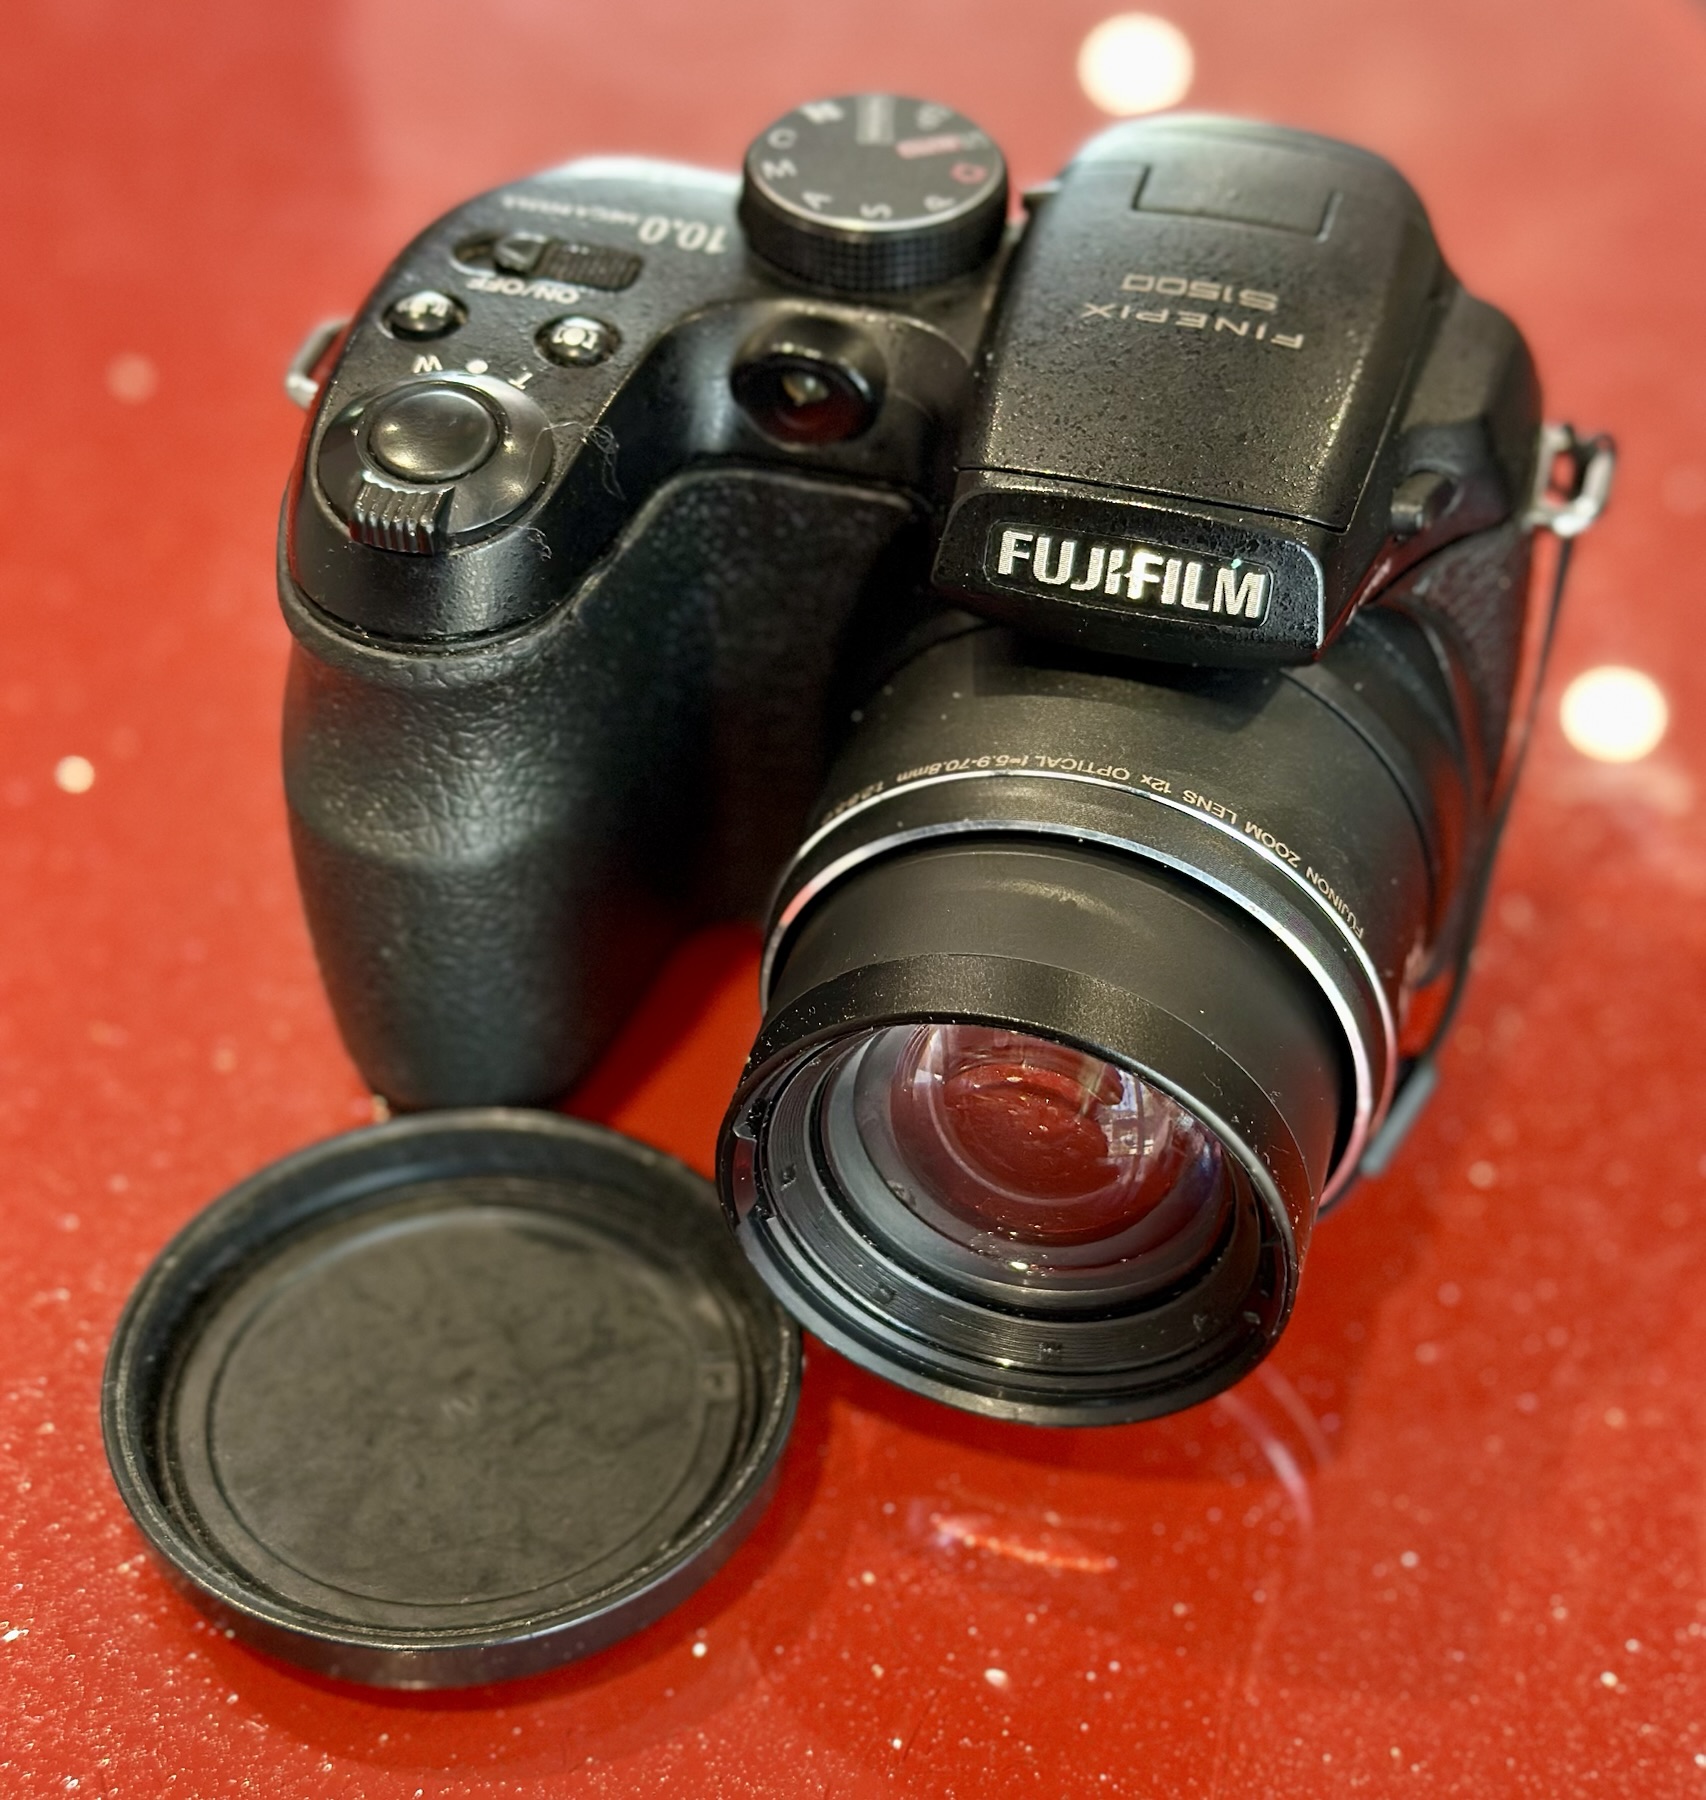
Fuji Finepix S1500

I purchased this item from EBay in April 2024 and have only just got around to finishing what had been a draft post put together all that time ago. I had written about it briefly in this earlier post Fuji Finepix S1500

A little bit about this digital “Bridge” camera

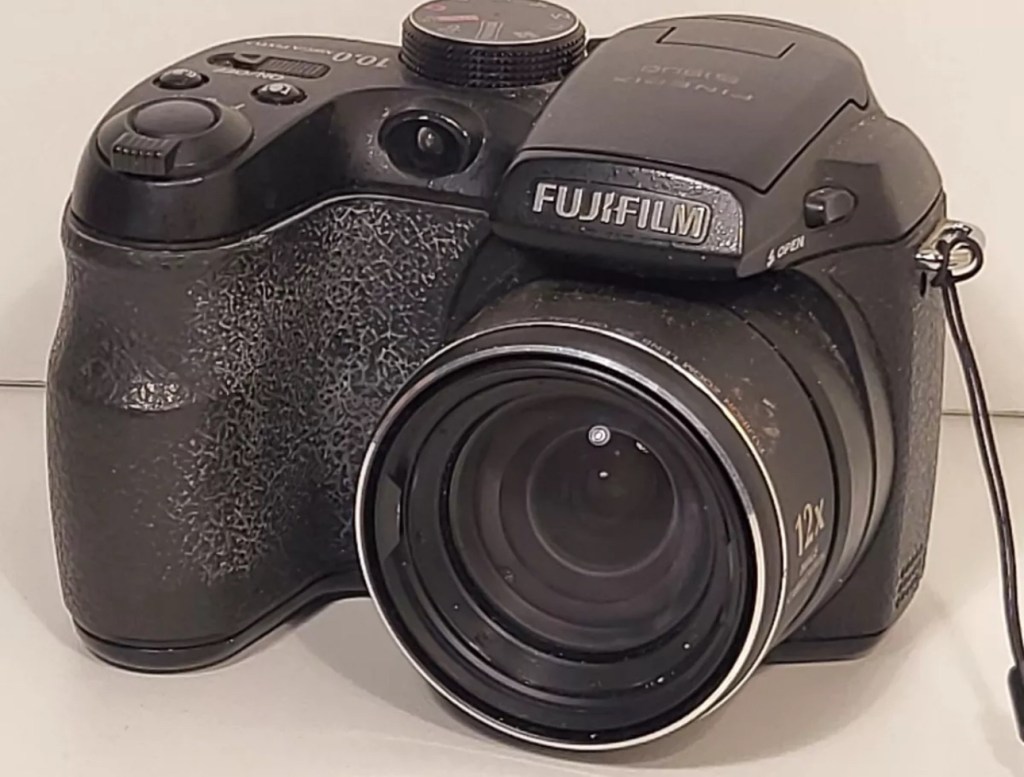
Successor to the S1000FD (at the time the world’s smallest 12x zoom camera), the FinePix S1500 is the latest in a long line of very compact SLR-styled big zoom cameras designed to appeal to those wanting a lot of lens on a tight budget. The big change is the inclusion of optical (CCD shift) image stabilization, making the long zoom a lot more usable in less than perfect light, and for the money you’re getting a lot of features – including full photographic controls and a 7.5fps burst mode (at reduced resolution) – in a lightweight package. Price on the market back in 2009 was £219:00GBP

DP Review

Assessment:

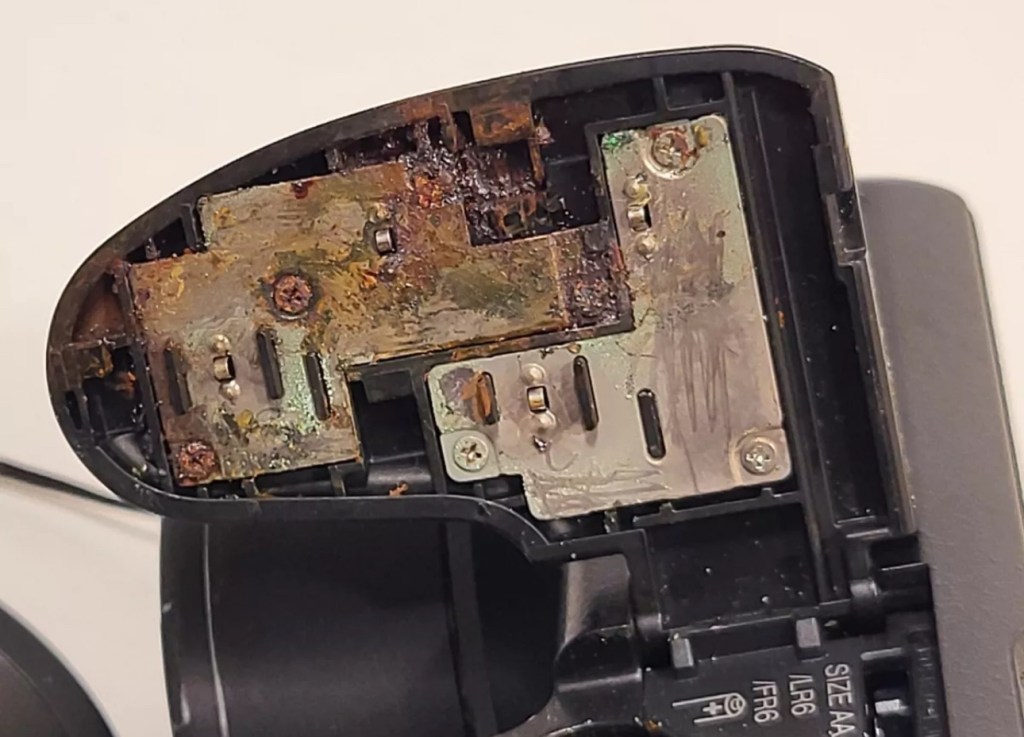
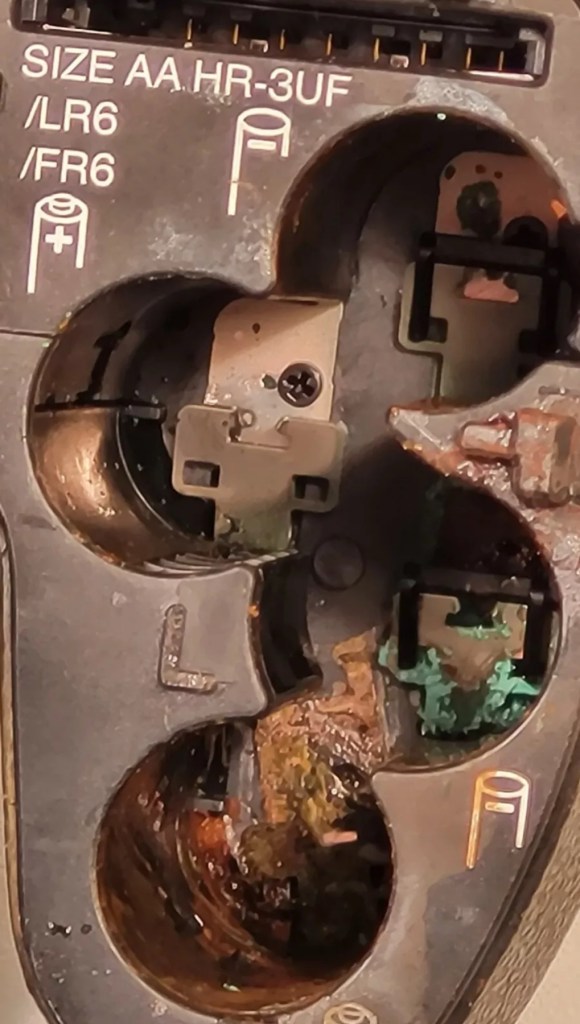
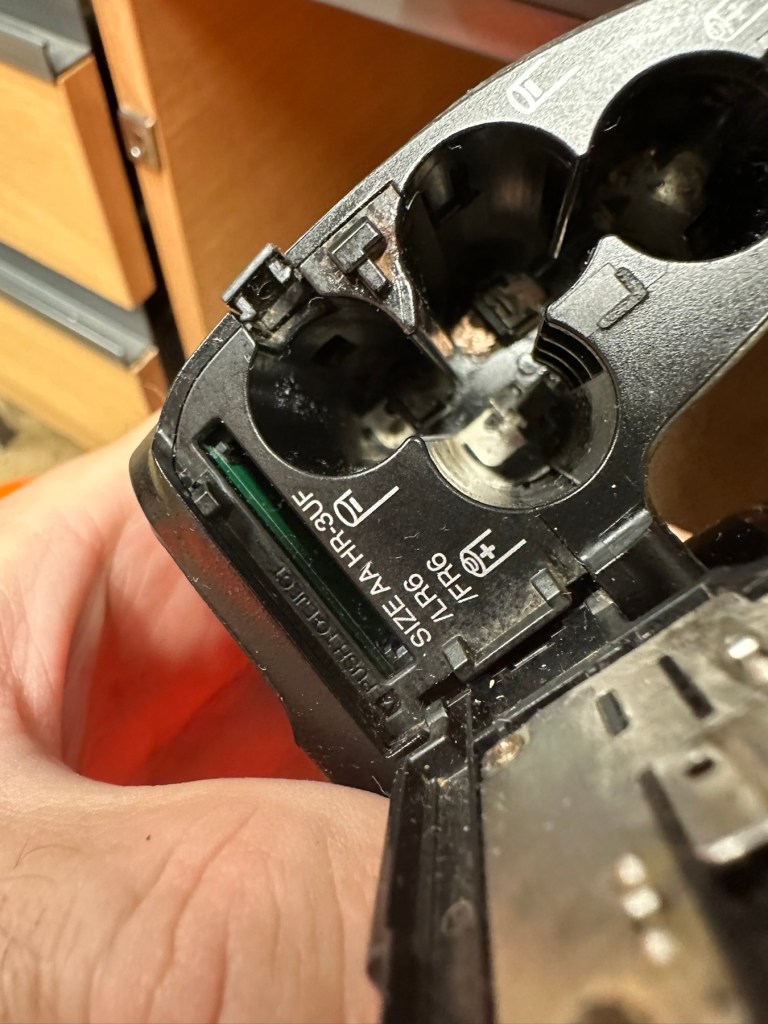
This camera was launched in 2009. The unit has arrived and is cosmetically tidy, however when you open the battery door the issue is obvious, two of the contacts are badly corroded and despite some initial cleaning there is no continuity and no power present. The unit is very much dead and not working.

A tatty and unloved camera

The issue with these units is that the power chambers are hard to access and to get to the point where the battery connectors are, you have to remove the powerboard assembly and this involves de soldering a number of points. There does not however appear to be any major signs of corrosion on the visible side of the board, when it’s removed it may reveal a darker issue hidden below.

Power board assembly

It’s going to be no easy task but I may look at running six volts from the bench power supply to a point on the power board assembly to see if I can breathe life into this camera. I don’t want to waste time in the battery terminal area if there are issues elsewhere on the unit.

Repair:

Looking at the boards again I am not going to pay them any further attention. The contamination has not reached under them and is isolated to the battery chamber so that’s where I will concentrate on.

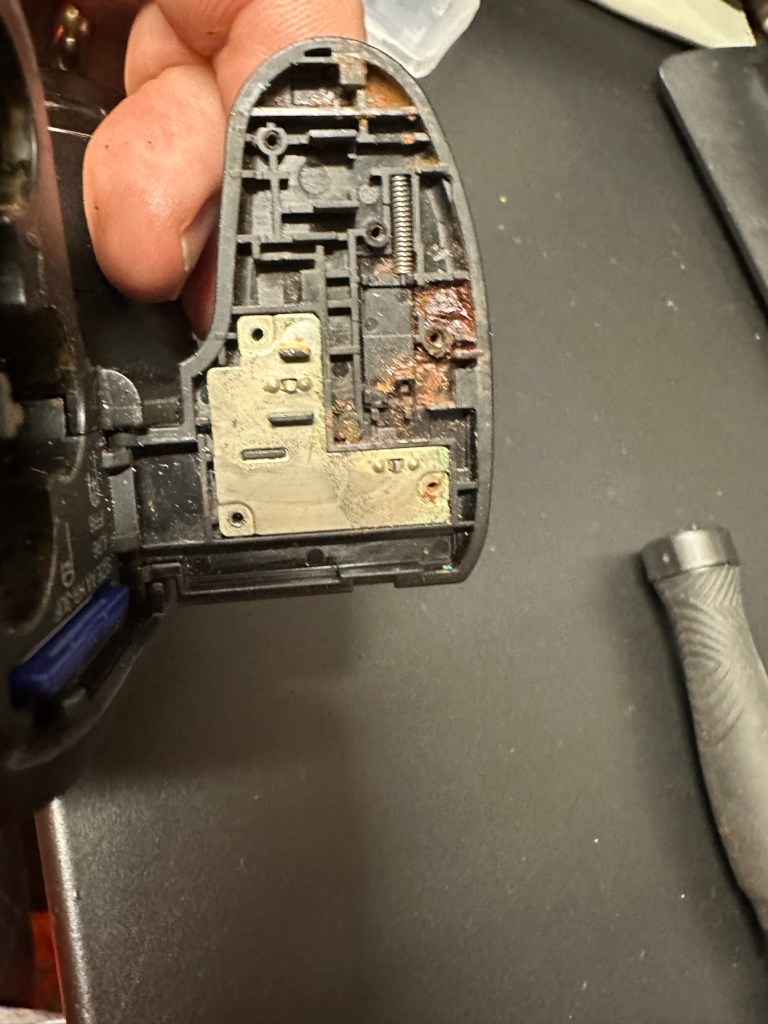
I’ve started with the contacts on the battery door, as you can see above, they are particularly bad and have no continuity through them.

When reassembled the door section looks good, it will just need a good clean at the end.

Before and after

Rather than dismantle the whole camera, and because I know there is no contamination on the main board I was able to get down into the battery chambers with a steel braid pen that I have, that allows me to gradually scrape off the contamination. Followed off with a good chamber clean of Isopropyl alcohol, I was able to get the remaining acid contamination out of the camera.

Attacking the contamination in the battery chamber

Result:

Once I did all of this I paid some more attention to the exterior using some car cockpit polish, this removed those horrid white sweat marks you see on the faux leather coverings of these older cameras, and it came up quite well and had a lovely vanilla smell to it .

Polished

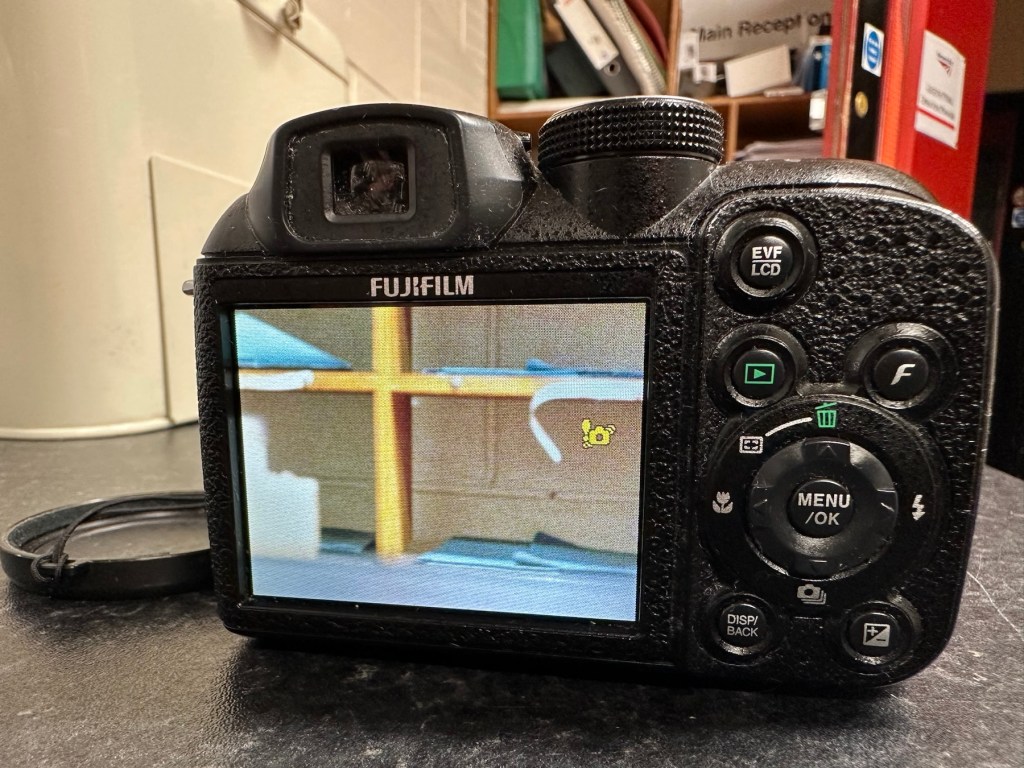
I have turned it on and hey presto we have life. Everything is working as it should. It’s a 10 Megapixel camera and I have a 1Gb Sd card installed and it is taking pictures as expected.

Nothing more really to say about it, it cost me about £6:00GBP spares and repairs as it was totally dead, thankfully we’ve managed to get it working instead of breaking it up for spares that would more than likely never be used anyway.

This unit is of no real use to me, so I will get it up to our local Hospice shop for them to sell on.

Even if they only get a few pounds for it, it will benefit someone who needs the help and assistance.

So another item saved from the scrap heap. Might be of use to someone.

Thanks for passing by.

Nintendo Light boy

What the listing stated:

Doesn’t light up when batteries inserted

EBay

Straight to the point. I think it doesn’t work. 🤷‍♂️

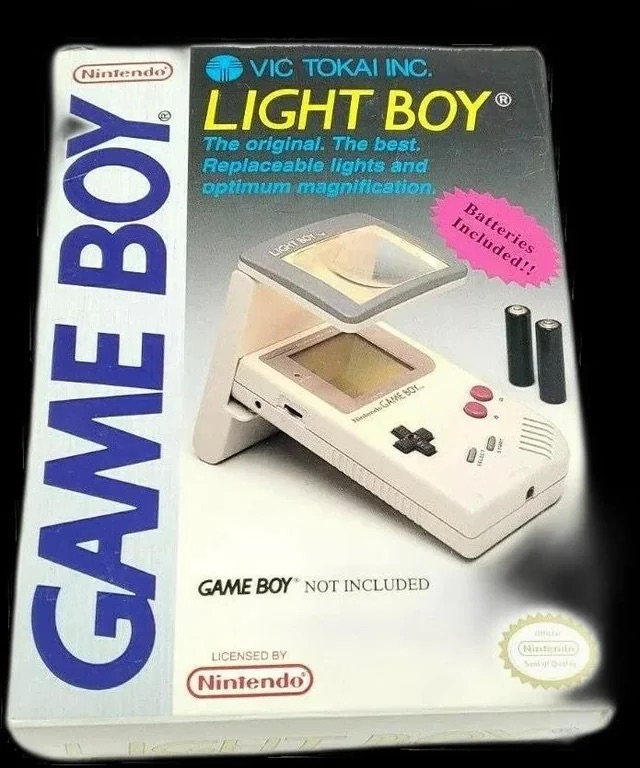
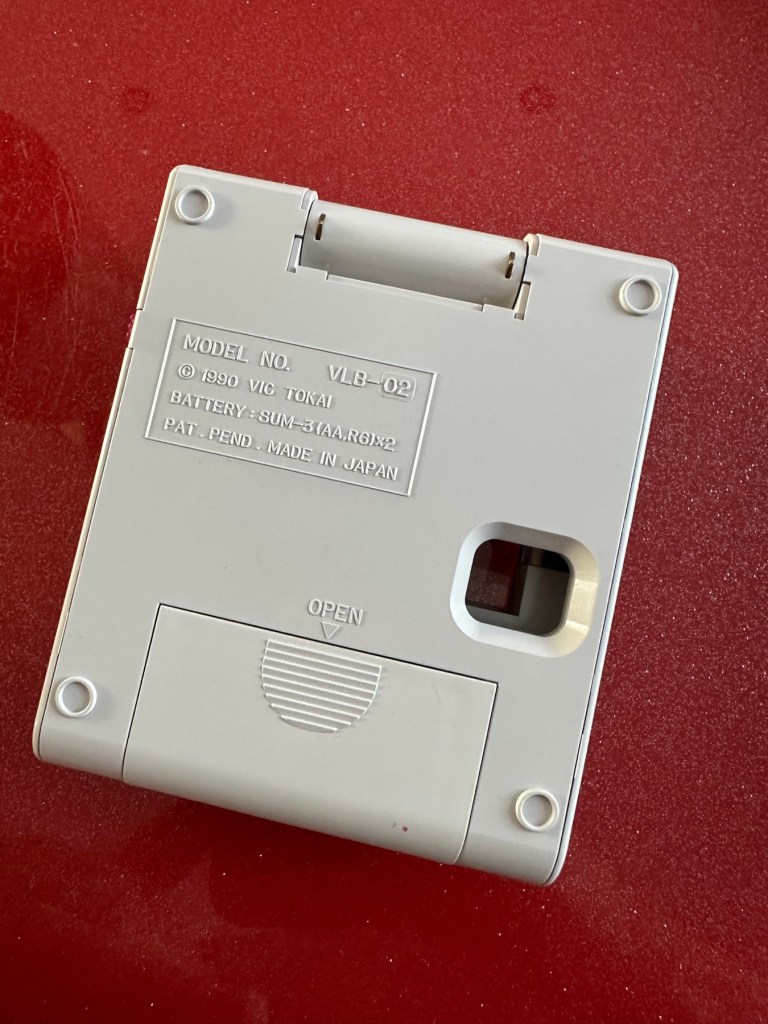
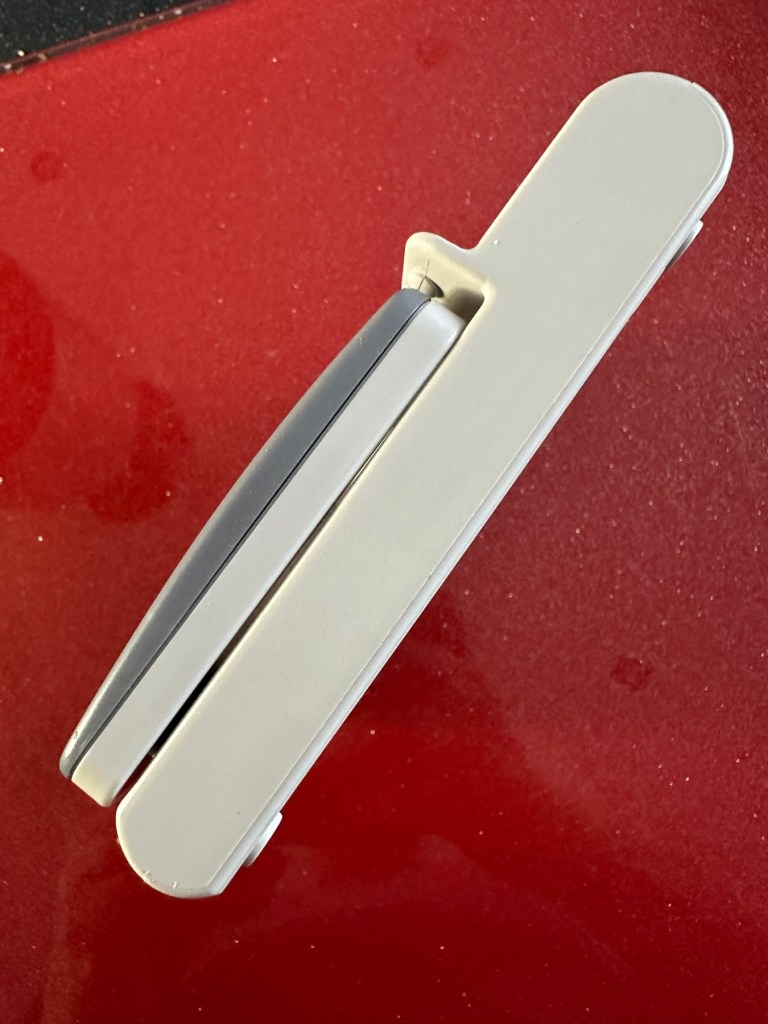
The original Light Boy

Ive got a Game boy, I love it. However the biggest issue has always been as soon as it goes dark you’re stuffed. As the screen was never back lit you either had to tape a torch to your head or sit under a bright light. The Nintendo Light Boy went a little way to eliminating the need for the torch by incorporating a light and a magnifier within a unit that connected to the console.

This one doesn’t work though, which is good for this blog. I paid a good price of £14:95GBP considering original ones like this are selling between £40-£90GBP. There are cheaper alternatives, but hey, why?

Shouldn’t be the hardest fix I’ve ever attempted, but it will be a great addition to my Game Boy collection.

Assessment:

The unit has arrived and is in a very good cosmetic condition with only a few slight scuffs and marks that should polish out. Two AA batteries have been put in and switched on and true to the description in the sale, it doesn’t illuminate. Glass lens is in good condition and the screen folds as it should.

Repair:

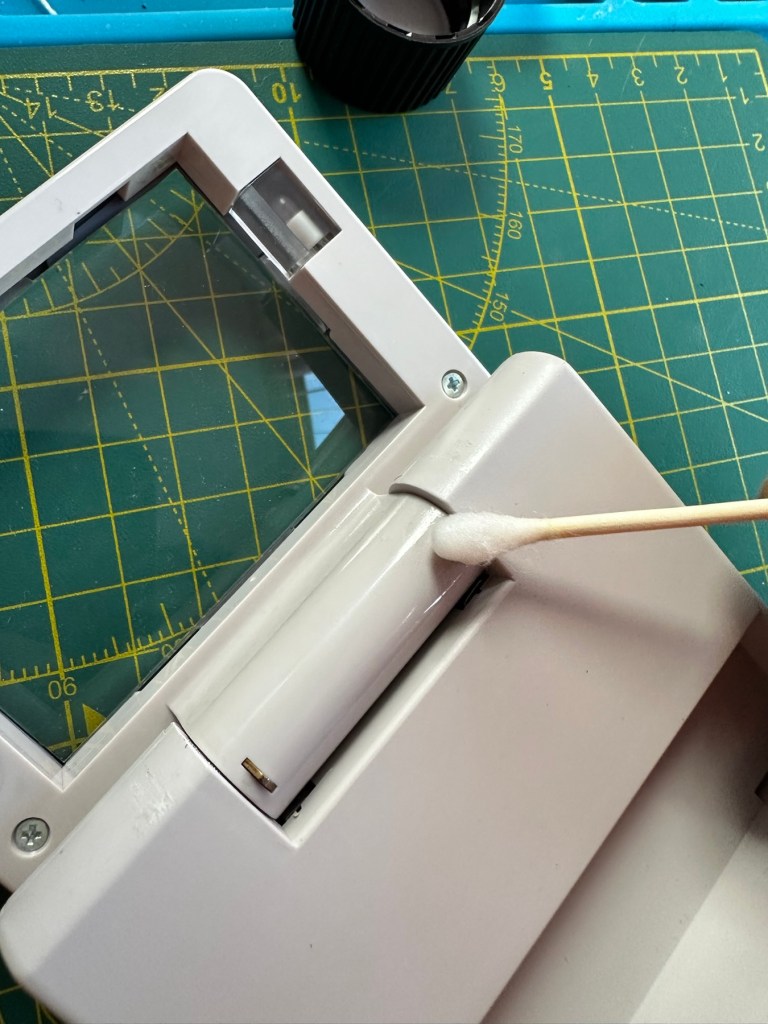
This is a really simple circuit to be honest. Two batteries, two lights and a switch. That’s about it. The screen pivots and on here there are two teeth that make a contact with two small plates on the main unit when the screen is at 90 degrees to the console. When the switch is on, the lights should illuminate at this angle, and when closed contact will be lost and the lights extinguish.

When I put batteries in there was a very dim intermittent flicker, aha I thought, dirty contacts and they sure were.

I cleaned the switch and the contacts using some IPA and removed a fair amount of old dirt from the contacts. The switch was operated 30 or 40 times to really get to anything that was deep in the switch, and this worked.

A good clean with IPA was all that was needed.

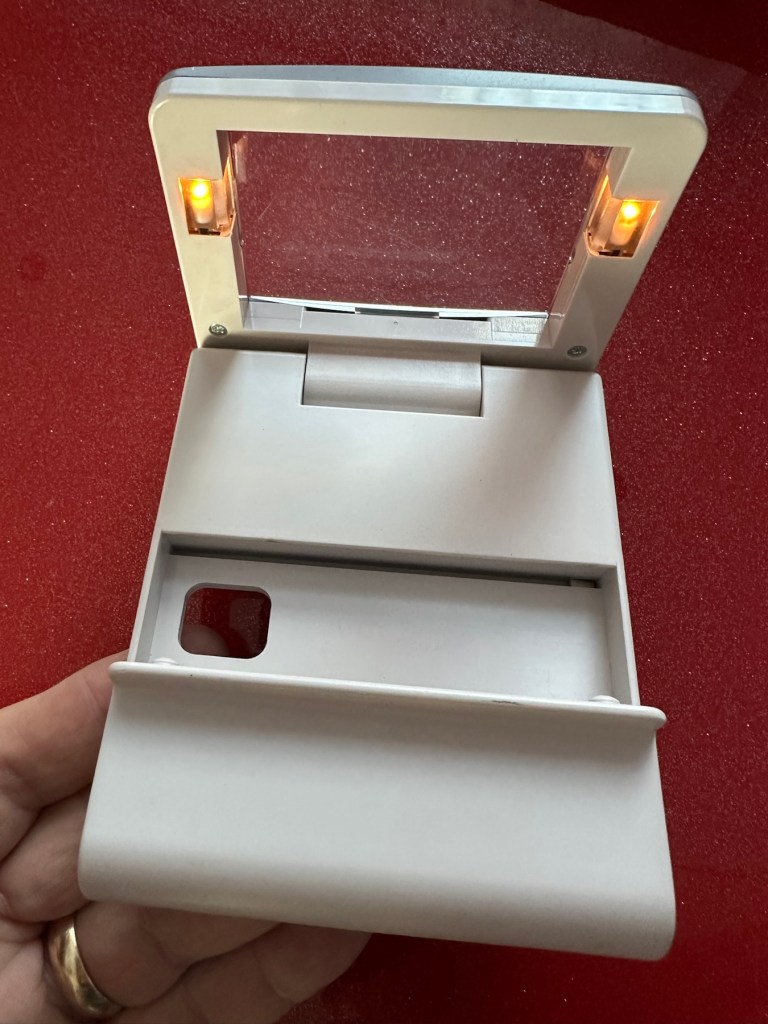
Batteries back in and unit at the correct angle, switch to the on position, and hey presto we have a constant uninterrupted supply of light.

We have light. It’s working.

The little marks and scuffs on the shell were all removed with a little cleaning solution. This item is now in a perfect state of repair and looking right handsome!

Result:

This is undoubtedly the easiest repair I have had yet but I’m not complaining. It always amazes me about the sellers on these platforms. I purchased this as spares and repairs damaged, when there was absolutely nothing wrong with it, well at least it only required a tiny bit of maintenance. They could have done this themselves and easily have charged a price at least three times what I paid for this unit. Fools 😂

Anyway their loss is my gain as they say, I now have a perfectly good item in perfect working order and now looking as good as new. And all it needed was a clean and some TLC.

Sometimes it all goes so well. Today is one of those days.

Thanks for passing by. It is always most appreciated.

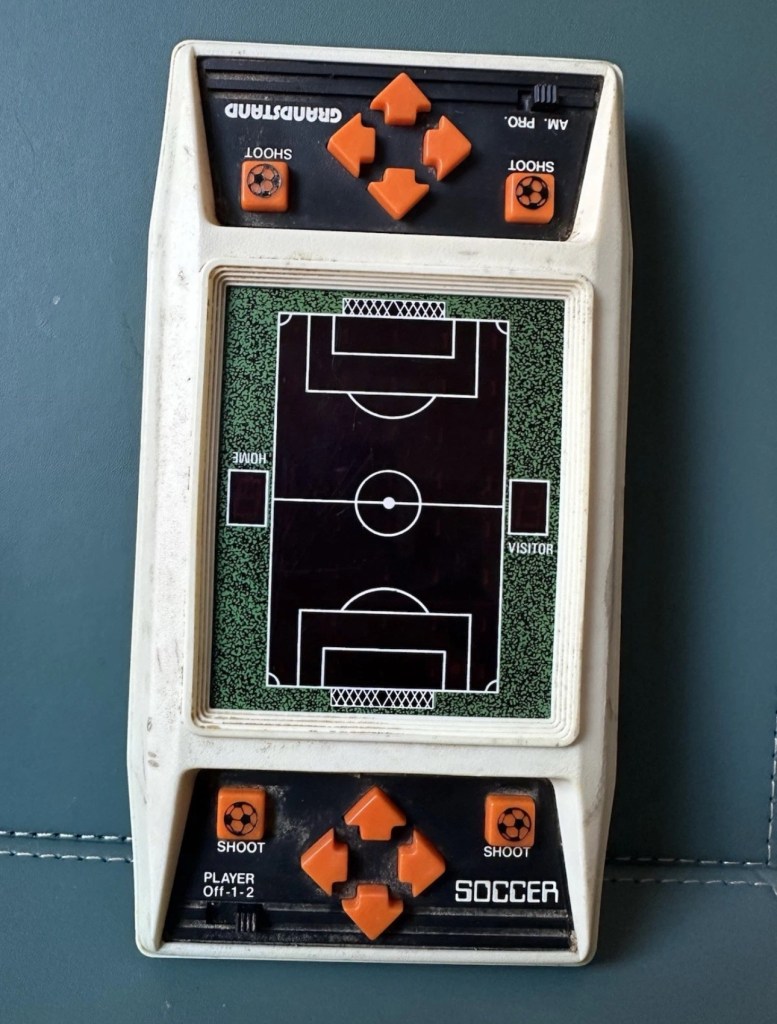
Grandstand – Kevin Keegan’s Match of the Day game

Here’s what the listing stated:

***NOT WORKING***

Spares or repairs

Fair overall condition some cosmetic damage as expected for a 56 year old item

Very rare well worth restoration if you know how

EBay

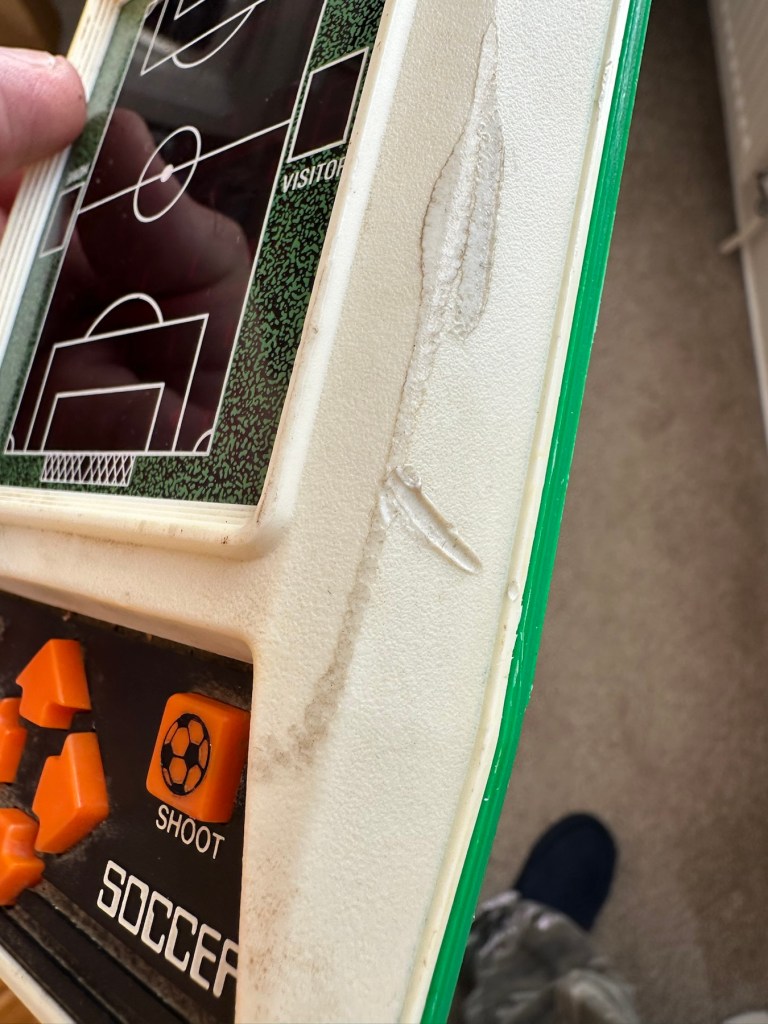
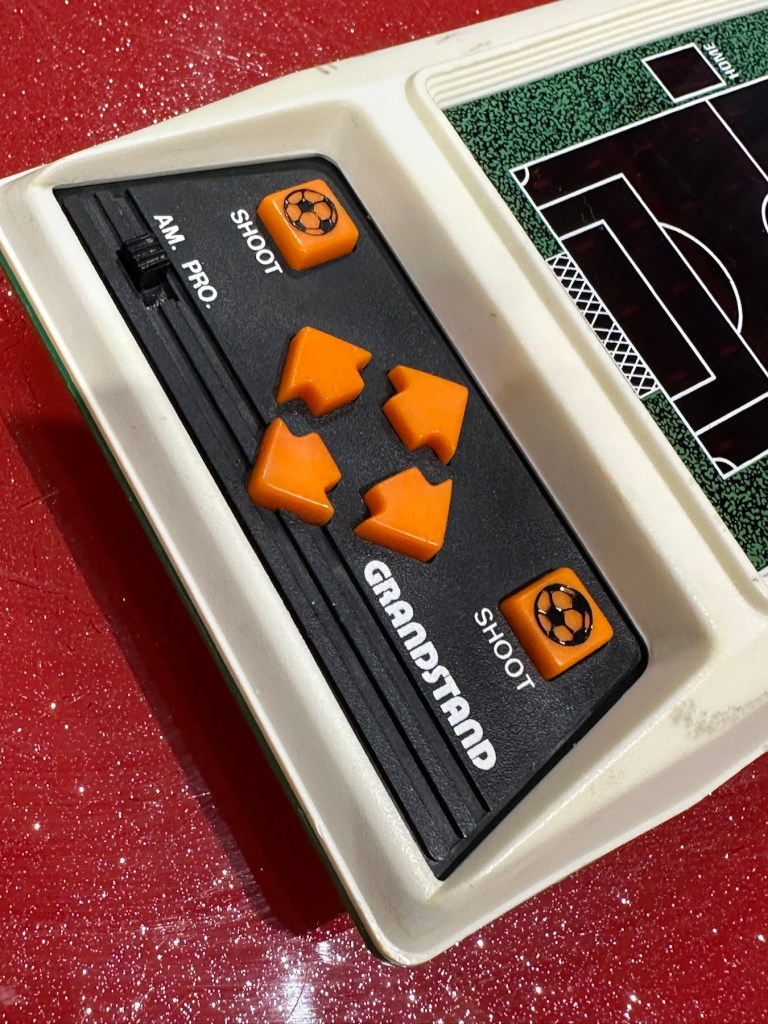
This guy sells retro games on EBay at exceptionally inflated, ridiculous prices. I suspect he doesn’t get involved with repair or renovation as he had this one advertised at over £30GBP but when I put in a cheeky bid for £12GBP he bit my hand off… I wasn’t expecting that! The usual mistakes in the listing such as stating it’s 56 years old when its actually 46, and stating it’s Very rare – it’s not, there were a few hundred thousand churned out and to be honest and they come up quite often on the sale sites. But I do agree it’s worth restoring and will pair up nicely with another retro football game from 1979 that i repaired a few months ago Bambino kick the goal football game. And what makes this unit even more appealing is that it is complete with both of its battery covers – now that is rare!

This game was made by Grandstand in 1979. Here’s the original advert that appeared on UK TV promoting the game back in the late 70’s.

European footballer of the year 1978/1979 Kevin Keegan – questionable late 70’s advert

This particular unit is listed as Not working, it looks filthy from what I can see, but having experience with these games in the past the biggest issue is age related problems such as old components, track decay and battery corrosion. No doubt the first thing I will do will be to dismantle it, give it a thorough inspection and then a good cleanup both inside and out. And then we can look at the issues around why it’s not operating.

Assessment:

The unit has arrived today and it sure is filthy cosmetically. Like someone who has grown up throughout those 46 years it has its scars. It looks as if it has been placed against something hot, and shows a burn mark up one side.

How it looks on arrival
Caked in filth
Battle scars and burns

I have put batteries in and the good news is that there is life of sorts. By that I mean there is a distorted noise from the speaker and a flash of life on the screen and then it dies. Wiggle the start button and there are more flashes of life but that’s it. No other buttons seem to be working. I’m not tempting fate but this could be a case of the unit being just as filthy inside as well as out. But knowing my luck this will not be the case. Let’s have a look inside.

Repair:

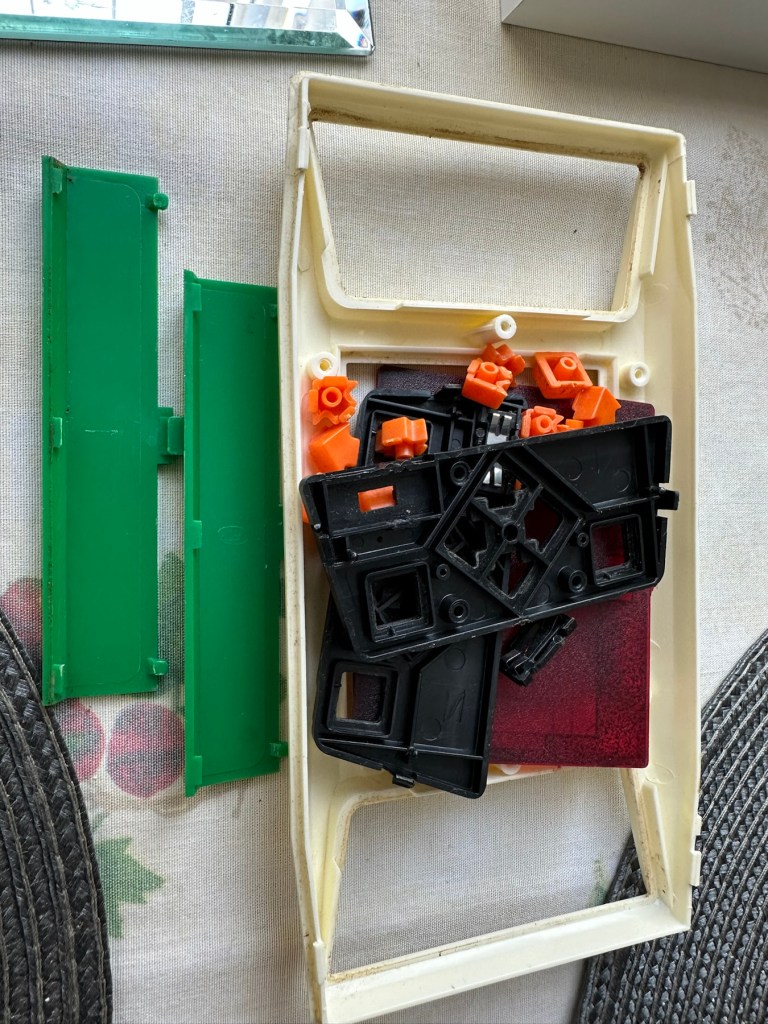
First of all we need to get the unit open, remove the circuit board and get the thing clean. So let’s do that.

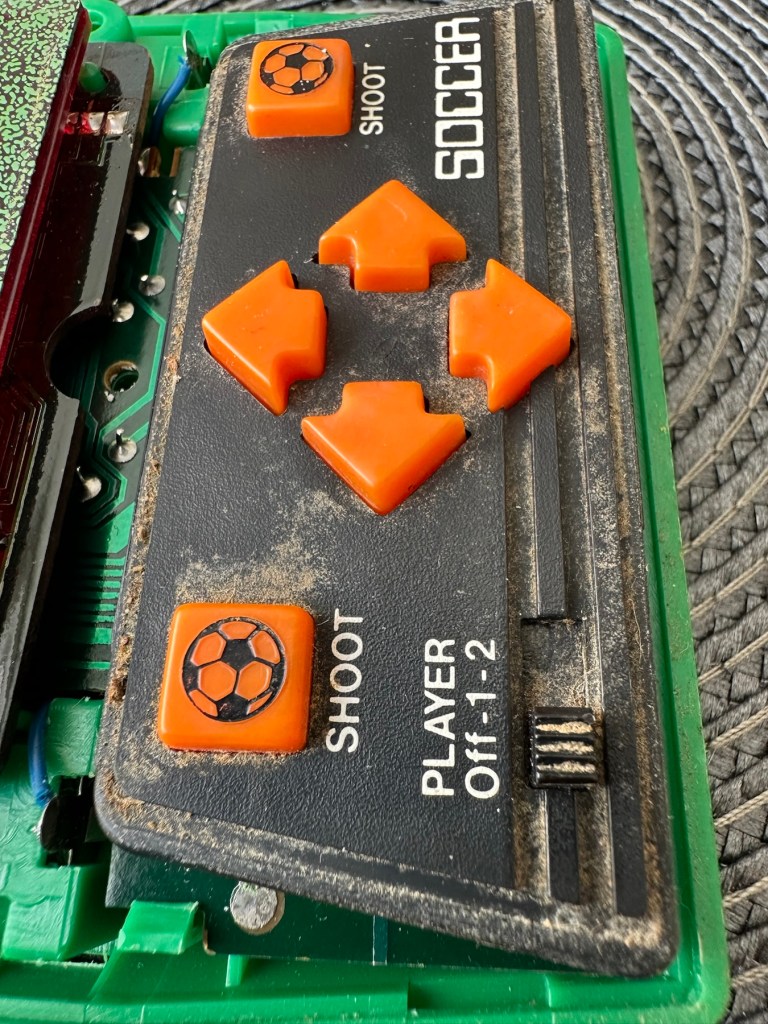
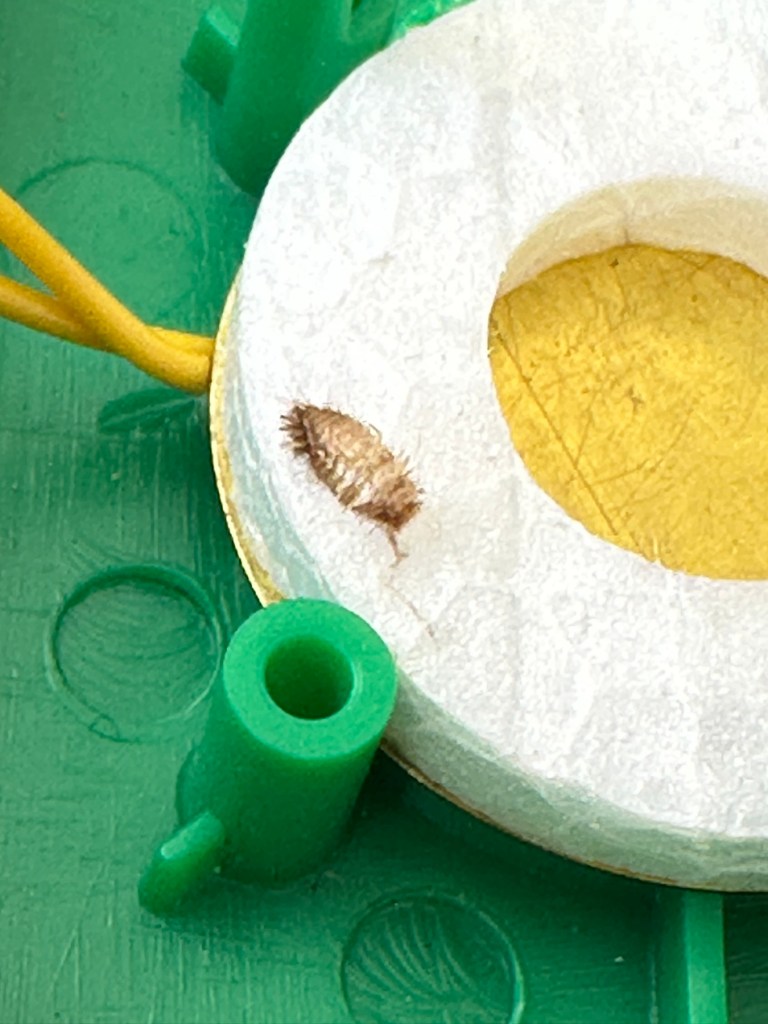
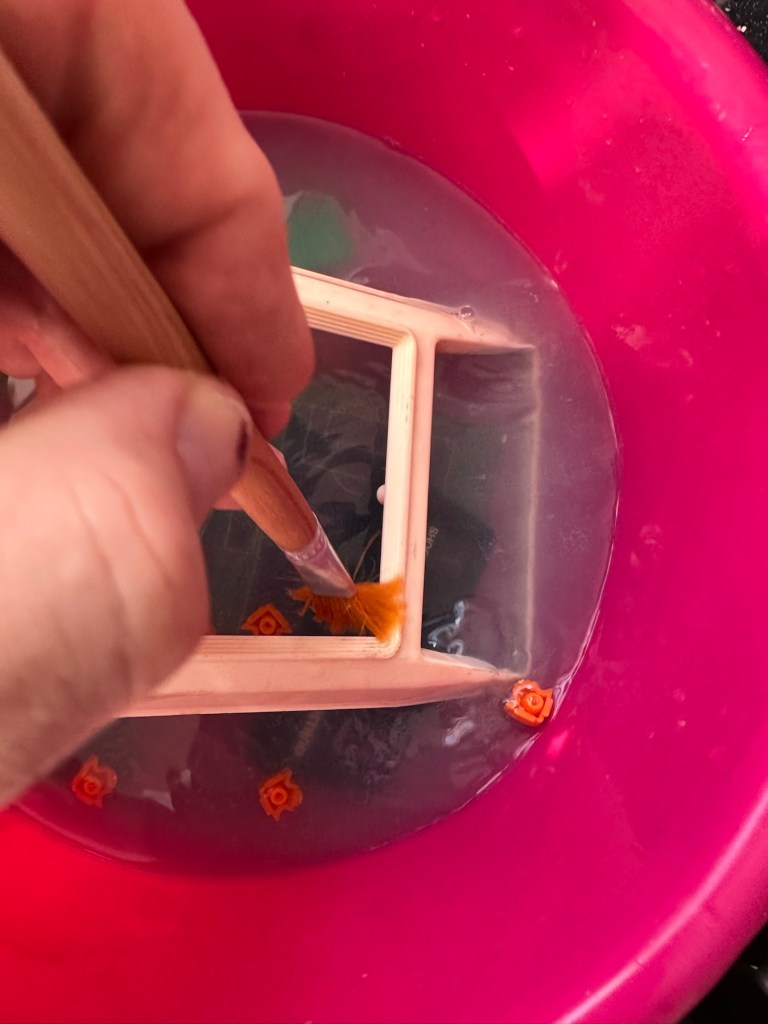
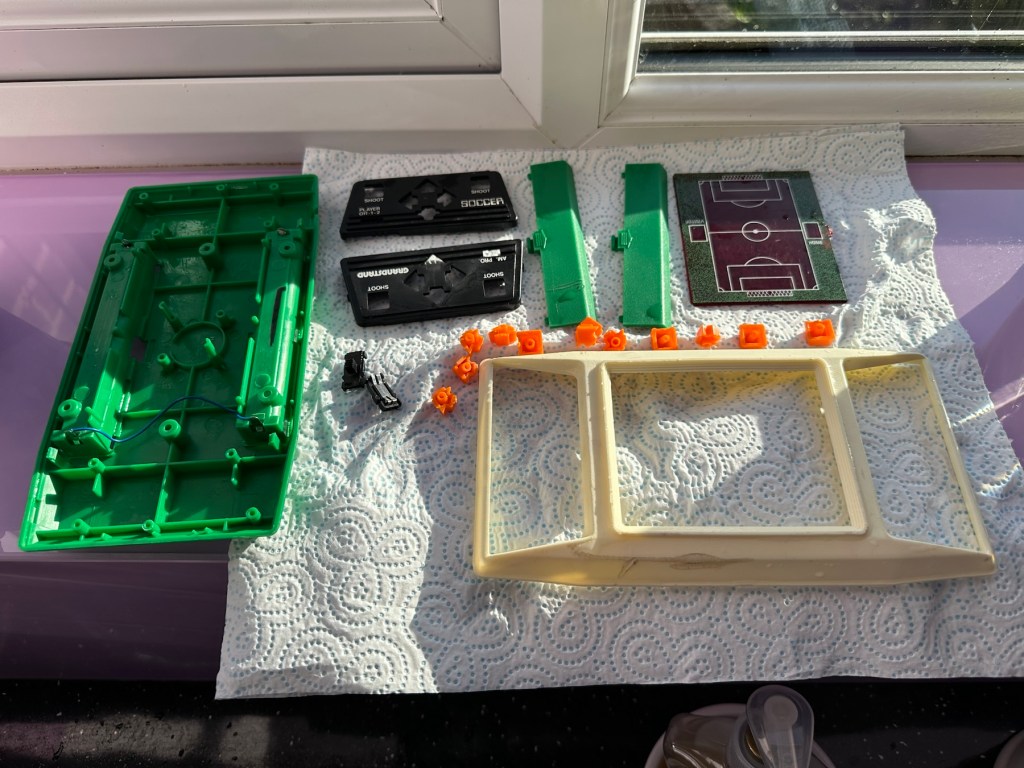
As you can see in the pictures above, the inside hid a lot of accumulated dirt and grime, there were even dead bugs inside. Everything that could be washed was taken to the kitchen given a good soak, brush and rinse.

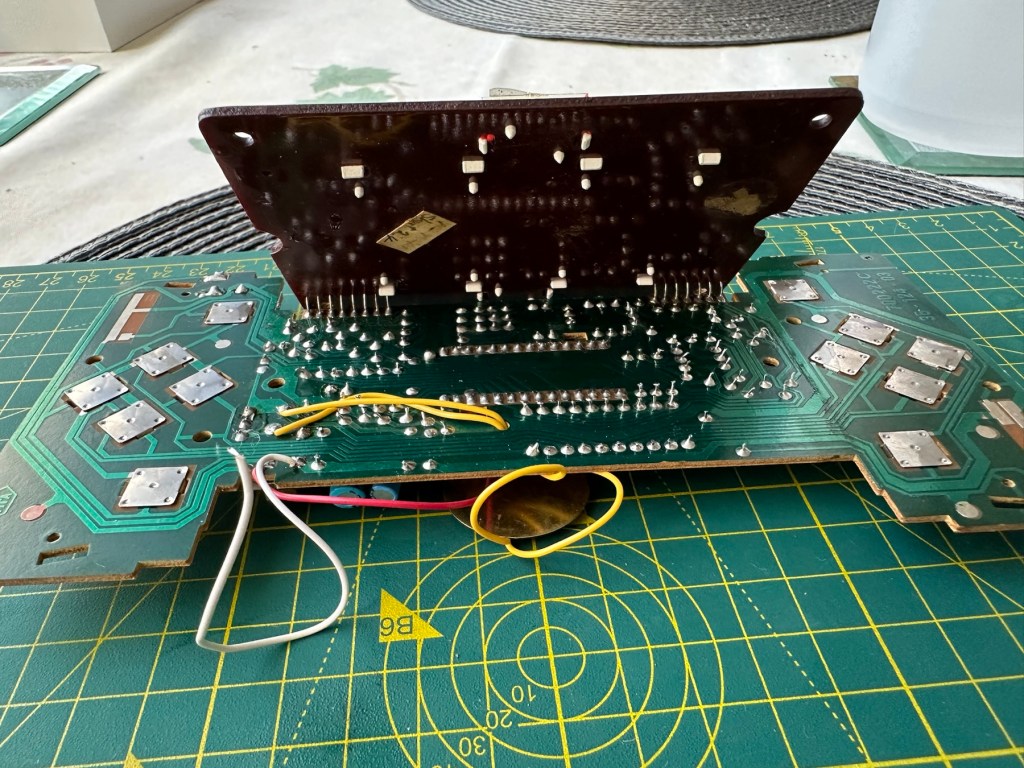
Whilst I’m waiting for everything to dry my attention turns to the board. A quick inspection reveals that all tracks are in a fair condition and we don’t need to rescue anything there. The buttons on either end have been taken apart and all cleaned with IPA, I’ve also used the same method to clean the switches and the board and after checking continuity all contacts are working as they should.

Now everything is clean, I resolder the battery contacts, check the buttons and all appears well, I attach my bench power supply, give it 6v, turn on the switch and we have life. No intermittent issues and a very loud sounding speaker. I turn this off and look at getting it all reassembled.

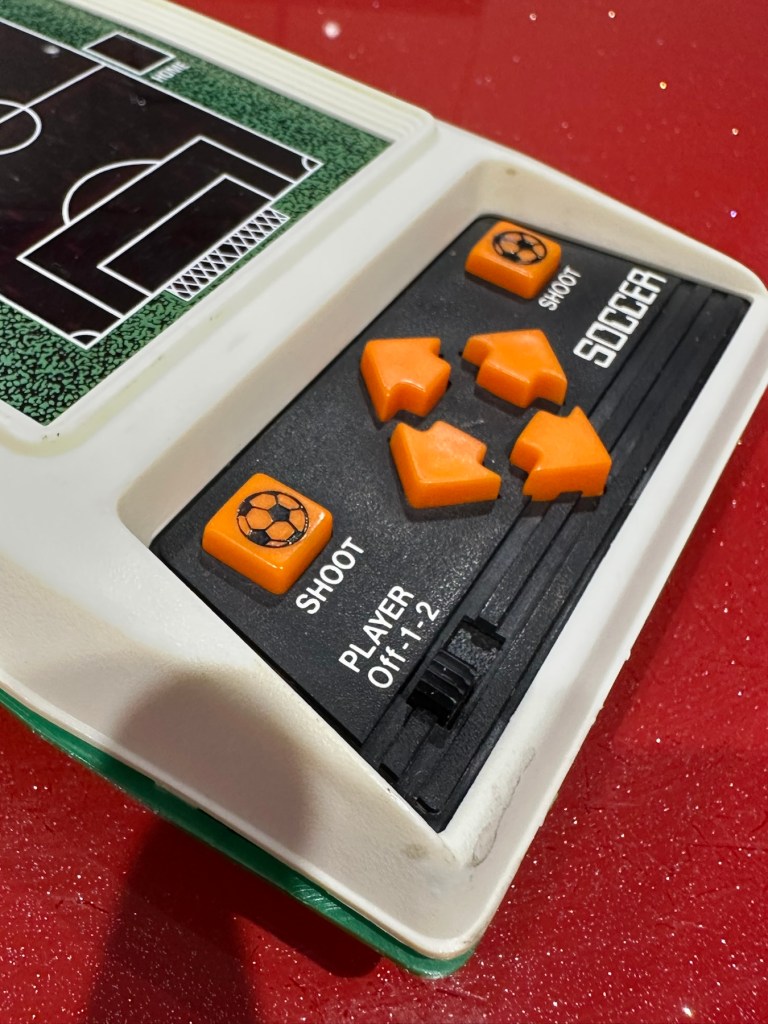
Unit now fully assembled, it is looking a whole lot healthier and apart from its burn scar is looking pretty good.

And when turned on it’s working just as well as it did back in 1979.

Result:

Sometimes these units just need some care and attention, and as I stated at the beginning all this really needed was a deep clean and service. Not a thing wrong with the electrical circuits apart from contamination on the contacts and switches.

All working. Job done

I’m now in possession of a lovely example of 70’s technology with slight battle scars. It’s had a tough life but now it has had a new lease of life and is good to go for many more years yet. It will take a place in my “Retirement home” collection of old discarded retro game units.

As always, it’s a win as we have prevented another unit being heaved into landfill.

Job done.

Thanks for passing by, it’s always appreciated.

Tomy / Palitoy Blip LED game

What the listing stated:

Boxed Tomy Palitoy Blip Vintage 1977 LED Game 

Good condition and powers up but need to shake it to make ‘ball’ move.

Could be a spring tension has weakened or something

Box is very worn

EBay

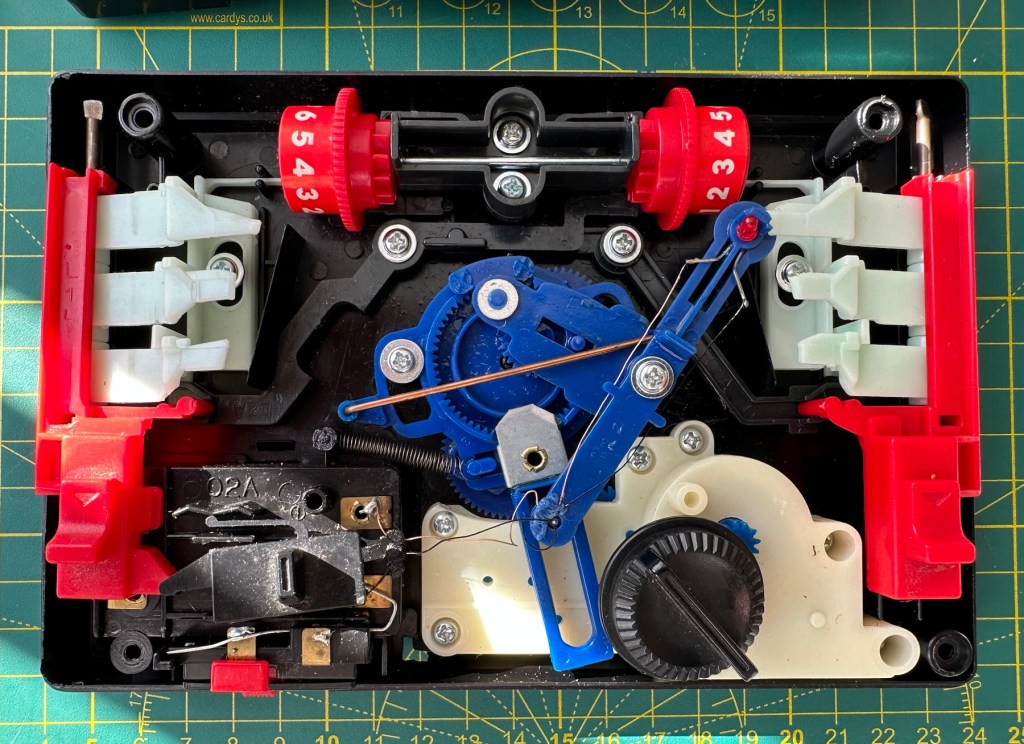
This purchase kind of excites me as it was a couple of years before games started to go truly digital. The year was 1977 some 48 yrs ago from the current time of writing. It was labelled as a digital game however that was a bit of a misnomer, it was more an electro mechanical game as the battery source in this unit had only one purpose, to power the LED light source. The main guts of the unit are mechanical being powered by a wind up motor that does the majority of the work. However the mechanics within this unit are superb and it’s worth a look under the cover just to revel in its construction.

These units were released at the time when pretty much the only video game available was the tennis game “Pong”. The TV game units produced at the time were selling for around £70GBP where as this unit was priced somewhere around the £8GBP mark. Hence, it was a cheap option for the children and didn’t need extra hardware such as a TV and a power supply. However, it wasn’t a match for the far superior “Pong”. It was in theory a totally different and far more frustrating game.

Want to give it a try? There is a really good true to life version available from the App Store to play on your phone. Believe me it will have you cussing as it’s not as easy as it looks. So realistic right down to the motor noise and light movement. It’s really addictive and annoying in equal measure.

The App for iPhone…it’s frustrating

This video below by Randi Rain shows a total refurbishment start to finish and is a great source of information regarding the breakdown and repair of this item.

Breakdown and restoration of a TOMY Blip

Some history:

Blip was designed by Hikoo Usami for the Tomy Kogyo Co., the patent being filed in 1976 and awarded on December 19, 1977.

Tomy marketed Blip in the U.S. starting in 1977. In Japan, Blip was marketed as World Tennis and differed from the U.S. game by having the words “World Tennis” emblazoned on the screen and replacing the 1, 2, and 3 on the screen with silhouettes of tennis players. The Blip name remained on the Japanese version. In France, the game was marketed by Meccatronic. The German version was called Blip-o-Matic, although the Blipname remained on the case.

It is the timer which provides the motor function to the game. Upon the timer dial being turned, a spring is wound which then, via several gears, drives the arm upon which the LED light (the ball) is mounted. The movement repeats after the ball hits each player’s side 36 times, so it is possible to memorise the sequence of buttons to press.

Wikipedia

I’m really looking forward to receiving this unit and can’t wait to get it up and running again. I’ve been after one of these for quite a while.

For those who may be interested and who have a photographic memory this is the sequence that the movement repeats in its 36 movement cycle:

Pic courtesy of Tech Tangents

Assessment:

The unit is in good cosmetic condition considering it is 48yrs old. The box is tatty but usable and as always smells a bit musty (To be honest as expected). The mechanical condition is not as described and is a total non starter. It seems the winder may have even been overwound, I hope this is not the case. The “Ball” light does come on when batteries are put in but only intermittently and when pressure is applied in the battery area. However the contacts do look clean with no sign of battery leakage or corrosion. And I know someone has been in this unit prior to me as one of the four body securing screws is missing. God knows what I will find awaiting me within. The seller has been a little, how can I say it, inconsistent with the truth in his description of this unit.

But that’s why I buy these things. Let’s get inside and find out what is needed to get it back into being a working game.

My unit. And the ball light came on for a few seconds to allow me to take this picture. Then promptly died again.

Repair:

Open the case and this is what you are faced with.

Complex mechanical interior

If you remove the left and right control paddles you can get to see the mechanism running unhindered. However this one has an intermittent fault where the movement stops mid travel, there is something restricting its movement.

Something stopping movement

There is an inherent issue with these units where the gears have to be set up in exactly the right position or else it does not work. Similar to changing the timing belt on a car. This confirms to me that someone has been inside previously and messed with the gearing.

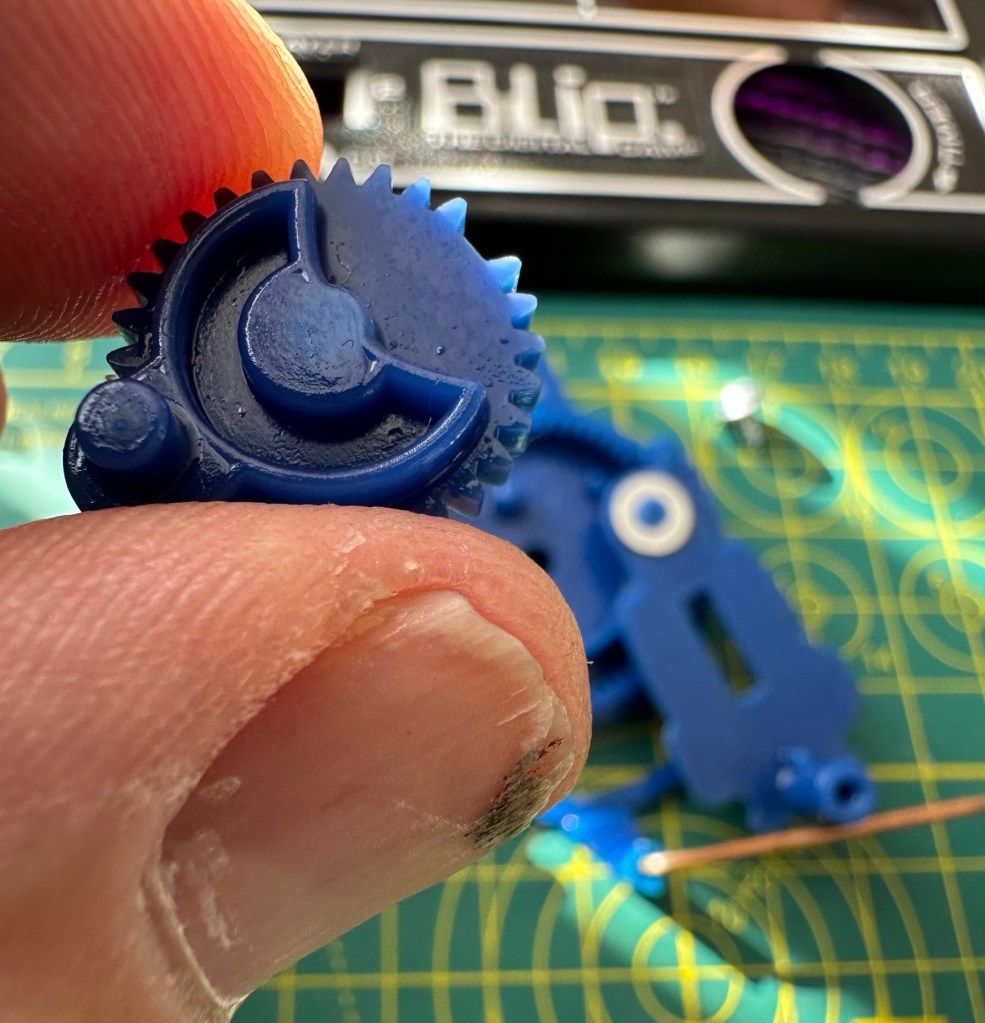
I also noticed a cog with a tooth missing, this was strange as to be honest it didn’t look as if there had ever been a tooth there in the first place!

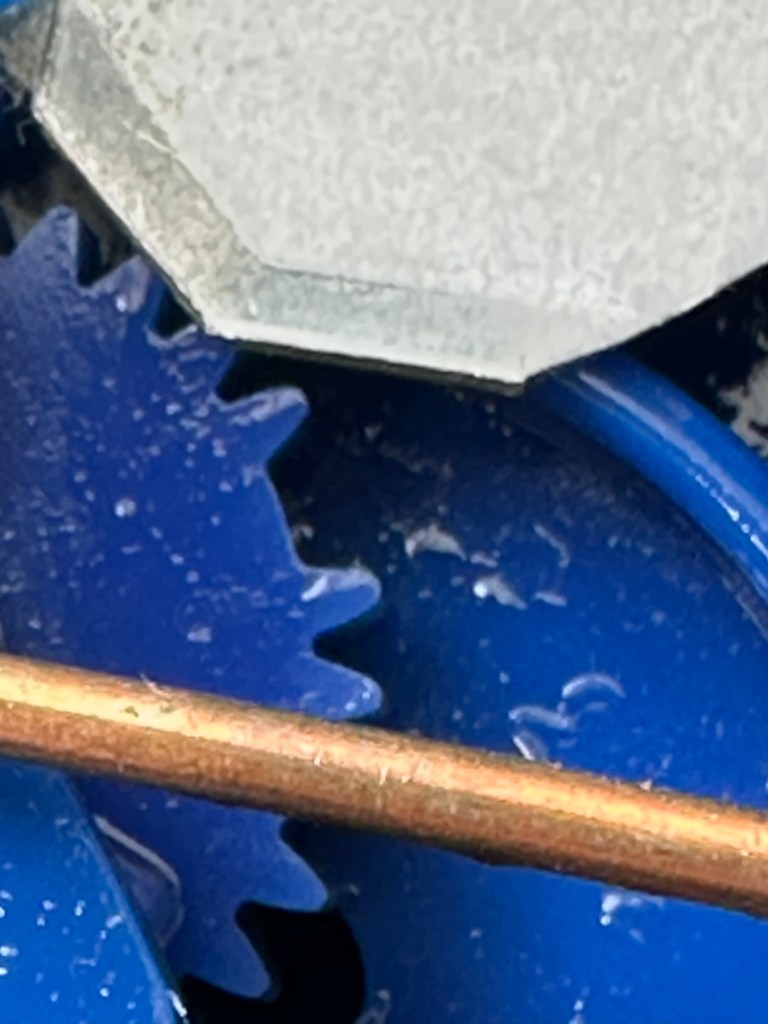
Looking at its motion it transpires that this is another cog that just has to be in the perfect position and the “Missing tooth” corresponds with a flat post on the rear of the gear train. It’s missing for a purpose. This pleased me somewhat.

Calibration holes on the cogs correspond with holes in the shell base.

I put the cogs back in place paying special attention to their positioning and tried the unit once again. Here is the result.

Now a nice smooth movement

Next I’ve taken the light switch to pieces, I’ve cleaned all the contacts with IPA, reshaped the contact and put back together.

I’m pleased to say this did the job, the light works fine and there is no longer an intermittent fault. It’s all that was required.

I have reassembled the unit, given it a good clean and it looks pretty smart if I say so myself. It was already well oiled so there was no need to add more at this point. It is now fully working and will last a good few more years yet.

Now Working

Result:

A successful repair of a 48yr old toy game. I’m really pleased with my purchase and it’s another cracking example to add to my ever growing collection.

All clean and looking smart

Repairs on these games need approaching from a different point of view. The electronic content is minimal and mechanical workings are the order of the day. Look how it has all reversed in today’s gaming world, that’s advancement for you.

Really pleasing positive result here. Another one saved from landfill.

Thanks for passing by and reading this post. It’s always very much appreciated.
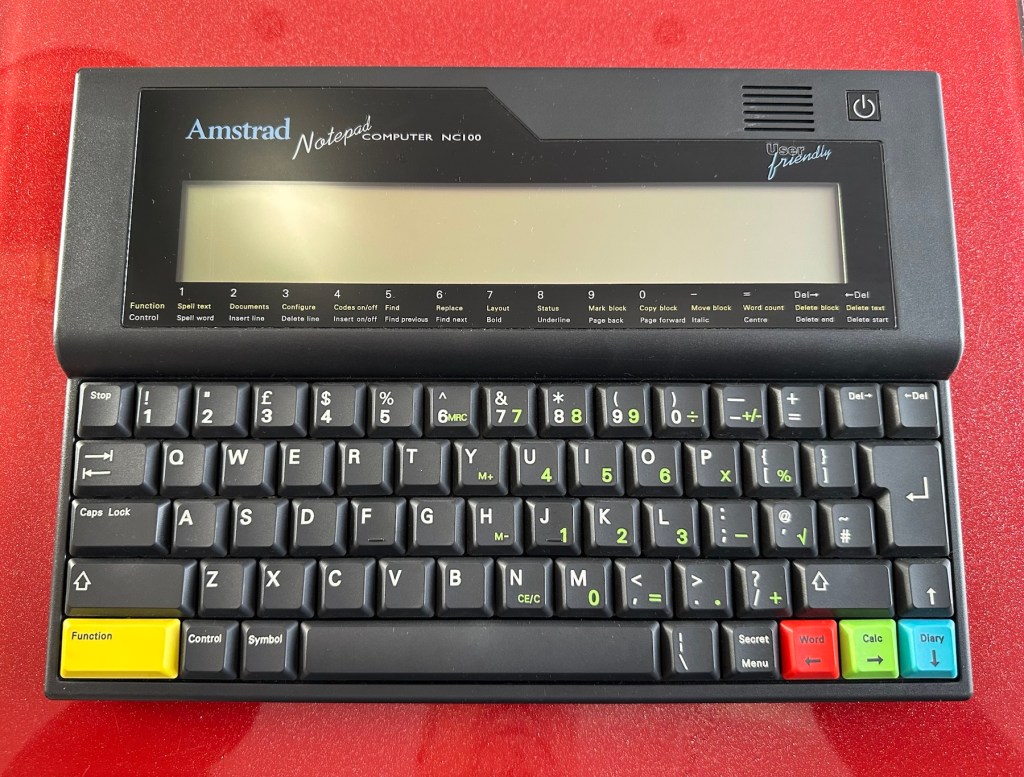
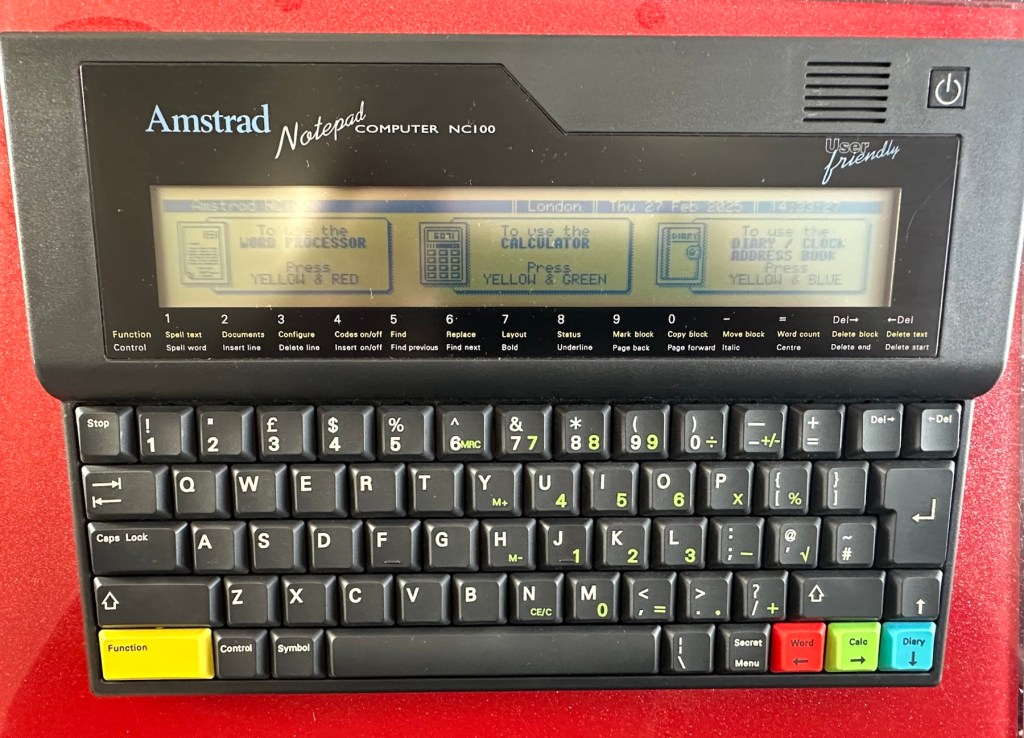
Amstrad Notepad NC100

What the listing said:

Amstrad Notepad NC100+ Vinyl Case 

Not working not powering on, the vinyl case has some marks and scratches.

EBay

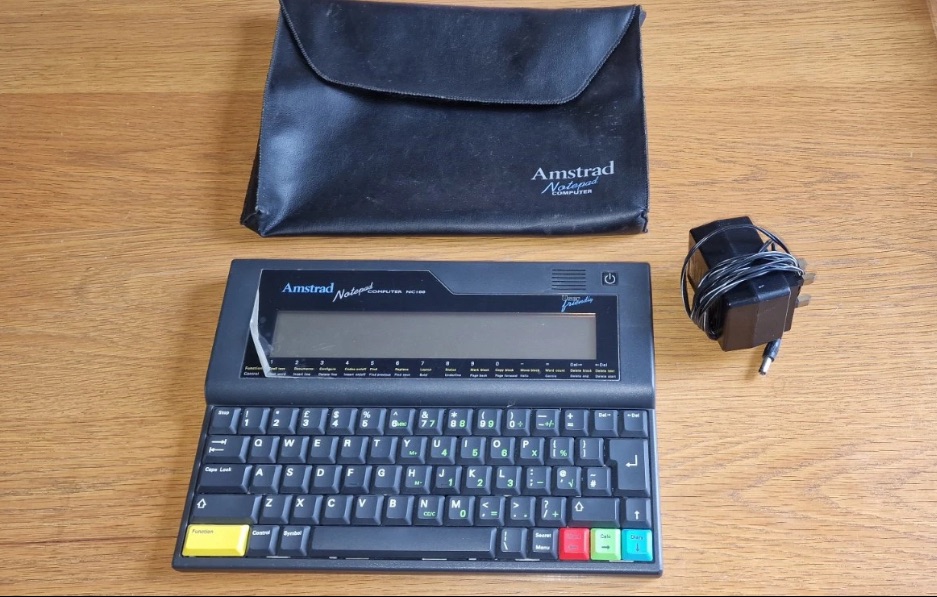
I’ve been after one of these for a little while, I’ve just been awaiting one at a good price and this one became available, post included at £30GBP, they retailed for £199Gbp back in 1992. It says it is not working but that’s good in my eyes as it makes these posts more appealing, as it gives me something to repair. I don’t know what the issue is off hand as the post didn’t state that, but I do know these items have suffered with capacitor problems over time, but that is not necessarily the case here. We will just have to wait until we do the assessment on its arrival. And as it comes from around the early 90s it fits right in with my modus operandi. And this little cutie dates from 1992.

Here’s a little history behind this unit courtesy of Wikipedia:

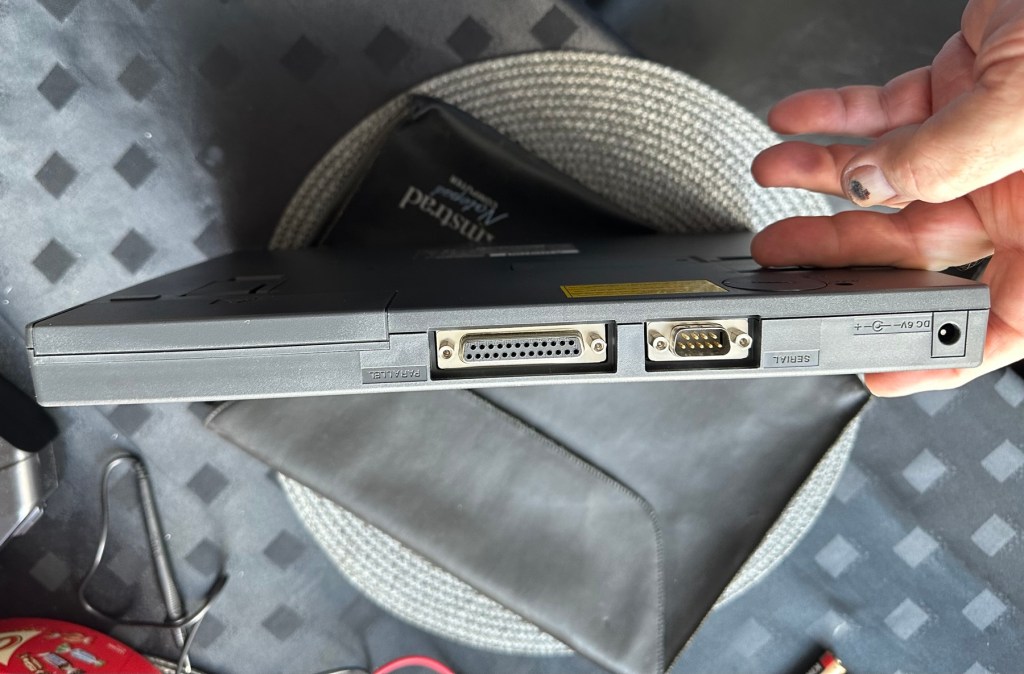
The Amstrad NC100 Notepad is an A4-size, portable Z80-based notebook computer, released by Amstrad in July 1992. It featured 64 KB of RAM, 256KB of Rom, the Protextword processor, various organiser-like facilities (diary, address book and time manager), a simple calculator, and a version of the BBC BASIC interpreter. The computer’s design, evocative of the TRS-80 Model 100, features a screen with 80 character columns by eight rows, and not backlit, but this let the NC100 run for up to 20 hours on four standard AA cellbatteries. There was an RS-232serial port, a parallel port for connecting a printer, and a PC card socket, by means of which the computer’s memory could be expanded up to 1 MB.

Assessment

The unit has arrived and cosmetically it is in very good condition apart from the peeling plastic screen cover. A little bit of dust and grime, all keys in good order and no dinks or dents. the vinyl bag is a little tatty but that’s not a problem, it’s obviously done it’s job over the years due to the good condition of the unit.

So down to testing. First thing I’ve done is check the power supply is giving a 6.5 v output and this is ok.

Power supply doing what it should.

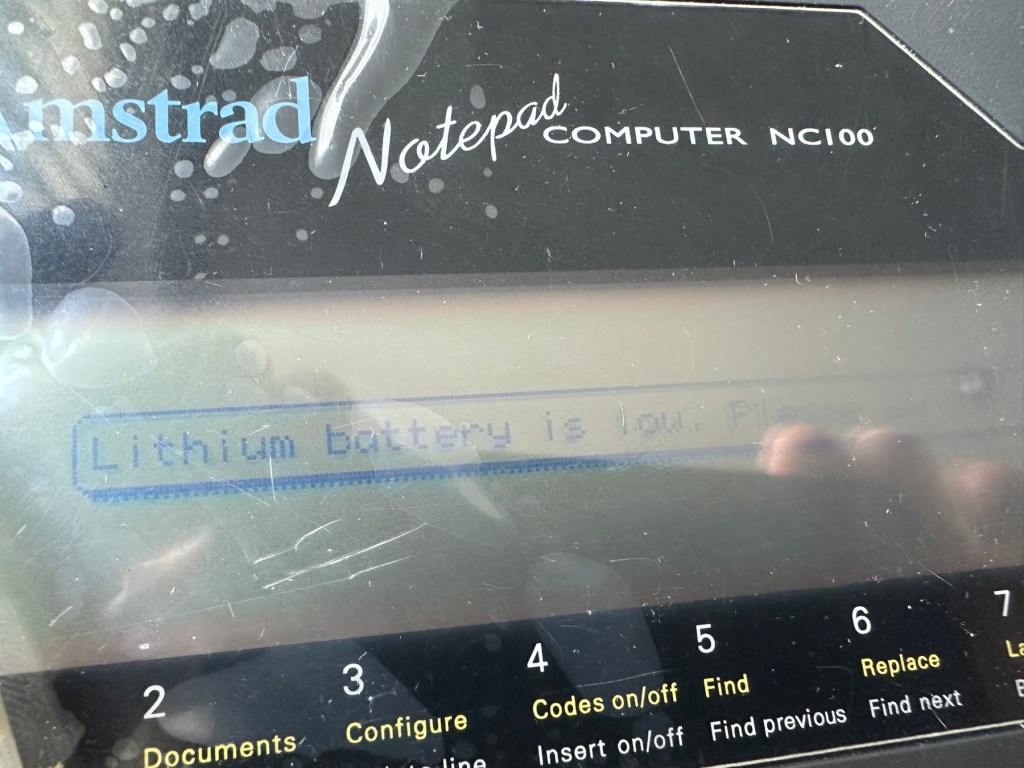
Secondly I’ve put 4 AA batteries in place and turned the unit on but then it abruptly stops, displaying a lithium battery issue.

Lithium battery warning

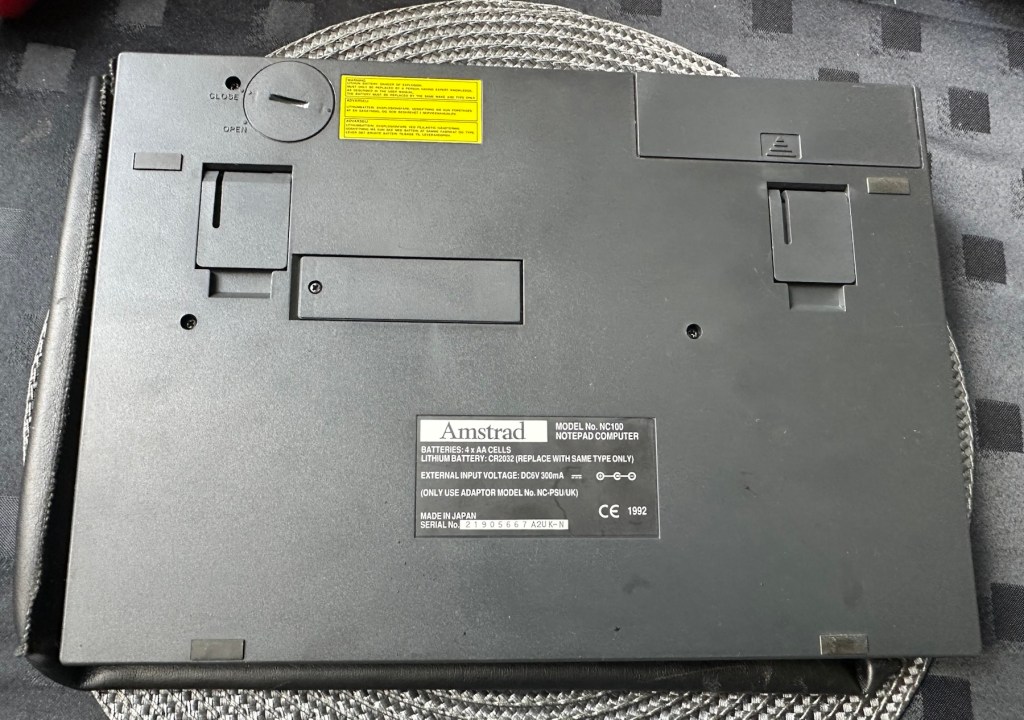
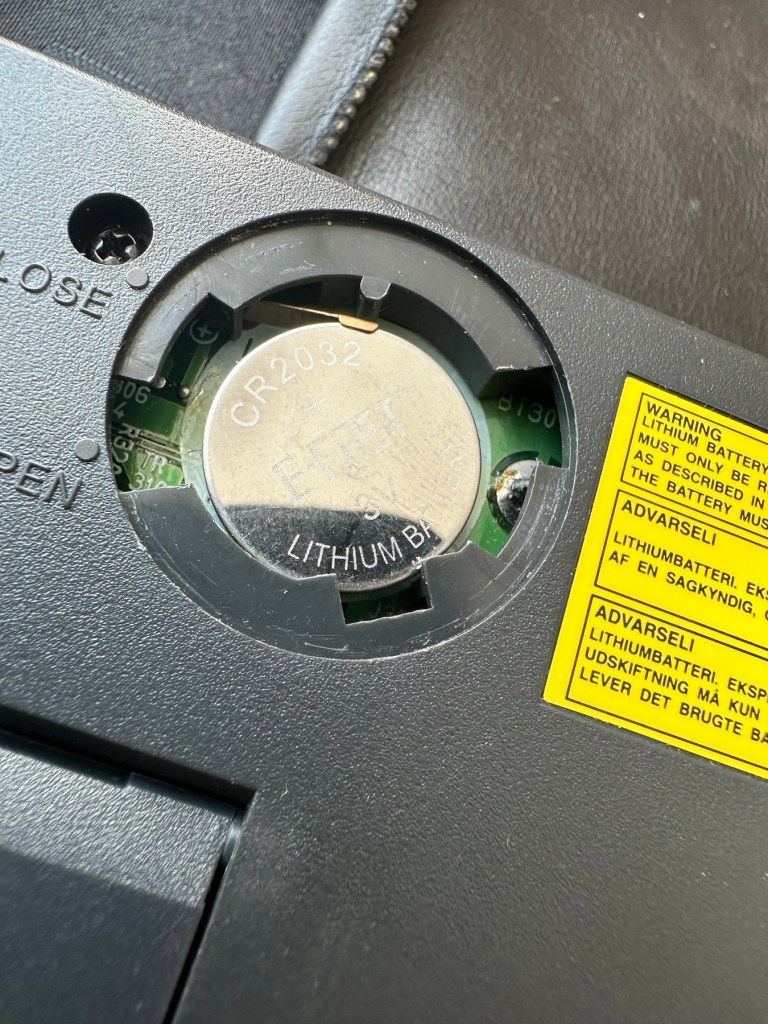
The lithium battery is an old CMOS type battery, a CR2032 coin battery. This is the battery that keeps the info in the system when you turn it off. I thought I’d run this through the multimeter and was surprised with the voltage I saw, the battery seemed fine to me at 2.8v, so I replaced it with a new one measuring 3.4v. And the issue came up again…..head scratching time!

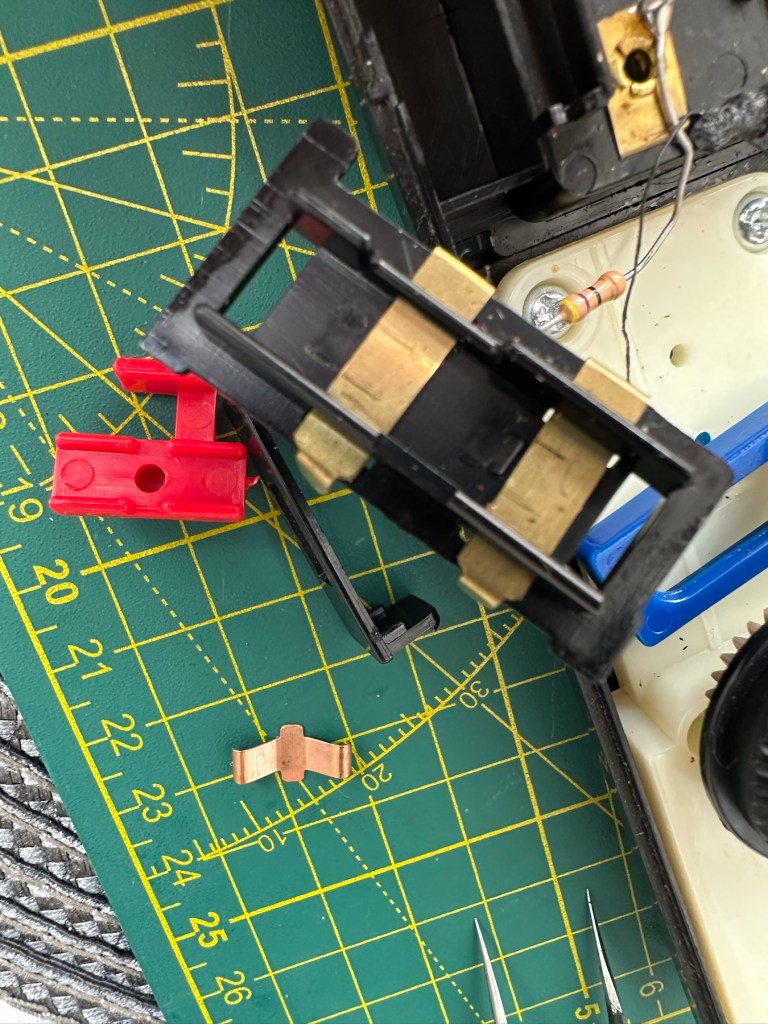
Looking on line it seems there is an issue with the lithium cell battery contacts on these units when they are being resurrected to modern day usage, time has not been good to them. The coin contacts have now been cleaned and slightly bent to ensure a better contact and hey presto it’s operational with no further issues.

Battery contacts needed cleaning and repositioning

The main AA battery contacts are fine and the external supply is doing what it should. Now let’s look at sorting that screen issue.

Quite simply there were two options, use a bit of heat to try and stick the plastic down, but I decided against this as it would not lay flat, it had too many kinks in it. So the only other option was to remove it and this is what I did, it peeled off with no issues. In time I will see if I can get a suitable replacement but to be honest it isn’t really required as I’m not going to be using it that often.

Let’s get that screen cover off

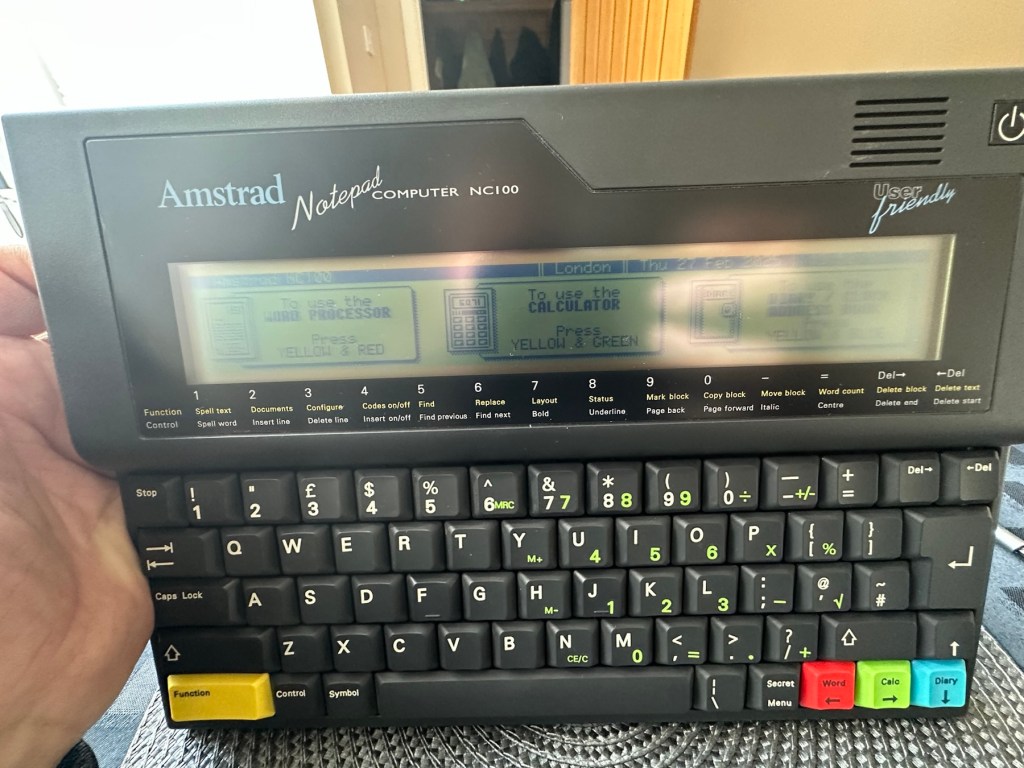
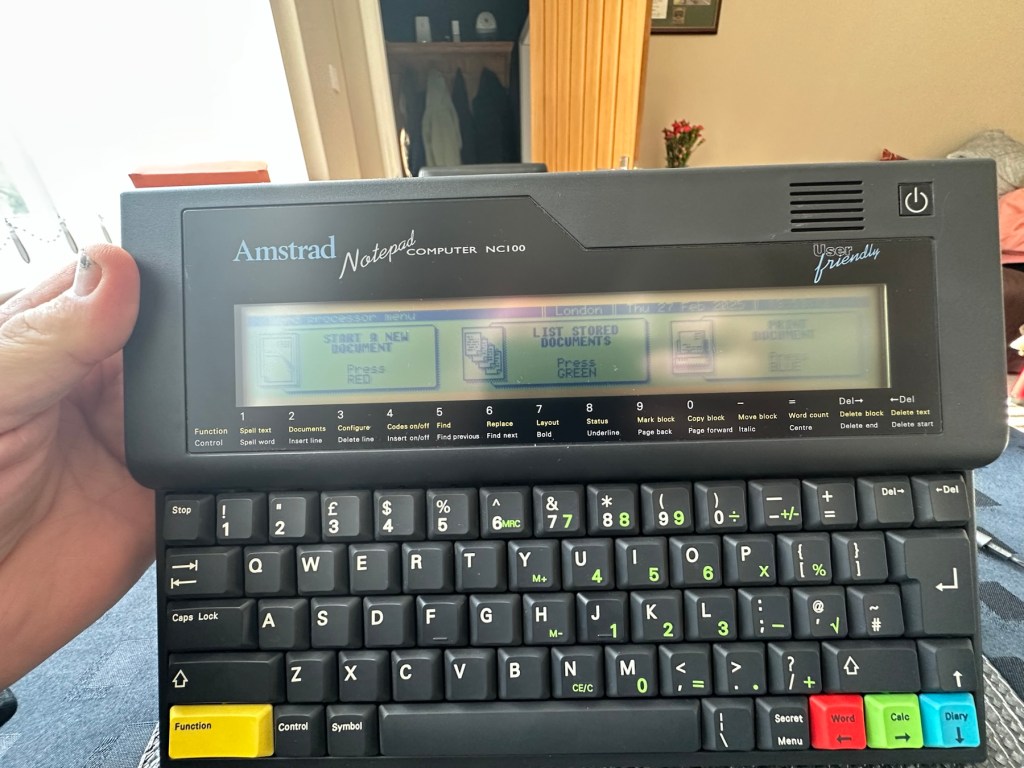
I’ve tried every function and keystroke of the board and all is good there are no issues and I now have a perfectly acceptable unit for my collection. It looks like i have had a second win against the “Untested” brigade who sell on EBay. This was the simplest of repairs and the issues are readily available to research on line. There is no excuse for not looking into the issues, when a good unit like this can now sell for up to three times the amount that I paid for it.

Your loss my win. Another one kept from landfill.

I’ve given the unit a good polish and I think you’ll agree that the project has come up good.

Now to just go and read the user manual on line to see if I’ve missed anything. Thanks for passing by, as always it’s most appreciated.
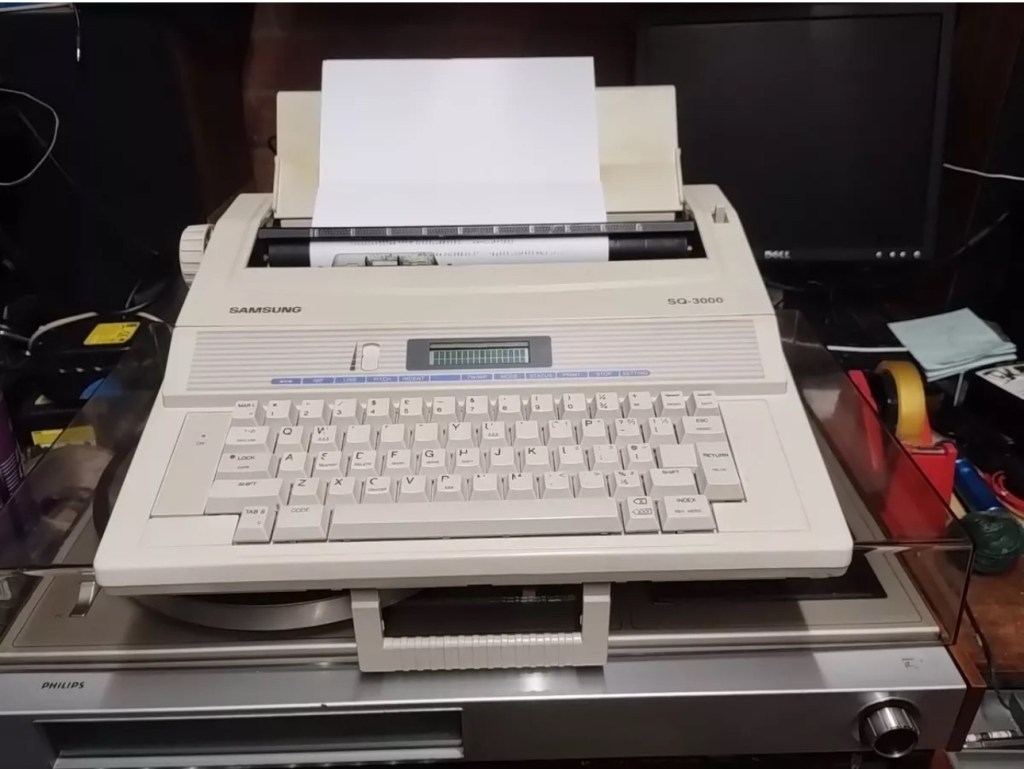
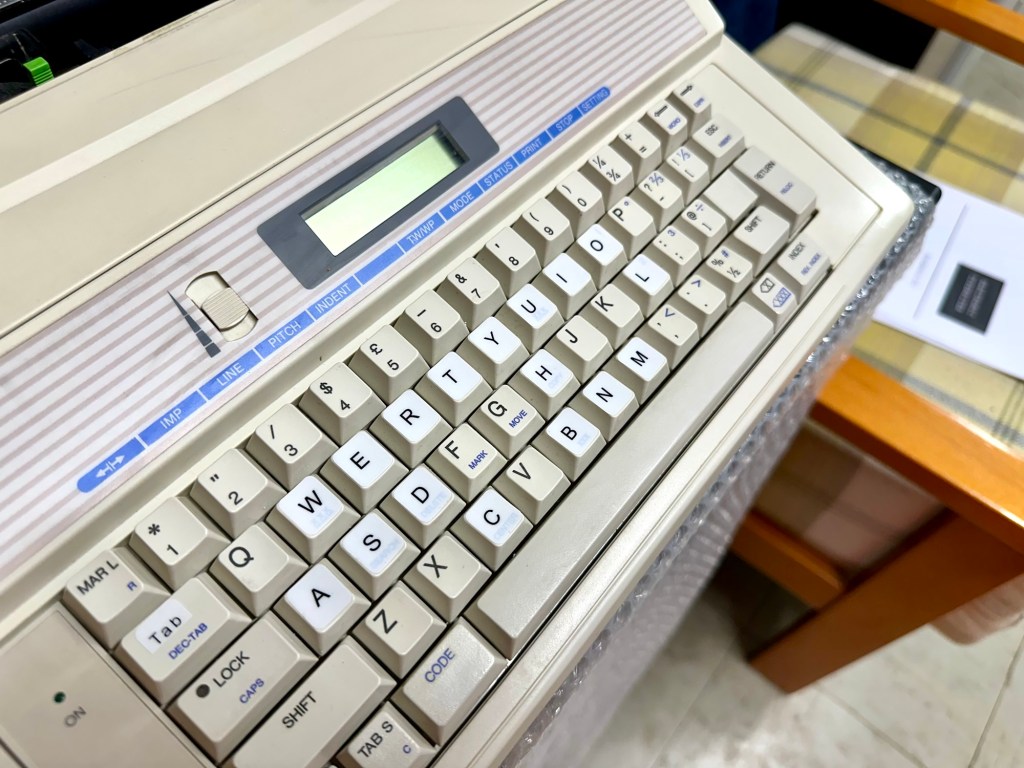
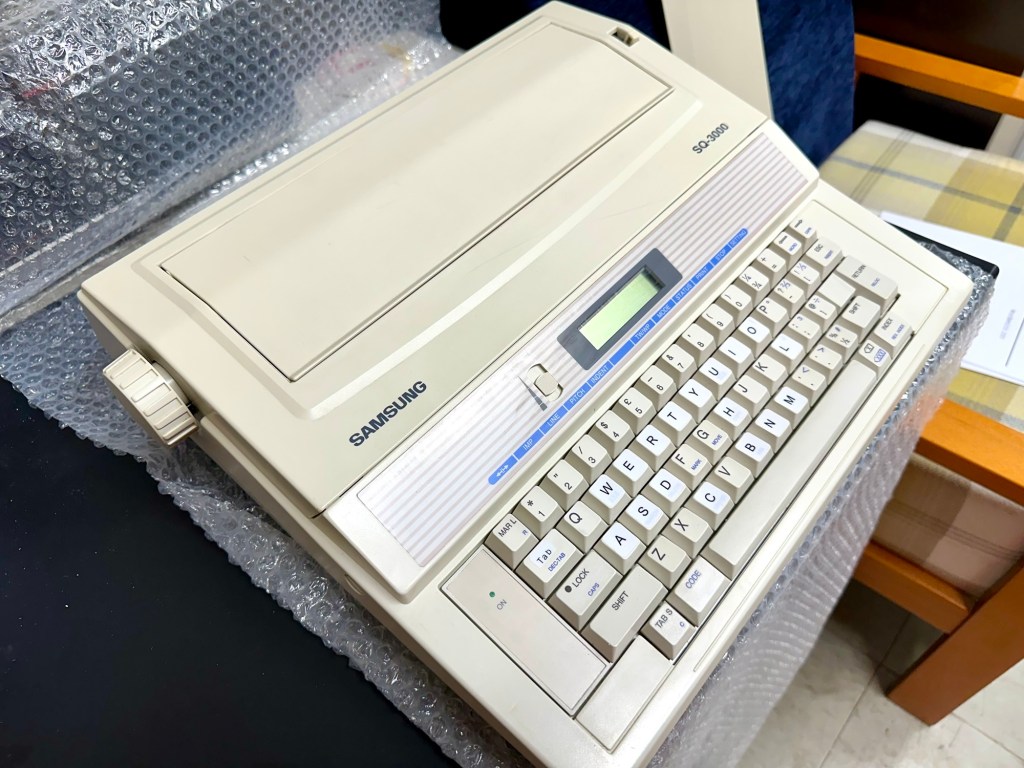
Samsung SQ3000 electronic typewriter – assessment & repair

This is the follow up to a recently obtained electronic typewriter that was purchased in January 2025, the initial post can be found here: Samsung SQ3000 electronic typewriter.

Samsung SQ3000 electronic typewriter

The following post will deal with the assessment on its arrival and what I am going to try to do, to get it back working again, as close as possible to its original state.

I’ve downloaded an instruction I manual, I’ve had to download one for a Smith Corona Wordsmith 200, it is in theory the exact same unit, just under a different manufacturers branding.

Assessment

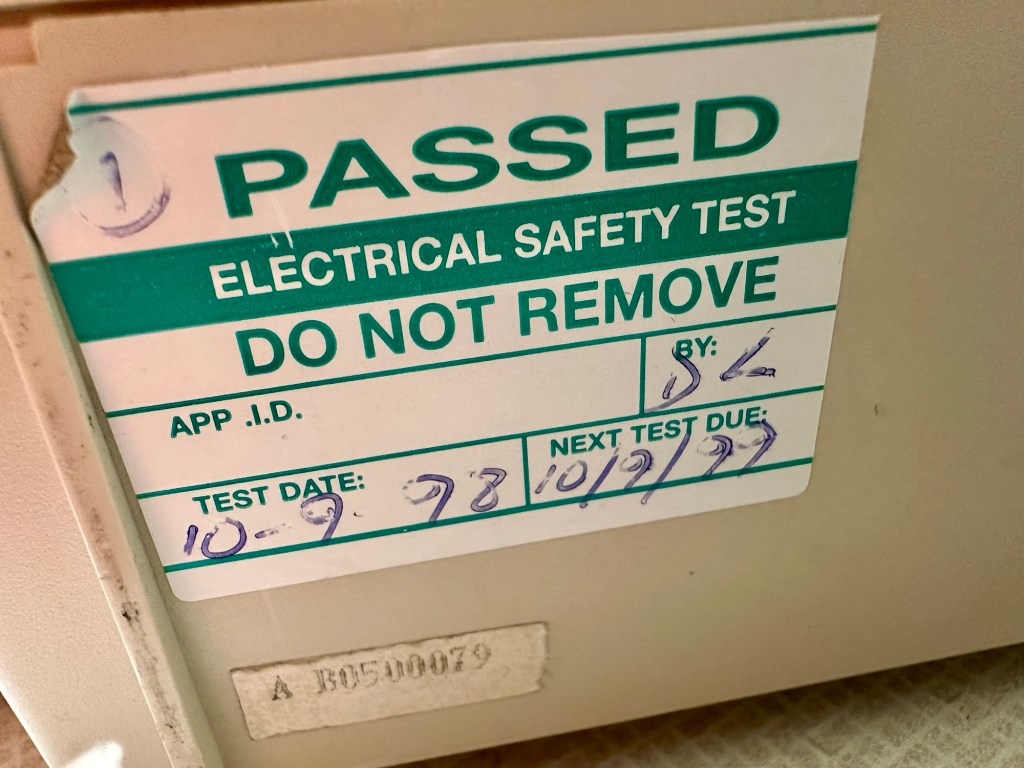
It’s arrived and apart from a little age yellowing it looks ok. There is a PAT testing sticker that says it was last electrically tested back in 1998 and is due a retest in 1999. This corresponds with my date estimate of mid 90s.

I will retest and renew the safety checks when I’m finished working on it. I have noticed that the paper bail/release rail is broken on the left hand side so I will have to add that to the repairs, this shouldn’t be a major concern.

Before I took the roller out to get to the paper bail I did start the machine up. Everything went as expected and when I tried to type I was getting some weird reactions to the keys I was pushing. All kinds of characters were appearing.

Before

I checked the daisy wheel and there was a click. It wasn’t sitting right. I reset the machine using the two reset buttons and the machine then went through its reset programme, pretty much the same effect as turning it off and on again. (Not much changes in the way of tech there then)

After

Well that’s worked fine, I have tried every combination on the keyboard including the erase function and this is now fully working. It really was quite simple. My next job is to try and fix this paper bail.

Paper bail removed for fixing

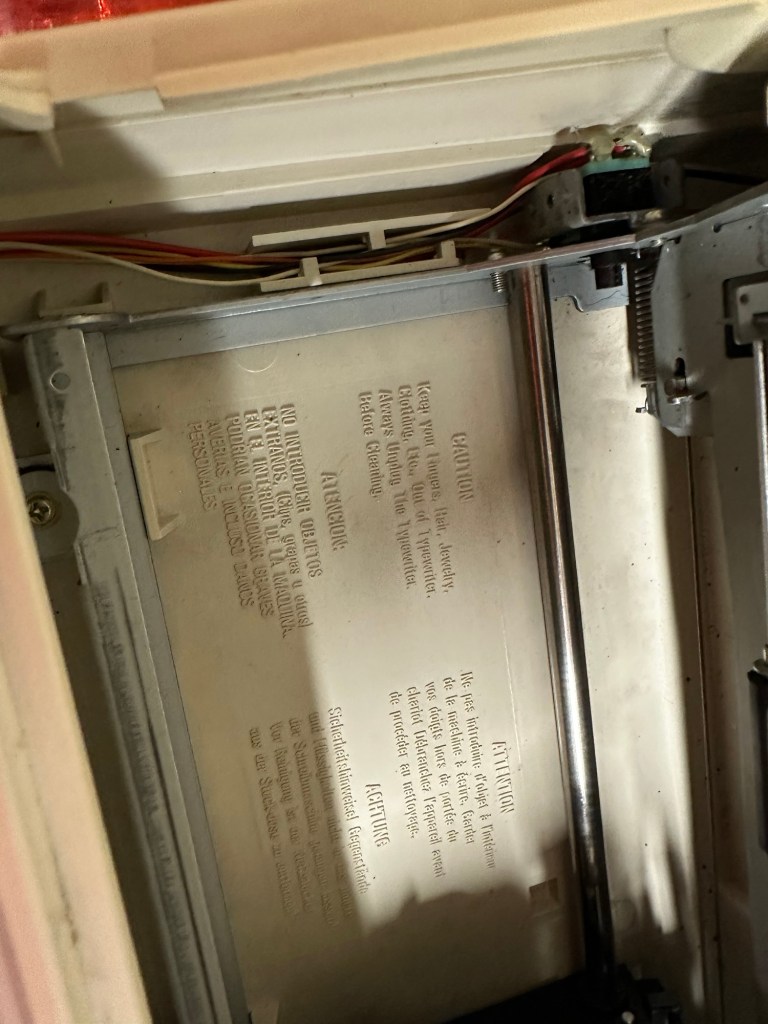
There is quite a bit of dust and dirt inside that needs removing. And whilst I’m at it I will lightly re grease the areas that need it. Let’s be honest it’s not been done in the last 30yrs so now is as good a time as any. Inside will get a light hoovering and a bit of a tart up, I’m not going to go mad. I will clean the outside and all knobs and buttons and try to get rid of some of the yellowing, but to be honest as long as it’s clean I’m not too worried about age marks.

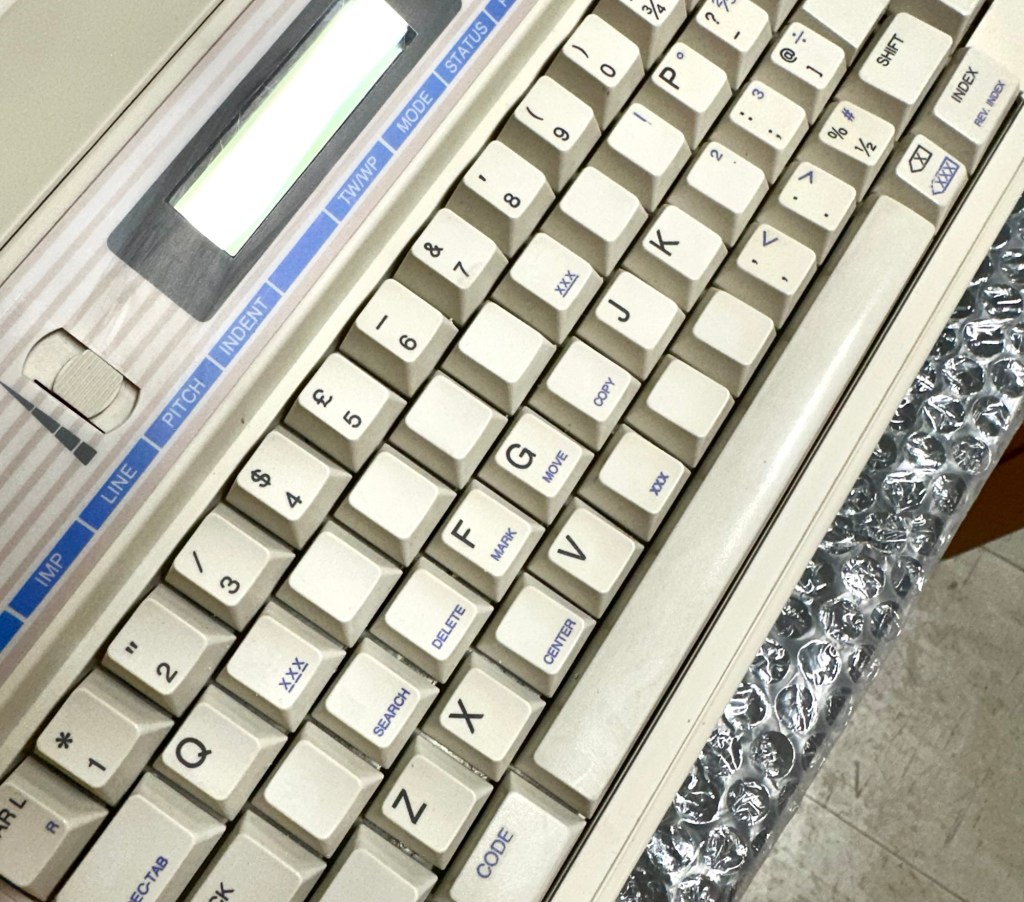
The keyboard has lost a few of its letters. I will remove what is left of some of them and use some keyboard decals to replace the missing ones. This will be one of the last jobs I do.

Well that’s the assessment done and apart from a few small issues and requiring some basic maintenance I don’t think we have an immense amount of work to carry out. We know it now works. Let’s hope I don’t cause any further carnage whilst working on it.

Let’s get to work.

Repair

Right it’s straight onto the paper bail to try and fix the snapped end. Firstly I’m just going to use some superglue to get it in place. When this is dry I’m going to create two “Doublers”, place one either side of the damaged part and glue these in place to create a stronger repair and to add some stability to this area.

I’ve got some black semi rigid plastic. I’ve created a small template from a tracing that I did of the good right hand side of the bail.

I now have two doublers cut from the plastic that I will use as explained above.

Two doublers

It doesn’t matter that they are not perfectly shaped, however they both fit perfectly well into the profile of the bail arm, and this portion of the arm is hidden in the typewriter housing anyway, so the part will not be visible, but it will now be strong.

The Doublers have been put in place using a quick set epoxy resin, I will leave this to dry for a good few hours before I tidy it up, with a light clean, and then I will try to get it back in place.

Bail arm repaired, installed and working.

Now that’s done i’ve gone inside and there were a nice couple of spider webs around the transformer that are now history. I’ve secured the cable in the rear of the unit that never had any tension restraint, so that there will be no issues, should anyone now give a good yank on the cable lead. This is a safety addition I have made that was never on the original unit.

Cable restraint screwed to base to prevent strain on internal wires in and around the transformer bay.

I have also tightened all screws and checked the wiring and this all seems ok. Plug and fuse have been checked and all is looking good. I’ll carry out a PAT test once I’ve finished the clean up.

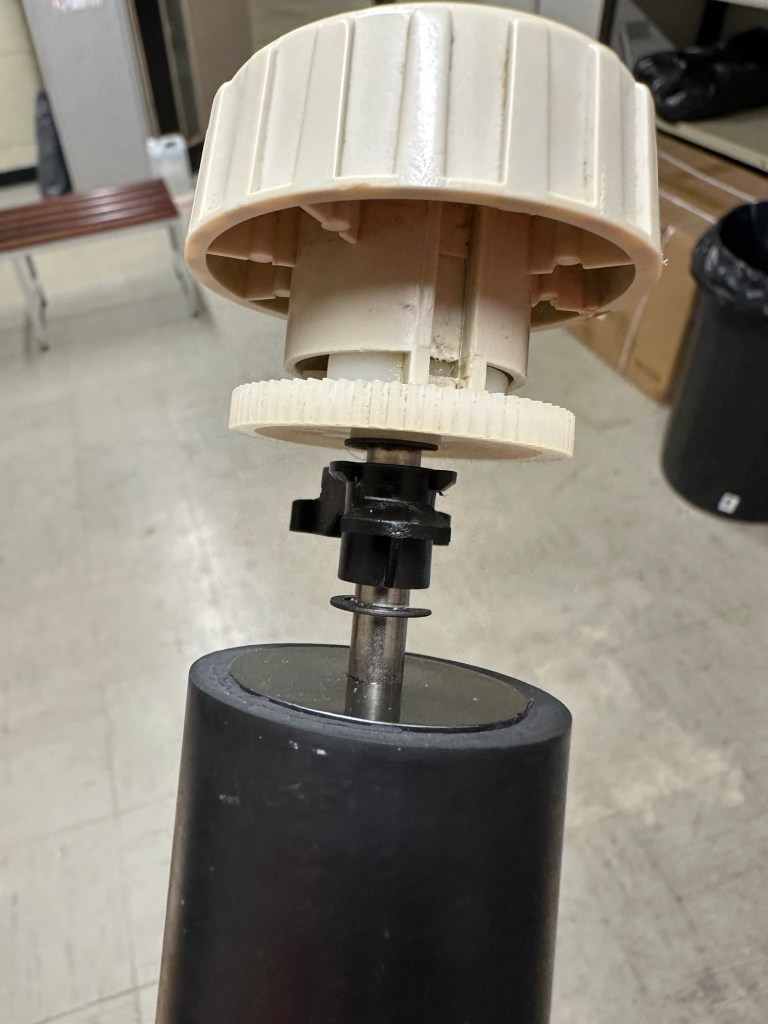
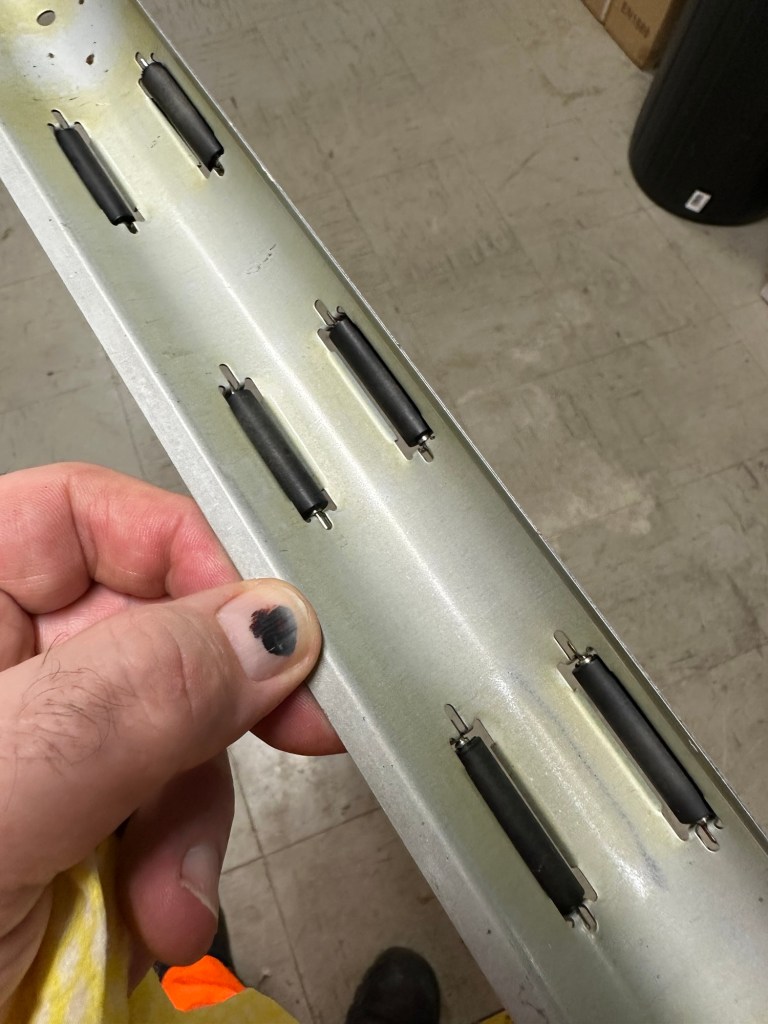
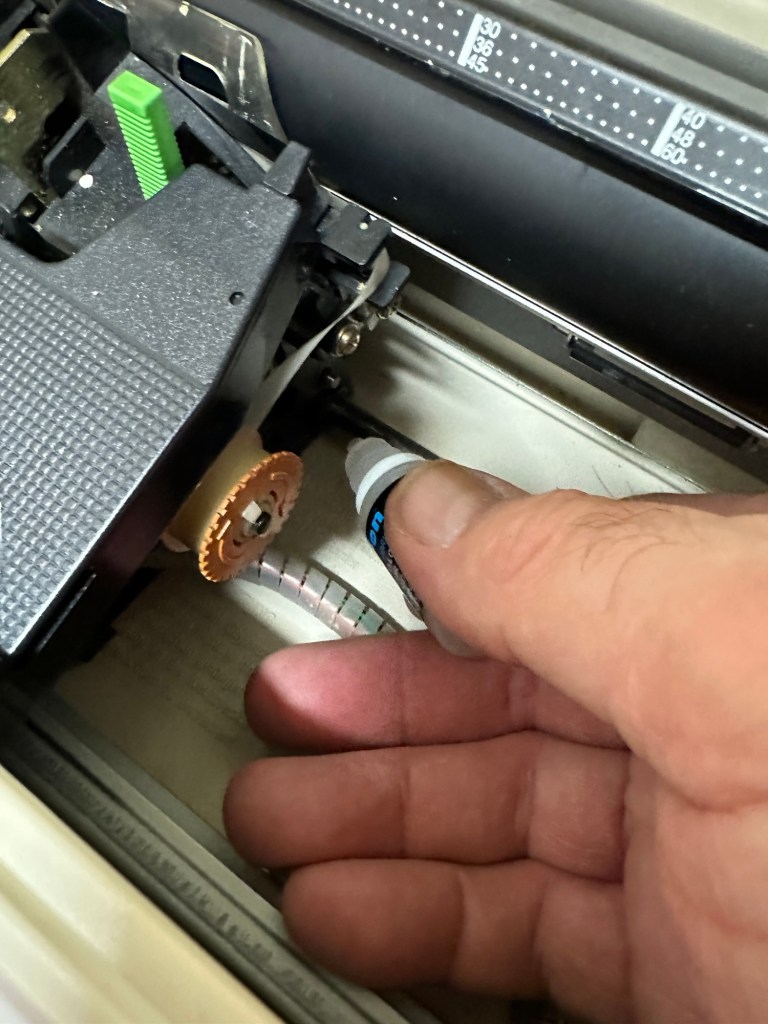
I’ve cleaned the main roller with alcohol, and removed all the old grease and dirt from the platten adjuster switch and the roller advance knob. I have removed the platten plate as well as the six mini rollers that are here. I’ve cleaned them all and re assembled/installed them.

I have cleaned the daisy wheel as well as in and around the printing head unit.

Inside the unit I have given a good hoover as well as a light clean and again removed more old grease. I have given the exterior plastic a preliminary polish, this has removed some of the yellowing and made it look “cleaner” I am not going to worry too much about the yellowing as it isn’t that bad, and I don’t really want to venture into carrying out a “Retrobrite” on this unit. It would take too long and there would be no benefit for this project.

I’ve now added very small amounts of a watch lubricant to those areas that i have previously cleaned and removed the old grease from.

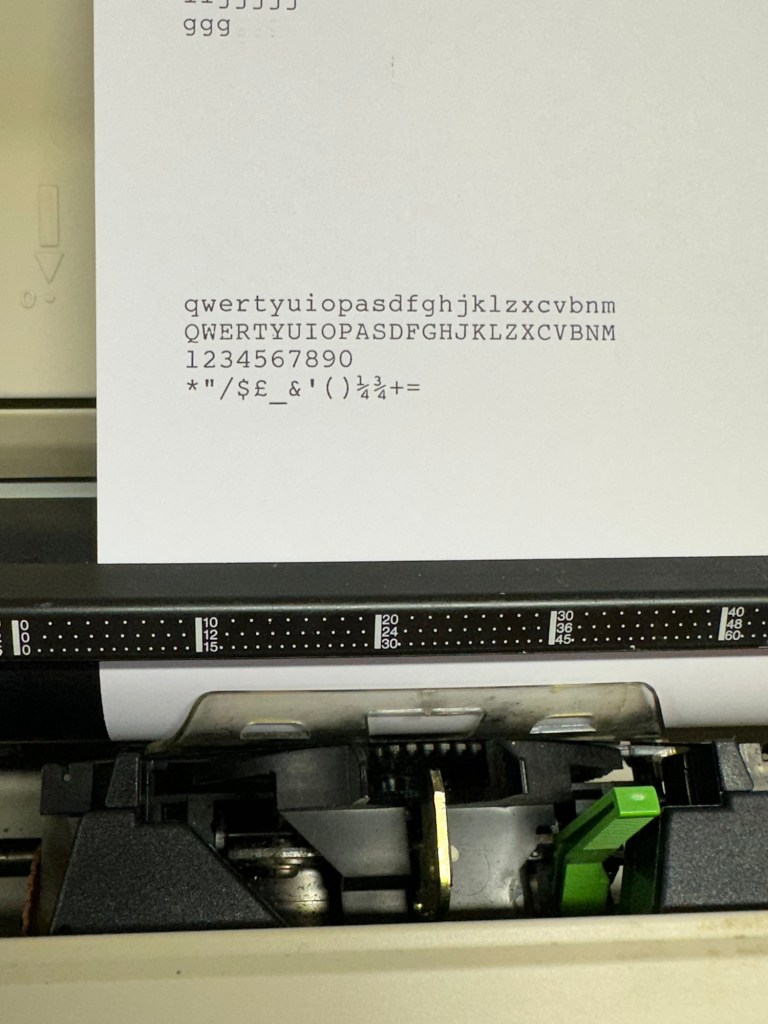
The unit has been reassembled and I’m pleased to say it is still working fine. It’s running smoothly and all aspects of the unit seem to be working just fine. To be honest it seems to be printing clearer to me.

Daisy wheel and print quality is perfect

I don’t know how long the print cartridge has been installed but I suspect it may have been a few years back. It’s almost finished, and I do have a replacement on order. I’m sure a fresh cartridge will make the print stand out even more.

Next I’m going to have a go at replacing some, or even all of the keyboard letters. It all depends how it looks when I start replacing them. I’m going to gently rub off the lettering that is left and clean the keys using a 95% pure Isopropyl alcohol solution (IPA).

All damaged and missing key decals removed in preparation for replacement new decals. Others may have to be removed dependant on how the new ones look when in place.

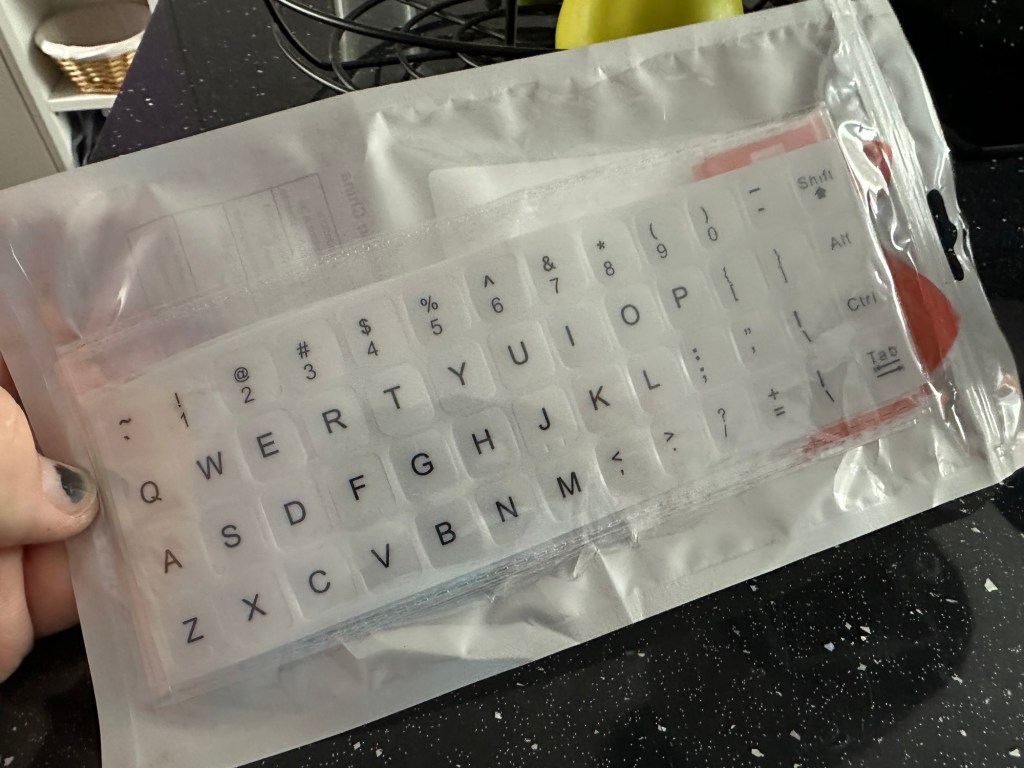
These are the replacement key decals I will be attempting to use.

Qwerty keyboard decals

I’ve replaced the damaged key decals. The ones I’ve used are a lot brighter than the original ones and really accentuate the yellowing. I’m not troubled by this as it keeps its “Old” look. I would have to scrape and wipe for hours to remove all the other keys and to be honest it would look just like someone had gone abroad to have a bright white set of dodgy veneers installed, it would look quite out of place, and in your face. Just like a Cheshire Cat smile.

New veneers anyone?

It serves a purpose and just allows the unit to be usable again.

The final product:

Fortunately a lot of the equipment and parts I have used, I was already in possession of, so there are no additional costs for this project. Below you can view the total costings for this project as they currently stand:

  • Purchase inc postage £13.14
  • Cable restraint £0.25
  • Keyboard decals £1.25
  • Total cost of project £14.64

Again I have managed to save a fantastic 90s retro item from landfill for very little cost, and that is a fantastic result. It has years of use left in it, as long as the consumables remain available, and of that I am confident that they will be available, for at least the next few years. The unit is clean, I’ve just carried out an electrical PAT test and it is electrically sound.

Believe it or not I’m going to go back in time and will write some traditional typewritten letters to friends and family. I’m looking forward to doing that and it will certainly surprise them, it will be totally unexpected.
When all that is done, i will donate this unit to our local LOROS Hospice shop so they can sell it on and raise much needed funds. They deserve it. Edit: This was done in March 2025 at their shop in Hamilton Leicester. I hope it gets them a good price.

Watch the brief video for the final words on this restoration. All 13 seconds of it.

And that’s it folks..

Thanks for passing by.

Sega Game gear – game cartridges

What the listing stated:

Untested

EBay

Yep that’s it. The good old EBay untested. Anyone who buys from here knows that this can mean anything from working to totally wrecked, or even should have been binned because a good portion of it is missing.

But I try to remain positive… some people call it stupid.

Cheap, probably broken

Here I have purchased two of the same games for the grand total of £1.49 GBP. About 75 of your finest British pennies each. My suspicions are such as the guy who posted is selling a couple of “tested” game cartridges (the same game) for a considerably higher price. I just don’t understand how he couldn’t test these two. I suspect they are knackered to coin a phrase.

Anyway, let’s await the mailman.

I’ll apologise in advance for how easy this fix was. They arrived and both game cartridges looked ok. I then loaded them into the unit and one worked and one didn’t.

Both Cartridges tested

I decided to just clean the contacts on both cartridges with a bit of IPA and hey presto. Two working game cartridges for next to no cost.

2nd cartridge up and working

So again, I apologies for the simplistic fix, I was hoping I would at least be opening the cartridge and doing a bit of trace repair, but sometimes that is all it takes. I’ll keep one, and the other i will move on with another unit that I’m currently repairing.

But most importantly they are not off to landfill. Result.