

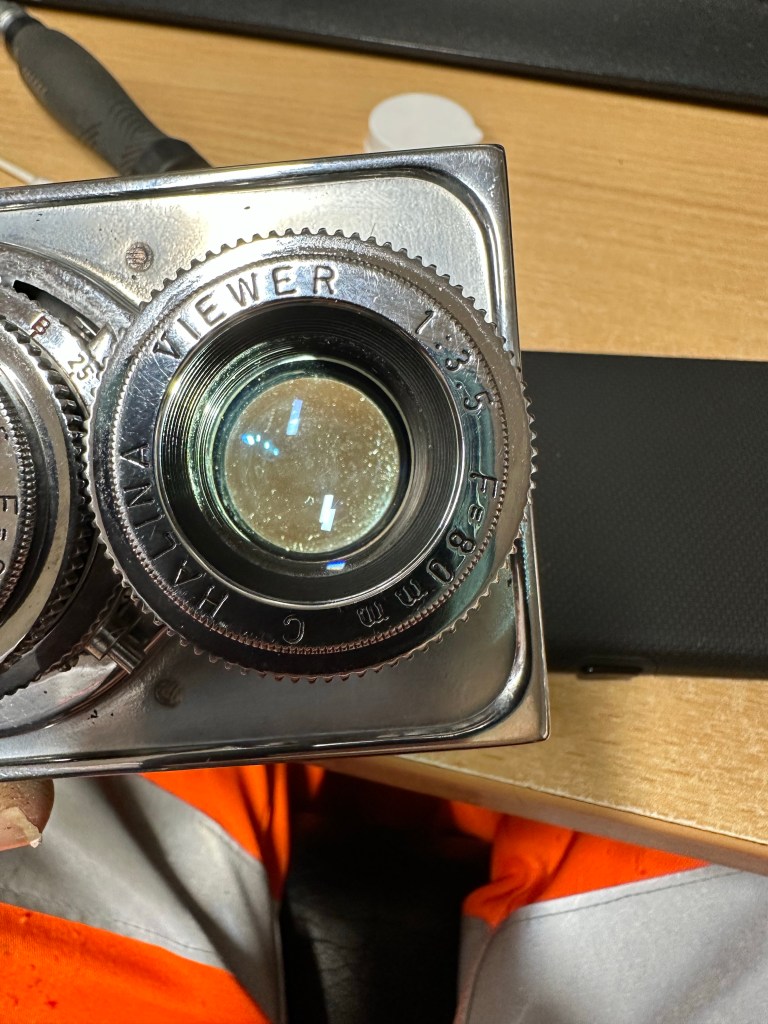
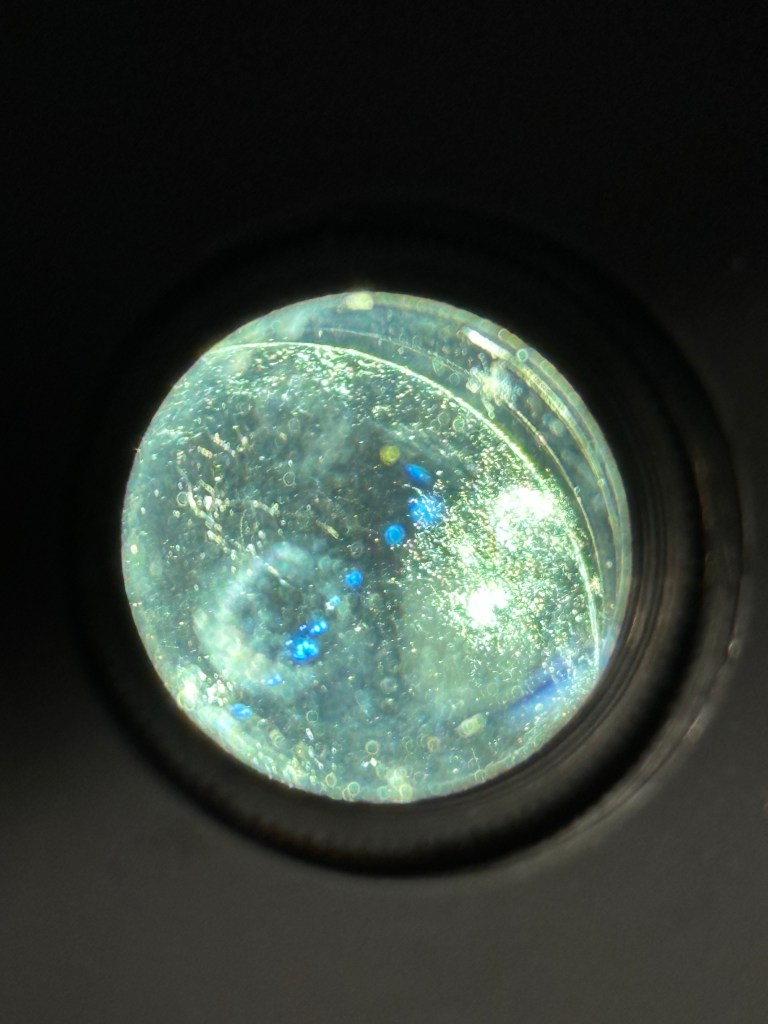
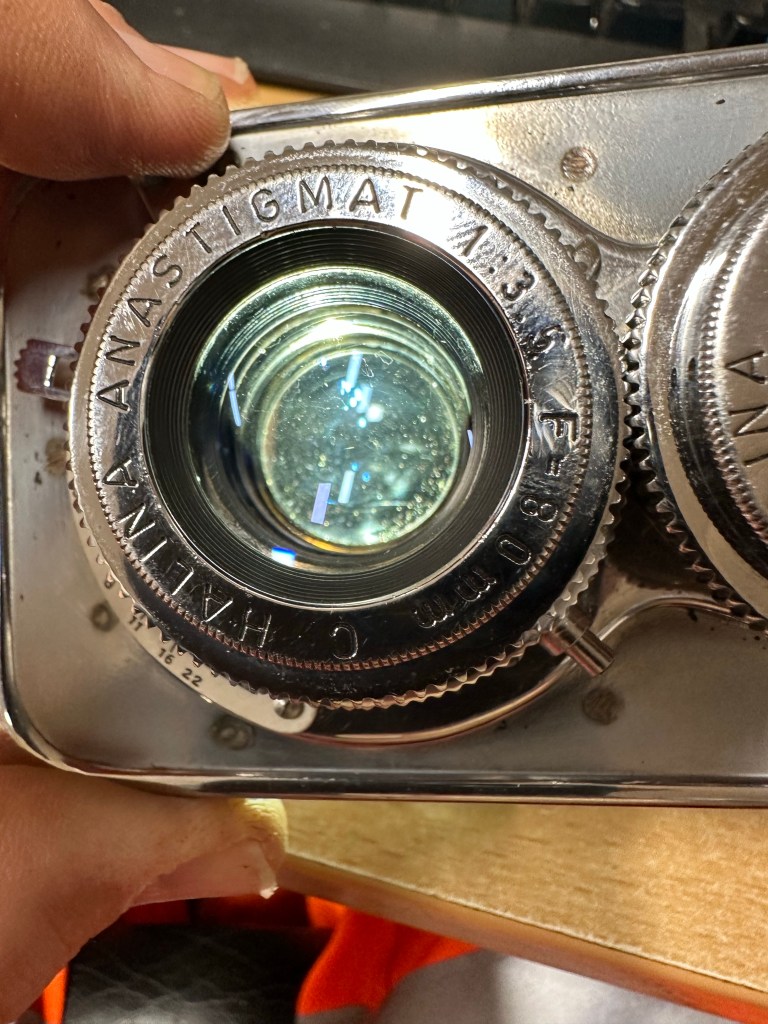
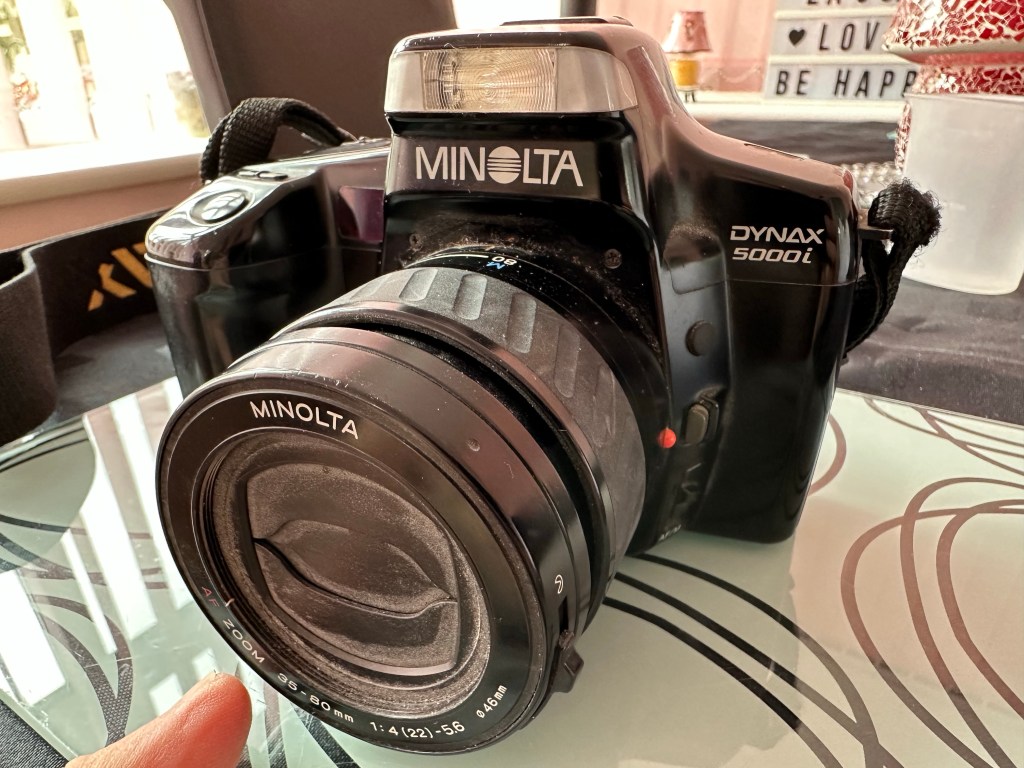
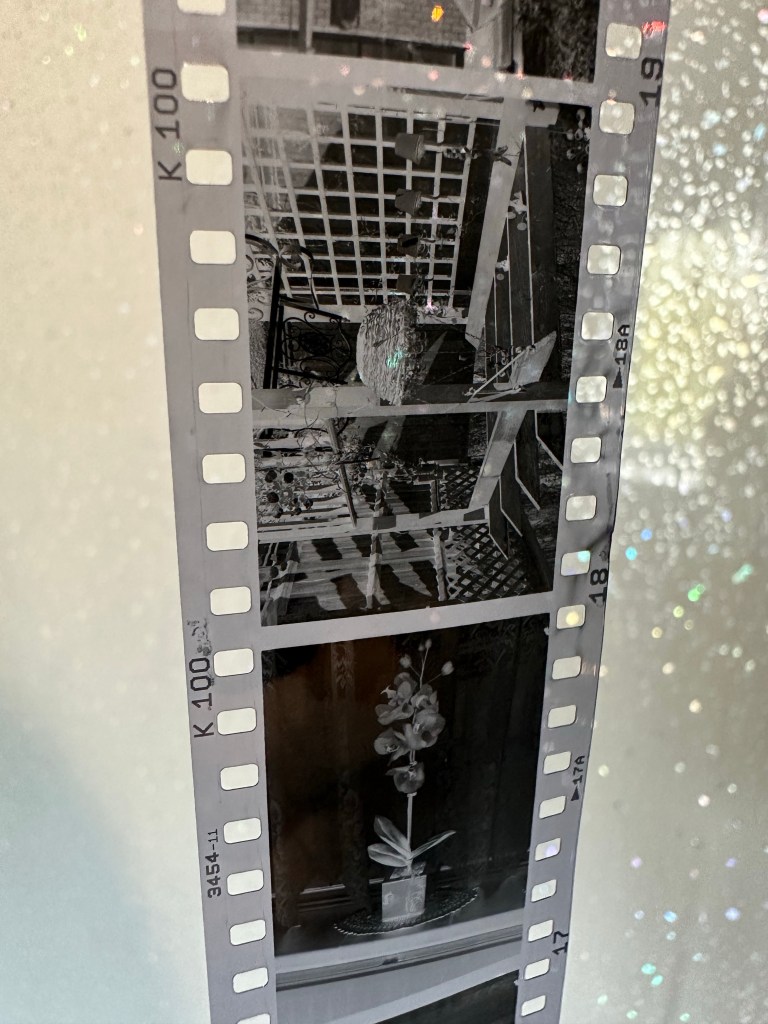
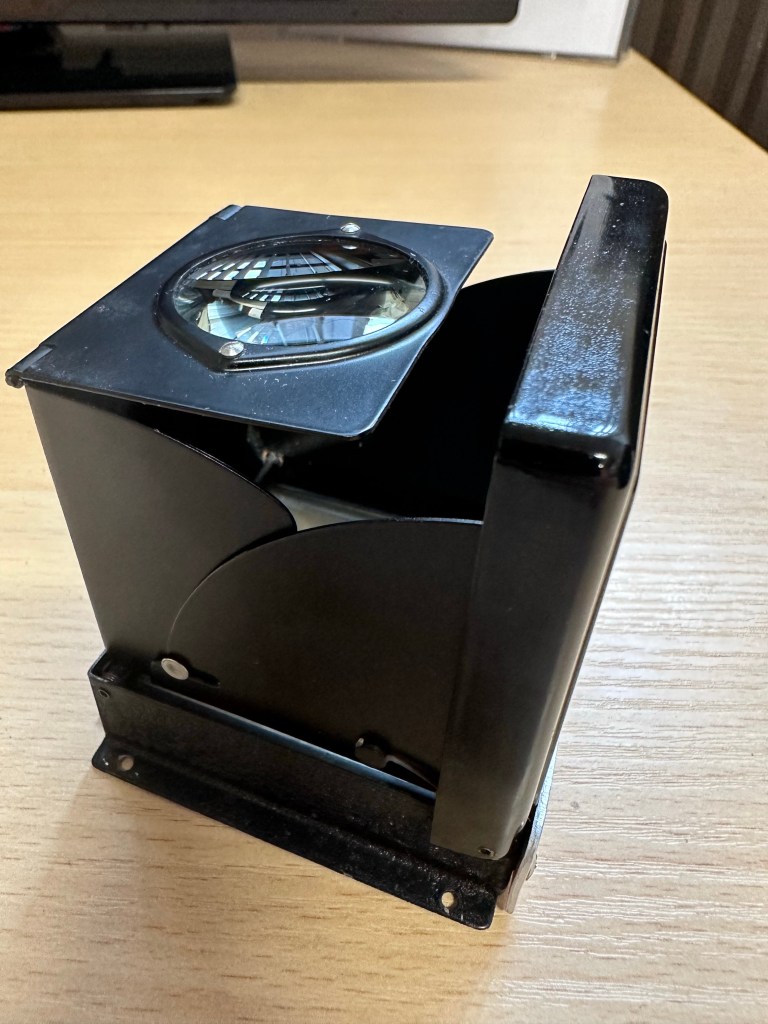
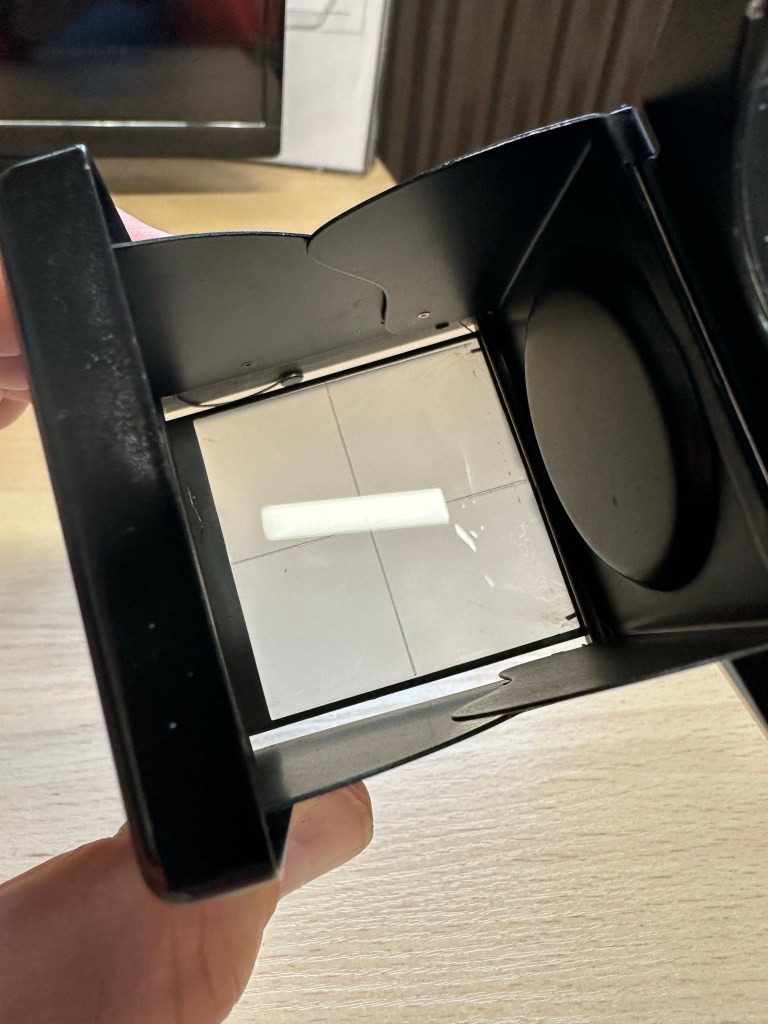
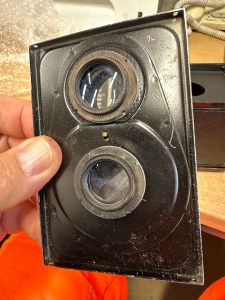
If you remember back a couple of weeks I had this camera given to me by a family member. Not used in about 20 yrs still had a film in it as far as they were aware there were no issues with it.
I beg to differ…..
In lay man’s terms I think the term that should have been used is that it’s knackered (not working, kaputt a non existent camera)

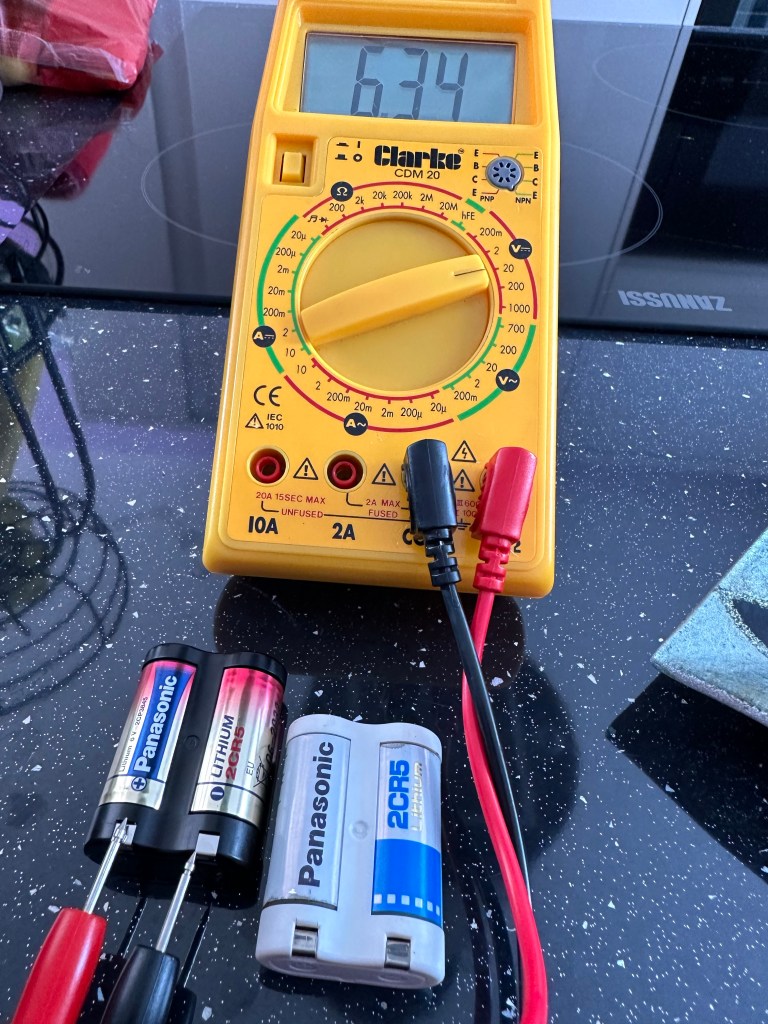
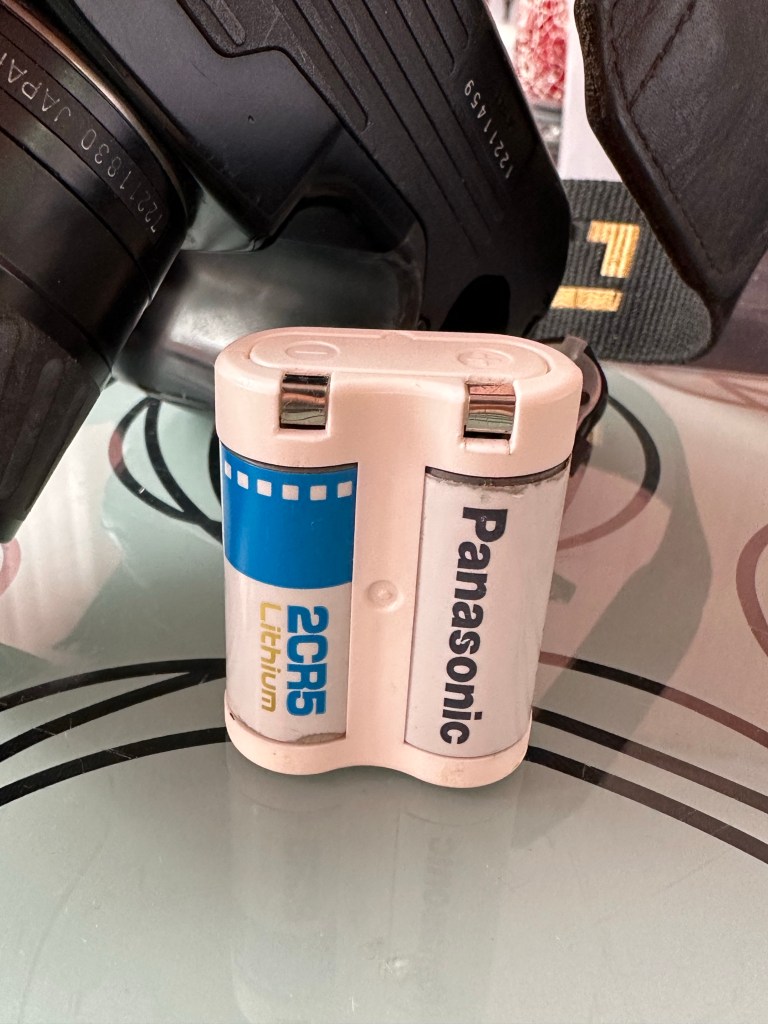
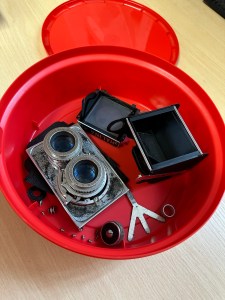
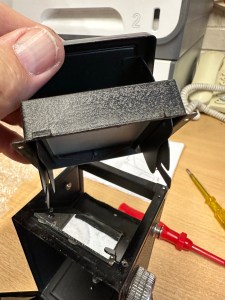
I purchased a new 2CR5 6v Lithium battery from a well known supplier named after a rain forest. Motor buzzed, but no display or any other operation was available, first thought was to test the battery was not a dud, using the multimeter I proved this was not the case compared to the old battery.
So. What to do?
General census of opinion is to ditch this as mass produced tat and get another one on eBay for a couple of quid, the electronics are a known issue for many models of cameras from the 80s.
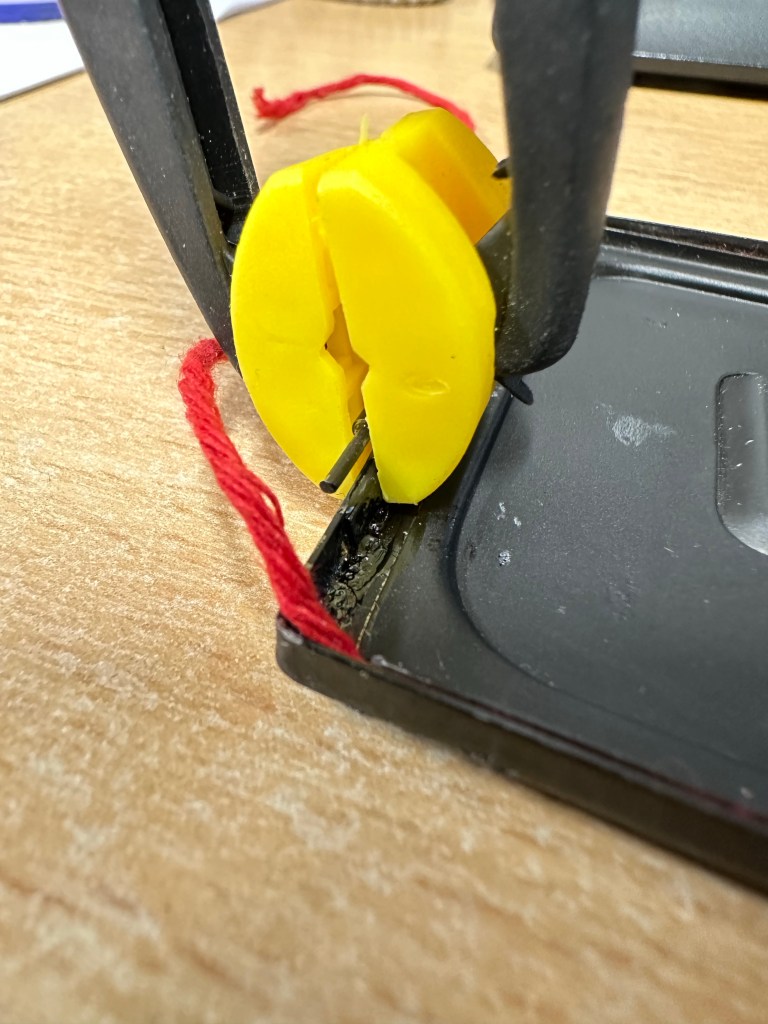
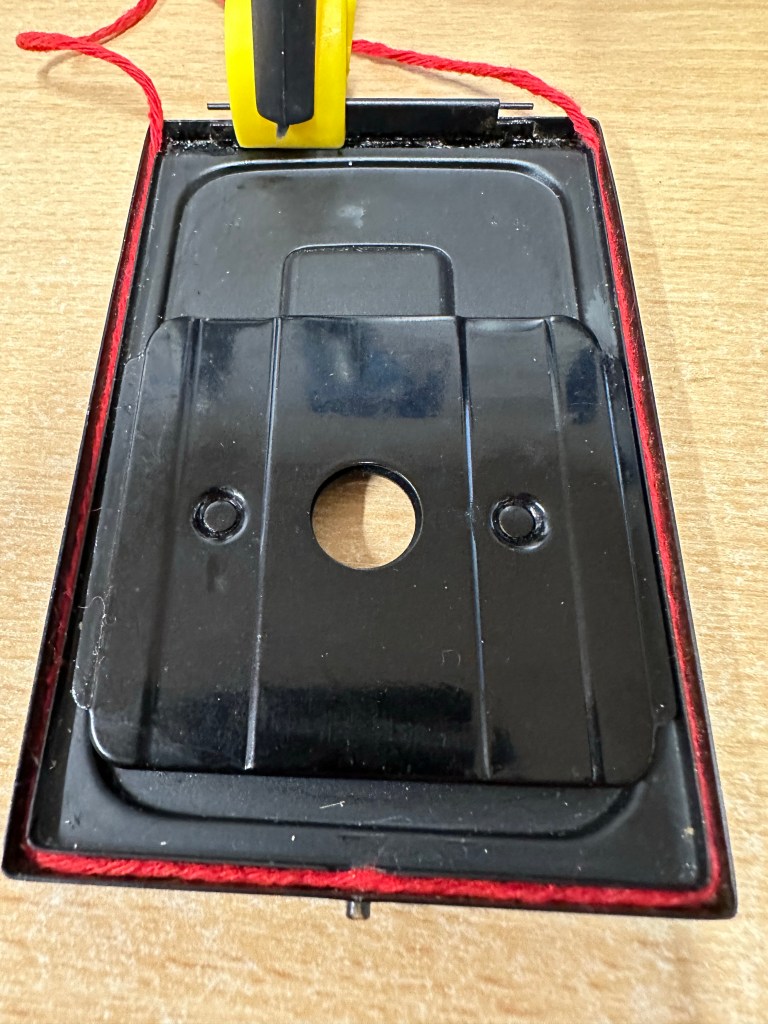
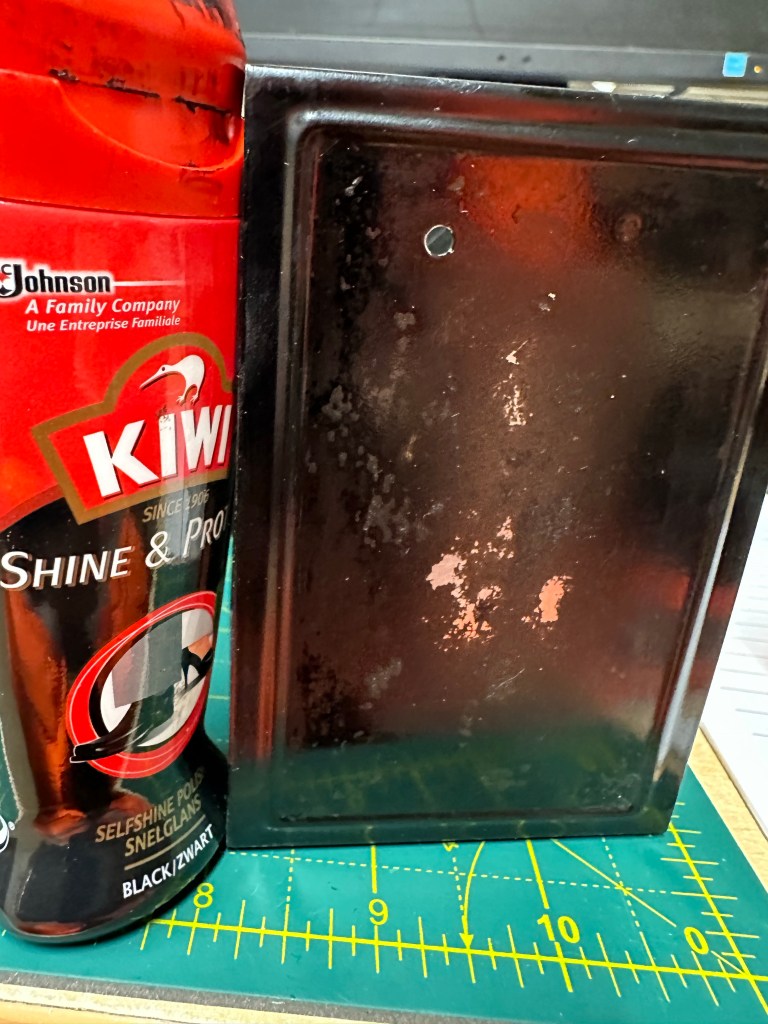
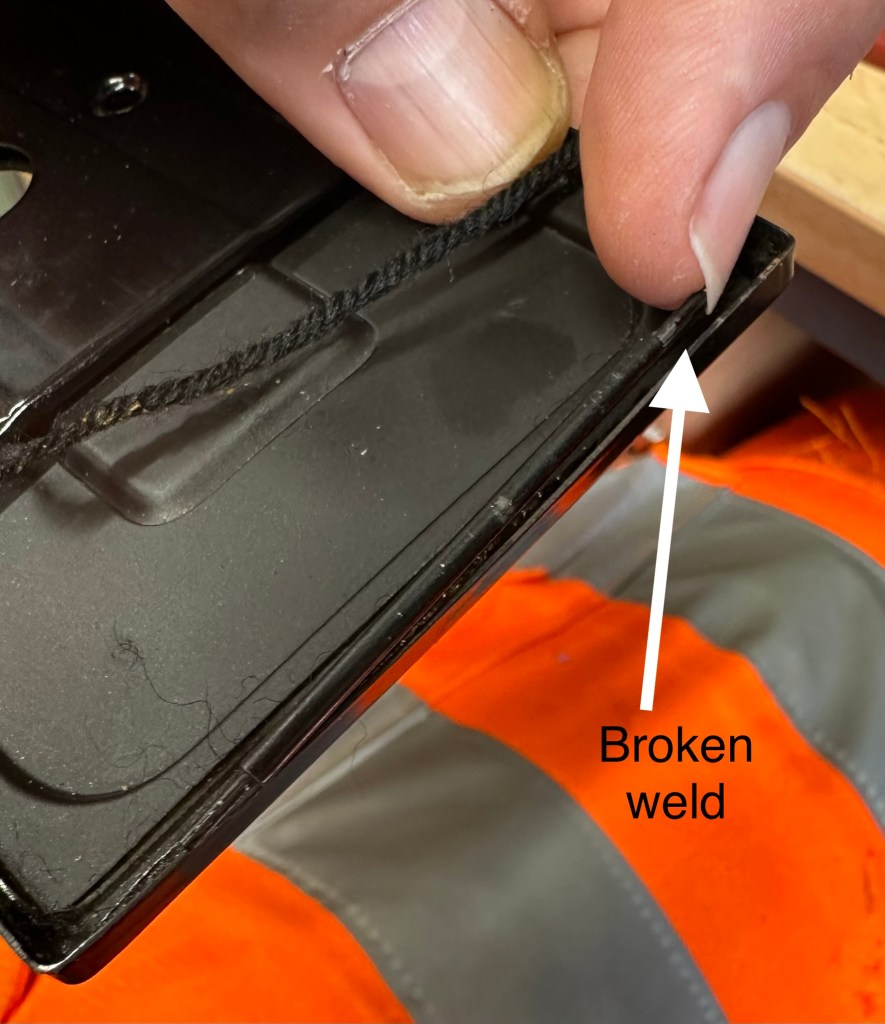
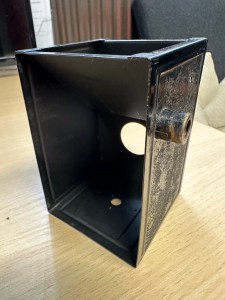
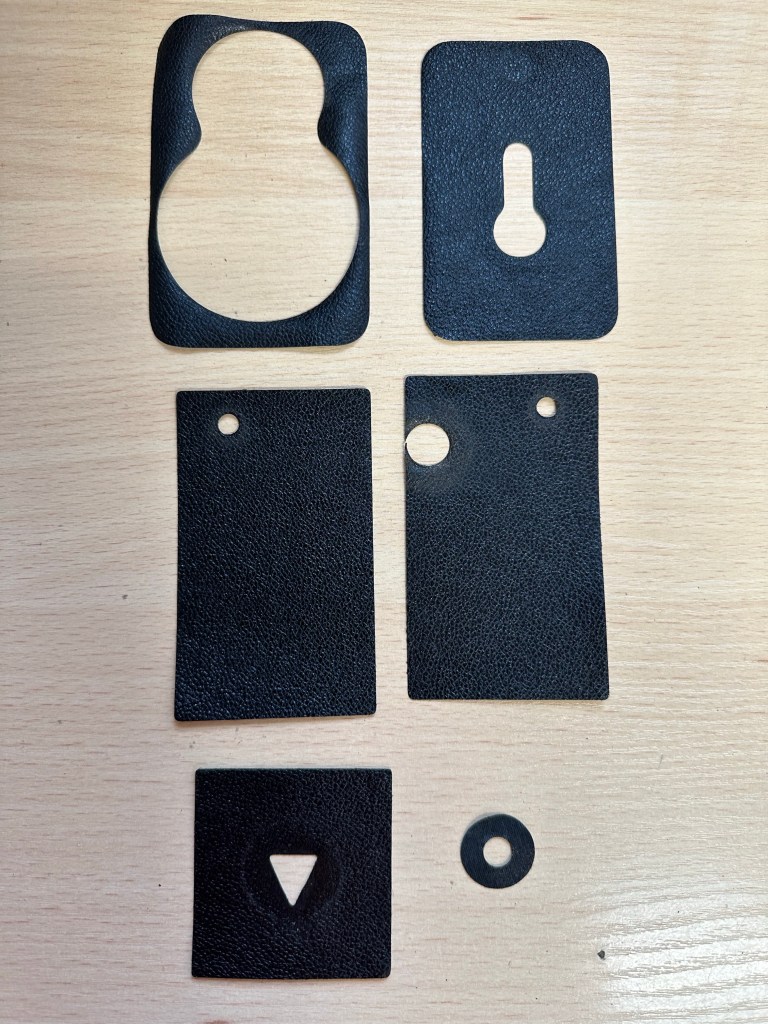
However, this site is not about just dump and run, I’m going to dig in and look to see if I can remedy the problem. I like a good electronic problem and hopefully I can sort this. If not, I’ll recycle the parts I’m definitely not throwing it away.
It’s a learning opportunity, and knowledge is king.
Thanks for passing by. You know it’s always appreciated 👍


You must be logged in to post a comment.