

As the listing stated:
Needs opening cleaning and fixing sounds like something loose so selling as a repair project cheap.
EBay

No error code so in theory this should be an easier fix, however the fact that something is moving about inside tells me there could be more wrong with it than expected.
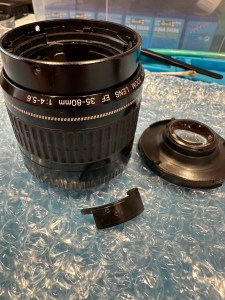
I now have the lens in front of me so here is what I can see.
Shake rattle and roll
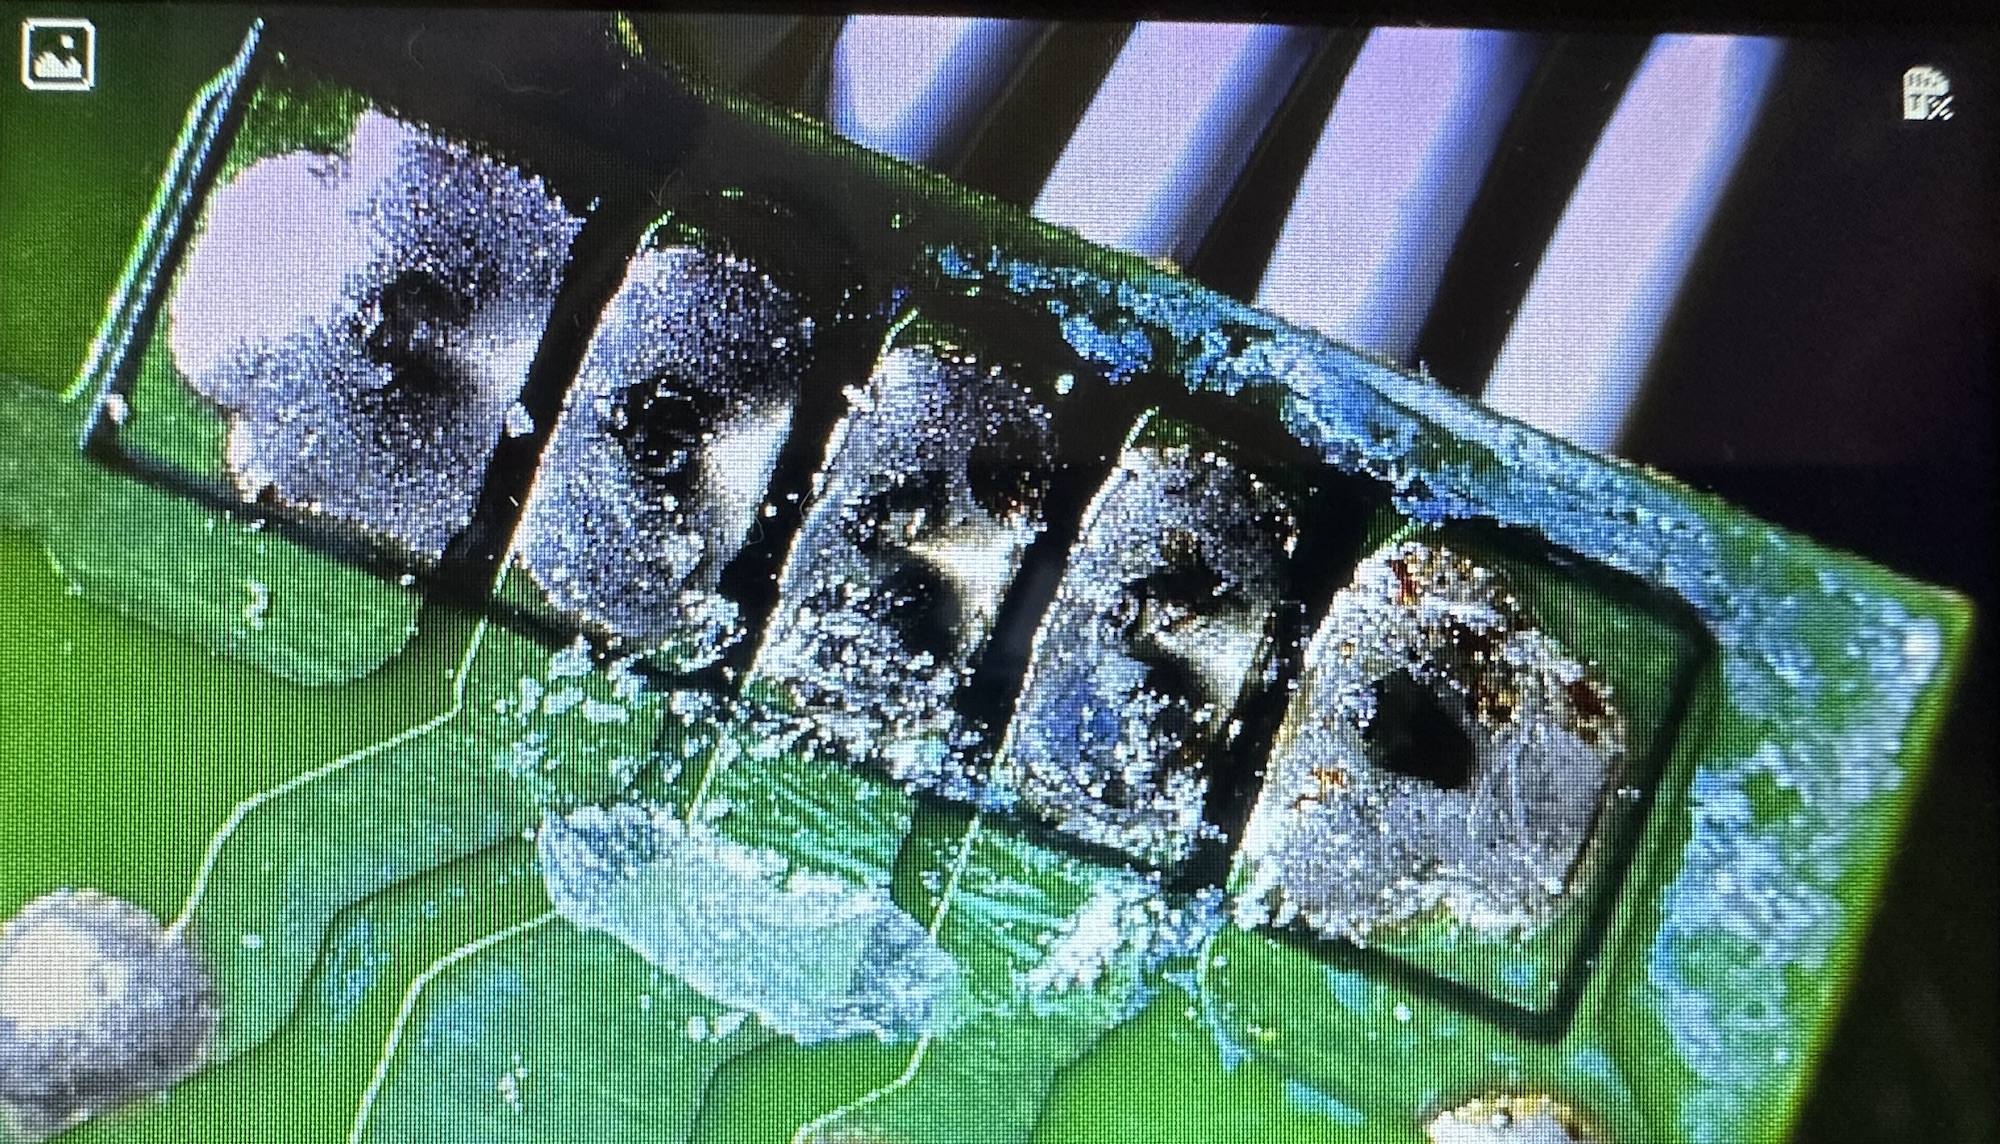
Well, it certainly does rattle, something quite significant is moving about inside. When Connected to a camera you can’t focus or zoom so something in there is restricting movement. There is also fungus on the lens so this one will need to be carefully dismantled and cleaned throughout.


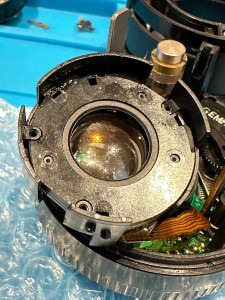
About 10 small screws later I am into the internal parts of the lens and the cause of all the rattling becomes apparent. A piece of the internal zoom mechanism has broken off stopping the zoom from smoothly operating through its range.
The part of the barrel that the item had snapped off was broken due to forceful action with the previous owner. There are two options here, junk the lens or see if it can be saved, I went for the latter. I mixed some epoxy resin and fixed the piece back into place also gluing it to a part of the mechanism that was not liable to hinder future movements. I left this for a couple of hours to cure.

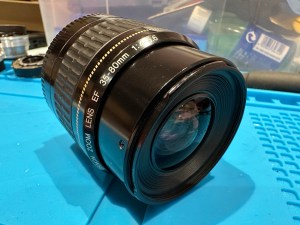
Whilst waiting for the glue to cure I used a mixture of water and hydrogen peroxide to clean all the lens elements. I thoroughly dried them and gave a quick polish and reassembled them into the casing. The glue was dry now so I was careful to reassemble the lens not damaging any ribbon cables or contacts along the way. The lens looks lovely and clear of any fungus now.


I’ve put the lens onto a test camera and it’s fantastic. I couldn’t get focus when I unpacked the lens but now I have the full range of action and a lovely clean working lens for very little outlay and probably just 2 to 3 hrs of maintenance. Well worth it in my opinion. I wanted a good cheap lens to test my old stock and I now have one that I can easily sell on at some point, on top of that I’ve learnt a lot from working on one of these lenses. I’m certainly going to attempt working on more in the future.
Thanks for passing by. Always appreciated.


You must be logged in to post a comment.