

Here’s what the posting stated:
Grading: FAULTY (USB SOCKET)
EBay
Simple as that. And yes it’s a tiny radio but in excellent condition cosmetically.
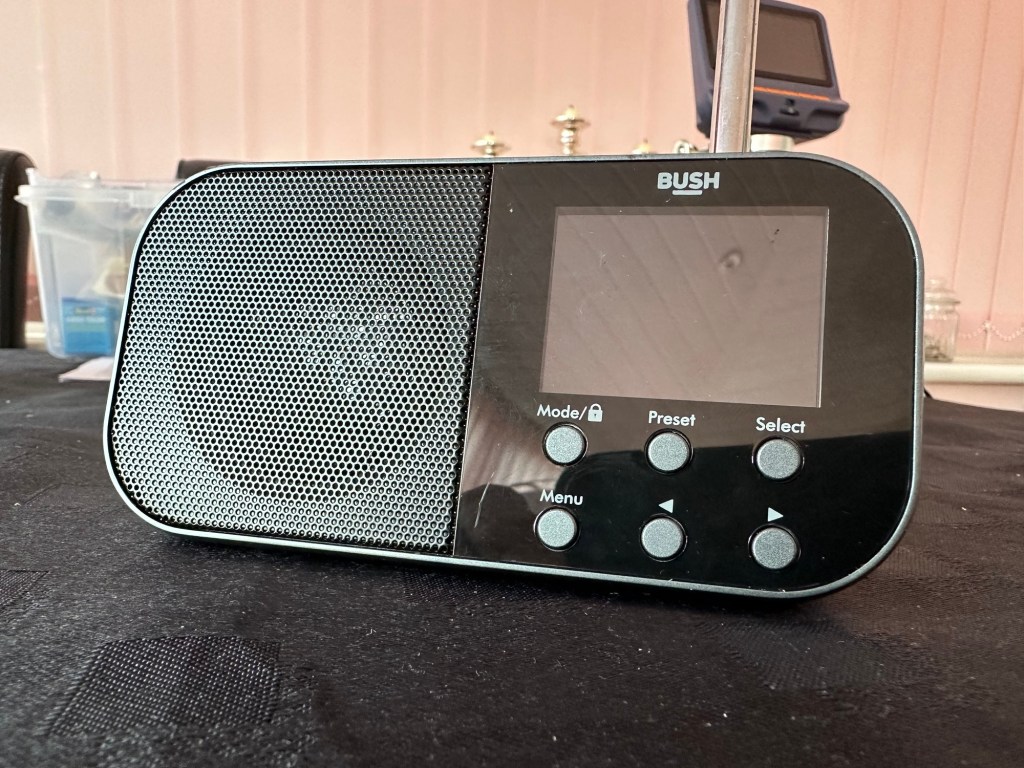
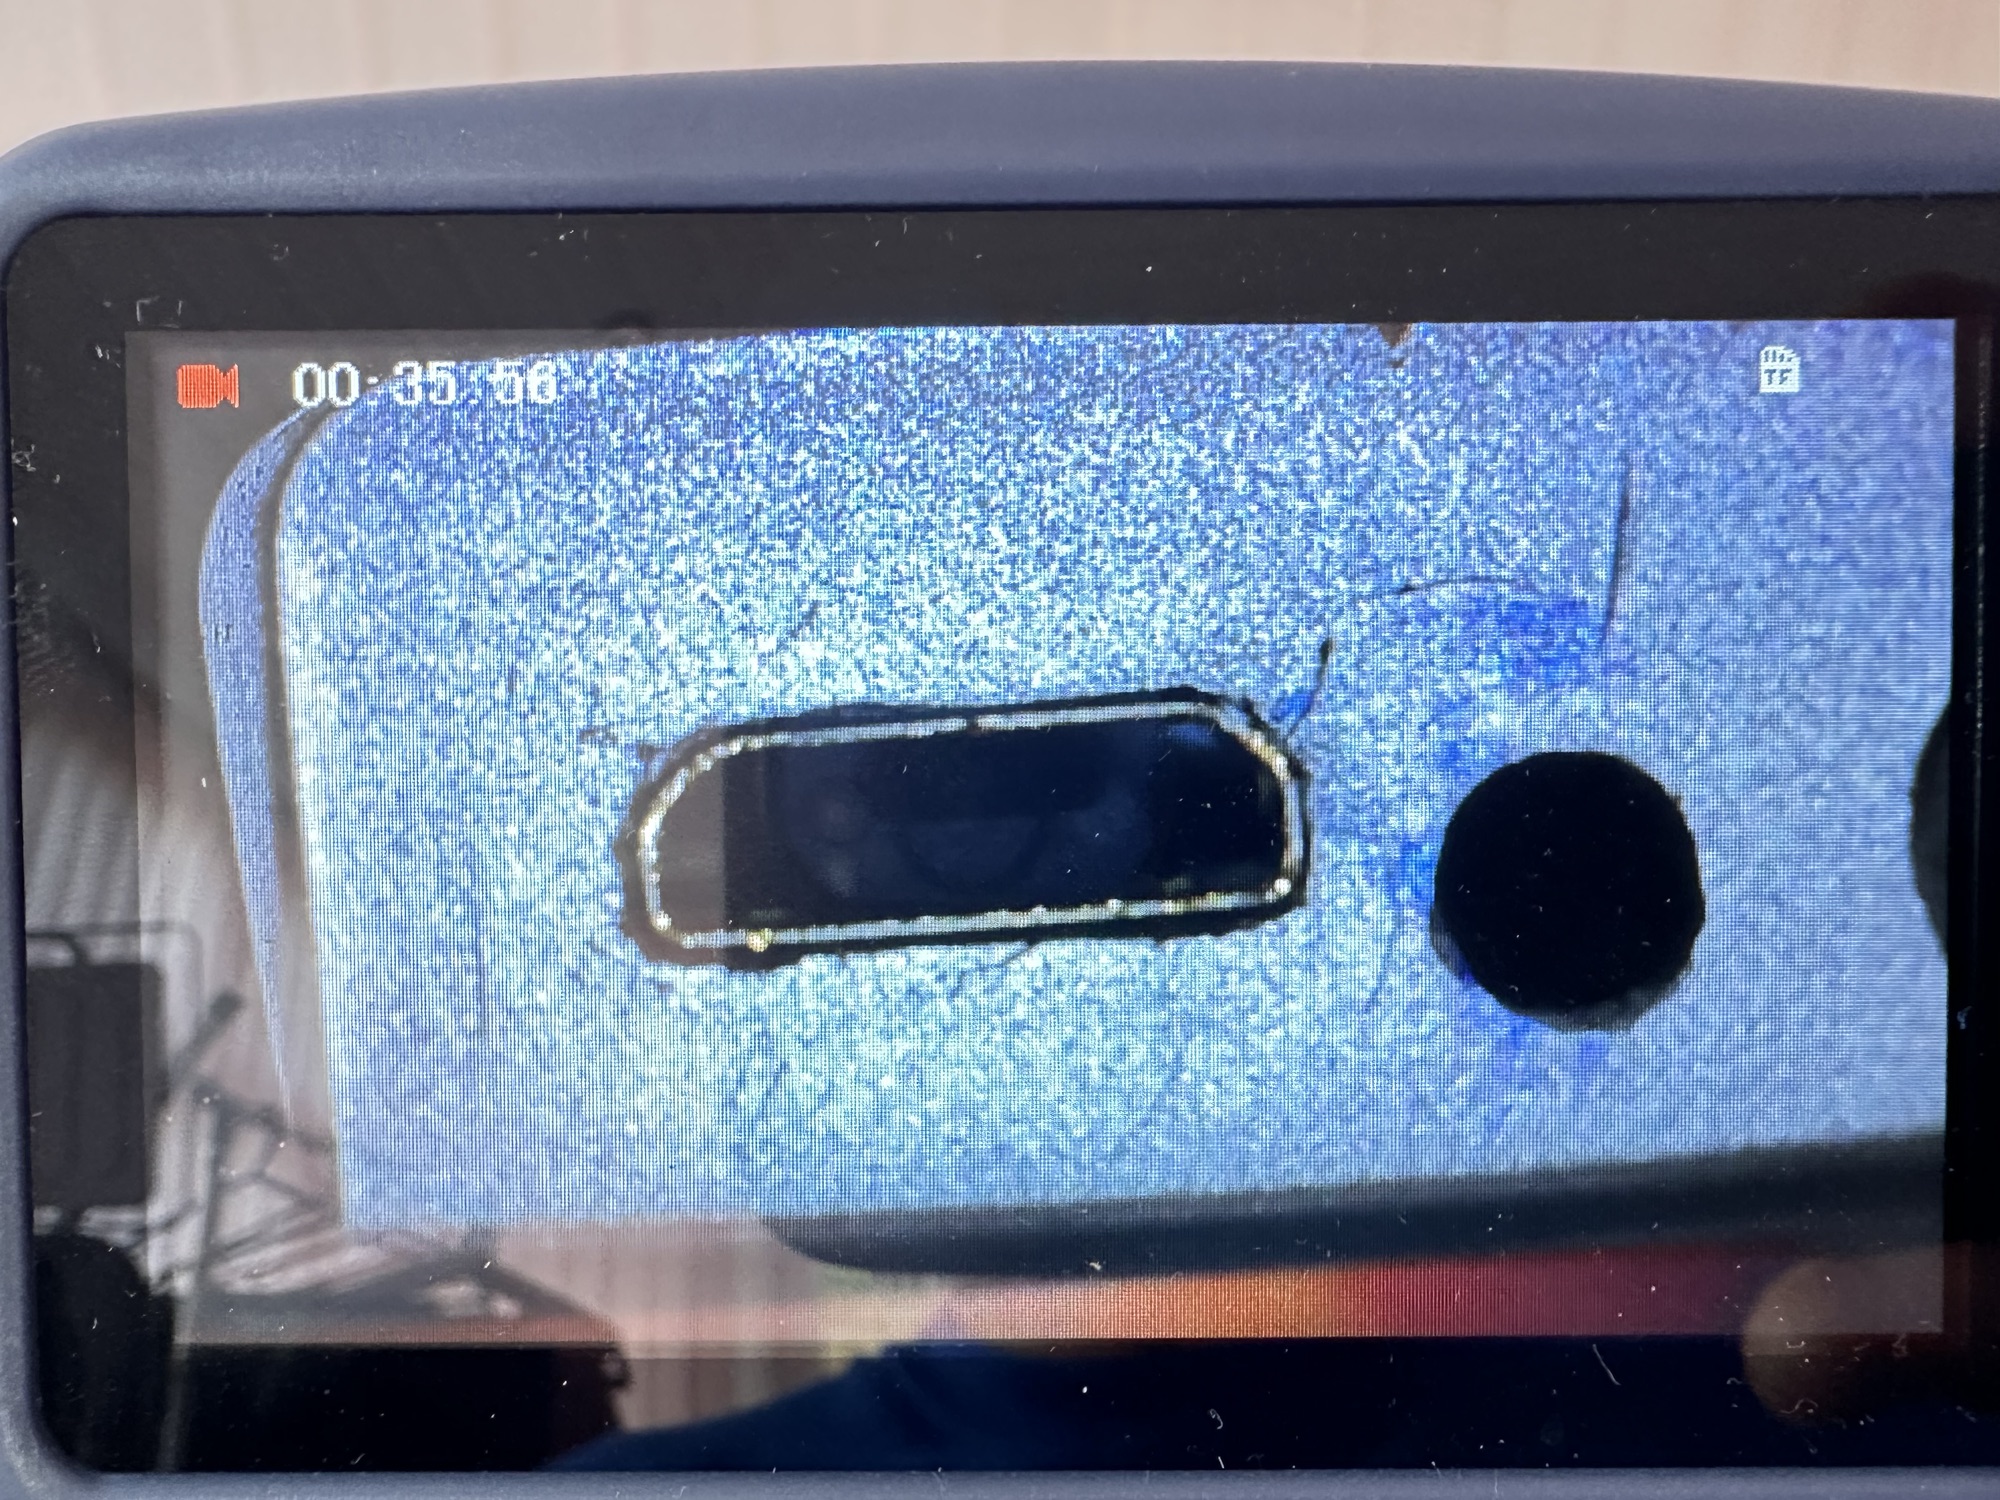
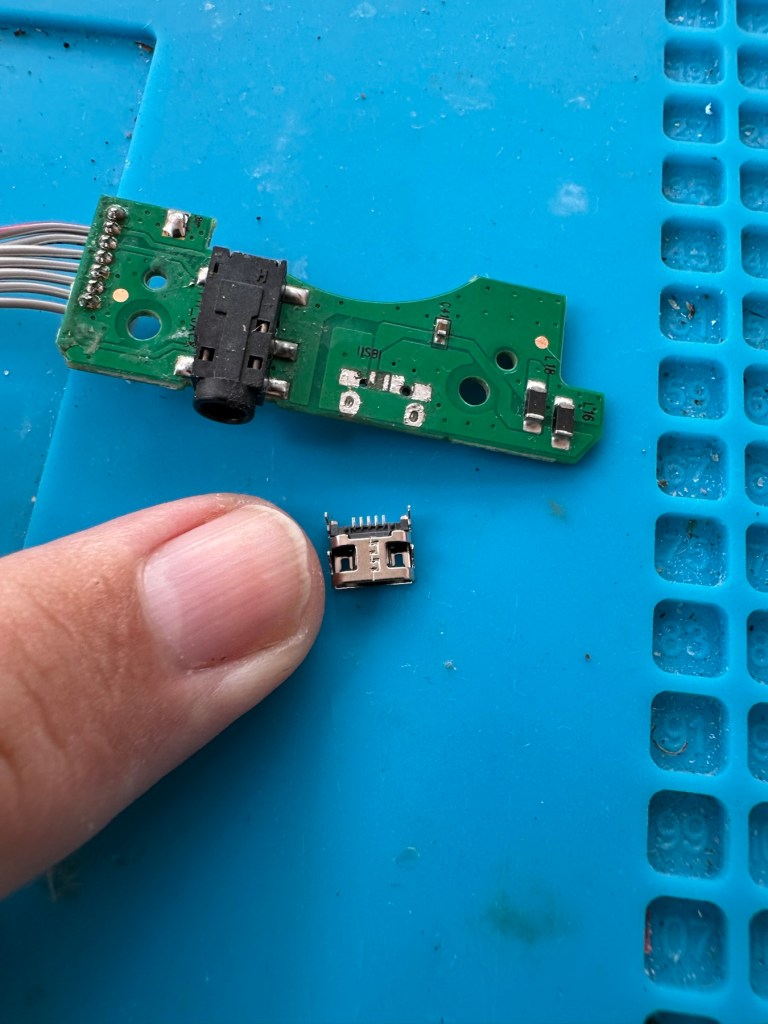
On inspection it’s obvious that the micro USB port is damaged and will need replacing.

I’ve ordered some replacements USB ports from our friends in China so I’ll have to wait a few weeks before I can progress this project any further.

The ports have arrived from China, so let’s look to see if we can repair this unit.
*This project has been on the back burner since May 2024. 13 months later and I’m now on it*
Hello all, time to clear that backlog and what better place to start than here. I do in fact have two of these with the same problem so this is a two for the price of one project.
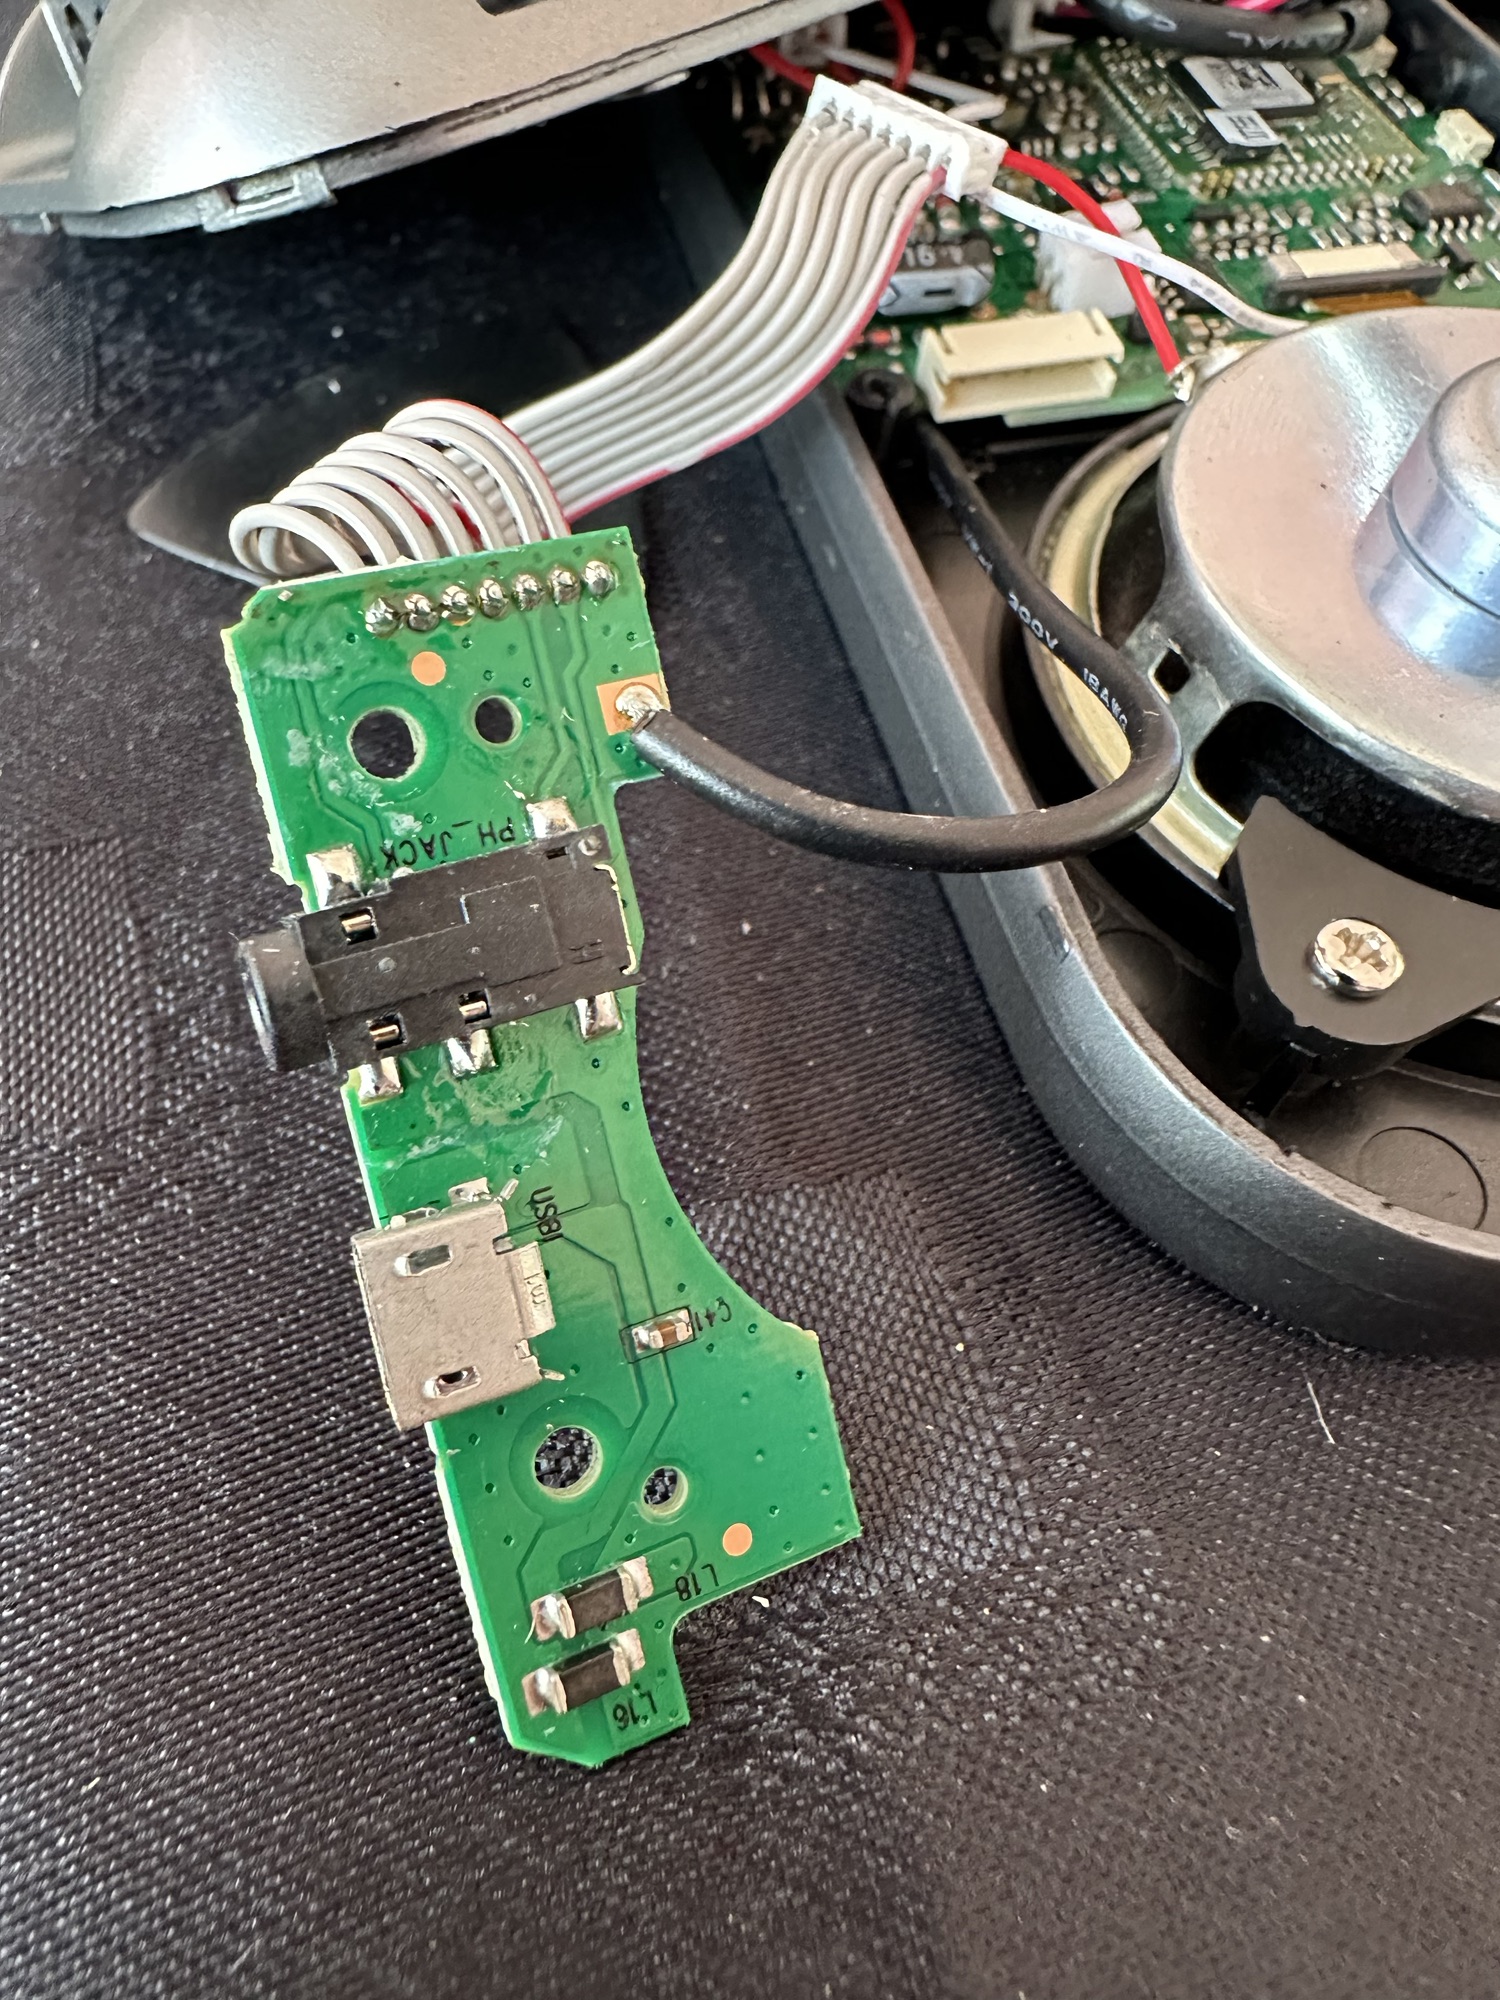
This should be a simple case of replacing the faulty charging ports that are both micro usb ports. They are small believe me.
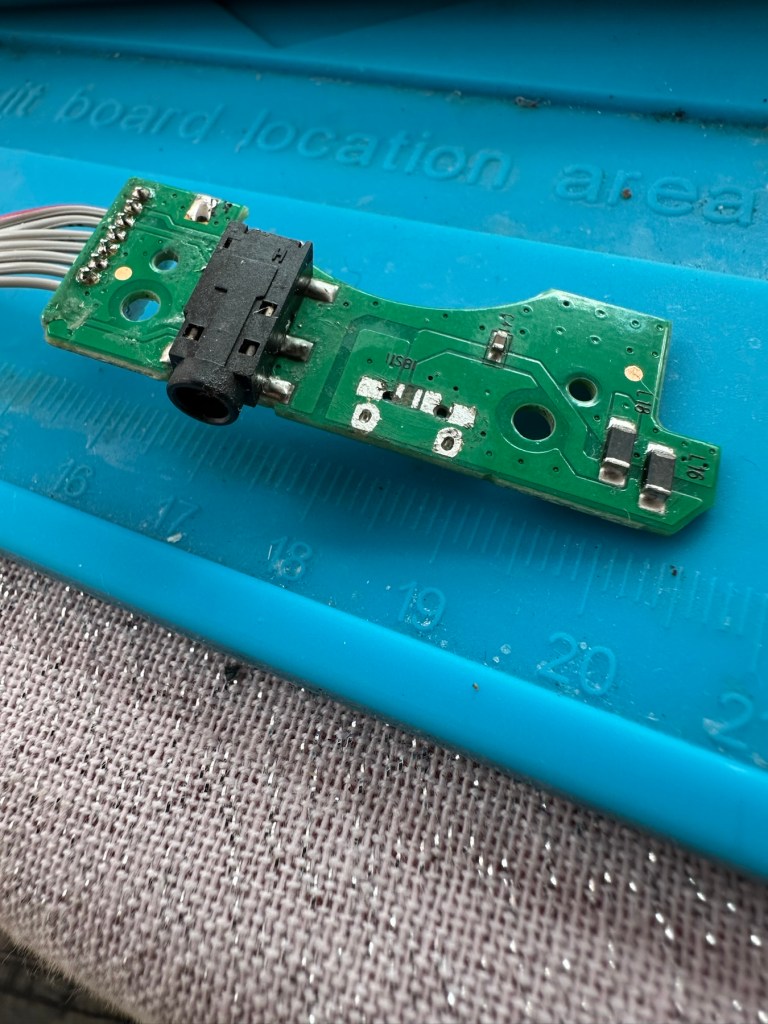
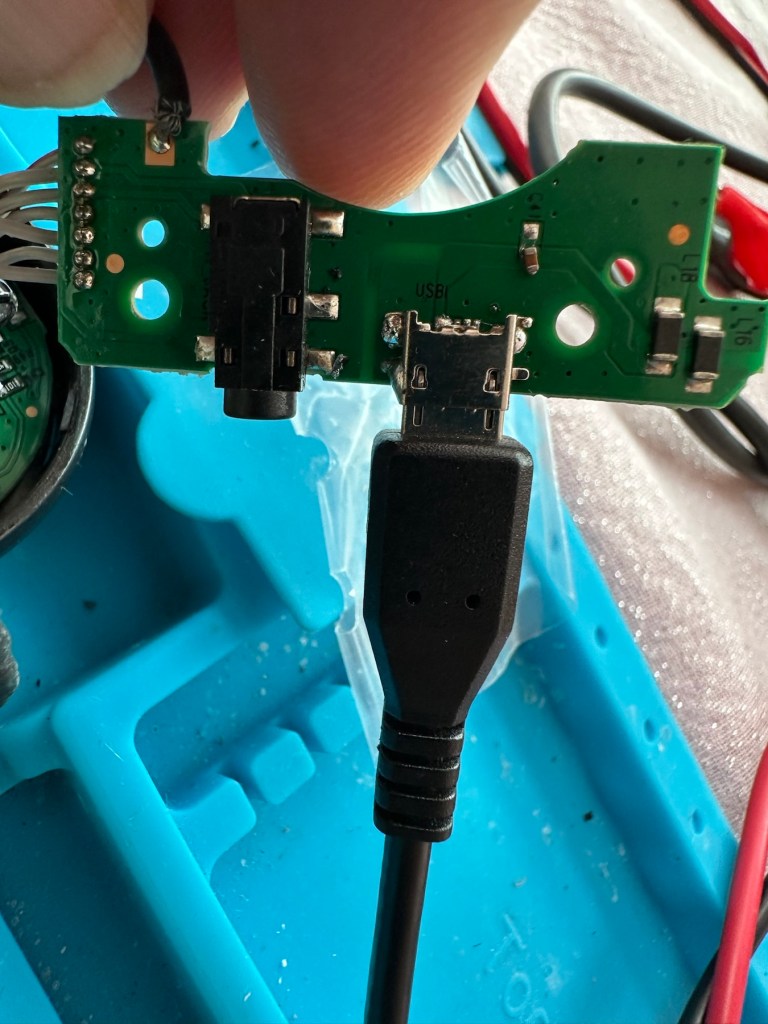
There has to be some preparation before we can get the new port on. Using a soldering iron and flux and a little solder wick, I clean the old board remove the old solder and give a good clean with IPA. I then prime the small connections on the rear of the charge port with a little solder. Now I put the port to the board and tack on the earth points. Then using a rework hot air gun I blast the port at about 350 degrees Celsius and hold the port in place with some tweezers until I see the solder glisten and melt around the port. I take the heat off and let the solder set before moving the tweezers and when it’s cooled a bit I check that it’s setting straight, all connections are good and solid. I then just add a tiny bit more solder to the anchor points for strength.
Whilst this is cooling down I check the status of the battery. It is a 3.7v rated battery and is currently holding a charge of 2.8v. It’s a little low but far from being dead. The second battery shows a similar charge.

After the solder work has cooled I use my battery pack connected to a small ammeter to see if the radio and more importantly the battery is demanding any power.

Well that’s good news, 5v in and the demand from the battery is 0.96 of an amp. The battery is charging. And the fix is as simple as that.

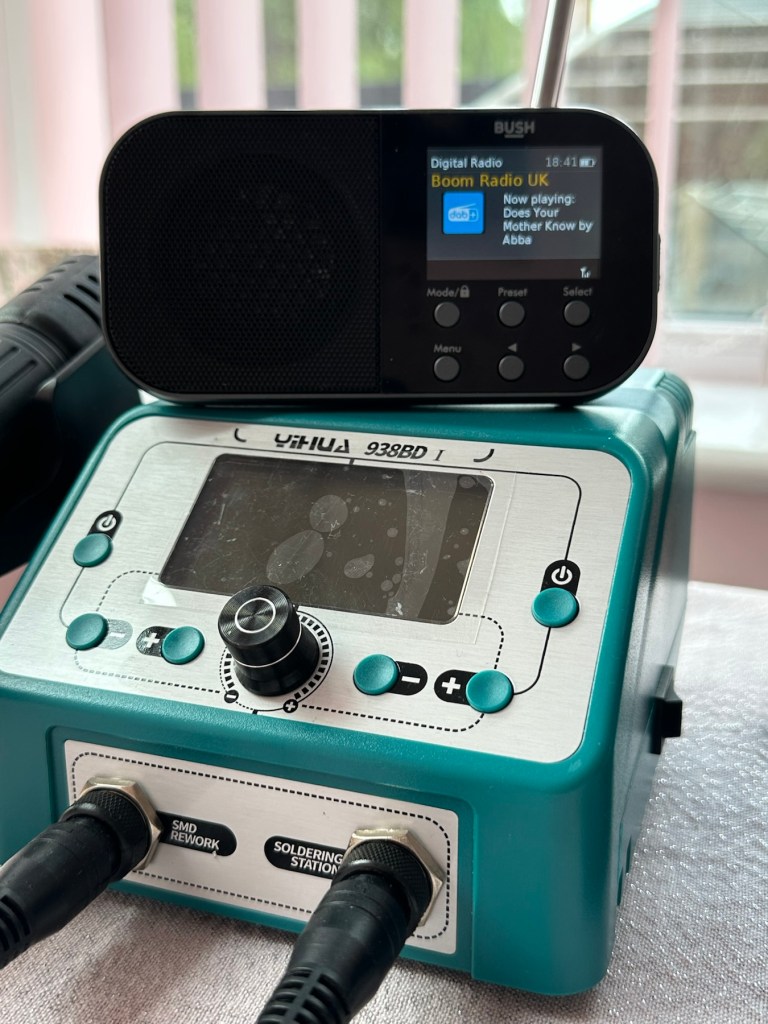
A little bit of soldering aerial contacts and a couple of other wires back into place and the whole unit clicks back together. Two screws inserted in the rear and time to switch on. Both radios tune in perfectly and the sound is surprisingly good for these little units. I’m keeping one in my work space at home, as I love having some music around me, I’d sooner listen to the radio any day as I hardly watch TV. The other radio will go into my work locker for when I’m working nights or in the workshop.
Im very happy with this little project, it only took about an hour and I don’t know why I left it so long. Another couple of items saved from the tip, it amazes me that these units probably all suffered with the same problem of inferior parts that failed early on in the radios existence. Kind of scares me just how many did go to landfill.

Well at least these two are going to carry on for a few more years yet. And that’s a positive in my eyes.
Thanks for passing by. 👍


You must be logged in to post a comment.