

What the listing stated:
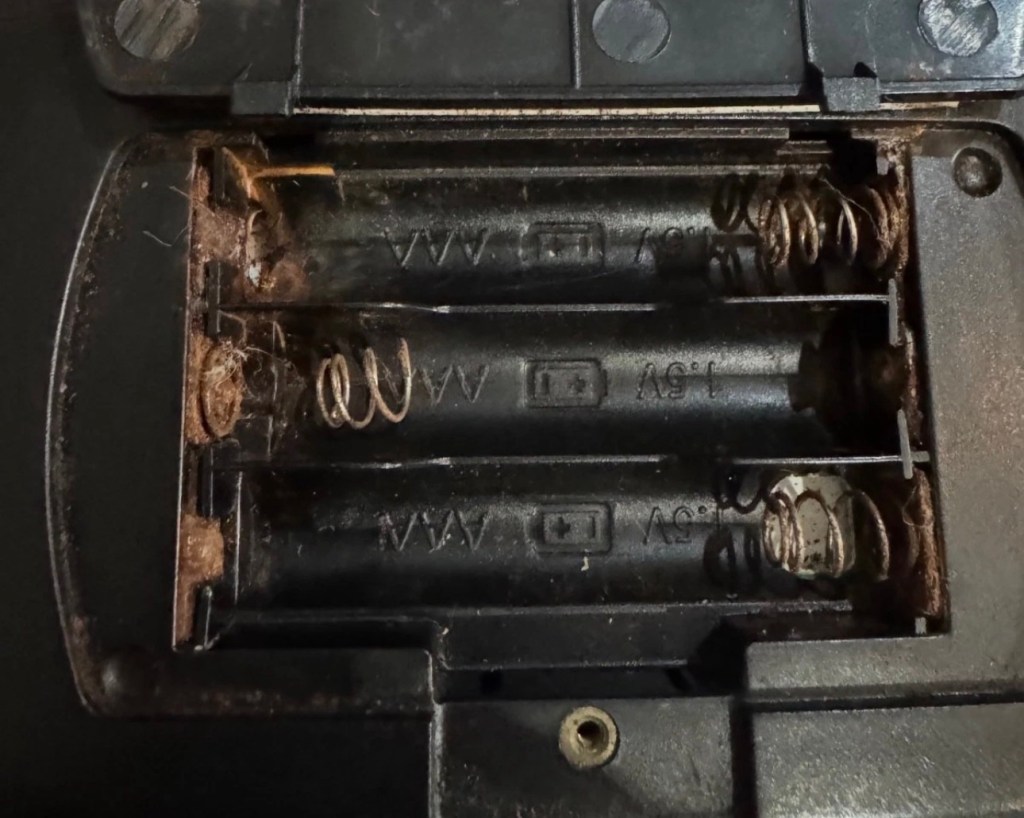
I can’t get the device to power on. This is possibly just due to corrosion (and one snapped spring) in the battery compartment. Someone more adept at fixing things may be able to bring it back to life but unfortunately I can’t so listing it as spare/repairs/faulty.
EBay
I sure as heck wasn’t going to pay the old price advertised when the previous owner obtained this from Cash converters.
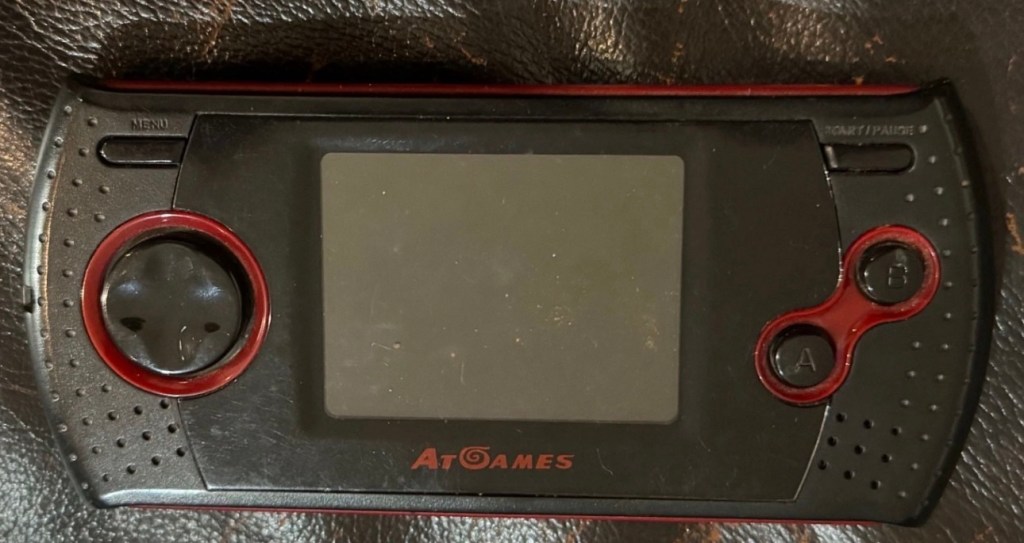
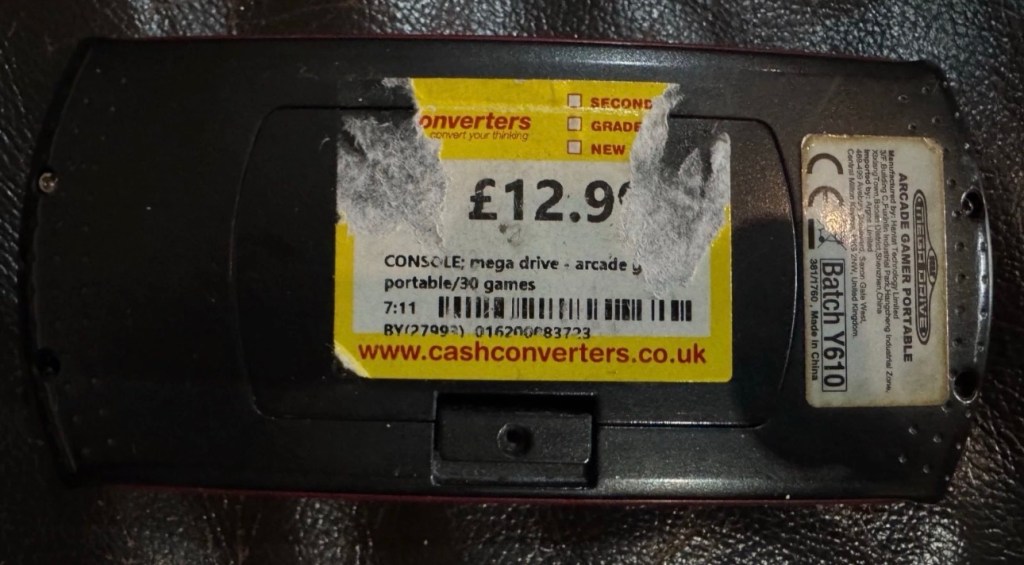
Let’s just say I paid considerably less than the price tag on the rear of the unit.
These handhelds were sold as emulation devices usually preloaded with games, between 20-80 games were the norm, I believe this is a 30 game option, if the information that is left of the previous price tag is to be believed. They were originally sold within the UK by the national retailer – Argos, and it originally retailed at a price of £29:99GBP.
A little about these units:
The AtGames Arcade Gamer Portable is a licensed, handheld “console-on-a-chip” manufactured around 2008. Despite the common inclusion of “Mega Drive” in some regional retail listings, it explicitly emulates Sega Master System (8-bit) and Sega Game Gear games rather than 16-bit Mega Drive/Genesis titles.
Game Library: Features 30 pre-loaded games. Notable titles include Sonic Triple Trouble, Sonic Chaos, Alex Kidd in Miracle World, Golden Axe, Ristar, and Tails Adventures.
Hardware Limitations: It relies entirely on emulation software and lacks a traditional cartridge slot. The d-pad and face buttons feature a modern 6-button layout, despite the underlying 8-bit games only requiring two active buttons.
Audio & Video: Uses a built-in mono speaker and a bright 2.4″ color LCD screen. It can plug into standard TVs via an AV output port, but it does not support modern HDMI connections directly.
So here we have an unhealthy unit from 2008 requiring quite a bit of work, if it can even be repaired at all. It may just be too badly damaged to have a successful outcome.
Why am I wasting time on what was a relatively inexpensive item in the first place? And there lies the crux of the issue, in our throw away society this is the attitude we’ve all come to expect and to live by. It’s not a good attitude, there are probably millions if not billions of similar items world wide that have suffered the same fate, “it’s knackered, just chuck it and we’ll get another”. It’s a bad attitude that we need to step aside from. If I can at least reverse the attitude of one person and get them to explore the possibility of a fix to preserve an item and to save it going to waste, then I’ve achieved my goal. That’s why I’m wasting time on it.
Let’s await its arrival though, so I can carry out a full assessment.
Assessment:
It’s arrived. It’s looking a tad tatty as expected, and those battery terminals are totally corroded. I’m not going to put any power into it at this point as I know there will be no response. I just hope the corrosion doesn’t go much deeper. This is all rust, not battery acid.
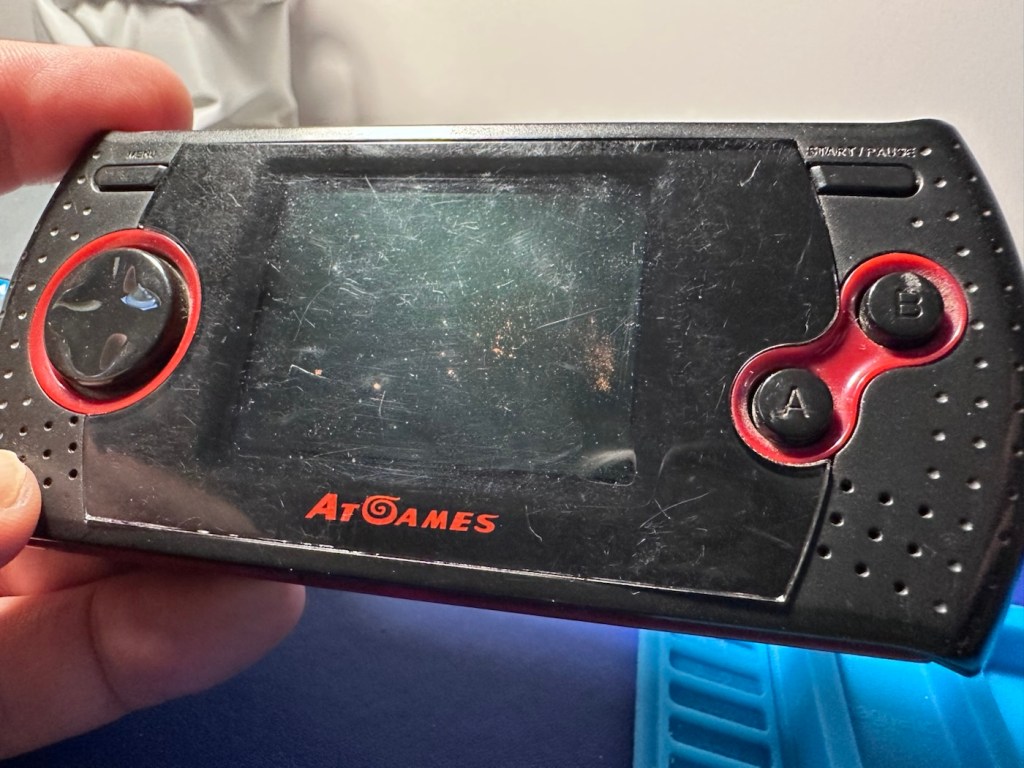
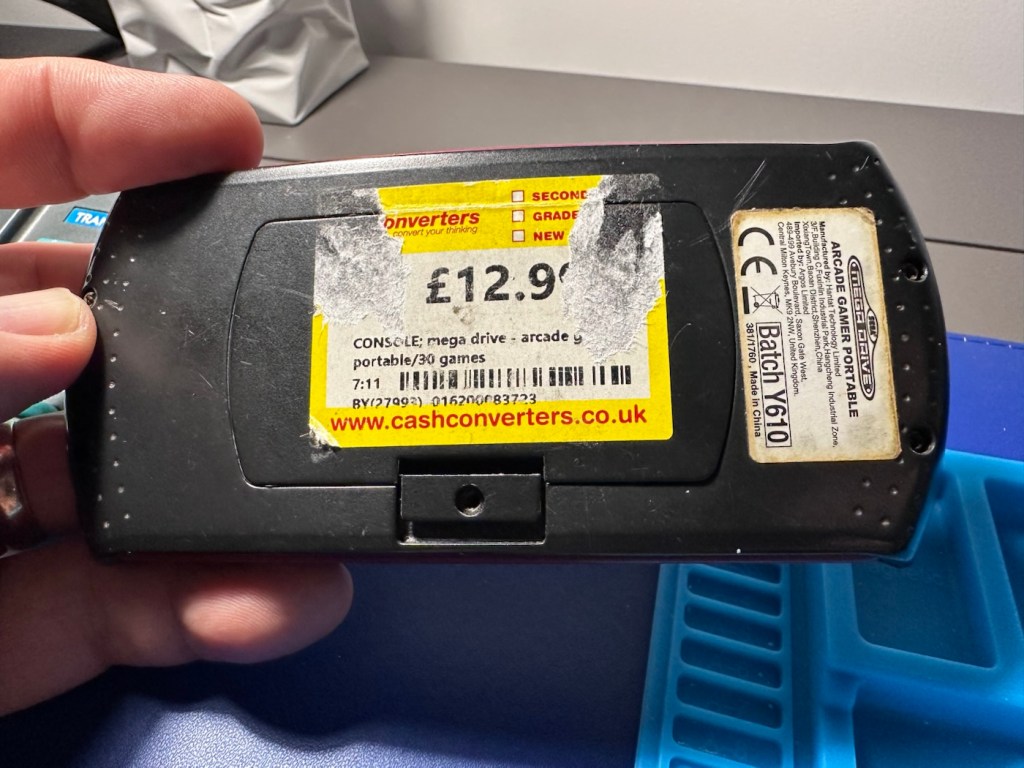
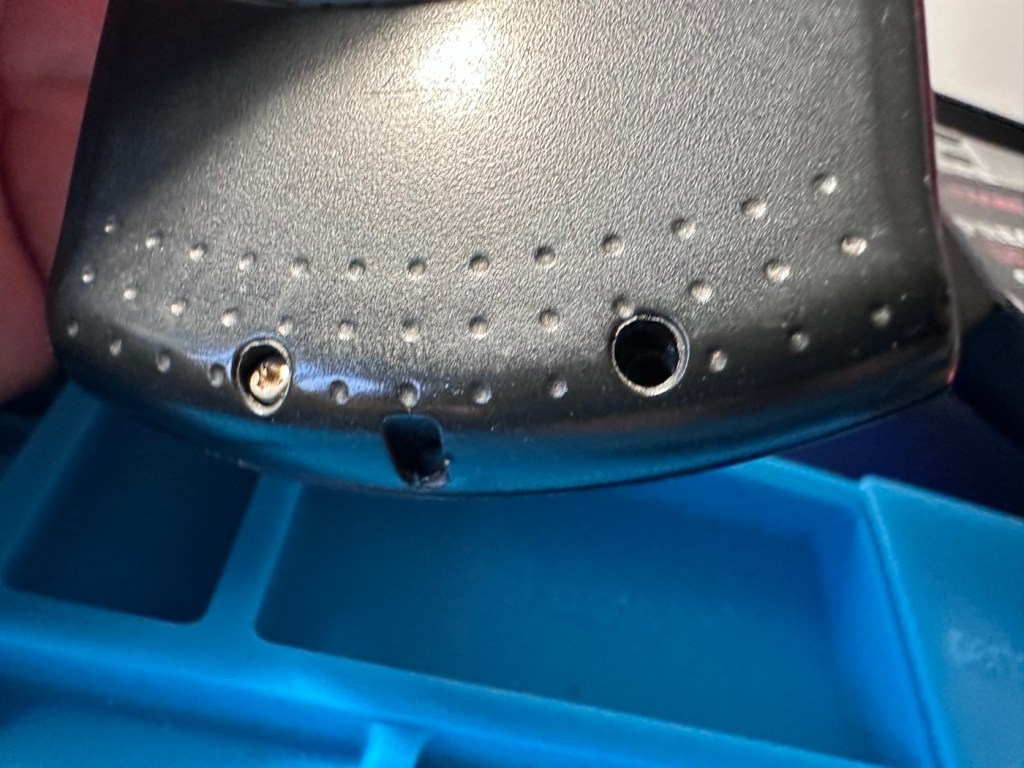
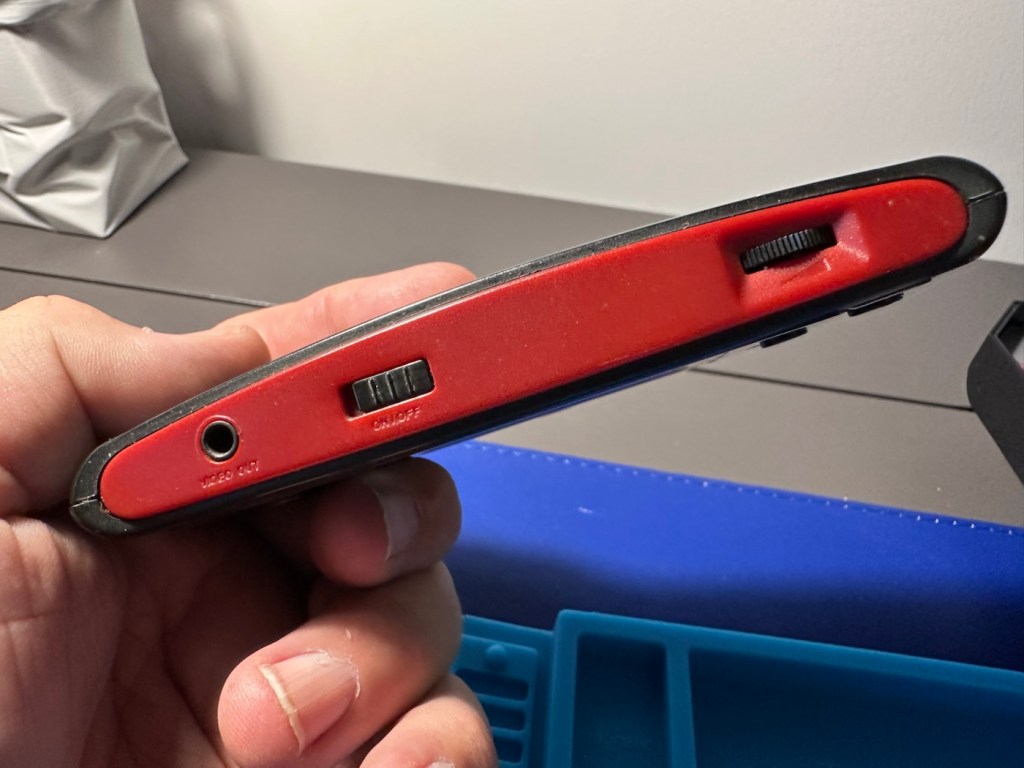
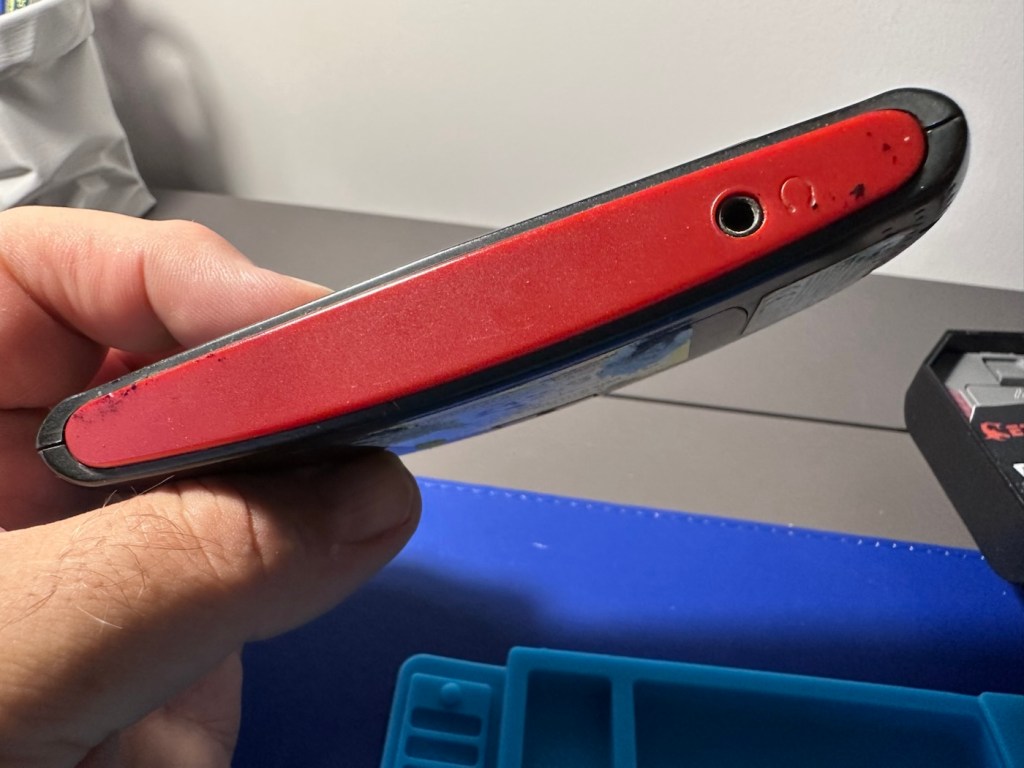
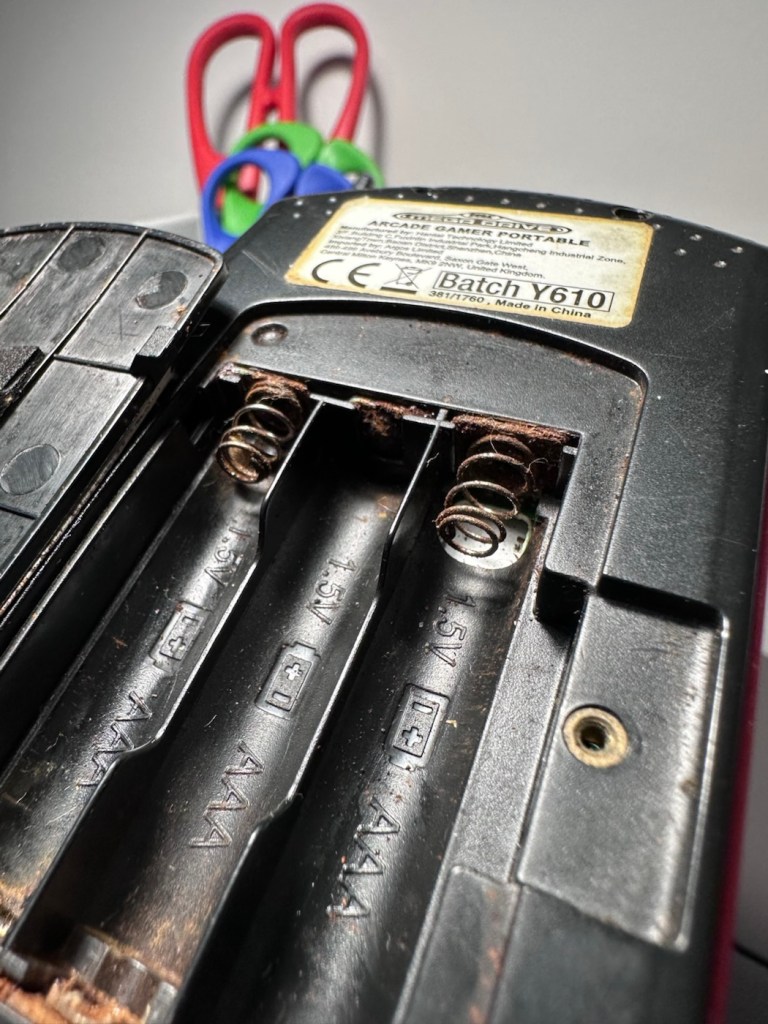
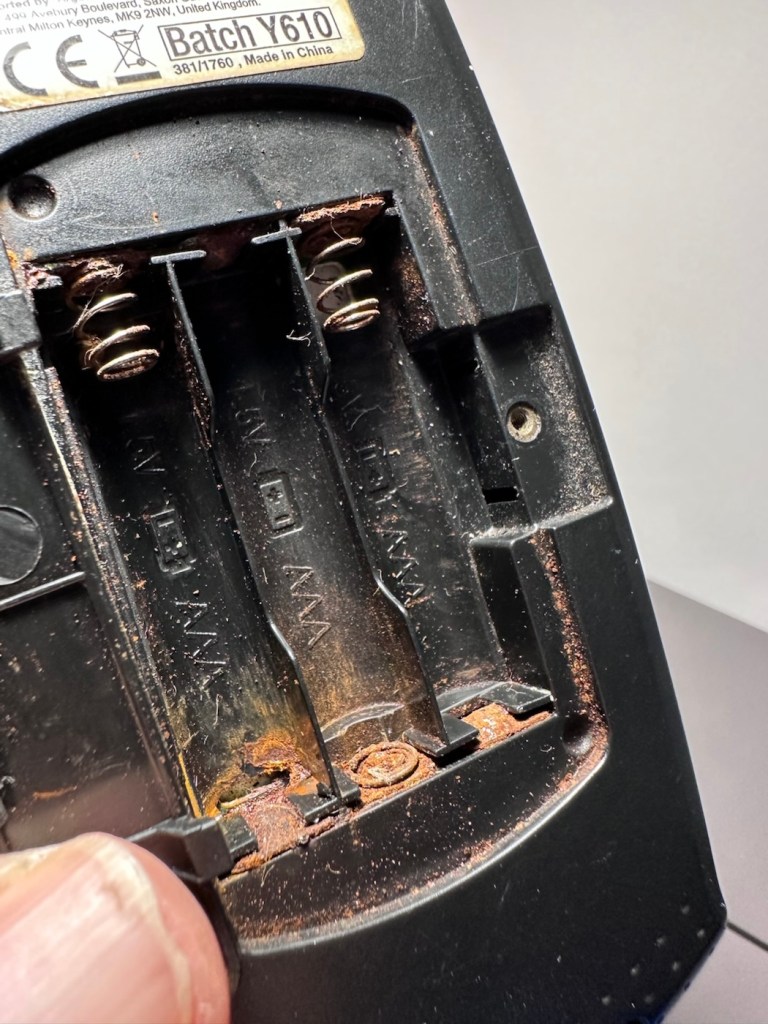
We’ve got to get the case separated so that we can review the surprises inside that I suspect are waiting for me.
Repair:
With the cases separated the extent of the damage can be seen. The rust has also completely damaged the two terminals on the main board.
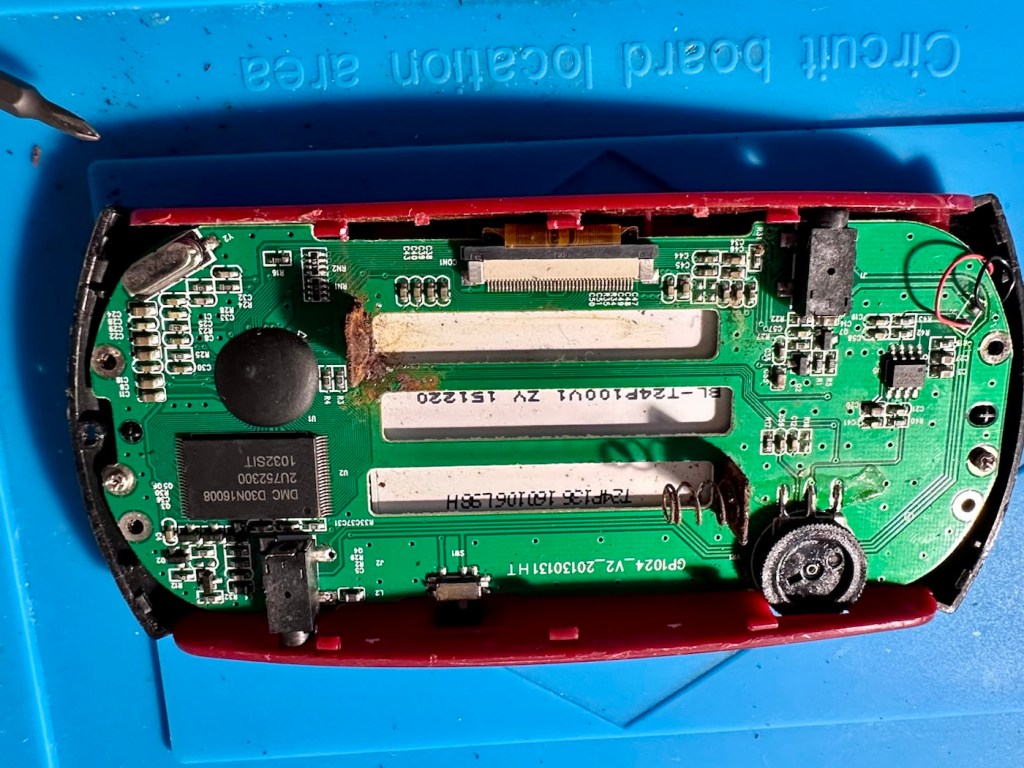
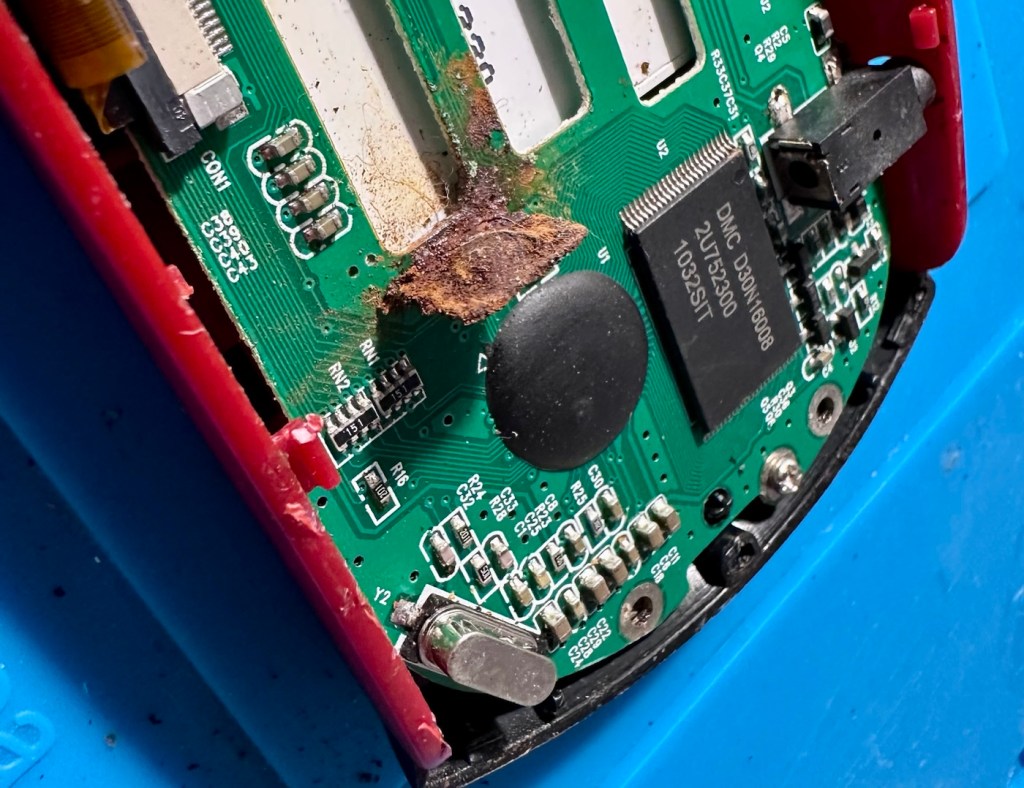
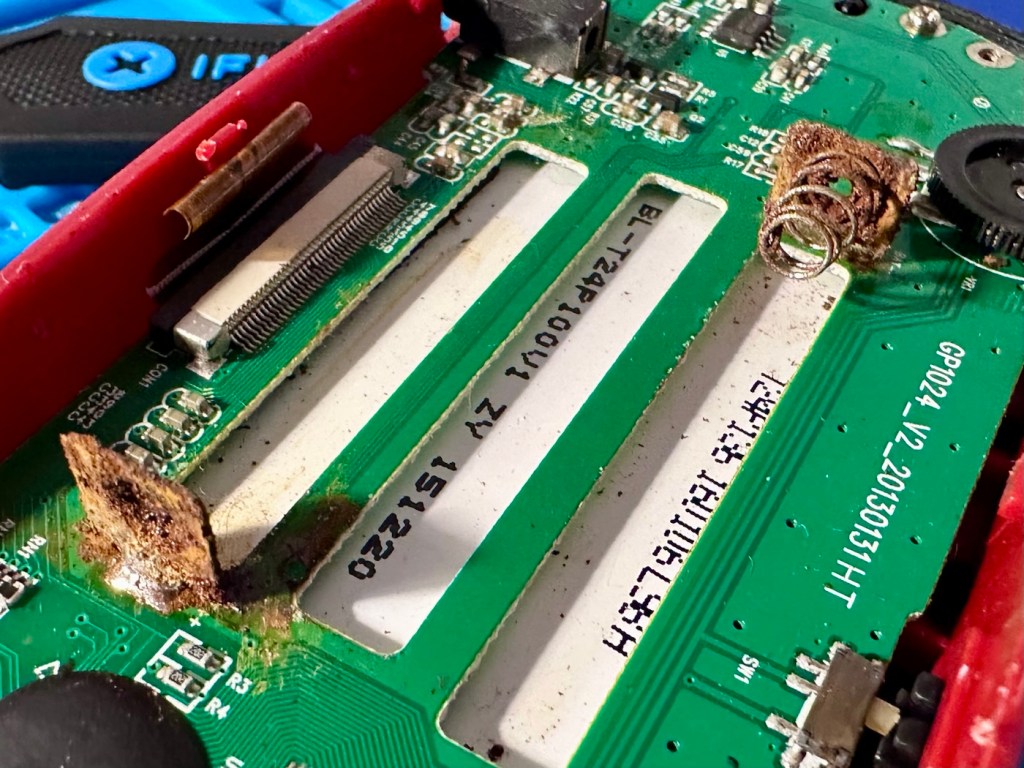
My main concern here is that directly below the terminals is the screen. I’m hoping the source of the problem hasn’t gone any further.
And luckily the terminals are where the rust issue ends.
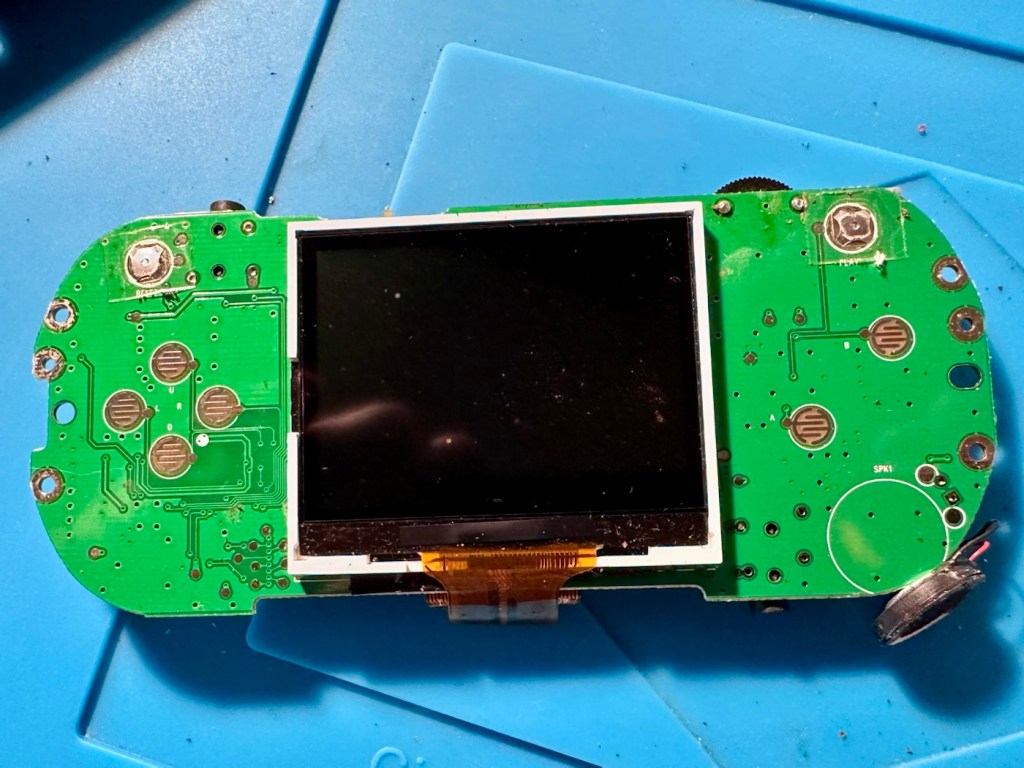
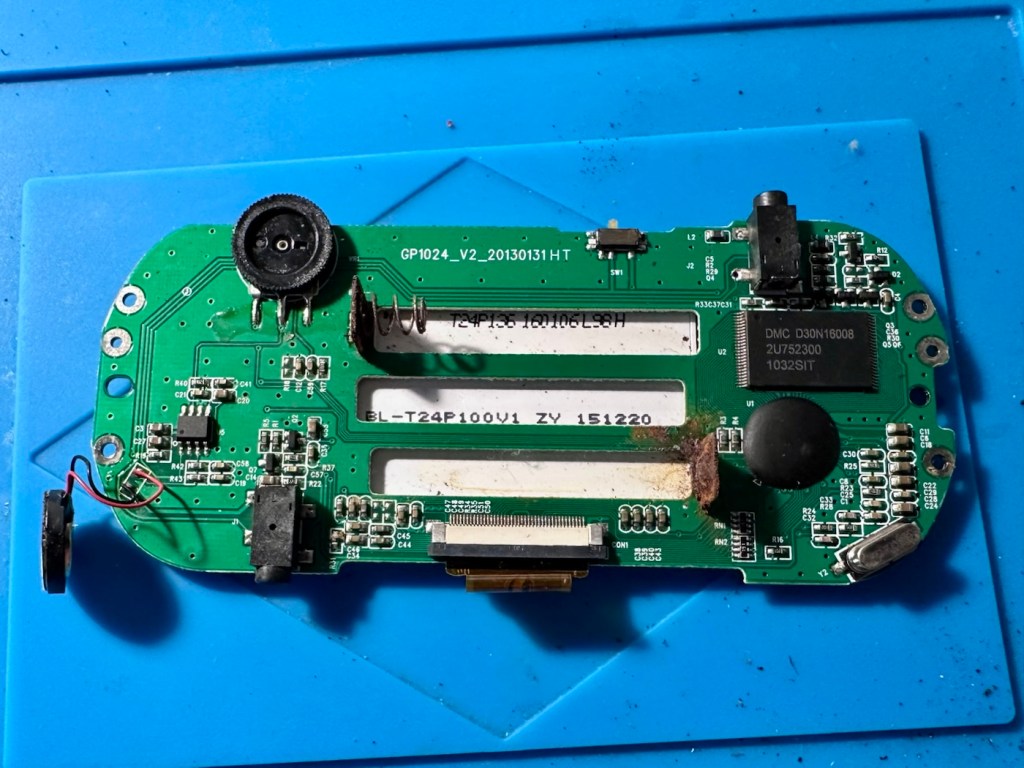
Ok, first thing I do is remove the rusted battery terminals from the battery compartment and then give the internal shell a thorough clean. I then install fresh terminals and add a couple of jumper wires as I don’t have and double type battery contacts. This is more than sufficient.
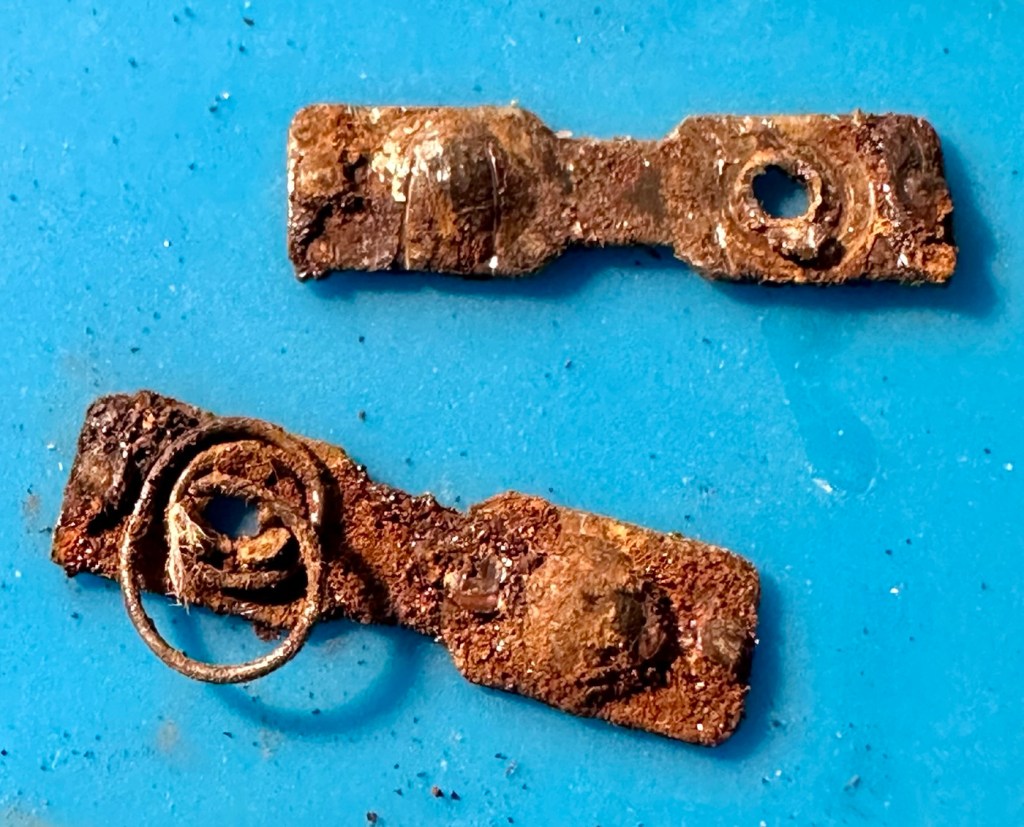
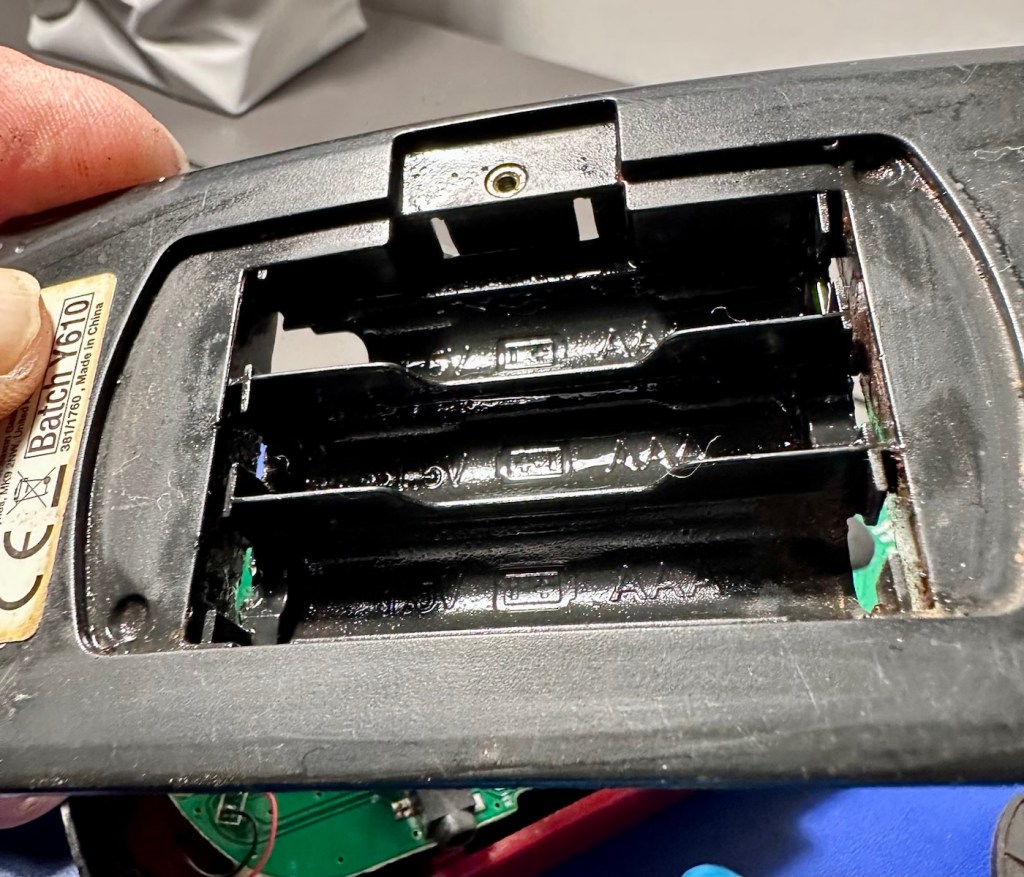
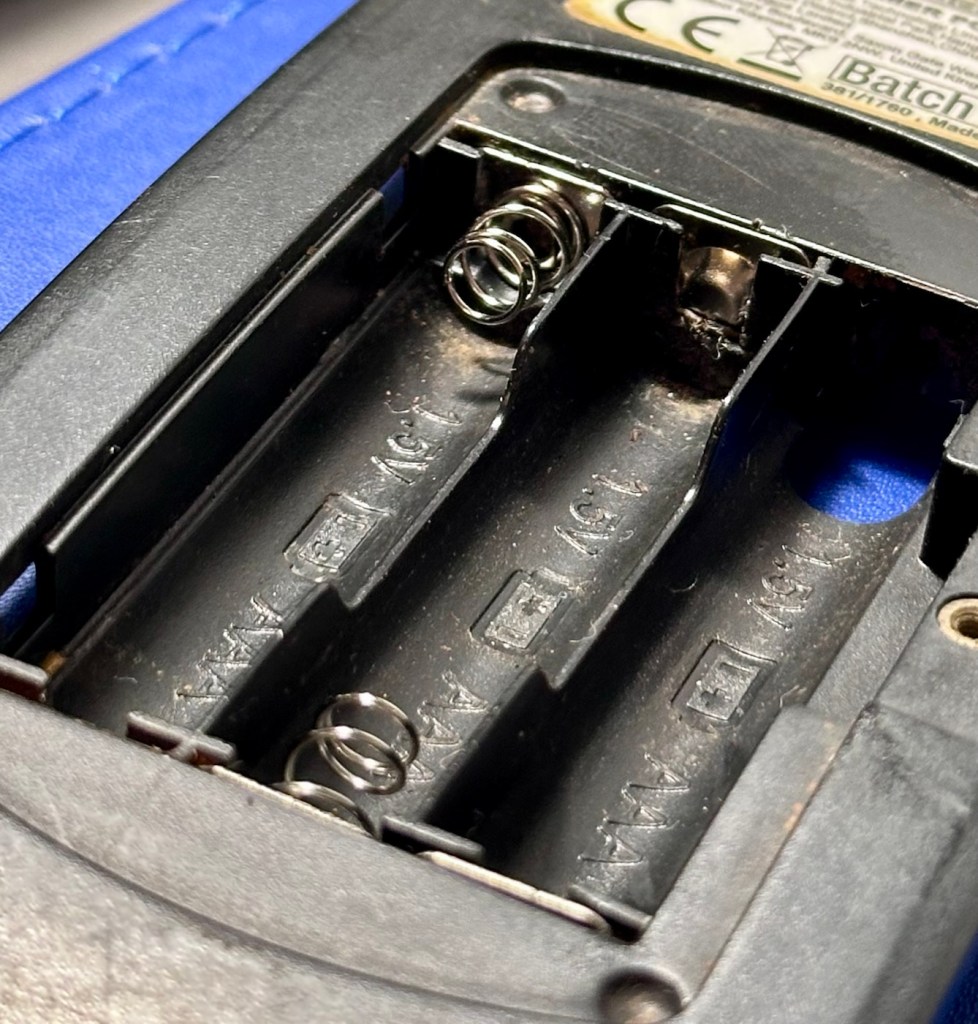
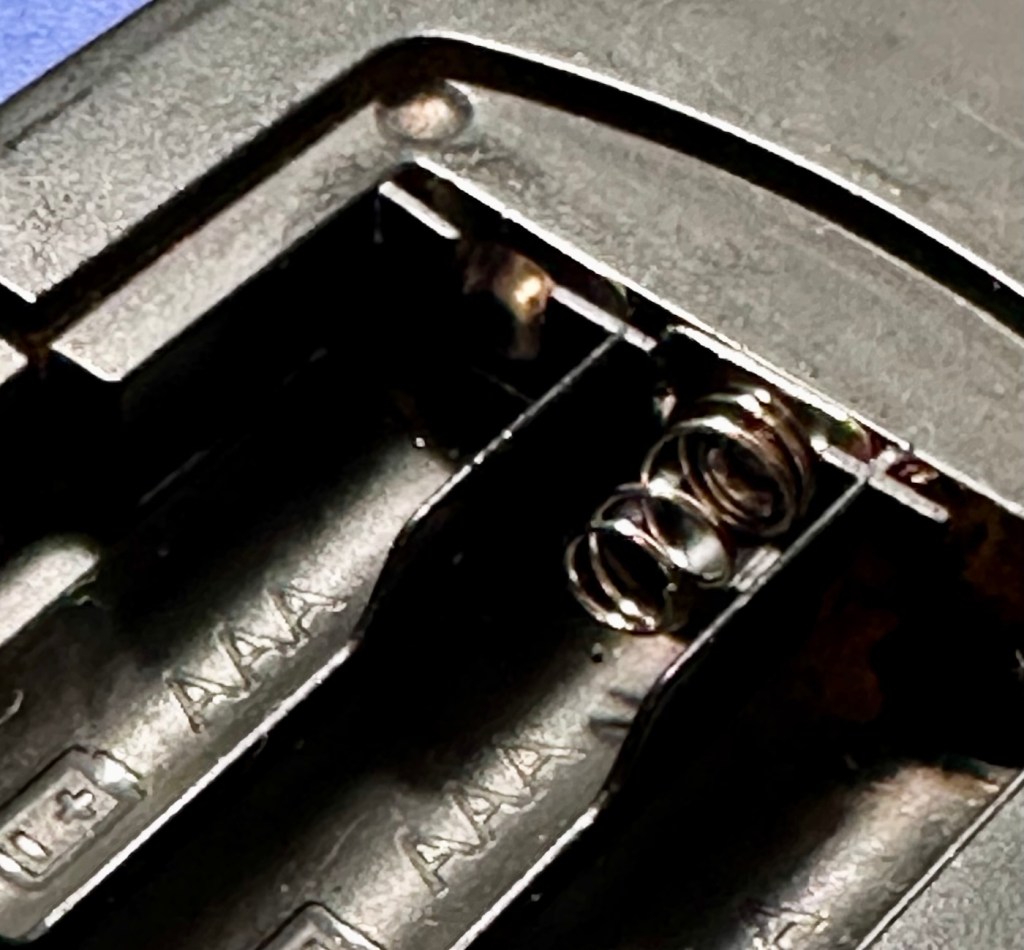
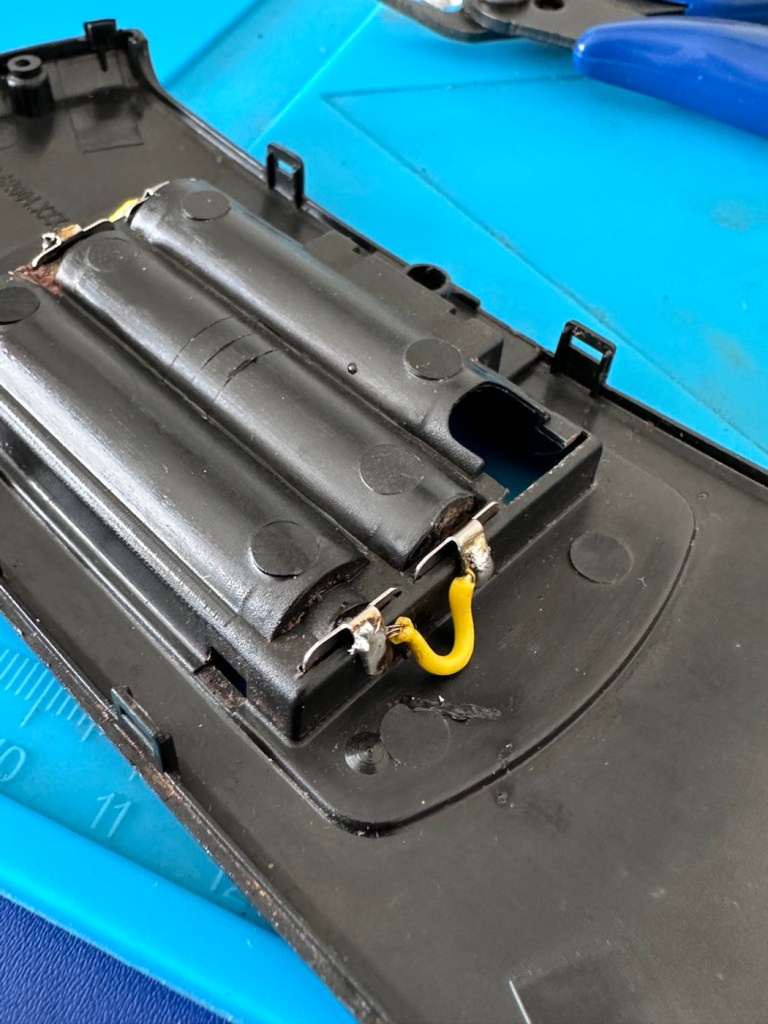
Next I need to get the two terminals off of the board, I use a soldering iron for this, and as I’m going to produce a little heat in the area I mask the area between the battery contacts and the screen with a little Kapton tape to give some protection, I could have removed the screen completely at this point, but as I was using the iron and not hot air I didn’t class it as necessary.
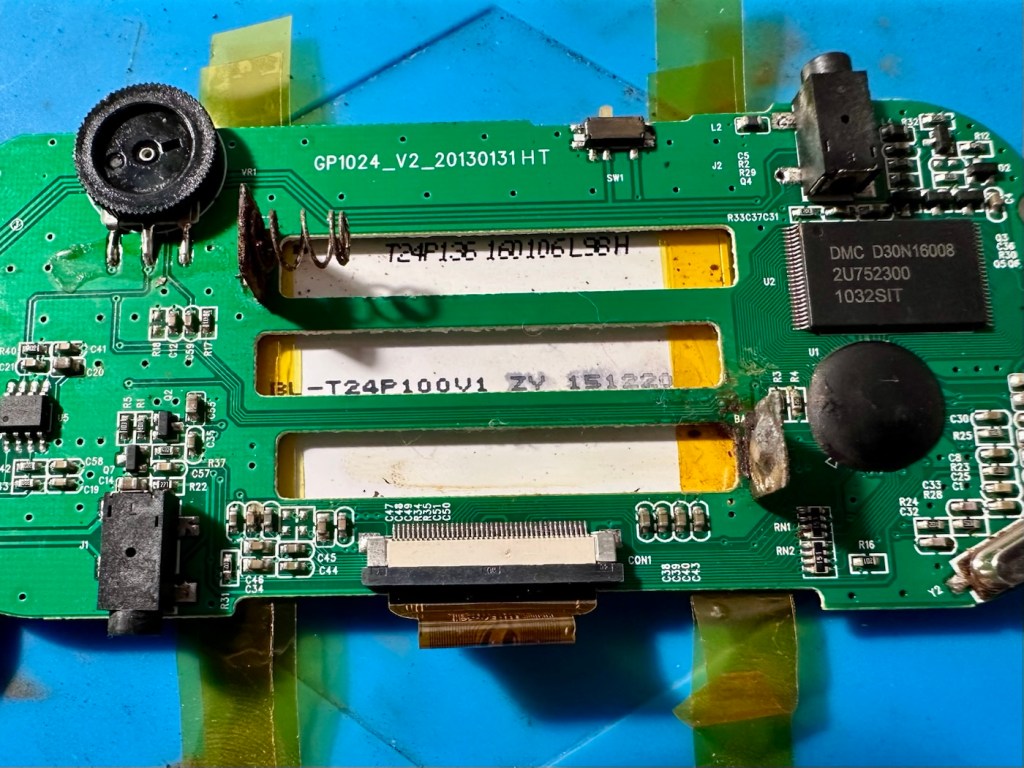
However, as I removed the two terminals, it became obvious that I would have to remove the screen as the old terminals took the connector pads with them and damaged some of the traces. I was going to have to carry out a more complex repair.
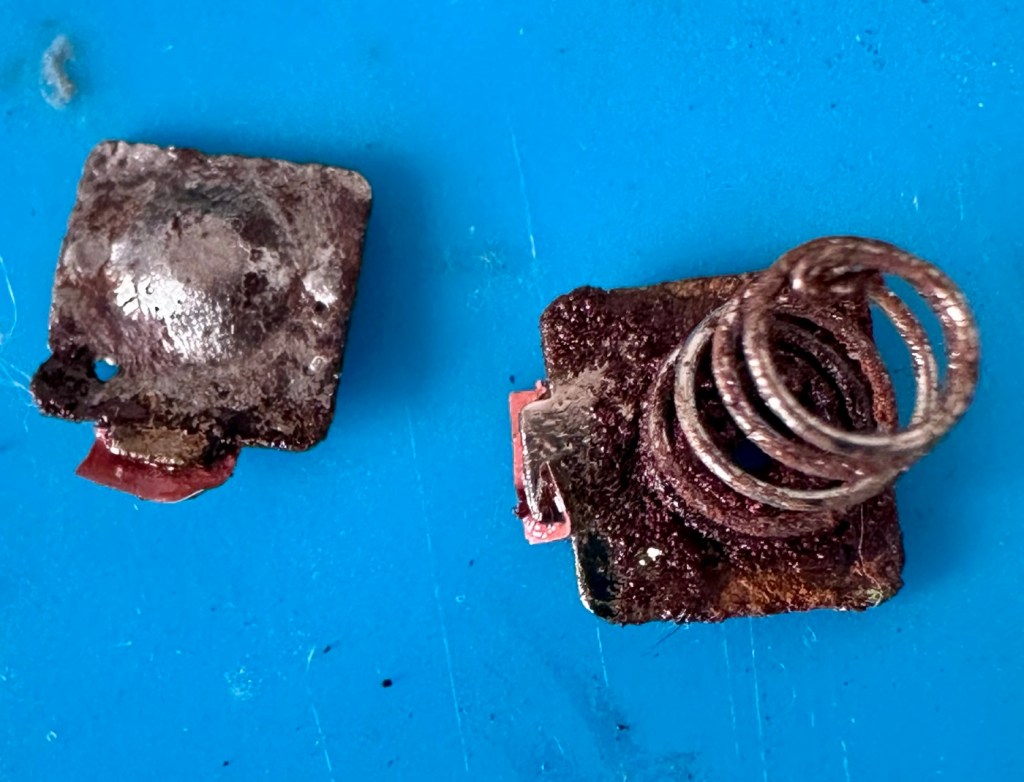
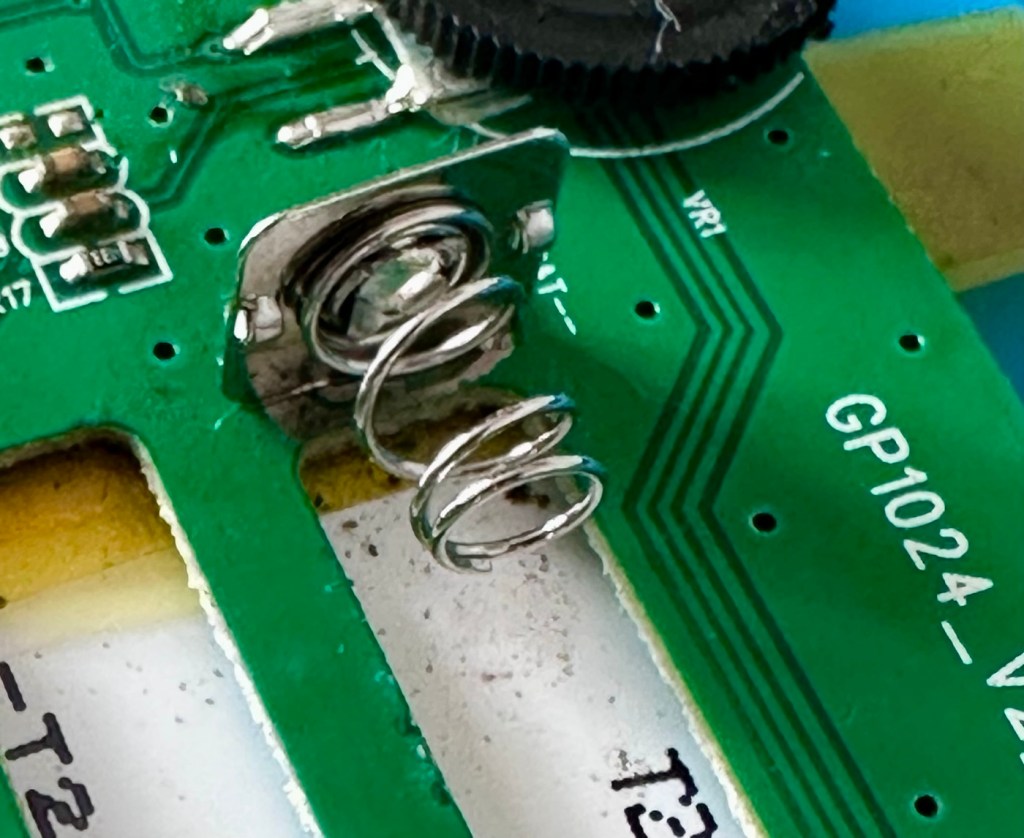
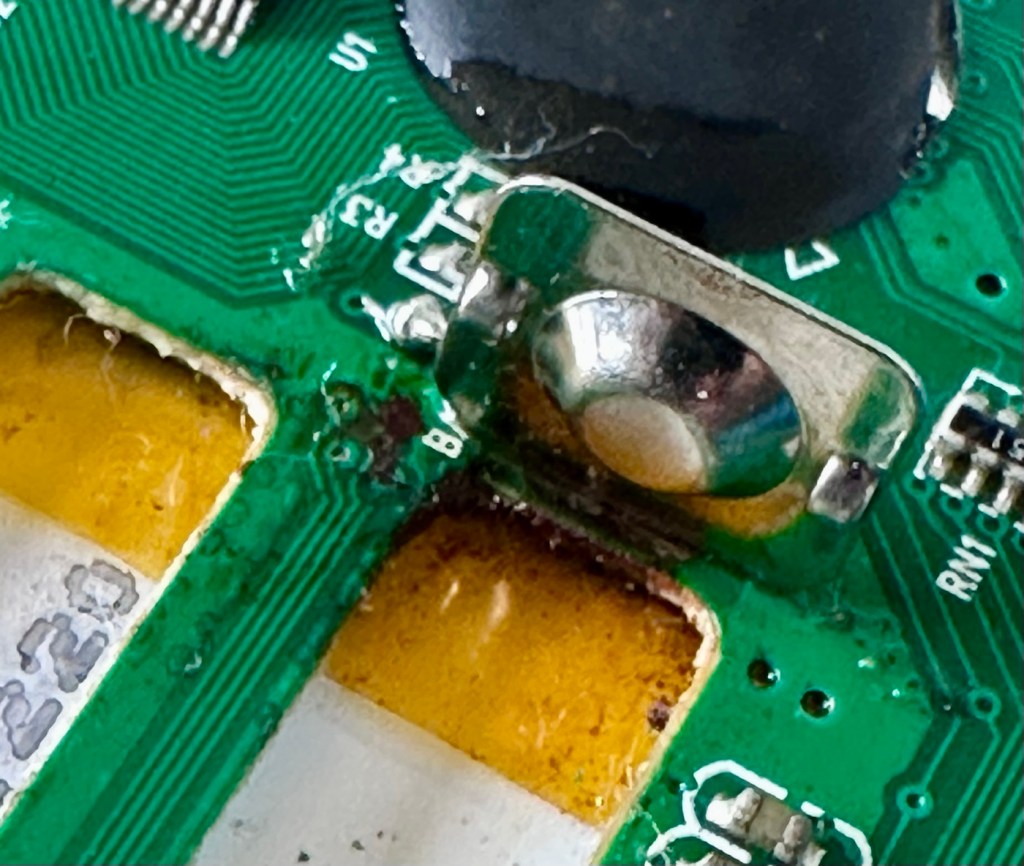
The contacts had to be fastened from the rear of the board, so for this reason it was good that the screen was removed. The screen is quite delicate and is secured to the board with a ribbon cable that had to be detached, and double sided pads that had to be manipulated to release the screen from the board.
I did some testing with the multimeter and there was a good contact on the earth side. However the positive side was dead, no response. Closer examination of the board under the microscope showed that the trace between the positive terminal and a nearby Via point, shows that the trace had also been removed severing continuity. Using a grinding pen on the appropriate Via, allowed me to expose some copper, I was then able to use some flux and apply the tiniest dab of solder. The next stage was to utilise some trace repair wire, only 0.10mm thick. This is like trying to solder a piece of hair, it really is that thin. I was able to connect the wire from the base of the positive terminal to the via and testing proved that the continuity had been restored.
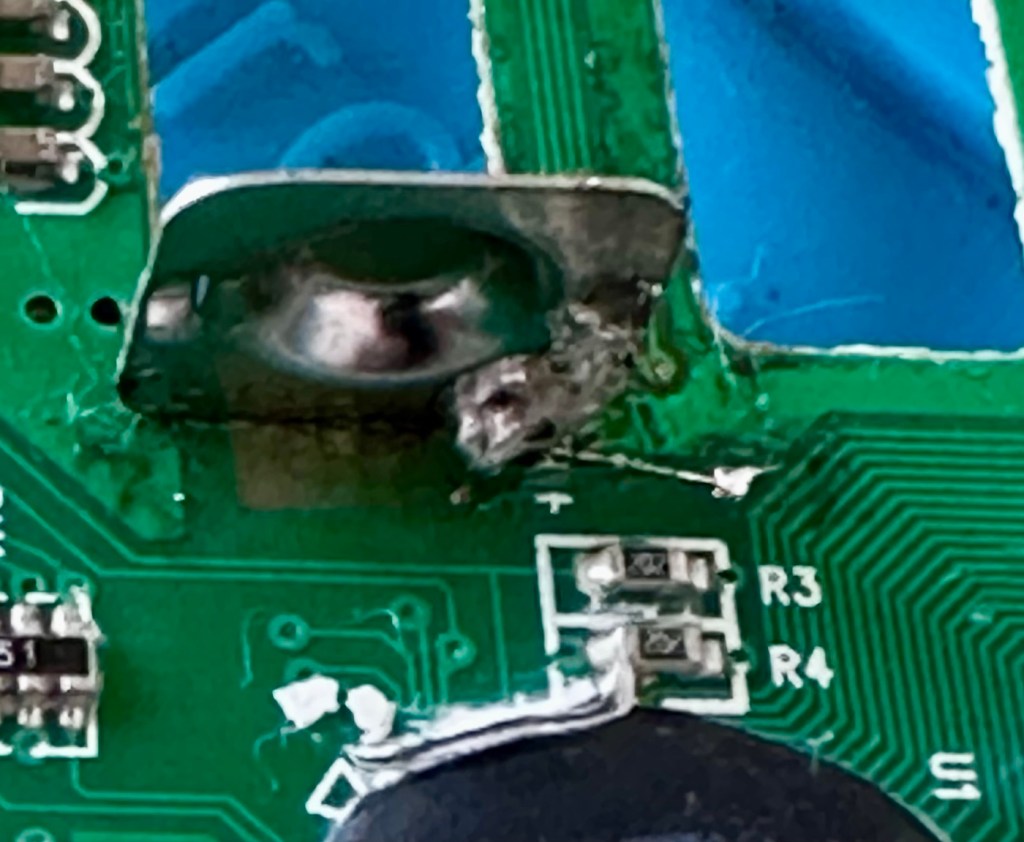
I tidied this area up by adding a touch of UV curable solder mask, to protect that very thin wire from corrosion or being caught while re assembling. It cures in just over a minute under a small UV light and becomes quite solid. It’s good for this purpose.
So now that all continuity on both the negative and positive sides has been restored, I just connect the battery chamber for a quick test before reassembling it all.
And it works.
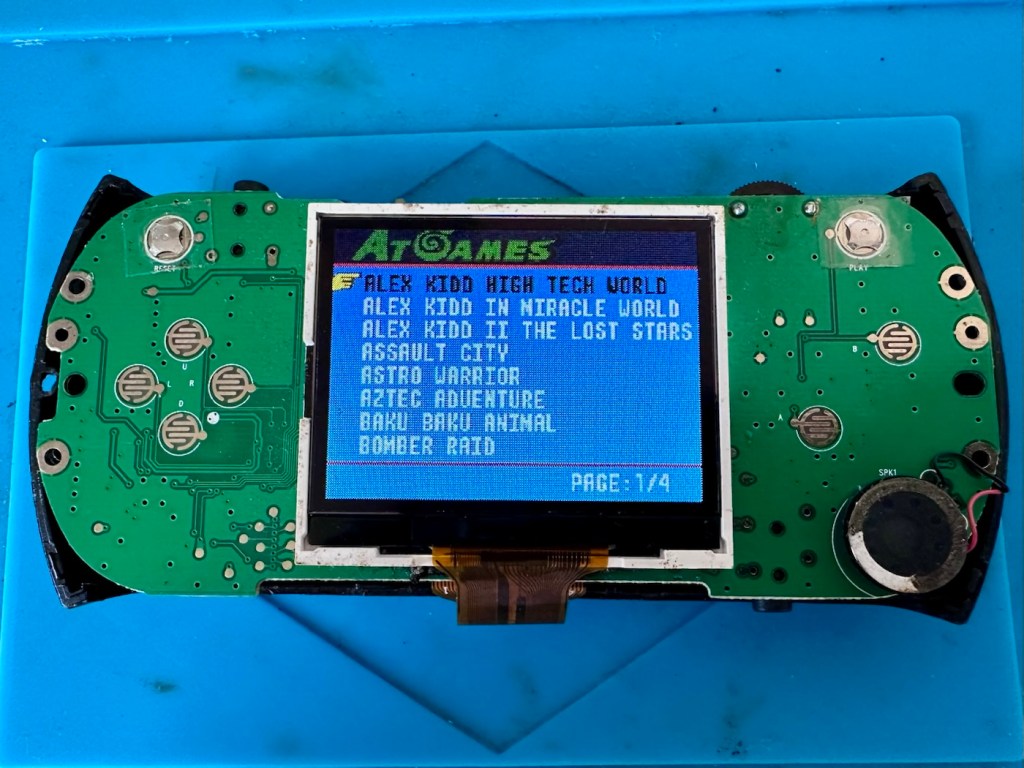
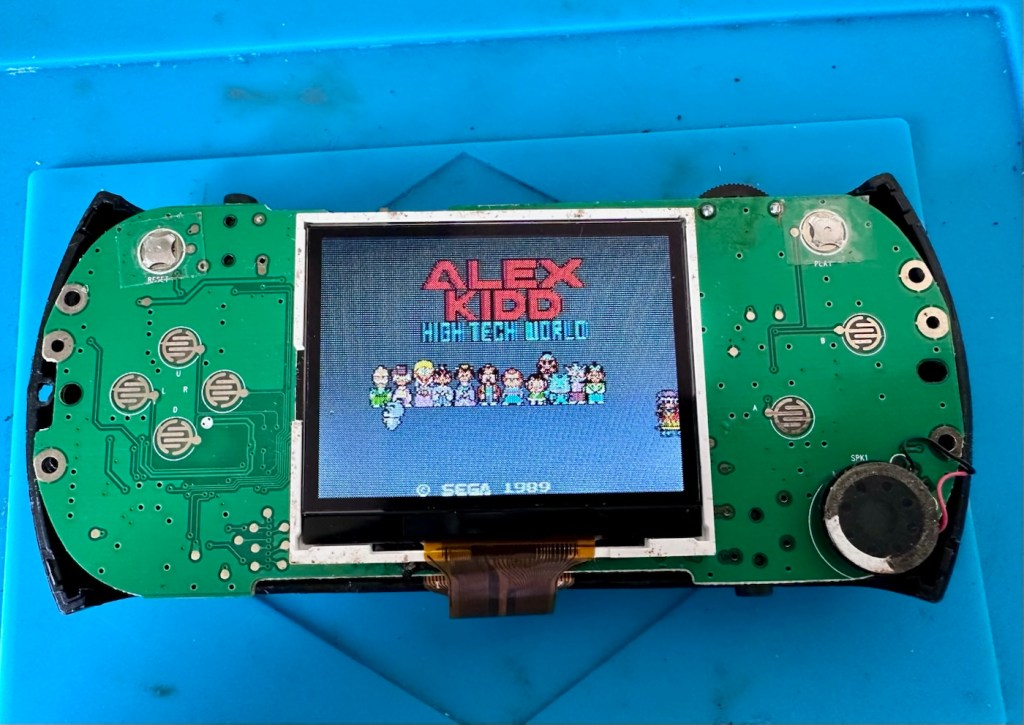
We have sound and we have vision. All that is needed now is to fully assemble the case to see if all the buttons and connectors are working as well.
Result:
And they are. A quick test shows that all buttons and connectors are in a perfectly good working order, a quick polish and this unit is looking good.
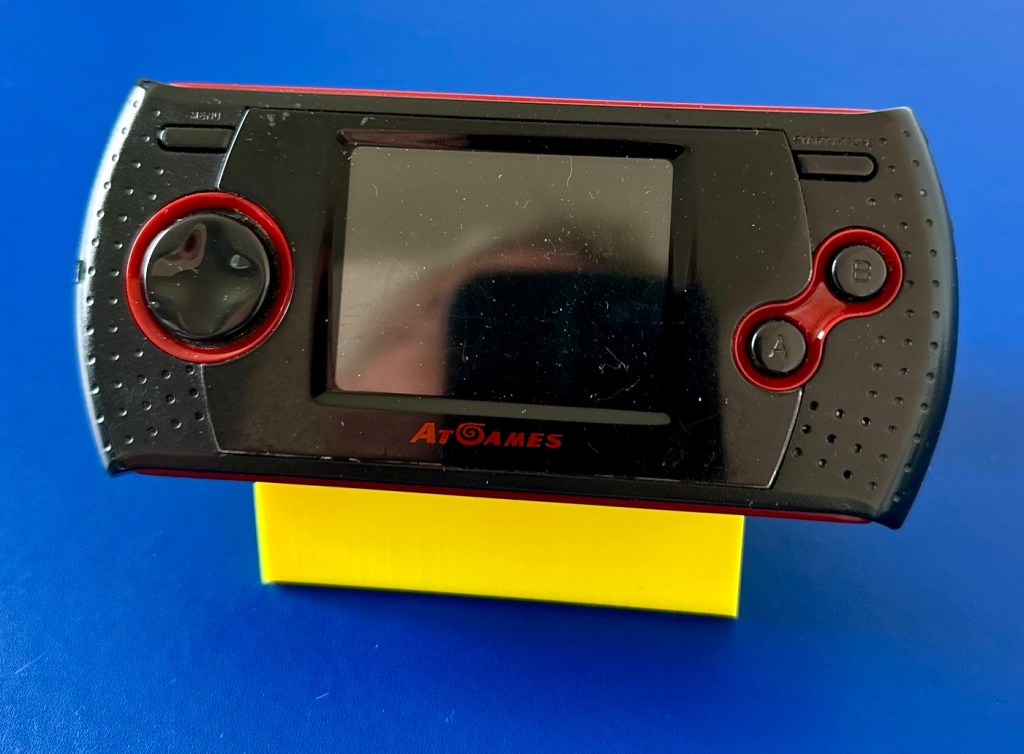
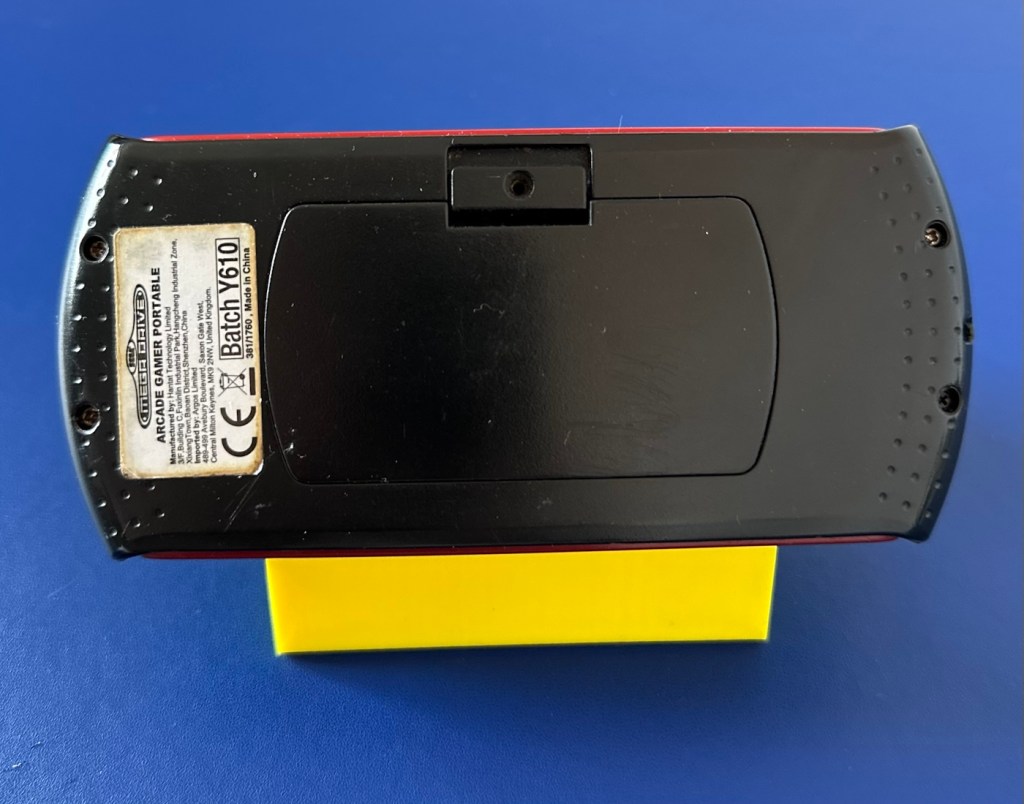
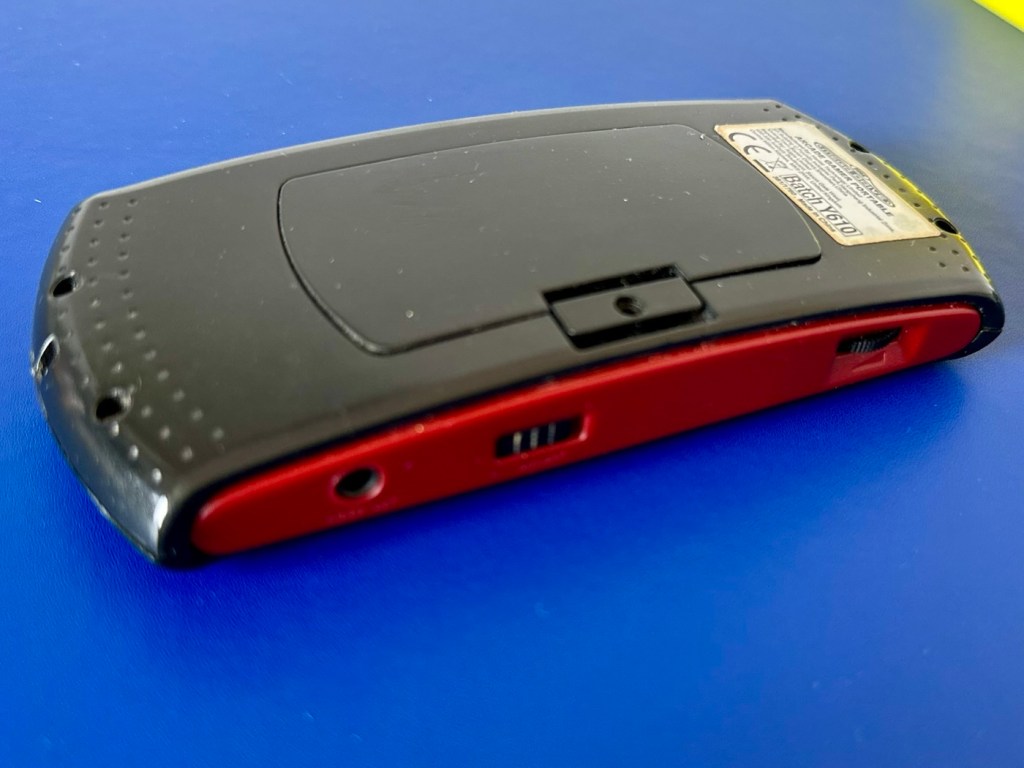
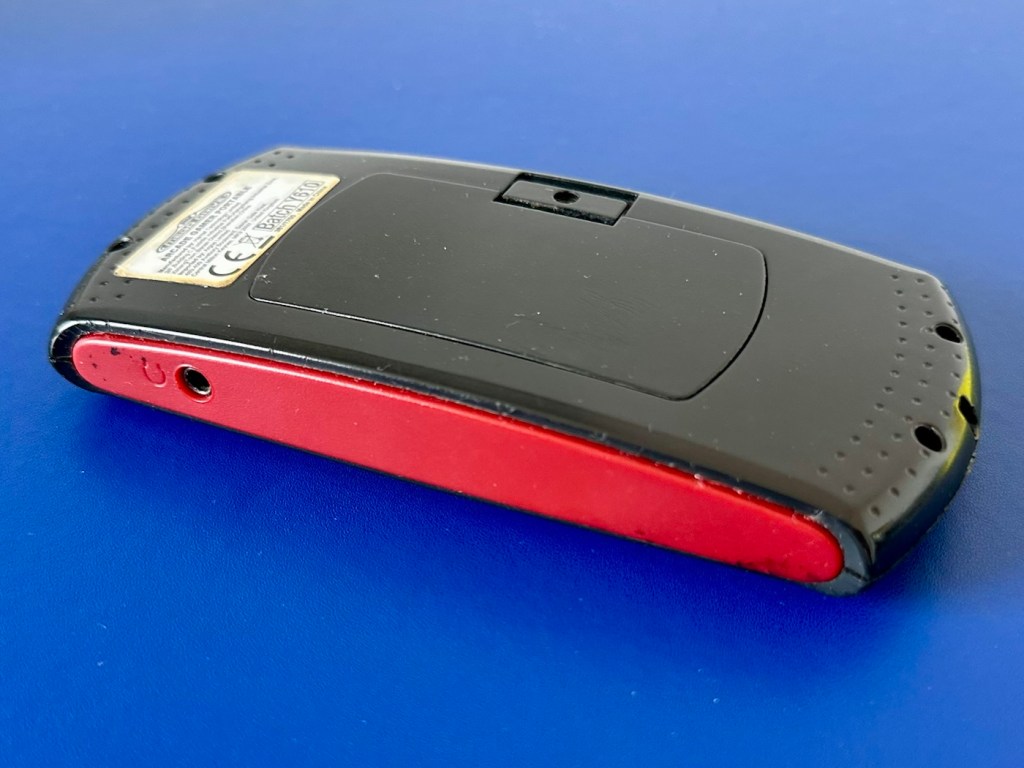
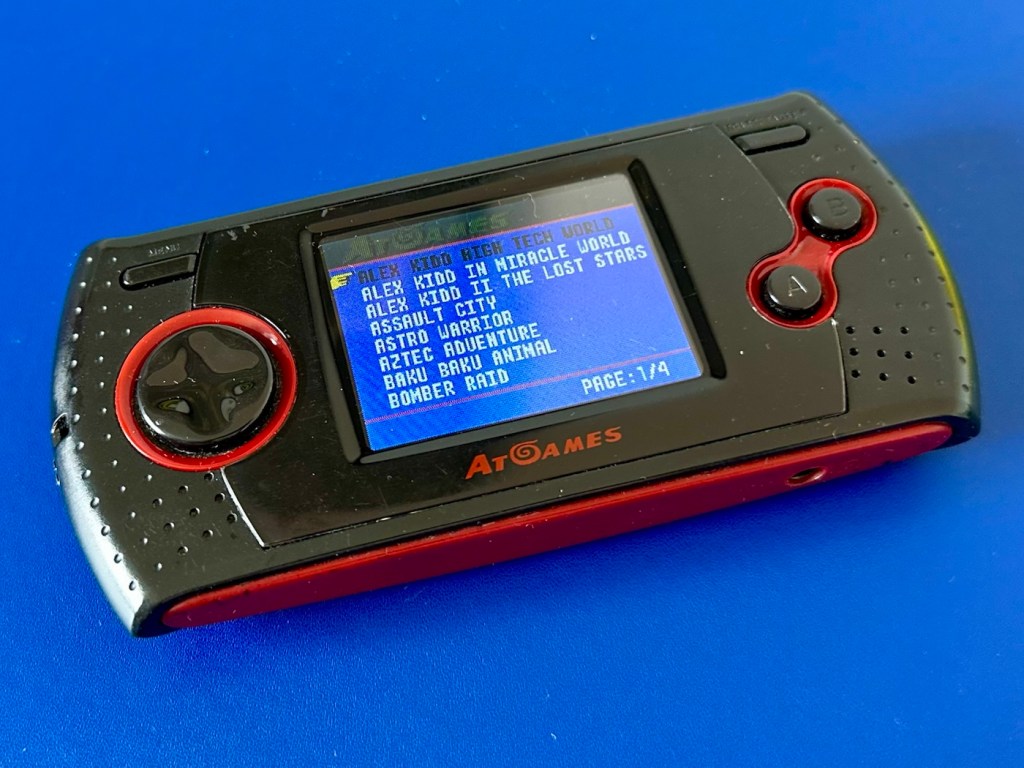
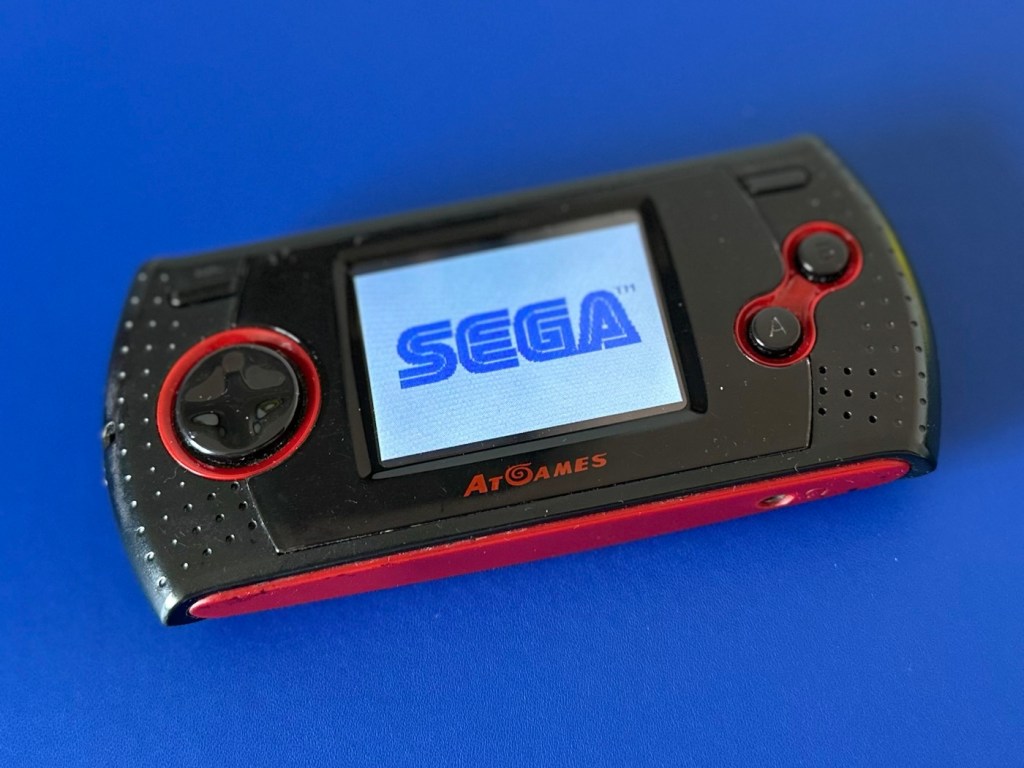
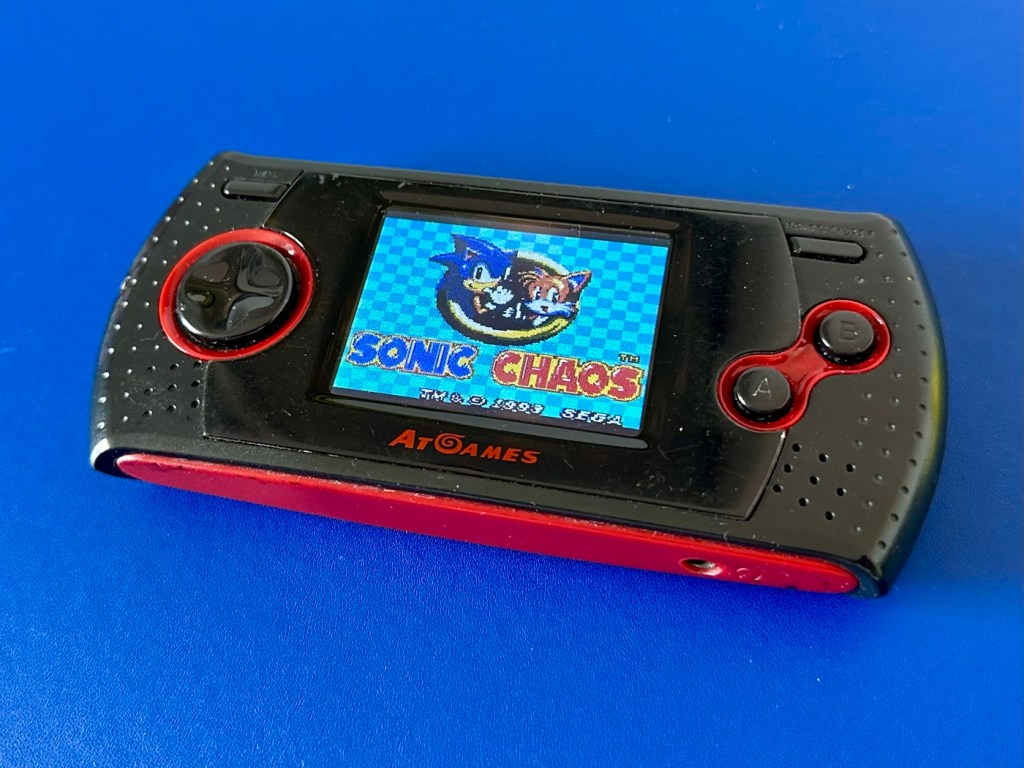
Really pleased with this repair, it was in a very sorry state of repair. However a little persistence and time and I have brought this little unit back to life.
I can understand the seller wanting to dispose of it and I suspect if it hadn’t of sold it would be on its way to landfill. I’ve prevented that and it’s a small win for me as this game will now go on to be used for a few more years to come.
A good result, a good repair and a happy me. Who could ask for more.
Many thanks for passing by. It’s always very much appreciated.


You must be logged in to post a comment.