

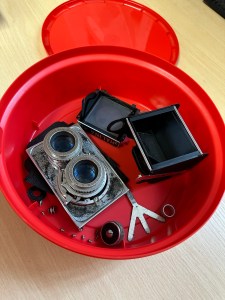
I recently purchased this camera and wrote about it in a previous blog entry Werra 1
I’ve commenced taking the Werra to pieces. The winder was not working and the shutter was not firing. Before starting this work I’ve viewed this page at Everything Vintage where they have recently carried out a full strip down of the Werra and you can view the page HERE, it’s all great advice.
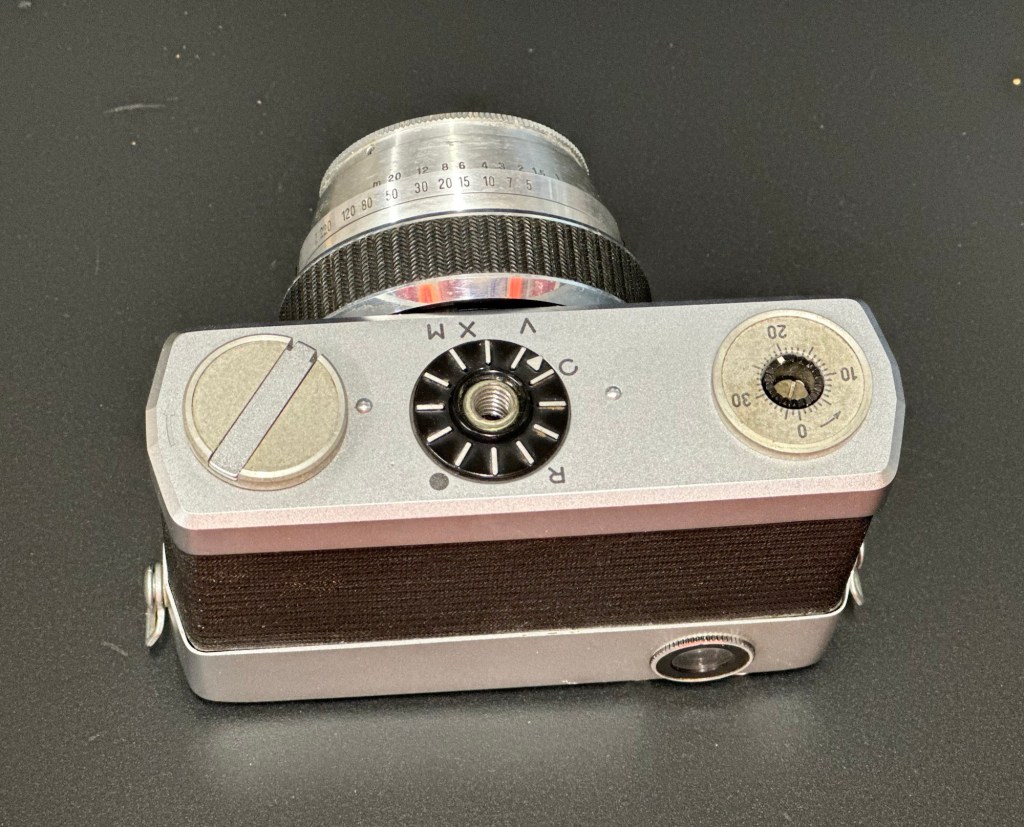
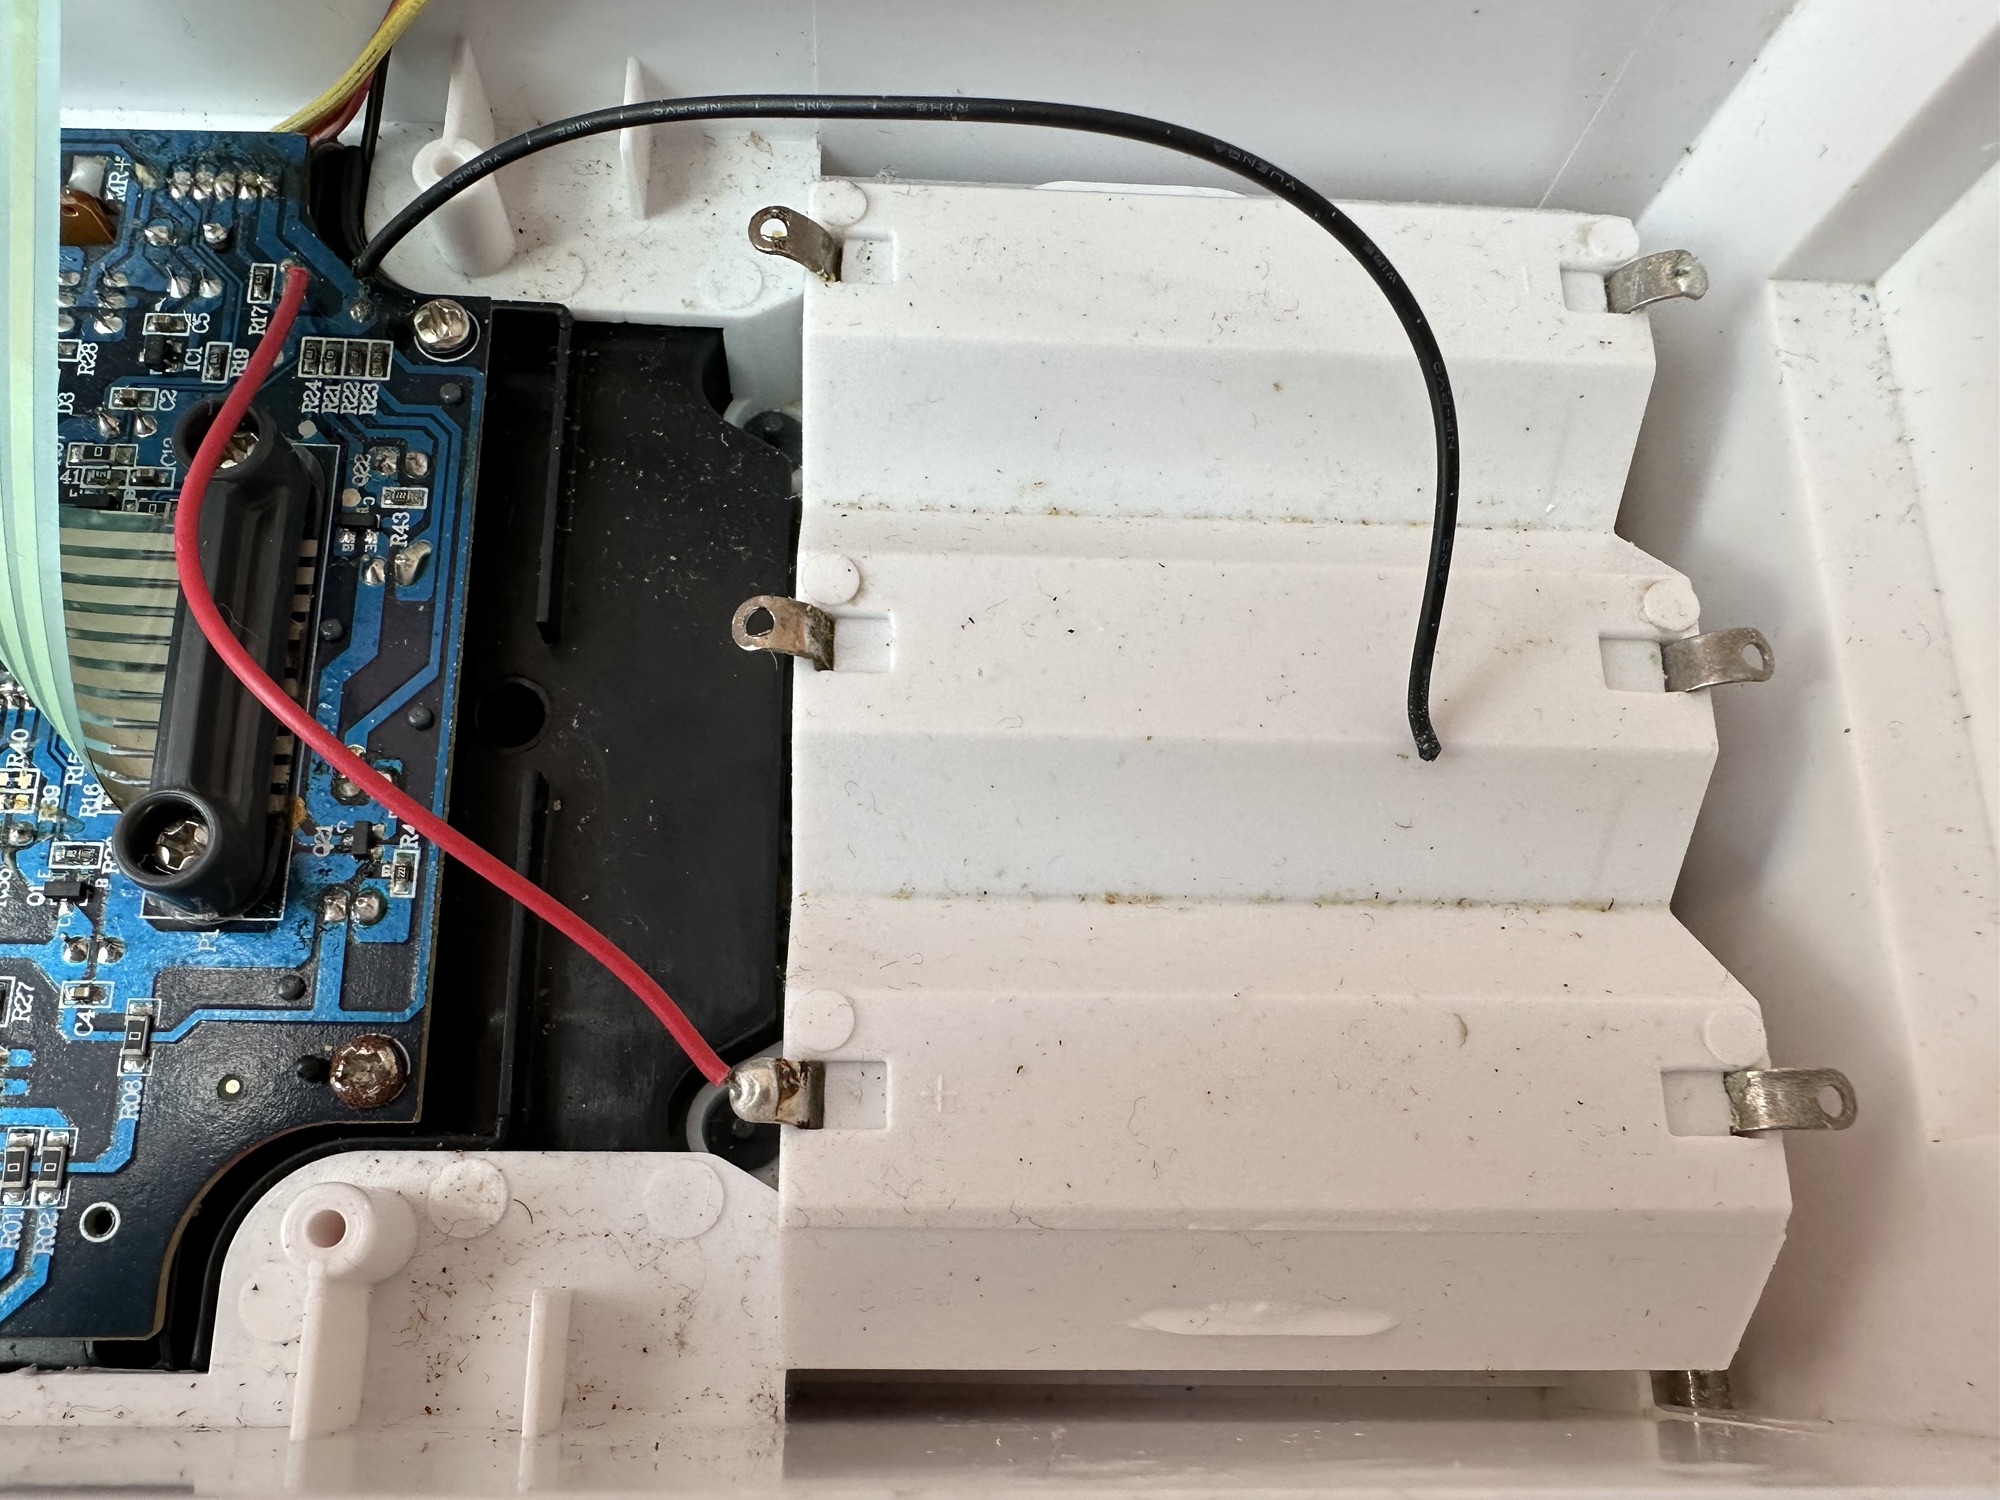
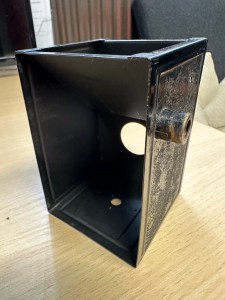
Getting below the top plate was relatively easy exposing the mechanics from 58 years ago, I don’t think it’s ever been opened in all this time. I always love to see the ingenuity that went into these old cameras in years gone by.

The internals look dirty in the photo but to be truthful I don’t think the lighting is doing it any justice, yep there is a fine oxidation coating but it’s at a very acceptable level considering its age. When I get to the point of dismantling as much as I can, I will start to clean and lubricate these pieces. But at the moment my goal is getting to the shutter.
In the video above I’ve managed to get the shutter cocking using the lens ring, however the shutter actuator does work intermittently, but there is no movement of the shutter (Or is there…)
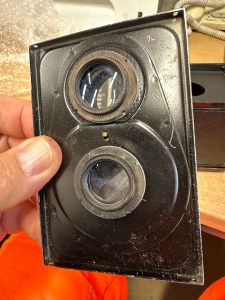
The only reason I ask the question above is that after reading the “Everything Vintage” link in the first paragraph it appears there is a second shutter that closes the light path to the film back when you wind on. When you are ready to expose the film this shutter opens and then there is a second shutter that controls the exposure. if you watch the small video above I think it is this shutter you can hear when I wind the camera on. Hopefully this one is working, I just need to get the one on the rear working, and for this I need to remove the lens from the housing. To do this I need a tool I don’t currently have but have now ordered. More to follow when the lens ring removal tool arrives.

The lens ring spanner has arrived, the ring is being right stubborn at the moment and Im struggling to release it from its 58 years of rigidity. I’m tired as well and don’t want to cause any damage to the shutter so I’ll come back to this later.
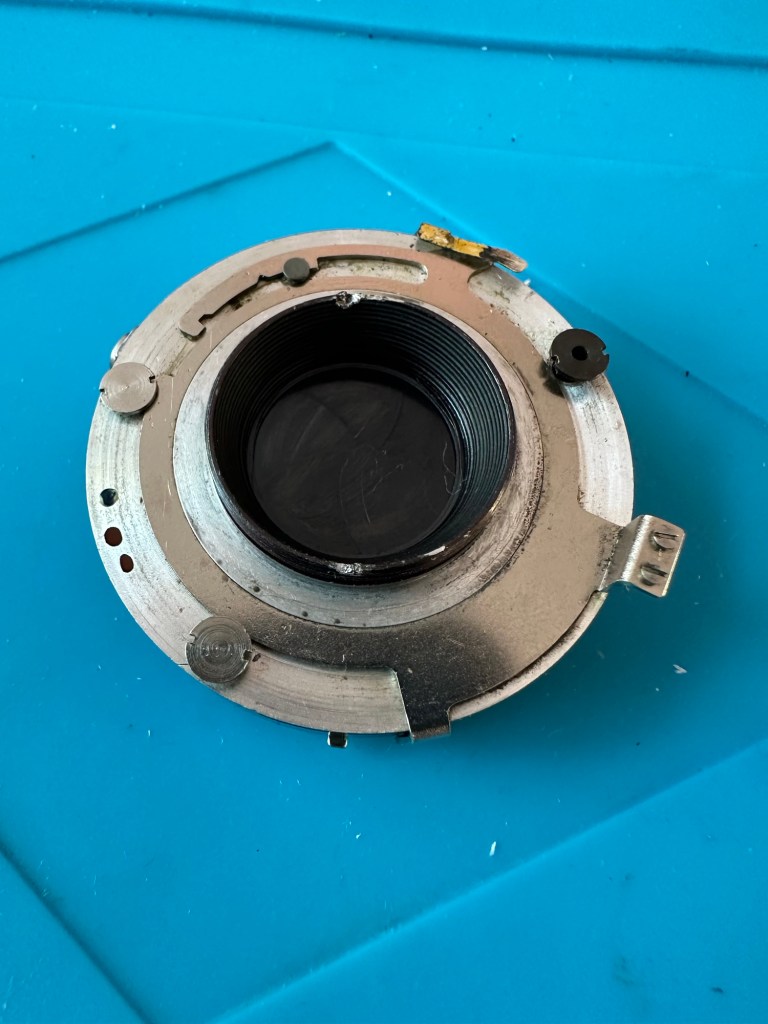
18 hrs later, I’m rested and have another go at releasing that lens ring, this time I’m successful and I manage to release it. Sometimes it’s better to sleep on a problem and approach it with fresh eyes rather than continuing whilst tired and prone to making mistakes.
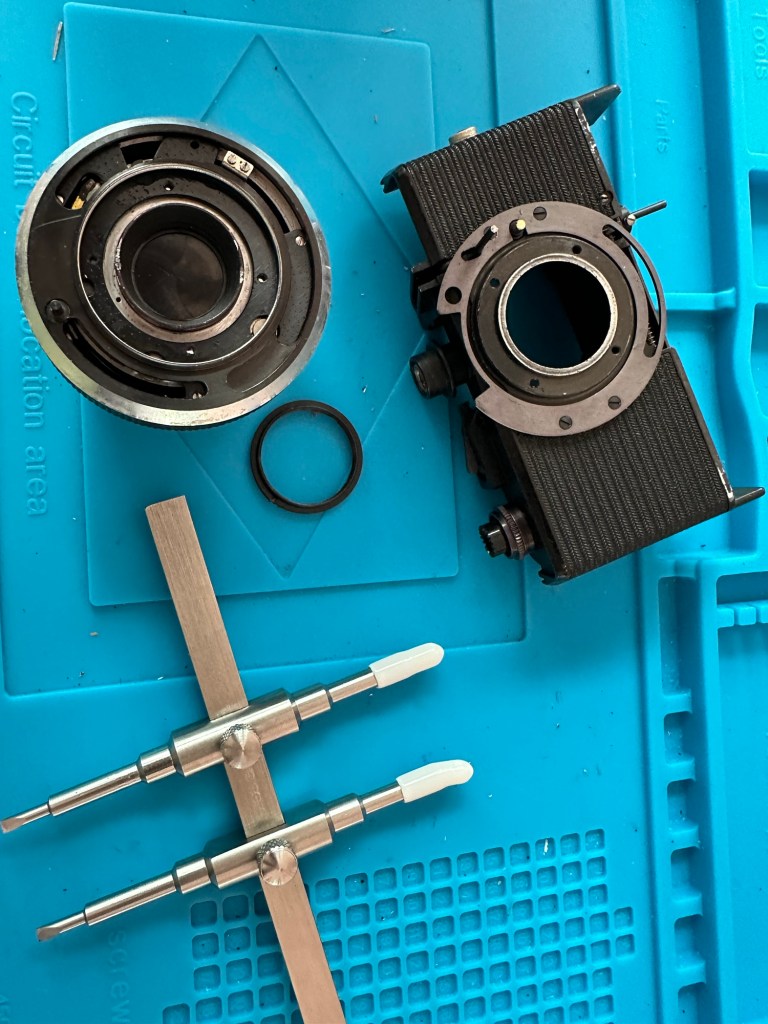
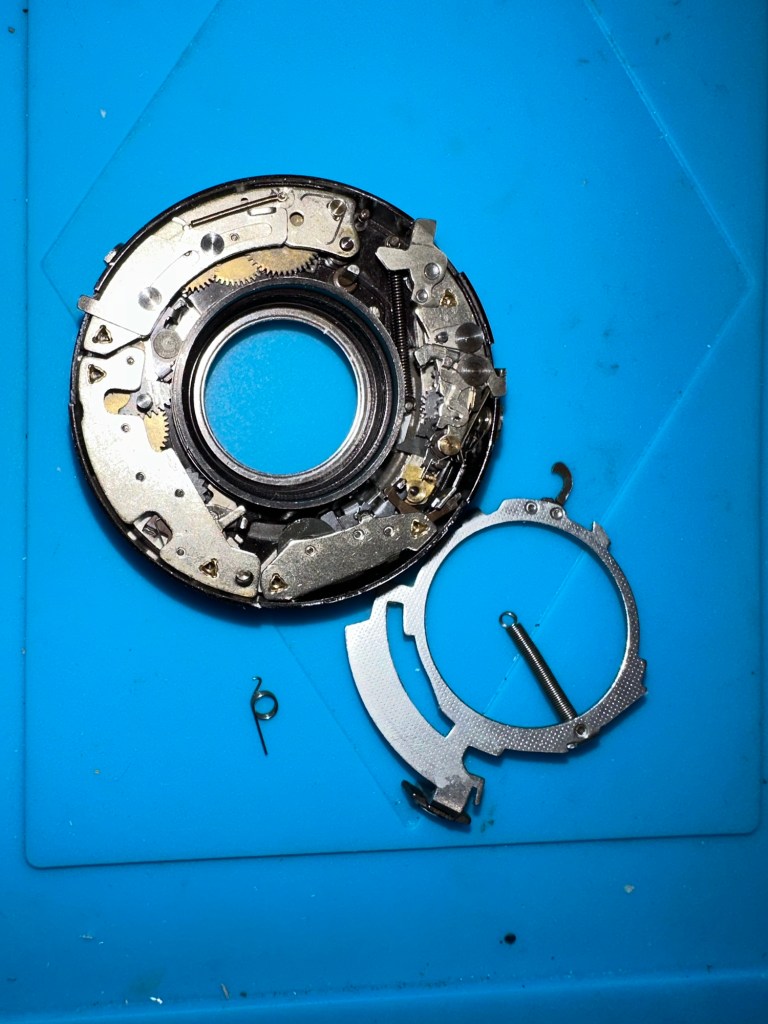
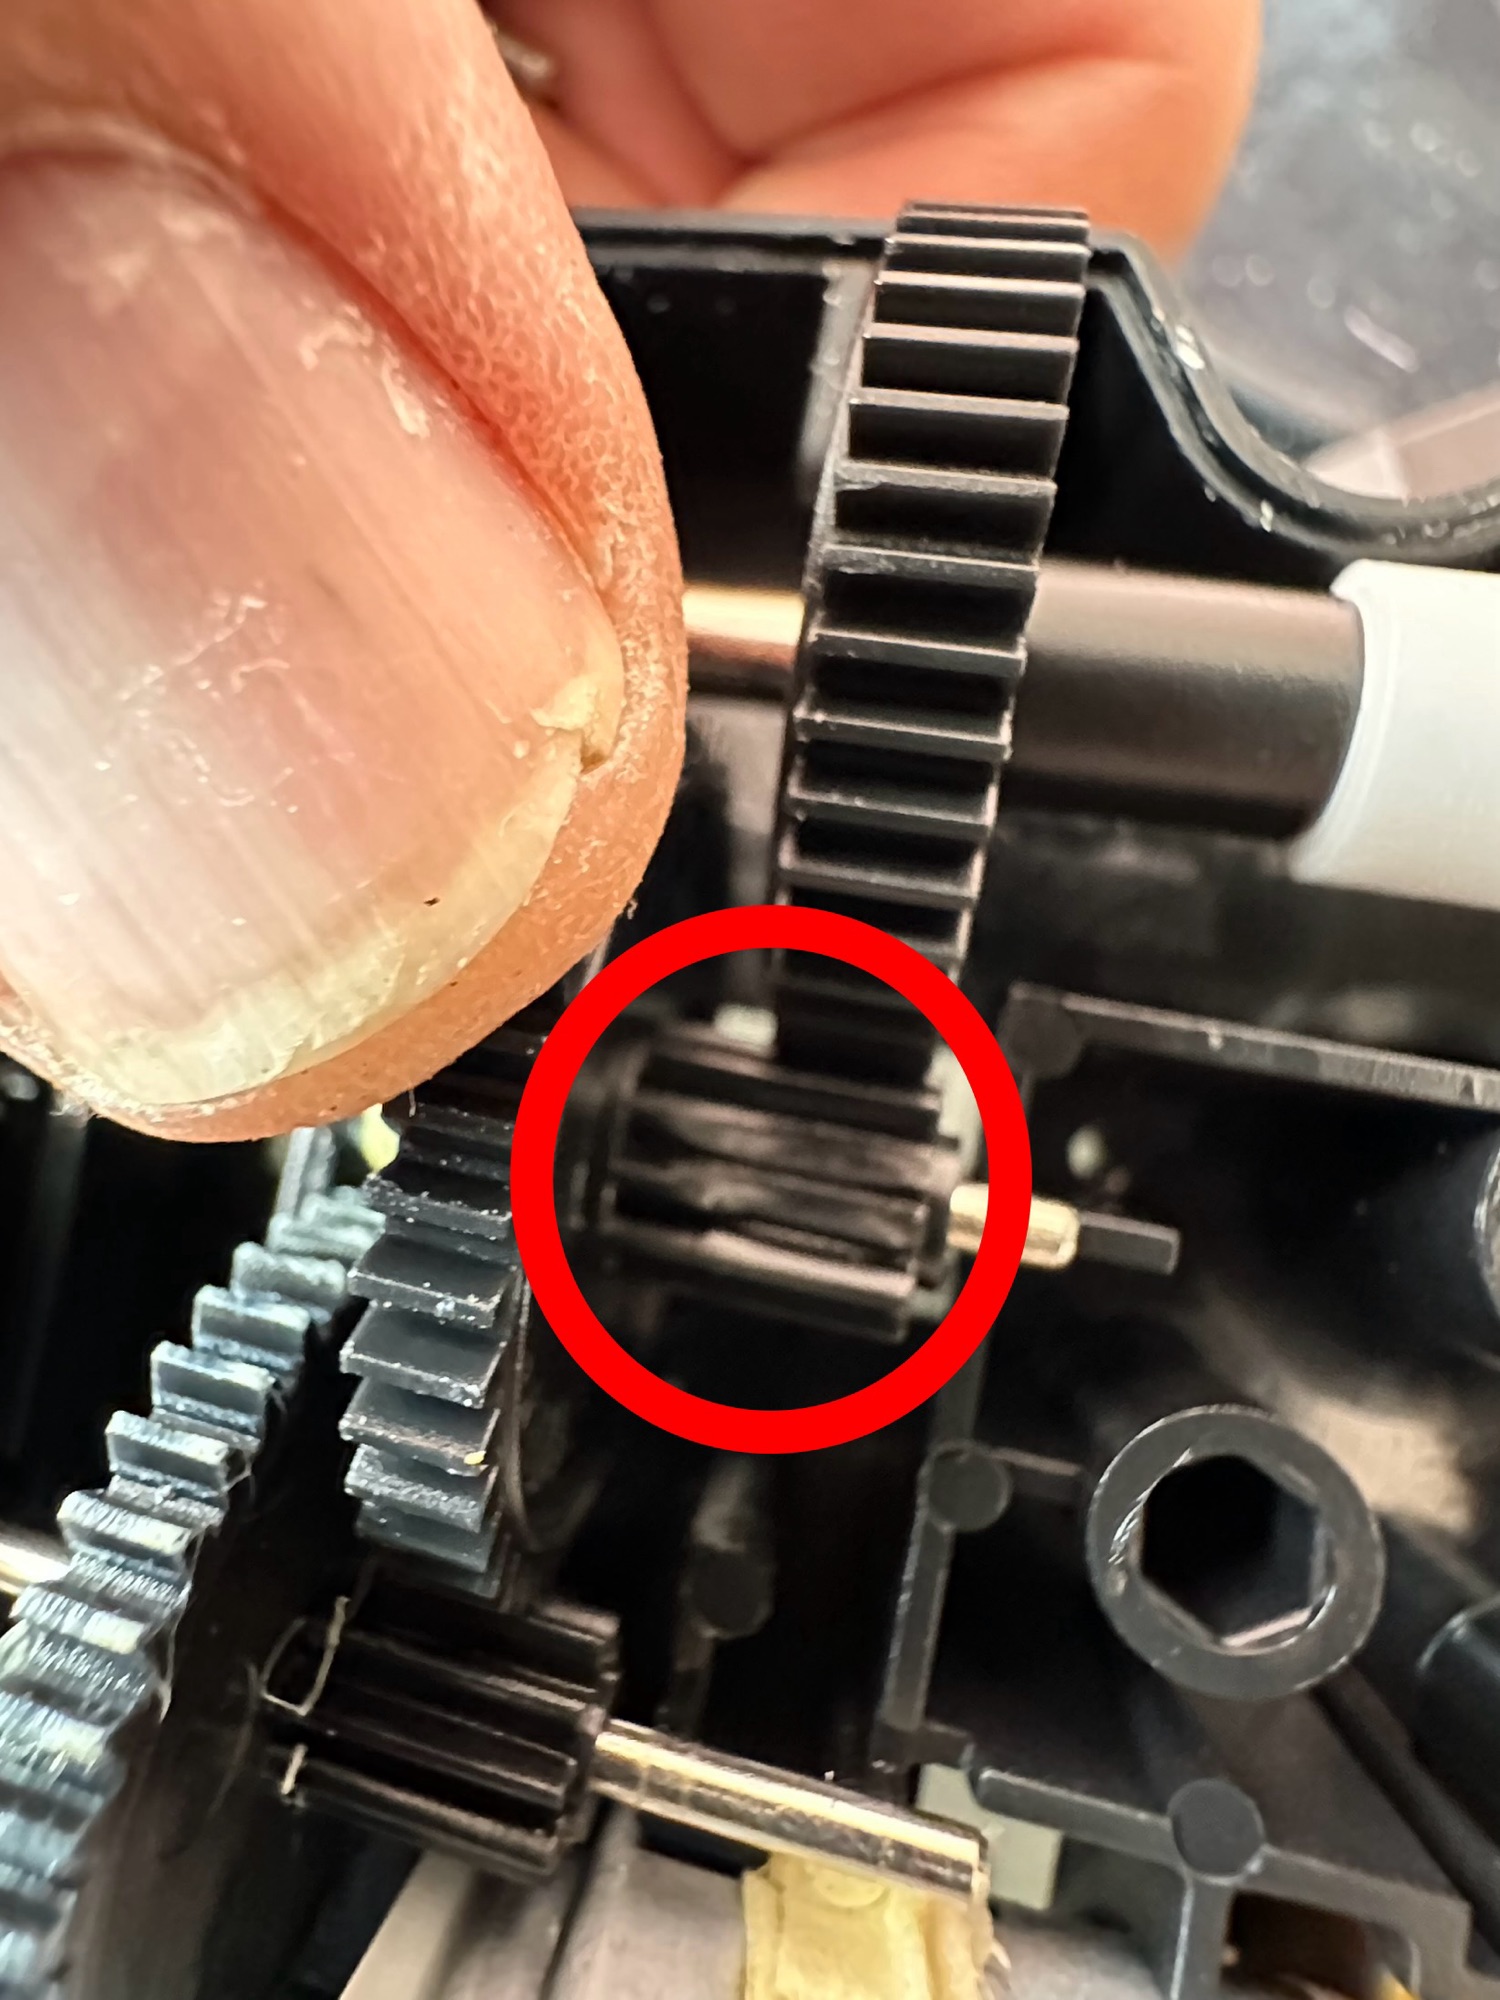
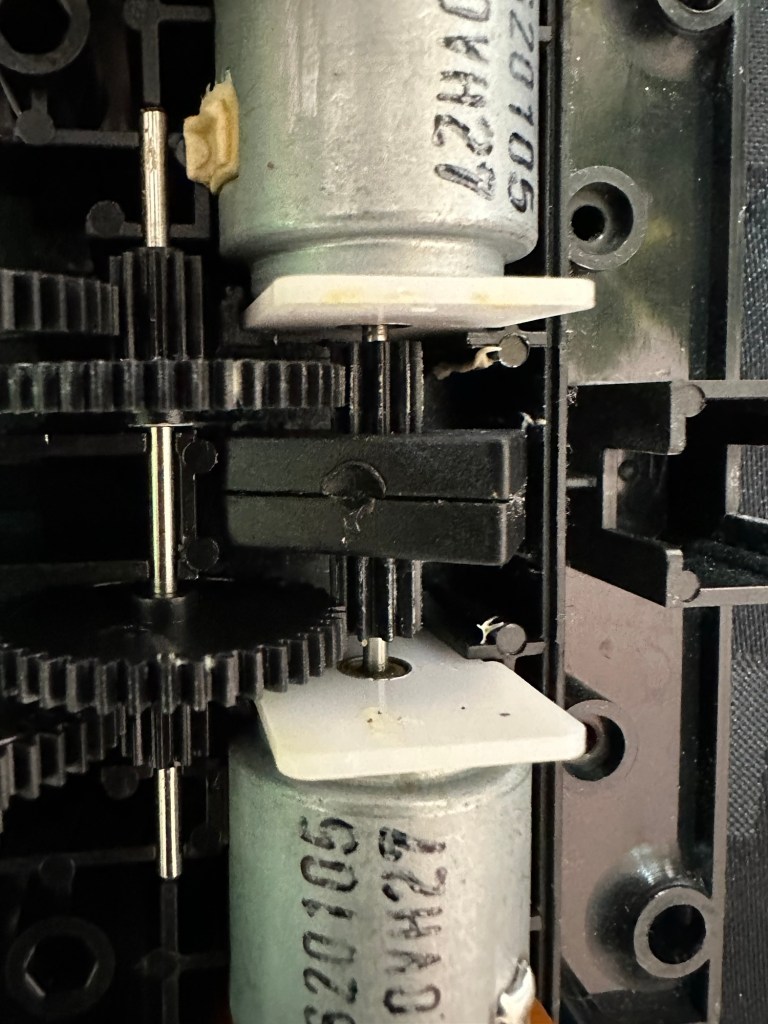
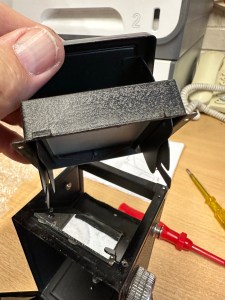
With the lens off the body, the shutter cassette can now be removed. It amazes me just how intricate this cassette is and the workmanship that must have gone into it. I’d estimate at least 10 small cogs and a number of tiny springs with levers and pivot points, amazing really considering it’s about 60 years old. It’s amazing how modern technology has advanced.


It takes some time getting into the shutter cassette as there are springs and things flying off everywhere, you really do have to photograph everything you do just to be able to check what goes where and how.
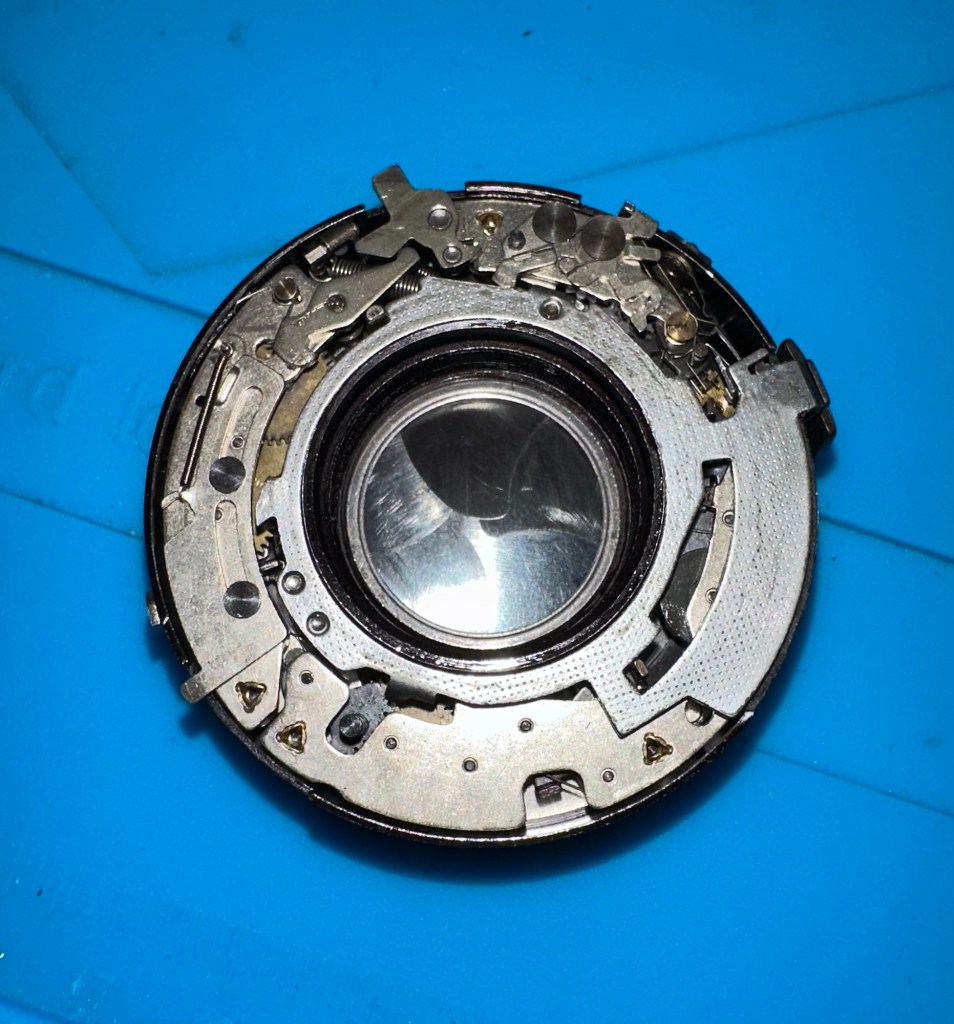
The shutter itself is rather clean apart from some fingerprints on the shutter leaves that must have been from years ago. I have cleaned this down with IPA and then used some finely ground carbon (pencil lead) as a dry lubricant and this has got the shutter moving just fine.
I’m now starting to reassemble the lens and shutter as I’m happy that there is nothing else restricting the shutter and it is now moving quite freely. I will clean the camera as I progress and put some watch lubricant on the mechanics that are external to the lens and shutter assembly.


Well it’s all been reassembled and is now back in one piece. It looks good, the shutter works fine and I’ve now vacuum packed it to go back into storage. I won’t be firing up a roll of film on it yet as I don’t have the time to did so at the moment. I’ll probably save that until the summertime when the weather is more favourable. I’ve really enjoyed this restoration even though at times it was very frustrating. This rebuild has taught me patience, or at least that I need to have more patience and just take my time. Intricate jobs on such old equipment need a clear head and a lot of concentration. I’ve learned my lesson and will endeavour to remedy that situation in my future dealings with such equipment.


You must be logged in to post a comment.