Polaroid Snap camera

What the listing stated:

Untested

EBay

Hmm….EBay untested, the number one way to try and flog knackered crap without accepting any responsibility. Caveat emptor as they say “Buyer beware”. Hey, I’m a rebel it might even work…who knows?

About this camera:

The new Polaroid Snap camera attempts to recapture the fun of instant photography, but with a modern, digital twist. 

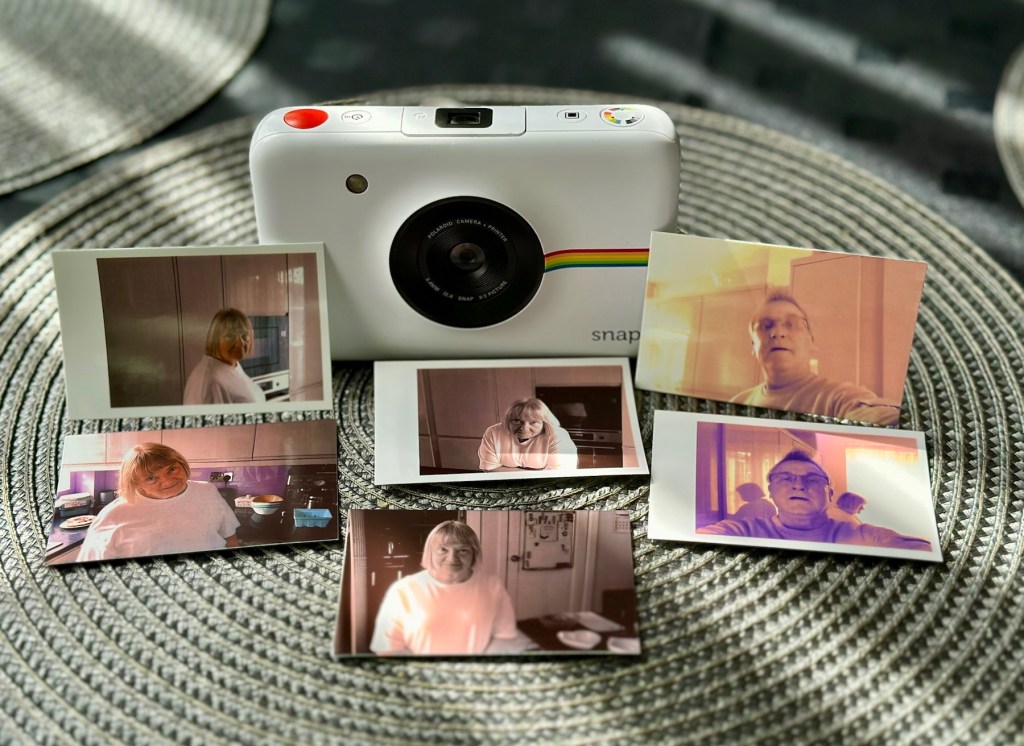
The Polaroid Snap prints out 2×3 inch photos straightaway using ZINK (Zero Ink) technology, and can even store a back up of the photo you’ve just printed on a memory card. The ZINK paper also has an adhesive backing so you can also use each print as a sticker if you wish. 

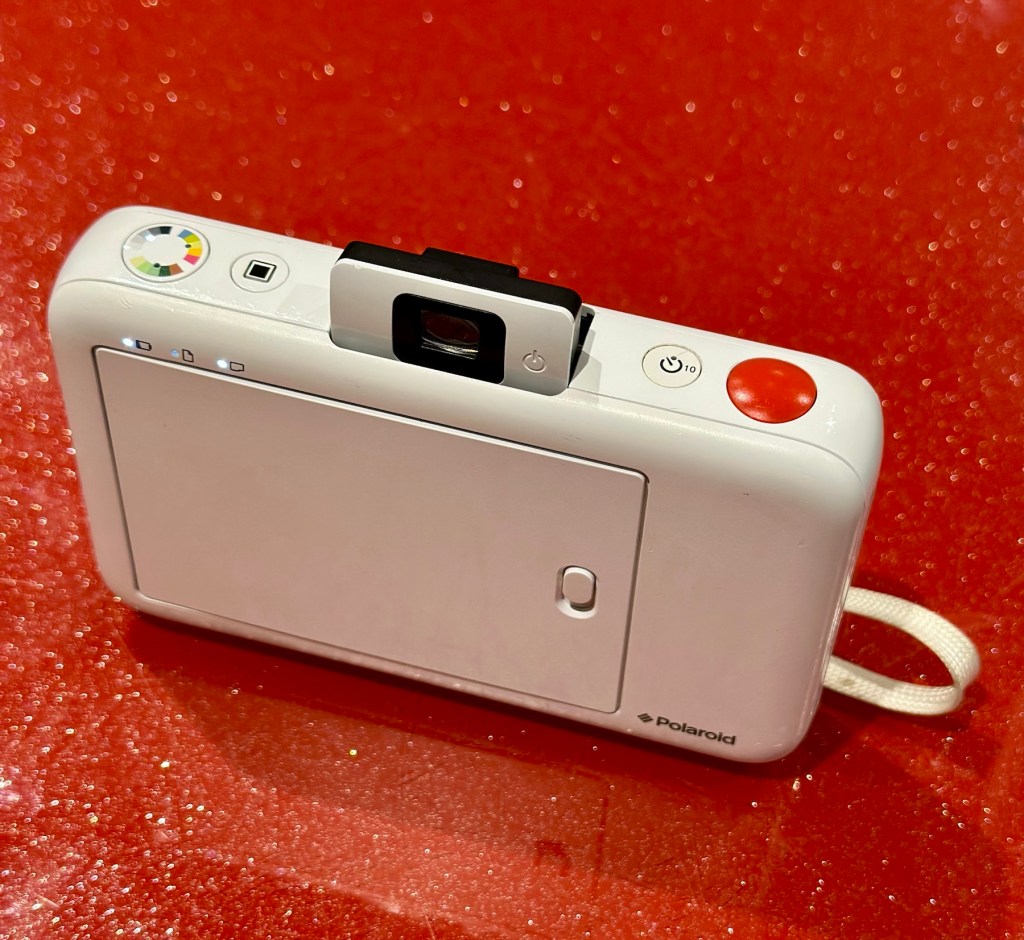
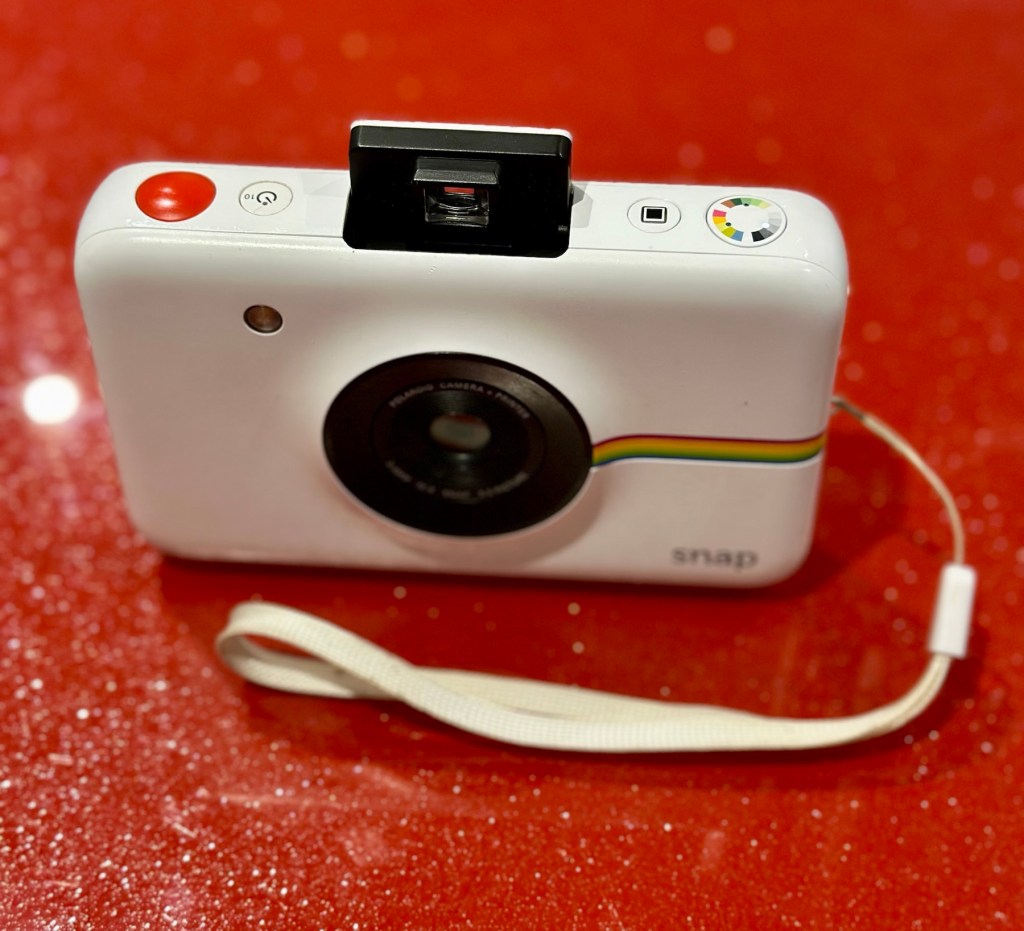
You don’t however get a rear screen, or an electronic viewfinder. There’s also relatively few changes you can make to settings. The Polaroid Snap is available in four different colours, with one of its unique selling points being a relatively low price (£89 in the UK). 

This cost doesn’t take into account the price of supplying it with the paper which you need to print your, er, prints though. 

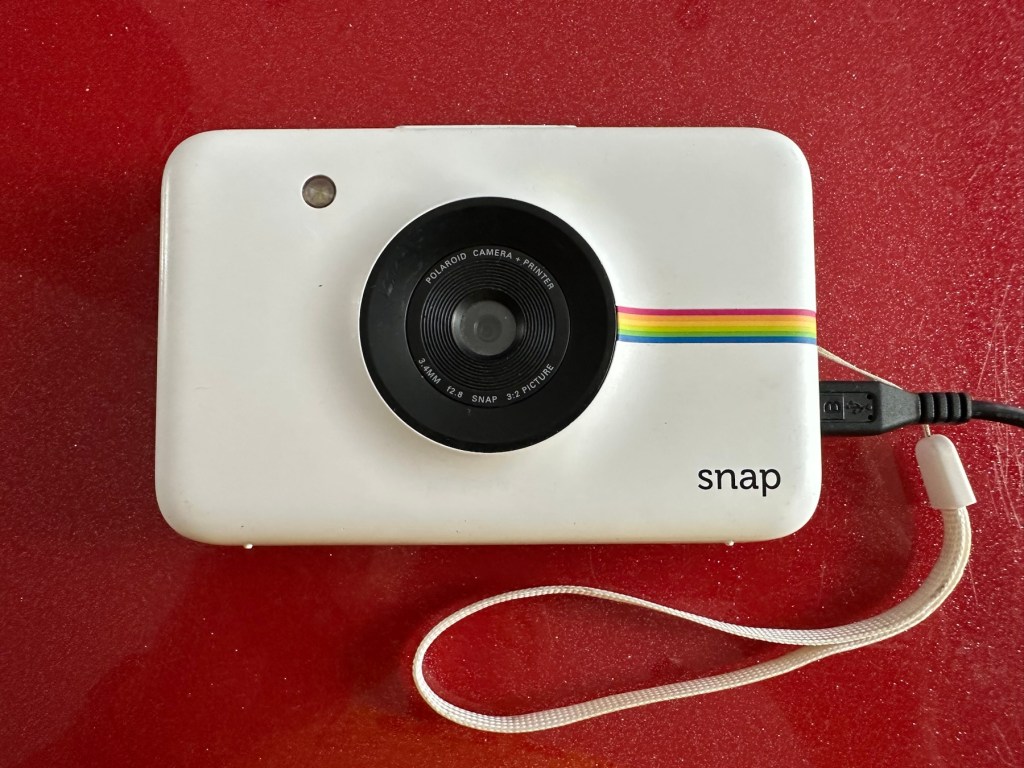
The Polaroid Snap has a 10 million pixel sensor, and a fixed length lens. It was designed by the Ammunition firm, which has made its name working with the likes of Beats by Dre, Square, Lyft and other big brands.

Amy Davies – photography blog

The fact this camera has gone at such a low price speaks volumes to me. I suspect it has numerous issues. I have recently been working on a number of these “Instant” cameras namely the Fujifilm Instax range that are quite good to be honest on a similar photo output size of 3×2 inches. I’ve decided to have a look at the original Polaroid-range and this Snap camera became available. I believe these cameras came out circa 2016. The difference between this and original Polaroid cameras is that this one uses a 10mp camera and uses an additional SD card. With this camera you can also frame your shot using a number of different add ins and print using Polaroids Zink paper. The paper is a thermal type, and the picture quality is not all that brilliant if what I have read is to be believed. This camera is a bit more “advanced” than the basic Polaroid of the 70s, hence there is a bit more that can go wrong with it.

It originally retailed at £89GBP and is now discontinued. Current prices are between £20-£40GBP and I’ve purchased this one with postage for a total outlay of £10:94GBP. Film prices are similar to that of the Instax range.

Now we can do an assessment of what has arrived.

Assessment:

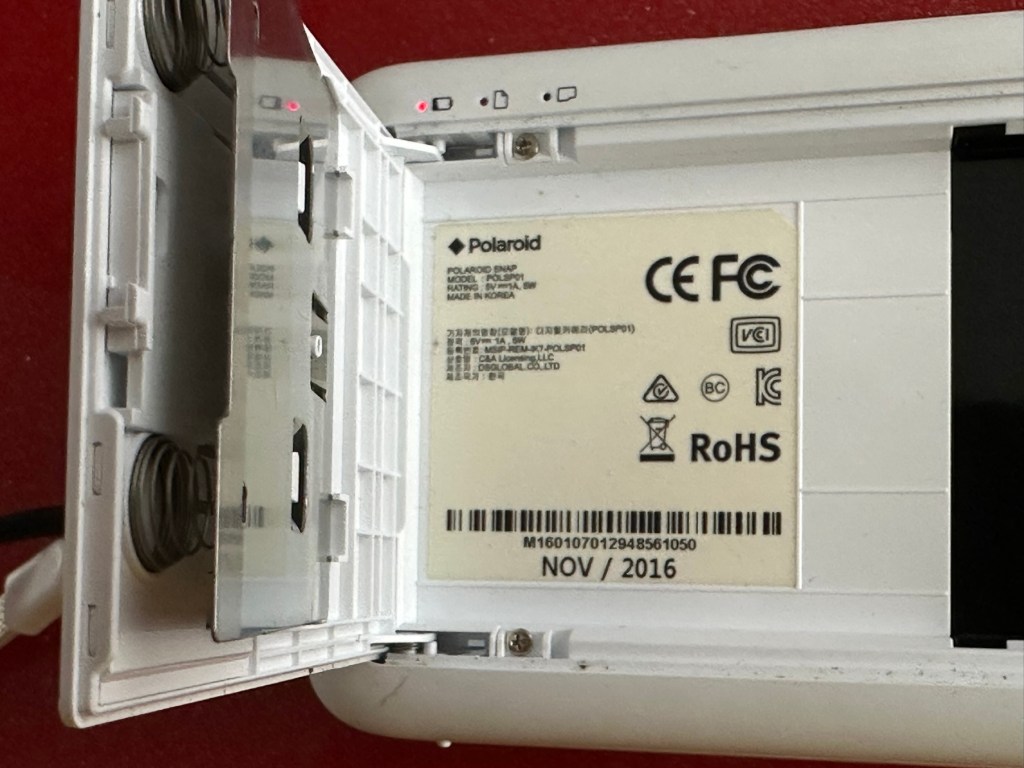
This camera is dated inside as November 2016, so it is currently a youngster at only 8.5 years of age.

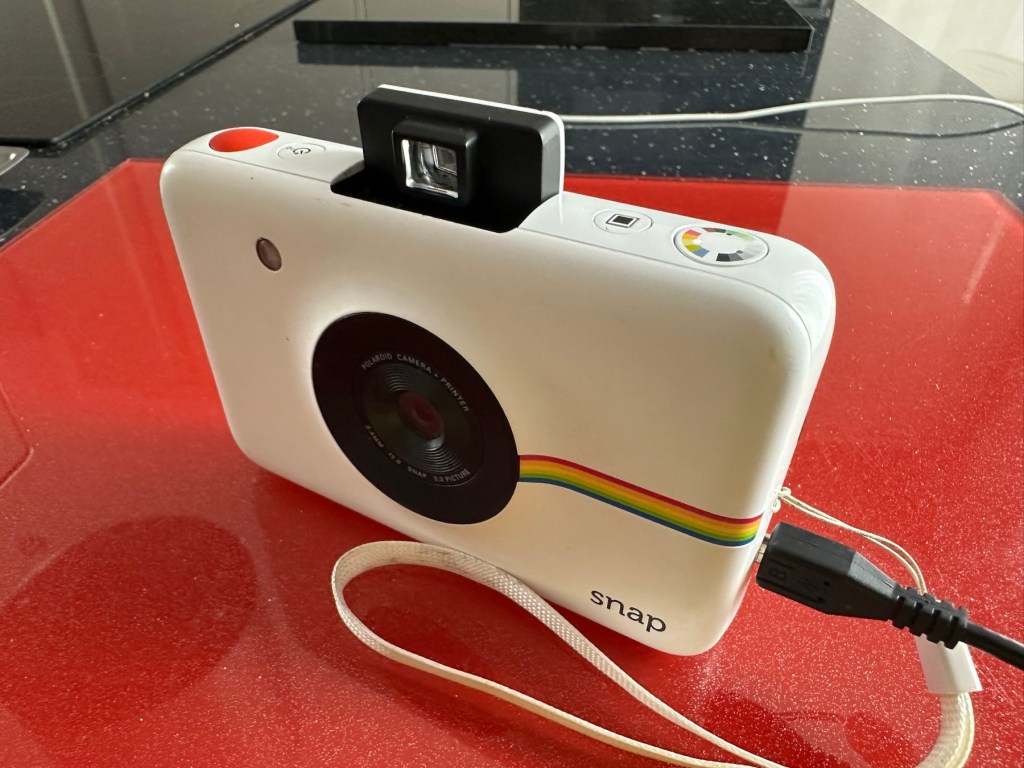
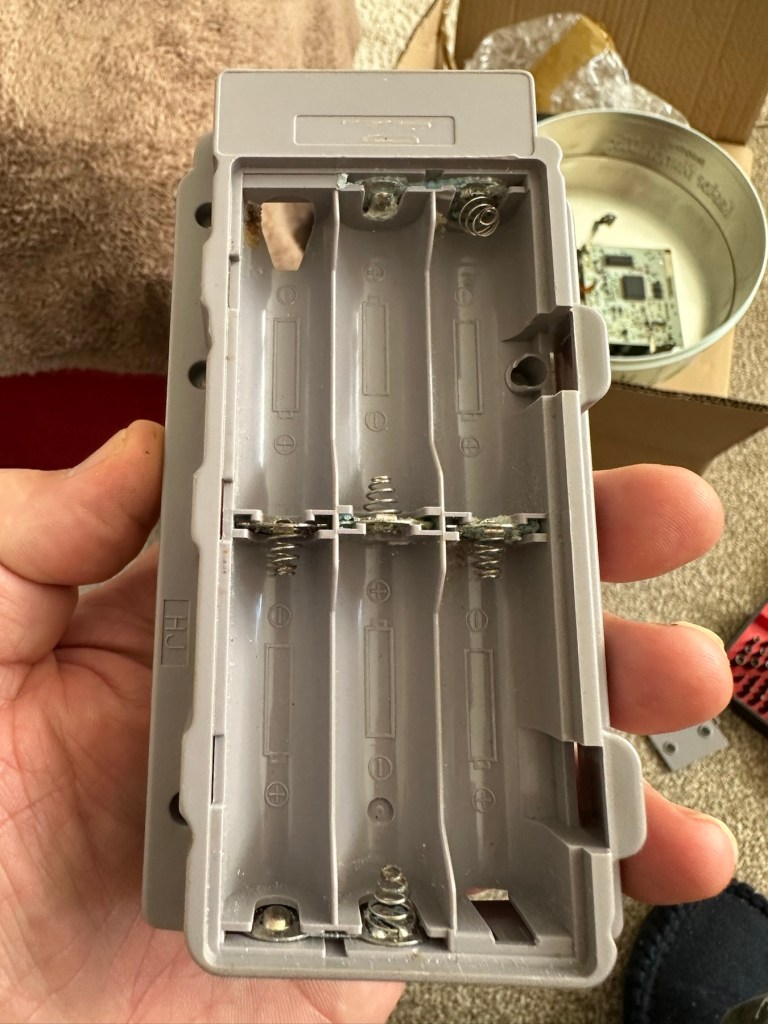
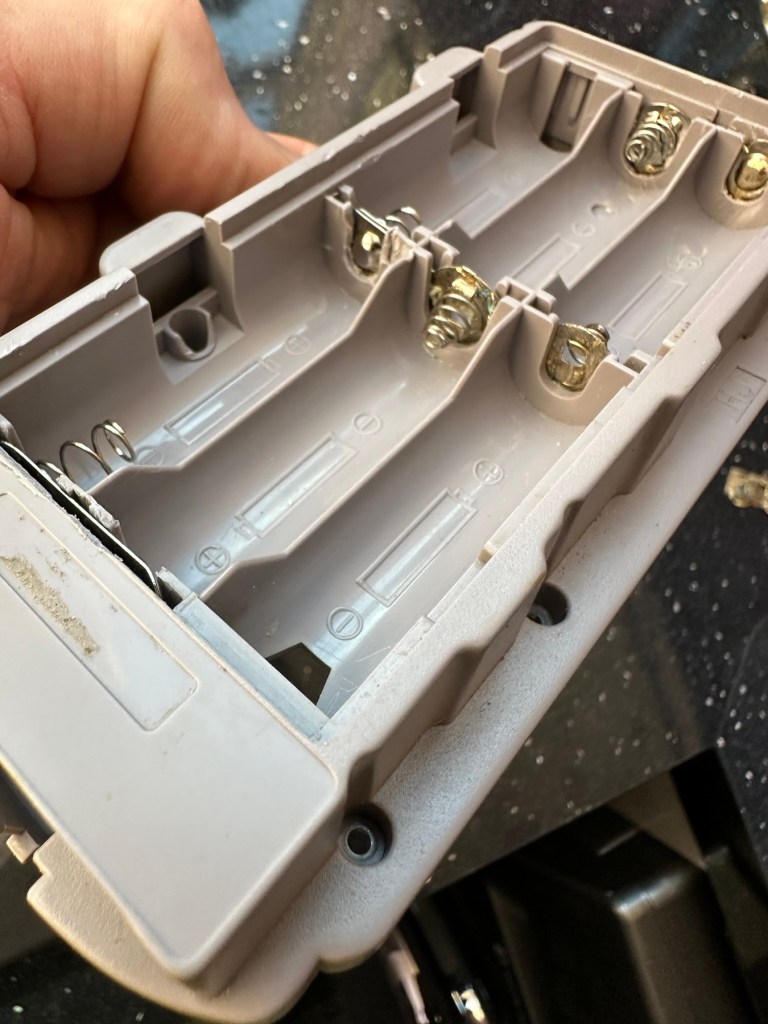
It’s arrived and it’s a nice little unit. A little unclean but this will buff up ok. The battery is dead, but once I plug in a micro USB it’s charging ok.

Charging indicator

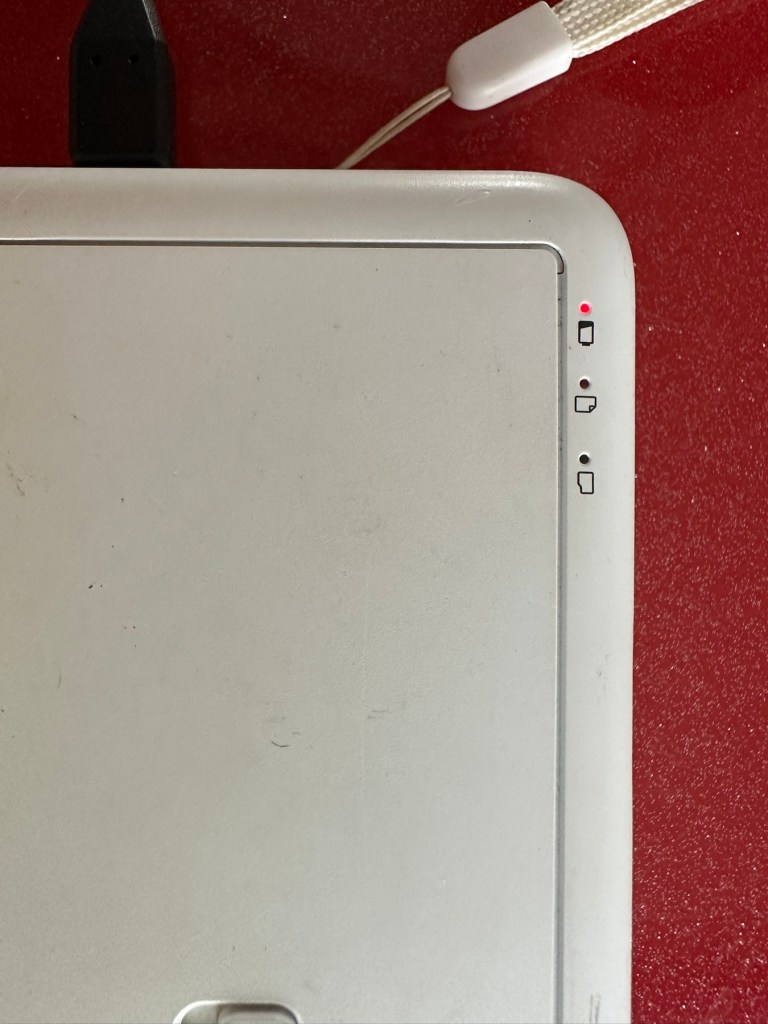
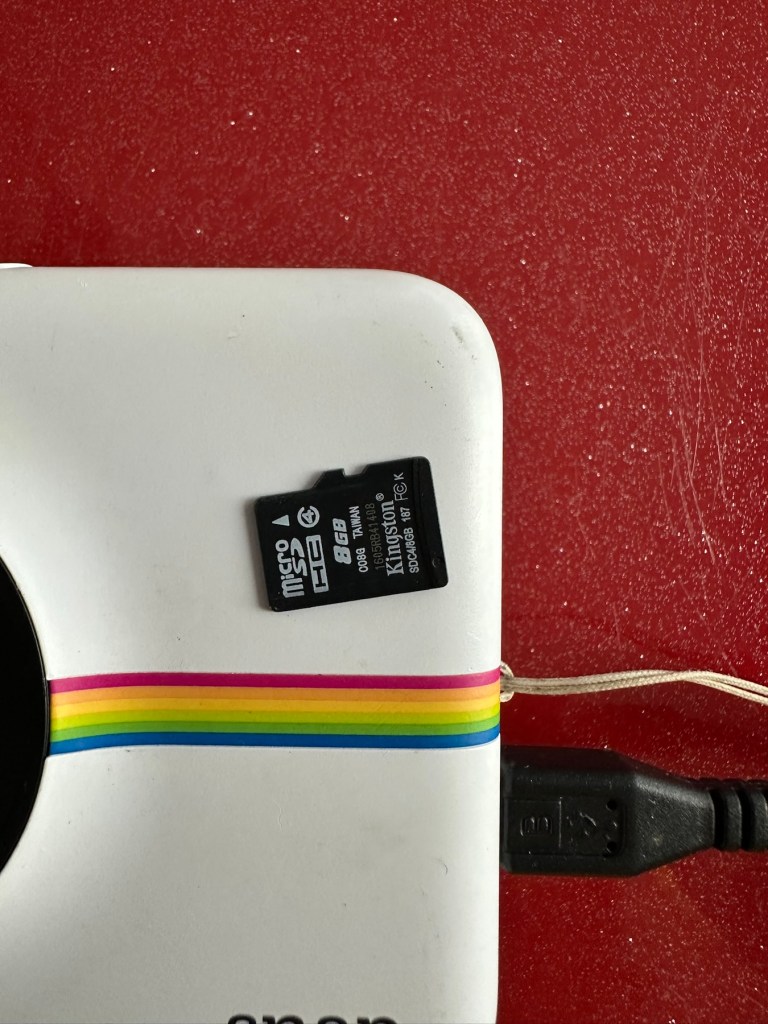
The port looks fine so there is no issue here. I open the back and whoops! There is some film inside but I hope this doesn’t fog! This is a film that uses a thermal printing process, but does still have its sensitivities. And in the SD card slot is an 8GB card, so for the price I’ve paid for this unit the card is a superb bonus.

And as I’m impatient, I switch the camera on after a short charge and I take a photo, after adjusting a few settings the printer kicks into life and a picture starts to appear.

There were only two film pieces inside and I suspect they have been in there a few years as they are yellowed through age and this is noticeable on the rear where they are very yellow. I’ll have to get some new film to test for real.

So, at the moment it’s all looking very promising, the picture isn’t brilliant quality but that has always been an issue with these units, however I believe a copy is saved to the SD card so you’d always have a reference. The printer is a bonus I guess, for printing out those special moments that you want to see instantly just like good old Polaroids. As for repairs I suggest at this point there is very little wrong with this unit. I do though have to explore its functionality and settings and do some reading up on the basics. When I’ve done that I’ll have a better idea.

I’ve checked the SD card and can confirm it is taking pictures without the need for paper and saving to the SD card as it should. It did also contain 110 pictures of what looked like holiday photos from the original owner. I have contacted the previous owner and they have stated the photos aren’t required so i have reformatted the card. There lies the security issues with selling such items and not checking prior to sending off to strangers, it really is basic security folks, delete and format before selling anything to anyone.

The only items that seem to be missing from this unit are the charging/transfer cable of which I have quite a few, and a magnetic lens cover that really isn’t necessary. Other than that it’s a complete unit.

Repair:

The battery has been left to charge, and this has been achieved with no issues at all. All indications are as expected.

All charged – no issues there

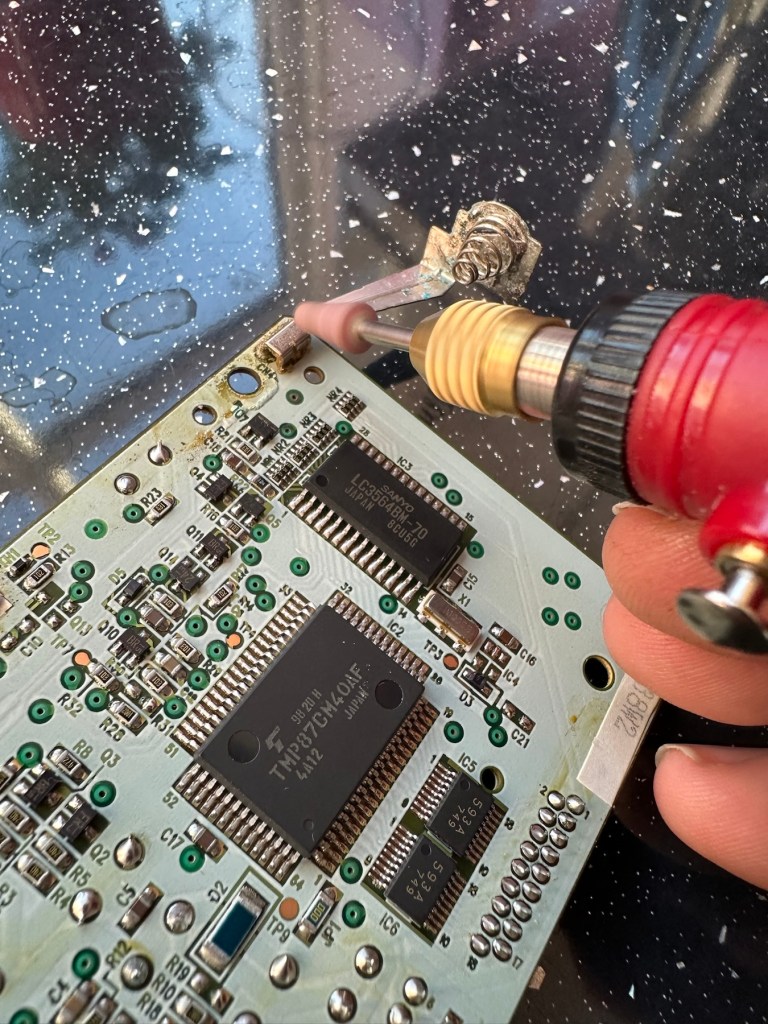
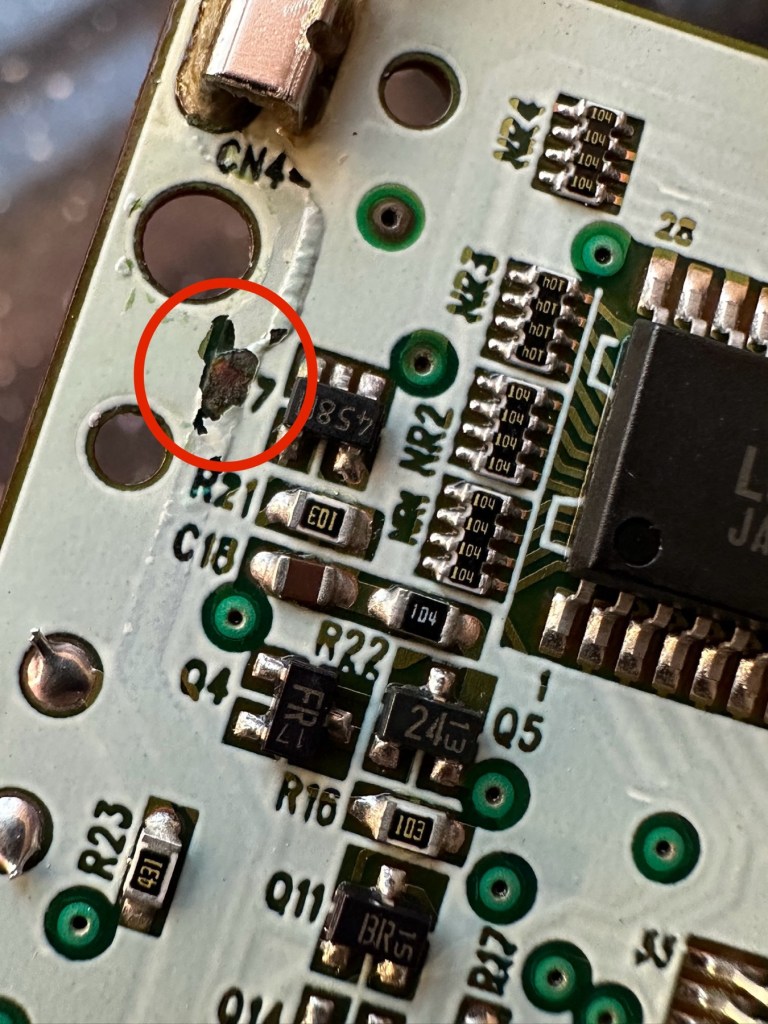
The unit has been cleaned and this has come up lovely, I know the actual camera works as viewing the results on the SD card confirms this, and for a 10mp camera the results aren’t all that bad.

I now just need to get some film to check out all the features that are available, only then can I really say the camera is working.

There are only really six options available here on the camera, via the dial on the top you have the choice of black and white, sepia effect or full colour, and on the next button you have a choice of with or without the Polaroid type frame, hence that is your six possible options. I’ll show some examples of each below.

Result:

What a cracking little unit.

And it’s working

As basic as basic can be but a great fun item all the same. Nothing technically wrong with it and sold as untested just because the owner couldn’t be bothered to charge it and check it over. Their loss is my gain to be honest, and I inherited an 8GB Sd card as well, one of those rare occasions that you buy such an item and it falls in your favour. I deserve one of those moments to be honest, most of my purchases are faulty junk. This makes a pleasant change.

Im keeping this, for the while. There may be another youngster in the family interested in this one. I’m looking at obtaining the next one up in this range to see the differences, and the advancements that they have incorporated. (It must be broken of course 🙂)

Thanks for passing by, as always much appreciated.

Nintendo Gameboy Printer

What the listing stated:

Listing for a FAULTY Nintendo Gameboy printer unit.

The printer is FAULTY, it has a lot of battery leakage in the battery compartment, so doesn’t currently power up. Some of the terminals look like they should clean up pretty well, but i cannot guarantee. 

As it doesn’t power up, i haven’t been able to test it. So can’t guarantee thats the only issue.

The casing has some discolouration, marks and other imperfections here and there.

I haven’t attempted any repairs and cannot guarantee it is fixable. 

SOLD AS FAULTY/spares/repairs.

EBay

Here are the supplied pictures:

I think I’ve got my work cut out with this one. It’s another piece of unloved technology from 1998 looking for a new life. I’ve paid a total of £19:89GBP including postage for this item, probably at the higher end of what I’m comfortable with for an item in this condition. It has some serious corrosion issues that could go a lot deeper than just the battery contacts. There is a definite issue with discolouration, however I’m happy with that as it will be my guinea pig for my first attempt at retrobrighting, this process i discussed in this post a few days back: Retr0bright – What’s that then?

My plan of attack for this unit is to completely dismantle it, give it a thorough clean, retrobright the casing and then attend to the electrical / component issues.

Here’s some history about the printer unit:

The Game Boy Printer, known as the Pocket Printer in Japan, is a thermal printer accessory released by Nintendo in 1998 which ceased production in early 2003. The Game Boy Printer is compatible with all the Game Boy systems except the Game Boy Micro and is designed to be used in conjunction with the Game Boy Camera. It also prints images from compatible late-generation Game Boy and Game Boy Color games. It runs on six AA batteries and uses a proprietary 38mm wide thermal paper with adhesive backing, originally sold in white, red, yellow and blue colors. In Japan, a bright yellow Pokémon version of the Game Boy Printer was released, featuring a feed button in the style of a Poké Ball.

Wikipedia

If I manage to get this into a working state it will be added to my GameBoy collection.

I just need a suitable lead to connect between the console and the printer, and a small roll of 38mm wide thermal paper. I’m currently sourcing these.

Assessment:

Well it certainly has the yellowing issues and I will cover that in a separate post where I will have my first attempt at Retrobrighting the unit. With batteries in place, the unit is very dead and no matter how many times the switch is operated, it remains dead. Battery terminals are a mess and there is a lot of evidence of battery leakage and corrosion.

The board inside hasn’t been that badly affected by the corrosion, however one track from the battery terminal was showing signs of decay and will need attention. There are parts of the board that will need reflowing as there are some dodgy looking solder joints.

I’m happy that all the issues have been identified and I do actually have the items to carry out the repair. I will focus on the external issues such as the yellowing before dealing with the contacts and main board issues. Stay with me now, the repair begins.

Repair:

The Retrobrighting process for the shell assembly can be found in a separate post here: First attempt at Retrobrighting.

Wow

Needless to say the results are fantastic and I shall look at incorporating this method into more of my future projects. I have since given the case a second treatment and it is pretty much perfect with no sign of discolouration.

As you can see in the pictures above, the battery compartment suffered from some severe acid contamination. Using a grinding pen and a lot of cleaning solution, three of the five contacts were saved but two were beyond repair and I had to replace these with new contacts.

I then loaded the battery compartment with new batteries and then checked the two terminal ends to assure continuity, this was confirmed and continuity exists throughout. As a result the battery issues and power supply have now been resolved.

I mentioned that one of the tracks on the main board was showing signs of corrosion. I filed this down, cleaned it, and then brushed the board down with IPA and checked the continuity and this was fine. All suspect solder joints have also been reflowed, they are all looking good and new.

I had previously removed the motor from the board to assist with cleaning, as i didn’t wish to damage any of the ribbon cables. I then reconnected the cleaned and freshly repaired board, to the restored battery compartment to see if anything lit up. It sure did.

We have a light

This was pleasing as it now showed that we had continuity from the battery compartment to the board. I then added the motor back in and we also had some movement.

Movement restored

This again was very pleasing as everything we have done so far seems to be working. However it proves nothing yet until I can get the correct cable and some correct sized thermal paper to see that it actually does print, or even advance the paper. Those items are being sourced, and I don’t want to jump ahead of myself just yet as there could still be a number of yet to be addressed issues that may arise. It’s very much a fingers crossed period until we can test the unit properly.

Let’s clean all the other plastics whilst we await all the other items to be attended to.

All washed and drying out

Now we will commence reassembly.

All restored, working and looking pristine

Now all assembled the motor moves into position when turned on, the feed button also works. The paper rolls for these units are at the moment extortionate and selling for about £10GBP for the tiniest of rolls, and I’m not paying that. I have a thermal printer at home and I have cut some of this paper to size to test the transport, and this works just fine. Just awaiting the cable to connect the GameBoy to the printer. Fingers still firmly crossed.

Result:

I’ve just found out that if you hold the feed button whilst turning on the unit you get a test message. I’ve done this and I’m pleased to say the unit is fully working.

It’s working perfectly

I’ve also connected it to my game boy and the game – Pokemon pinball, and was able to print off the high scores. It truly works.

High scores

I’m just so pleased how this project has gone. It has been a complete refurbishment, clean, and I have even managed to reuse the original stickers. The unit looks pristine and really is a nice piece of kit. This goes into my GameBoy collection and has many more years of good use left in it.

And to think this would have probably ended up in landfill. Scandalous. The cost of repair to me has been less than £2GBP and the majority of that was for the peroxide solution to do the Retrobrighting.

Great result. Very happy with this.

I can now uncross those fingers. All is fine.

Thanks for passing by, as always most appreciated.