

The ongoing saga of selling a house in the Uk.
As I’ve stated in previous posts, the house has been on sale since March 2025, and sold in August of that same year. It has so far sold 3 times and the chain has also collapsed 3 times due to factors further down the chain including, job redundancy, poor credit with potential purchasers, and not having any funds available in the first place.
Now I can understand the redundancy reason, no one wants to lose their job, and the added pressure of taking on a mortgage when your cash flow has been stopped is not an ideal or practical situation to be in. Fully understandable.
The other excuses though are totally at the door step of our highly incompetent and totally useless estate agents, “Leicestershires finest”. As has also been previously documented their incompetence knows no bounds and I’m not going to waste anymore time on them here.
My wife and I, have been in a position of suspended animation since the property first sold. We seem to be the last to be told anything, and when you have solicitors contacting you to ask what is going on, you then have to take a deep breath and ask them, “What are we paying you for?”. My wife, bless her, is the catalyst that keeps this old jalopy of an engine ticking over, she is the one chasing, pestering and prompting two sets of solicitors and an estate agent to talk to each other. How she hasn’t become a dependent alcoholic due to their collective incompetence I will never know. I just thank god she is there to do it, as my approach normally includes x-rated expletives and accusations that would never get us very far. That’s why she’s asking me to sit out of things for the while. I guess I’ll be back in the frame when monies are being discussed and apportioned.
So. As stated the third collapse came and went and we were very reluctant to go into number four, as this meant having hoards of individuals mooching around the house and starting the process all over again. The only certainty throughout this process is that the new build we are purchasing was not ready yet, so they were happy for us to continue the search for a relevant purchaser.
Hey ho, the house went back up on sale for the fourth time on a Tuesday, we had five viewings on the Wednesday and four offers came in on the Thursday, it was sold on Friday. Sale to sold in four days! Wow that’s quick. We had plans in place as this was the last time it was being listed and that’s a certainty, if this sale collapsed again then we would look at investing in some big upgrades such as extra rooms, and would just stay put. As I’ve said our neighbours are ok 👌 it’s just the roads around us are getting busier and busier and a little of the attraction has now gone. Add to that, some of the owners have rented their properties to quite questionable residents, and turned one house into a House of multiple occupation where you have so many comings and goings that you don’t really know who lives there anymore, security of the area has taken a nose dive, and the resulting litter issue of people who just don’t really care about their local community is becoming an issue. Beyond that it’s all ok 👌
Sale number four has been very testing on both our mental states. We can’t, and refuse to get excited as we have been through the same situation three times before and still have the scars. I’ve never seen two people sitting so firmly on the fence, dreading any calls from the agents as in the past they have only ever called for bad news. The purchasers mortgage company sent a surveyor, and all was fine. The seller then wanted an in depth survey as they are first time buyers and you can’t blame them for that, he came and was crawling over every inch of our property for almost four hours, taking in every measurement, photo and reading he could possibly obtain. This was just prior to Christmas 2025, we had no decorations out as we couldn’t be bothered, we were not confident of the results even though the surveyor was very nice and complimentary of our house.
Then silence for over two weeks.
We had jumped through every hoop and over every wall we’d been asked to, we were drained and still no communication from any of the solicitors until we get a letter through with a few random questions and another form that needed filling. I have already filled in close to 147 other forms for sale and purchase prior to this one, so another one wouldn’t hurt, it was just what seemed like another obstacle being thrown at us. Our confidence now was at an all time low.
Then the solicitors of the company we are buying from came back asking if we had heard anything further? God, don’t you lot talk to each other?
The house was nearing completion and obviously they were looking forward to their payday, I handed control back to my wife who in her role as an unqualified solicitor made suggestions on what they should do next.
All of a sudden things have kicked up a gear after we spoke to our solicitor, who didn’t even know her assistant had sent out questions to us. (This was a face palm moment for me). She then replied to us with this simple email below:
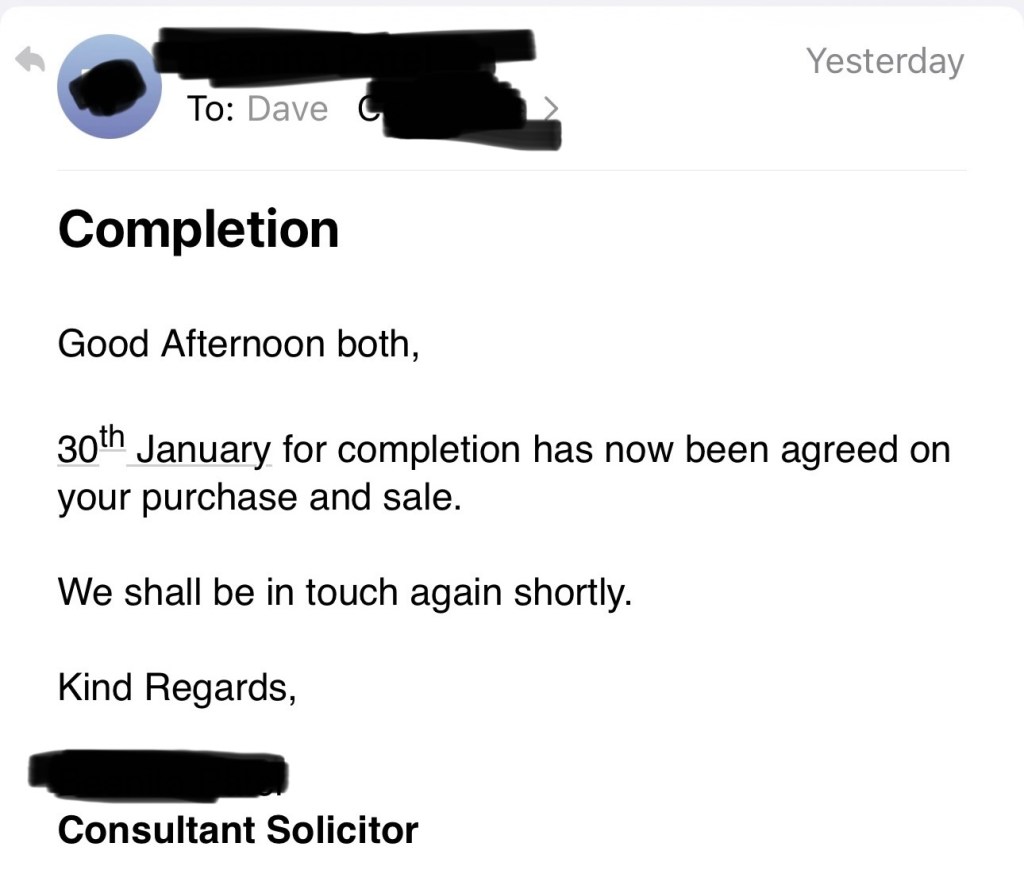
Well, it seems as if all parties have now finally started talking! I still cannot get excited as it could still all collapse at this very late stage until we all officially sign contracts, but this is the furthest we have ever come since August of last year.
I will not be posting this whinging update, until that distant but also so close finish post has been reached. We don’t have a home, we have an ever emptying shell at the moment, full of boxes and cases and so much of our stuff is now away in storage in anticipation of the day we may well move out. The stresses and strains we have endured over the last 6 months have been immense, I would not recommend this process to anyone, and I’m confident in saying I will never take part in such an activity again. That’s it. This will be our final move if it ever occurs.
See, I’m still pessimistic of it ever completing even after they have said we are due to complete in what is now just 12 days time. Will it happen? If this post goes beyond this paragraph then it’s safe to say it has finally occurred.
And it has!
Well, Weds 28 Jan after yet another week of jumping hurdles and climbing walls we finally had our last few interrogation emails from the buyers solicitors and we then received the notification that Contracts had been exchanged, the point of no return where the financial penalties are high if anyone decides to withdraw. It finally looks as if it’s actually going to happen. However, that nagging doubt still exists and I guess that’s just because I’m being super defensive due to the battle scars we’ve accumulated over this period of buying and selling.
We have less than 24hrs to finish clearing this place, wow, we’ve got a lot to do, so I must be getting on. I’ll let you know what occurs in the meantime.
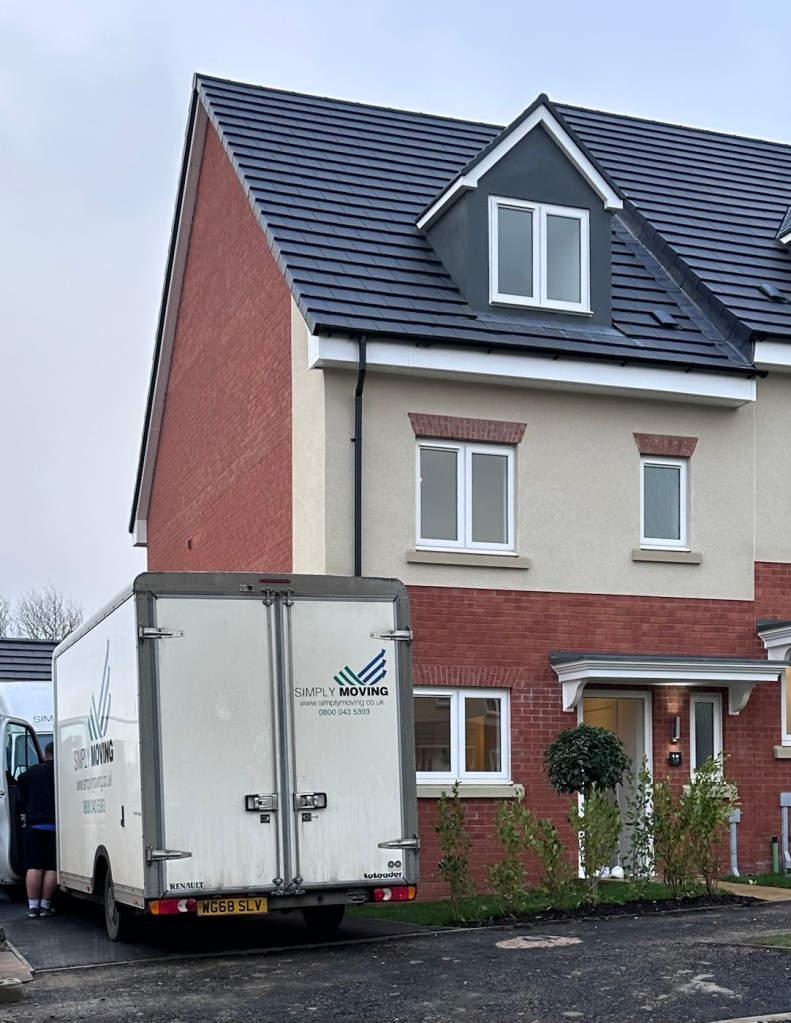
We did it. We are now safely ensconced on the outskirts of Leicestershires “Pork Pie and Stilton cheese” haven, that is Melton Mowbray. The moving guys were superb and even the Estate agents and legal teams were extremely co-operative, I suspect due to the fact they were all in for a very good payday.
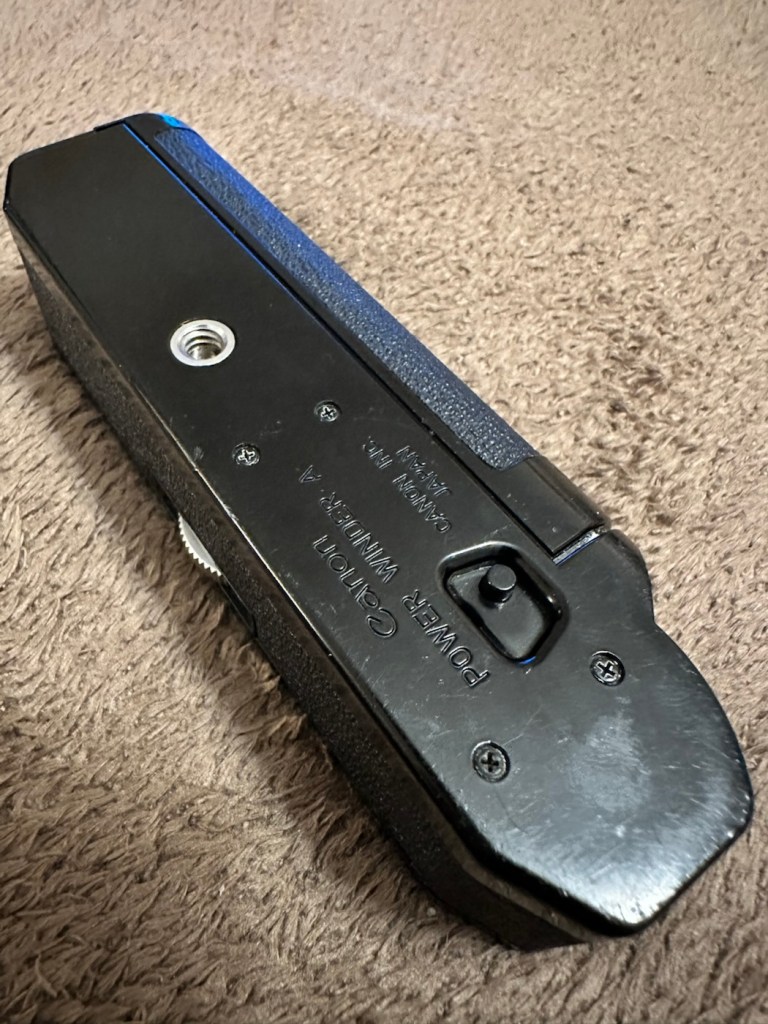
We have a house full of boxes that will now have to be sorted through, my first priority was to get the beds in place, and I have to thank my Nephew and his girlfriend who just happened to be passing by for their assistance. I now have a room to utilise as my hobby/work space and that will take shape over the coming months.
So it’s been an extremely long and stressful journey but it came right in the end. My only recommendation would be that if you are purchasing in the UK, and considering buying, just dig your heals in for a long journey. Be the dog that wags its tail, not the opposite as these financial types will walk all over you if you let them.
Have a good day.


You must be logged in to post a comment.