Welcome to week two of me documenting my week with one picture every day taken on an old camera that i have previously repaired.
So for week two, we are going to use a Canon Powershot S5 IS Digital Bridge Camera that I repaired back in July 2025 – Canon Powershot S5 IS
Canon Powershot S5 IS
Sunday: it’s the 23rd August. It’s been a nice warm day, we’ve had numerous members of the family visit. It’s been a lovely day. It’s one of those days where I’ve taken a handful of good photos, but for the purpose of this post I have to be brutal and pic just one. So here it is, meet Barney, my nieces dog, we brought him a new toy today that was demolished within about twenty minutes. If it has a squeaker in it, it’s his dog bound duty to remove it, and the balls of stuffing surrounding him shows that this mission has been a success. He never eats the squeaker though, he always leaves that to one side. Mad, but a lovely dog.
Monday: it’s the 24th August. A bit of shopping today. But before we can go out and do any, we have to wait for the Amazon lady to arrive with more shopping. Did I mention my wife loves shopping?
Tuesday: it’s the 25th August. Working today, and whilst I was carrying out some checks in the Oakham area I couldn’t help but notice the amounts of elderberries on the bushes. I remember as a child collecting lots of these, so my father could make his elderberry wine.
Wednesday: it’s the 26th August. Another working day, and today i was carrying out barrier checks on a number of crossings in our area. This one was at Brooksby crossing just outside of Melton Mowbray.
Thursday: It’s the 27th August. The yard at work, and since I’ve never been to Blackpool tower I may as well show this lovely old, still working traction unit class 37 (37407) named “Blackpool Tower”
Friday: it’s the 28th August. No work today “Hooray” it’s one of those days of just catching up with things. I’ve had to fix an extractor fan in one bathroom and adjust the timings on two other fans, I’ve also put a new raised flower bed under the front window in preparation for the spring bulbs that will be planted in the next few weeks, just letting the soil settle for a while prior to the planting.
Saturday: it’s the 29th August. New shoes. Well for attending football at least, hence they have the club badge embossed on the rear. Heading south today to meet up with family so these will get their first outing today. The weathers still very wet, however wet is wonderful as far as I’m concerned.
I have so many cameras hanging around the place that I have fixed over these last few years. I have therefore decided to select a few of them to do a little series entitled seven days in seven pictures. One camera for each week. I will choose a random camera, and choose one picture on each day that has a little story behind it. For me, just as my working week does, the seven days will run Sunday-Saturday.
It could be from any era of camera I have fixed, and for those who take the time to read my posts you’d realise that it could be anytime from about 1920 to the present day. With all the cameras I currently have (about 125 in storage, and growing) this series could go on longer than the soap opera Coronation street has appeared on the telly box ( That comment will be lost on anyone outside the UK).
So for week one I’m going small, with this lovely little portable camera.
A Nikon Coolpix L22, I repaired this way back in 2023, I was going to pass it on to a family member, kind of pleased I kept hold of it though. Here’s the link to the original post: Nikon Coolpix L22
Nikon Coolpix L22
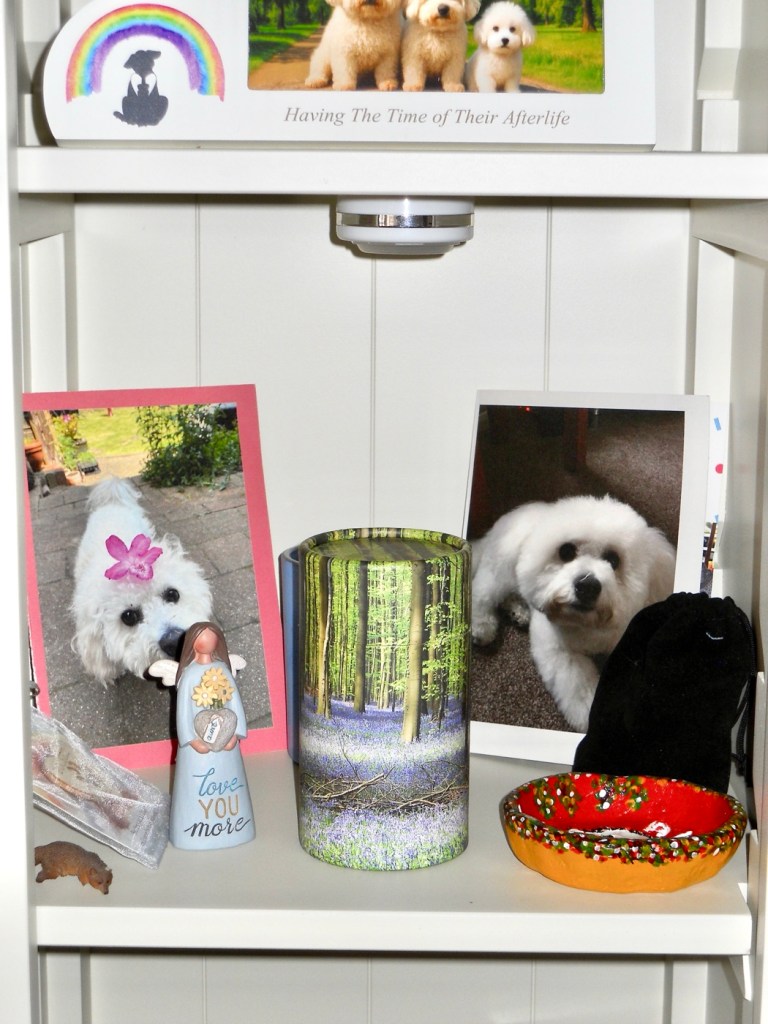
Sunday: it’s the 16th August. I’ve just finished a run of night shifts and for the first time in what seems like months, the temperature has dropped to a nice cool temperature and it’s lovely. To be honest there is only one subject i can choose for today, it’s exactly two years to the day when we lost our beloved little dog Alfie. This is a little display we have on a unit in our living room, often spoken to, touched and stroked, his ashes and pictures dominate this shelf. He was a beautiful and much loved companion and confidant, who we will always miss, he was such a big part of our family. Beautiful boy ❤️
Monday: It’s the 17th August. I’ve been asked by work to do a buckshee night tonight, so the wife and I are going to go out for some lunch today. And today’s photo is from the Grange farm centre where we ate. I go to buy plants, the wife goes to fill the garden with pottery figurines. In this case a couple of sheep, a hedgehog and an Owl. No plants for me though.
Tuesday: it’s the 18th August. On the grand scale of things, this is a quite boring picture, but quite relevant. In the Uk, and especially in my location we haven’t had rain in over 50 days now due to a quite spectacular heatwave. That dry spell ended about 1 am in the morning when we had the first rains. Beautiful, the smell was gorgeous and for the first time in a long period the air was fresh and clean.
Wednesday: it’s the 19th August. Today’s been a funny kind of day where time has run away with us. However Wednesday is a day where we meet up with a couple of friends and spend an evening indoor bowling at our local bowls centre. We’re pretty new to it and are still learning the finer details of it all, however we are improving weekly and enjoying it thoroughly. It’s great company.
Thursday: it’s the 20th August. It’s a wet start, it’s been wet all day, in fact it’s been wonderful. It’s always good to see some rain especially after the bone dry heatwave period we’ve just gone through. My garden water butt went from bone dry to full in just one small rainstorm, and that butt holds just over 100 litres. I need more water butts. I had to therefore complete indoor tasks today, so I decided to get my garage sorted, stuff put up on the walls and a new set of shelves built. And that’s today’s boring picture, an uninspiring photograph of the interior of my garage using the cameras black and white setting. Still a bit to do, but it’s looking a lot tidier now.
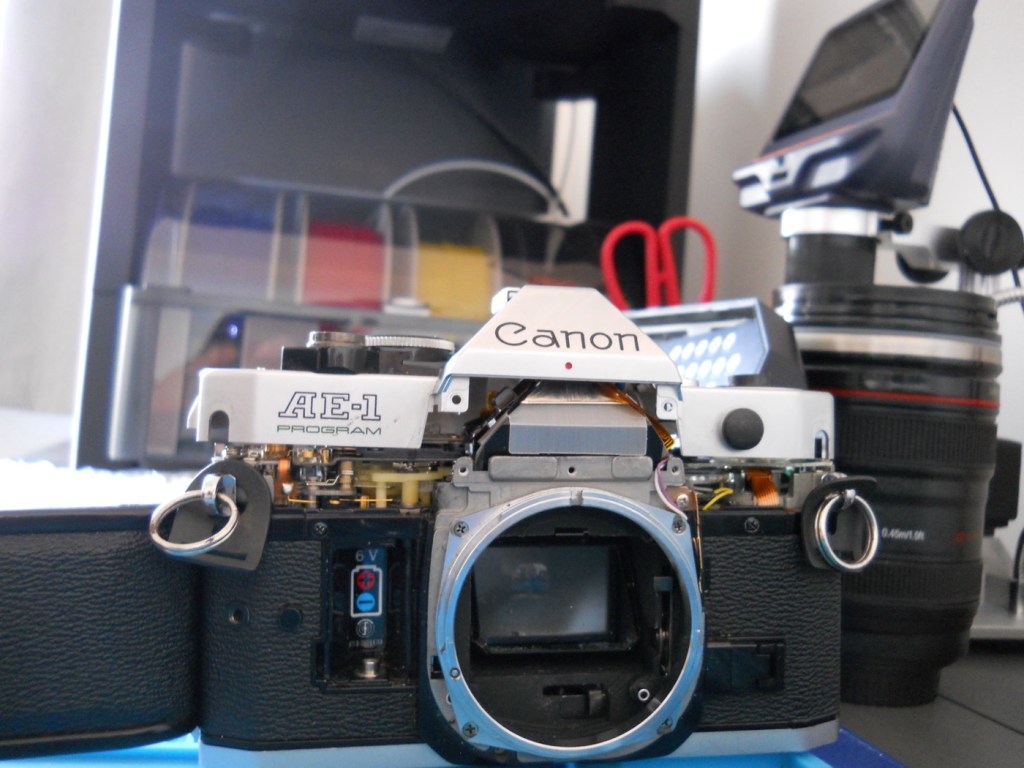
Friday: it’s the 21st August. We’ve been busy most of the day, I had to drop my wife off to have her nails done whilst I had an appointment at the hospital about an issue I’ve had dragging on from last year. The good news is that I’m now discharged with no further treatment or appointments required, I’ve been given the all clear and now been told to just get back out there and enjoy myself. Picture wise it’s not anything exciting, once home I continued work on a camera I’ve been playing about with for a few months, with the 3d printer in the background that has been used to create replacement parts for this very camera.
Saturday: it’s the 22nd August. Back to work today for a day, as I’m covering a colleague who is unwell. It’s been a pleasant day, not too hot and I’ve been all over Leicestershire and Lincolnshire today. Ive taken a lot of pictures and to be honest it’s been hard to make a choice from them all. In the end I’ve settled on this nice picture of the signal box on the Leicester- Peterborough line at Uffington. The colours are lovely, the weather was just fine and the light was good. This little camera really does come up trumps at times.
I was a snob back in my teenage years and wouldn’t buy anything without a Canon or Nikon name tag. How wrong was I? I now have one needing some TLC, so let’s get it working again.
What the listing stated:
Chinon CE-4 35mm SLR Film Camera Body – Faulty – See Details
I tried testing the camera with batteries and initially it seemed to function and the camera fired at accurate speeds but after a couple of times firing it, it stopped responding and now I can’t get it to function at all.
Please note batteries aren’t included.
EBay
Chinon CE-4
Here’s a little bit about this camera:
The Chinon CE-4 was the model which transitioned away from the 42mm screw mount used in the Chinon CE-3 to the Pentax K-mount. It’s an automatic 35mm SLR compact camera with aperture priority exposure system (AE).
Maker: Chinon
Dates: circa. 1980
Variants: black, CE-4s
Camera Type: 35mm SLR
Focusing: manual
Lens mount: Chinon Universal Bayonet Mount (Pentax K-mount)
Shutter: Seiko MFC electromagnetic focal plane, vertical, metal from 8s to 1/1000
Exposure meter: TTL, open aperture, center weighted by two silicon blue photo cells. EV -2-19
Exposure modes: aperture priority, manual, Bulb
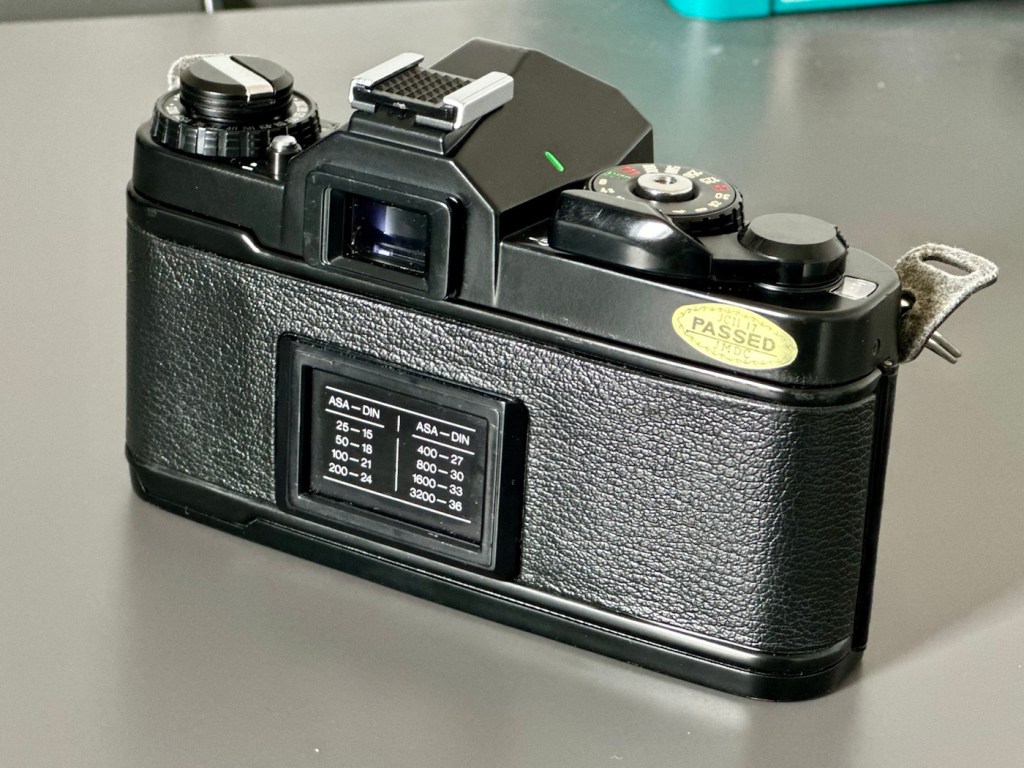
ASA/ISO range: 25 to 3200 ISO
Finder screen: fixed split-screen
Flash shoe: fixed hot shoe, contact for dedicated flash
A previous seller approached me offering this camera and we settled for a price of £5:00GBP. A fair price for a camera born around 1980 and readily available at nationwide electronic stores around the time. I always avoided them, because as a teenager I had been infected by the snobbery of people around me, if it wasn’t Canon or Nikon it was crap.
I was a snob back then. Now I’ll buy anything, and I like the look of this so I brought it.
My reasoning in a nutshell. If it takes photographs, it’s good. Buy it. Sold!
Let’s await its arrival, and get it assessed.
Assessment:
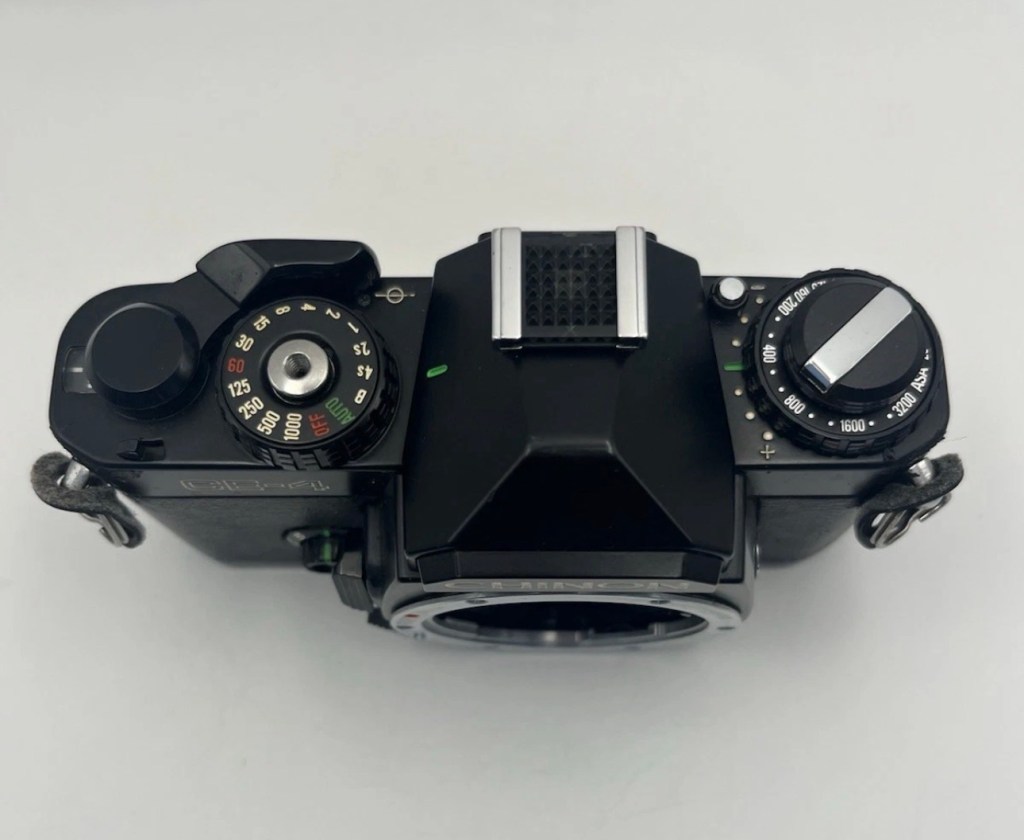
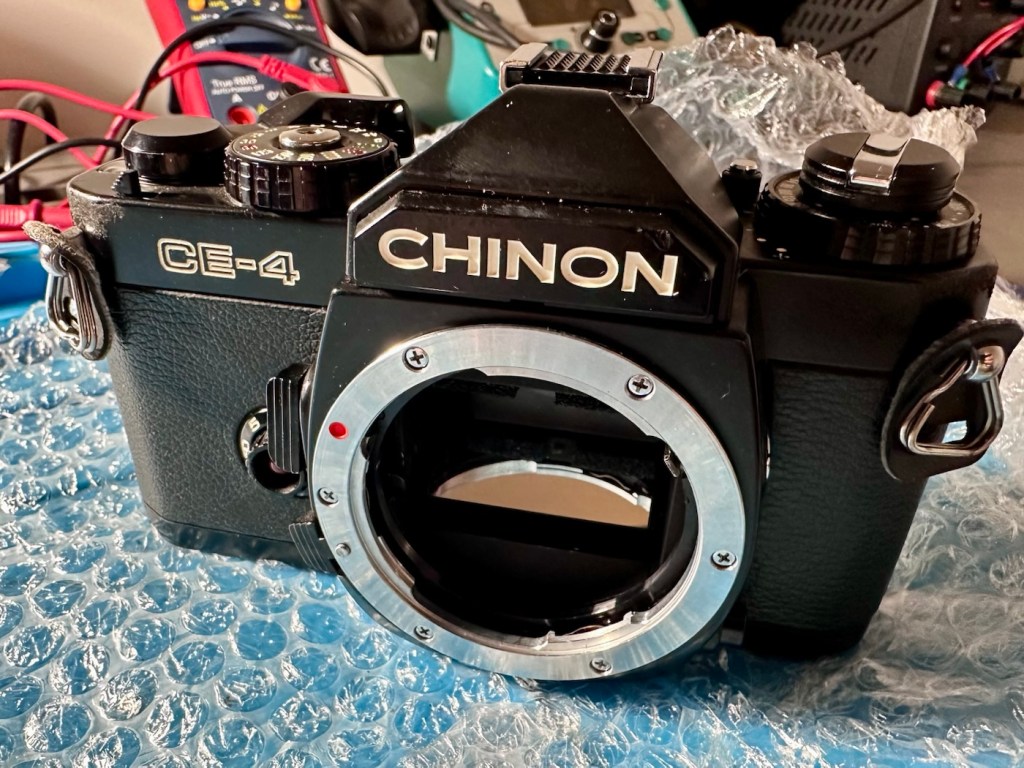
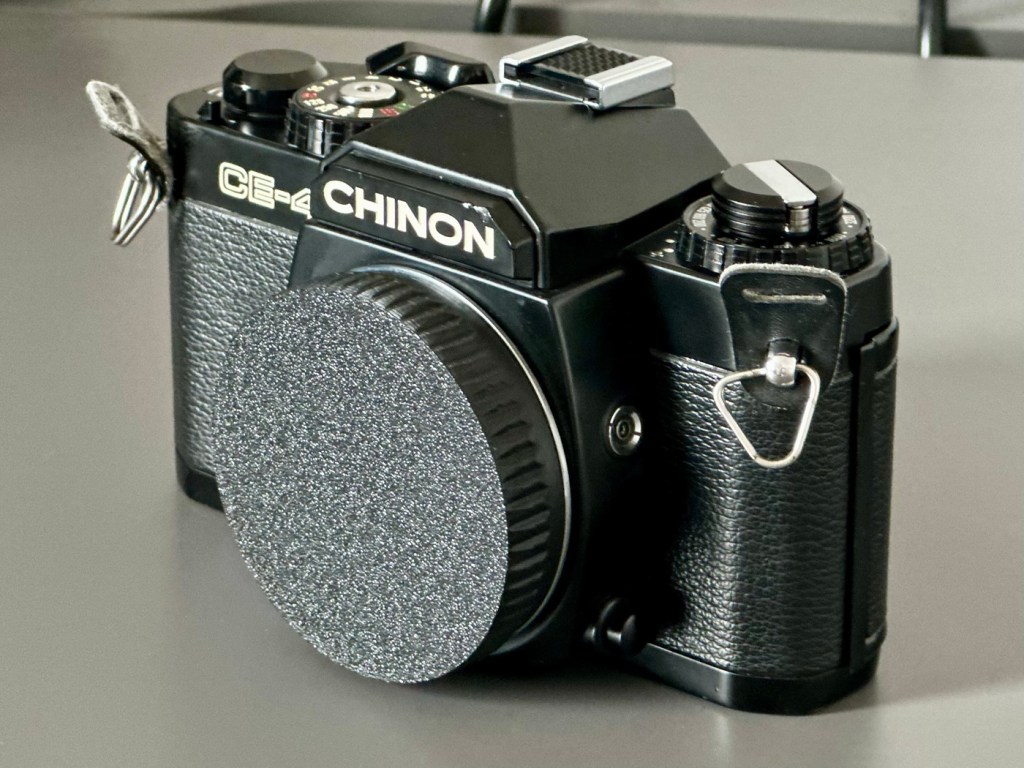
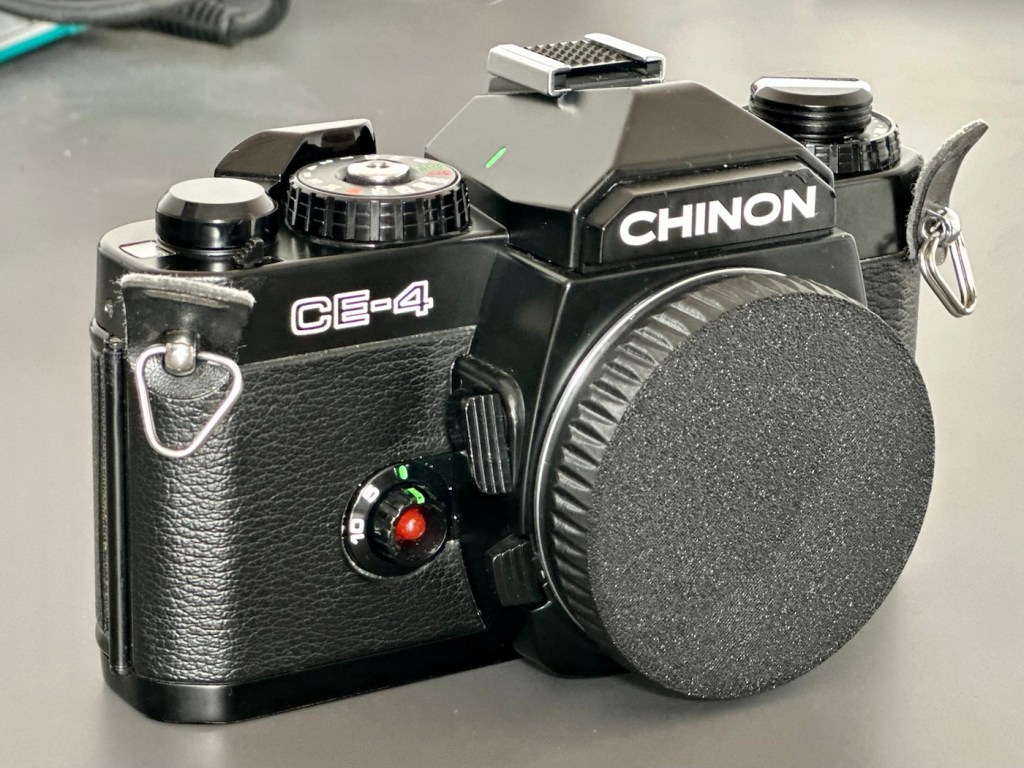
Cosmetically this camera looks fine, apart from the name plate being detached from the fascia. This is easily remedied with some superglue to hold it in place.
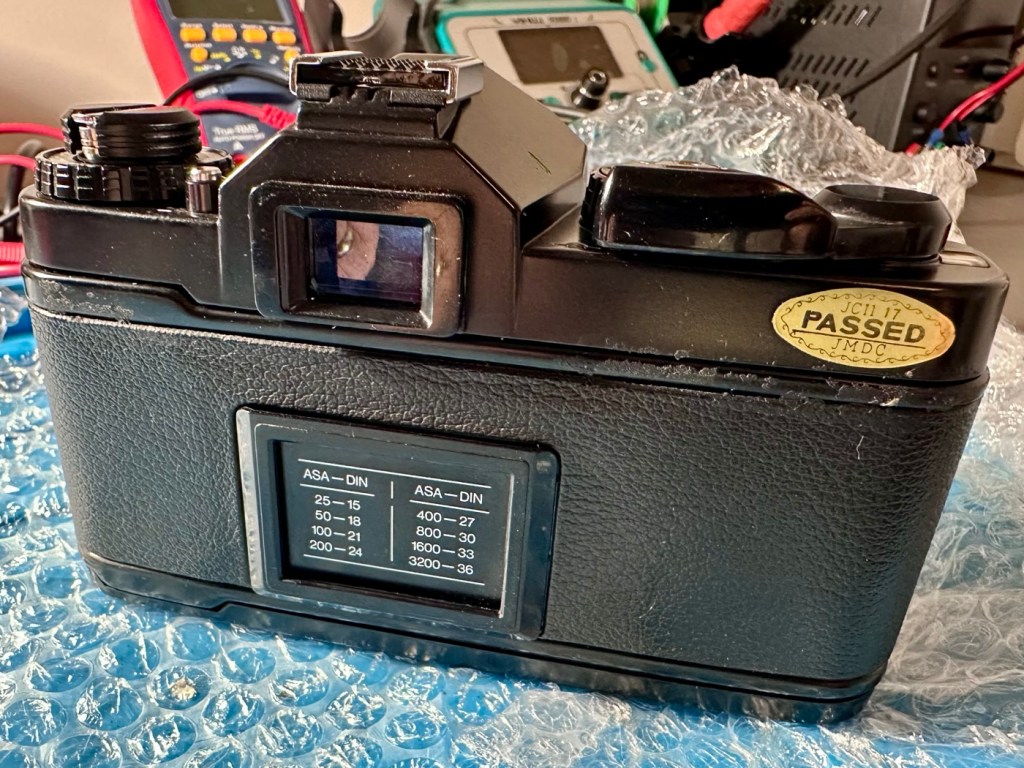
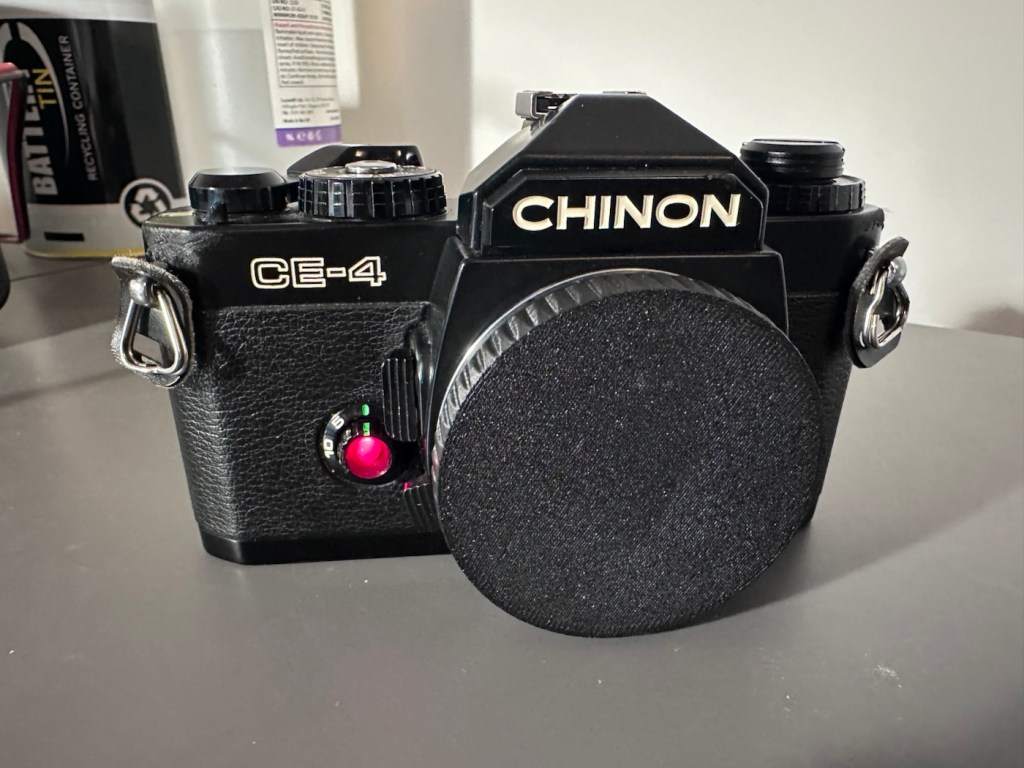
The camera that arrived
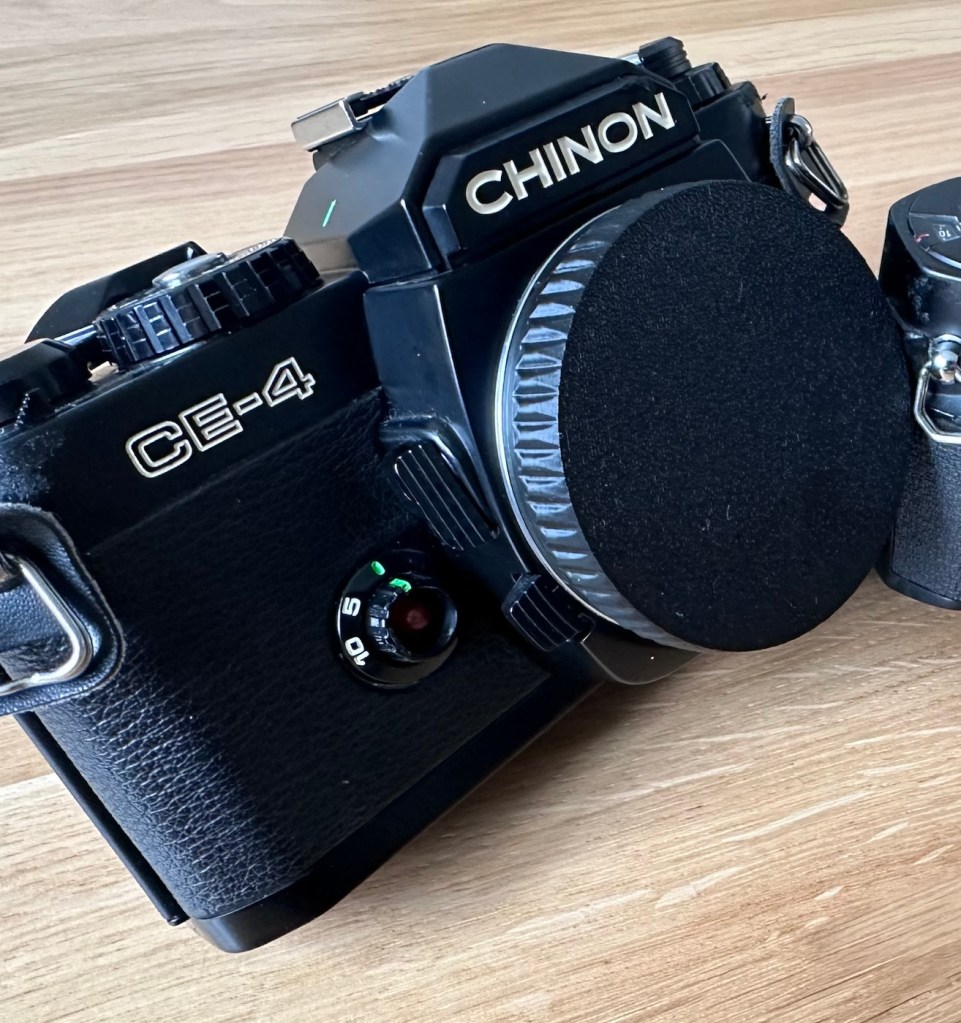
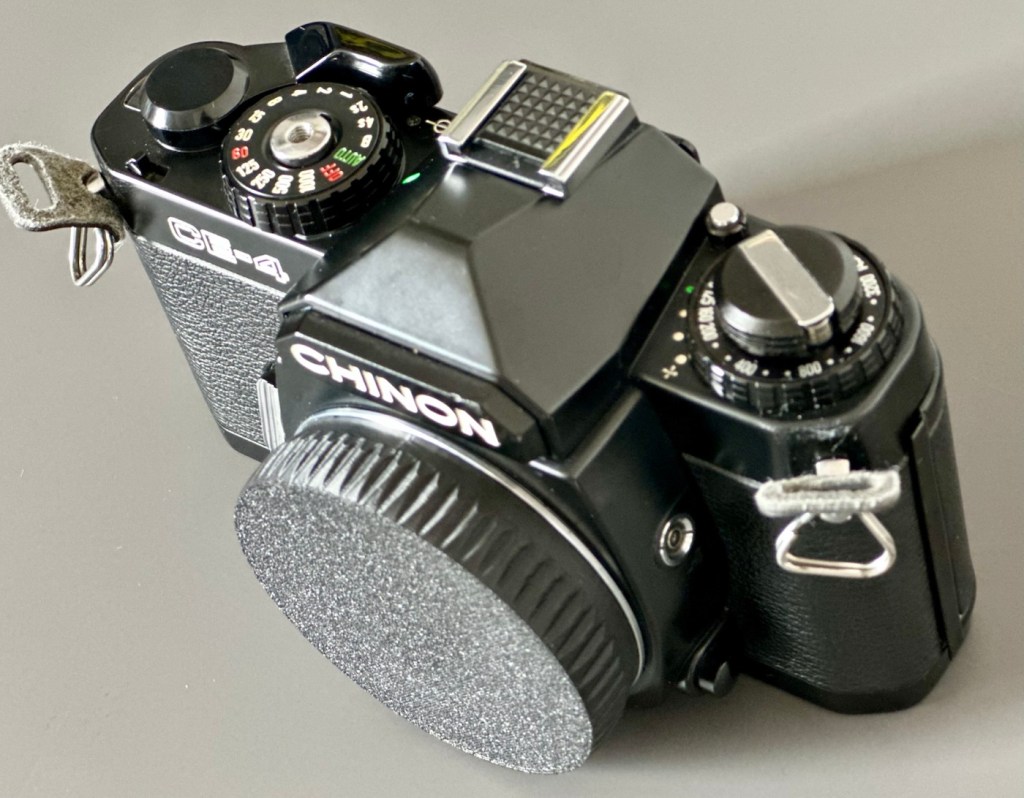
As an addition i’ve printed out a body cap on the 3D printer for when i complete the clean, allowing me to protect the mirror, shutter and lens chamber area.
Body cap printed to protect lens chamber
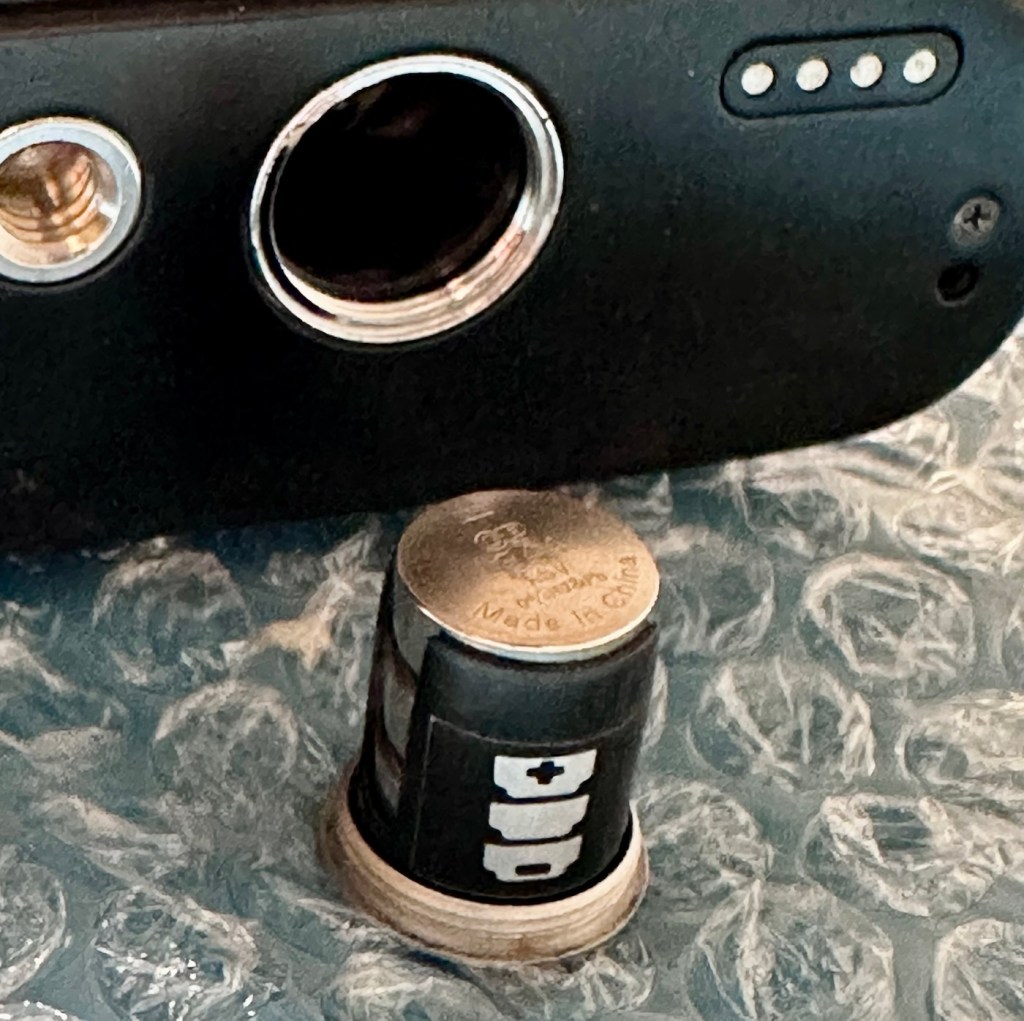
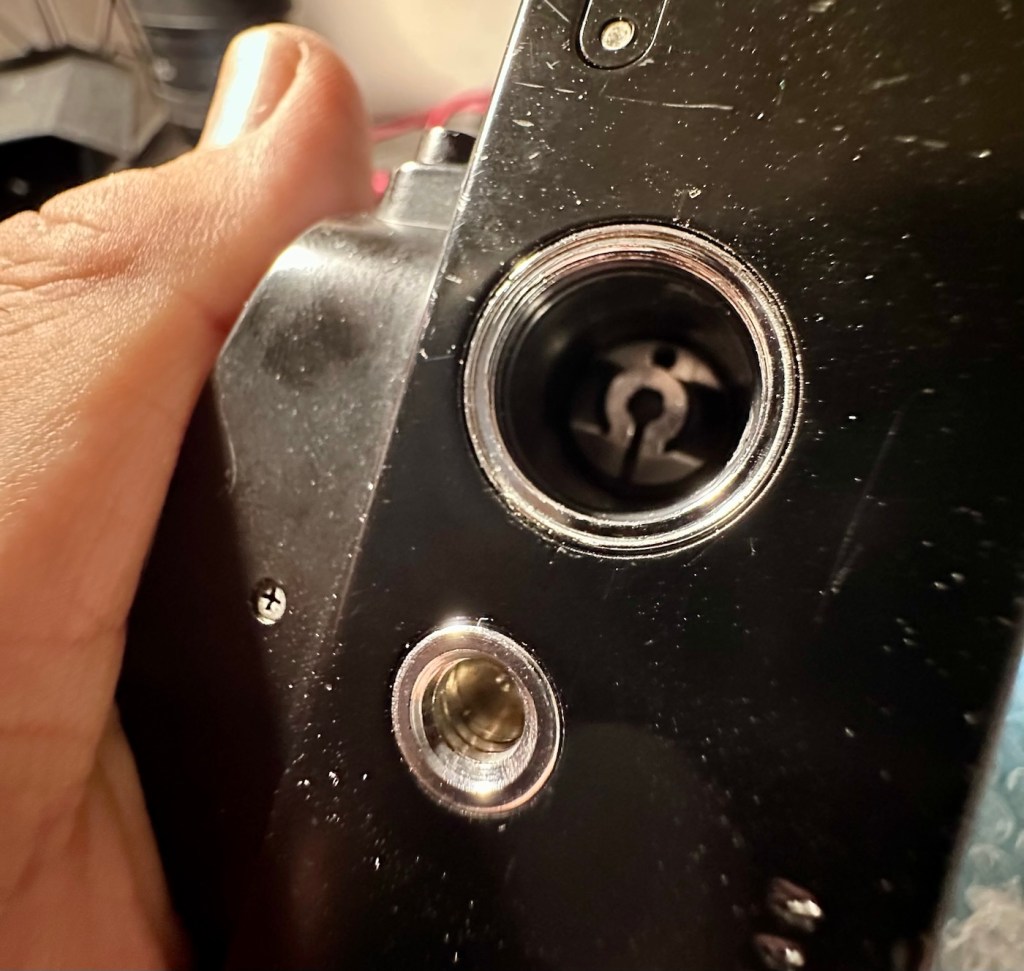
This camera takes three LR44 batteries and with these installed the camera is dead. There is no life, and no indication from the exposure meter in the viewfinder.
The battery holder with its three batteries
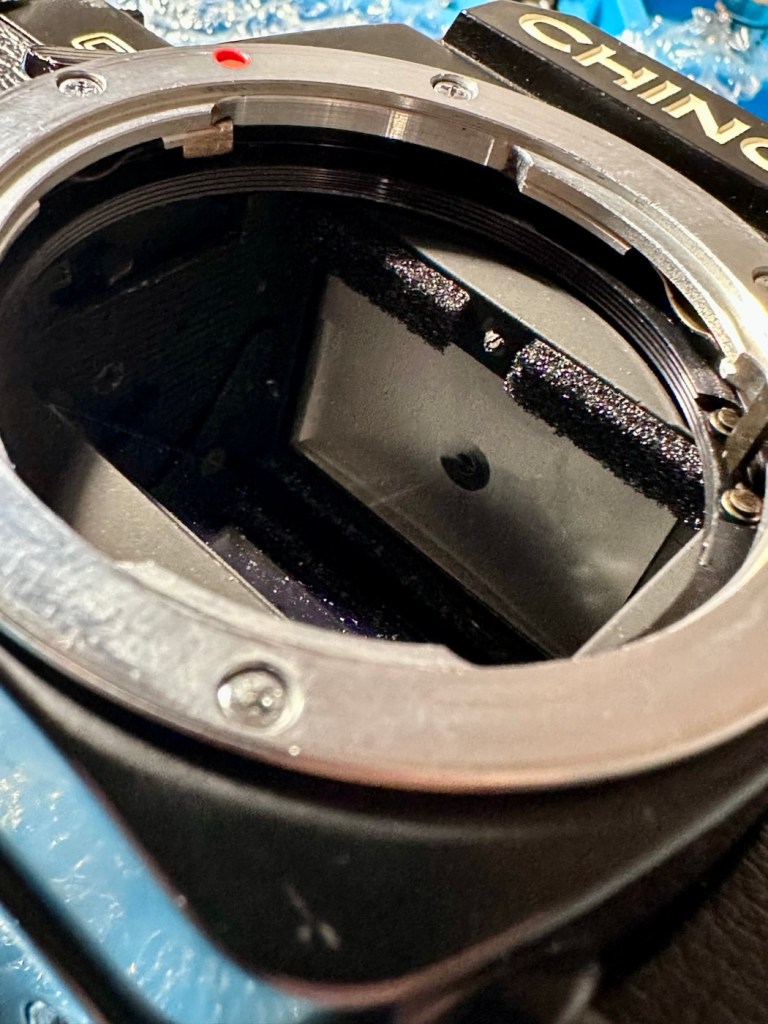
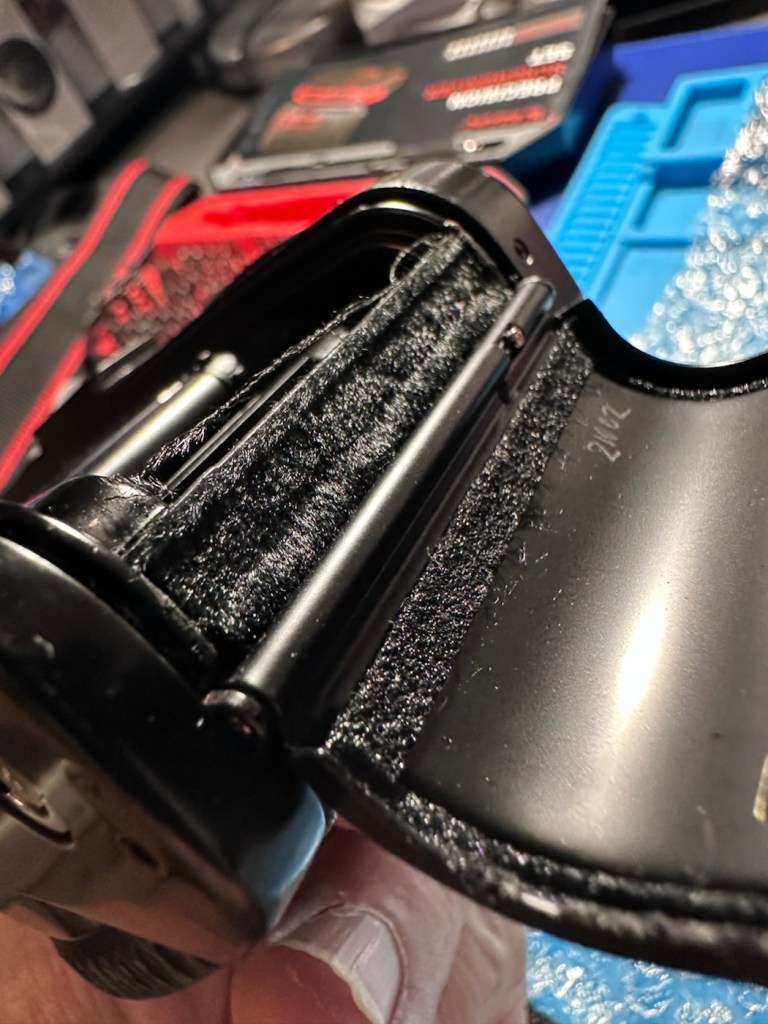
The bumper felt in the camera barrel is in excellent condition and does not need replacing. It’s a similar situation with the light proofing around the film chamber, they don’t need replacing just yet.
Mirror bumper feltLight proofing
All buttons, dials and levers appear to be working just fine. There is no meter reading in the viewfinder due to the electrical issue. Let’s get onto that now, as it looks as if there is not really much else wrong with this camera.
Repair:
So generally with electrical issues it’s always best to start with the simple things first before diving in and opening up the camera for dissection.
First things first, are the batteries any good, yep they have all tested as working fine, let’s move on. Is the power getting through to the camera via the battery holder. No it’s not. Let’s check the battery holder.
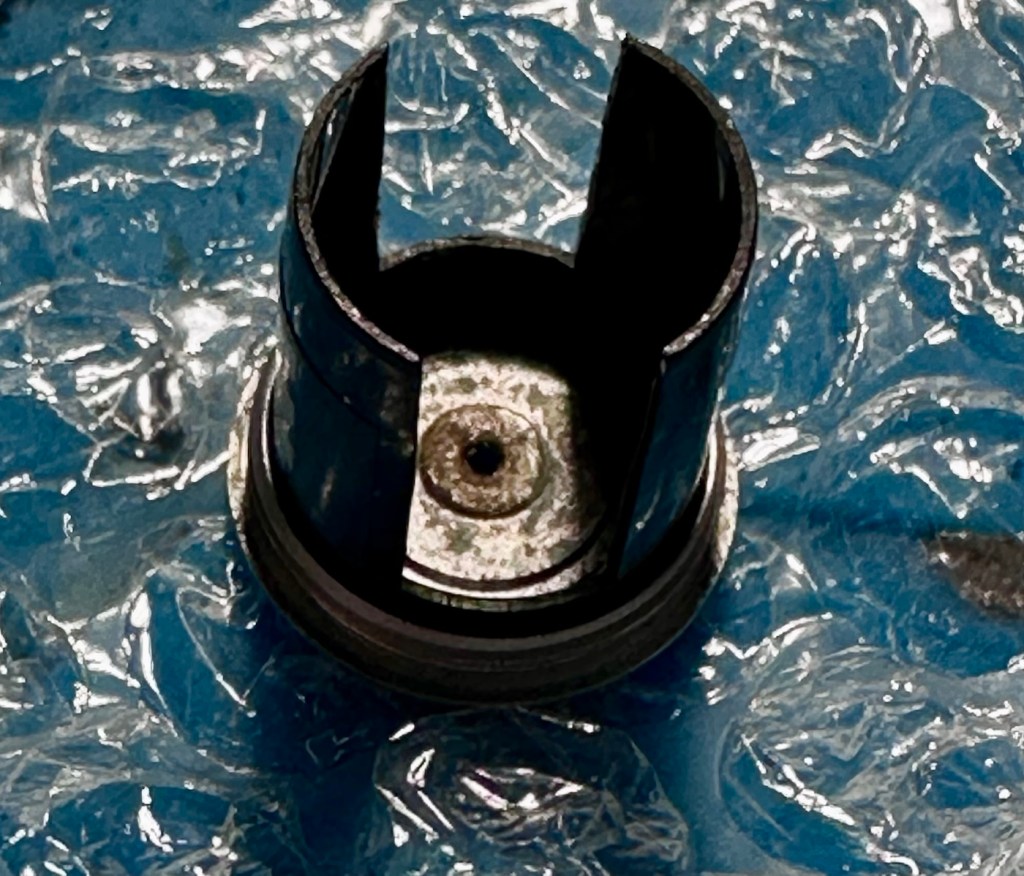
Severely tarnished Tarnished here also
The battery holder showed no continuity when I used the multimeter probes on it, the whole inside of the holder had bad tarnish, preventing power getting through to where it was needed. A quick clean of the area with a grinding pen and some IPA to clean up, and you can now see your face in it. A quick check with the multimeter and continuity is restored. Whilst I’m in the mood for this kind of cleaning I also clean the contacts in the camera base. These weren’t so bad, however a quick blast with the grinding pen and a clean up does not go amiss.
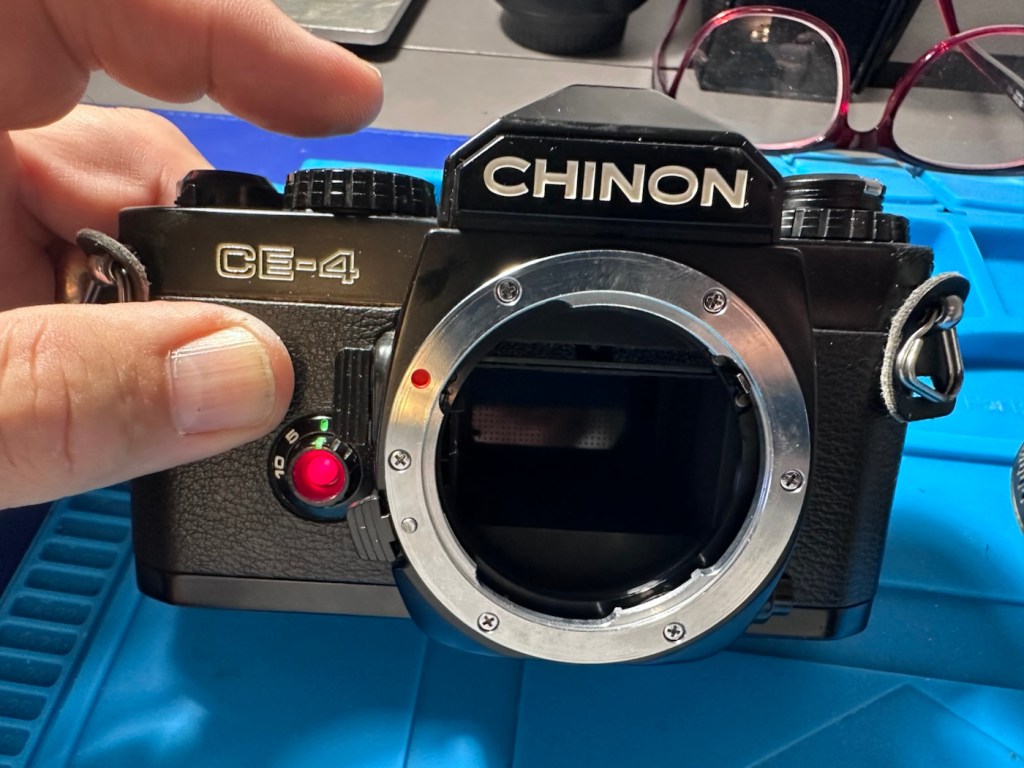
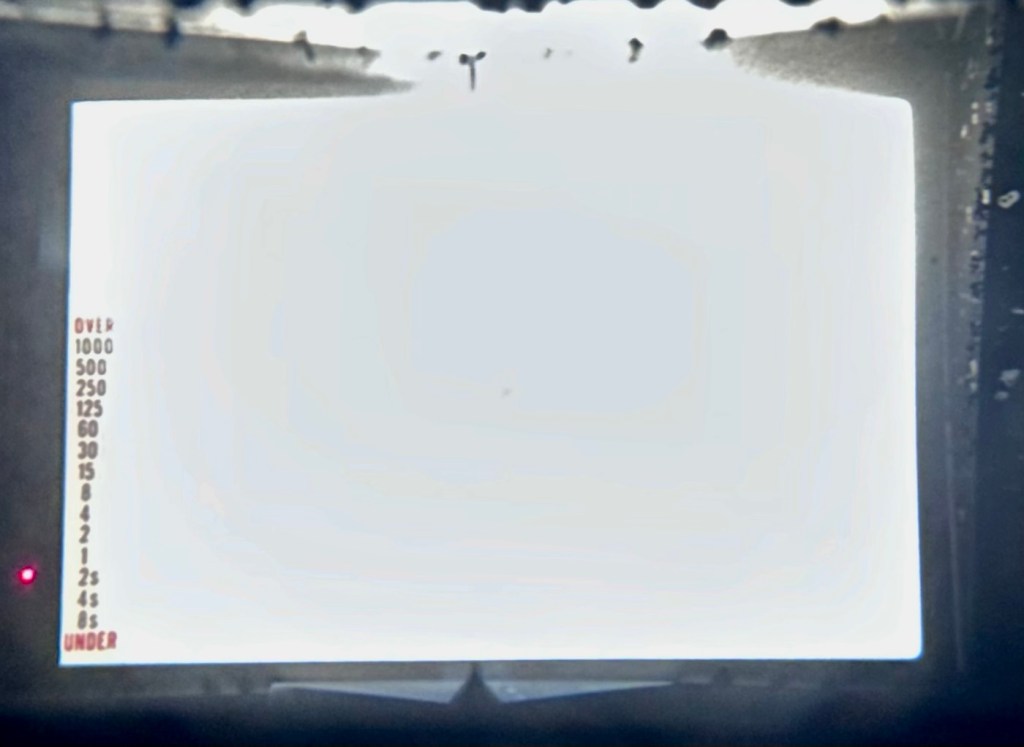
The three batteries are reinstalled and hey presto, the light meter and all functions now appear. All this camera required was a five minute clean to resurrect it.
Lights workingShutter and light working Light meter operating ok
To test the camera fully I now need a K mount lens to check its functions. I’m looking for a basic one just to use for testing, just as well really as I also have some other K mount cameras coming up shortly. However, I am supremely confident this camera is working fine, so a lens is not the probity at this stage. I will probably move this on to the local hospice that I have dealings with.
A good clean is all that is now needed. I have cleaned the internals and sealed them by putting the body cap in place. Now I need to give attention to the exterior.
Result:
Sorry It’s a boring one, but hey it’s a win. Following a plan of attack starting with the most basic of checks, can be boring and repetitive, but also extremely beneficial as it’s not always the big issues inside the camera, nine times out of ten the issues are a lot more basic.
It just goes to prove that a lot of the items out there deemed as broken, are just in need of a little maintenance. If only people would just take a little time to look after their stuff, there would be less equipment thrown in to landfill.
Here is the camera after a good clean.
Looking beautiful
A little £5:00GBP camera has been given a reprieve and can live on for a few more years yet. As long as there is film being produced, this camera has a purpose. It’s a basic, but superbly capable camera that will keep its new owner happy for a good few years yet.
Let’s hope they have many happy moments capturing wonderful memories for many years to come.
Thanks for passing by. Always very much appreciated.
My second chance at reviving a DSLR from 2008, the Canon EOS 5D MkII. Will I have a little more success with this one?
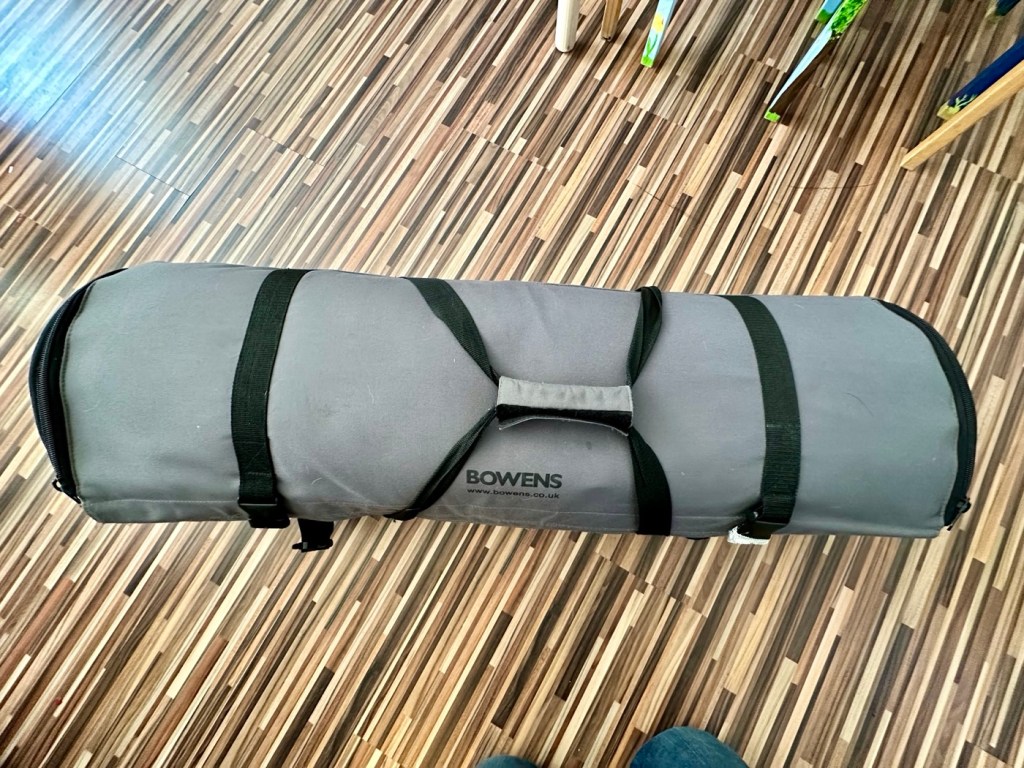
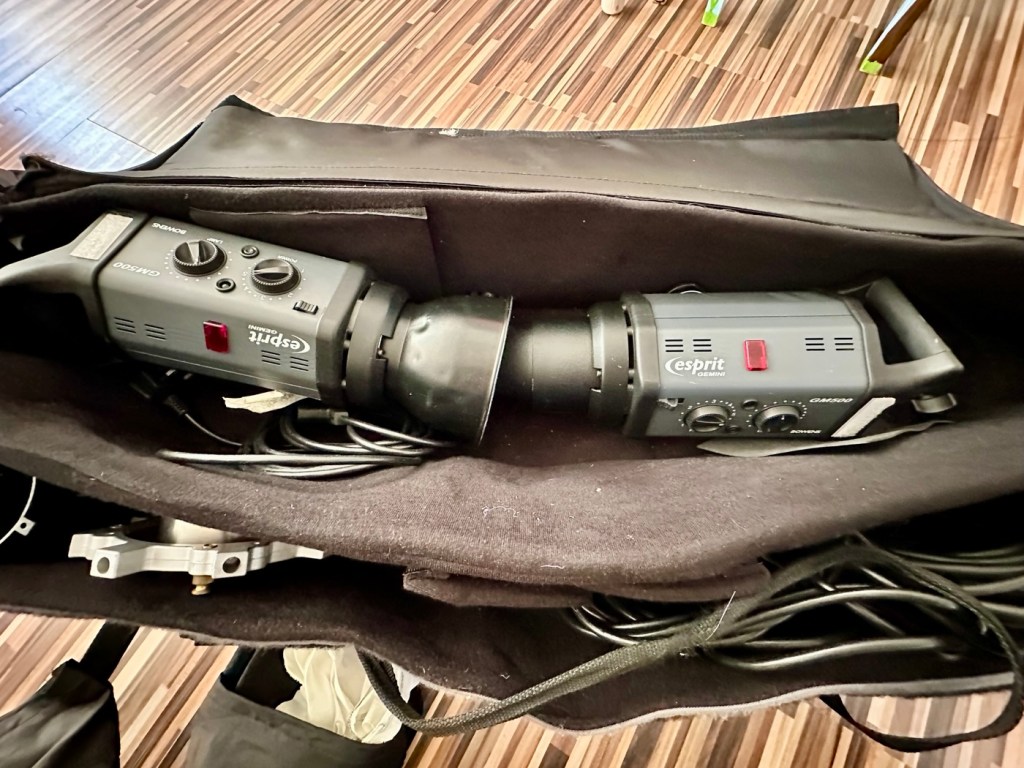
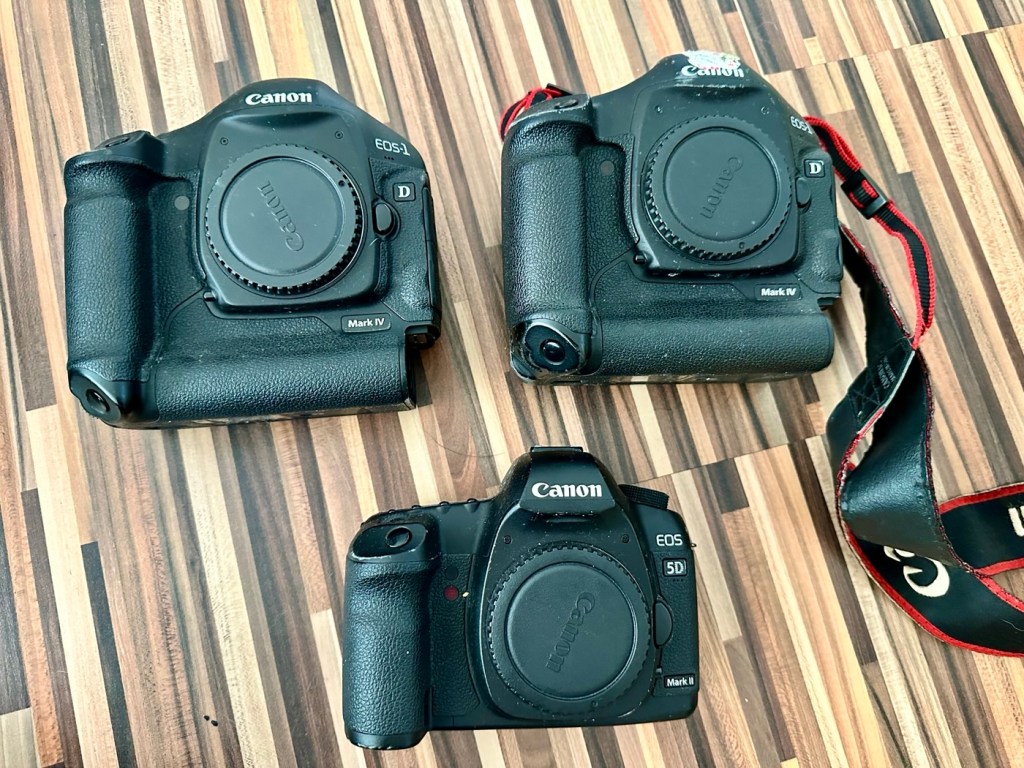
I’ve been approached by an old colleague who used to be a syndicated sports photographer, he had a number of items he wanted to “get rid off” as they were just taking up space in his new house. “Would you be interested?” You betcha, so as a result I’m now the owner of a complete Bowens lighting system, two Canon EOS 1D MkIV cameras and a Canon EOS 5D MkII camera.
Lighting LightingCamerasLights, cameras – now need some action!
My days of fussing and farting about with lighting rigs has now long passed, so I know a youngster starting out in the world who is a very talented young fellah, I have donated this equipment to him and he will certainly have a use for this lighting setup. He has been approached and accepted the offer, I think he is quite happy with his new acquisition, here’s hoping his talents continue to flourish.
However the cameras are mine as no one wants this old stuff anymore 😂
This post focuses on the repair of the Canon 5D MKII, the repair of the EOS 1D MKIVs can be found here: Canon EOS 1D MkIV There is also a link to my first attempt at a Canon EOS 5D Mk2 and here is the actual assessment of that camera and the issues experienced with it Canon EOS 5D MK2 assessment and repair, I failed with this repair due to it having sensor issues, so sold it on at a small profit, i’m hopeful that this new attempt at the 5D will bring better results.
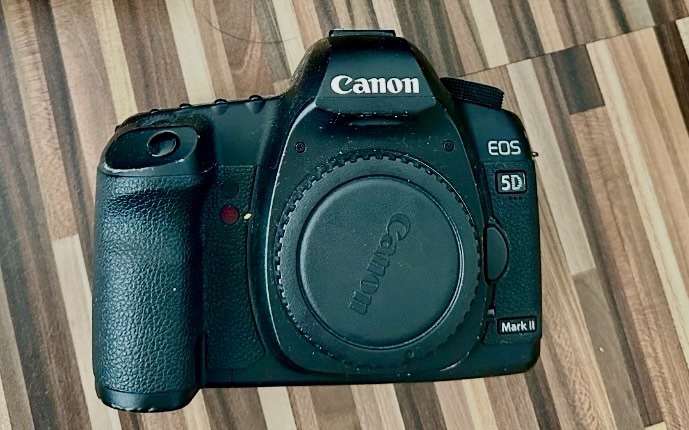
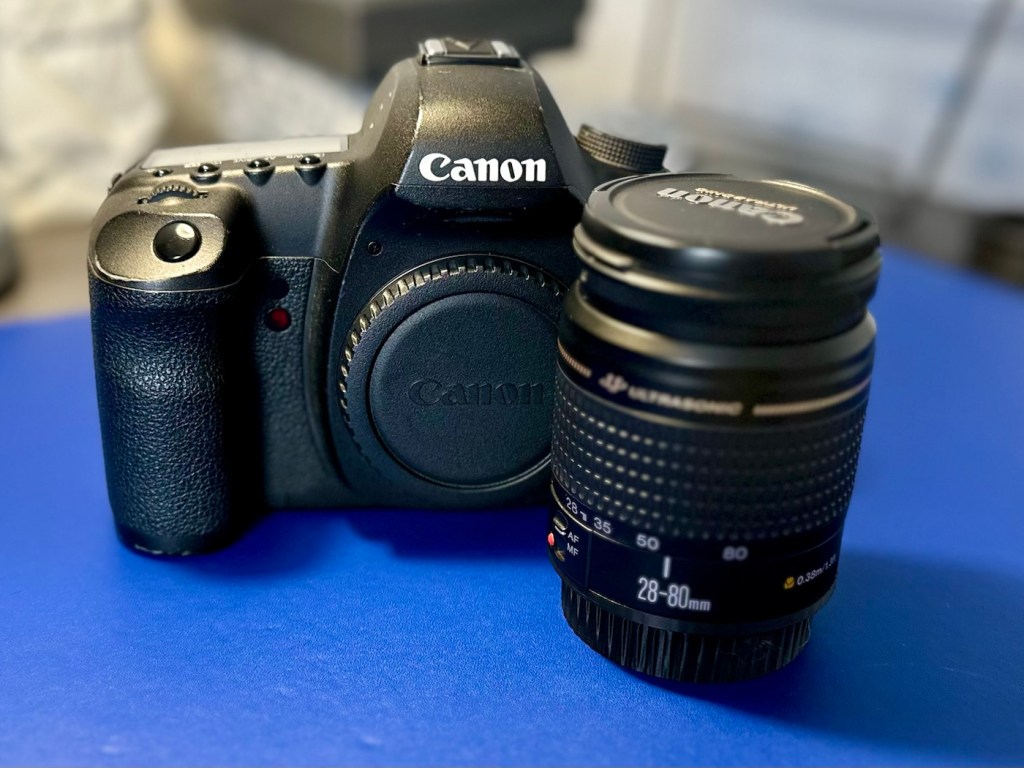
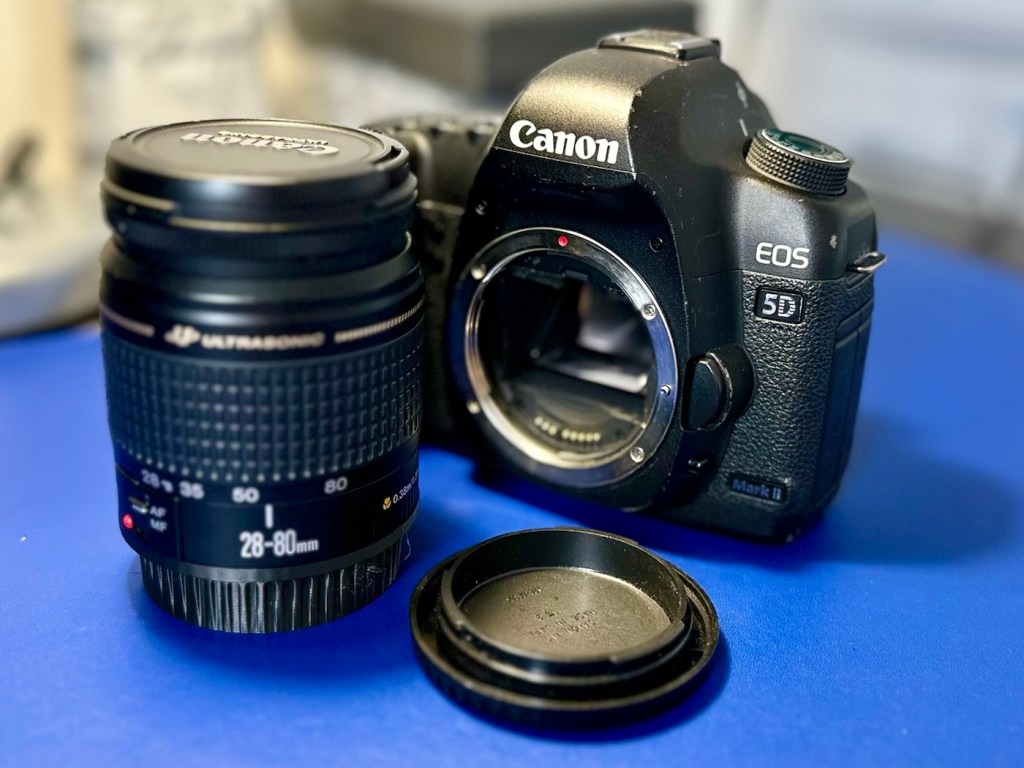
The Canon EOS 5D MkII
Let’s hope this camera acquisition comes with a better outcome. Whereas the other two 1D cameras i received in this package have required me to to purchase a new battery and charger, I do already have a number of LP-E6 batteries and a charger in my possession, so there is no initial outlay required to test this camera. We are off to a good start here and should be easily able to diagnose any issues fairly quickly.
Anyway, before we assess the camera, here is a little bit about the Canon EOS 5D MkII.
The Canon EOS 5D Mark II is a 21.0 effective megapixel full-frame CMOS digital single-lens reflex camera made by Canon, the first Canon EOS camera to have video recording capabilities. It succeeds the EOS 5D and was announced on 17 September 2008.
On 2 March 2012, Canon announced the camera’s successor, the Canon EOS 5D Mark III. On 24 December 2012, Canon Japan moved the camera to their “Old Products” list, effectively discontinuing the camera.
The Canon EOS 5D Mark II is a full-frame camera and requires Canon EF-mount lenses. It is not compatible with EF-S lenses (which are for APS-C crop sensors).
100 to 6400 ISO (expandable to L (50), H1 (12800), H2 (25600)), compared to 100 to 1600 (expandable to L (50), H (3200)).
3.9 frames per second continuous shooting (78 JPEG or 13 Raw in a single burst), compared to 3 frame/s (60 JPEG or 17 Raw).
Small Raw modes: sRAW1 mode (10 megapixel/3861 × 2574 pixels), sRAW2 mode (5.2 megapixel/2784 × 1856 pixels).
98% viewfinder coverage with 0.71× magnification, compared to 96% coverage.
Larger 3.0-inch (76 mm) LCD with 920,000 pixels, compared to 2.5-inch (64 mm).
1800 mAh LP-E6 battery, compared to 1390 mAh BP-511A.
New features
Movie recording full HD at 1920 × 1080 and SDTV at 640 × 480 resolution.
Monaural microphone for audio during video recording, speaker for playback and microphone jack for external stereo microphone
Live preview with ExpSim LV “exposure simulation” live preview (full exposure preview control utilizing ExpSim LV, a first for video in a DSLR)
Live preview with contrast-detect autofocus
HDMI video output for live preview or playing clips and images on an external monitor via Type C MiniHDMI port
Dust reduction system to perform automatic sensor cleaning
Battery management software
Key Lifespan Factors:
Shutter Rating: 150,000, though this is considered conservative by users.
Real-world usage: Many cameras show failure rates increasing closer to the 100,000–150,000 range, but many exceed it significantly.
Longevity: Some, though rare, individual cameras have recorded over 2 million shots.
Repairability: The shutter mechanism can be replaced if it fails, which may extend the camera’s life further.
Component failure: Other parts, such as the power board or rubber grips, may fail before the shutter.
Common Issues:
Rubber grips: Rubber grips can become loose over time.
Button/Dial functionality: Buttons and dials may wear out over long periods of use.
Sensor maintenance: Regular sensor cleaning is needed to maintain performance.
The 5D Mark II is the first camera in the EOS line to provide video recording functions. Still photography during video recording is possible, but the camera suspends recording video until the final still frame is captured.
The lithium-ion battery for the 5D Mark II (LP-E6) has an 1800 mAh capacity. Each battery contains a microchip with a unique identifier for reporting charge status and battery health for display on the camera. The 5D Mark II’s “Battery Info” screen can track battery health and shooting history for up to six LP-E6 batteries.
The camera has native ISO values of 100 multiplied by a power of 2; other ISO values are obtained by a digital exposure push (ISO values that are multiples of 125) or digital exposure pull (ISO values that are multiples of 160). The digital exposure push ISO is 1/3 stop greater than the native ISO, and a digital exposure pull ISO is 1/3 stop less than the native ISO. The digital exposure push ISO settings produce more noise than the native settings with a reduced dynamic range, and the digital exposure pull ISO settings produce less noise than the native settings.
Wikipedia
Assessment:
The camera has arrived and here are my first thoughts. But first some pictures.
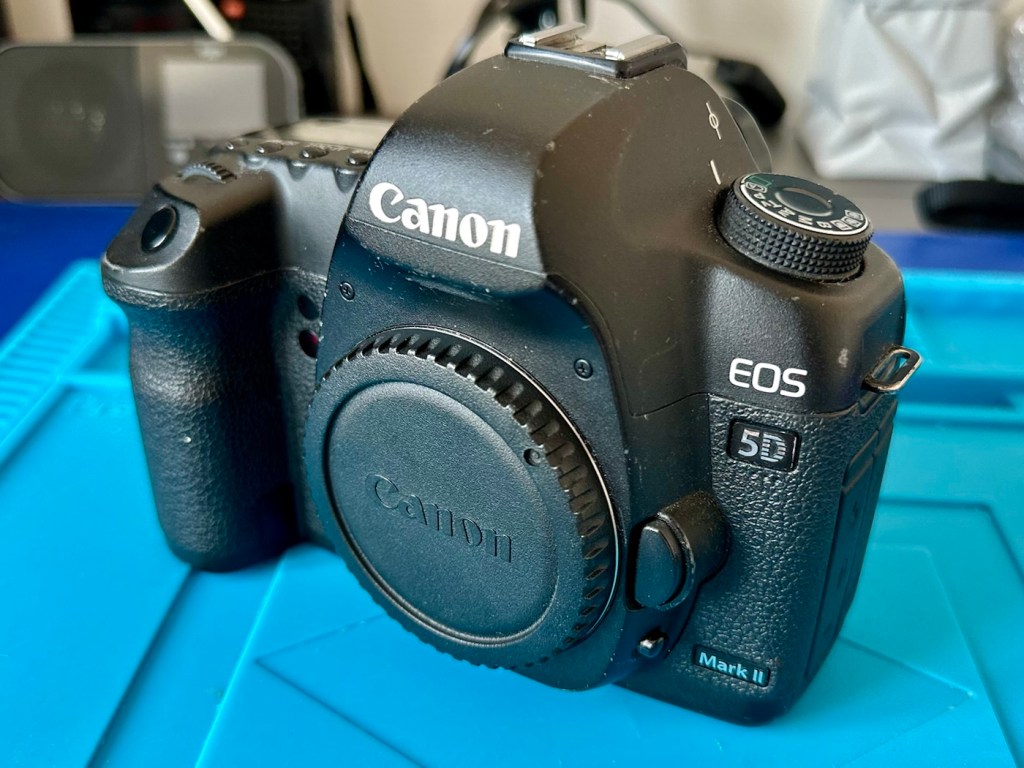
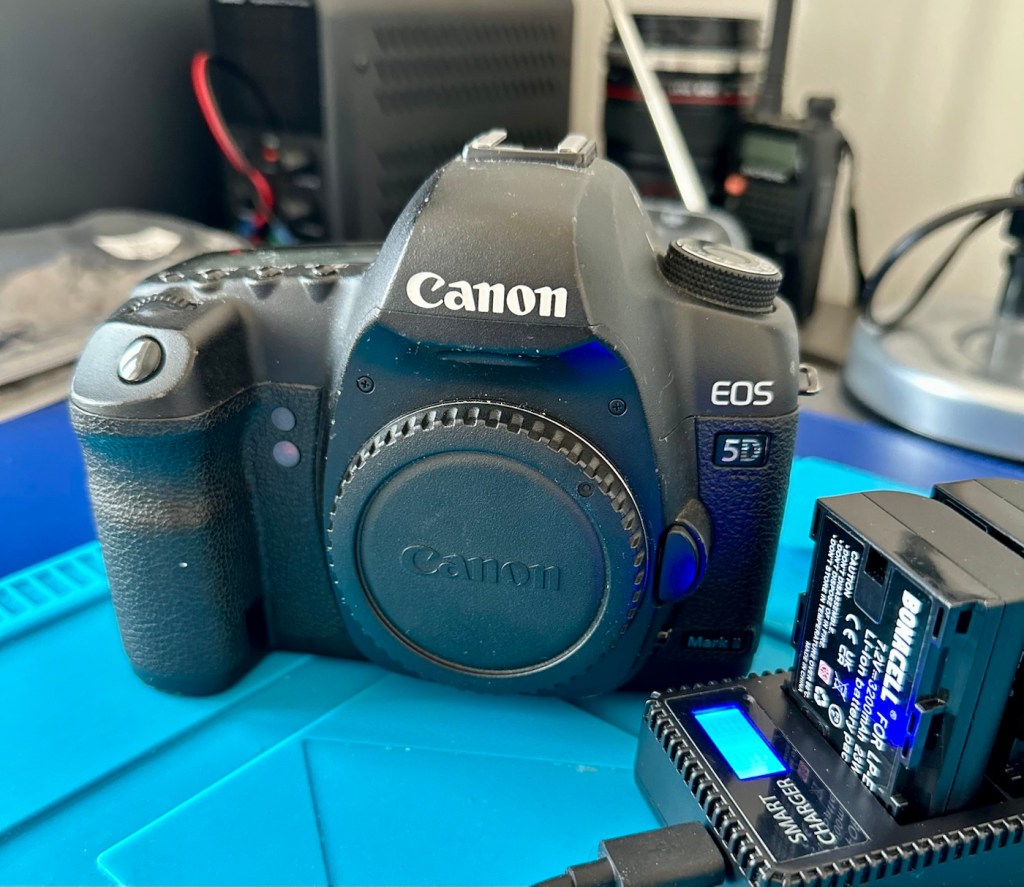
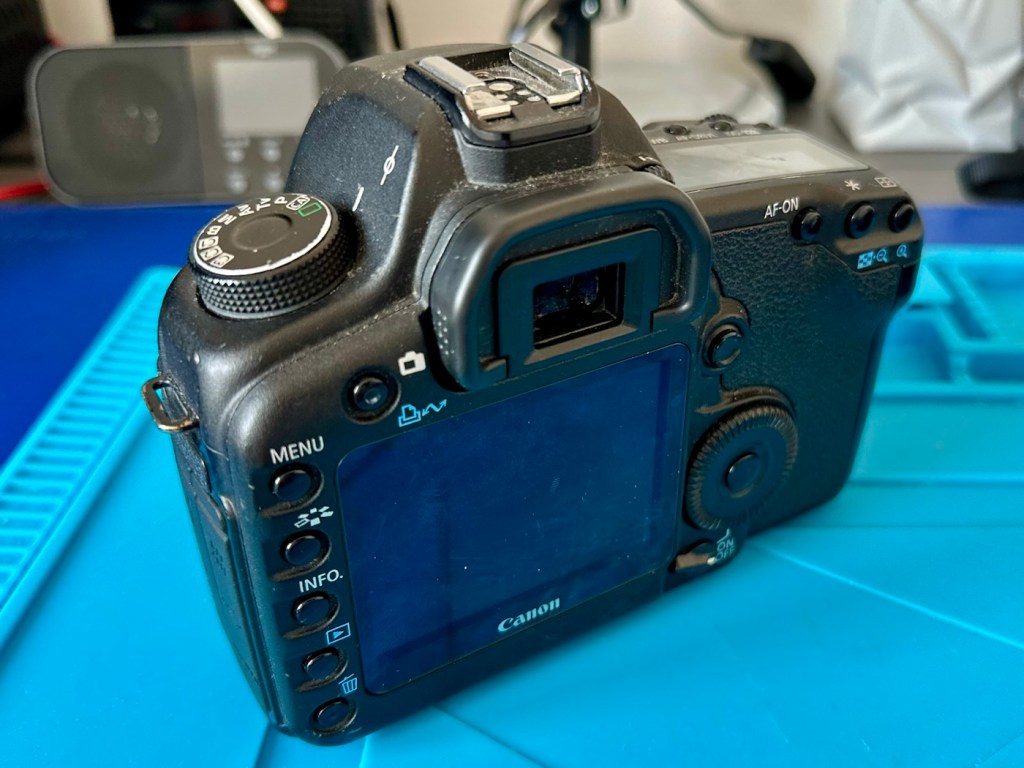
Canon Eos 5D MkII
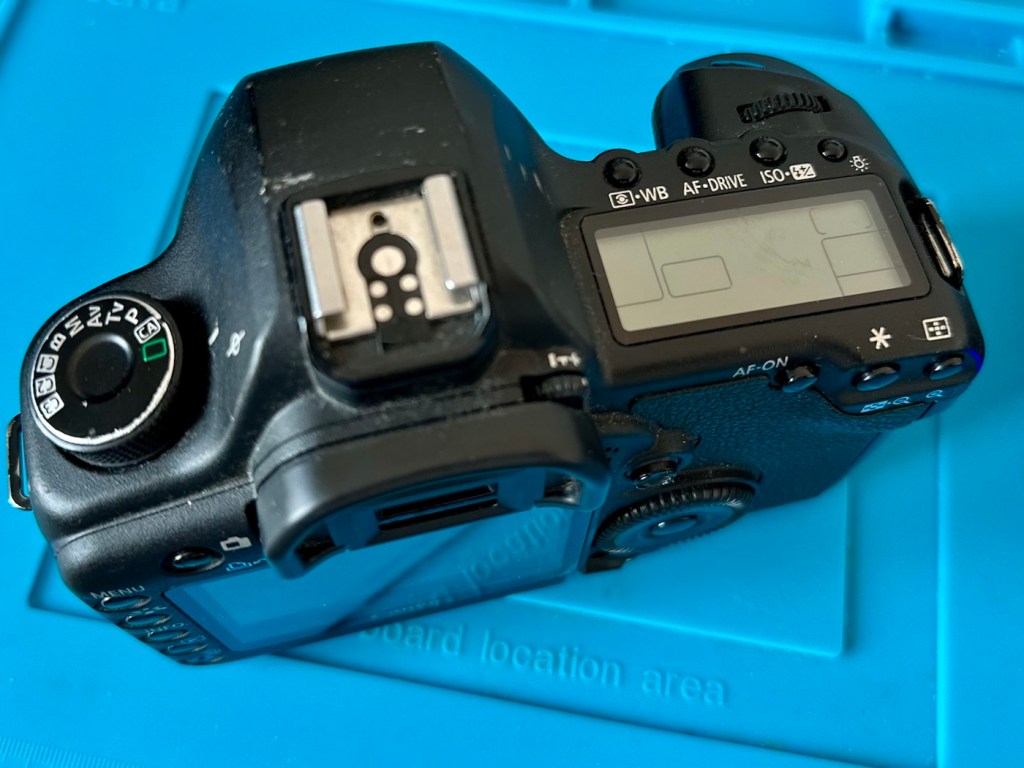
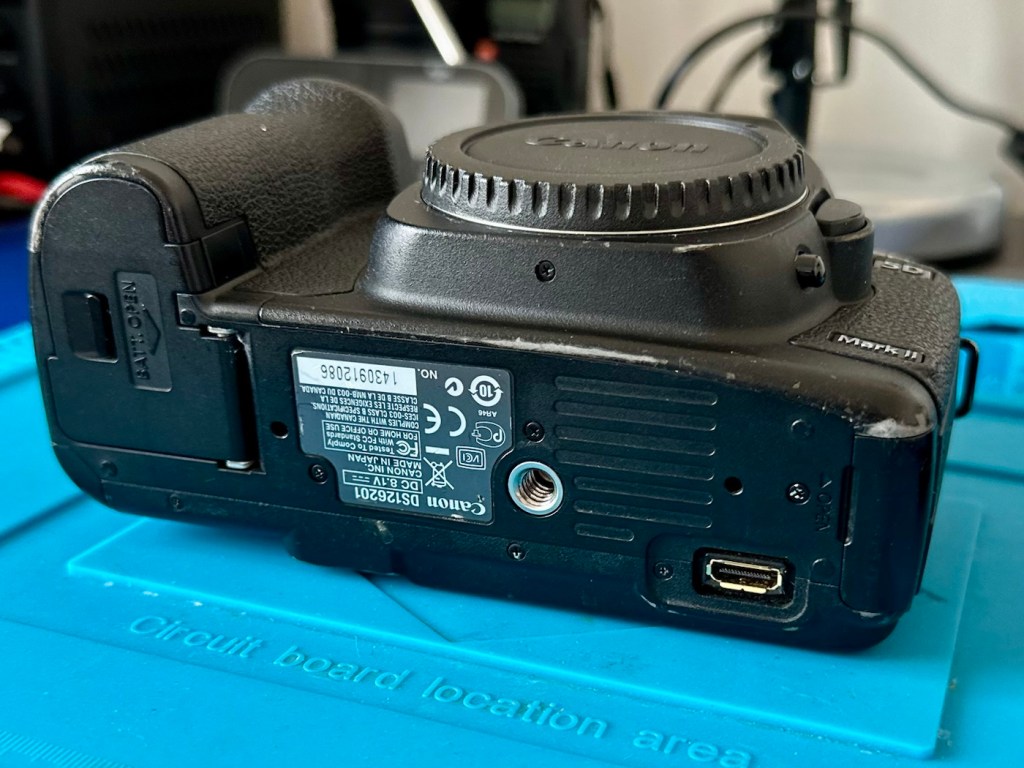
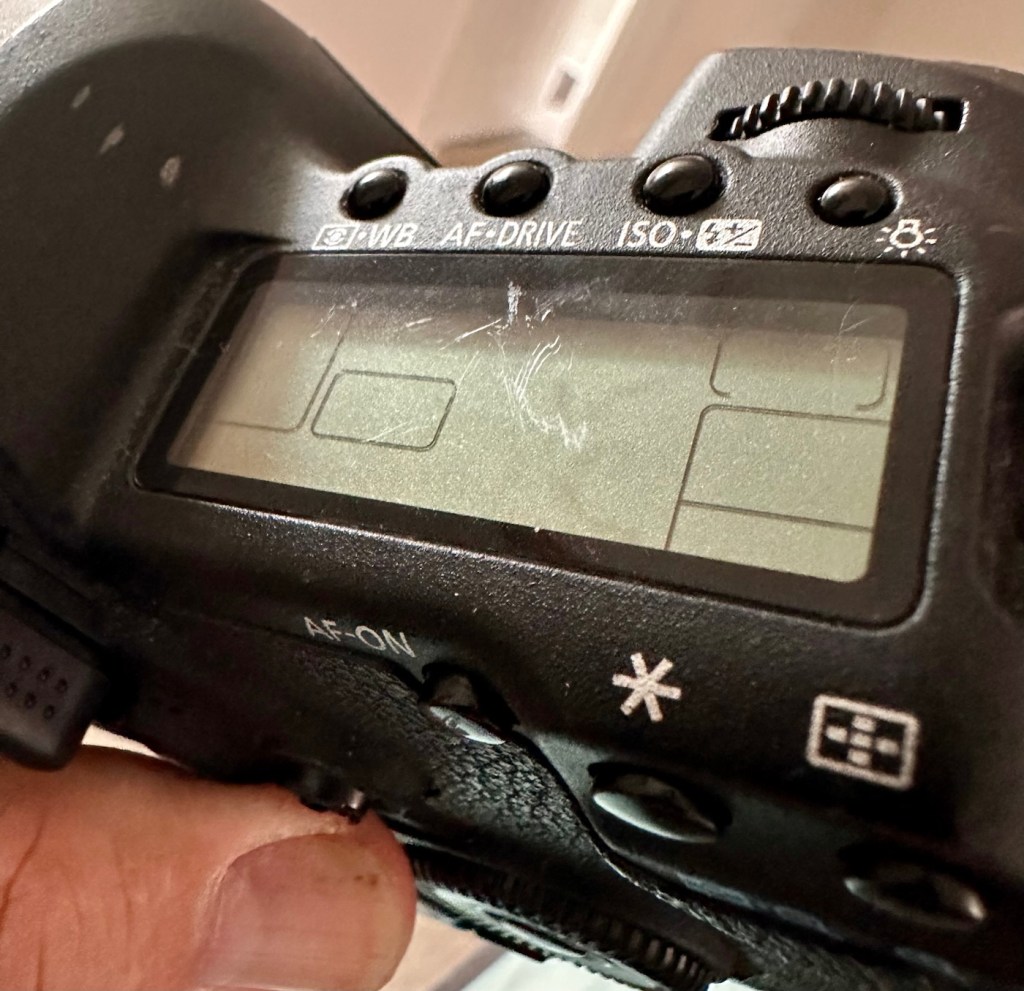
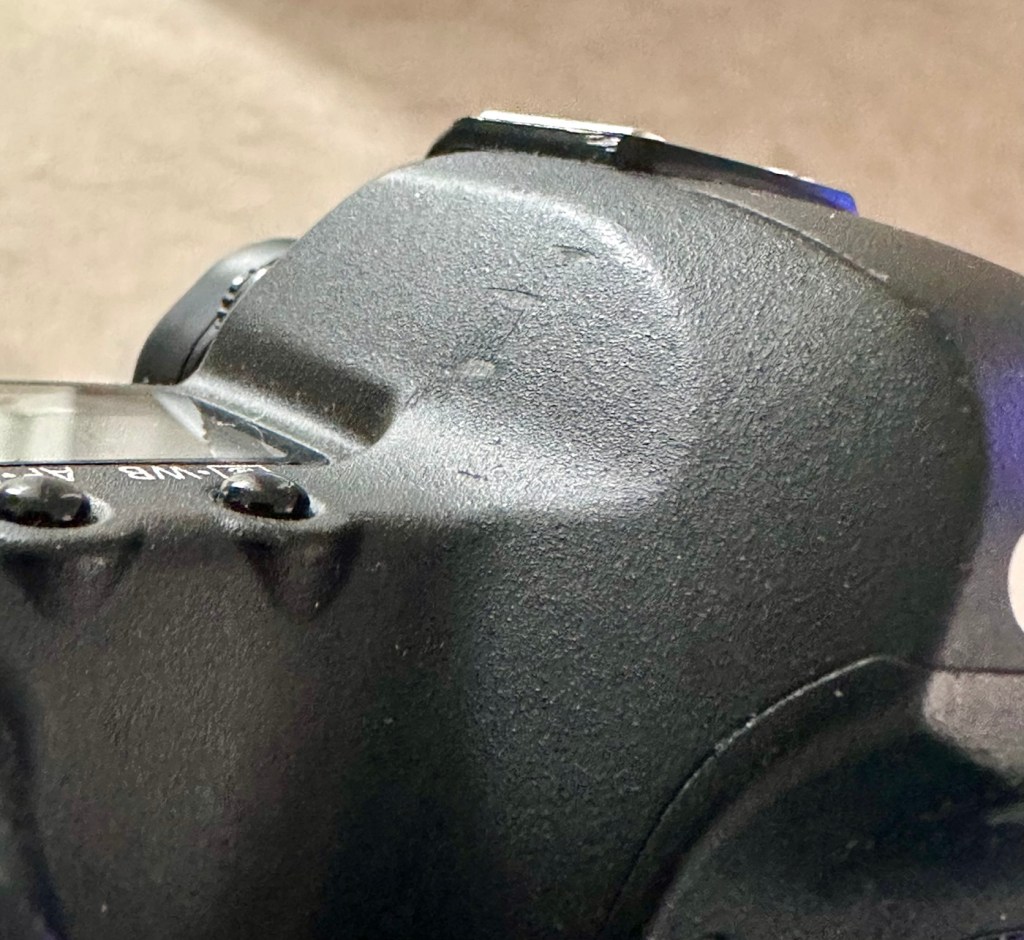
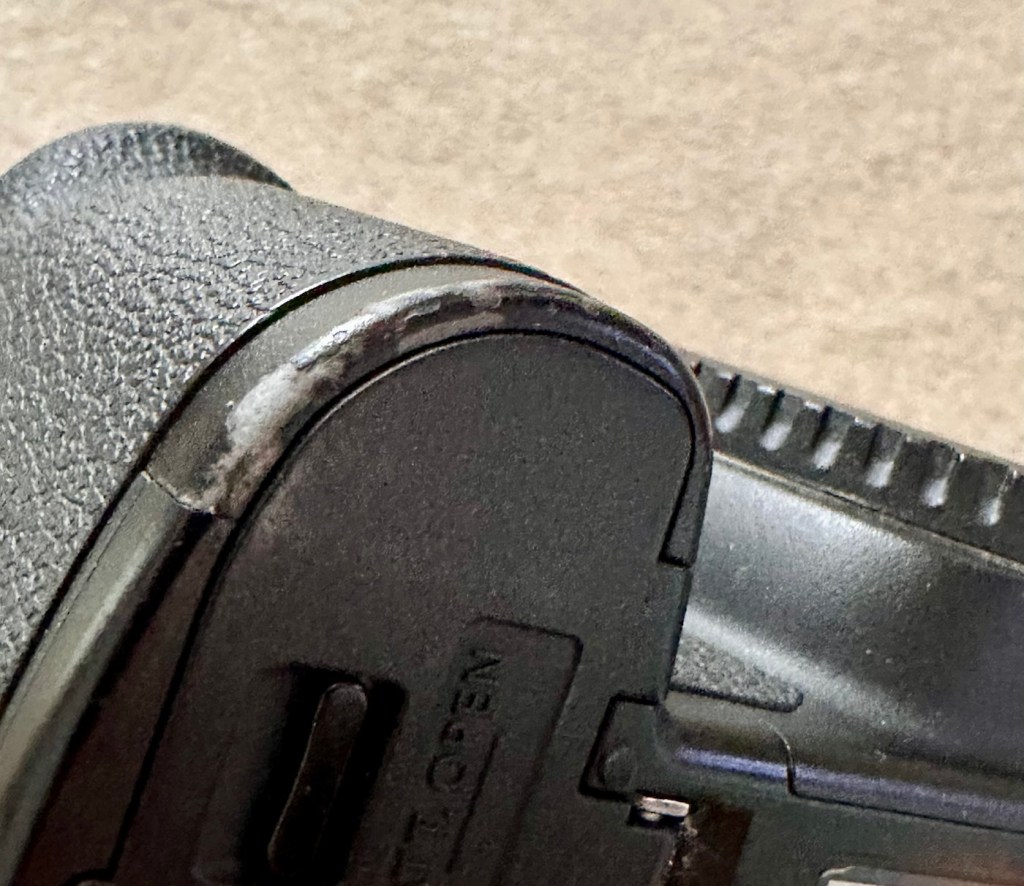
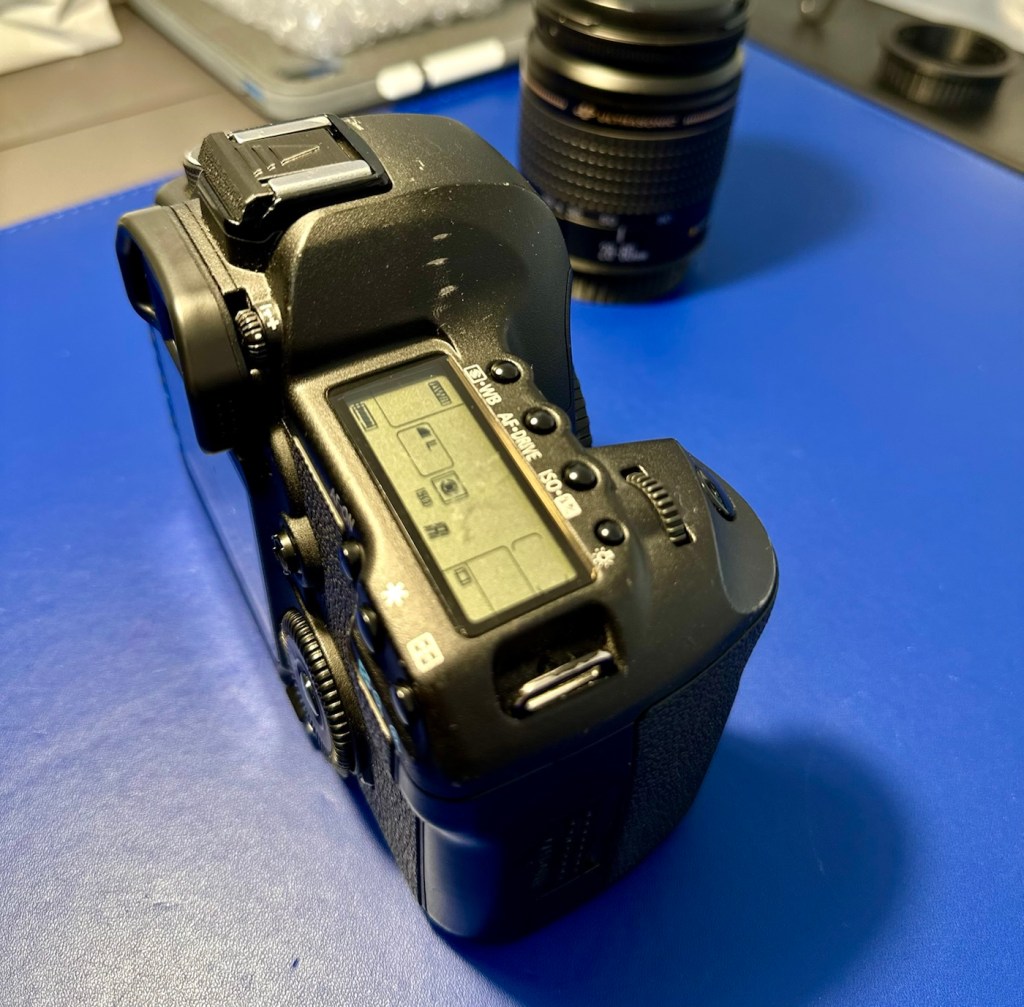
Just holding the camera and looking around it, you can see it has been well used over the last eighteen years. There are chips and scuffs, but nothing excessive, and certainly no “hard” dents that would indicate it has been dropped at anytime. The top LCD panel has a scuff on it, but this doesn’t stop any information being read.
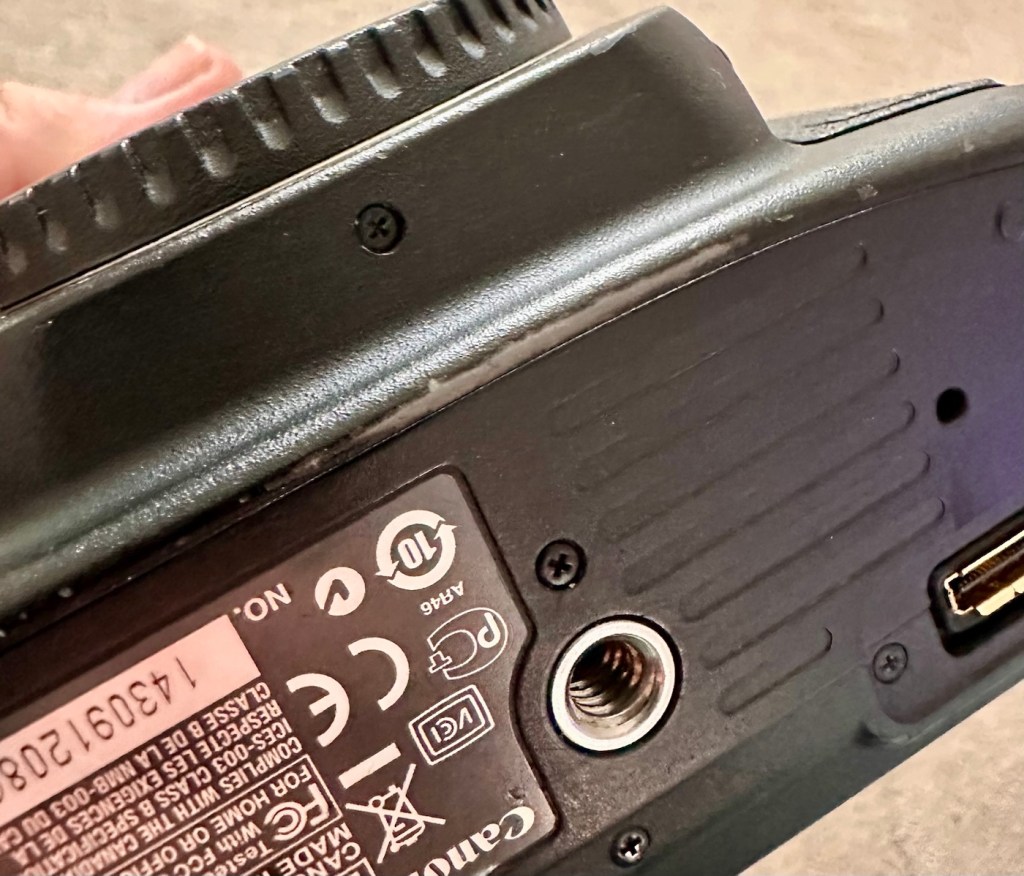
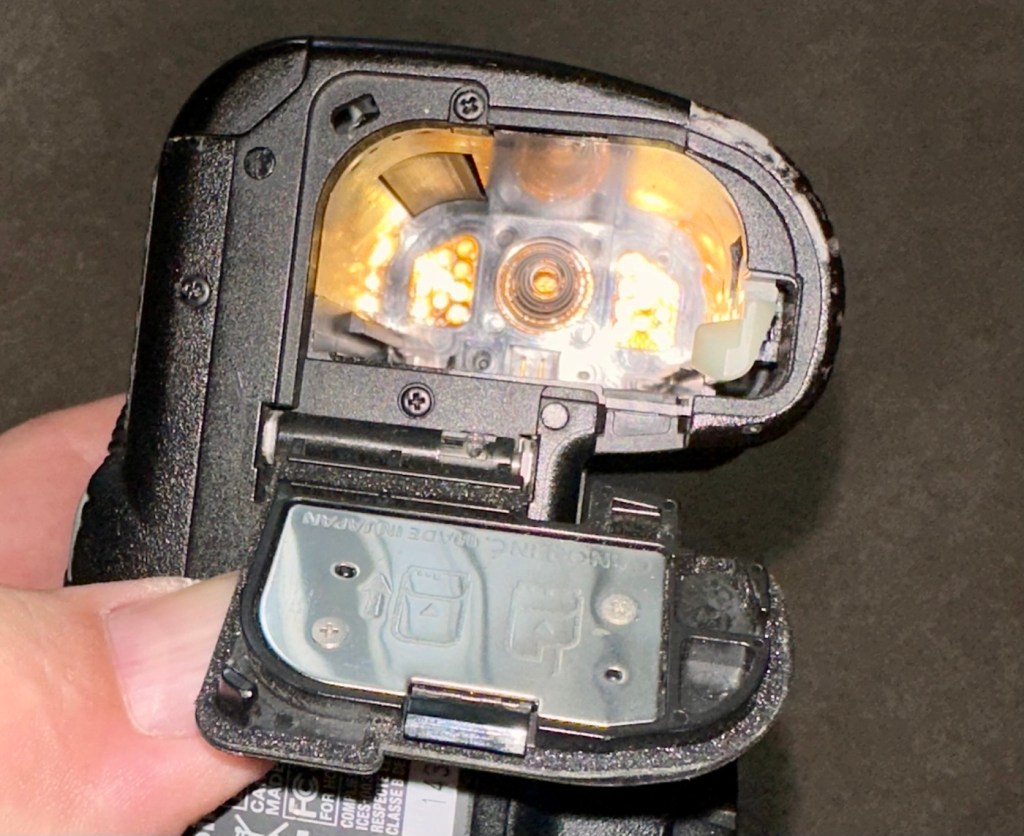
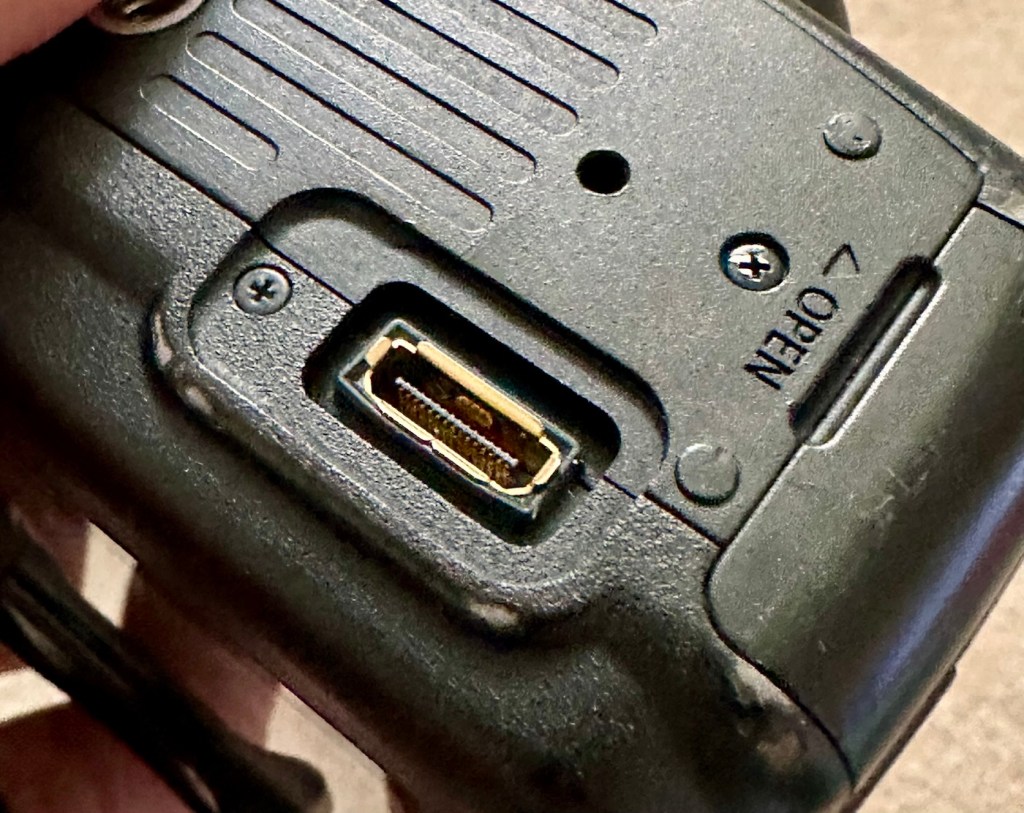
Scuff on top screenScuffing on pentaprismScuffing on battery housingScuffing on base under lens mountBattery contacts cleanRubber cover missing on base
The battery contacts are clean and there is just a small rubber cover missing on a connection that is on the base of the camera. All switches and buttons appear to operate as intended, everything is there and the exterior appears to be used, but in a good condition.
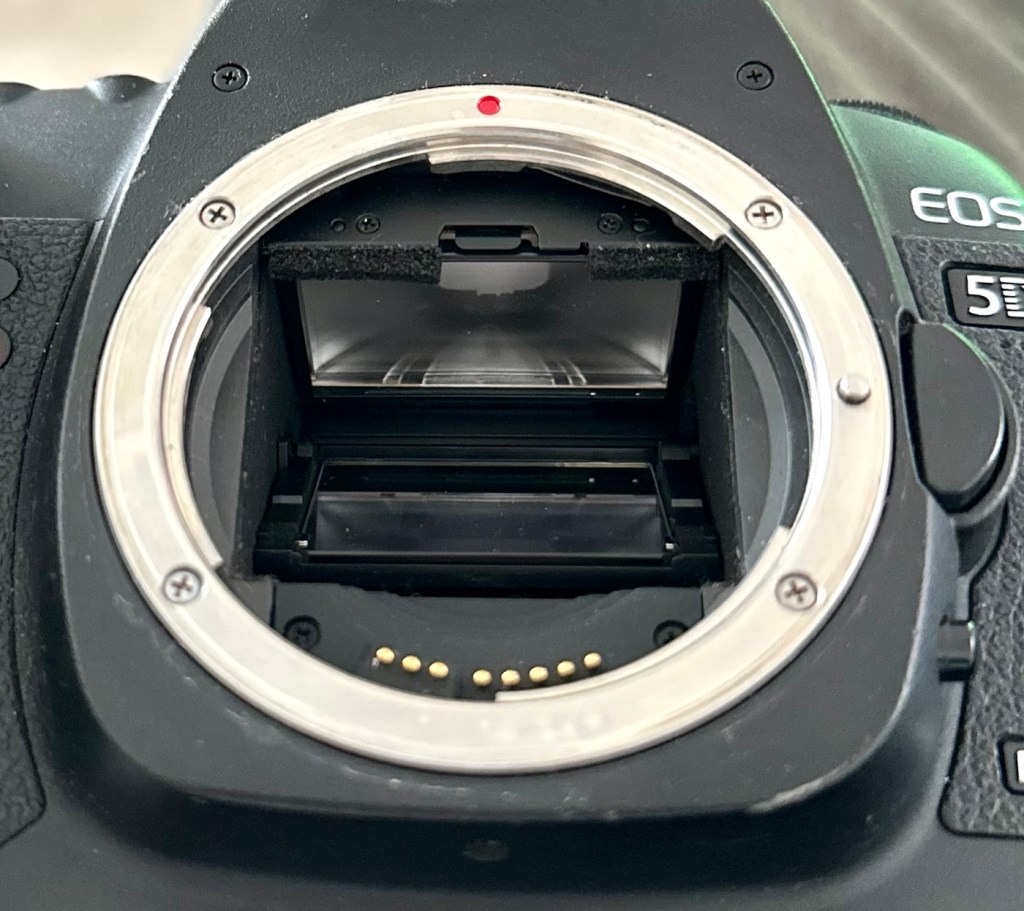
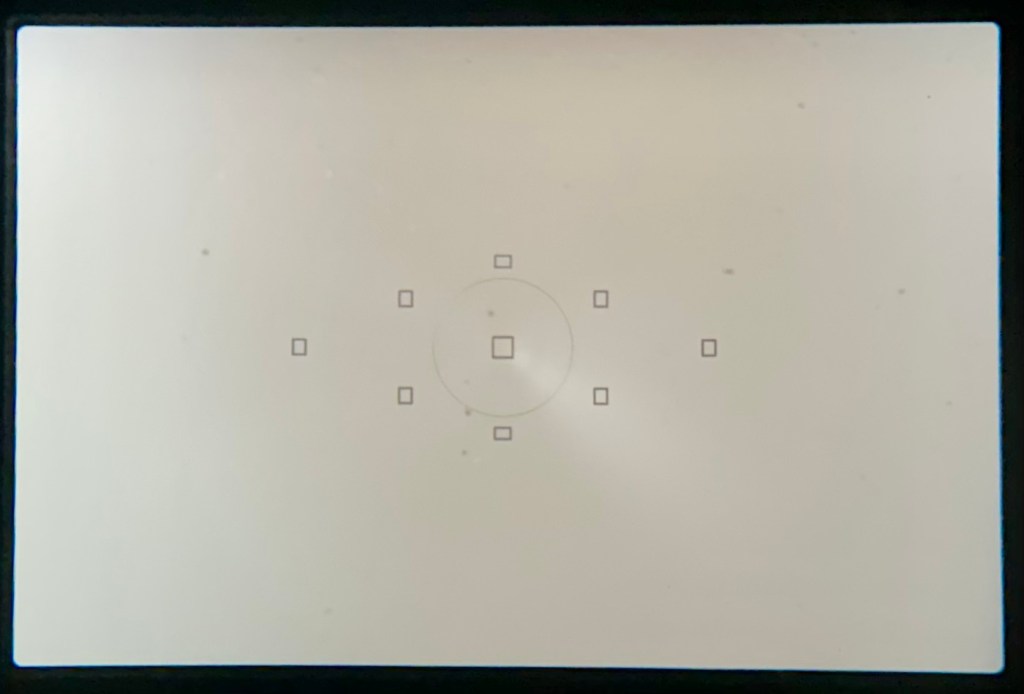
The lens barrel appears to be clean, the mirror and focus screen have a little dust and dirt on them however this is an easy clean. The shutter is closed underneath the mirror ensuring the sensor stays isolated from the outside world. I won’t be able to check how this is until I have a battery installed.
Lens barrel a bit dustySome dust on the focus screen
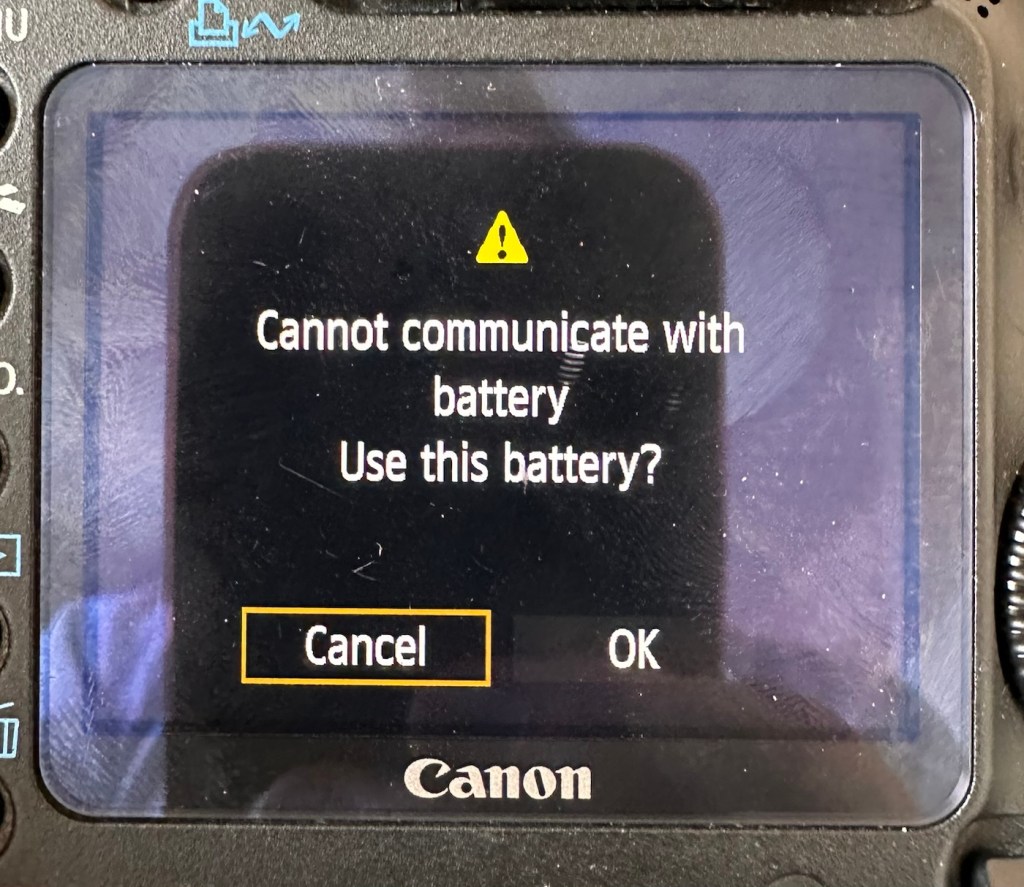
Batteries. As I have stated above I do have compatible batteries for this camera. This camera has a battery management system installed that communicates with the original “Canon” batteries that report back on their charge status amongst other information. However my batteries are not Canon originals and are in fact third party ones that don’t have the ability to communicate as original batteries would. That said, they are more than capable and usable. I just know that the very second I put the battery in and turn the camera on, it will show some kind of battery communication error on the rear screen. It’s ok though as we can opt to ignore that warning, click ok, and just get on with things, with no issues to the general operation of the camera.
As expected No issues
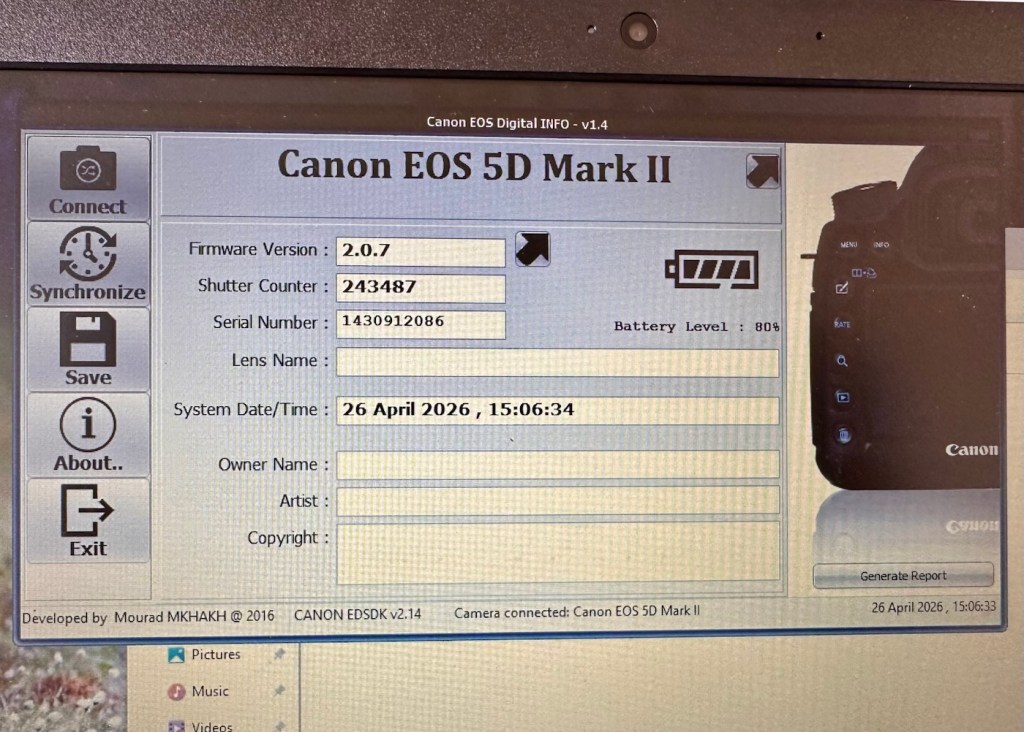
Let’s do a little digging around. I’ve downloaded a little program that appears to be quite popular, to try and find exactly how many times the camera shutter has been activated in its lifetime, (still photo count – not including video). Here is that count.
243,487 shutter activations…wow!
I guessed the count would be high as it was the previous camera of a syndicated sports photographer, I just wasn’t quite expecting this high. But who am I to complain when I have received this camera for free. if you read the camera specs in the paragraphs above, the expected lifespan of the shutter is around 150,000 actuations, however the photographic community tends to question this figure. Some cameras have gone into the millions with shutter counts, however this one will plod on with me on much lower figures, if I get it working. I don’t know its service history, it’s a rugged built heavy use camera, that will go on for years if looked after properly. And that’s what I intend to do with it.
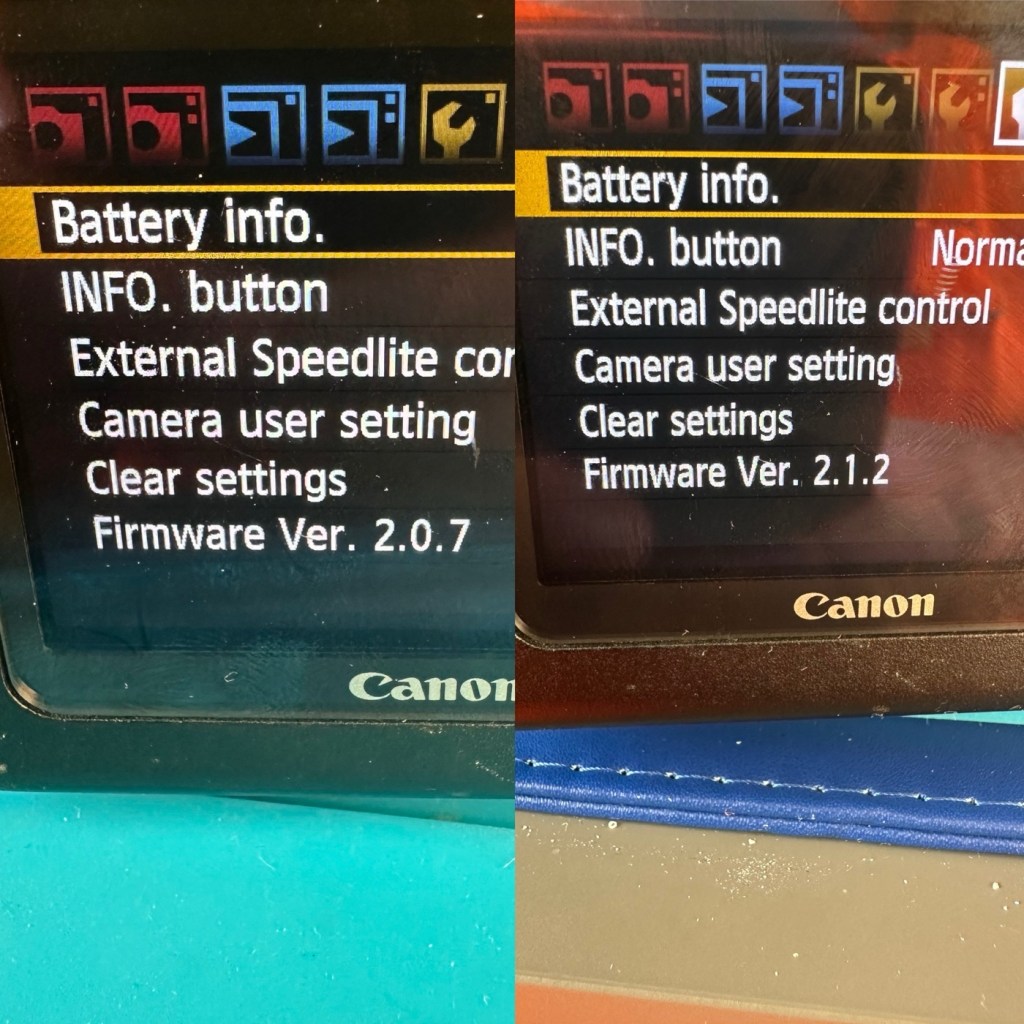
Another piece of information that can be obtained from the piece of software above is the firmware version. The current installed version is 2.0.7 and that was installed sometime in 2010. The latest and last version is 2.1.2 that was released in 2012. I will attempt to update this cameras version of firmware to the final updated one.
I think I’ve had a good assessment with this camera, I know what needs looking at so let’s get on with giving it a little TLC to ensure it will go on working for a few thousand more shutter actuations, I’ve got to try and get this camera to the 1/4 million mark at least!
Repair:
The first thing I want to do, is to look into why, when you input a date into the camera, the information disappears as soon as the camera is turned off and turned on again? This is a simple issue, easily located and soon rectified. These cameras normally have an additional battery buried somewhere in the camera that acts like a cmos battery in a computer. It simply supplies a small charge that maintains dates and program settings when the camera is an a sleep mode, instantly reinstating the correct information when the camera is switched on again.
And this camera is no different.
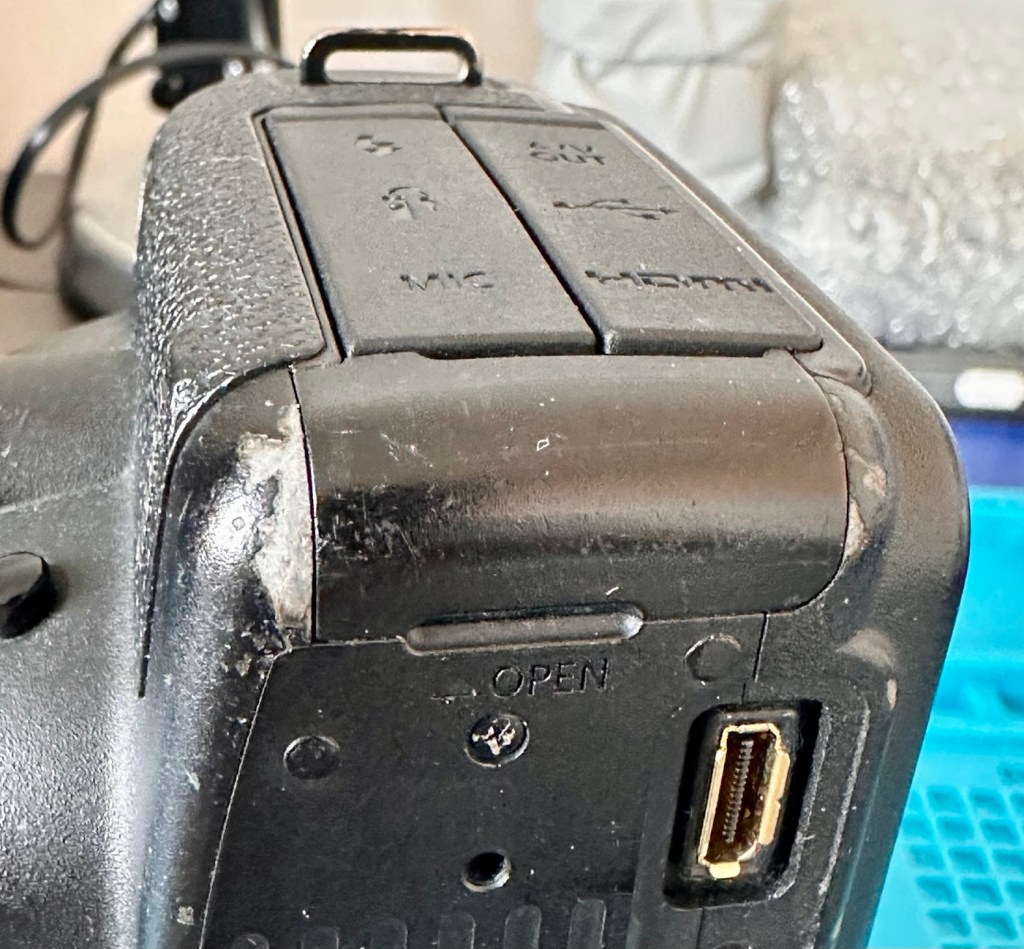
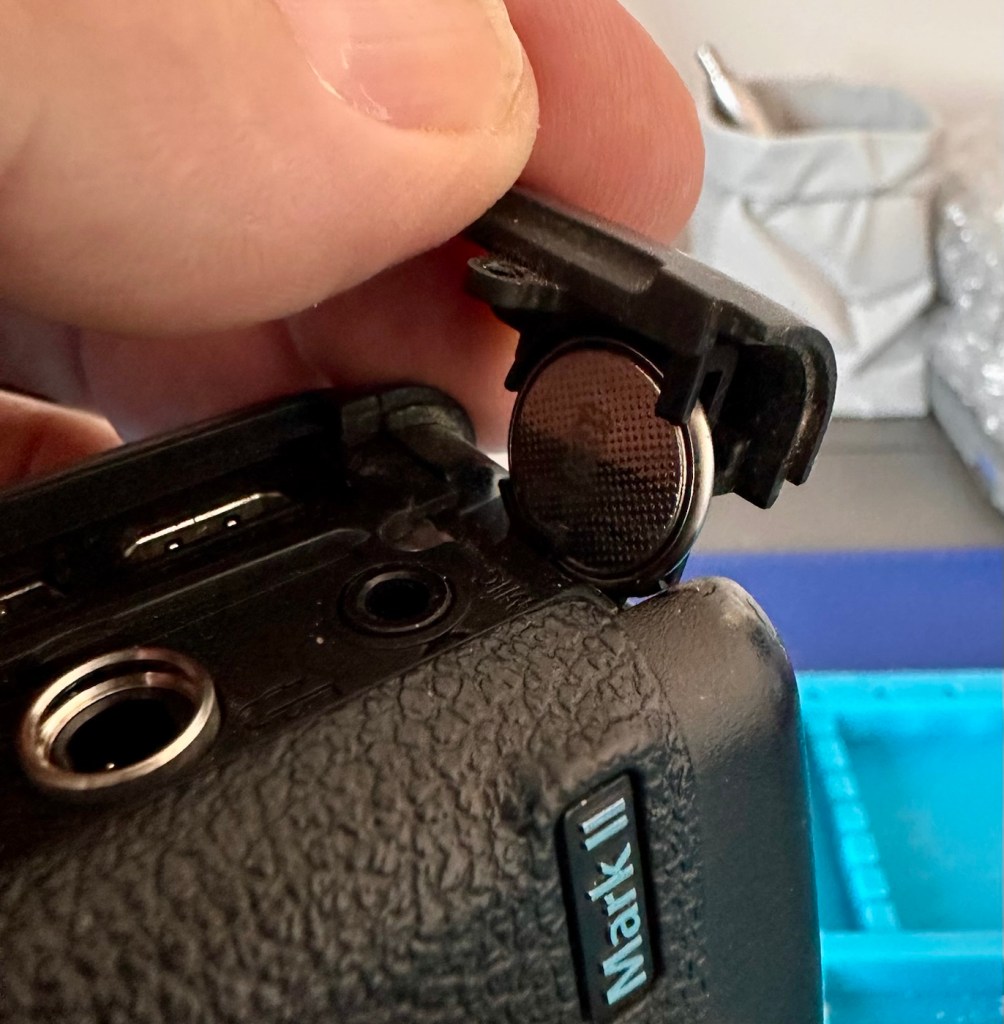
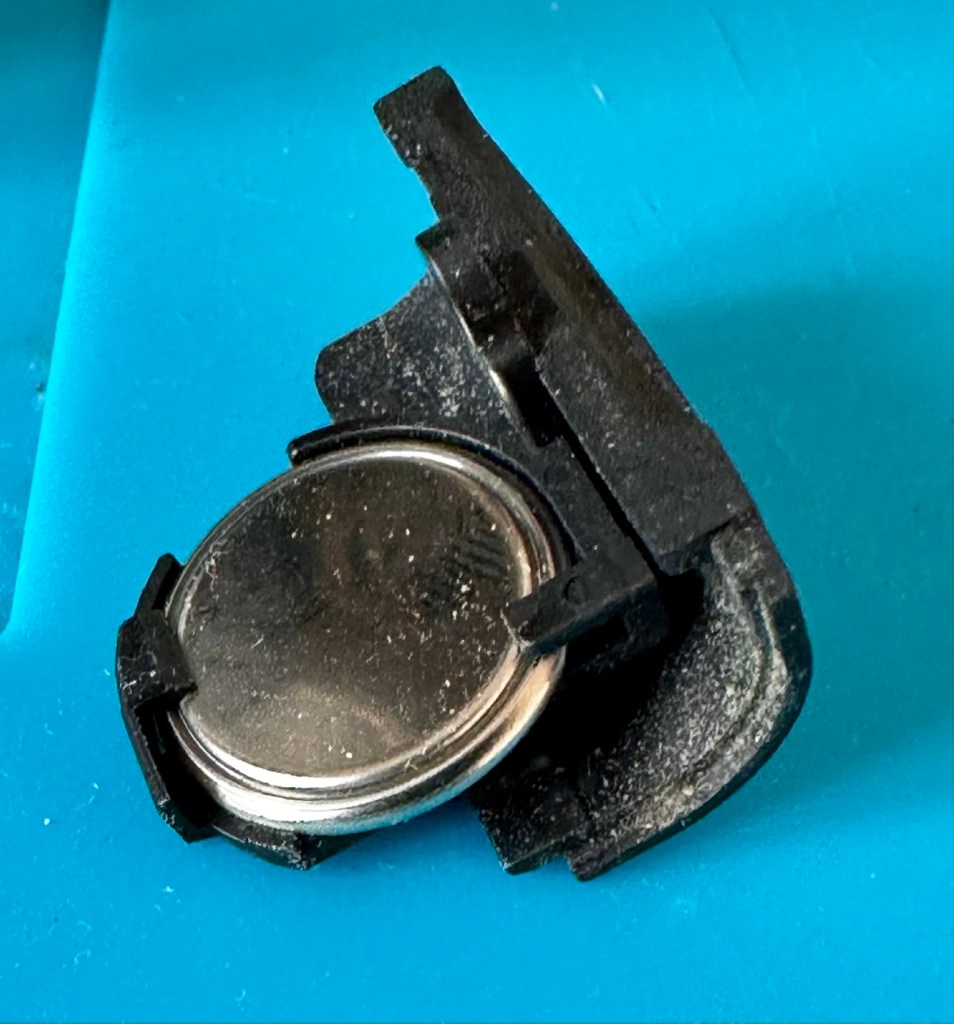
A single coin cell CR1616 battery is what does the job in this camera, its life span is usually around five years. So let’s check this one out as I suspect it has failed. It is located on the bottom of the camera on the opposite side of the main battery chamber, below two rubber accessory panels.
Coin battery access Remove one screw, the coin holder can then be removed The coin cell holder
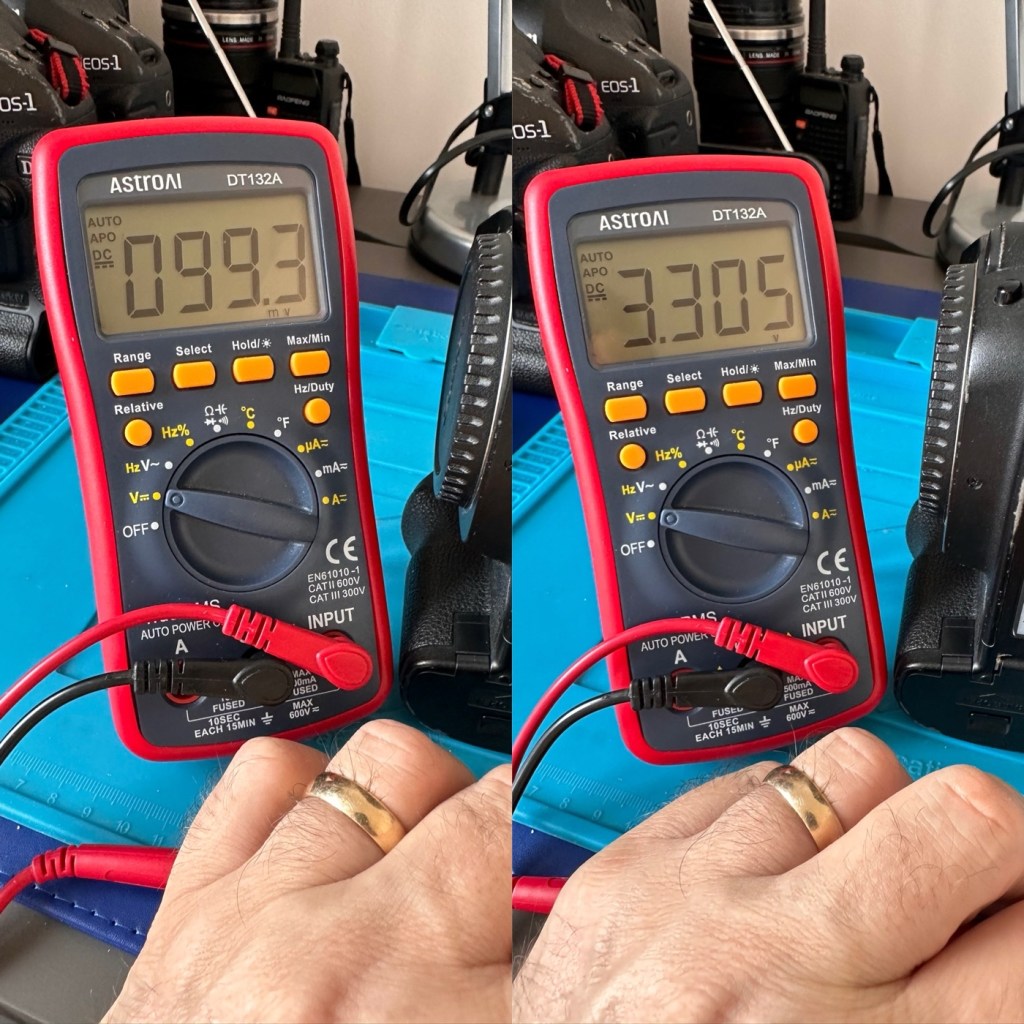
The CR1616 battery is a 3v lithium coin cell. Using a multimeter I was able to confirm that this one was well and truly depleted as it was only holding a charge of 99.3mV. The new battery cell was holding a much more acceptable charge of 3.3V.
Old and new battery voltages
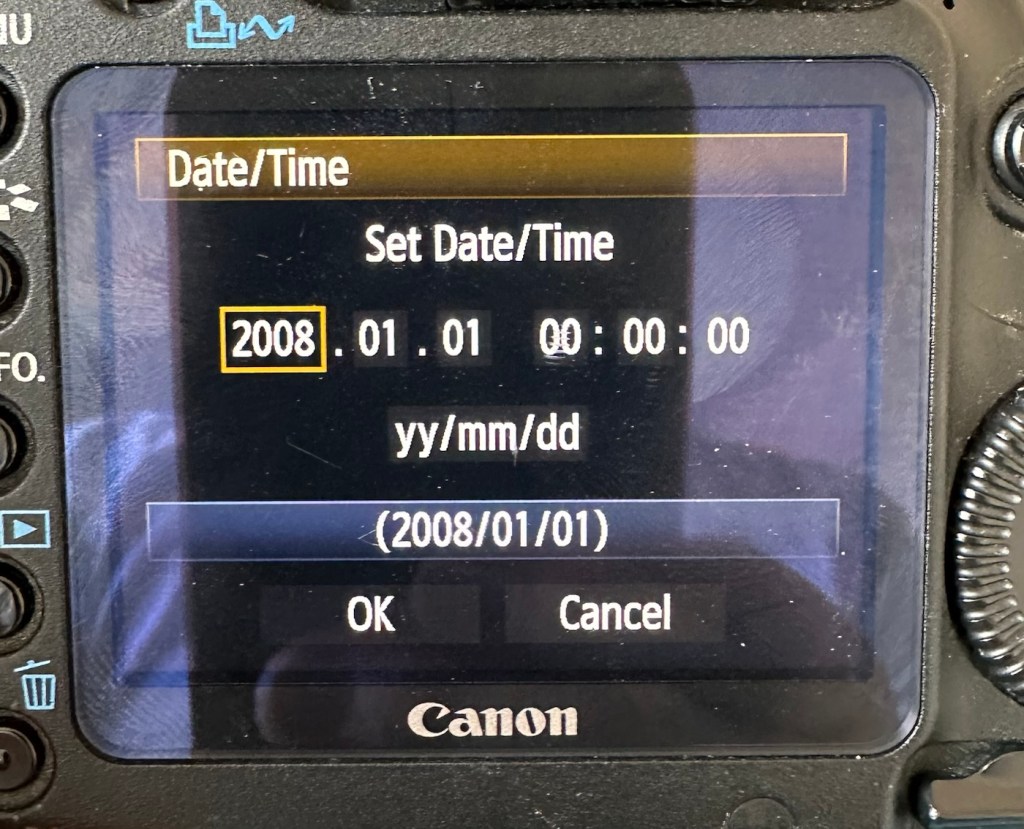
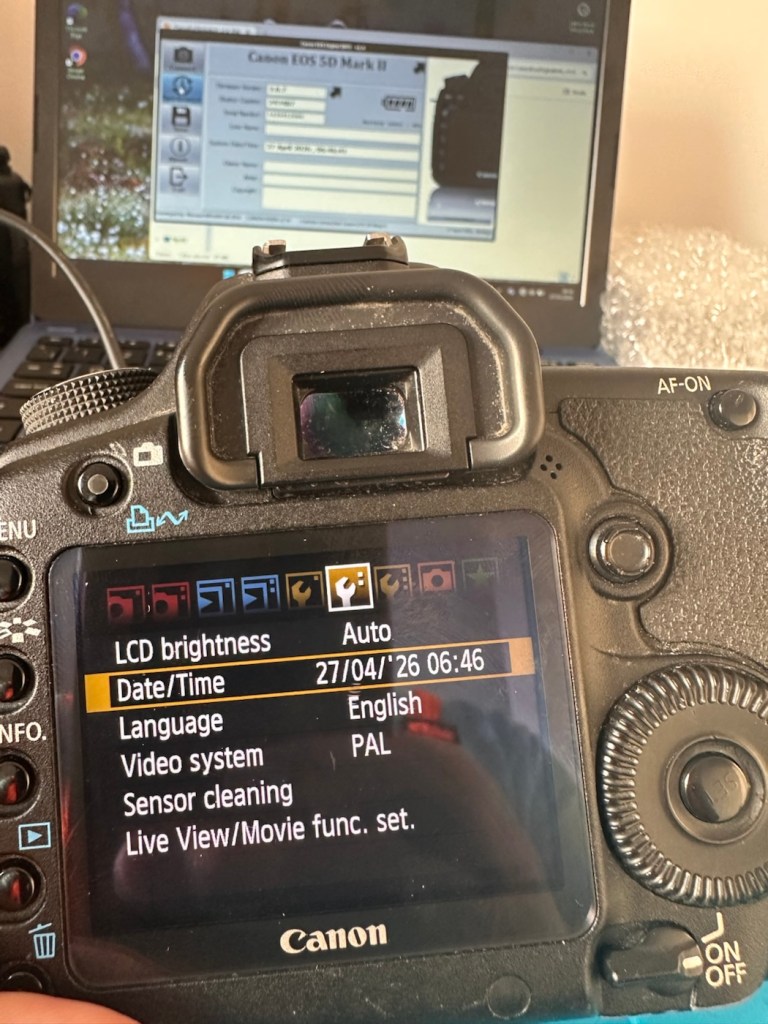
With the new coin battery in place, I’ll reset the date values and test that the battery is doing its job, by powering the unit up and down a few times.
That appears to have worked
As you can see in the picture above, I’ve managed to update the settings, and when the unit is shut down and restarted the information remains. Hence the new clock/cmos battery is working fine.
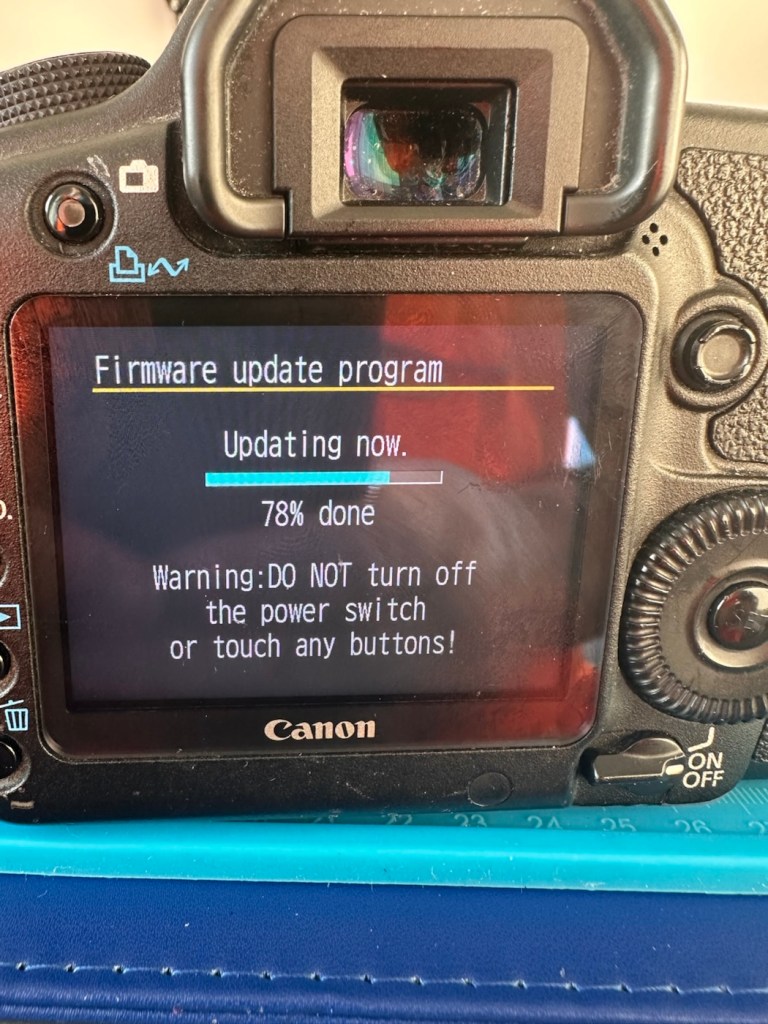
Next let’s try to update the firmware to the latest release. This small video below shows how easy this task can be. This particular file in the video is for an earlier, older update, however the principle is exactly the same for all camera updates with Canon.
Updating firmware on a Canon Eos5D MkII
Following the recommendations in the video above I have downloaded the latest firmware update file and extracted its content to the freshly formatted CF card for the camera.
It’s thinking about it….
The whole process was followed exactly as laid down in the instruction video, and it went as expected. The update was successful.
Firmware update, before and after
The camera is now correctly updated to the most recent firmware. I can now progress to doing some final checks in the lens barrel area prior to moving on and checking the functionality of the camera with a lens in place.
The mirror bumper felt is in good condition and does not need replacement. I have blown out the barrel and inspected the sensor and that is clean and needs no attention.
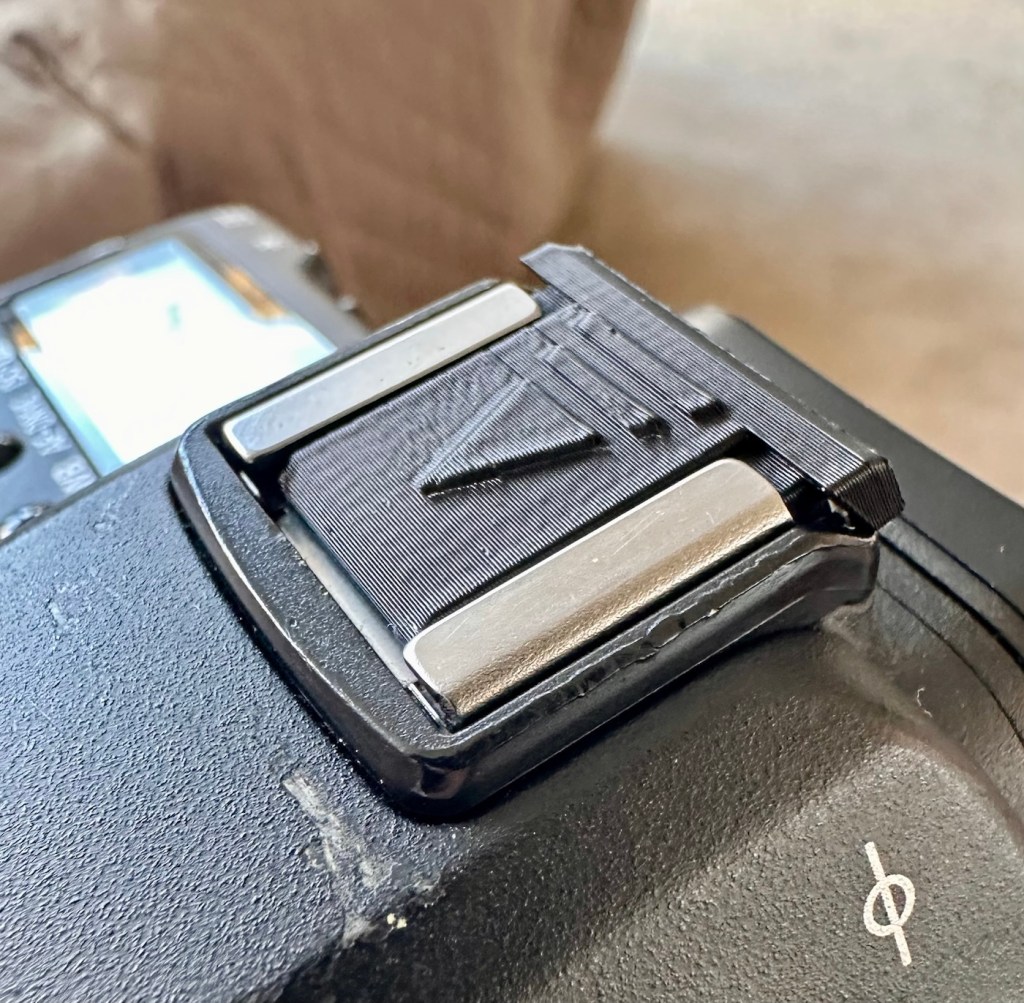
Final touch is that I have printed off a cover for the hotshoe flash holder.
Printed hotshoe cover
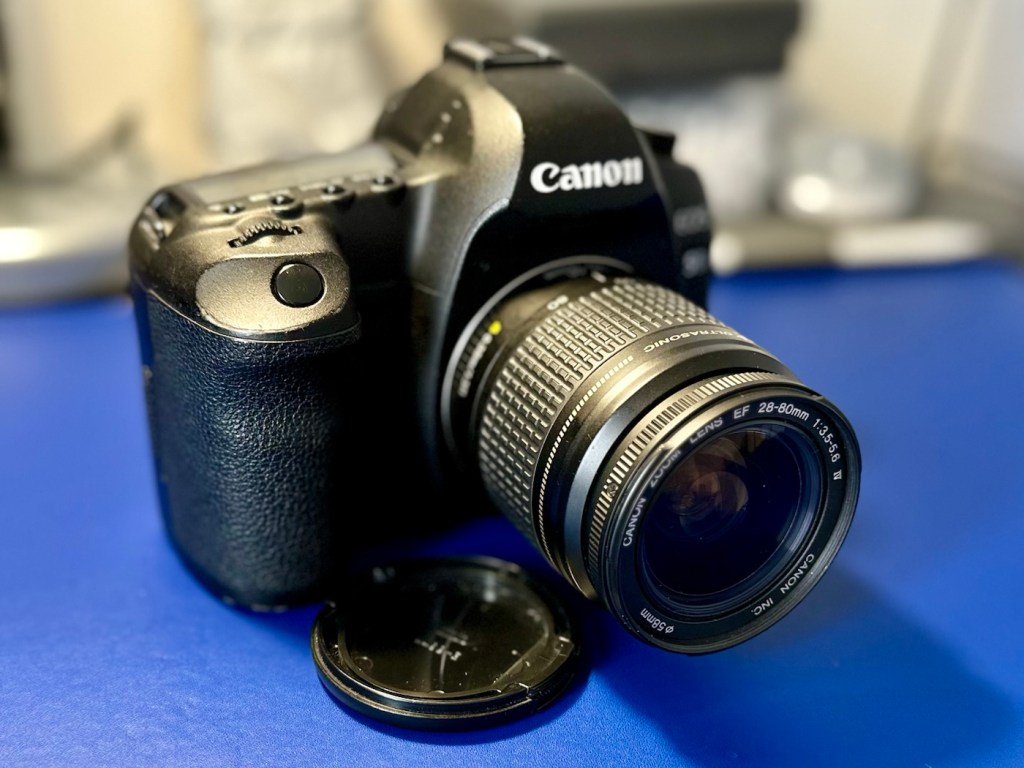
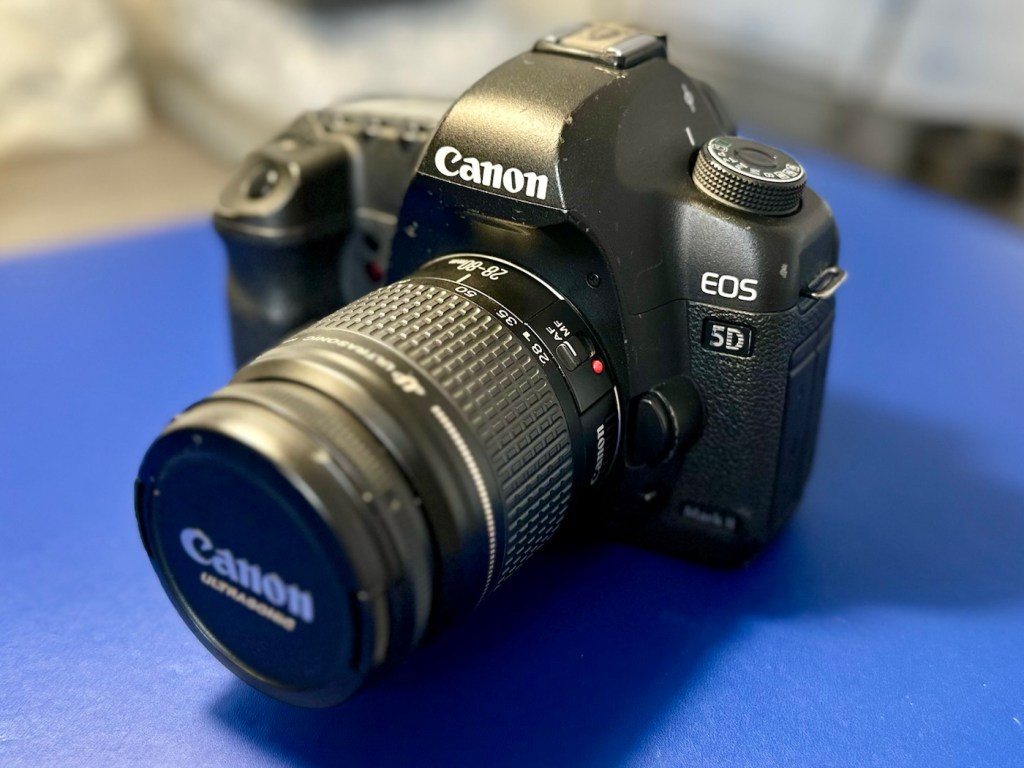
Time to get the battery installed in the camera, along with a formatted CF card, and I’ve also put a stock 28-80 EF lens on the front to test. And here are some of those pictures taken to test, just around my garden.
And I am so damned impressed. It’s only a basic lens but the tonal quality, sharpness and colour has really shone through. The camera has worked perfectly, I’ve used it in auto mode, shutter priority and aperture priority and all works fine. When I use the video mode, all is fine but the basic lens when you telescope, can be heard throughout the video, not really an issue just an observation, hence why people invest in the higher end optics. For testing purposes though, this lens has performed perfectly. I’d be more than happy to venture out for a picture session with this setup.
Every setting on this camera has been tested and it has passed with flying colours. My job here is done.
Result:
A far better result than my last attempt on this specific type of camera. This time around the sensor has performed perfectly and remains in good order, hopefully for quite a time yet. It would be good to see it go through the 250,000 exposures count, and seeing that it’s only about 6,600 exposures away I don’t foresee it being a hard to achieve target. I’m going to get some good use out of this camera, I’m currently looking at taking it to a local nature reserve to see what can be photographed. I’m quite looking forward to that.
The finished camera in all its loveliness
A final polish and this project can now be put to bed. Onto the next one.
Many thanks for passing by, it’s always very much appreciated.
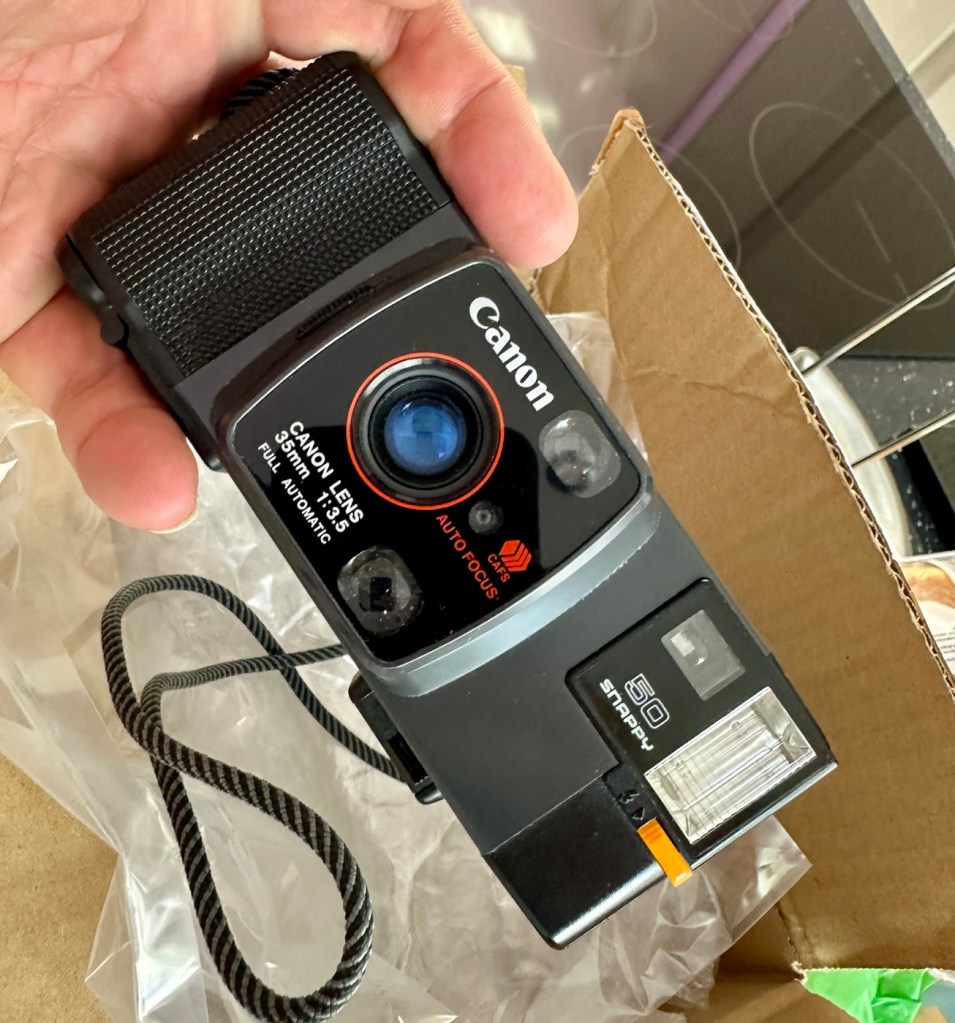
A compact Canon 35mm camera from 1982. It doesn’t work, so let’s make it work!
What the listing stated:
In generally good condition but does not power up Sold as spares or repair
EBay
Canon snappy 50
I came across one of these a few weeks back and was just taken by the shape and aesthetics of it. However i wasn’t going to pay a high price demanded by the seller, so i just hung around and waited for others to come on the market. I have just purchased this camera with free postage for a total of £1:13GBP. I’m confused, the seller will basically be paying me to take it off his hands as postage will be at least twice the value of what I have paid today. Let’s wait and see if this sale gets suddenly cancelled, as I suspect it may well do.
Anyway here’s a little bit of its history:
Released in July 1982 and based on a new concept, this is a fully automatic 35mm Lens-Shutter compact camera.
The camera height was reduced by about 30 percent, giving the camera an oblong and unique form.
The camera uses active autofocus with a solid-state near-infrared beam. EE and the aperture are controlled electronically with a program. Metering range is EV 8.6 (f/3.5 at 1/30 sec.) to EV 15 (f/9.5 at 1/350 sec.). The shutter speed is set within a range of 1/20 sec. to 1/500 sec. to suit the film speed.
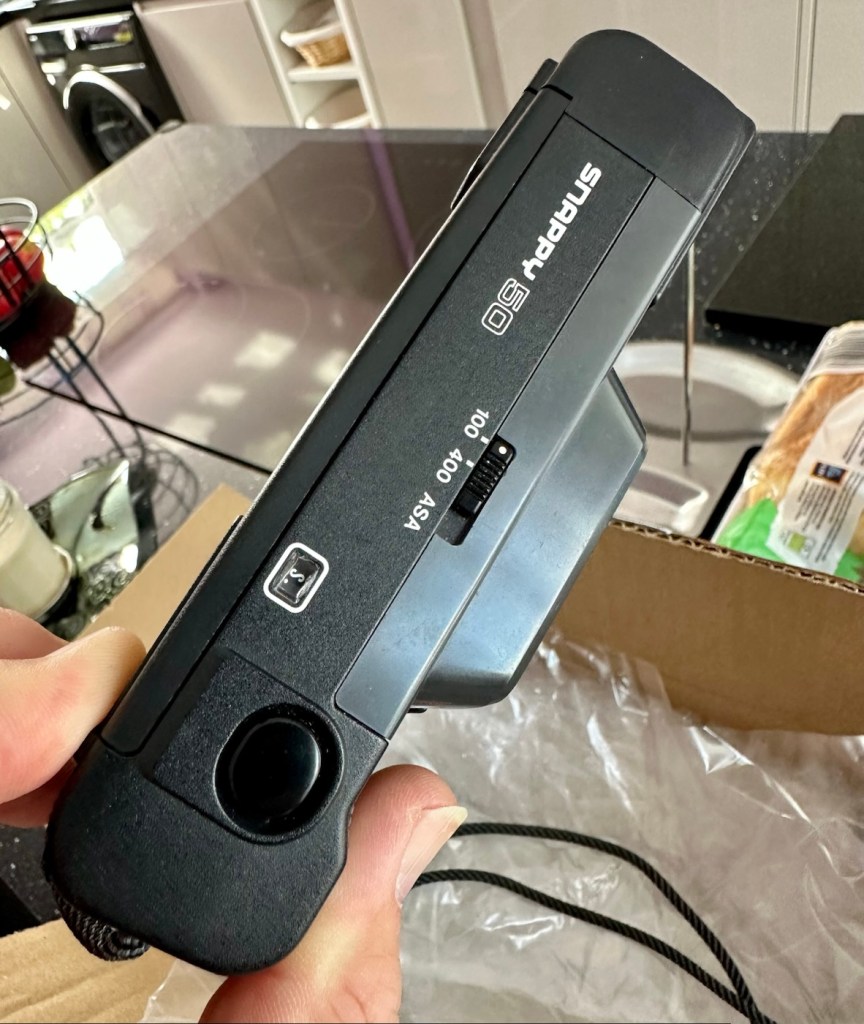
There is only two film speed settings. ISO/ASA of 100 or 400.
The built-in flash (Guide No. 11 at ISO 100 in m) must be turned on manually with a switch when the camera-shake warning lamp lights in the viewfinder.
Canon
I’ll just wait now to see if it turns up. I don’t know what the problem with it is, it’s just listed as a power up problem.
Well I’m shocked, I’ve received a postage notification so it is definitely on its way. Next stop…Assessment.
Assessment:
Well, it arrived, I’m shocked. It’s got to be one of the best packaged items I’ve ever received, never have I seen so much bubble wrap protecting an item that cost just £1:13GBP.
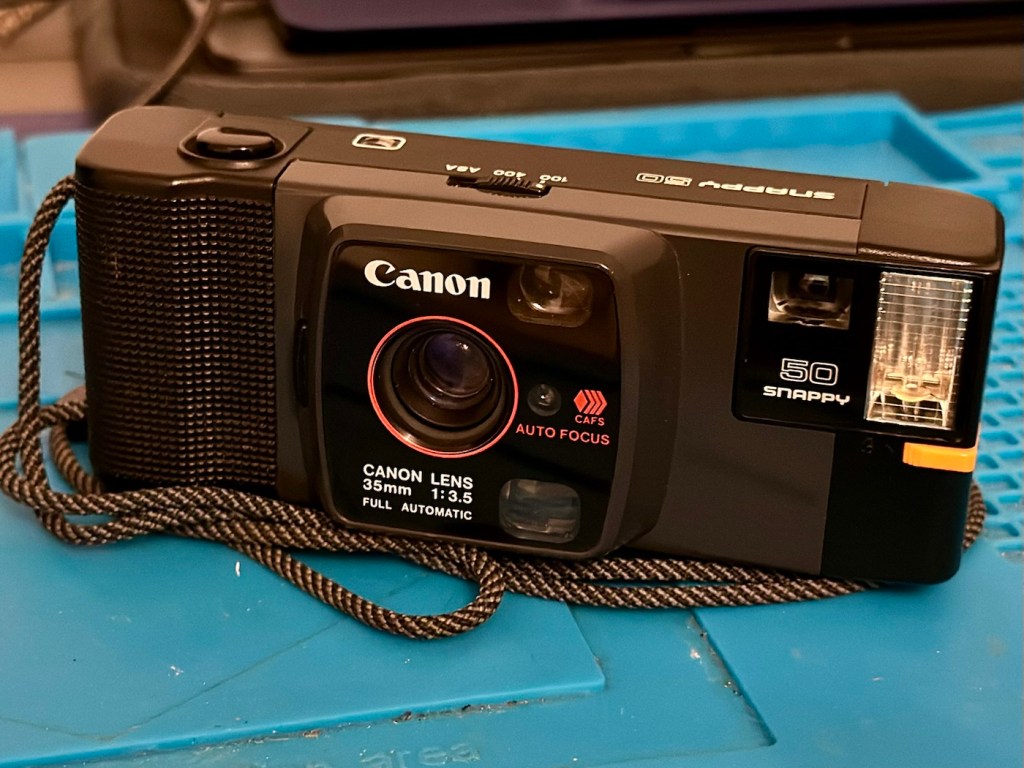
My Canon snappy 50
On top of that the sender has spent £3:45GBP on postage and charged me nothing. God I feel guilty now, least I can do is give him some glowing feedback.
Wow – And I paid nothing
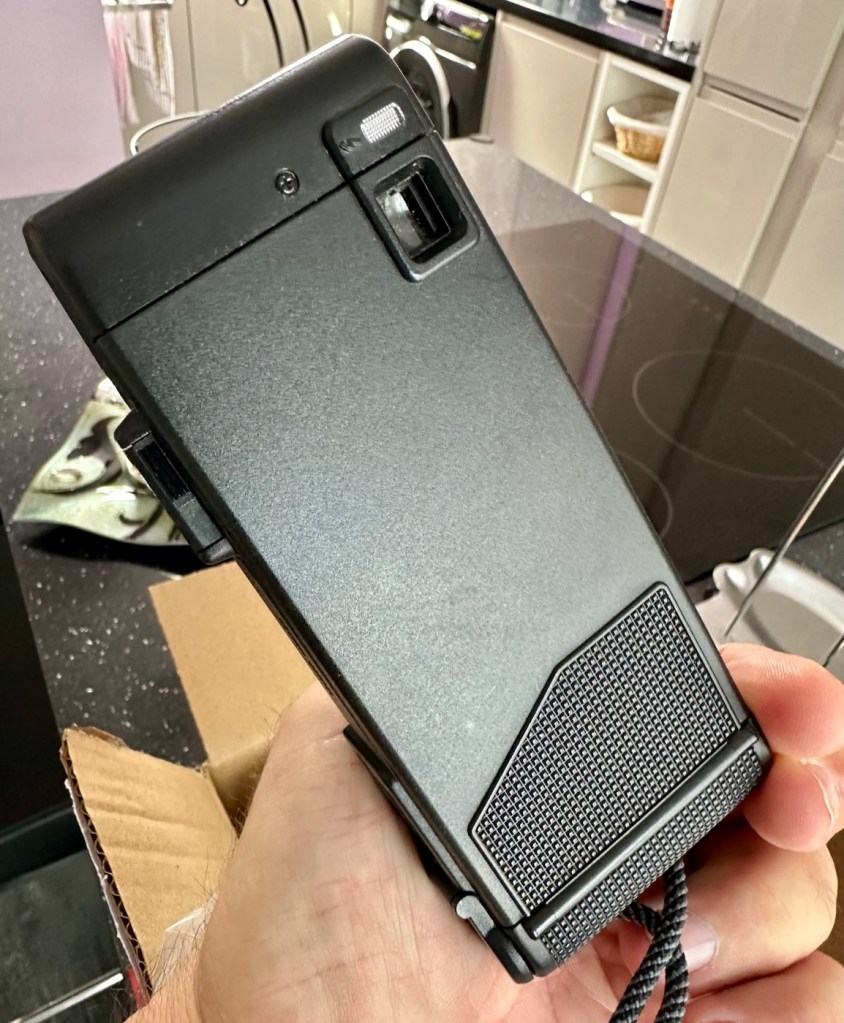
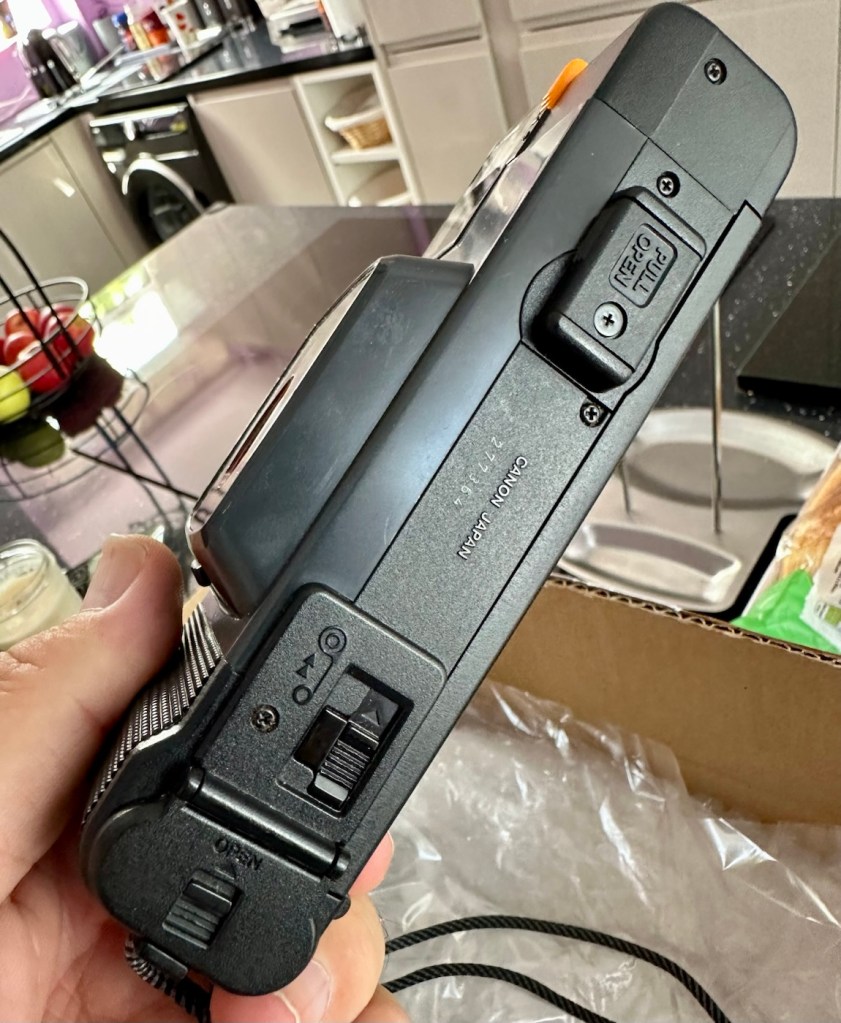
Right, back to the camera. For a 44 year old camera it really is in beautiful cosmetic condition and needs nothing but a slight dusting to finish it off. But first I put in two AA batteries and can confirm it is dead. No life at all. Also, the film door is flapping about (So there was another issue!). I’m going to have to get inside this unit to see what is wrong. To be honest the unit is such a basic one, I suspect there isn’t a lot that can go wrong with it.
Repair:
The film door issue is a simple one, and if I didn’t have a ton of spare parts spread around the place, I’d be quite annoyed to say the least. It would have been either a case of making a new catch for the door or building some Heath Robinson contraption to secure the door, looking completely out of place. However, I just so happen to have a complete rear door for one of these cameras so hopefully it should be a simple swap out of parts.
Broken door catchReplacement door with catch
But before I do this simple replacement, I need to get the top and bottom off of the camera to check where the electrical issues lie.
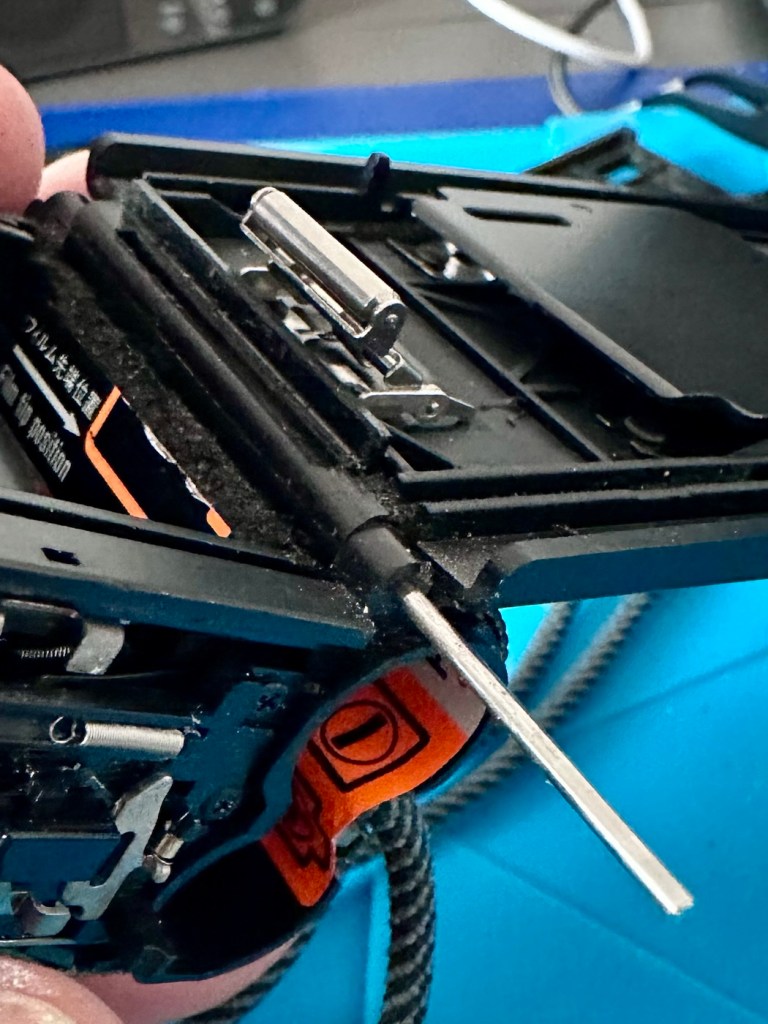
Taking the bottom off of the camera, the problem presents itself quite clearly. At the bottom of the battery chamber the negative wire has detached and needs soldering back into place.
Negative wore detached from battery chamber
I put the base back on and put two batteries into the chamber and the rewind motor instantly kicks in. We now have power. The shutter works and the winder motor operates as it should. When the rewind button is depressed the rewind motor kicks in as well, all seems to be good…..until!
The live supply to the flash was detached
I try the flash, and nothing. Not even the usual sound of the flash capacitor charging. Damn, I hope that capacitor isn’t dead! So now I have the top off of the camera and another problem presents itself just as clearly as the first. Not a problem here as I need the top off to replace the rear door.
Rear door hinge removed and replaced
The live supply to the flash had broken loose and this also needed re soldering, in fact I re soldered about eight wires in total as it seemed that the solder joints in these critical areas could possibly be fairly. They may not be failing, but whilst I’m inside why not just do this simple task to prevent anymore premature failings?
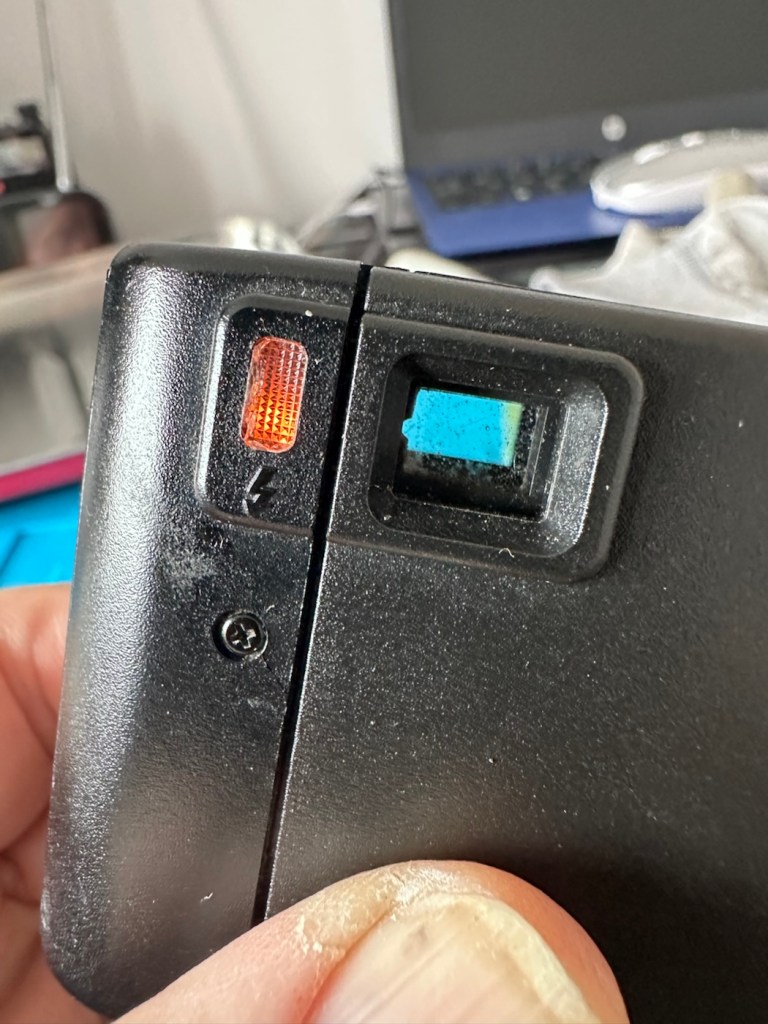
Batteries back in, flash turned on (it’s manual on this camera) and the check light illuminates. This camera is now fully operational.
Flash check light now illuminates
Result:
I’ve had a fairly simple repair here with some soldering and luckily, some spare parts available. These cameras are quite tricky to repair due to their compact build. Normally when you detach one part you have tiny springs and other parts that fly out, leaving you with a head scratching puzzle to add to your issues. However having dealt with these cameras in the past and having learned my lesson previously, I was very careful and took my time ensuring nothing occurred that would cause me any issues further along in this fix. I also open these cameras in a box, so if anything does fly out, it doesn’t fall onto a carpet disappearing into the pile, it just falls into the box, saving me the embarrassment of looking for a tiny piece of camera, that could be just about anywhere on the floor of that room. You learn from previous mistakes, I have, and i now have procedures in place to prevent such issues happening again.
All cleaned up and working
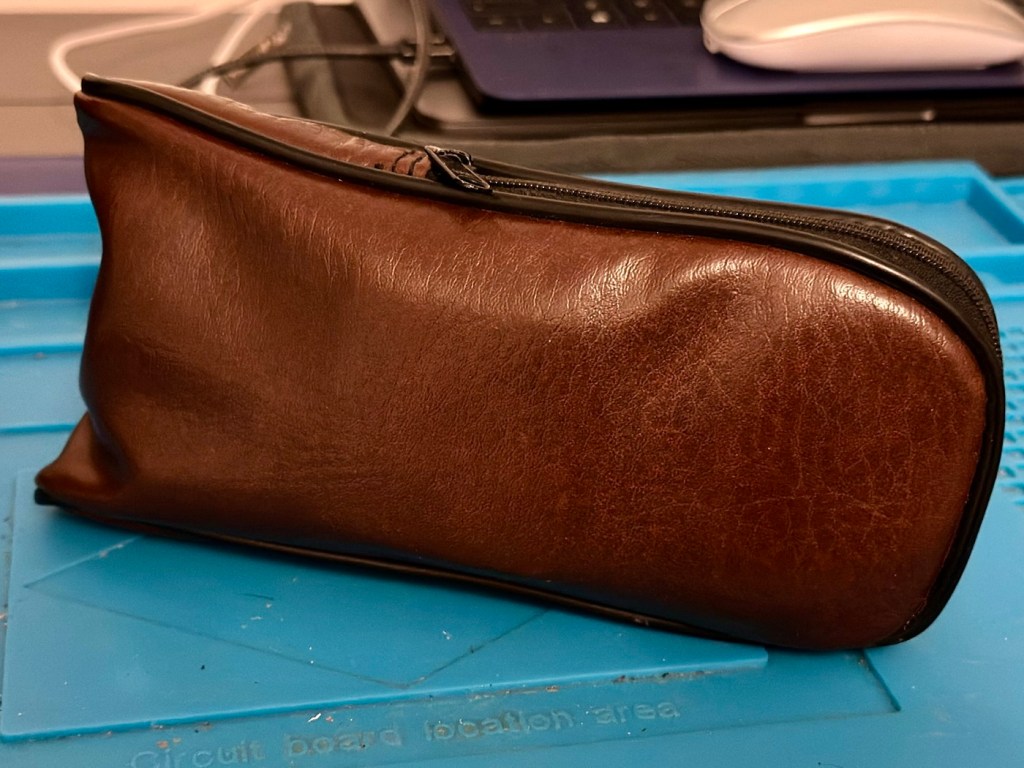
And neatly cased
We now have a lovely example of compact 35mm photography, rejuvenated, repaired and ready to get back to doing what it was designed for, creating memories.
And long may that last, another one saved from landfill, repaired, recycled and now with many more years of purpose.
A little explanation of the differences between the light sensors of two vintage point and shoot cameras produced 12 years apart
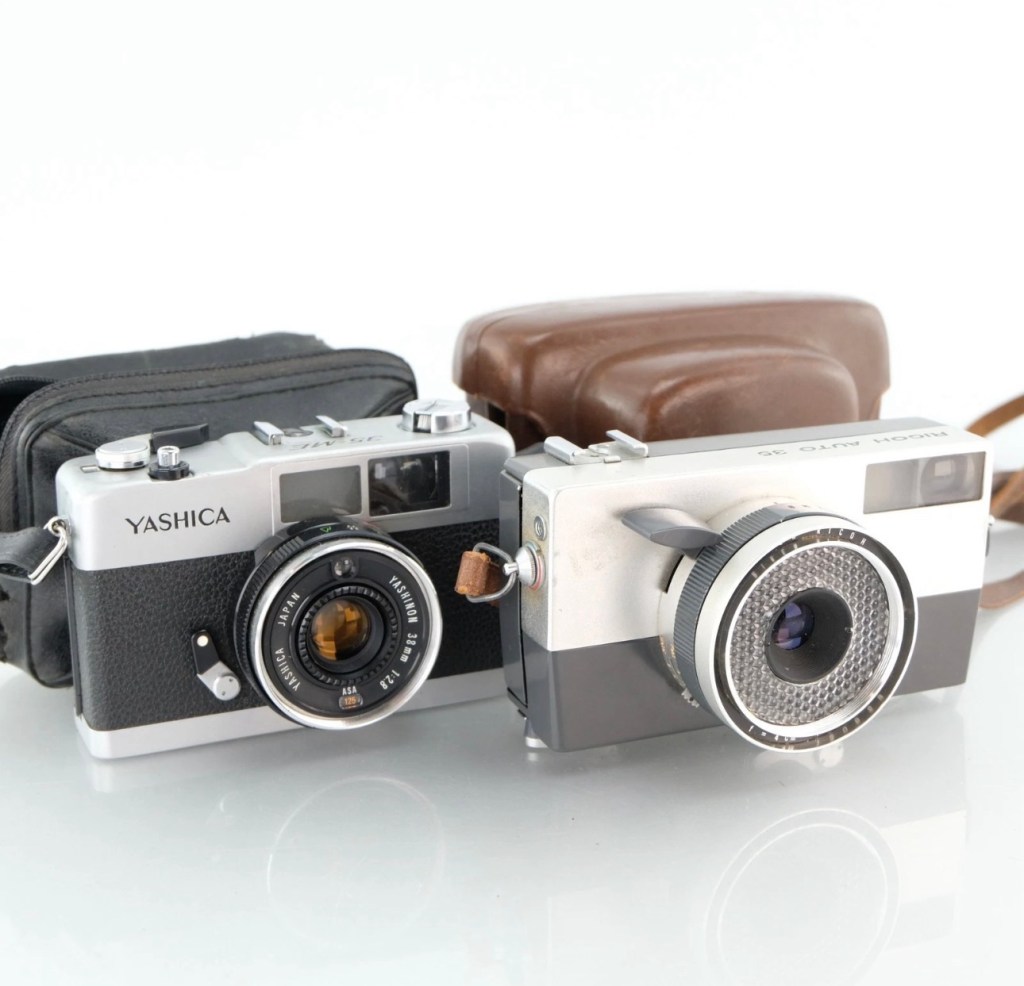
I’ve recently purchased two old point and shoot cameras as a lot. One was from 1960 and the other one was from 1972 only 12 years apart, but a world away in technology regarding light sensing ability and technology.
Yashica 35 ME & Ricoh Auto 35
These two cameras only cost me £4:99 In total, they were sold as spare parts, and I suspect the issues could be around the light metering, as to be honest there isn’t a great deal else that could go wrong with them. Here’s a quick breakdown of the metering methods on each camera, followed by a more complex explanation around just what each method of metering involves.
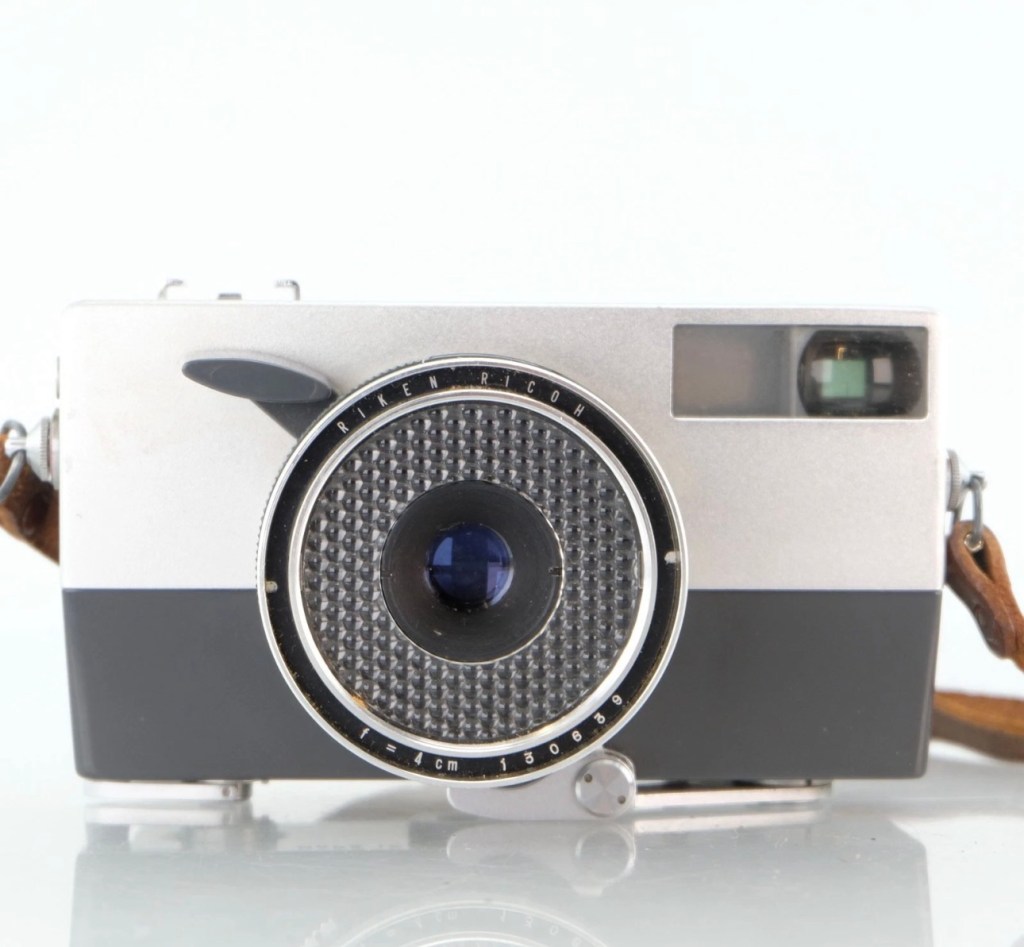
Ricoh Auto 35 – Circa 1960
The older camera, the Ricoh, dates from 1960 and just by looking at it, you can see its light sensing system is built around the face of the lens barrel, it’s that glass honeycomb concoction that is so typical of a number of cameras and light meters of this period. Here is a post I previously made regarding Selenium light meters – (Sangamo Weston Master V light meter) The meters were known as selenium meters, there was no electrical components such as batteries, it was a little bit of scientific magic, here we go with a little explanation….
How the Selenium Cell Works in This Camera:
A selenium light cell operates on the photovoltaic effect (similar principle to modern solar panels):
The cell contains a thin layer of selenium coated onto a metal base. A very thin transparent conductive layer (often gold or another metal) is placed on top. When light hits the selenium, it generates a small electrical current. That current directly drives a tiny moving-coil meter needle.
The honeycomb ring is the selenium cell, light hitting it generates a small electrical current of approximately 0.5v. That current directly moves a needle inside the camera, the needle mechanically links to the exposure system. On the Auto 35, the meter is coupled to the shutter/aperture system, meaning that in “Auto” mode, it helps set exposure automatically. In manual mode, you match the indicator.
No battery is used — it is entirely self-powered by light.
Expected life span:
The Ricoh’s selenium cell is now about 60+ years old, so condition varies.
Typical selenium lifespan:
Originally: ~20–30 years
Many survive 40+ years
After 60 years: often weak or dead, this one probably is
Common Conditions Today:
✅ Still accurate (rare but possible)
⚠️ Works but underexposes 1–2 stops
❌ Needle barely moves or is dead
They usually fade gradually rather than fail suddenly.
So that gives an idea of how 1960s light metering works, and to be quite honest it probably means that as this camera is now over 60 years old the metering cell is long dead. It does not mean the camera is useless though, it can be used manually using a third party light meter or you can always use the “Sunny 16” rule.
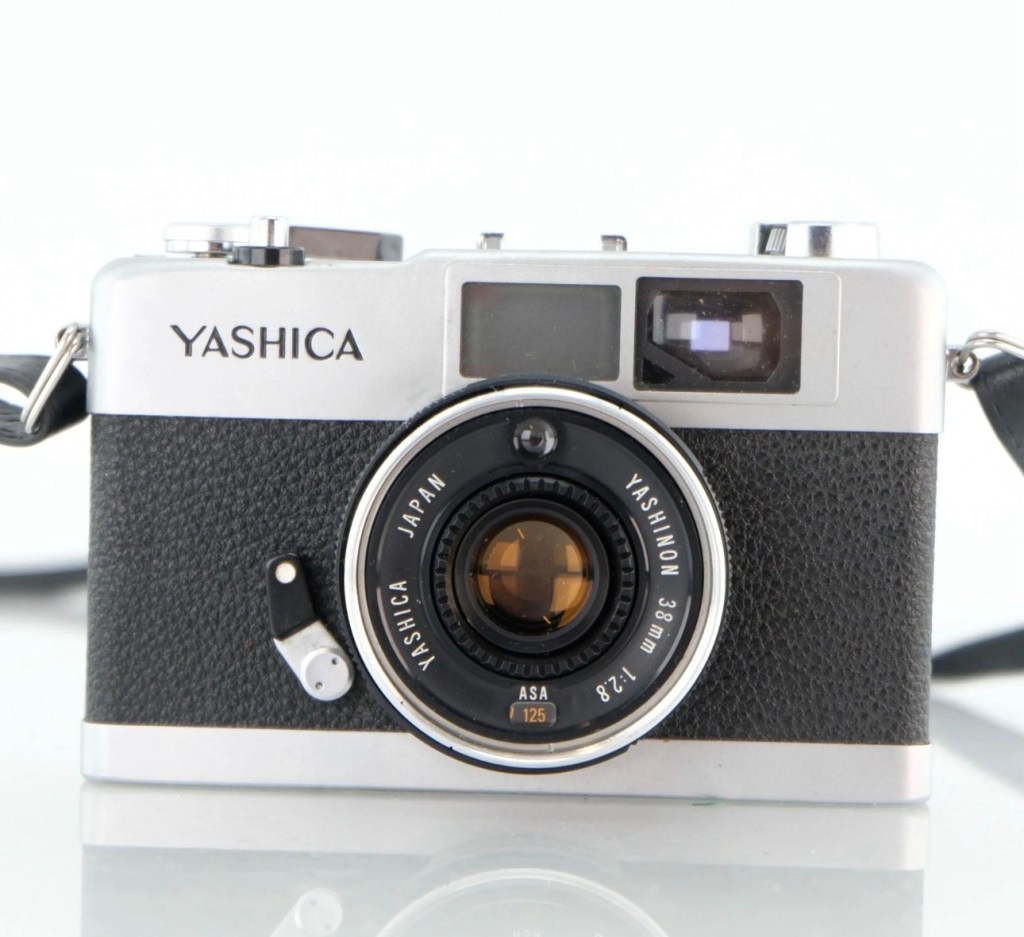
Yashica 35 ME – Circa 1972
Now moving on 12 years to 1972 and the selenium meters have now gone only to be replaced by the CdS system- Cadmium Sulfide sensor, otherwise known as an electrical photocell. The sensor can be seen at the top of the lens ring, a little glass bubble. The downside with these sensors are that they contained Cadmium which is a toxin, replacements are no longer available so modern cameras use photo diodes instead. Here’s the explanation of CdS technology:
Unlike selenium (which generates electricity), CdS works by changing resistance:
In bright light → resistance drops
In dim light → resistance rises
The camera contains:
A CdS photoresistor, A battery, A small electronic circuit, A meter or automatic exposure mechanism
The battery sends current through the CdS cell.
Light changes the resistance, which changes the current.
That signal controls the exposure system, and a 1.3v battery cell is required to power the meter.
Why CdS Was an Improvement:
Compared to selenium cells, the CdS photocell was much better in low light, it was smaller, more accurate and required a battery that could be replaced to extend life whereas the selenium cell in time would naturally just die away.
CdS cells generally last a very long time — often decades — and usually outlast selenium meters.
Hopefully this gives an explanation regarding the two types of metering sensors that were present between the 60s and 70s. It is always worth considering when purchasing such cameras that the light meters may not, and will probably never work again, the camera itself is probably fine, you’ll just have to find other ways to ensure your lighting conditions are sufficient, and that really is no big issue, it’s easy and second nature to most camera users. As stated earlier just use the “Sunny 16” rule. Just enjoy your photography, experimentation is half the fun.
Reviews on these cameras will be following soon.
Thank you for passing by, it’s always appreciated.
House sale collapse and expectations, and some random photographic chuff
Just invented that word, I think.
Lately there’s not been a great deal to write about. Our continuing saga regarding the house sale that has been going on since August this year, has had the chain collapse yet again for the third time. Not our end but lower down the chain. It’s a pain in the ass, the whole system of selling in this country is crap, it’s poor and only allows the legal people a way to squeeze more money out of you. Meanwhile we have a load of stuff in storage, and guess what? Every thing you need is now in that storage about 15 miles away. Damn it.
Hey ho, the house went back up on sale for the fourth time last Tuesday, we had five viewings on Wednesday and four offers on Thursday, it was sold on Friday. Wow that’s quick, but you watch it slow down from here on in, it will believe me.
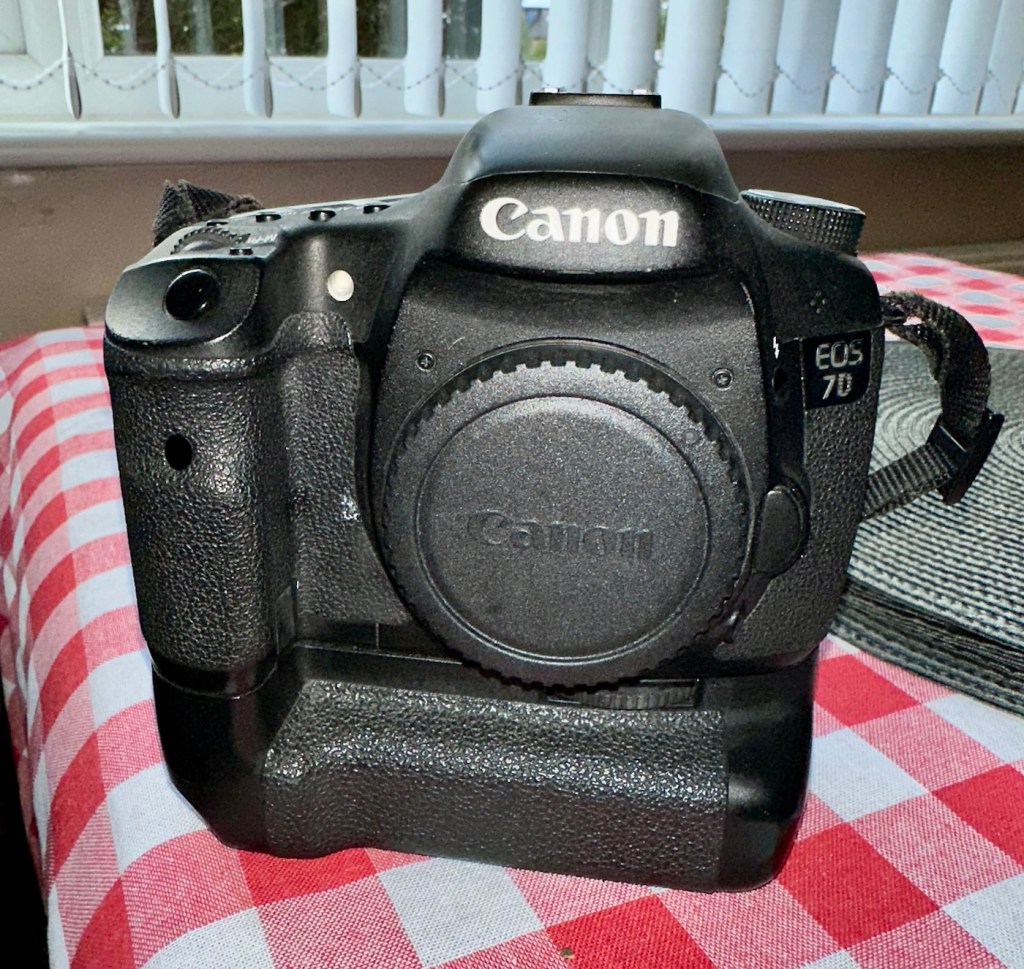
Meanwhile here are a few pictures taken recently on multiple media types, just to fill some space.
Can I get this classic EOS 7D operational again? It has damaged card reader pins.
I received this camera from a good friend who is a professional photographer, a few weeks back in a bundle of cameras and photographic equipment he no longer uses, he has kindly donated them to me to get working again. You can see that post, and just what was donated here: Cameras…i need more!
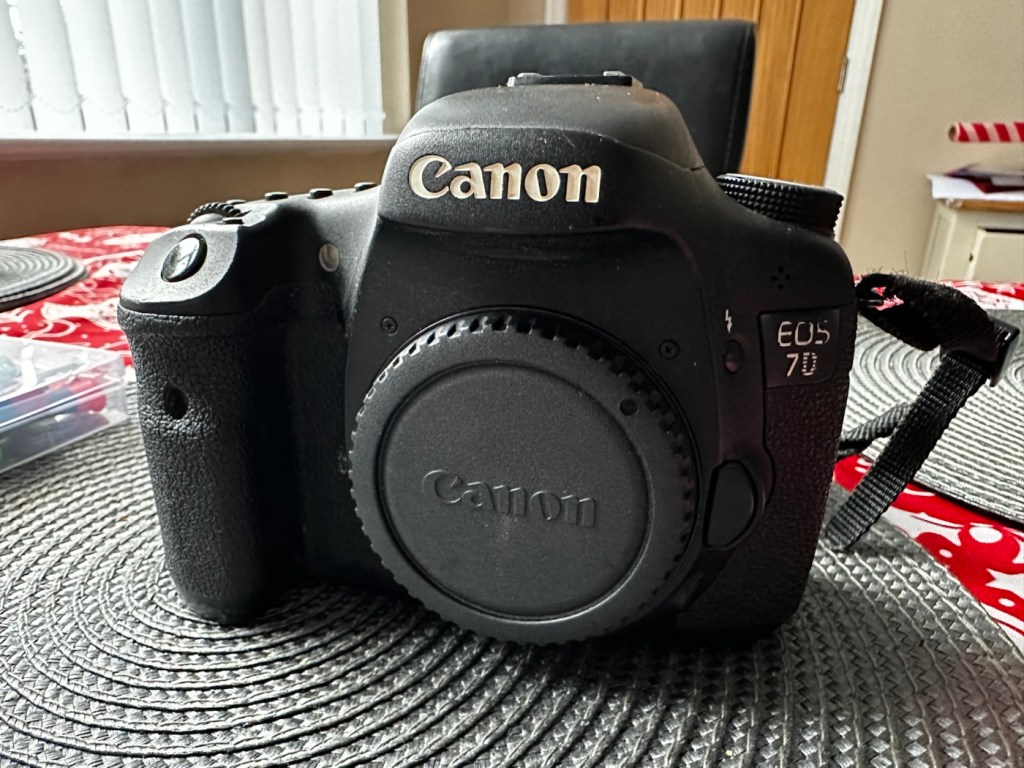
Canon EOS 7D
I’m in a situation where I don’t have my repair gear with me at the moment, as it is all packed and in storage awaiting our impending house move. Hence the reason I am racking up a whole load of draft posts that I can’t complete until I have my workspace back in use. Therefore any work I can do is severely restricted to inspection, cleaning and preparation with the only maintenance being attempted on the outside of the camera.
Let’s have a brief history on the Canon EOS 7D:
The Canon EOS 7D is a high-end APS-Cdigital single-lens reflex camera made by Canon. It was announced on 1 September 2009 with a suggested retail price of US$1,699, and was marketed as a semi-professional DSLR camera.
Among its features are an 18.0 effective megapixel CMOS sensor, Full HD video recording, its 8.0 frames per second continuous shooting, new viewfinder which offers 1.0X magnification and 100% coverage, 19-point auto-focus system, movie mode, and built-in Speedlite transmitter.
The EOS 7D remained in Canon’s single-digit APS-C model lineup without replacement for slightly more than five years—the longest product cycle for any EOS digital camera. Its successor was the Canon EOS 7D Mark II, announced on 15 September 2014.
Wikipedia
Structurally and cosmetically this is a beautiful camera in very good condition. However it would not have been donated to me unless it had problems. Let’s now put my detective hat on and go looking for clues.
Assessment:
As stated earlier, cosmetically there is nothing at all wrong with this camera, it even has the plastic screen cover in place. Mirror looks clean and curtain looks fine no issues here. All electrical contacts such as HDMI are in good condition with no visible damage to the ports.
Everything is fine, cosmetically, externally.
One last place to check and I now believe this is where the problem lies. This is the CF card door, and when opened it reveals one possible big issue.
Bent pins
Bent pins on the CF card reader. These pins are quite small and only millimetres in diameter, in a very restricted space about 8 cms deep and 6cm in width, it really is quite a small aperture. There are two options here, one I try to gently coax these pins back into place with a fine point tool, however the pins are minuscule, and brittle and prone to breaking. I can see potentially 7 pins that are out of position, not an easy or expedient option. But I’ll have to give it a go. Option two is to purchase a new CF card reader replacement, this option carries some expense and quite a complex dismantling of the camera to achieve said replacement. Needless to say I will initially attempt the pin bending procedure. Pending on success or failure, i could venture into step two. Read on to see what occurs.
Repair:
With a fine point set of tweezers, I’ve decided to have the first attempt at seeing if I can straighten the pins. Using a bright LED torch I angle the beam slightly so I get a bit of shadow on the pins, and this allows me to see how many are bent. I can see seven pins in total that are bent, and two of these seem as if they have been forced down to about half their height. This is quite normal when people go in a bit heavy with the CF card, if these pins go down too far there is no option but to go inside the camera and push them out from inside, or replace the card reader completely. I kind of hope that I have been able to pull them out far enough for them to work. I won’t know though until I get the CF card and batteries out of storage.
The camera in question
I’ve spent about an hour, bright lights, little subject matter, and now have very tired eyes. I’ve been breathing slowly just like a surgeon heading into a part of an operation that requires the utmost concentration, and precise and very delicate movements. I think I’ve done a good job. Only testing will tell.
LED light and some fine tweezers Pins straightened as best as can be externally
Speaking with my friend Jon, who this camera came from, he has stated that he rather foolishly lent this camera to a ham fisted colleague who hammered the card into the camera, causing the issues that I am dealing with today.
If we have to open up the camera, I will probably be looking at about 3 hours of work, as there is an awful lot of dismantling that has to occur, and I believe there are around 30 screws to remove just to get under the skin of this camera. It’s built like a brick, weighs about the same and is just packed with electronics.
Fingers crossed 🤞 let’s hope option number one has been successful.
Well, today I went to the lock up and dug out a small 2GB CF card and the two Canon batteries and a charger. I came home and Put the batteries in that surprisingly still held a little charge, sufficient to turn the camera on. I gently inserted the CF card only for the following message to appear on the screen, “Card cannot be accessed. Reinsert/change the card or format card with camera.” Aww shucks I thought, it hadn’t worked. I tried to format the card and the format failed, at this point I thought the pin maintenance had not worked. Damn. I was a tad annoyed.
CF card being installed
So I removed the card and checked the pins, they were ok. I reinserted the card and the same fault appeared, however this time when the option came up to format the card it worked. I was so shocked I tried it again and forced another format, again it worked!
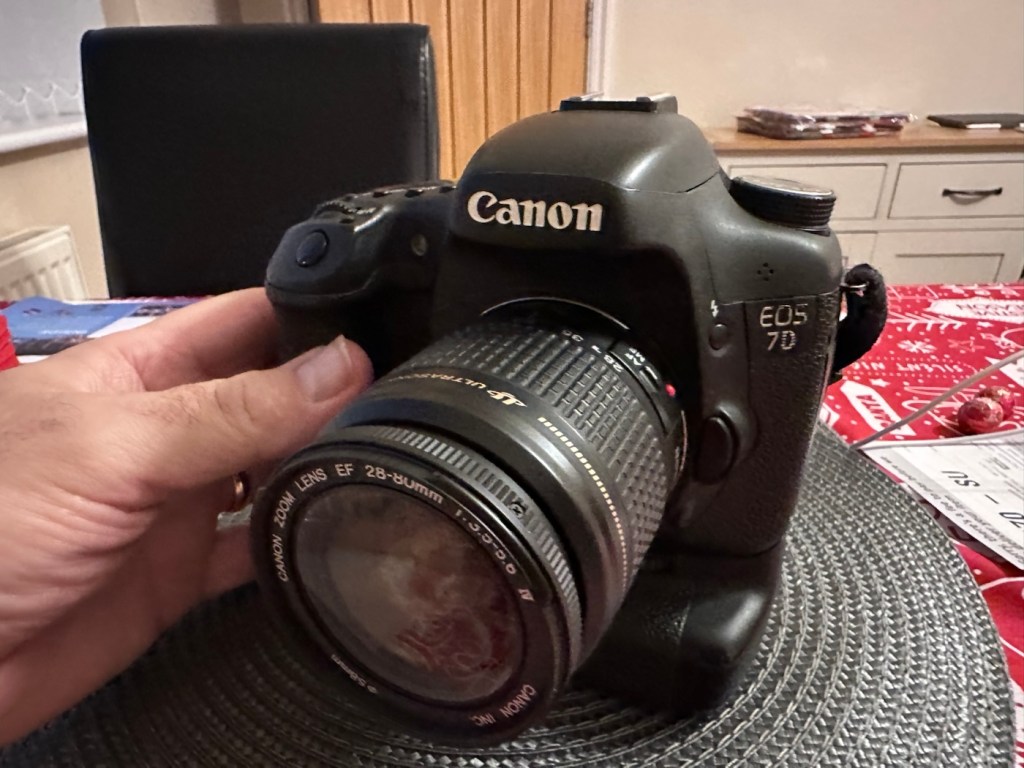
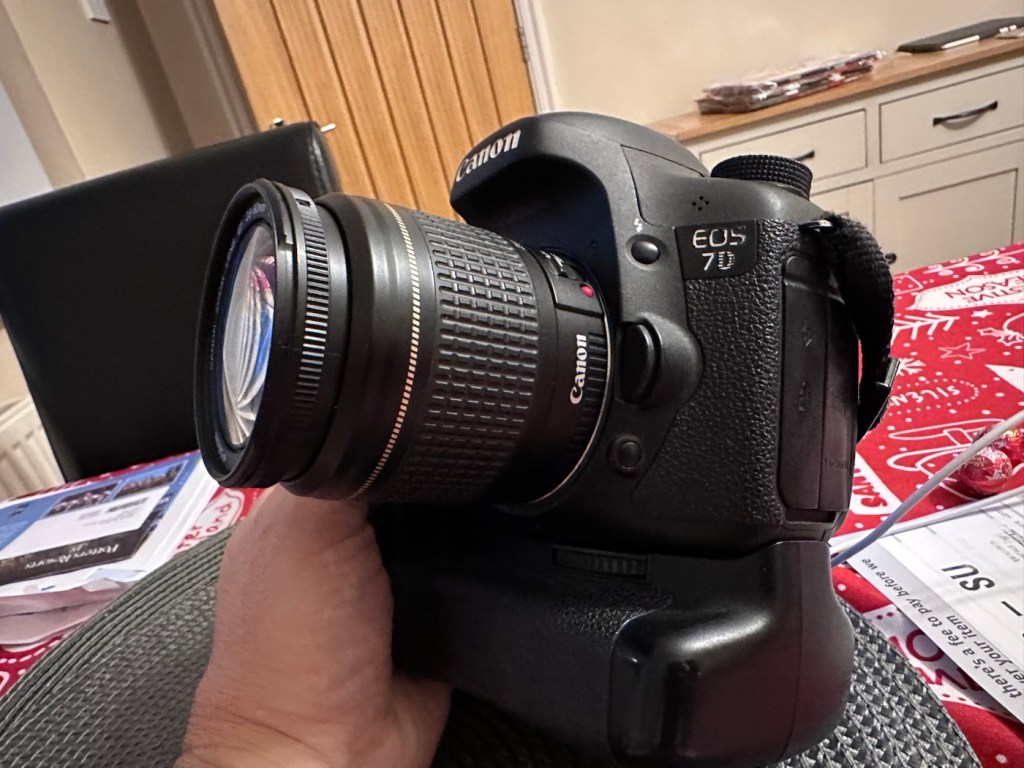
Right it was now time to get a lens on the front and test the camera to check to see if it would write to the card, it’s only a stock lens, nothing special but absolutely fine for testing purposes. Just walking around the house I put the unit into auto, the flash popped up and I proceeded to rattle off a few random shots. And it worked, the results all came up on the rear screen.
Random shot 1
Random shot 2
Random shot 3
To say I was pleased at this is an absolute understatement. The work on the pins has worked and I now have a perfectly well working example of quite a top end camera. There’s no doubt that in the future the camera will require a replacement card reader, but for the moment it’s been given a new lease of life, and whilst I remember to be gentle with the removal and placement of the CF card, let’s just enjoy the camera and its capabilities until that time comes. In the meantime here are just a few, “Randoms” taken to test the card and camera in and around my home.
Just a few random test shots. It works.
Result:
You little beauty
A perfectly fine working unit
Time to give this camera a little buff up. (Clean)
This unit only appears to have taken 1,860 pictures. It is completely unused, and in perfect condition. And it now works. To be honest I feel more confident with this camera than I do with the mirrorless Sony that my wife purchased for my birthday. This was going to become my number two camera, however it’s just been promoted to my number one, as long as that card pin issue and repair holds up, and I have no reason to doubt that it should be a long time before any issues arise. I am confident that my repair has longevity as they say.
I want to give it a good test in daylight conditions in all modes rather than auto. I want to get a bigger CF card maybe a couple of 8GB ones, I don’t see the point in going for the bigger cards just in case there is a read/write issue in the future. It’s just an OCD thing for me, you know what I’m like.
So overall I’m really quite happy and satisfied with this camera. Of all the cameras I was gifted by my good friend Jon, all have been repaired apart from one that was beyond economic repair, even that has been broken down into it component parts, every screw recovered and will be used for spare parts. Nothing, and I mean nothing has been disposed of from this collection of cameras and accessories.
That’s what I do, I don’t waste anything. Ask the wife!
Many thanks for passing by, it’s always very much appreciated.
Always liked and wanted an Olympus OM10. 46 years later I now have one. Of course, it needed repair.
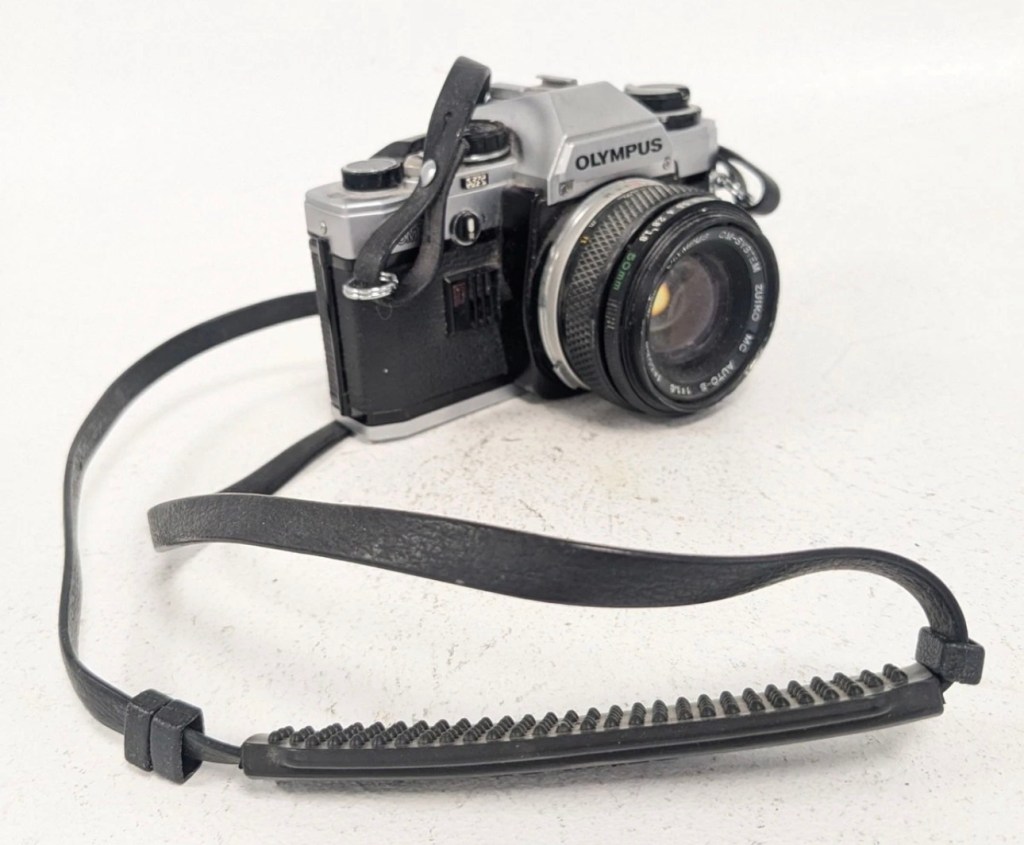
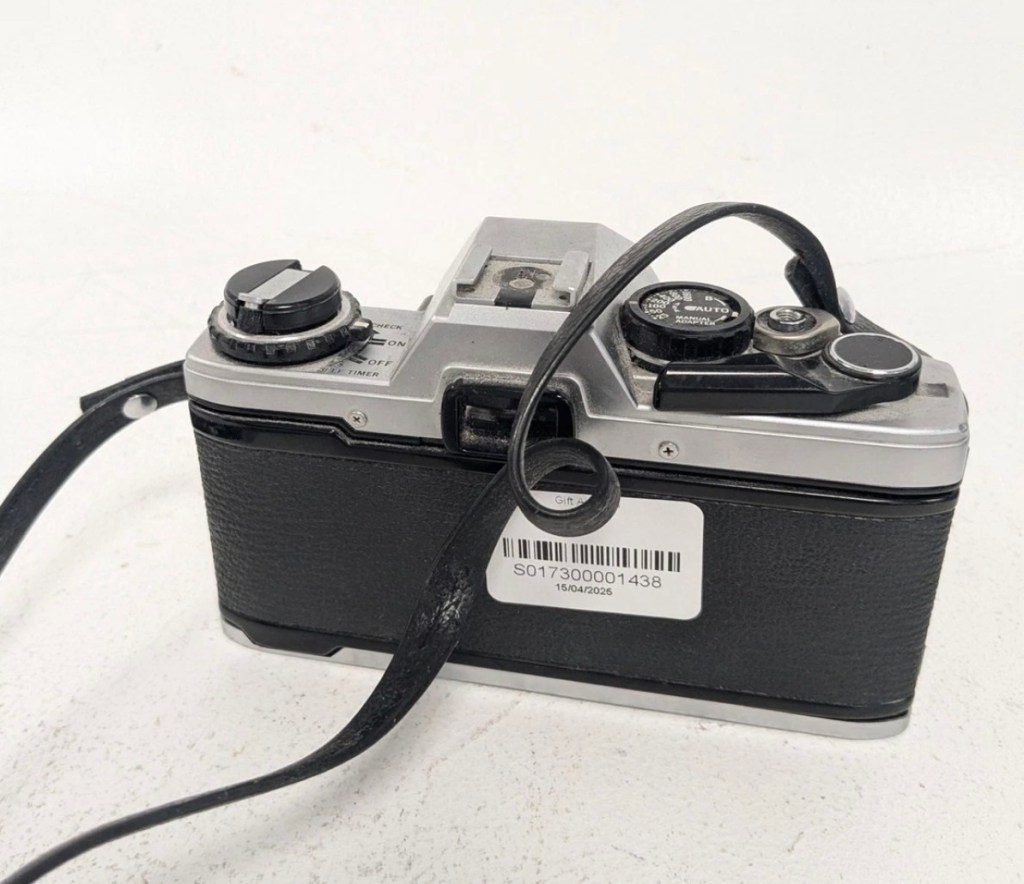
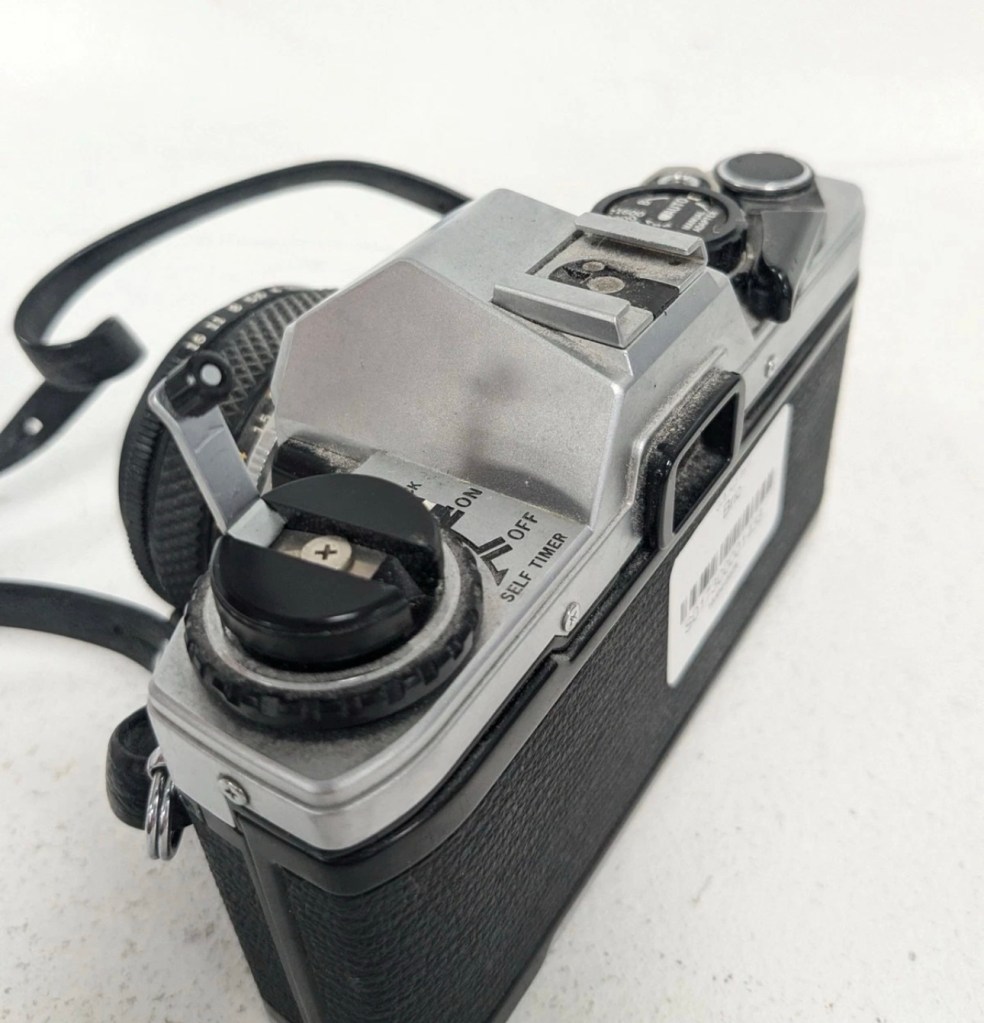
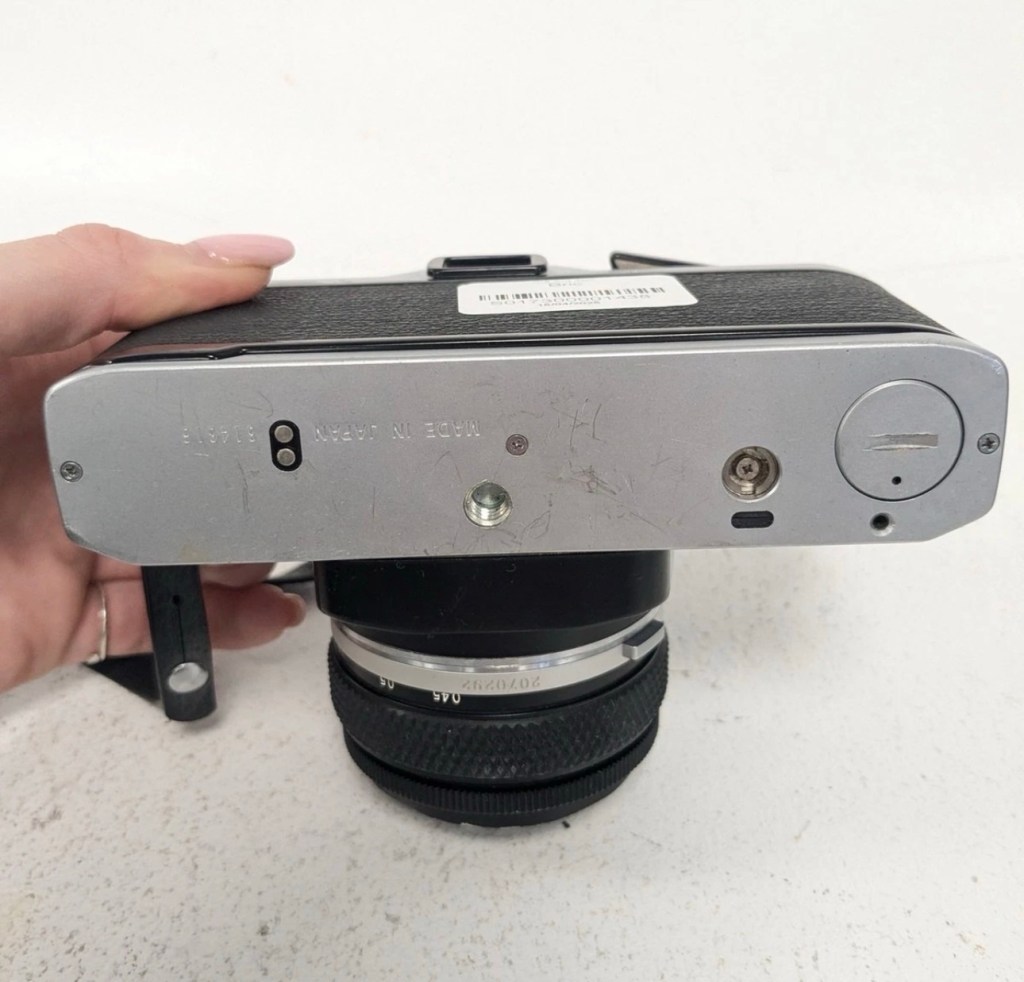
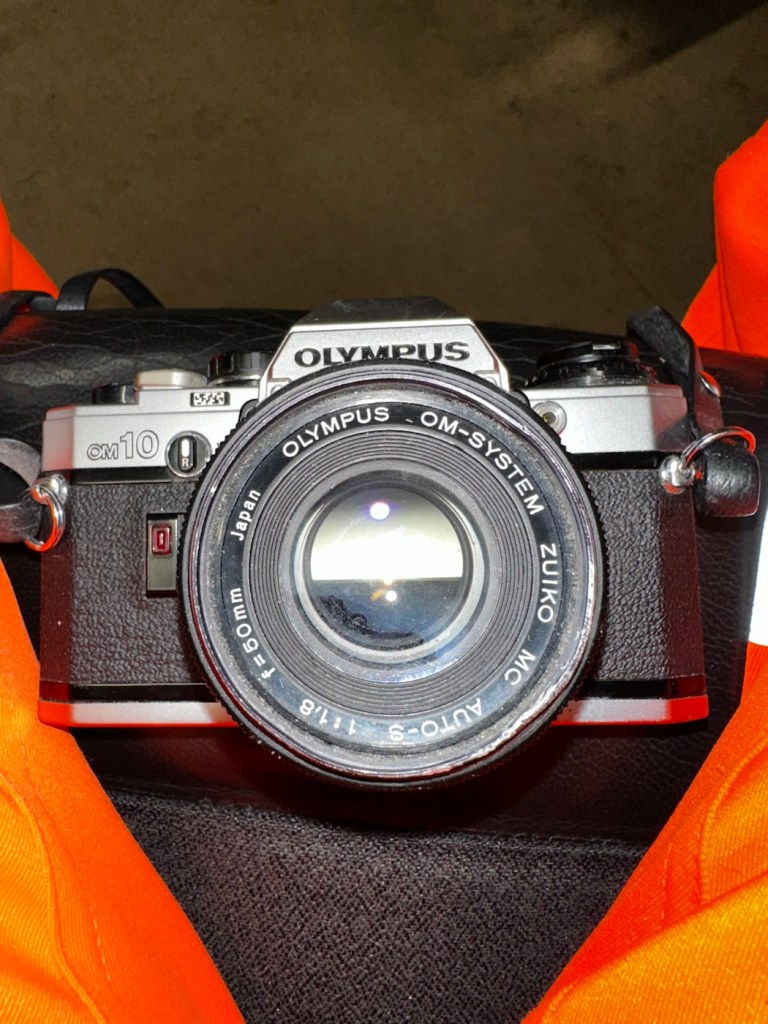
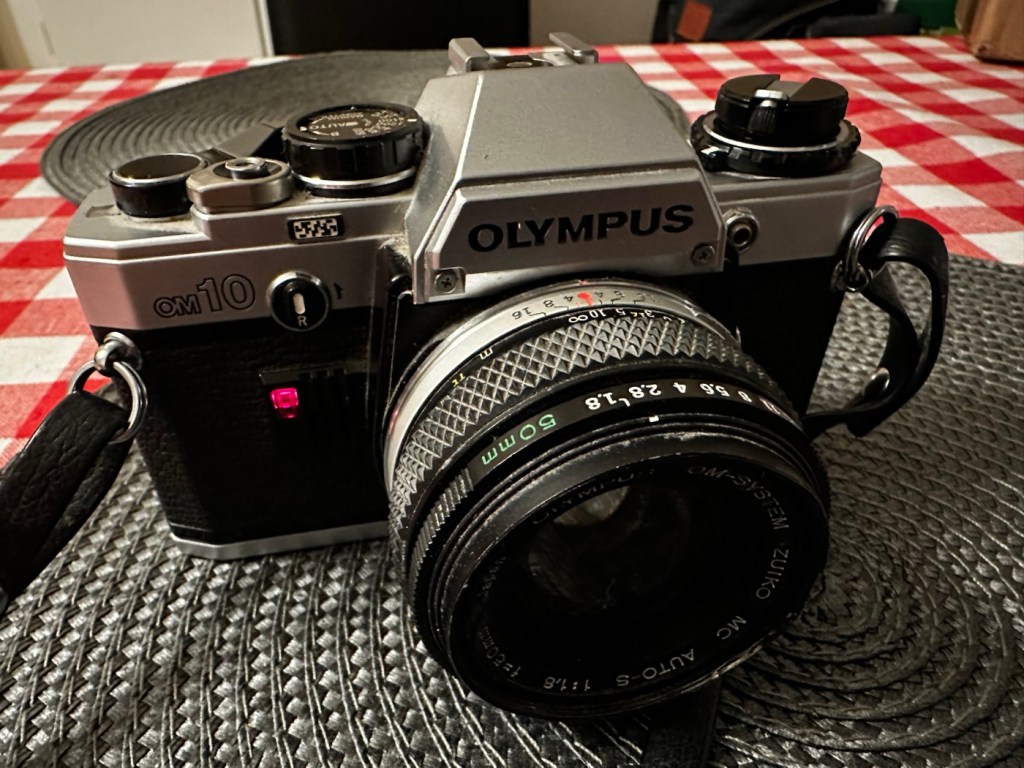
Much to the wife’s annoyance, and because I was feeling a little low and in need of some retail therapy, I’ve purchased this lovely little camera from the Barnardos charity. It looks like it’s been stored in a full Hoover bag, it is so dusty. It has a few dents and dinks, this one is going to be a challenge. I like challenges. I’ve paid the grand total of £17:67GBP for the camera and the standard Zuiko 50MM F1.8 Lens. I think that is an excellent price.
These cameras were produced between 1979 and 1987. I’m hoping I’ll be able to date this actual camera more accurately when I receive it.
This is what the original listing stated:
This listing is for a vintage Olympus OM-10 35mm Single-Lens Reflex (SLR) film camera, bundled with a Zuiko 50mm f/1.8 lens and a leather neck strap. This is a single bundle containing the camera body, lens, and strap, ideal for collectors or film photography enthusiasts.
UNTESTED. This sale is for spares/repairs. There are some marks and cosmetic imperfections. Please see images for more detail.
The standard untested post from the auction sites, but I’m not really bothered to be honest. It’s a charity, and I’m happy to pay for these items as the charity always benefits, and that’s all that matters to be honest.
I have some history around this camera and whenever I see one I think of Bruce Springsteen and here’s why.
1984, Bruce released this Album
Born in the USA was released in 1984, so I can kind of pinpoint the first time I’d ever really heard him, courtesy of my friend David K, when I used to live in a small town in Hertfordshire called Bushey. David had been a school friend, we were now in our mid to late teens, he was working in a restaurant whilst I was in a photographic lab. He introduced Bruce to me and for many months after he first purchased that album, we played it non stop and knew it off by heart, beat for beat, and word for word, we were totally smitten with it. It was the Bruce effect. At this time i would have been about 18-19 years old, and had a very basic Russian Zenit camera, it took some great photos. However, David had recently had a bonus payment at work and purchased himself the Olympus OM10. I was envious, who wouldn’t be? What a camera and this is where it all ties in with our hobby, we loved photography and used to always discuss it with Bruce in the background singing his heart out. It all ties in now, fantastic memories, and a single camera can bring back these memories. Amazing isn’t it?
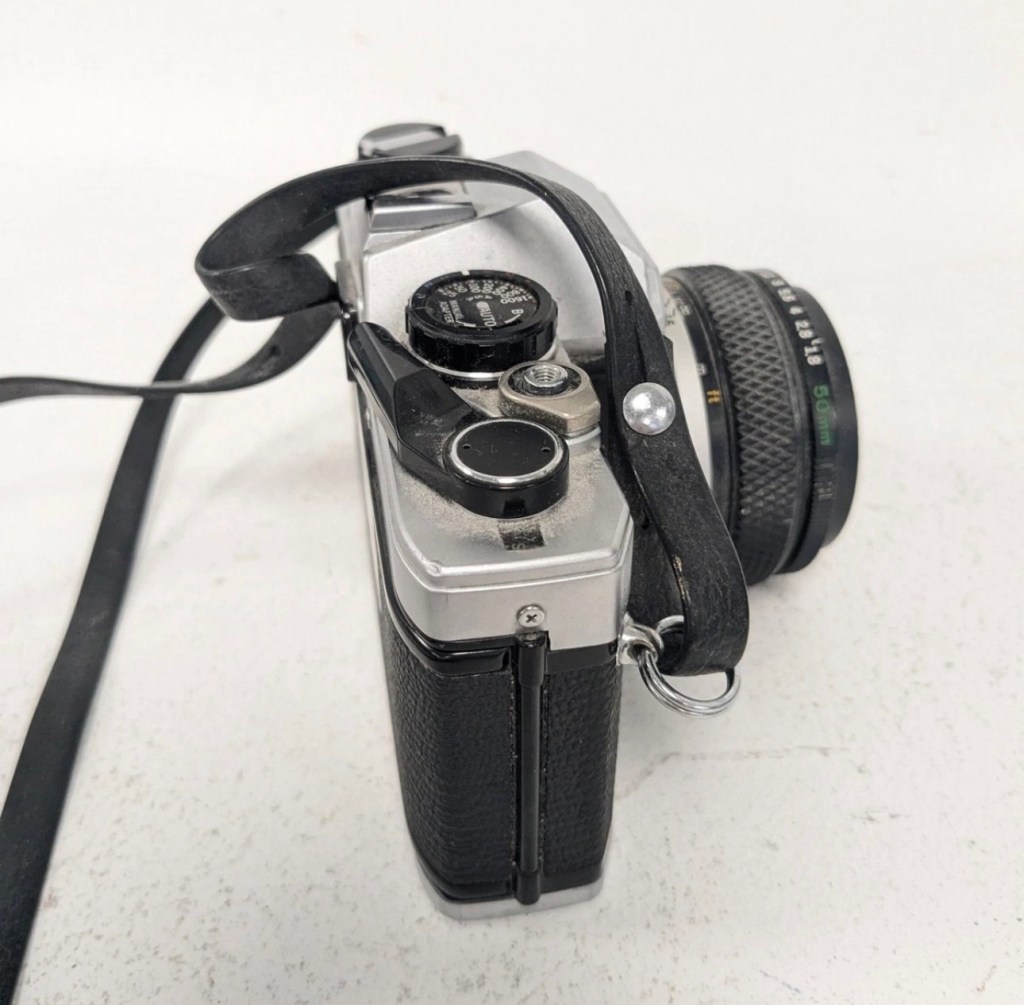
Anyway here’s some pictures where you can see the amount of dirt, and what looks like some bumps on the outer edge of the lens.
Nice camera, few dinks and dents, and a lot of dirt
Here’s some information regarding this camera:
The OM10 was the first consumer OM series body. Launched in 1979 it accepted the full line of OM lenses and most of the OM accessories for a lower price. The lower price was reflected in the construction of this camera and the features available, however, it was still a very competent performer and it reflected the elegant lines established by the compact OM-1 and 2 designs. Early production runs of the OM10 have known malfunction issues with electronics, metering, and shutter magnets. Olympus later changed the shutter to a ‘Type II’ design to correct the latter problem.
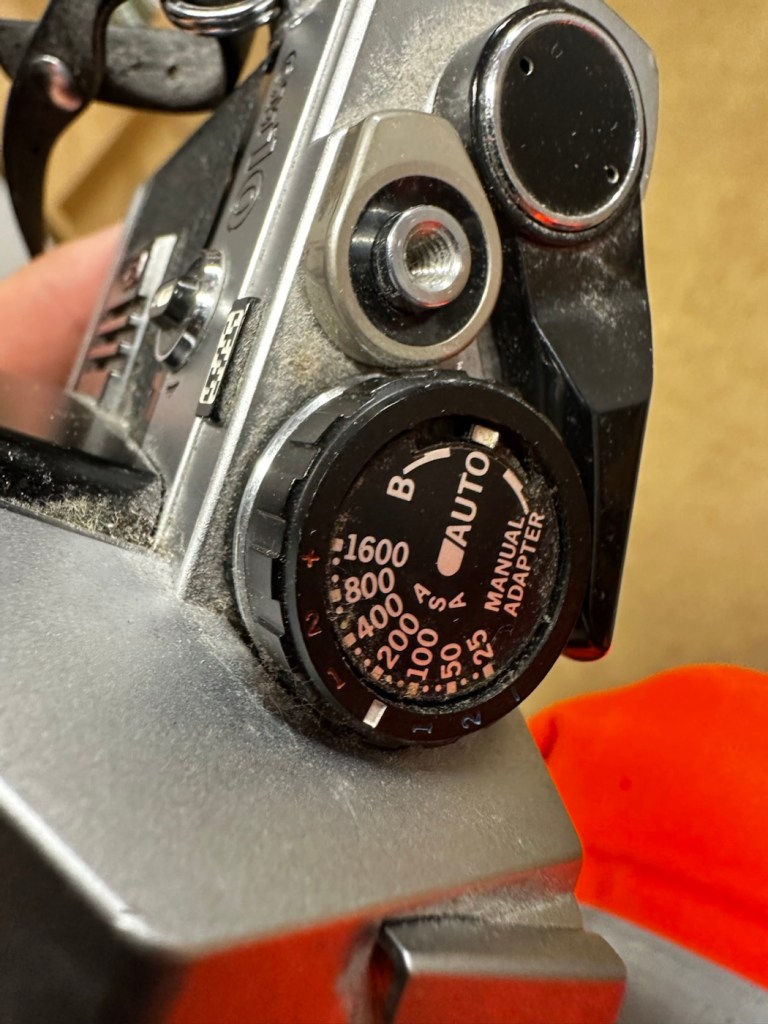
In its standard configuration the OM10 offered aperture priority automatic exposure, simple and accurate enough for a consumer camera in most lighting situations. It also offered exposure compensation for more complicated lighting situations and for more advanced users. A small plug-in manual adaptor was available as an accessory to enable manual control of shutter speed. The manual adaptor is possibly not as easy to use as the typical shutter speed ring around the lens bayonet on the OM-1.
While not well known to consumers, the focusing screen for the OM10 is indeed interchangeable, though not as easily as the OM-1. It shares the same focusing screen as the OM-1, but the extra protruding tab needs to be cut off as the OM10 doesn’t have a placeholder for it.
The OM10 can accept all the lenses of the OM system.
The finder screen is fixed, as well as the back. It can accept the winder but not the motor drive. It existed in chrome and in black finish.
In 1980 the OM10 Quartz was released with a fixed databack (equivalent of a Recordata Back 3) to print the time or date on your pictures. The OM10 Quartz was only released in black finish.
The OM10 was sold in large quantities before production ceased in 1987 and many working examples are still being used today. Largely overlooked in favor of its more professional ‘single digit’ siblings, you can easily pick up a working example for $50. Try to find one that includes the manual adaptor though, as this accessory alone can fetch $30 at auction.
Camera-wiki.org
Assessment:
In a perfect world this camera would just need a clean. But this is me and to be honest I’d like a little bit more of a challenge, as a lot of the cameras I have worked with lately did not need a lot of maintenance because they’d been well looked after. This one may be different.
The camera that has been received
These cameras were renowned for electrical faults especially with their mirror motion magnets, very similar to the issues suffered on Canons earlier EOS cameras such as the 1N. But to be honest I am just surmising at this point as the camera is not yet in my hands. I need to be patient and await its arrival.
Well, it’s arrived so let’s have a look and see what’s good, what’s bad and what’s indifferent. It has dirt, yes, quite a bit of it, so it will require quite a deep clean as we need to get into all those little crevices, where the dust has settled.
Dirt in all the crevices
Cosmetically it looks really good with no dinks, dents or scratches, so that is very much a positive. It’s in not too bad a shape for being 46 years old.
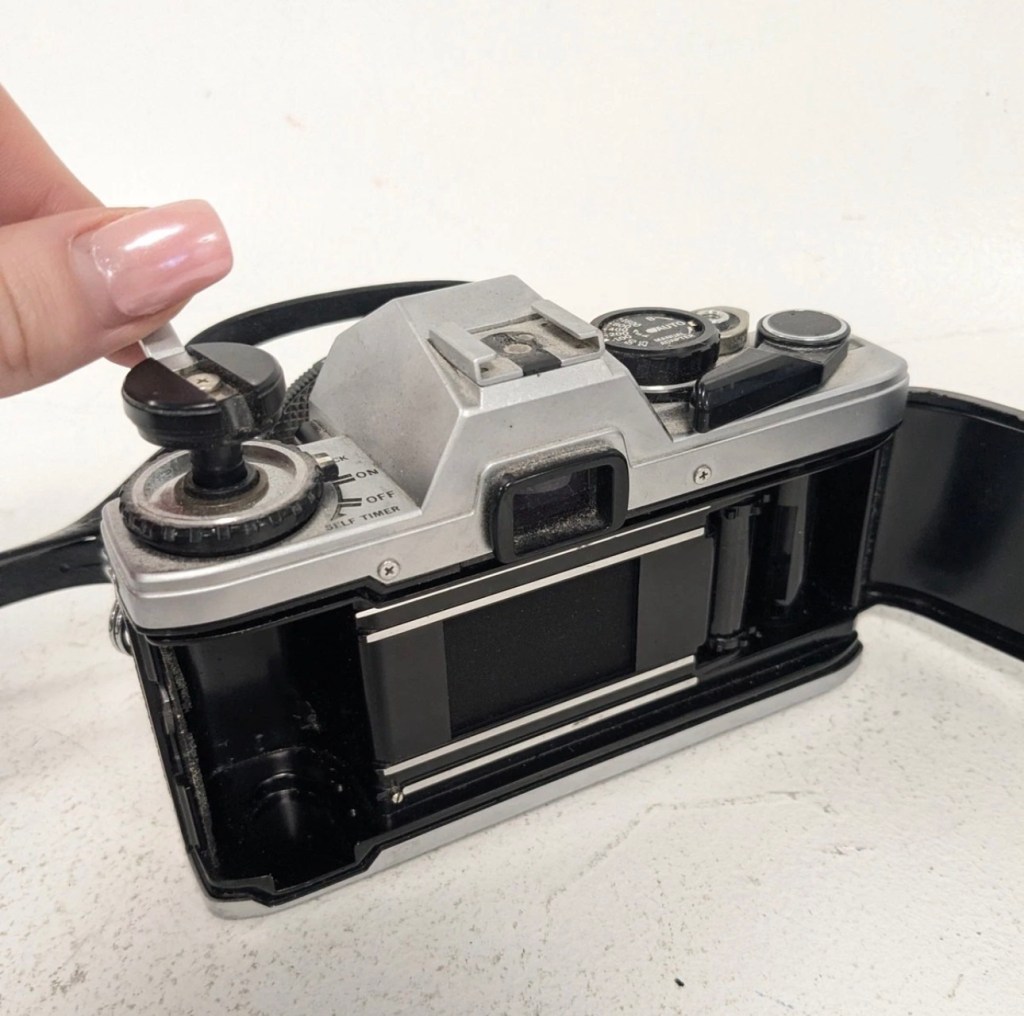
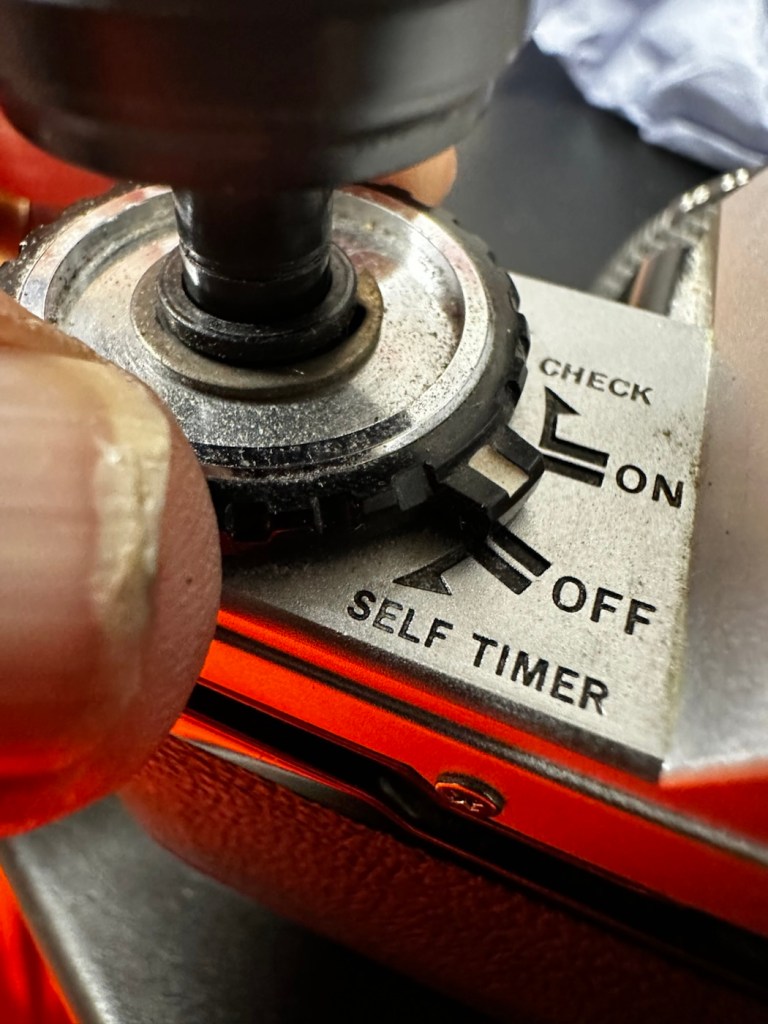
The capstan to open the camera film door, along with the operation dial are a little loose, so they will require tightening.
Loose capstan and controller
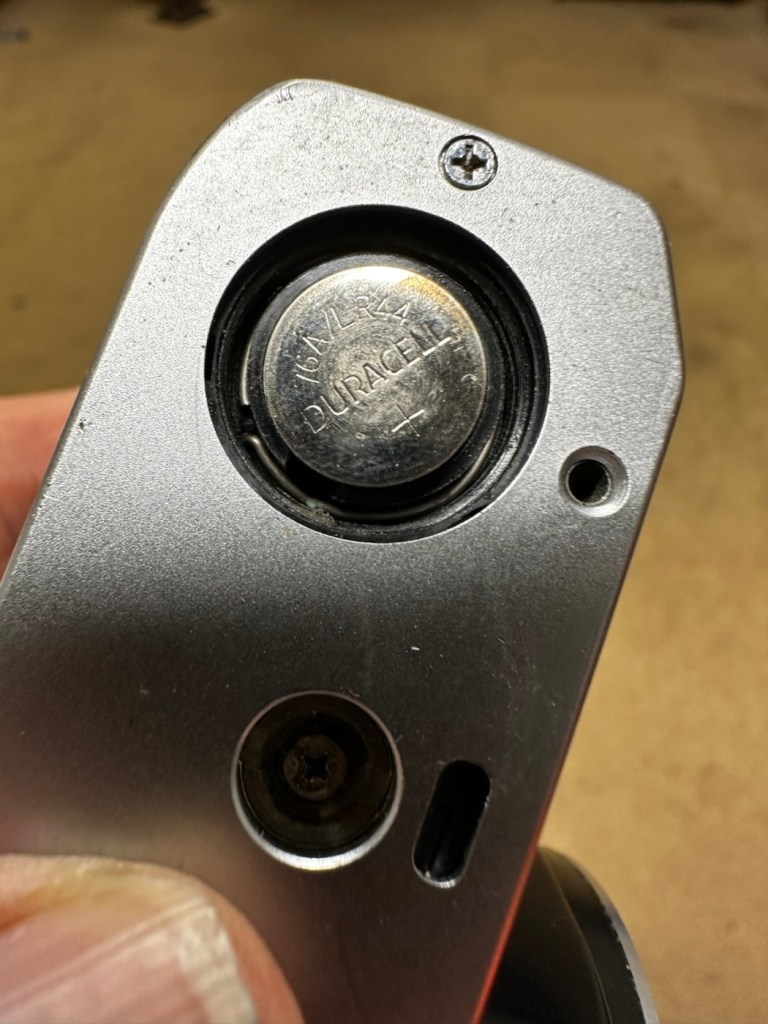
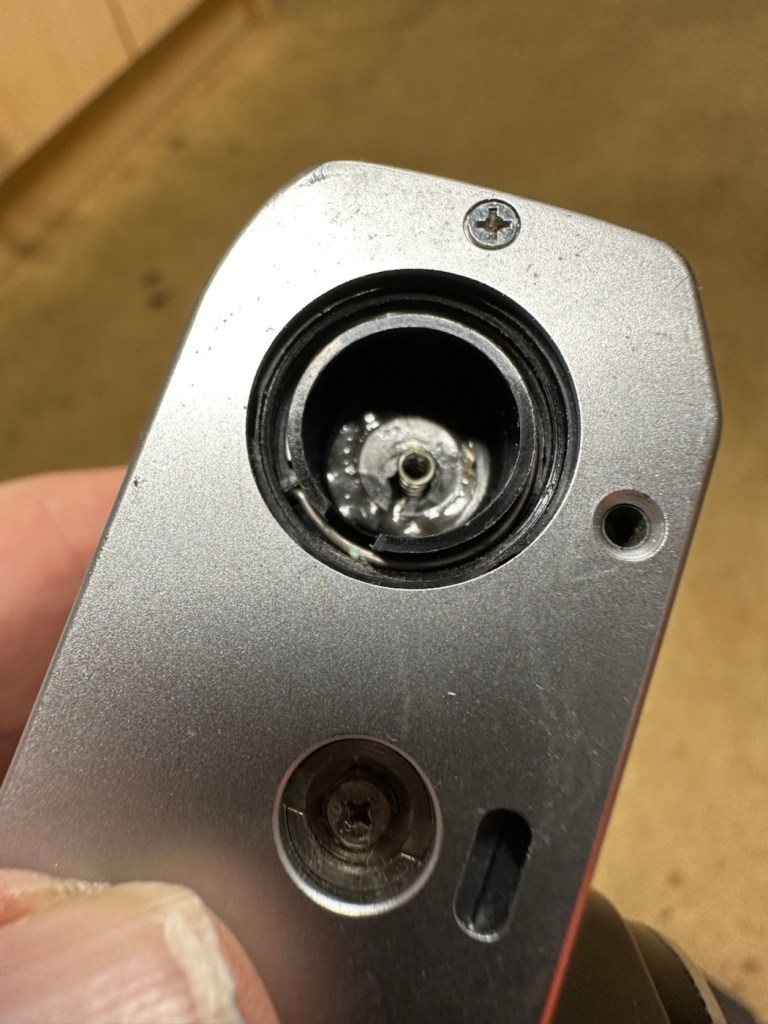
Batteries are long dead, this camera requires two LR44 button batteries to do even the basics, I have tested the batteries with a multimeter and they are so low that they hardly register, they are very dead indeed. The good thing however is that they have not leaked in anyway and the battery chamber is clear of corrosion.
Battery chamber is clean
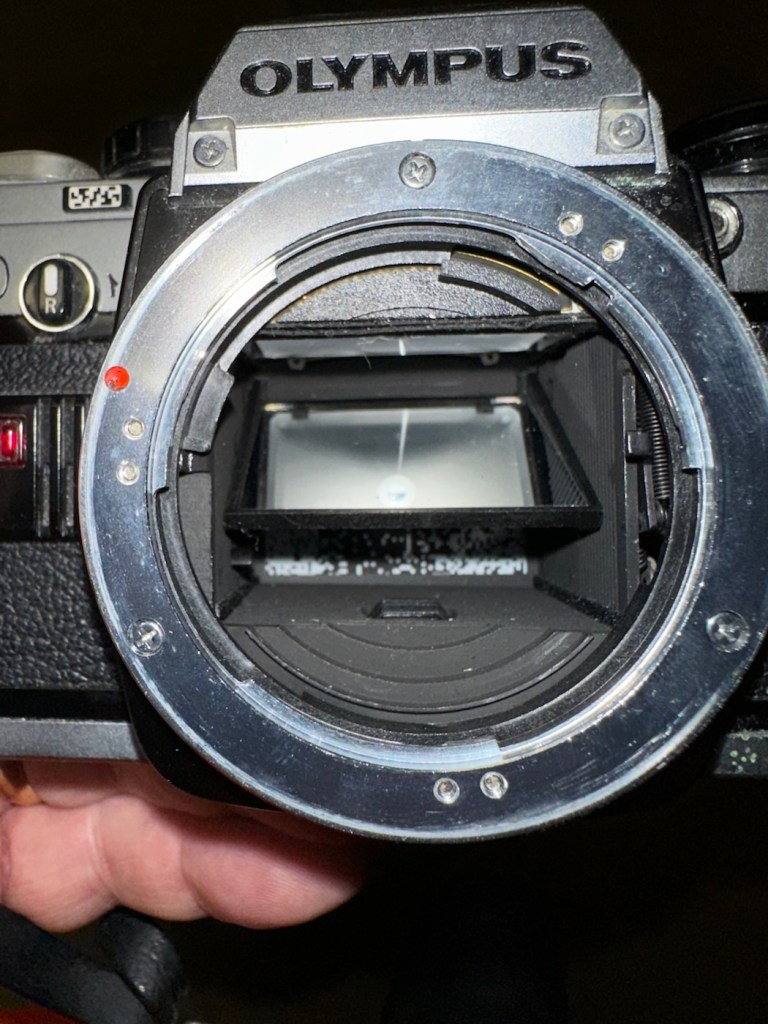
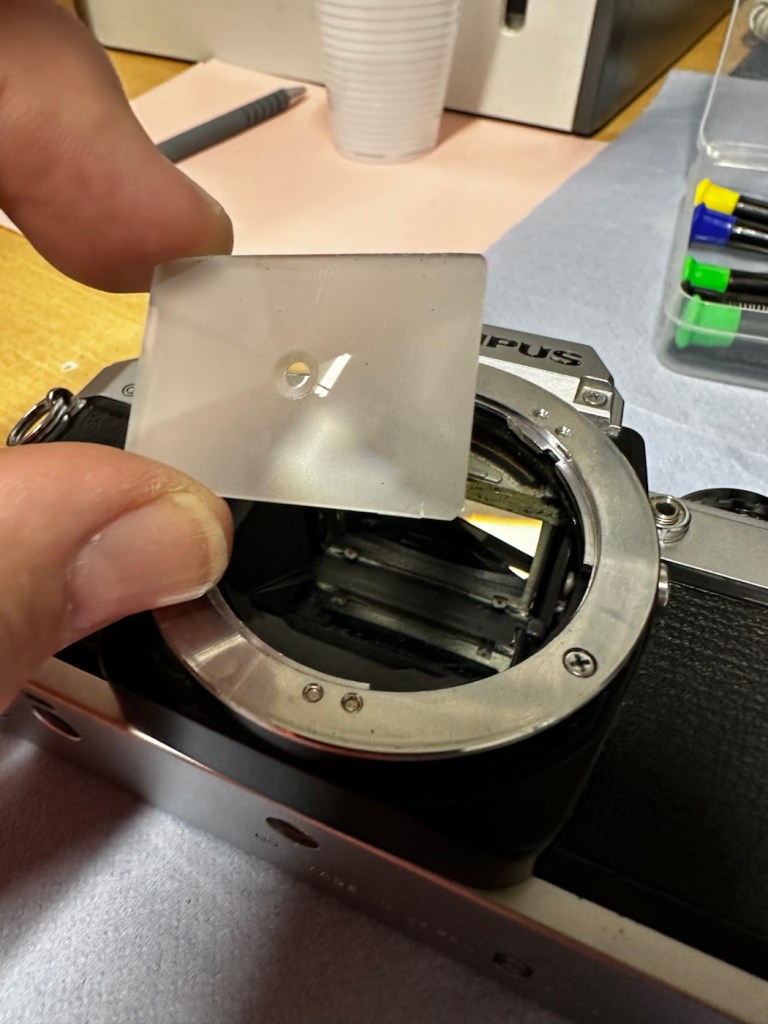
The mirror is stuck in the halfway position, this could be purely to do with there being no battery in the camera. It would be good to see with new batteries installed, if the mirror magnets would then kick in, and then they’d be no further issue. However, knowing my luck they are probably inoperable as well, we will just have to wait. And for this same reason the winder is also stuck, again the batteries may well solve this problem 🤞
Mirror trapped at the halfway point
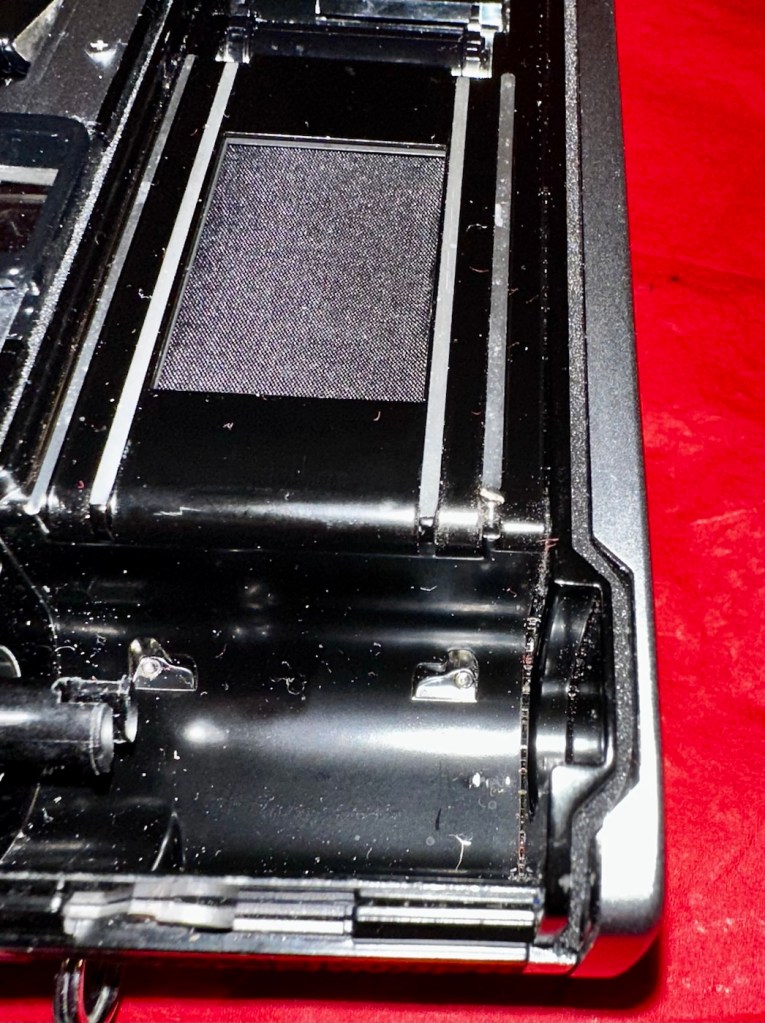
Good news is though that the mirror and curtain are in really good condition, because the old lens has been kept in place preventing any contamination getting into that area.
Viewfinder looks clear apart from a little dust build up
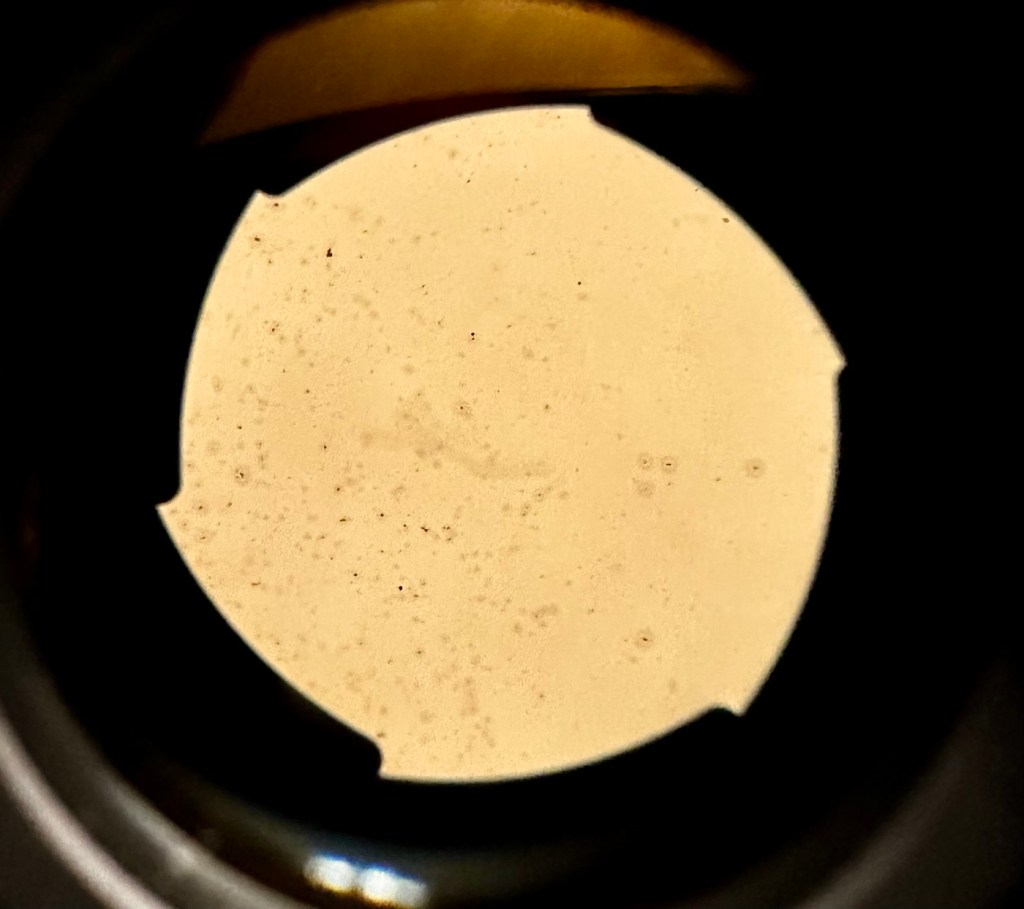
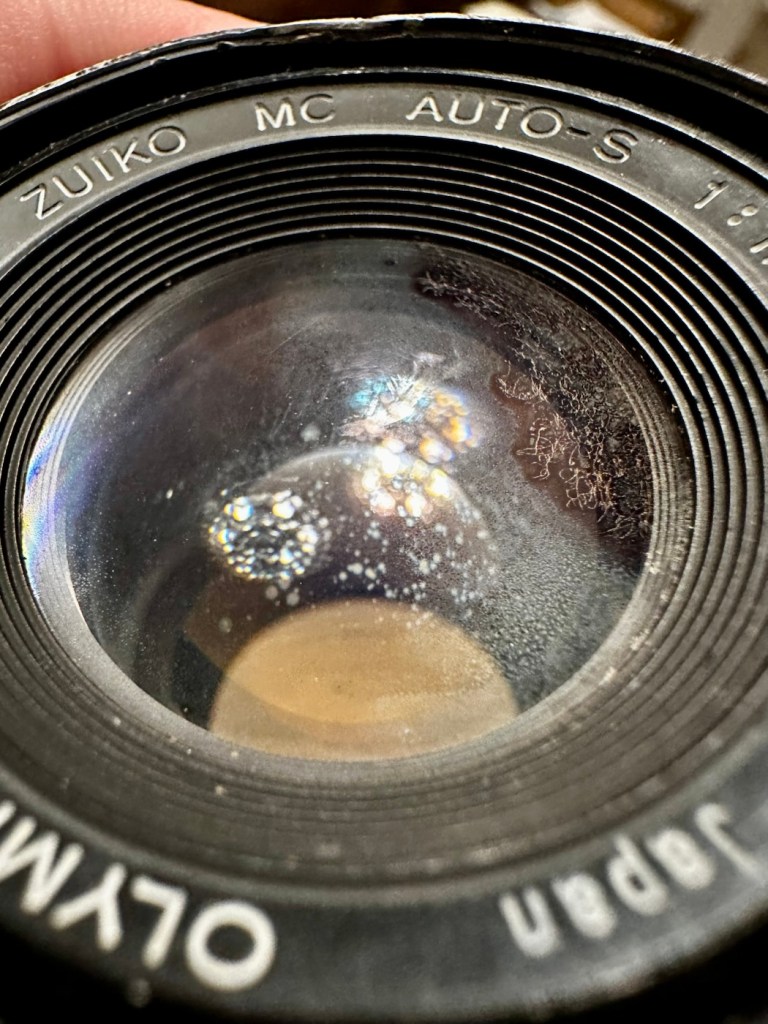
However the lens, does appear to have fungus in it, and will require a clean at some point along the way.
Visible lens fungus
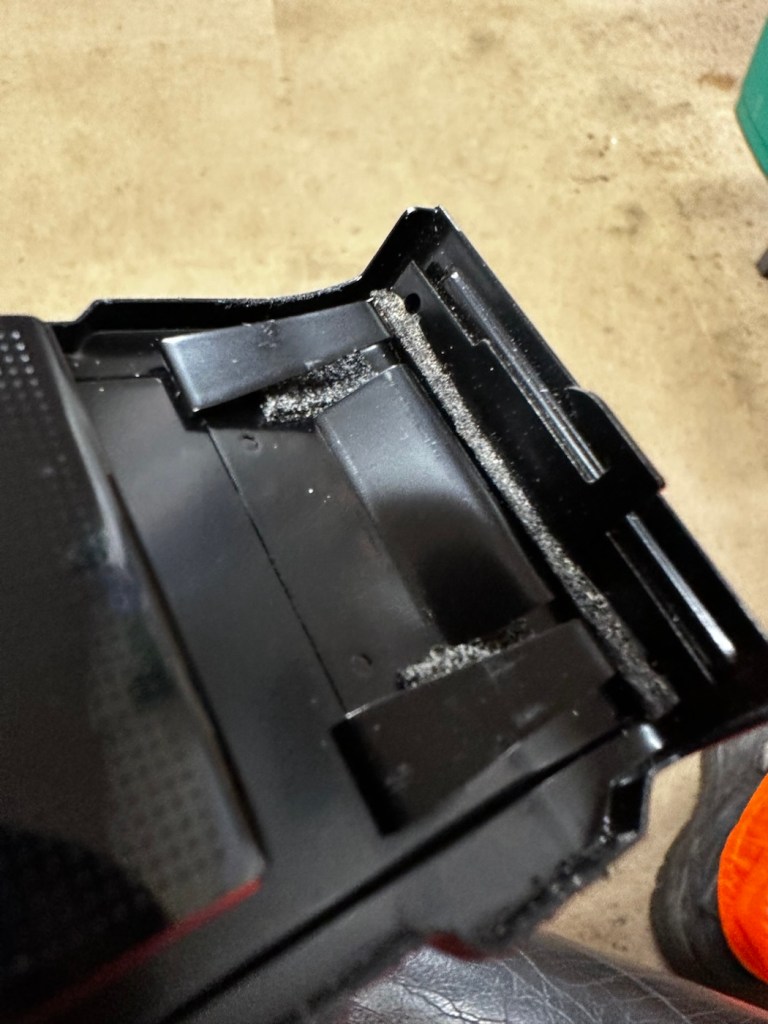
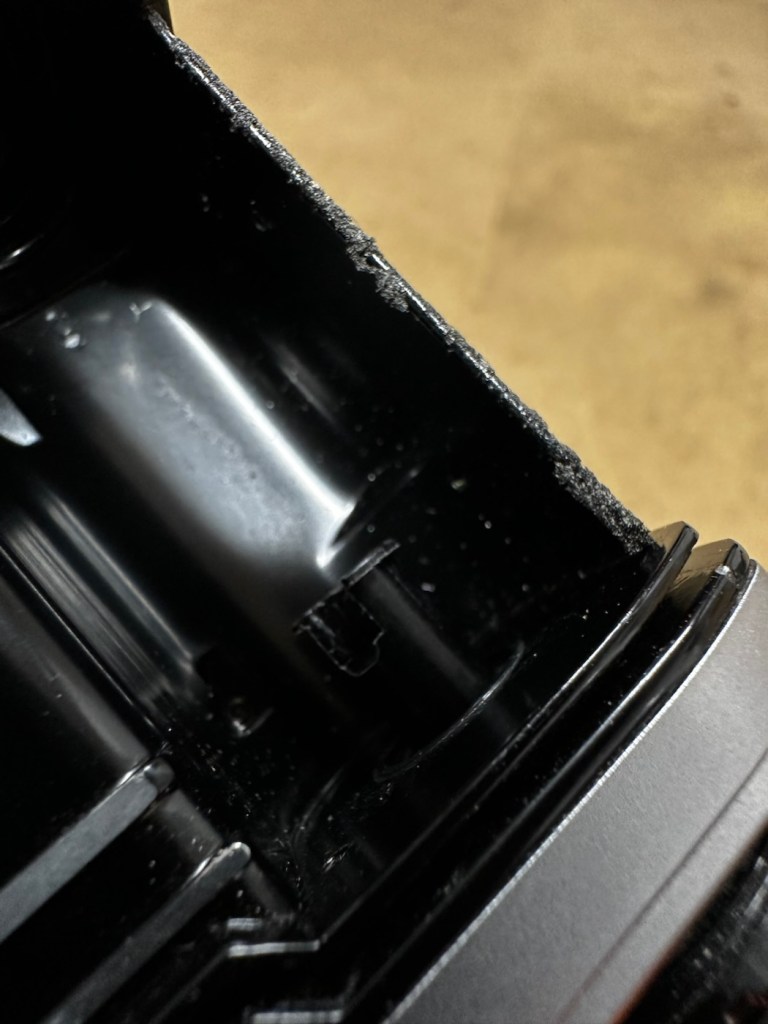
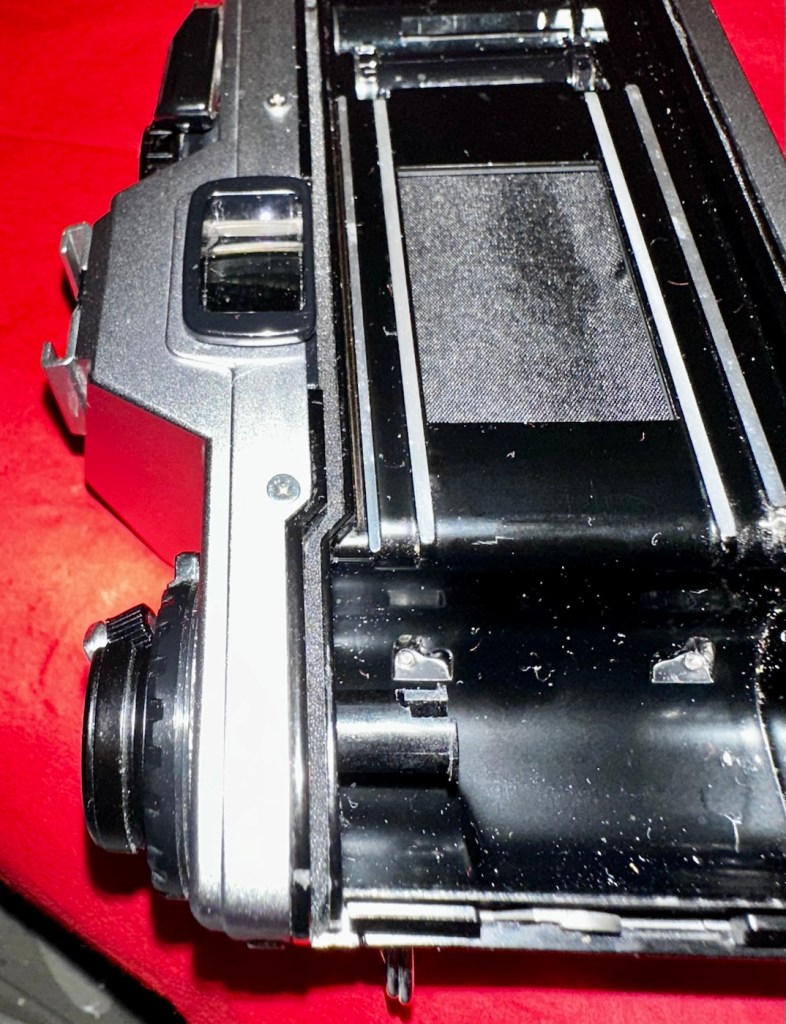
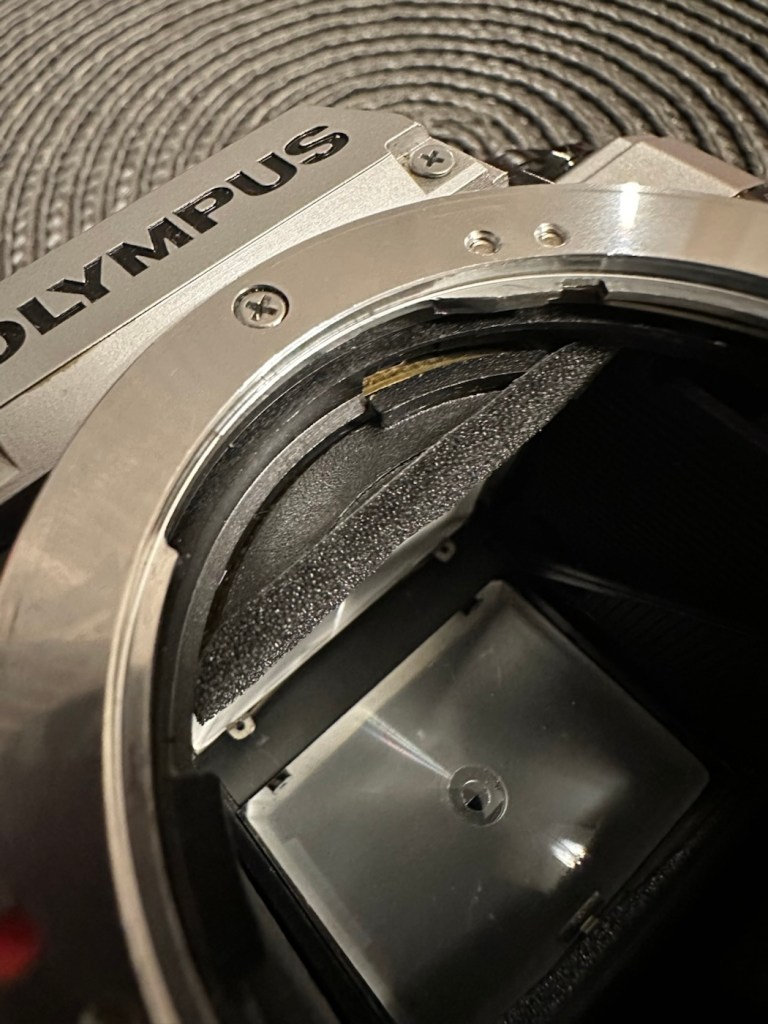
There are also a number of light seals that need replacing as they have perished.
Some light seals need replacing
To be quite honest, the easiest part of this camera to clean will be the standard plastic and rubber neck strap. This can just go in some warm soapy water to rejuvenate it. However, my first priority will be to get some batteries in place and see what occurs. I may have to rethink my approach to this camera dependent on the outcome of this simple action.
Repair:
Straight home and I’ve found a couple of LR44 batteries that had a little more power than the old ones. In they go….and nothing. There is a check position on the main dial that should light up and a buzzer should sound to confirm that there is sufficient power, obviously there isn’t in this case. I run all the other LR44 batteries I have through a tester ( I had a packet of 12 ) and they all show as low power, they’ve died during storage. I then pop over the road to see my brother in law who always has a good supply of batteries and bingo, he has a couple of spare LR44s.
We have the check light, and a little buzz…intermittently
With these in place I get an intermittent buzz and a light, it appears the capstan control and operation dial that I mentioned earlier was loose, and has intermittent contact issues, it will need removing and cleaning then reseating.
If I hold the capstan in place I do get a good signal, with both buzzer and light operating in the check position, and when I move the control to “On” position I can now cock the shutter lever. It will then fire but again only to the half way position as it did earlier. If I gently push the mirror down and let it spring back it will then fire. But you have to do this on every stroke of priming the advance lever. Not good.
This is pointing towards an issue with the magnets and I believe I’m almost there, and that’s when I have a eureka moment.
Eureka moment
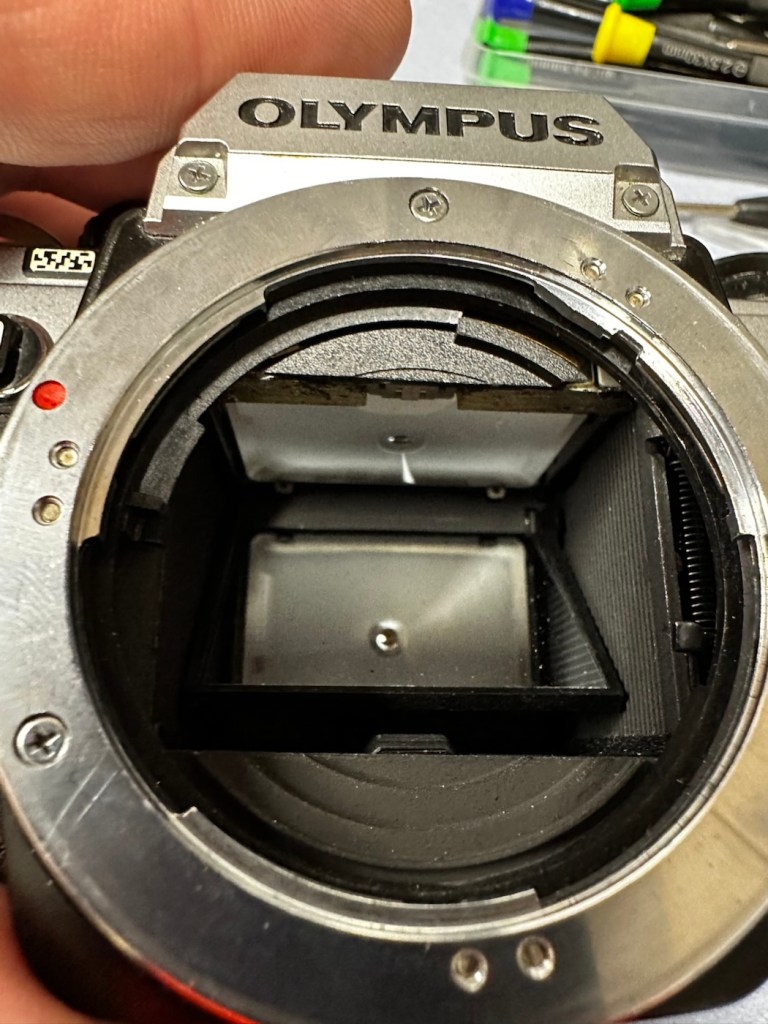
In the bottom of the mirror and curtain bay on the base of the camera is where the mirror magnets are situated, along with a light sensor that takes a reading off the shutter curtain behind, that is checkerboard coloured. Something here didn’t look quite right for me as it did not look level, the base seemed quite uneven. I just simply put my finger in here, applied some light pressure on this base and it just clicked into position, nice and level and then the stuck mirror fired, just like that. Every single prime of the shutter and actuation since, has worked just perfectly, I wonder if this camera has been dropped at some time just knocking this part out of true configuration? Or has someone been here before me? I’m going to have to remove the base to check a few things anyway, so I can then make sure this issue doesn’t happen again. For now, I’m satisfied that the shutter and winder are working fine. I just need to make the contacts and the electrical continuity a little bit more reliable.
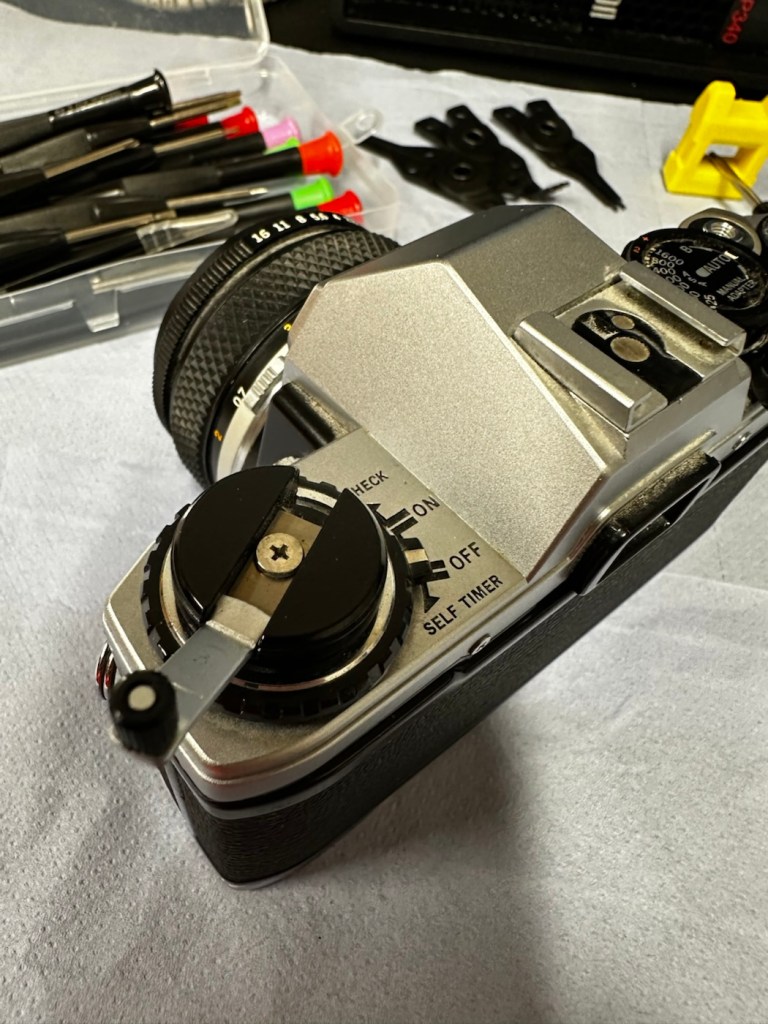
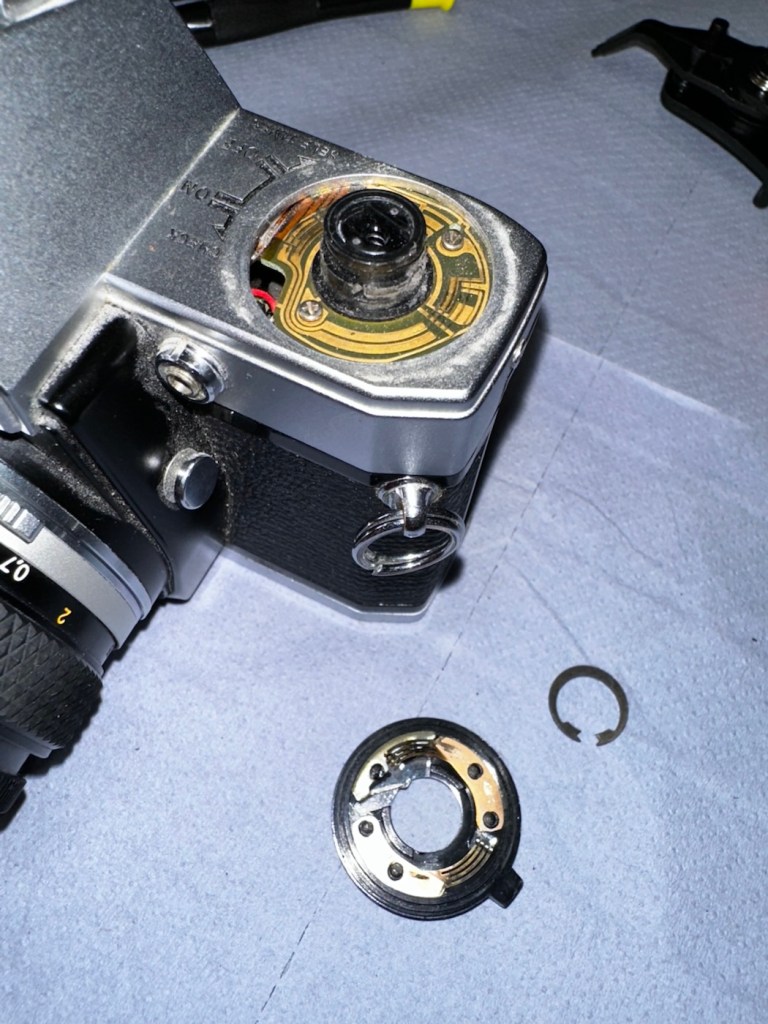
I’ve dismantled the faulty switch. Inside, the old tracks on the camera and the pickups on the switch were showing signs of tarnish so I used some contact cleaner go get these looking better. I’ve re assembled the switch and used a new circlip to hold it all together. It’s a lot more secure and responsive now with no interruption to the check signal. It’s quite solid as it always should be.
Capstan needs dismantling Circlip needs removing Those tarnished tracks
Here’s a small video regarding the switch repair.
Switch working as it should
With the switch sorted I’ve now removed the focus screen to give that a bit of a clean.
Focus screen removal, cleaning and replacement
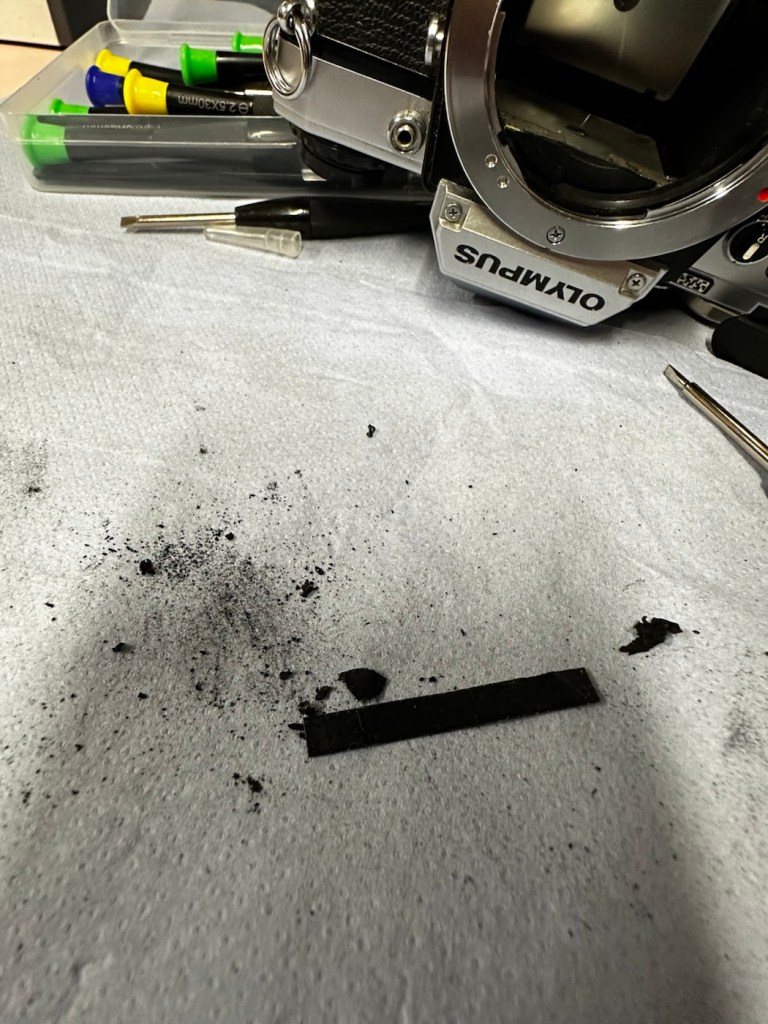
And after this I have gradually started to remove the old light seals in preparation for their replacement. They really are in quite a bad way and creating a lot of dust and dirt as they degrade.
Old light seals removed and degraded Mirror damper seal removed
Now to get the remainder of the old seals removed, clean the troughs they sat in, and then put the new seals in place.
With some IPA, and a large bamboo stick it’s time to remove the old seals
Some seal cut to sizeDoor seal replacedTop seal installed Bottom seal installed
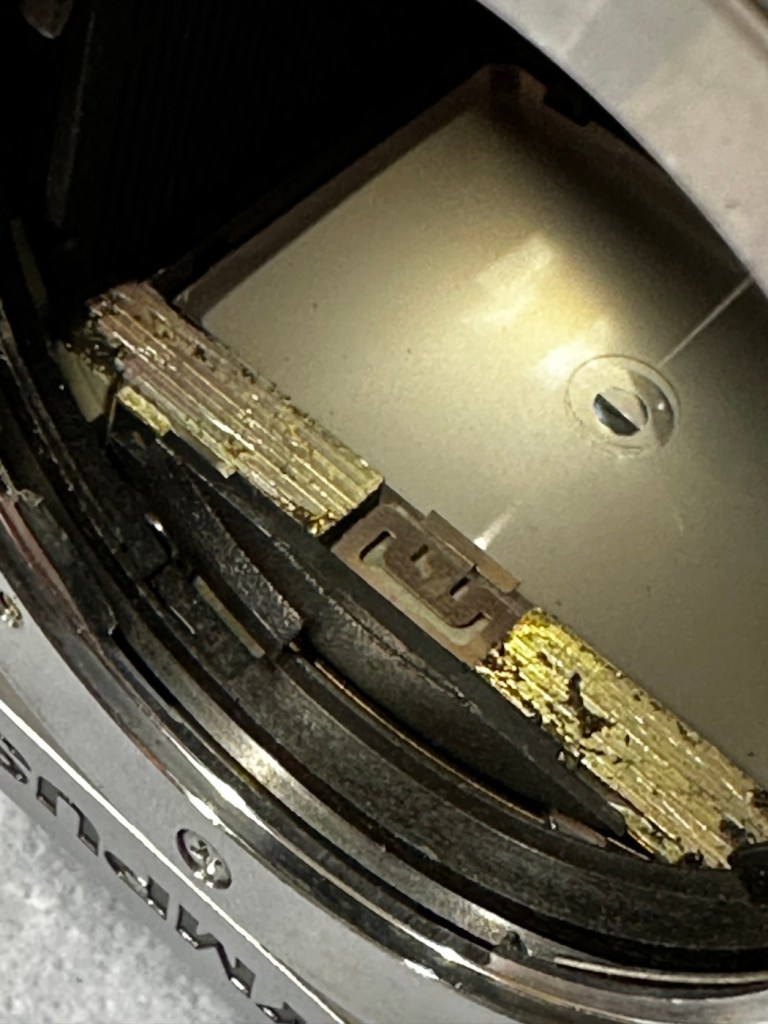
I’ve replaced all the seals on the camera body apart from the mirror damper. I need to get some adhesive first, to secure the plastic plate that sits above the damper. Hence I have to wait for this to be in place before I can finally put the damper in situ, i will do this in the next 24hrs.
Now, the plastic piece that covers the focussing screen access is now secured in place and the mirror damper has been installed, all light proofing has now been completed.
Mirror damper installed
The original lens that was suffering with fungus has been dismantled and given a clean, however because the top two optics are a sealed assembly, guess what? The fungus is within the sealed section and is unable to be accessed. Therefore the lens will never be cured of this issue, it has been improved by cleaning the other optics but it’s not in anyway good enough to use with film in the camera, I will therefore use the old lens purely for testing purposes, it works fine for that and will be just fine for testing other Olympus equipment. In the meantime I have purchased two further OM 50mm std lenses, one is an earlier “Silver nose” model with a single lens protective coating whilst the other is a later production “Black” MC (Multi coated) model. Both are in an excellent clean condition conducive for film photography.
The two new lenses – “Silver nose” to the right
I’m happy that the repairs have now been completed, all that is left now to do, is to give the unit a thorough clean, and to clean that original plastic/rubber camera strap with some warm water.
Result:
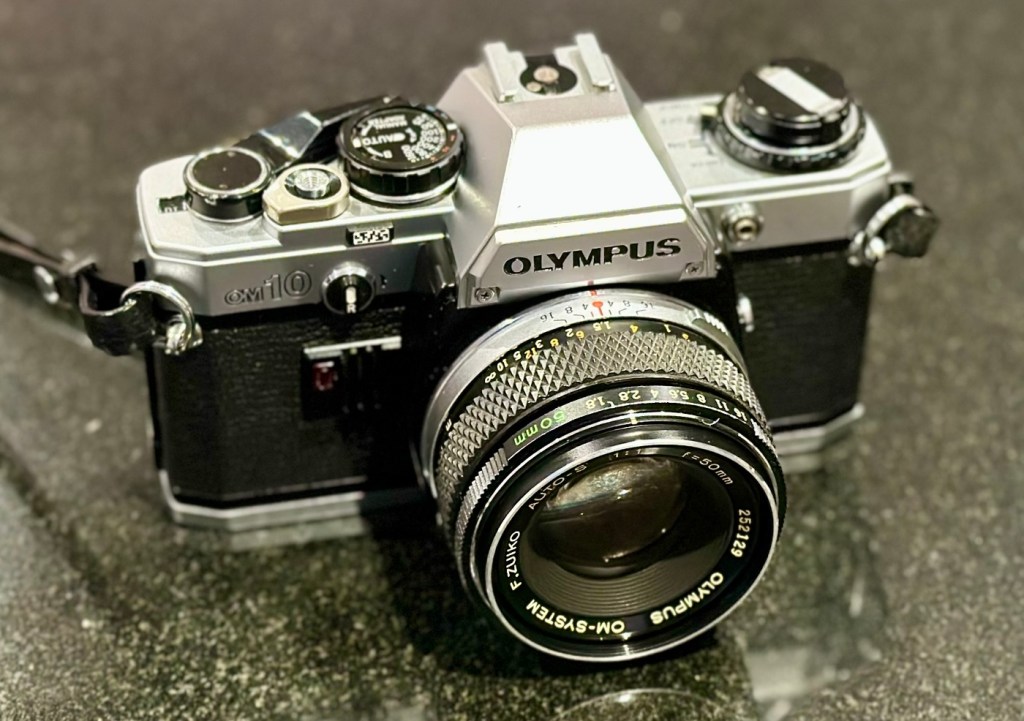
Here we present a fully cleaned and maintained Olympus OM10 35mm SLR camera from the 1980s looking quite resplendent after all the work on it has been completed.
All cleaned
Looking superb with a new lens
Looking fine from all angles
It’s been a lovely camera to work on. The make of this camera is superb, and back in the 80s Olympus were on a high note with the high end advertising, using many well known celebrities, and their cameras as a result became extremely popular. They are very well made and have stood the test of time. This one camera will go on to continue being used, and has many good years of life ahead of it. Another one saved from the scrap heap. As with all my cameras I have an immense backlog of units all awaiting the time when they have a roll of film run through them, and this one is no different. When I do pass a test roll through it I will post a link to the results here.
As always, thank you for passing by and glimpsing this post. It is always very much appreciated.

























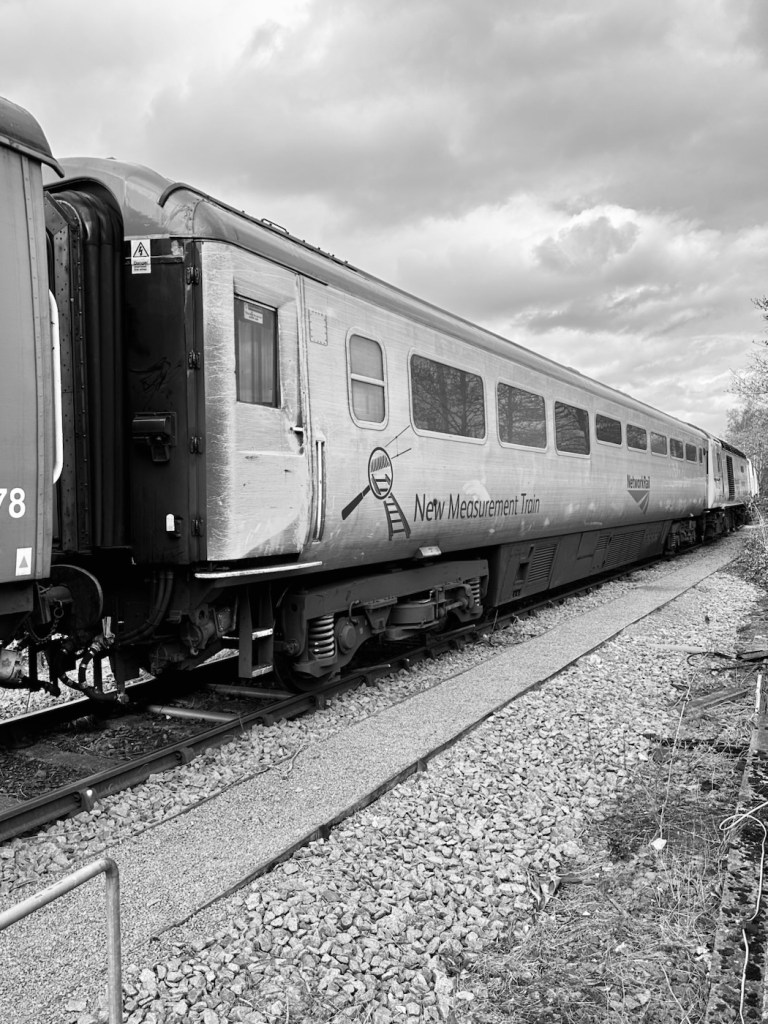

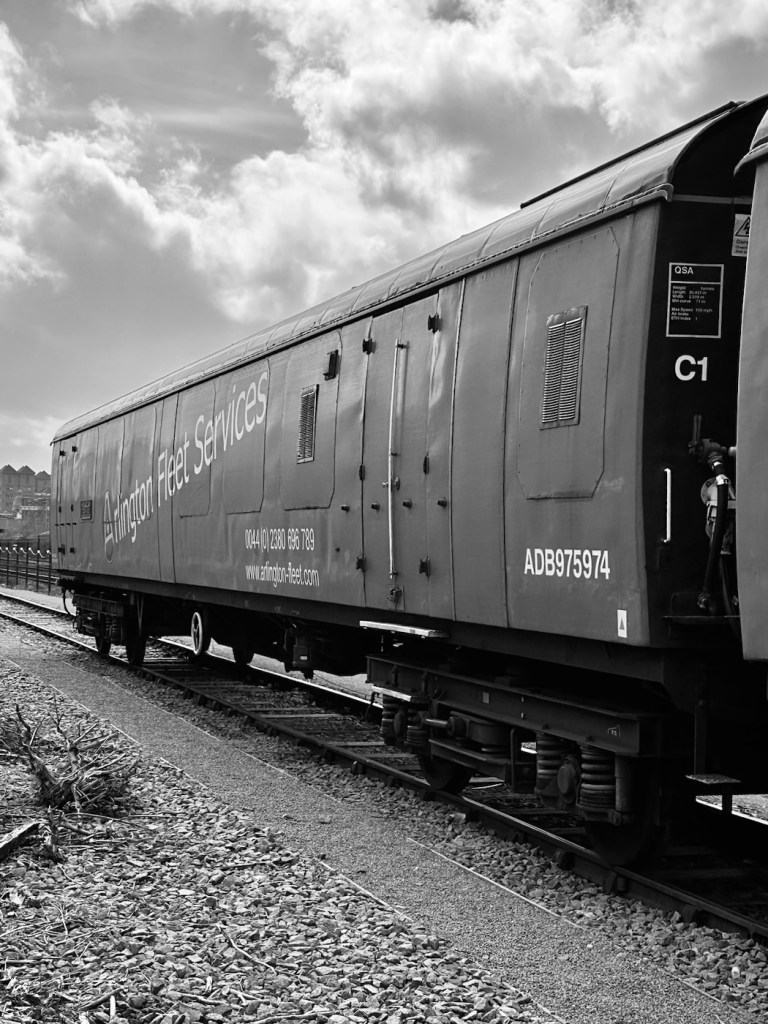
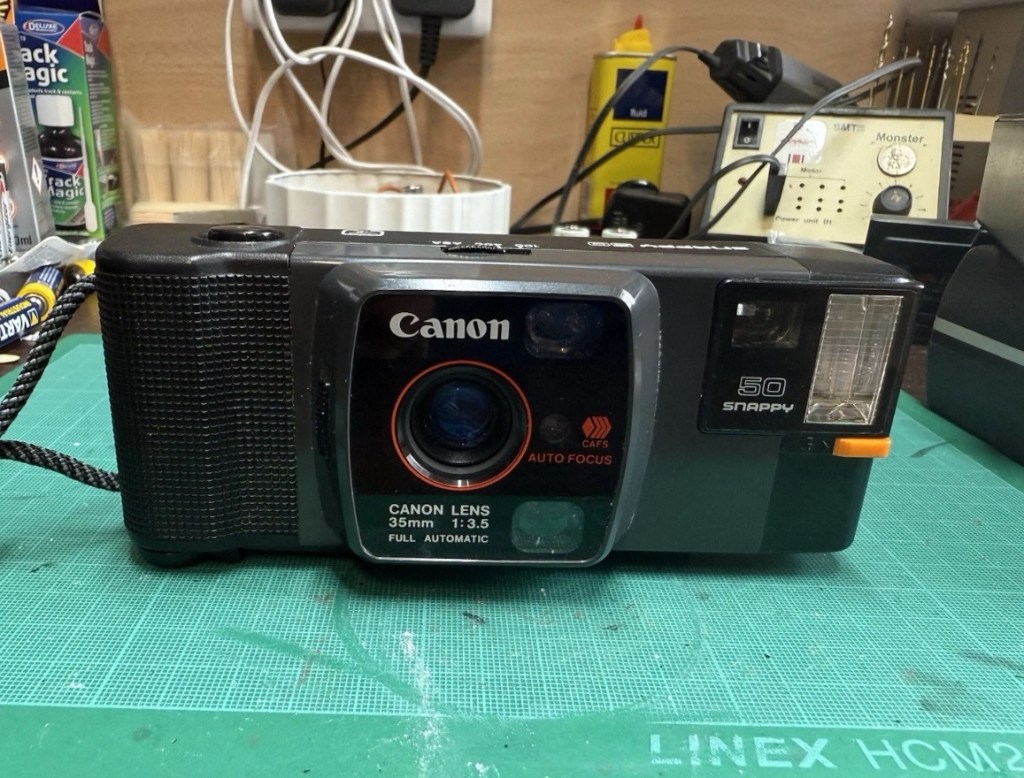
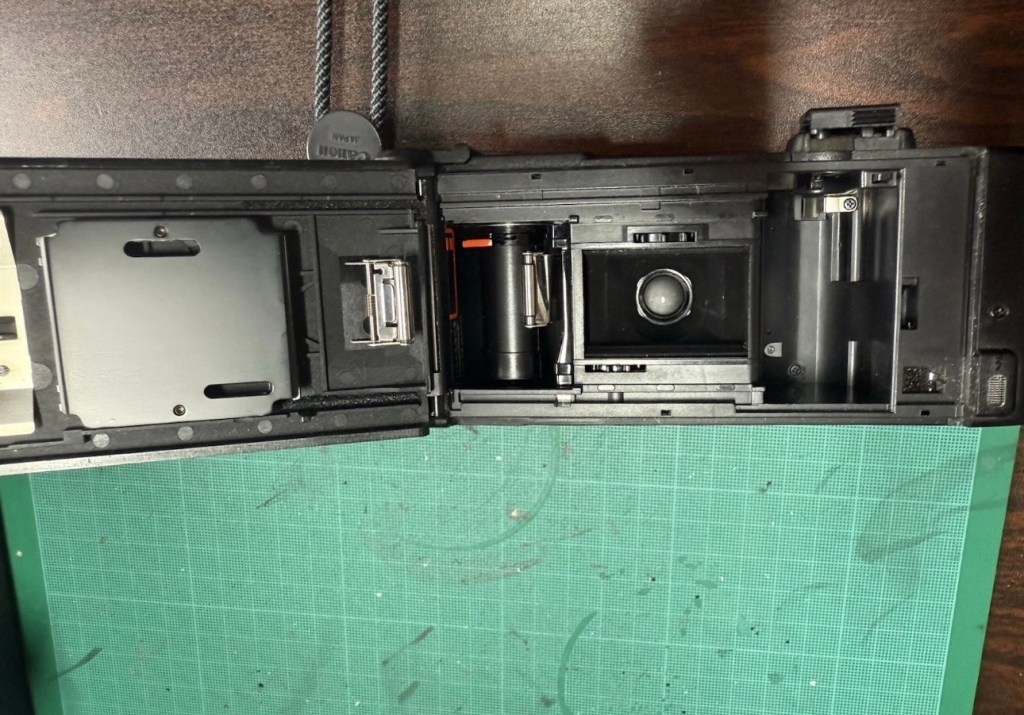












































 Foxes Den
You must be logged in to post a comment.