

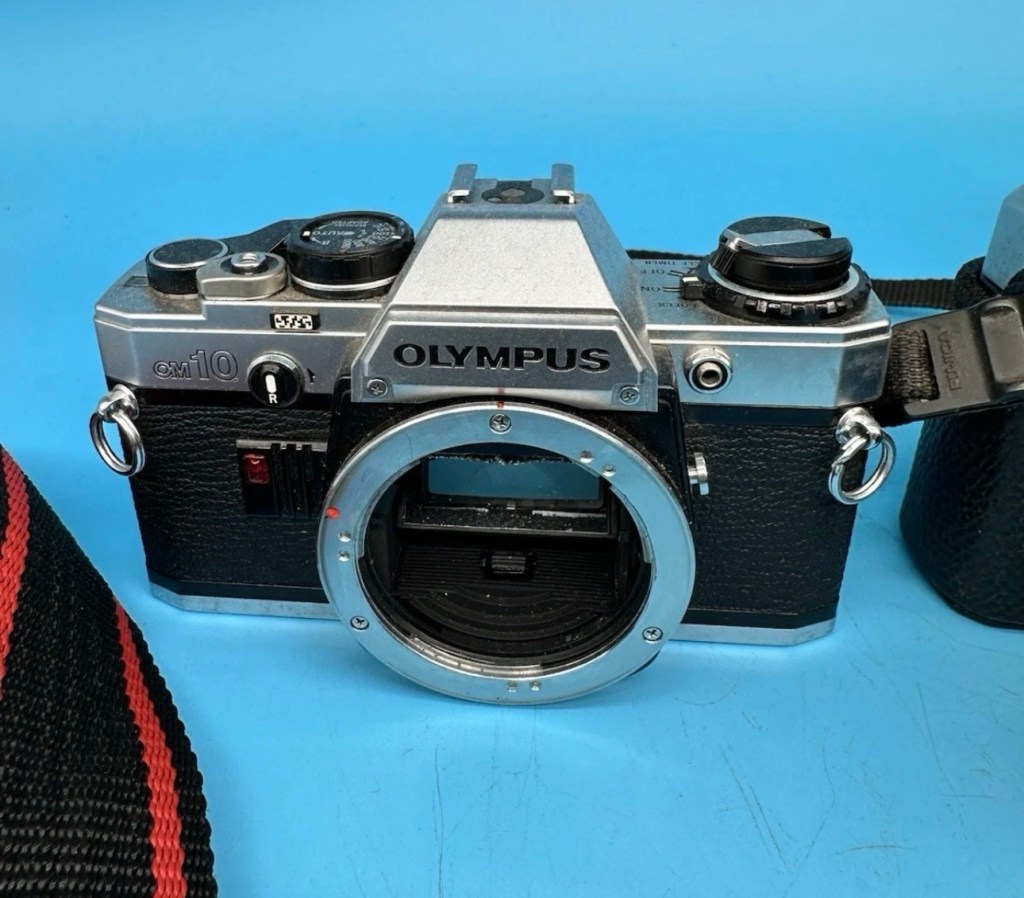
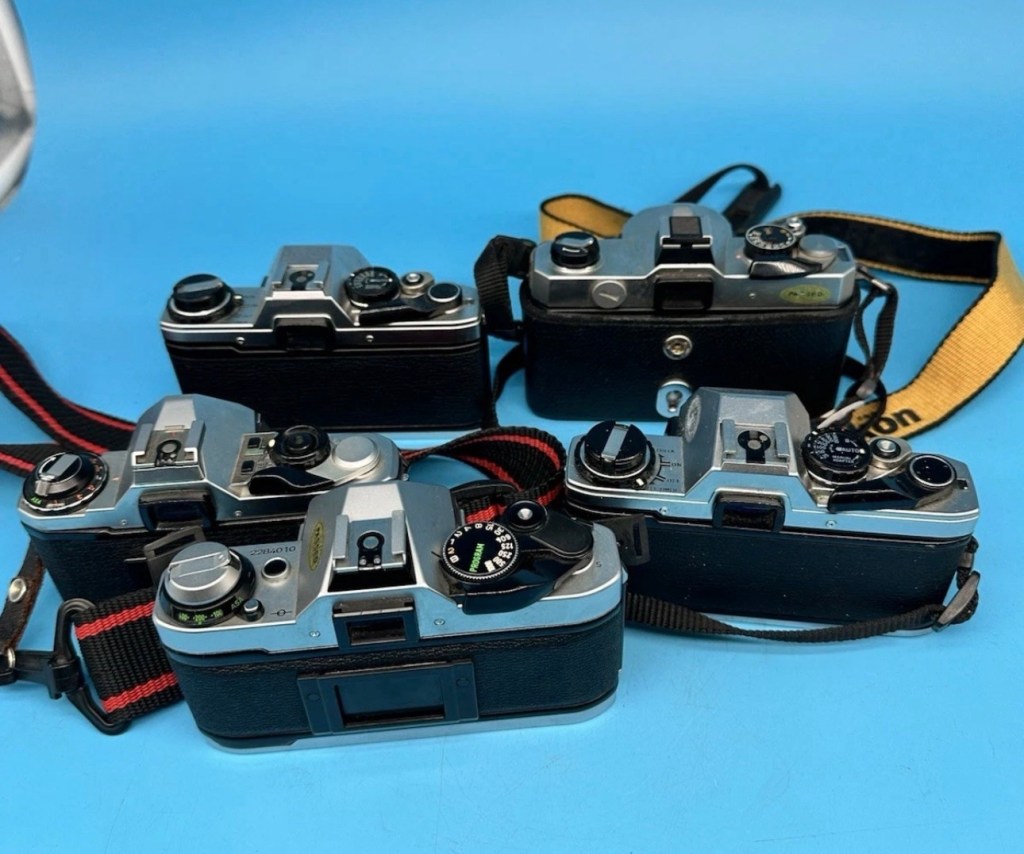
I purchased this camera as part of a job lot of 5 cameras that were faulty, read about that purchase here: More camera odds & sods

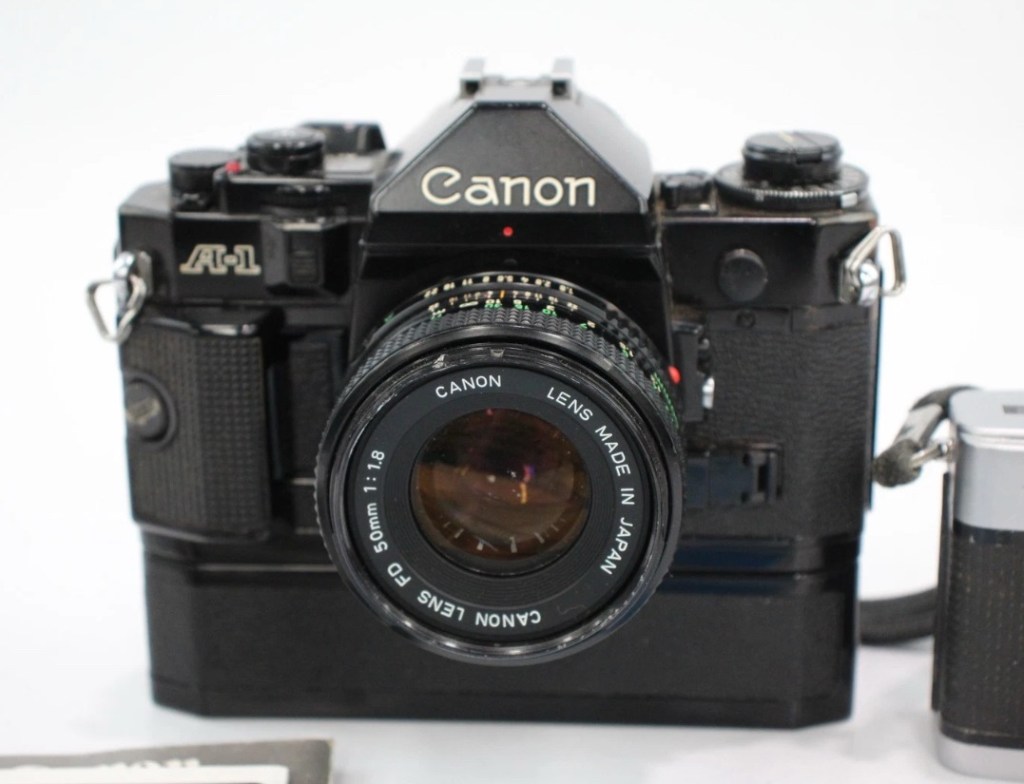
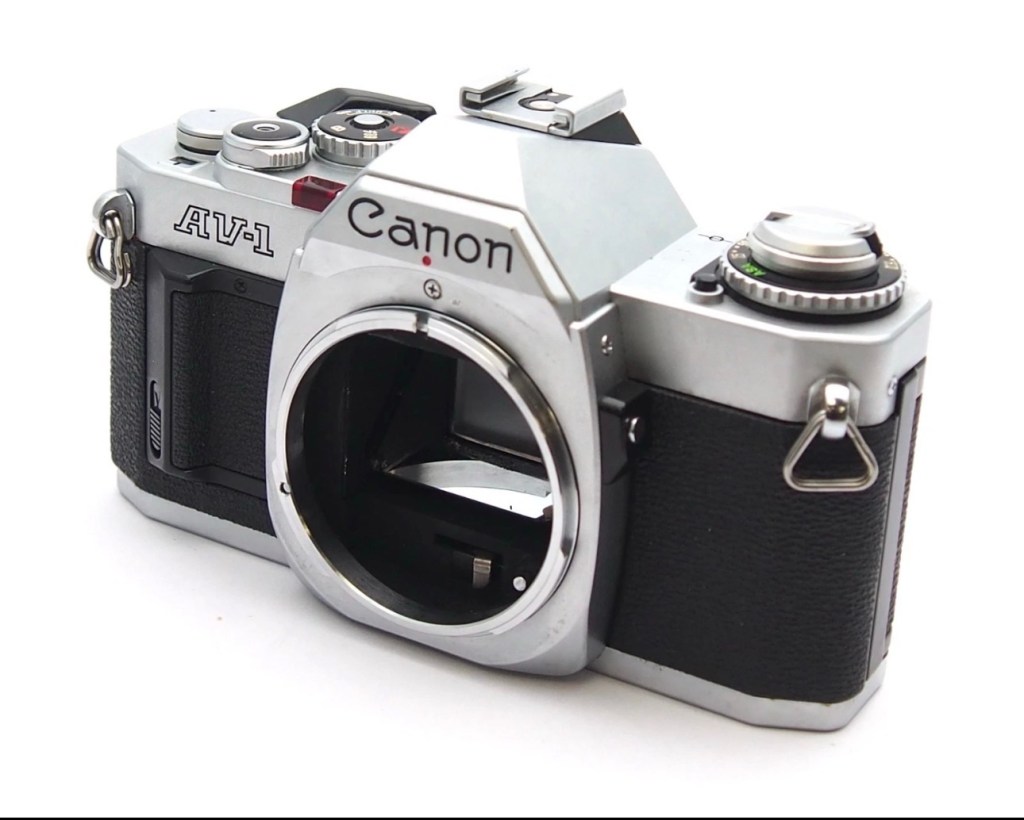
I’ve been working towards purchasing the entire range of Canon “A” series cameras, and this is the final piece of the jigsaw for me. I haven’t paid premium prices, I have purchased each and every one of them as damaged items and have had to effect the repairs on them to get them working. It’s a wonderful collection of old cameras, all showing their individual battle scars but each performing without fault in taking photographs. What they were designed to do, growing old gracefully and with a now extended life span.
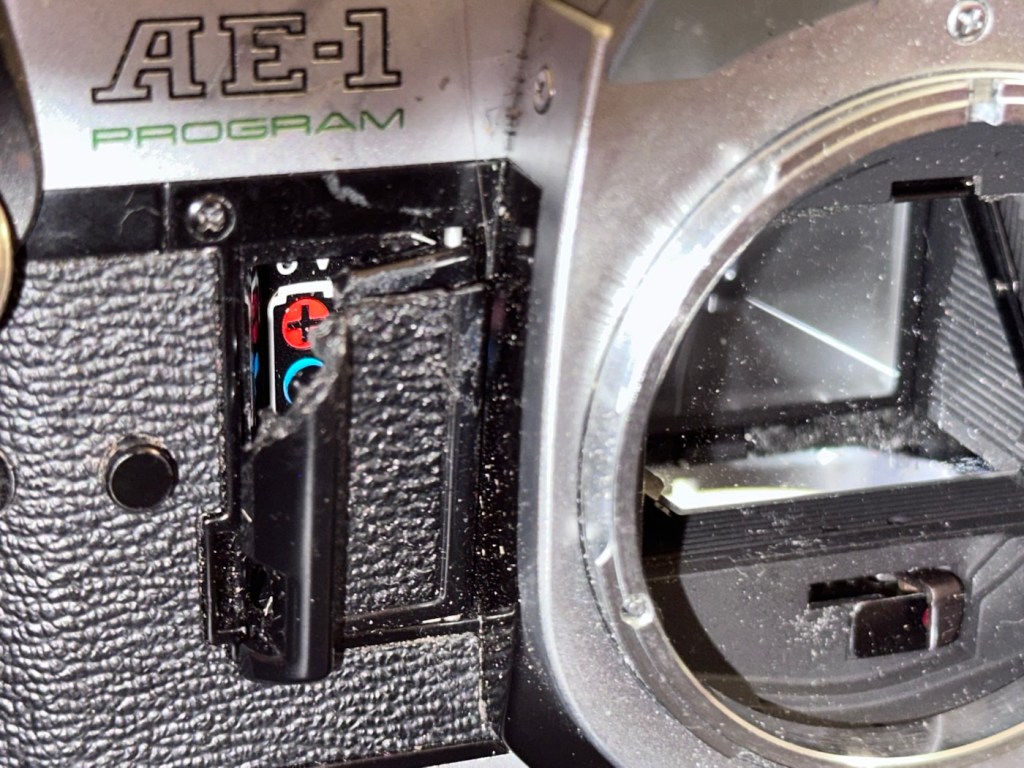
It works out that this camera has only cost me £8:00GBP, and that is a superb price to pay for one of these cameras, even if it was only for parts it would have been a bargain, however these all have the ability to be revitalised and to be given another crack at life. I have done a very brief assessment and nothing appears to be operating as it should be. Electronically this is potentially a very unstable camera, I just need to run a final test on the electrical system. It has two parts that need replacing. There is a small power winder cover that is missing, it’s not important but I will replace it purely for aesthetic reasons. Secondly the battery cover is broken, I do have a 3D file downloaded so I will see how that prints out.
This camera is currently unloved, very dirty and will require quite a bit of work just to bring it up to usable standards. I don’t wish for it to be pristine and at display standards, I want it to be clean and capable of carrying out what it was originally purposed to do, it will be used and thoroughly loved.
Here’s a little bit about the AE1-Program:
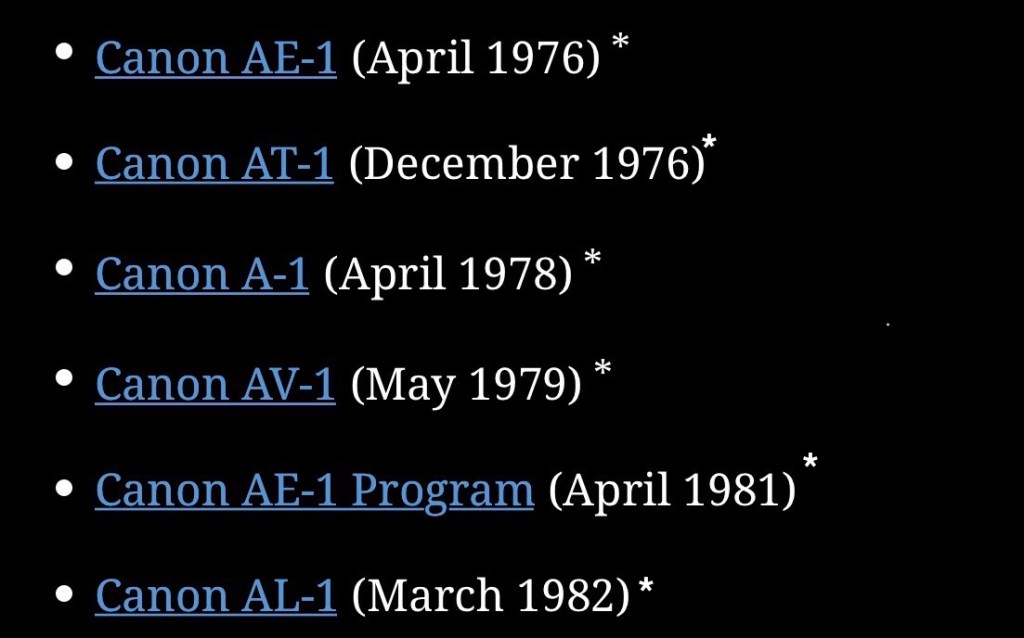
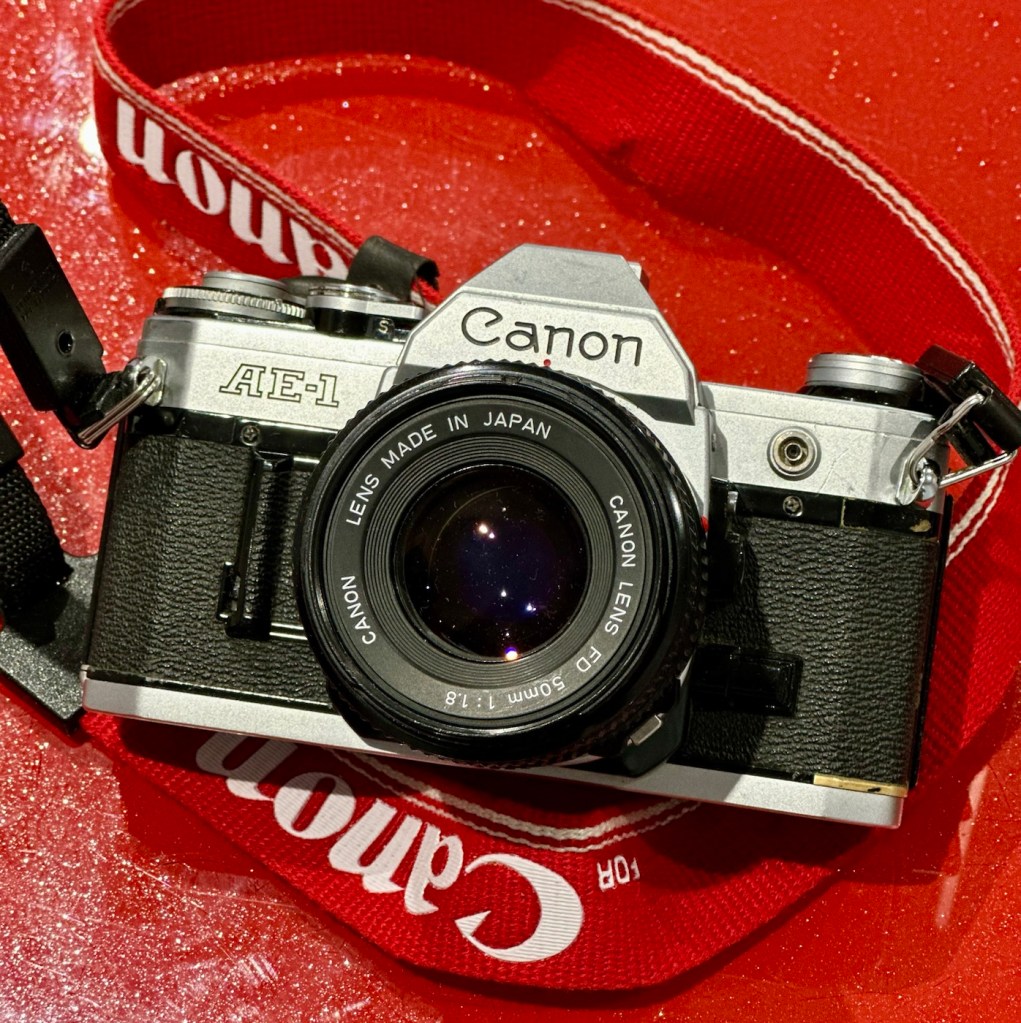
The Canon AE-1 Program is a 35 mm single-lens reflex camera that uses Canon’s FD mount lenses manufactured by Canon Camera (today Canon Incorporated) in Japan and introduced in April 1981 as the successor to the Canon AE-1, five years after that camera’s introduction. The major difference was the addition of the Program AE mode first seen in the A-1. This mode sets both the shutter speed and aperture automatically—albeit with a slight bias towards the shutter speed setting. The user focuses the camera and then presses the shutter button. For those desiring more control, the AE-1’s shutter priority auto-exposure and full manual modes are still available.
Wikipedia
Repair
The first thing to do is to get the relevant battery in place and to see what does or doesn’t light up or function. These cameras take a standard 6v 4LR44 battery, and I have some more of these arriving later today, these cameras are reliant on that power source to pretty much do everything, so we have to have one in place to carry out an accurate assessment. Once i can see how the electrical system is working I can then make a decision on how to progress.
The battery has arrived and when it is installed, nothing happens. Electrically the camera is dead and requires attention, and that’s not good. The auto, lock, self timer switch under the winder is not moving, and hence the winder won’t wind, and the shutter won’t fire. It’s a very poorly camera. I go to remove the 6v battery and it is extremely hot, I’d suspect very close to exploding, this is not good at all. I’ve put the battery to one side, it’s now obvious that we have a short circuit somewhere causing the battery to overheat.
I have printed off a replacement door and catch. It’s not to the original standard but should do the job, until a quality one becomes available. To replace this door the top of the camera has to be removed anyway, so whilst I’m in there I will try to see if I can find the cause of the short circuit.
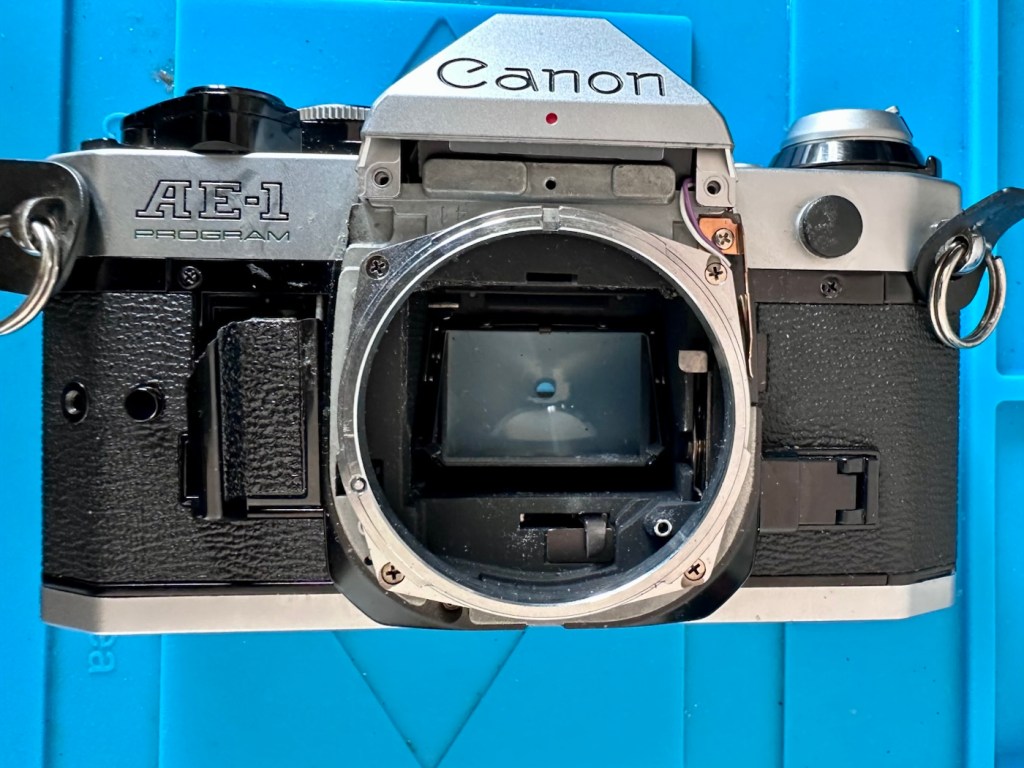
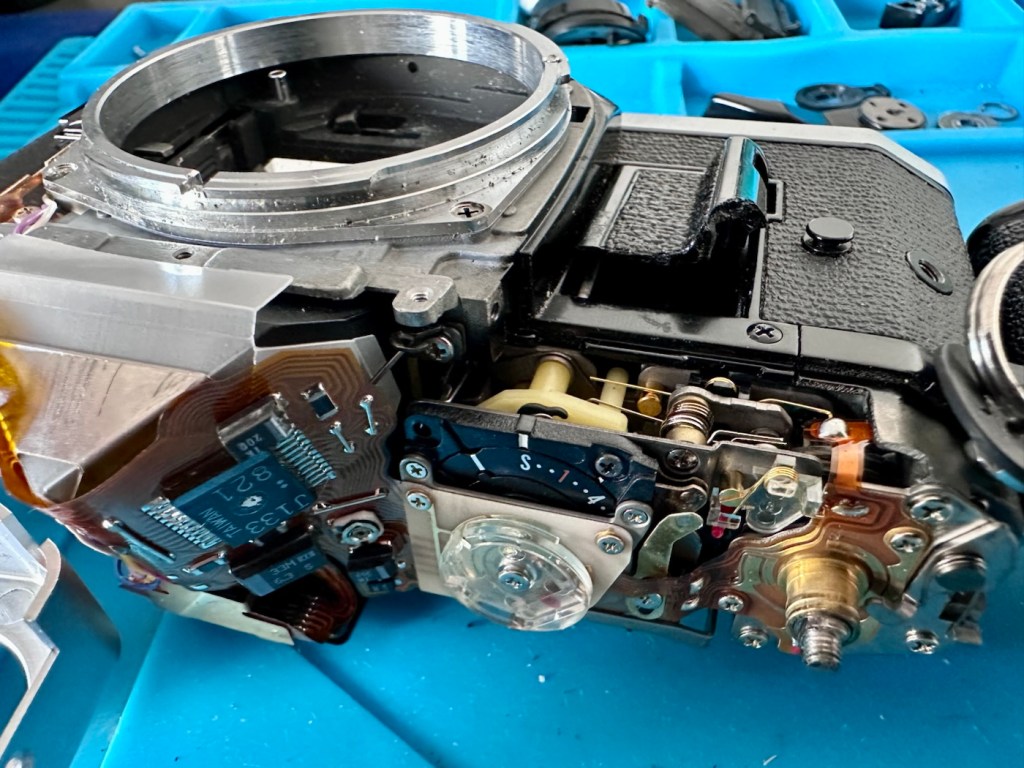
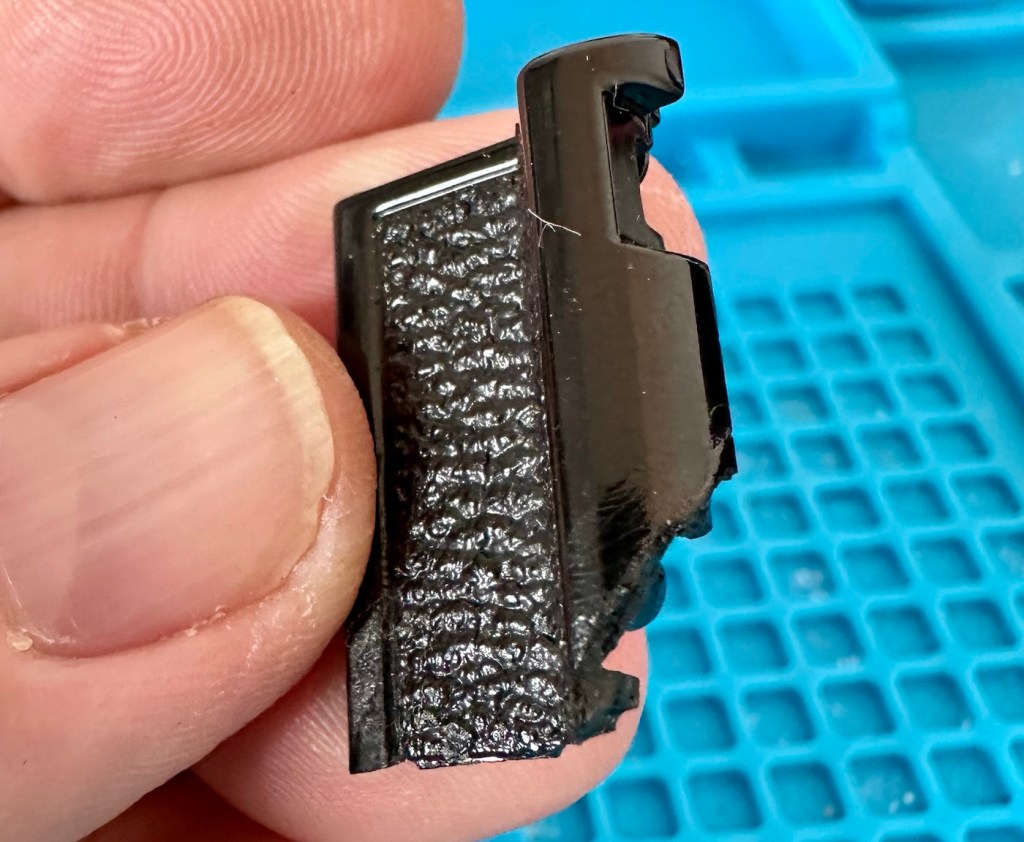
The pin that supports the door has to be pulled up through the mass of electronics to release the old door and the little spring that opens the door.
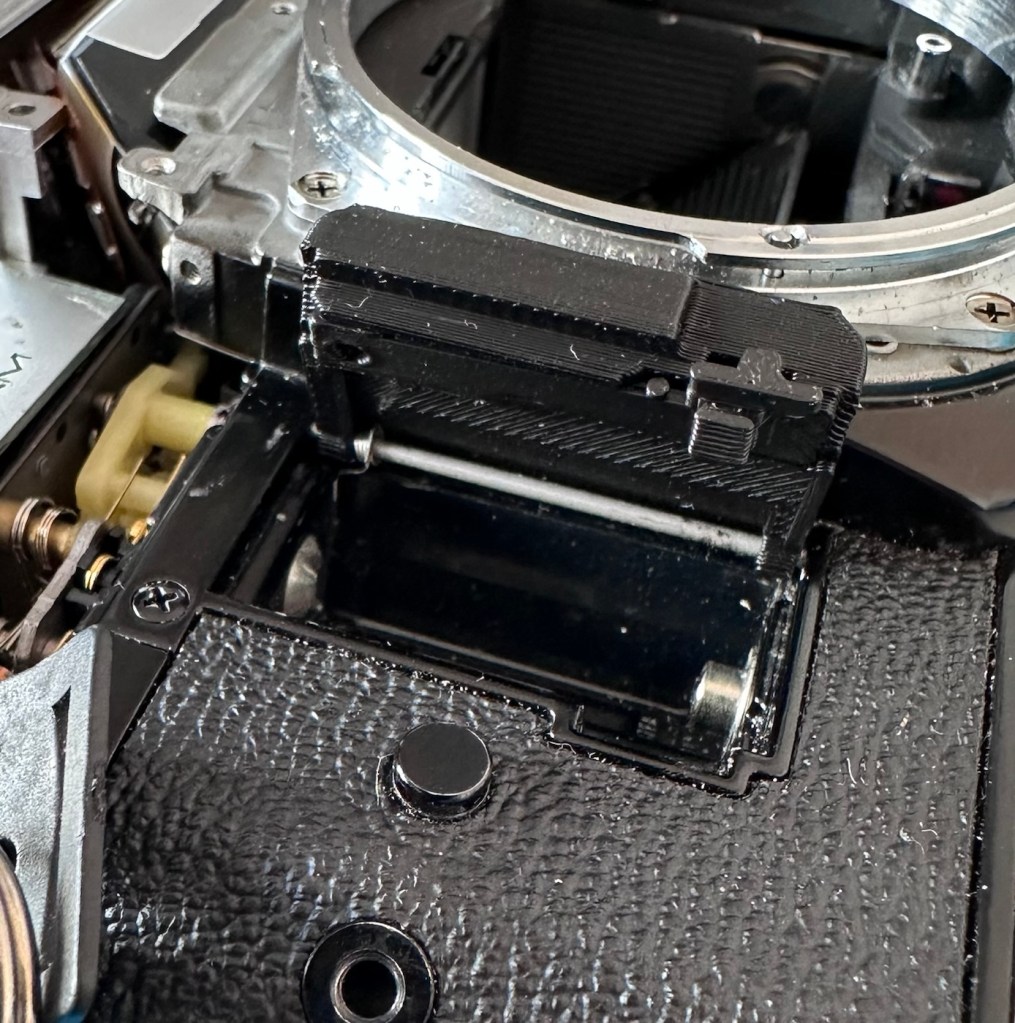
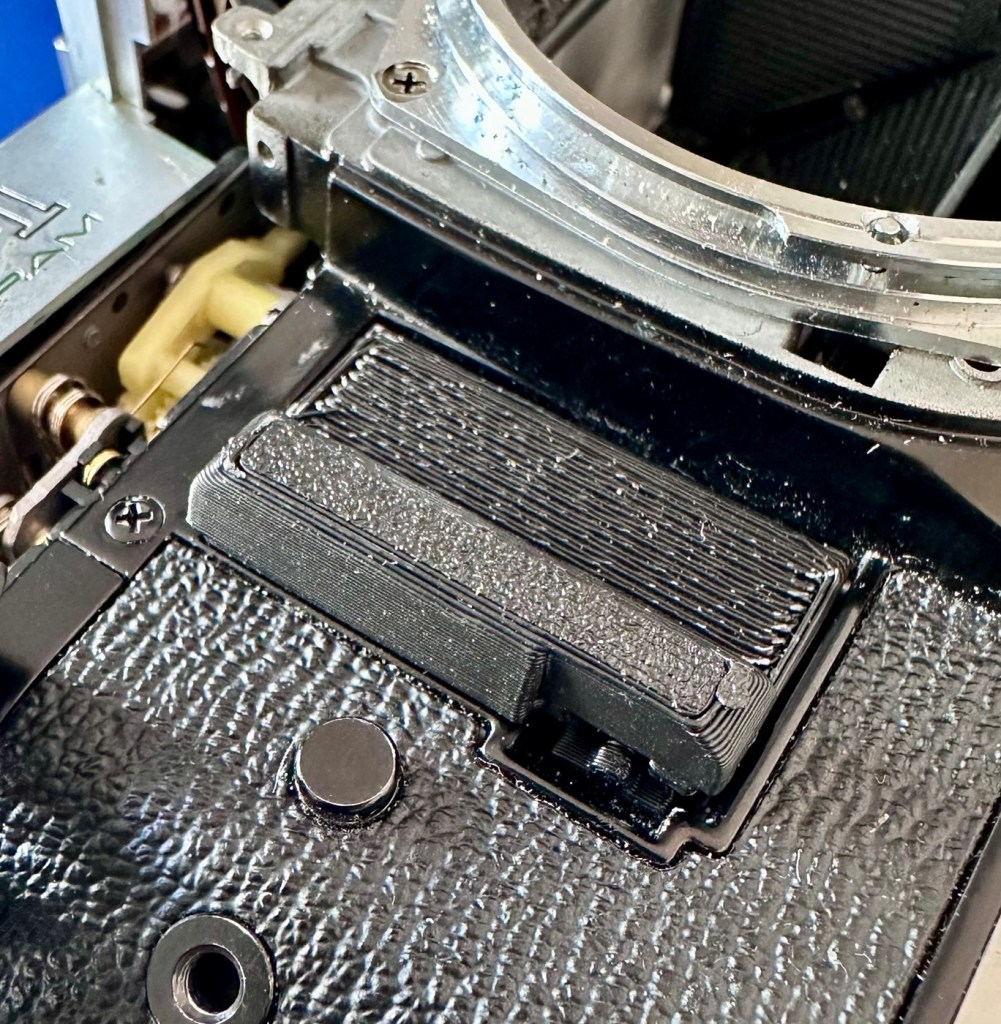
The printed door has cost me approximately 0.22p to print, and considering that Canon no longer produce the door, the options are limited to auction sites that charge horrendous amounts up to £30:00GBP, or the alternative is a 3D printed option of about £15:00GBP. Seeing this camera has cost me £8:00GBP, a layout of 0.22p will do for me just to get this camera up and running. I can always “tart” it up in the end if I choose to. To be honest, if it does a job, if the camera does what it should, then should I really worry about it? Probably not.
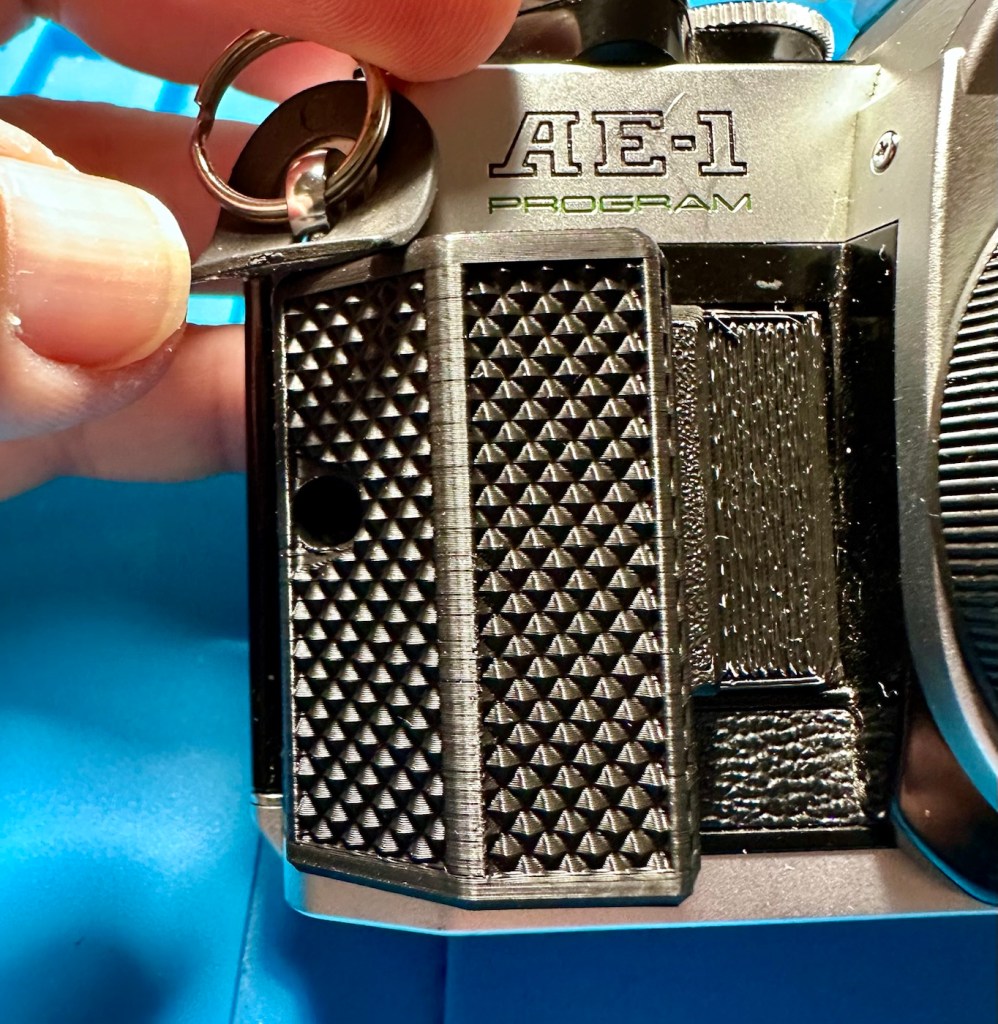
Just for the sake of it I have also 3D printed a speed grip that used to be facilitated on the “A” series cameras. These give a little more security to the battery chamber door, stop the door opening if the catch should fail, and give extra grip to the camera body. And it kind of looks nice so I have printed one out to use. I just need a black M3/8 screw to attach it.
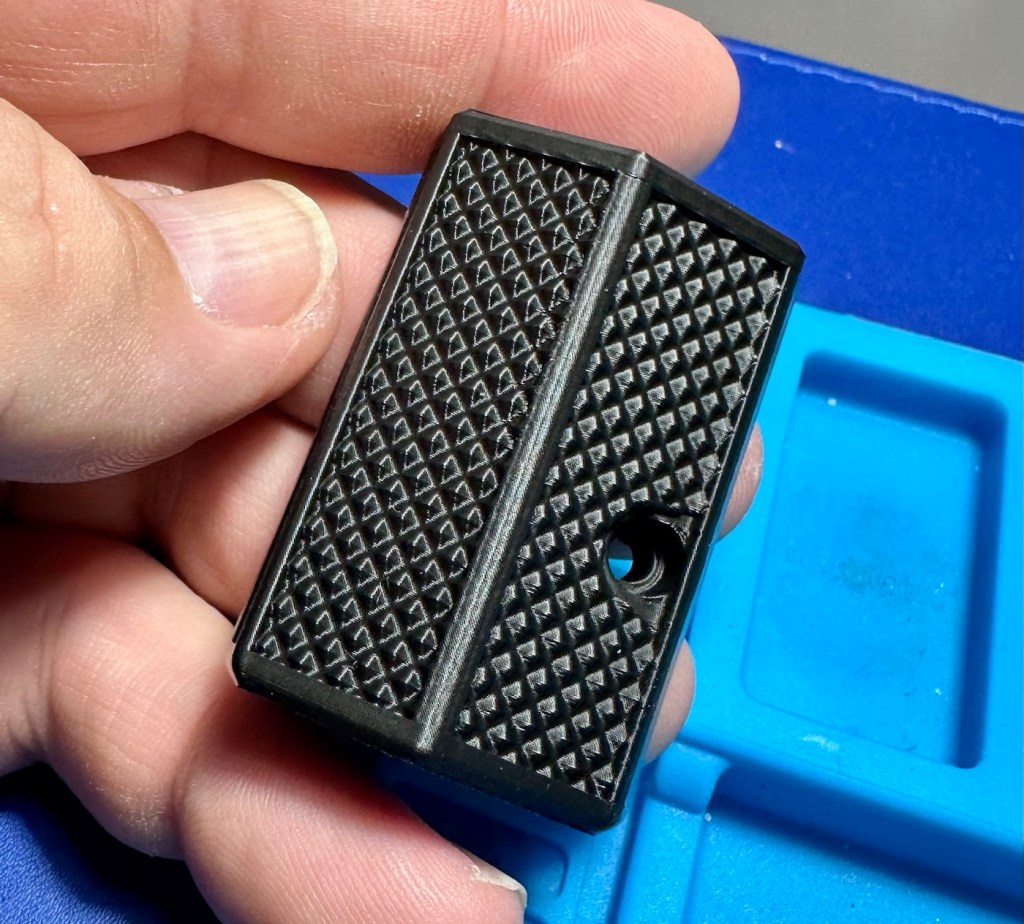
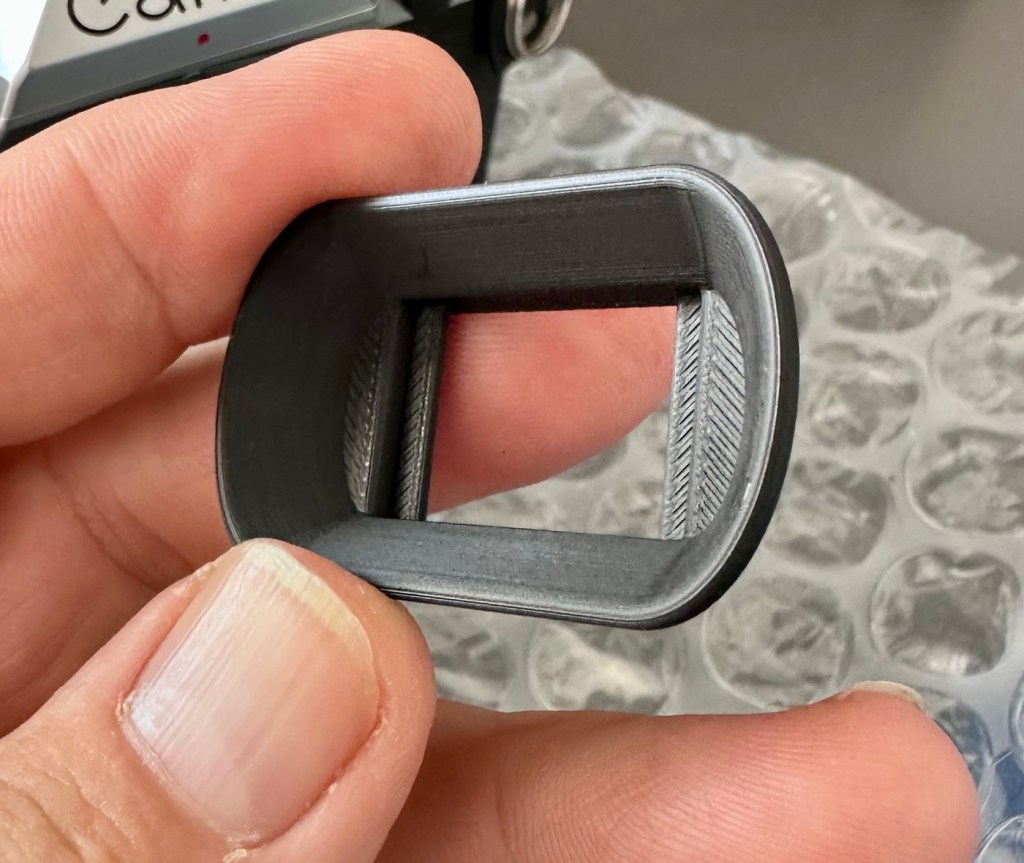
I’ve also printed off a eye cap for the camera. Just because I can to be honest, it just finishes it off in my opinion.
I stated that the switch that puts the camera into auto mode, switches it off and operates the self timer was seized. When the top is removed and all the relevant parts are removed the area in question can then be observed. And there was a problem.
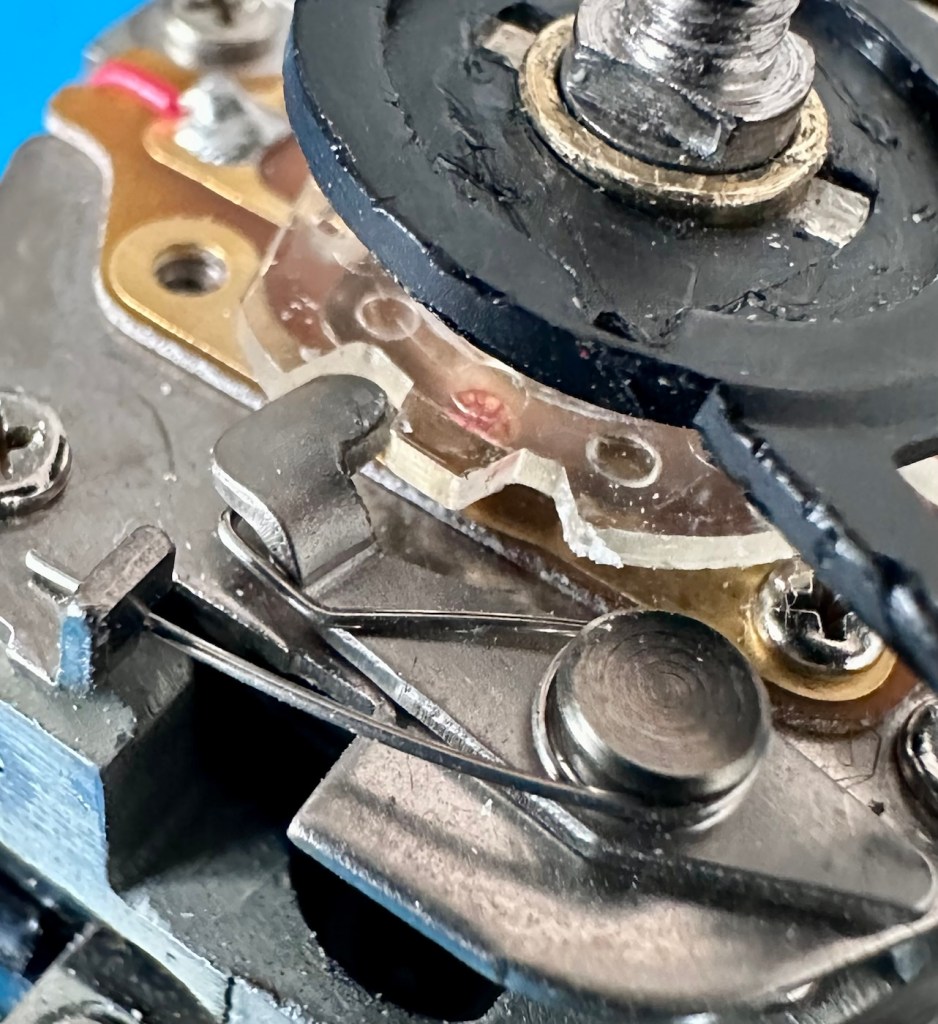
Under the film winder is a small Perspex frame with a spring loaded catch. This operates the three settings “A” – auto, “L” – lock or “S” – self timer. The switch must have been forced in the past, as the metal catch had sprung under the Perspex plate and was firmly wedged between the copper contacts underneath causing the short.
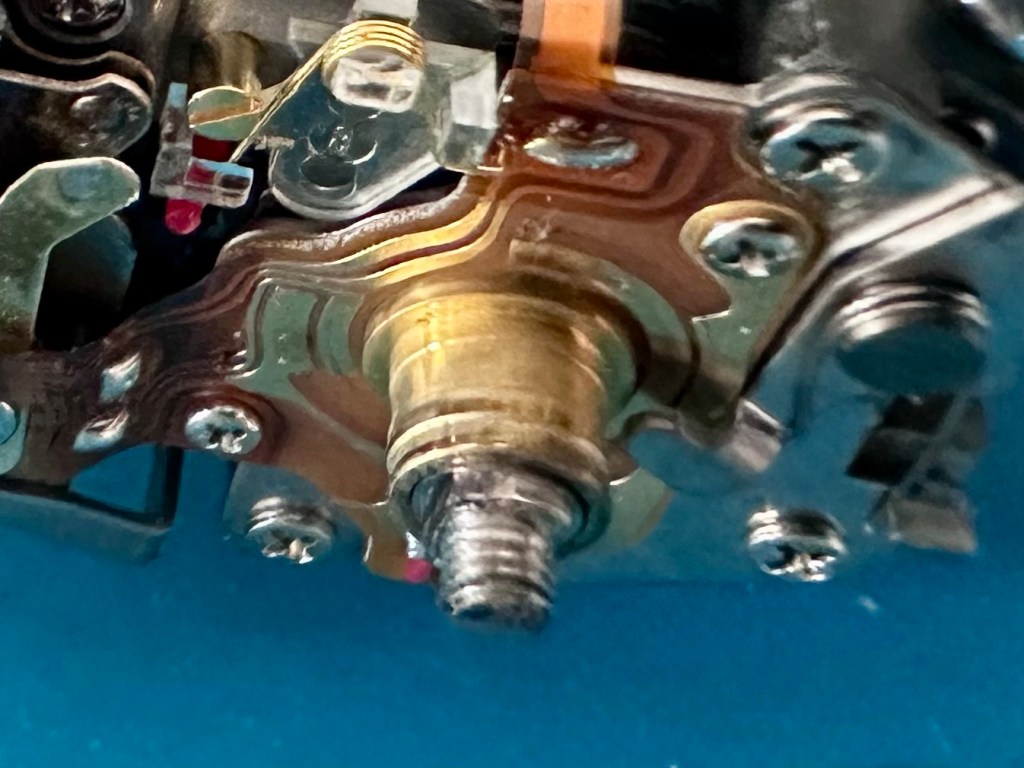
The metal catch had to be coerced back into position, lifted slightly to sit comfortably back in the position it had previously occupied. A quick test confirmed that the switch was now behaving how it should, and clicking firmly throughout its range.
The original battery that overheated was now showing as severely depleted due to the earlier problem, this has had to be disposed of, and so into the battery recycling receptacle it goes.
With the camera now reassembled I can try a new battery, and the result is the polar opposite of what occurred earlier. Straight away the shutter fired, when I put the switch into auto mode, the shutter could be fired again in fact it could be fired repeatedly. The light meter inside the viewfinder is working and showing lights. When in auto mode, and the battery check button is pressed you hear an intermittent sounder showing the electrical circuit is now operational, the more frequent the sound the healthier the battery is. When in self timer mode it didn’t work, it should beep and after ten seconds should fire. Hopefully it’s just dirty contacts, but none the less it will need looking at next time I take the top off. And all the while the new battery has remained cool with no temperature change. We have found the short circuit and the basic camera operation has been restored.
One thing I noticed with the shutter working is that there is quite a “Shutter cough” often heard on these older unloved canon cameras. Not a real issue, this will mean further dismantling of the camera to get to the shutter area for a little clean and some light lubrication.
So, let’s deal with that little “Cough”….open wide now!
I’m going to approach this issue by going in through the base of the camera, here I can deal with two issues at the same time. I suspect someone has been in here before me as there is only one screw securing the base when there should in fact be three. I will get these replaced now as I do have a fairly good supply of spares in stock.
This is the magnet coil, it’s known to get dirty after time causing issues such as a continuous wind with no mirror movement.
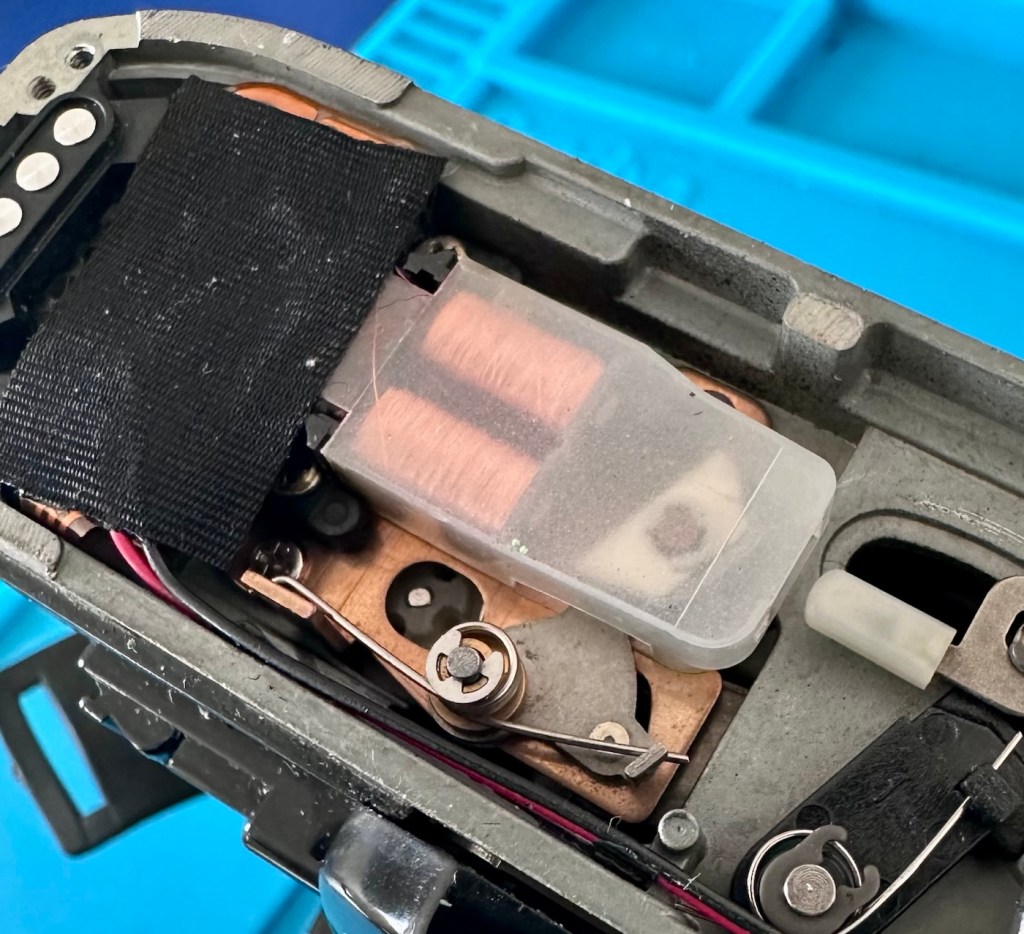
This camera doesn’t have that issue, but because I’m in here it’s a simple case of removing two screws, the casing and then just clean the magnet and coil contacts with some IPA.
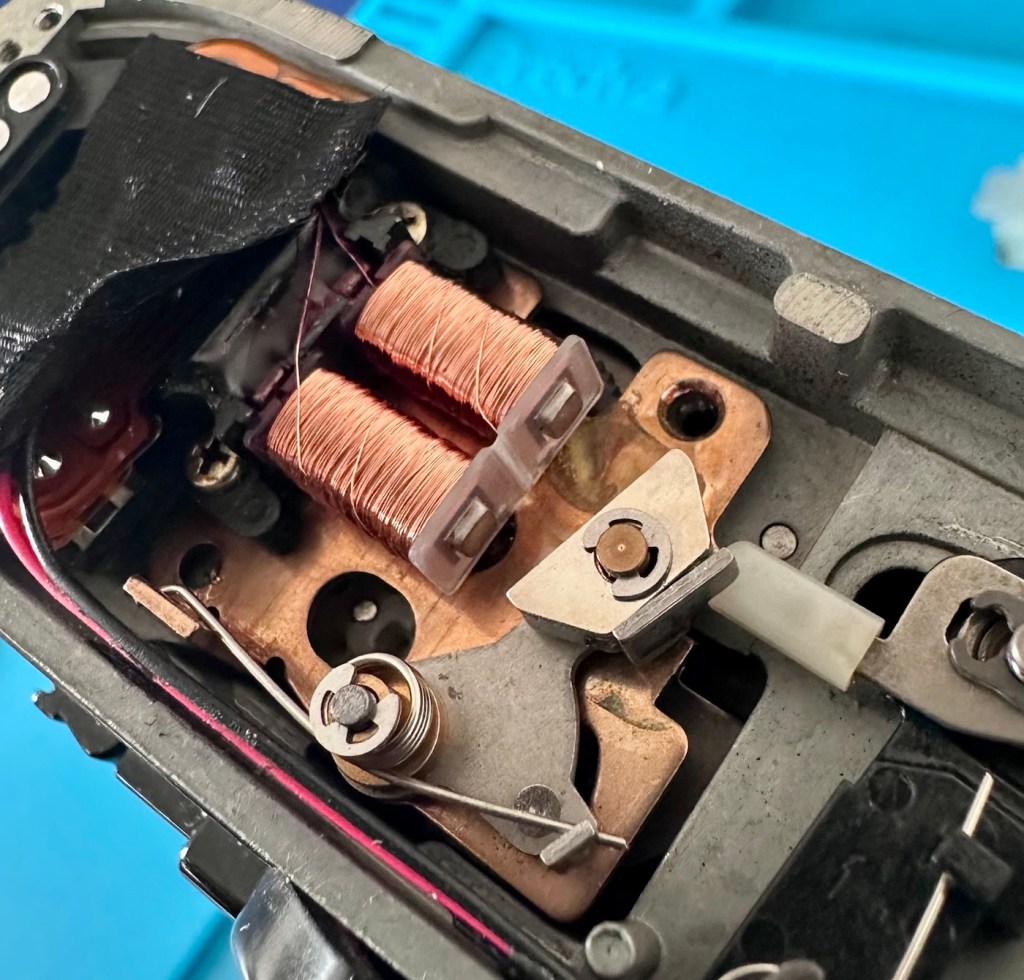
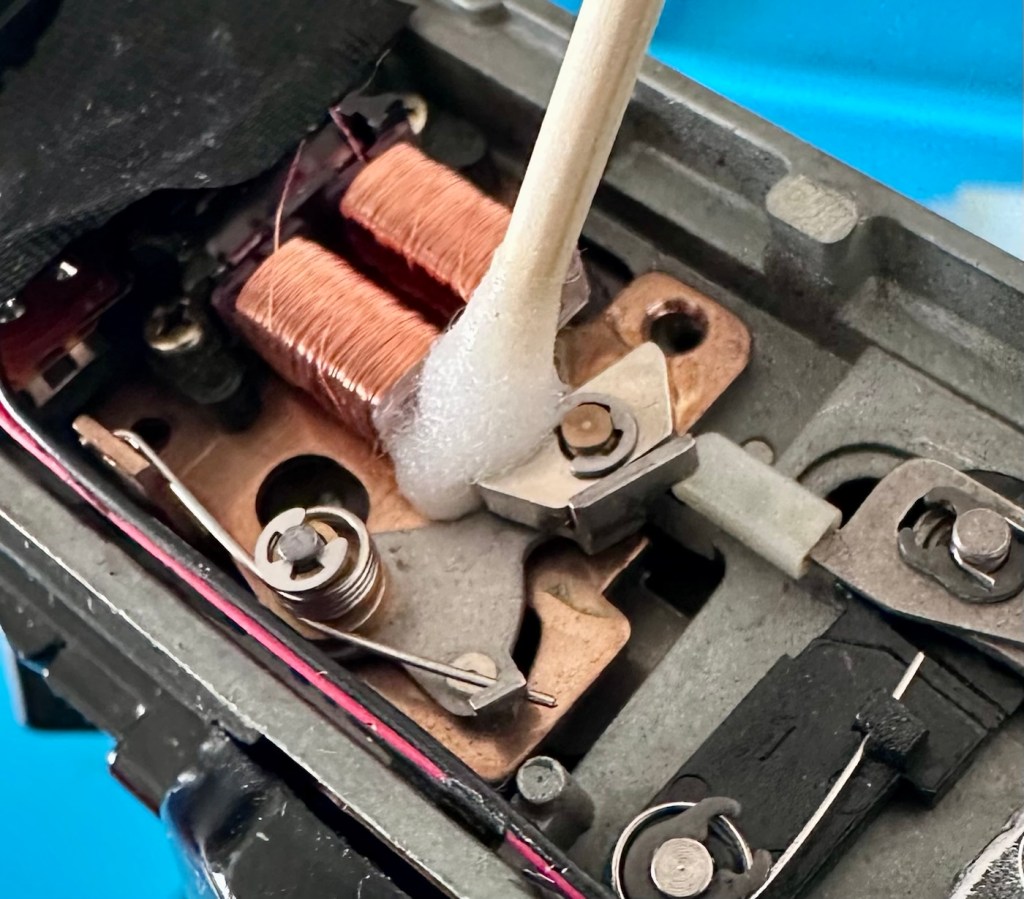
That done, the plastic case is put back on, and the two screws put back into place. Simple job done, it’s future proofing the camera against this issue ever occurring. A blow through with an air canister and a little light lubrication of moving parts in the area and then we can move onto the next issue I want to address.
I’m going to attempt a shortcut with my oiler pen to see if I can deal with the camera cough without going too deep inside the camera. With the long needle of the oiler I may be able to reach deep enough into the internal workings of the camera to oil up the offending cogs and levers. If it doesn’t work then I will have no option but to open up the camera and get inside. It’s worth seeing if I can get the shortcut to work, it’s not a permanent fix but might buy me a year or so of cough free operation.
I’ve left the camera overnight for the very limited amount of clock oil I used to get into all the nooks and crannies, and I’ve checked when I got back home from work, and I’m pleased to say it’s has worked perfectly. Have a look at this little video below that shows how it sounded with the cough, and then after treatment.
Now with the cough issue sorted it’s time to go back to see if we can address the self timer issue. With the base now secure with all its screws (I’ve replaced the two missing ones) it’s time to get the top off again and have another look around.
Inside the camera just below the wind on lever is the mechanism that operates the selector lever. There are four tiny copper contacts that connect with the copper circuit just below. One of these four contacts had been crushed to a level where contact was no longer made with the circuit board below.
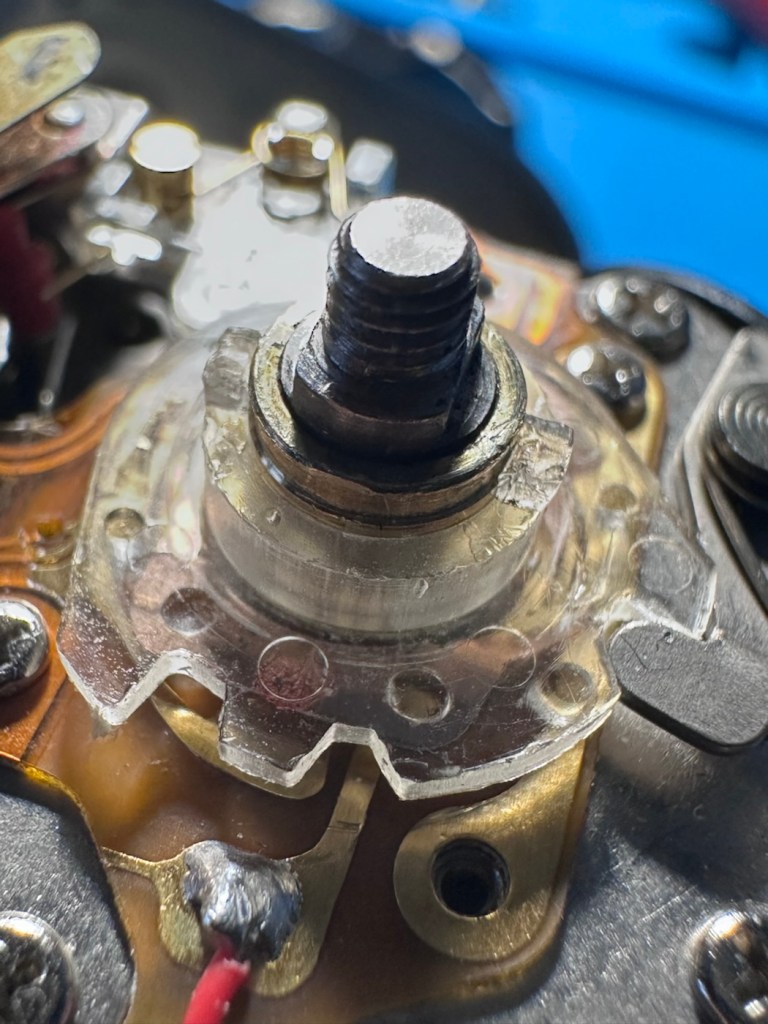
Using a small set of tweezers, I was able to bend the delicate copper contact back into shape allowing it to once again make a connection with the contacts on the circuit board. I’ve also cleaned all points of contact with IPA to ensure all surfaces were clean. A quick test at this point proved the circuit, I was now able to reassemble the camera yet again. Prior to this though I gave a good blow through the circuitry with some compressed air before sealing the top of the camera back in place.
The self timer is now fully operational.
The major issues have now been addressed. Let’s get on with the bread and butter items.
The light seals including the mirror bumper were in a very poor state and had to be removed. This took a lot of patience as the felt had broken down into dust and clumpy particles. I used IPA to soften the old adhesive and probably used about a dozen cotton buds to remove all the debris. The thing with cleaning these areas is when you think it’s clean, clean it again, and once more for luck. In theory cleanliness here is your friend as it helps you through the next stages immensely.
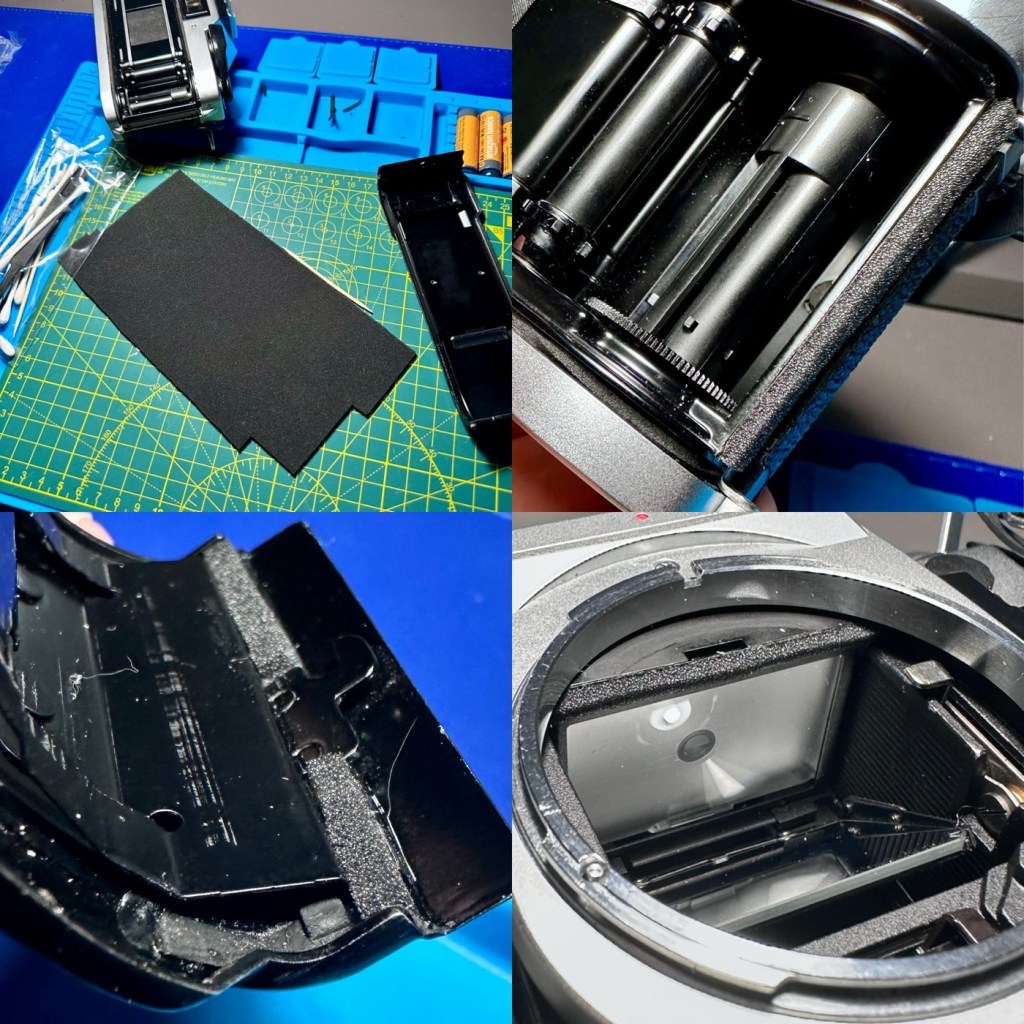
Once all the old felt and seals are removed, and dried, I can cut the new seals to size and get them installed. This has been completed and the new seals have gone into place without issue. Personally for me, this is the most boring but essential task in restoring old cameras. It’s one of those tasks you put off until the end as it is so fiddly and has to be just right.
With the light seals now complete, the last task now is to give the camera a thorough clean.
Result
A buff of the leatherette, and a good polish of the metal work and she is looking resplendent. A new quick grip, hot shoe cover and battery door and the look is complete. My £8:00GBP cast off, dirty, damaged and broken camera is now looking a lot healthier and is now in a good working order.
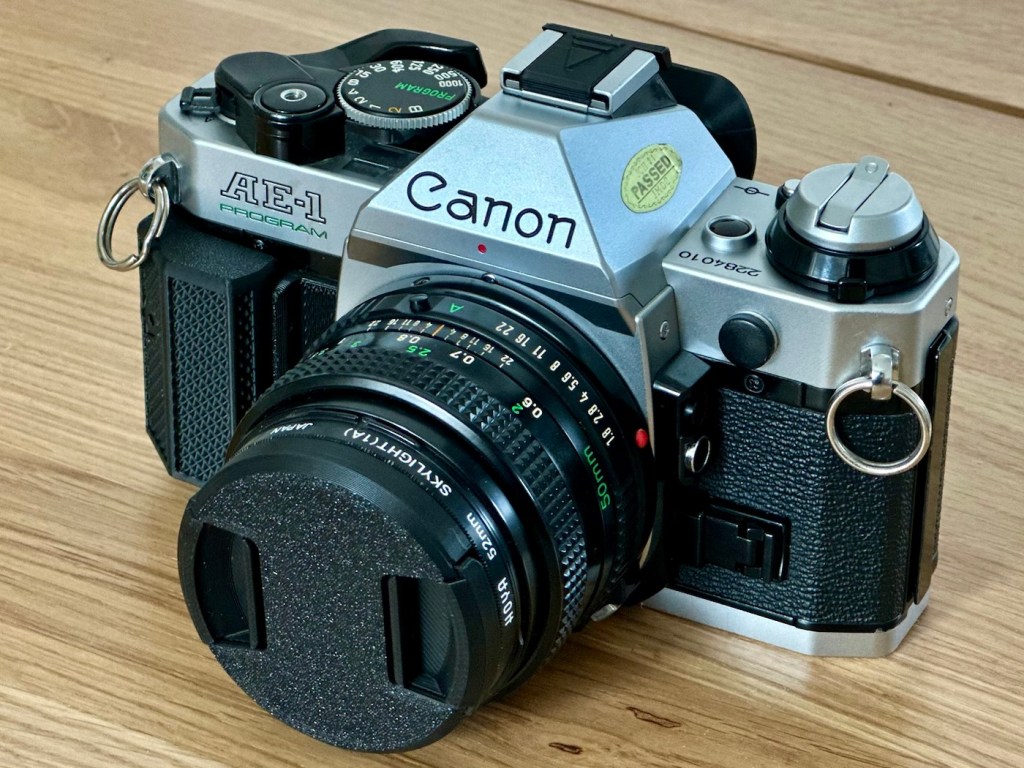
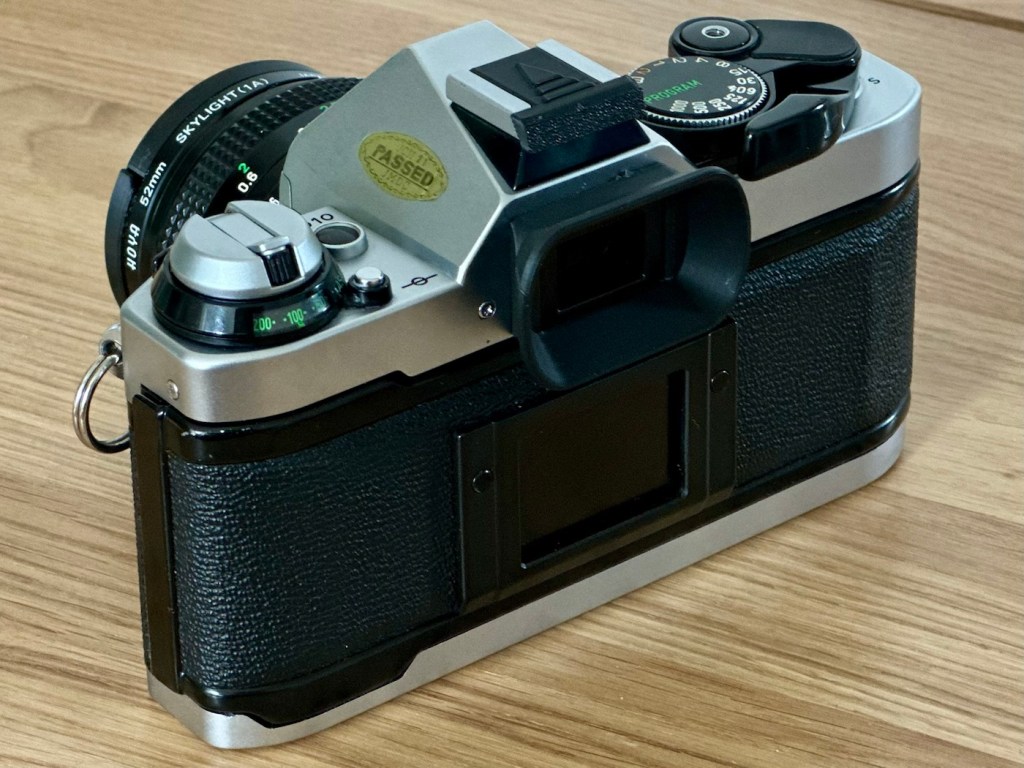
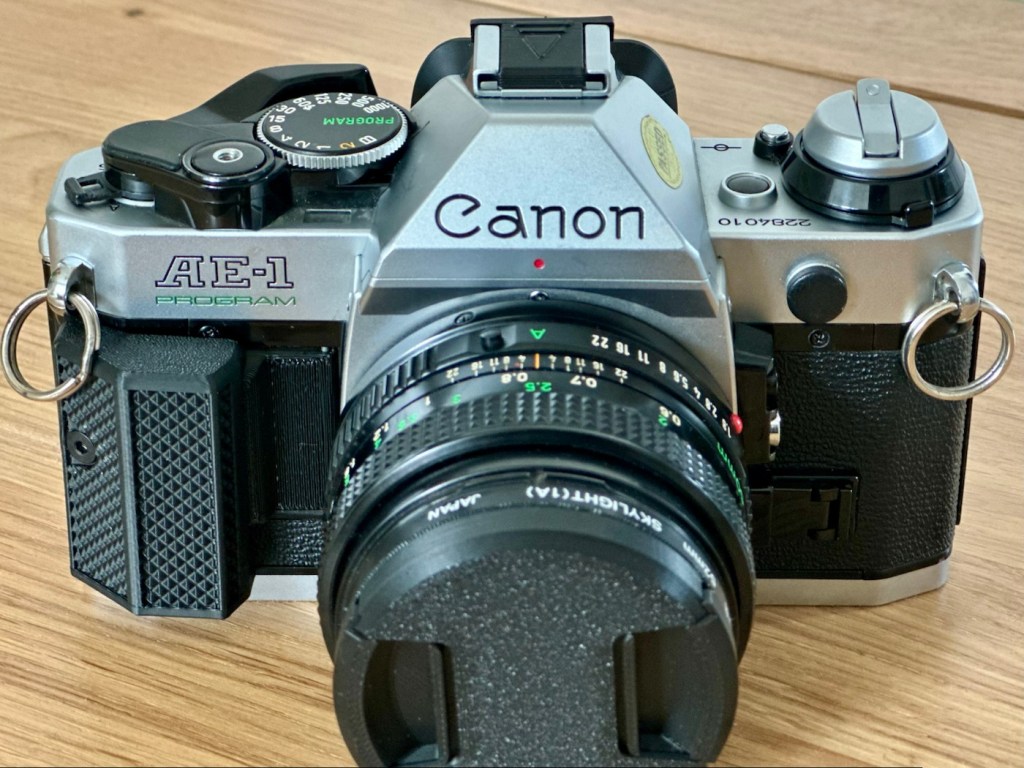
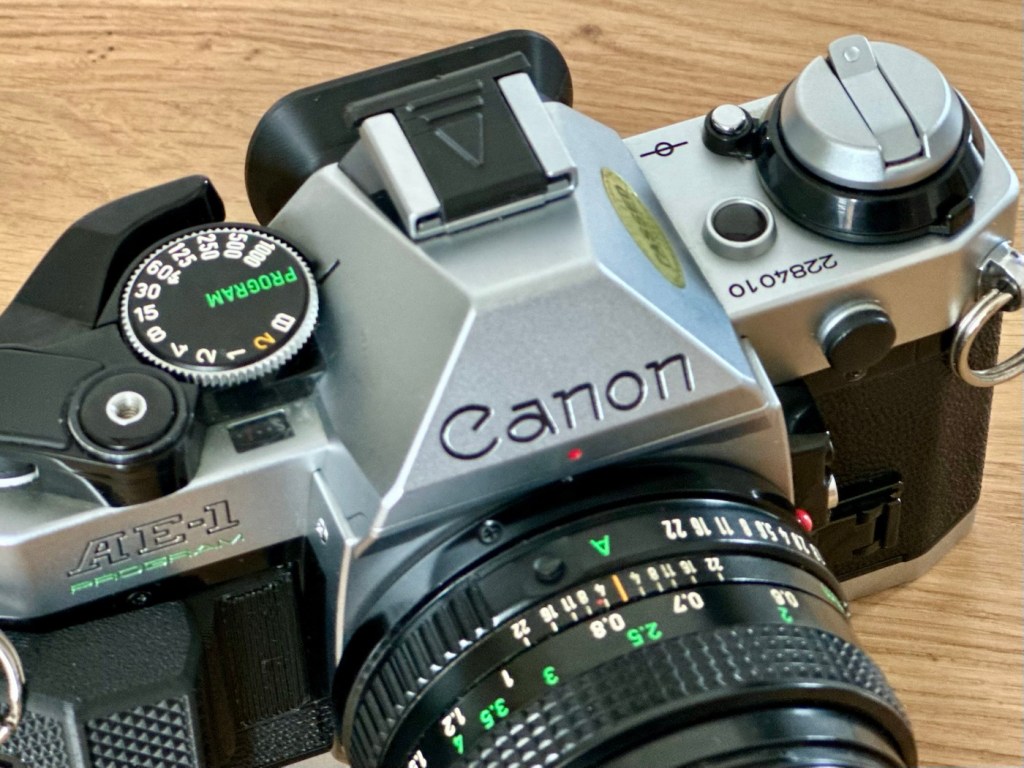
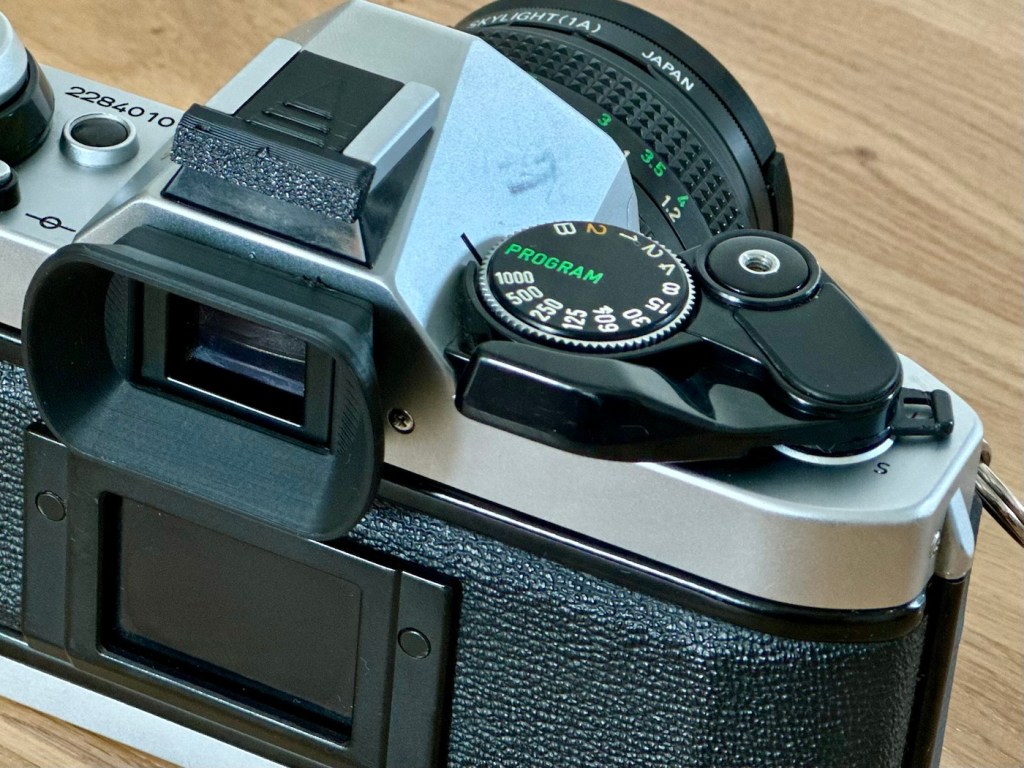
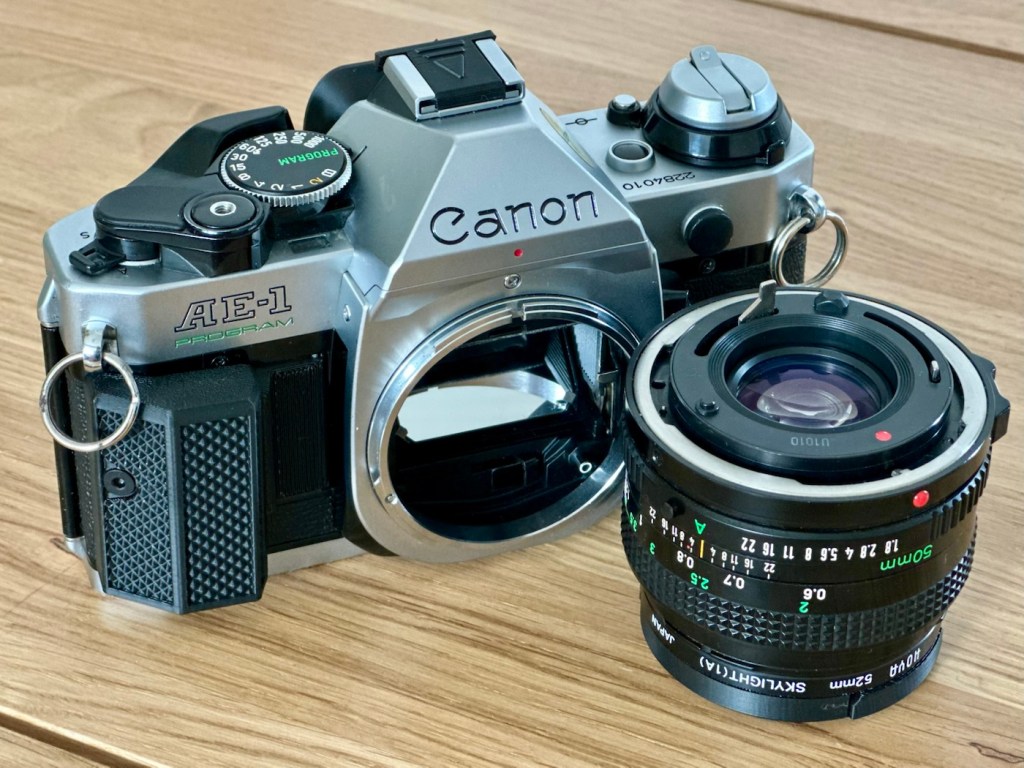
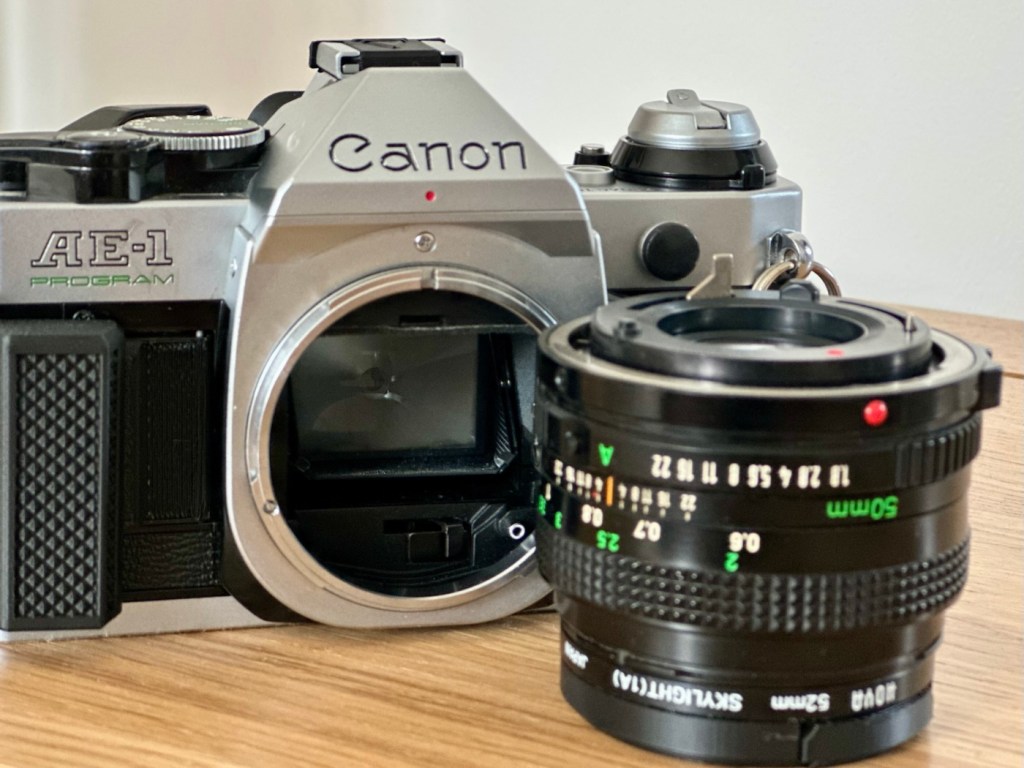
I’m awaiting a roll of XP2 black and white film to arrive, and that will be the test film for this camera. I’m probably going to feature it in my weekly 7 days and 7 photos series at some point. I will post a link to that post when it occurs.
It’s been a long time bringing this camera back to life but I’m so pleased at how it has gone. These “A” series cameras will always be my favourite because of the place they have in my photographic past. I have a few that I have been working on, but this was the one that actually completed my collection. I now need to find a suitable way to display them all, rather than leave them packed away in storage.
Thank you for passing by, as always it is very much appreciated.
Stay safe.










You must be logged in to post a comment.