

What the listing stated:
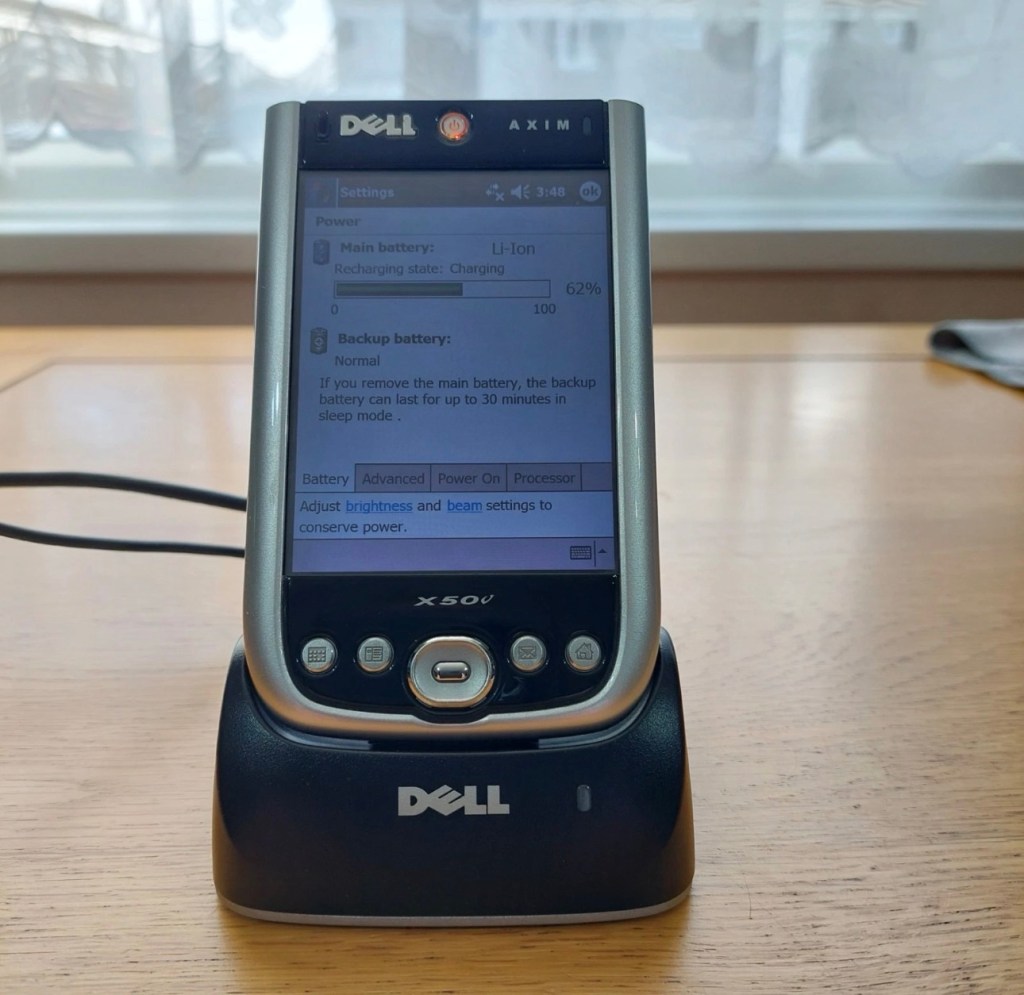
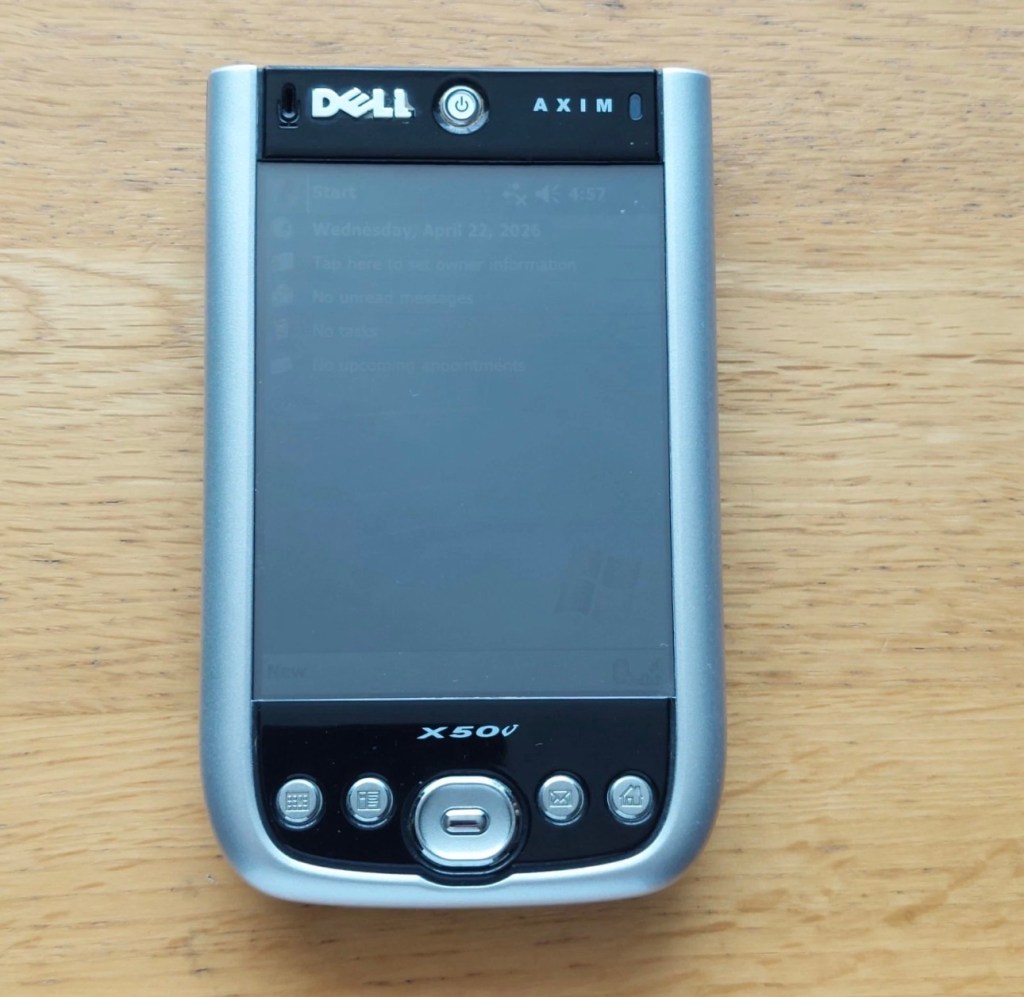
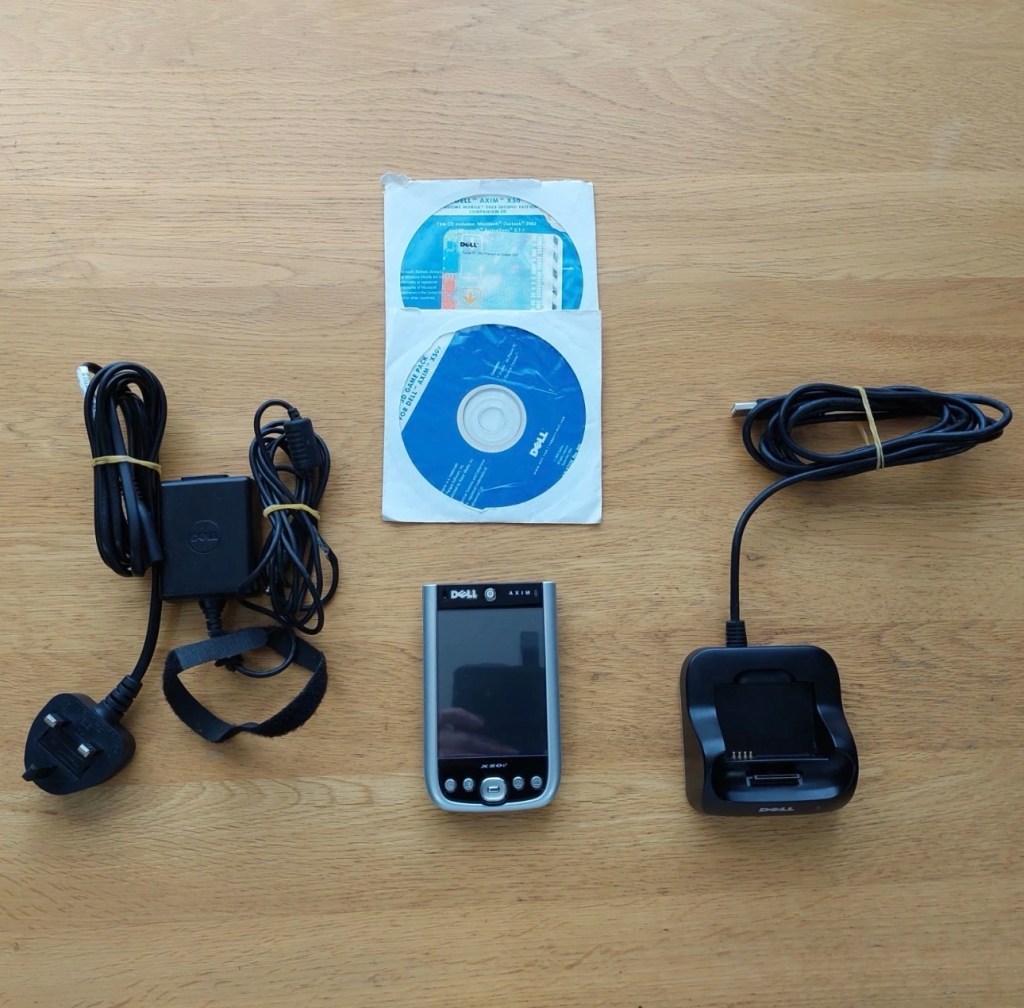
Dell Axim X50V Handheld PDA with Windows Mobile 2003 SE. The PDA is in a used working condition and advertised as for spares or repair due to a faulty battery cover switch, It is also missing its rubber feet and SD slot cover.
The Battery has recently been replaced.
Comes complete with the following.
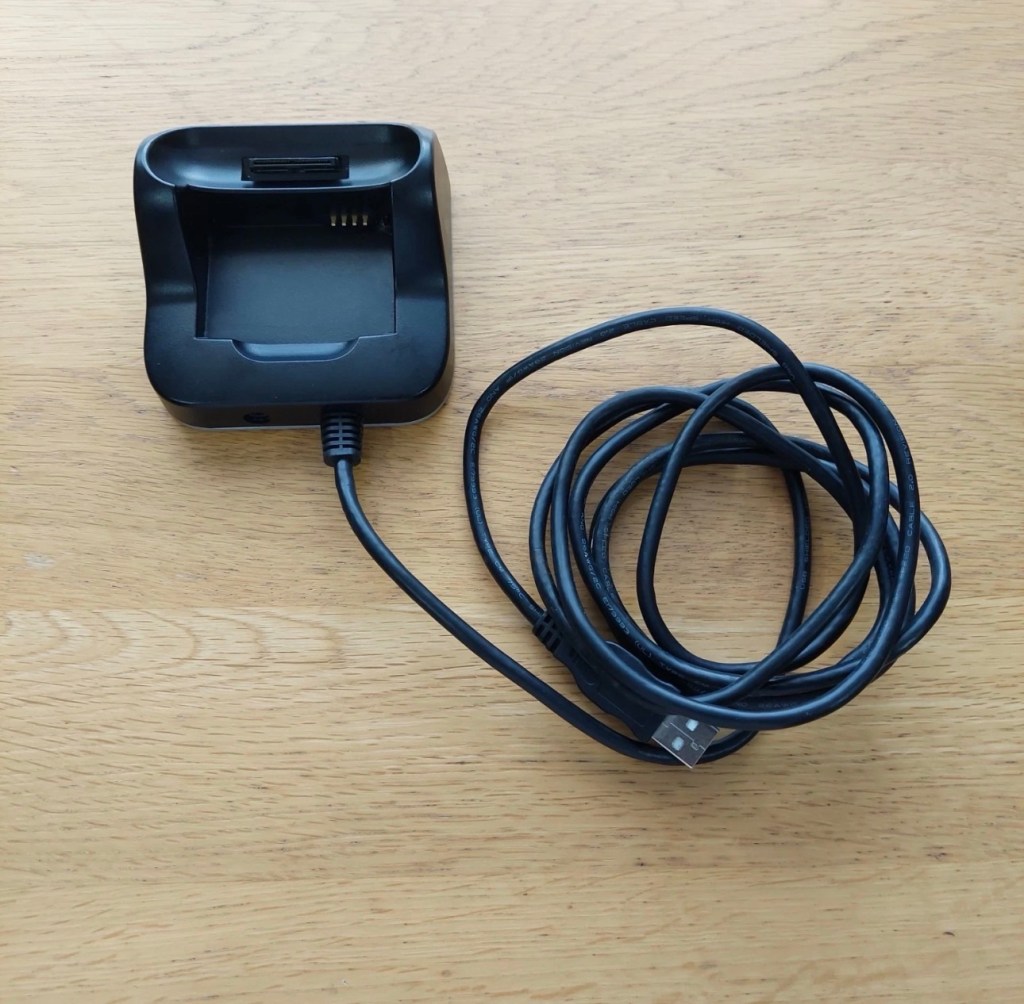
Desktop Cradle
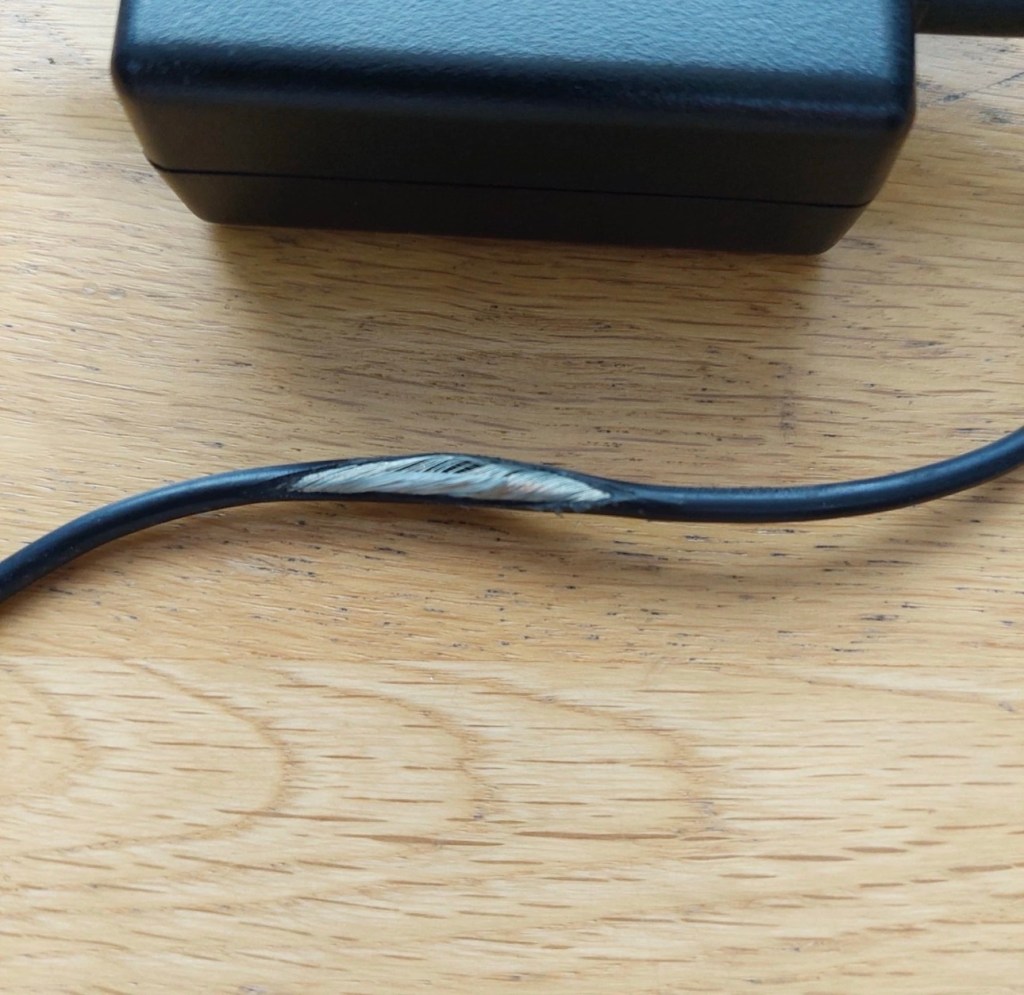
Power Supply (Damaged lead, please see photo)
Windows Mobile 2003 Second Edition Companion CD
3D Game Pack for Dell AXIM X50V
Please see photos for overall condition.
EBay
Here’s some info regarding these units:
The Dell Axim X50v was a high-end Personal Digital Assistant (PDA) released in late 2004. It was a flagship device in the Axim line, notable for its advanced multimedia capabilities, specifically its VGA screen and dedicated graphics accelerator.
Key Technical Specifications
- Processor: 624 MHz Intel XScale PXA270.
- Display: 3.7-inch transflective VGA TFT color display with \(480 \times 640\) resolution.
- Graphics: Intel 2700G multimedia accelerator with 16MB of dedicated video memory.
- Memory: 128MB Intel StrataFlash ROM and 64MB SDRAM.
- Operating System: Originally shipped with Microsoft Windows Mobile 2003 Second Edition.
- Expansion Slots: Dual slots featuring one CompactFlash (CF) Type II and one Secure Digital (SD/MMC) slot with SDIO support.
- Connectivity: Integrated 802.11b Wi-Fi, Bluetooth 1.2, and Infrared (IrDA).
Features and Performance
- Multimedia & Gaming: The Intel 2700G chip allowed for smooth 3D gaming and high-quality video playback, which were advanced for its time.
- Design: Compared to previous Axim models, the X50 series featured a sleeker design with rounded edges and a curved base.
- Battery: It uses a user-replaceable 1100 mAh Lithium-Ion battery.
- Software Upgrades: While an official upgrade to Windows Mobile 5.0 was released, some users found it ran slower than the original OS due to the slow NOR flash memory used in the X50 series.
Multiple on line sources
Let’s await its arrival to see what we have.
Assessment:
The package has arrived, very well packaged. I have enough bubble wrap now to to last for quite some while.
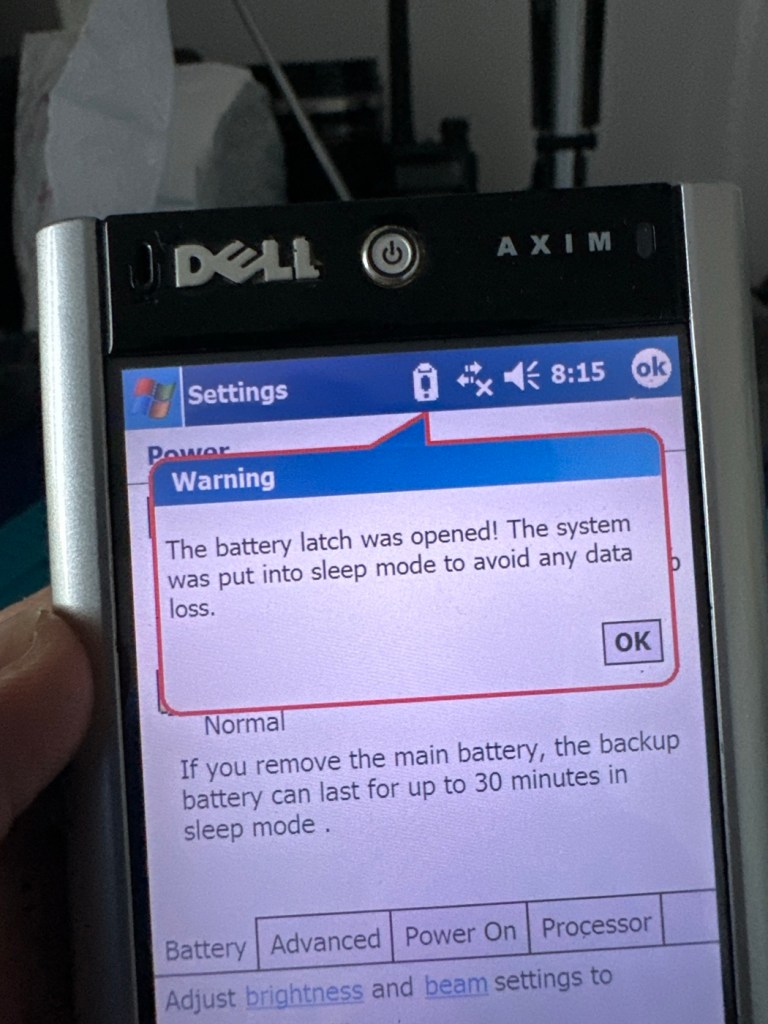
The item turns on, and appears to be doing what it should and then without even touching the back of the unit, an error appears on the screen.
On the cable directly from the charger unit there appears to be some damaged cable sheath. I have tested the power output and flexing this area does not cause any interruptions to the power supply, it appears to be that only the external earthing of the cable is exposed, so I am happy that it will be fine to just apply some heat shrink tubing to this portion so that the cabling inside is no longer exposed. It looks as if at sometime someone has probably used a knife instead of the correct tooling to access the unit.
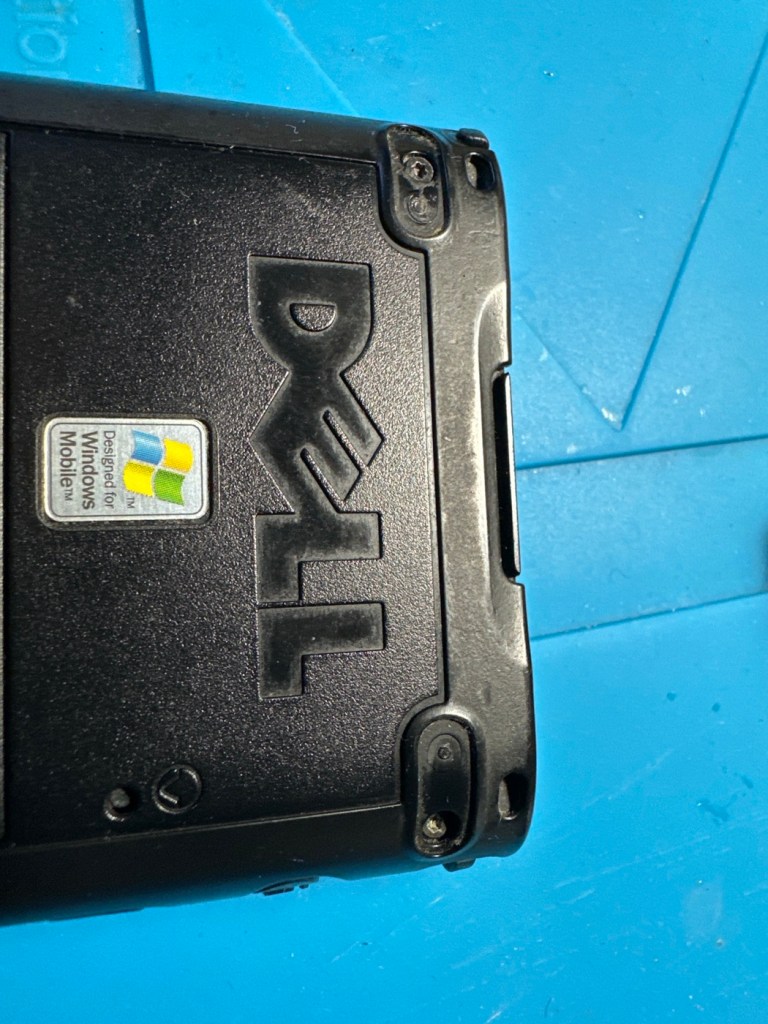
There are a couple of rubber feet missing, that just so happen to cover screws that allow access to the unit, further strengthening my suspicions that this unit has been previously accessed internally.
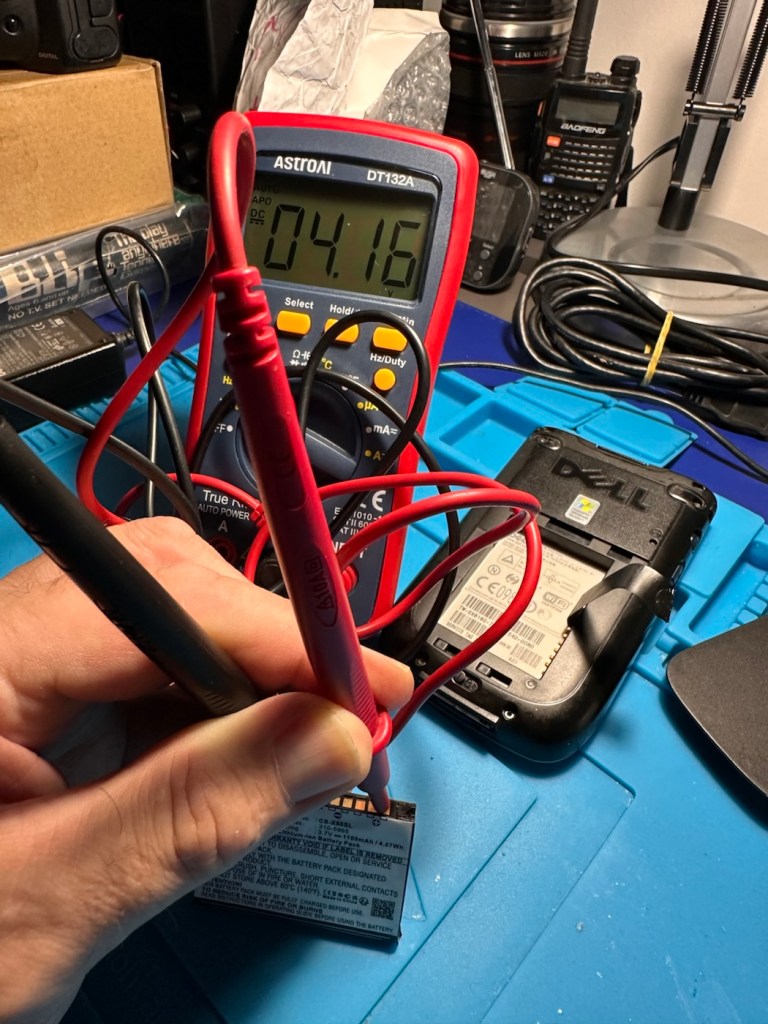
The battery is new, and is holding a good charge of 4.16v at an indicted 100% indication, and it is rated at 3.7v so this appears to be a healthy battery.
Cosmetically this is a nice unit for its age, it has a stylus pen included, along with a charging cradle and original software that came with the unit. There is a small SD card slot cover that is missing, however this is not an issue as I will probably install a small SD card to fill that void. It can also take CF cards and there is also a blanking plate installed to fill that portion of the top of the unit.
Let’s get repairing…
Repair:
I’ve gone straight in at the charger cable and have chopped the offending portion out. I’ve had to do this to be able to get some suitably sized shrink tubing in place. With the wires exposed I strip them back, tin them with some solder and, then finally connect them back together ensuring they are suitably insulated from each other, and safe and secure. It doesn’t look pretty, but it’s safer than it was.
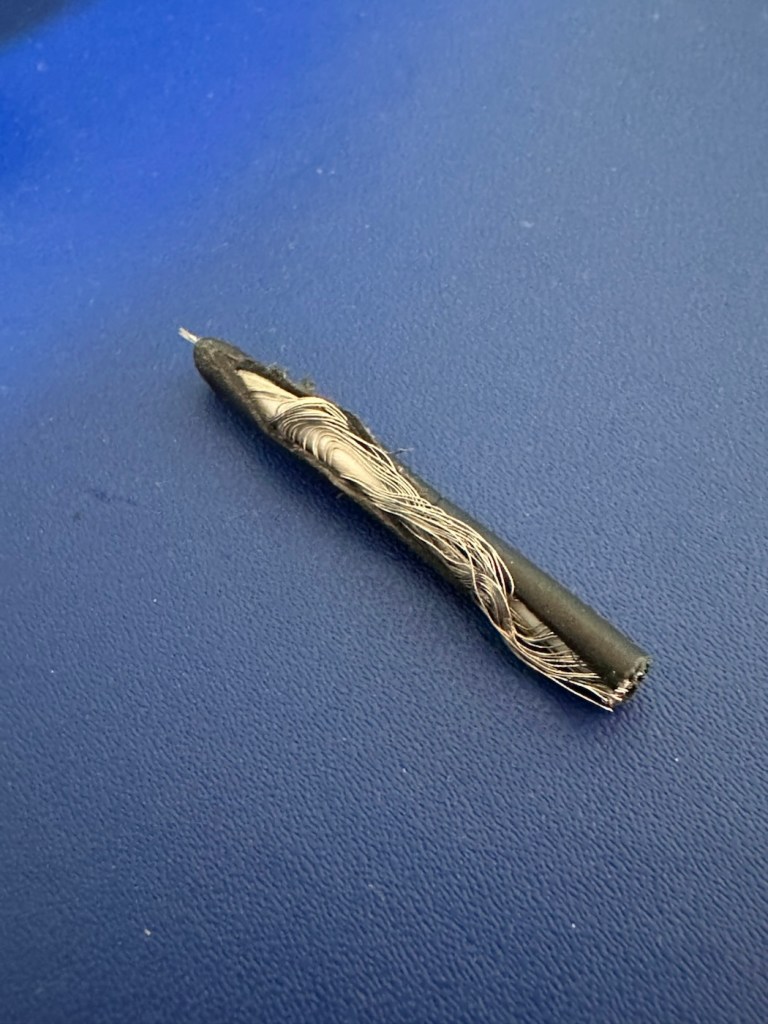
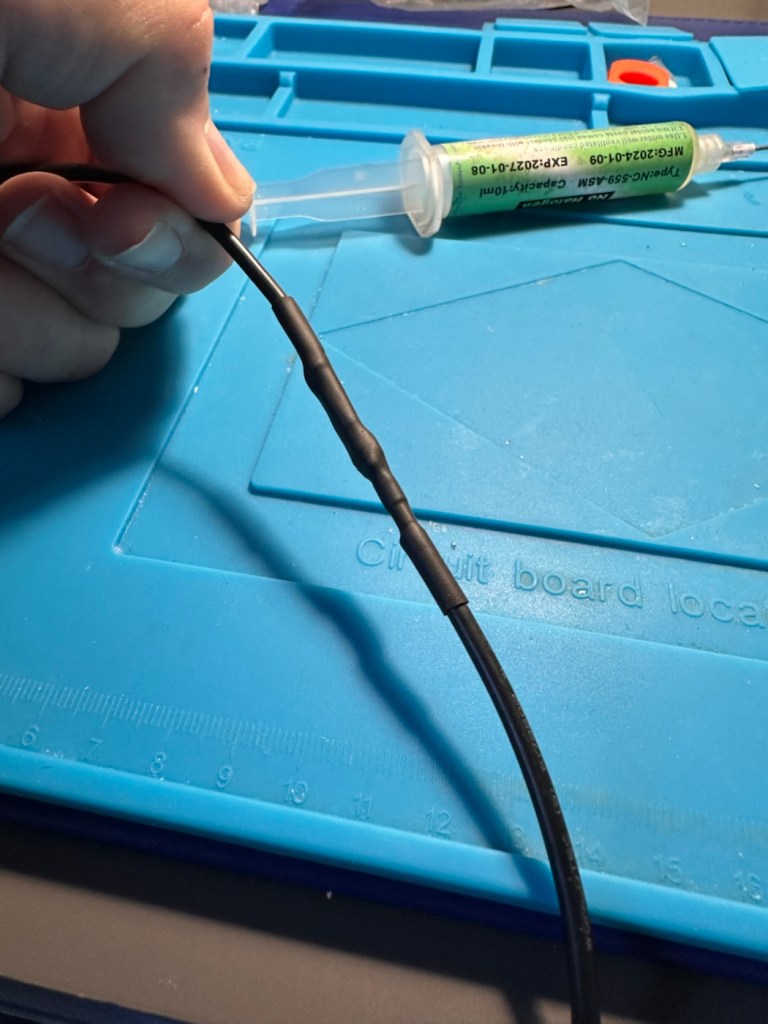
I’ve tested the output with a multimeter and the output is around 6 volts as stated on the power pack, so no issues there.
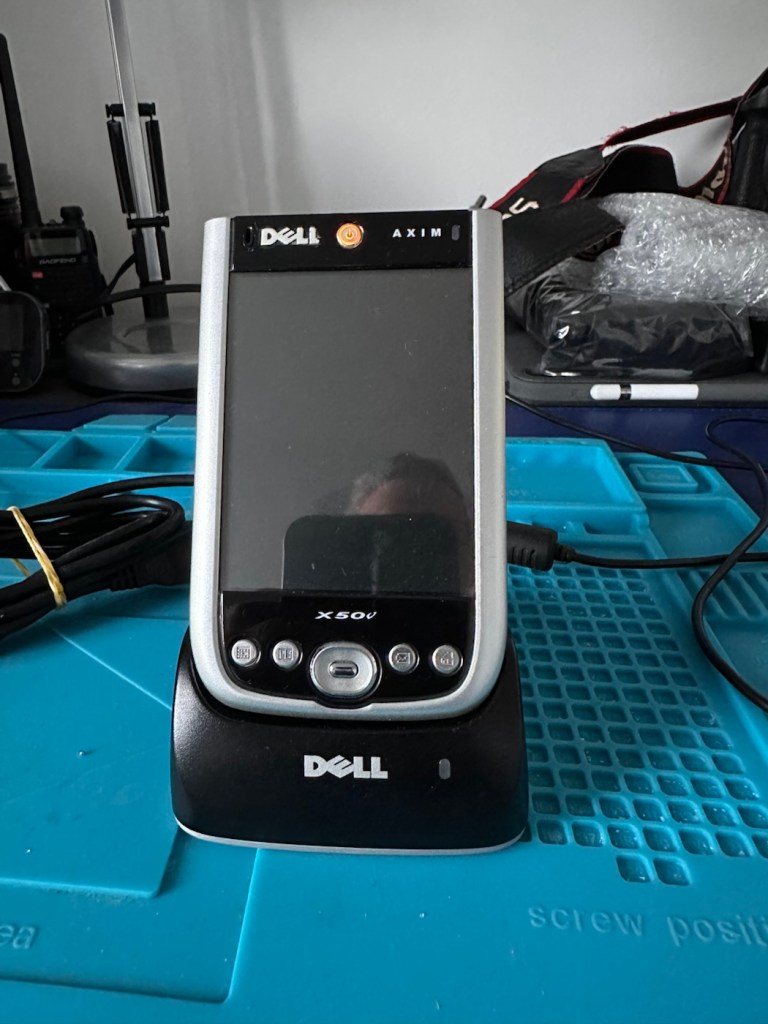
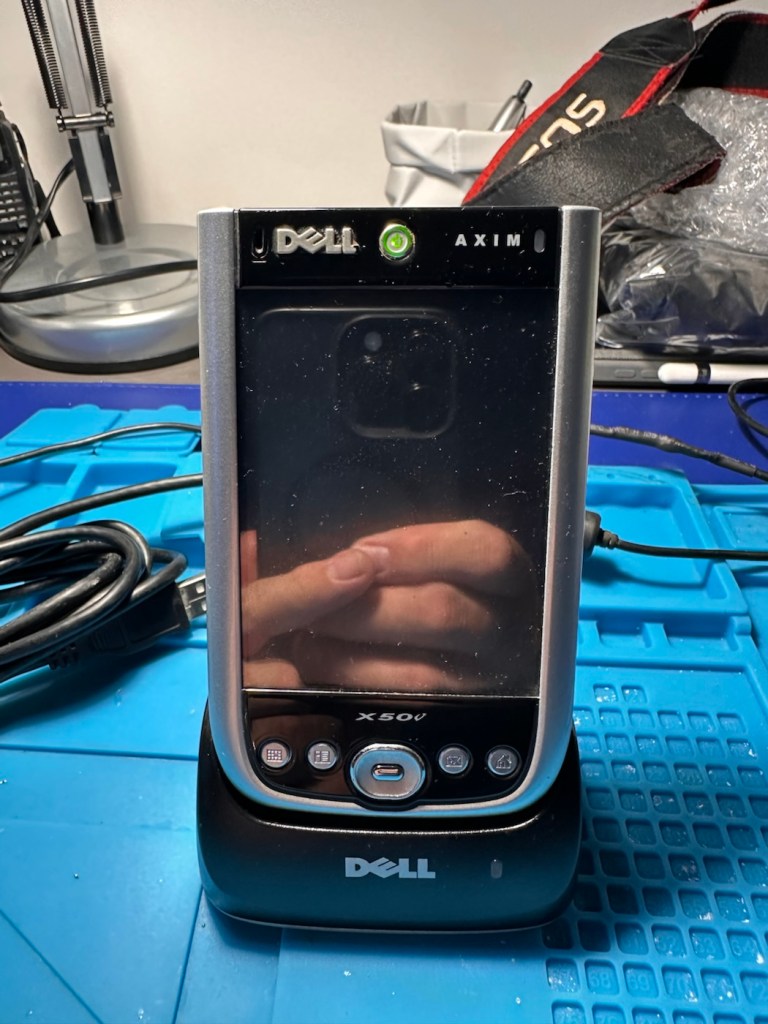
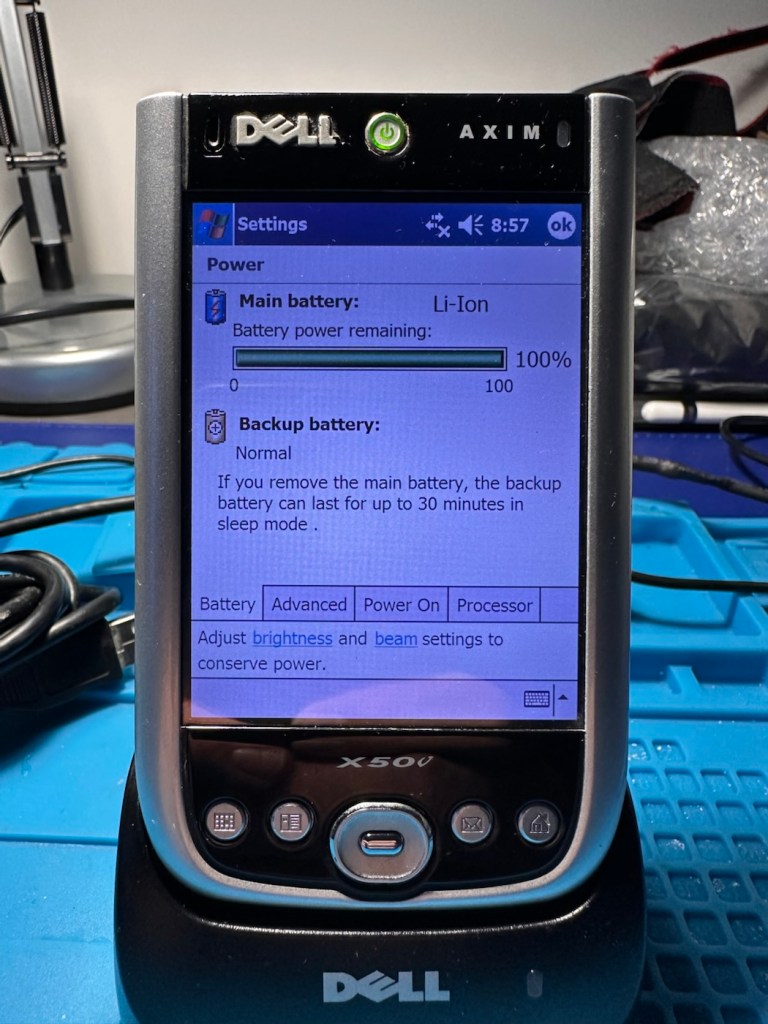
With the charging cable all sorted it’s time to look at the error message problem associated with the battery latch.
The Dell Axim X50v battery latch often degrades, triggering a false “battery door open” warning or sudden sleep mode shutdown. If your device is frequently going to sleep on its own or reporting a false “battery door open” error, it is typically caused by a loose, dirty, or misaligned latch switch inside the device.
There are a number of options we can go through to attempt to alleviate this issue:
- Clean the Contacts: Power down the device, remove the battery, and gently clean the small plastic sensor switch and surrounding contacts inside the battery cavity with a cotton swab dipped in isopropyl alcohol.
- Mechanical Shim: Over time, the plastic door can warp, failing to press the microswitch down. By placing a tiny, folded piece of paper inside the microswitch channel to force it into the “closed” position. Then snap the battery door into place.
- Permanent Bypass: For an advanced fix, you can bypass the switch entirely by soldering the connections or using conductive paint to bridge the gap on the motherboard, ensuring the system always thinks the door is closed.
- Replace the Door or Latch: If the physical latch or door is broken or entirely missing, replacement battery doors can still be sourced from specialty PDA parts sites.
Taking the above suggested remedial actions into consideration I’m going to approach this repair combining two of the above suggestions. Firstly I will clean the contacts as in the first option, this is standard work practice for me. I will probably use a contact cleaner rather than IPA in this instance. I will ignore suggestion number two, as that’s a temporary “Bodge job” fix that should only really be used to test for an issue. The third suggestion of the permanent bypass is what I will use should action number one not be successful, the error is one of those pain in the butt errors that are really unnecessary, and serve no real purpose at all, so let’s permanently disable its ability to reappear. The door itself is in a good order and does not require replacement therefore cancelling out suggestion number four.
So. To recap I will go with suggestions one and three.
Let’s get going then….
Four small star screws are all that need to be removed to get the shell open. Inside everything looks lovely and clean and there sitting at the bottom of the main board is the tiny switch that is causing the issues.
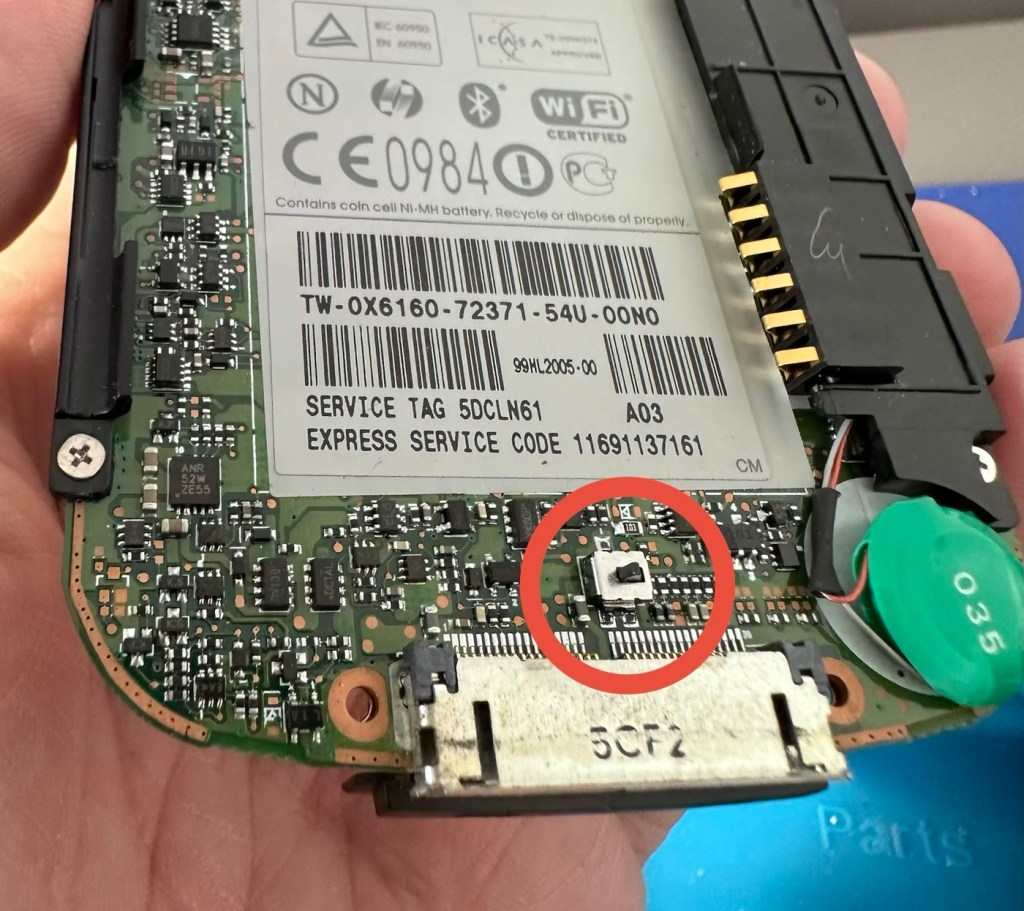
Immediately opposite this switch on the battery panel switch is a small piece of felt that I presume was originally set in place to hold the switch down.
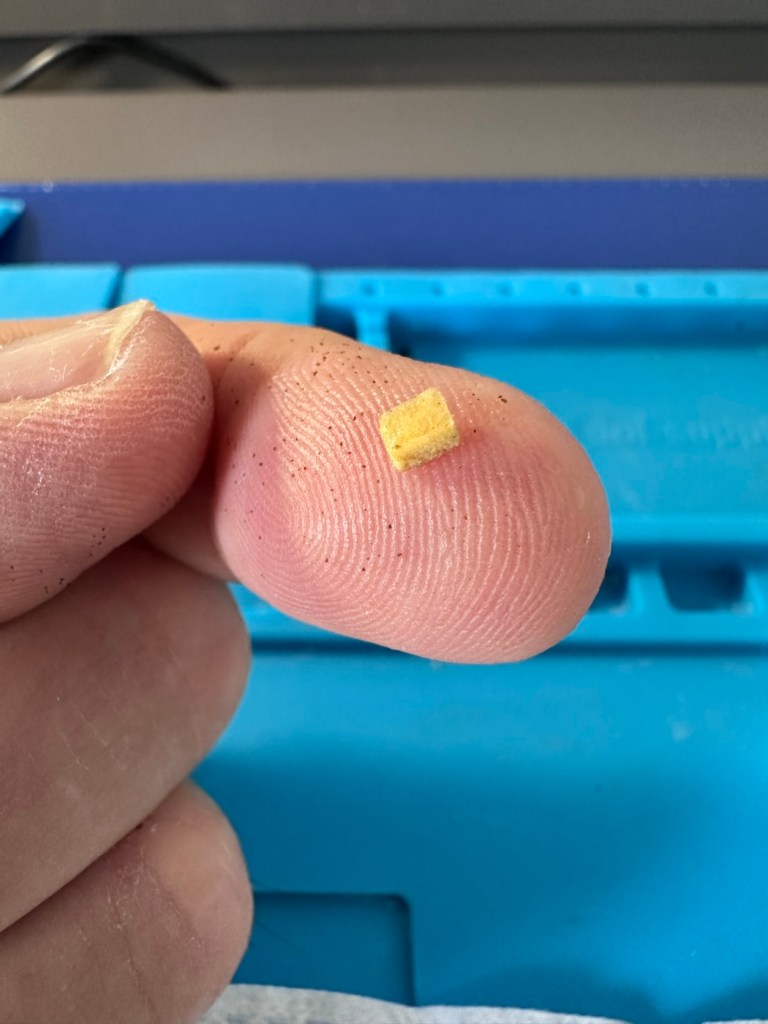
Well, it had moved and was sitting in the wrong place. I’ve cut a small piece of felt that I use for repairing light seals on cameras, cut this to size and placed it in the correct position. The small switch is like a rocker switch, I have cleaned this with IPA and it is now clean. A quick clean around the main board and now it is time to reassemble.
Now all back together, battery now in place and the unit switches on fine. A little shake of the battery panel cover, and no error message appears. In fact no error message appears until I physically open the battery panel, but once it is put back in place and locked it again, the fault clears. The repair as such has been successful. You can see in the picture below, the battery error at the top of the screen, that results in a restricted use, until it is cleared. A standard fault with these units, now repaired.
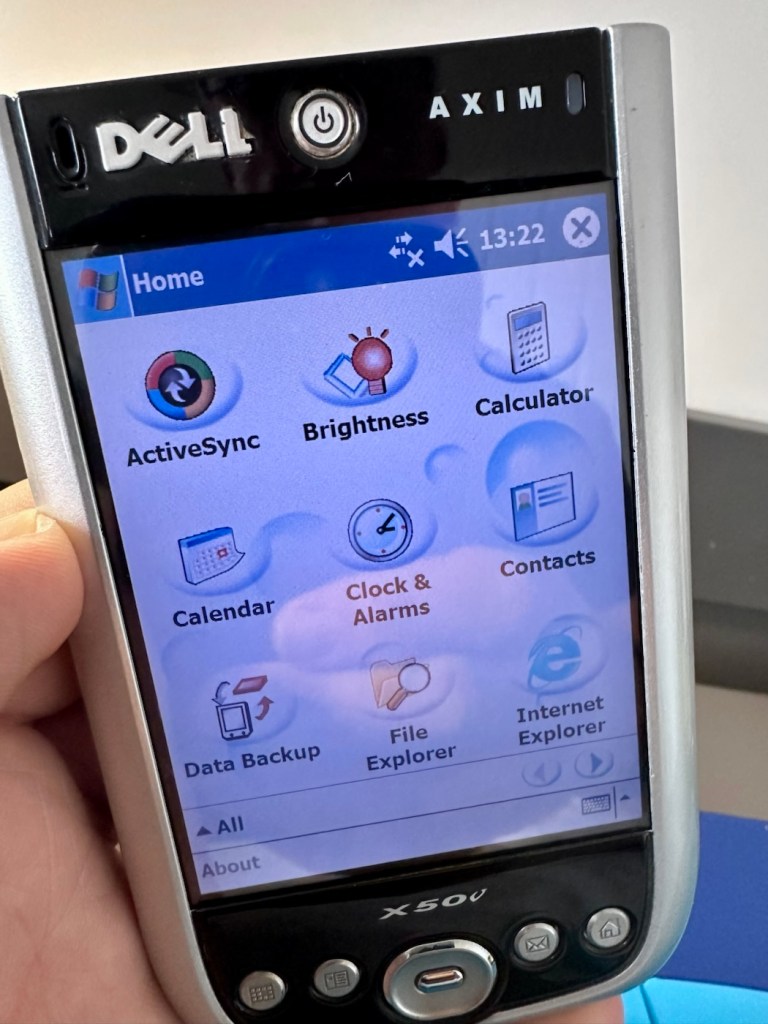
Everything is working fine on this unit, it voice records, the stylus is present and I have all the original software. It’s year 2K compliant and is working as good now as it ever has, the only items I have not replaced are the two small rubber pads used as feet. Not really necessary and if I ever find anything suitable, I’ll utilise it.
I’ve given this unit probably the best soak test it could ever be given, a rather long session playing original solitaire with my wife. She’s played for a little over an hour solid now and no error codes or faults have appeared.
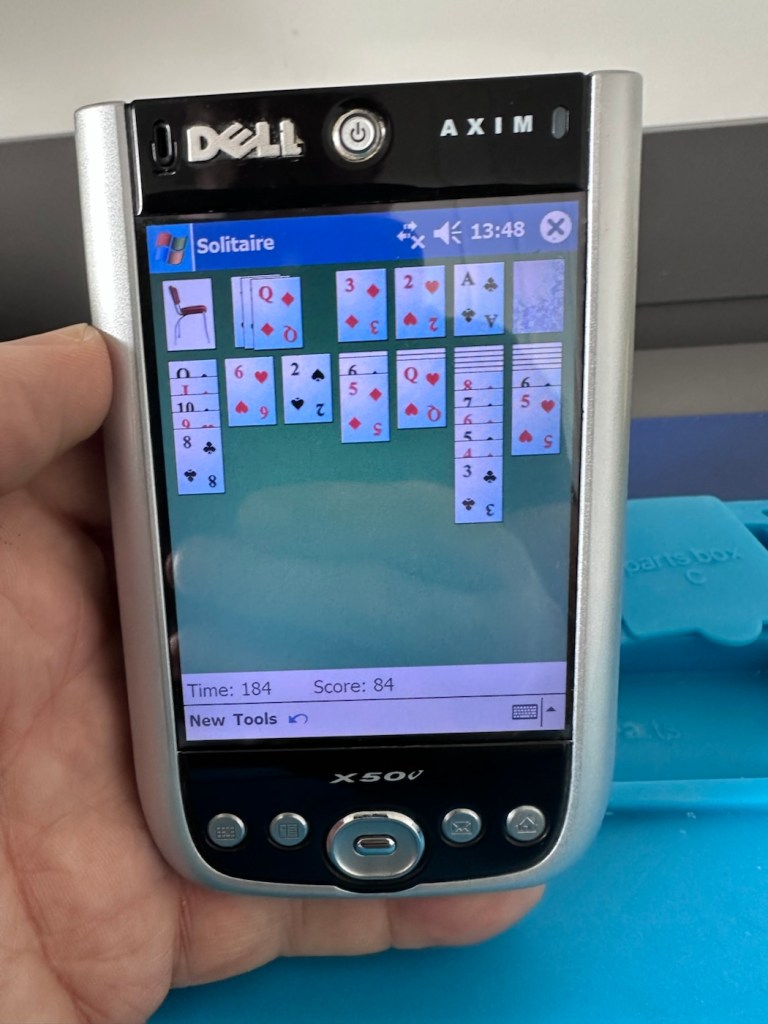
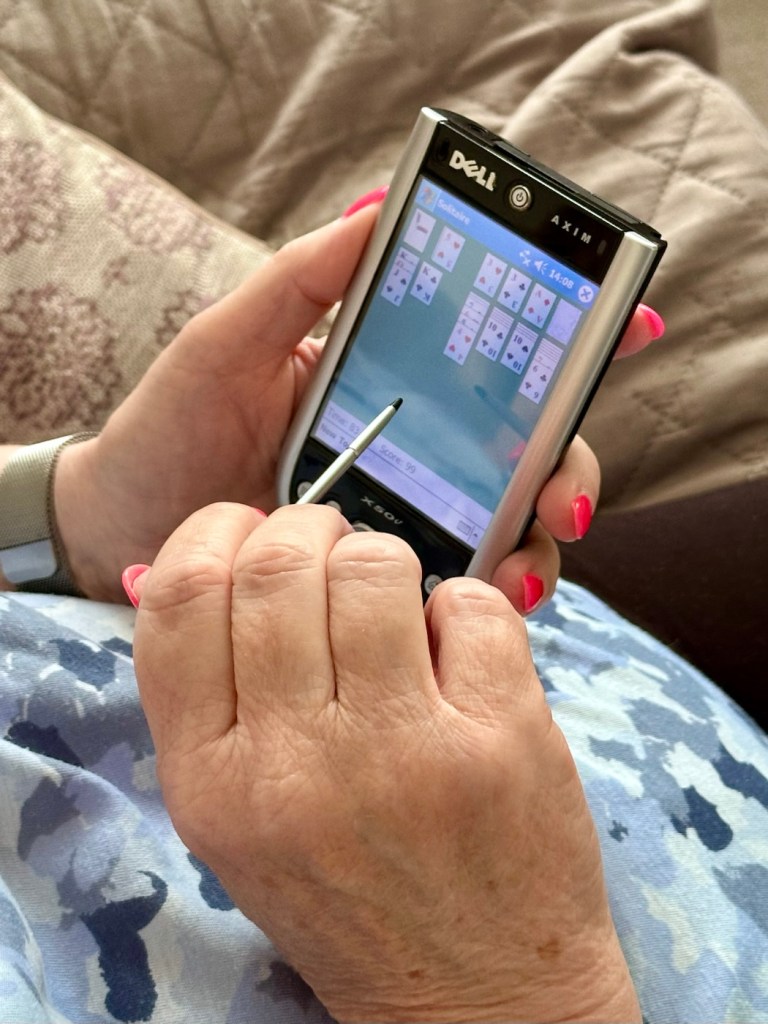
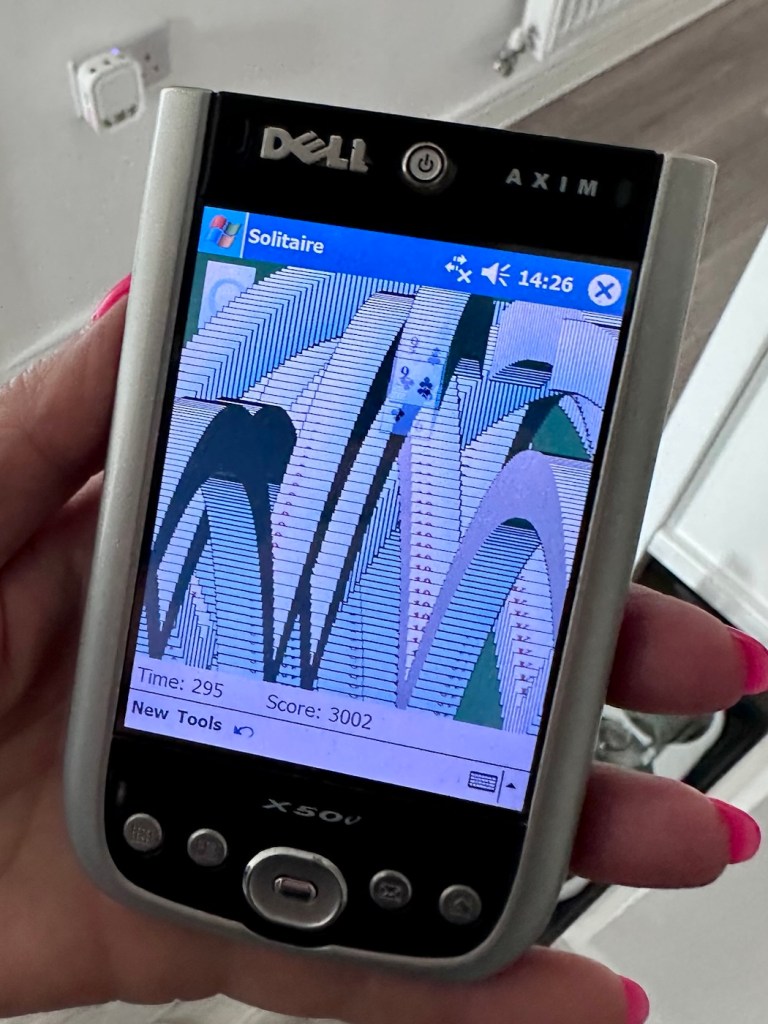
I’m happy we have a good working item, resurrected from impending doom in a landfill. Let’s get it cleaned and finished off.
Result:
The unit has cleaned up nicely, and for an item that is 22 years old, pre smartphone technology, it has aged really well.
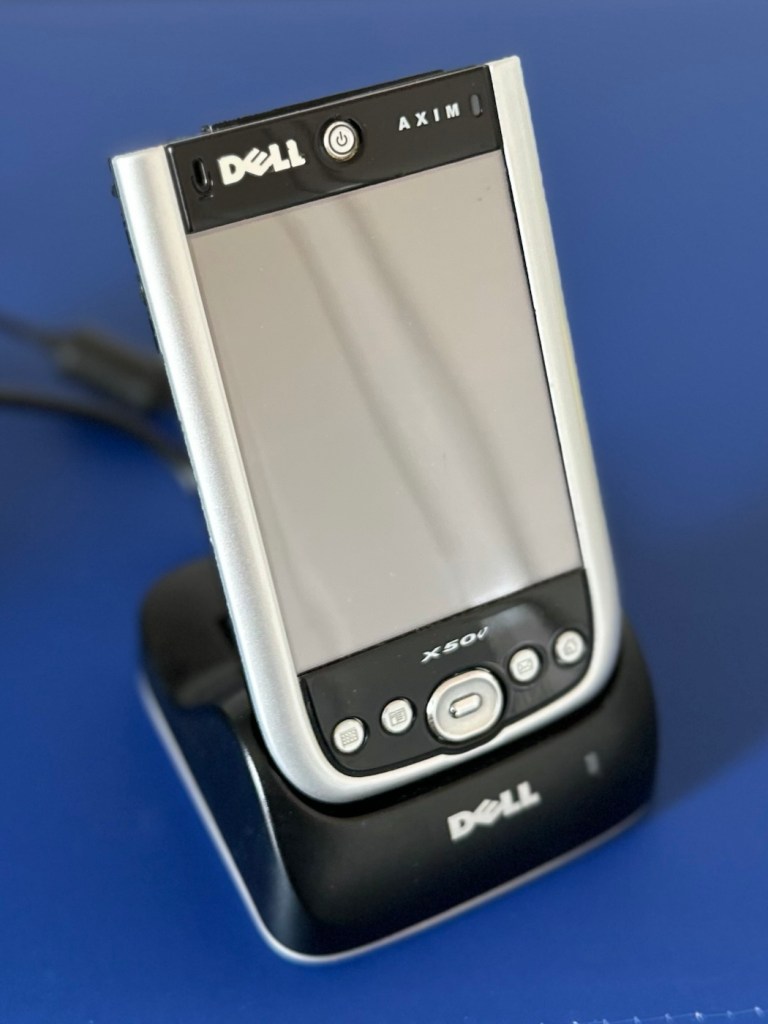
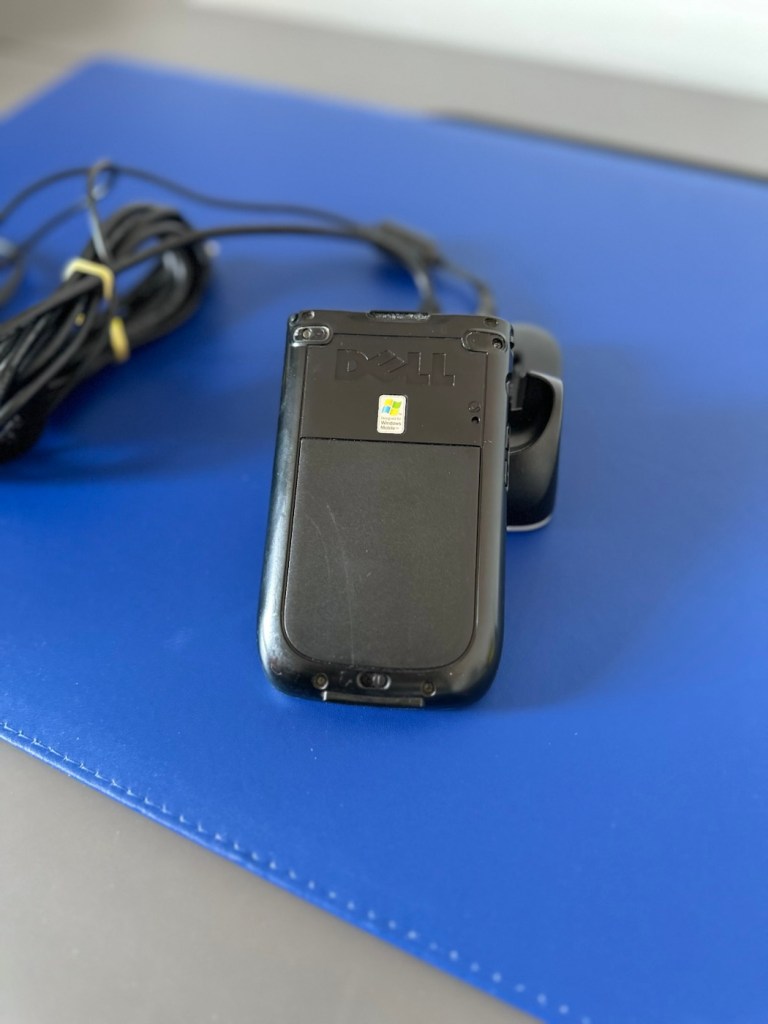
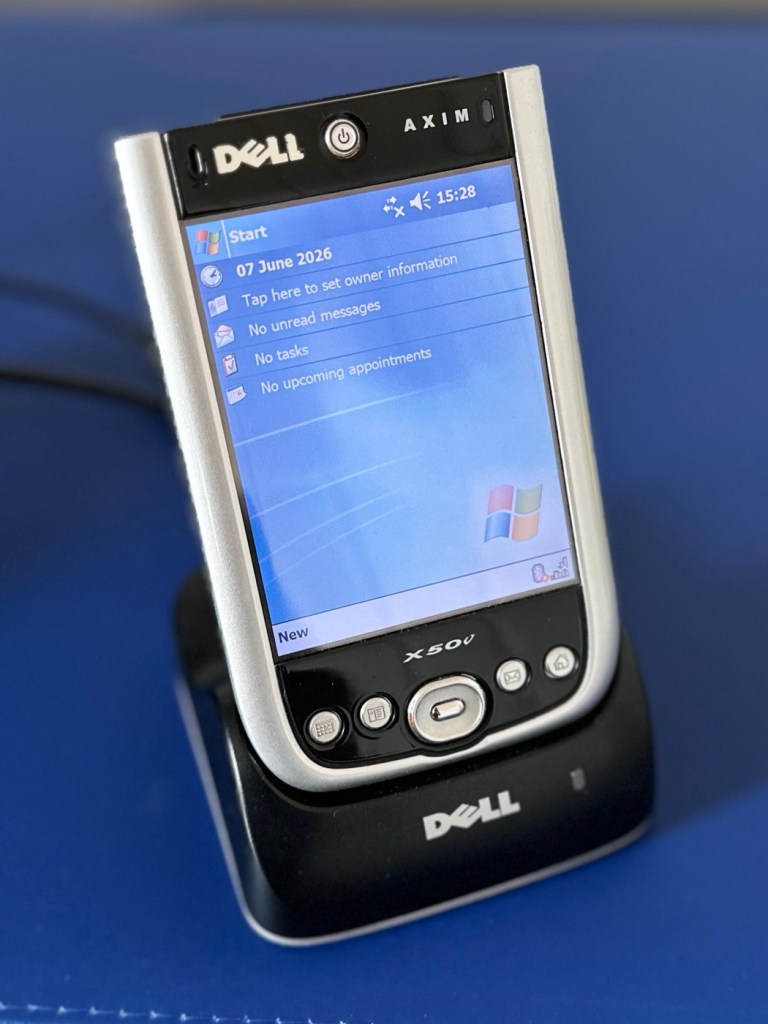
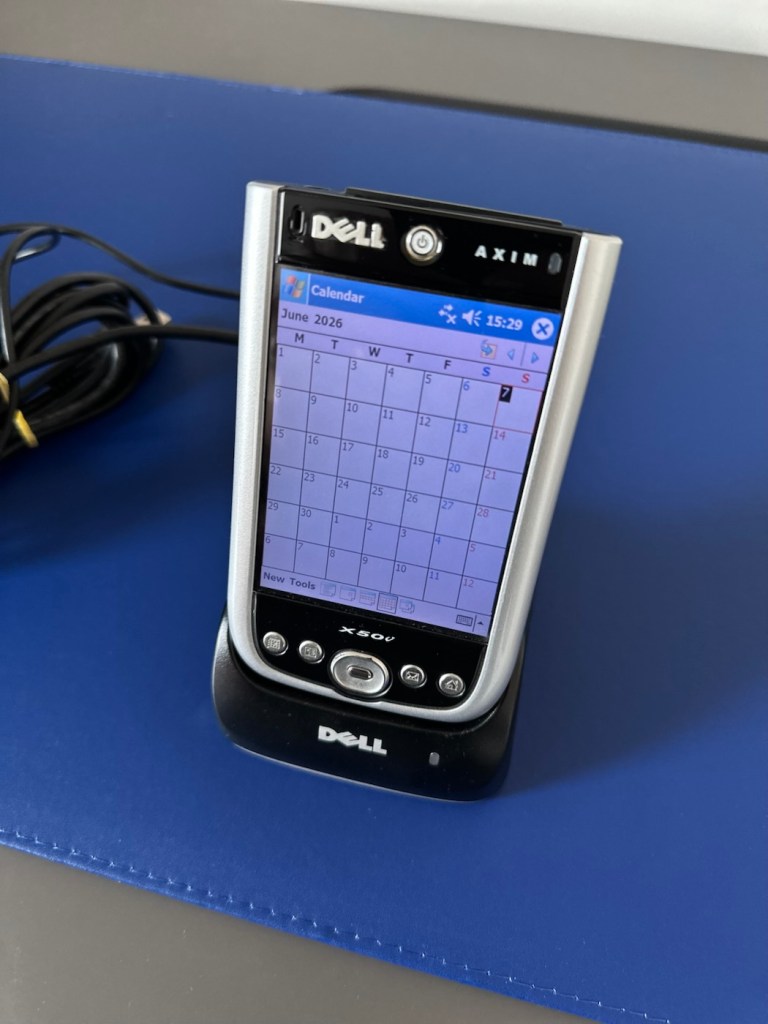
I just love these items from probably the best tech area there ever was, 90s through to year 2k and just beyond. Technology was developing, it was new and exciting with lots of choice unlike today.
It gives me a chance to now go back and buy the items I’d never be able to afford as a youngster/teenager, even though they may be broken. And that’s the fun of it all, learning, repairing and enjoying a momentary rerun of good times gone by.
I love it. And another item is repaired, saved from landfill and another piece of tech history goes on for others to enjoy for a few more years to come.
Thanks for passing by. It’s always very much appreciated.



You must be logged in to post a comment.