Metz 45 CT-1 Flash gun

I was given a professional flashgun with a number of issues. Let’s get it fixed.

I love working with flashguns, but believe me they are highly dangerous and potentially deadly pieces of kit, once you get under the skin otherwise known as its protective casing. I inherited this one from a good friend of mine who is a professional photographer, the post regarding what he passed on to me can be found here: Cameras…i need more!

Now please do not go delving into the back of these things unless you know what you are doing. Yes they might only be powered by 6-9v of power from your batteries, however in the process of getting to the point where they unleash a lightning flash for your photographic opportunity, they have passed through a component called a capacitor, that greatly amplifies the voltage from that measly 6-9v from your batteries up to what is now between 3-400v for the flash. Yes, you read right, 400 VOLTS.

That can kill, and if it doesn’t, you have been very fortunate, but will probably bear an entry and exit burn where you made contact with that very component. You have been warned – take heed!

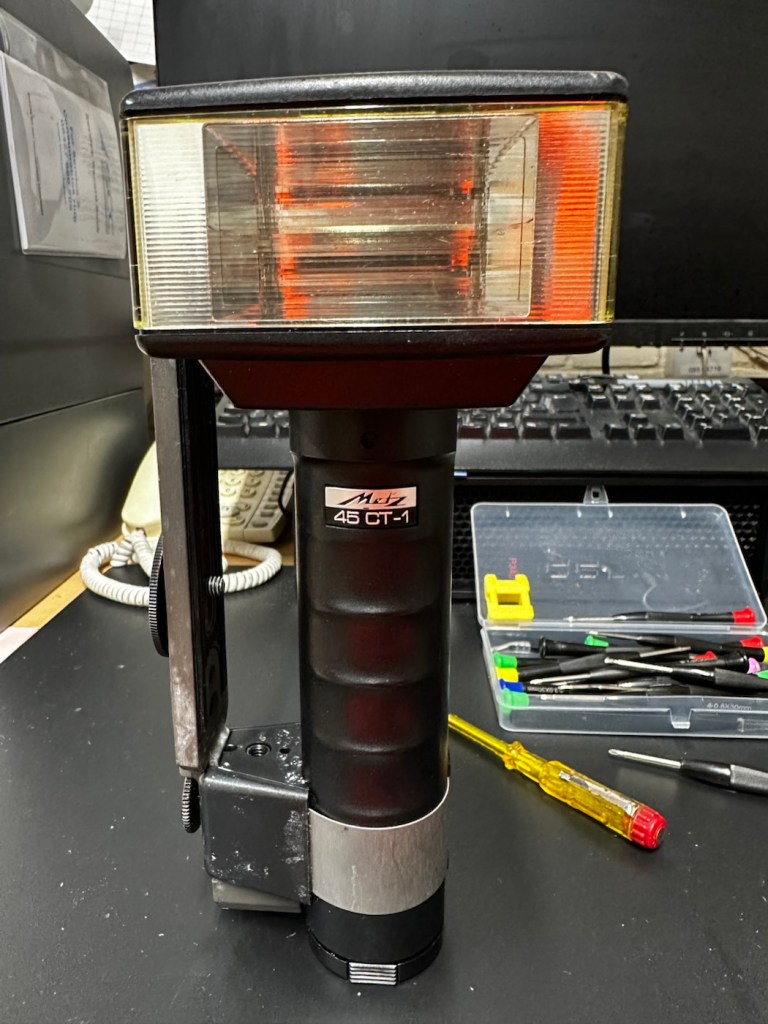
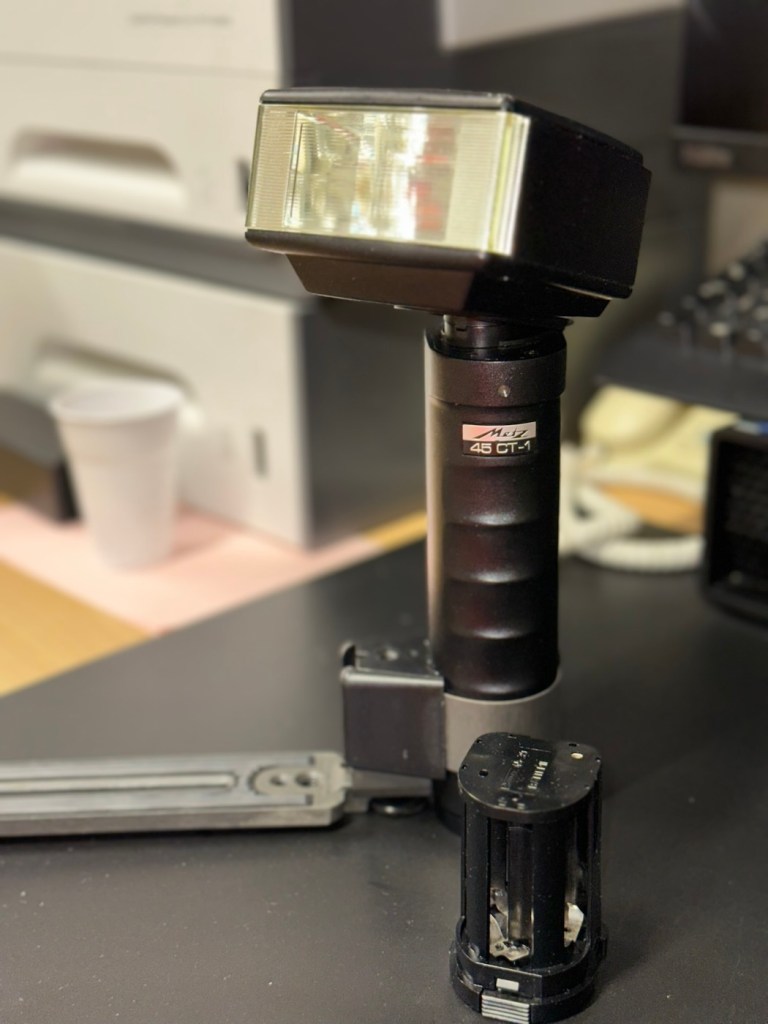
Here’s a little about this flashgun. They were manufactured circa 1979.

The Metz 45 CT-1 is a classic, powerful handle-mount flash gun known for its “hammerhead” design, high light output, and versatile features like a swivel and tilt head. It was a popular and durable accessory for professional photographers. 

Key Features

  • Guide Number: The flash has a high guide number of 45 metres at ISO 100, indicating powerful light output.
  • Exposure Control: It features an analog control display and offers five different “tele-computer” automatic aperture settings, allowing for easy exposure control in automatic mode.
  • Versatility: The flash head can swivel and tilt, allowing for bounce flash techniques to achieve softer, more flattering light. It also includes a built-in wide-angle diffuser.
  • Compatibility: The 45 CT-1 is a non-dedicated flash with a standard sync cable connection, making it universally compatible with many cameras, both film and digital (with caveats).
  • Power Source: It typically uses a rechargeable NiCad battery pack or a holder for 6x AA batteries.
  • Durability: Known for its robust, professional construction. 

Google

Assessment:

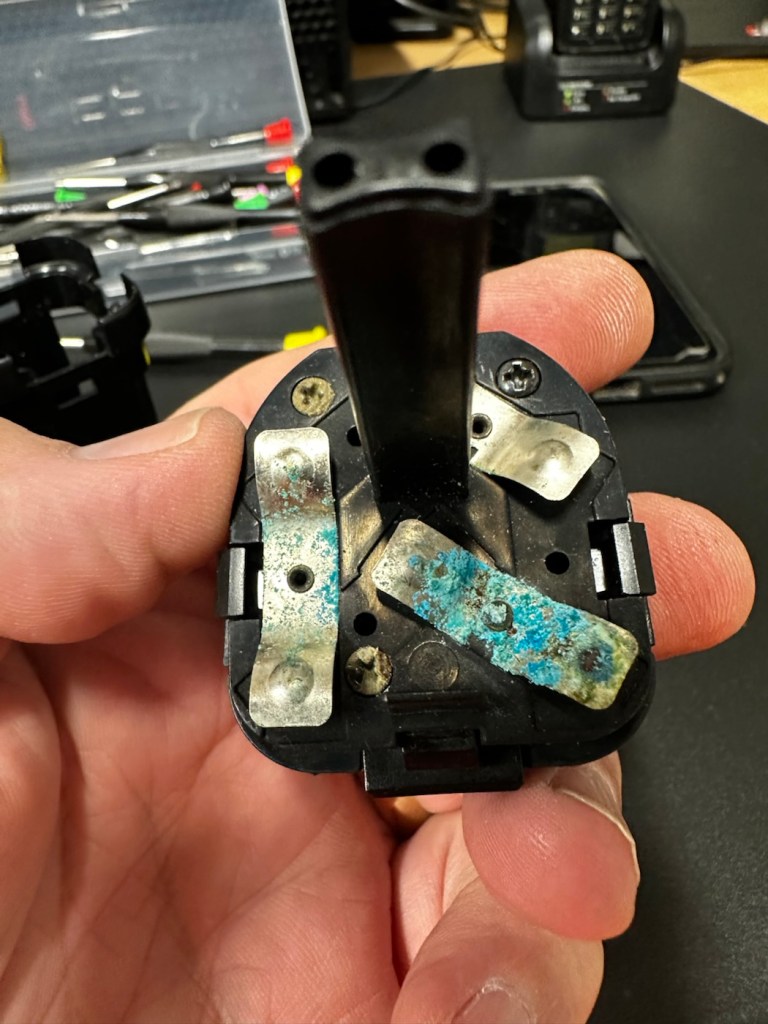
To be honest on first receiving this unit, you didn’t know what was coming, but you could certainly smell it. Within the box the smell of battery corrosion was heavy. It’s a hard smell to describe but once you have dealt with it you know what’s coming, and this smelt really heavy.

The smell was coming from two battery pods that play in to the base of the flashgun arm. Thankfully they had been kept separately, and their spread of “Corrosion” was not able to get to the main unit.

The main unit itself had a problem in that the head was floppy, unable to be at any other angle than straight up or, flat down and nothing in between, and something was rattling about inside of it.

So bearing in mind my sermon at the start of this post, I gloved up, armed myself with my capacitor discharge probe and cracked the unit open.

Repair:

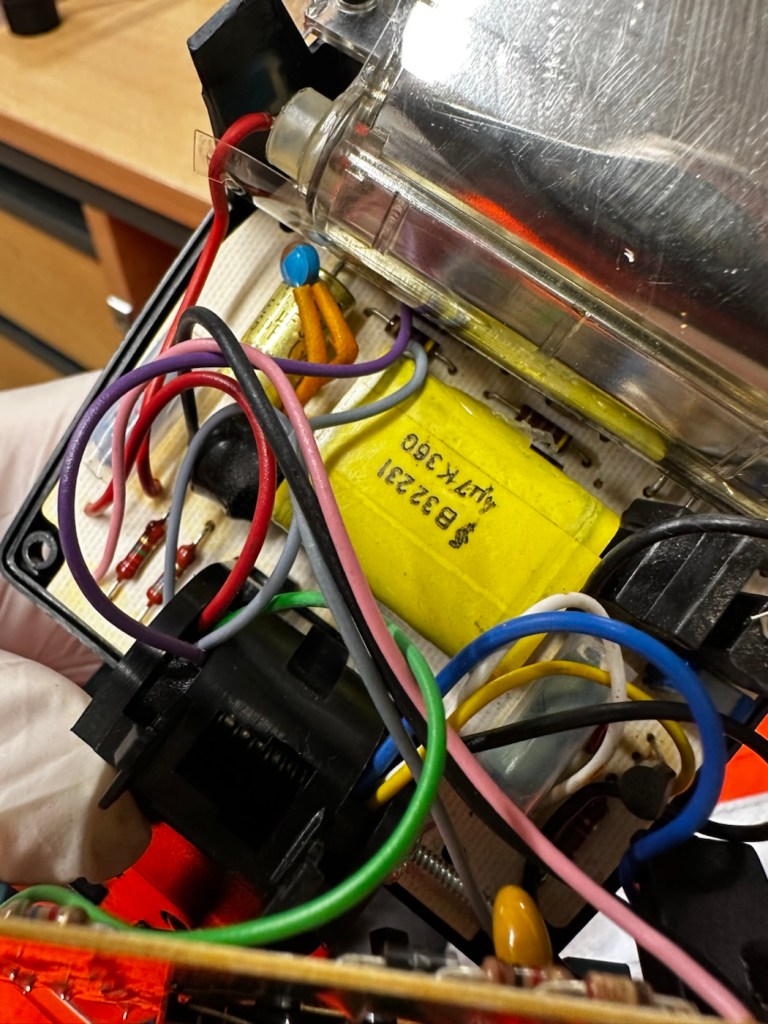
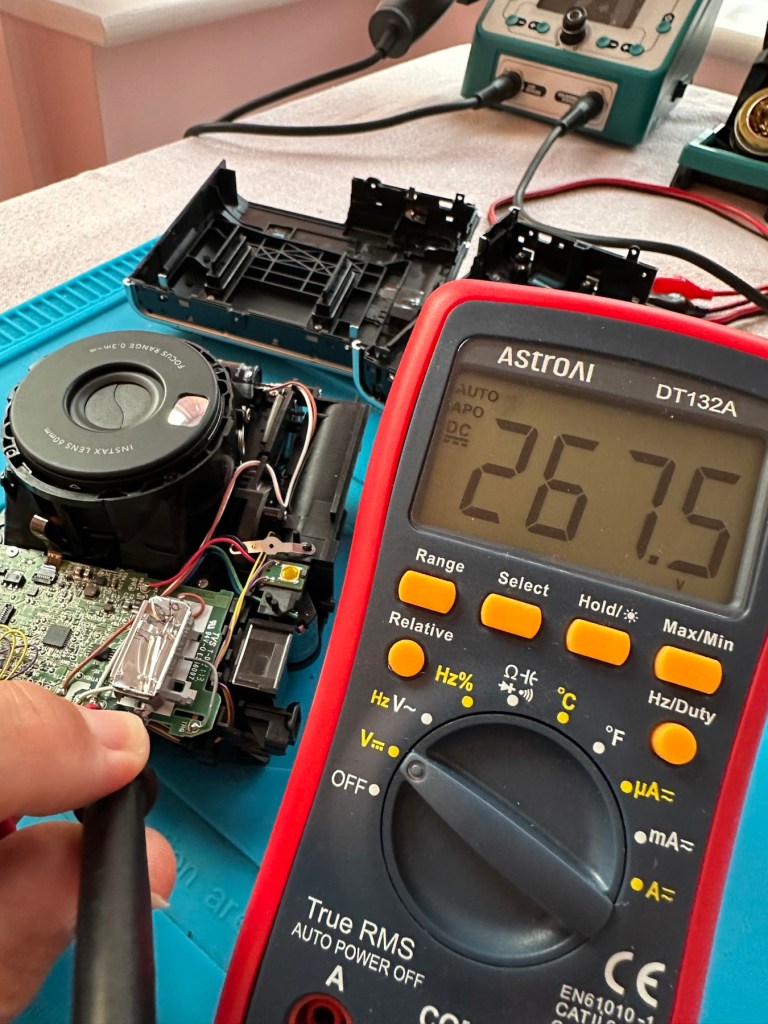
Straight in at the head of the unit and I went in search of my nemesis. The charge capacitor. And it wasn’t that hard to find. Sitting there all inoffensive and bright yellow, it was rated at 360 volts. As I had put a small load on it earlier to test its operation it was sitting there still holding a charge of 260 volts, needless to say I made sure this was discharged before I commenced any work in the area.

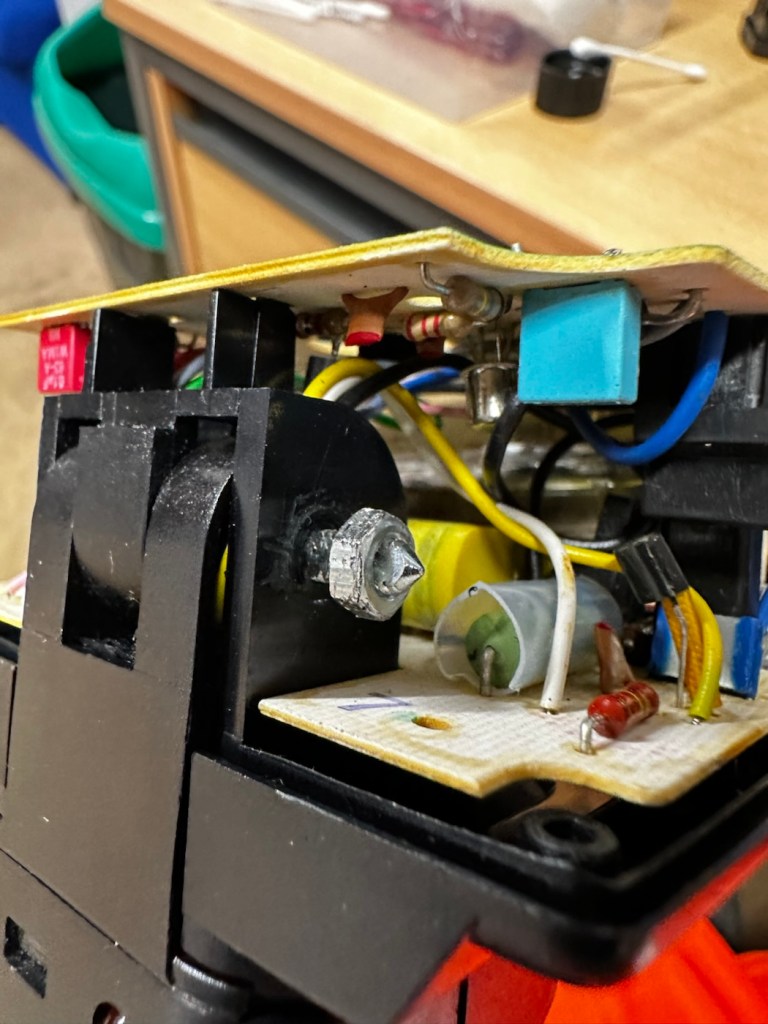
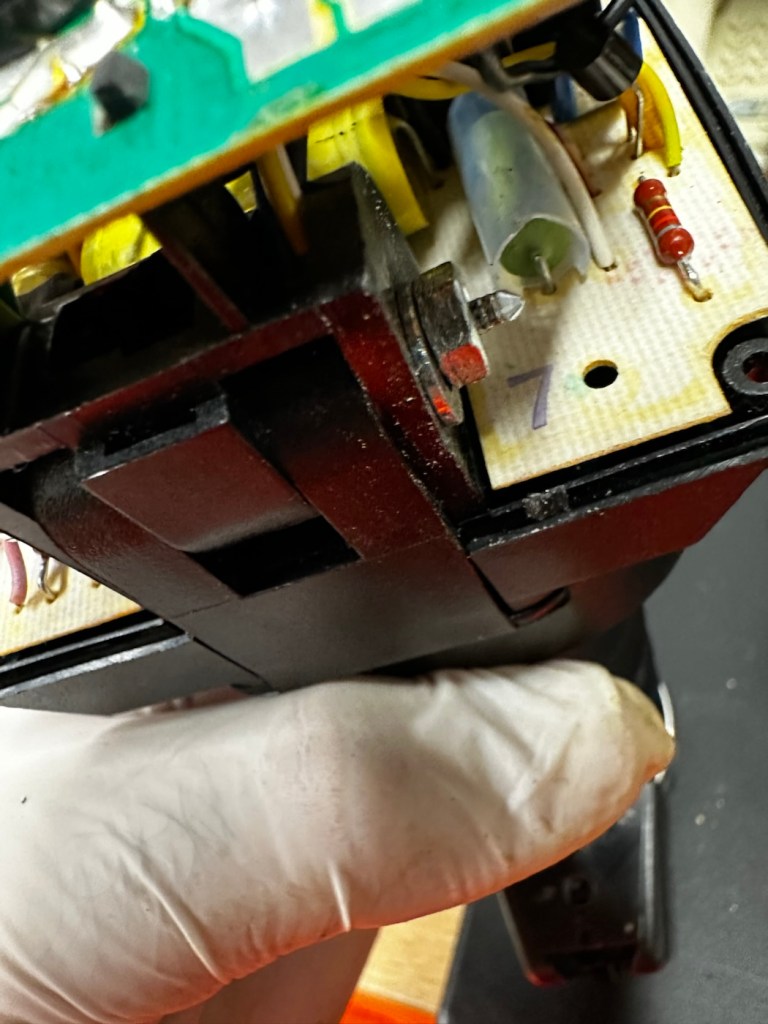
The “Knuckle” that the head pivots on is just behind the capacitor, so it made sense to discharge it.

The piece that was rattling about was relevant to the reason the head wasn’t able to pivot, it was once part of a rectangular washer that had a serrated side that would mesh up against the head that was also serrated to create a clicking action to angle the head at any point between zero and ninety degrees.

The broken mesh washer

As parts for these had ceased production years back it was time to improvise.

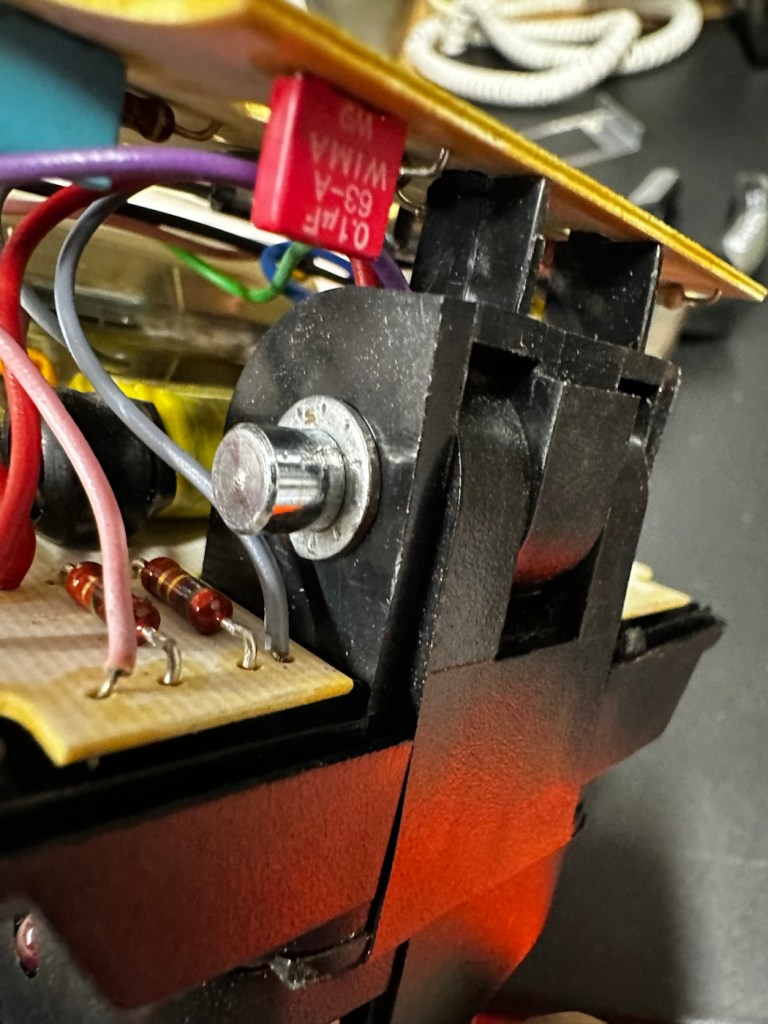
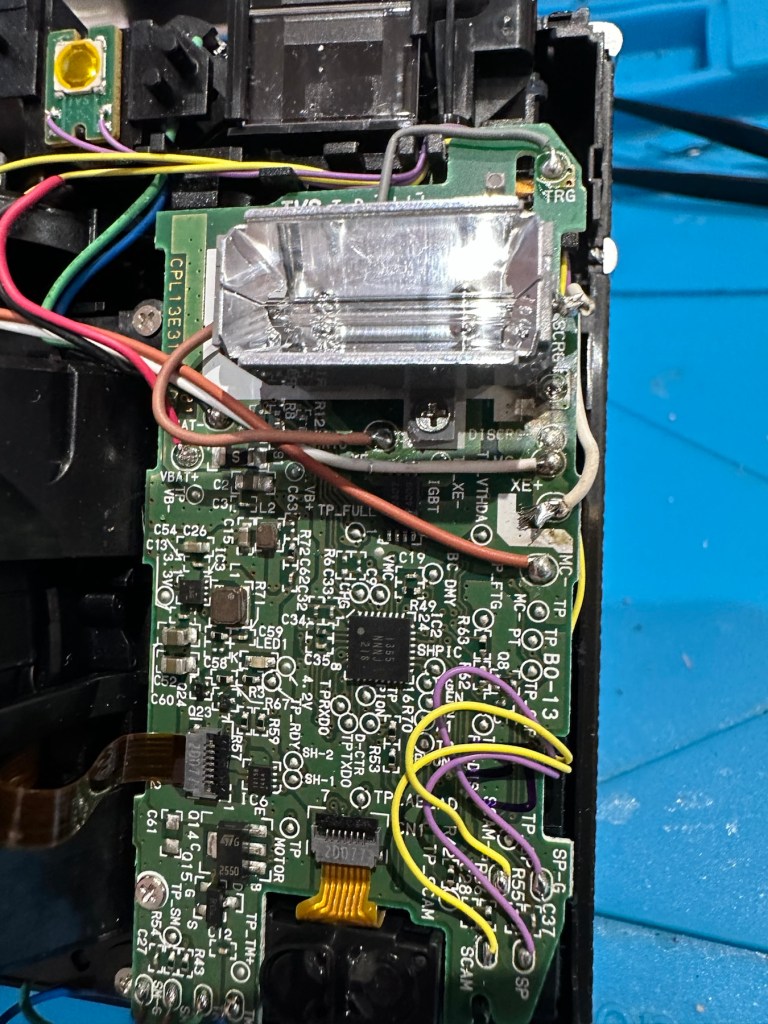
Here is the setup as it was originally.

Original setup

You will see a chrome bolt, that has a spring along its length that would have applied pressure on the mesh washer that is now broken, allowing the head to click into varying angles. To make up for this I have now added a washer on either end so the spring no longer gets depressed, and where the old mesh washer used to be I have now added two small “crinkle” washers that should now take over where the mesh washer was originally placed. the washer at the other end prevents too much compromise, allowing more pressure to be added at the securing end with out damage to the plastic frame.

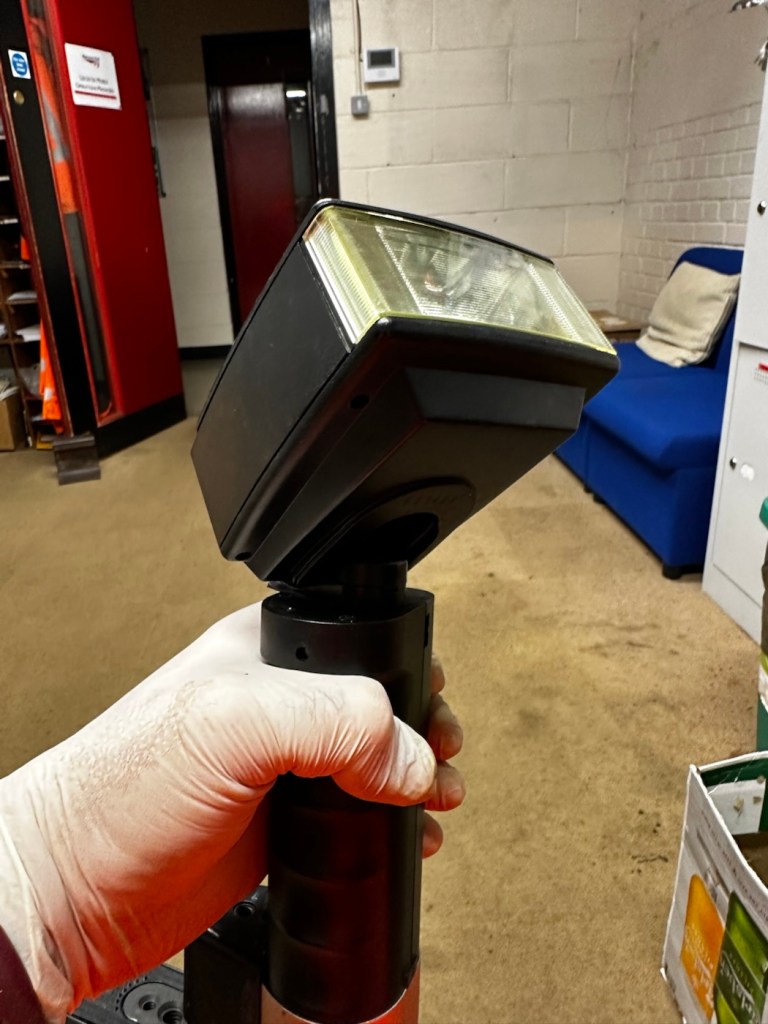
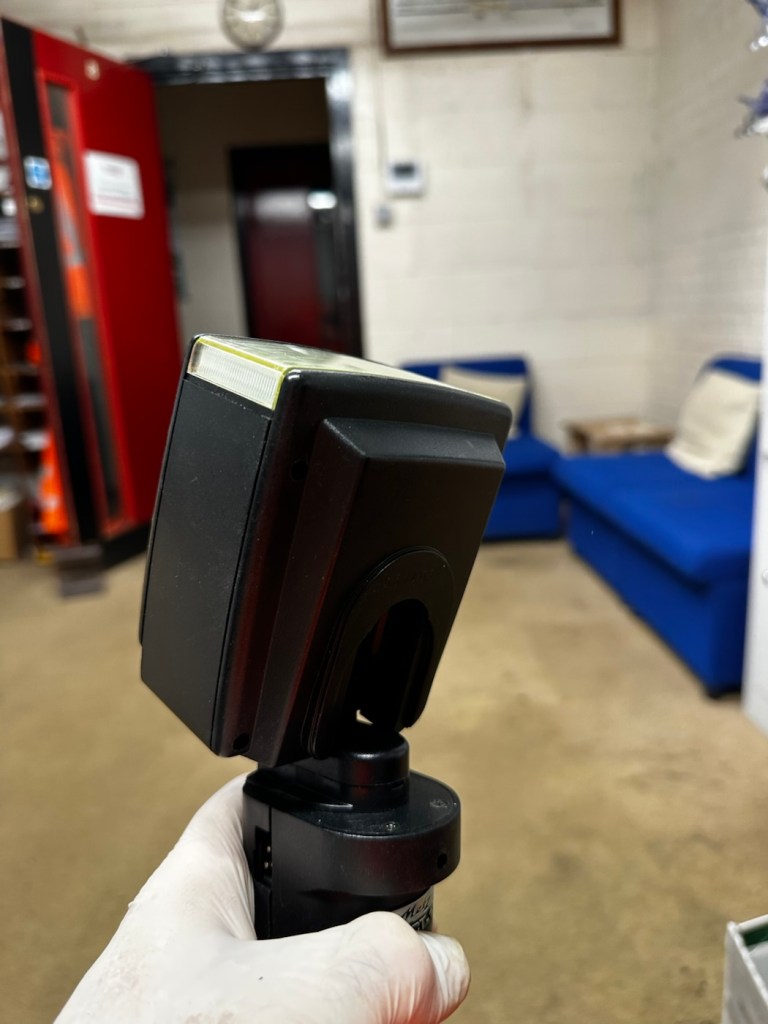
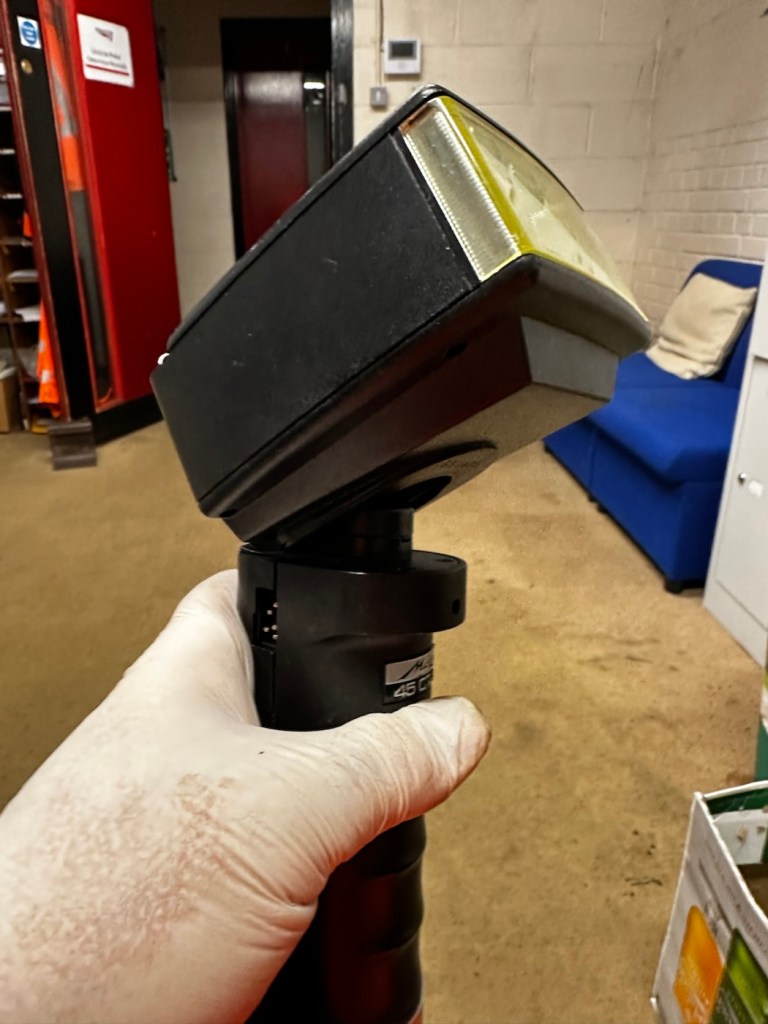
I’ve tried moving the head and although there isn’t the clicking now, the head does remain in position, whatever angle it is placed in. There is free movement around all axis, and the head stays where it is placed. I’m happy this has been repaired in that sense. Let’s get the casing back on.

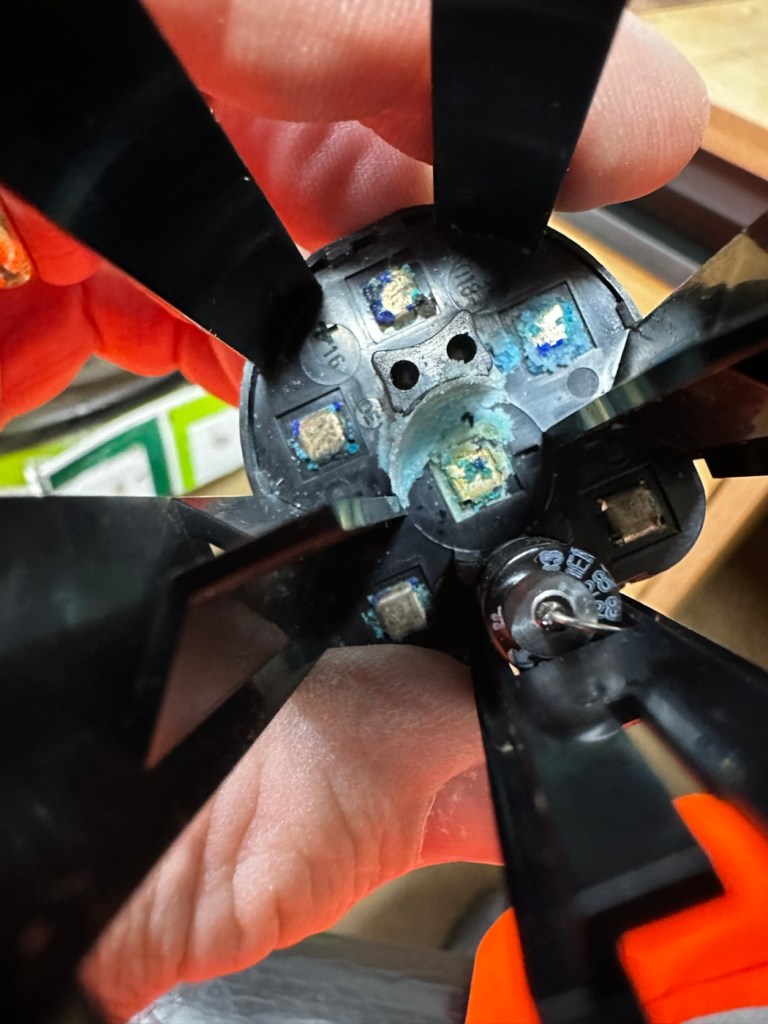
The next issue is the corrosion issue. Below you will see before and after photos, all that was used here was an old tooth brush, cotton buds, tooth picks and isopropyl alcohol. And a lot of time and patience

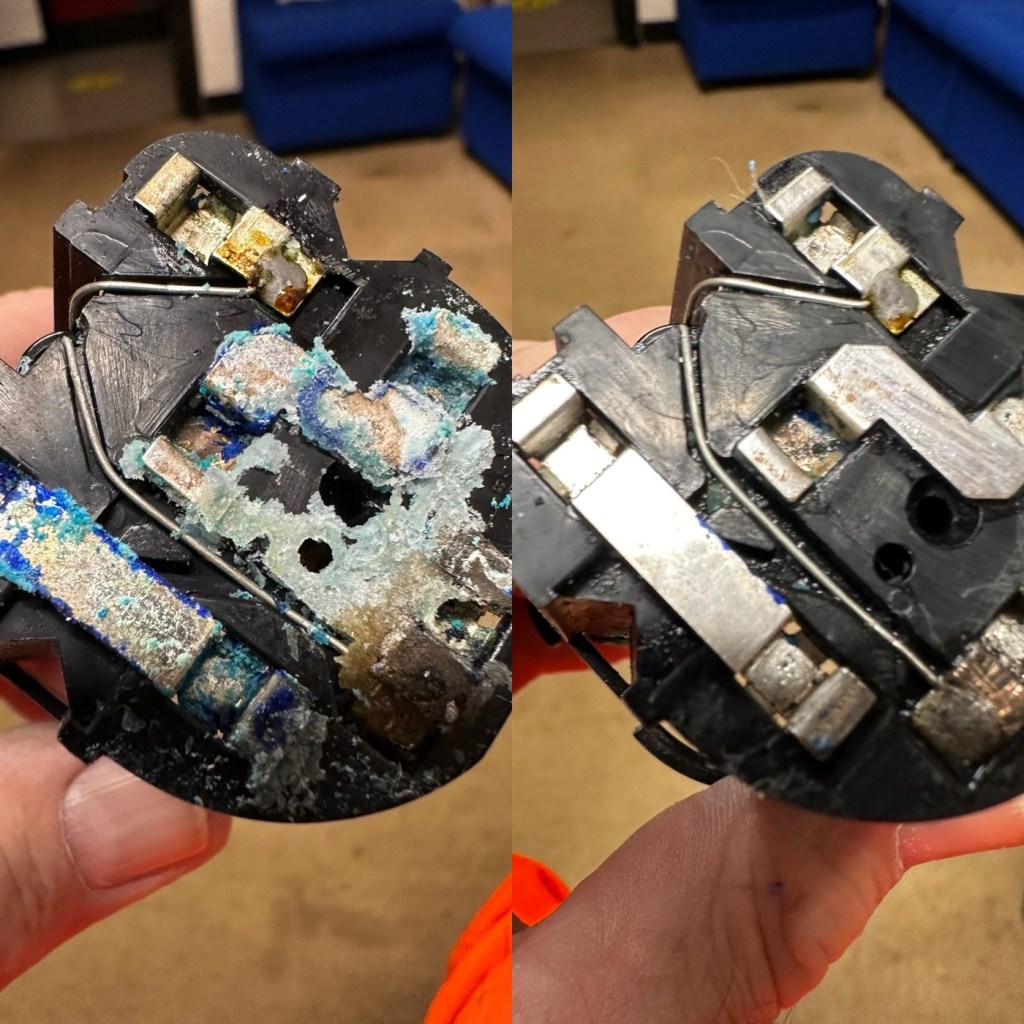
Once these were cleaned, I used a multimeter to check their continuity and all seemed fine. A final clean with some antibacterial cleaner has left them looking and smelling a lot sweeter than when they first arrived.

Reassembled, polished and smelling fine

A very brief video showing its operation.

One minute of unadulterated flashing

And with that, apart from a good old polish I think we are done here.

Result:

Look at me

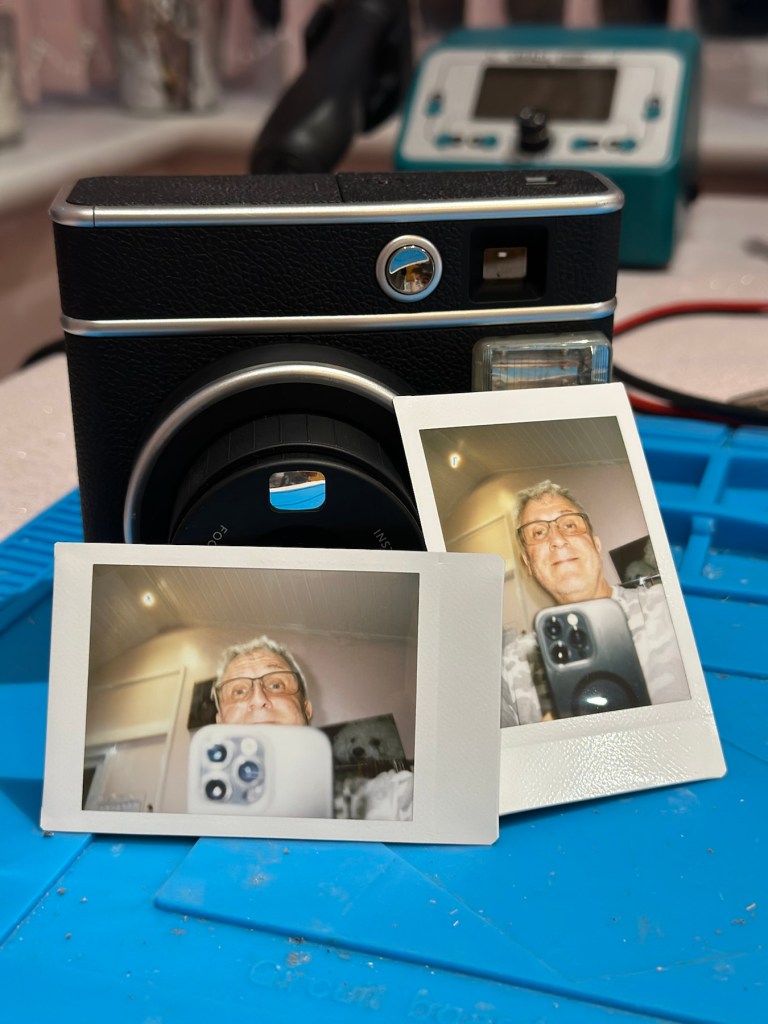
And doesn’t she look gorgeous after a good Polish?

This flash was really destined for the dump, and has now been given a new lease of life. Perfectly usable, in a very good condition and a lovely piece of photographic history. I’m so pleased with how this project has gone and so proud of myself for saving yet another classic item from landfill.

Thank you so much for passing by, as always you know it is very much appreciated.

Fujifilm Instax Mini 40 instant camera

What the listing stated:

Fujifilm Fuji instax mini 40 instant camera . Functional, but flash NOT working . 

LISTED REPAIR OR SPARES . NO RETURN . 

THE CAMERA IS TESTED AND WILL,POWER UP AND TAKE A SHOT AND EJECT A SLIDE CORRECTLY. Please watch uploaded video . 

HOWEVER THE CAMERAS FLASH IS NOT WORKING . This is the reason I have listed the cameras as repairs or spares. 

Hopefully someone knows about these cameras and knows whether the flash unit just needs replacing or if it is an electronic fault that needs sorting out can fix it . Otherwise the parts will be useful to someone who repairs these . 

No batteries or film is included . 

The camera body is in very good cosmetic condition. There are only light surface marks in terms of signs of use . . Please see images as they are part of the description. 

The red light to show the camera has powered up lites up when the button is pressed to extend the lens and turns the camera on . 

When you close the lens down it locks securely into place .

The frame counter is working . 

The film compartment is clean and the rear door shut correctly and securely.

Battery compartment is clean and the battery cover locked into place securely.

The camera is powered by to easily available AA batteries ( not included) .

EBay

Now that’s what I call a great descriptive sales pitch. And that’s because the guy is a professional seller of photographic equipment. I’ve seen the video he posted and all the above is true, it really is just a problem around the flash. Maybe it’s an easy fix? I suspect not but either way it will be an interesting project.

Here’s a little info on this camera:

Hitting the market in April 2021, the Fujifilm Instax Mini 40 takes the updates the Fujifilm Instax Mini 11 introduced but wraps them up in a cooler, more retro-styled instant camera body. Instant film fans will probably love it and with its improved design, there’s a chance that those who aren’t instantly drawn to this form of photography may just want to have a play around with the Fujifilm Instax Mini 40, too. It does cost more than the Fujifilm Instax Mini 11, though, so you’ll have to decide if the cooler design is worth an extra £20. 

+ Pros

  • It’s fun
  • Great party camera
  • Easy to use
  • Looks cool

– Cons

  • Film is expensive
  • Viewfinder could be better
  • Powered by AA-batteries

Ephotozine.com

I first of all went in with a cheeky bid of £15:00GBP that the seller originally turned down, so I then put in a high bid of £18:00 and as no one else was wanting it, it actually sold for £16:00, just £1:00 more than I’d originally offered. All in all the cost with the postage was £19:45GBP and I’m really pleased with this. Im surprised though that there are flash issues in a unit that is only just four years old. As you can see in the photo below recent sale prices have been strong and a great deal higher priced than what I have just paid. These are certainly popular little camera’s with the younger generation.

Recent sale prices have been strong

I guess we will just have to await its arrival to assess the flash issue. I’m very confident that I will be able to get this camera up and running again.

Assessment:

Out of all the Instax cameras I have dealt with lately, this has got to be one of the best ones I have had my hands on. This is a mid range instax camera that is more sober in colour aimed at those who enjoy their lomography or better quality instant photography. It certainly looks good, and to be honest I’d rather carry this one around rather than a bright pink one.

Looking nice and sober

As posted in the description above it is in near perfect condition and a quick Look at the flash head shows that the flash bar within the unit is broken.

Let’s get on with replacing this damaged flash unit.

Repair:

Let’s get it opened up.

Dismantling

People laugh at me when i tell them that playing around inside these units could kill you. I can understand the contempt aimed at me for such a statement, when I’m carrying a bright pink camera that hardly looks dangerous. Just look at the voltage still in the flash capacitor though once I have opened it. Savage.

Residual voltage of 267v still in the flash capacitor

270v would quite easily send you across the room, if you had a heart condition it would probably be game over. I’ve learned my lesson in the past so I ensure I use a capacitor bleed probe before I go anywhere near one of these flash capacitors. The capacitor on this camera is rated at 320v, not to be messed with. Beware. What’s more impressive is that all this energy is supplied from two 1.5v AA batteries. Clever stuff.

I have a donor flash bar in an old spare unit. I have carefully unsoldered its connections and gently removed the very thin glass tube from the donor unit and placed this in the one situated on the new camera.

Carefully, once inserted into the flash reflector, i have soldered it back onto the board. All looking good. However I need to test the flash so I temporarily put the case on, bung in two batteries and turn the camera on. Press the exposure button and the flash fires perfectly. Happy days. I now can confidently reassemble the camera back together, and I’m pleased that when this is done there are no screws left over. All small wins.

I have some film available so there is no better time than the present to give it a try.

Result:

Nice flash – working

I’ve loved doing this repair, this is a good quality, great condition, and now in perfect working order camera, brought back to life with many more years of use left in it.

But it could have been just chucked in the waste. I’m keeping this one for my collection as it’s a fantastic example acquired at a very good price. Thirty minutes of attention is all it took.

Another one kept from landfill.

Many thanks for passing by. Always appreciated.