

What the listing stated:
think the batteries melted in the chamber. does not work at all.
EBay
Straight to the point, the words “severely knackered” I think, would probably be a more appropriate quote, however I must be patient and await its arrival.
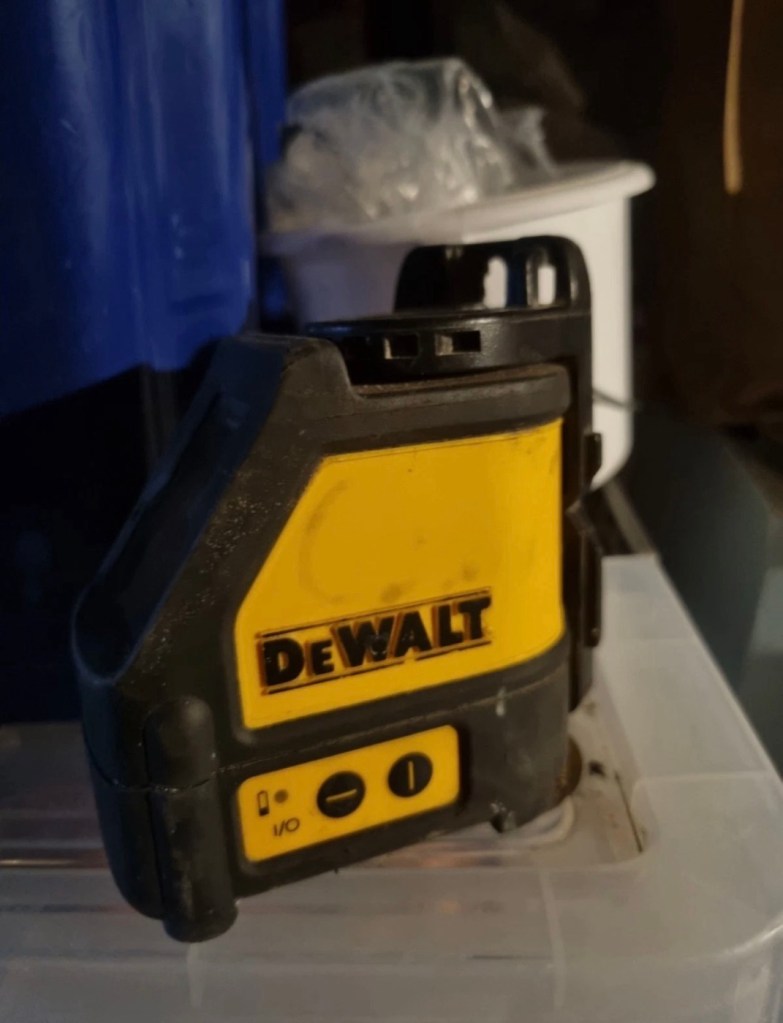
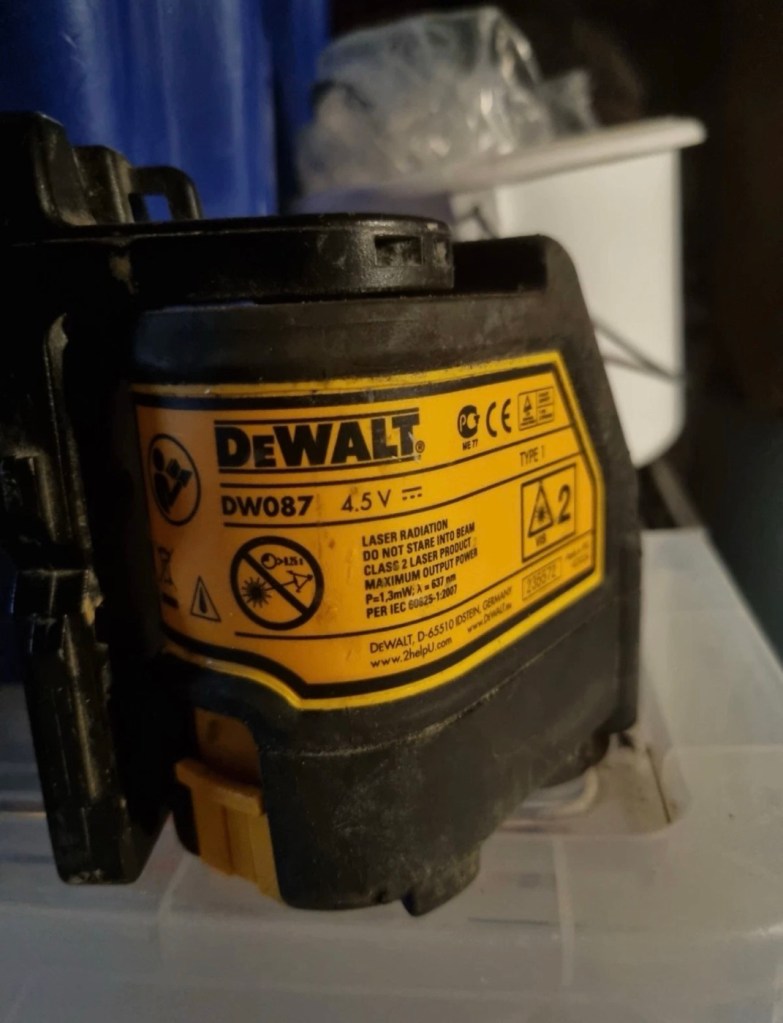
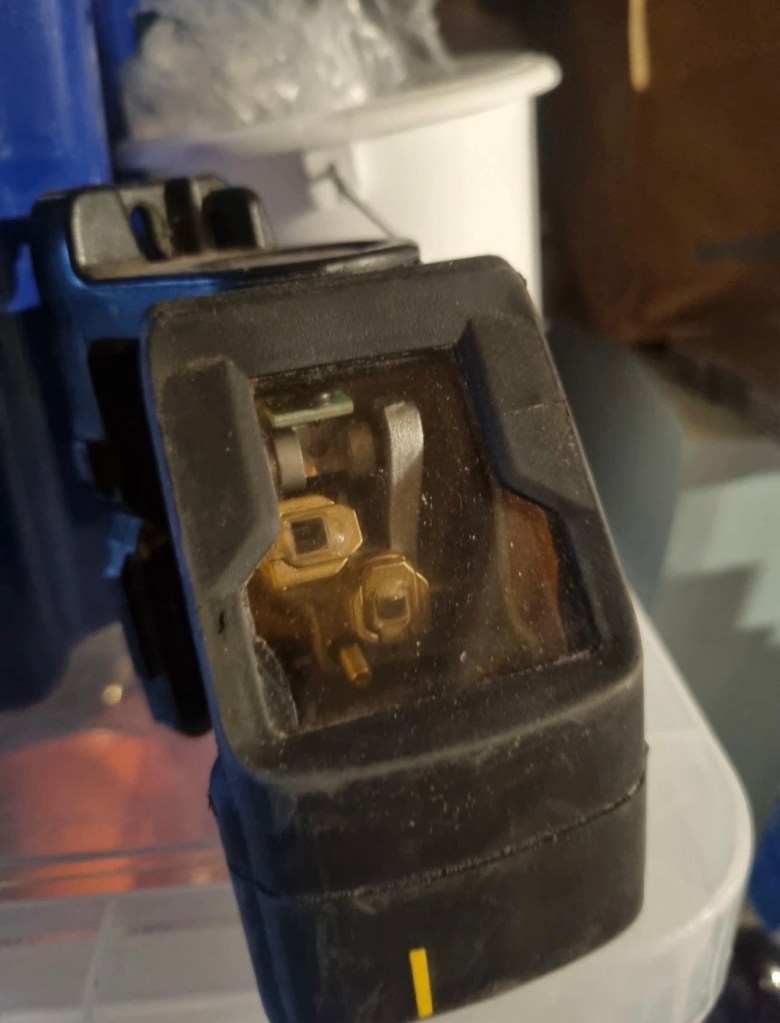
When working and from new, these little laser levelling units retailed for approximately £175:00GBP. However they are of the older red laser model and new units use a green laser, so the older red laser version is now out of production, but still well sought after on second hand markets where it can still command prices in the £50-60:00GBP range. I’ve paid the princely sum of £6:00GBP for this one, so I’m very happy with that. If I can get it working it will go into my own tool kit for use.
Here’s a little about this unit:
A new DeWalt DW087 (or the DW087K kit) generally retails for around £178 to £185. However, because this specific model is an older red-beam line laser, used or refurbished units are widely available across secondary markets, typically ranging from £50 to £80 depending on condition.
The DeWalt DW087 (often sold as the DW087K) is a self-leveling cross-line red laser. It projects bright horizontal and vertical lines with an accuracy of ±0.3 mm/m and features an indoor visibility range of up to 15 meters. Powered by 3 AA batteries, it includes a built-in magnetic pivot bracket for quick metal mounting.
So. Basically it used by tradesmen and women to set up a visual laser projection around an area. Just think about putting up kitchen cabinets or worktops, and you’ve probably witnessed one of these in action. The one I have purchased sounds as if it is in a pretty poor condition, the lack of pictures showing the battery area speaks volumes and is probably hiding a crime scene, however I’ll just have to wait and see.
Assessment:
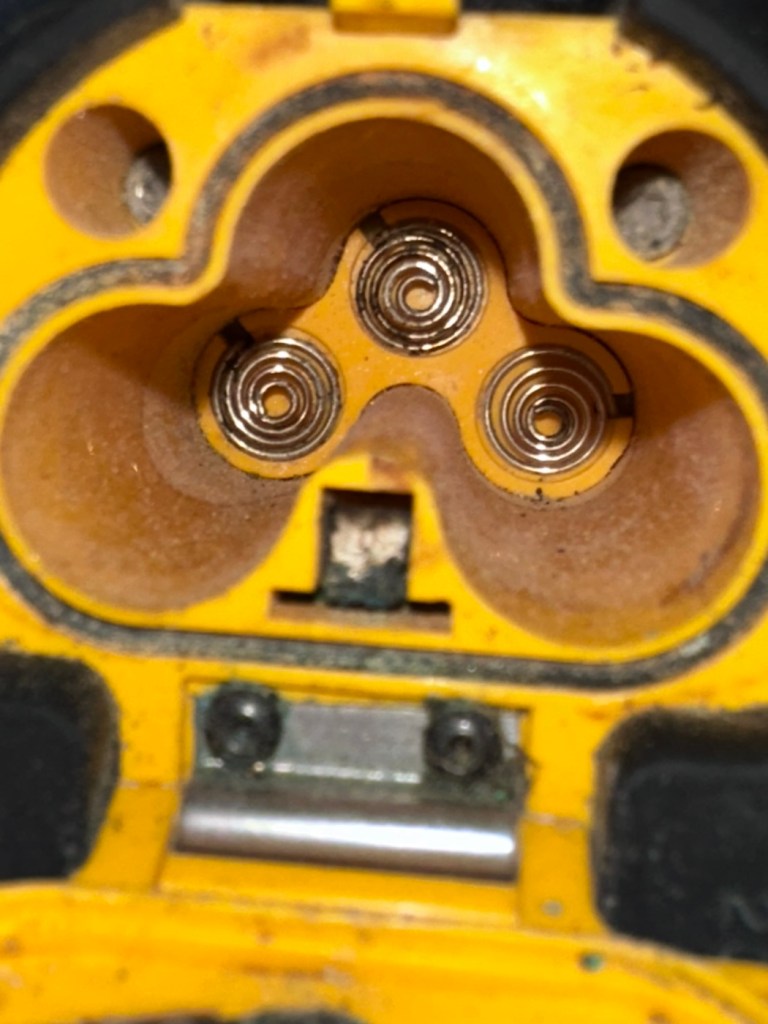
It has arrived. It’s as expected, looks like it’s been around a few building sites and most definitely does not work. The good thing is that the description of the batteries melting in the chamber was not so, in all truth it appears they have corroded the contacts a little, and one point of contact required to complete the circuitry appears to be broken.
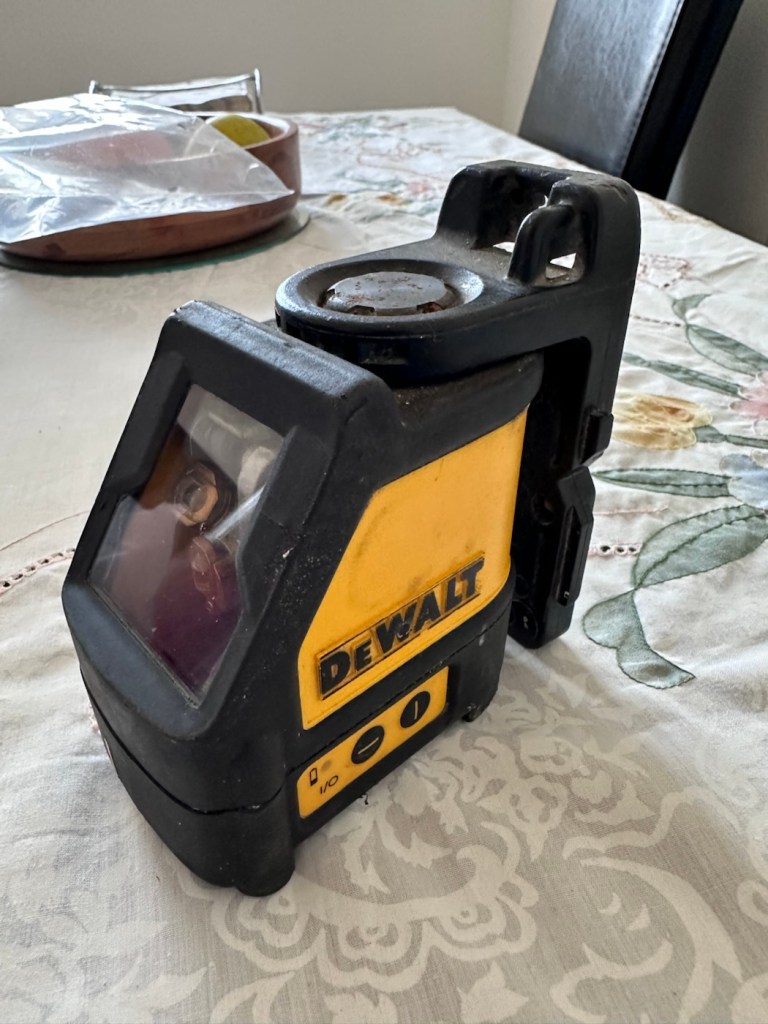
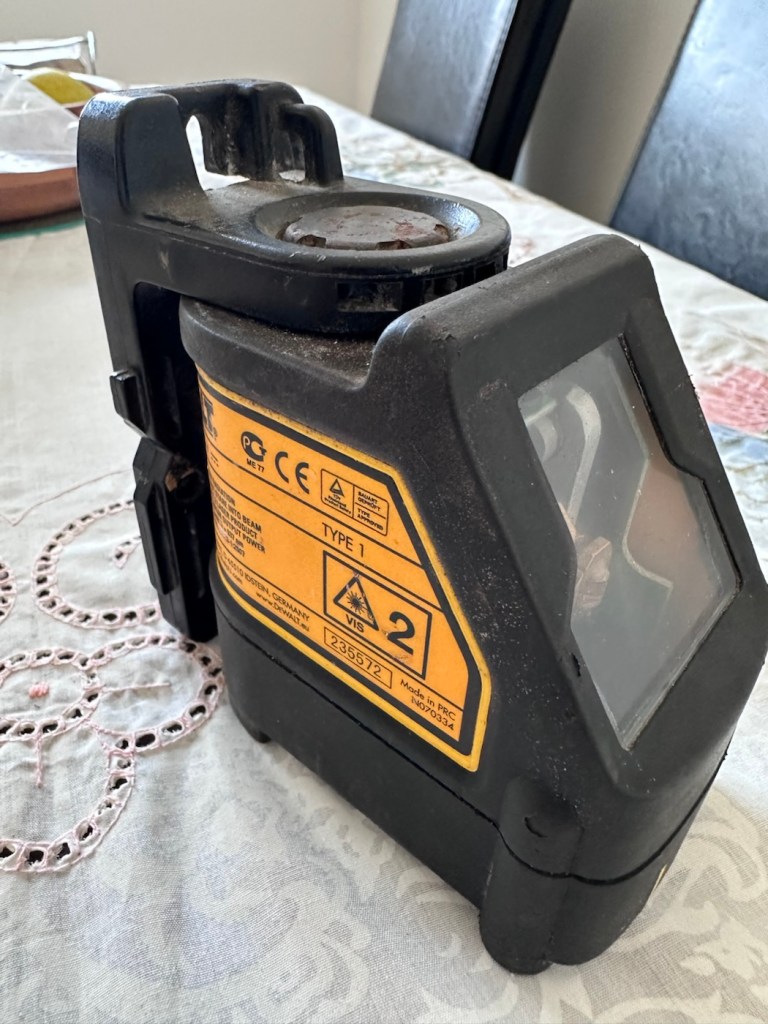
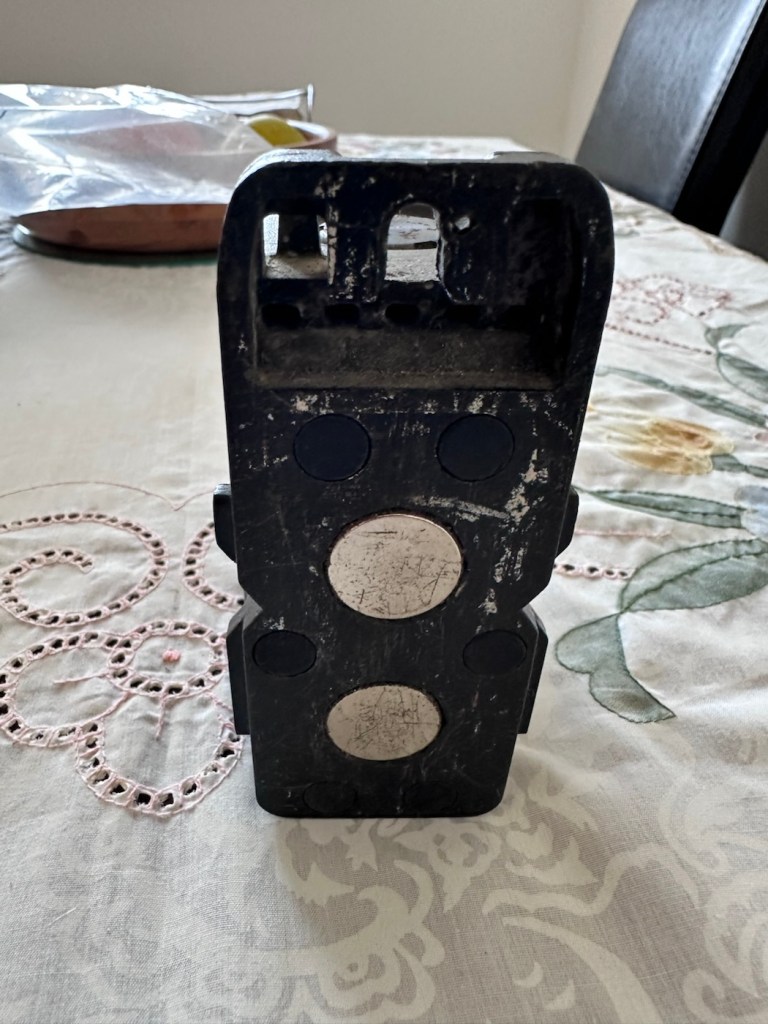
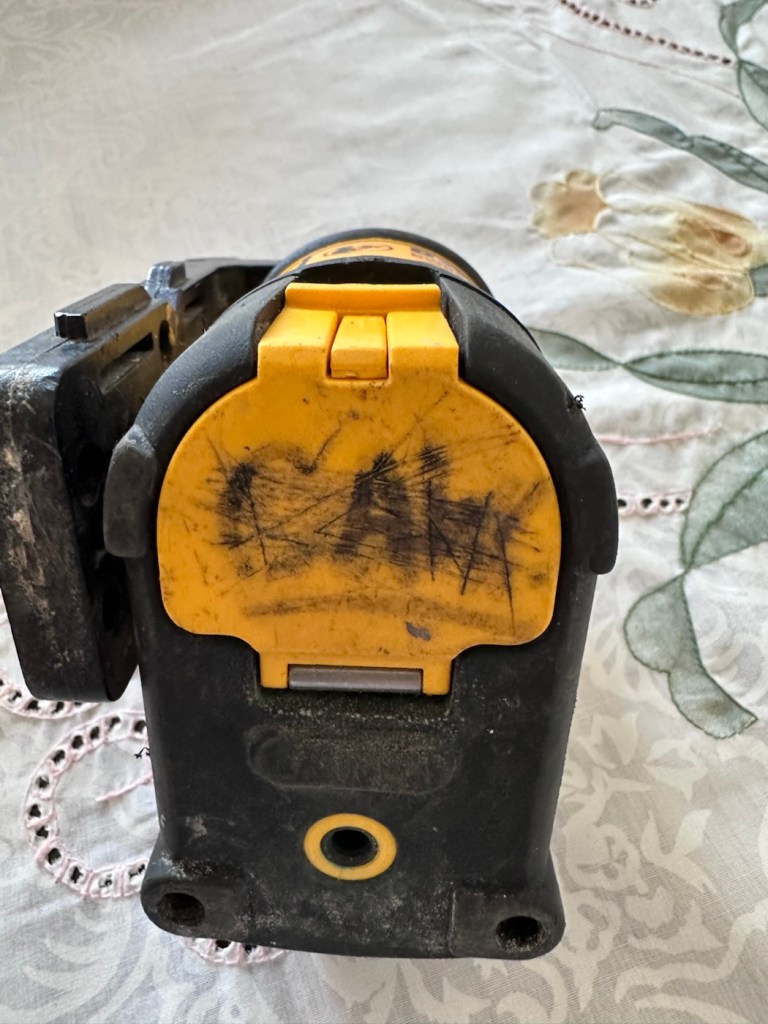
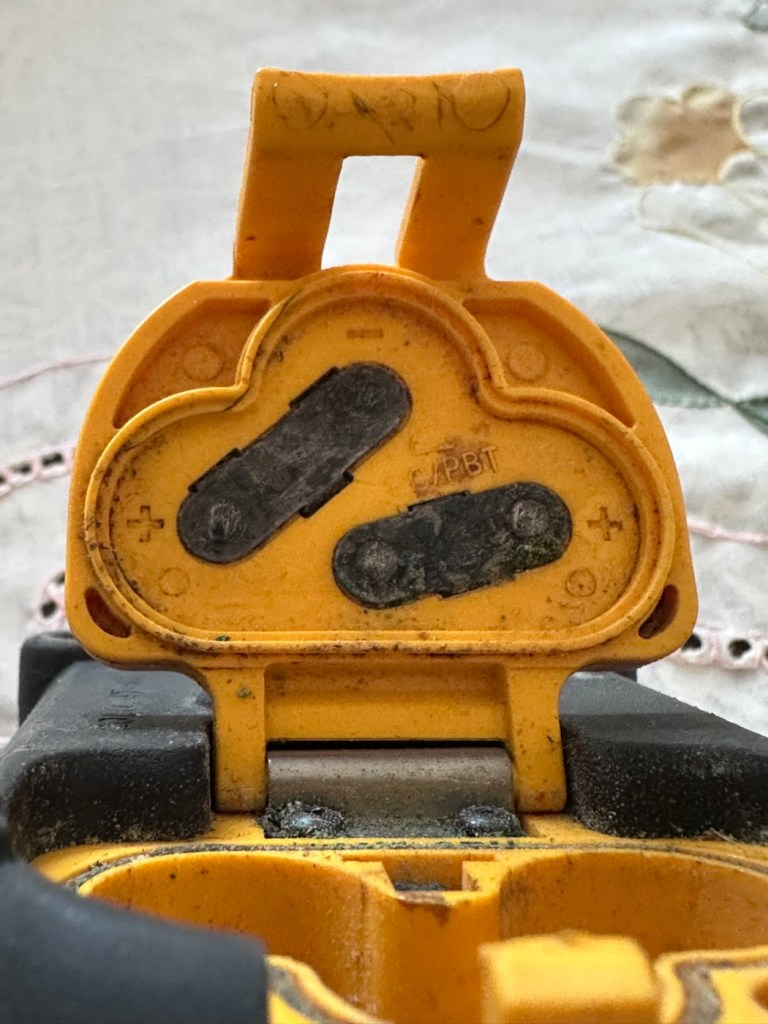
It’s dirty no doubt about that, but it can always be cleaned.
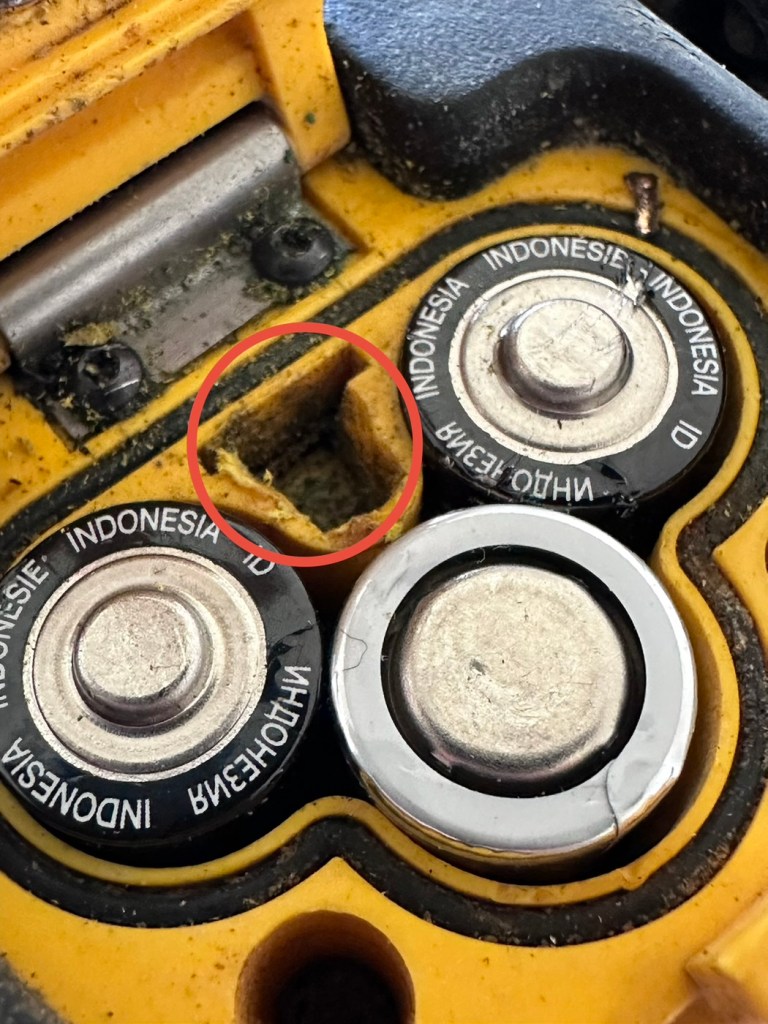
There is a missing contact as highlighted in red, in the picture above. This connects with the battery contacts in the battery lid. When a circuit is made the level will work. There is a small piece of metal strip at the base of this hole, the remnants of the contact that should be there. I have managed to get the unit working by temporarily putting a small spring in here to bridge the contact. This will have to be replaced or repaired though.
Repair:
The first thing to do is to get the unit disassembled, and that is surprisingly easier than I thought. Four screws later and the body can be pulled apart. Another two screws removes the battery flap. Easy.
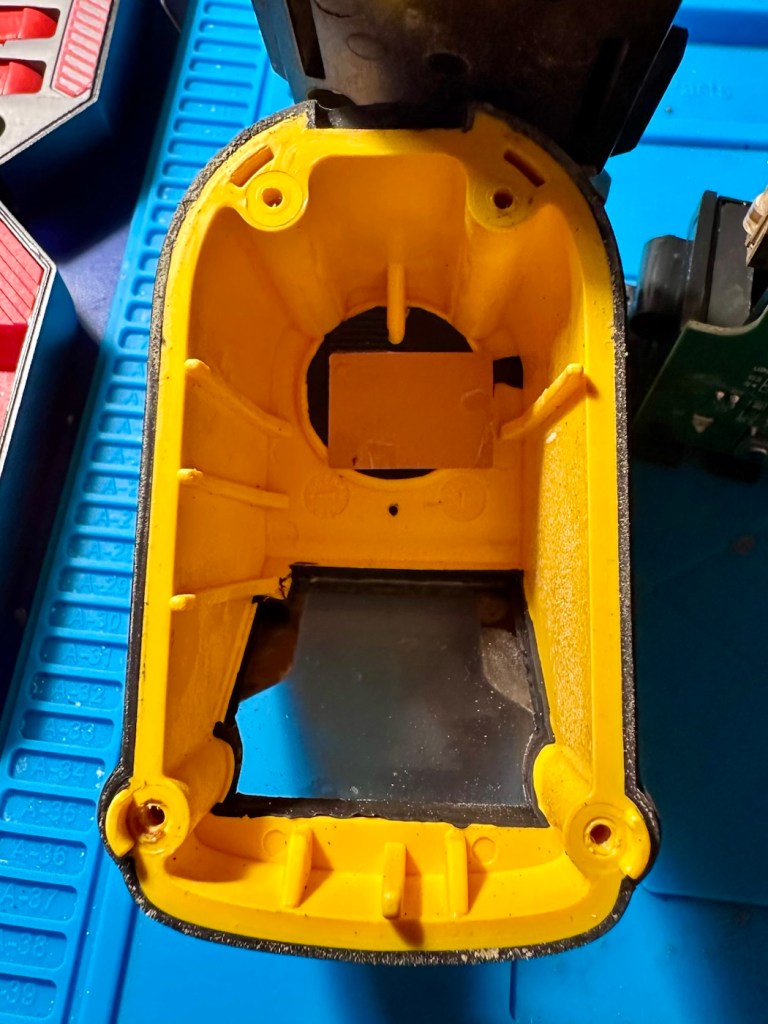
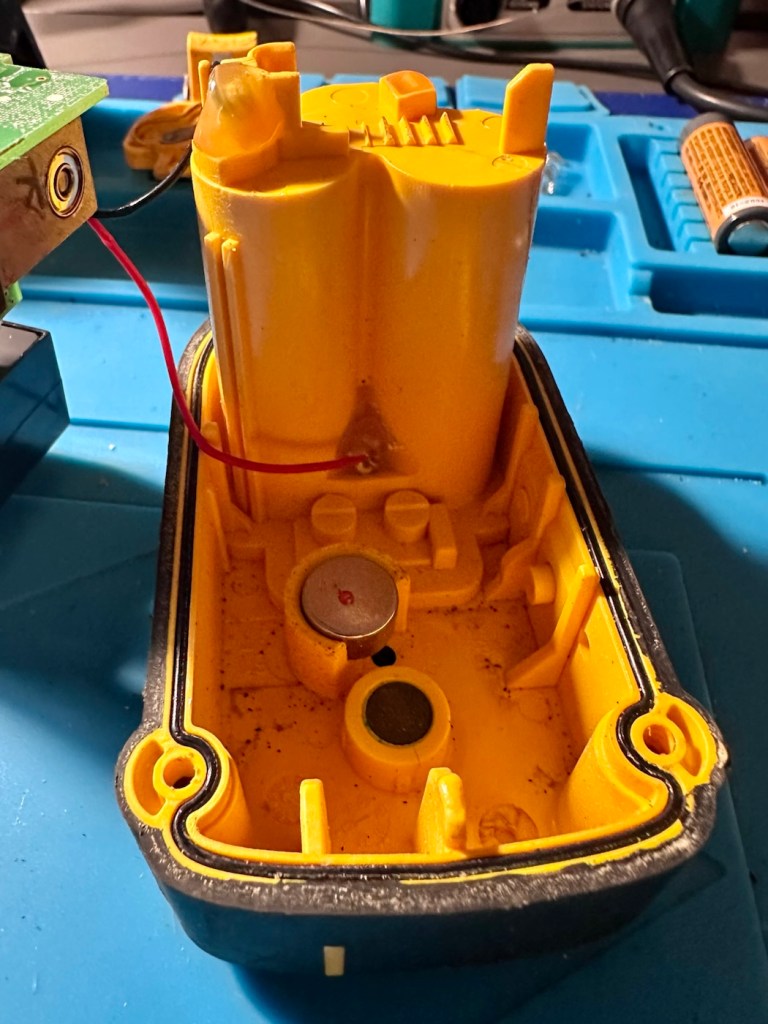
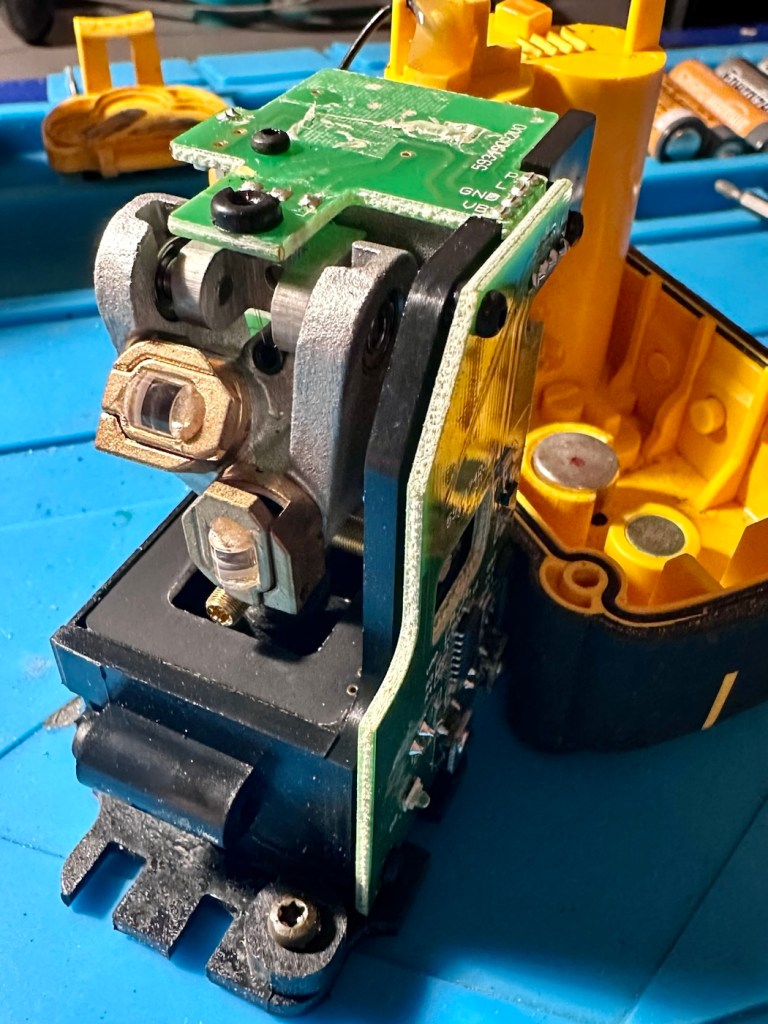
There are a couple of rubber gaskets that fit in between the two parts to ensure an airtight seal and to stop the ingress of dirt. I have given the lenses a clean with a camera lens cloth, I have cleaned both inside and out of the window and given a good blow through with some compressed air. I have used a multimeter on the power led in diode mode just to check that it is operational, and it is. There is nothing else needing attention within the internals.
Turning my attention to the battery chamber and battery lid I give both a thorough clean, the negative terminals in the battery chamber are cleaned with an IPA solution to improve their appearance, the whole chamber is cleaned in the same manner and is looking good.
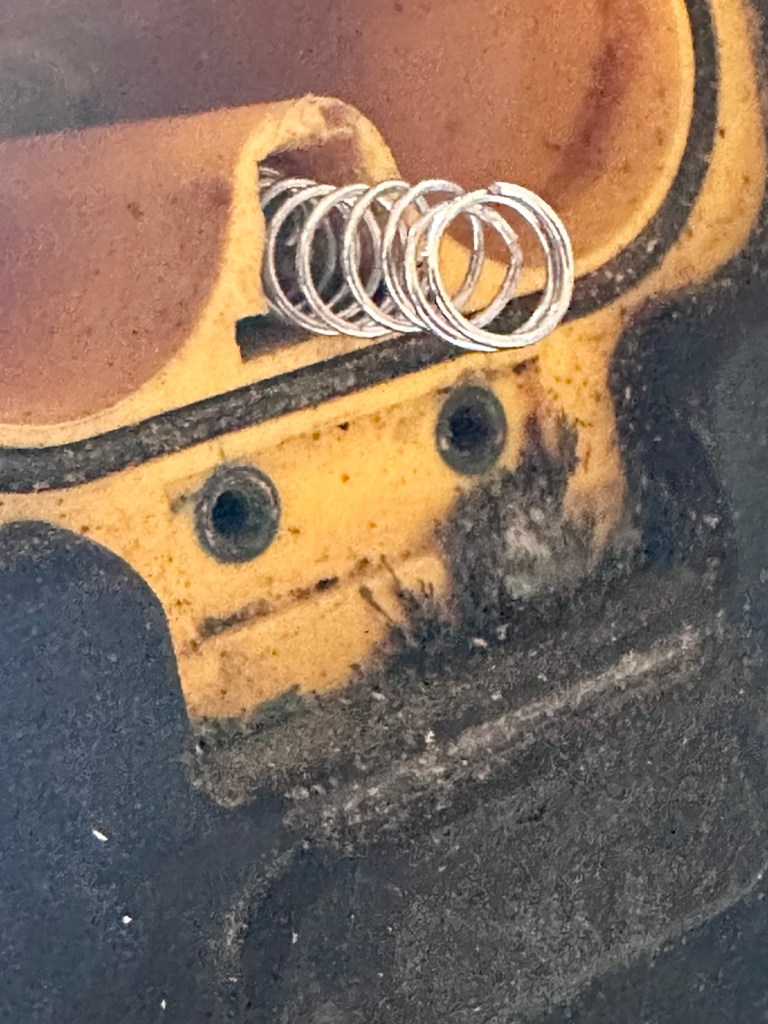
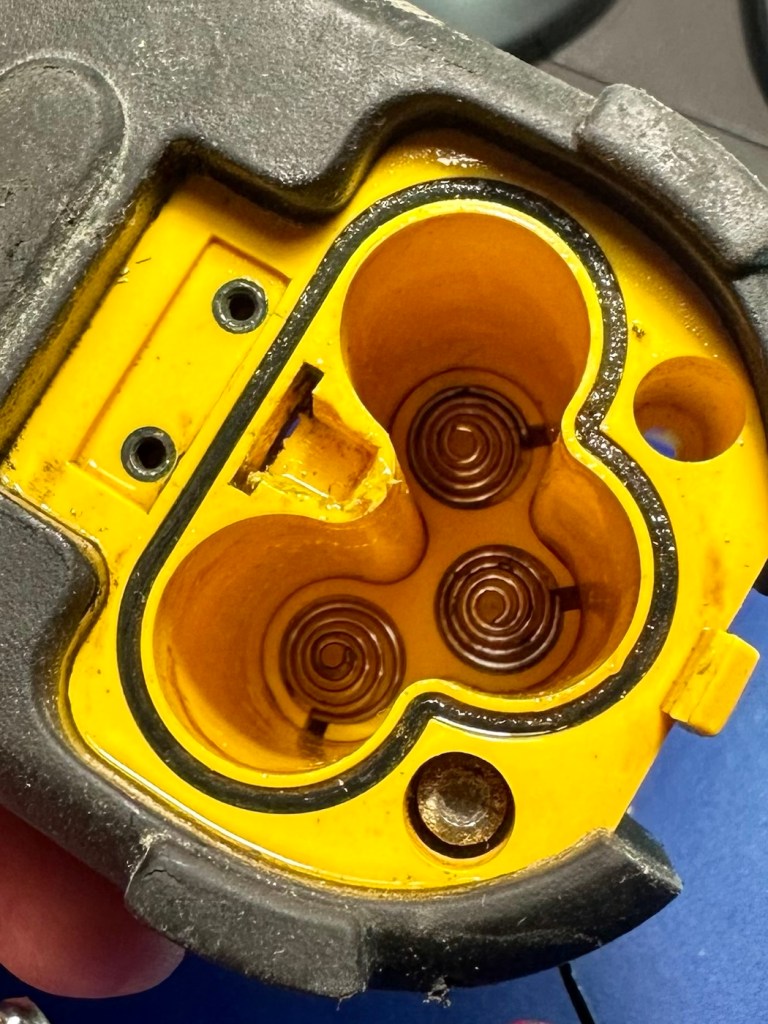
There was a collection of what appeared to be iron filings where the battery lid joins the body, and this is because on the opposite of this point, there is one of two strong magnets that keep the lasers level. Holding the unit over a bin and lifting the magnet out ensured a nice little rainfall of iron filings into the bin and not all over my workspace. With the magnet now replaced I gave this same area a further good clean with IPA.
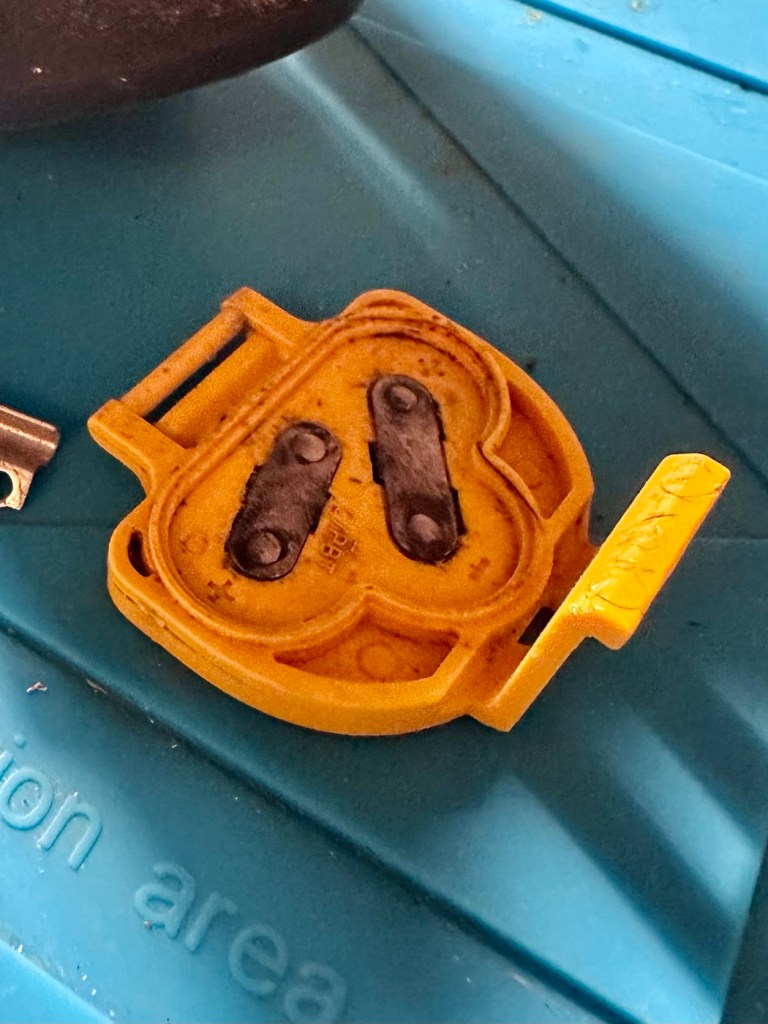
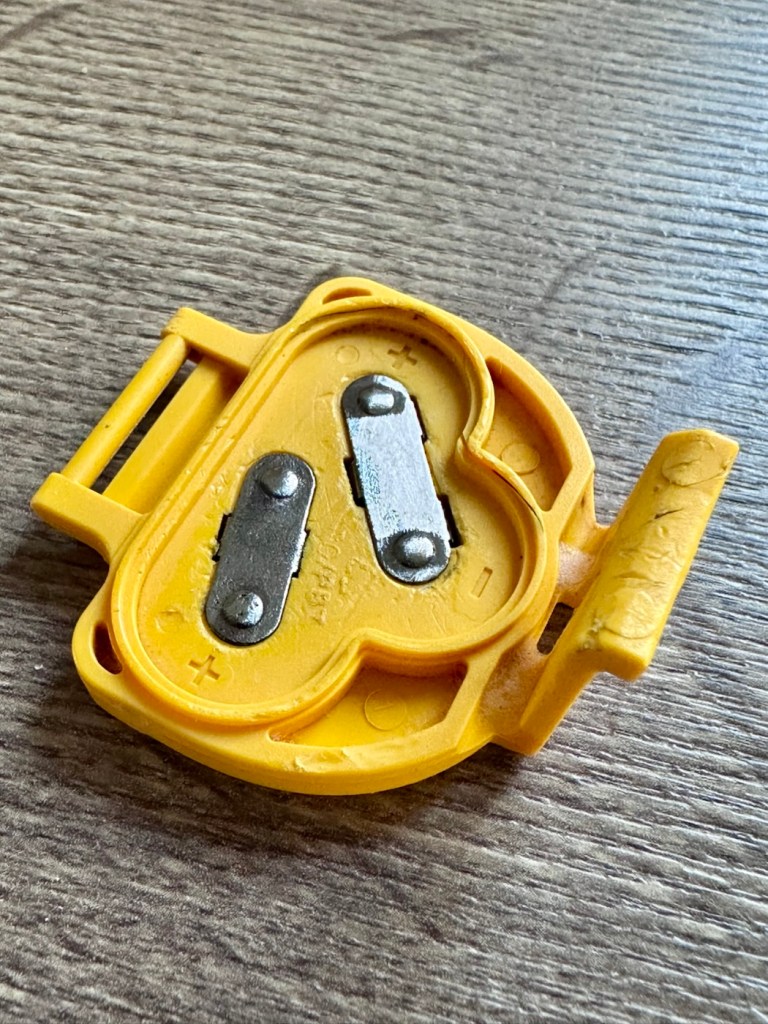
The battery lid has been left to bathe in a dish of white vinegar to help remove the remainder of the tarnishing to the battery contacts attached to it. It’s worked ok, a final tidy with a grinding pen has brought this up well, looking a lot better than it previously looked.
I now need to look at that broken contact.
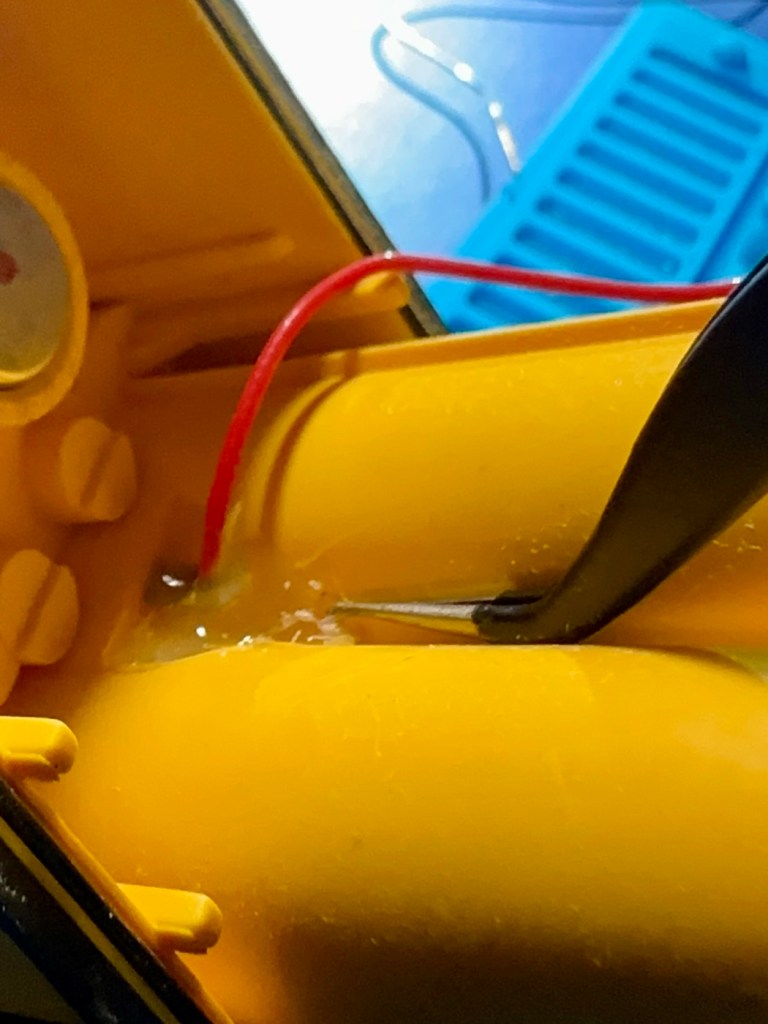
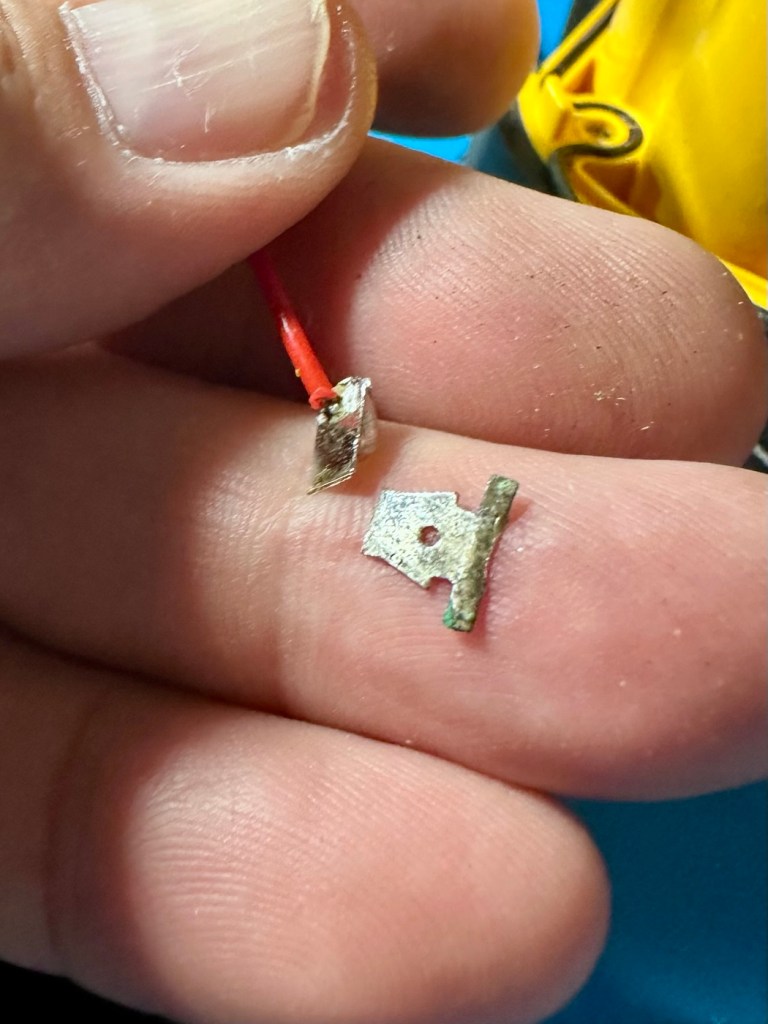
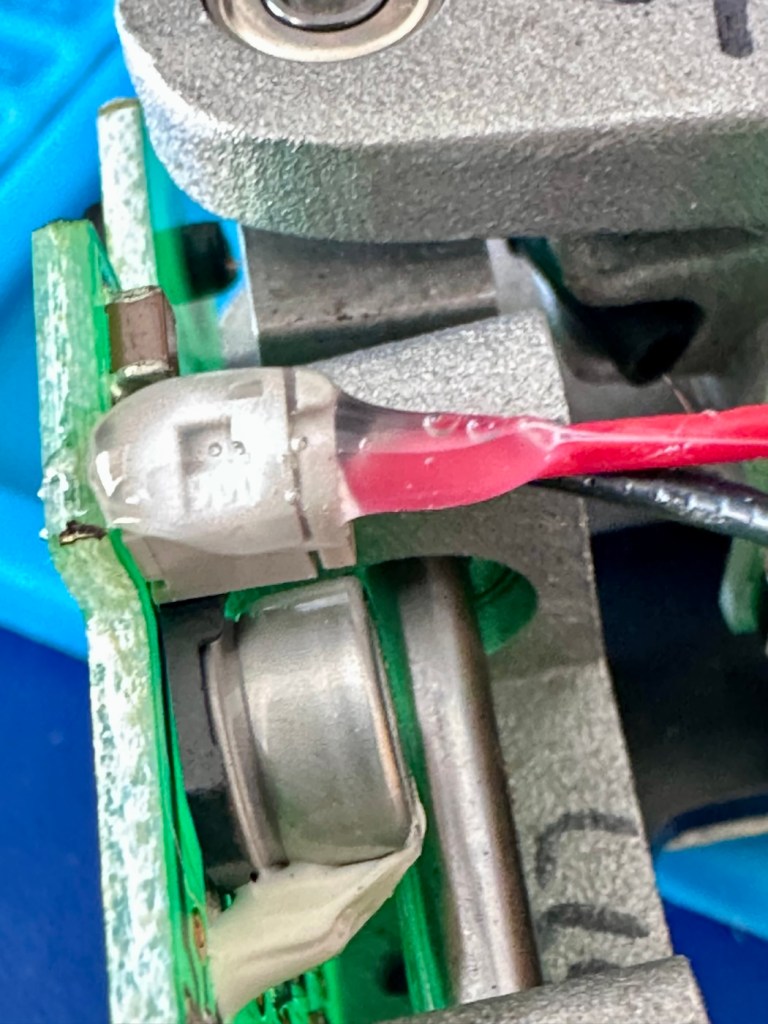
The wiring for the contact has been hot glued into place on the reverse of the battery chamber. I used some IPA to loosen the old glue and that allows me to remove the remainder of the broken contact. The top part missing from the inside of the chamber has long gone. I will have to fabricate a replacement myself. The wiring you see above was also hot glued to a plug on the main circuit board. Again, an application of IPA softened the glue and I was able to remove the plug from the circuit board to be able to work freely on the battery chamber. When the work is complete I will re glue both these items back into place prior to reassembly.
I’ve formed a small contact out of a piece of pliable metal to use in the device.
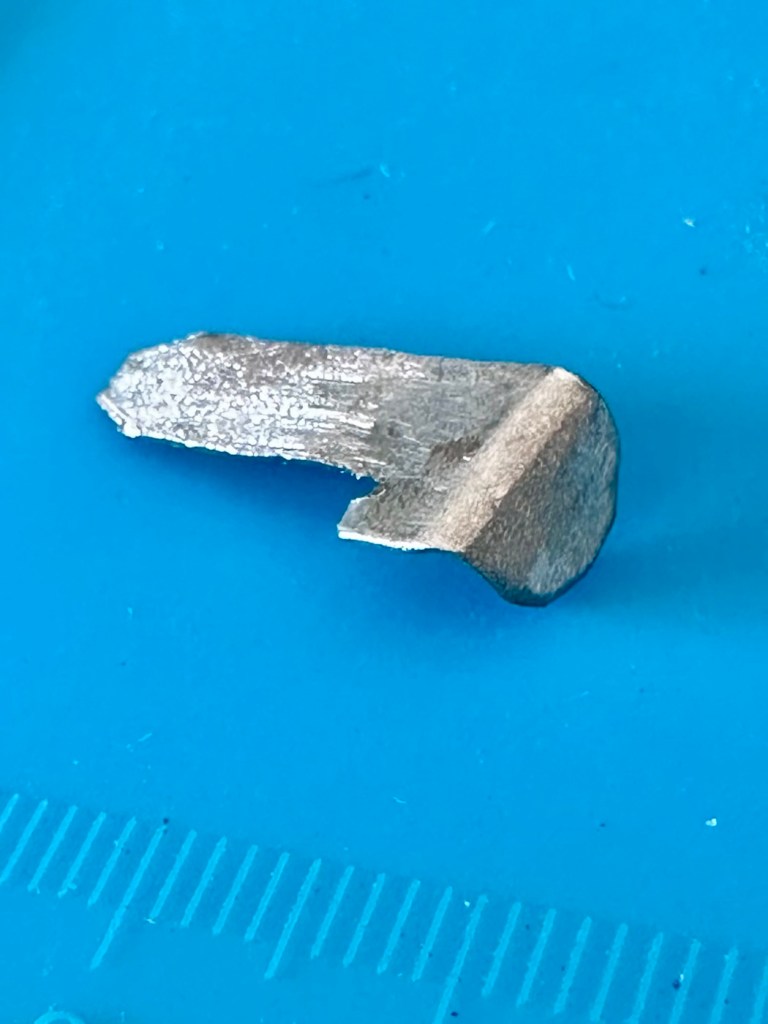
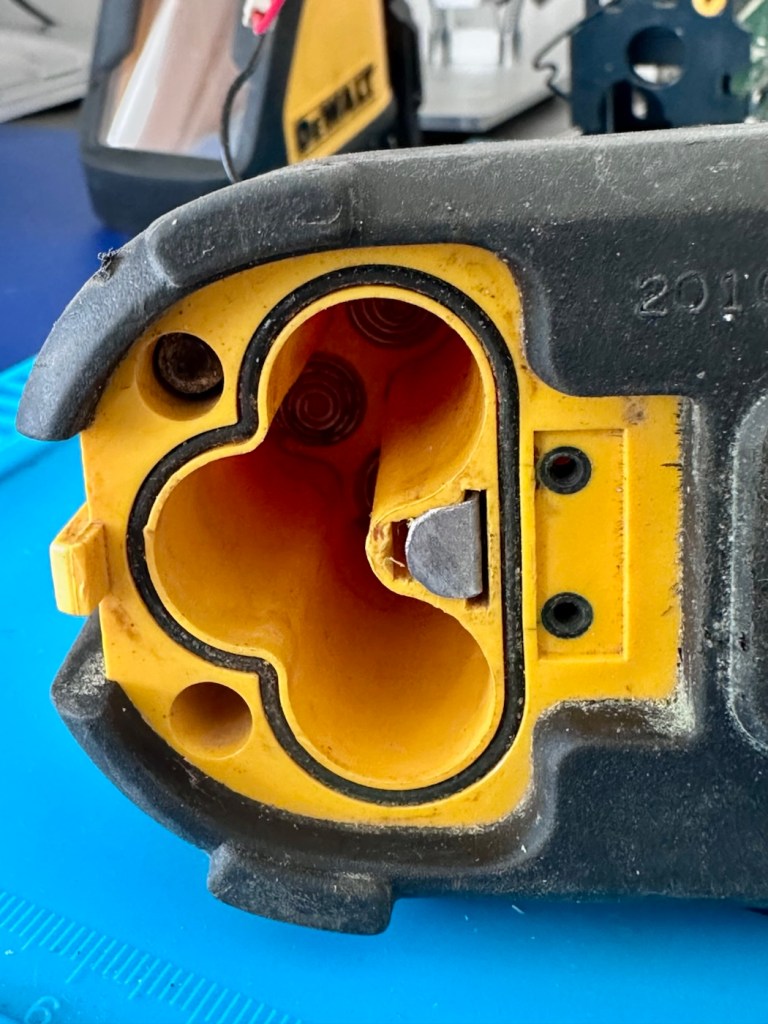
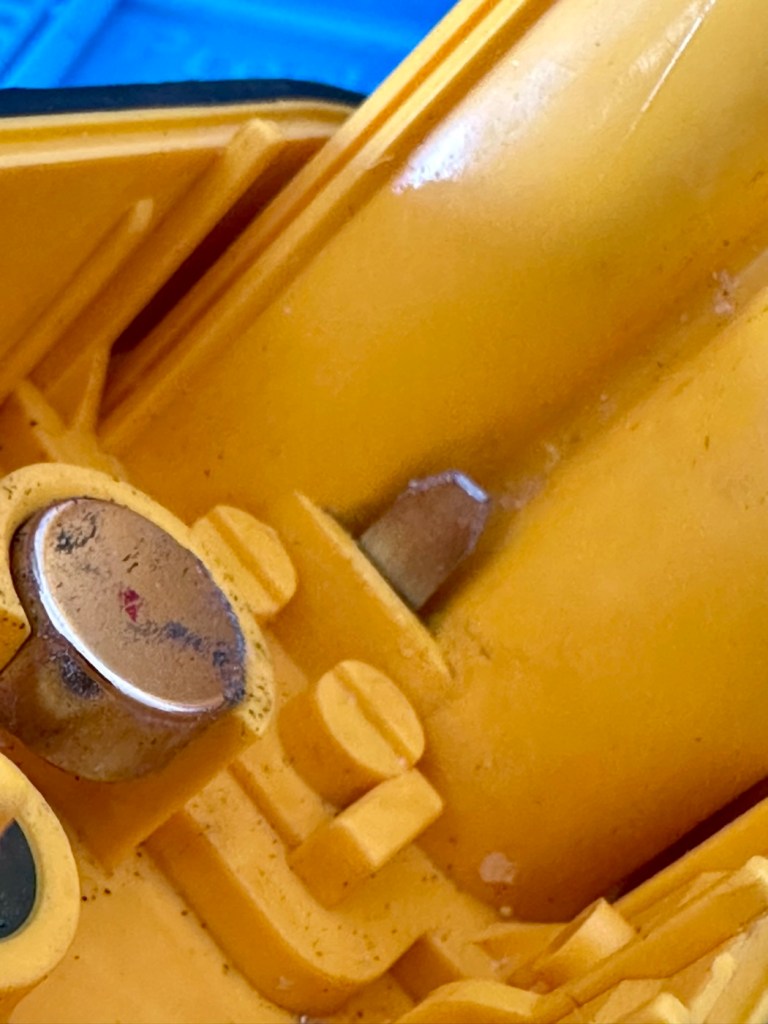
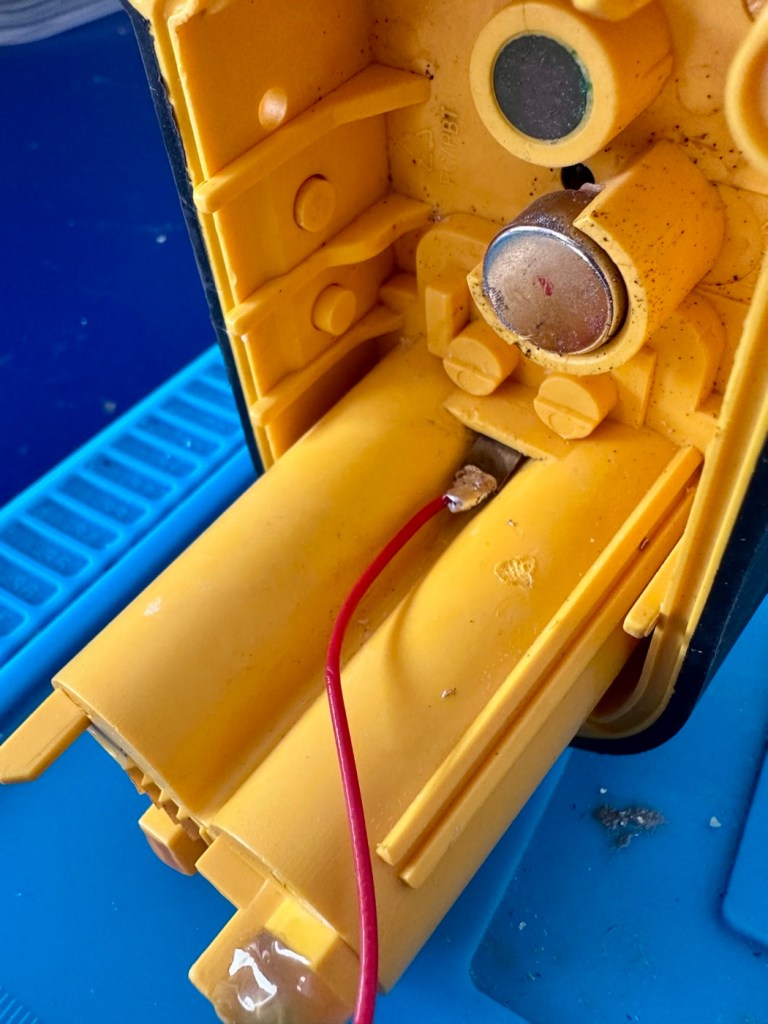
It fits nicely and is cut in such a way that it won’t push through into the chamber when a slight pressure is applied. I’ve hot glued both surfaces that I had removed glue from in the first place to gain access. Now the unit is being reassembled they’ve been glued just as they were previously.
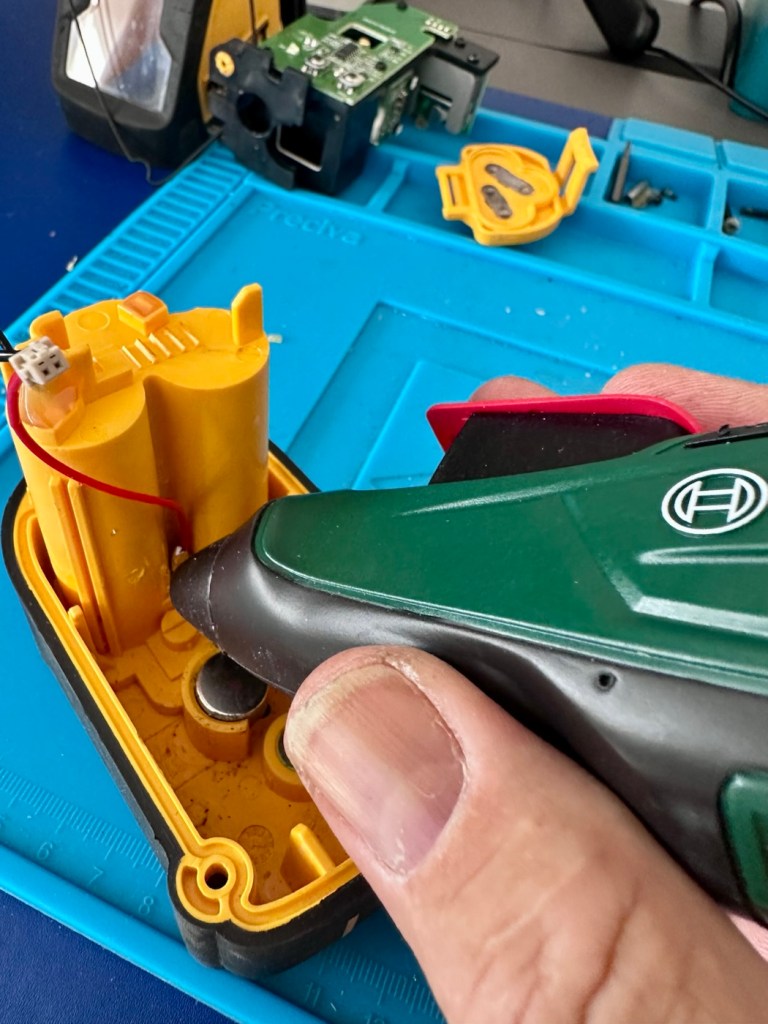
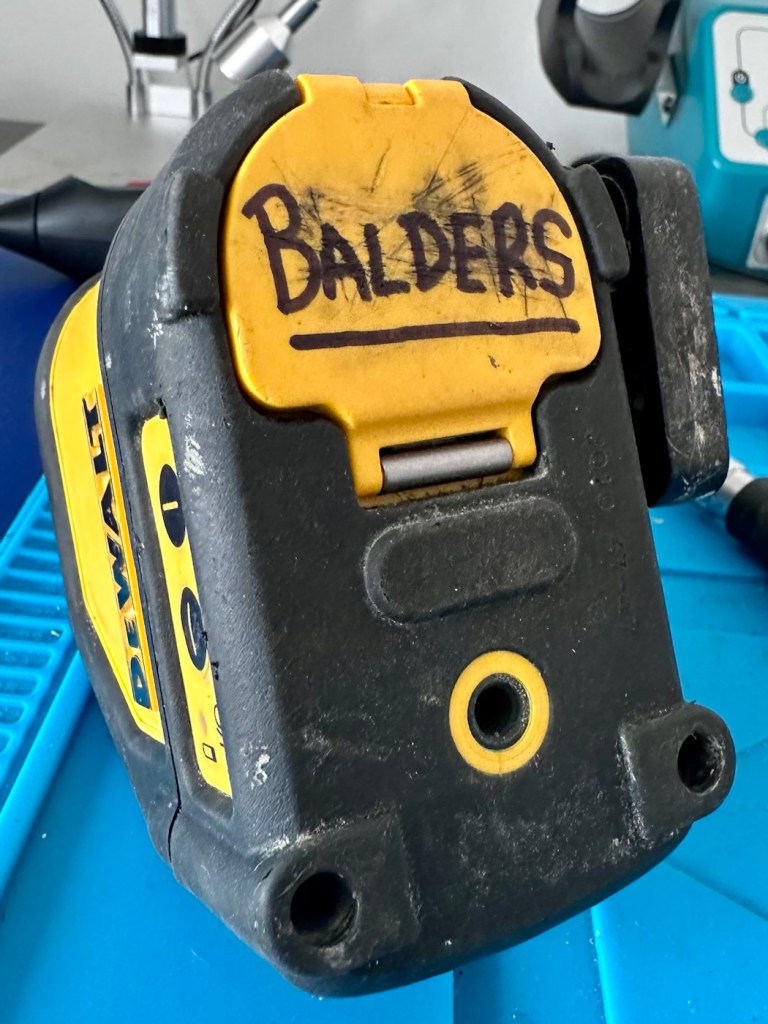
Now the unit is back in one piece it’s now time to reattach the battery chamber lid, and in time honoured tradition, I’ve daubed my nick name on the lid, as this will now go into my toolbox in my garage.
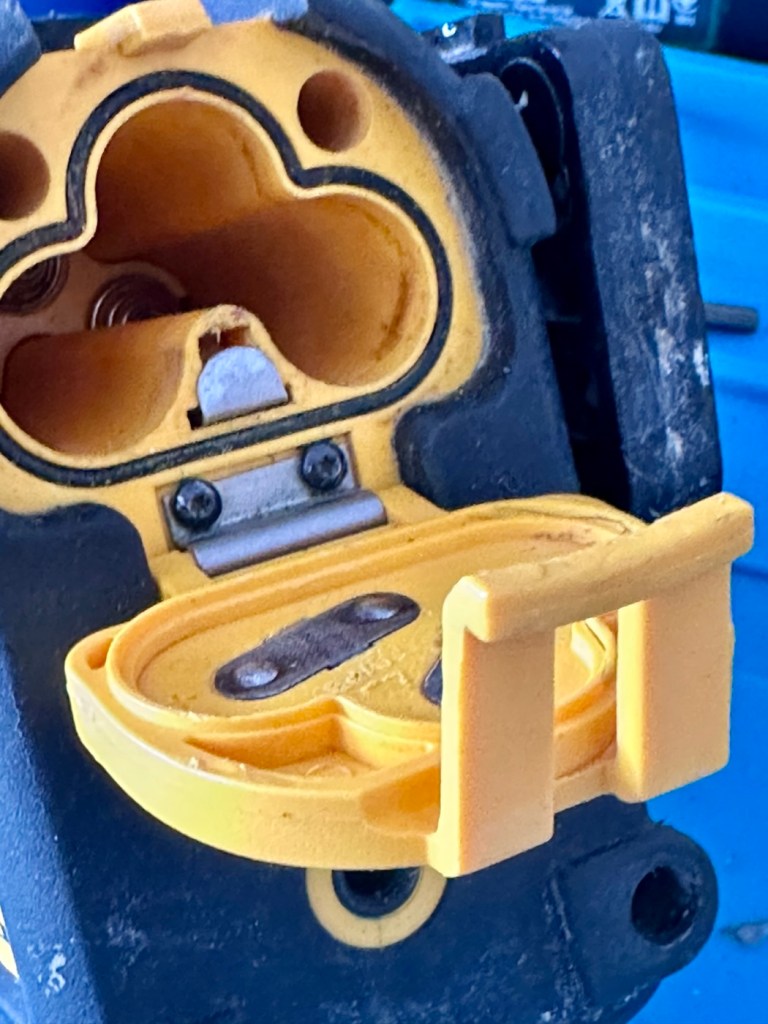
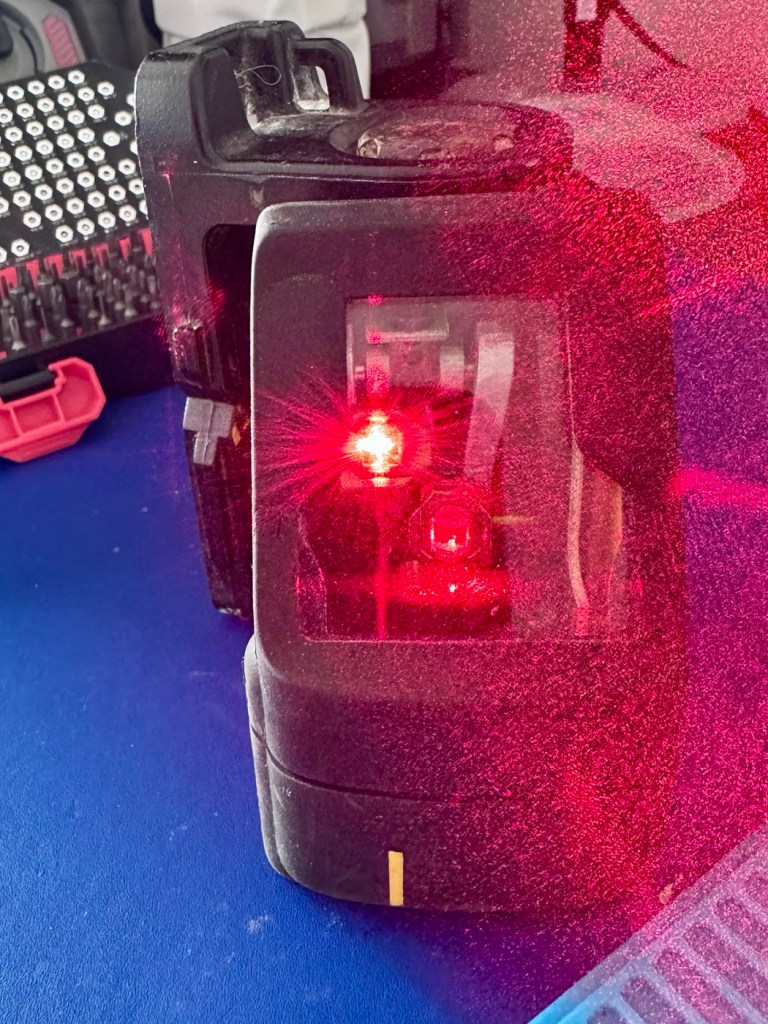
Now all that is left to do is switch it on.
And it works just fine….
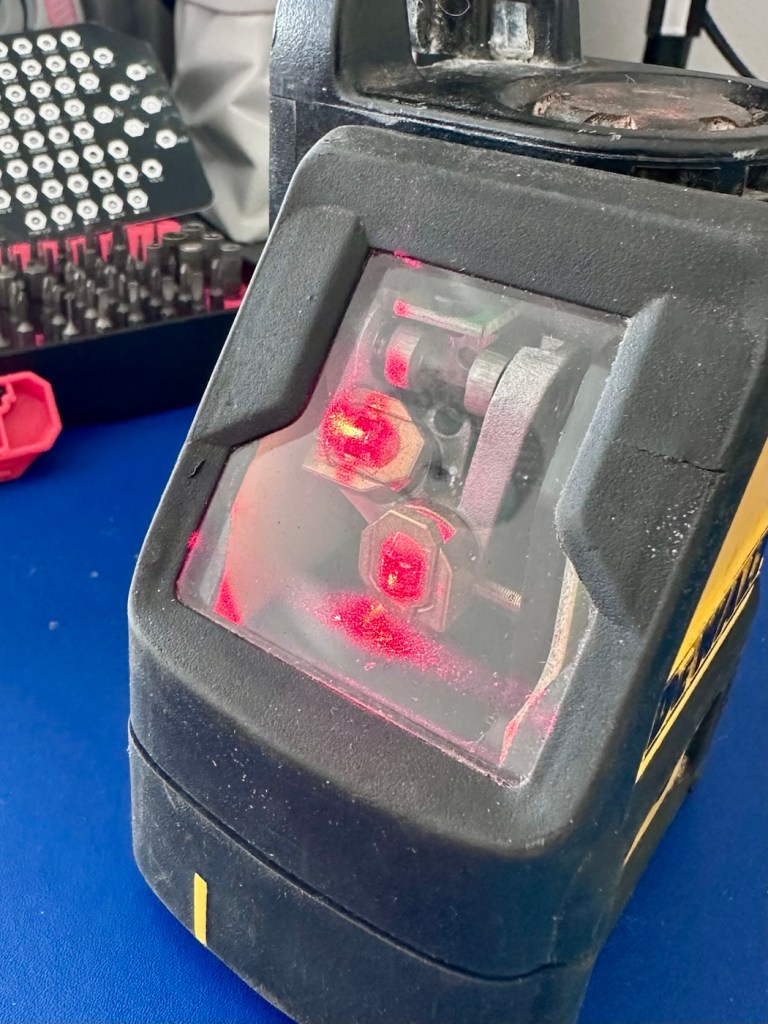
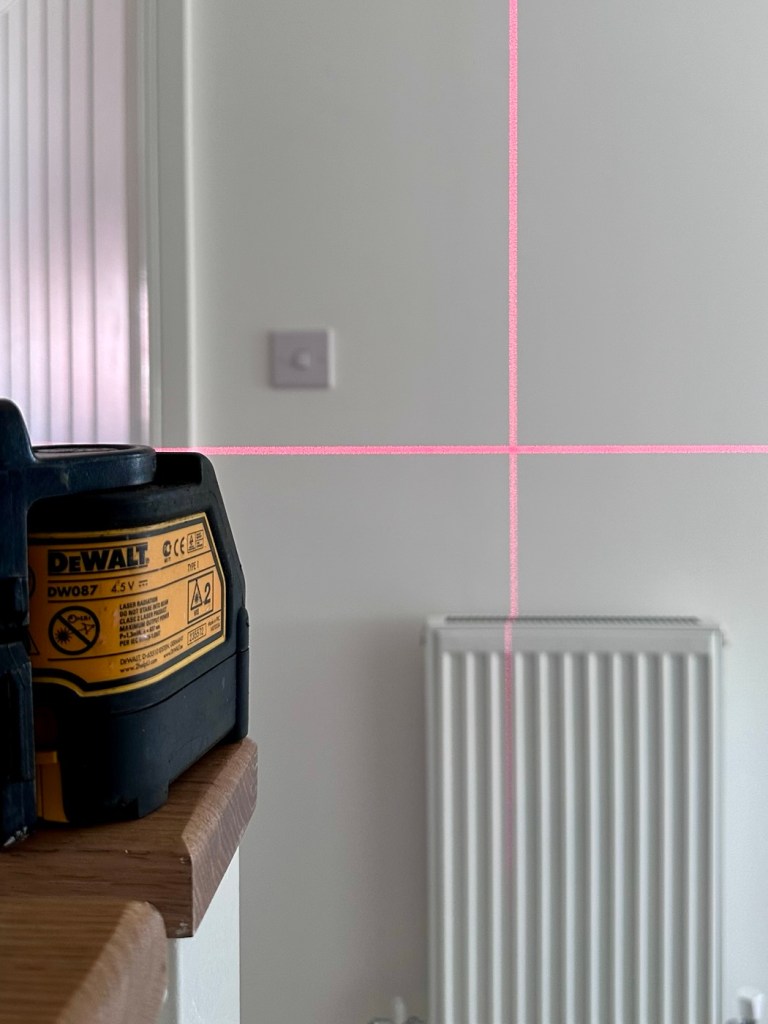
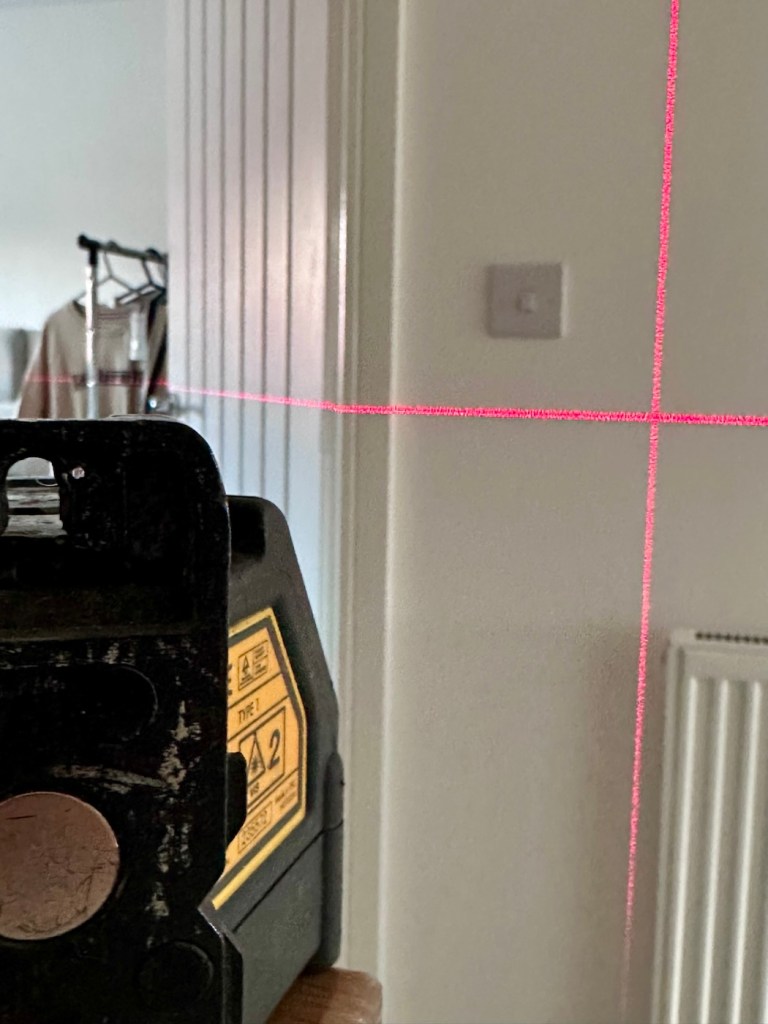
Let’s now just give it a practical clean, it’s a working item for rugged situations so it isn’t going to look “Shop” new. But it will be an awful lot cleaner.
Result:
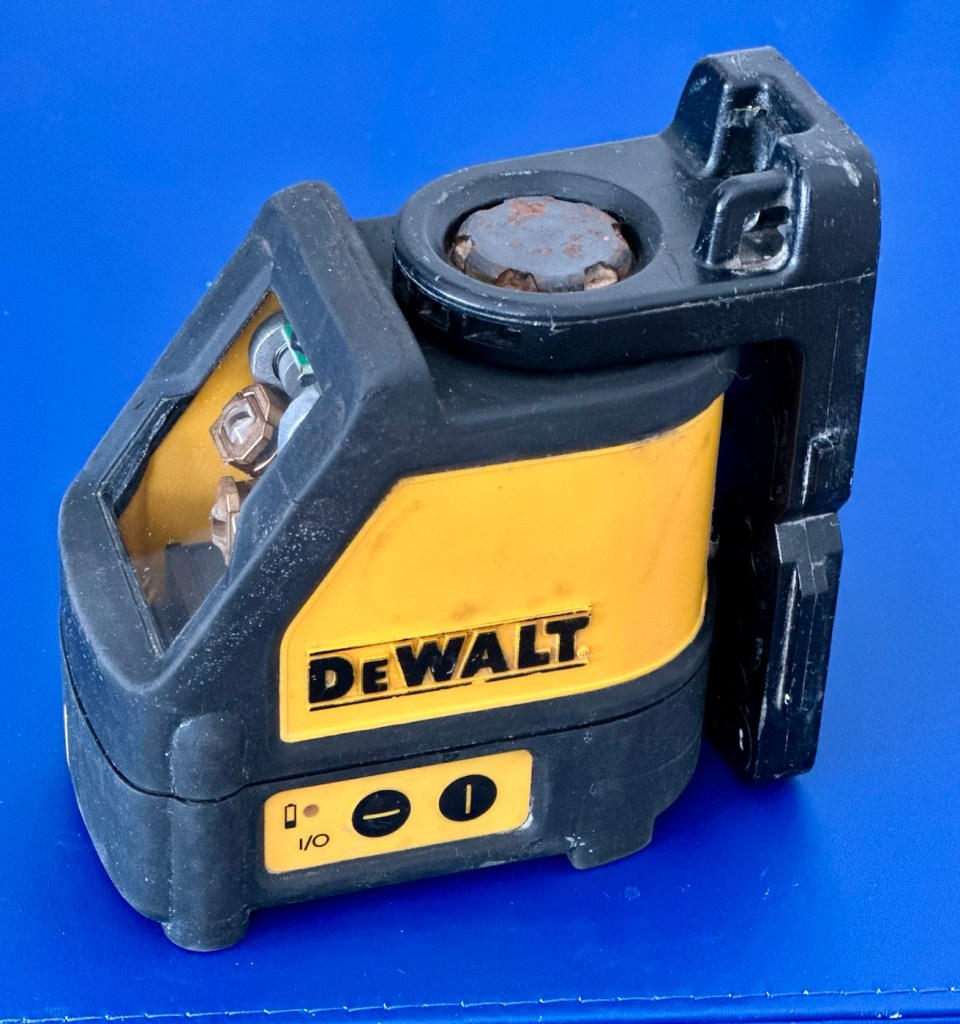
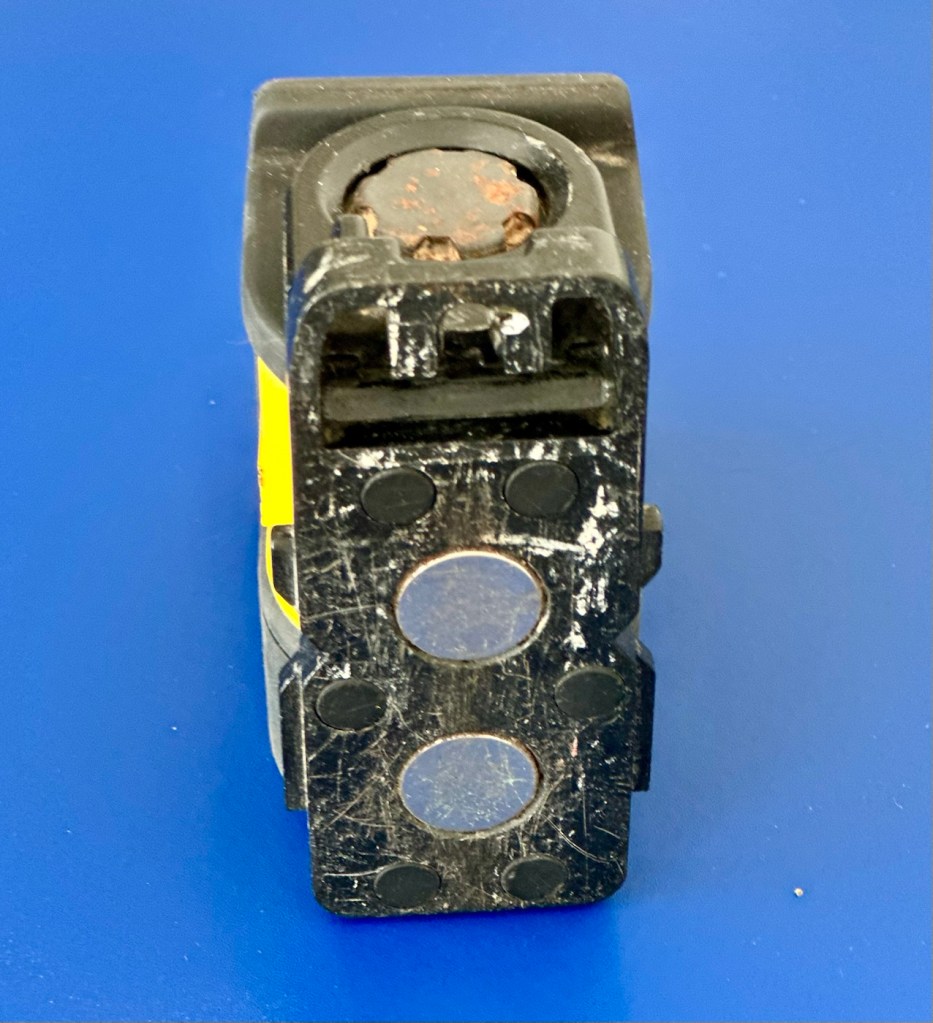
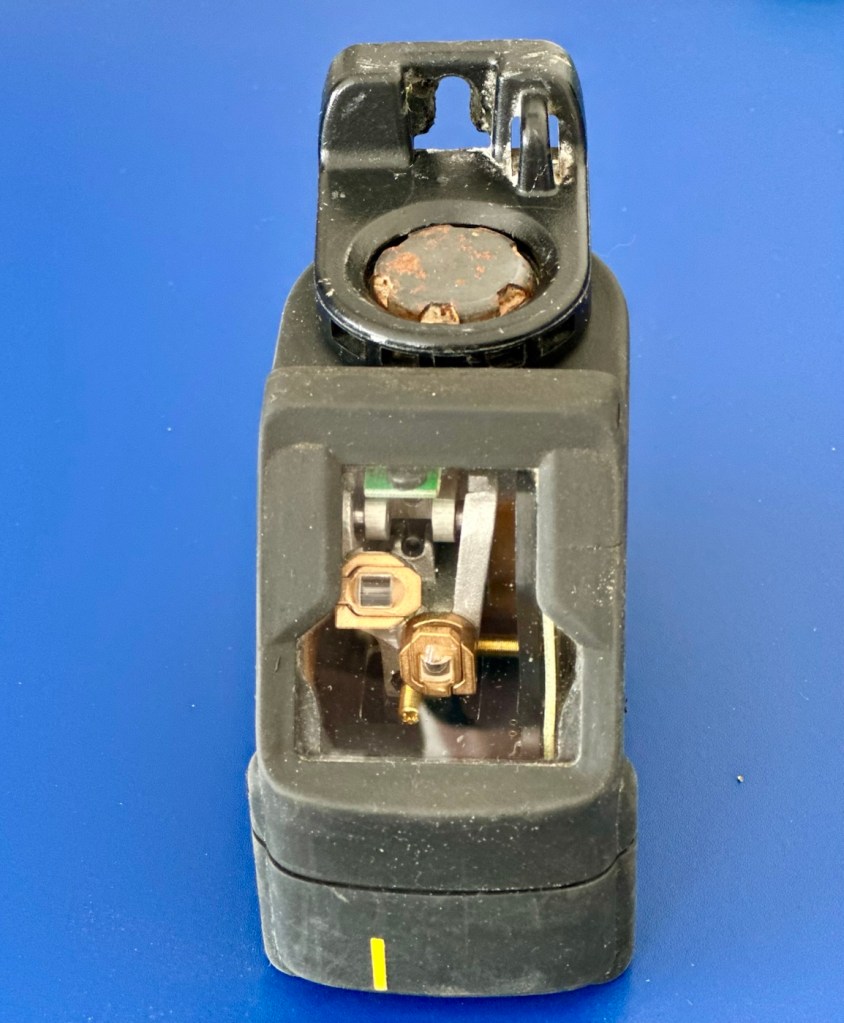
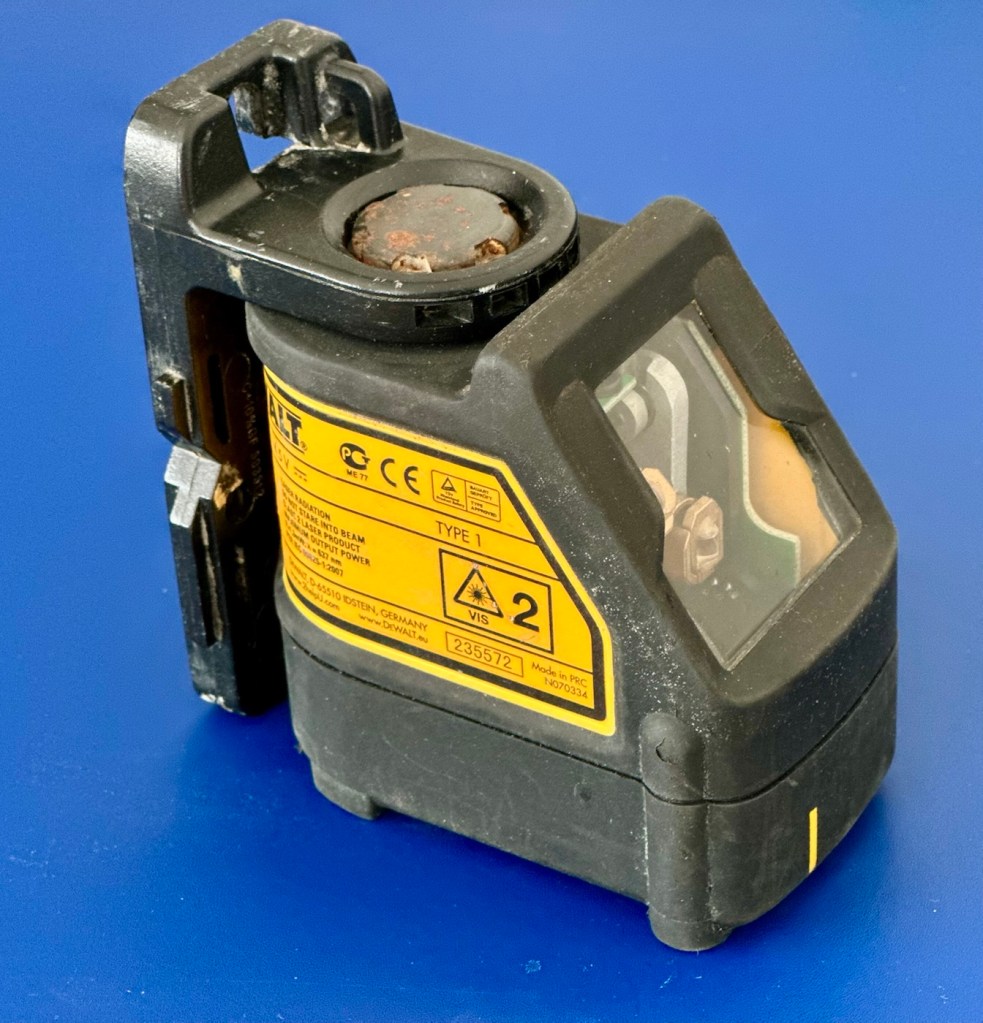
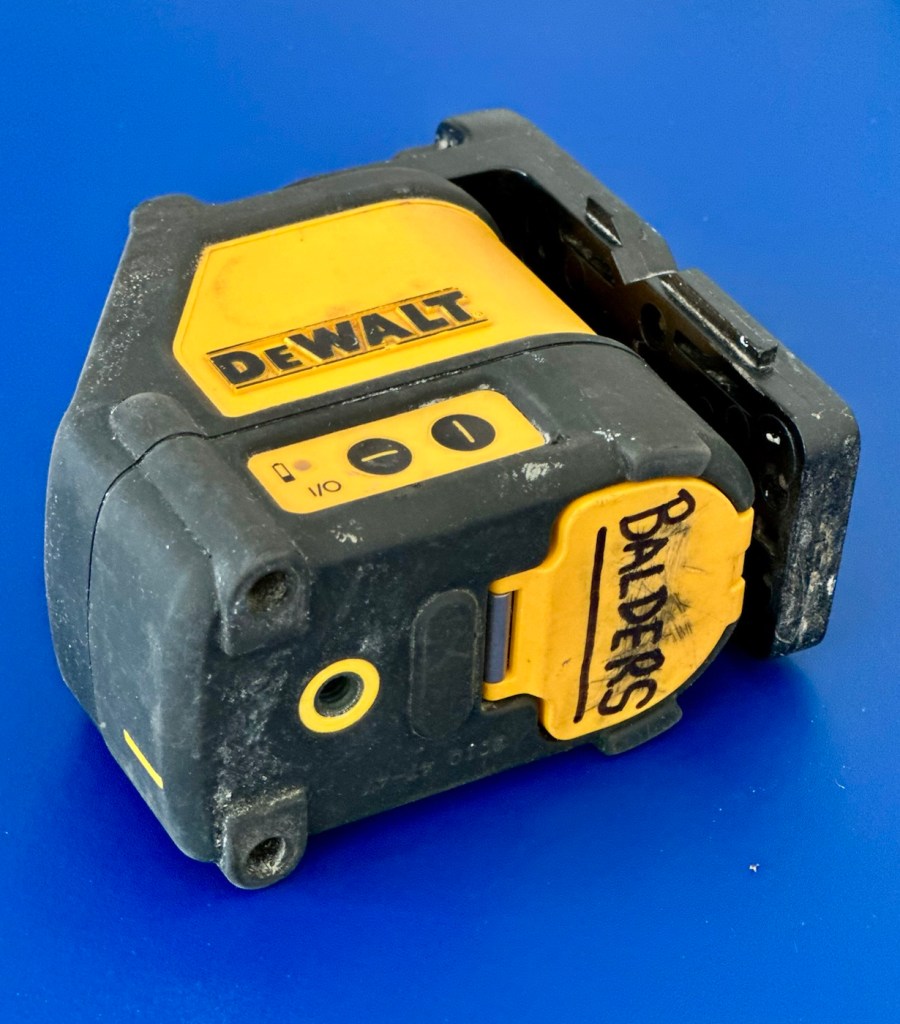
A tool that originally retailed for £175:00GBP and available on the auction sites, in good working order of between £60-£90:00GBP was purchased, non operational for the grand total of £6:00GBP. If that isn’t a bargain then I don’t know what is.
For little more than a couple of hours work I now have a valuable practical item to add to my toolbox because someone else just couldn’t be bothered to spend the time on it to get it working. Lucky me.
Definitely another item saved from landfill, with a new lease of life that should go on for many more years yet.
I’m very happy with it, this was a pleasure to work on.
Many thanks for passing by, as always it is very much appreciated.


 Foxes Den
You must be logged in to post a comment.