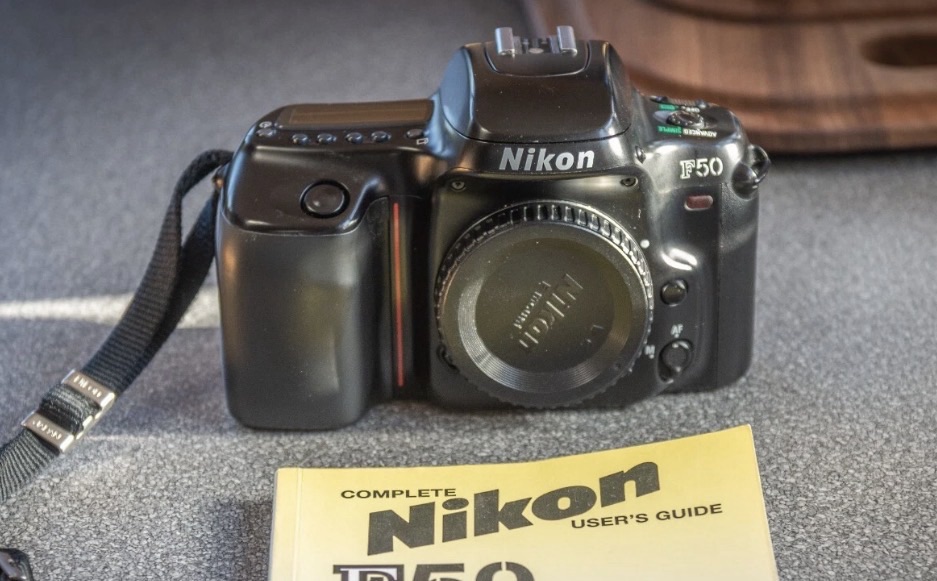
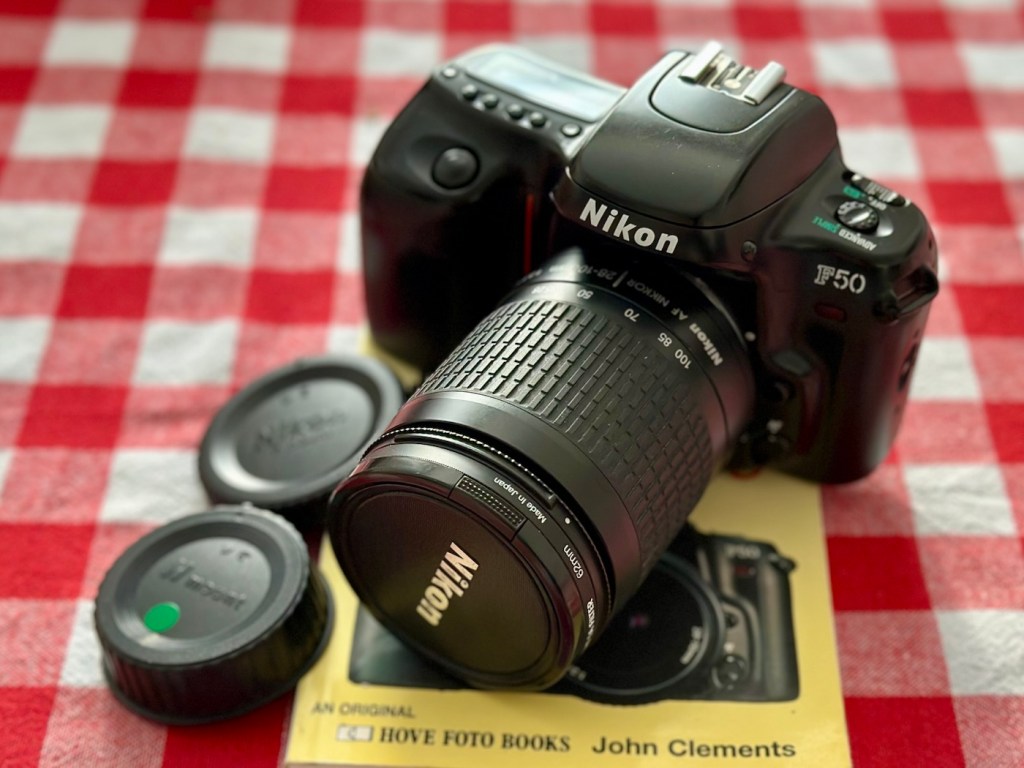
Nikon F50

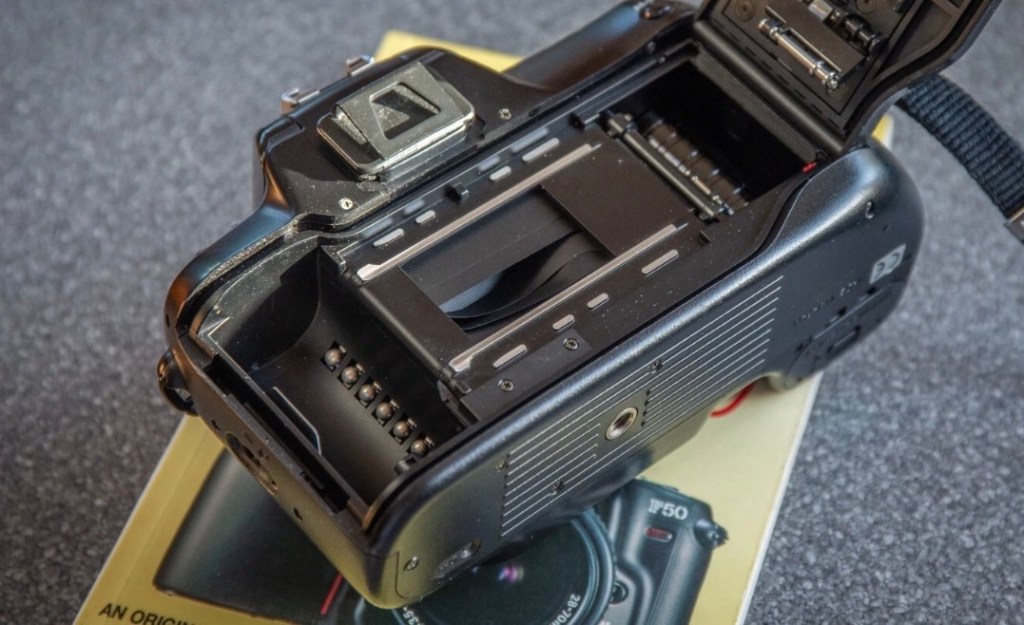
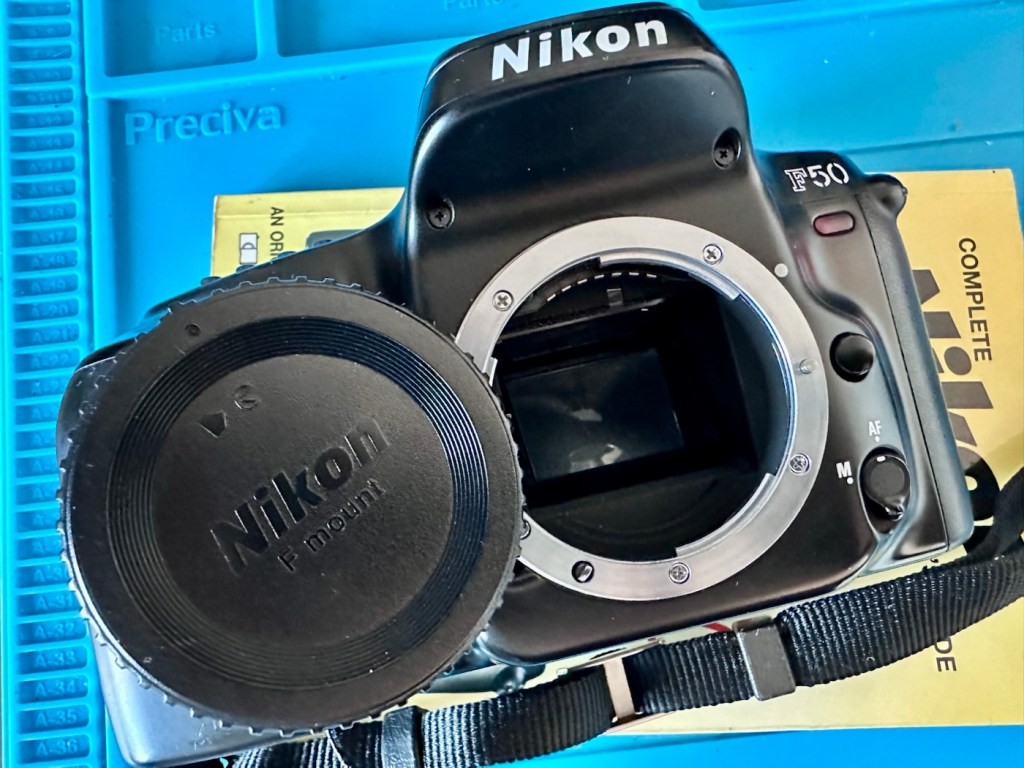
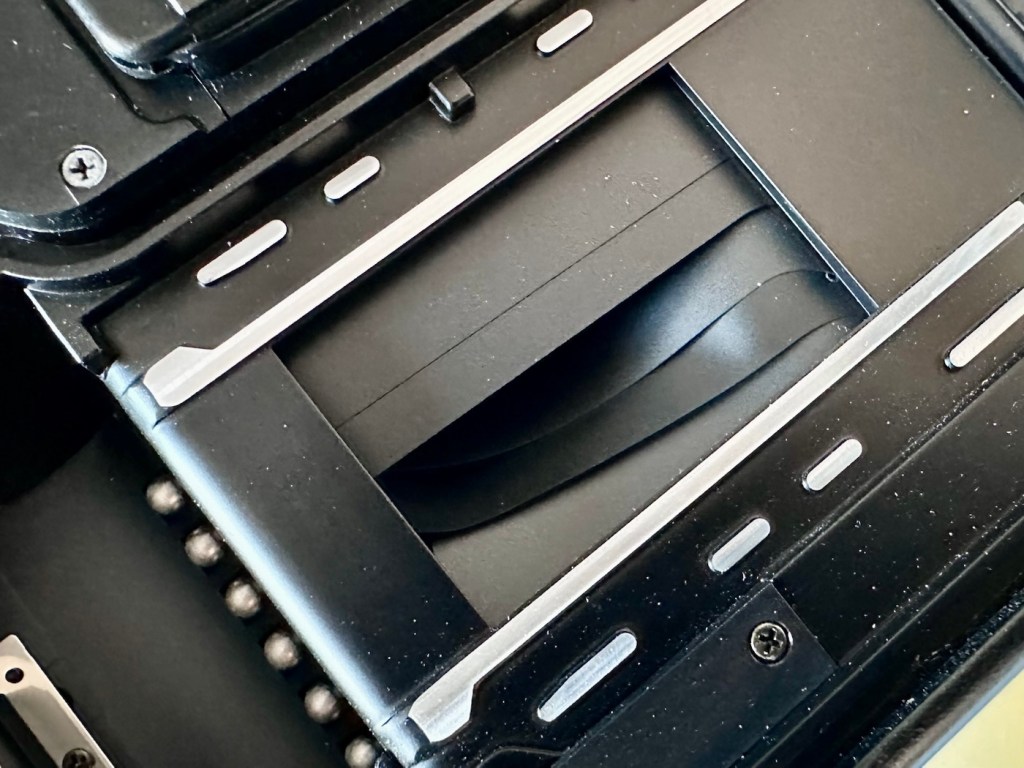
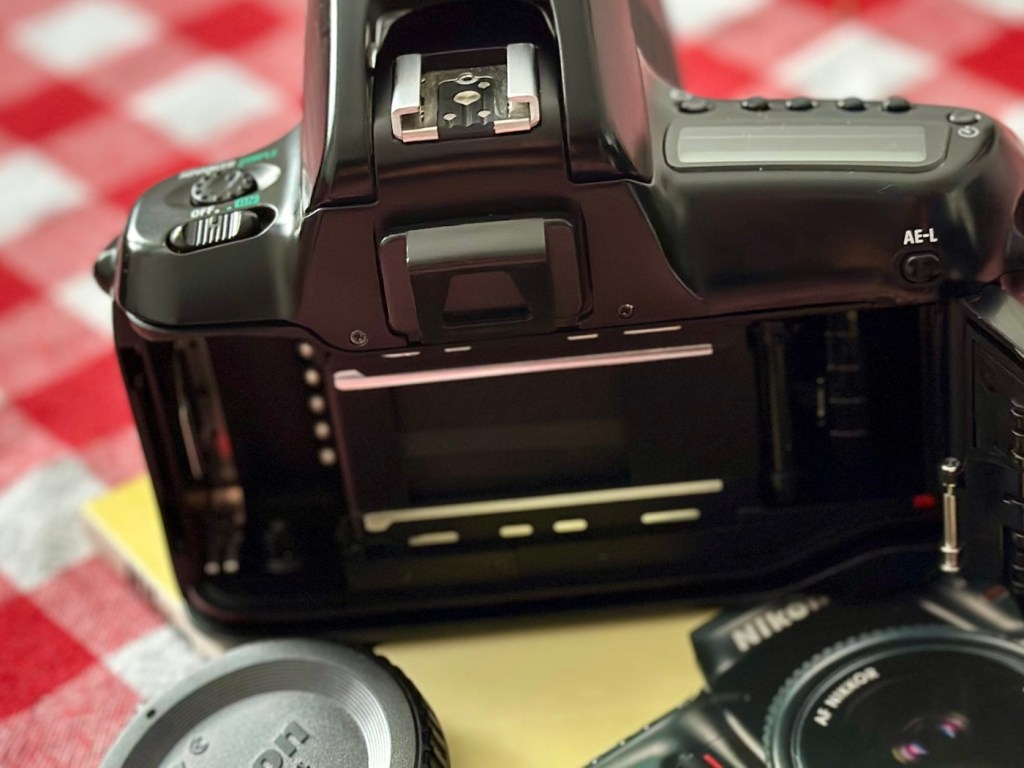
A learning camera for me, with a fault I’ve never dealt with before. Damaged shutter curtain blades. Can I fix it?

What the listing stated:

NIKON F50 UNTESTED FOR SPARES OR REPAIR. SEE IMAGES. THE REAR SHUTTER RIBBON APPEARS TO BE LOOSE – I AM UNFAMILIAR WITH OLD FILM CAMERAS SO THIS COULD BE A QUICK FIX OR NOT AN ISSUE. ALSO HAVE A FRONT BODY CAP AND STRAP – COULD BE A BARGAIN FOR SOMEONE. SOLD AS SEEN.
+
The “Complete Users’ Guide: Nikon F50/N50” by John Clements is a comprehensive textbook published in 1994 by Newpro UK LTD. This paperback book, with 140 pages, provides detailed information on the Nikon F50/N50 cameras from the 1990s. Written in English, this guide is a valuable resource for photographers looking to enhance their knowledge and skills in using these specific camera models. The author’s expertise and clear instructions make this book a must-have for Nikon enthusiasts.

EBay

As you may have already gathered, and much to the dislike of my wife, I spend a lot of time trawling the sales for cameras. I don’t particularly look for anything high end, one of my main reasons to purchase is purely for learning purposes. So why not buy a lower end mass produced camera and fix it? That’s what I tend to do. It’s a good way to learn, and if you cause even more irreparable damage it’s no problem, you will still have a selection of usable parts. Damage someone’s pride and joy though and not only do you lose reputation, you would probably be severely out of pocket financially.

So I look for cameras with issues that I have not yet dealt with, and this camera has such a fault. It’s shutter blades have become detached from the frame in which they are set, it can be fixed if conditions are met, and one of those conditions are that the blades should not be creased. And I have my fingers crossed that this is the case. I’ve never fixed this issue before, so for me this is a learning camera. The bonus for me is that I get a body cap, a strap and an informative 140 page book on how the camera operates. And I paid the sum of £7:77 for this complete package.

Here’s a little info about the Nikon F50:

The F50 (or N50 as it is known in North America) is a 35mm film SLR camera which was introduced by Nikon in 1994. It was aimed at the lower end of the amateur autofocus SLR market.

The F50 features autofocus, TTL light metering and various “programs” (ranging from manual operation to a highly automated point and shoot mode). It could not however meter with non-CPU lenses.

It was replaced by the similarly-priced F60 (also known as the N60) in 1998.

The F50 body was made from polycarbonate and metal, and available in both “champagne silver” and black.

Notable omissions include depth-of-field preview and any form of remote shutter release.

Wikipedia

I’m now awaiting the arrival of the camera so I can carry out an in depth assessment. And prior to its arrival I’m reading up, and seeking advice on how to deal with such an issue as this shutter curtain damage.

Assessment:

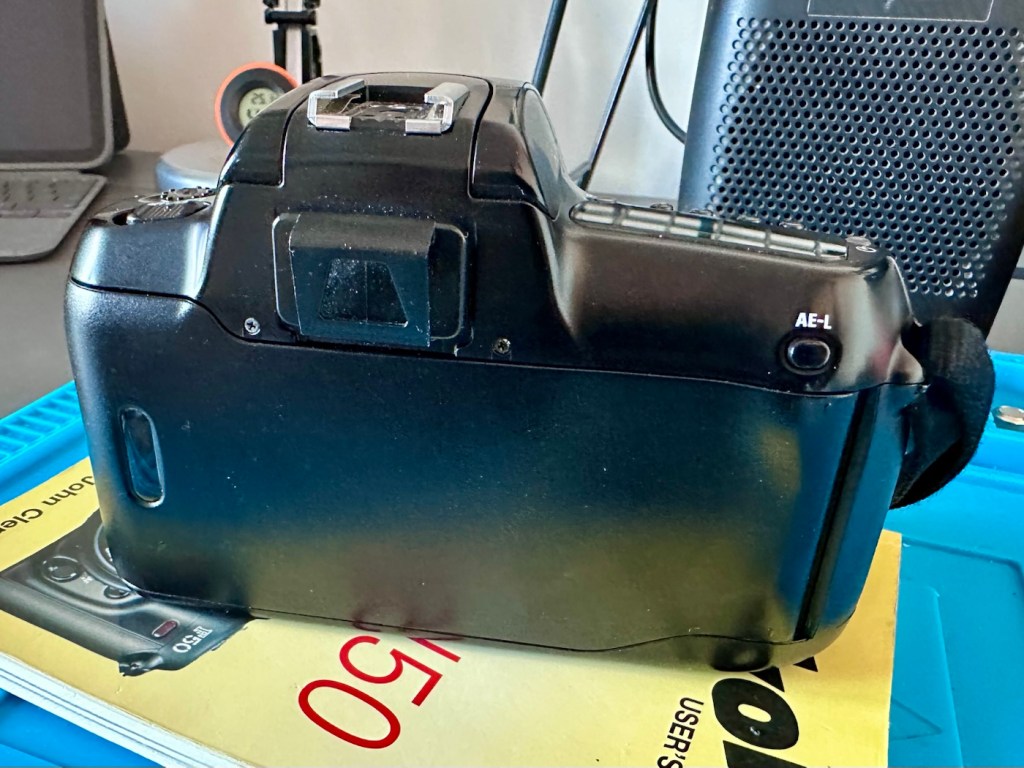
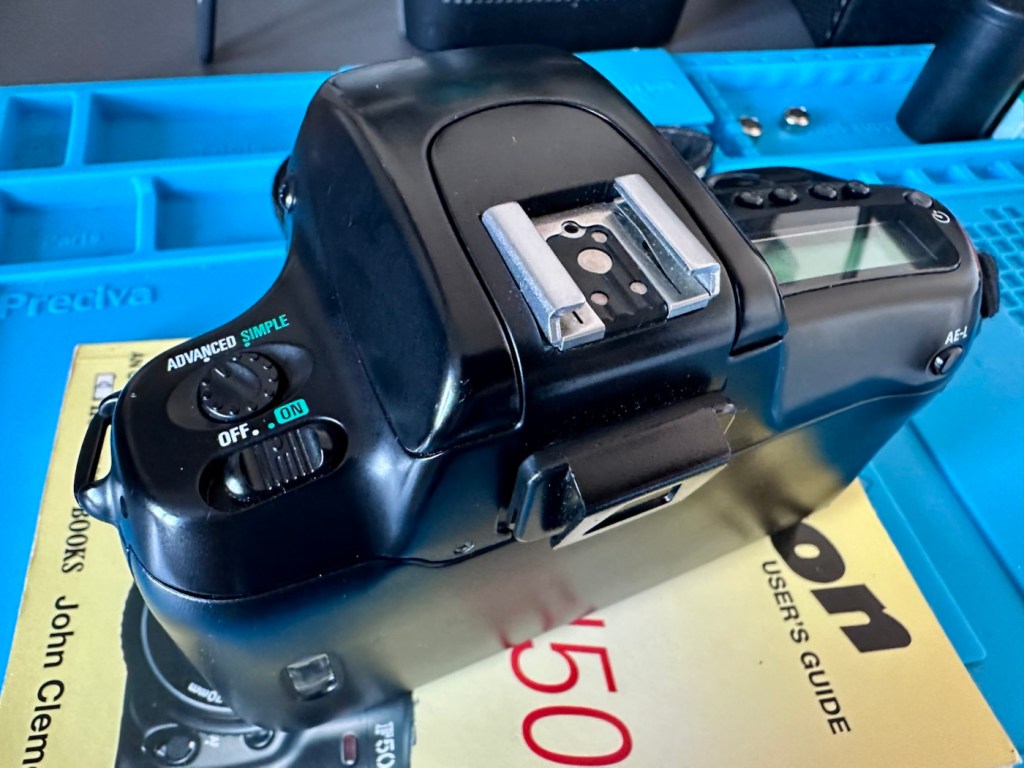
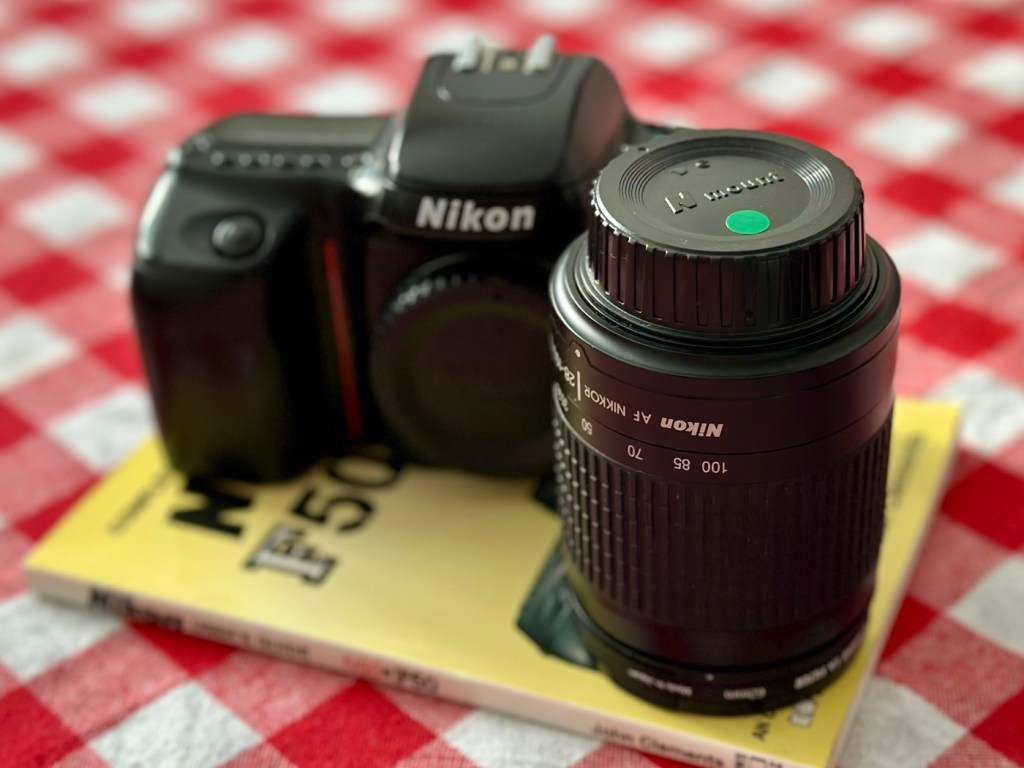
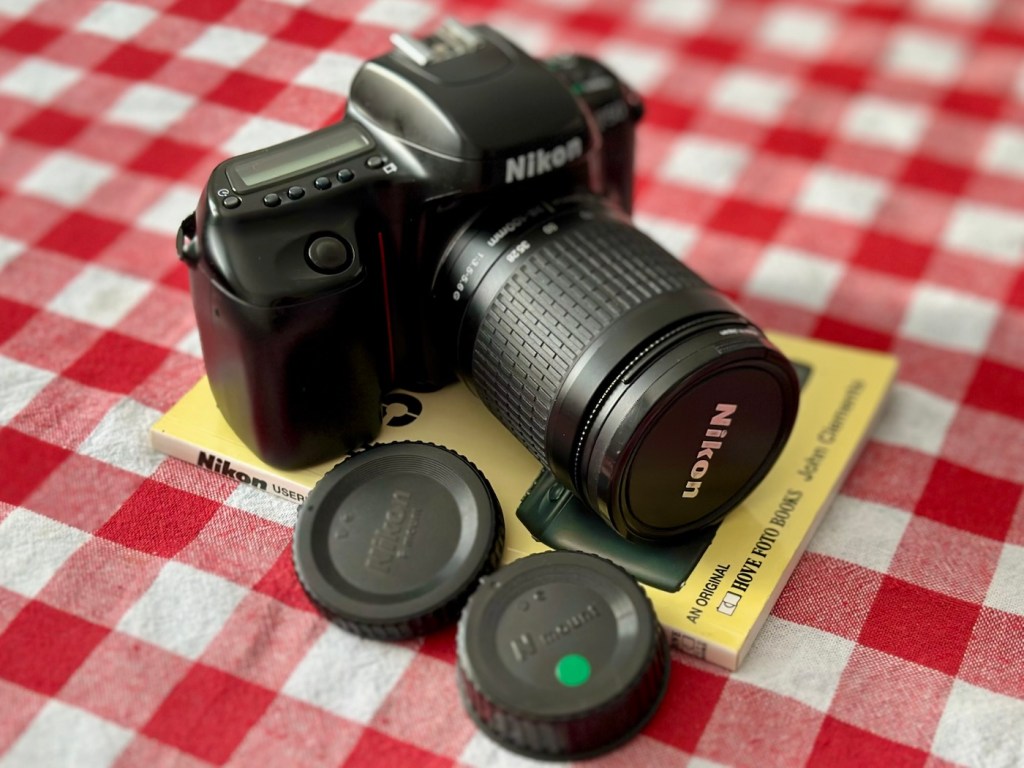
On arrival it is quite clear that prior to its shutter blade damage this camera has been very well looked after. It has no damage, scratches or signs of wear across the entire camera. It has an original Nikon body cap and narrow strap. There is even a DK-5 viewfinder cap that is a rare thing to see on a second hand unit. Battery contacts are clean and contaminant free.

And the users guide that was also received is an absolute gem of information.
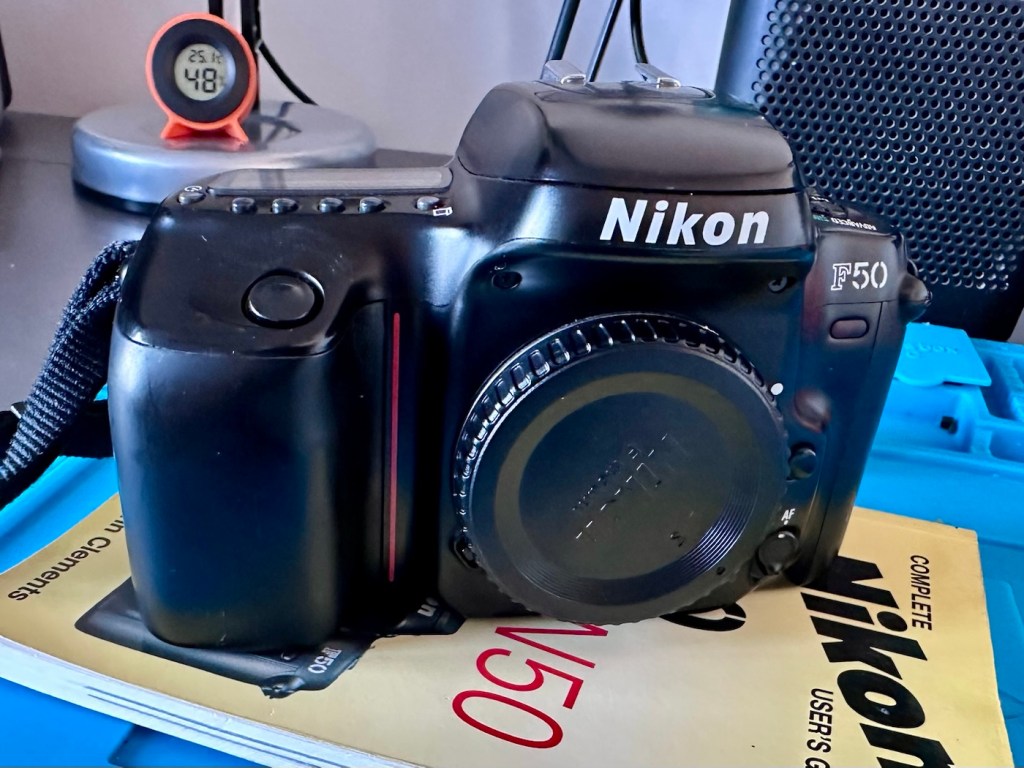
Testing beyond this is not possible at all, as the last thing I want to do is insert a battery and cause further damage. I will have to try to sort the shutter blades before I can test any further.

So let’s get straight on with trying to sort out that mess in the lens barrel.

Repair:

Whilst awaiting the cameras arrival I’ve been seeking advice on how to approach this issue, as this is my first attempt at such a fault. And after a while, looking around I found this video tutorial that first came out in 2014. I have decided to follow the advice within this video.

Fix old cameras – shutter repair

The first thing I have to do is to modify a pair of tweezers that I will be using for this repair. Firstly I have to bend them at an angle.
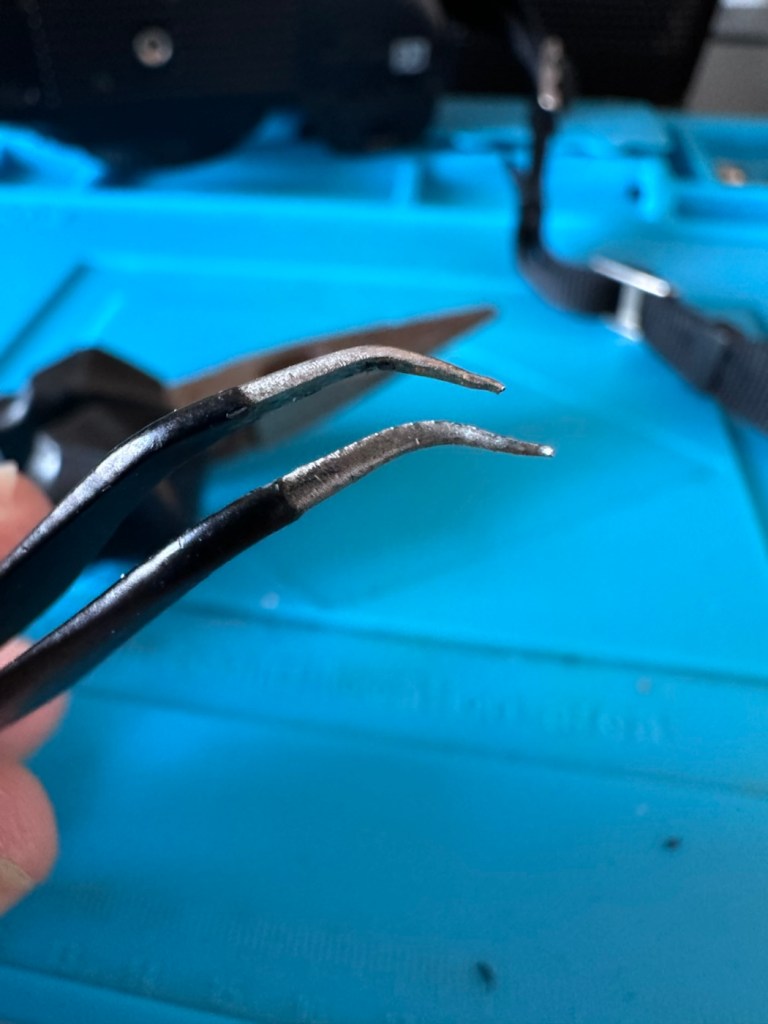
Bent accordingly

Secondly I have to put some shrink tubing over the points, heat them so they adapt to the outline of the tweezers, and whilst warm just flatten the tips as this will be the surface that handles the blades.
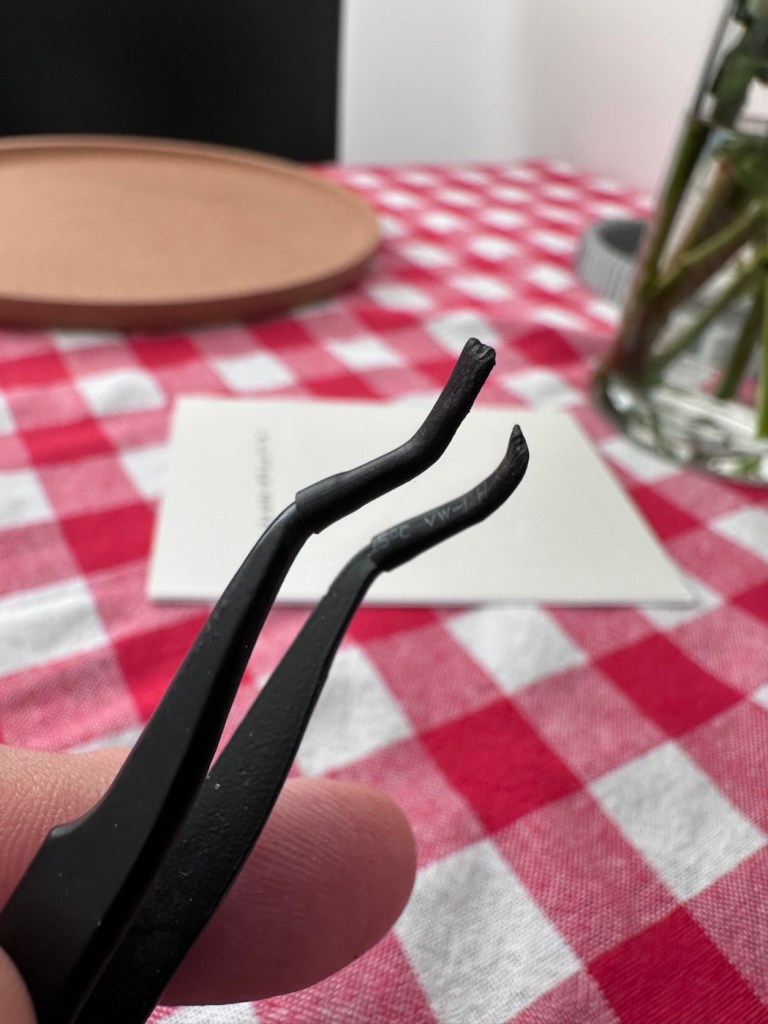
Shrink tubing added and shaped

And to be honest, once I started it took all of less than 20 seconds. Here’s the proof

It worked, and the camera works

You may well be looking and thinking ooh! That looks dodgy, but believe me it works just fine. It’s been severely beaten up and it fell back into place quite easily. It doesn’t look pretty but I have tested the chamber with a very bright light and the front and the rear curtains are working well with each other and there is, or appears to be no light leakage. I will have to run a film through the camera but I am very confident that there will be no further issues.

With the 2CR5 battery in place I have been able to carry out the tests that were not possible earlier, and I’m pleased to report there are no other issues and this shutter blade fault was the only problem. This camera is now working just fine, all settings, buttons, dials and switches are working as they should, as is the self timer.

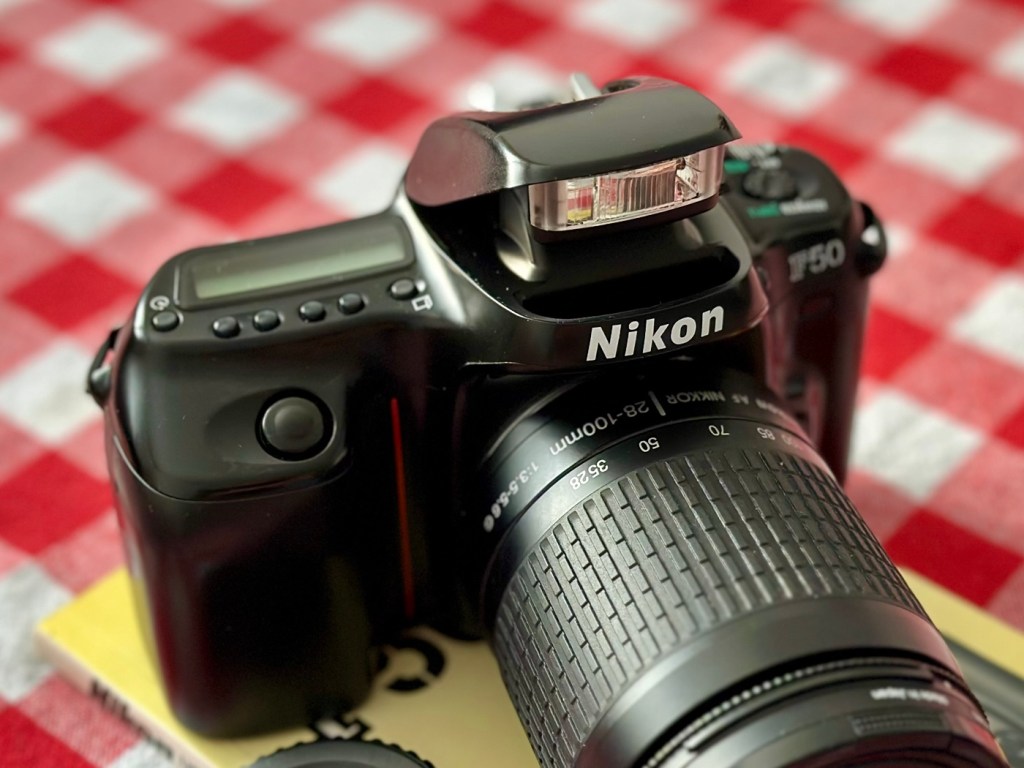
With a lens connected all focus indicators in the viewfinder are good, the flash operates as it should and the info screen is clear and readable.

This camera is good to go.

Result:

In the end this turned out to be a twenty second repair, my first of this type and it went exceptionally well. A camera of this quality for just £7:77GBP with a guide book as well. is exceptional value, and I’m sure someone is going to love and cherish this camera for years to come. I’m going to run a film through it first just out of curiosity, however, I am supremely confident that there are no issues with it.
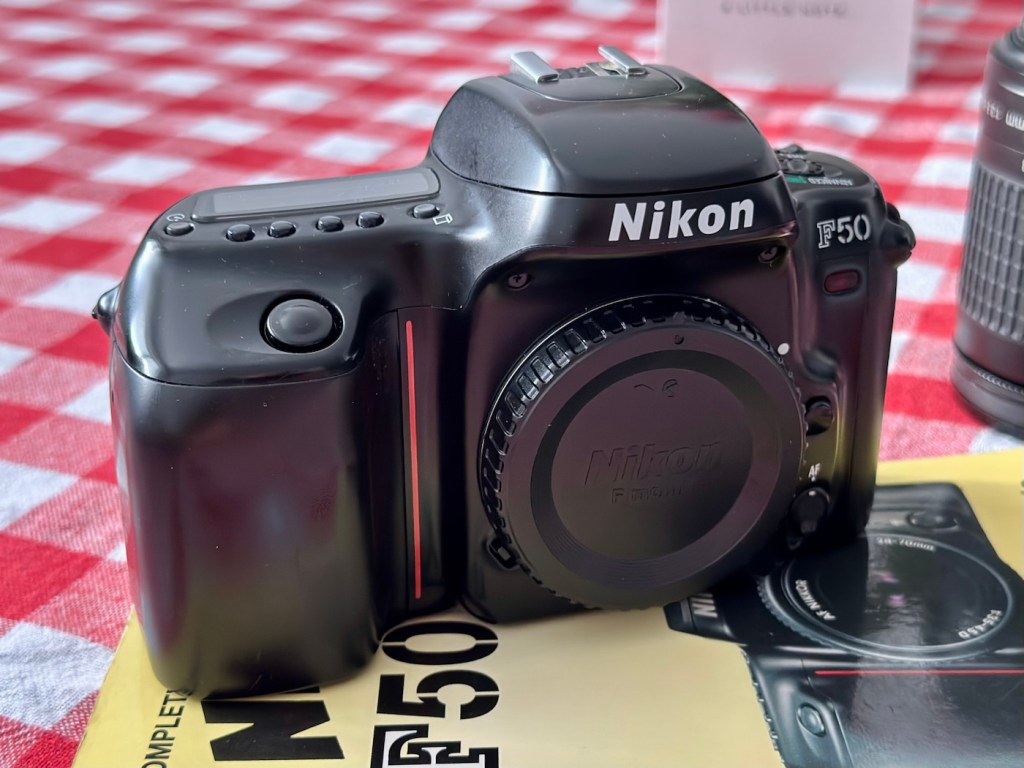
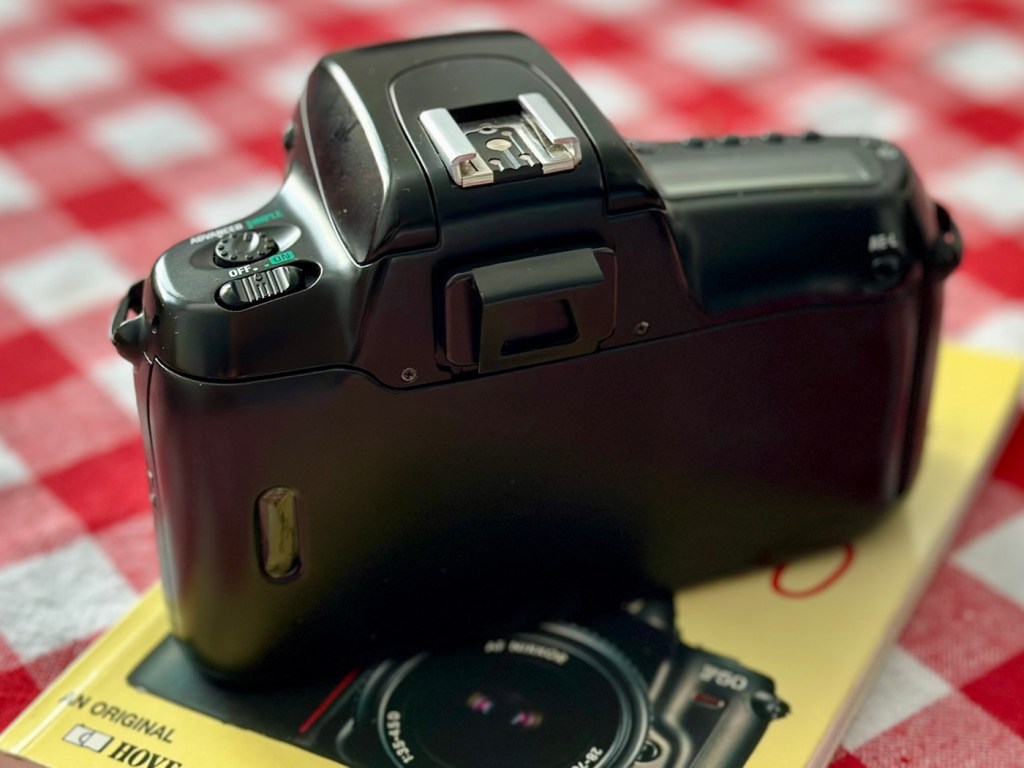
Again we have a classic case that shows just how 30 seconds of activity can bring a camera back to life saving it from the scrap heap. And a lovely looking camera it is too. Once I have run a film through I’m going to pass this on, it’s a good beginner’s camera and I’m sure it will get a lot more use, and that’s always a good thing. If Nikon produced in excess of 150,000 of these units, then I wonder how many others have suffered a similar fault and just been tossed into landfill.

Scary thought… though this one has been given a pardon.

Thank you as always for passing by. It is always very much appreciated.
Canon EOS1 N HS

The EOS1 N with the well documented BC fault. Can I repair it?

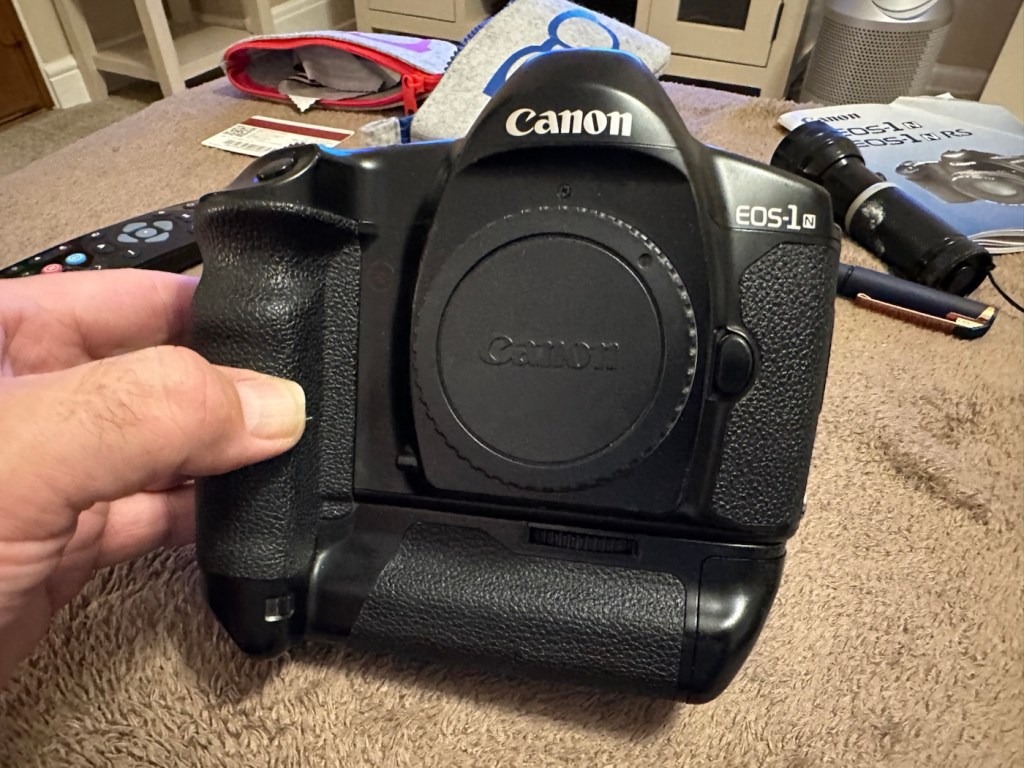
The EOS1 N was a professional 35mm camera from 1994, it is currently 31 years old. This model is basically the EOS1 N with the E1 drive booster/winder earning it the HS suffix.

Canon EOS1 N HS

These are beautiful analogue cameras and over the years I’ve had a fair few of these pass through my hands, I have not however owned one with the E1 booster/winder before. I’ve recently had a number of cameras passed on to me by a good friend and that post can be found here: Cameras…i need more!

This is one of those cameras that he passed onto me and it carries the well known BC fault. We’ll come on to that later, in the meantime here is a little history lesson, of the evolution of this camera.

The EOS-1N is a 35mm single lens reflex (SLR) camera body produced by Canon. It was announced by Canon in 1994, and was the professional model in the range, superseding the original Canon EOS-1.The camera was itself superseded by the EOS-1V in 2000.

The original EOS-1 had been launched in 1989, two years after the company had introduced their new EOS autofocus system. It was the company’s first professional-level EOS camera and was aimed at the same photographers who had used Canon’s highly regarded, manual focus professional FD mount SLRs, such as the Canon New F-1 and the Canon T90. On a physical level the EOS-1 resembled the T90, which had been designed for Canon by Luigi Colani. The EOS-1N was a revision of the EOS-1, with five autofocus points spread across the frame rather than a single centrally mounted autofocus point, plus more effective weather sealing, a wider exposure range, and numerous other improvements. In common with the EOS-1, the 1N used Canon’s A-TTL automatic flash system, and does not support the more modern E-TTL.

Assessment:

Right, let’s get on to the problem. The BC fault is a blanket fault, covering a multitude of issues, predominantly electrical, even addressed in the accompanying instruction manual as a potential battery issue. However the issue that it is more associated with the fault is the failing shutter mirror magnets. See the video below.

BC error repair

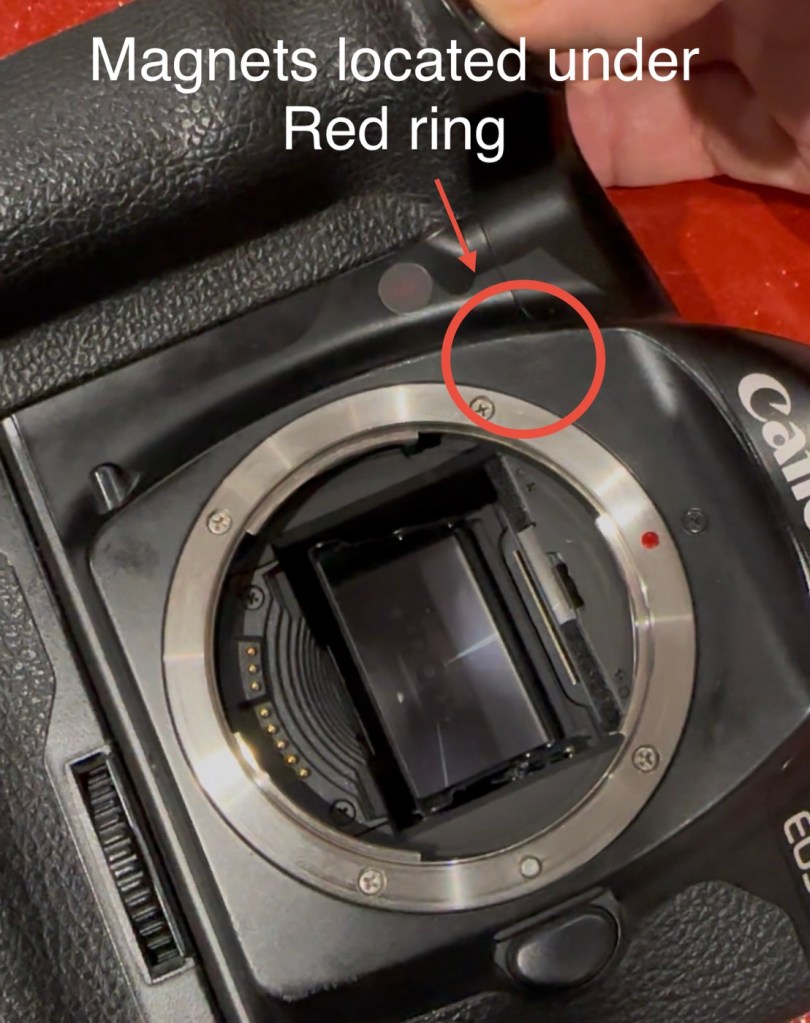
The video above gives a very good insight to the issues, and what to look for and how to get the shutter operational again. It’s not a permanent fix, sometimes the magnets haven’t been used for such a long time that they just seize up. They can be de magnetised, they can just be dirty, either way it’s worth having a look at, to try and restore what is in all aspects a very good camera. It seems to be an issue that an open or close signal is sent, however the magnets for some reason do not react, dirt can be a contributing factor. Below I have put together a very short video of my own camera, the early part shows me trying to get it working and showing the BC indication, the second part shows the mirror “sort of” working after I have tapped in the area just above the top screw on the left side of the lens mount under which the magnets are situated.

My own EOS1 N showing the BC fault

It still doesn’t work properly though and is extremely intermittent, but it’s a start, it proves the fault. I have also used a strong magnet to fool the internal magnets, this works for a couple of firings but that’s it. This also adds credibility to confirm the magnet issue.

I haven’t yet taken the fascia off to access the magnets, I’ve just tapped in their general area, or probed with a strong magnet, this was enough to allow the shutter to intermittently fire, and it is now quite apparent that this is the issue I have with this unit.

You can see exactly where the magnets are located under the fascia

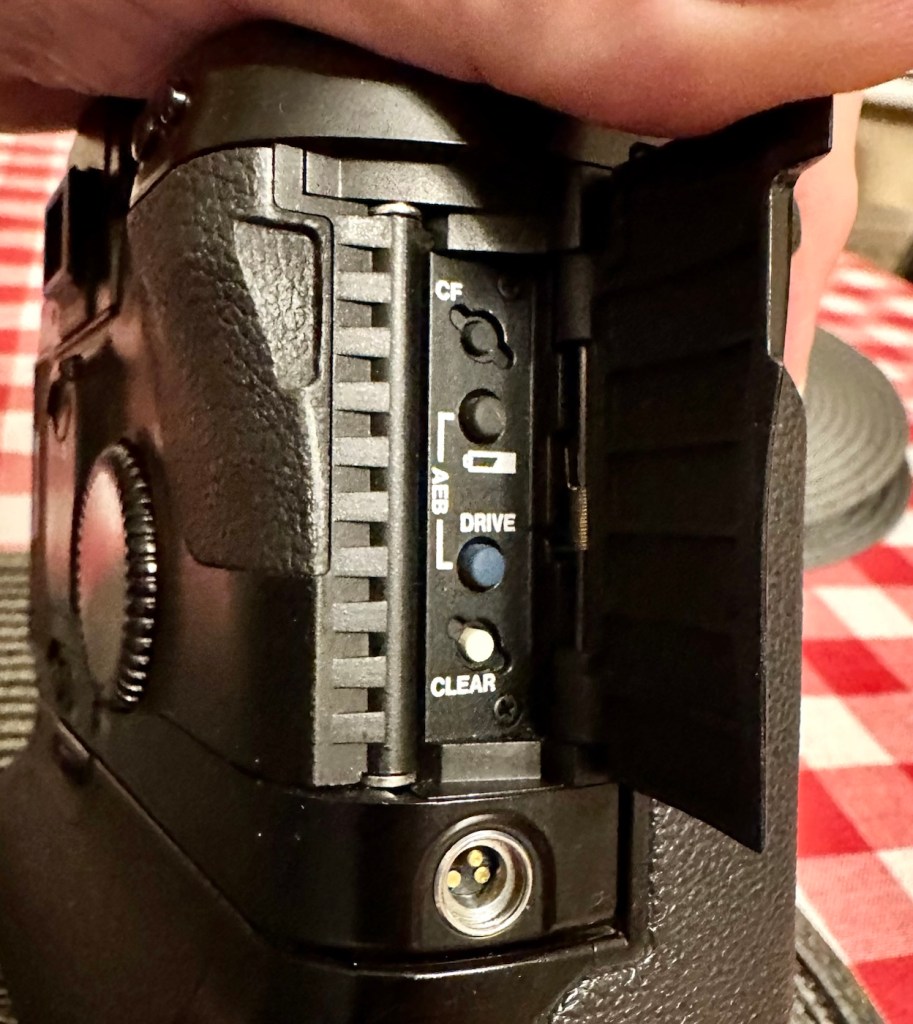
I’ve done some further checks to confirm the fault. If you turn the camera on and open the small door to the right on the rear of the camera, there are a number of buttons inside that allow you to check battery levels and to do resets, and so forth.

The battery check button

By pushing both the clear button and the battery check button together, you can get a fault code to appear on the screen on the top of the camera.

Battery full and Fault code 6

Here as you can see, I have fault code number 6. If you look at the chart below supplied by Canon you will see it refers to a mirror fault, more specifically the mirror is up, but didn’t switch back to on from off, as I mentioned in the above paragraph.

Fault codes

As you can also see above, fault codes 6,7 & 9 refer to the mirror operation issue.

I’ve done all I can really on the outside of the unit, and I think I have conclusively proved the area of the fault. Before we look at replacement of the part, I am going to give it a good clean to see if that will clear the issue. I’ll worry about spare parts later if required. Let’s get the fascia off and have a closer look.

Repair:

I’ve been a right stubborn sod with this one. I really didn’t want to dismantle this camera at all. Something inside was telling me it was unnecessary so I decided to persist with what I had been doing earlier. If only I could get the magnets to fire for a few exposures at a time, it would be just like a coughing car engine clearing out its system and kicking in to life, once it bites you can accelerate it a little more until it starts ticking over. Old motors and cameras are a strange but similar comparison, the longer they are left unused the more inclined they become to not partake in doing what they were made to do, whether powering a car or taking photos. Stop using them and they do just that. Stop.

Well, that’s what I think anyway, My world is as simple as that. And I think it might just work.

So I have persisted….

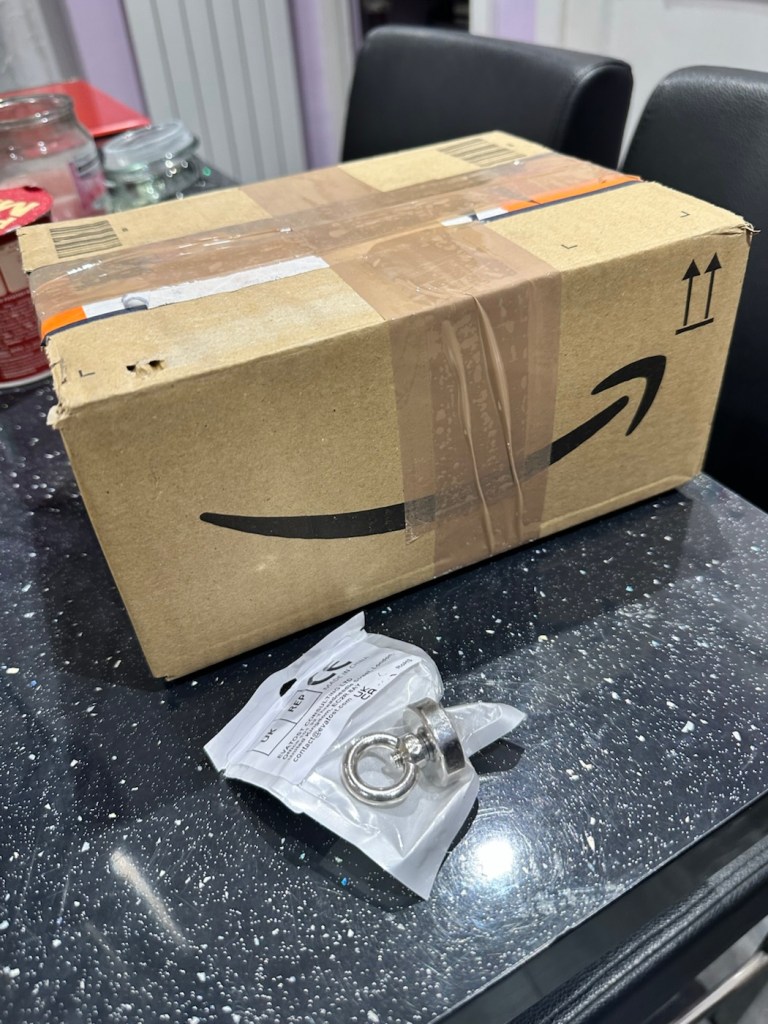
And purchased a much stronger magnet a “Rare earth” one to be precise. These are the sort of magnets they use for magnet fishing, however this one is small and despite having credentials behind it saying it has 19kg of pulling power I’d suggest that is a lie. Probably a maximum of 3kg if you’re lucky, but either way more than sufficient for me wanting to kick start a tiny electro magnet in a camera.

The most surprising issue around this magnet is the absolute ridiculous size of the packaging that it came in.

This tiny magnet, came in this massive box. Good old Amazon

So I persisted with the magnet, around the lens ring. I reset again and again. Nothing. I used my knuckle to tap the area near the magnet, a single cough, good. More resets, single coughs, more taps two coughs….this is good. I set the camera to high speed wind, kept the exposure button depressed and continued tapping, five or six coughs then stop. It’s an improvement. The magnet is starting to pick up. More tapping then I’m getting about 20 coughs with an obvious delay on one or two activations… we are now getting somewhere.

I put the rare earth magnets near the camera magnet and then switch off and reset. I turn back on again and then get a good 15 seconds or so of rapid fire, the internal magnets are clearing. I remove the rare earth magnet, reset again and the old girl fires into life for about 30 seconds continuously with only the occasional “misfire” the internal magnets are sparking back into life.

You get the idea.

Once you get these magnets operational, the best thing you can do is continually fire them, until they fire smoothly. This camera has not fired up for years, and these components inside are made to be used, and just like someone trying to keep fit, similar to a muscle, if you don’t use it you’ll lose it, it’s the same with these cameras, they need to be used on a fairly regular basis.

I did a 3 minute firing and I’m pleased to say she is now chugging away beautifully with no coughs and splutters. I’m sure glad I persisted with my hunch. I was right. And believe it or not. The battery levels are still good.

I’ve put together a little video here showing it working before and after.

My EOS 1N shutter magnet issue

Well what more can I say. It appears to be working.

Result:

To say I’m chuffed with this repair is an understatement. Sometimes you don’t have to dive in and start dismantling to get results. Do your research and make your own plan of attack with the information you have at your disposal. You will find equal amounts of good and bad advice out there, you’ll soon become aware of the differences, just follow your feelings and do what you think is right, if it’s wrong, well you’ve learned a lesson.

She’s ready to go – what a beauty

I am so looking forward to getting a day out with this camera and really letting her loose. I just love the sound of these clunking old machines, I don’t understand why anyone dislikes them. I loved visiting air shows when you had the big old really noisy aircraft that shook your soul from head to toe, they then sanitised that with super quiet aircraft…so boring. They’ve done that to cameras as well that nowadays make no noise. I love these old cameras, every click, clunk and whir brings back superb memories to me. I just love old cameras. I like to think I’m helping a few last just a little bit longer.

Many thanks for passing by, it’s always very much appreciated.
Peace to all.

Sony Discman D-141

Assessment and fault finding….will it work ?

Double trouble here as I’ve purchased two of them.

Sony Discman D-141 – double trouble

These variants are from 1994 just around the height of the capacitor plague problem. As I’ve already dealt with a D-121 version this week that was riddled with the issues and being only a year older, I’m not too hopeful that these two will be any different. They both have the same issue being that they turn off after about 10 seconds, this could be due to a number of issues, let’s get them unpacked and get an initial inspection done.

On initial inspection they both appear to be quite tidy considering they are 30 years old. One is missing a disc capstan however i do have a replacement from the old D-121 that was added to the spare parts box earlier this week.

Both start up, spin and then stop, sometimes showing a no disc error, sometimes not. The good news is there is no sign of corrosion on either unit.

Time to open them up….

I used the old donor D-121 from earlier in the week to replace the missing capstan on one of the units.

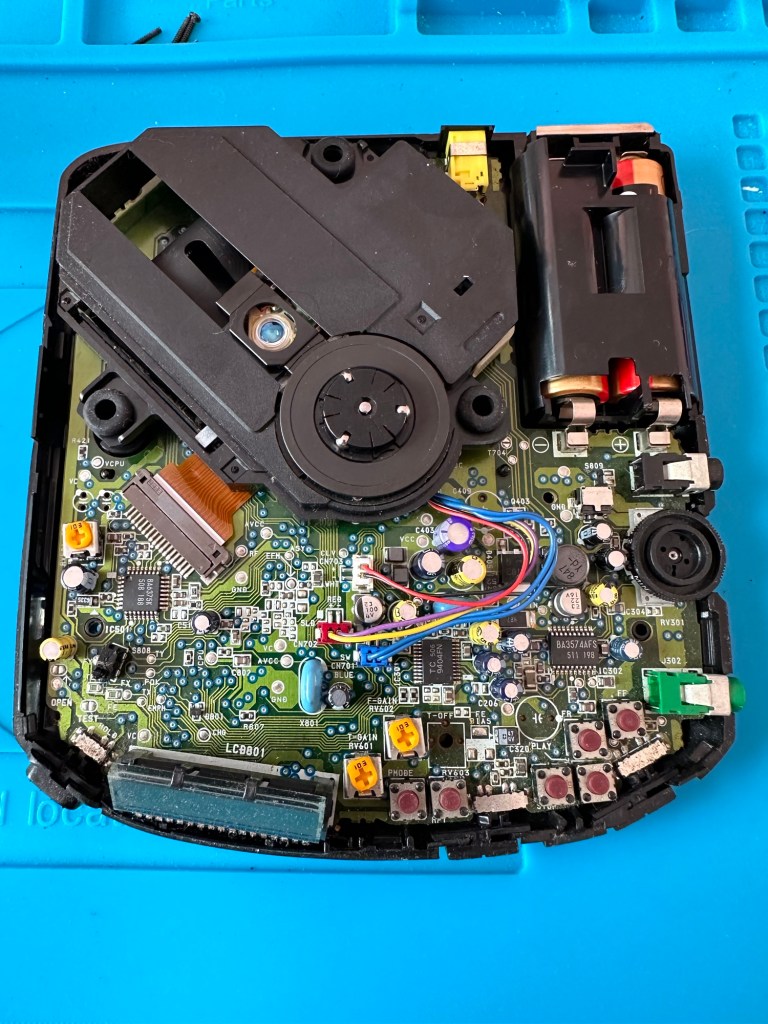
On opening of the cases the boards looked ok. No signs of corrosion or plague damage, this was a good sign and it was now time to look a little deeper.

Looking at the board

I did the standard clean of the lenses with IPA, I re greased the worm gears and rails but none of this alleviated the issue of the discs stopping just after start up. I did some continuity checks and component checks, all seemed ok. All buttons worked, all switches worked, something just wasn’t right. I decided to check the output of the laser adjustment pot and this was extremely low. I spent a good hour on the first unit and a similar time on the second trying to adjust the range up and down before realising that after 30 yrs both lasers seemed to be at fault. No adjustments improved the output.

Faulty laser assembly removed and replaced

I was facing the fact that I’d now have two more failed units to go with the D-121 earlier this week. Then I thought why not try the laser out of that failed unit?

It worked. The D-121 donor unit was compatible with the D-141 and after a few minutes adjusting the laser we were able to play an audio Cd.

We have life

This week I have looked at 4 faulty units and managed to get 2 fully working with a third one needing a replacement laser sled when one becomes available. I have one spare redundant unit that has been indispensable for the repair of the other units, in theory i potentially have 3 out of the four available.

All dressed up

I won’t be wasting anymore time on Discmans in the foreseeable future. They had their time and digital sound has obviously pushed this medium in to the dark distant past. The units are becoming life extinct and it’s like performing knee surgery on an elderly individual, you are improving their quality of life for the moment until the ravages of old age take over. Bit of a crude analogy I know, what I’m saying is steer clear of these as they are going to be trouble, people seem to think they are worth a fortune and are charging ridiculously high prices for something that just about works.

It’s been fun though and I have learned a lot from it so it can’t all be bad.

Good people, stay safe. Thanks for passing by.