

What the listing stated:
SEGA GAME GEAR Console FAULTY
Ebay
And that was it. Faulty. What’s faulty? I’ll not know until it arrives as i didn’t ask. Foolish perhaps, but I was looking for a challenge and something I could later mod. I think I’ve found it.


I must admit I was looking for a cheap way into a retro gaming repair and I believe this was it. Most damaged game gear units seem to be averaging around the £42GBP price but I managed to get this 2110-50 version at a lower price of £28GBP (and I may have got a game with it, let’s see what arrives!). However I don’t know what the heck is wrong with it but I suspect it’s the usual issue that has plagued these 90s retro units since their inception where the capacitors fail catastrophically.
There is probably not a single one of these units out there that has not suffered this issue or is certainly guaranteed to do so sometime in the not too distant future. Imagine how many of these units have just been discarded as junk considering that 10.62 Million units were sold up to and including its discontinuation date in April 1997….scary!
The first recommendation from anyone in the know is to change the caps before they start popping and corroding everything. I have a set of replacement caps ready in anticipation.

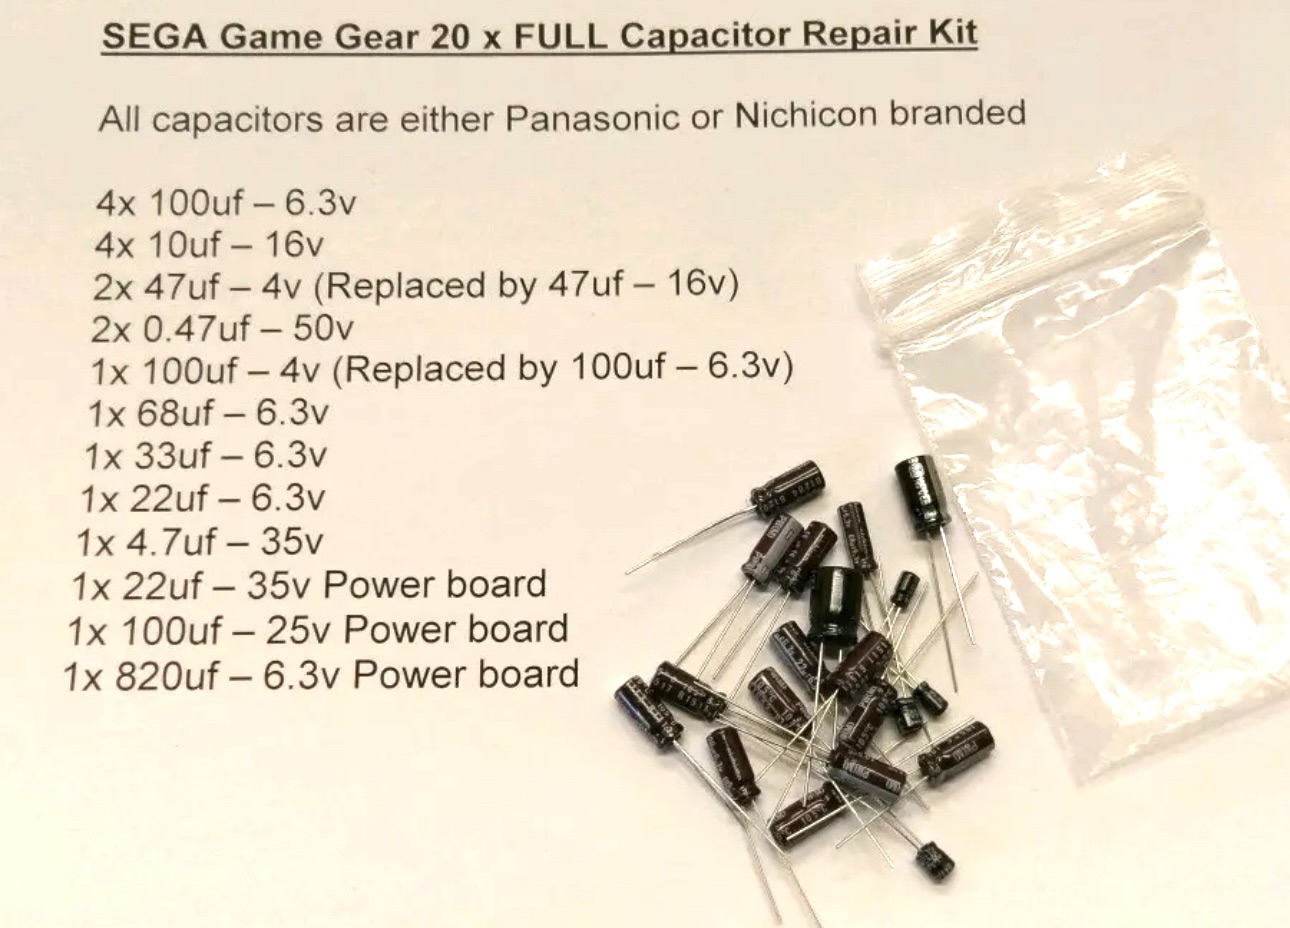
My hope is that this unit has not yet reached that corrosion stage….fingers crossed 🤞
Hurry along now Mr.Postman….
Both Game gear and replacement Caps have arrived. And I’m really happy as there is a game in the unit as well “Columns” Sega’s answer to Nintendos Tetris. A nice bonus.

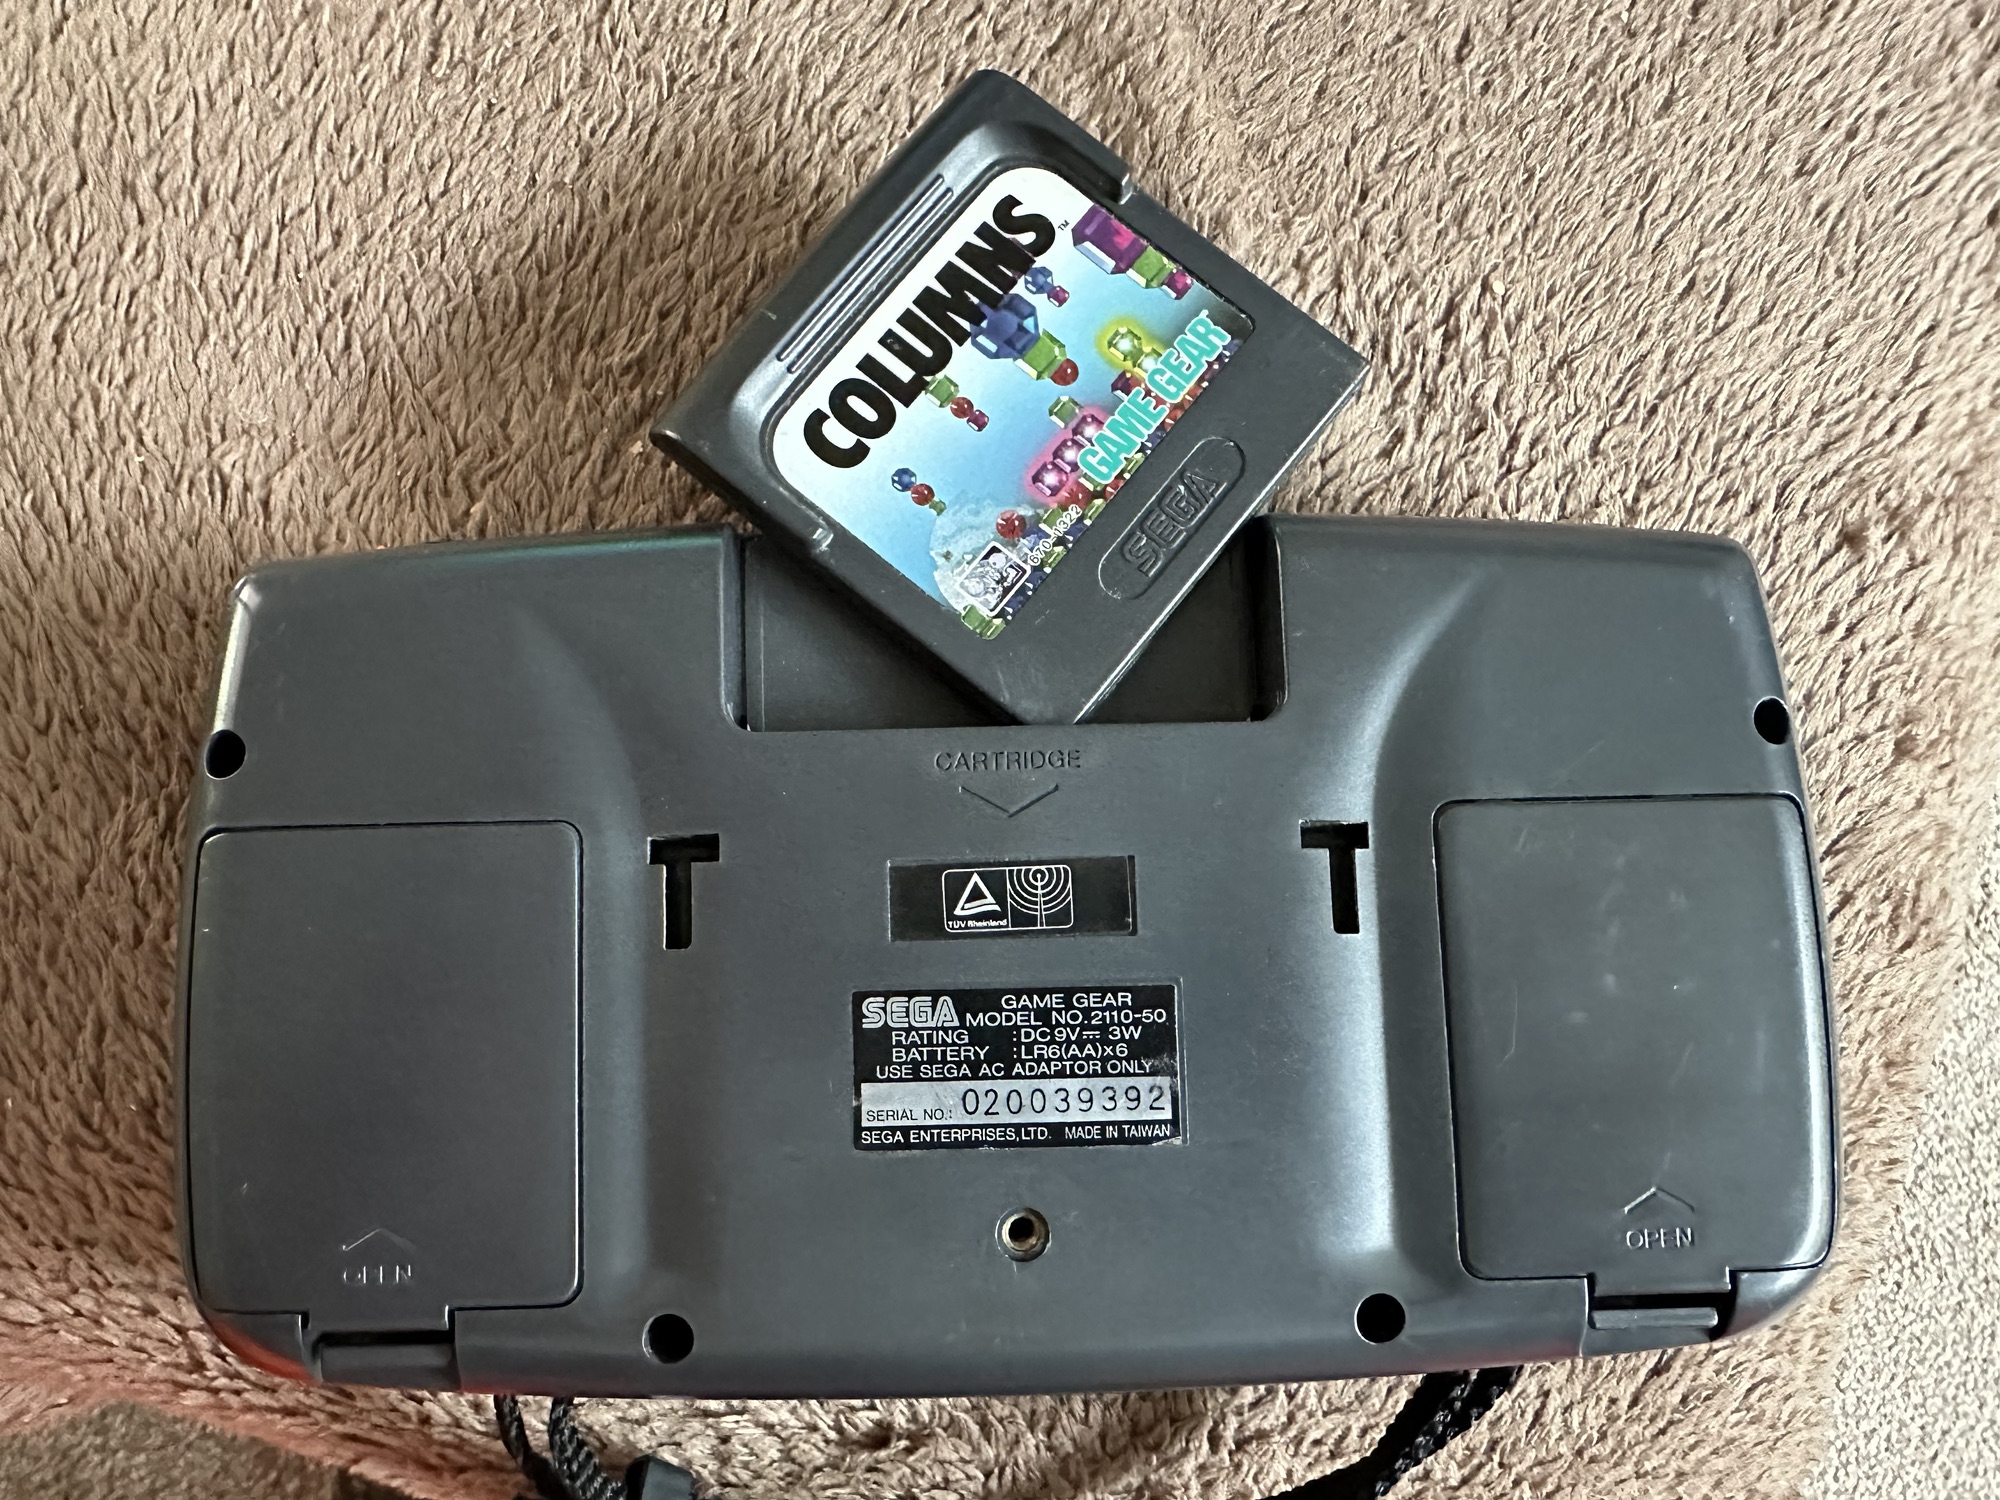

The unit turns on, there is no sound, and only a very feint green glow when the unit is held at an angle. It’s looking very much like it is the old Capacitor problem.


The unit is in surprisingly good order with scuffs and minor scratches as you expect from a game that’s around 30yrs old. The lens scuffs aren’t an issue as a new lens is relatively cheap. But that isn’t the problem as it stands. Let’s get it working and I can worry about that later in the repair process.
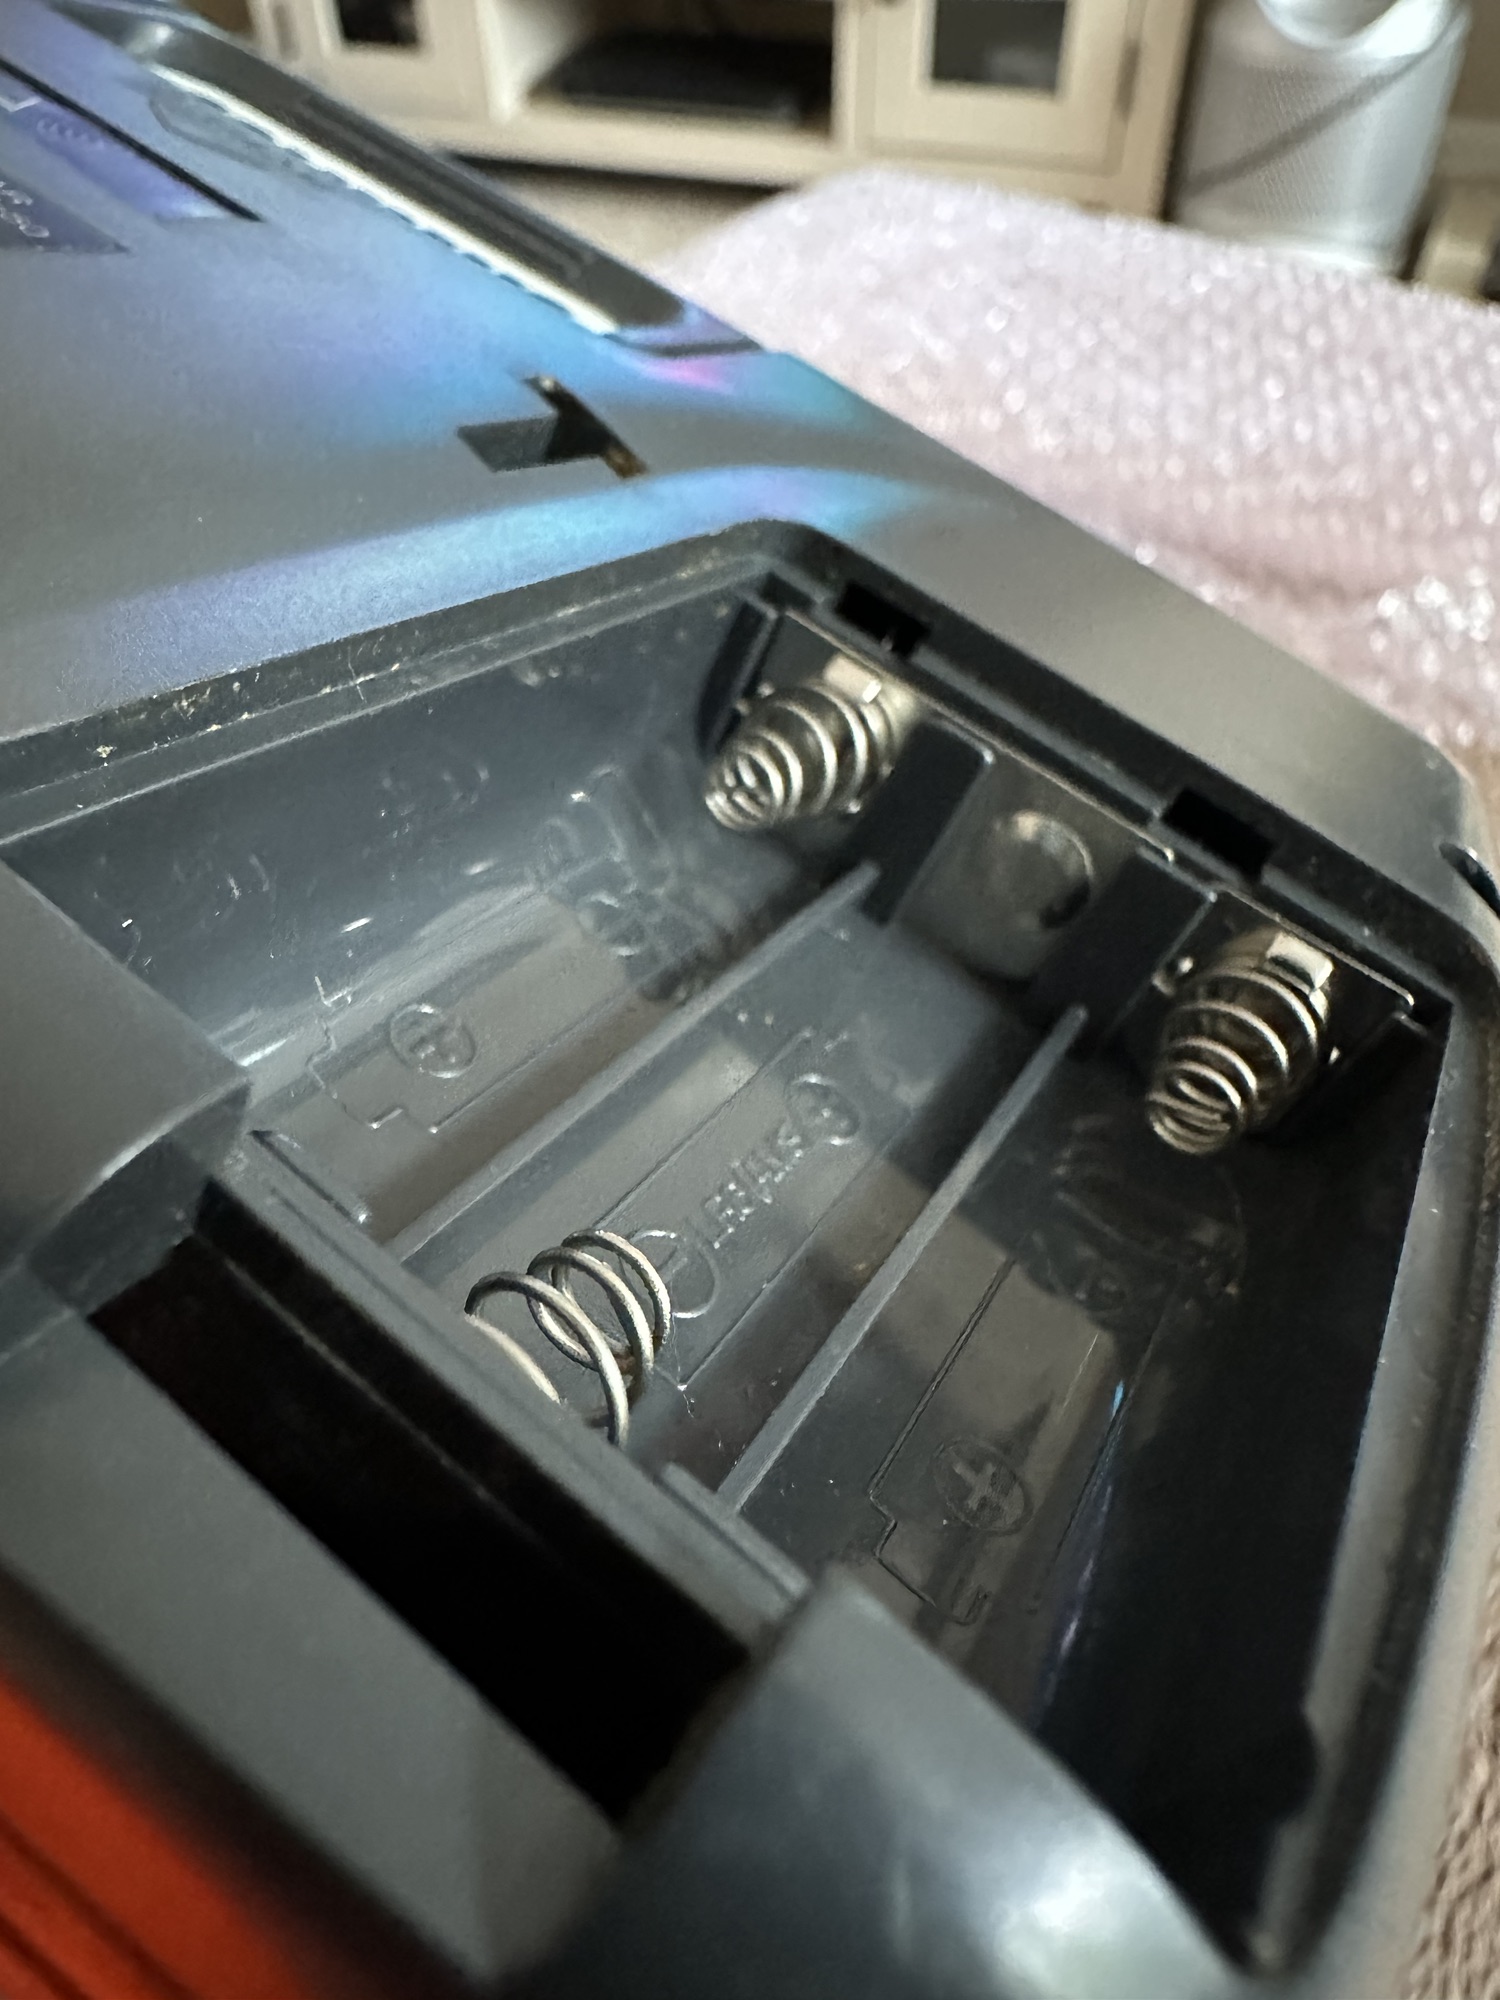

There are no signs of any corrosion in the battery compartments and this pleases me. I only hope that when the unit is opened there are no obvious signs of corrosion on the boards.
Wish me luck, I’m going in….
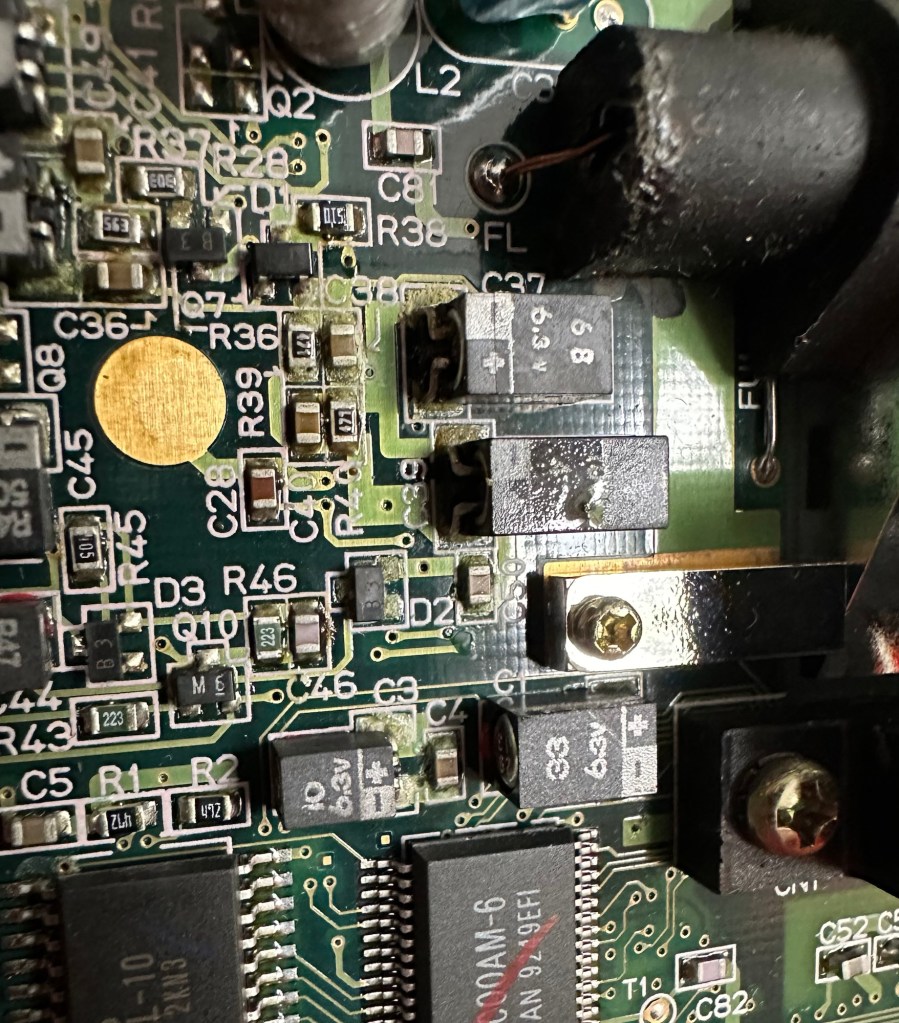
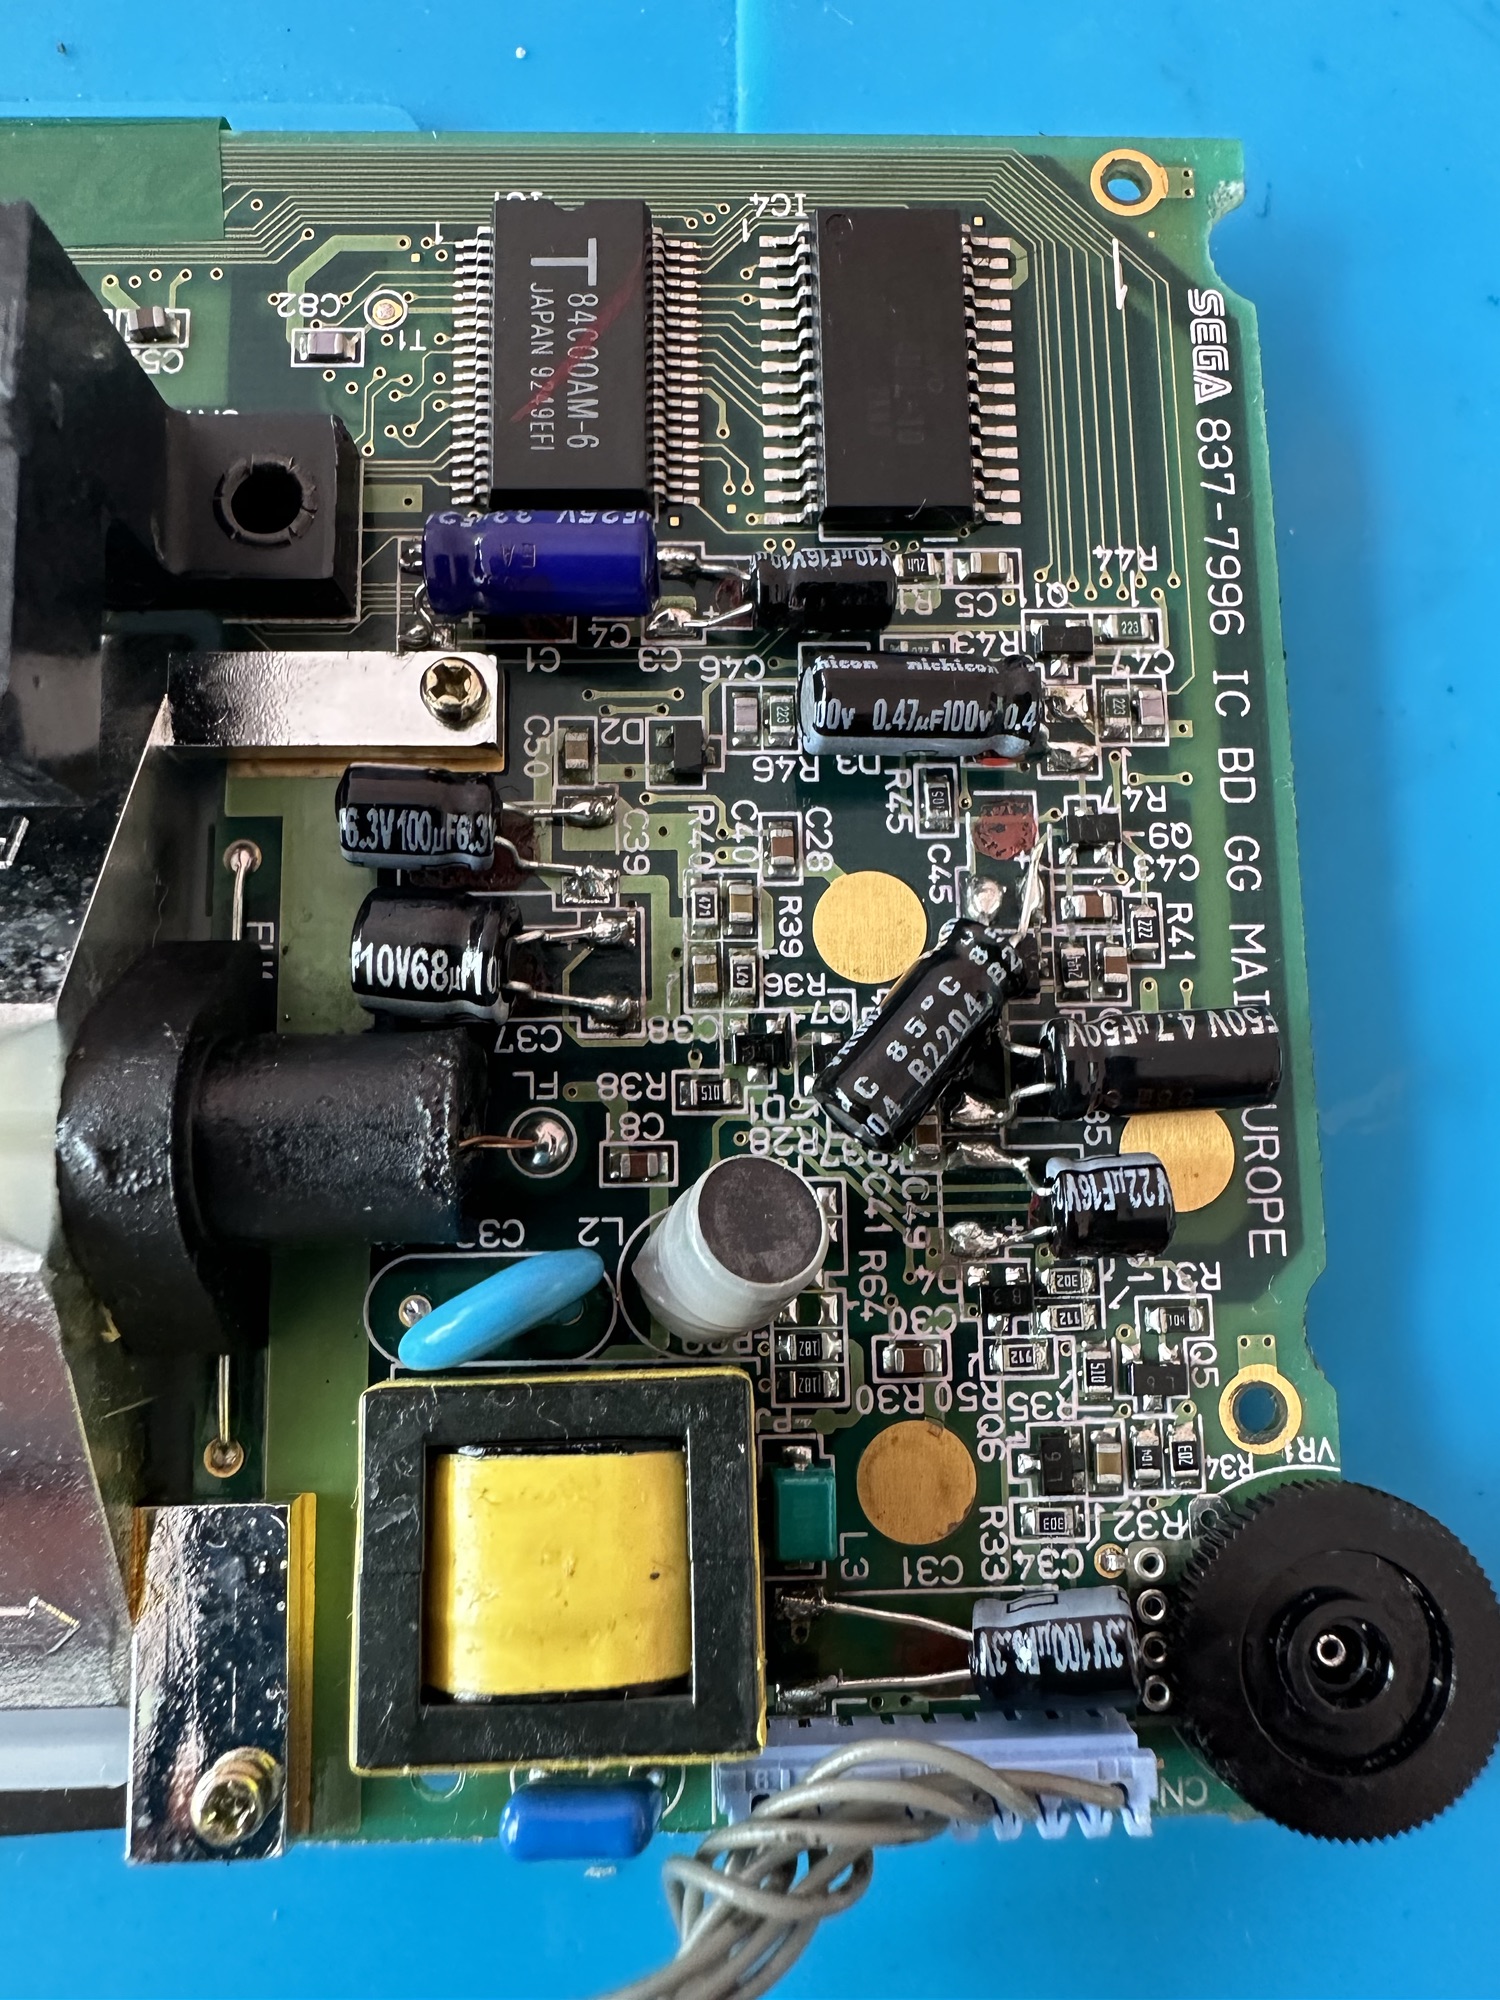
Overall I’m happy with the condition inside, no bad corrosion, however it’s noticeable that a few capacitors have leaked. The worst seems to be C39 on the main board, it’s easy to see the residue.
This unit separates into three boards. An audio board, a power board and the main board. This is a twin asic board, I have removed the audio and power boards as these are the first and possibly the easiest for me to be working on.
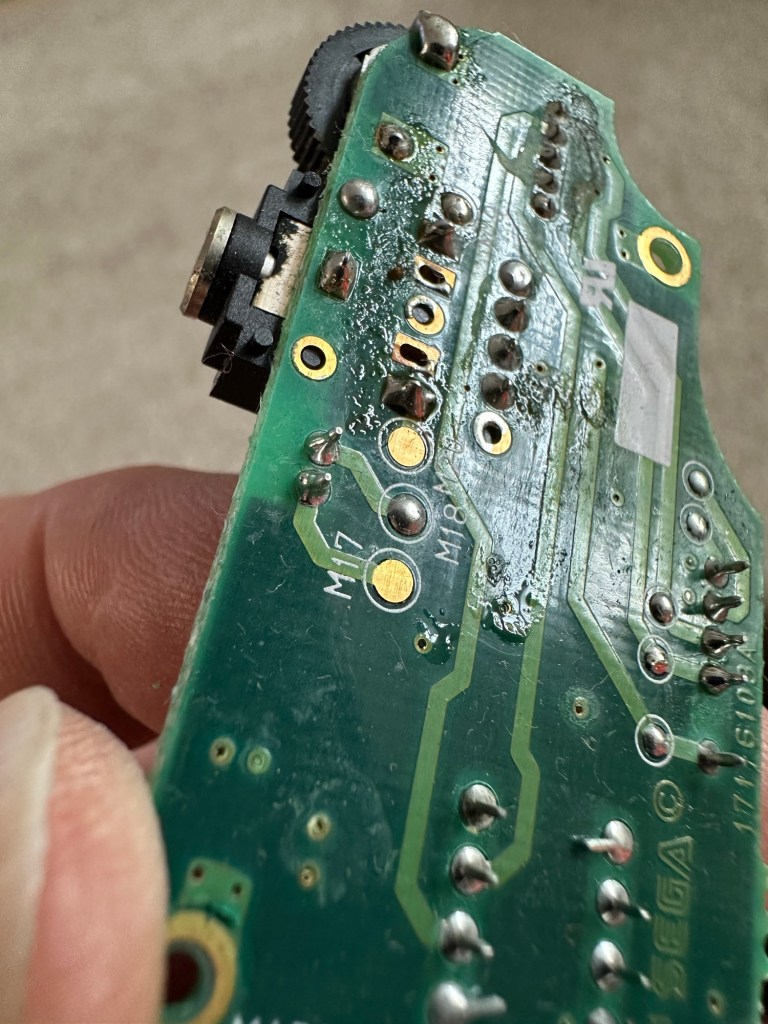
The audio board has 5 capacitors that require replacing, I can see some leakage on the rear of board but not in the area of the capacitors. I suspect that this is factory flux though I could be wrong. When I remove the caps I’ll clean all the pads and use IPA to clean so this should sort that issue out.
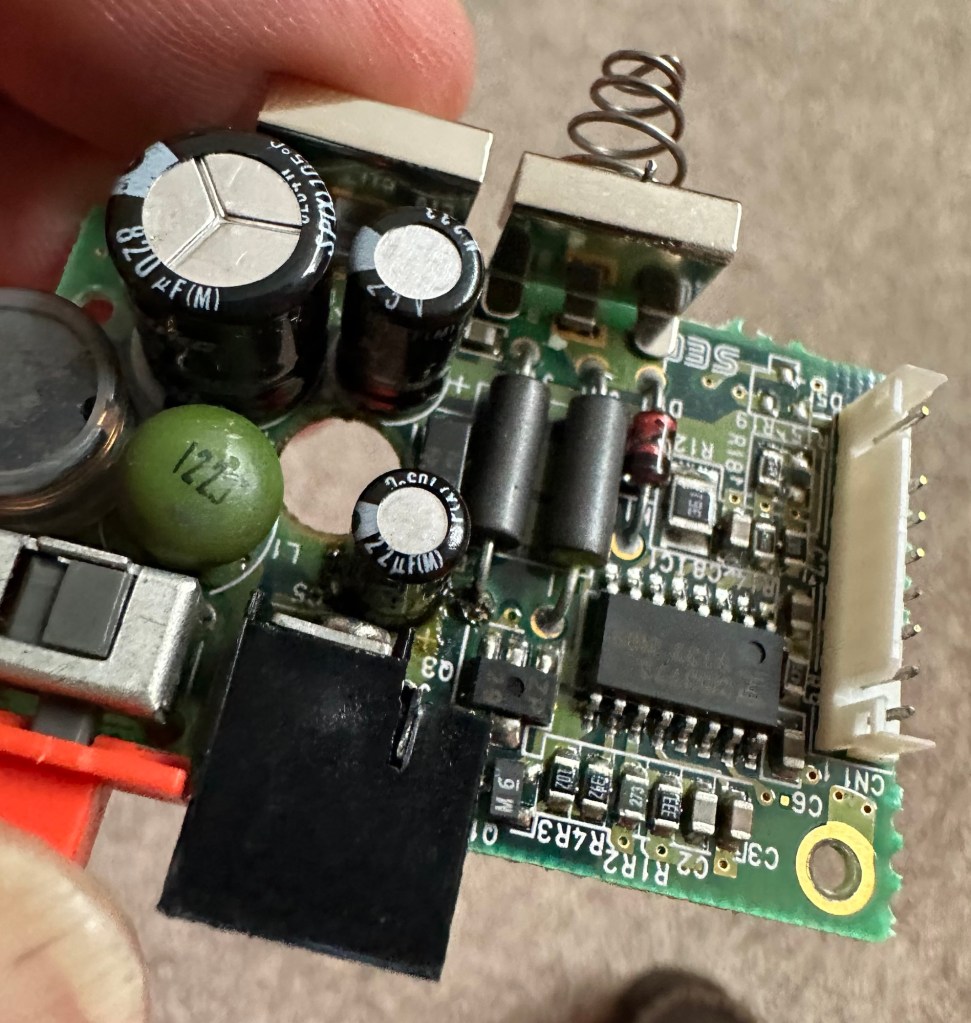
The power board only has three Capacitors that require changing, however it’s clear to see here that C5 has been leaking.
Let’s get on with the removal and replacement of these 8 components. The other 11 are on the main board.
Well that didn’t go too bad. A few minor position changes due to the capacitor types being a different size on the board compared to the 1990s version.


It was obvious that there had been leakage on these two boards due to the fishy smell that arose when the soldering iron was used. That said, the old capacitors came off without too much problem. I used solder braid to remove the old solder and then gave a good clean of the board with IPA prior to re tinning the pads prior to putting the caps back in place.
I knew there wasn’t a big issue with the power board as this was sort of working prior to this project. This was the easiest board to solder as it had through the board components, pretty much a straight swap but for better components.


The audio board was different as I had to reposition these pots so the case could close properly and the shielding could go back into place with no issues. Again I used the same process of unsoldering, cleaning thoroughly and then tinning the pads.
These two boards are now complete. As a test I thought I’d reassemble the unit and see if there was any improvement. Power came on and the red led lit, this was a good sign that there was power and I’d not messed anything up. Secondly there was sound, we didn’t have that before so this is a definite improvement on what we originally had. Volume works with just a couple of occasional crackles so I may have to use some more contact cleaner here.
So far, so good. No real improvement to the picture even though you can see something is trying to come through. That said I’m hoping the replacement of the caps on the main board will help this. So with no further a do, let’s get the main board finished.
Just got home from work, now time to get these last 11 caps done. All the old ones removed, all the pads wicked to remove the old solder and what a stink of old fish, these capacitors had definitely died.


All cleaned with some IPA to rid of all the debris and then fluxed and tinned the pads ready for the new capacitors to go into place, I’ve got this off to a tee now and these went on a lot quicker, easier and tidier than the last lot. I’m a lot more competent now, and feel more confident with this process.

Had a little trouble getting it all back together, a couple of the new caps had to be tweaked slightly as they were in the way of a screw post, the earth shield was also causing issues and shorting the system, again a bit of captain tape helped shield an exposed component. All this done I put the strap back on and loaded up the batteries. Switched on and red light, all looking good…
Very happy with the fix, that was my first Cap replacement and I’m happy with my first attempt. Again you learn from these attempts and the reluctance I initially experienced was just nerves. I’d be more than happy to do more of these fixes, maybe using the modern surface mount components next time.


Another one saved from landfill, I wonder how many of the 10.6 million more that were made of these have suffered that very fate. Scary.
Anyway, I’m looking at using this unit to do some mods, so this is going to be my test bed for other projects.
Simple fix, great outcome, I’m happy.

2 thoughts on “Sega game gear 2110-50”
Comments are closed.