Canon AV1

I now have a Canon AV1 with a shutter problem. Can I fix it? I’ll have a good go…

What the listing stated:

This camera is in very good overall condition. Some light signs of use but this is generally minor. The light meter is responsive when you press the shutter button down. However, the shutter will not fire. Spares or repairs only.

EBay

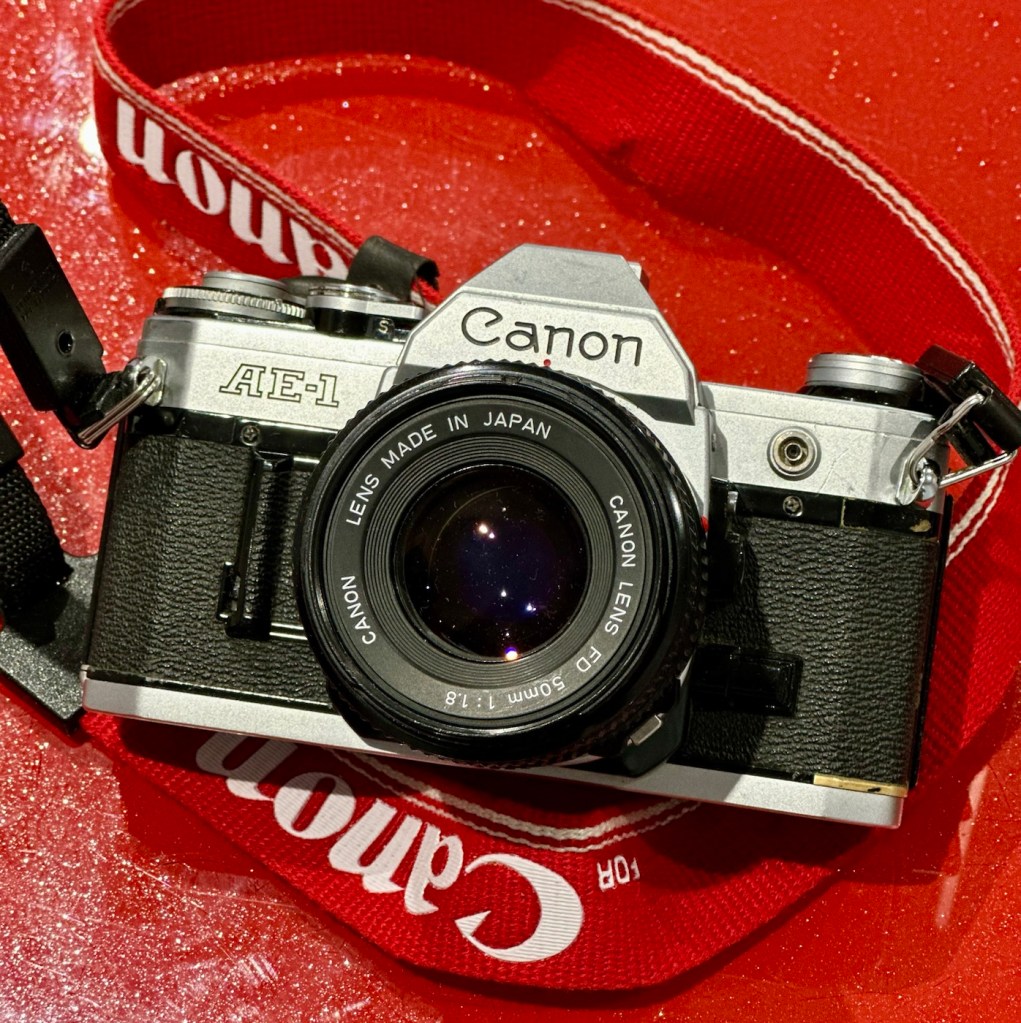
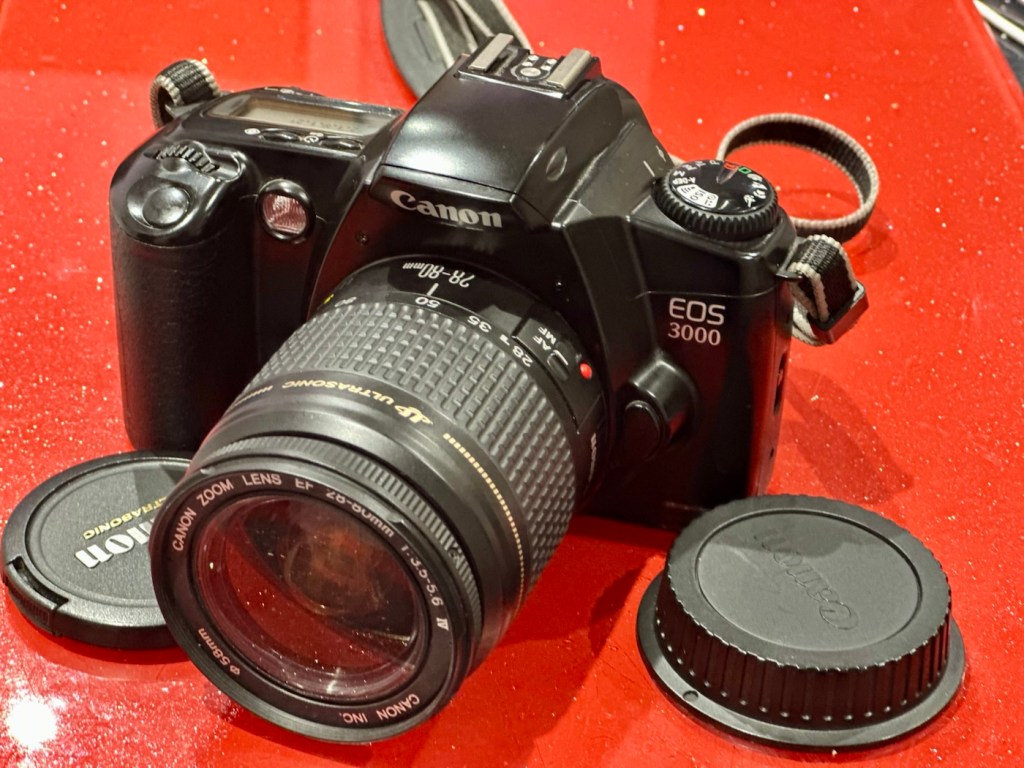
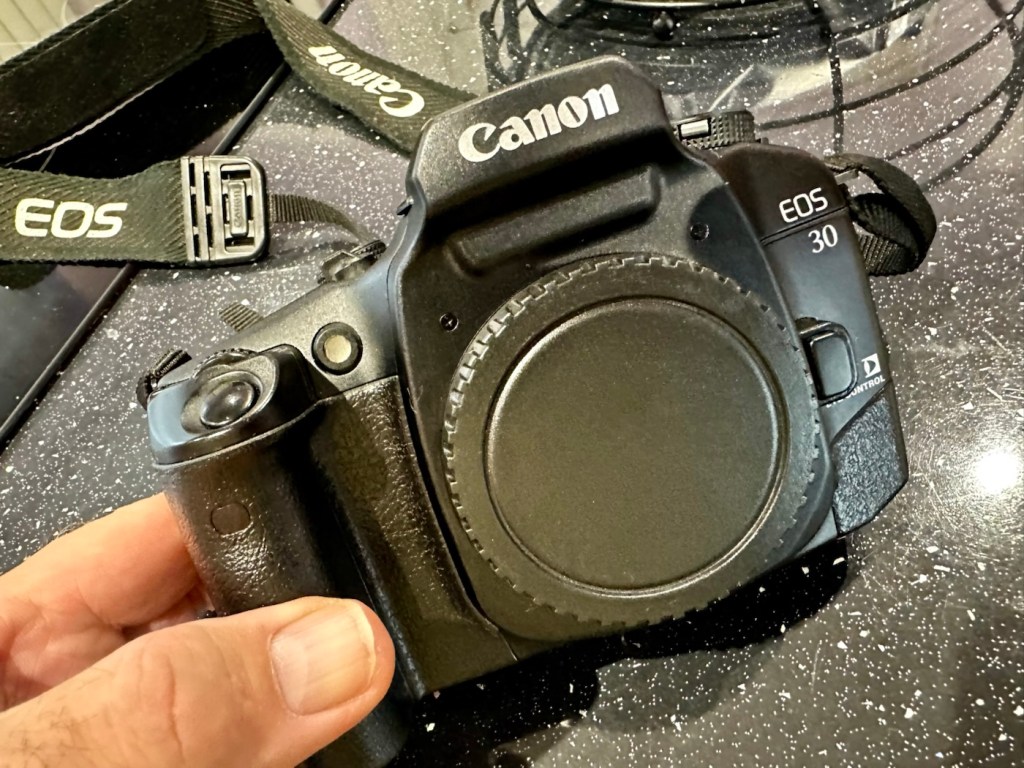
I’ve just paid £8:98GBP for this camera, and I believe this is a great price for a piece of camera history. The AV was introduced due to there being a demand for aperture priority at the time, whereas its Sibling, the AE1 was purely shutter priority. Later cameras would come to incorporate both systems. This one has a known problem with a stuck mirror – it won’t fire and I think I can easily sort this problem. Well I hope I can.

Here’s a little information about this camera:

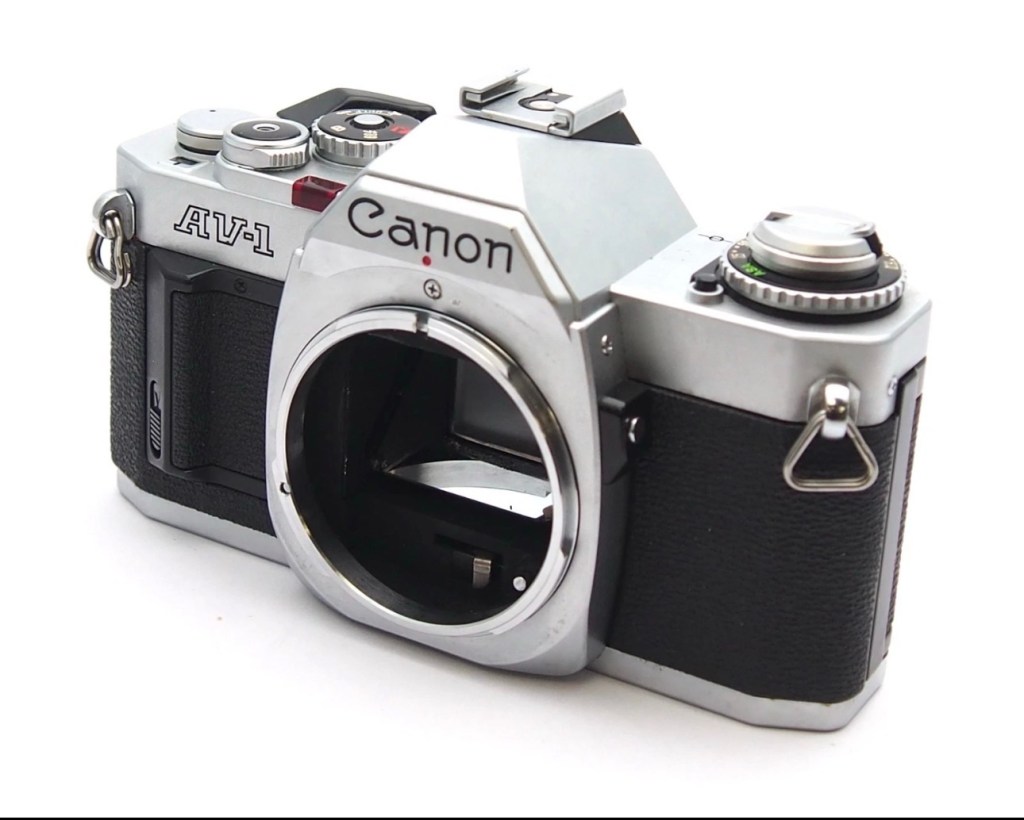
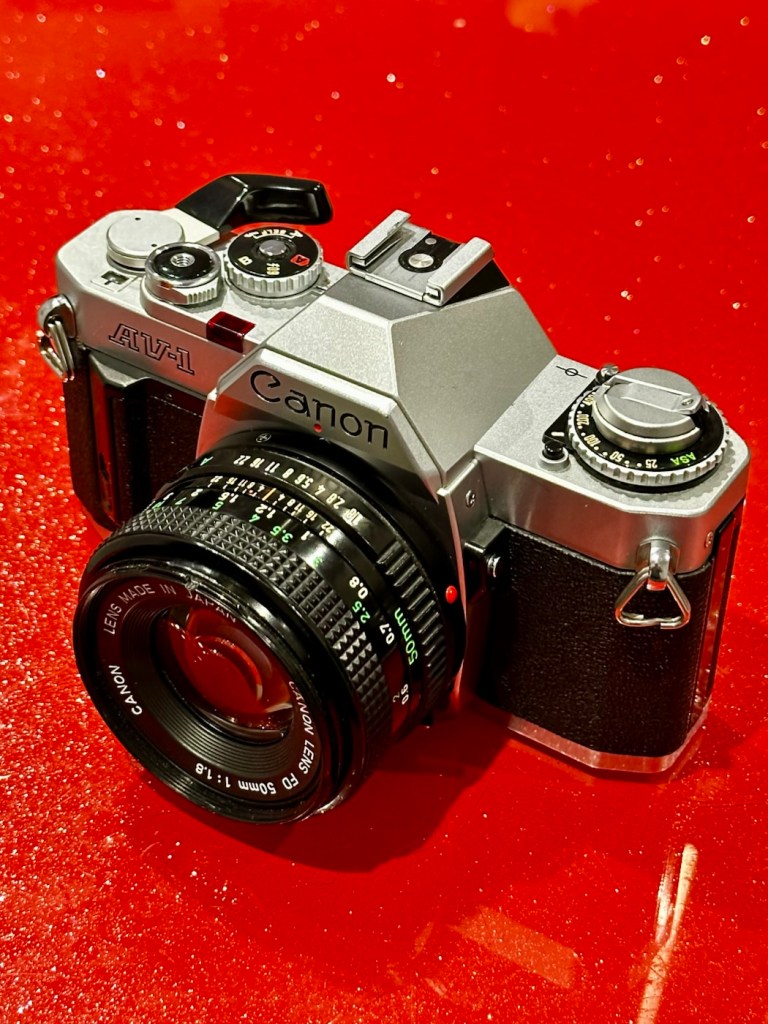
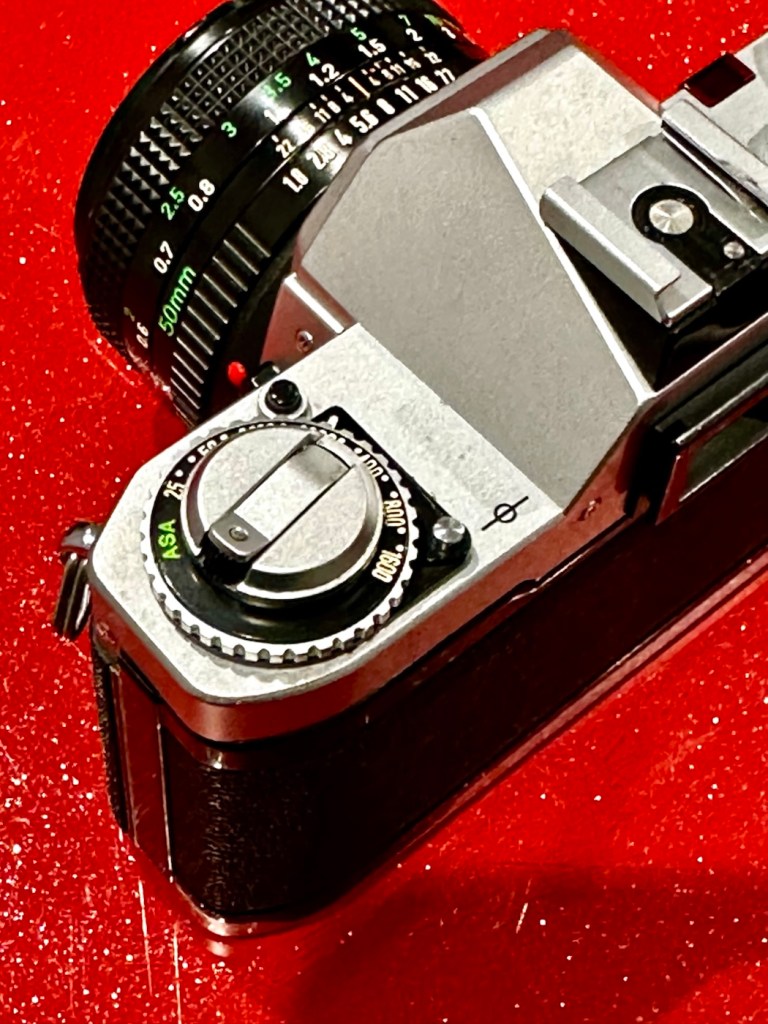
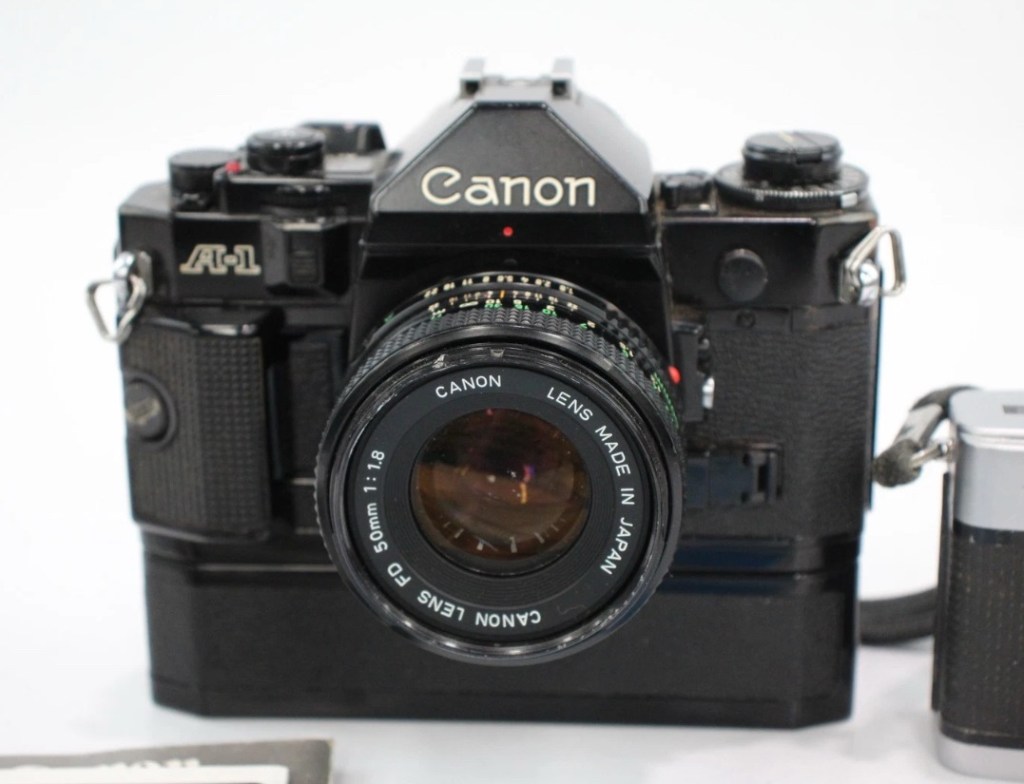
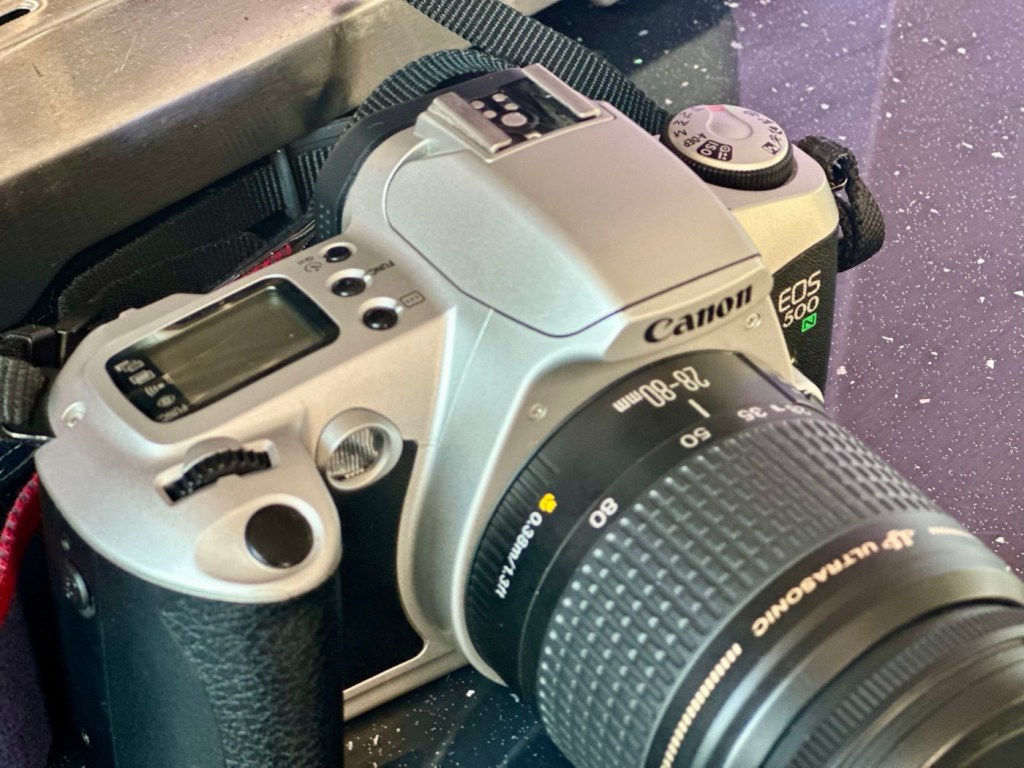
The Canon AV-1 is a 35 mm single-lens reflex camera with an FD lens mount, introduced by Canon Inc. in 1979.

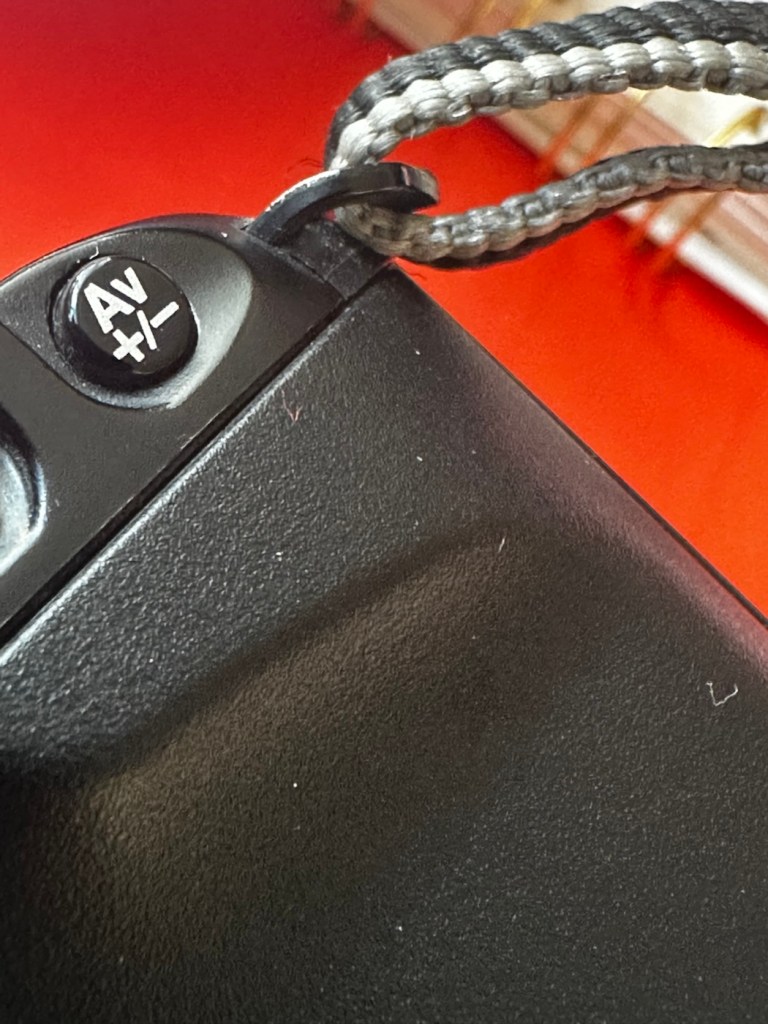
The AV-1 is very similar to the 1976 AE-1 but provides aperture priority autoexposure rather than the AE-1’s shutter speed priority AE. The camera is not capable of fully manual exposure. Canon’s international distributors, particularly in the United States, had clamored for such a camera because competing brands offered mostly aperture-priority cameras and some preferred it. The AV in the name referred to the type of autoexposure; Av (Aperture Value) is a common abbreviation for aperture priority.

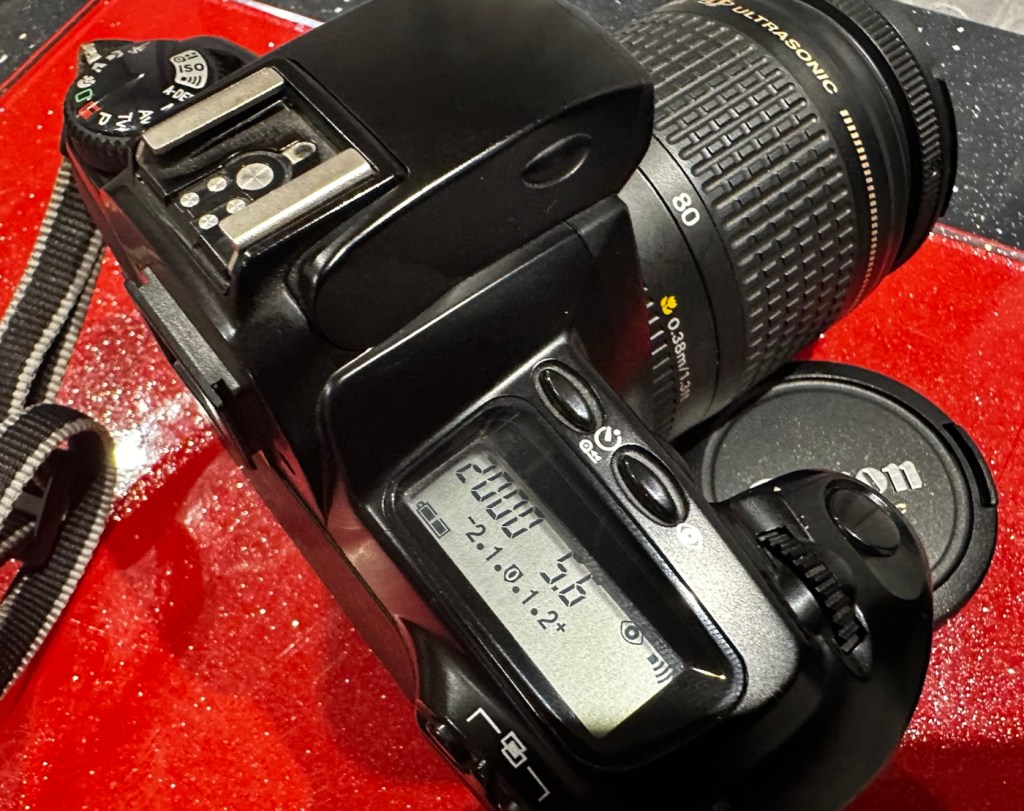
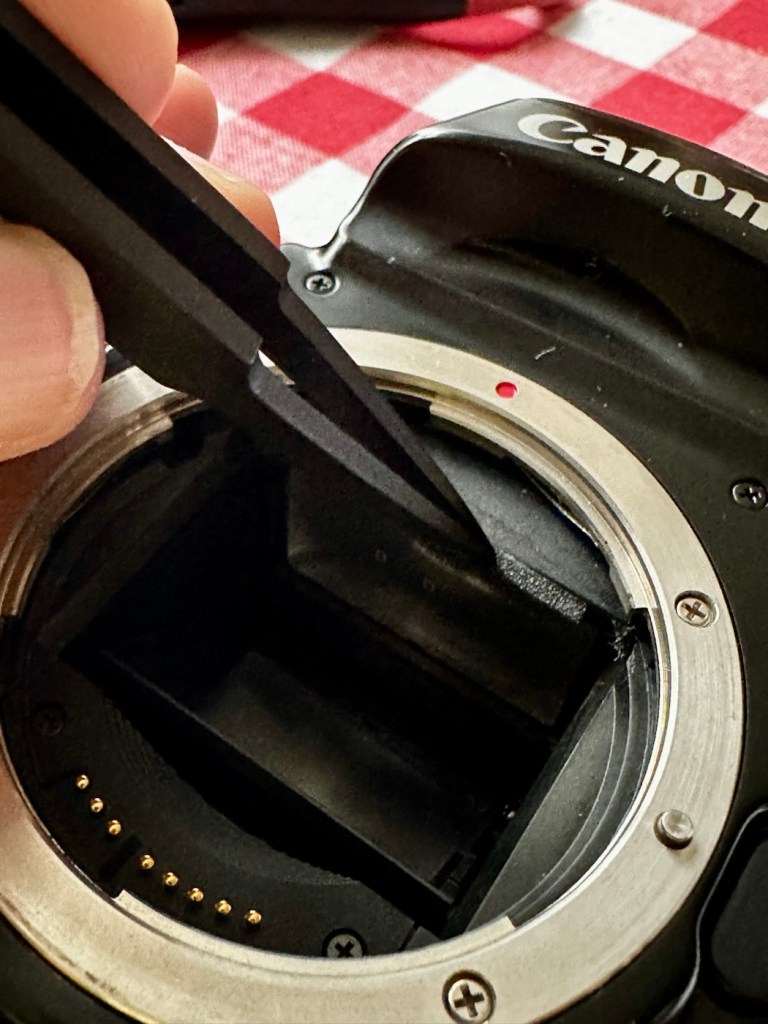
When this camera appeared, a new range of FD lenses was introduced, with instant mounting/unmounting of the lens. This is called the New FD mount and does away with the older type of mounting ring which was fitted on to the rear of the lens and was awkward to use and needed two hands, to a newer, easier system whereby the user lined up the red dot on the lens, with the red dot on the camera and simply turned the whole lens clockwise until it clicked into place.

All the other AE-1 accessories fit the AV-1.

Wikipedia

I’ve decided to collect all of the Canon “A”Series of cameras, and this adds to my current collection that consists of an A1 and an AE1. There were I believe, six cameras in this range and this current camera will be my fourth. Here’s a list of the “A” range of cameras below. I have highlighted with an asterisk all that I currently have at the date of this blog post being published:

Assessment:

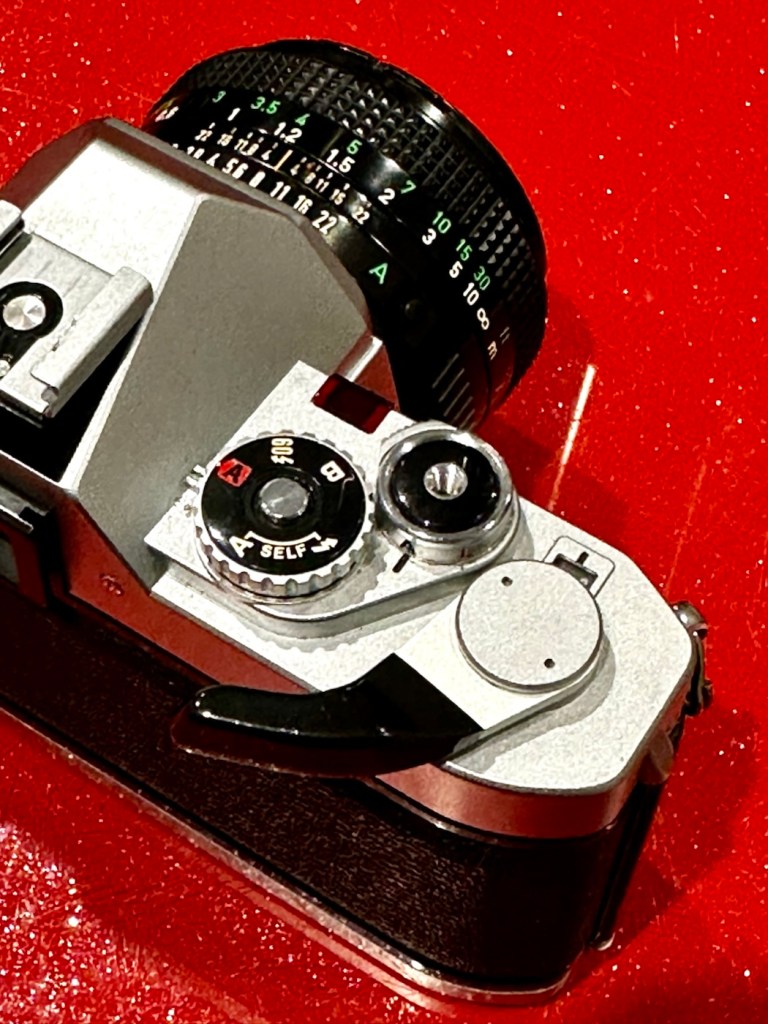
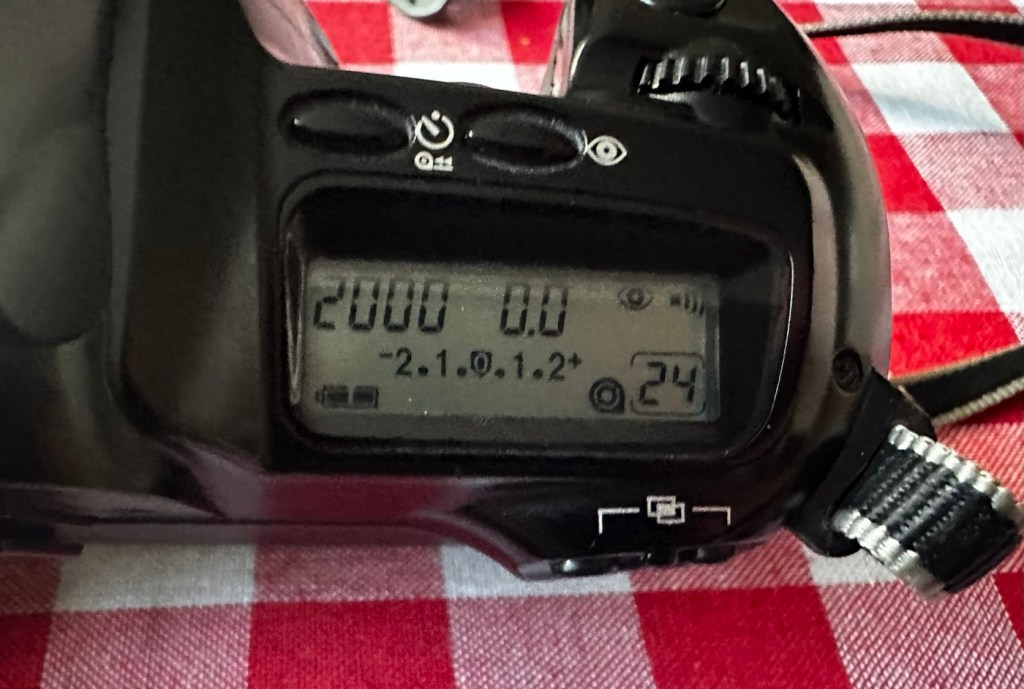
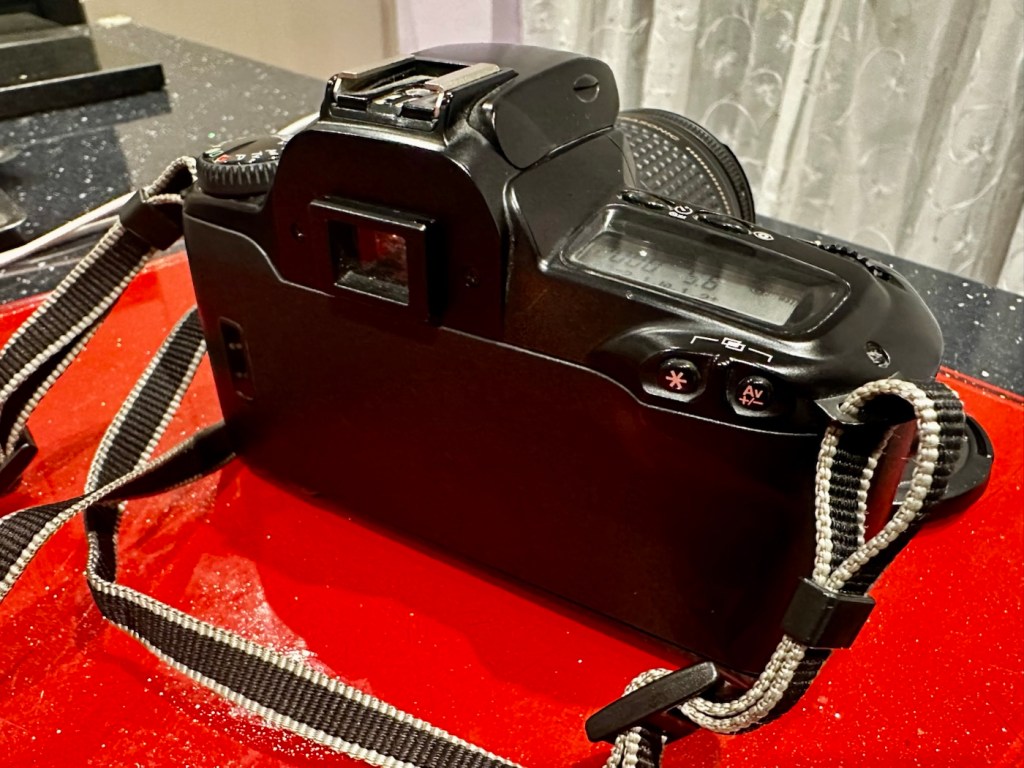
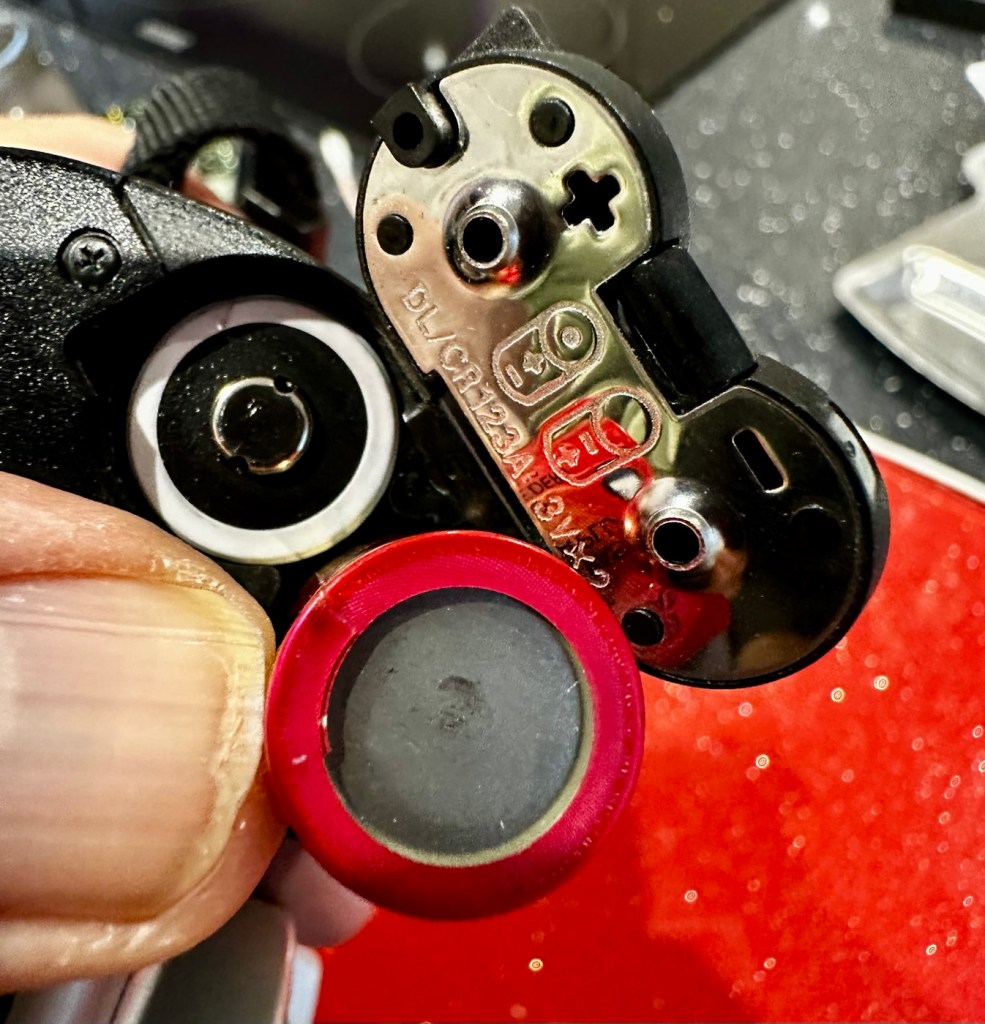
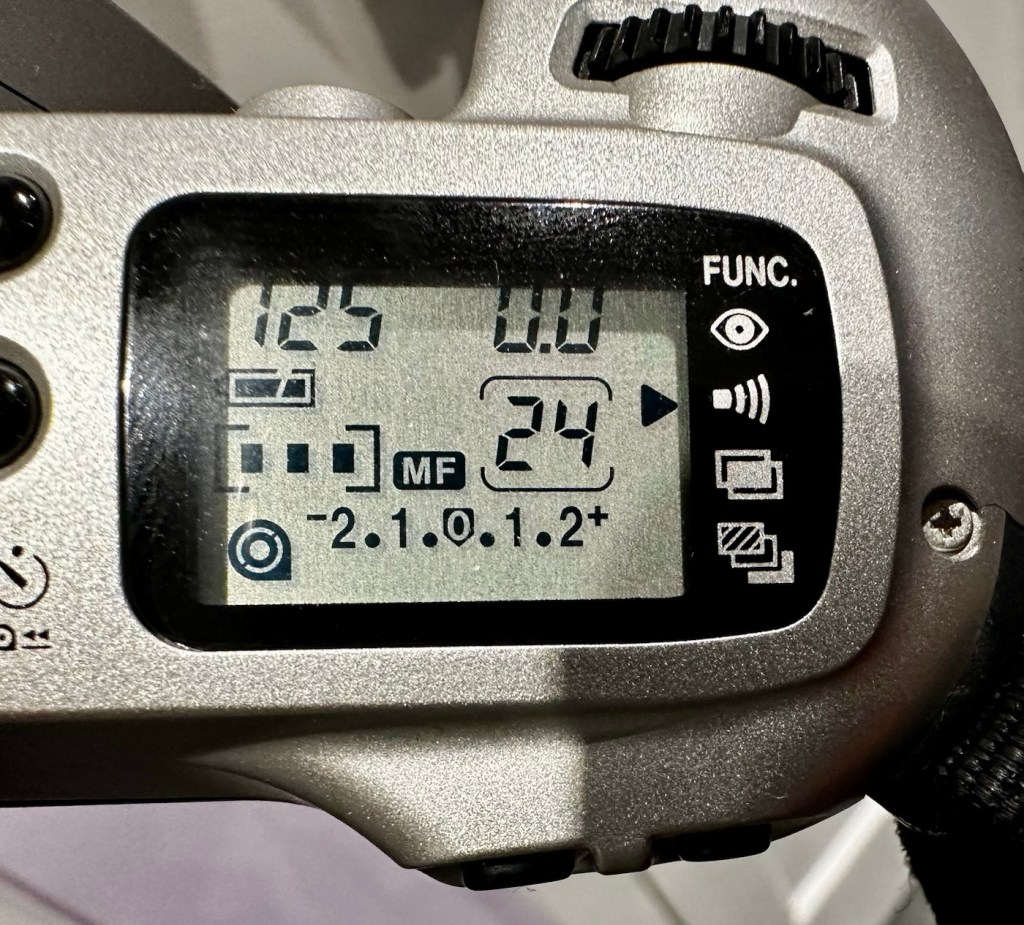
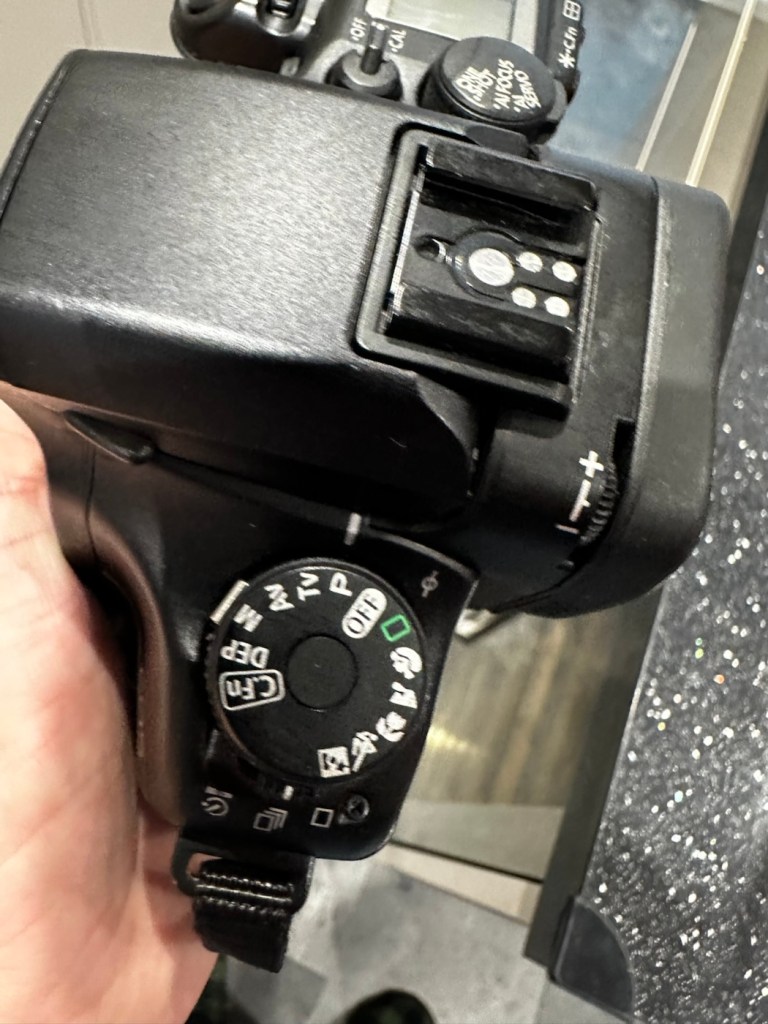
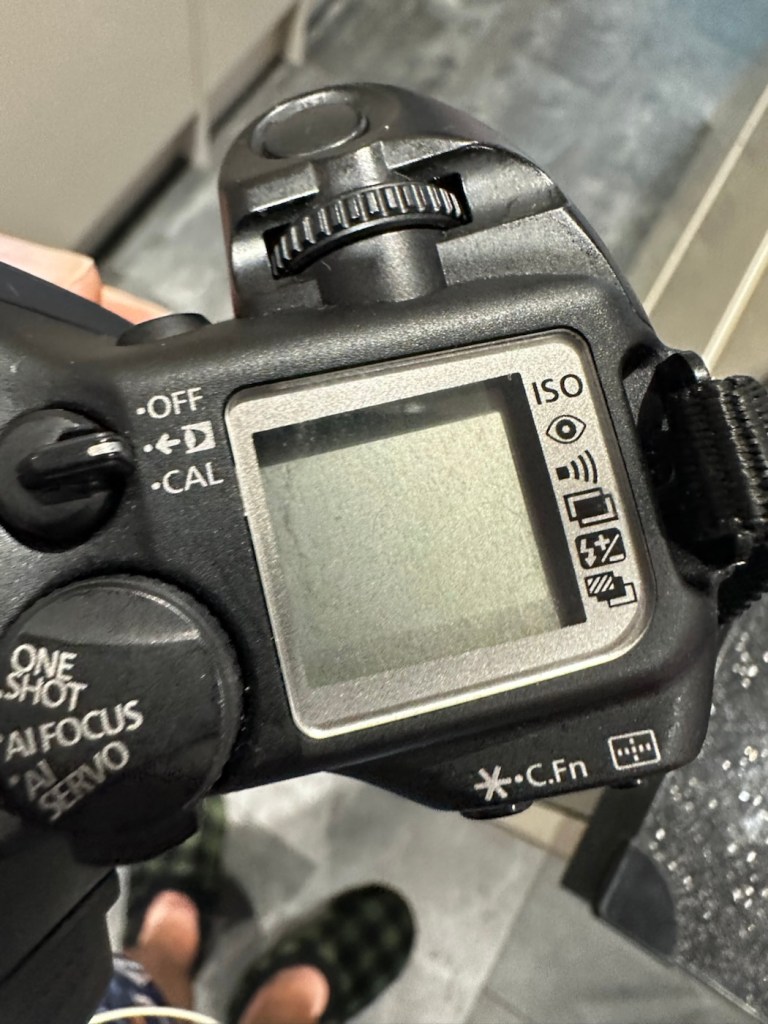
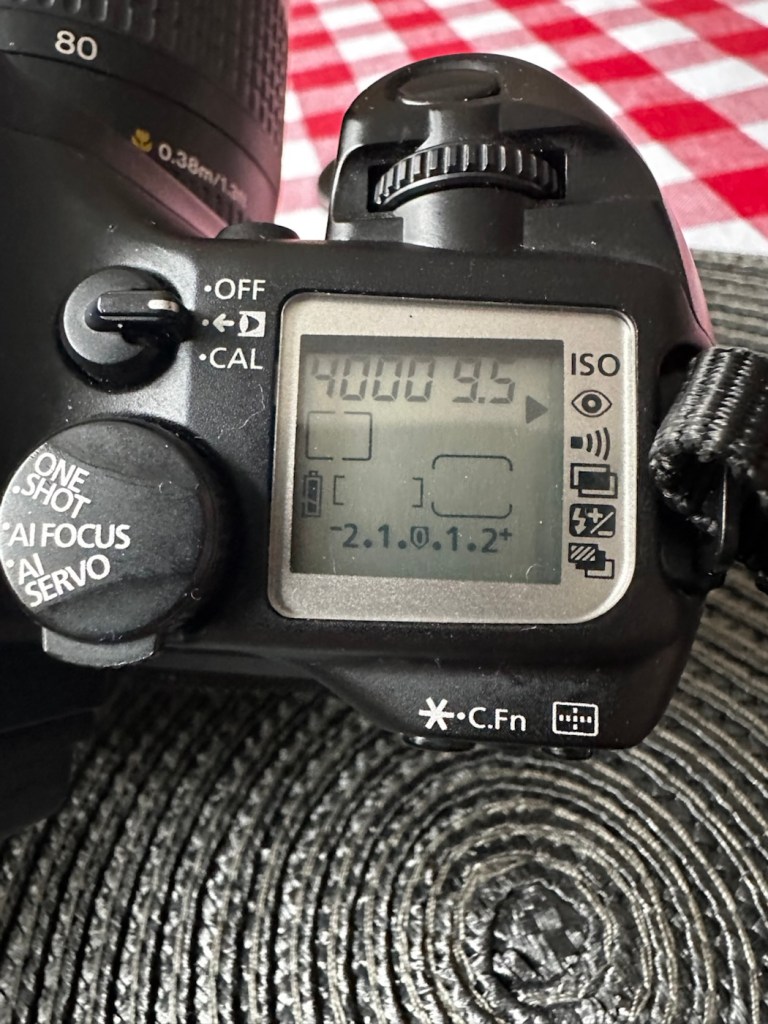
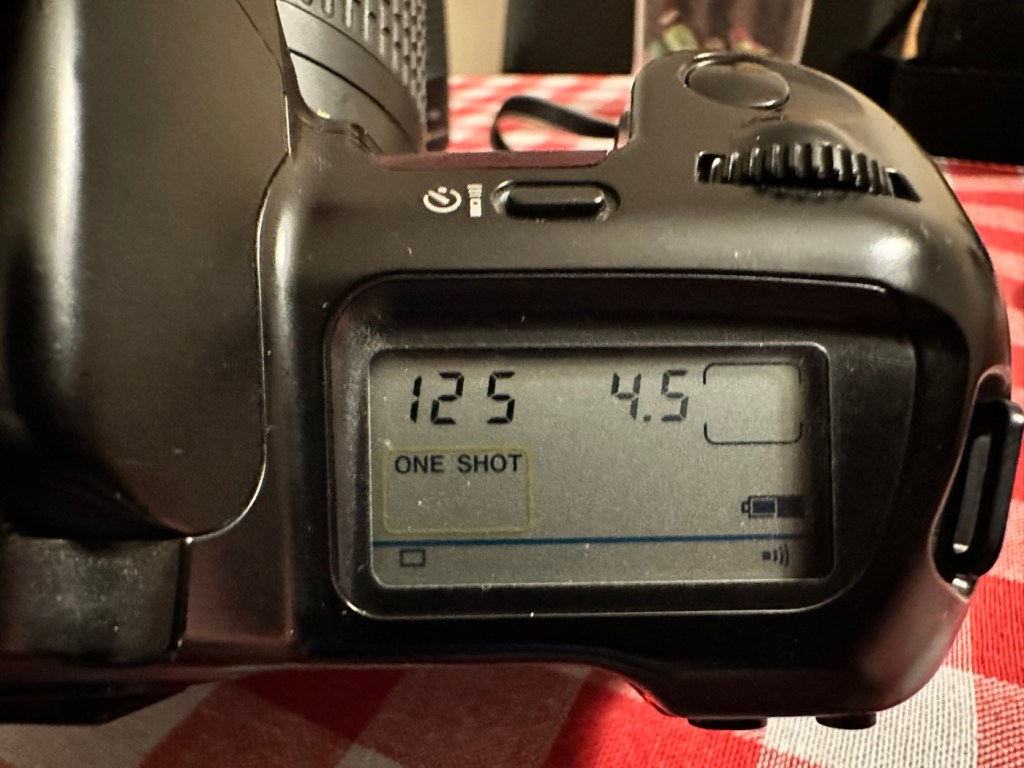
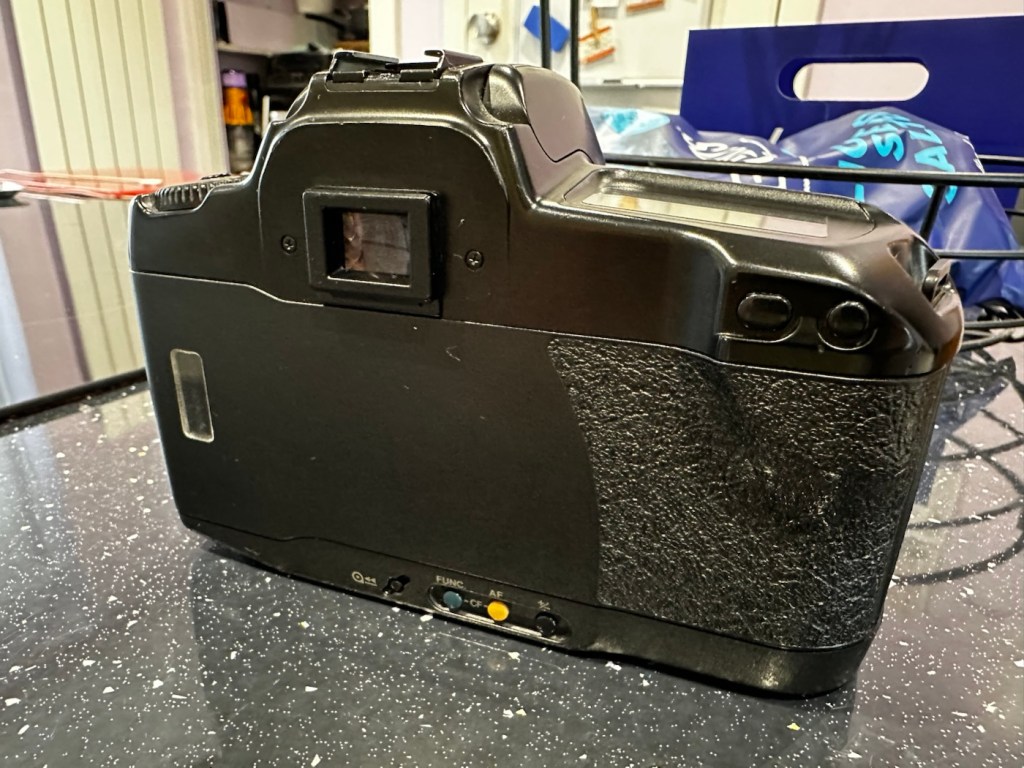
The original listing description does not match the issues that I have found. It originally stated that the light meter is responsive, it isn’t. It also stated that the shutter does not fire, it does when a battery is installed. The battery level indicator in the viewfinder does work when the check button on the camera is depressed. However when you focus the camera and half depress the exposure button to get a meter reading, the needle in the viewfinder doesn’t respond, this is the only real issue I can see, I guess the seller must have been looking at another camera as he wrote the listing for this camera.

Battery level reading in the viewfinder

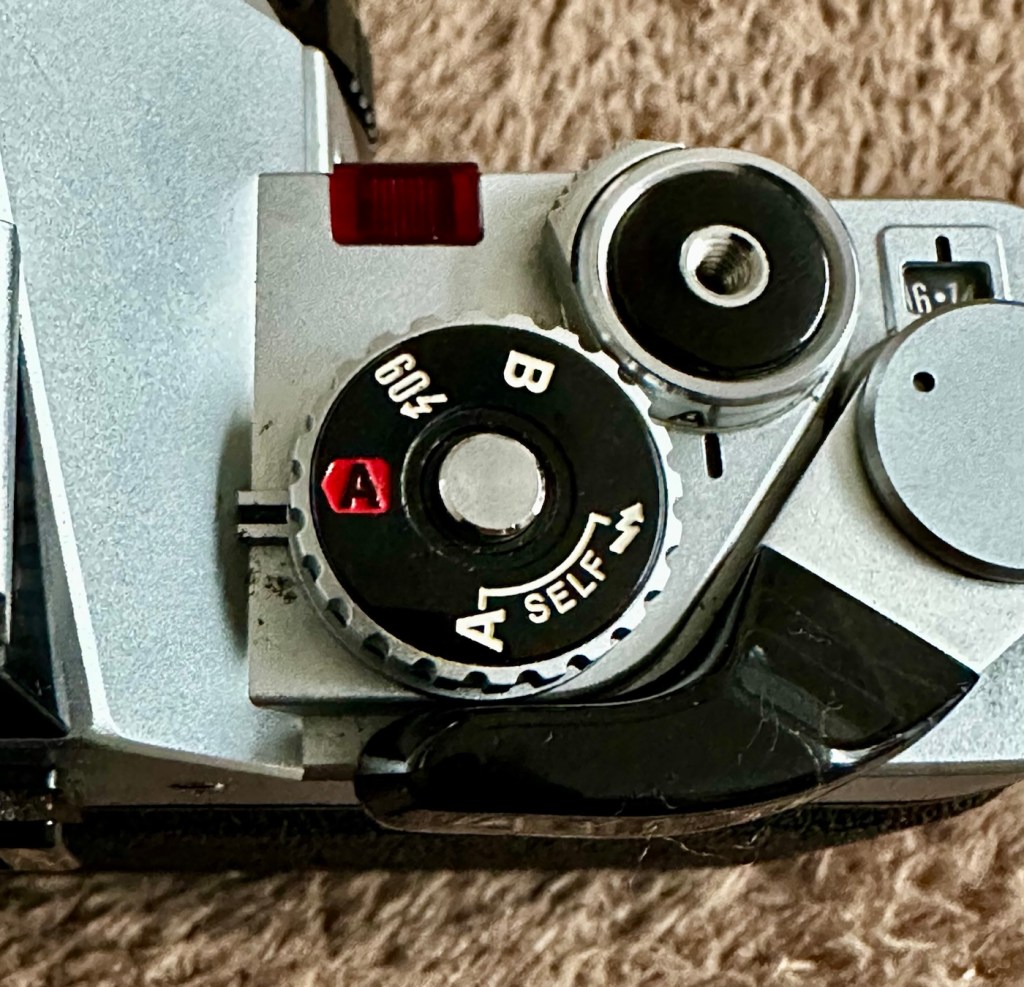
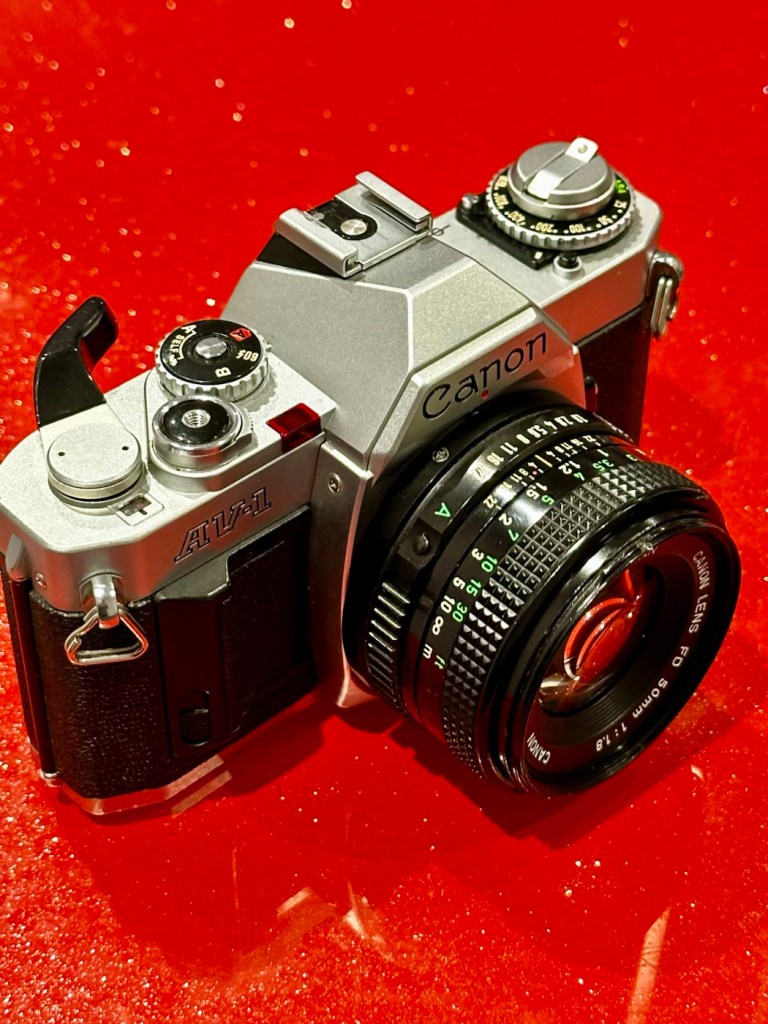
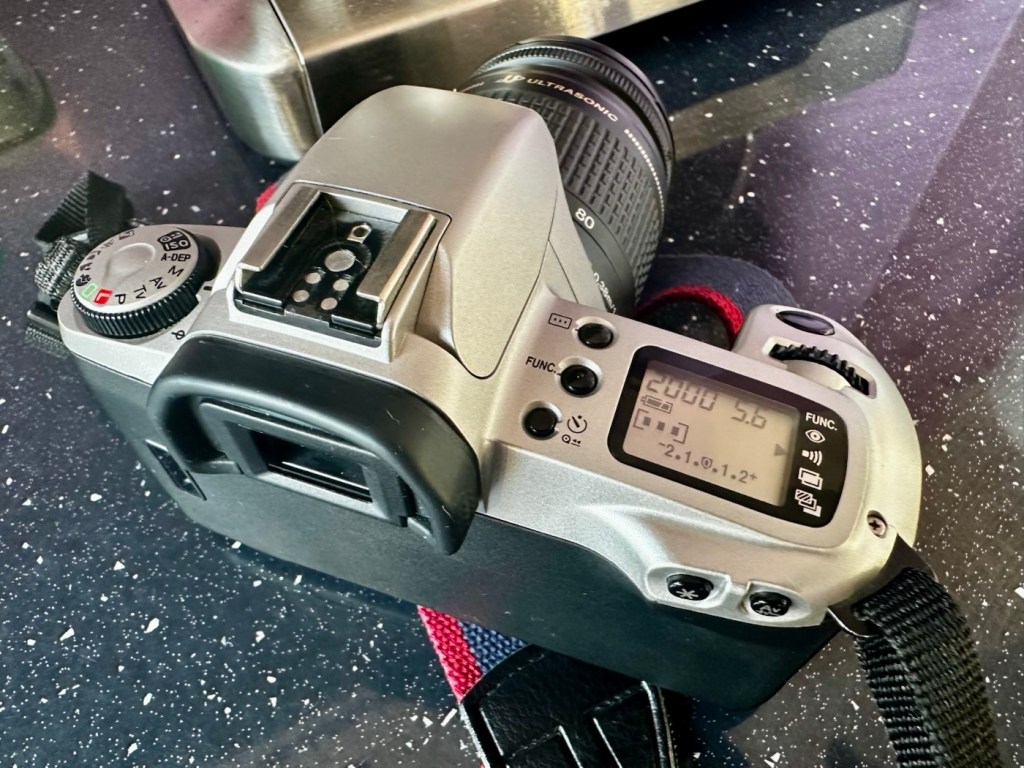
All settings appear to be working as they should, the “B”setting allows me to scroll through the “f” stop settings to see the aperture leaves working as they should. All “f” stop settings appear to work on the auto setting.

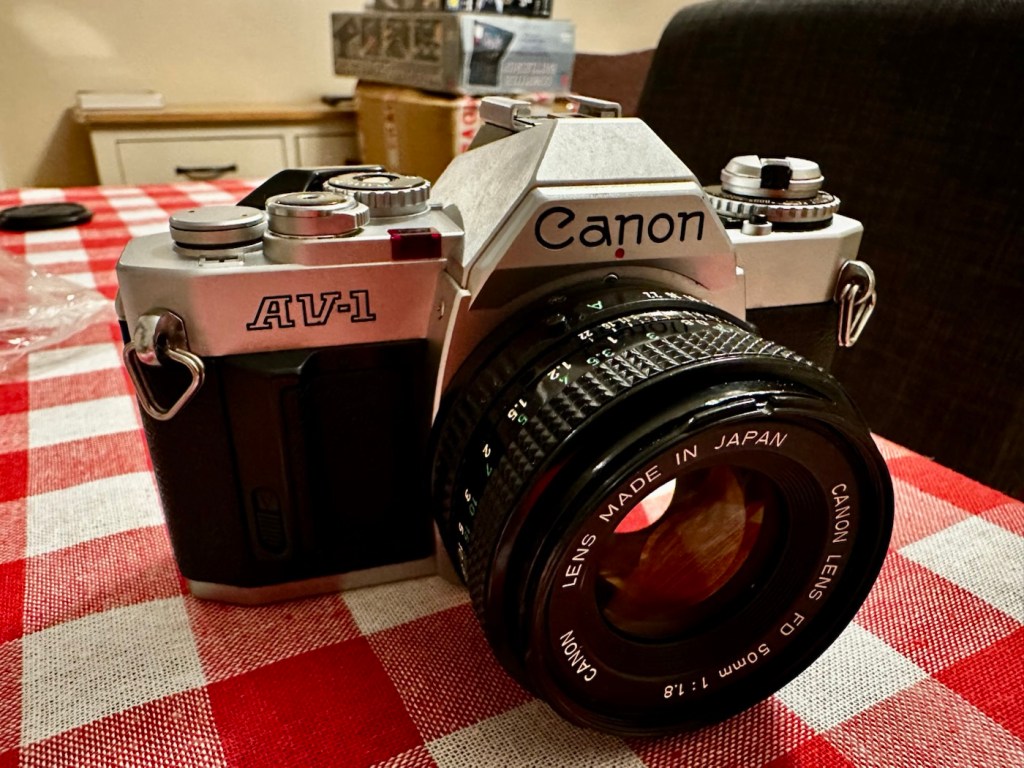
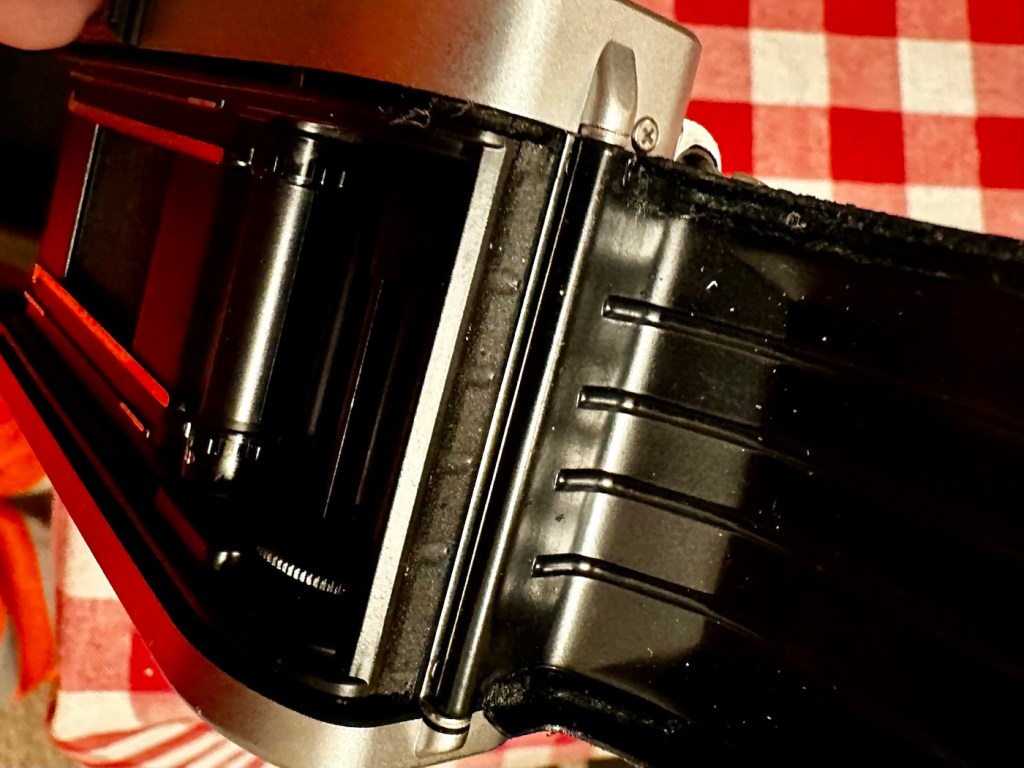
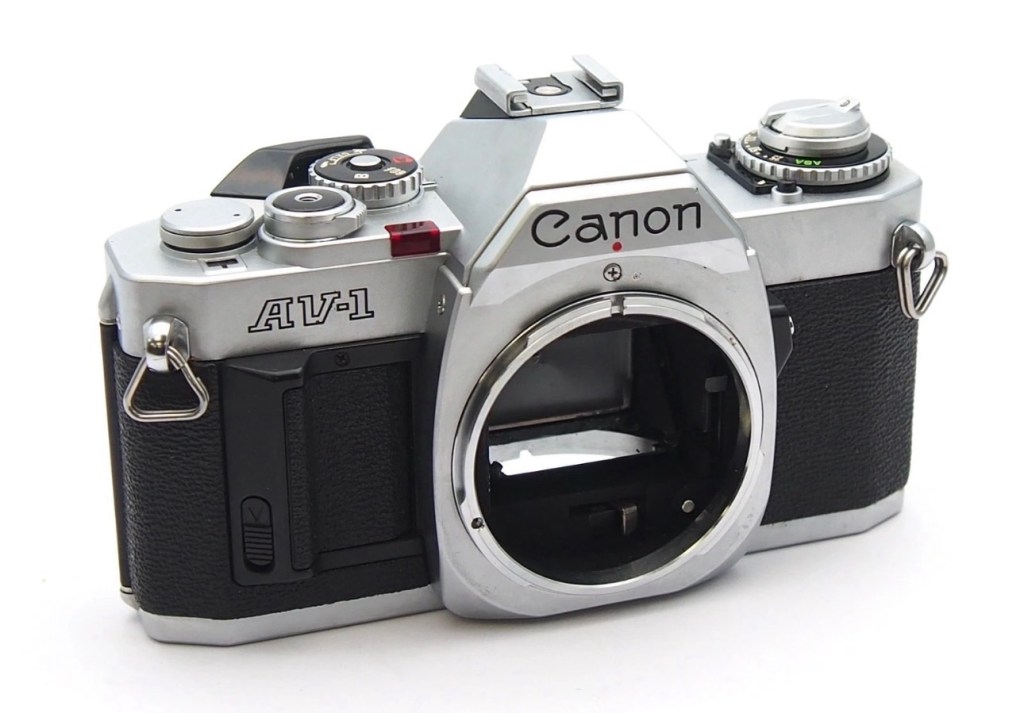
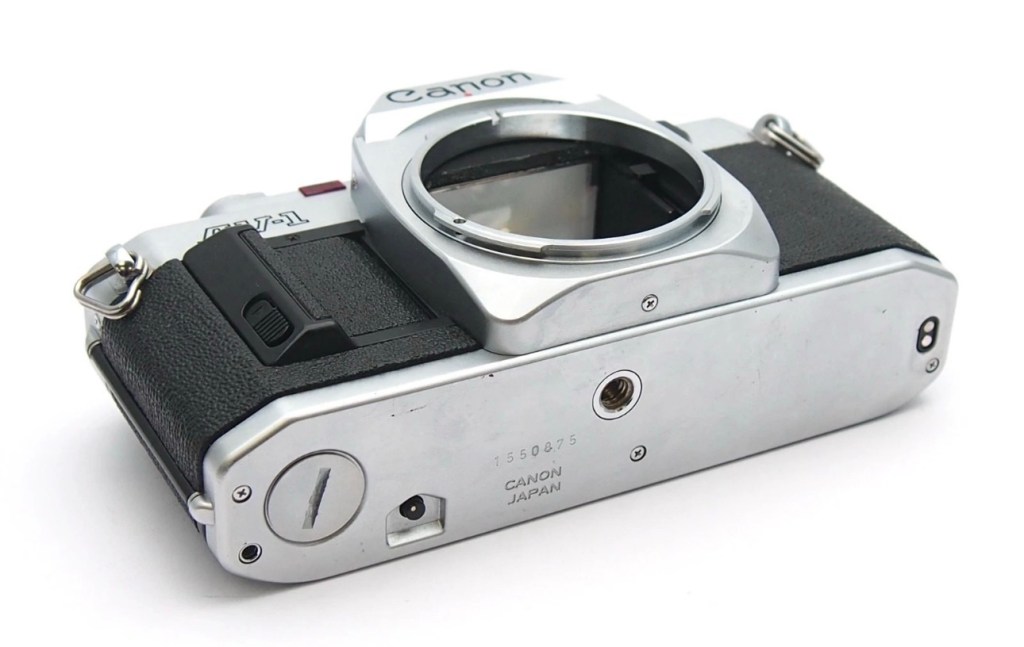
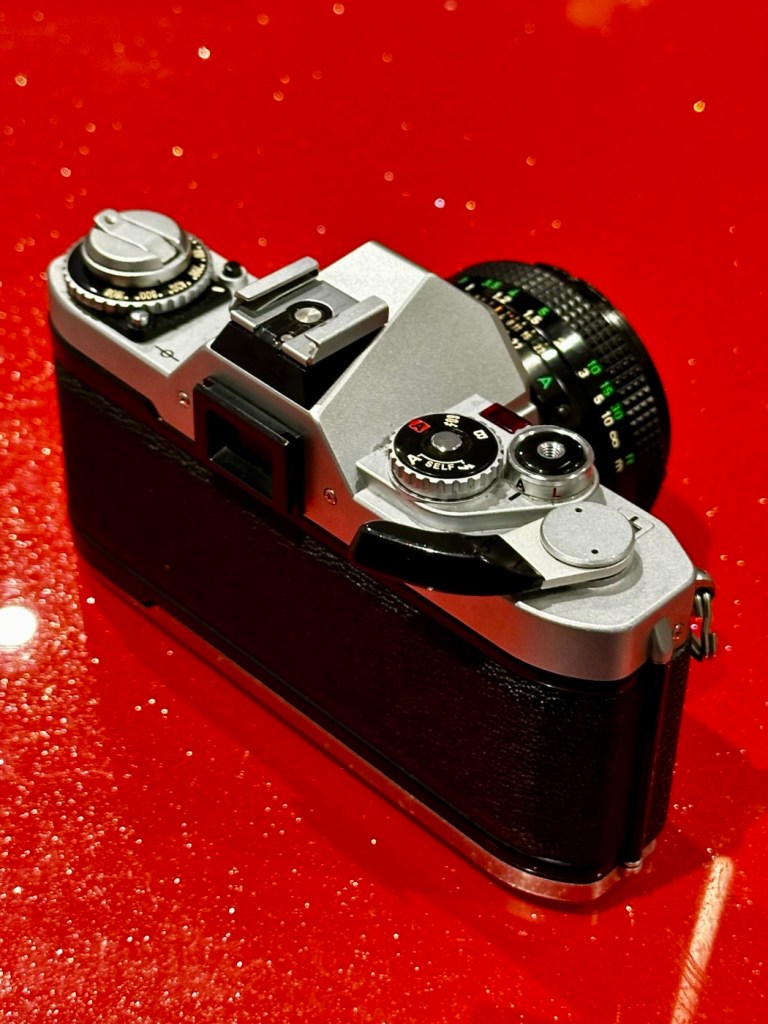
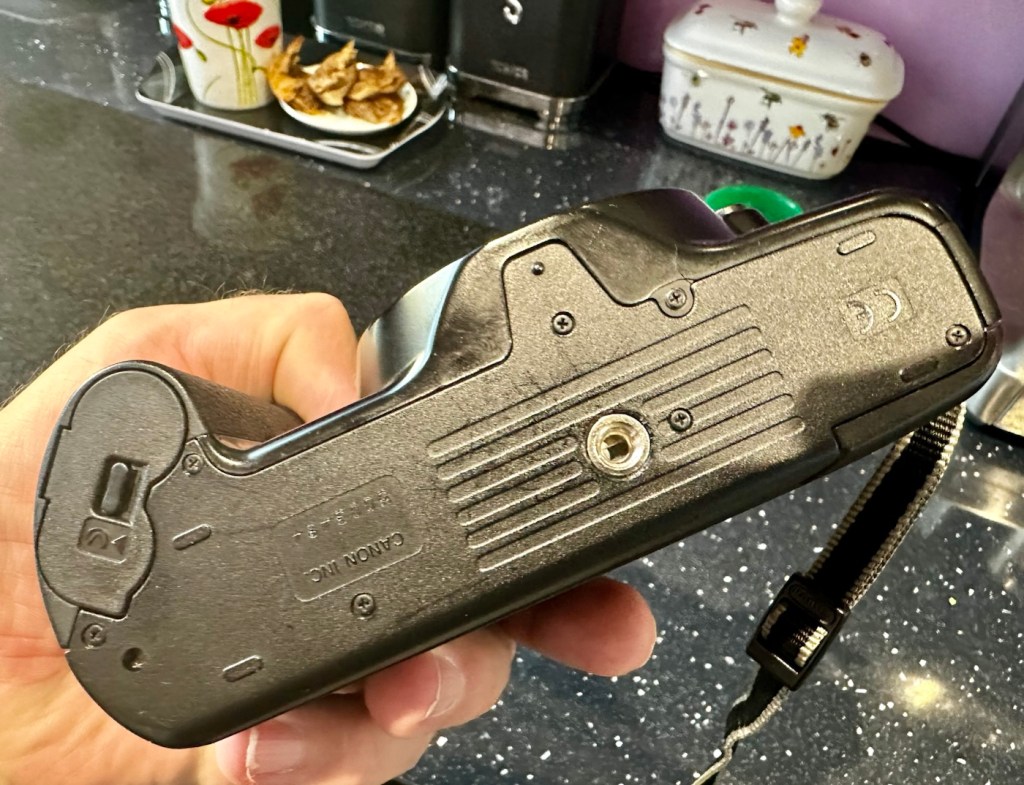
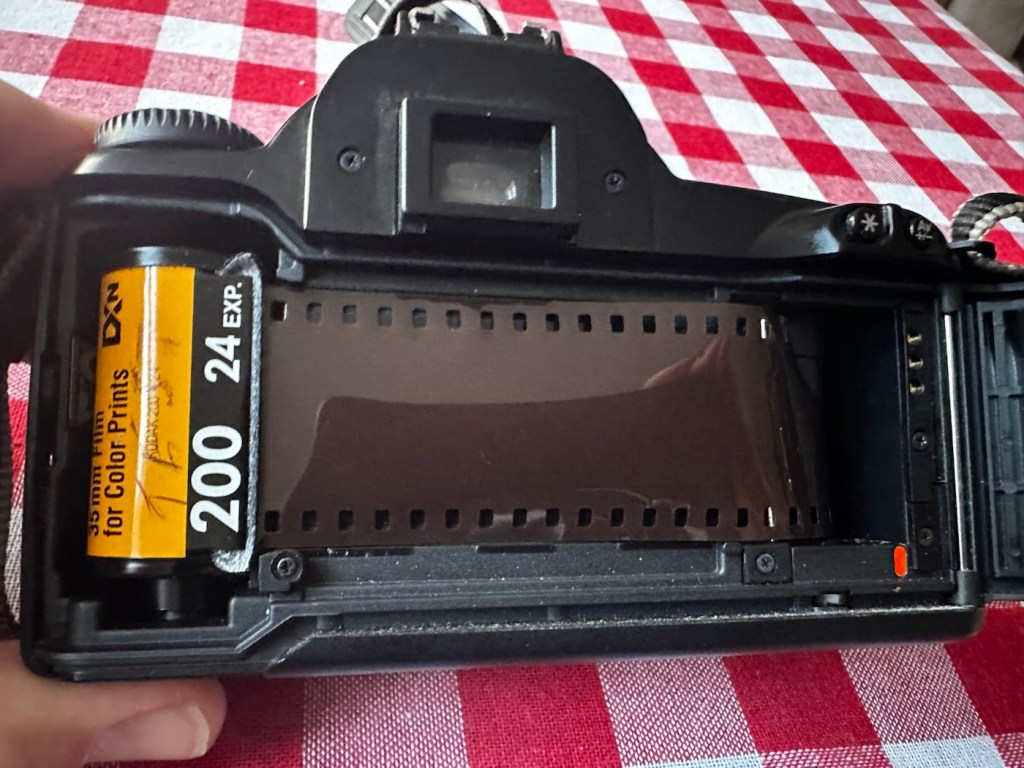
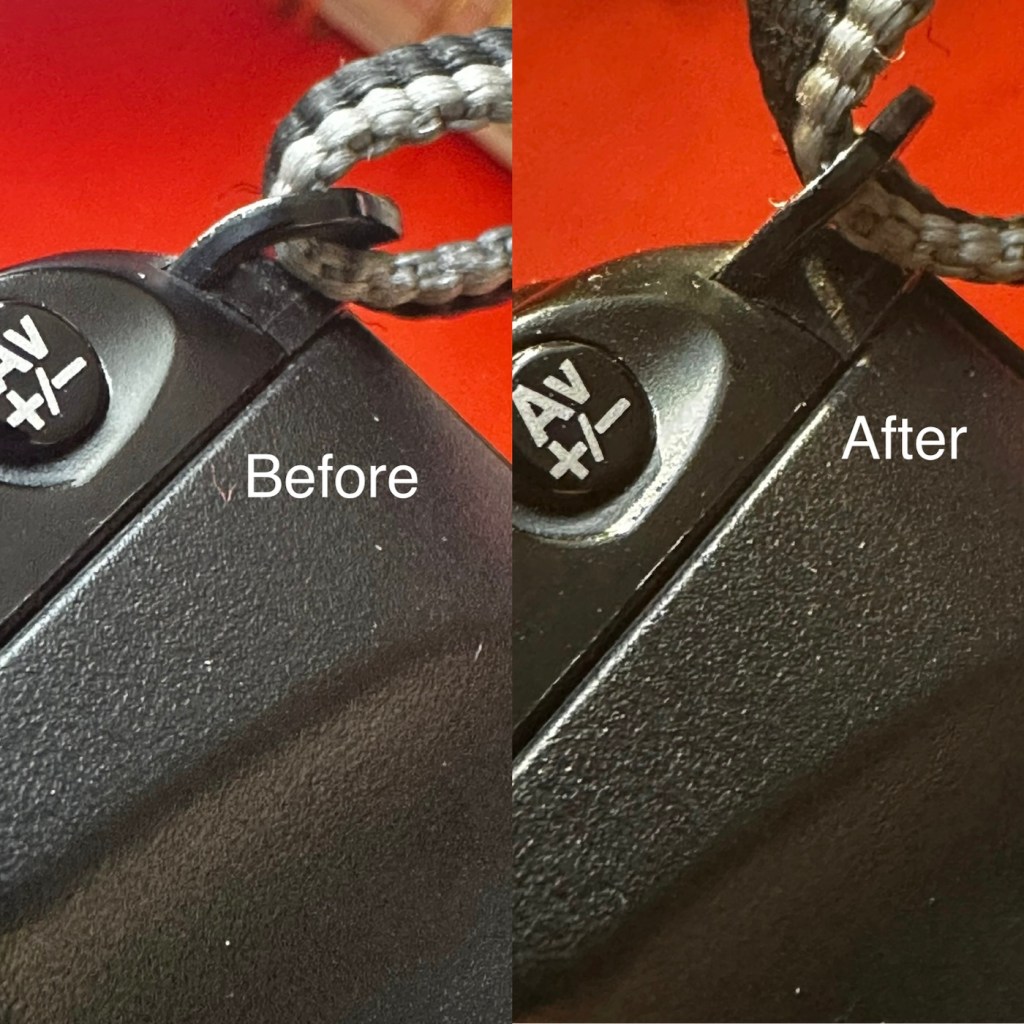
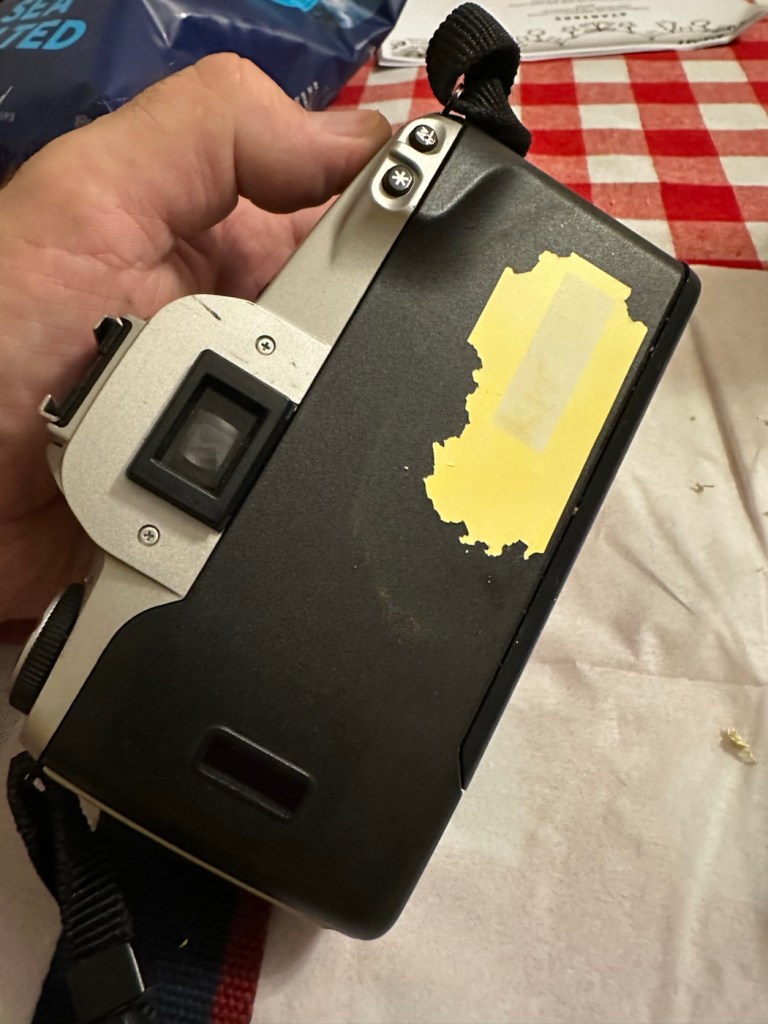
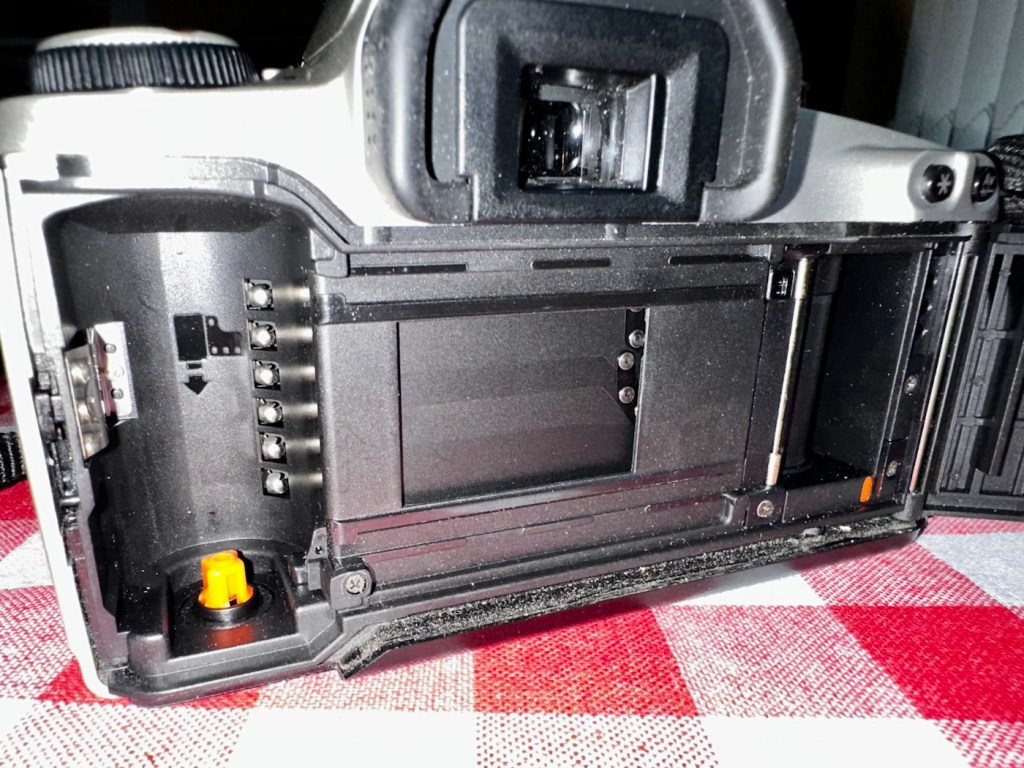
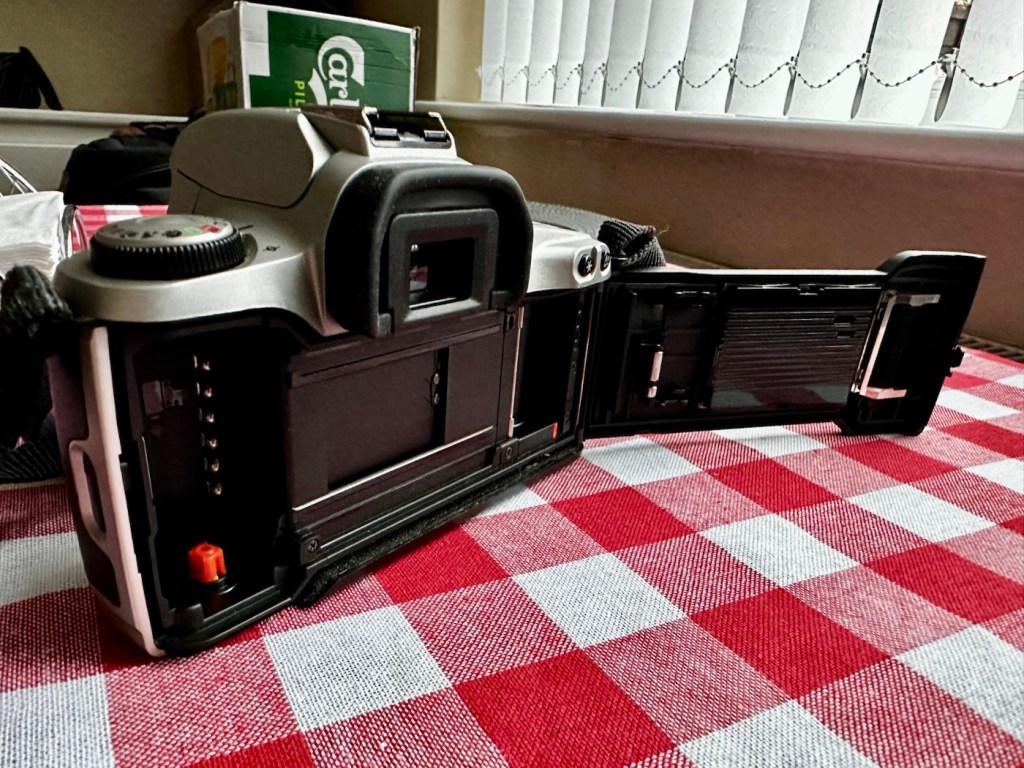
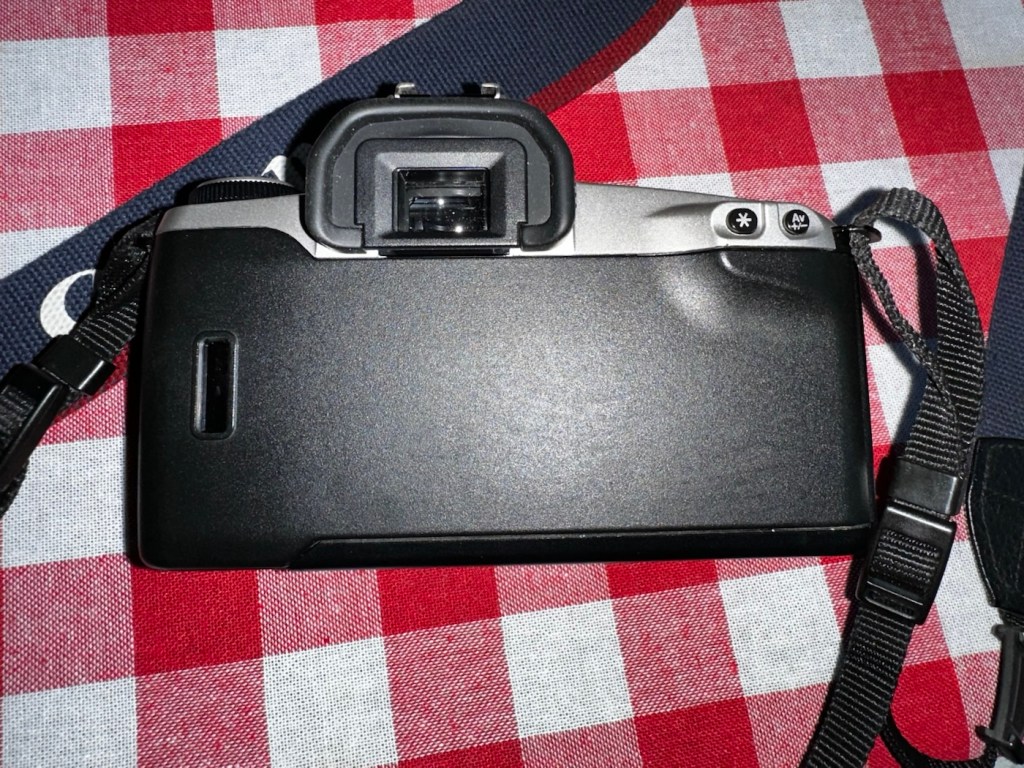
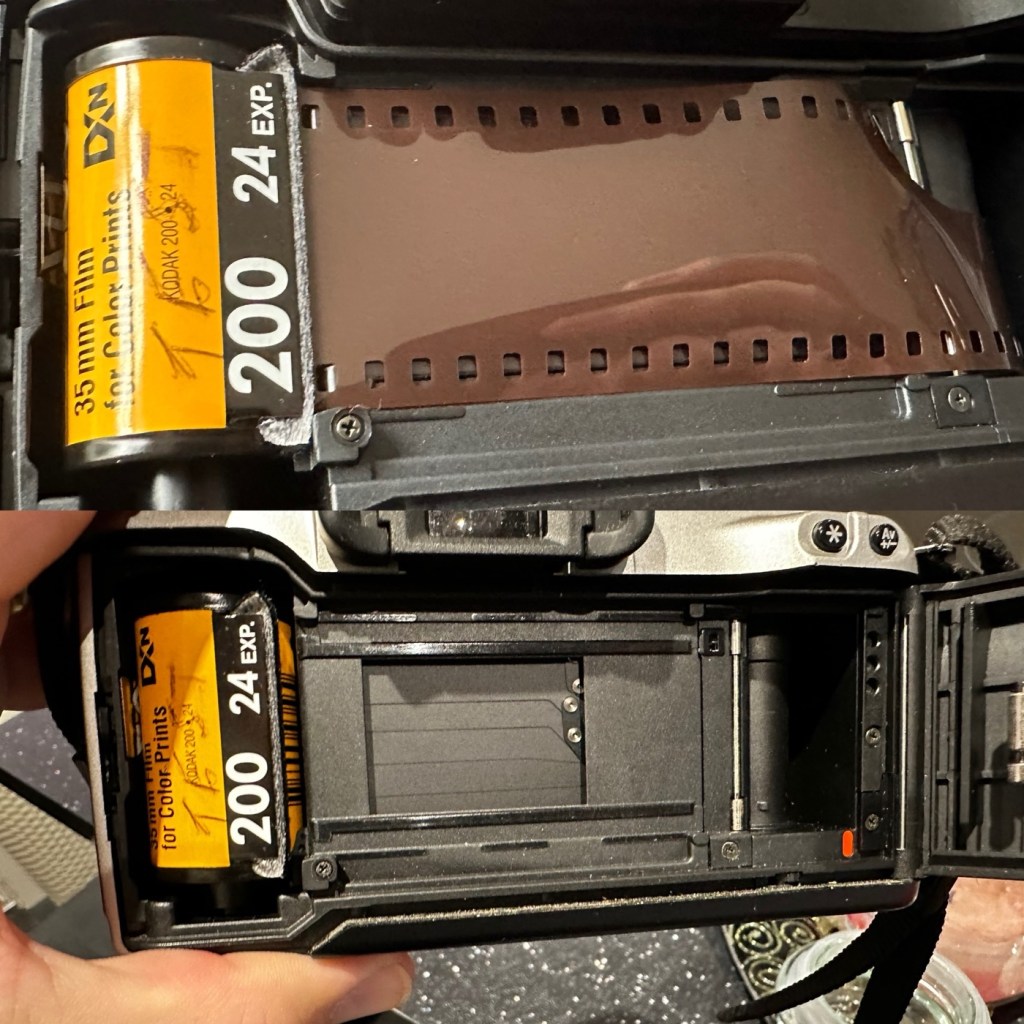
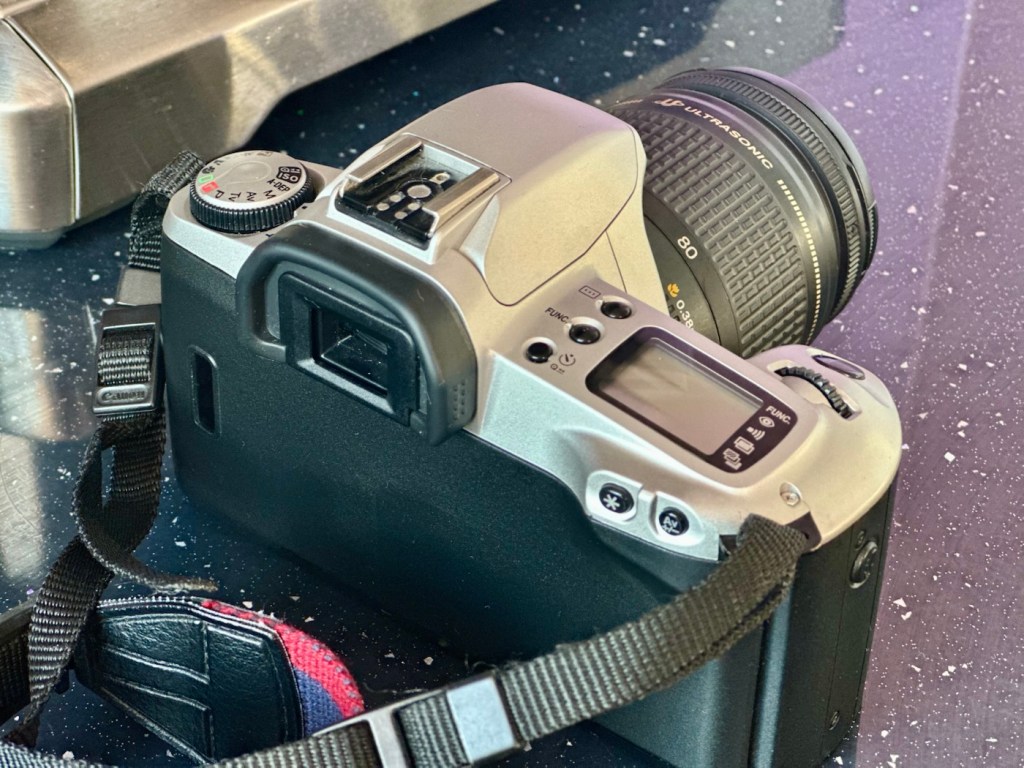
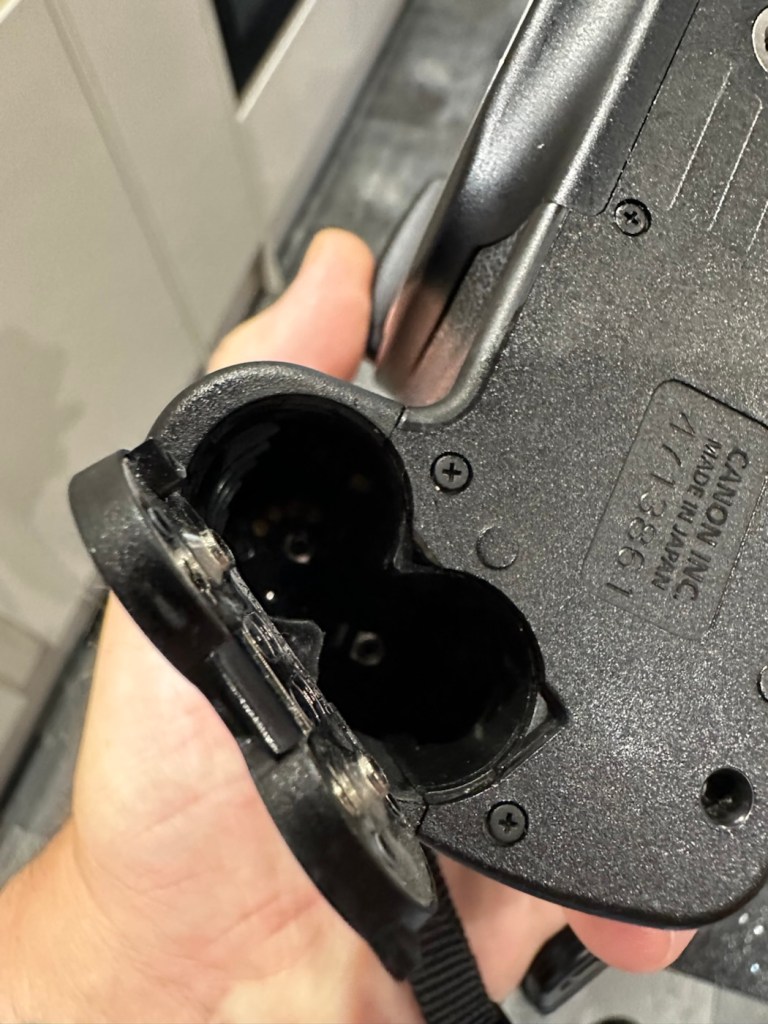
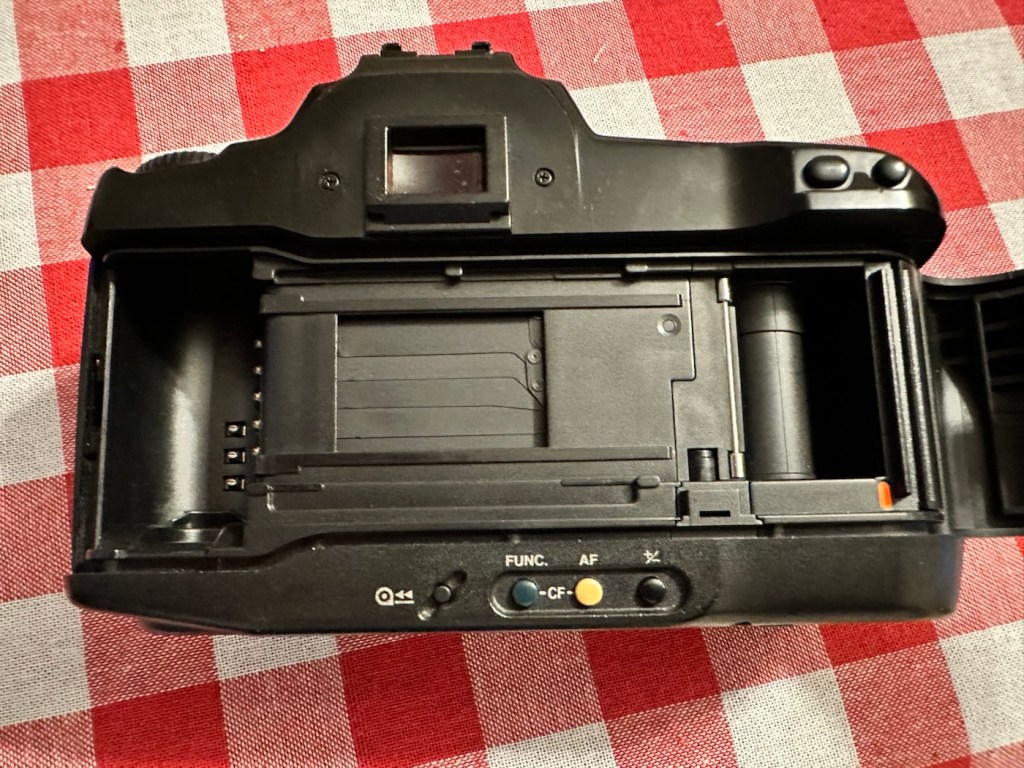
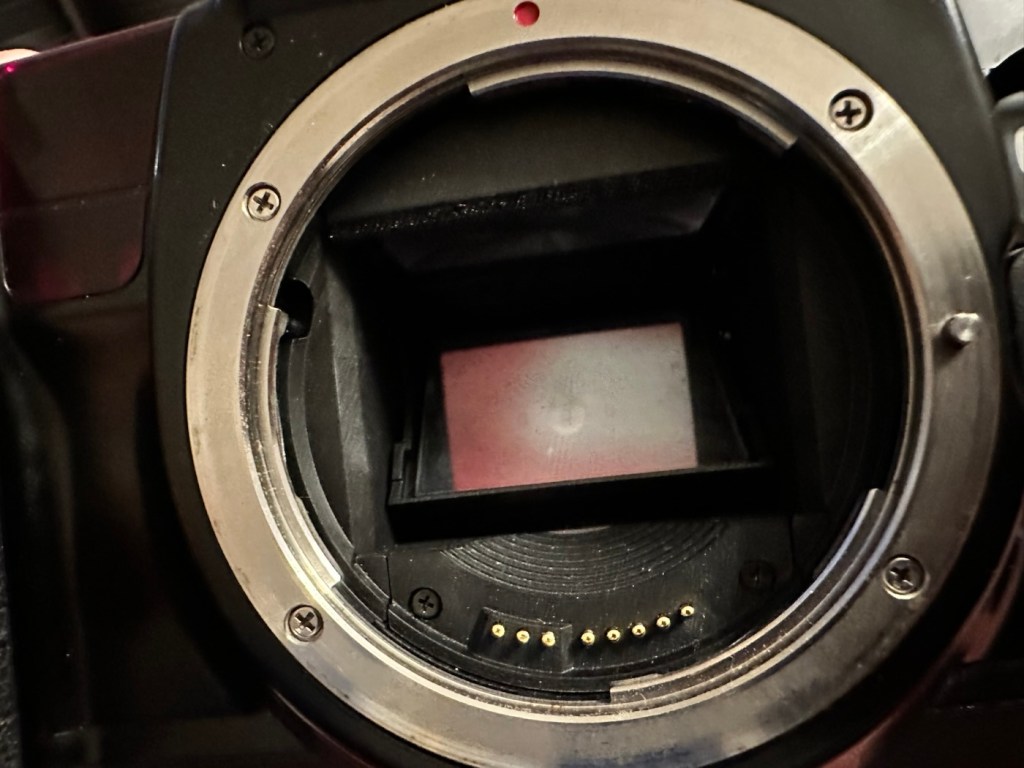
It’s a smart little camera, this a tidy example of this version with no dents, dinks and just some very fine scrapes on the base as you’d expect from a camera fast approaching 46 years old (1979-2025). It’s a bit dirty and needs a good clean inside and out, the light seals are in a good state and not requiring replacement or repair just yet, however the mirror bumper has deteriorated and this will need replacement.

Mirror bumper needs replacement

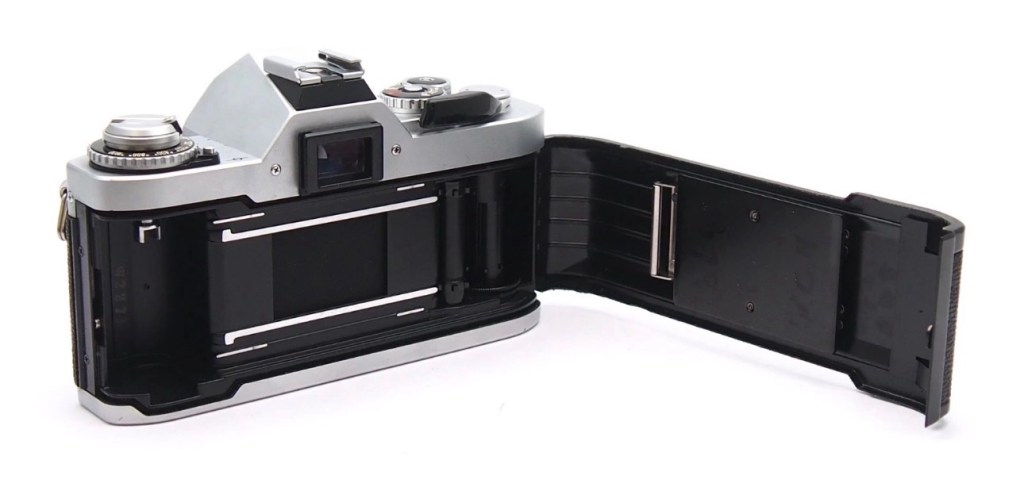
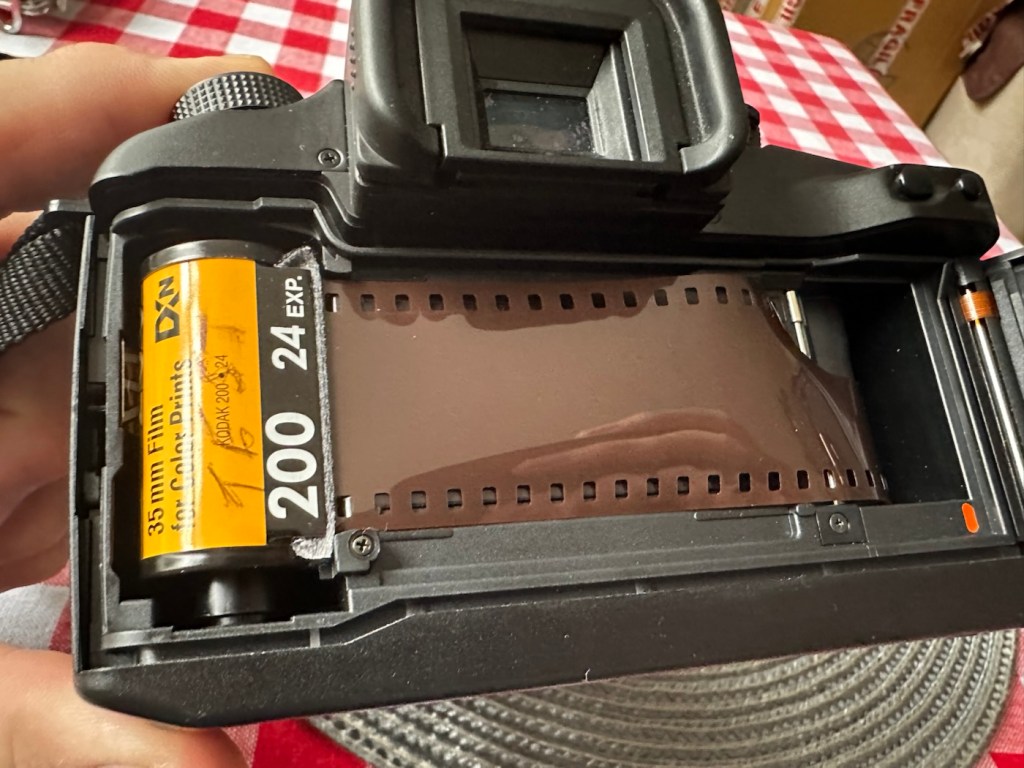
The shutter curtain is in a good and untouched condition.

I’m going to research issues with the exposure indication, and I will incorporate my findings within the repair section.

Repair:

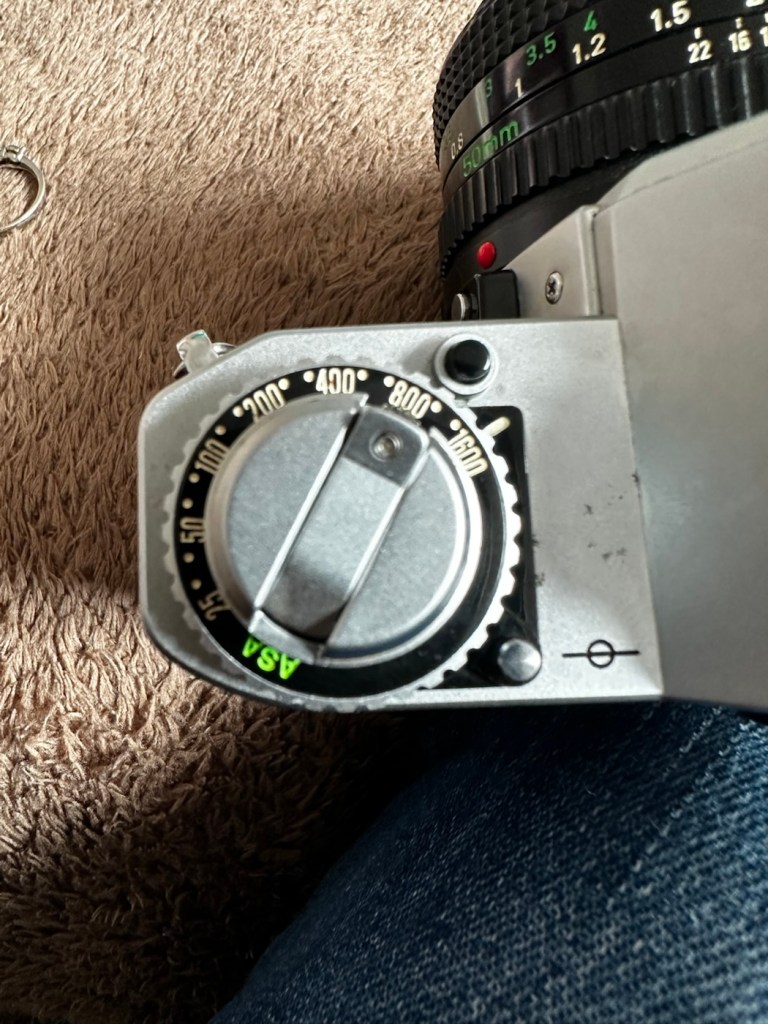
I thought, perhaps the camera is suffering from lack of use? It certainly is probably some considerable time since this camera was last used. Firstly I’ll try exercising all the controls that affect the exposure reading, including the mode dial, film speed dial, aperture ring, etc. I’ll work them backwards and forwards a few times to see if this helps to clean the variable resistor tracks inside from any surface contamination. When the FD lens is attached you must be mindful that the “A” setting on the lens is not used and that the f stop settings are used in a manual manner, lens auto is not a function on this camera.

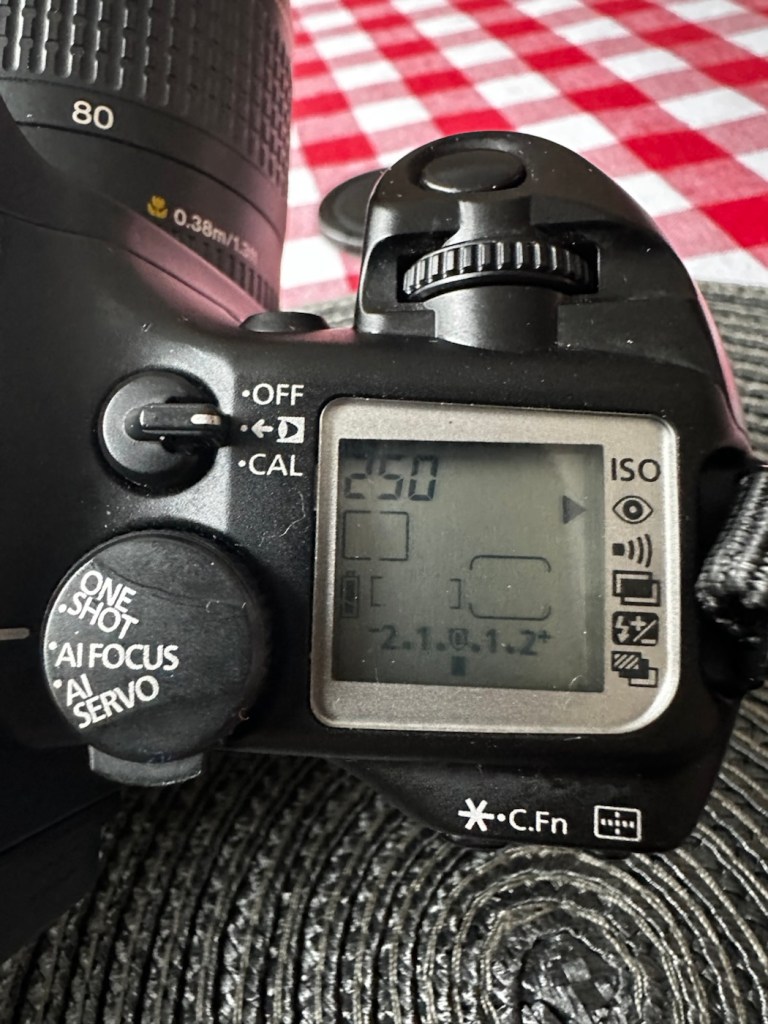
To be honest, this did seem to work sort of. The needle has moved off the bottom a bit. The ASA setting was on 100, so I put it up to 1600 as it is quite a dark day and the sensitivity of the light sensor would be reflected better at this setting. It moved a bit but I wasn’t totally convinced that this indication in the viewfinder reflected the true light situation.

I set a higher ASA for testing

There’s also a small, silver push-button just inside the lens mount at about the 4-5 o’clock position. If you press this in and release it a few times for the same reason, as exercising the dials as I did above, it is just like exercising a body part and keeping it supple. Leave items like this, designed for high usage redundant for a while and they soon seize up. it has also been known to assist with getting the needle indication working after a long lay off.

That silver button, highlighted

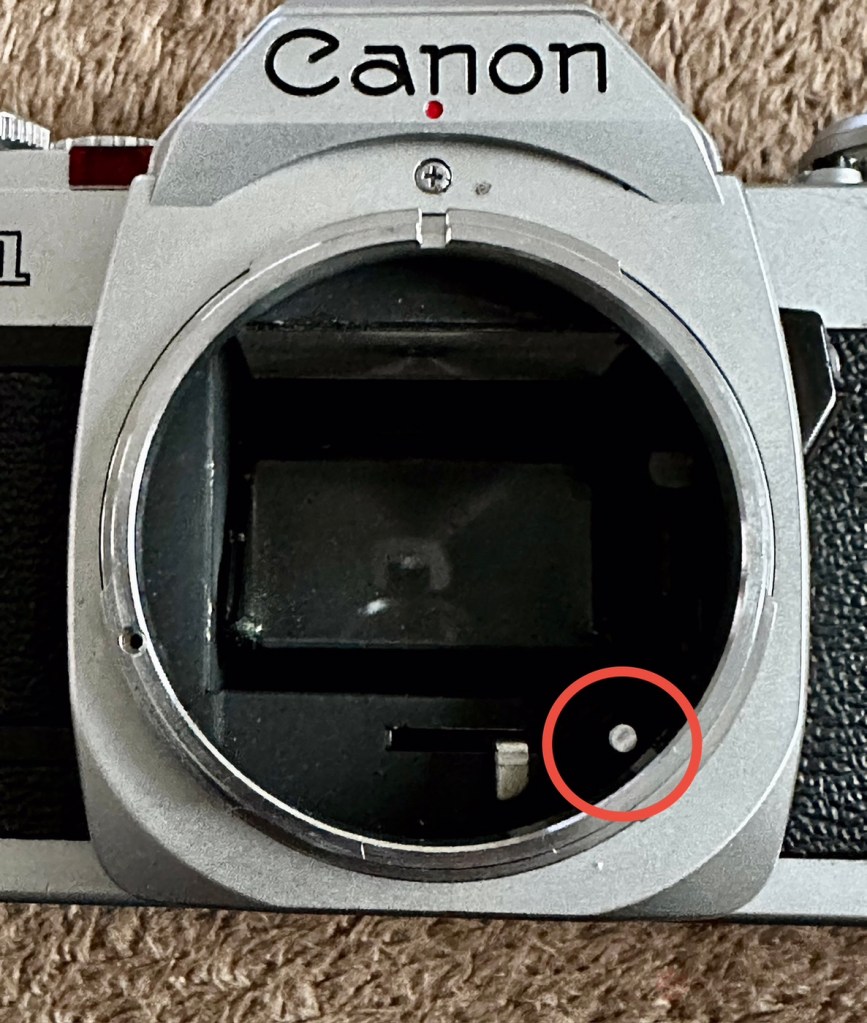
(A little bit of trivia here – this button is normally used for the lens to inform the body of the lens’s maximum aperture. This information isn’t needed on the AV-1, but Canon included it anyway for some reason, and it does affect the exposure.)

And combining these actions, moving the settings dial and the button inside the lens mount seems to have revitalised the light meter and I’m now quite confident that it is working as intended. It was just lazy due to low use and needed a bit of non invasive intervention to get it working again. And non invasive intervention is always a good thing. So with the setting back to 200ASA I was able to show the meter working in this very short and basic video below.

A brief video showing the meter needle moving

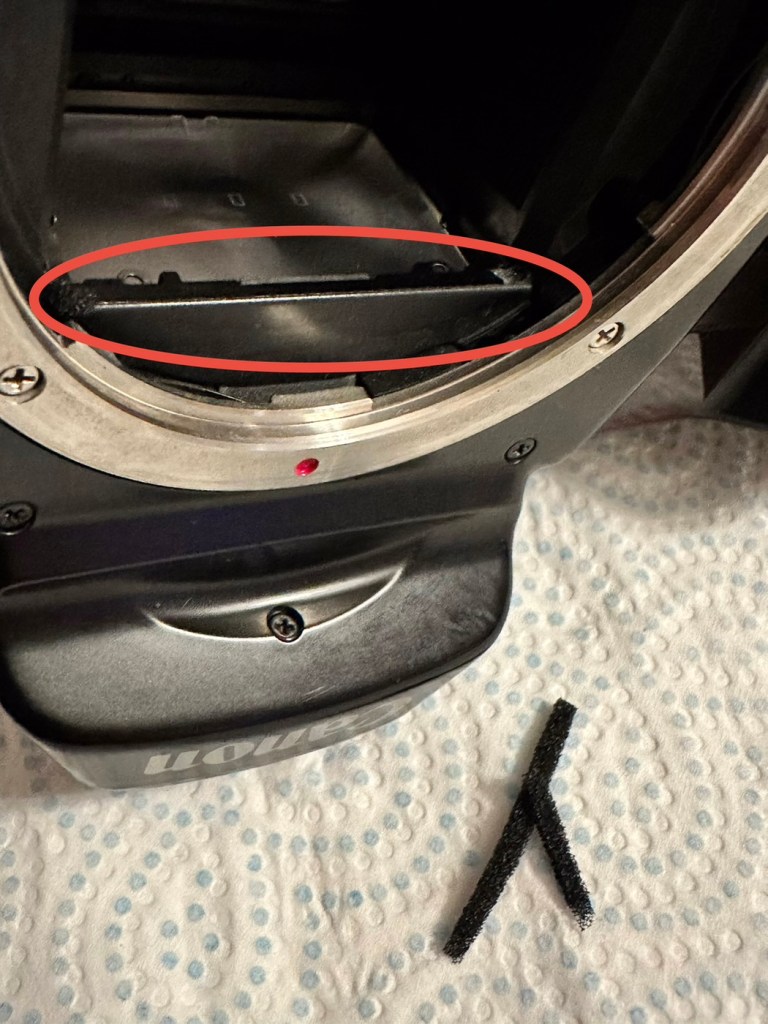
I’m confident that the metering issue is now sorted so let’s get that new mirror damper installed.

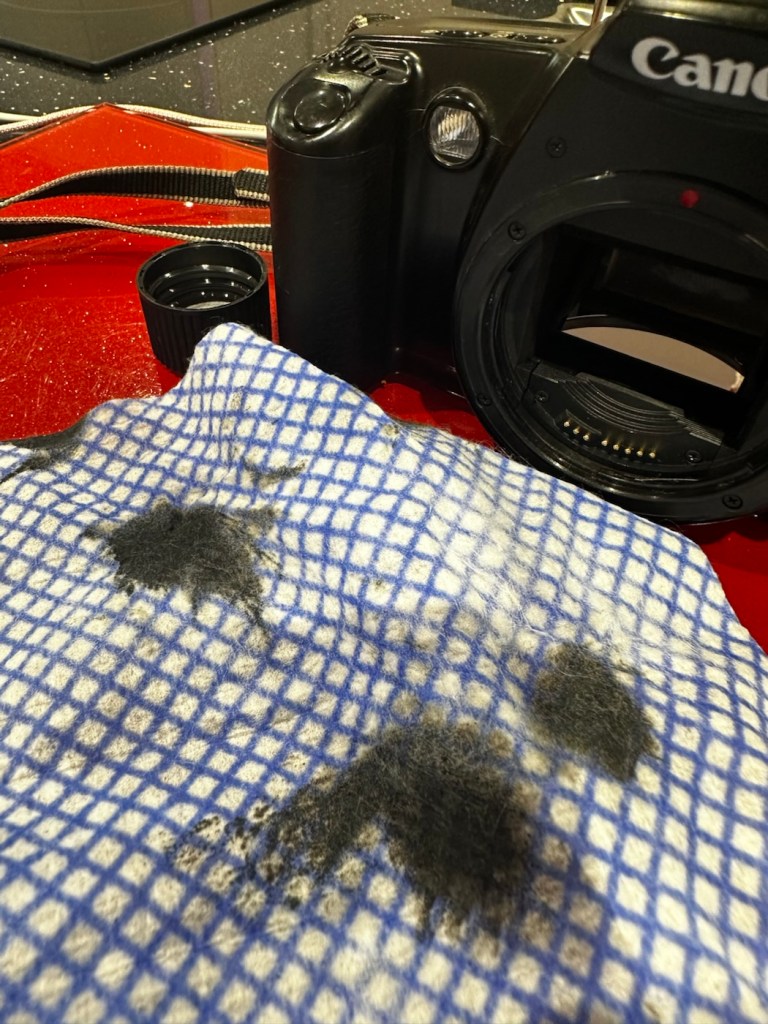
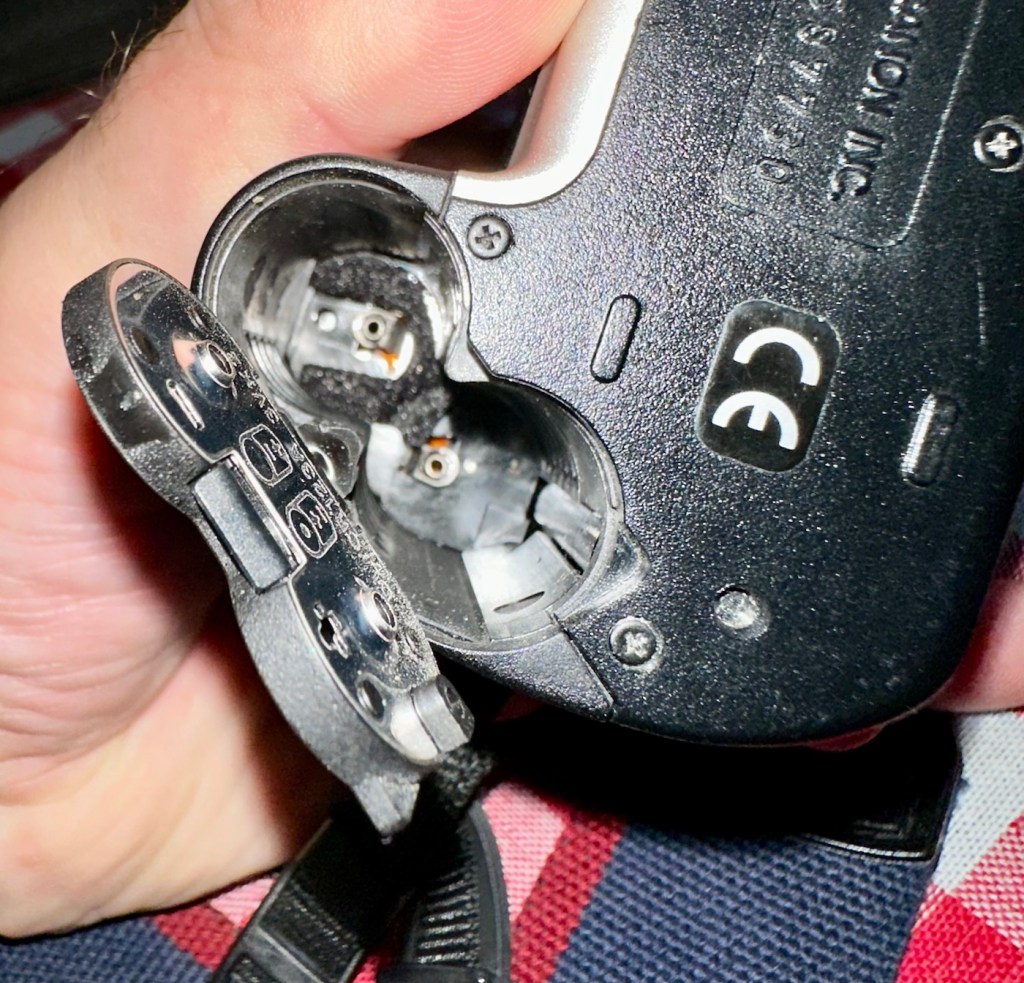
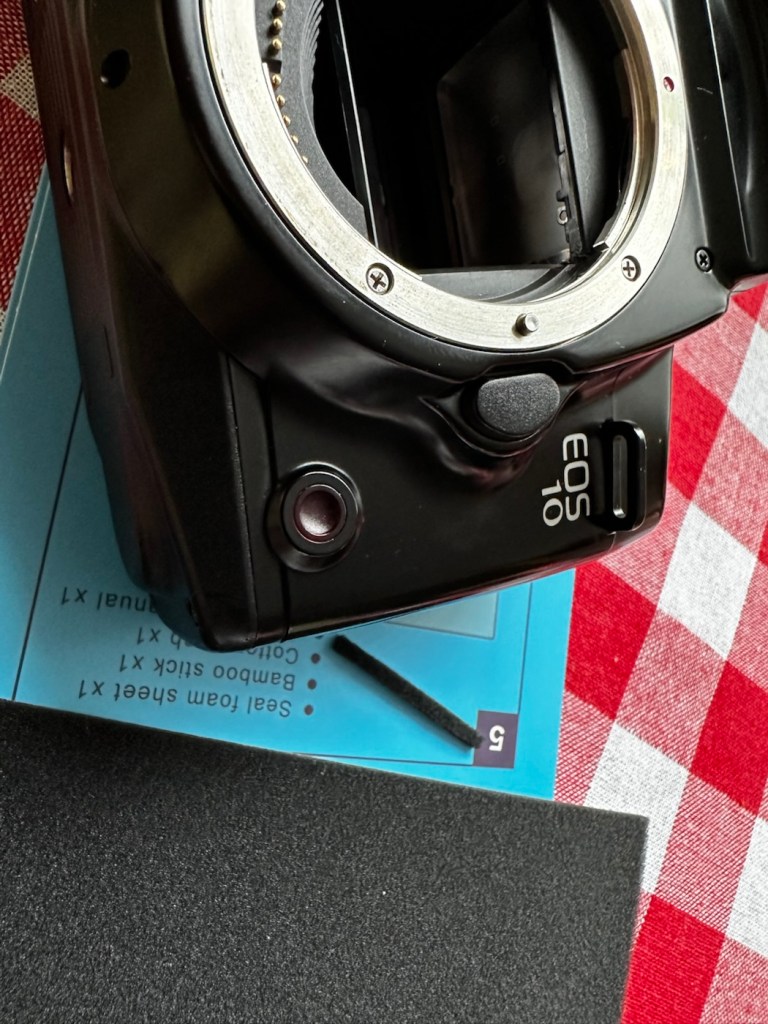
A lot of dirt came off of the area where the replacement damper had to go, it had completely deteriorated and took quite a bit of cleaning.

Now in place it has silenced the mirror movement somewhat, and will provide some longevity as it moves into the twilight of its years. It will be good for many more rolls of film yet. Whilst in the lens area I have cleaned the mirror and prism, and given the area a good blow through and put the lens back in place to seal it all up. It is now clean internally. I have a couple of body caps on order that will assist with storage when the lens is removed.

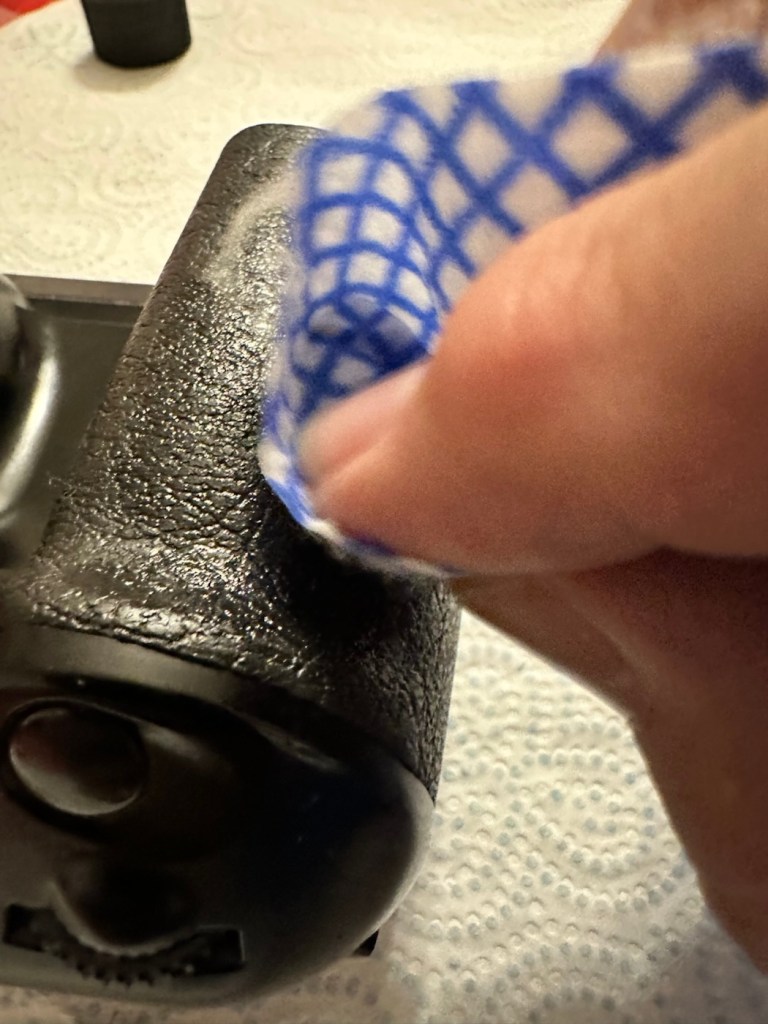
Just a final clean with some cockpit cleaner, and this camera has come up lovely, I’ve tested it on a Power winder “A” as well and it sounds just so good and “retro”. It’s perfect.

Result:

Well. I now have another lovely example of one of the Canon “A” range of cameras to add to my collection. This brings my current total to four out of the six available, two of which are still currently under repair. For less than £10:00GBP it is so easy to own a piece of photographic history. I have been lucky here that the work that had to be done was non intrusive, and to be quite honest was just basic everyday maintenance. The only real work of sorts was installing some mirror damper felt, of which I have plenty of stock. Cleaning was quite intensive but the overall result is amazing.

I will eventually run a roll of film through for a final quality check, however I have such a backlog it will take me a while. When I do however run that test roll I will post a link here:

Really pleased with this repair, and the fact that another lovely old camera has been saved from the scrap heap and been given a new lease of life.

Thanks as always for passing by. It is as always, very much appreciated.

Winter eeriness

Just walking around the east coast of Norfolk Uk. Seaside places are usually a hive of activity during the summer months and then winter hits and everything then shuts down.

There is an eeriness of silence everywhere and I think black and white photos highlight that feeling just perfectly.

Looking to the harbour
Positivity
Signs of summer
Pleasure park
All closed
Roll up

Have fun guys. Stay warm.

Great Yarmouth

Ventured off to the East coast for a few days.. just arrived in Great Yarmouth

We’ve taken a drive up the A47 today and are currently residing in Great Yarmouth for the night. Tomorrow we move next door for a few days to Hopton on sea for a little rest and recuperation.

We arrived here just as the sun was setting, so just the one picture to be cracking on with.

Great Yarmouth earlier today

Hoping for a little stress free time away from it all as everything has been just a bit too full on lately.

Take care. Stay safe. Be happy 😆

It’s foggy out

Just got in from work, followed this bank of fog home. Grabbed a quick picture.

Just got in from work. Chased this fog all the way home and just had to get a photo.

Fog in the East Midlands
And in colour

Have a safe and happy day.

The Canon “A” series of cameras

A small piece regarding the Canon “A” series camera range. Development and technological advancement.

As i seem to be purchasing a number of the old “A” type camera bodies for repair, I have now decided to add the full range of “A” type cameras to my collection. I’m a tad biased as I have used Canon cameras right from the very start of my photographic education, in fact the first one i used was an A1 variant. I’ve put together the following piece to explain why these cameras were so popular, and to highlight their technological advancement along the way, the technology that influenced other manufacturers to up their game and give the consumer just what they wanted out of a camera, options and greater control.

My Canon A1

The Canon A-series of 35mm SLR cameras, produced from the mid-1970s through to the early 1980s, represents one of the most influential periods in Canon’s film-camera history. It began with the groundbreaking Canon AE-1 in 1976, a camera that reshaped the industry by integrating a microprocessor – the first mass-market SLR to do so. This innovation allowed Canon to simplify mechanical complexity and reduce manufacturing costs whilst offering features previously found only in higher-end professional bodies. The AE-1’s shutter-priority auto-exposure, bright viewfinder, and strong reliability made it both approachable for beginners and capable enough for enthusiasts, turning it into one of the best-selling SLRs of all time.

My AE-1

Canon quickly expanded the lineup to address different types of photographers and to test new electronics-driven features. The AT-1 provided a more affordable, all-manual alternative, whilst the AV-1 (1979) offered aperture-priority automation, catering to photographers who preferred creative control over depth of field. The flagship A-1 (1978) pushed the boundaries even further – it became the world’s first SLR to offer full programmed auto-exposure, alongside shutter priority, aperture priority, and manual modes. This versatility foreshadowed the automation and electronic sophistication that would dominate future camera generations.

My AV-1

In the early 1980s, Canon introduced the AE-1 Program, refining the original AE-1 with a more advanced program mode and improved ergonomics. The final notable entry, the AL-1, included an innovative Focus Assist system that used contrast-detection indicators to help users achieve sharp focus – an early technological step toward the autofocus systems that would soon reshape the industry.

Collectively, the Canon A-series brought electronic control, affordability, and ease of use into the mainstream, playing a key role in shifting photography toward the automated, electronically driven era. Decades later, these cameras remain admired for their durability, classic design, and the satisfying, hands-on shooting experience they continue to provide.

At the time of writing, i have in my possession three of the six variants that were produced, and presently I am scouring the sales platforms to acquire suitable candidates for the remaining parts of this collection, to work on. I will update via this site as and when i have another one of this series to feature in a post. My current collection consists of the cameras below marked with an asterisk:

My current cameras in the “A” range marked with an asterisk

I would like to obtain a special mount for this series of cameras so i can display them as a collective sample of this wonderful range. They will all of course, all be fully usable, not museum pieces.

Thanks for passing by. Always appreciated.

Lots of Beans for me…

I love my beans, just don’t stand too close to me at the end of the day…

What are your family’s top 3 favorite meals?

There are just two of us in this house, and I’m going to list the top three meals after I have just had a discussion with my wife, whilst in bed, having an early morning cuppa. It’s cold outside, the heating is on and there is a nice sunny glow entering the window whilst everything outside has a crisp white coating of frost.

It’s chilly today

My wife’s choices are simple, and I didn’t even have to ask her first choice as it’s ingrained in my memory banks. Whenever we go out if there is one meal on the menu, I know it will be ordered and that meal is Ham, egg and chips. She adores it. Her second favourite is Lamb and her third is traditional home made rice pudding.

For me I’m also very simplistic. My favourite go to is quite simply Baked beans on toast, I may glamourise it a bit by adding a sprinkling of cheese, but plain old beans on toast is my favourite. Followed closely by sausage and mashed potato that may or may not also contain baked beans, (there’s a trend emerging here!) and last but not least, probably due to my living in the East Midlands, I do love a good tasty Curry, not one of those blisteringly hot ones, and preferably chicken based. (No baked beans here though!)

Baked beans on toast

So that’s it really, taking the wife and I out for dinner is never an expensive outing as we both have quite “cheap” tastes. Good food doesn’t need to be expensive poncey creations, good old fashioned wholesome food is probably the go to food for the majority of people wandering around this bit of rock floating in outer space.

Have a good meal, take care and stay safe. Keep warm!

Canon EOS 3000

Another entry level camera, unloved, made good

Here I have another basic, entry level camera made by Canon. Produced around 1999? this camera is probably around 26 years old. These cameras don’t have the traditional identification number printed within the film spool holder that the older cameras had, hence the precise manufacturing date is difficult to confirm.

Canon EOS 3000

This is a camera passed onto me by a good friend and professional photographer, Jon, as can be seen in this post: Cameras…i need more!

Here’s a little information about this camera:

The EOS 3000 is an autofocus SLR for 35mm film introduced by Canon in 1999. It was sold as the EOS 88 in Asia. (It was not sold in the US.) The pentamirror viewfinder and manually-activated popup flash helped keep this a lower-cost model; but a full range of autoexposure modes were included, including off-the-film flash exposure setting. Film transport is motorized and the camera requires two 3-volt CR123 lithium batteries to operate.

A compact, lightweight, low-priced SLR camera. Successor to the EOS5000, but with greatly expanded basic functions. The camera incorporates the Mode Dial and most other basic features of the EOS Kiss/EOS REBEL XS/EOS500 and includes six-zone evaluative metering linked to three focusing points. In addition, the flash is linked to the measurement point so that during shooting the flash out-put level is constantly adjusted for optimum exposure control. For reasons of cost, the flash unit is manual pop-up/retractable head type. The EOS3000 is compatible with system accessories for the Kiss and New Kiss. The high-quality design has a feel of genuine elegance.

Canon/ Camera-wiki.org

This camera was pitched at a low cost to attract people into photography, and to encourage those who were just hobbyists to upgrade to something more than the traditional point and shoots/disposables available at the time.

There is not a lot wrong with this camera as far as I can see, let’s have a look and do some tests.

Assessment:

It has a grip that’s starting to develop the sticky issue so that will need cleaning. The mirror and prism are dusty and will need a cleaning.

Sticky grip and dusty internals

Overall the condition is very good, again this was a training camera, and seems to have had a quite low usage, as there is no scratches or marks. And only one dink as such. That dink happens to be the right hand strap holder that has been bent down to a point where the rear case does not open completely, it restricts its full movement.

Strap holder bent, restricting door opening
Door doesn’t open fully

Top and bottom of camera look fine, no bleed on the LCD screen that is always a good sign

Battery chamber is clean and there is no contamination. This camera takes two 3v Lithium CR123A batteries. Let’s put two in to see if we have any life.

With the batteries installed we have a good display on the screen with no pixelation and it’s nice and clear. I install a roll of test film to see what happens. This camera winds the whole film onto the take up spool and winds back one exposure at a time. The take up when the door is closed works perfectly.

I then operate the shutter, to fire off the 14 exposures, all viewfinder indicators are good, with my 28-90 EF lens attached it focuses well and fires well. When the last exposure has been taken the film rewinds as expected with no issues. In reality the camera is working very well with no internal issues.

Repair:

First the dirty stuff. Let’s get that goo off of the sticky grip. I use my IPA and lint free cloth method that I posted about in a previous post here: Sticky, Rubber camera grips. This one is actually worse than I thought and has taken four applications to remove the deterioration on the grip. It feels a lot more pleasant though now that it is done.

The dirt from this grip can be seen on the cloth. Each black blob is one application

The issue with the strap lug restricting the door movement. Quite simply, a gentle movement with a pair of pliers was all that was required. Gently does it as these parts are brittle and easily broken. Don’t over do it, give up when it looks right.

A little gentle coaxing was all that was required

I’ve checked the film pressure pad and this is fine, there are no sharp ridges and the light seals are good. I don’t expect them to be bad as in theory they are not that old, they are in a good healthy condition.

I have cleaned the prism and the mirror with a swab and they are now fine. Using a B setting I have opened the mirror and curtain and used some compressed air to clean throughout. A brush blower was used with the curtain closed to clean around the film spool area and back plate. A quick final blow of the mirror and the aperture is then sealed with a cap to insure no further dirt and dust gets into the internal parts of the camera.

The final action is to use some cockpit polish to finish off the exterior of the camera.

Result:

I’ve cleaned the exterior and used some ceramic cockpit polish to finish it off, I must admit it’s looking very good.

Cleaned up lovely

Here I have yet another nice little camera packed with features that will make a great camera for someone to learn the basics of traditional photography with. However, it’s remaining in my collection for the while.

It’s yet another camera that I need to test, another one that needs to have a film put through it for its final test, however I am 100% confident of it’s capabilities and the fact that it operates just fine and all its settings, buttons and controls are doing exactly what they should. When I do get to put a film through, I will link to it here.

Another successful restoration and return to use of another old camera that had been put to one side. Not that this one really required a lot of attention, just a bit of servicing and tlc.

Thanks for passing by. It’s always very much appreciated

Canon EOS 500N

A nice entry level camera, from the mid 90s, now back in working order

Here I have a very basic, entry level camera made by Canon. Produced between 1996-9 this camera is currently between 26 – 29 years old. These cameras don’t have the traditional identification number printed within the film spool holder that the older cameras had, hence the precise manufacturing date is difficult to confirm.

Canon EOS 500N

This is a camera passed onto me by a good friend and professional photographer, Jon, as can be seen in this post: Cameras…i need more!

I believe this camera was previously used by a large photographic organisation, to teach staff and students wishing to learn traditional 35mm film photography techniques. It was a training camera, at entry level specs.

It is a very good example of this model of camera, and despite its simplicity, low cost appearance and feel, it is in a very good condition cosmetically.

Here’s a little information about this camera:

The Canon EOS 500N is also known as the EOS Rebel G in the Americas or the New EOS Kiss in Japan. Sometimes it’s referred to as the EOS Kiss 2 as it followed the release of the EOS Kiss in Japan. This camera was released in 1996 and replaced the EOS 500. The Japanese version of the camera had the date back as standard. Its successor was the EOS-300 / REBEL2000 / Kiss III, released in 1999.

The body of the Rebel G is plastic, weighing 370 g (13 oz). The only colors available were black or a mix of silver and black. The Rebel G has an EF lens mount making it compatible with any EF lens. The viewfinder offers a 0.7x magnification, 90% coverage, center auto focus, wide auto focus and many more. The Rebel G shooting modes consisted of 6 basic modes, full auto, portrait, landscape, macro, sports and night scene. It also has 5 advanced modes, P, Av, Tv, M, A-DEP. These modes would continue on in the Rebel G series. The camera features a built in flash, and can shoot at 1 fps. The fastest shutter speed with flash was measured at 1/90 of a second.

A few new features include compatibility with ETTL type flash. It still has the same 1/90 of a sec sync speed of the previous model, but when equipped with a Canon Speedlight such as the 380EX, 220EX it can be used at 1/2000 of a sec. Focus has improved a bit as as a AF assist light is now available. Auto Exposure Bracketing (AEB) can be use from -2 to ++2 in 1/2 stop increments. The command dial now has an easier to access night scene mode. The body is able to use the BP-8 vertical grip that can also accept four AA batteries.

Camera-Wiki.org / Wikipedia

Assessment:

As Stated, this camera is in a good cosmetic condition with no sign of dents, dinks or wear. Considering this was a camera used in training I can only presume the students were extremely careful and respectful, or it was lightly used. Having worked with some of these students myself, i very much suspect, it’s more than likely going to be the latter option.

There is another such unit I have of this very same camera however that is damaged with a faulty screen that requires replacement and that will be dealt with in a future post. Meanwhile, let’s get back to this one.

A sticker on the rear

There is an old ownership sticker on the rear and this is one of those old vinyl type ones that will be able to be removed, but just may take a little while, as they are brittle and break off into lots of little pieces that go everywhere.

The battery chamber is clean and there are no signs of contamination. The screen is clear and does not show any bleed, though I haven’t powered it up just yet.

The film chamber, back pressure plate and shutter curtain all appear to be in good order. Again I will further test this when I put some batteries in and run a dummy film to check transport.

The unit is quite grubby and dusty, the mirror is dirty and the prism is as well. initially all looks good. Batteries, and the dummy film might tell us something different.

Repair:

Let’s get that sticker off the rear, a little soak in IPA to soften things up, and then using a small plastic modelling spatula to gently get under the label, I was able to remove the sticker relatively easily. If I’d used the metallic option I may well have scratched the casing. I’m happy that this option has worked well for me. A final clean at the end with some car cockpit cleaner should bring the detail out nicely.

Sticker now removed

Let’s get some power in, and fire this unit up. It takes two CR123A 3v lithium batteries.

CR123A batteries
We have power

Batteries in, and everything lights up, all menus function and as stated earlier their is no bleed from the LCD screen.

I load the film in and it instantly winds the whole film on to the take up spool. Here on the display, you can see that this roll is 24 exp and it has wound fully on to the take up spool. I fire off these 24 exposures to check the shutter and that fires fine, film transport also works well and the final rewind of the film at the end also works. In a nutshell, this camera works!

Film in and film out

I clean the prism and the mirror with a soft swab and you can just see the dust and dirt lift. A final brush over with a bulb blower completes this task. The internals are now clean.

It just needs a very thorough exterior clean and polish.

Result:

I’ve cleaned the exterior and used some ceramic cockpit polish to finish it off, I must admit it’s looking very good.

Here I have a nice little camera packed with features that will make a great camera for someone to learn the basics of traditional photography with. However, it’s remaining in my collection for the while.

Looking clean and presentable

I’ve cleaned the camera throughout and used compressed air to finish the clean prior to sealing it from the elements. It’s yet another camera that I need to test, another one that needs to have a film put through it for its final test, however I am 100% confident of it’s capabilities and the fact that it operates just fine and all its settings, buttons and controls are doing exactly what they should. When I do get to put a film through, I will link to it here.

Another successful restoration and return to use of another old camera that had been put to one side. Not that this one really required a lot of attention, just a bit of servicing and tlc.

Thanks for passing by. It’s always very much appreciated.

Canon EOS 30

Cleaning, repair and maintenance of an old Canon EOS 30 35mm SLR

I’m calling this camera my EOS Dirty, it really is suffering a bad case of the sticky rubber syndrome that was widely experienced on cameras of this era, where the Vulcanised rubber used in its construction, had a falling out with its own internal polymers, and they then decided to part company. Creating a sticky mess. This camera is currently 25 years old, originally manufactured in the year 2000.

My hand, simply after handling this camera for no more than a minute.

That said, it’s a lovely camera with a lot of features, this was pretty much one of the last 35mm cameras that Canon produced, and they threw a lot of R&D into these units prior to producing its “D” Digital offering, hence it was packed with lots of pre “D” technology. It has “Eye” control, the Eye Control focusing feature makes selective focusing quicker for many. It uses IR to detect eye movements to determine focusing areas. Up to 5 eye presets can be stored for different users. I wonder if that still works?

This dirty sticky pup, needs some heavy cleaning

Here is some information, about this camera:

The EOS 30 (or Elan 7 / Elan 7e / EOS 7 / EOS 33 in different global markets) is a Canon autofocus 35mm SLR camera that uses the Canon EF lens mount. The camera was introduced in 2000.

There are three main auto focusing modes. Automatic, manual selection focusing, and Eye Control (EOS 30, EOS Elan 7E). It was given the 7 name because it has 7 auto focus points in manual selection mode. The Eye Control focusing feature makes selective focusing quicker for many. It uses IR to detect eye movements to determine focusing areas. Up to 5 eye presets can be stored for different users. Some users with corrective lenses may experience problems using this feature. The shutter speed ranges from 30 sec. to 1/4000 sec. in 1/2-stop increments with bulb. X-sync at 1/125 sec.

Metering modes use a TTL max. aperture metering with a 35-zone silicon photocell. The included modes are evaluative, partial and center-weighted averaging metering. The measurement range is from 1 to 20 EV (at 20-degree with 50mm f/1.4 lens, at ISO 100). The ISO can be set automatically with DX-coded film at ISO 25 to 5000. Exposure compensation can be adjusted from +/-2 stops in 1/2-steps.

Exposure modes available include Program mode, shutter priority, aperture priority, Depth-of-field, Auto, scene modes with (Portrait, Landscape, Close-up, Sports, Night Scene), manual exposure and bulb mode. Flash exposure includes modes for E-TTL, A-TTL and TTL program flash modes. The motor drive is capable of up to 4 fps. The finder has dioptre adjustments built-in with settings from -2.5 to +0.5 dpt. Two CR123A batteries power the camera.

If equipped, the QD (Quartz Date) / Date back require the use of one CR2025 coin type battery. Imprint display modes include M/D/Y, D/M/Y, Y/M/D, D/H/M and off. The last date the unit can imprint is Dec. 31, 2019

Camera wiki.org

Assessment:

As stated in the sections above, the biggest problem with this camera is its stickiness, and to be honest that is not really a problem. I have cleaned many of these in the past and this one will be no different. Here’s a post I wrote a while back about sticky camera bodies: Sticky, Rubber camera grips

This really does feel like a lot of camera. You can see the digital “thought” that the development guys introduced into this camera in preparation for the arrival of its “Digital” brothers and sisters, I’m going to have to do a bit more reading up on its full operation and capabilities. This camera is in very good condition, no dinks, dents and very few scuffs, all doors are functional and when a battery is installed (a 2CR5 – 6v lithium) everything lights up, and appears to do what it should. I will check this thoroughly though later.

The battery chamber is clear of any contamination, and looks nice, the mirror will need cleaning and the area within it will need a blow through, the shutter curtain seems to be working well at this stage. I will test it more after the clean.

So. Let’s get on with the repair and maintenance.

Repair:

I’ve started the clean of the rubber and it is filthy. The amount of black that came off on the first clean has required me to get another cloth as it really is that bad. Another two applications and the cloth is a lot cleaner, it has removed a massive amount of goo and dirt and feels a lot better to the touch, and my hands are staying clean and that’s a good sign. I will give a final clean with the car cockpit polish that should finish it off nicely.

I’ve cleaned the mirror and prism above using a swab and the effect is instantaneous, there was a lot of dust here. Opening the curtain in a “B” setting I gave the whole interior a good blast with compressed air that has left the chamber as free of dust and contaminants as I can get it. With the curtain back down, a bulb blower and brush is all that was needed to complete the task. A lens mount cover is now in place to prevent anymore dirt getting in.

Transport tested

I’ve put in one of my old test films to check the camera’s function, and it’s transport & rewind, and I’m pleased to say this works just fine. At a shutter speed of 4000 I’ve never heard such a sweet sounding camera. This really feels like a lovely camera that I can’t wait to take out and run a film through.

Going through the function screen, there are no bad pixels and all options are available. I have tested the eye control function and programmed my own profile into the camera, it does seem to be working, it might be a little hit and miss, I programmed it very quickly so maybe I just have to read up on it more, just to tweak its use as such.

All rear sub menus working, and buttons operable

All sub menus on the rear of the camera are operable and all buttons and dials are doing what they should. This camera is ready to go, and is in a perfect working order.

Result:

She’s a beauty

This camera was probably discarded to one side when the sticky grip problem started to rear its ugly head. It really is a shame that this happens, it’s such a simple problem to eradicate. This is an absolutely superb camera and packed with technology that would eventually have gone on to be incorporated into the soon to appear professional digital offerings from Canon. For 35mm photography this was a perfect swan song, 35mm photography had peaked with this range of cameras and Canon had perfectly produced cameras that in effect had pushed this theme of photography to its highest level. It was the best of the rest at the time.

This camera deserves some respect, it feels superb in the hand, looks good, sounds terrific and performs exceptionally well. There will always be the haters out there, there always will be. But as you will have gathered, I don’t really report badly of any of my cameras as I truly love them all. They are superb items of modern and semi modern technology that have captured history. They just deserve to be preserved and protected and most of all enjoyed.

I will shortly be posting some pictures from this camera that can be found here:

Thank you for passing by, as always it is very much appreciated.

Canon EOS 10

An old EOS 10 was in need of attention. And I was able to lend a helping hand

Here I have a Canon EOS 10, a quite superb little camera. The date code within the film barrel is HE1213, indicating that this camera was manufactured in December 1990. At the time of manufacture this camera sat firmly at the top of Canons camera tree only surpassed by the EOS1 professional camera that had been released the year earlier in 1989.

My EOS 10 35mm SLR

This camera was amongst a selection of cameras and equipment passed on to me by a good friend and professional photographer as can be seen here: Cameras…i need more!

Here is a little history regarding the EOS 10

The Canon EOS 10 is an autofocus 35mm SLR introduced in 1990. The model name was EOS 10S in the Americas, and EOS 10QD in Japan. There was a commemorative metallic-silver version introduced in 1991 to mark Canon’s 60 millionth 35mm camera sold.

The improvements over the original EOS cameras are a newly improved autofocus sensor. Focus modes include One-Shot AF for non moving subjects and AI Servo AF for moving subjects. It is able to detect and switch automatically between the autofocus modes. Shutter ranges from 30 sec. to 1/4000 sec., with B. X-sync at 1/125 sec. Similar to the EOS 750, is has a built-in flash with a guide number 12 (at ISO 100). It uses one 2CR5 lithium battery and weighs approx 625g for the body without battery.

Camera wiki.org

Assessment:

One of the nuances introduced on this camera was the barcode option. Introduced at a time where barcodes were starting to creep into our life, in a knock at Minolta and their use of specific expansion cards for specific scene settings, Canon thought it would be good to utilise barcodes that you could scan, to automatically set your camera with these options without expansion cards. Needless to say it didn’t take off and was soon dropped from later camera production. It was a sign that the development teams were looking for advancement opportunities.

That barcode mode – soon forgotten

These cameras are available at fairly reasonable prices now partly due to the dreaded sticky rubber grip issue that tends to send buyers running for the hills, god knows why, it’s an easily remedied issue that just takes a little time and patience. I did a previous post about cleaning these cameras here: Sticky, Rubber camera grips it’s all down to the polymers in the Vulcanised rubber breaking down and reacting with hand sweat and other stuff. Have a read, and never throw away a camera just because it’s sticky.

This camera has some stickiness but it is not an advanced case. It will still be cleaned in the same manner, to prevent it developing any further.

The camera is just a bit dusty and in need of a good clean. The mirror is dusty and needs cleaning, a blow out of the interior should suffice as the shutter blades are opening and closing with no issue.

The battery is a lithium 2CR5 cell. The battery chamber is clean with no signs of battery contamination, this is a very good sign. When placed into the camera the screen comes on, is clear with no damage. A lens put on the front confirms that auto focus can be achieved and the camera fires and winds as expected.

To be quite honest, there doesn’t seem to be a lot wrong with the camera. It really seems to be just a clean and maintenance issue. I’m going to give the camera a thorough look over, dust and clean, a thorough clean of the external rubber and finish it all of with a good exterior body treatment. I will then run a roll of used film through to check the DX reader is working, as well as the transport system. Fingers crossed nothing major raises its head during the repair process.

Repair:

Straight in and at the cleaning, and to be honest the rubber wasn’t too bad. I only used two applications and not a lot of dirt came off on either. After it has dried, it does feel a great deal better.

Heavy cleaning, wasn’t that heavy

The mirror has cleaned up nicely, so has the prism above it, however whilst in there I noticed that the mirror damper felt was failing, so this I have now removed and will have to replace prior to using as I don’t want to cause any further damage.

The missing damper felt area, highlighted in red

I’ve had to order some new material that will hopefully be here shortly, as my supply, as is always the problem lately, is in storage with all my other gear pending this house move that will probably never occur. it’s a real pain in the butt not being able to access your most required kit. Hey ho.

The light seal has arrived, and so I start by getting the damper felt put in place. First I cut it to size, remove the sticky back paper and just wipe the sticky bit with some water, this allows me a little more time to reposition it before the adhesive does its work.

Below is a very small video with me putting the camera into manual mode on a single exposure setting to test the actual worth of the damper foam.

All working fine

I’m happy with what has been done so far.

Strap cleaned and restored

I’ve even given the neck strap a good buff up, the rubber on it was almost white rather than black, a bit of a clean and a polish and it’s now been restored to it’s original glory.

With the new damper in place it’s now time to run a film through it, I have an old test film I use for this purpose, I’m going to set the camera to its highest shutter setting and just run the whole roll through in quick succession to check the transport and rewind.

And here is that test, it went super fine and the full roll rewound at the end.

Transport works just fine

I’ve tested all settings, shutter speeds and functions including the flash and all is as it should be. I’m happy to say that this camera appears to be in full working order.

Now for the final clean and presentation.

Result:

Well, a little bit of car cockpit cleaner has done wonders. It looks beautiful and has a nice aromatic smell as well. I know I’m biased when it comes to cameras but I think this is an absolute beauty.

All polished and looking fine

I’m really pleased with this camera, I’m heading out later today to watch a relative play football and I’m going to take this along to grab some snaps with an expired film from 20 years ago. It will be a good final test of the capabilities of this camera, and should finalise its renovation. It’s been a great camera to work on and is yet another worthy addition to my collection. I will post the photos here when they are finalised. Canon Eos 10 test shots

Thank you all for passing by, it’s always most appreciated.