Passionate hobbyist, restoring the past, one old camera at a time. iPhone14 Max Pro - Sony A7II and about 80 others from the days of silver halide 📸 Main aim in life - Retirement
I have tonight added a new gallery to complete the Halina A1 Reflex renovation I completed in August of 2023. The gallery can be found by using the links in the margin or by clicking HERE.
Negatives on light tableNegatives on light table
As I don’t have the correct mask for my scanner I have had to go about getting the photos on the site in a peculiar way. Firstly I take pictures on my phone and then invert them to get a positive image, an action that I discussed in a previous article that was posted HERE.
Please don’t expect anything too fantastic, it was a test roll and mistakes were made, but a lot of enjoyment was had getting the results.
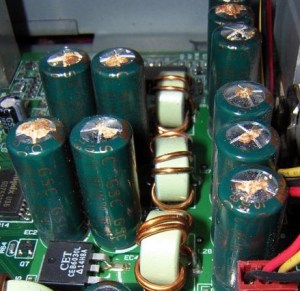
For many this is old news and pretty much everyone involved in electronics is aware of this problem that swept through the industry in the mid to late 2000s. Chances are you may have such a unit in your home that has either luckily survived the issue to still be working, or may well be not working and assigned to that part of the house (Normally the loft) where it left until the day you move premises and visit the local tip.
Those of us that number a great many who like to tinker and repair old machines and equipment from this era are still seeing the back end of this issue to this day, its fairly easy to deal with and those that especially work with old computer motherboards and graphics card notice issues the most, its an interesting back story and ill try to cover it as best as i can in this post.
What is a capacitor?
A capacitor is a device that stores electrical energy by accumulating electrical charges on two closely spaced surfaces that are insulated from each other. It is like a little battery but thats where the similarities end, as a capacitor distributes energy in short bursts rather than a battery that is distributing power linearly. Originally known as the condenser, the capacitor is used within a circuit to add capacitance to that circuit.
Capacitance is the ability of a component to store an electrical charge – (Simple version)
What was the issue?
The issue was with Electrolytic capacitors produced between 1999 and 2007
The origins of the issue was with the use of water based electrolytes developed during the late 90s. These capacitors using this type of electrolyte were found to be exceptional components when used in power supply circuits. The problem was that the water based caps produced aluminium oxide when reacting with the capacitor “Can” and that reaction was Hydrogen. The Hydrogen built up until the stamped vent on the top broke. Resulting in a failure within the circuit.
It was only in the mid 2000s when the plague really set in, some of these capacitors would have had hundreds of thousands of hours of use and even though they would have passed initial testing protocols they were doomed to fail, and that just so happened to be in the mid 2000s.
The Blame game
It was around this time with exceptional failure rates on certain items and claims being raised against major players in the electronics industry that deeper investigation took place.
Findings
The cause of the failures was due to a mis-copied formula, in 2001 a scientist working for a major corporation that made these type of capacitors stole a mis-copied formula for the capacitors electrolytes. He then took this faulty formula to another company. That same year the scientists staff where he previously was employed left that company, again with the stolen formula and started their own company in Taiwan producing immense amounts of faulty capacitor electrolytes.
No one was ever really brought to justice for the failures, no one company ever really came clean over the issue, the tech companies tended to absorb the cost of repairs and the end result was probably that the consumer paid in the long run…nothing changes there then!
When this started to occur, many individuals in the industry jumped on the band wagon to repair these items, many selling capacitor kits for certain brands to allow those who were willing, to make their own repairs.
Today the issue still occurs but it is not so prevalent, older circuitry does still throw up some classic blown capacitors and these are fairly simple to replace, some smell quite fishy as well, so sometimes a good sniff of a circuit board can alert you to a blown capacitor…very strange!
Describe a phase in life that was difficult to say goodbye to.
I had always been a fit and active individual, taking in part in any challenge that came my way. I used to set myself physical challenges that I’d always throw myself into without any fear or concern for injury. However come the mid fifties of my life and aspects of my health changed immensely. I began feeling pains and symptoms I’d never felt before and have had to accept since then that my mind is issuing cheques that my body can no longer cash.
Yes my mind is active but age has meant I am now having to say good bye to the health I once enjoyed.
It’s like being asked to leave a party when you are just starting to enjoy it…
Stay young if you can, enjoy life. Peace to you all.
I live with my wife and dog. I do not wish to objectify or itemise them as they do not deserve that, they deserve an immense amount of love and respect, I’m just putting it out there that they are all I need in my life and have been for many years.
However as I dutifully have to make a choice or three here we go.
Medication 💊 without the two that I currently take (I won’t go in to detail) I guess it would be game over so to be honest this is probably the most relevant
Books 📕 my constant thirst for knowledge and learning means that this object slots comfortably into second place. As I’m a child of the sixties it’s books over Internet all day long, as the internet didn’t exist then, fast forward 3 decades and my choice if I’d been born in a different era might be slightly different.
Camera 📷 what better way to remember all those wonderful places, people and memories you have created along the way. Whether using the old film cameras of my generation or the new fandango units and phones of today, how else are you going to peek into time gone by and put a smile back on your face.
Yep, I’m happy with that, had to think a bit but these are the three items I could not live without.
What experiences in life helped you grow the most?
My father was a demon. Consumed with jealousy towards my mother she couldn’t speak to anyone without being questioned about her motives. Most of my formative years were spent as a youngster protecting her and my younger sister from his rage. Going to bed at night as a young teenager with a metal bar under the covers to be ready to go at him should he fly into another of his rage’s leaves a scar on my memory to this day, almost 40 years later.
I always stated that I would never be like him, and all these years later I think I’ve done ok. My life is better than his, I have achieved more than him and I have never raised my hand to anyone especially a female in my entire life, so in theory I think I have won.
He still haunts me in my dreams though and it is as if I am still being challenged by him even though he is no longer here.
I’ve grown from this experience, no child should ever have to suffer this amount of emotional abuse, no female should ever have to live through that constant fear of an abusive partner. No man should ever be capable of such coercion.
But it happens.
Just not in my life anymore… I’ve grown.
Stay smiling, you are a beautiful person who deserves happiness.
I believe you shape your destiny and fate. Nothing too complex, don’t read too much into it, if you are nice and polite to people, you will get the same in return. Opportunities will surface due to your attitude so take what is presented to you as a result.
The radio has been received see here: Not just Dead….Fully dead and if I can’t get it going, I have at least brought a very tidy storage box.
What surprised me when first opening up this radio was the immense amount of boards and circuitry inside, I must admit I took a gulp at this and questioned my reasoning for purchasing the item. However it’s all a learning curve and I have to start somewhere, gone are the days of simple circuits on traditional radios (with big components).
Roberts blutune circuitry Roberts blutune power boardRoberts blutune circuitry
I arrived home from work and sat myself down in the conservatory surrounded by test devices for about 4 hrs until I totally overloaded my self with information, creating more questions than answers, i decided to give up for the day and further research the potential faults for this unit via other sources.
To me the power board seems fine, power is going where it should, there appears to be no short circuits or component damage however in places there does seem to be some signs of leakage so I may have some components that need replacing or maybe it’s just remnants of flux and stuff left behind after initial construction.
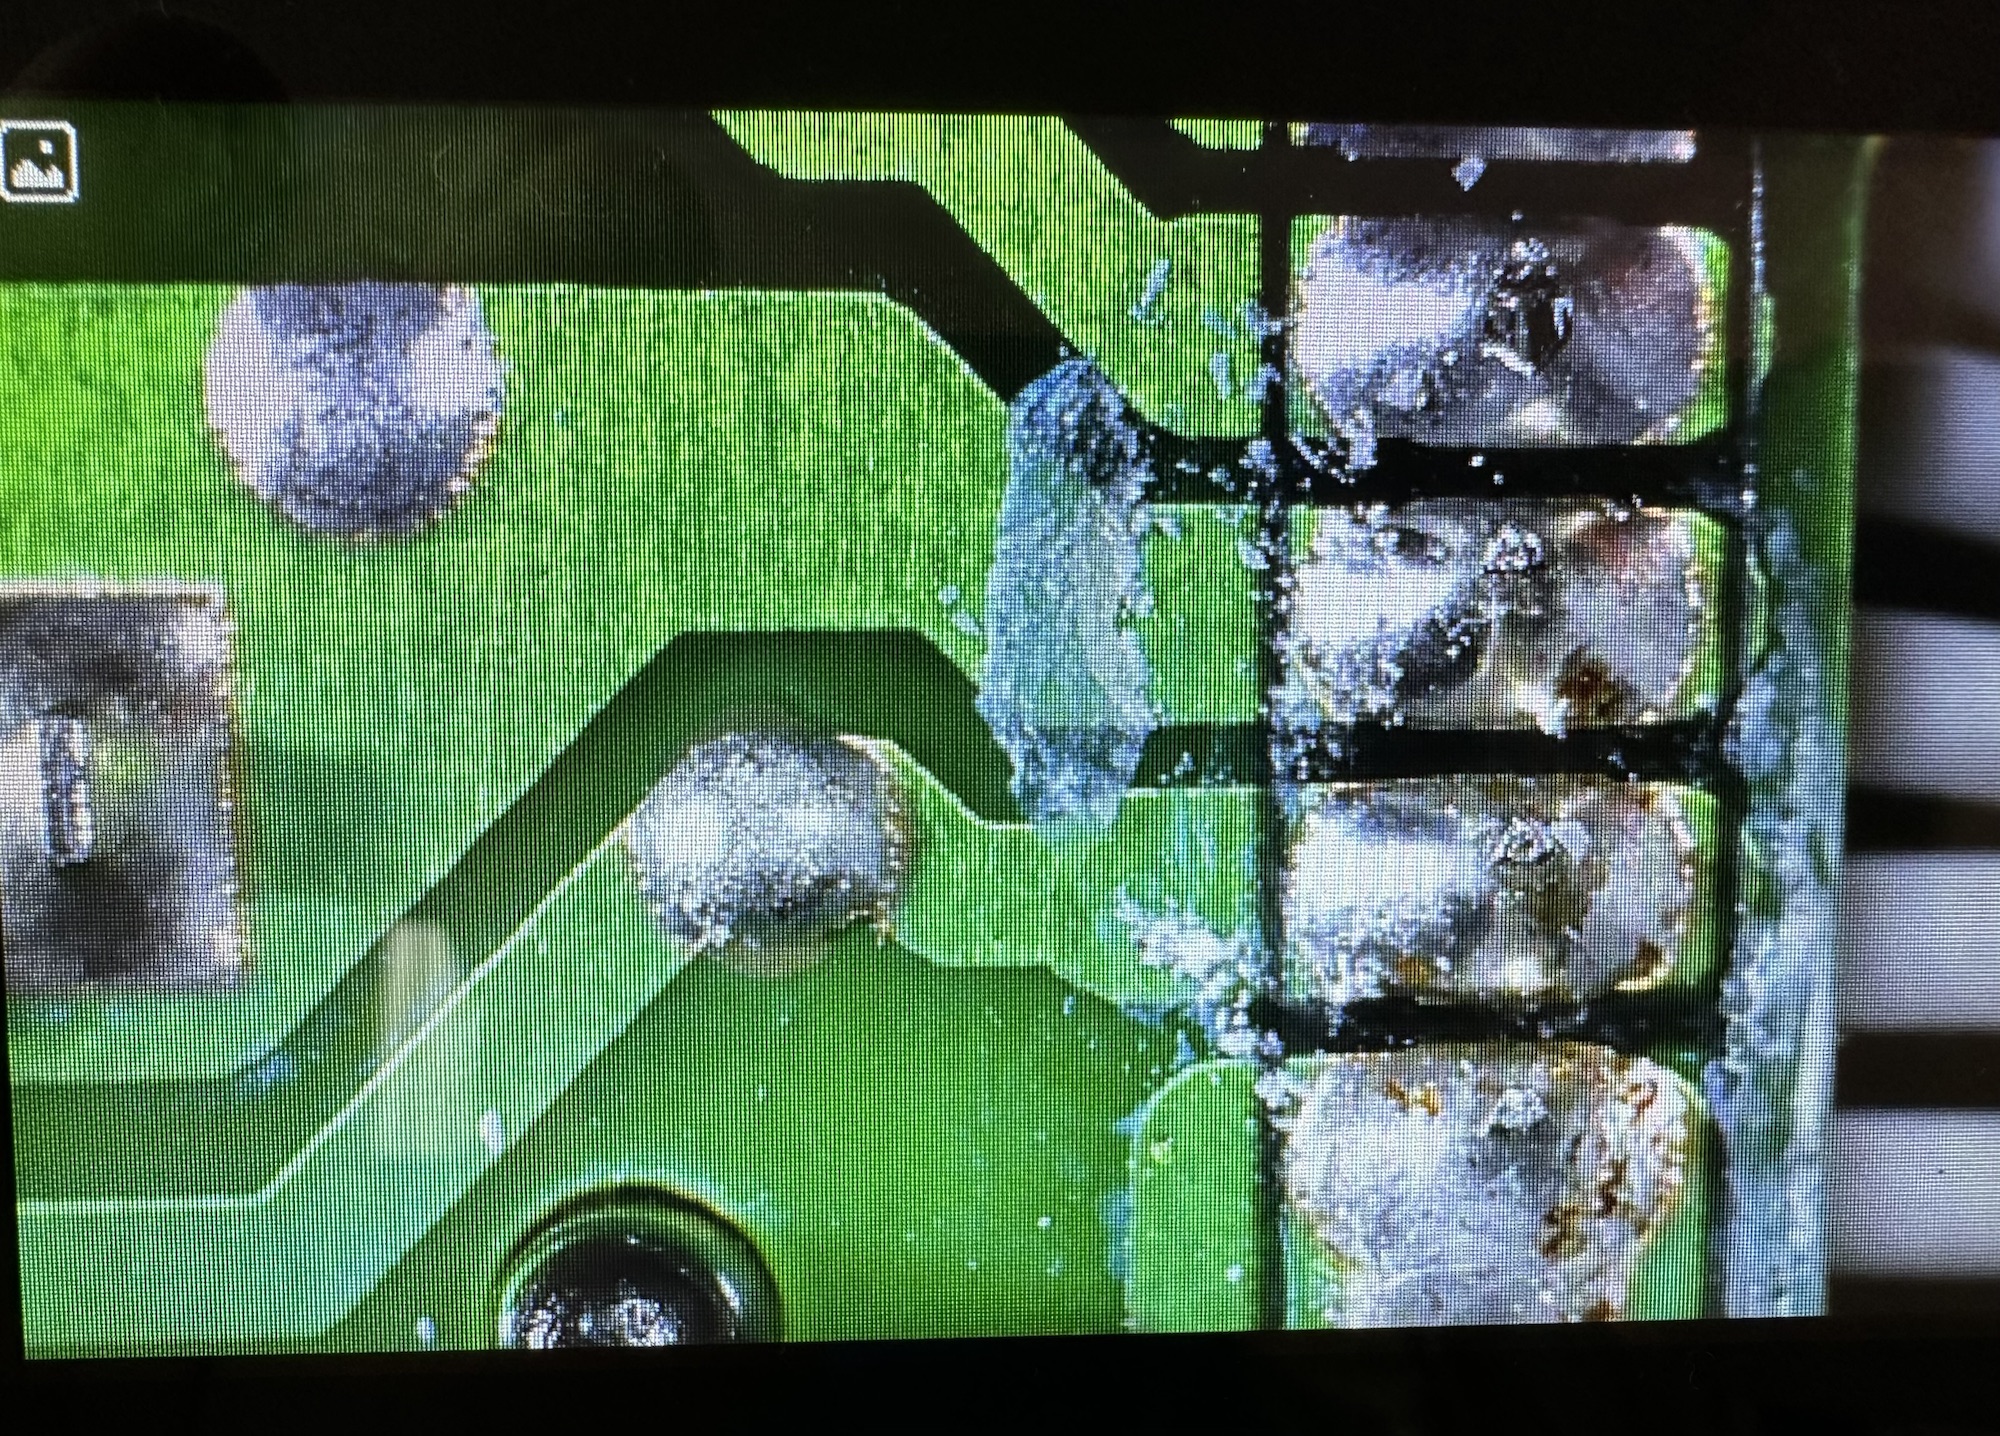
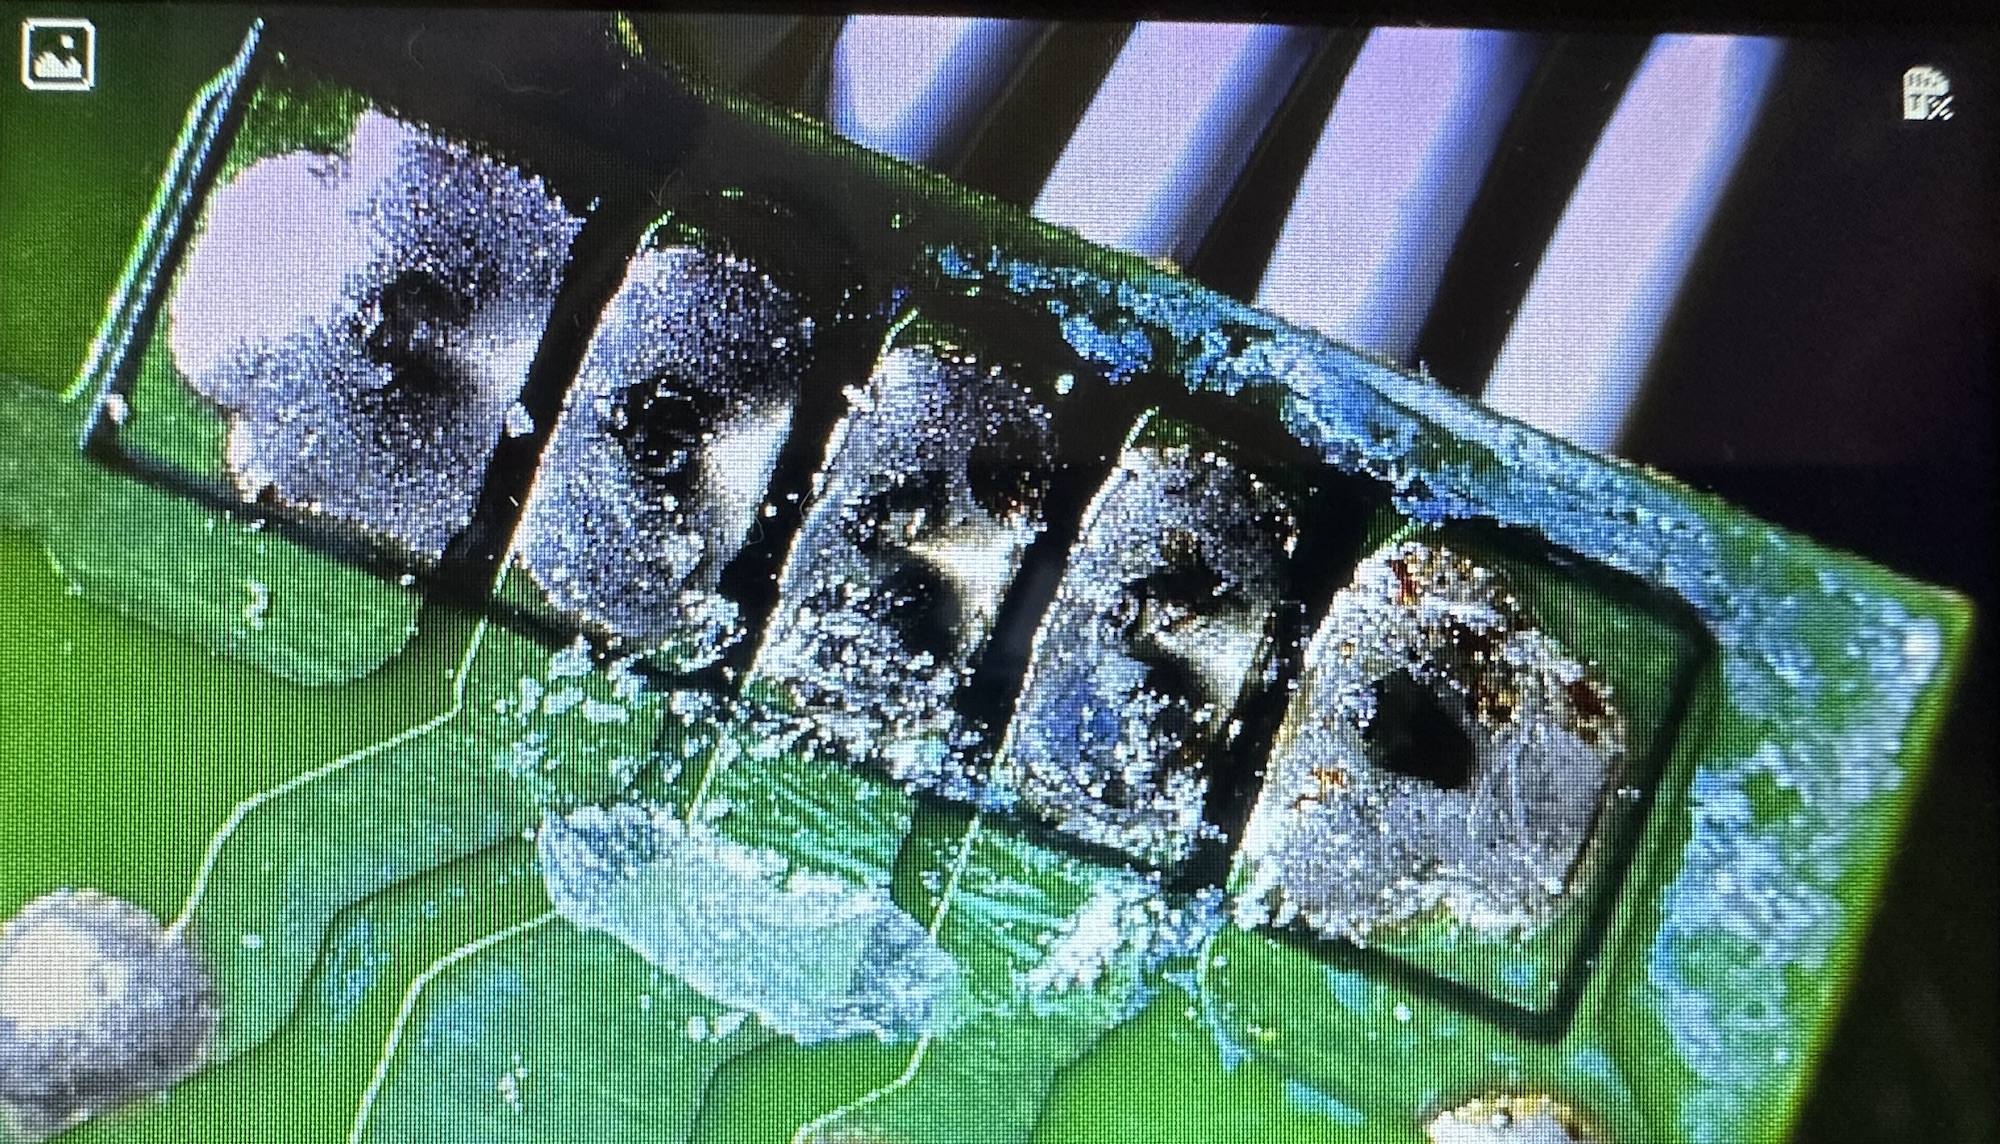
Blutune board under microscope Blutune board under microscope
None of this can be seen by the naked eye but it becomes apparent after being placed under my new toy an Andonstar microscope viewer. It’s at the entry end of the range but it is already becoming a game changer for me, due to my failing eyesight.
Andonstar AD106S
Copyright Andonstar
Further investigation appears to highlight an inherent issue with this range of radios when they just seem to stop working (probably why Roberts ceased production).
Generally the power board isn’t an issue, it all focuses around the display board where a controller to the screen has failed or the amplifier chip has failed, hooray I say! And then I find out both components are about the size of a grain of rice… Boo I say.
I have no experience at all in components this minuscule in size, but if I can’t get to the root cause and eliminate all other possibilities I will give it a go. In the meantime fault finding will go on between other jobs and this will continue to be a job in progress that will be revisited and updated as time goes by.
The plan short term is that I’m going to borrow a thermal camera and check if there are any hotspots under electrical load. You never know I might just find something.
I shall comeback to this project at a later date.
Thanks for passing by. Stay safe, be superb. You’re a star 🌟
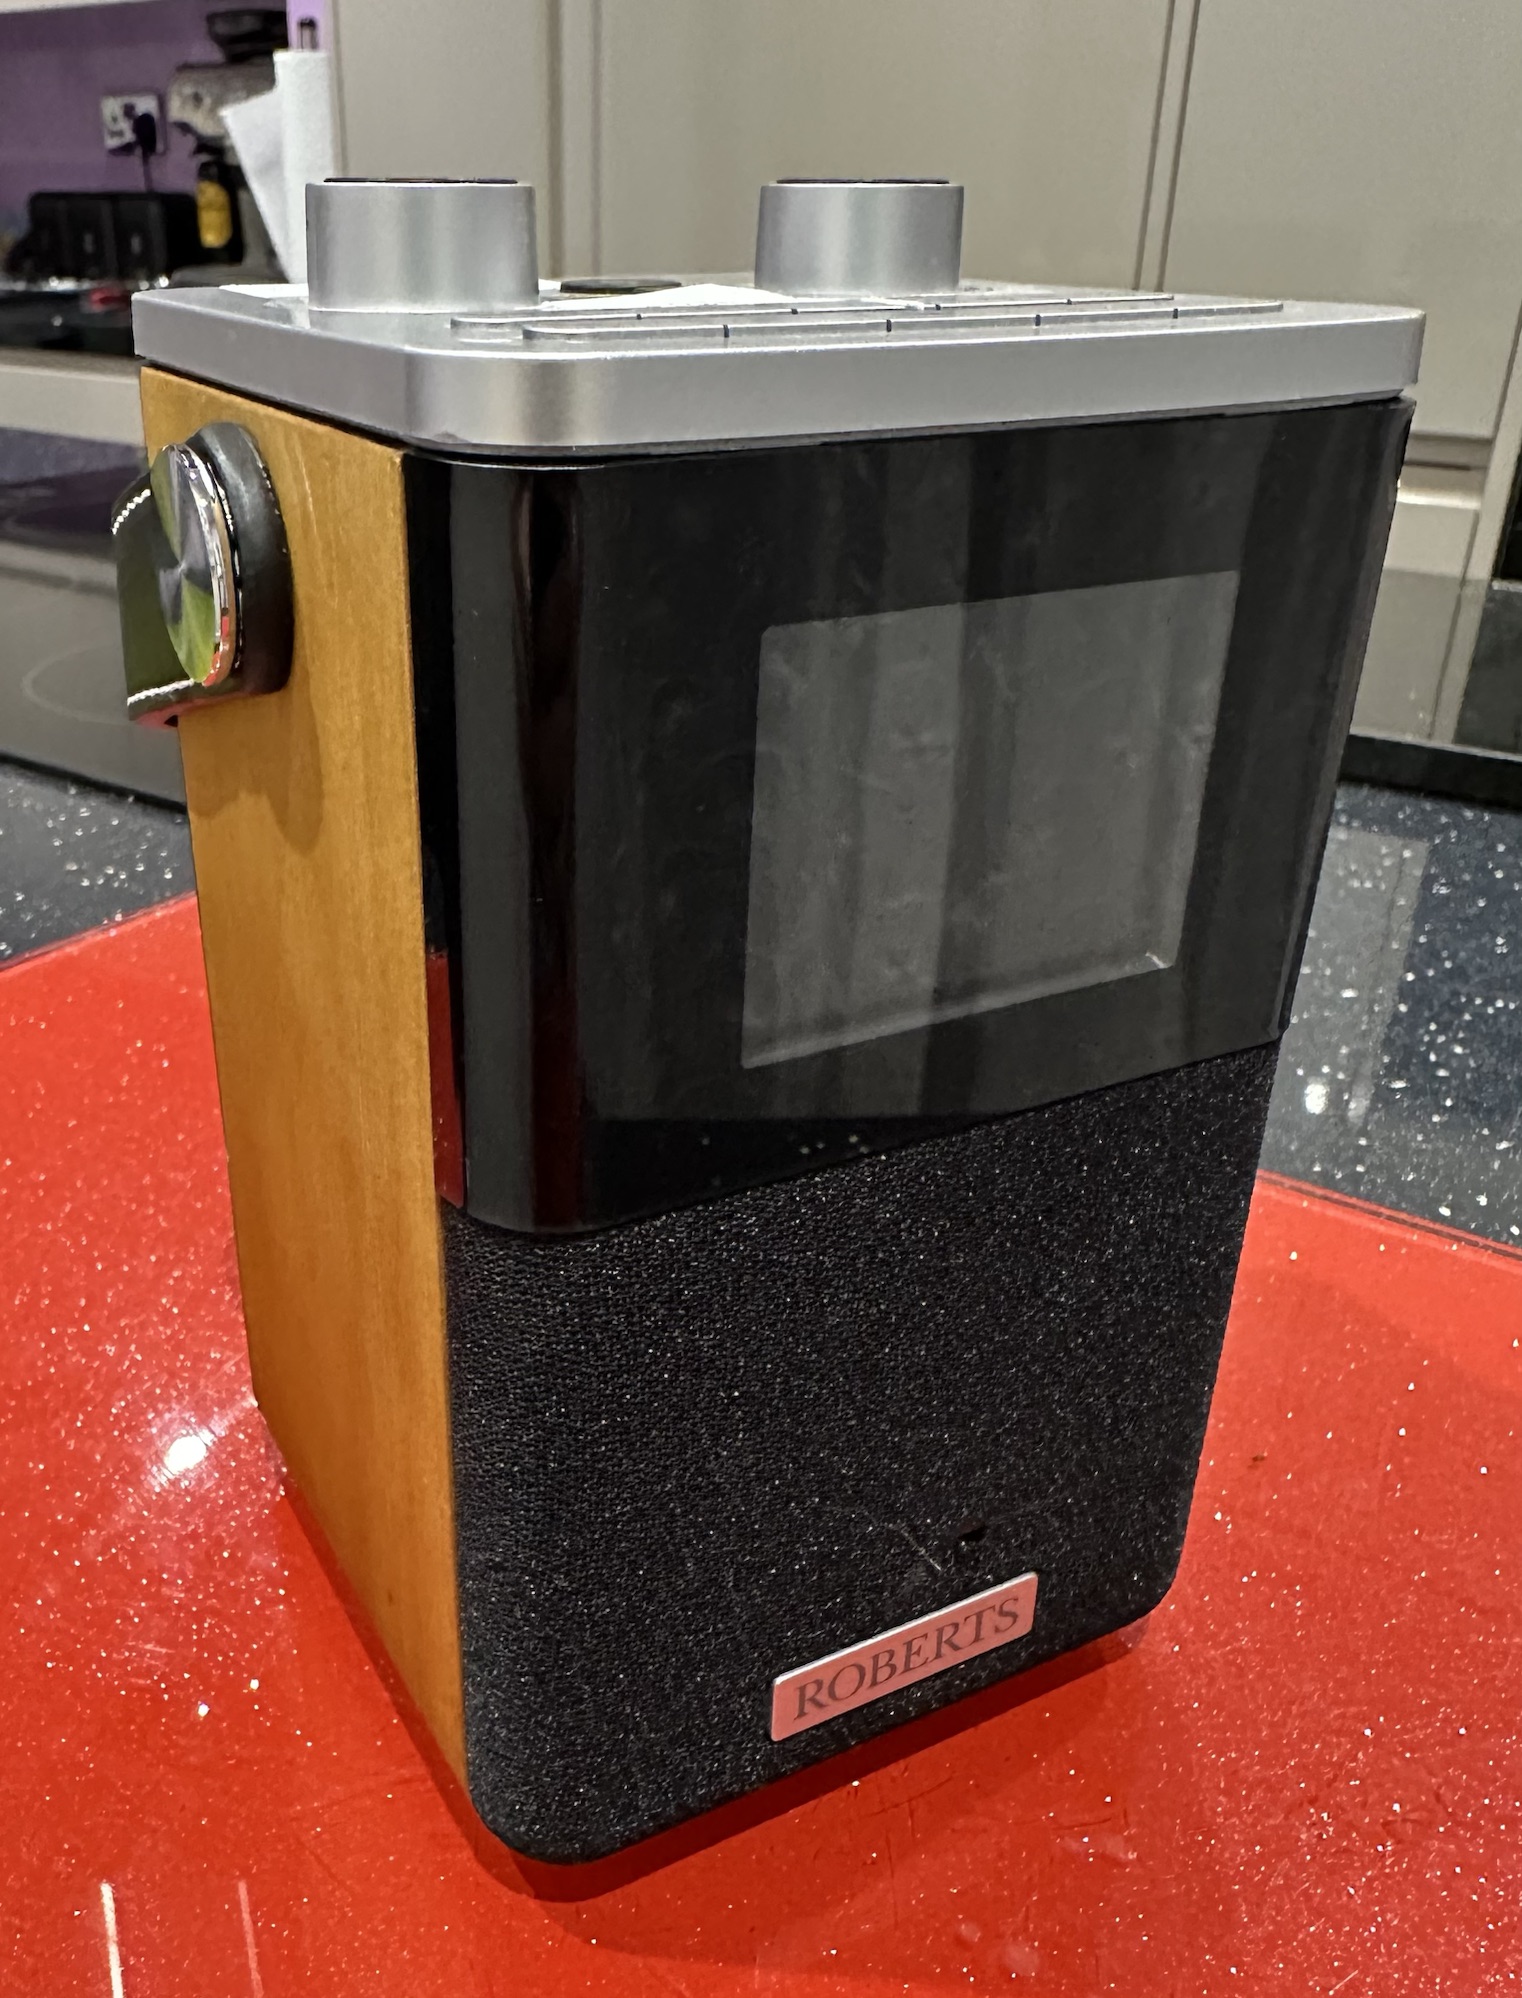
I have just brought this inoperative Roberts Dab Blutune T2 digital radio off of EBay for £8 (GBP). I managed to barter the price down a bit from £12 and I was quite pleased with myself for doing that.
Roberts Blutune T2Roberts Blutune T2
So today I have received the package. A lovely little item cosmetically in good condition with the only external damage being that the speaker cover has a tiny tear in it , and the very tip of the aerial is broken along with the plastic stop that secures it when in the down position….no real issue, all easily dealt with.
The concern is the label on the top of the unit. Fully Dead!
Roberts Blutune T2
So what’s that then? Is there an in between? Some sort of purgatory for audio systems, or is it a way of saying that someone has ensured it will never work again?
Well, I’ll get the back off tomorrow and have a rummage to see what’s in store for me. Maybe my bartering of the price has meant the seller has removed all internal contents so that I now have a nice “Empty box”.
I just love some of these descriptions sellers use, makes me giggle and wonder what was going through their minds when they decided to sell an item that is fully dead.
Maybe there is just different grades of death that I was just not aware of.
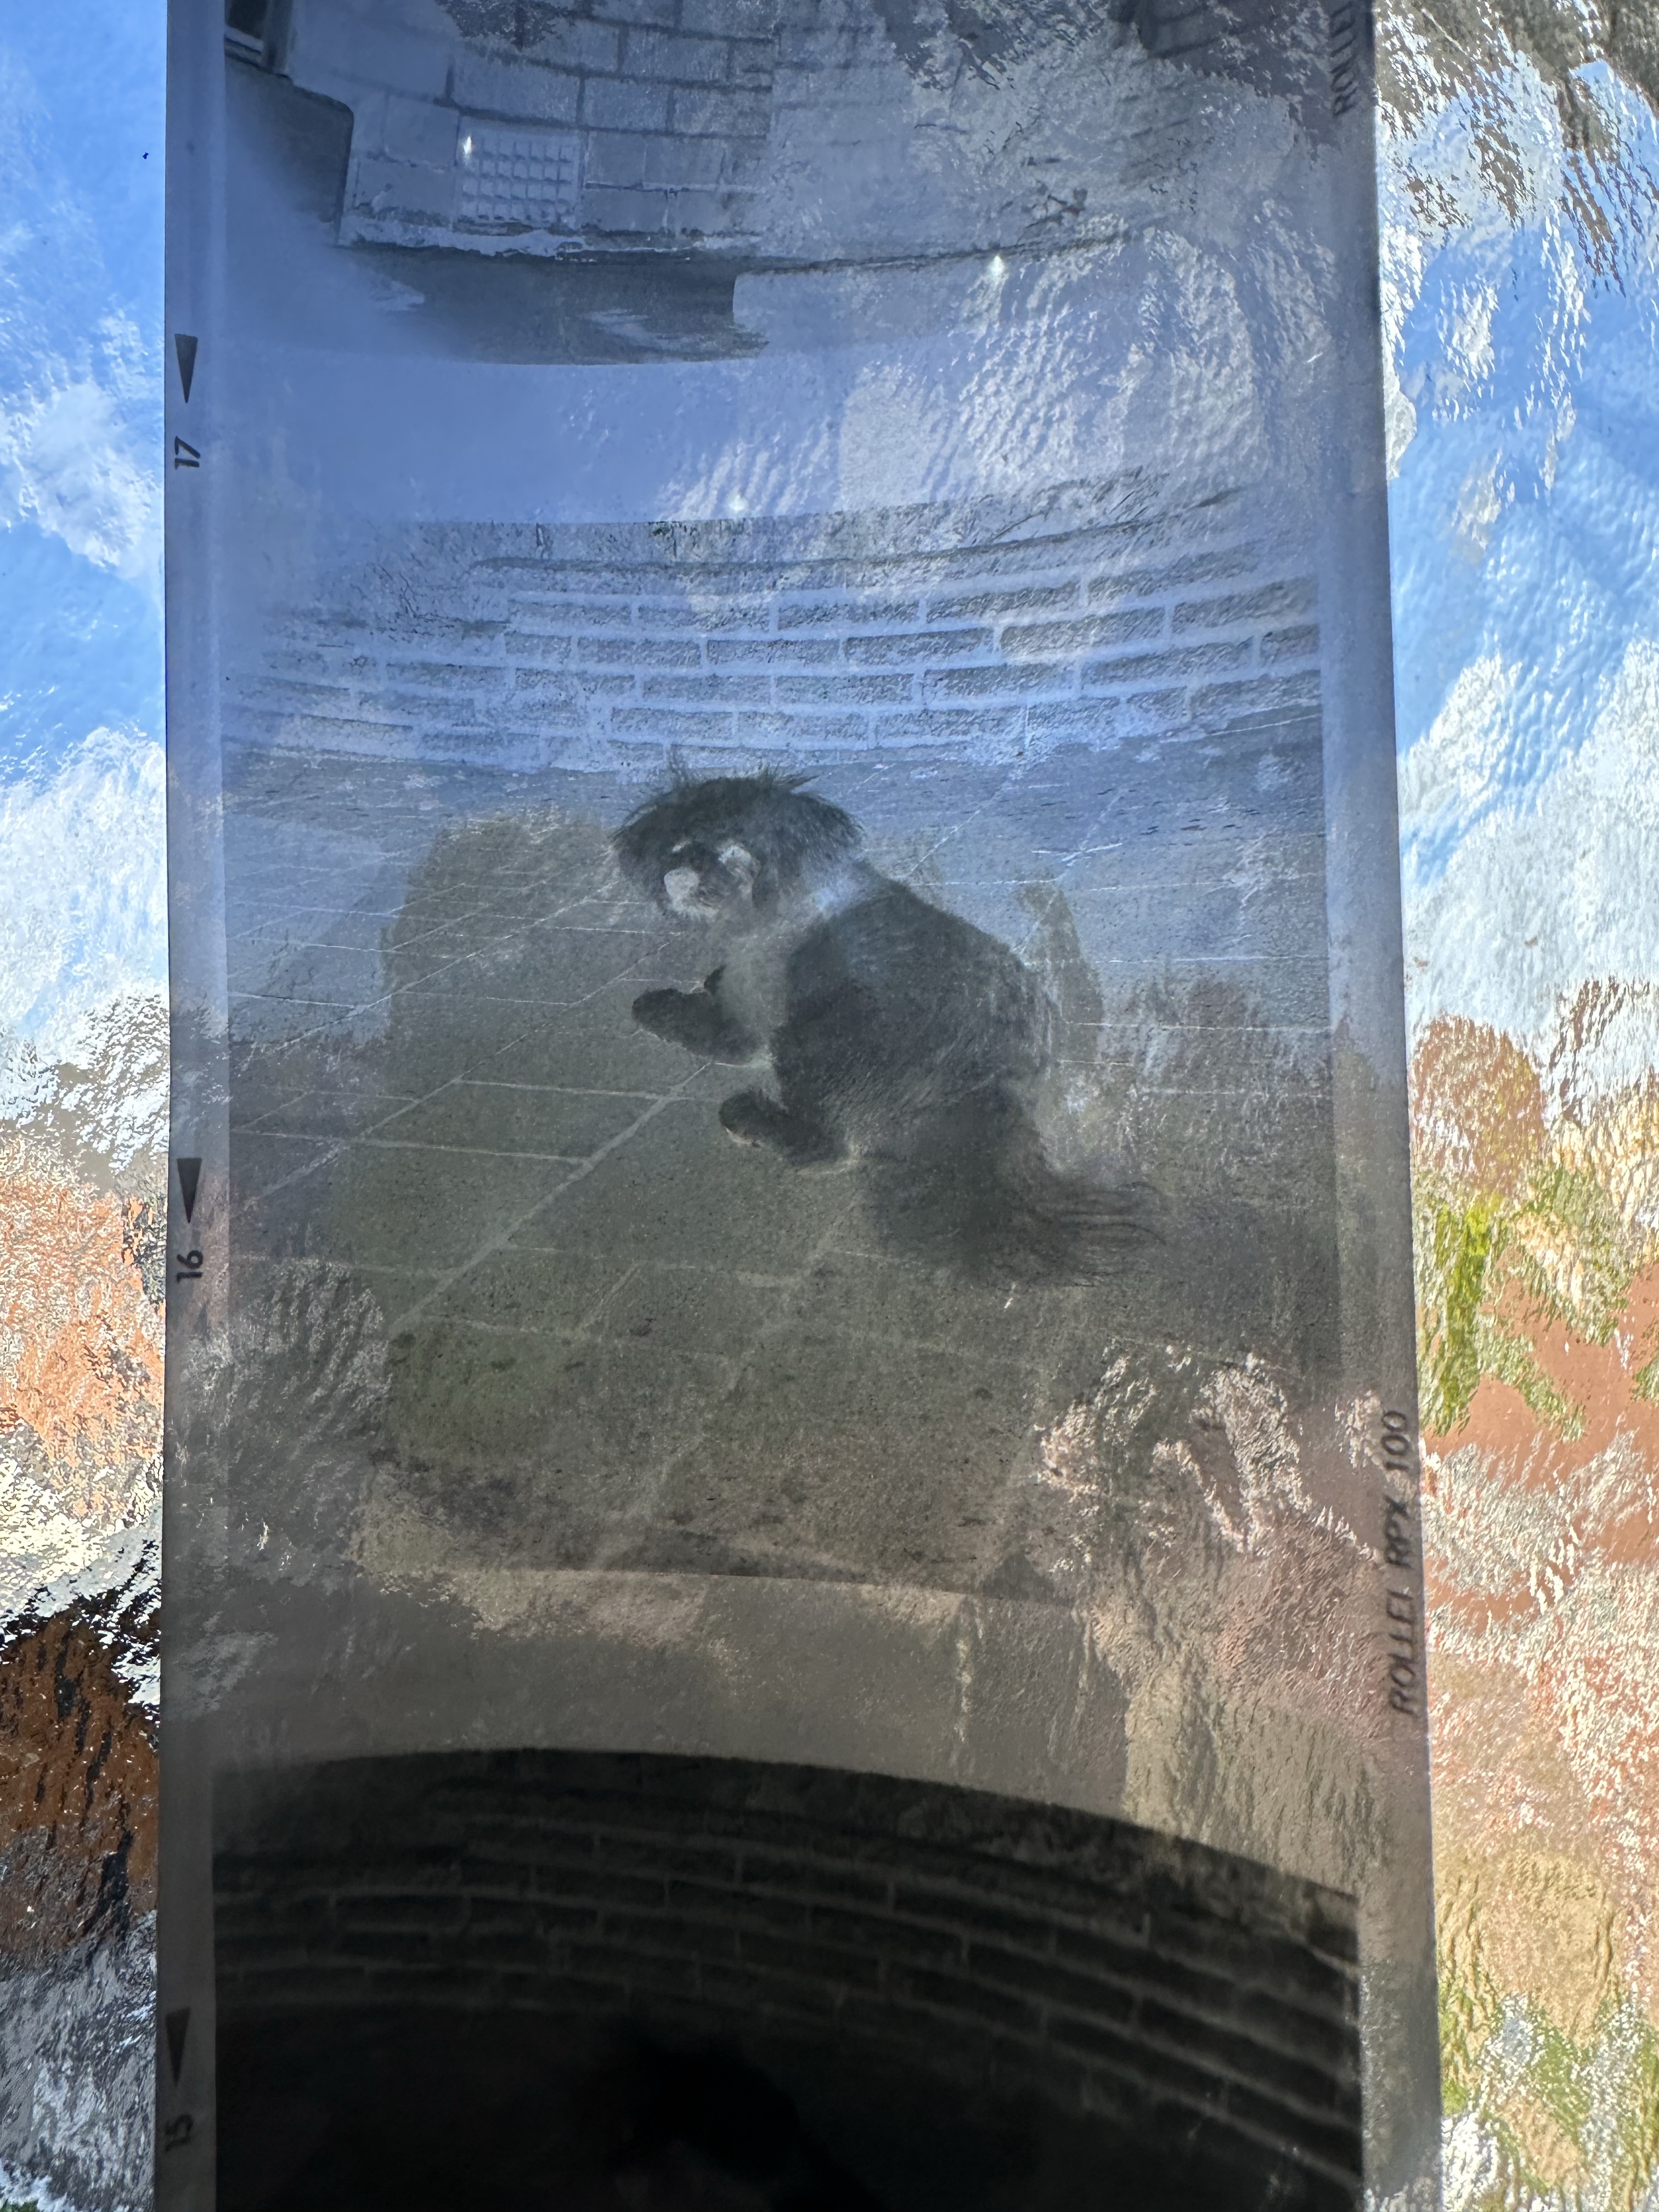
Following on from yesterdays post regarding fogging on negatives. If you remember I’ve lost the mask for my scanner so I’m currently unable to utilise this service.
The Negatives waiting to be scanned
However I had some time and took to the internet to find out if there was a way to view in the short term until I found the mask for the scanner. It appears the phone you have in your hand can more than likely do the deed without having to down load any apps.
Now I have an iPhone, however the same is also available on Android but I’ll stick to the iPhone route. It’s all about inverting colours
Firstly venture to settings, Accessibility, Accessibility shortcut and then choose classic invert. A tick will appear by your choice and then just come back out to the Home Screen. Now every time you triple click on the side home button the screen colours will invert.
StandardInverted
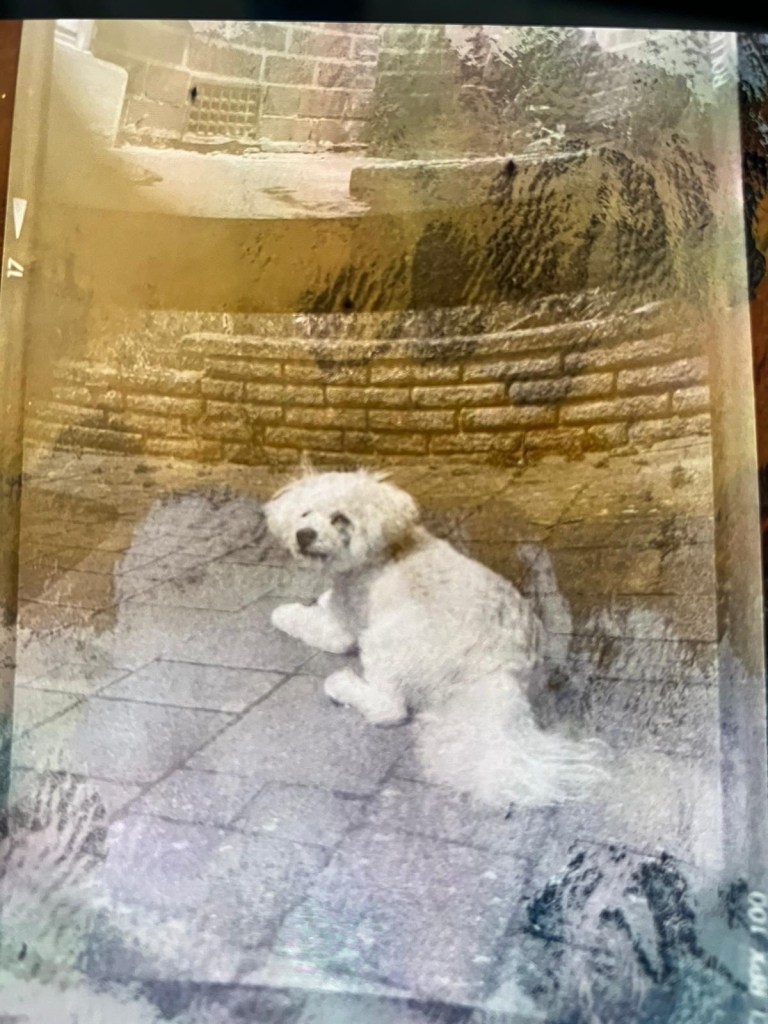
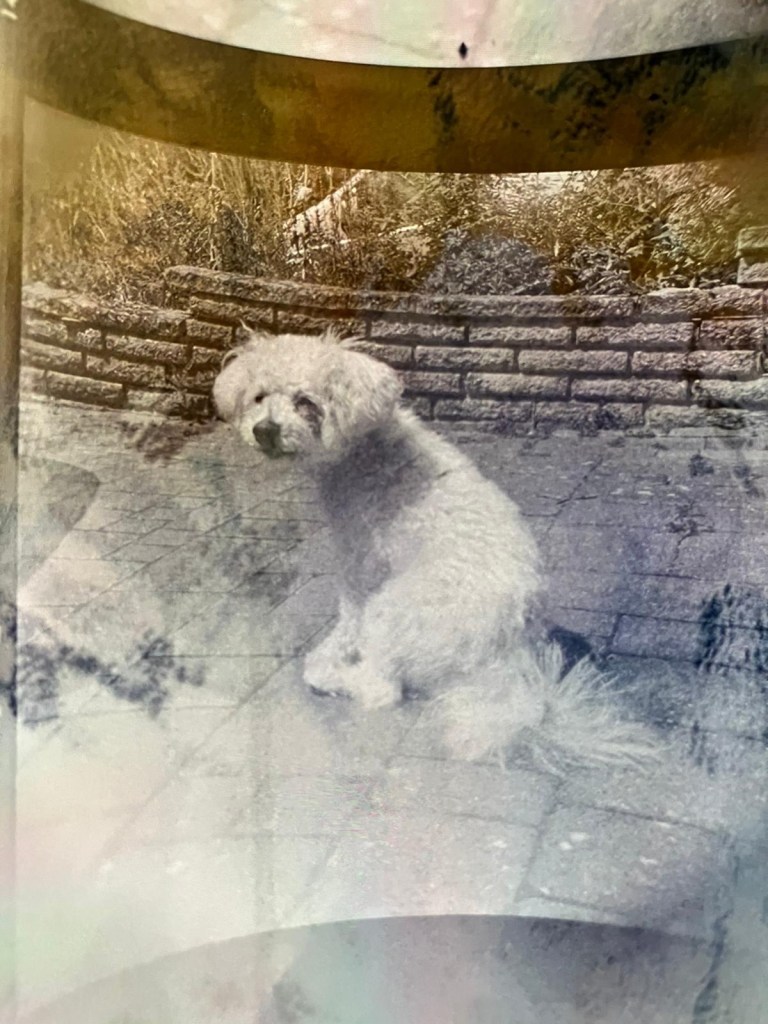
Now if off you triple click again the colours go back to standard. Well I’ve tried this on the same negatives above from yesterday and it gives you a good idea of what you are going to get. These pictures are direct inverts of the negatives at the top of this post with no cropping or adjustments, I just wanted you to see the possibilities you have available to you in your hand. If you use a light box and some glass I’m sure you’d get quite acceptable results.
Negatives all inverted
Great little tool for those old negatives you have laying around that you were thinking of getting printed but weren’t quite sure.
Hey hey, I’m back. Well, after my previous rant I thought it best to get back to normal or as normal as can be achieved so here we go.
If you remember a few posts back I took on an old Halina A1 Reflex cheapo camera from the 60s. It was in a bit of a state and had seen better days. It had a full refurbishment with lens fungus removed, shutter mechanism repaired and a new leatherette finish put in place to tart it up. It looked quite nice and I was quite pleased with the outcome.
Halina A1 Reflex and exposed 120 film
However that is all well if you want to use it as display piece or a bookend, but I wanted to see it work.
Over the last few weeks I’ve had a roll of 120 B/W film (Rollei 100 RPX) sitting in it using it once in a while whenever the weather was right, and light conditions sufficed. Seeing that I’d replaced the light seals I wanted to check whether there were any issues there and as a result of todays development of the roll this could be an issue.
Paterson tank
When exposing I’ve forgotten to wind on a couple of times, but in general i seem to have got it right. The wind on is ok and the displays in the window are visible. Barring some double exposures the settings on the lens seem to have done their job, I seem to have set both lenses up correctly so I’m happy with that.
The film has an over all visible darkness that points to fogging. I think I might be responsible for this to be honest, I was a bit too impatient to get the roll loaded into the Paterson tank, I had a duvet over my head but the strong summer light was evident for the first time in ages in the East Midlands, and I shouldn’t be able to see the developer spiral….but I did briefly. Not good.
You can see the background fog
That being a problem I really do need to run another film through the camera to 100% check the light seals and then develop in the appropriate conditions.
I was silly here but another lesson learned. Be patient, don’t rush things and just do things properly.
I’m pleased the camera works, I’ll be able to get some pictures off the negatives and what I can see through a Lupe looks promising.
My 120 mask on my scanner has gone missing, so the pictures might be a little while before they make an appearance. I have another roll of film though so I’ll get that in the camera this week and get busy, and when it’s dark I’ll develop the film….properly
Have a wonderful day everyone thank you for passing by, stay safe and smile it uses less muscles than a frown 😂


You must be logged in to post a comment.