

As the listing stated:
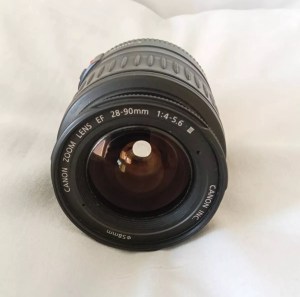
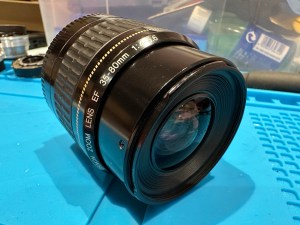
Canon EF 28-90mm Lens Working Then Produces Err99. Reduced to sell at a bargain price will be easy fix
EBay
The dreaded err99. It’s a general error code that seems to annoy many Canon owners, and can be a simple fix or a tedious one. I wonder what it will be for me? I’ve seen a good article on Improve Photography’s website that explains some of the steps that can be taken to remedy this error, you can read that article HERE.
I now have the lens in front of me so here is what I can see. Overall the lens is in good order for its age and mounts to the camera ok. All manual focus and zoom works and the lens is clean with no sign of fungus or haze so I’m happy with that. I’m still waiting for the camera battery to arrive so I can’t really comment yet on the error code. I’m not cleaning anything just yet as I want to see for myself if the error shows on one of my cameras, if it does then i’ll start the process of cleaning the contacts which is what I would of attempted first off.
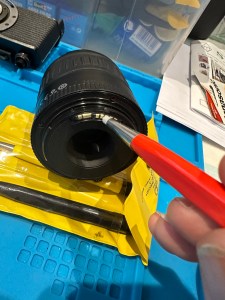
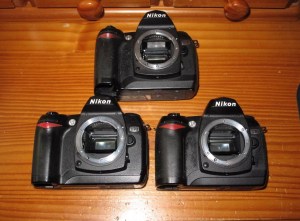
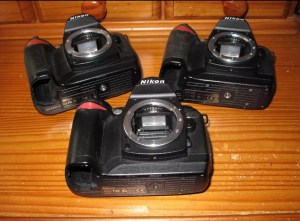
The battery has now arrived and I have now commenced further testing. I have placed it into auto mode and all seems well. I have tried the lens in 4 different camera bodies and have had no sign of the Err99 error code. The only issue I have noticed that may not be contributed to the lens is that when connected to an Eos5 body there is a fair drop in battery power. Again this has been noted in the past as something than can be connected to dirty contacts on the lens, so as a precautionary measure I shall be using some IPA and a fibre glass scratch pen to clean those up.
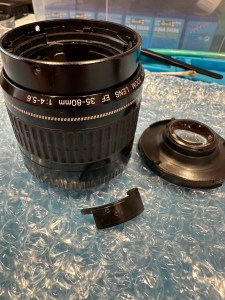
I’m unable to recreate the advertised fault as everything about this lens is working fine as far as I can see. I’m going to wrap this one up as complete now.
I’ve really enjoyed working on these two cheap damaged lenses that I originally purchased just to test my old SLR kit. They are now both working fine and i believe the invested effort shows in the end result.
I am extremely happy.
Thanks for passing by.


You must be logged in to post a comment.