An old EOS 10 was in need of attention. And I was able to lend a helping hand
Here I have a Canon EOS 10, a quite superb little camera. The date code within the film barrel is HE1213, indicating that this camera was manufactured in December 1990. At the time of manufacture this camera sat firmly at the top of Canons camera tree only surpassed by the EOS1 professional camera that had been released the year earlier in 1989.
My EOS 10 35mm SLR
This camera was amongst a selection of cameras and equipment passed on to me by a good friend and professional photographer as can be seen here: Cameras…i need more!
Here is a little history regarding the EOS 10
The Canon EOS 10 is an autofocus 35mm SLR introduced in 1990. The model name was EOS 10S in the Americas, and EOS 10QD in Japan. There was a commemorative metallic-silver version introduced in 1991 to mark Canon’s 60 millionth 35mm camera sold.
The improvements over the original EOS cameras are a newly improved autofocus sensor. Focus modes include One-Shot AF for non moving subjects and AI Servo AF for moving subjects. It is able to detect and switch automatically between the autofocus modes. Shutter ranges from 30 sec. to 1/4000 sec., with B. X-sync at 1/125 sec. Similar to the EOS 750, is has a built-in flash with a guide number 12 (at ISO 100). It uses one 2CR5 lithium battery and weighs approx 625g for the body without battery.
Camera wiki.org
Assessment:
One of the nuances introduced on this camera was the barcode option. Introduced at a time where barcodes were starting to creep into our life, in a knock at Minolta and their use of specific expansion cards for specific scene settings, Canon thought it would be good to utilise barcodes that you could scan, to automatically set your camera with these options without expansion cards. Needless to say it didn’t take off and was soon dropped from later camera production. It was a sign that the development teams were looking for advancement opportunities.
That barcode mode – soon forgotten
These cameras are available at fairly reasonable prices now partly due to the dreaded sticky rubber grip issue that tends to send buyers running for the hills, god knows why, it’s an easily remedied issue that just takes a little time and patience. I did a previous post about cleaning these cameras here: Sticky, Rubber camera grips it’s all down to the polymers in the Vulcanised rubber breaking down and reacting with hand sweat and other stuff. Have a read, and never throw away a camera just because it’s sticky.
This camera has some stickiness but it is not an advanced case. It will still be cleaned in the same manner, to prevent it developing any further.
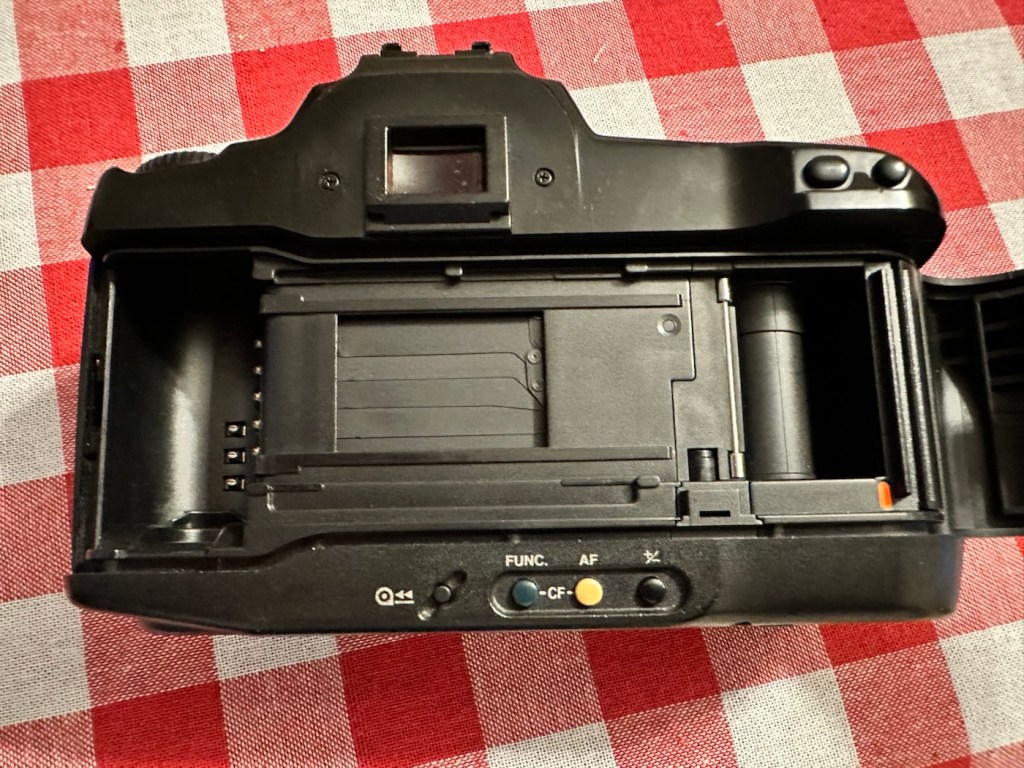
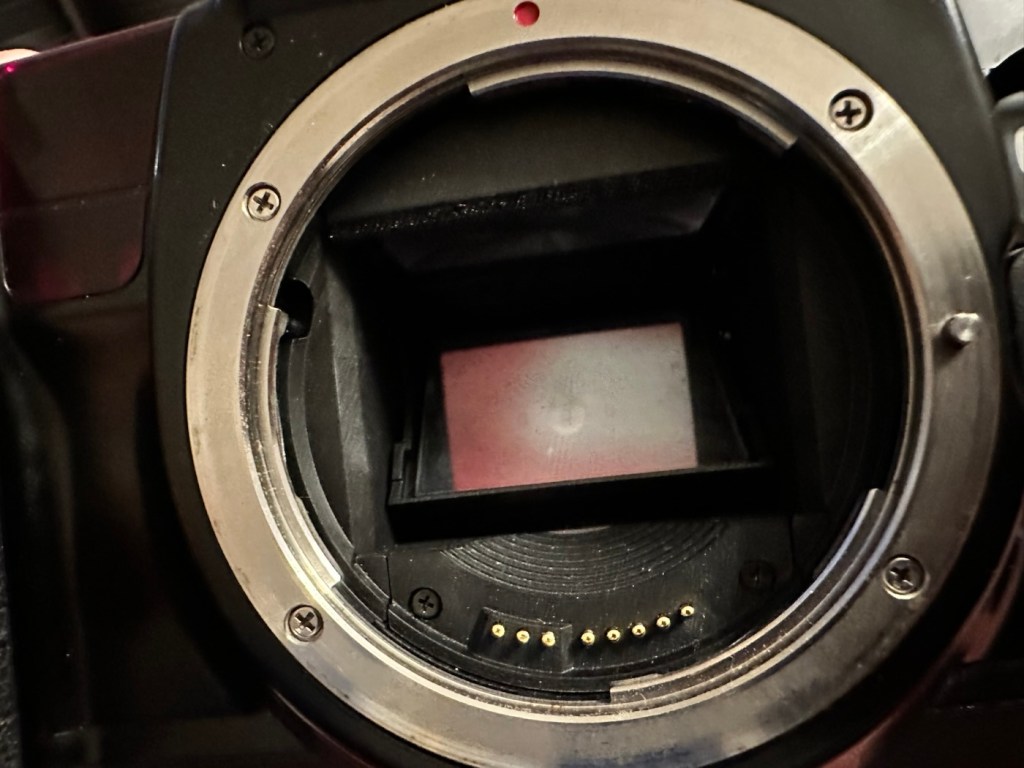
The camera is just a bit dusty and in need of a good clean. The mirror is dusty and needs cleaning, a blow out of the interior should suffice as the shutter blades are opening and closing with no issue.
Inside clean shutter blades are okFilm plate unmarked Mirror is dusty and requires cleaning
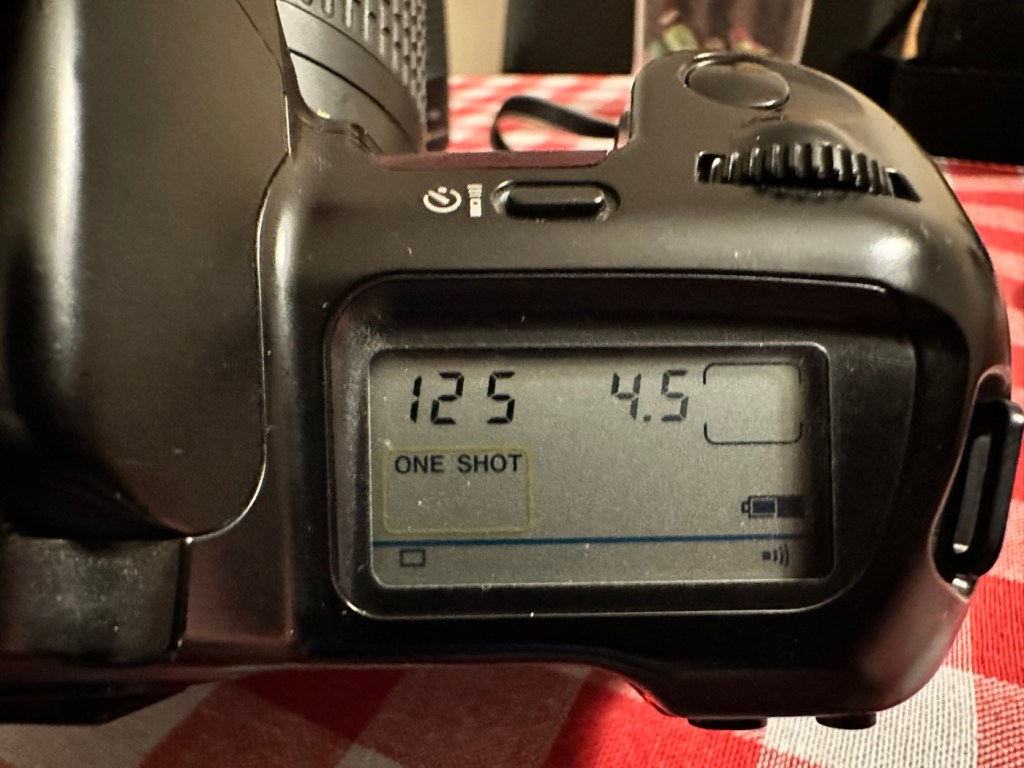
The battery is a lithium 2CR5 cell. The battery chamber is clean with no signs of battery contamination, this is a very good sign. When placed into the camera the screen comes on, is clear with no damage. A lens put on the front confirms that auto focus can be achieved and the camera fires and winds as expected.
Camera screen workingBattery chamber is clean2CR5 battery cell
To be quite honest, there doesn’t seem to be a lot wrong with the camera. It really seems to be just a clean and maintenance issue. I’m going to give the camera a thorough look over, dust and clean, a thorough clean of the external rubber and finish it all of with a good exterior body treatment. I will then run a roll of used film through to check the DX reader is working, as well as the transport system. Fingers crossed nothing major raises its head during the repair process.
Repair:
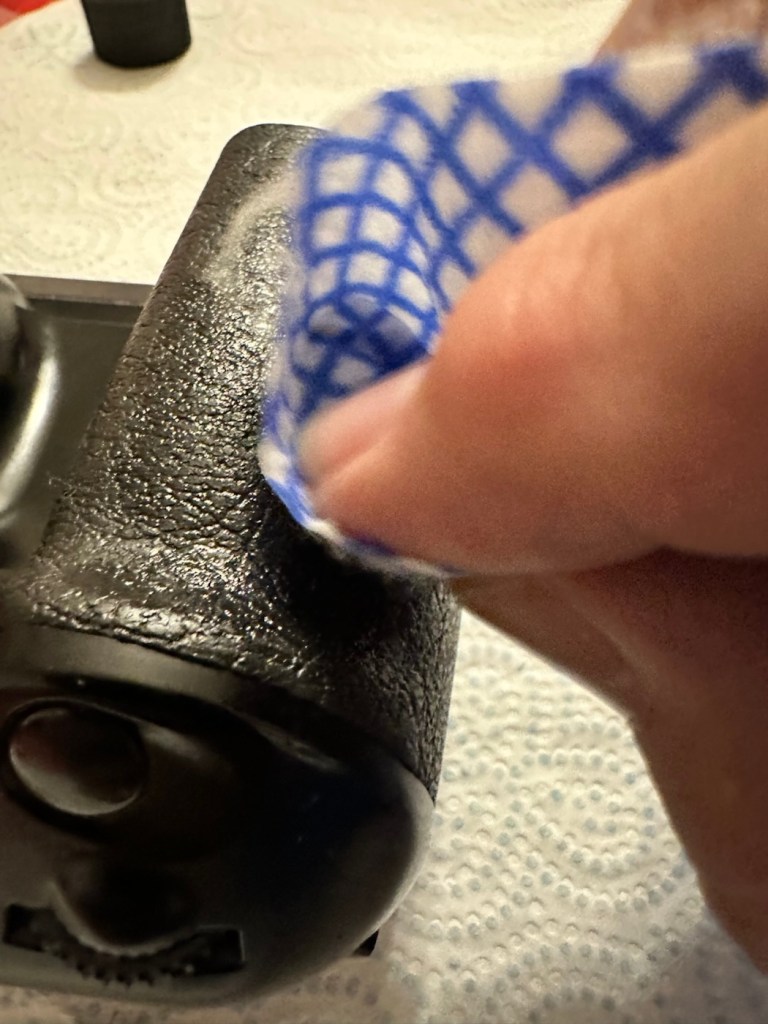
Straight in and at the cleaning, and to be honest the rubber wasn’t too bad. I only used two applications and not a lot of dirt came off on either. After it has dried, it does feel a great deal better.
Heavy cleaning, wasn’t that heavy
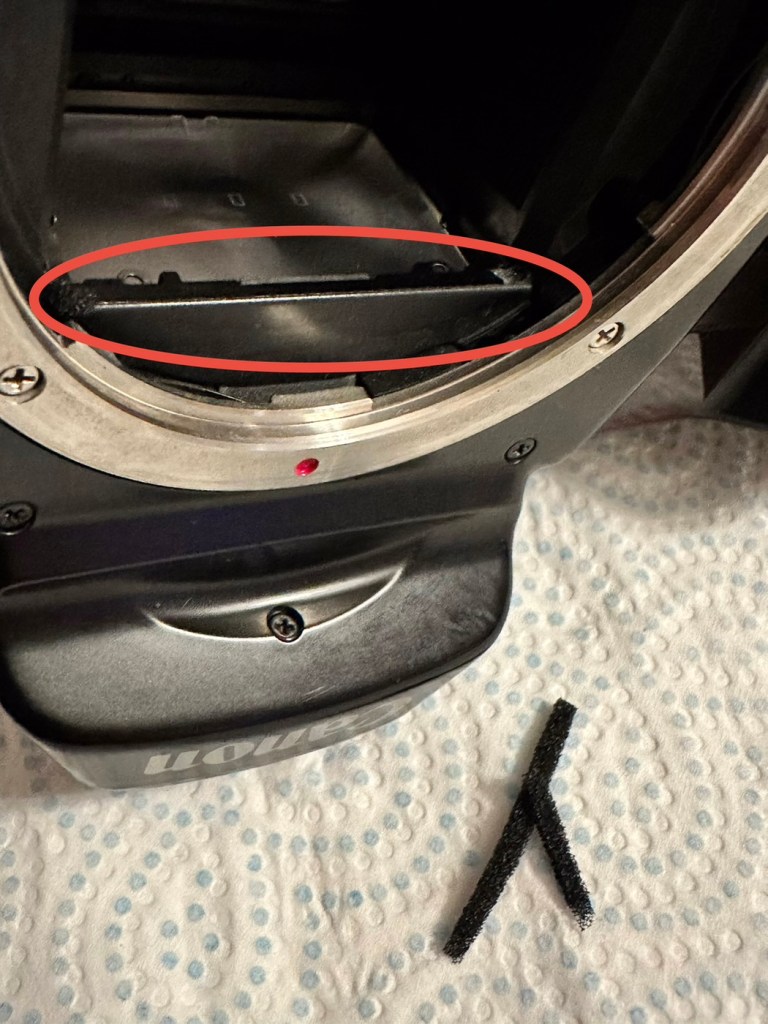
The mirror has cleaned up nicely, so has the prism above it, however whilst in there I noticed that the mirror damper felt was failing, so this I have now removed and will have to replace prior to using as I don’t want to cause any further damage.
The missing damper felt area, highlighted in red
I’ve had to order some new material that will hopefully be here shortly, as my supply, as is always the problem lately, is in storage with all my other gear pending this house move that will probably never occur. it’s a real pain in the butt not being able to access your most required kit. Hey ho.
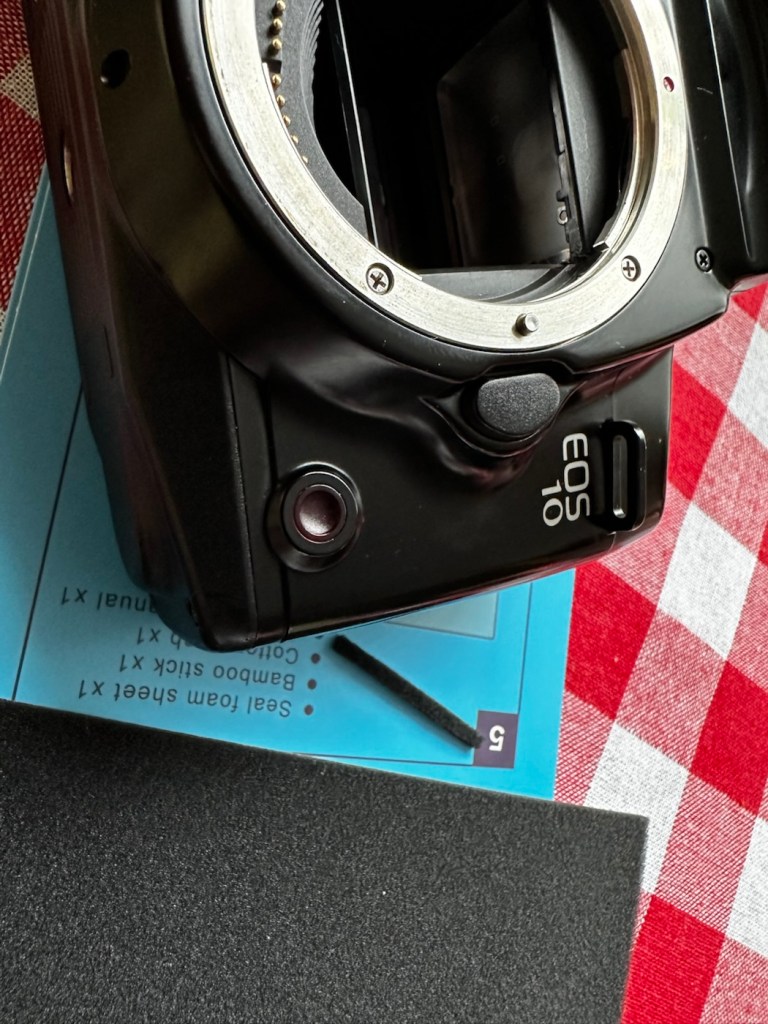
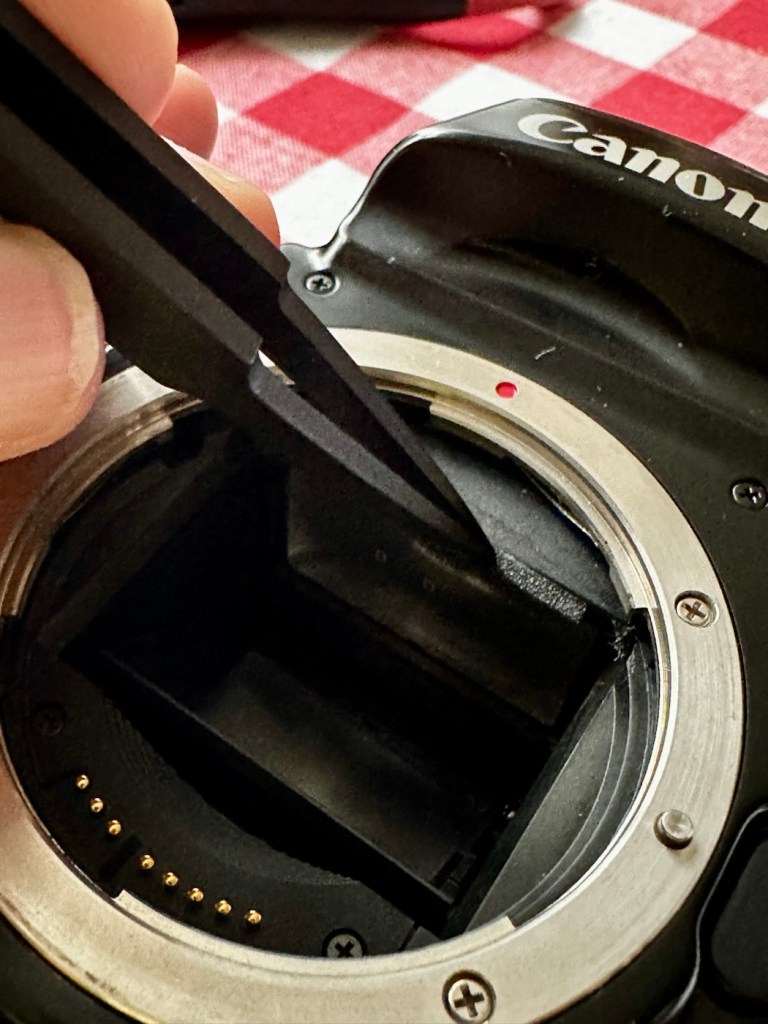
The light seal has arrived, and so I start by getting the damper felt put in place. First I cut it to size, remove the sticky back paper and just wipe the sticky bit with some water, this allows me a little more time to reposition it before the adhesive does its work.
Cut to sizeDampen the adhesiveThen put in place
Below is a very small video with me putting the camera into manual mode on a single exposure setting to test the actual worth of the damper foam.
All working fine
I’m happy with what has been done so far.
Strap cleaned and restored
I’ve even given the neck strap a good buff up, the rubber on it was almost white rather than black, a bit of a clean and a polish and it’s now been restored to it’s original glory.
With the new damper in place it’s now time to run a film through it, I have an old test film I use for this purpose, I’m going to set the camera to its highest shutter setting and just run the whole roll through in quick succession to check the transport and rewind.
And here is that test, it went super fine and the full roll rewound at the end.
Transport works just fine
I’ve tested all settings, shutter speeds and functions including the flash and all is as it should be. I’m happy to say that this camera appears to be in full working order.
Now for the final clean and presentation.
Result:
Well, a little bit of car cockpit cleaner has done wonders. It looks beautiful and has a nice aromatic smell as well. I know I’m biased when it comes to cameras but I think this is an absolute beauty.
All polished and looking fine
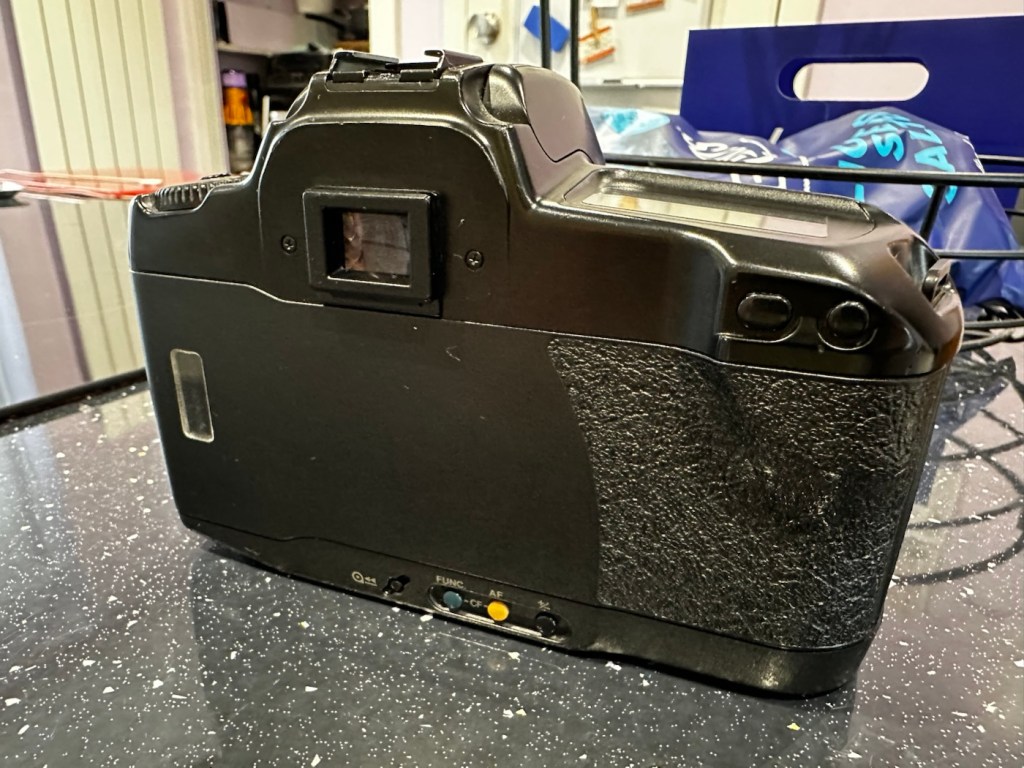
Covered from all angles looking resplendently clean and tidy
I’m really pleased with this camera, I’m heading out later today to watch a relative play football and I’m going to take this along to grab some snaps with an expired film from 20 years ago. It will be a good final test of the capabilities of this camera, and should finalise its renovation. It’s been a great camera to work on and is yet another worthy addition to my collection. I will post the photos here when they are finalised. Canon Eos 10 test shots
Thank you all for passing by, it’s always most appreciated.
How did the old film trial go? Come in and take a peek.
I posted earlier today Well, that was most enjoyable! Regarding popping out for a morning stroll and taking a 48 year old camera with me to shoot a roll of film that had expired 20 years since.
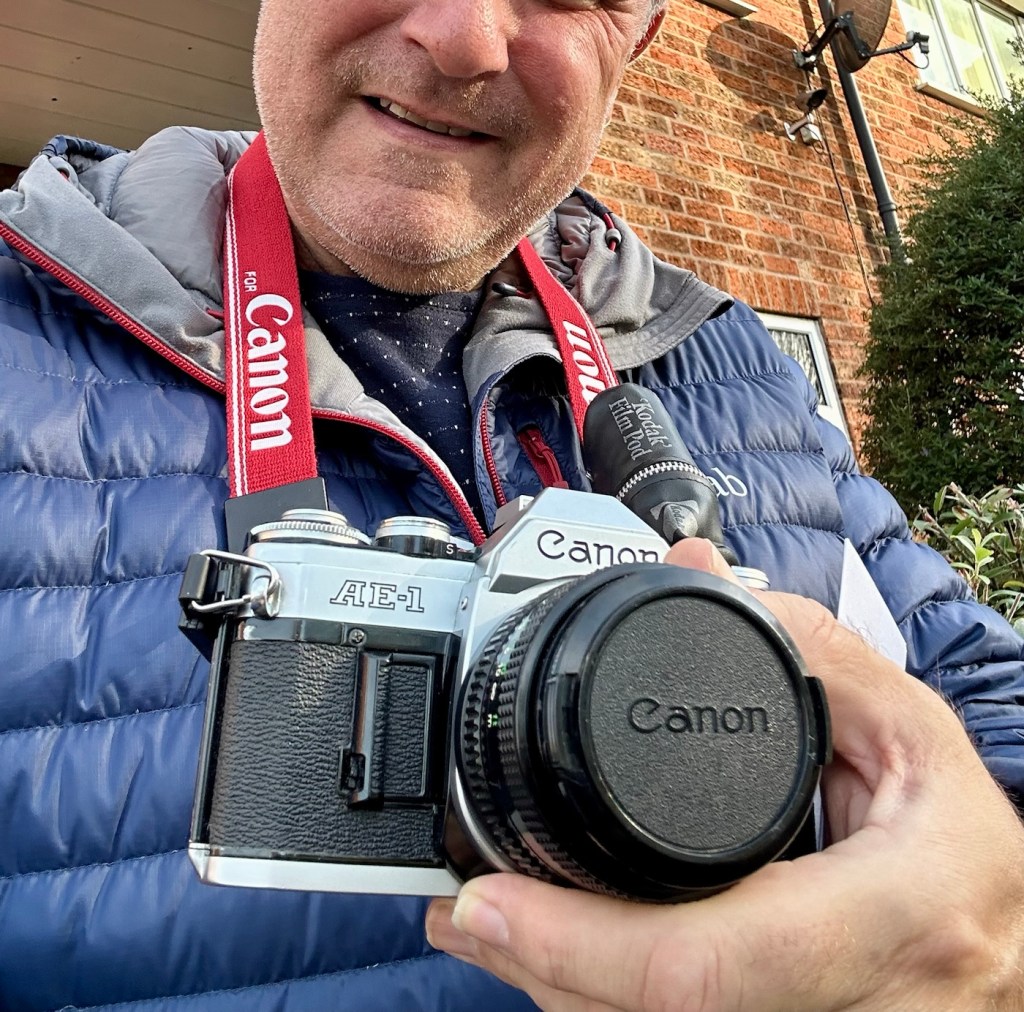
The camera
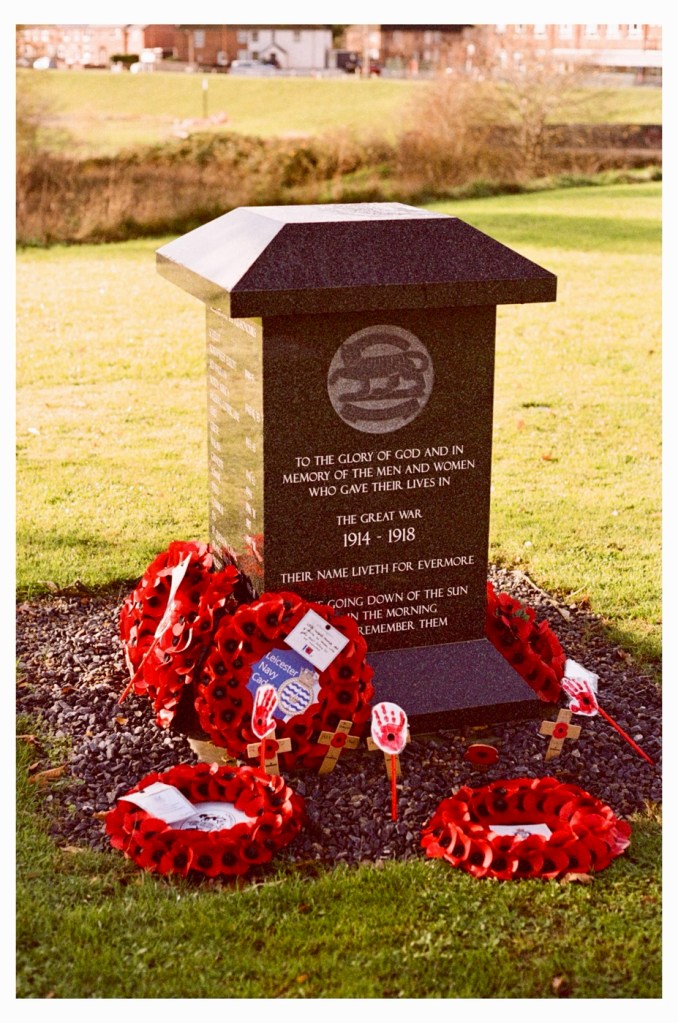
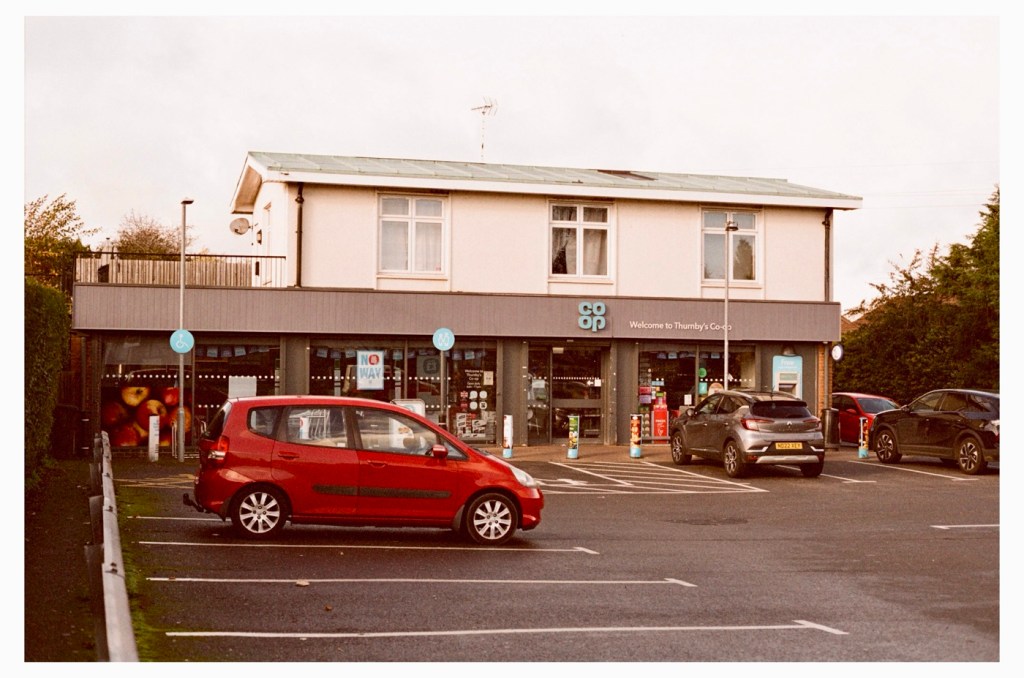
At 20 years old, the roll was an experiment where i exposed at normal settings, +1 stop overexposed and +2 stops overexposed. I obtained 39 exposures, always possible from a 36 exposure roll, I won’t bother you with them all, just 2 from each exposure range with a brief description. Don’t expect fine art here, it was a snap session to test a number of factors and to see how the film has deteriorated over time.
These pictures have not been retouched apart from having a frame put around them. They are as scanned, for authentic representation.
200ASA
The advertised, original roll ASA rating. Very low expectations and it didn’t disappoint.
Extremely underexposed
Again under exposure, and a brown hint
At 200ASA the shots were certainly under exposed. The pictures have a cast over them and after development there is a lot of curl on the emulsion (Age) and the base of the film also has a darker tone, creating that yellow brown cast.
100ASA (+1 stop overexposed)
The best two exposures represent the first overexposure of one stop from 200ASA to 100ASA.
Pretty nice overall exposure
Again nice exposure and highlights very prominent
At 100ASA everything seems quite acceptable. There is that hue over the film still, and highlights seem quite prominent. Grain is present but not too distracting.
50ASA (+2 stops overexposed)
If you work by the suggested standard of one stop of exposure for every 10 years then this should be the standard. However I’m not so sure.
Nice colour, highlight prominent and quite a bit of a yellow hue, would need adjustment post processing
Could have been taken in the late 70s or early 80s
So with the exposure at 50ASA we have now introduced quite a bit of grain, a yellow hue and quite prominent highlights. I’m sure all of these pictures would post process fine if run through photo shop or light room. But to be quite honest I love that retro look that they have.
For me i’d probably aim at the 100ASA +1 stop of overexposure on the remaining rolls I have, I believe that would be quite enough, however even the 50ASA option is not too bad though you would require a lot of post working and you’d have quite a noticeable size grain.
Horses for courses as they say, but I’m going down the +1 stop overexposure route for the next film.
I found a little local photo store here in Leicestershire called Classic photo supplies, who specialise in all film processing, supply, printing and Sundry items. The owner Brett invited me in and we just chatted classic photography whilst my film was developing. He’s a super guy, and I’m all for supporting small businesses, so this is my new go to lab. The scans were done and over to me by email within an hour, super quick service. I’ll pick the negatives up in the week when I drop off another film to be developed and scanned.
Thanks for passing by. As always I am honoured by your presence.
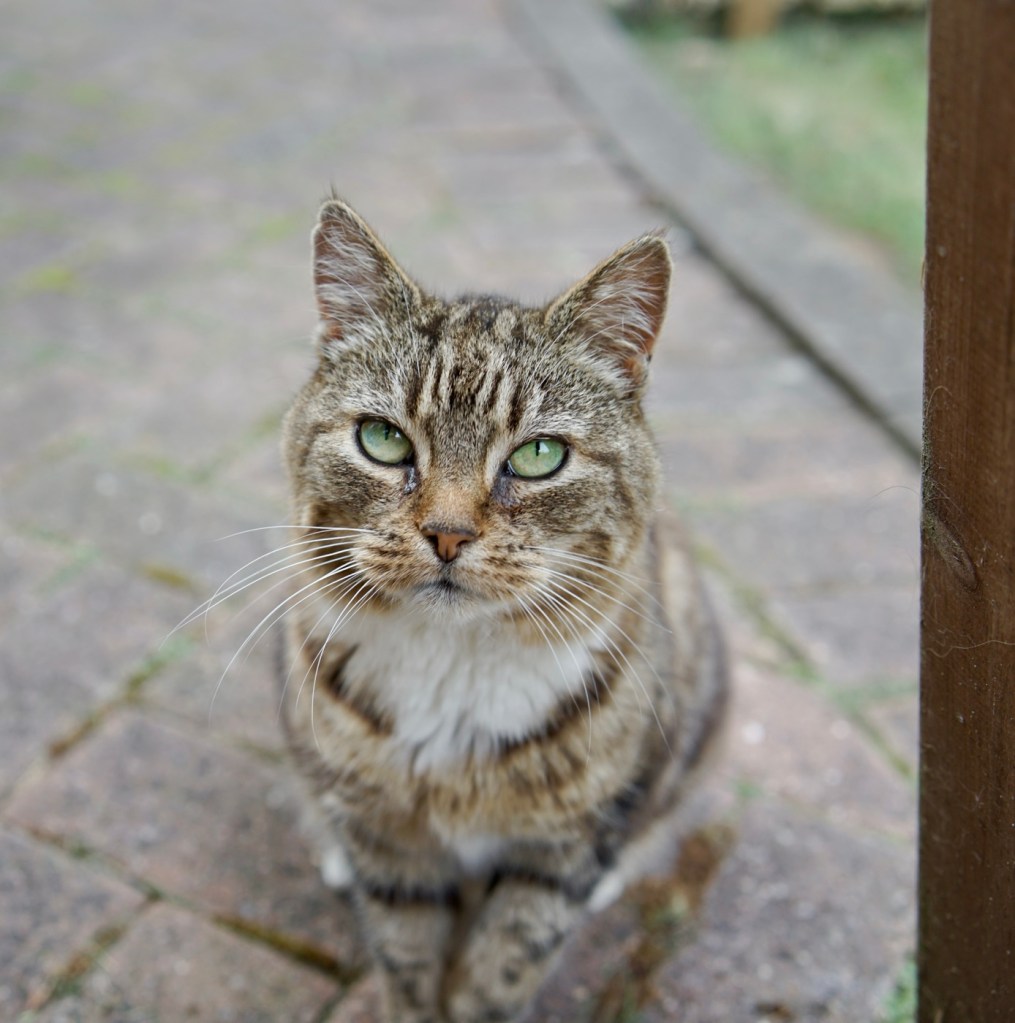
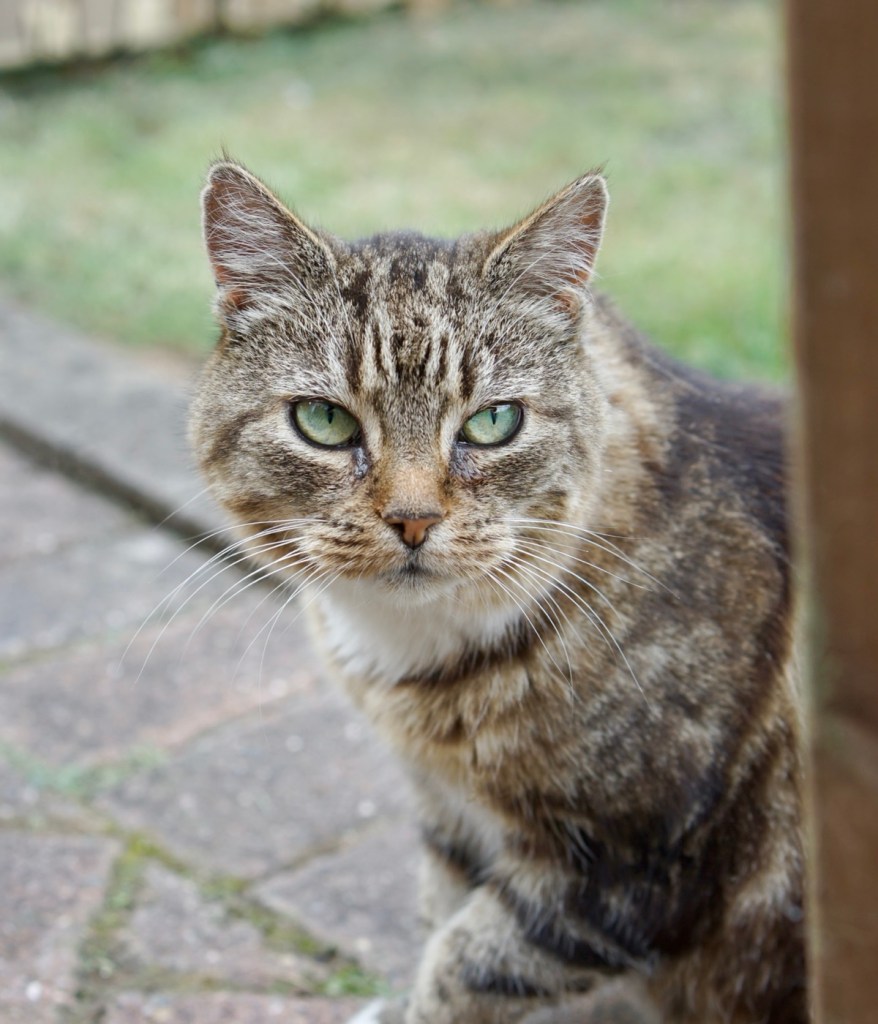
Now I’m not a Cat person as such and you are not going to find copious amounts of Cat pictures on my pages. However, tonight is different as I required a suitable model to just test the new camera, so here I introduce “Tabs”.
There is a story around Tabs, we purchased our current house about 8 yrs ago and she featured in all the pictures that the estate agents took of the garden. We thought she was the sellers cat but this is not so, she is a Feral soul, and this is in fact her territory and we have moved into it. It’s her property and not ours.
She chases all foxes and other cats from the garden and is an excellent mouser, she had a lovely relationship with our little dog that passed away last year, she likes the hedgehogs and she loves company.
But she will never enter the house, we have all doors wide open and she remains outside, she is more than likely a domestic cat that chose to go feral.
She is fed numerous times a day by us, it’s our way of paying her rent to use her garden. My new camera was purchased as an early present from my lovely wife, and needed a quick test, and Tabs was there in the garden mooching around as she wanted feeding. I therefore just rattled off a few shots to do some basic testing of the camera. I’m really happy with it, but there is still a lot to learn about it.
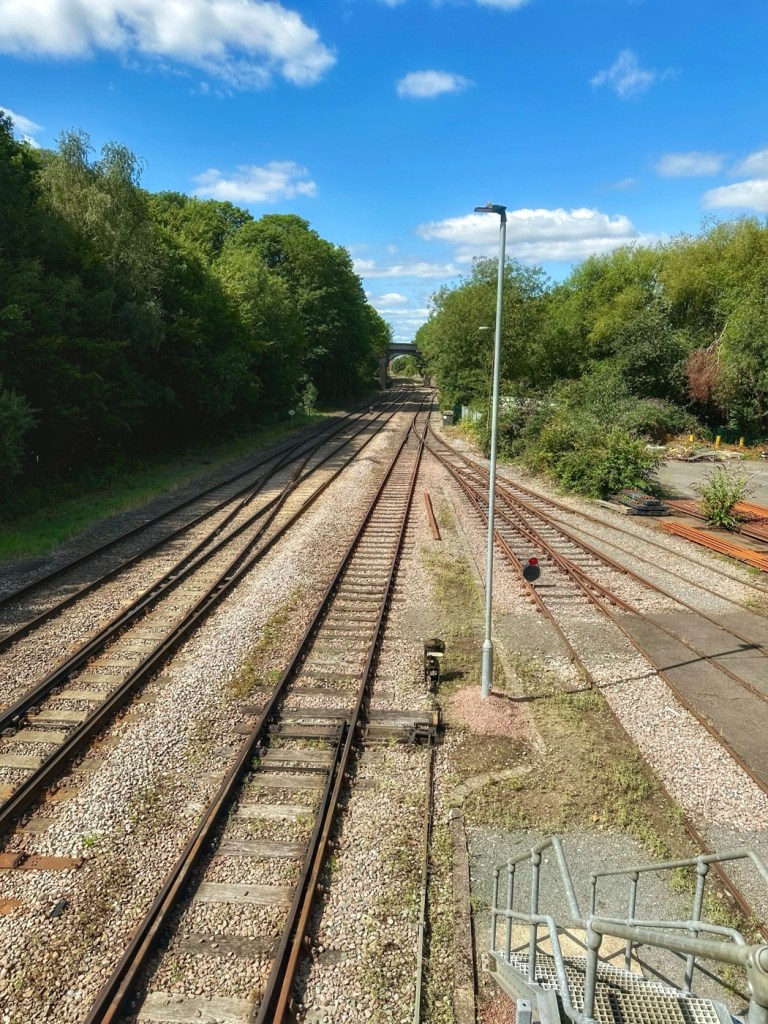
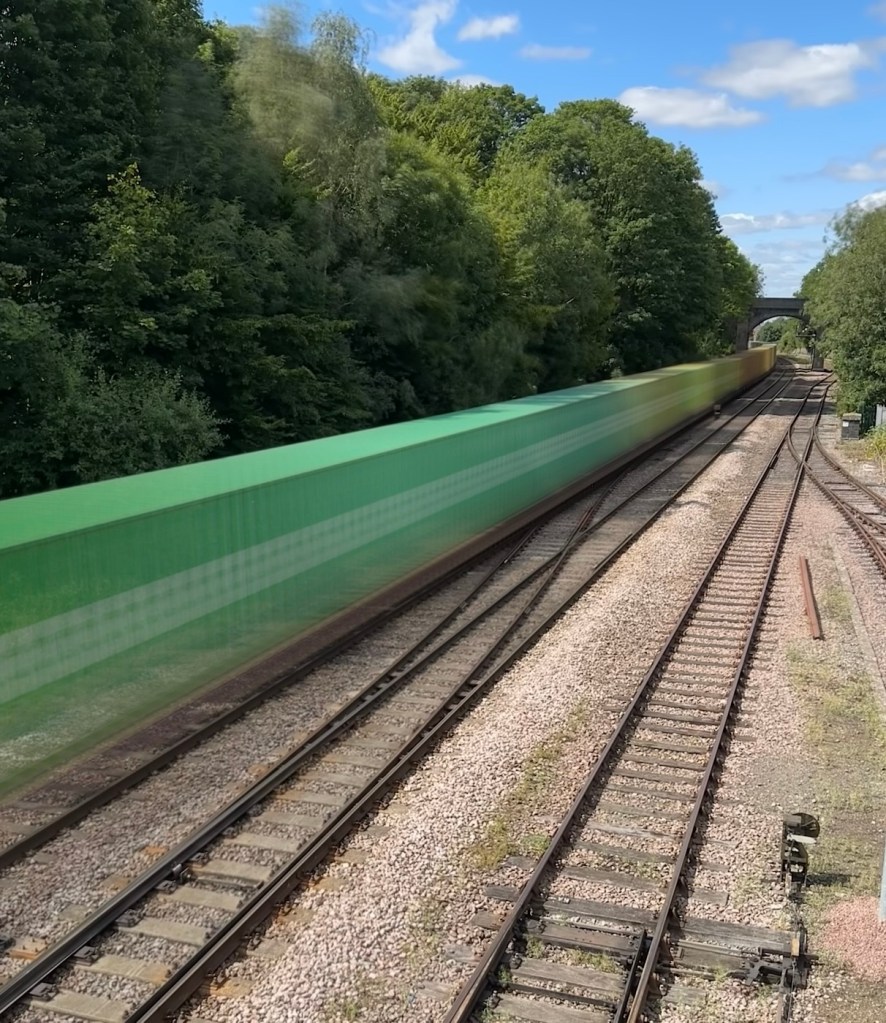
Here are four photos taken whilst I was visiting the signal box at Melton Mowbray. This train line is between Leicester and Peterborough and has a number of Victorian era signal boxes still in use today. All pictures taken with my IPhone 14 Pro Max.
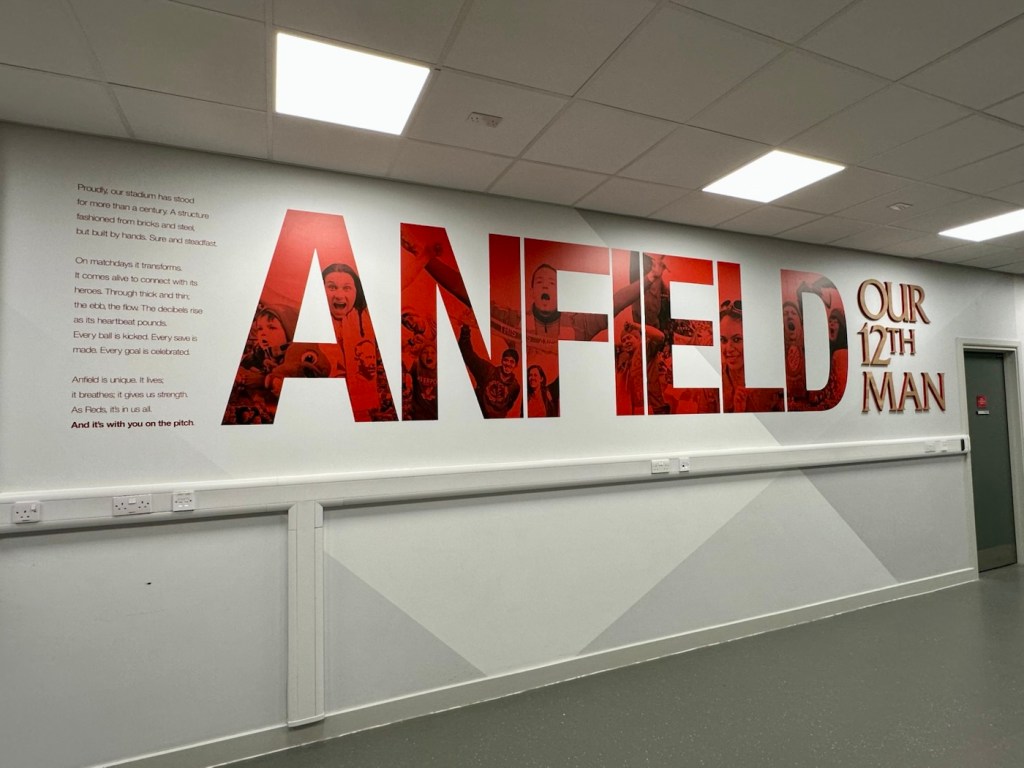
I purchased this camera for just £8:00GBP, damaged a few weeks back. It’s a 9mp camera from back in 2005. It was the simplest of repairs and that post can be found here: Fujifilm Finepix S9500. It’s a lovely little camera, and today we took my 11 year old nephew to Liverpool for the day, to celebrate his birthday and to do a stadium tour of his favourite team. And i took the Finepix S9500 to see if it worked, and I’m pleased with the results. I got some looks of sympathy when I pulled this one out of the rucksack, but who cares, I fixed this, and it works. Yes your big flash fandango cameras are lovely, but to be honest I’m just interested in enjoying my time out with family and getting some snaps. Here’s a selection from today. Nothing special, as I said just snaps.
Today I took the wife to have some dental treatment. Whilst awaiting for her to rise from the chair, I decided to take a walk around the local park and surrounding areas to take some pictures. I only had my iPhone with me, so I snapped away. Whilst back in the surgery waiting for her to exit her temporary “Prison” (Her words, not mine) i was able to do some edits of what I’d seen. A thoroughly enjoyable walk, and a view of the area that on previous walks, has just passed me by.
Strange title. I know. But I had my first experience of it only yesterday. A photographic moment that I’ve never experienced before, but shall be using more of in the future.
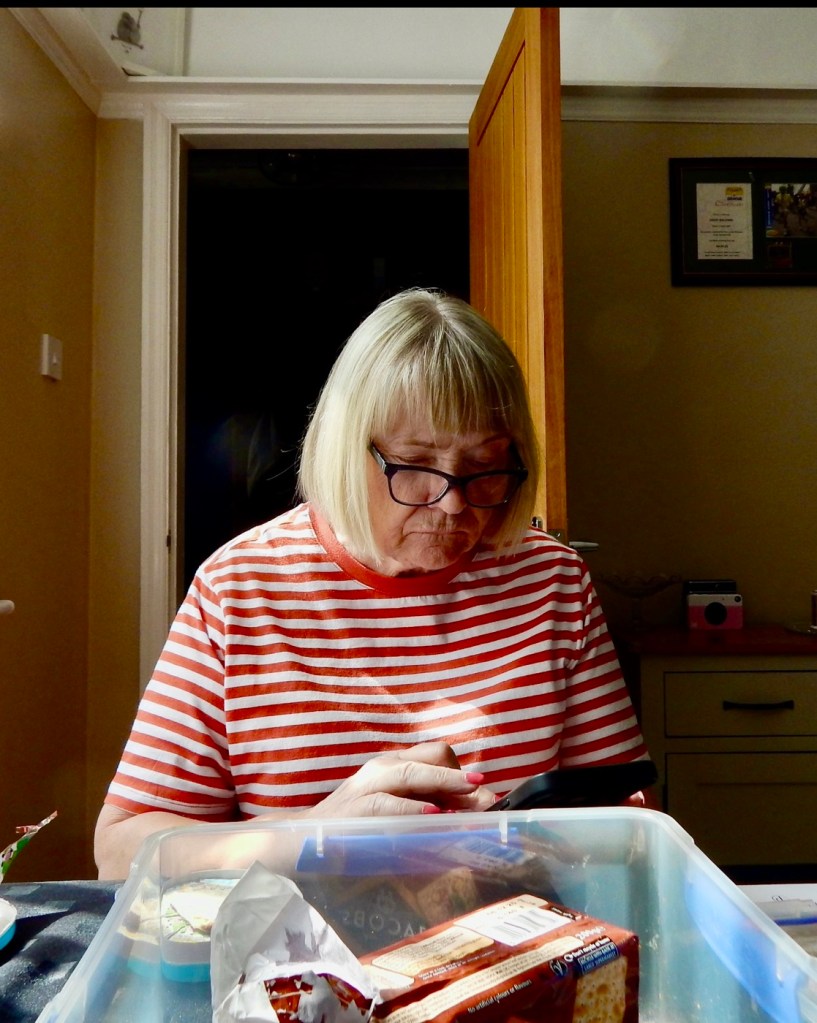
My dear wife – totally unaware, as was i
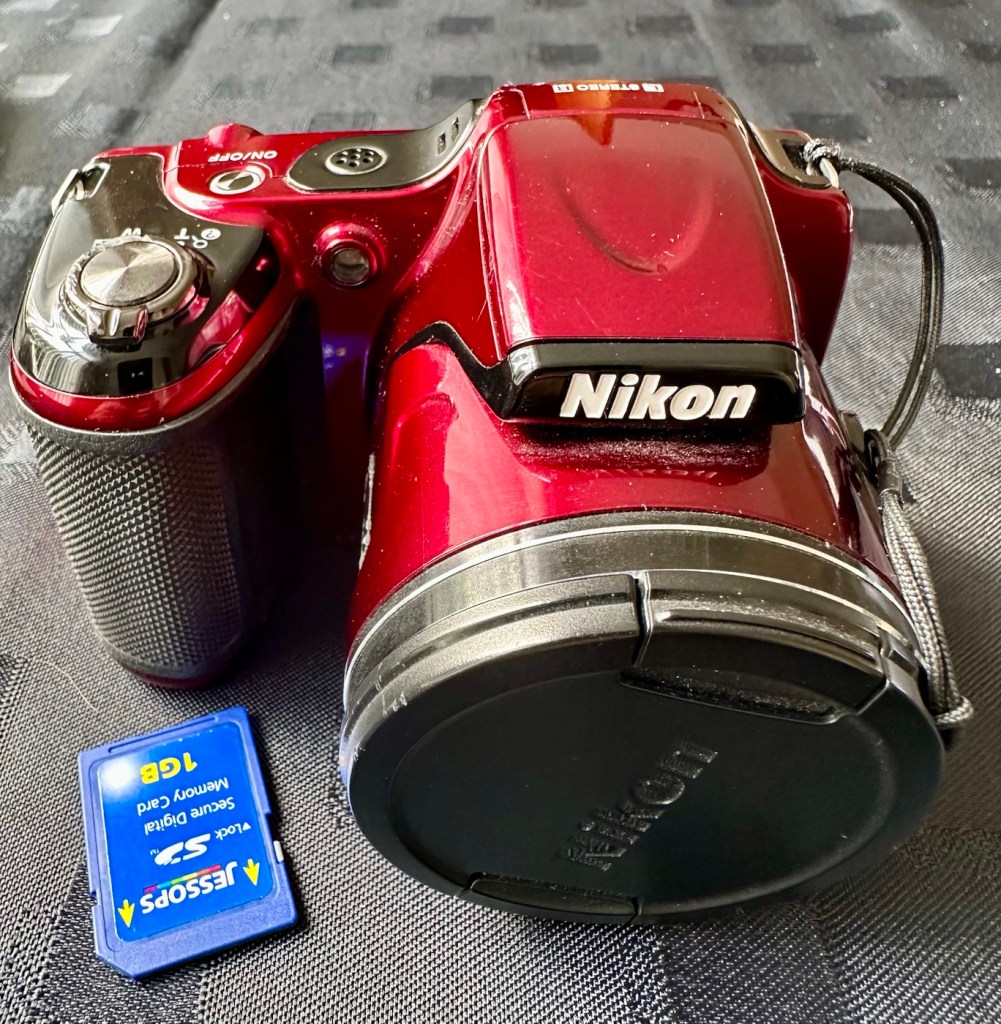
I’m currently in the middle of repairing a Nikon Coolpix L820 16mp bridge camera. The camera has a broken rear LCD screen, and this is the only way of seeing the subject as there is no through the lens viewfinder. Whilst testing its limits and finding out about the faulty screen, I became aware that it sounded as if was working, it was making all the right sounds. So I threw an SD card into the camera to give it a try.
I was just pointing anywhere and pushing the exposure button, taking pictures of everything and nothing, I had no control on settings and functions only the exposure button. Anyway, I did this for a few minutes then transferred the SD card to a reader connected to my iPhone.
Nikon Coolpix L820
Wow, I was impressed with this one picture only, of my dear wife just finishing some lunch. She wasn’t aware I had taken it and neither was i.
This is the magic of photography.
The original was colour, I was so impressed with the sharpness, tones and colours in the picture. It’s not a particularly good picture, just a candid one of someone going about their day, totally innocent and unaware.
I love Black and white pictures, so I quickly converted the colour version via my phone.
I was in two minds as to whether I continued with this repair, as the cost of parts were rising the more I delved into it. This picture alone, changed my mind. I am going to finish the repair as this camera is too good to let go.
And I’m just amazed, that a random photo, that the photographer and the subject were both totally unaware of being taken, has come out so well. (All that has been done is a bit of cropping to align the subject)
The post for the camera referred to herein, will be published shortly.
Fujifilm Fuji instax mini 40 instant camera . Functional, but flash NOT working .
LISTED REPAIR OR SPARES . NO RETURN .
THE CAMERA IS TESTED AND WILL,POWER UP AND TAKE A SHOT AND EJECT A SLIDE CORRECTLY. Please watch uploaded video .
HOWEVER THE CAMERAS FLASH IS NOT WORKING . This is the reason I have listed the cameras as repairs or spares.
Hopefully someone knows about these cameras and knows whether the flash unit just needs replacing or if it is an electronic fault that needs sorting out can fix it . Otherwise the parts will be useful to someone who repairs these .
No batteries or film is included .
The camera body is in very good cosmetic condition. There are only light surface marks in terms of signs of use . . Please see images as they are part of the description.
The red light to show the camera has powered up lites up when the button is pressed to extend the lens and turns the camera on .
When you close the lens down it locks securely into place .
The frame counter is working .
The film compartment is clean and the rear door shut correctly and securely.
Battery compartment is clean and the battery cover locked into place securely.
The camera is powered by to easily available AA batteries ( not included) .
EBay
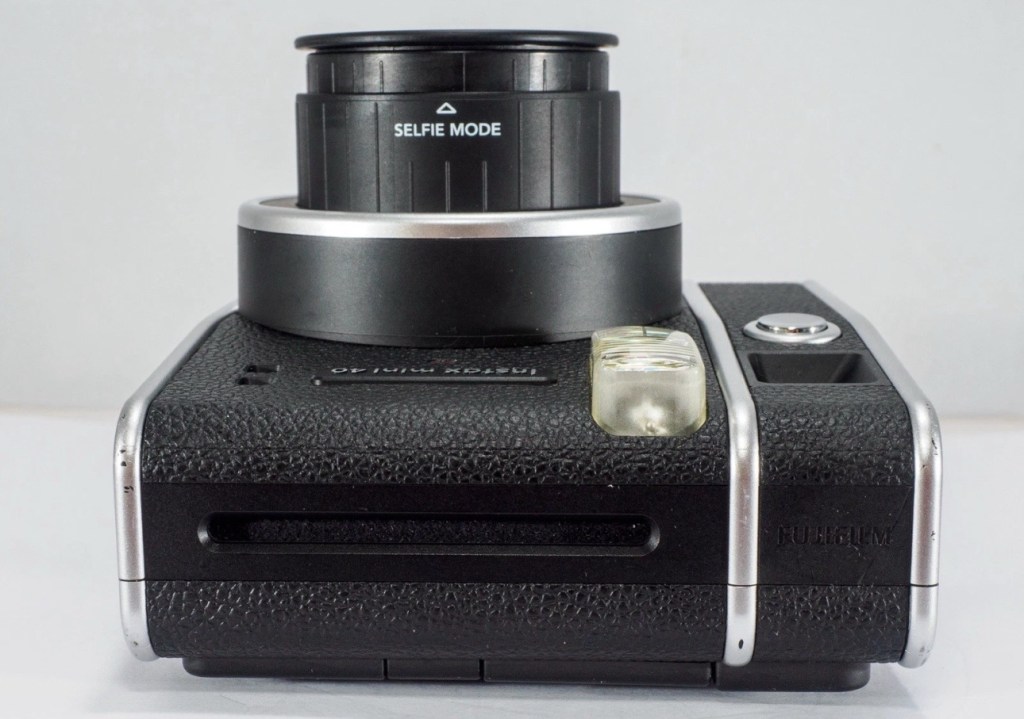
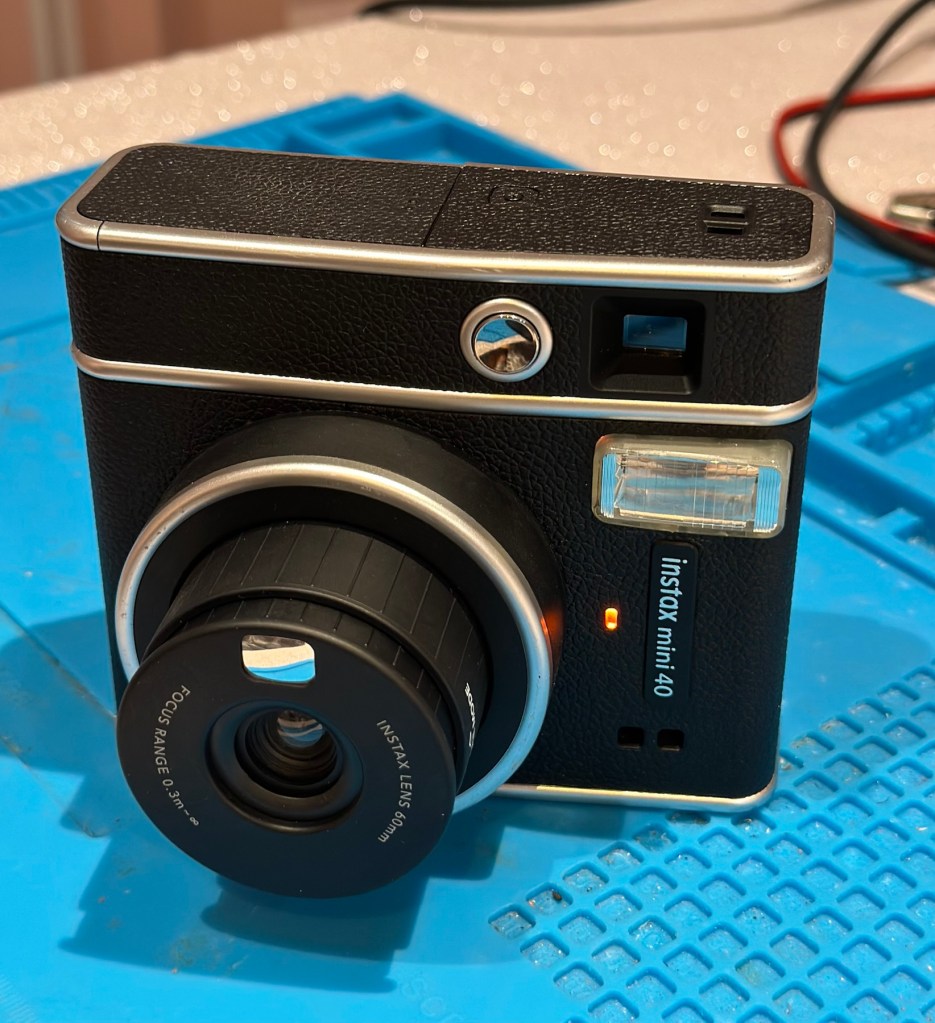
The Instax mini 40
Now that’s what I call a great descriptive sales pitch. And that’s because the guy is a professional seller of photographic equipment. I’ve seen the video he posted and all the above is true, it really is just a problem around the flash. Maybe it’s an easy fix? I suspect not but either way it will be an interesting project.
Here’s a little info on this camera:
Hitting the market in April 2021, the Fujifilm Instax Mini 40 takes the updates the Fujifilm Instax Mini 11 introduced but wraps them up in a cooler, more retro-styled instant camera body. Instant film fans will probably love it and with its improved design, there’s a chance that those who aren’t instantly drawn to this form of photography may just want to have a play around with the Fujifilm Instax Mini 40, too. It does cost more than the Fujifilm Instax Mini 11, though, so you’ll have to decide if the cooler design is worth an extra £20.
+ Pros
It’s fun
Great party camera
Easy to use
Looks cool
– Cons
Film is expensive
Viewfinder could be better
Powered by AA-batteries
Ephotozine.com
I first of all went in with a cheeky bid of £15:00GBP that the seller originally turned down, so I then put in a high bid of £18:00 and as no one else was wanting it, it actually sold for £16:00, just £1:00 more than I’d originally offered. All in all the cost with the postage was £19:45GBP and I’m really pleased with this. Im surprised though that there are flash issues in a unit that is only just four years old. As you can see in the photo below recent sale prices have been strong and a great deal higher priced than what I have just paid. These are certainly popular little camera’s with the younger generation.
Recent sale prices have been strong
I guess we will just have to await its arrival to assess the flash issue. I’m very confident that I will be able to get this camera up and running again.
Assessment:
Out of all the Instax cameras I have dealt with lately, this has got to be one of the best ones I have had my hands on. This is a mid range instax camera that is more sober in colour aimed at those who enjoy their lomography or better quality instant photography. It certainly looks good, and to be honest I’d rather carry this one around rather than a bright pink one.
Looking nice and sober
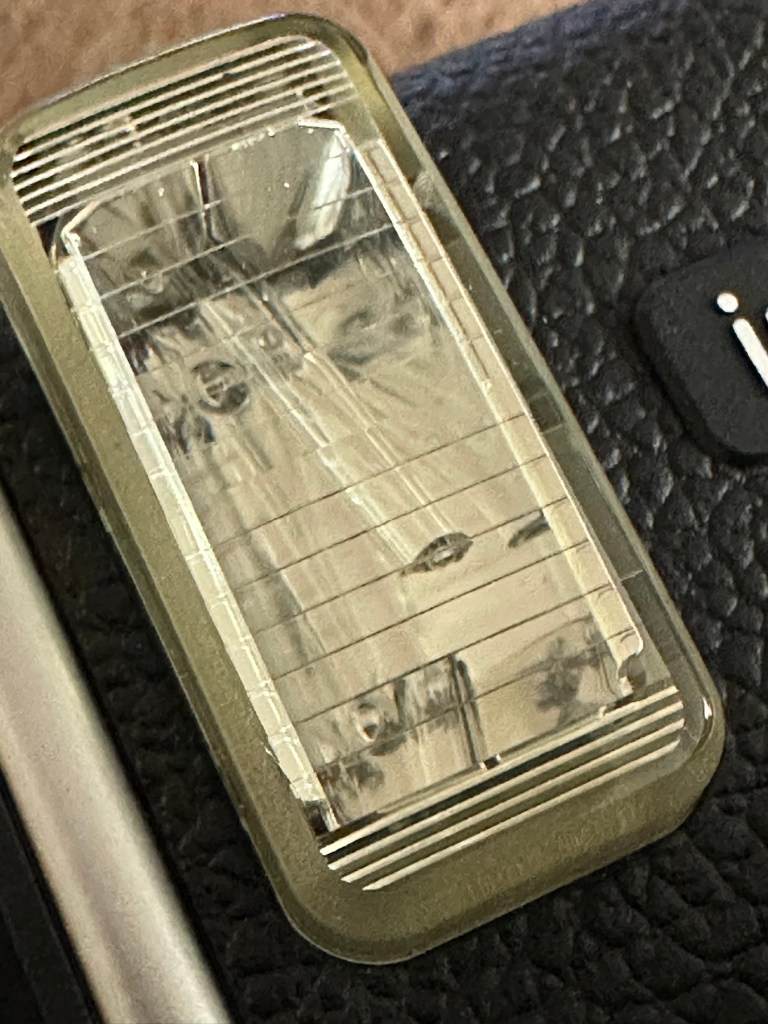
As posted in the description above it is in near perfect condition and a quick Look at the flash head shows that the flash bar within the unit is broken.
Flash bar brokenConfirmed broken when removed
Let’s get on with replacing this damaged flash unit.
Repair:
Let’s get it opened up.
Dismantling
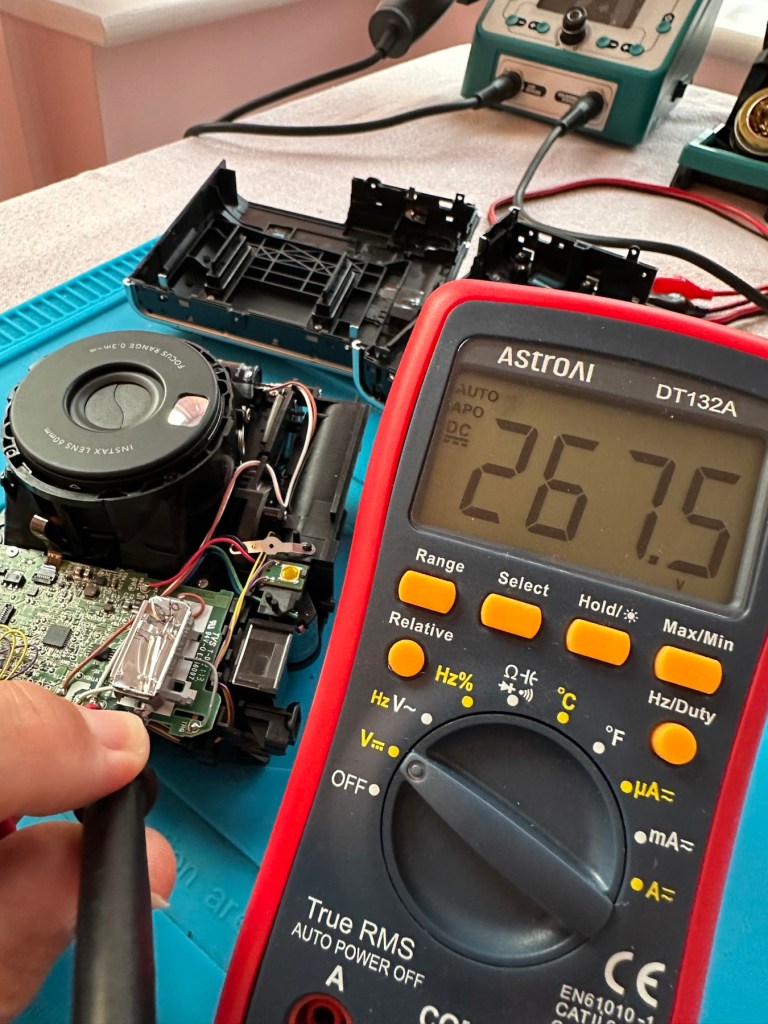
People laugh at me when i tell them that playing around inside these units could kill you. I can understand the contempt aimed at me for such a statement, when I’m carrying a bright pink camera that hardly looks dangerous. Just look at the voltage still in the flash capacitor though once I have opened it. Savage.
Residual voltage of 267v still in the flash capacitor
270v would quite easily send you across the room, if you had a heart condition it would probably be game over. I’ve learned my lesson in the past so I ensure I use a capacitor bleed probe before I go anywhere near one of these flash capacitors. The capacitor on this camera is rated at 320v, not to be messed with. Beware. What’s more impressive is that all this energy is supplied from two 1.5v AA batteries. Clever stuff.
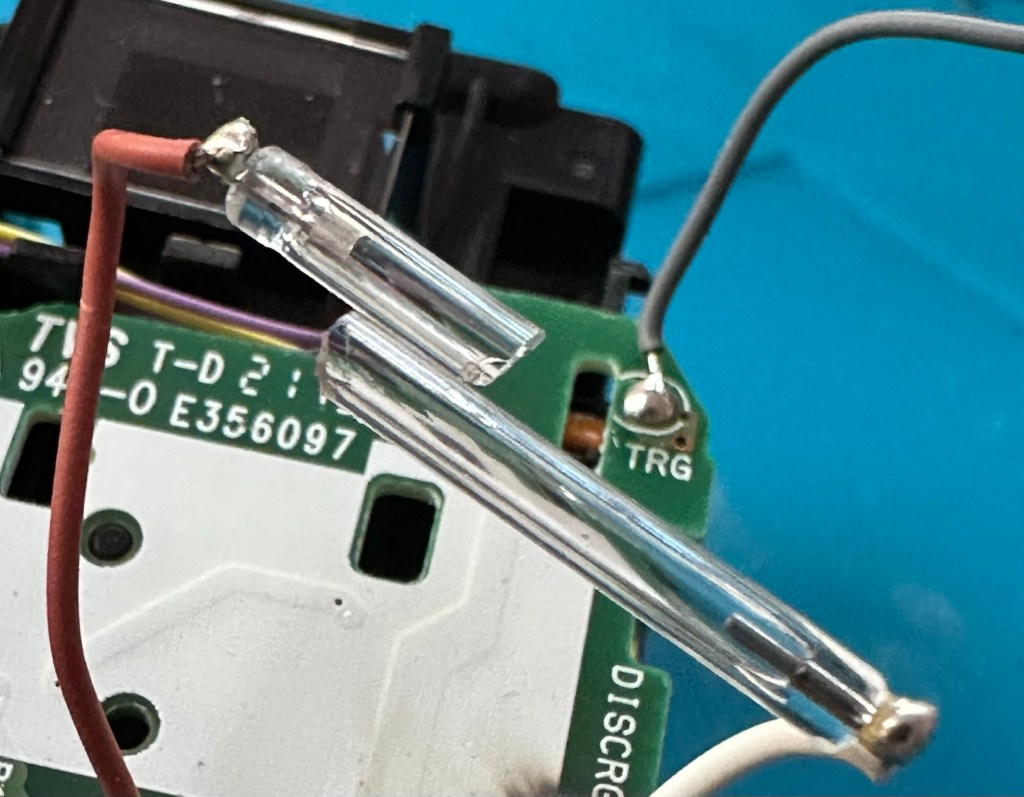
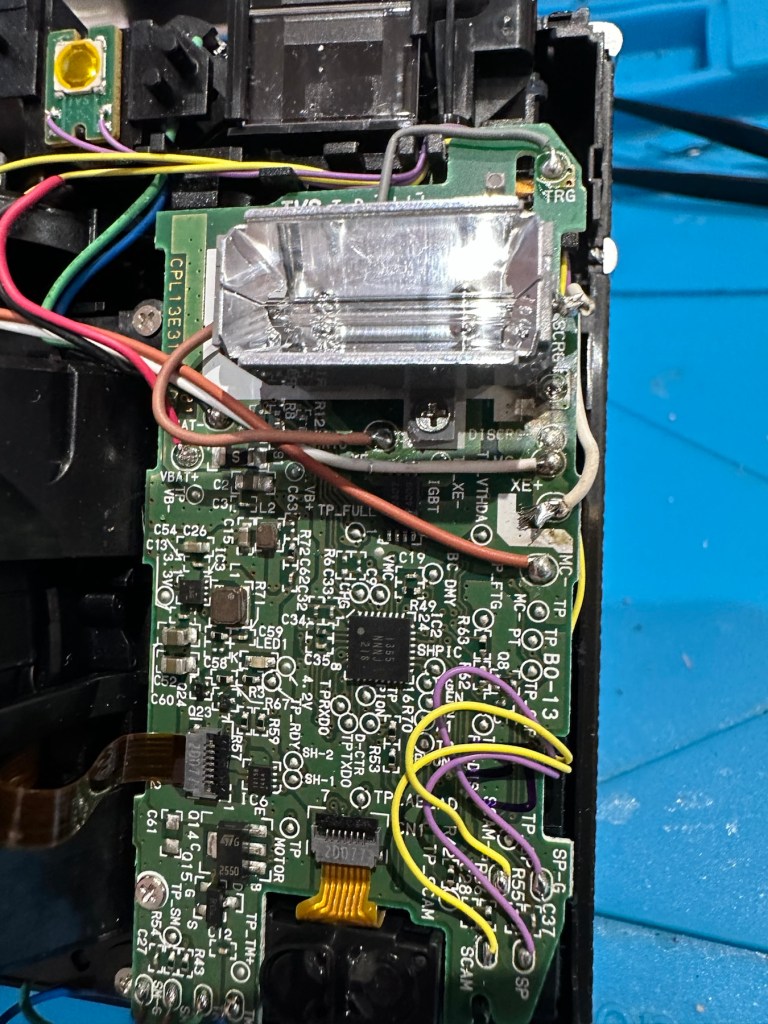
I have a donor flash bar in an old spare unit. I have carefully unsoldered its connections and gently removed the very thin glass tube from the donor unit and placed this in the one situated on the new camera.
The donor unitIn place and soldered onto the board of the repaired camera
Carefully, once inserted into the flash reflector, i have soldered it back onto the board. All looking good. However I need to test the flash so I temporarily put the case on, bung in two batteries and turn the camera on. Press the exposure button and the flash fires perfectly. Happy days. I now can confidently reassemble the camera back together, and I’m pleased that when this is done there are no screws left over. All small wins.
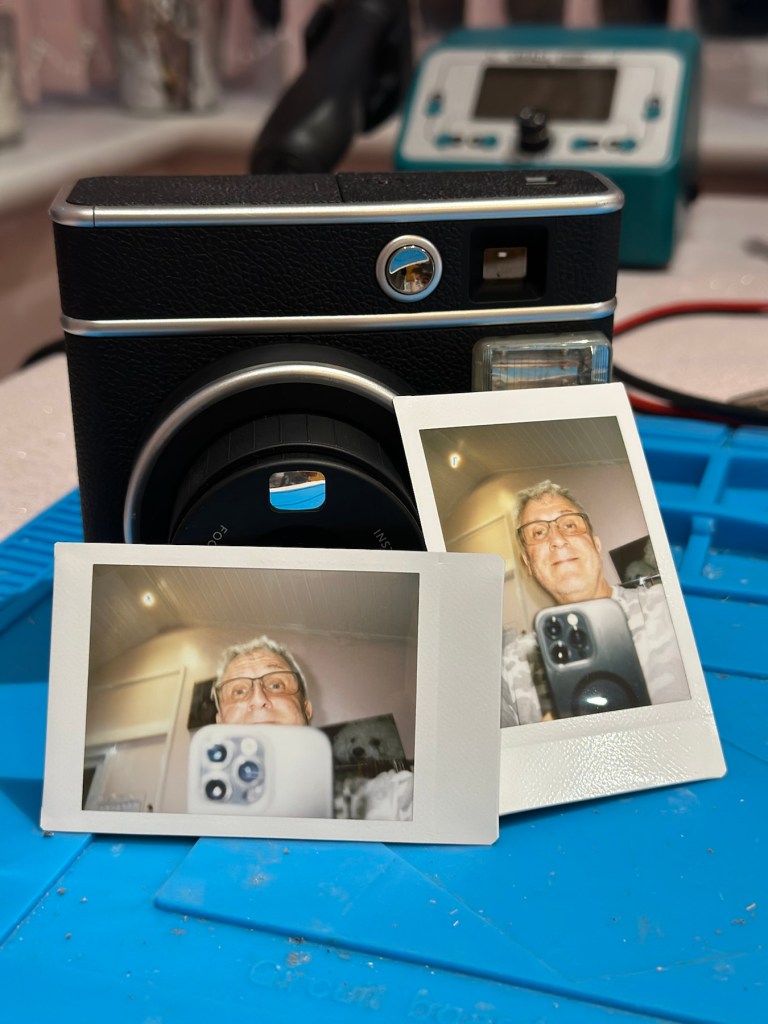
I have some film available so there is no better time than the present to give it a try.
Result:
Nice flash – working Working perfectly
I’ve loved doing this repair, this is a good quality, great condition, and now in perfect working order camera, brought back to life with many more years of use left in it.
But it could have been just chucked in the waste. I’m keeping this one for my collection as it’s a fantastic example acquired at a very good price. Thirty minutes of attention is all it took.
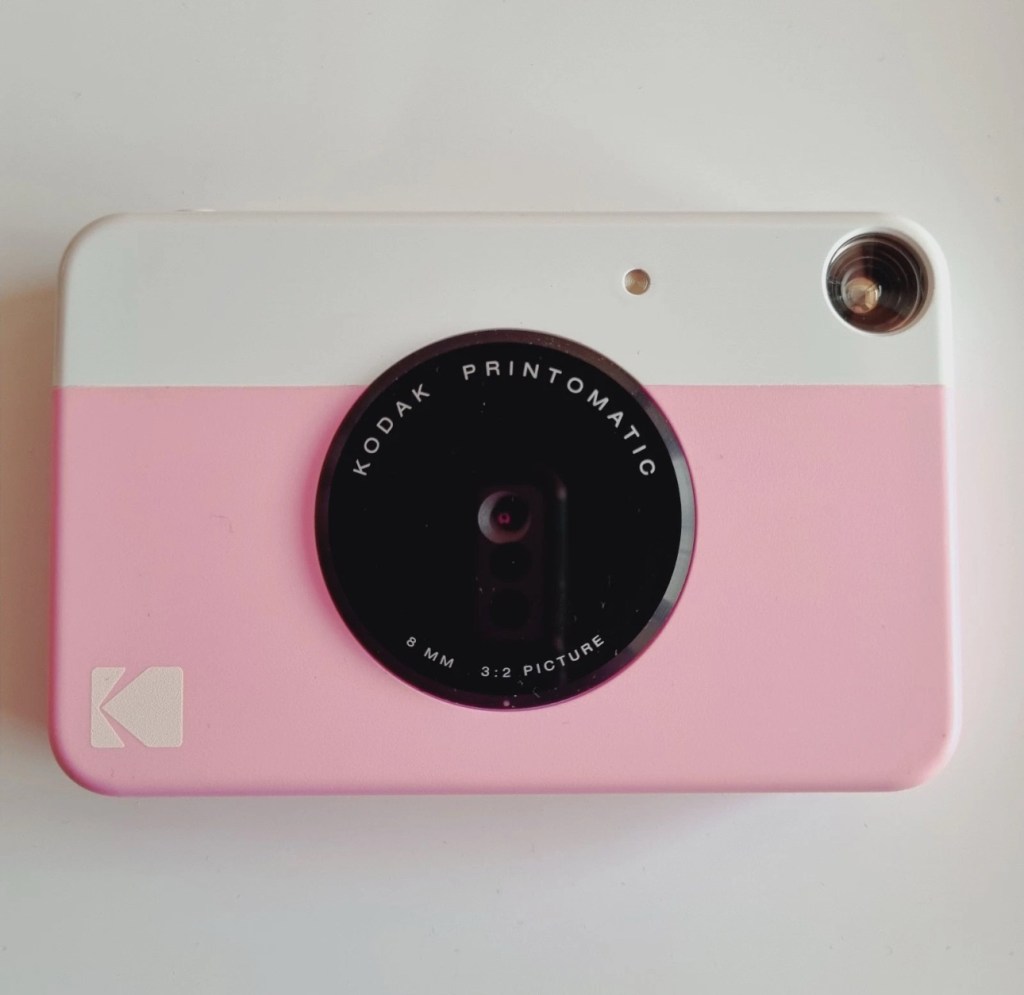
I’ve just purchased three of these cameras for a total of £24:98GBP. All non working of course but when healthy they normally command a price around £35:00GBP each. Here is what the listing said for each one:
Camera one:
Camera one
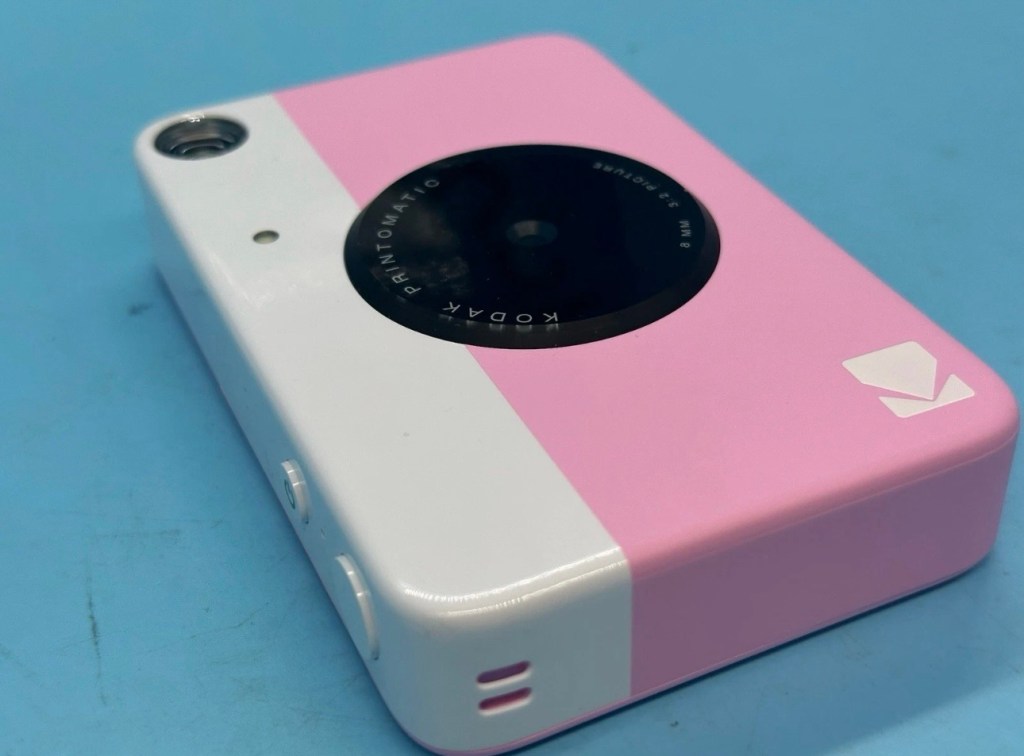
Kodak Printomatic Digital Instant Print Camera
Camera does not print
Can be repaired or used for parts
EBay
Camera two:
Camera two
Camera is in good cosmetic condition.
Camera doesn’t charge. Battery charging light flashes but it doesn’t hold battery.
It hasn’t been tested further.
EBay
Camera three:
Camera three
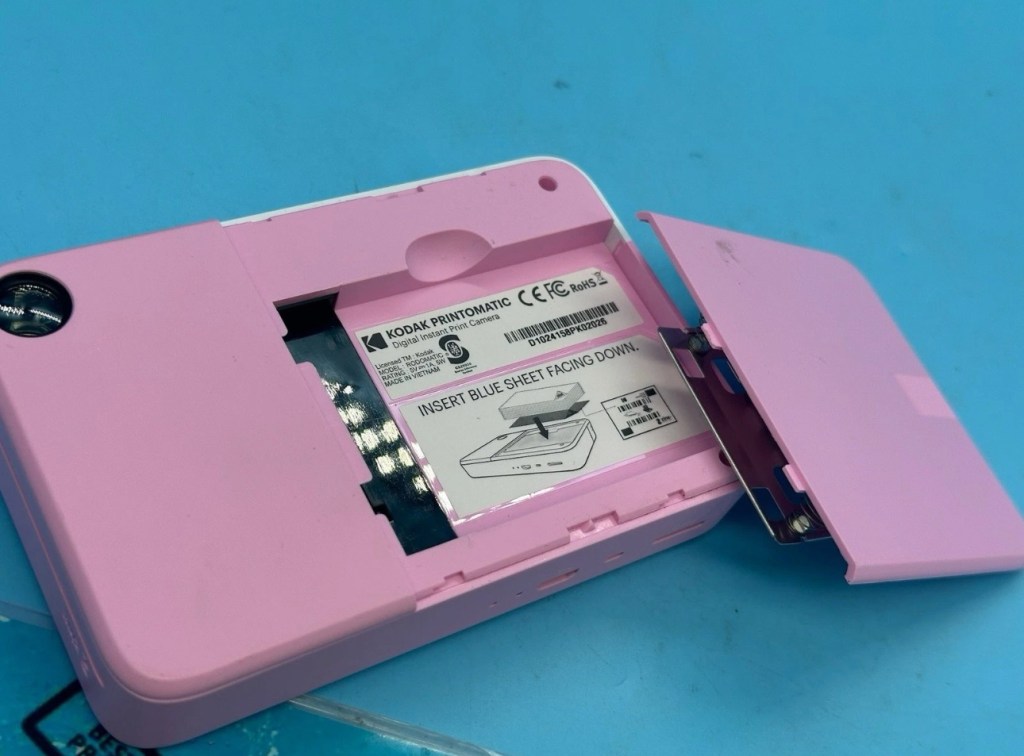
Please look at the photos carefully, as they make up the majority of the description.
It has two faults
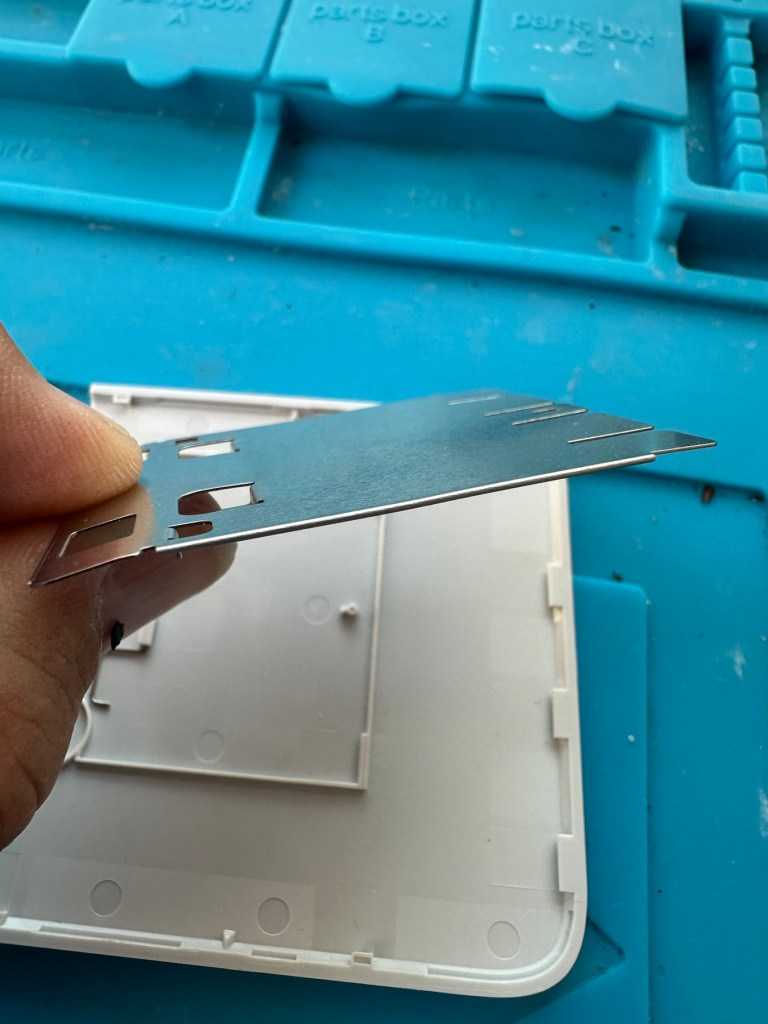
The springs on the back are broken, meaning the rear metal plate is bent , and it often doesn’t push photo paper through correctly.
The shutter button is also depressed.
EBay
This third one might be a longer term repair as I’ve never known a quick fix for a depressed button, that requires a psychiatrist… (That’s me just trying to be humorous, I’ll grab my coat and leave now 😂🤦♂️)
To be honest the issue with the third camera seems to be a regular problem based around the design of this camera. Too much pressure on the button normally results in the switch inside detaching from the main board, it’s poorly positioned at an angle and usually not soldered in place too well. The springs should be an easy fix.
I’ve brought these cameras from three different sellers. if I’m lucky I’ll be able to get all three up and running, worst case scenario is that I use one for spares and have two good working examples.
Anyway I’ll just have to wait for their arrival to assess them all, and decide what repairs are required. In the meantime here’s a little bit about these cameras that are again very similar to the Polaroid “Snap” camera range, that also use zink paper. And seeing what is quoted below, the Polaroid “Snap” and this Kodak Printomatic are in all aspects one and the same camera.
Well, since Kodak doesn’t really make its own consumer cameras anymore, the Printomatic is actually being produced by a company called C+A Global, which is just licensing the Kodak name and branding. C+A also licenses Polaroid, and was behind the two-year-old Snap. Both cameras were designed by Silicon Valley firm Ammunition Group, which confirmed to The Verge that the Printomatic is basically the same camera as the Snap, though simplified and rebadged. (The cherry on top of this corporate synergy sundae is that C+A also works with Zink.)
Released 2017
The PRINTOMATIC camera instantly and automatically prints high-quality, full color photos with point-and-shoot ease. It uses KODAK ZINK Photo Paper, so no ink cartridges or toners are needed. The photo prints are durable, water resistant, and adhesive backed for extra fun. The camera’s speed allows you to shoot a new photo while printing the previous shot. The KODAK PRINTOMATIC is fast, fun, and easy to use.
Features
5MP image sensor
Prints automatically when image is captured
Vibrant 2″ x 3″ photo prints are durable, water resistant, and adhesive backed
Built-in flash
Optical viewfinder
microSD™ card slot
Kodak Ltd & The Verge
The reviews all vary, from very good to downright diabolical, I’m not really surprised since Kodak “Hoared” out its brand name to the lowest bidder many years ago. Am I bitter? A little, as I used to work for Kodak in the days when they were a world leader, the mistakes they made, the decisions and leadership were absolutely awful. And the fact that their demise has lowered my pension pot by about 40% due to their financial mismanagement is another axe that I regularly grind. Yes I am bitter, and since I’ve recently repaired and reviewed their competitors cameras I thought I’d give these a try. Will I be impressed or disappointed? Who knows but I do have an inkling on which way this may swing. But for what I’ve paid for three cameras I’m not really that fussed, it’s just pocket money.
Assessment:
Camera one:
Apparently doesn’t print. Well I’ve put a couple of sheets of Zink paper inside and two pictures were produced. The sd card slot is fine, the charging port is in good condition. Transport is working perfectly. It certainly does print. Just needs a bit of a clean. To be totally honest there is nothing wrong with this camera and for an outlay of £8:00GBP in total I have a working bargain. Kerching – a rare EBay win.
Printer works, camera works
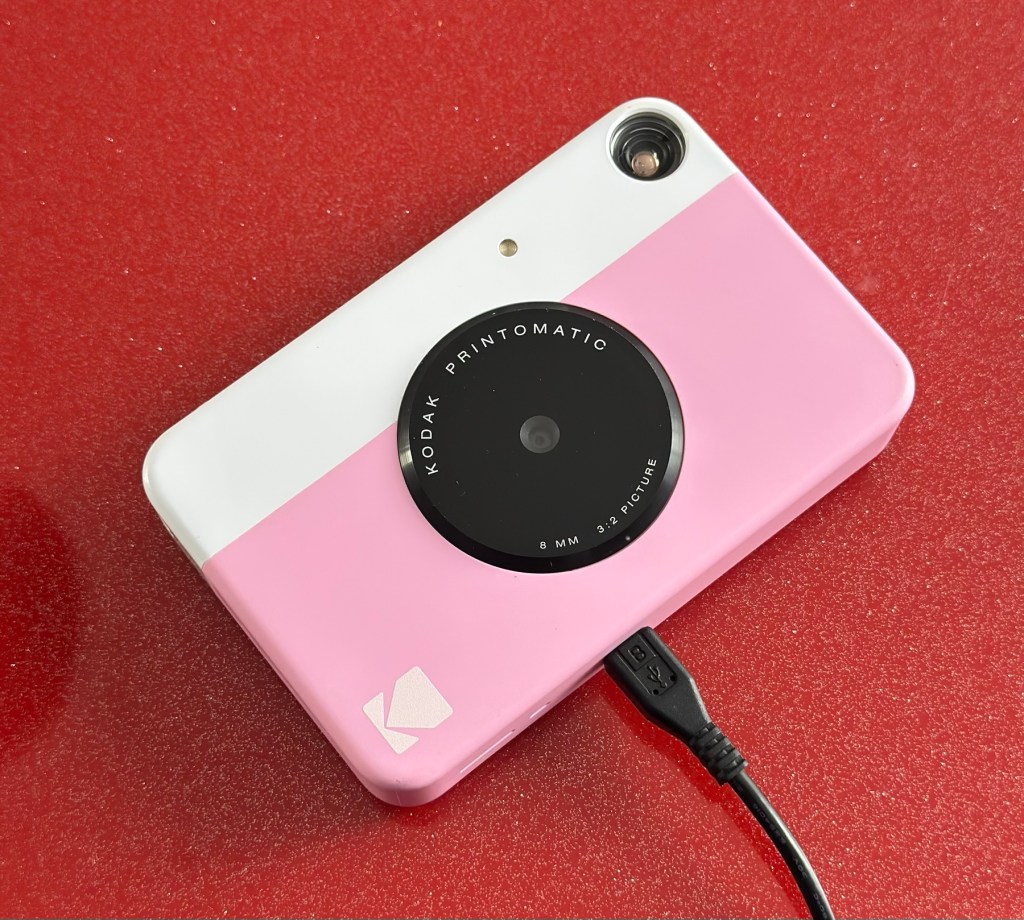
Charges fine Looking nice after a light clean – no marking
Nothing more to do on this one. So on to camera two.
Camera two:
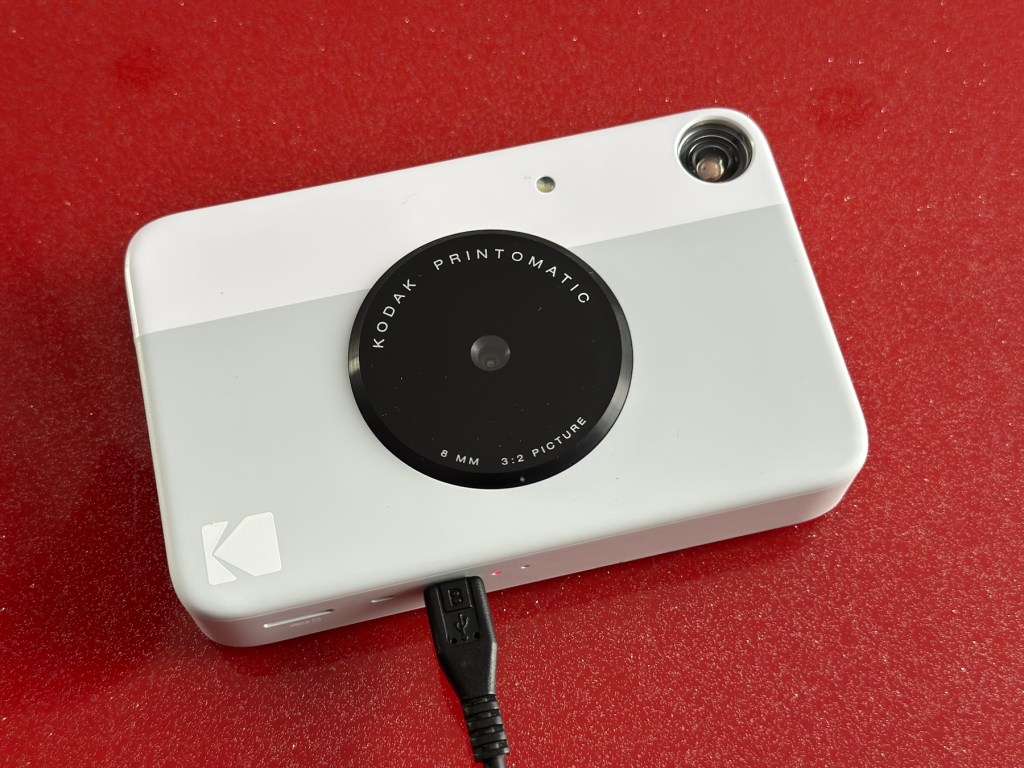
It’s a bit grubby cosmetically but nothing that a light clean wouldn’t sort. This particular one cost £8:99GBP all in. It was dead on arrival so I’ve checked that the charging port was ok, and then put it straight on charge.
On charge
I’ve also given it a light clean whilst charging and the overall appearance has greatly improved. I must just be patient and wait and see if the unit does take a charge, or the original fault appears.
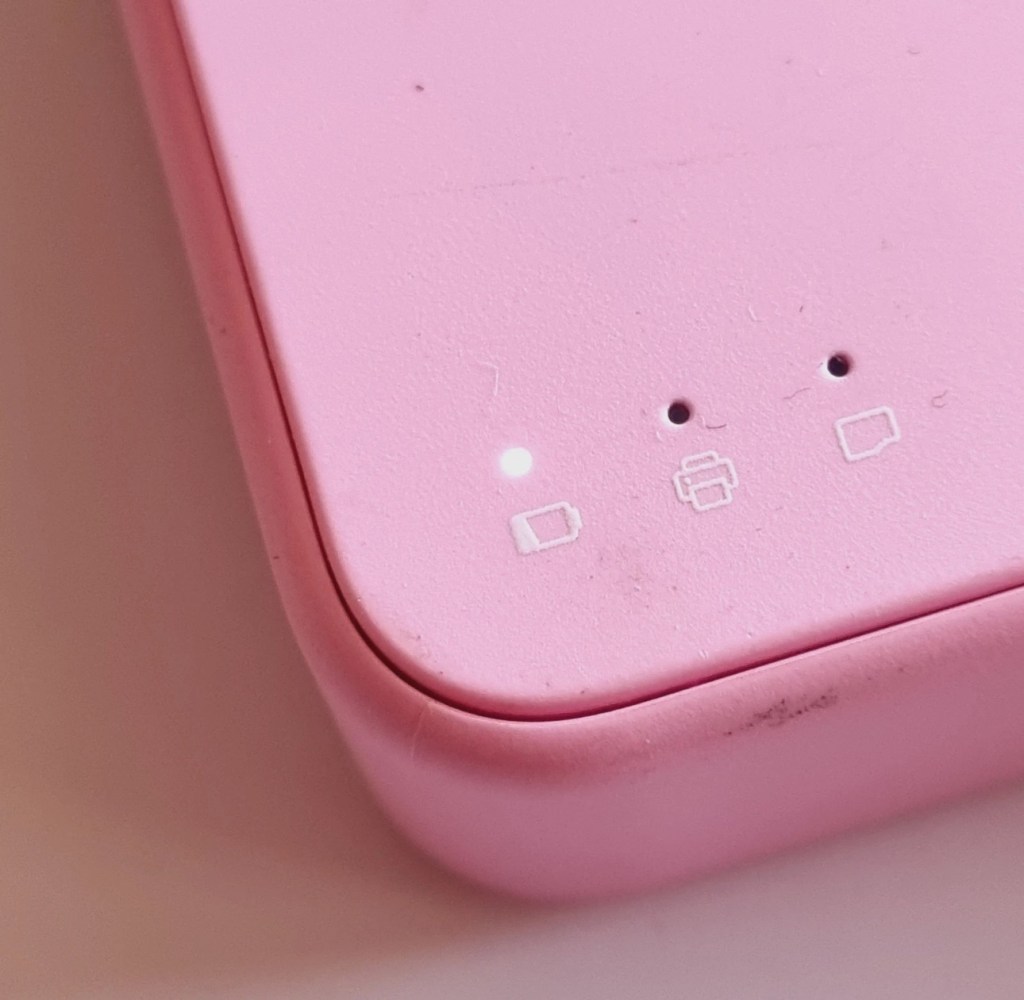
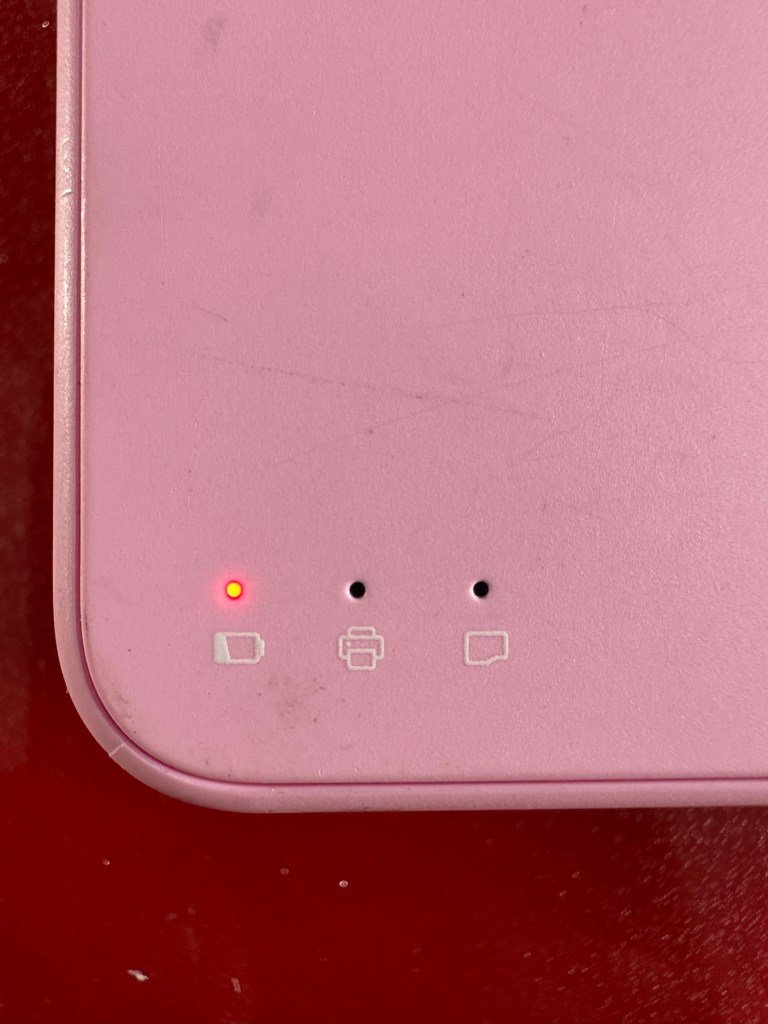
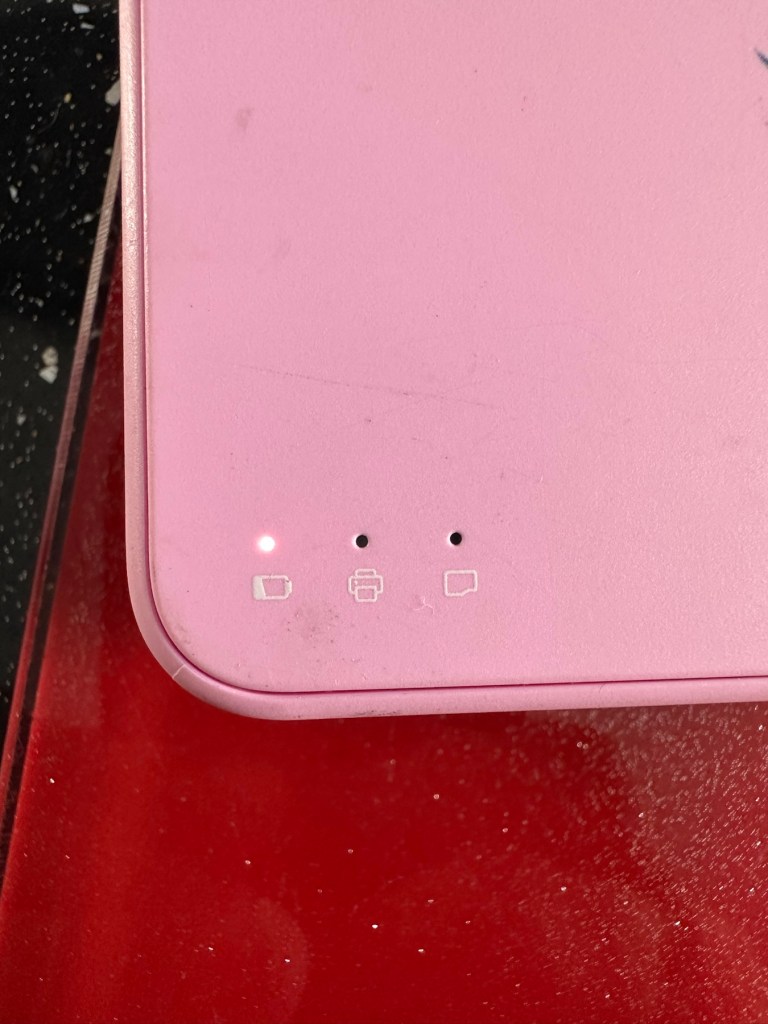
Initial red indicationNow a rapid flashing white indication
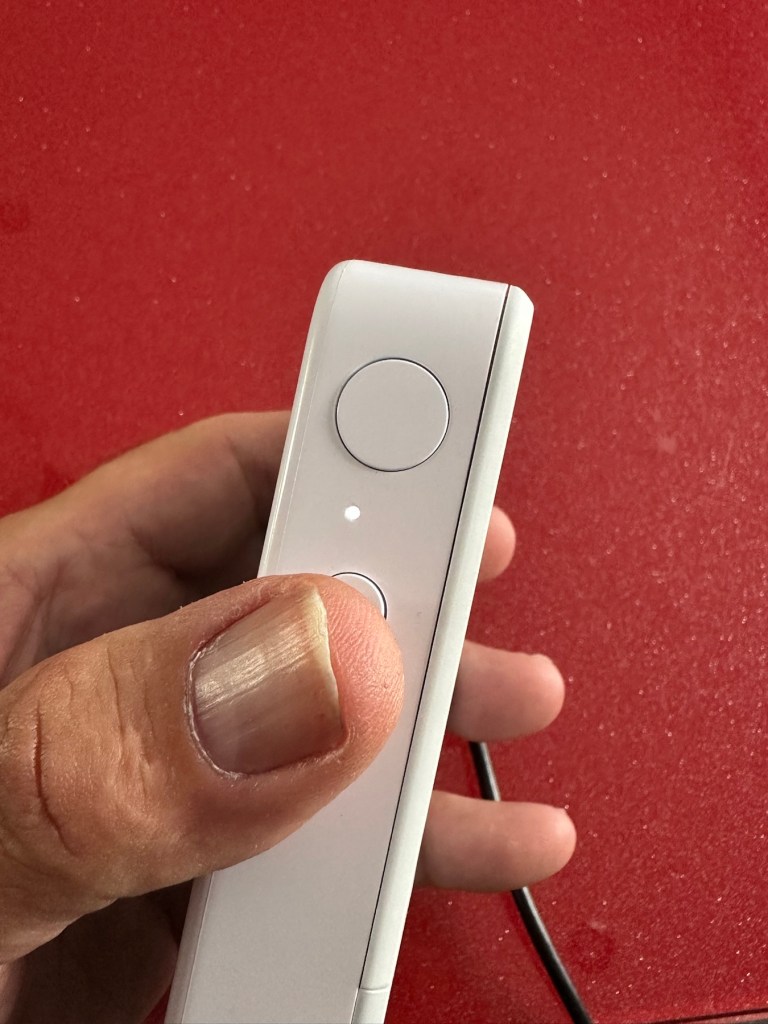
Whilst on charge the originally mentioned fault appears. The charging light was showing a steady red, it is now a rapidly flashing white light with the occasional steady red indication for all of a few seconds and then it’s back to the rapid white indication and it then all repeats. I’ll leave it for a while to see if there is an improvement, the battery just might be so dead that the inbuilt battery management system may just well be refusing to cooperate.the on/off button on the front doesn’t work as well, this might be also related to the battery issue.
Camera three:
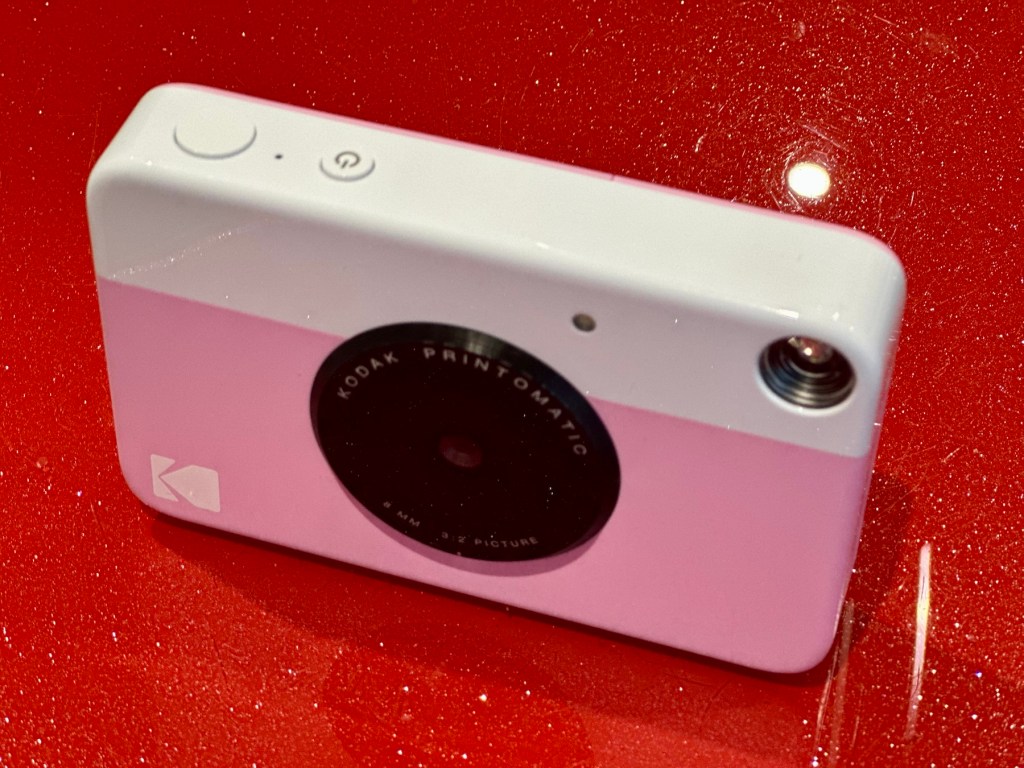
Looking very nice and cosmetically very clean.
Nice camera
This one cost £7:99GBP all in. This one is reported to have two issues, a damaged paper pressure pad and a button stuck in the depressed position.
Paper pressure pad is bent and missing two springs Exposure button stuck in, white light flashing as a result
But first I’ve put it on charge to see that it charges, I’m pleased to report that everything is alright in that aspect, and I’m pleased to say it charged fully with the correct lights illuminated. The white light on the top by the exposure button is flashing as a result of the button being stuck in the depressed position, I believe.
Camera has charged fine
This one will need the paper pressure pad repairing as well as the button that is stuck in the depressed position.
Repair:
Camera one:
See above. No repair required. Just a light clean and some TLC. Why did they sell it as damaged? Who knows just what goes on, in the mind of an EBay seller.
Camera two:
This will need to be opened to get near the battery. We may well be able to get the battery to accept a small charge and this may be just enough to fool the battery management system in the camera to take over and continue charging.
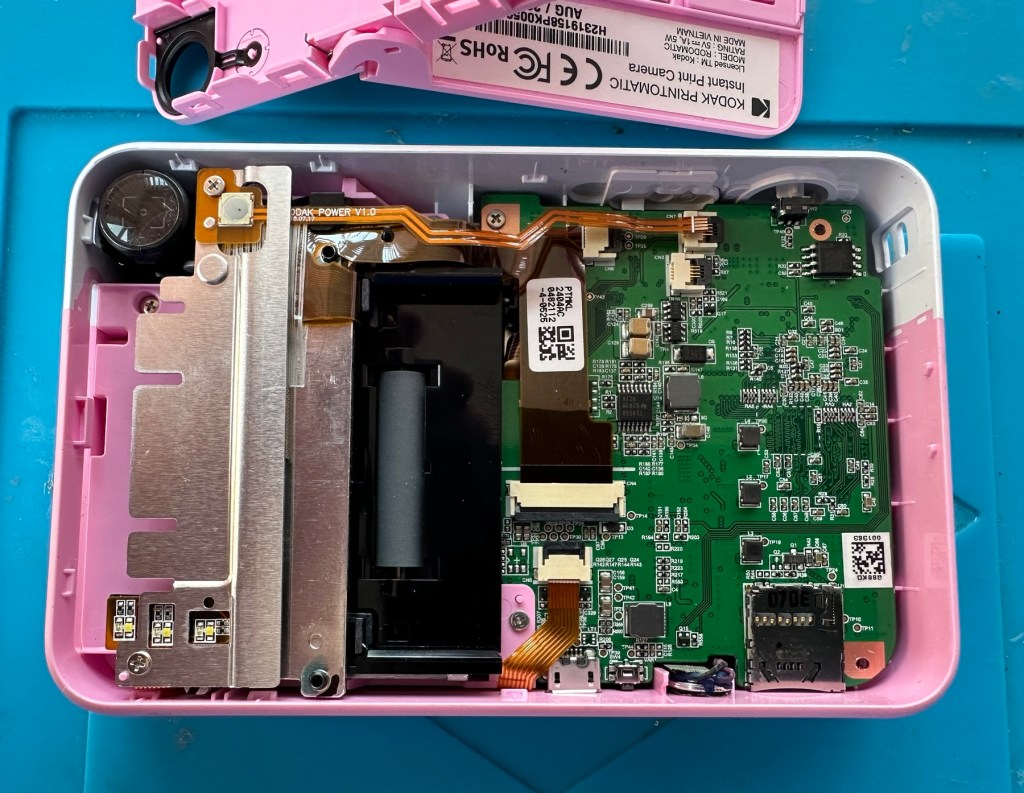
Cover off and the confusing lights
Cover off I’ve checked the battery readings and it’s reading a healthy 6.5v and as it’s a 7.5v rated battery I believe this to be healthy, it holds a steady charge the battery is fine. Looking at the led lights they are capable of two indications, red or white and that’s it. I believe the charging light flashes when it’s charged as it cannot possibly show a green light as there isn’t one. This is confusing as normally a flashing white/red light normally indicates that the battery needs charging. Everything that is happening goes against what the producer has published regarding the led indications. But I am convinced the battery is good despite it not turning on. Hold on, I think I’ve found out the problem here…..
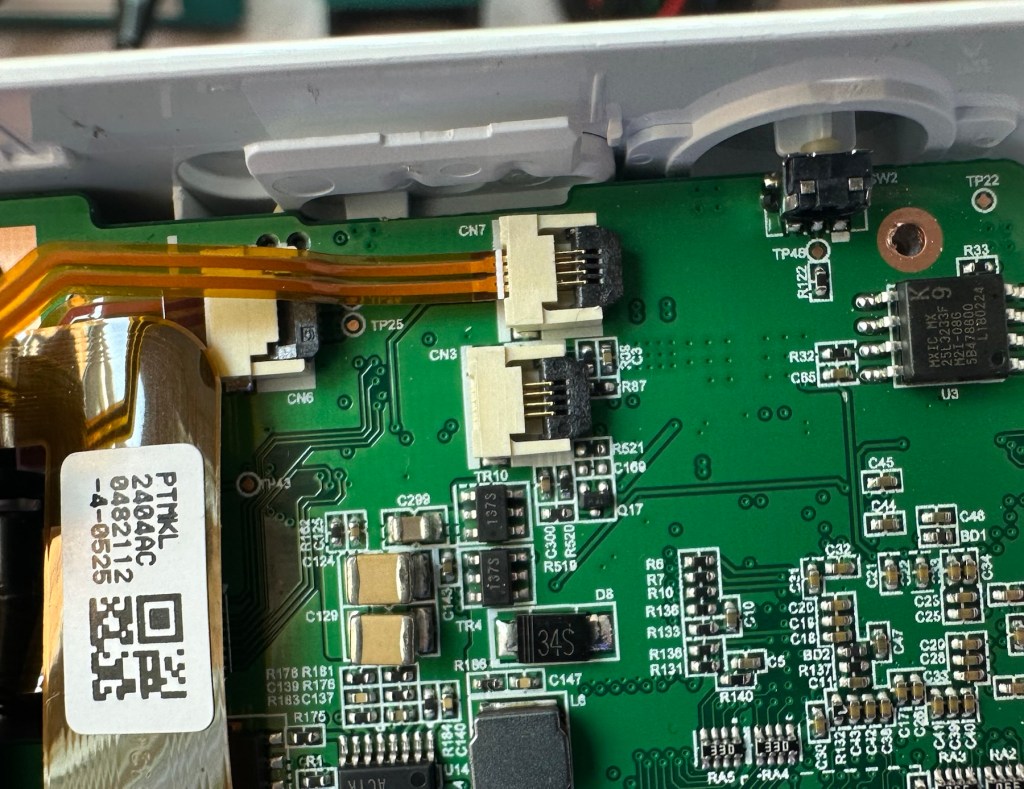
Cable disconnectedCable now connected On off button ribbon connector was not in place
It appears that someone has been here before me or that the on/off button ribbon connector has disconnected itself over time. Either way it’s not where it should be. I’ve put the connector back in place and secured it. I now have power and control of the camera.
All lights working, transport whirring away let’s put some paper in to give it a try.
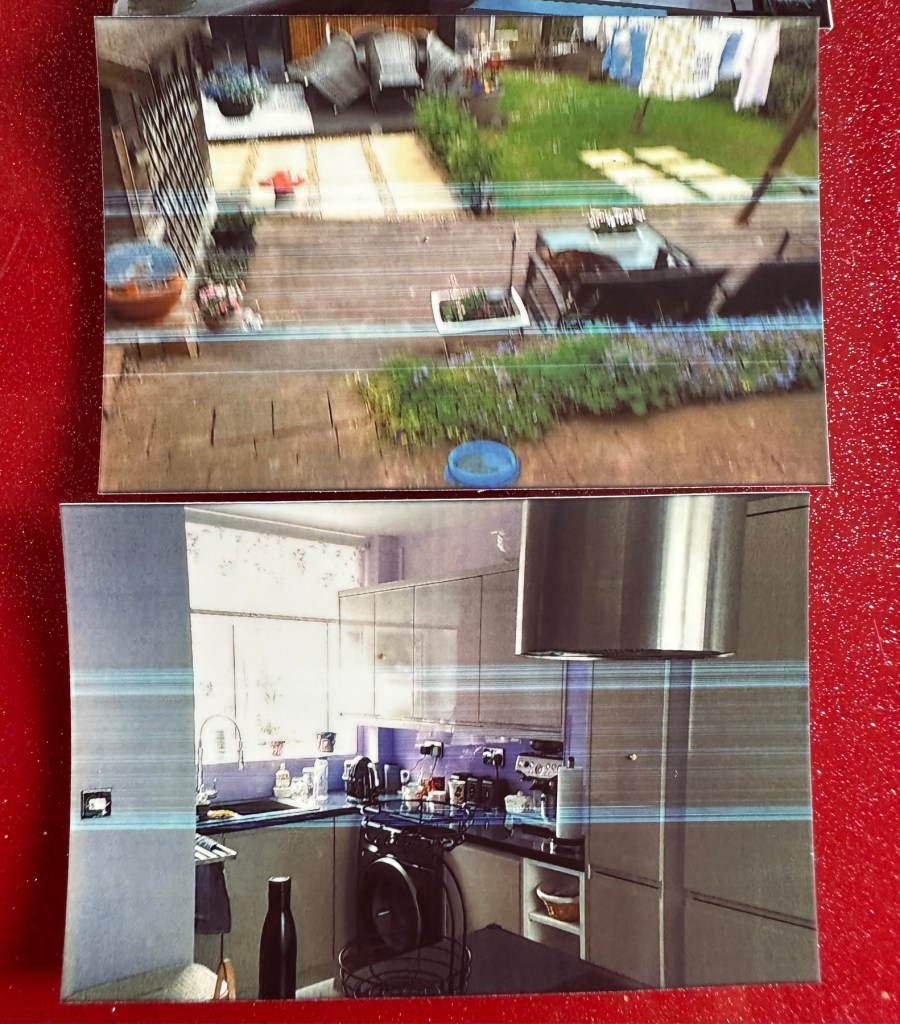
PrintingDirty print roller
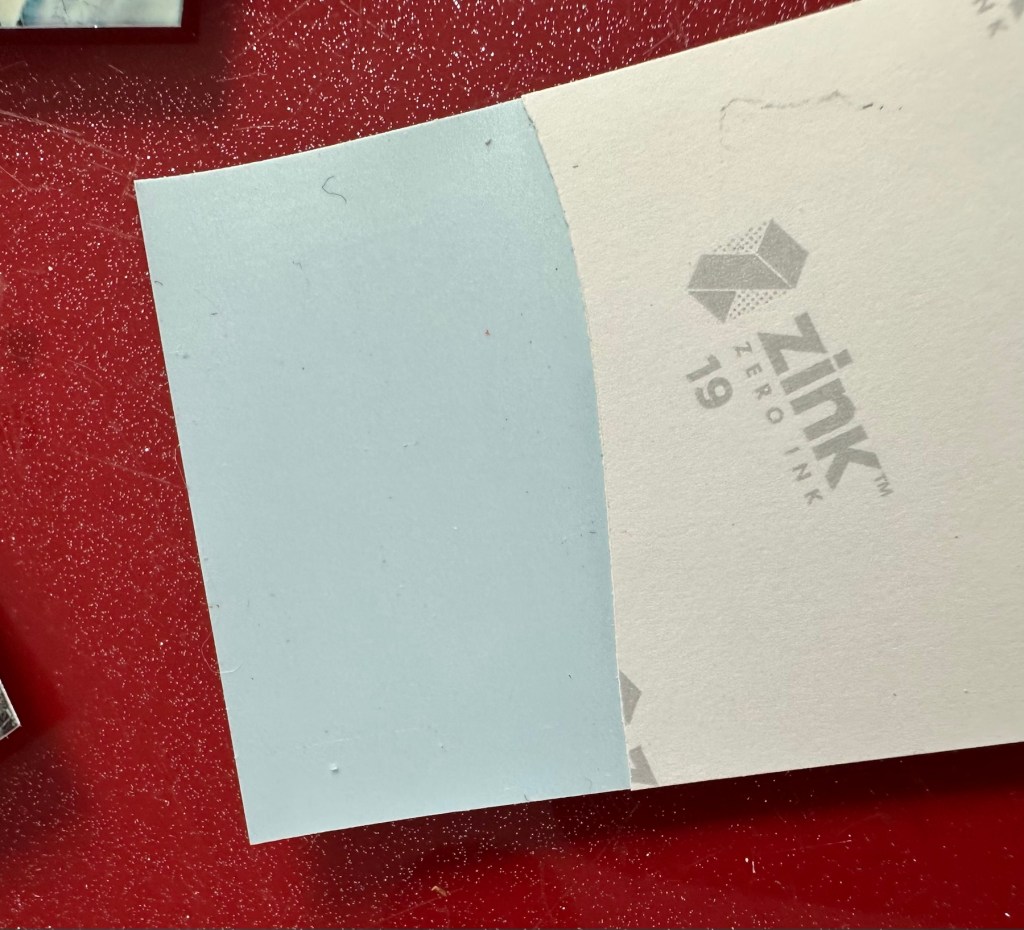
Well it prints ok, all pictures appear to have a “blue tint” to them, however there are big tramlines across the print as you can see, this indicates a dirty roller. What I’m going to do here is peel half the backing of a sheet of Zink paper as the back is adhesive allowing you to stick photos on whatever takes your fancy. By running a half sheet of exposed adhesive, upside down through the camera with the adhesive being the trailing edge, it should allow any debris and dirt to be collected on its way through. I will do this three or four times and even though I will no doubt get error lights appear I can just reset the camera with no further issues.
Zink adhesive exposed
And that worked. The tramlines have gone.
Tramlines on bottom left picture as a reference. All other pictures now clear.
I’ve also tried the black and white mode as you can see above. I’m very confident, in fact I am positive this camera is now working as it should. I have also put an sd card in the base and all pictures are being recorded as expected. A quick clean and we now have a perfectly good working example of this camera. Let’s move on to camera three.
Camera three:
We have to open up the camera to get to the issue with the button.
The paper pressure pad needs to be dismantled, straightened up and two compatible springs need to be found to keep the required pressure in place on the paper pad. I’ve dismantled the pressure pad and straightened it out, just needs a couple of springs to complete, I’ll sort these out later.
Bent upStraightened out Back in place just awaiting new springs
On opening the camera it was as clear as day that the depressed button was as I first thought, the three solder points below it had come loose, no longer making contact.
The working switchThe faulty switch that looks like it’s smiling
It’s plain to see in the pictures above that the button that is damaged has all three points of contact broken. these need re soldering to strengthen them. You can see this issue in the microscope pictures I took below.
Top: Before, Bottom: after
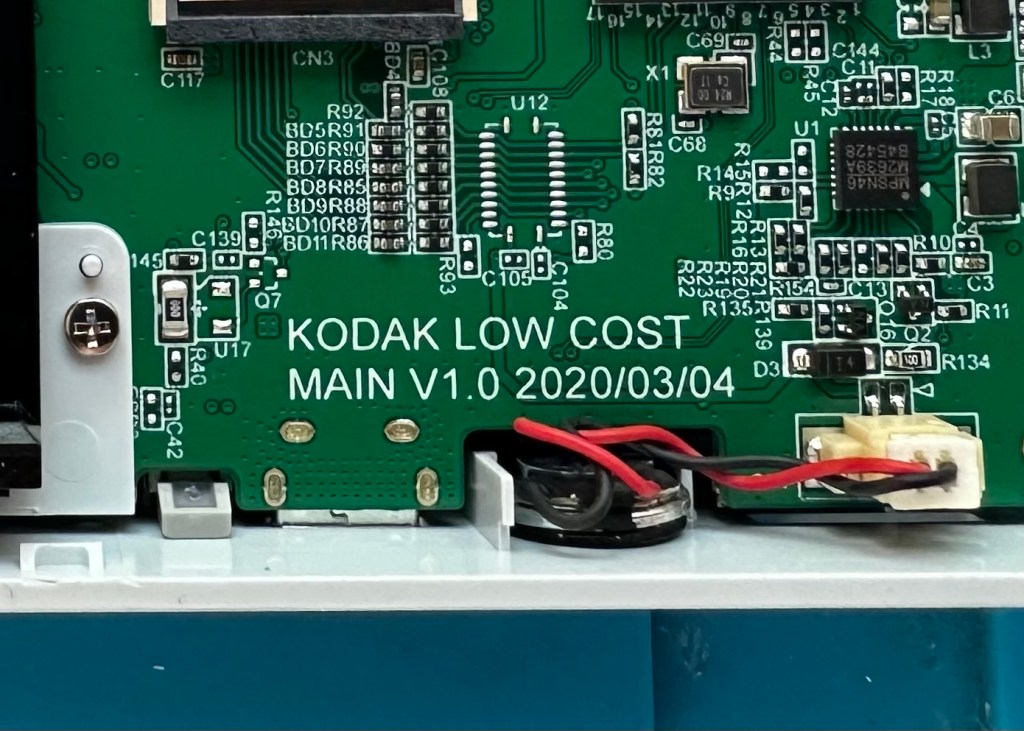
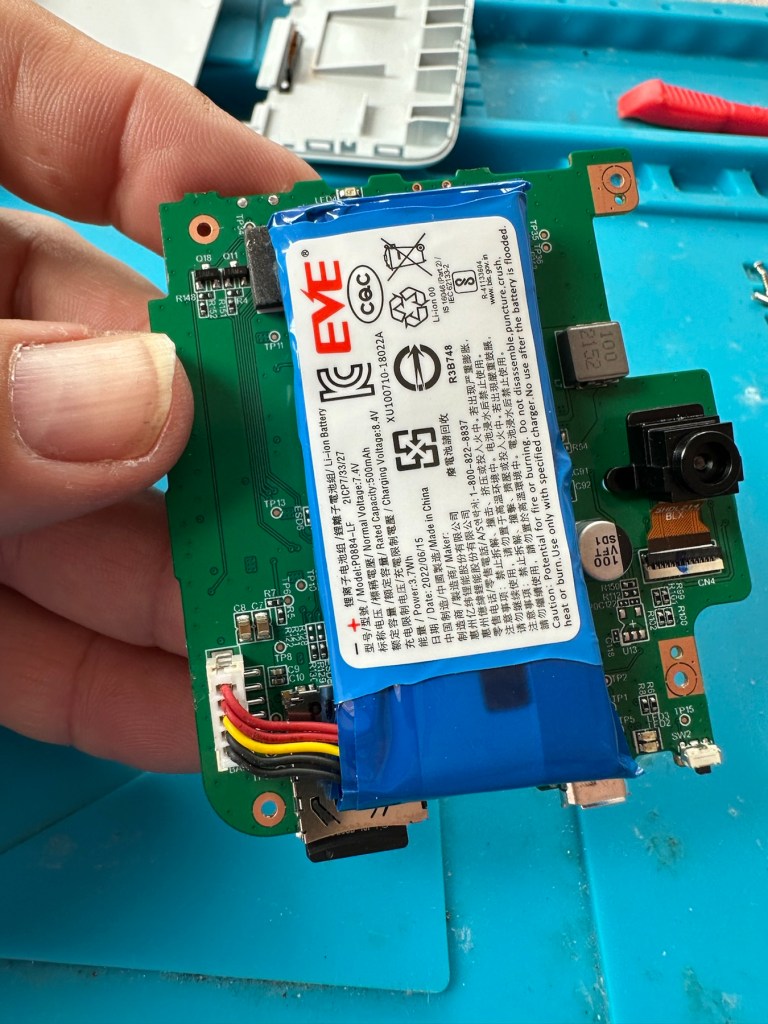
The switch has been tested and it clicks and operates as expected, this is a known weak point with these cameras and a design fault as well, although the manufacturer would probably deny this. It’s a given fact that the manufacturer wants to sell as many as these units cheaply to the throw away consumer, you only have to look at the main board below to see this…
Says it all really….
It really saddens me to see the levels the Kodak name has sunk to, these units are just replicas of the Polaroid touch/snap range, but even at this stage in the repair the Polaroid versions are far superior. Quality control and the cheap design of these Kodak units is borderline awful.
This unit is proving to be a right pain in the ass. The original fault with the exposure button has been repaired and the paper pressure pad is all but repaired, but it seems that being hidden by these two faults is a totally different issue. I have had this camera completely dismantled and have also separated the printer from the motherboard, but this issue of the permanently flashing white light still exists, so the fault is definitely only being carried on the motherboard.
Motherboard under microscope Lens ribbon cable insecureMotherboard separated from printer unit
I’ve checked the motherboard thoroughly using my microscope and there is nothing glaringly obvious at fault. I have checked for shorts on the board of which there are none. The only issue I found was that the lens ribbon cable was sitting off centre, however I corrected this but the flashing light issue still remains.
There are two faults that are connected with this flashing white light. One is that the light occurs whilst printing, this is not the case with this unit as it even occurs as stated with the printer disconnected. The other possibility is that it flashes when doing a firmware update, I have attempted to update with the latest firmware and the only difference is that I cannot turn the lights or camera off at all, I have to crash it by removing the battery.
It’s looking as if this could be the issue. The previous owner has probably bricked the unit by interrupting a firmware update and it has corrupted the system. I’m going to have one more attempt at updating the camera with a clean unused sd card to see if there is any possibility of recovery. If this cannot be done then this unit will become a spares unit that to be honest I’d rather not have as I don’t really want to purchase any more of these cameras. But you never know, someone may want one repairing.
Result:
Well in the wise old words of Meatloaf, I guess “Two out of three ain’t bad”. The grey one is bricked, as after numerous attempts of updating the firmware it just isn’t having it. It is just a brick. However there are numerous spare parts that can be used including a good battery, lens mechanism and a number of other pieces. I just didn’t want that though as i don’t really see myself going out of the way to obtain another one, they are as cheap and nasty as you could possibly find. The Polaroid versions are of a far better quality in my opinion, and they are hardly high class.
2 out of 3 ain’t bad
The positive here is that 3 cameras, quite obviously built for the throwaway generation have been saved from landfill and can be used again. What I’m going to do with the two I have is probably put them both back on to eBay to recover my out goings. If not, I will pass them onto our local hospice to sell on.
Been an interesting fix, but I’m not venturing back to these Kodak models anytime soon.
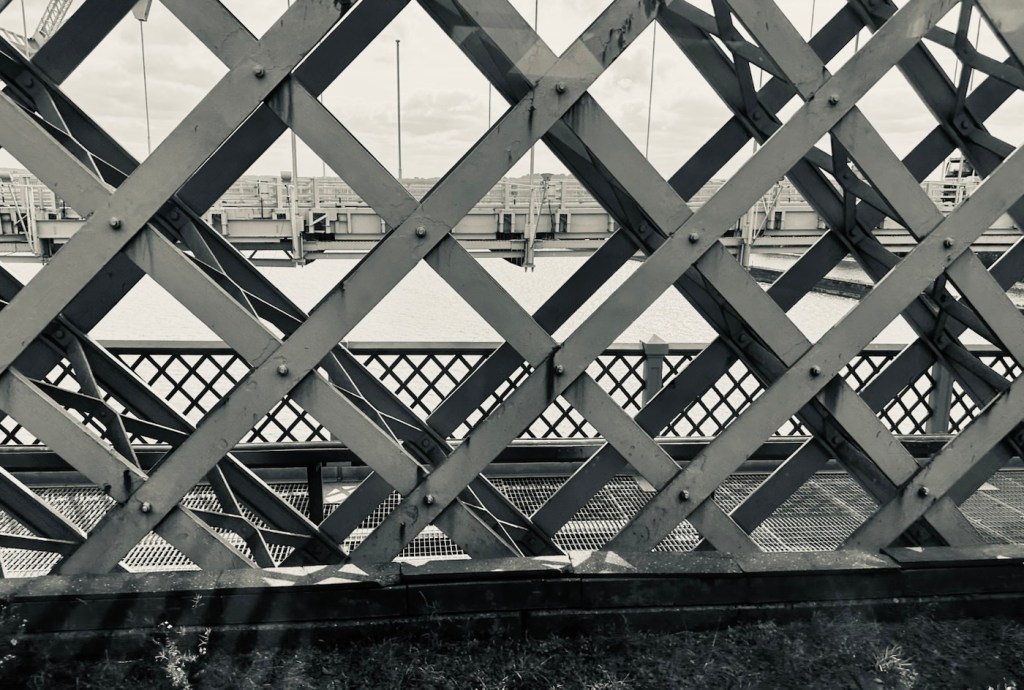
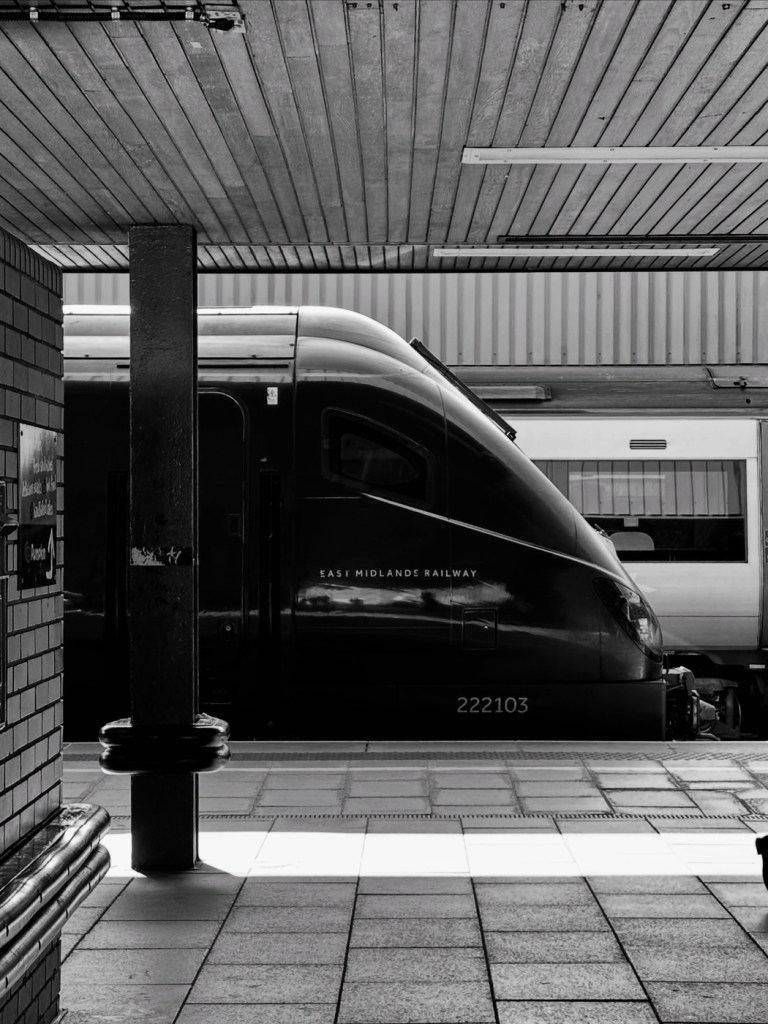
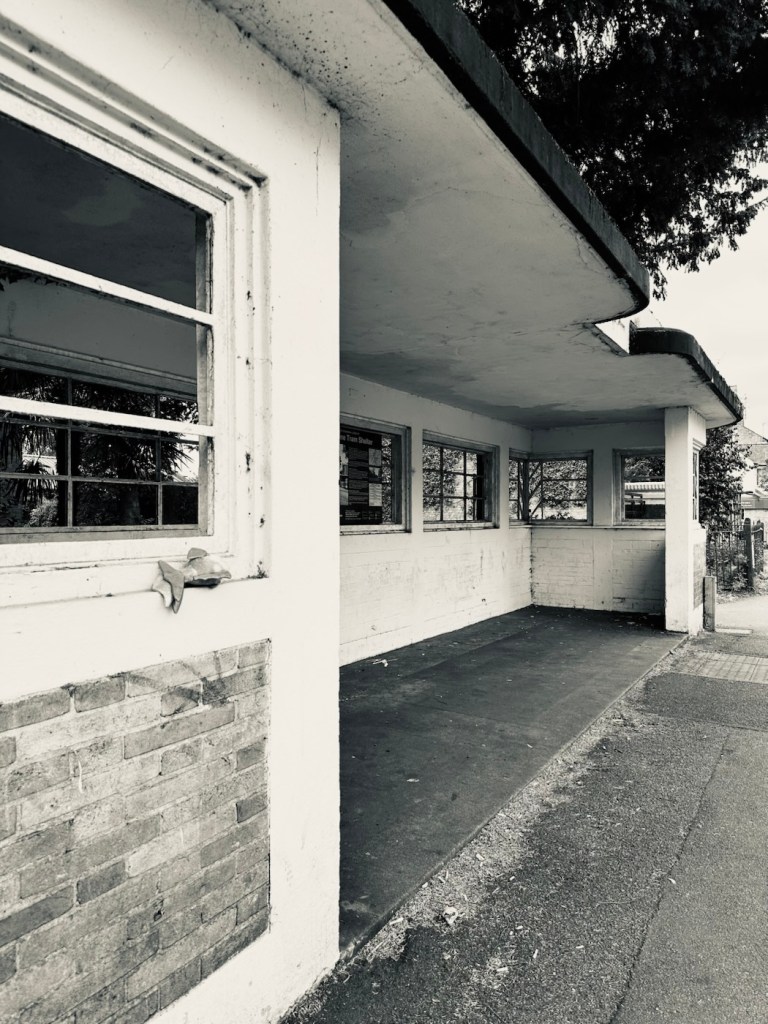
Just back from our break away and some of us are still in the holiday mode, itchy feet the decision was made to take a short train ride out to one of the areas I patrol at work – Barrow upon Soar, a small town between Leicester and Loughborough.
Barrow-upon-Soar is a parish and large village, which gives its name to a Poor Law Union district, and a county court district. It has for ages been celebrated for its excellent limestone, and is pleasantly situated on the east side of the navigable River Soar, and on both sides of the Midland Railway on which it has a station 2 miles N. of Mount Sorrel, 3 miles S.E. of Loughborough, and 9 miles N. of Leicester. Barrow township comprises about 2510 acres of land and had 1099 inhabitants in 1801, 1638 in 1831, 1800 in 1861, and 1973 in 1871, the increase of the last ten years being ‘attributed to the opening of the limeworks.’ It is in East Goscote Hundred, but its parish comprises also the townships of Mount Sorrel North-end, Quorndon, and Woodhouse, all of which are in West Goscote Hundred. The area of the whole parish is about 9160 acres, and it had 5857 inhabitants in 1871.
Wikipedia
On the train we soon arrived after a 17 minute ride, and as always the difference between city and town is so noticeable, life is a lot more serene and uncomplicated in these small towns surrounding the city.
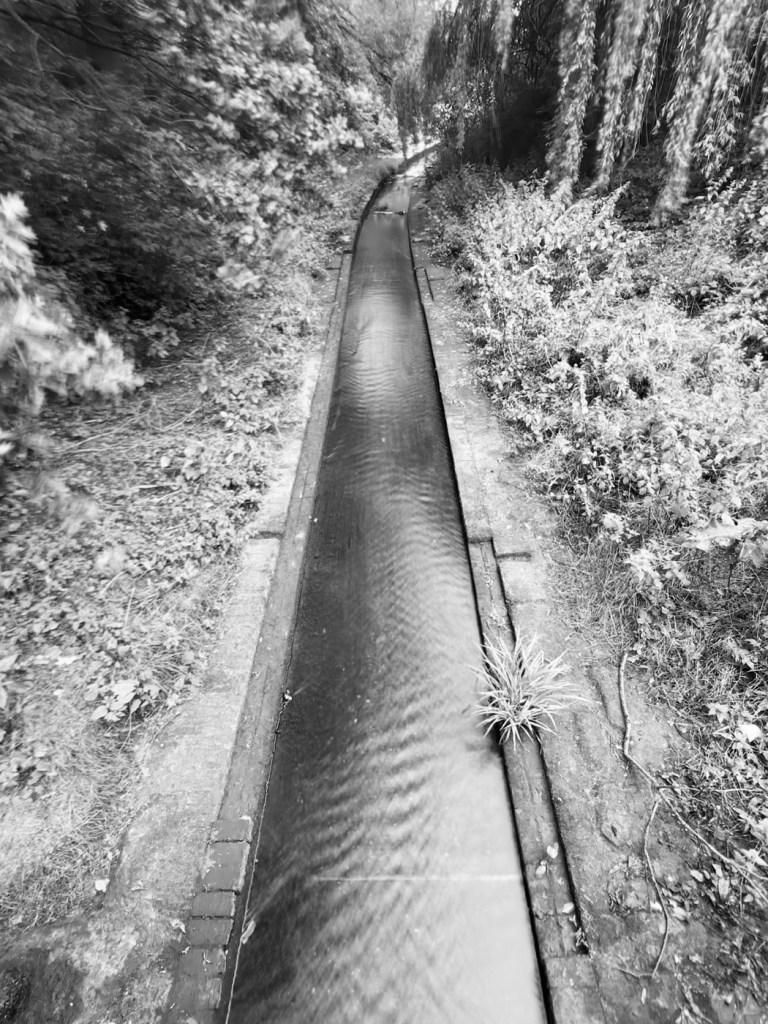
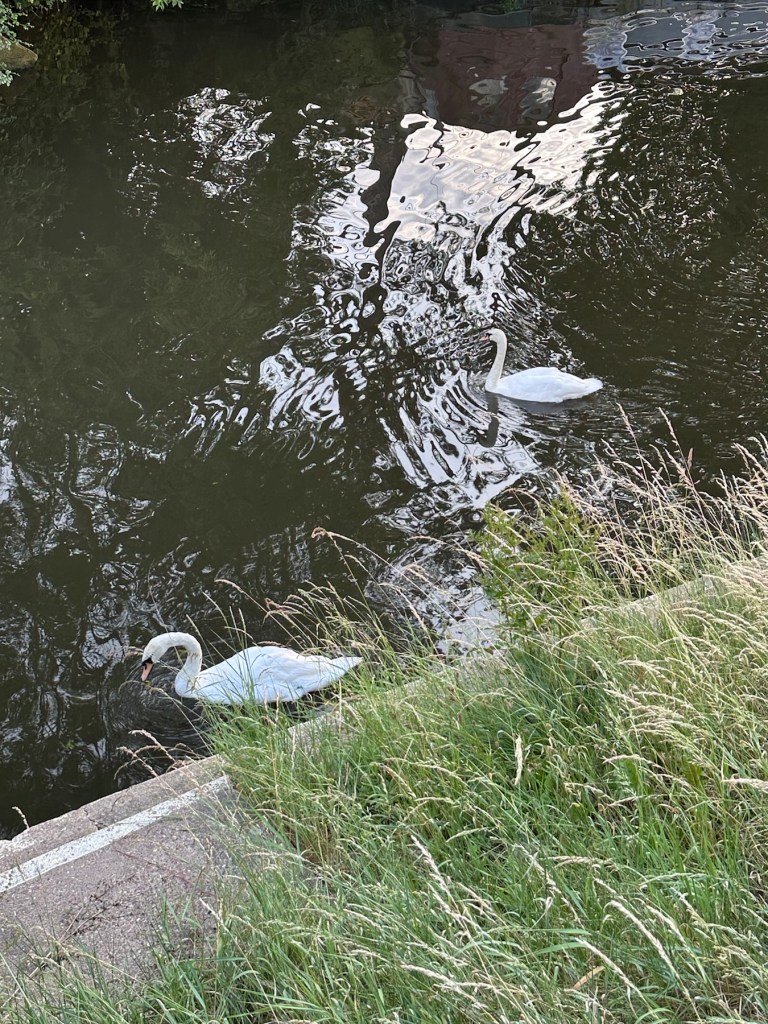
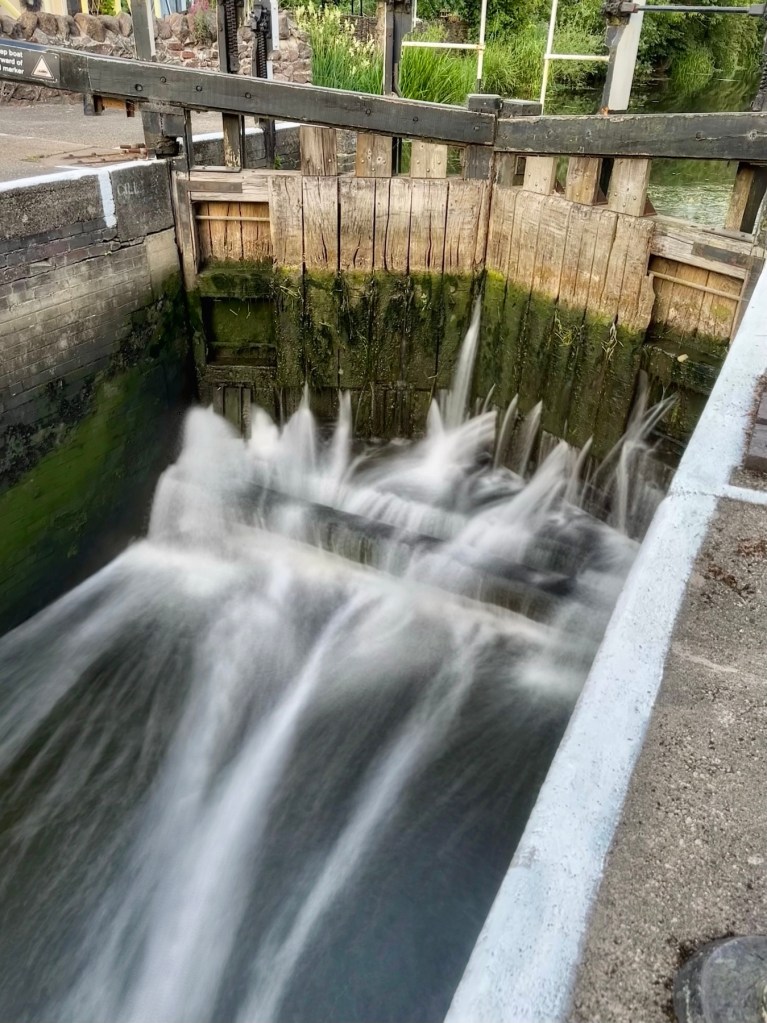
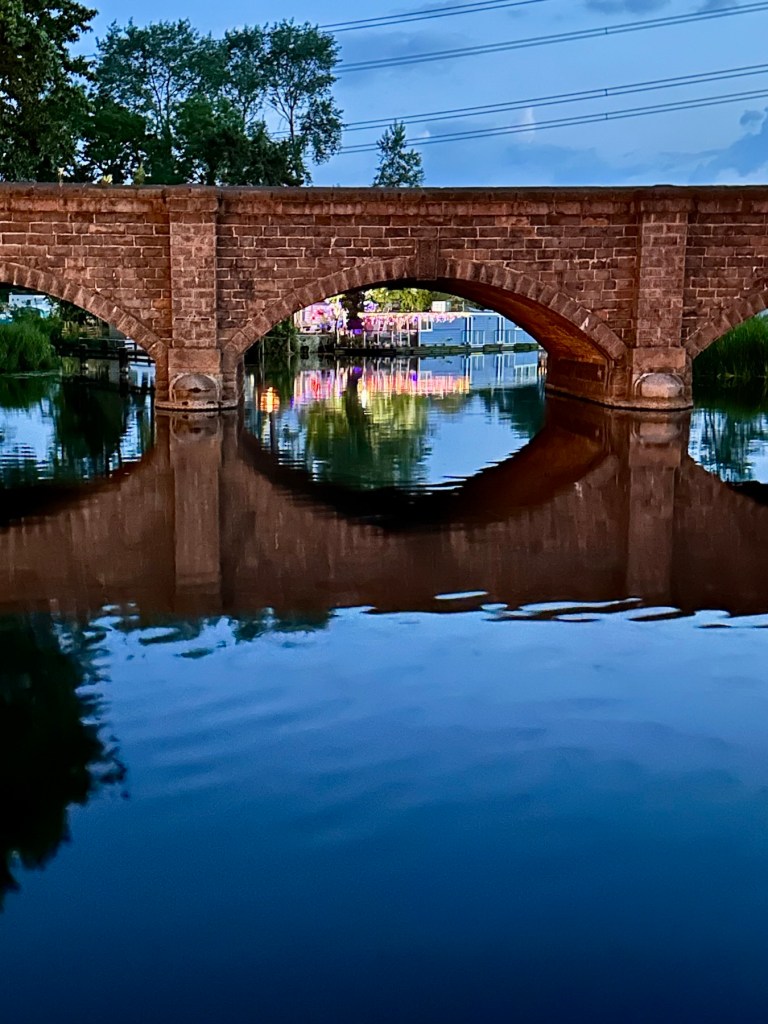
We tried four different pubs, had a lovely meal in one, took a nice walk on the canal, and ended up sitting beside the river soar to complete the evening. It was lovely and finished off the break away just fine. We now have the joy of a new working week to look forward to. Roll on next holiday….










































































 Foxes Den
You must be logged in to post a comment.