Bronica SQ-A / The Frankenstein project Pt:3

To find out what I am trying to accomplish with this project please refer to my initial post: Bronica SQ-A Medium format camera

Task:

To build a usable, basic issue, medium format camera (Bronica SQ-A) from damaged items and spare parts, for as little outlay as possible and shoot one black and white, and one colour roll of film as proof of its successful completion.

Getting started:

Building a camera from damaged parts is no easy task when the name happens to be a high end brand and any parts that are available, are being snapped up by others to service their own stock or to break up for sellable parts. I’m going to keep a running total to try and build this as cheaply as possible, and to keep track of this total I’m going to use my trusty Psion Organiser II LZ from 1989 to keep a tally.

This may be a strange situation where Pt:2 and Pt:3 of this project gets published before Pt:1, quite simply Pt:1, the film back. needs a fair bit of work still doing to it.
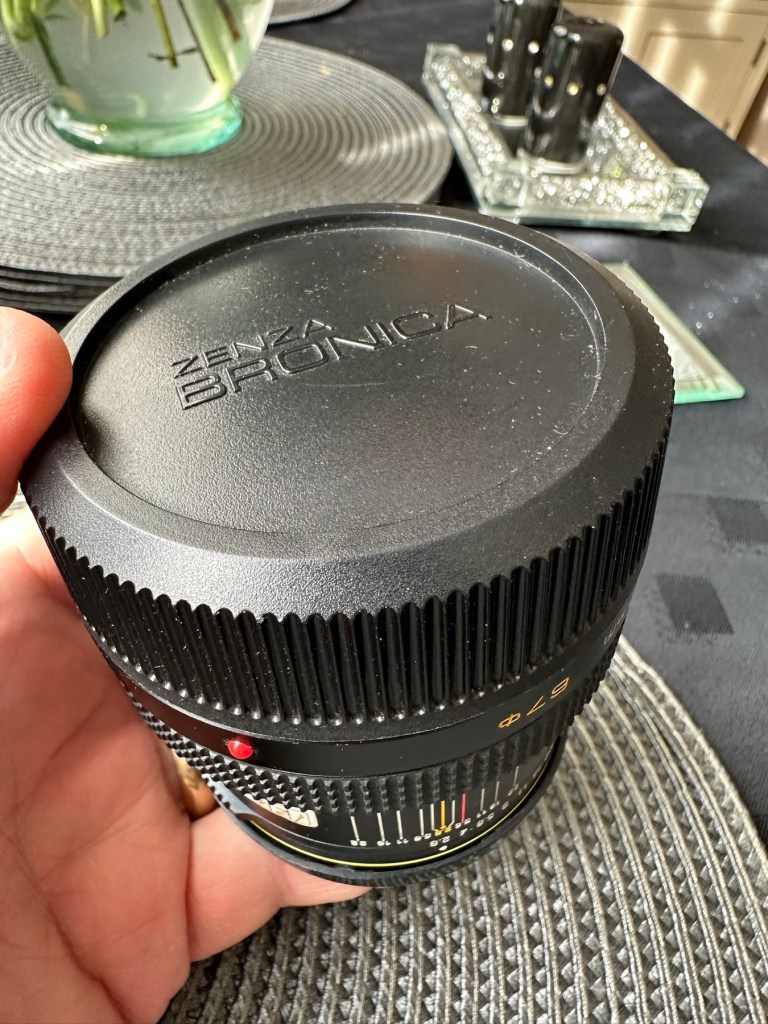
Third purchase:

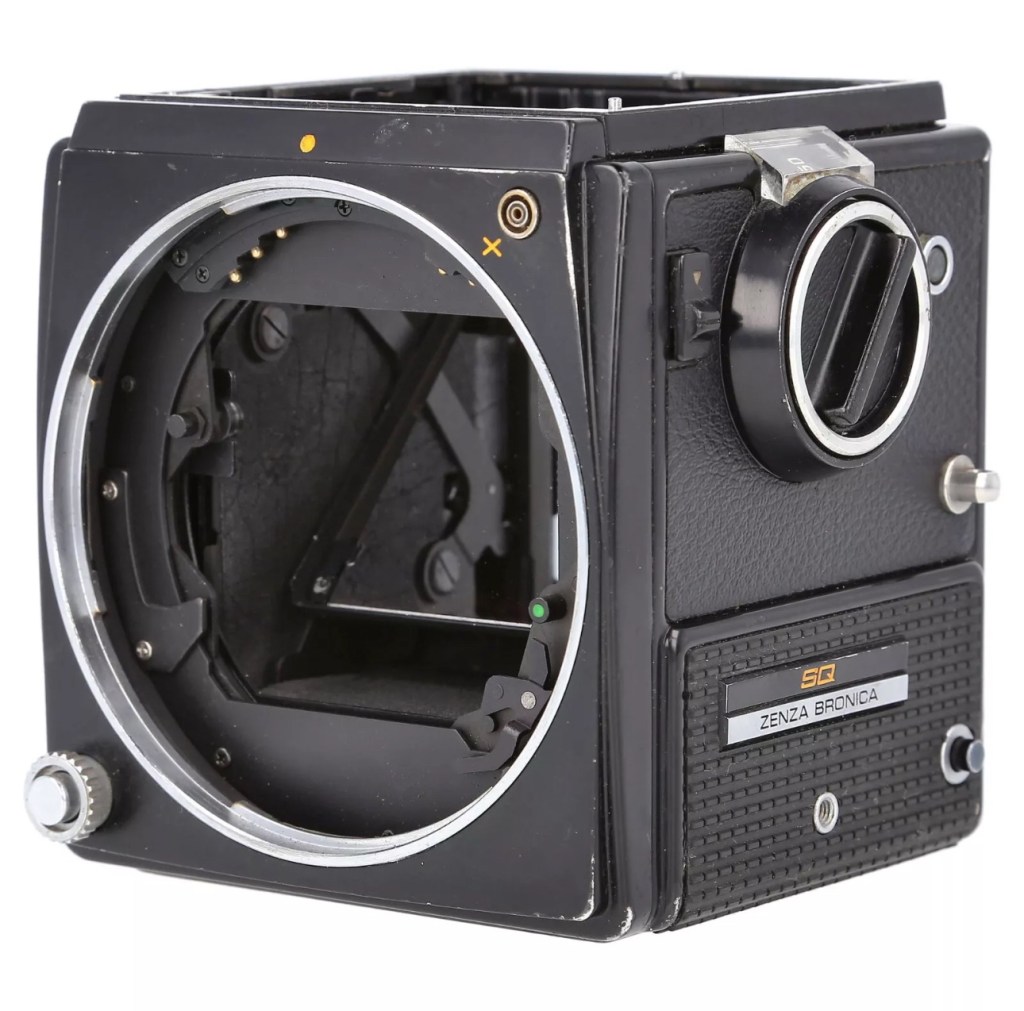
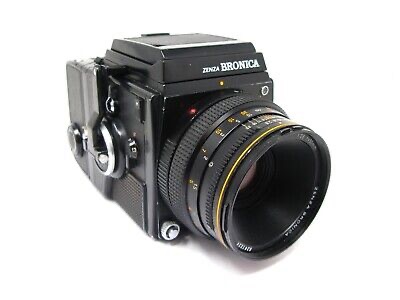
And the third purchase is for an SQ body. This appears to be well used, but appears to be in a working condition. Here’s what the listing stated:

Zenza Bronica SQ Body Only / Medium Format 6×6 Camera

Condition:

Used but still in good usable condition with usual signs of use – see photos for details please. Fully tested and in perfect working order.
Supplied with: Camera body as pictured.

EBay

Now I’m happy with this purchase as well. Not quite the SQ-A I wanted but to be honest the only difference is mirror lock up and metering that I don’t really need so I can live with that, we all managed prior to the metering being done for us, I’m sure we will all survive now . (Oh how we have been pandered over the years)

I’ve paid the grand total if £73:75GBP for this body including the postage. There are some bits I will require to complete the body, namely a focus screen and waist level finder that could be a bit pricey, and a winder for the body. Now, the winders are pathetically expensive at around £60 for a bit of plastic. I know a guy who 3D prints a good alternative for a fraction of the price. And that will be the route that I take.

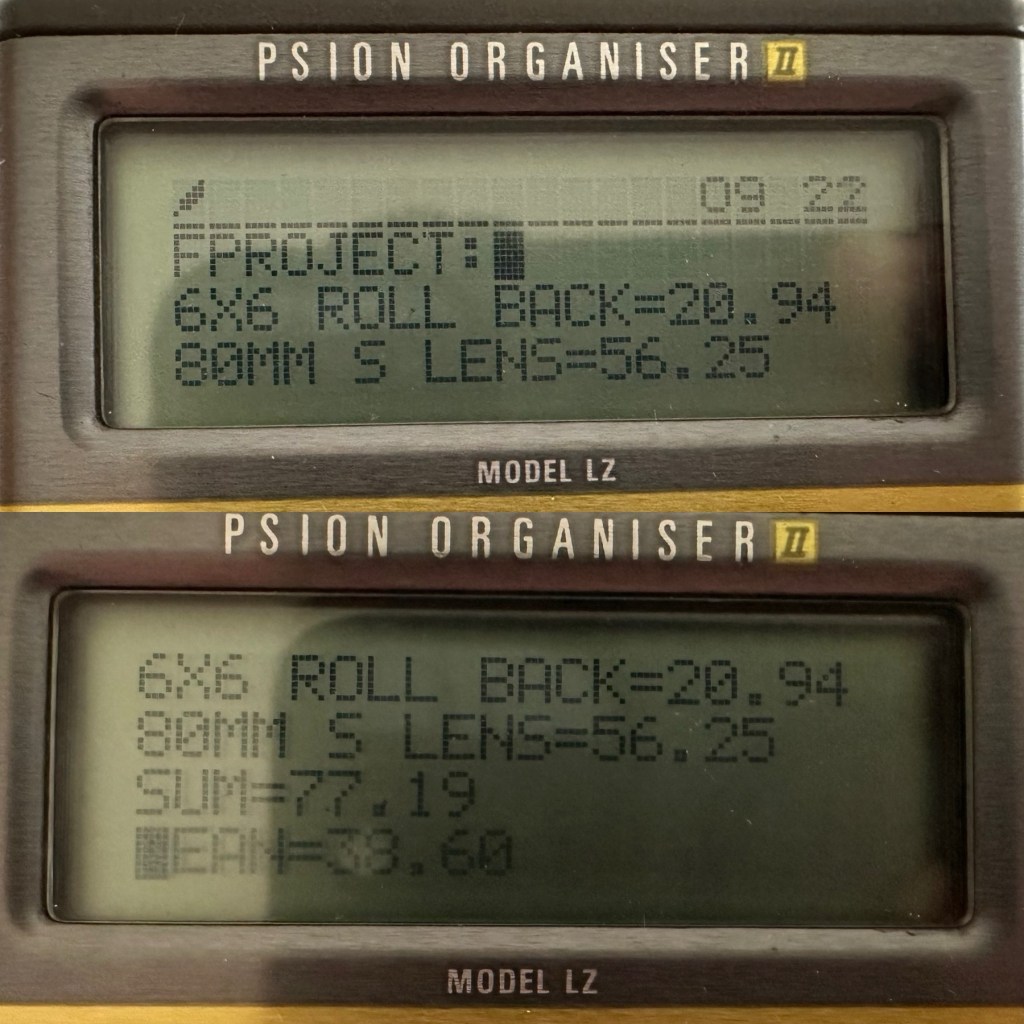
So over to my trusty old Psion II LZ for the running total for these first three items.

Current running total

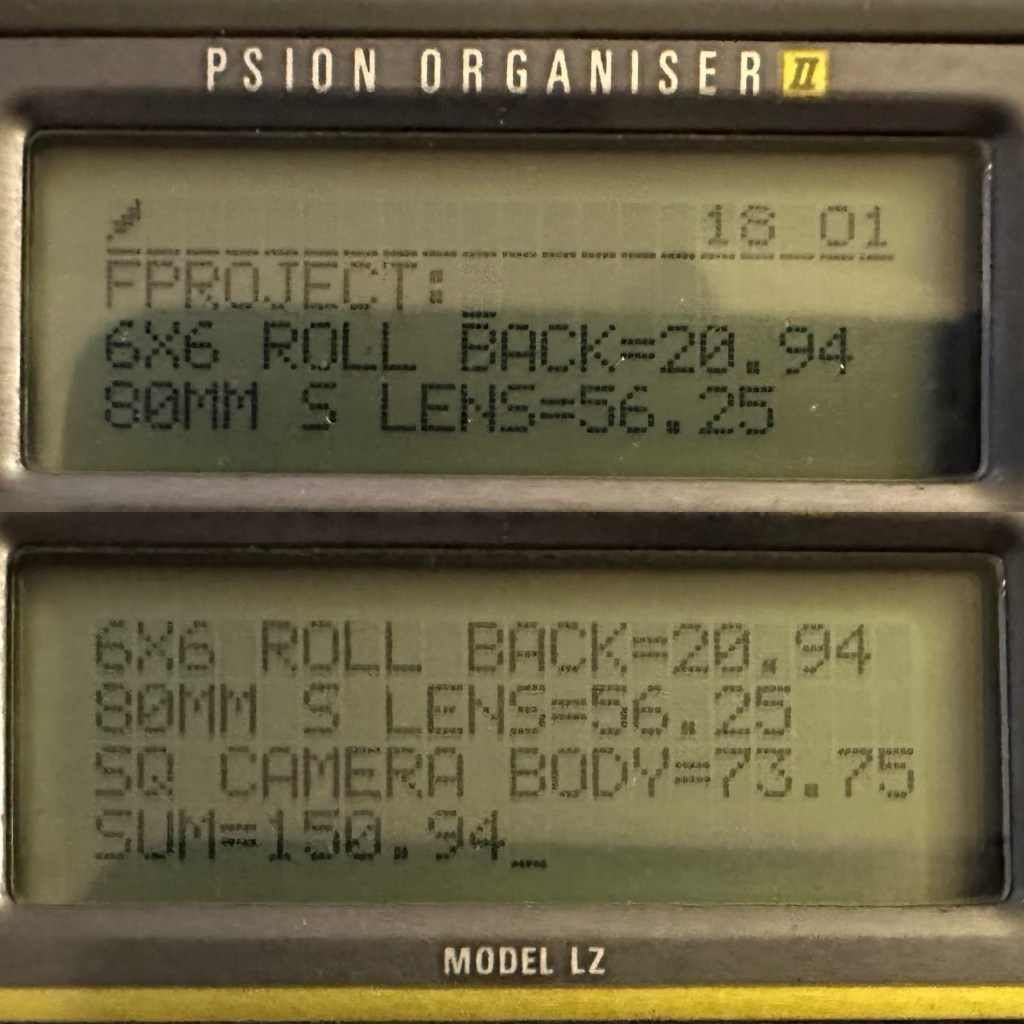
So the total for these three items comes in at a total of £150:94GBP, and in Bronica terms this is extremely reasonable!
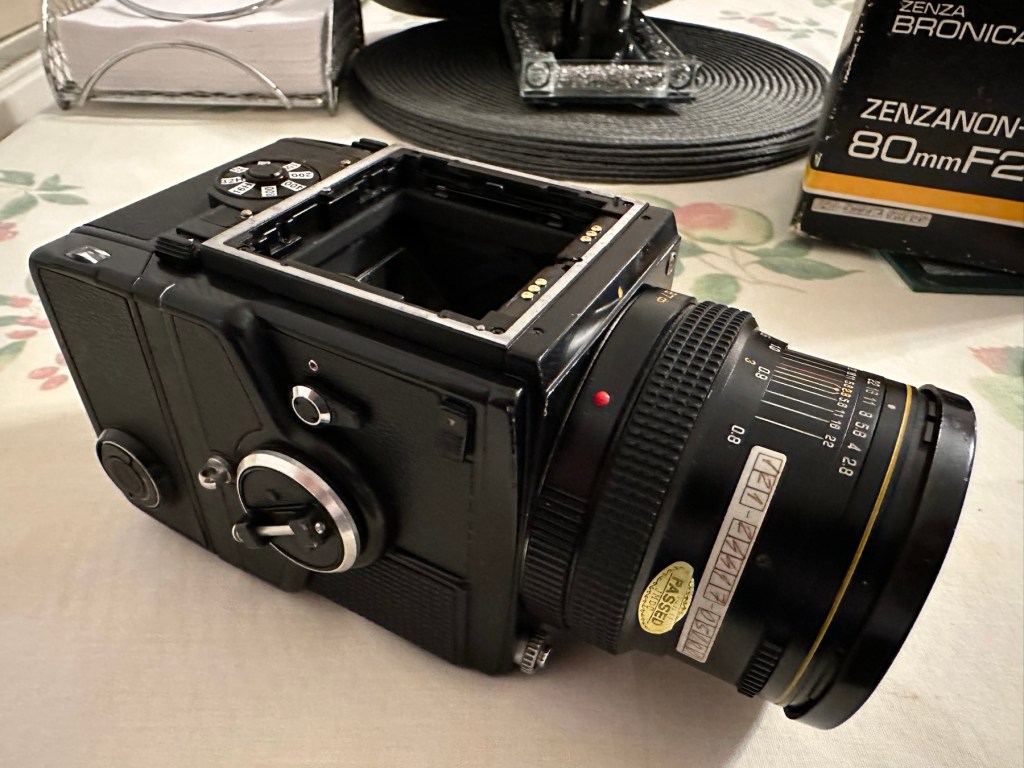
Assessment:

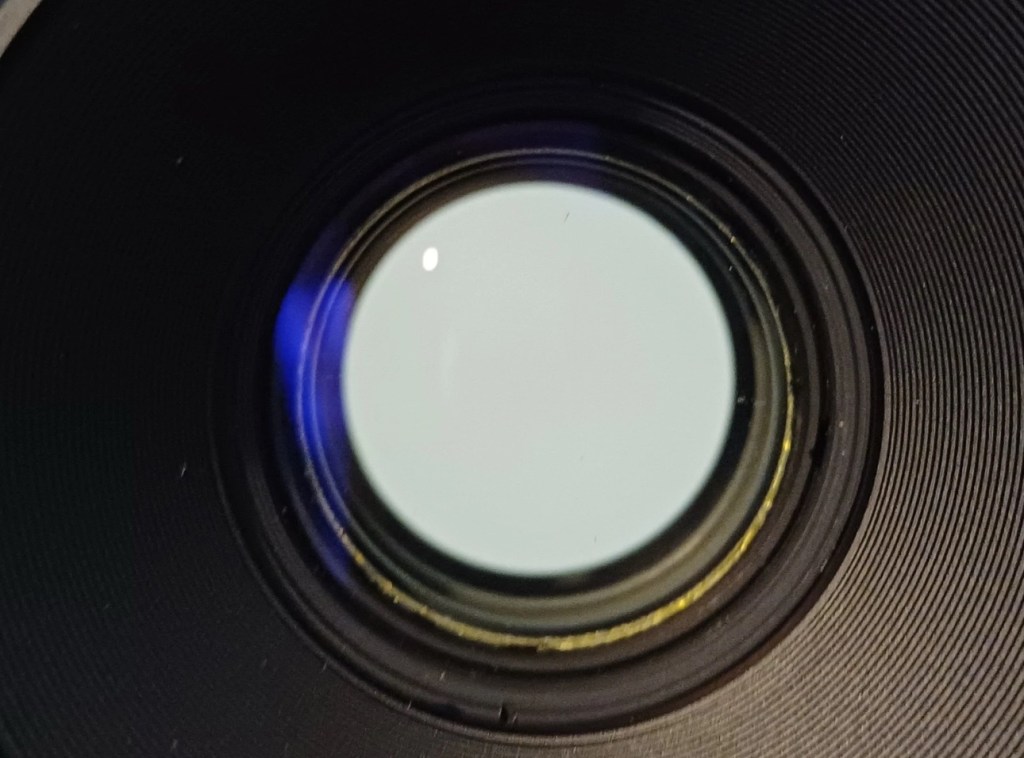
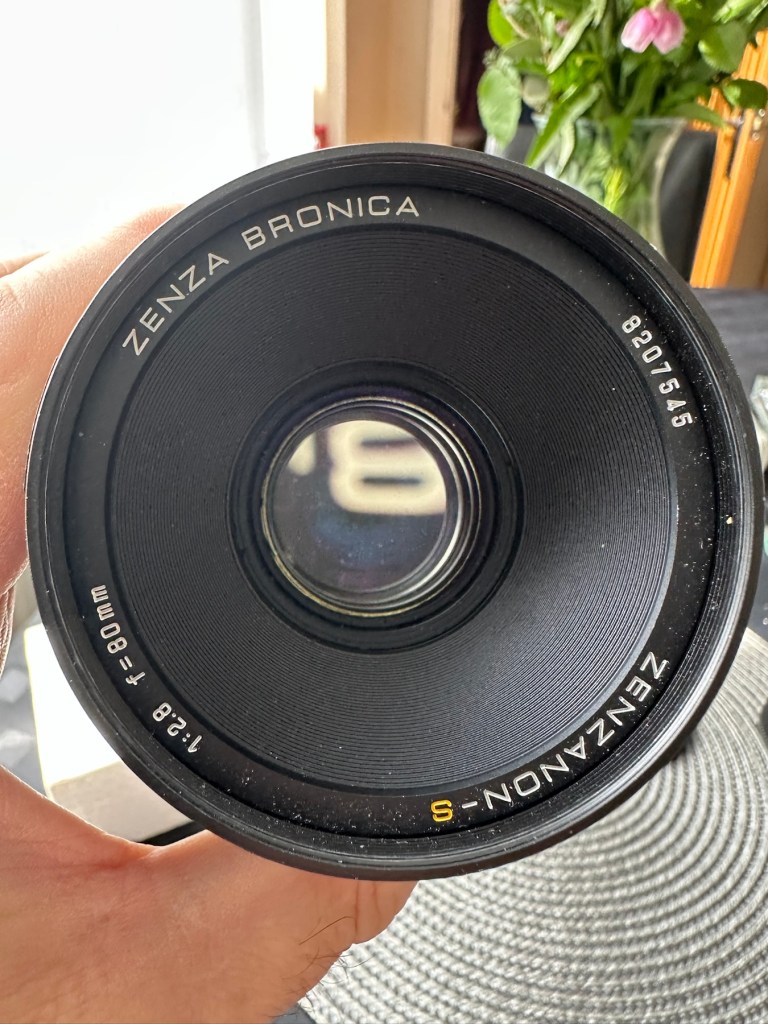
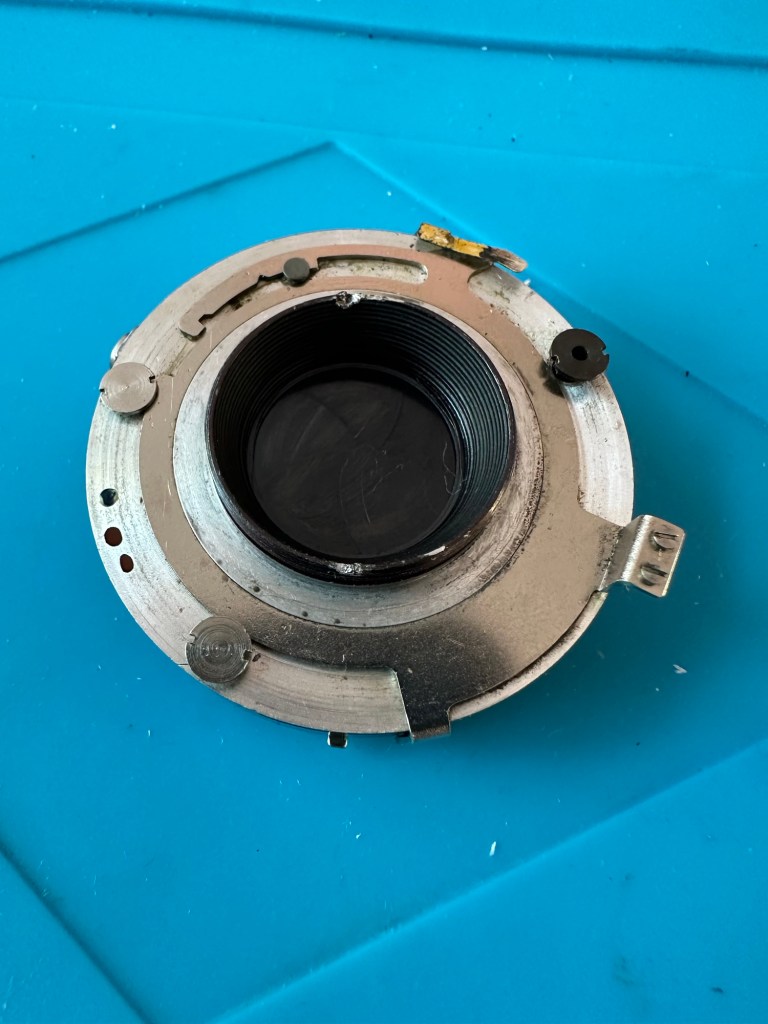
The parcel has arrived and yet again I’m really happy with this purchase. Very well packaged, a very faint age related mustiness that I guess should only be expected on an item that is now 45 years old. It seems to work just fine. I have connected the lens and that seems to be working ok, I just need to verify the shutter speeds are all correct. There is no battery in the base and this needs replacing as this is what controls the shutter speeds. Without the battery the mechanical shutter works, but only at a speed of 1/500 of a second. (Edit: the battery has arrived and after testing i can confirm that all speeds are operating as expected). The film back fits fine but I still have some work to do on that before I can say that this part is working ok. Overall I’m satisfied with what I have for the price I have paid.
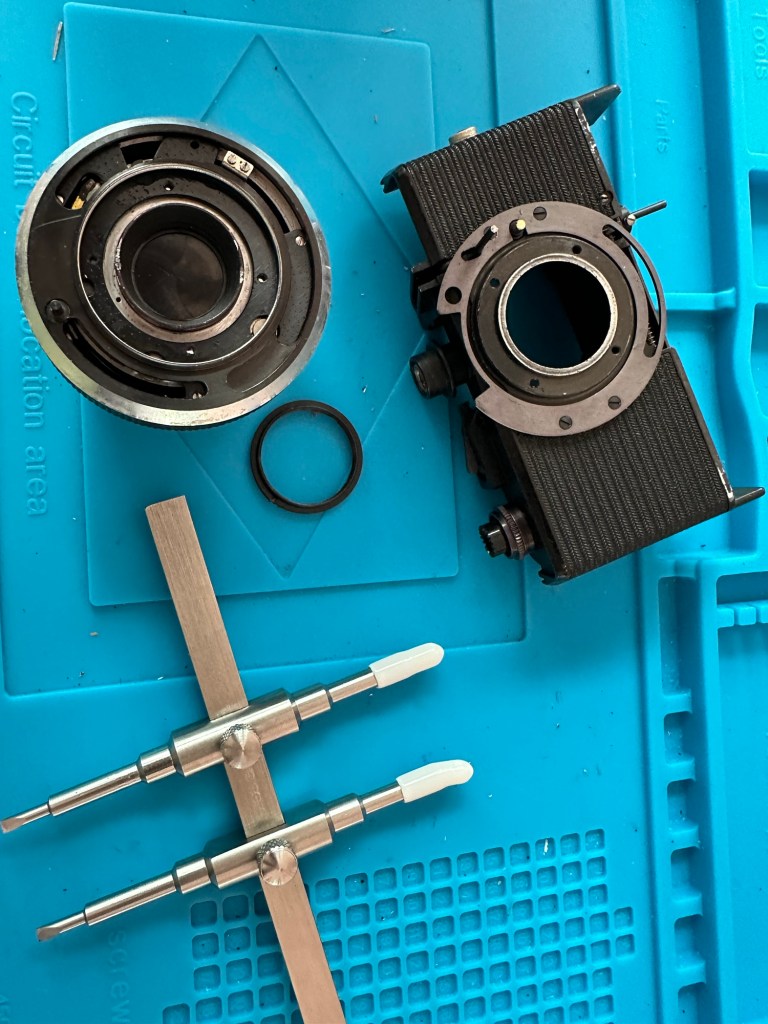
Repairs:

Not so much repairs but additions that are required, such as a crank winder arm and a focus screen, a new battery and a selection of covers to protect the central unit in transport. All horrendously over priced and i will deal with these items in Pt:4 of this project.

Outcome:

Current situation, looking good, smelling old. Not me, the camera 😂

We are almost there. The lens is fine, the main body is fine and just needs some final testing. The film cartridge is the item that needs the most attention and this will hopefully be finished when I have the new front plate that is being 3D printed. The next instalment will be just a tidy up with all the little bits I need to complete the build. These small pieces in Bronica terms are so bloody expensive, or should I say extortionate, can be obtained at a fraction of the cost elsewhere, you just need to shop around, if you are happy to have a non named spare part as a stand in. I’m happy with that as these parts have absolutely no effect on how the camera performs, and what we want to achieve at the end of this project, that being a well exposed two rolls of negatives that will produce a number of well presented photographs.

All good to go. Please keep an eye on the other blog posts that are coming regarding this project.

Bronica SQ-A / The Frankenstein project Pt:2

To find out what I am trying to accomplish with this project please refer to my initial post: Bronica SQ-A Medium format camera

Task:

To build a usable, basic issue, medium format camera (Bronica SQ-A) from damaged items and spare parts, for as little outlay as possible and shoot one black and white, and one colour roll of film as proof of its successful completion.

Getting started:

Building a camera from damaged parts is no easy task when the name happens to be a high end brand and any parts that are available, are being snapped up by others to service their own stock or to break up for sellable parts. I’m going to keep a running total to try and build this as cheaply as possible, and to keep track of this total I’m going to use my trusty Psion Organiser II LZ from 1989 to keep a tally.

This may be a strange situation where Pt:2 and Pt:3 of this project gets published before Pt:1, quite simply Pt:1 needs a fair bit of work still doing to it.

Second purchase:

The lens. Probably the most important purchase of this project. Looking for a “cheap” lens is normally not the thing to do when exploring lenses as you do really get what you pay for. You want good clarity? You need a good lens. However this lens came on offer and what sold it to me was that there were no scratches and fungus in the lens, and that was music to my ears. It is a duplicate of a lens the owner already has and was surplus to his requirements. He has also supplied recent proof of photos taken on this lens and i believe he has sold me a little diamond to be honest. Everything about it seems good. There is nothing really to do to it, so no maintenance apart from maybe a light external clean and that will be it until everything else comes together.

Here is what the listing stated:

This is the S version of the 80mm lens and although there’s a slight difference in the lens design on the PS version, I’ve compared the two and couldn’t see any real difference other than a slightly more modern colour rendering. The T mode is also working without issue. This lens has been my main user lens and has never let me down. Glass is clear of fungus, haze and scratches. Aperture and shutter blades are snappy and clear of any oil. Shutter speeds are accurate and the lens produces just delightful images and is massively underrated. I’ve included several shots taken recently with this lens mounted on an SQ-A as per the examples. Focusing is smooth, apertures have a nice smooth click and the lens focuses just fine all the way through the range. I will include the origin box as well as the front and rear lens cap with the lens

EBay

I’ve paid the total cost including postage of £56:25GBP and I think that this is an absolute bargain for what I am getting. It’s an 80mm f2:8 Zenzanon-S lens in its box with two end caps. I’m really pleased with this purchase and there is not a lot else I can say.

So here we have the scores after two purchases, the 120 roll film back and this lens. Over to my old mate the Psion II LZ for the running total.

Running total

So the total for two items currently sits at a comfy total of £77:19GBP so far, with an average per item price of £38:60GBP. And in Bronica terms that is quite reasonable!

Assessment:

The lens has arrived and to be honest it has surpassed anything I could ask for, for the price I have paid. For this project it is in perfect condition with nothing required regarding any repairs. It’s good to go.

And out of the box the lens is lovely and clear. Just a few bits of dust but that is nothing at all.

Repairs:

None: I know this is boring on a repair front, but for this project it is the perfect result.

Outcome:

All good to go. Please keep an eye on the other blog posts that are coming regarding this project.

Bronica SQ-A Medium format camera

First a little history.

This will be post No:1 of a series, where I attempt to buy parts of a damaged camera system to repair, reassemble and get back into working order.

I have chosen this particular camera as it was one that featured prominently in my career when leaving school and starting in the Photographic world. I’m going to buy this camera in bits, as it is modular. I’m going to try and buy parts that are for spares and repair for me to fix, to see if I can get a half decent working example. So expect a bit of a Frankenstein project here.

Bronica SQ-A

Just like my post on the Canon A1 that I previously published, this was another loan camera in my early years of photography back in the 80s. When money was sparse, colleagues usually allowed the loan of their equipment under certain conditions, one of those being,”Don’t break it”. I used this camera when I did my first studio session when a friend of a friend was setting up a business selling Teddy bears. She wanted good quality portrait photos of her work and this camera enabled me to do that. This was the first medium format camera I had ever used, and for that reason alone it will always sit as my favourite. Many people favour later models and other equipment, but this is my personal favourite. It has its flaws as some do, however this camera was significant in me learning a profession, as well as it triggering many treasured memories for me personally.

Now I want one of my own. 41 years after I first used one. But I don’t want to pay a premium price for it. In fact i wish to pay as little as possible, and that’s where it’s going to be difficult.

You can read more about the camera here: Bronica SQ-A

Requirements

As this is modular camera unit, I will need these parts to form the most basic camera, no bells and whistles as they say, just the basic version:

  • Lens – obviously
  • Main body – got to be the SQ family
  • Viewfinder – a few to choose from
  • Film back – I’m after the standard 120 roll film back

I’m looking at this being a medium term project so these items will be purchased over a currently undefined period of time, I’m hoping to buy items that require attention so I can keep the costs down, something that needs attention and repair would suit, as I can create a post regarding its repair. Individual spare parts do command some high prices so I’ll look at maybe purchasing some beat up stock that I can use as spares. I’ll keep a running total of the spend, I know I could buy a working complete unit for around £6-800GBP second hand, but that’s damned expensive in my eyes, I believe it was only £400Gbp (Minus lens) back in the mid 80s. I want to prove that a good usable unit can be built with just a little attention at a much lower and more realistic price. On the cheap if you like, as good quality photography does not need to be expensive. It might not look pretty, but it will be practical, and it will work. Most working cameras look beaten up. Most of the ones I used whilst working for a photo agency were total wrecks but took great photographs. I want to run a roll of colour and one of Black and white through it to prove i have made a working practical camera. It’s probably going to be a lengthy project, it’s going to be hellishly tough, but one I’m very much looking forward to.

From now on it will be known as….

The Frankenstein project.

And more posts will appear as the parts start to arrive and are assessed. Each part will have its own post dedicated to its purpose and repair, and a final post where it will be finally assembled and tested.

Thanks for passing by, please be sure to check back as this exciting project comes together, using the links below:

Part 1

Part 2

Part 3

Part 4

Part 5

Werra 1 stripdown and rebuild

I recently purchased this camera and wrote about it in a previous blog entry Werra 1

I’ve commenced taking the Werra to pieces. The winder was not working and the shutter was not firing. Before starting this work I’ve viewed this page at Everything Vintage where they have recently carried out a full strip down of the Werra and you can view the page HERE, it’s all great advice.

Getting below the top plate was relatively easy exposing the mechanics from 58 years ago, I don’t think it’s ever been opened in all this time. I always love to see the ingenuity that went into these old cameras in years gone by.

Werra 1 stripdown

The internals look dirty in the photo but to be truthful I don’t think the lighting is doing it any justice, yep there is a fine oxidation coating but it’s at a very acceptable level considering its age. When I get to the point of dismantling as much as I can, I will start to clean and lubricate these pieces. But at the moment my goal is getting to the shutter.

Werra winding system – shutter not working

In the video above I’ve managed to get the shutter cocking using the lens ring, however the shutter actuator does work intermittently, but there is no movement of the shutter (Or is there…)

The only reason I ask the question above is that after reading the “Everything Vintage” link in the first paragraph it appears there is a second shutter that closes the light path to the film back when you wind on. When you are ready to expose the film this shutter opens and then there is a second shutter that controls the exposure. if you watch the small video above I think it is this shutter you can hear when I wind the camera on. Hopefully this one is working, I just need to get the one on the rear working, and for this I need to remove the lens from the housing. To do this I need a tool I don’t currently have but have now ordered. More to follow when the lens ring removal tool arrives.

Lens ring spanner

The lens ring spanner has arrived, the ring is being right stubborn at the moment and Im struggling to release it from its 58 years of rigidity. I’m tired as well and don’t want to cause any damage to the shutter so I’ll come back to this later.

18 hrs later, I’m rested and have another go at releasing that lens ring, this time I’m successful and I manage to release it. Sometimes it’s better to sleep on a problem and approach it with fresh eyes rather than continuing whilst tired and prone to making mistakes.

Werra Lens ring removed

With the lens off the body, the shutter cassette can now be removed. It amazes me just how intricate this cassette is and the workmanship that must have gone into it. I’d estimate at least 10 small cogs and a number of tiny springs with levers and pivot points, amazing really considering it’s about 60 years old. It’s amazing how modern technology has advanced.

It takes some time getting into the shutter cassette as there are springs and things flying off everywhere, you really do have to photograph everything you do just to be able to check what goes where and how.

The shutter itself is rather clean apart from some fingerprints on the shutter leaves that must have been from years ago. I have cleaned this down with IPA and then used some finely ground carbon (pencil lead) as a dry lubricant and this has got the shutter moving just fine.

Werra shutter after being lubricated with carbon

I’m now starting to reassemble the lens and shutter as I’m happy that there is nothing else restricting the shutter and it is now moving quite freely. I will clean the camera as I progress and put some watch lubricant on the mechanics that are external to the lens and shutter assembly.

Well it’s all been reassembled and is now back in one piece. It looks good, the shutter works fine and I’ve now vacuum packed it to go back into storage. I won’t be firing up a roll of film on it yet as I don’t have the time to did so at the moment. I’ll probably save that until the summertime when the weather is more favourable. I’ve really enjoyed this restoration even though at times it was very frustrating. This rebuild has taught me patience, or at least that I need to have more patience and just take my time. Intricate jobs on such old equipment need a clear head and a lot of concentration. I’ve learned my lesson and will endeavour to remedy that situation in my future dealings with such equipment.

Release Your Inner Ansel Adams With The Shitty Camera Challenge

Loved this post regarding the reuse and repurposing of old cameras. I know its social media based, but you can’t have it all your own way. I’ve got about 70 candidates that could quite easily be adapted for this purpose…

Social media microblogging has brought us many annoying things, but some of the good things that have come to us through its seductive scrolling are …

Release Your Inner Ansel Adams With The Shitty Camera Challenge

Disc Film,When Kodak Pushed Convenience Too Far

I read this post from Hackaday. I thought you might like it, as it rang true to me because i was working for Kodak at the time of its inception. I was producing graphics art film at their factory in Harrow just outside of London. In my eyes the company went downhill from this point, as they became totally engrossed in the dying traditional silver halide process and totally ignored the advance to digital that floored them in in the late 90s early 2000s – I was made redundant as a result of their “ignorance”.

Having a penchant for cheap second-hand cameras can lead to all manner of interesting equipment. You never know what the next second-hand store will …

Disc Film,When Kodak Pushed Convenience Too Far