

What the listing stated:
This camera is untested, I put batteries in but it did nothing but to be honest, I have no idea what I’m doing with this anyway. For that reason I’m selling as spares or repairs. For its age, it is in really good condition, please look at the pictures carefully and message with any questions.
EBay
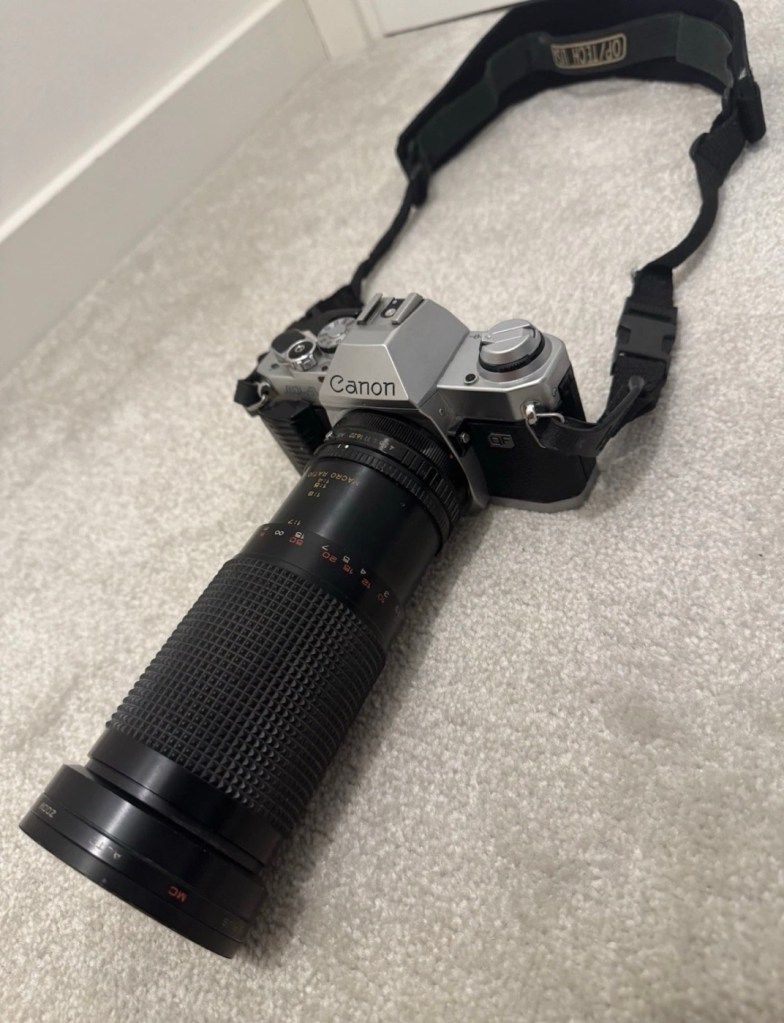
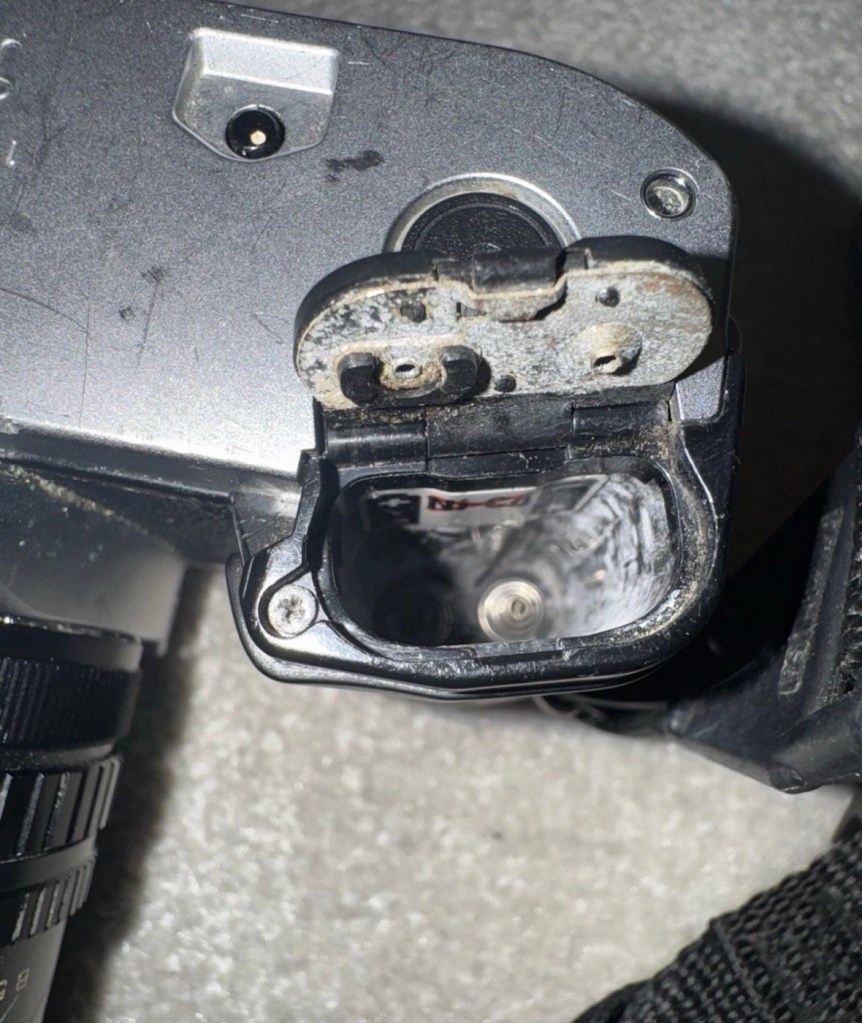
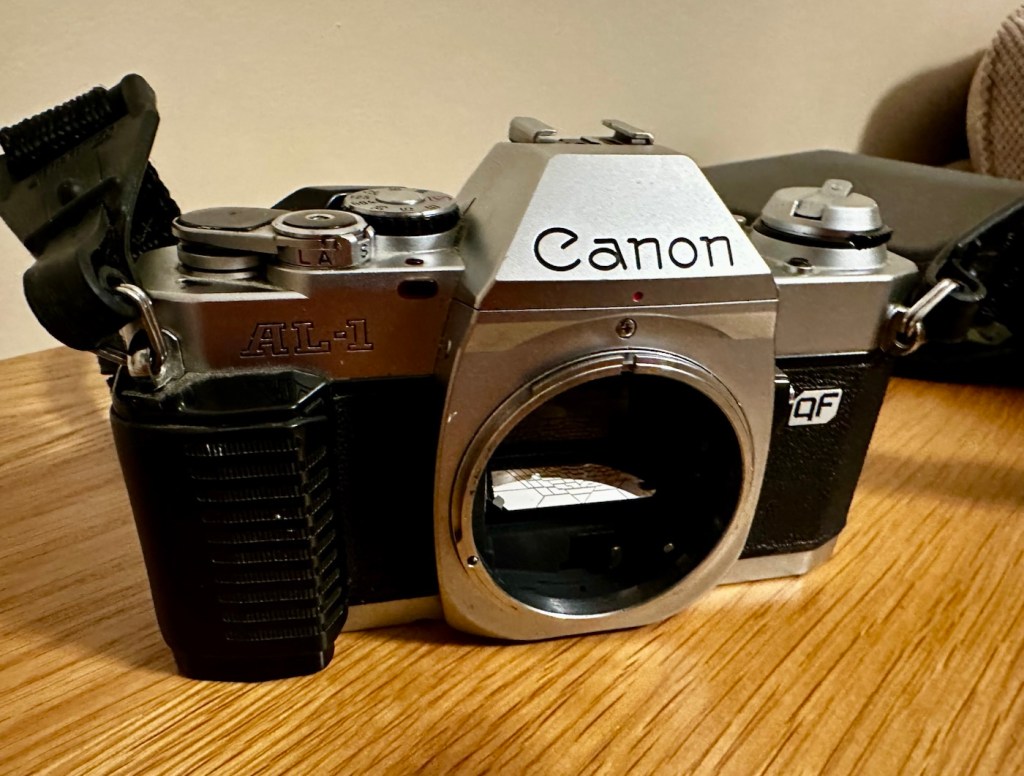
Hmmm, the seller put batteries in and wondered why it wouldn’t start up…I wonder 🤔
By the way, the QF stands for quick focus. Read on to find out more.
I’ve purchased this camera, paying a measly £12:00GBP, as I move ever closer to collecting the full range of the Canon “A” series cameras. This will be my fourth of the range with only two more to go. As usual I have purchased damaged or faulty candidates to repair via my site. This one is no different, and from what I can see the battery barrel and battery door have been exposed to corrosion and neglect. this will require a lot of attention, and hopefully the corrosion hasn’t made it into the internal components.
I believe it also comes with a yet unidentified large lens, that I very much suspect will be riddled with lens fungus if the battery chamber is anything to go by.
Here’s a little history about this Camera:
The Canon AL-1 was an FD mount, 35mm single-lens reflex camera introduced in March 1982. Its main feature was the “Quick Focus” focus-assist system that was aimed at those who had trouble focusing through the viewfinder – either novices, or those with poor eyesight – and was intended to head off competition from the first full-autofocus cameras from other manufacturers, such as the Pentax ME F.
As a lower-end camera, the AL-1 did not offer a long list of features. Instead, Canon focused on providing core functionality and lowering price. The AL-1 provides focus-confirmation, aperture-priority autoexposure (controlled by a through-the-lens silicon photocell), manual shutter speeds from 1/15 to 1/1000 of a second, and a 10 second self-timer. It also added a larger grip, and the convenience of using of AAA cells for power. However the battery door is one of its weakness as most of the cameras that are found today on the market have a battery door that is broken or has been replaced. Its body was constructed from a special polycarbonate that was then painted to imitate metal. An ISO hotshoe, A-series power winder connections, and cable-release socket provide an acceptable level of compatibility with accessories. It was also the last Canon SLR to use the Canon logo, which resembles the Japanese romaji font used on Canon cameras since the 1960s on a pentaprism.
The camera uses Canon’s breech-lock FD mount, and so users could choose from the wide variety of Canon FD lenses, as well as those from third parties. Users could also utilise Canon R and FL lenses, but with some limitations.
In 1987, Canon abandoned the FD mount in favour of the EF mount along with the EOS camera system, which uses the same concept as the T80 but with a new and incompatible mount designed around an all-electronic interface.
Wikipedia
Assessment:
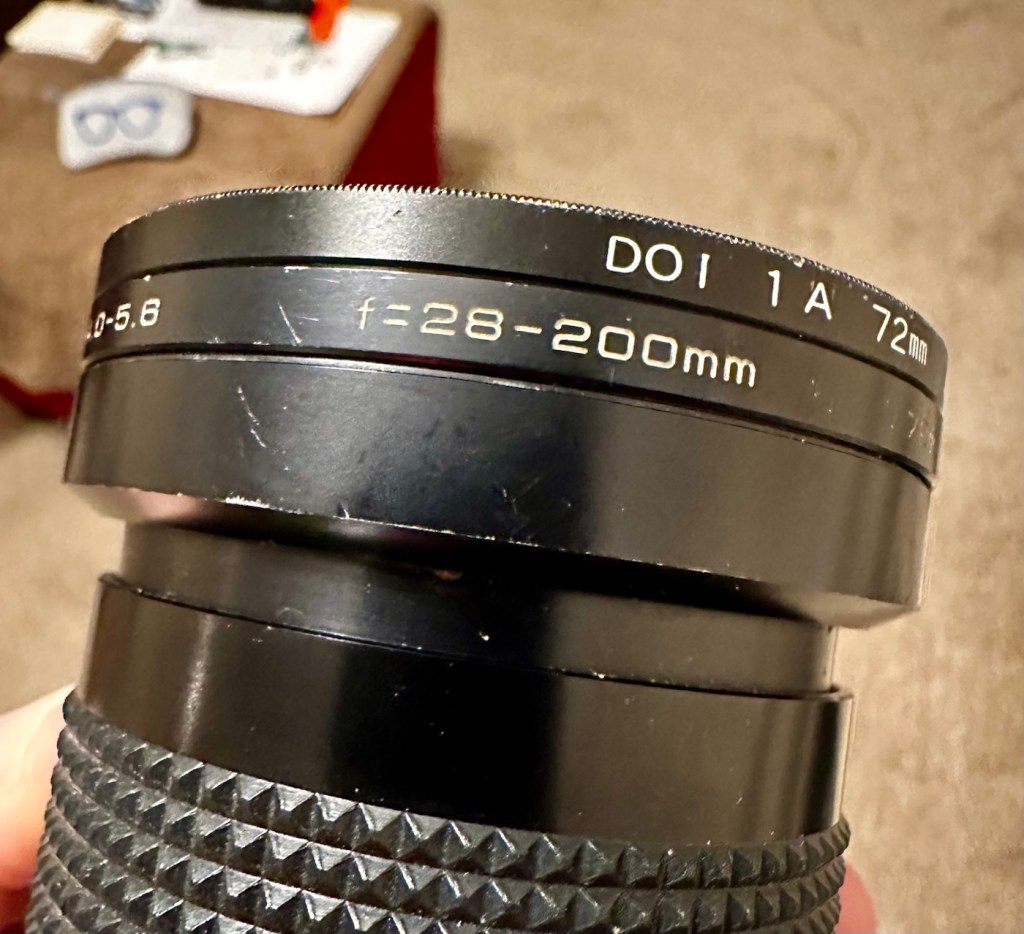
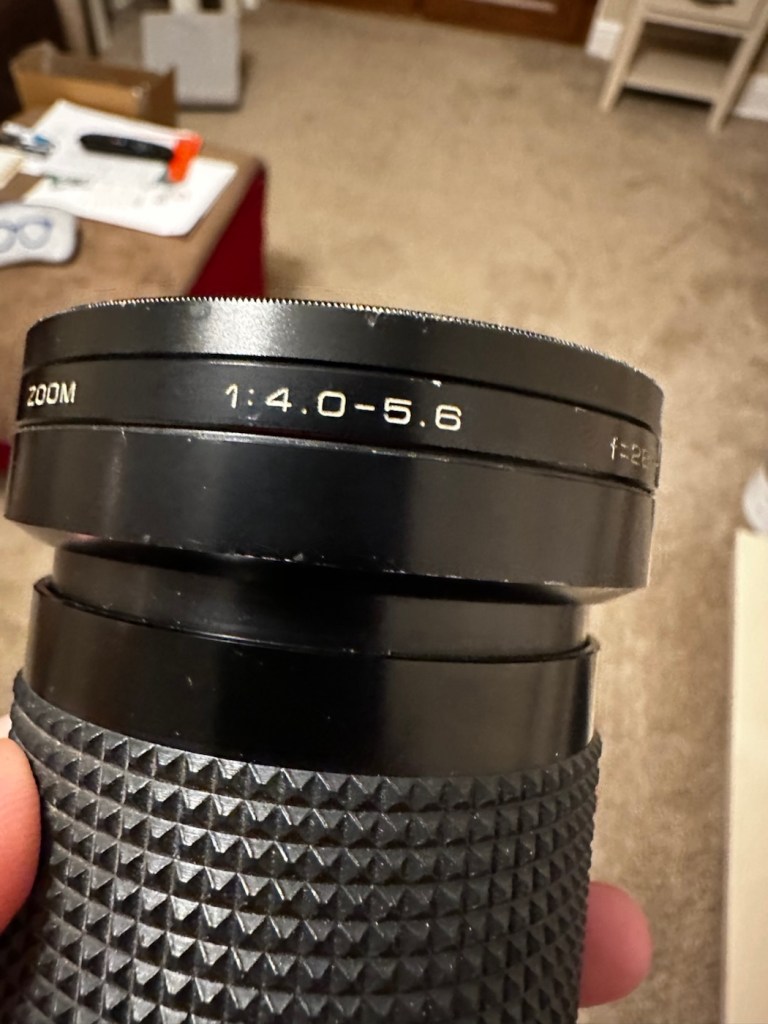
The camera has arrived. The lens that came with it is a canon mount “Sirius” 28-200mm 1:4.0-5.6. It does have signs of fungal infection and I’m not going to do anything with it at the moment, as I have a few stock 50mm lenses I can use for testing. I may get around to cleaning the lens in the mid to near distant future, if I get the time or to be totally honest, if I can really be bothered. It will probably become another post of the future.
On opening the battery door you can see that the contacts are quite oxidised, and definitely require a clean. The battery chamber also needs a clean as do the contact springs at the base of the battery chamber, we need to do this as we require electrical continuity to check the cameras operation.
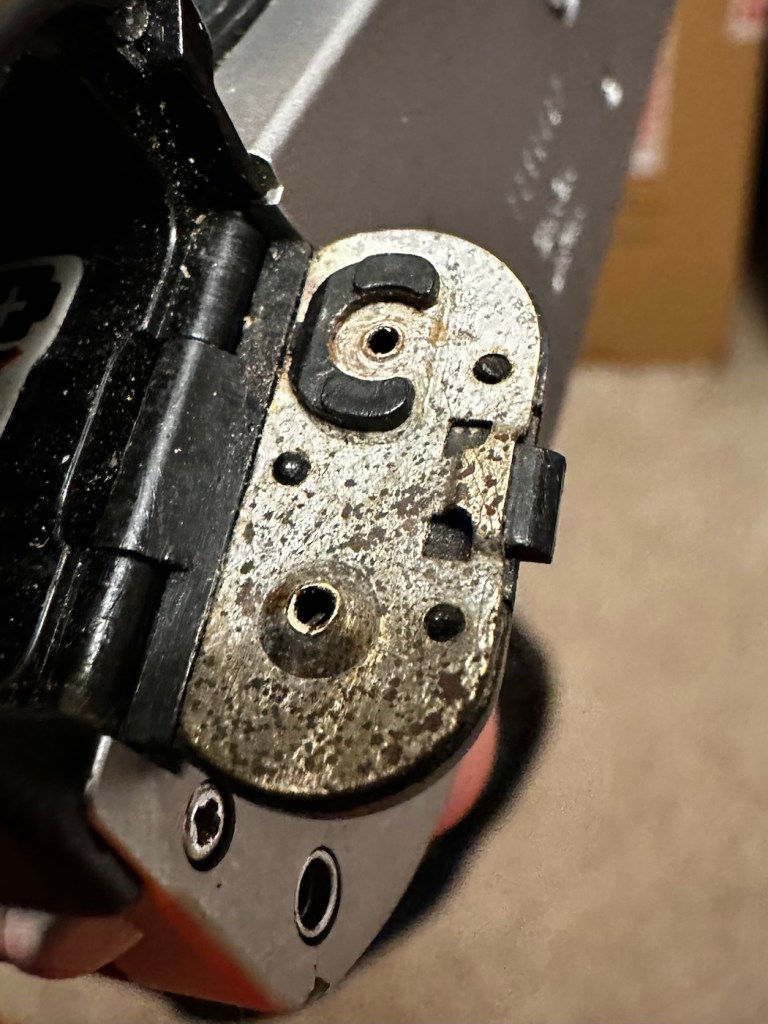
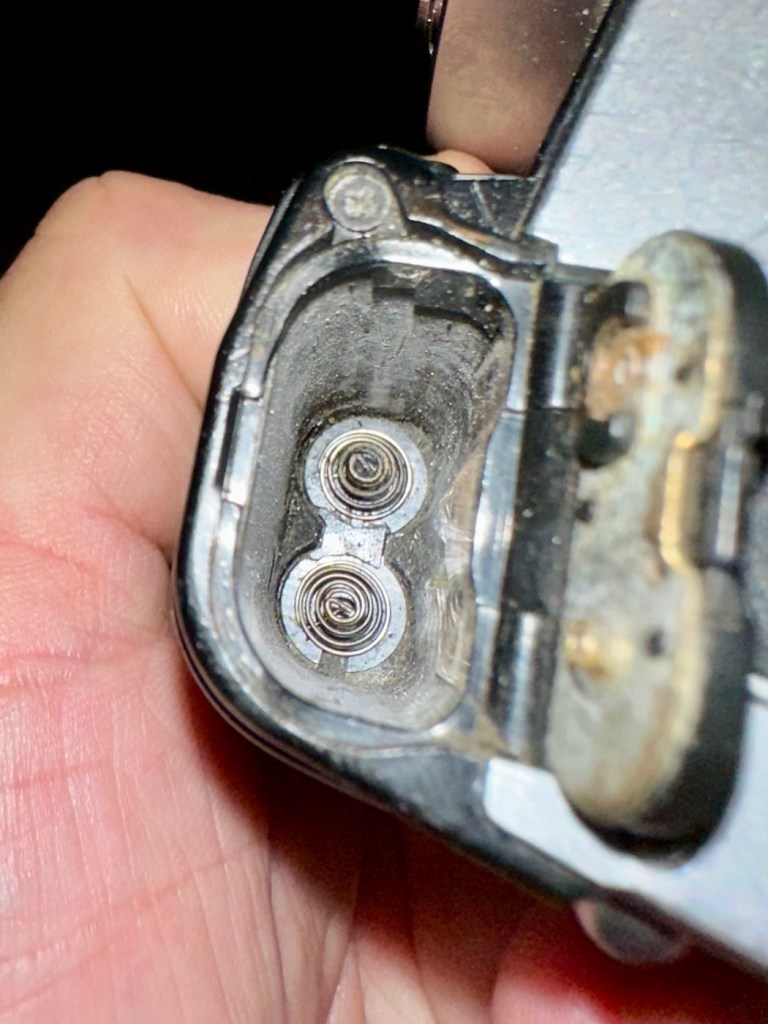
I have tried inserting a couple of AAA batteries after first giving the door contacts a quick rub, however I had no luck, and no power was getting through to the camera, and that’s what we need to be able to attain, just to be able to do the basics on this unit. So it will need quite a considerable clean prior to putting in new power cells.
Inside the lens barrel when you first glance the mirror it looks as if it has shattered, however this is a special etching on the mirror that allows light through to a sensor placed behind the mirror that supplies information to the QF (Quick focus) system built into this camera.
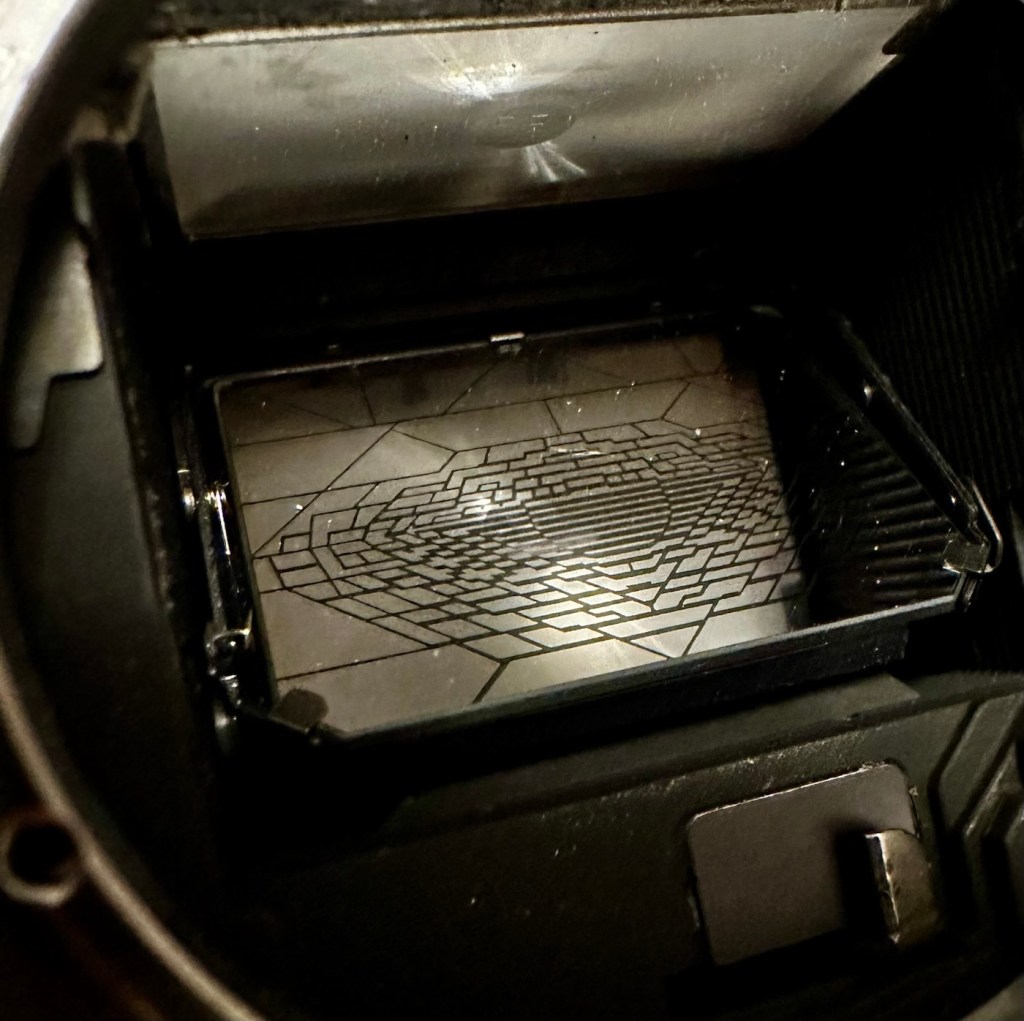
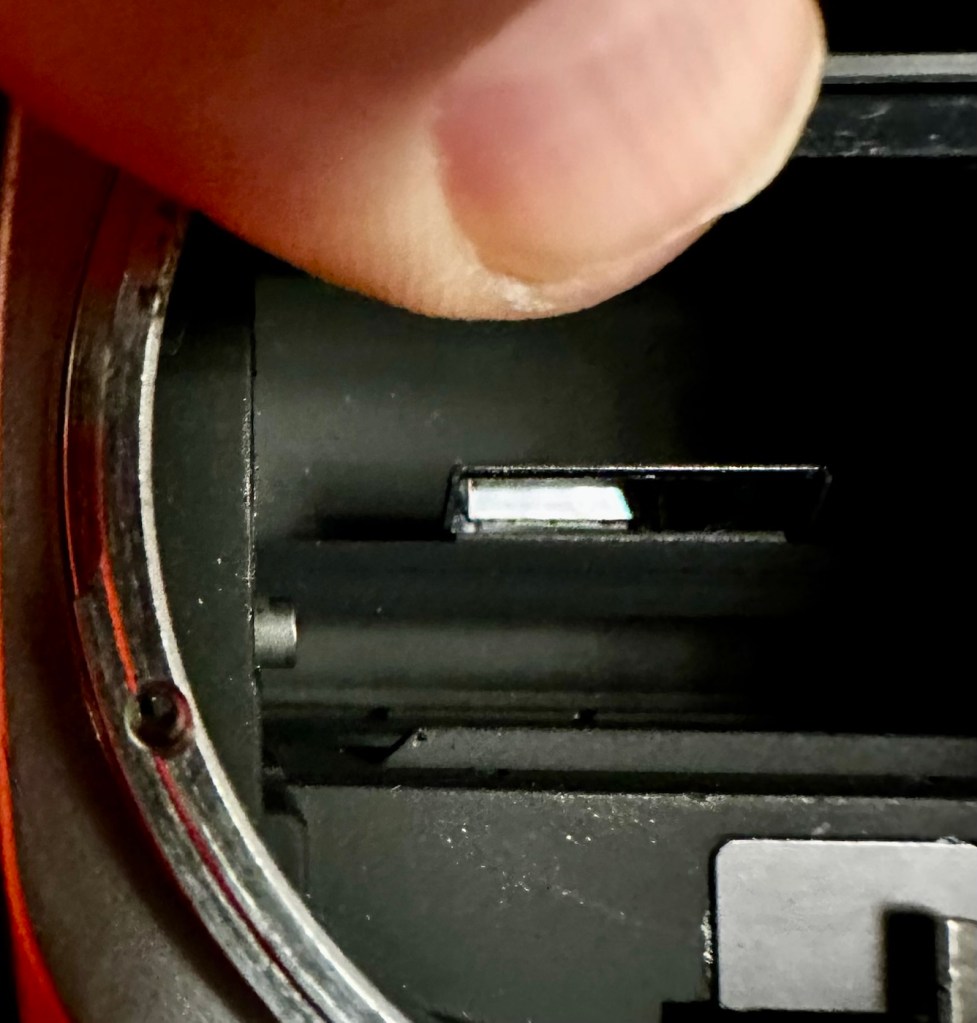
This camera does not have the typical split screen focus you find within most cameras of this age. All it has is a small rectangular two piece shape on a ground screen and that is it. This is where the QF comes in to play. You have to depress the shutter button down half way as you focus. As you focus, the viewfinder will display the exposure ratings to the right hand side of the viewfinder.
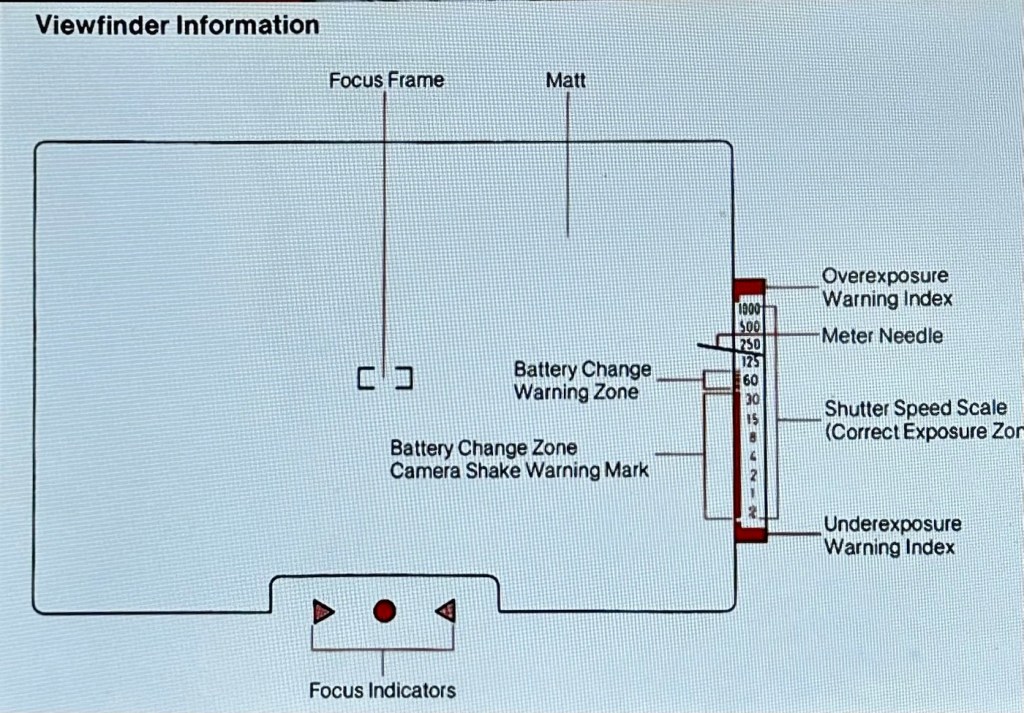
At the bottom of the viewfinder screen is where the QF is calculated. As you focus you will see either one of two red arrows indicating that you focus the lens in the direction to which they are pointing. When the arrows extinguish and a green circle illuminates, that means the correct focus has been achieved. If you are happy with this and your shutter speed is not too slow and sits within the correct exposure zone, then go ahead and take your photo. it really is quite simple. A great system for those wearing glasses or for those with eyesight problems.
I have also noticed whilst testing the advance lever and shutter, that the take up sprocket moves freely in either direction, and this shouldn’t be occurring. The sprocket will wind the film onto the film collection point and then remain set, not allowing film to roll back and maintaining a taut film base across the rear of the shutter. It appears the rewind button at the base is pushed in permanently, and this would allow free movement of the sprocket whilst rewinding the film after use. There is an issue here that needs addressing.
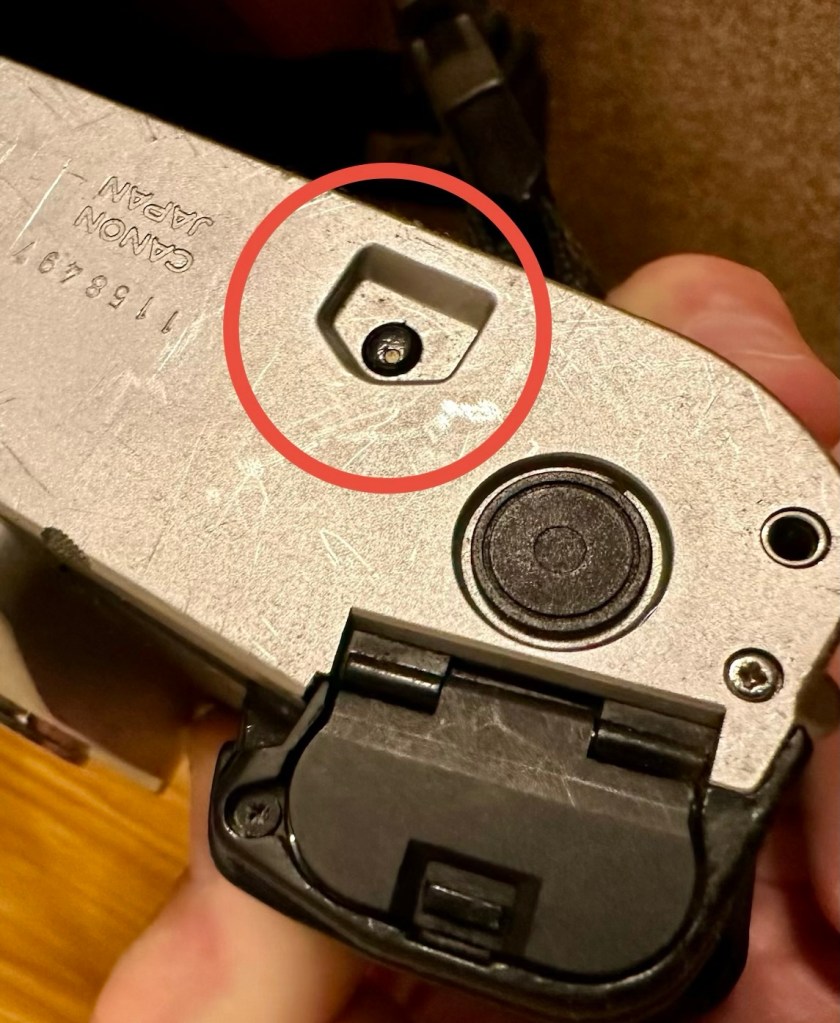
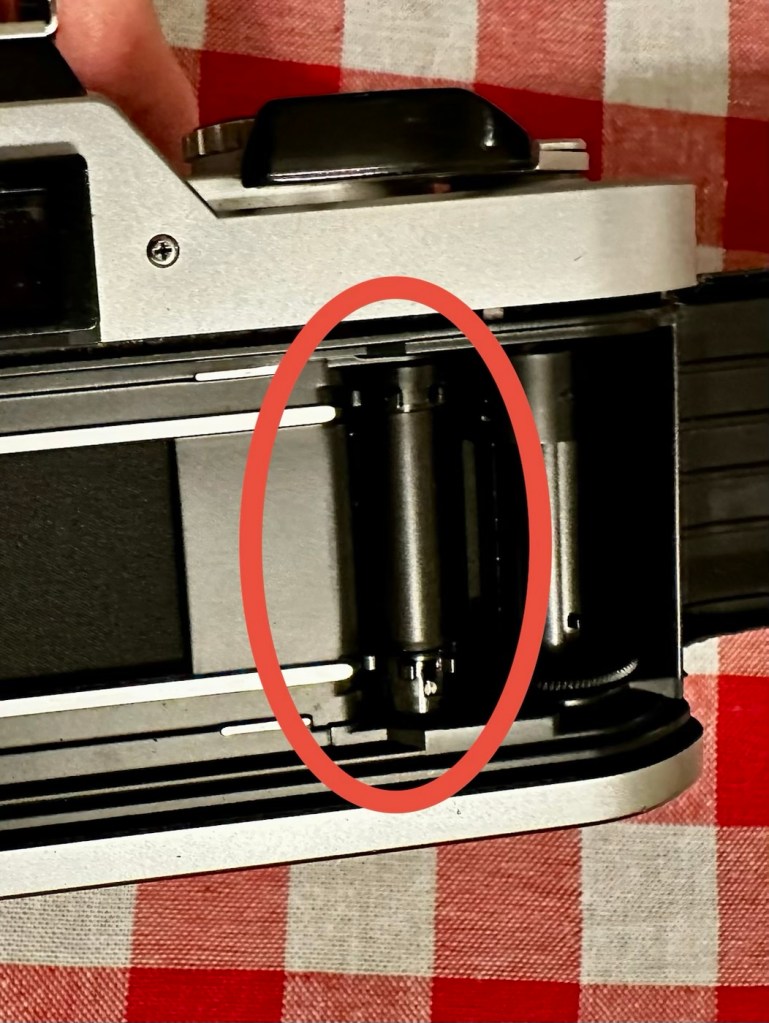
The camera itself is in a good condition cosmetically and considering its age, approx 43 years old, its condition is quite acceptable.
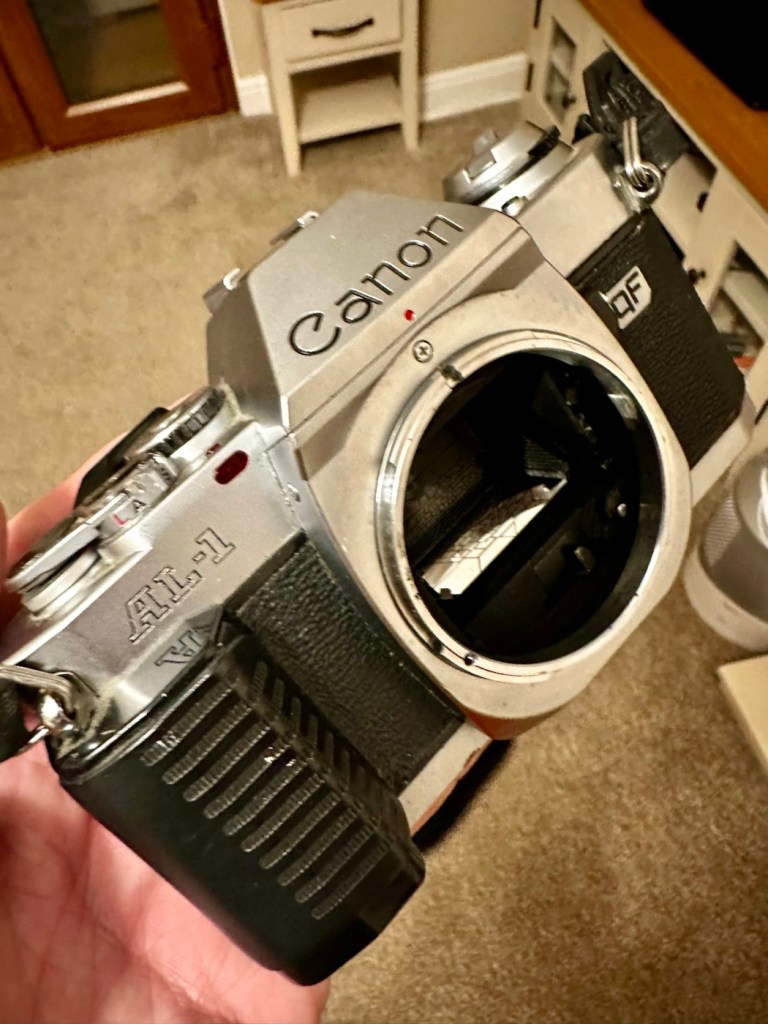
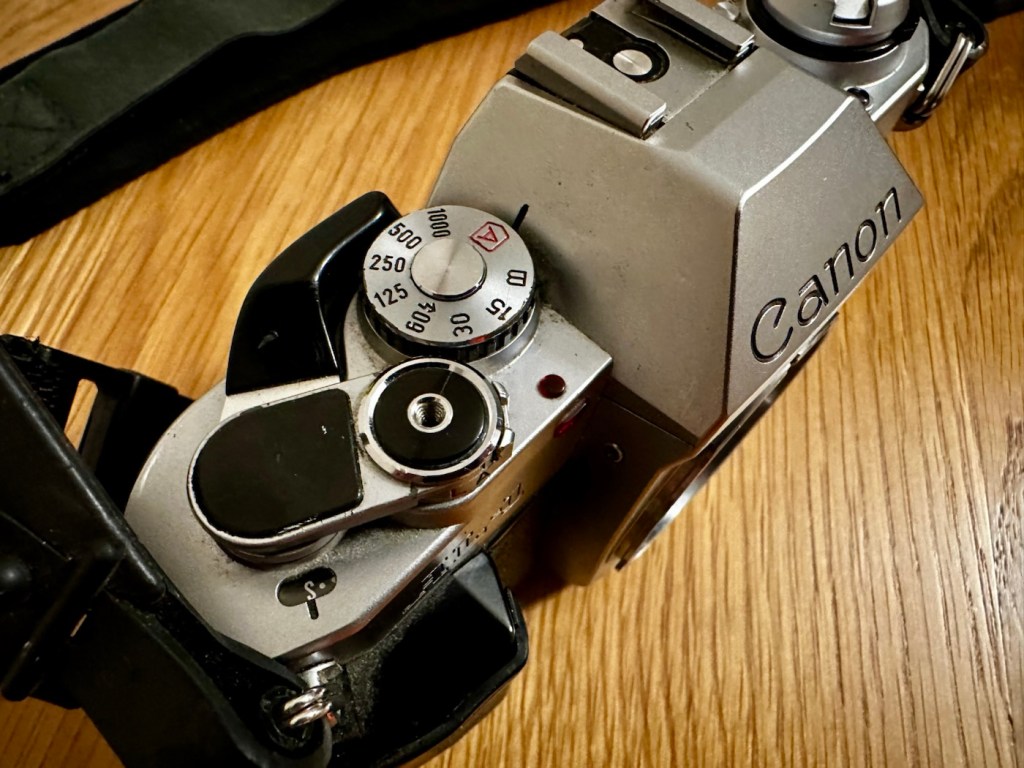
It is however very dusty and dirty and will need quite a deep clean.
I shall be leaving that big lens to one side for the purpose of testing, and will be using a standard 50mm FD stock lens for ease of movement.
Repair:
As we need power before we can do anything, my only option is to head straight for the battery chamber. I’m going to have to take the base off of the camera as there are a couple of issues that require its removal. The first will allow me a good unhindered access into the battery chamber and allow removal of the battery door that is contaminated with either battery acid or oxidisation. The second will allow me to attend to that take up sprocket issue and the depressed rewind button. I may even do some light cleaning and lubrication within this area.
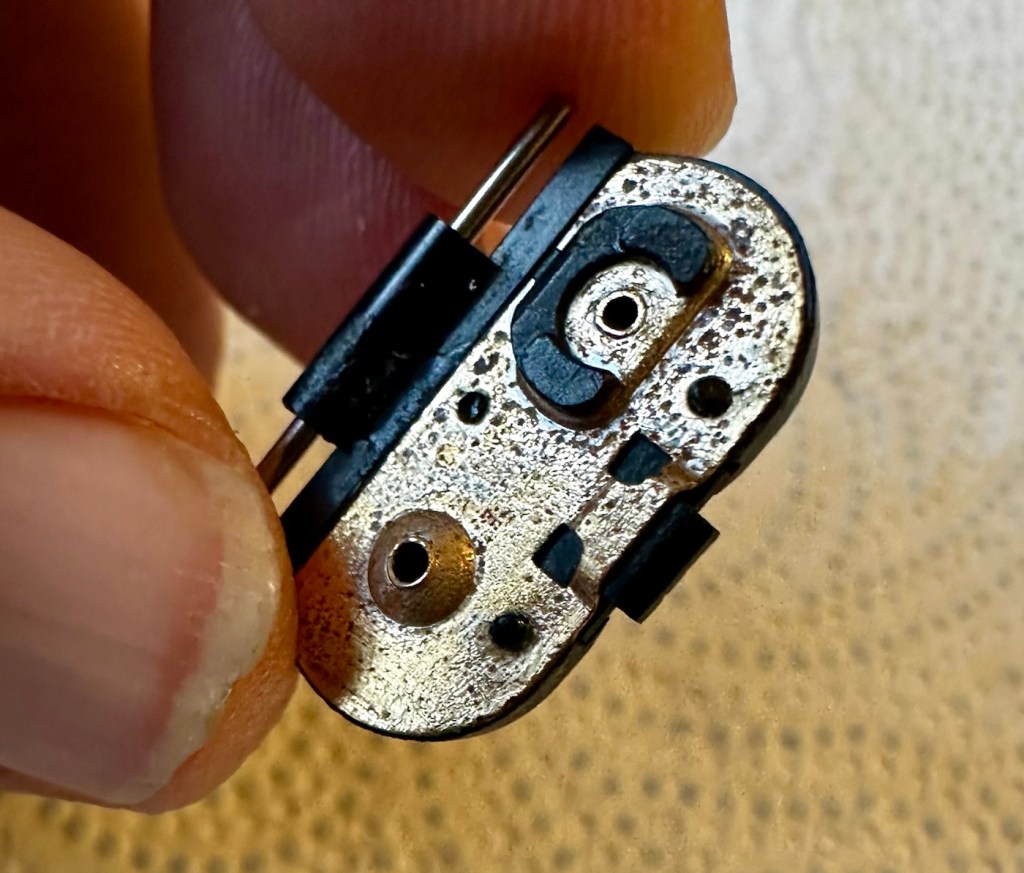
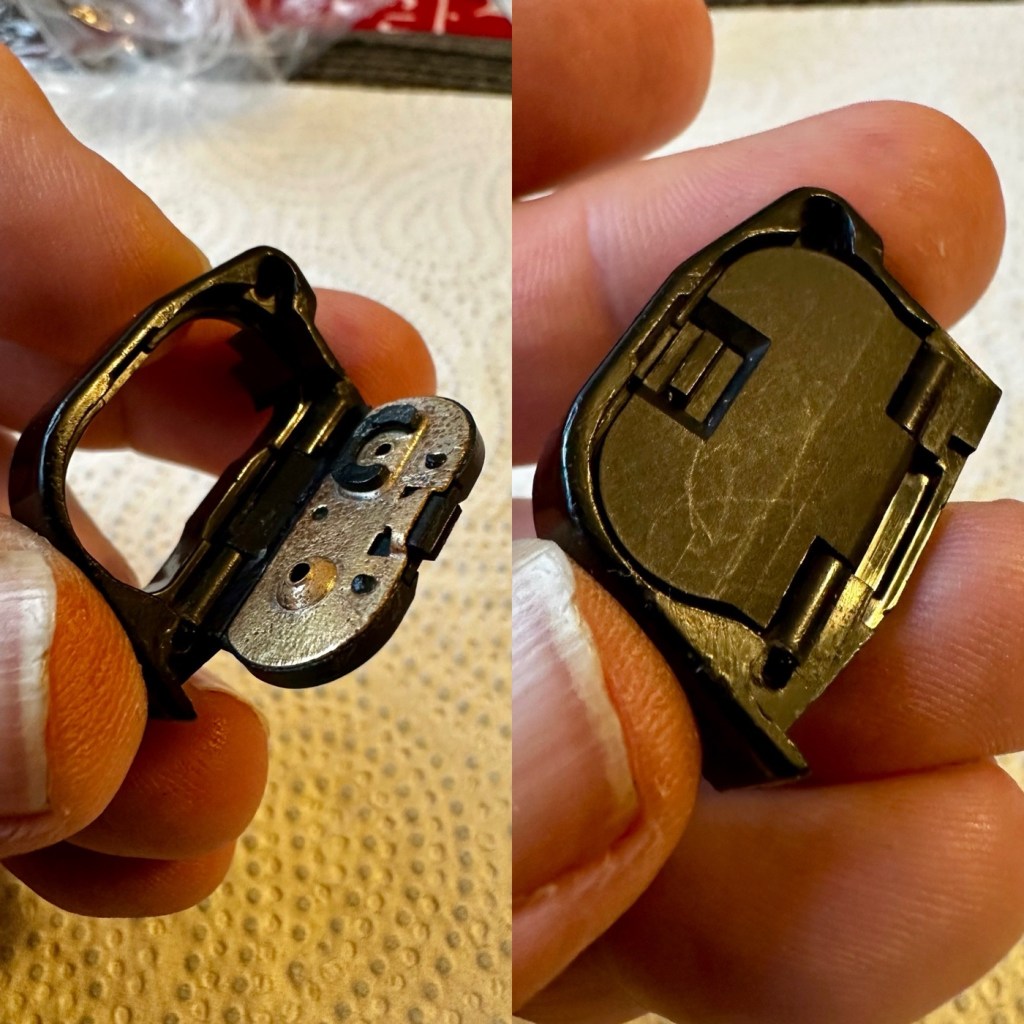
These cameras are notorious for the issue around the battery door failing. It has always been a problem around the latching mechanism, it fails and there are then a number of options to secure it ranging from elastic bands to custom made pieces of metal to sit on the base. There is a German company offering a 3D printed option for a replacement but it comes at a price in the range of three times the amount that I paid for the camera, so I won’t be venturing there. My battery base door does seem to be ok at the moment, the latch appears to be ok, the only issue being that the metal contact plate has come off the plastic door frame, as it was only held on with three plastic welds. It does allow me to clean the plate somewhat, however I now have to consider how I put it back into place, either I reweld, glue or screw. I could always use a Canon power winder that would also solve this issue. If I had the space at home and could set up my own 3D printer that I have had at home since my birthday earlier in November, boxed up in the corner of the living room, then maybe I could print my own? Either way I need the door free from the camera so as not to cause any further damage to it.
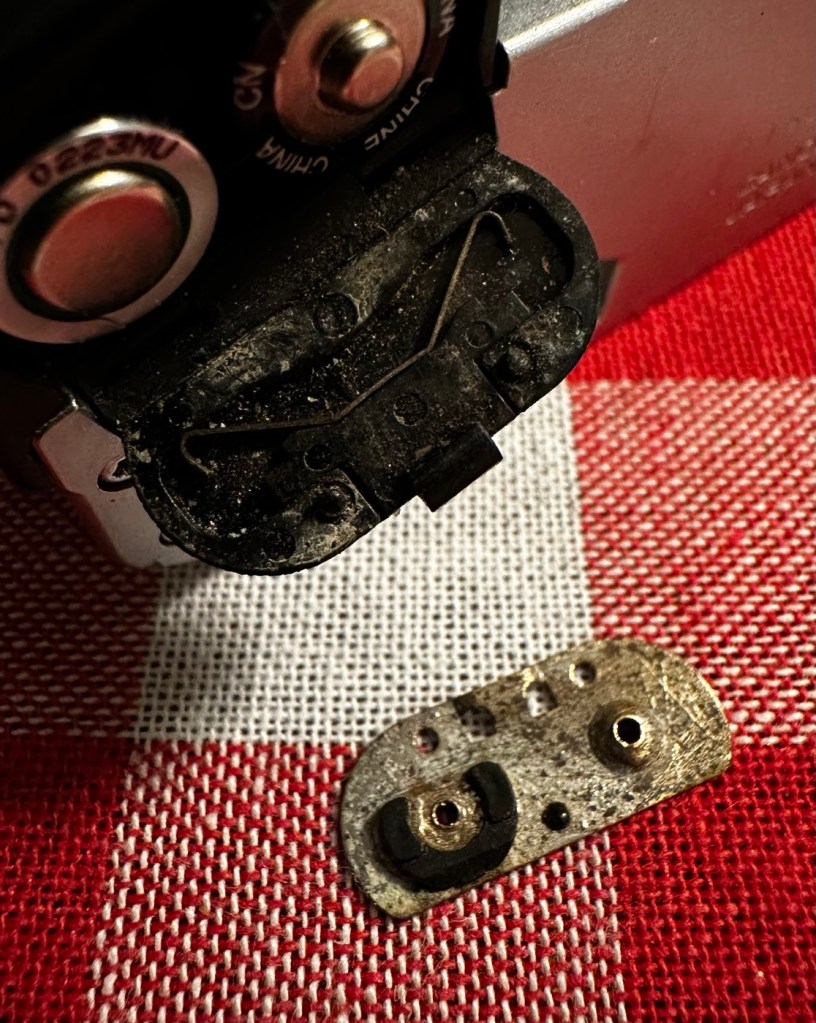
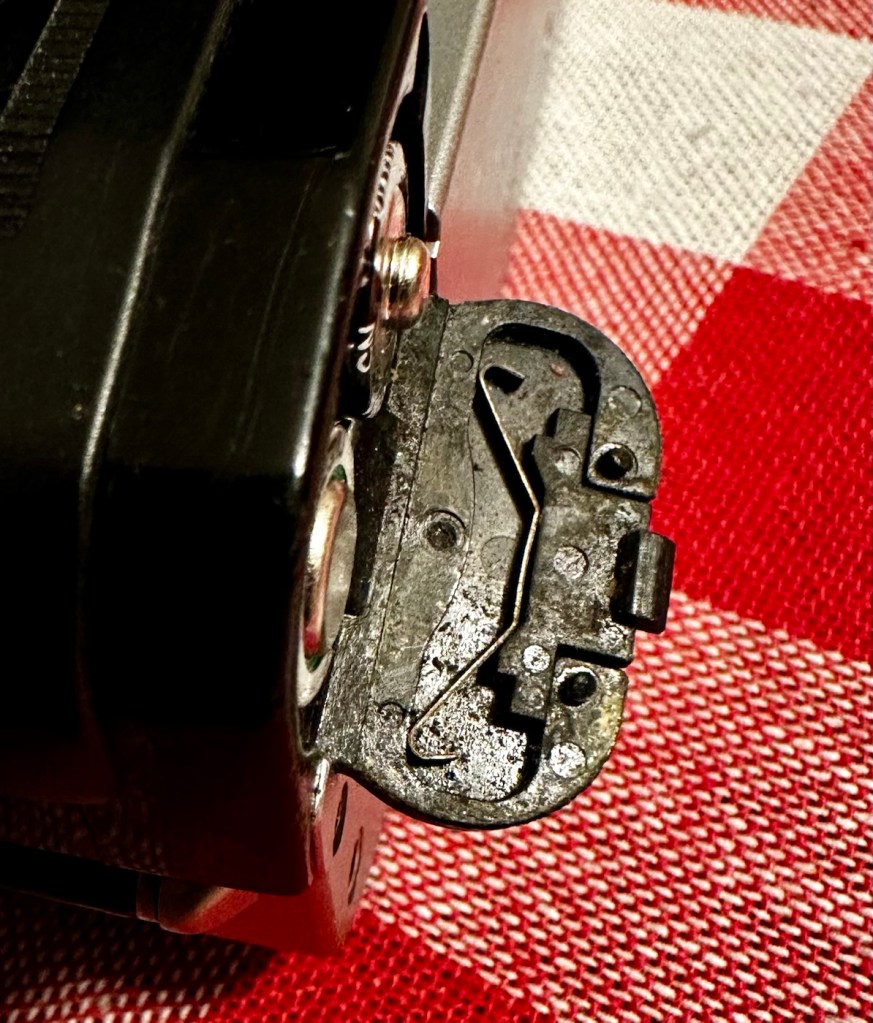
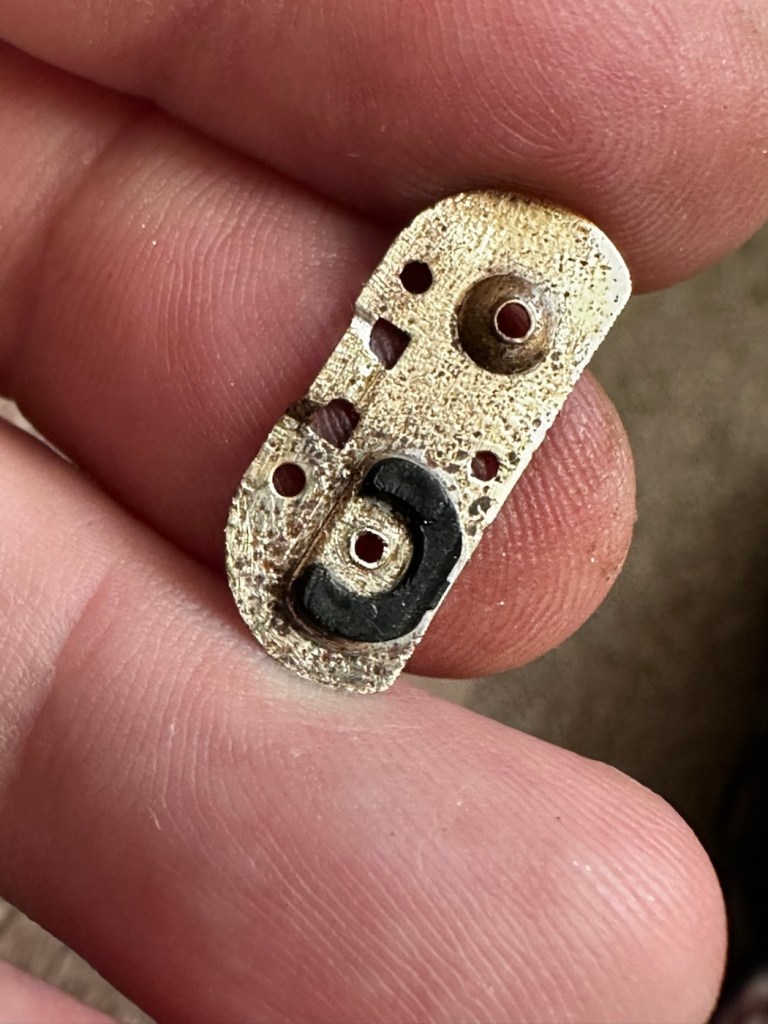
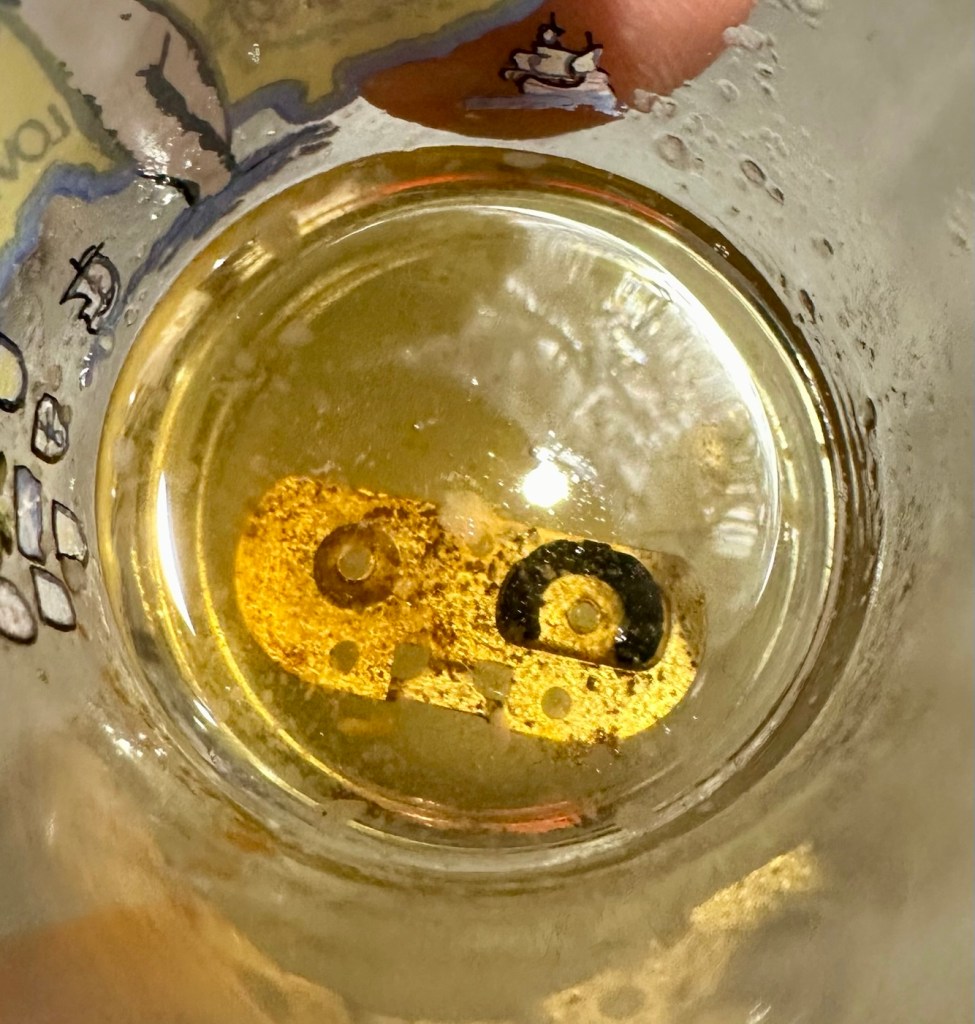
I have given a clean to the oxidised plate, by soaking it for a few hours in vinegar, that has lifted a lot of the dirt and oxidised material. I have cleaned it with IPA and then tested its continuity with a multimeter and the plate does have a good continuity across most of its surface. I’m going to just give a final buff with some fine sandpaper to improve its appearance and to ensure continuity across its surface is as good as it can possibly be. When I have achieved that, a good clean of the inner door and latch and spring will be carried out prior to its reassembly.
I’ve had the base off of the camera so I can carry out some maintenance to the battery rewind button and the top of the battery chamber. The battery door has been removed, cleaned and will shortly be reassembled and put back into place.
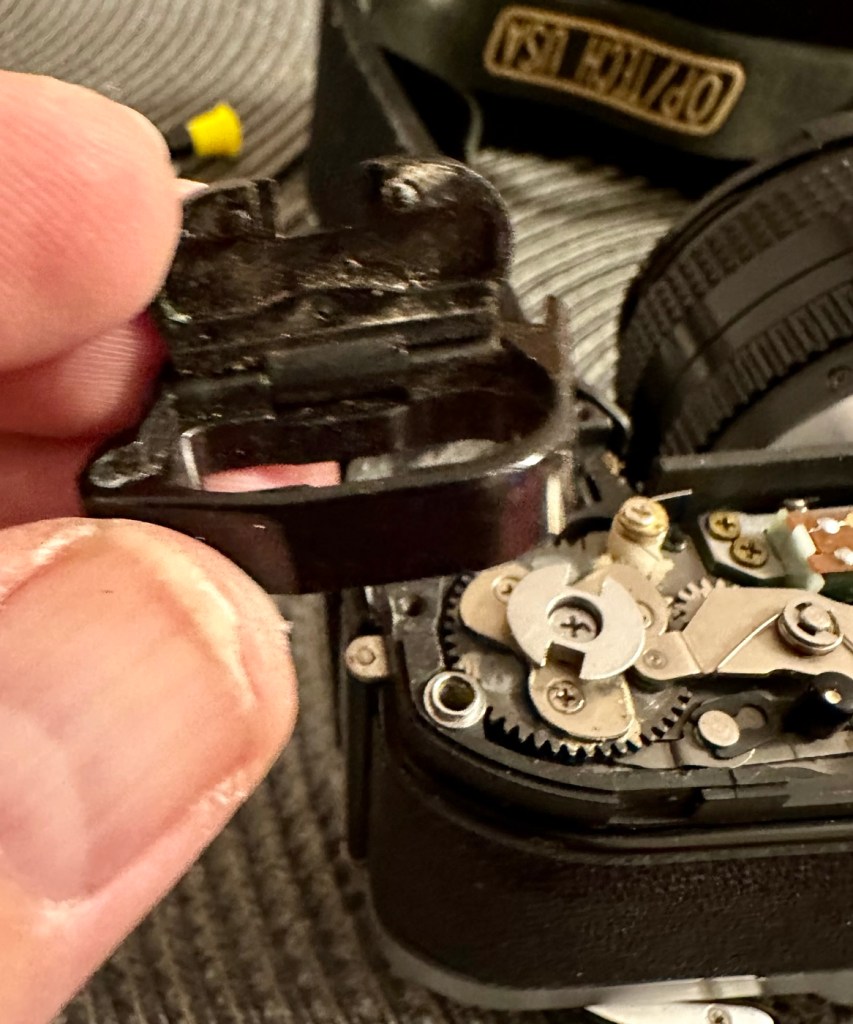
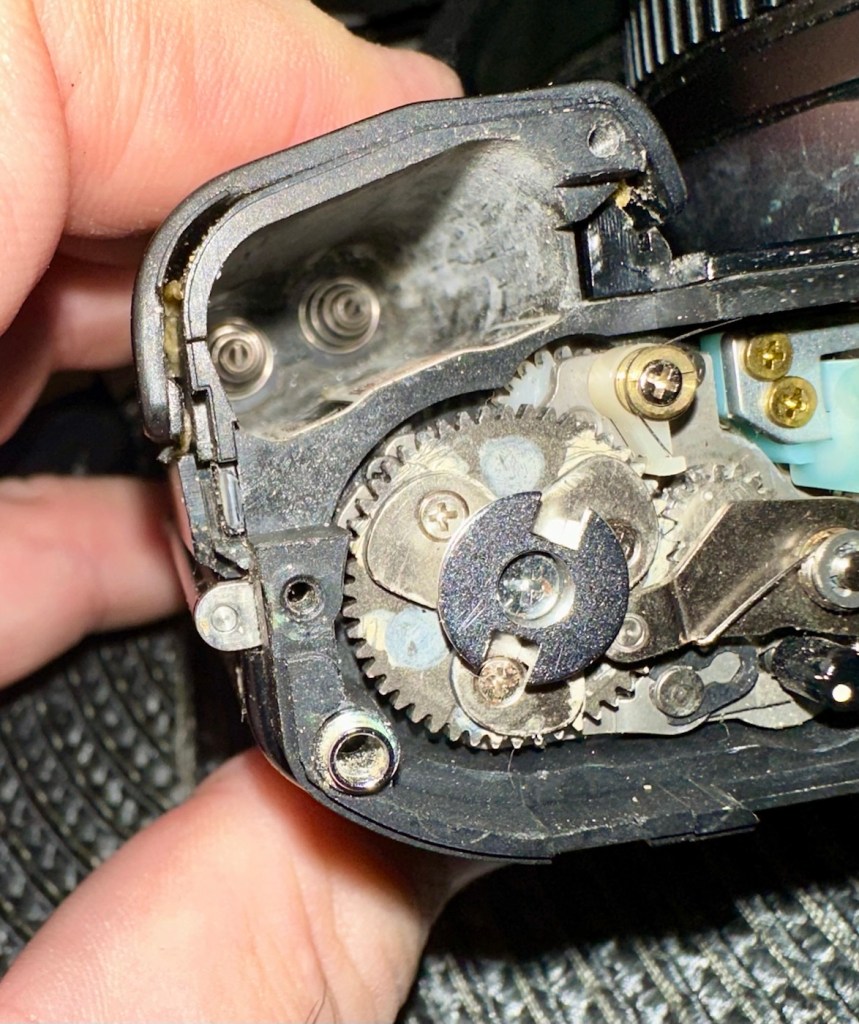
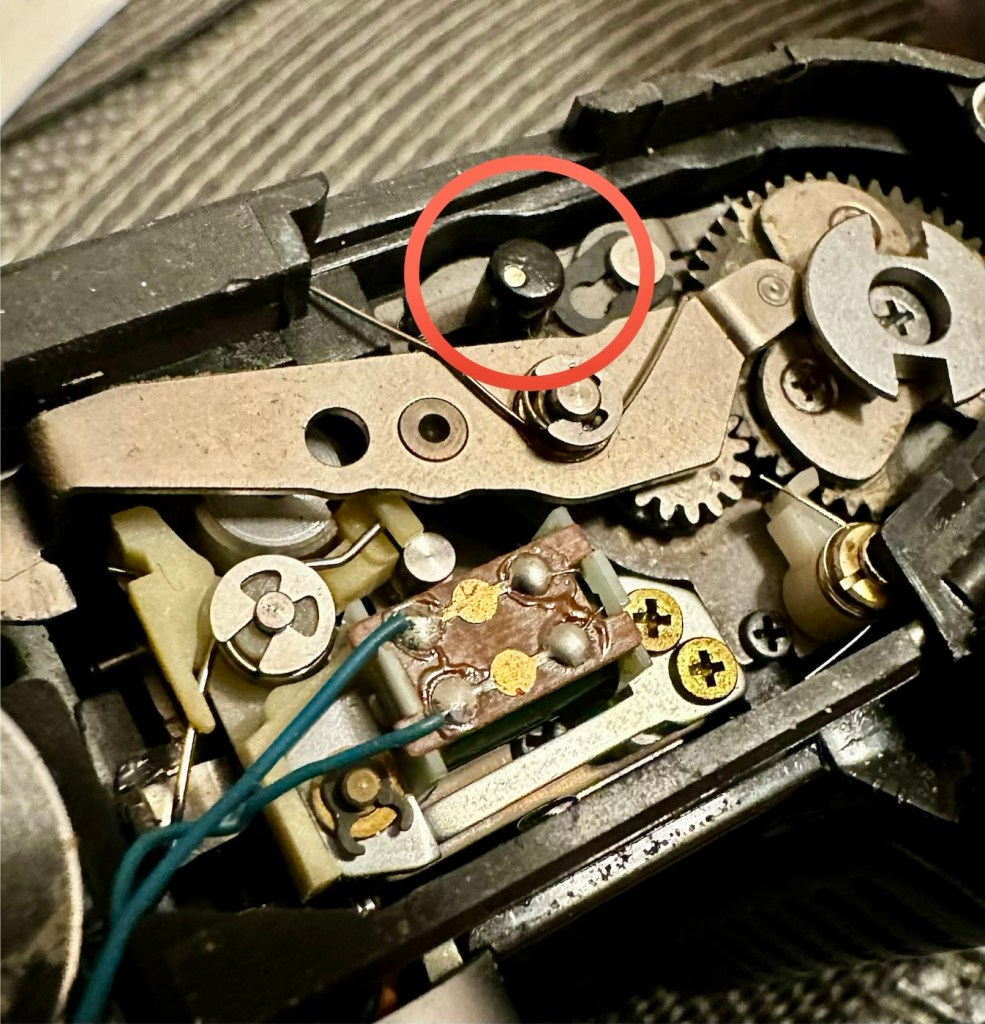
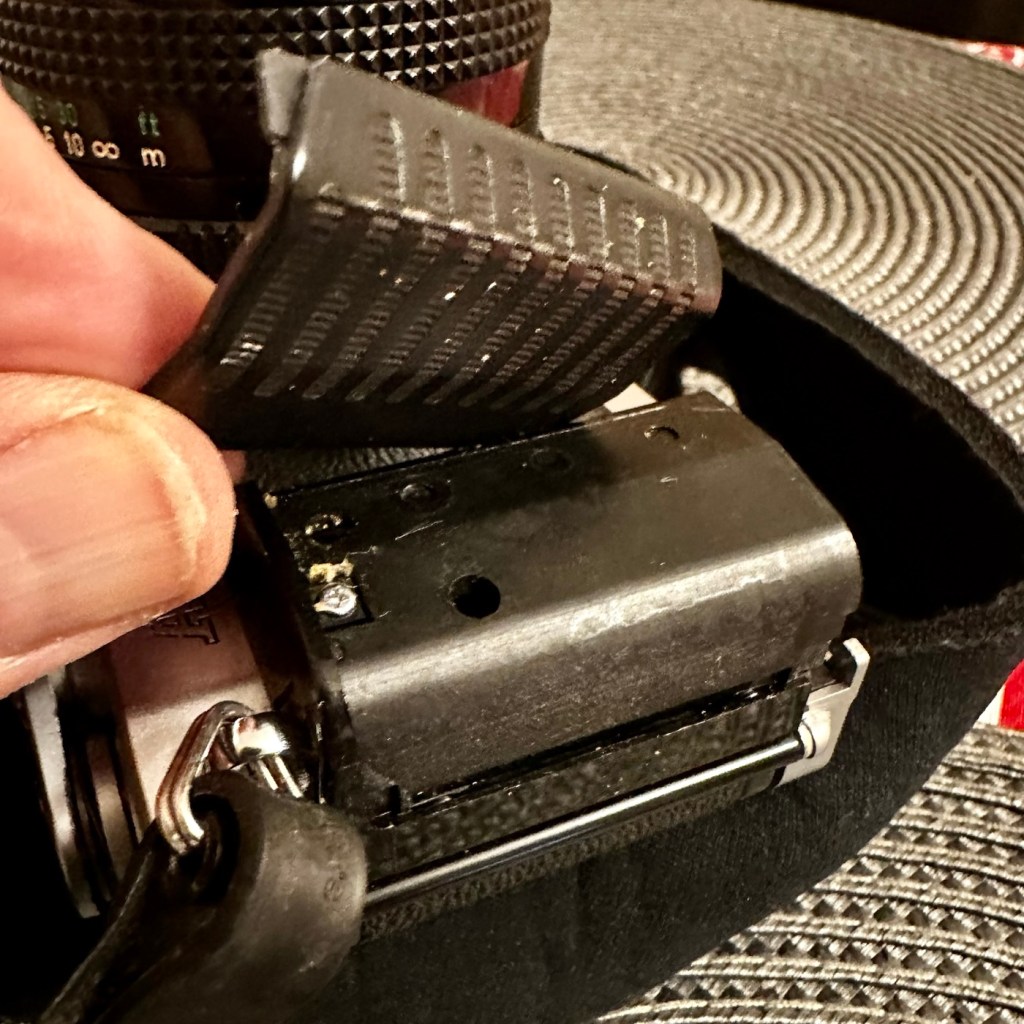
The rewind button is confusing me as it looks as if nothing is wrong, but I’m sure it is. I have made some minor adjustments to tension screws and the spool rewind without any improvement. I’ll come back to this later.
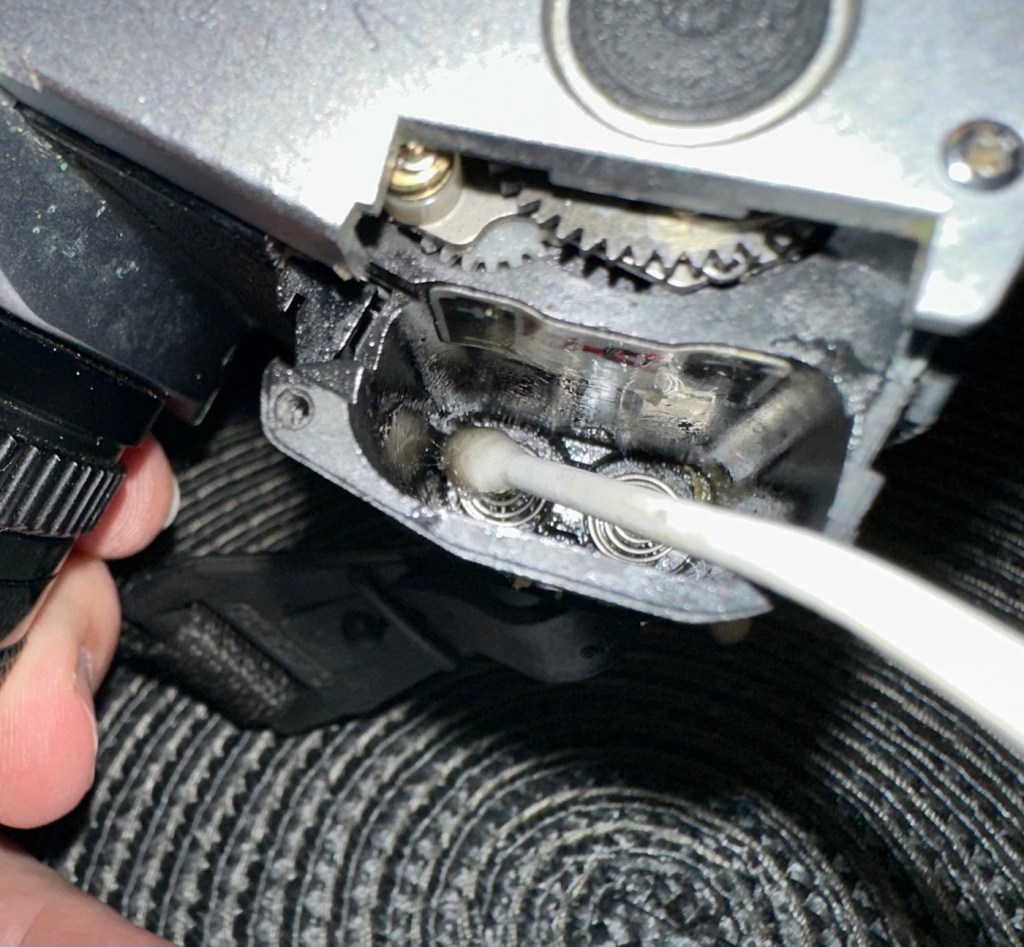
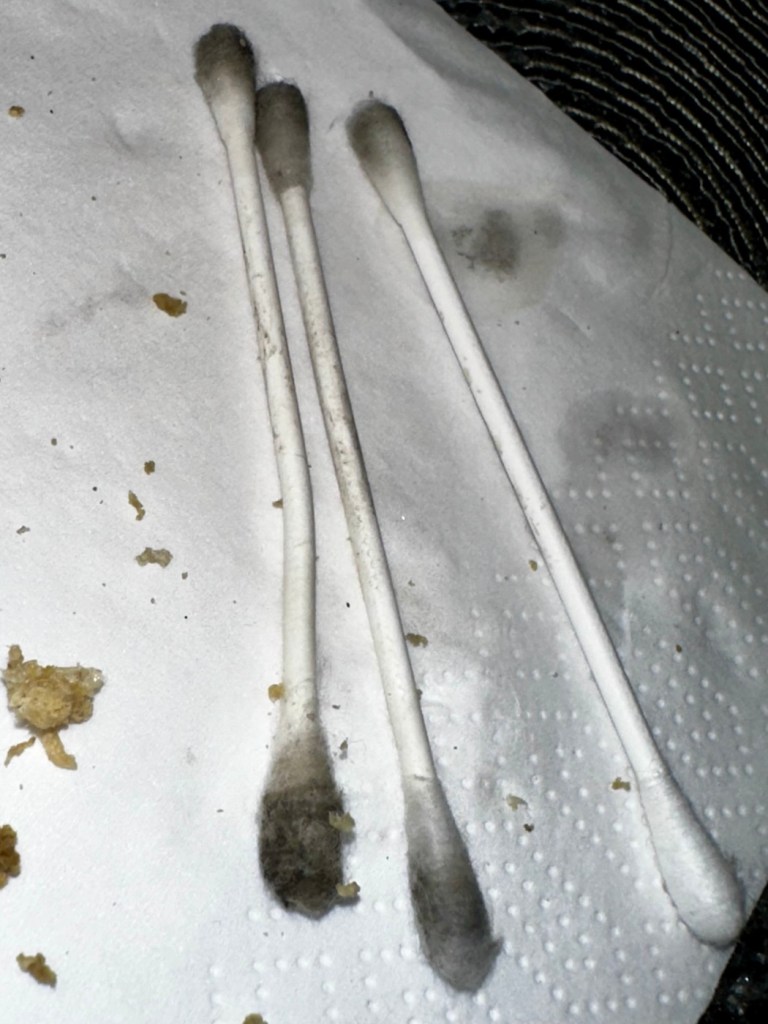
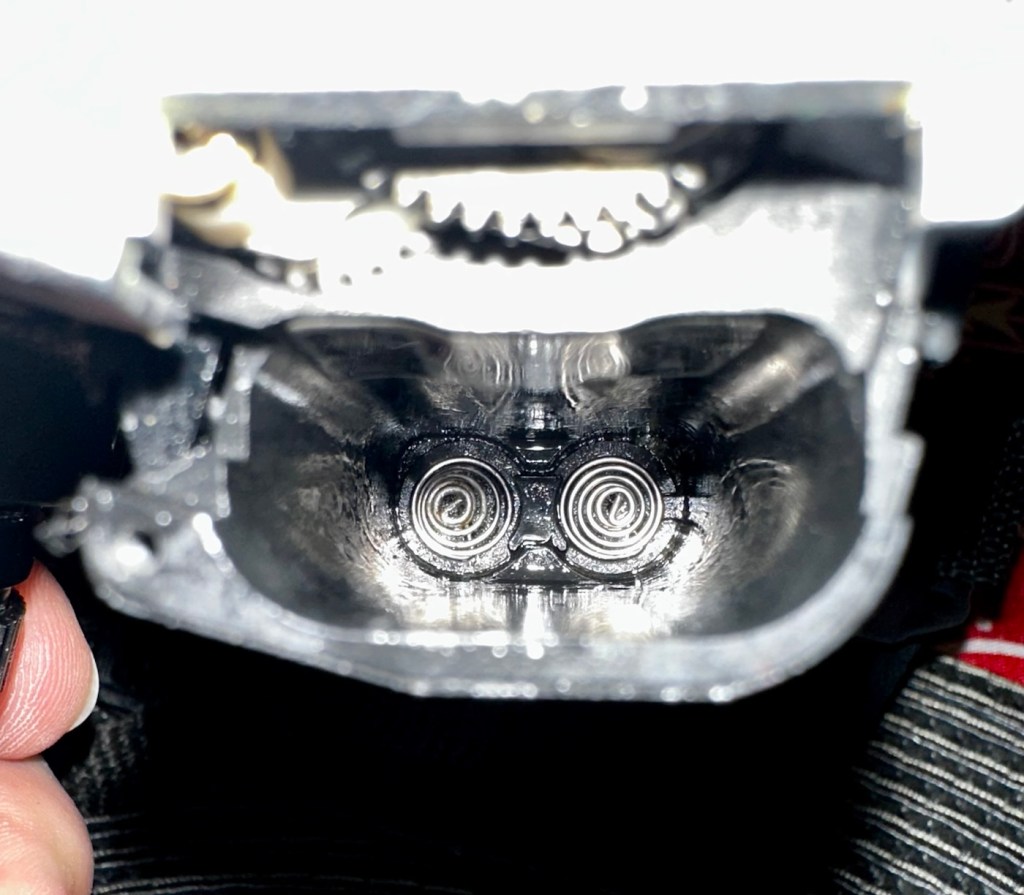
I have affixed the metal battery plate to the battery door using a small amount of superglue. I have bent the door latch spring a little to give it a bit more strength allowing the door latch to click into its stop position a lot more securely, hence the batteries will not be able to force the door open as they did previously.
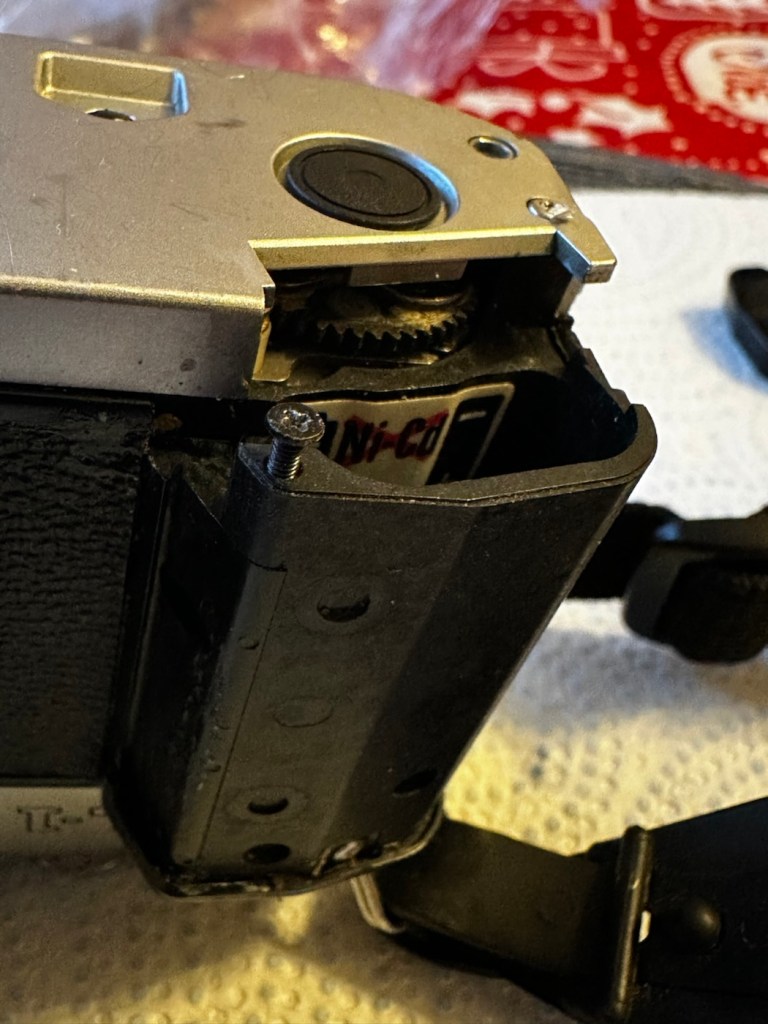
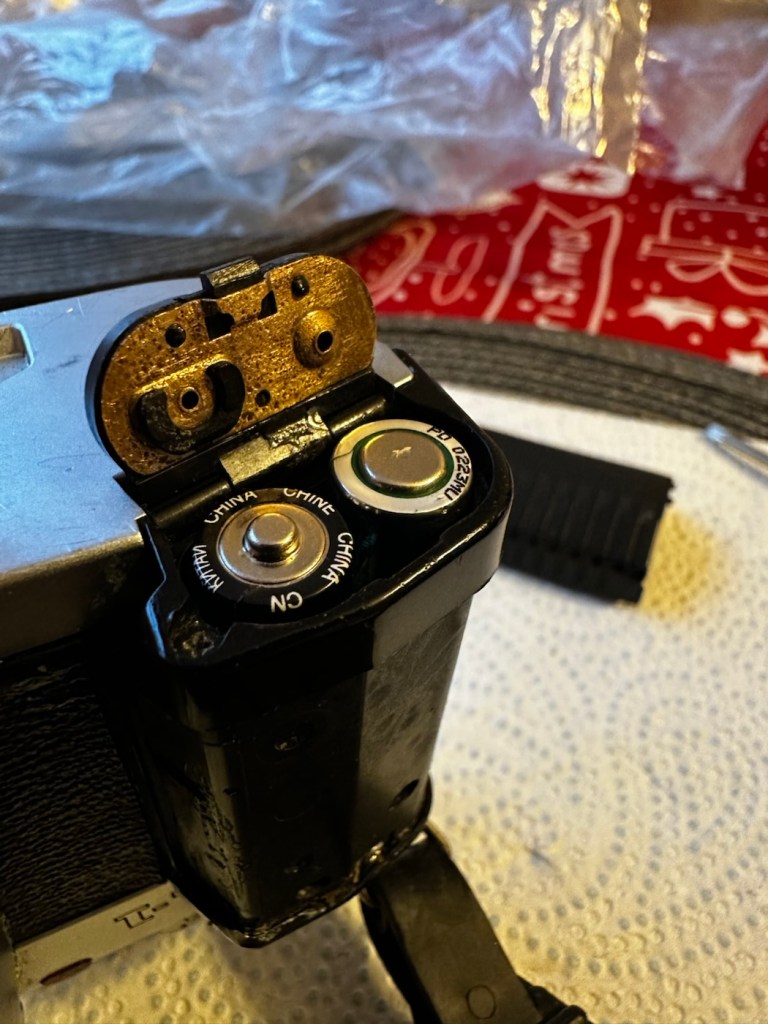
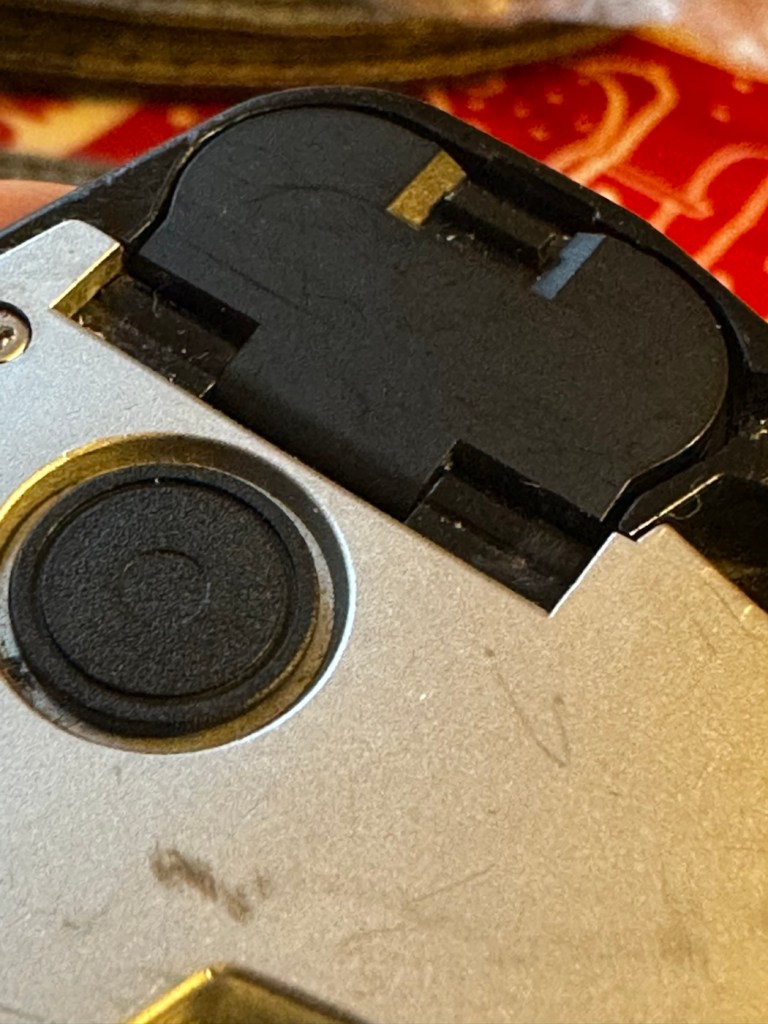
Next thing is to get the rubber hand grip back in place. For this I have used some contact adhesive.
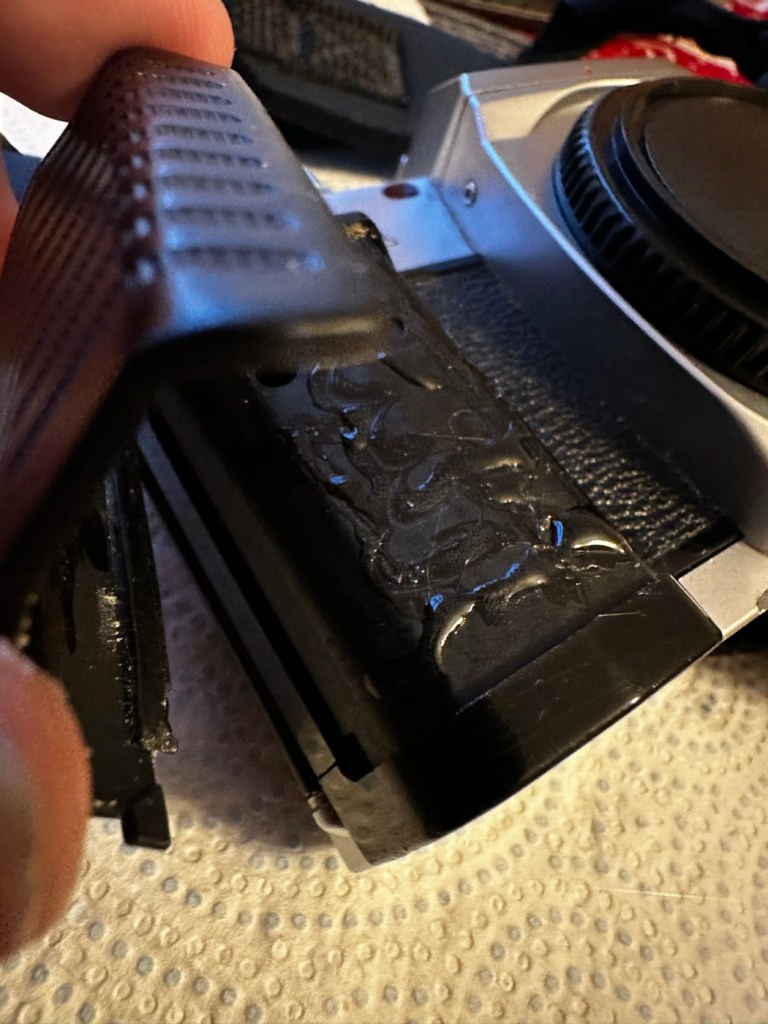
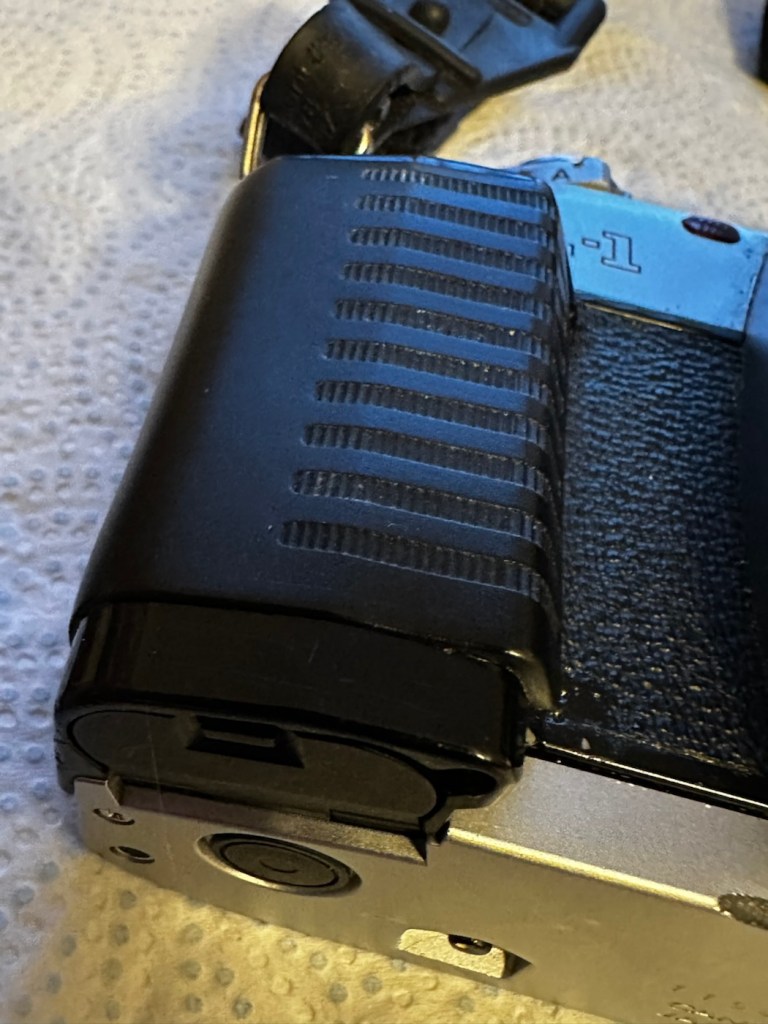
I’ve rechecked what I thought was an issue with the film rewind button, and it isn’t a problem, it is working absolutely fine and as it should be.
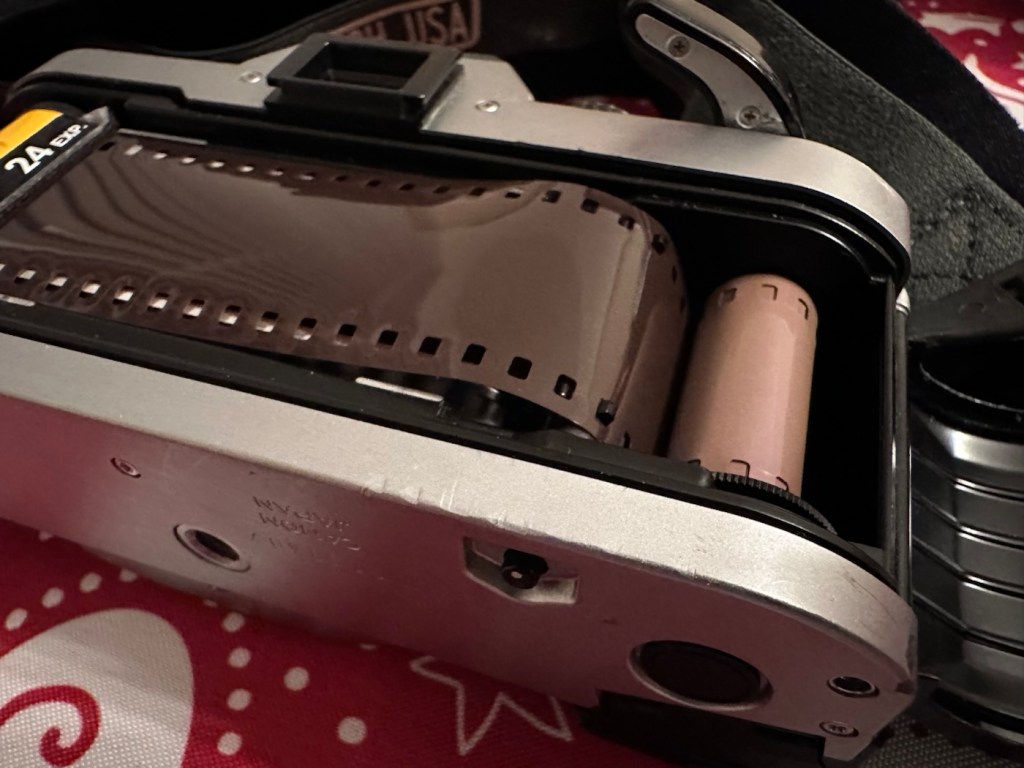
I’ve used an old test roll of film and as soon as the film is in place and winding, the bottom button pops out In theory locking the rewind spool so that it only winds towards the take up spool. When the base button is depressed, it clicks and allows you to rewind the film back towards the spool, it is working fine and was never an issue.
So the final job to do on this camera is to replace what is left of the light seals. There are eight pieces that need replacing on this camera, first I will hook the old seals out with a cocktail stick, I will then do this again with IPA to clean and remove the remaining bits, prior to cutting and installing the new seals.
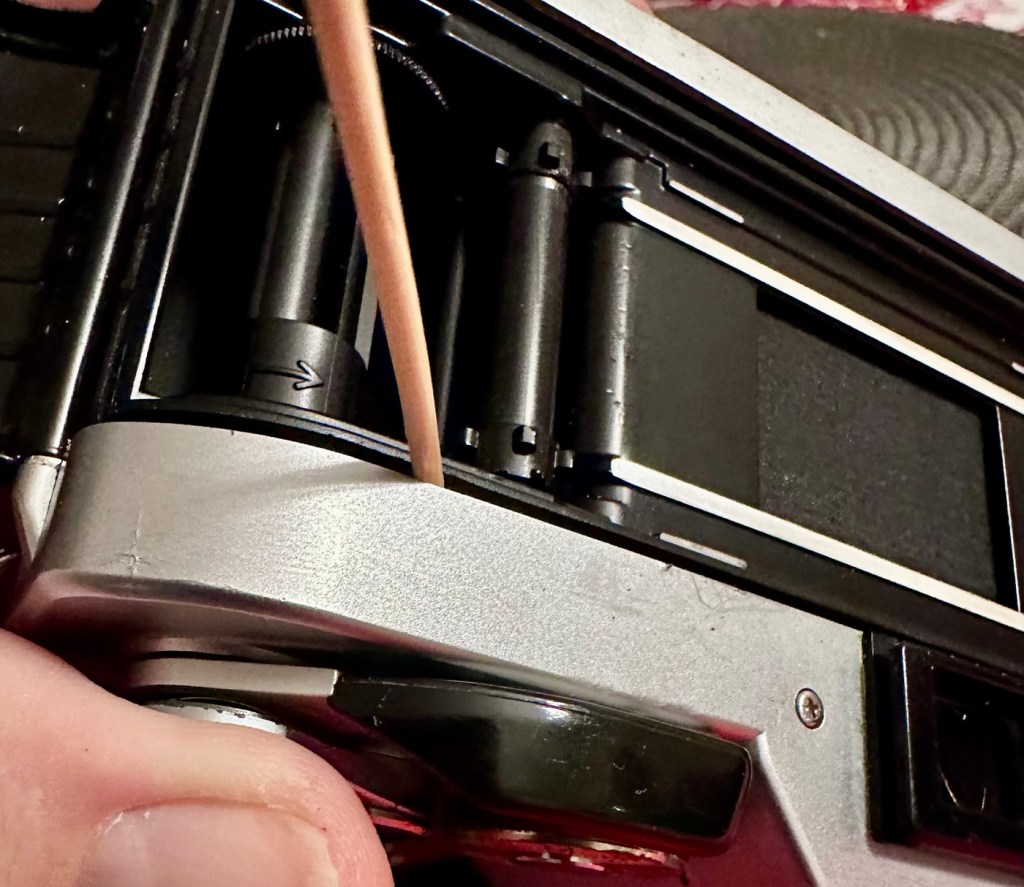
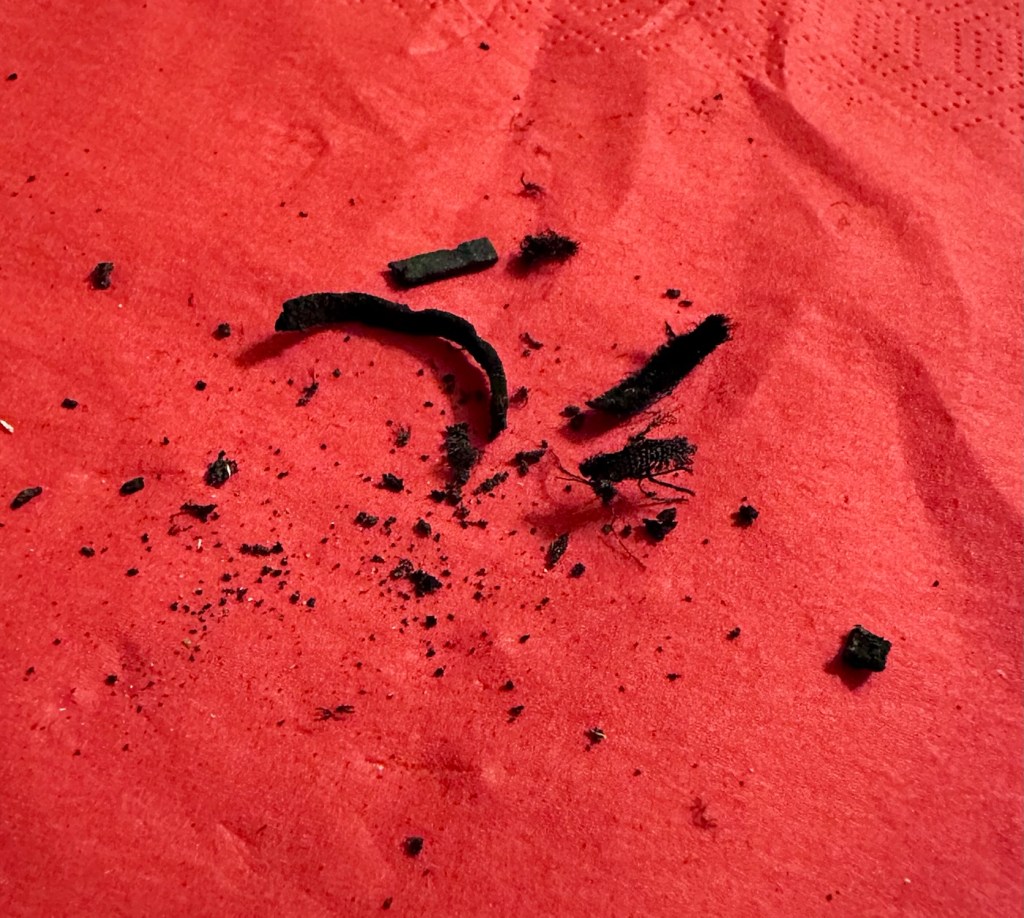
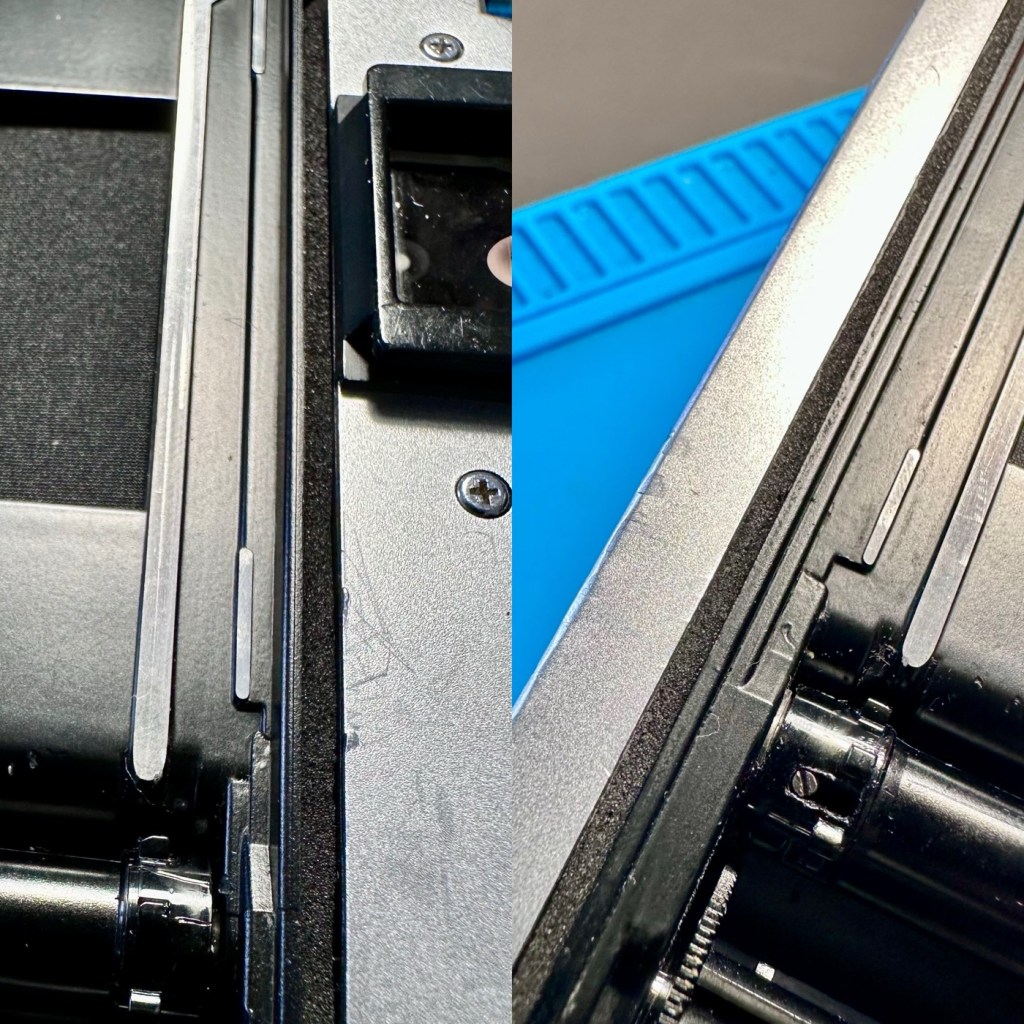
The light seals have all been replaced.
To add a little bit of a finish, I have also 3d printed a hot shoe cover and an eyepiece. It tidies things up a bit.
This camera is now repaired.
Result:
I love the quick focus on this system as there is no split screen focus. Just focus in the direction of the arrows in the viewfinder and when in focus you get a green circle 🟢 brilliant. I just love seeing the development of new systems that were being used in these old cameras that today are just taken for granted. There was so much invested into R&D in those days.
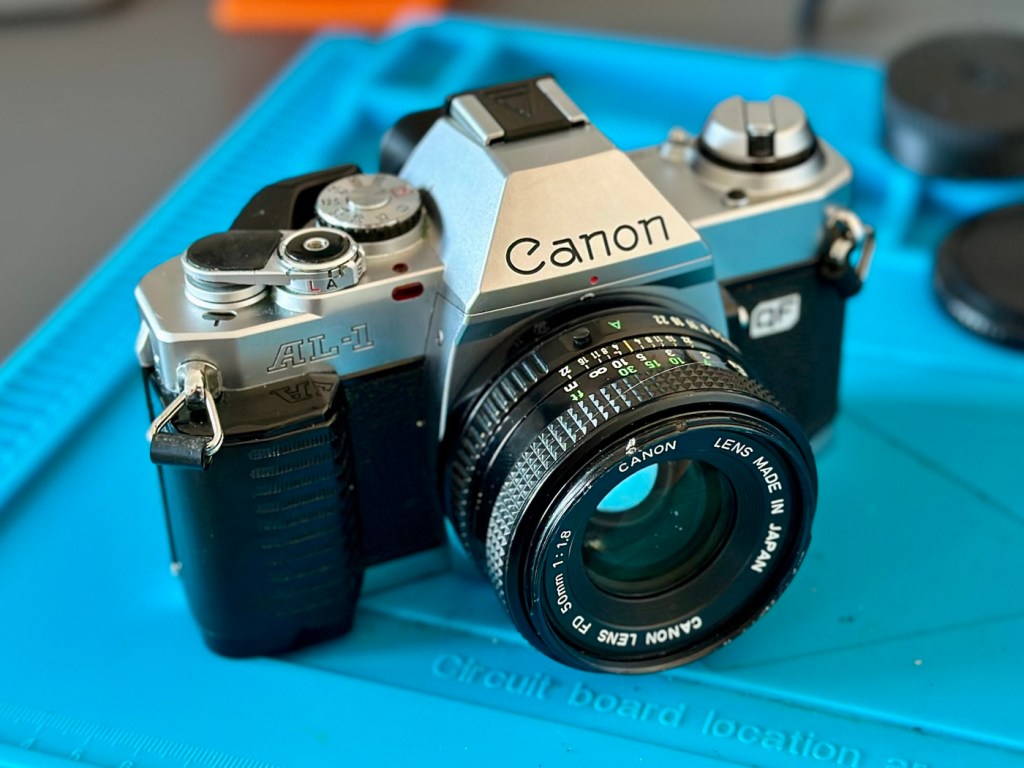
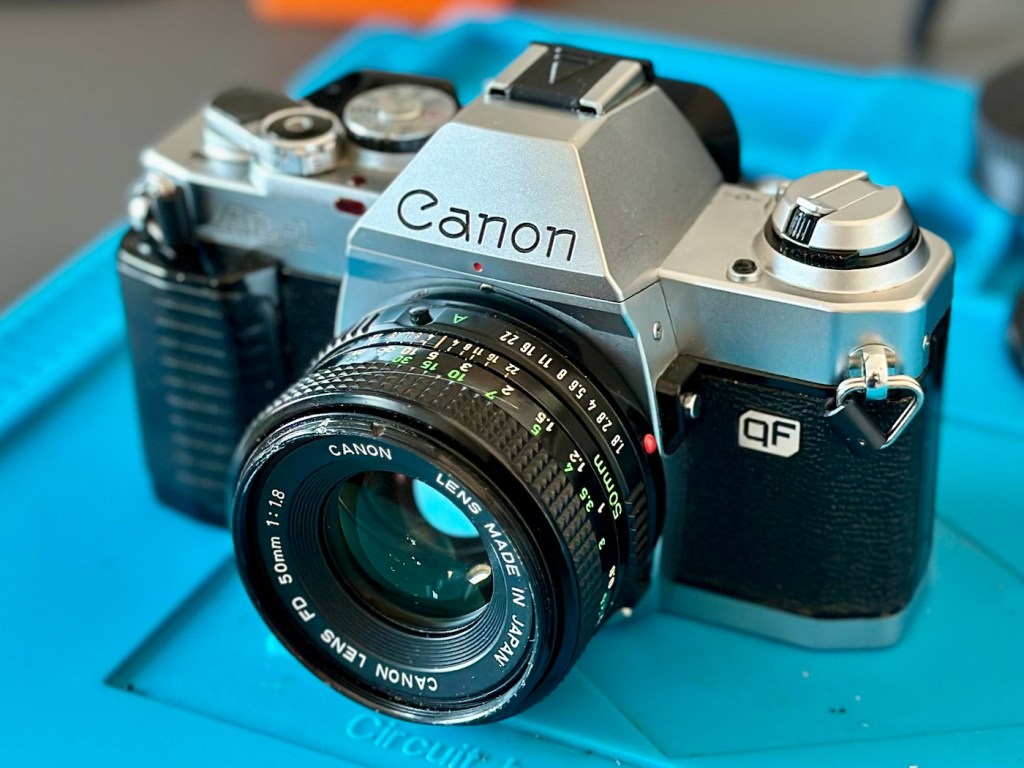
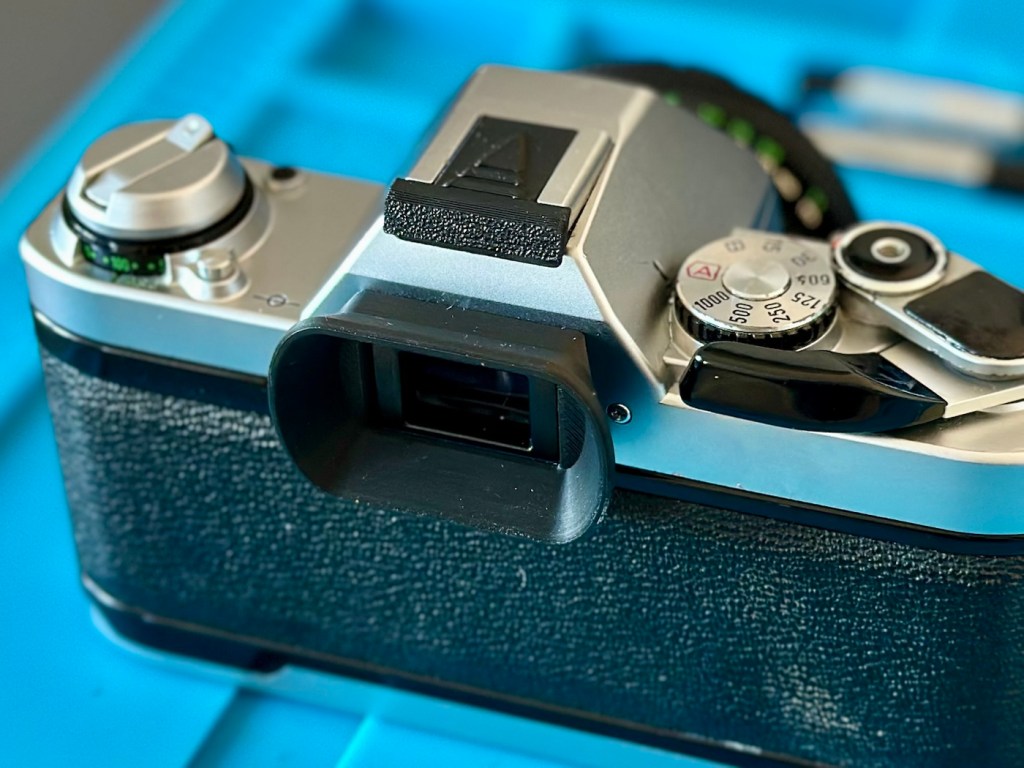
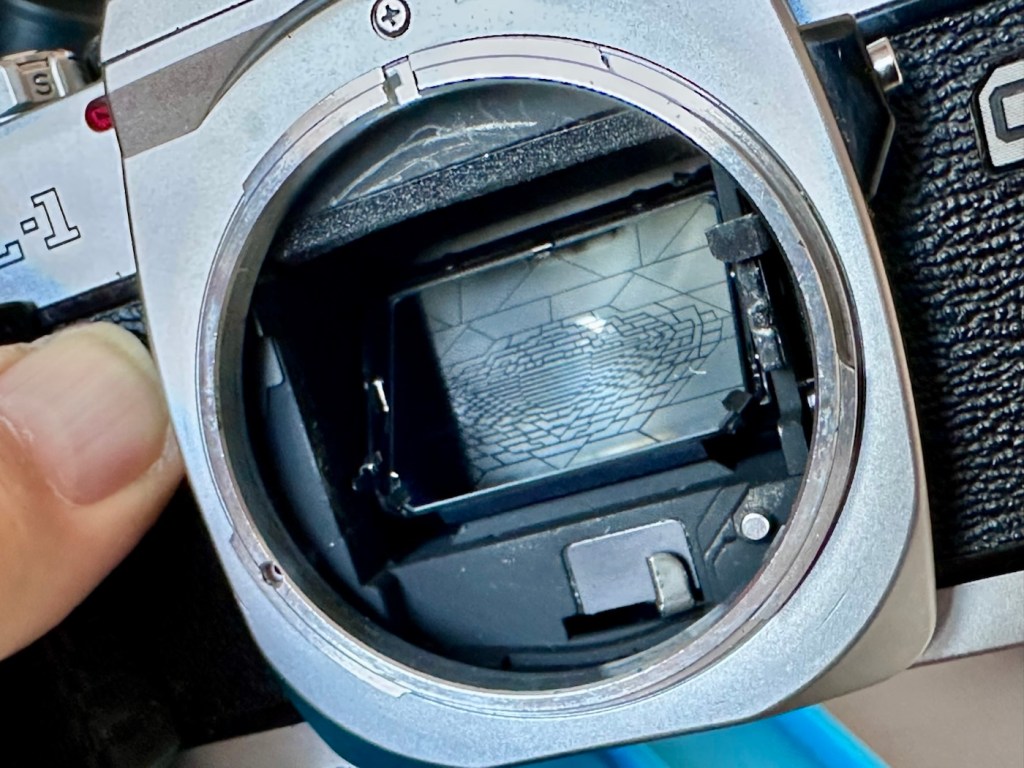
Another old timer from the early 80s given a fresh lease of life. Another one out of landfill and back into use doing what it was built to do. I love these old cameras.
Many thanks for passing by. Always very much appreciated.
 Foxes Den
You must be logged in to post a comment.