

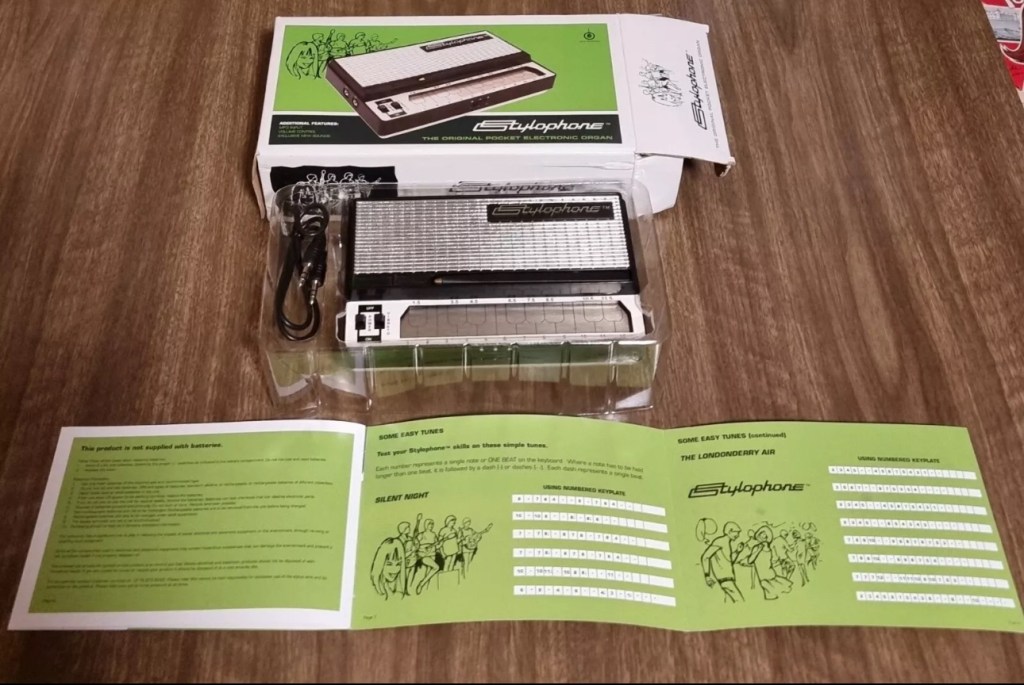
What the listing stated:
A BRILLIANT RE-pro of an iconic Stylophone Pocket Organ from 1968.
Bought for me as a birthday present back in 2008. I packed it away and placed it in my loft.
I’ve just found it again and have added 3 Duracell Plus AA batteries to test it for the first time. (Included in sale)
All works extremely well.
The unit is as new, the box has very minor wear.
EBay
We will just have to wait for delivery to see just how true this listing is… however I have spoken with the seller today, he’s a lovely chap and my mind is at ease that this is a genuine good purchase.


Anyone that pays the slightest bit of interest to my blog will know I love retro electronic equipment, especially if at sometime in my life it has meant something to me. Well, the Stylophone was a very basic synthesiser/toy that popped its head above the parapet originally in the late 60s, but was super popular in the mid 70s and that was when I first got my hands on one. It was a cousins unit, not mine as my parents wouldn’t pay out for toys like that as they were just a fad. (How wrong were they?). So envy struck once again as I was never able to have one…..now fast forward 50 years and I’ve now purchased a good example of one.
The Stylophone is a miniature analog electronic keyboard musical instrument played with a stylus. Invented in 1967 by Brian Jarvis, it entered production in 1968, manufactured by Dubreq.
Some three million Stylophones were sold, mostly as children’s toys, but they were occasionally used by professional musicians such as John Lennon, Kraftwerk and David Bowie.
Wikipedia
Back in the day a chap called Rolf Harris was constantly on the TV advertising or playing these units, however the less time talking about this fellah the better, he was a right wrong ‘un.
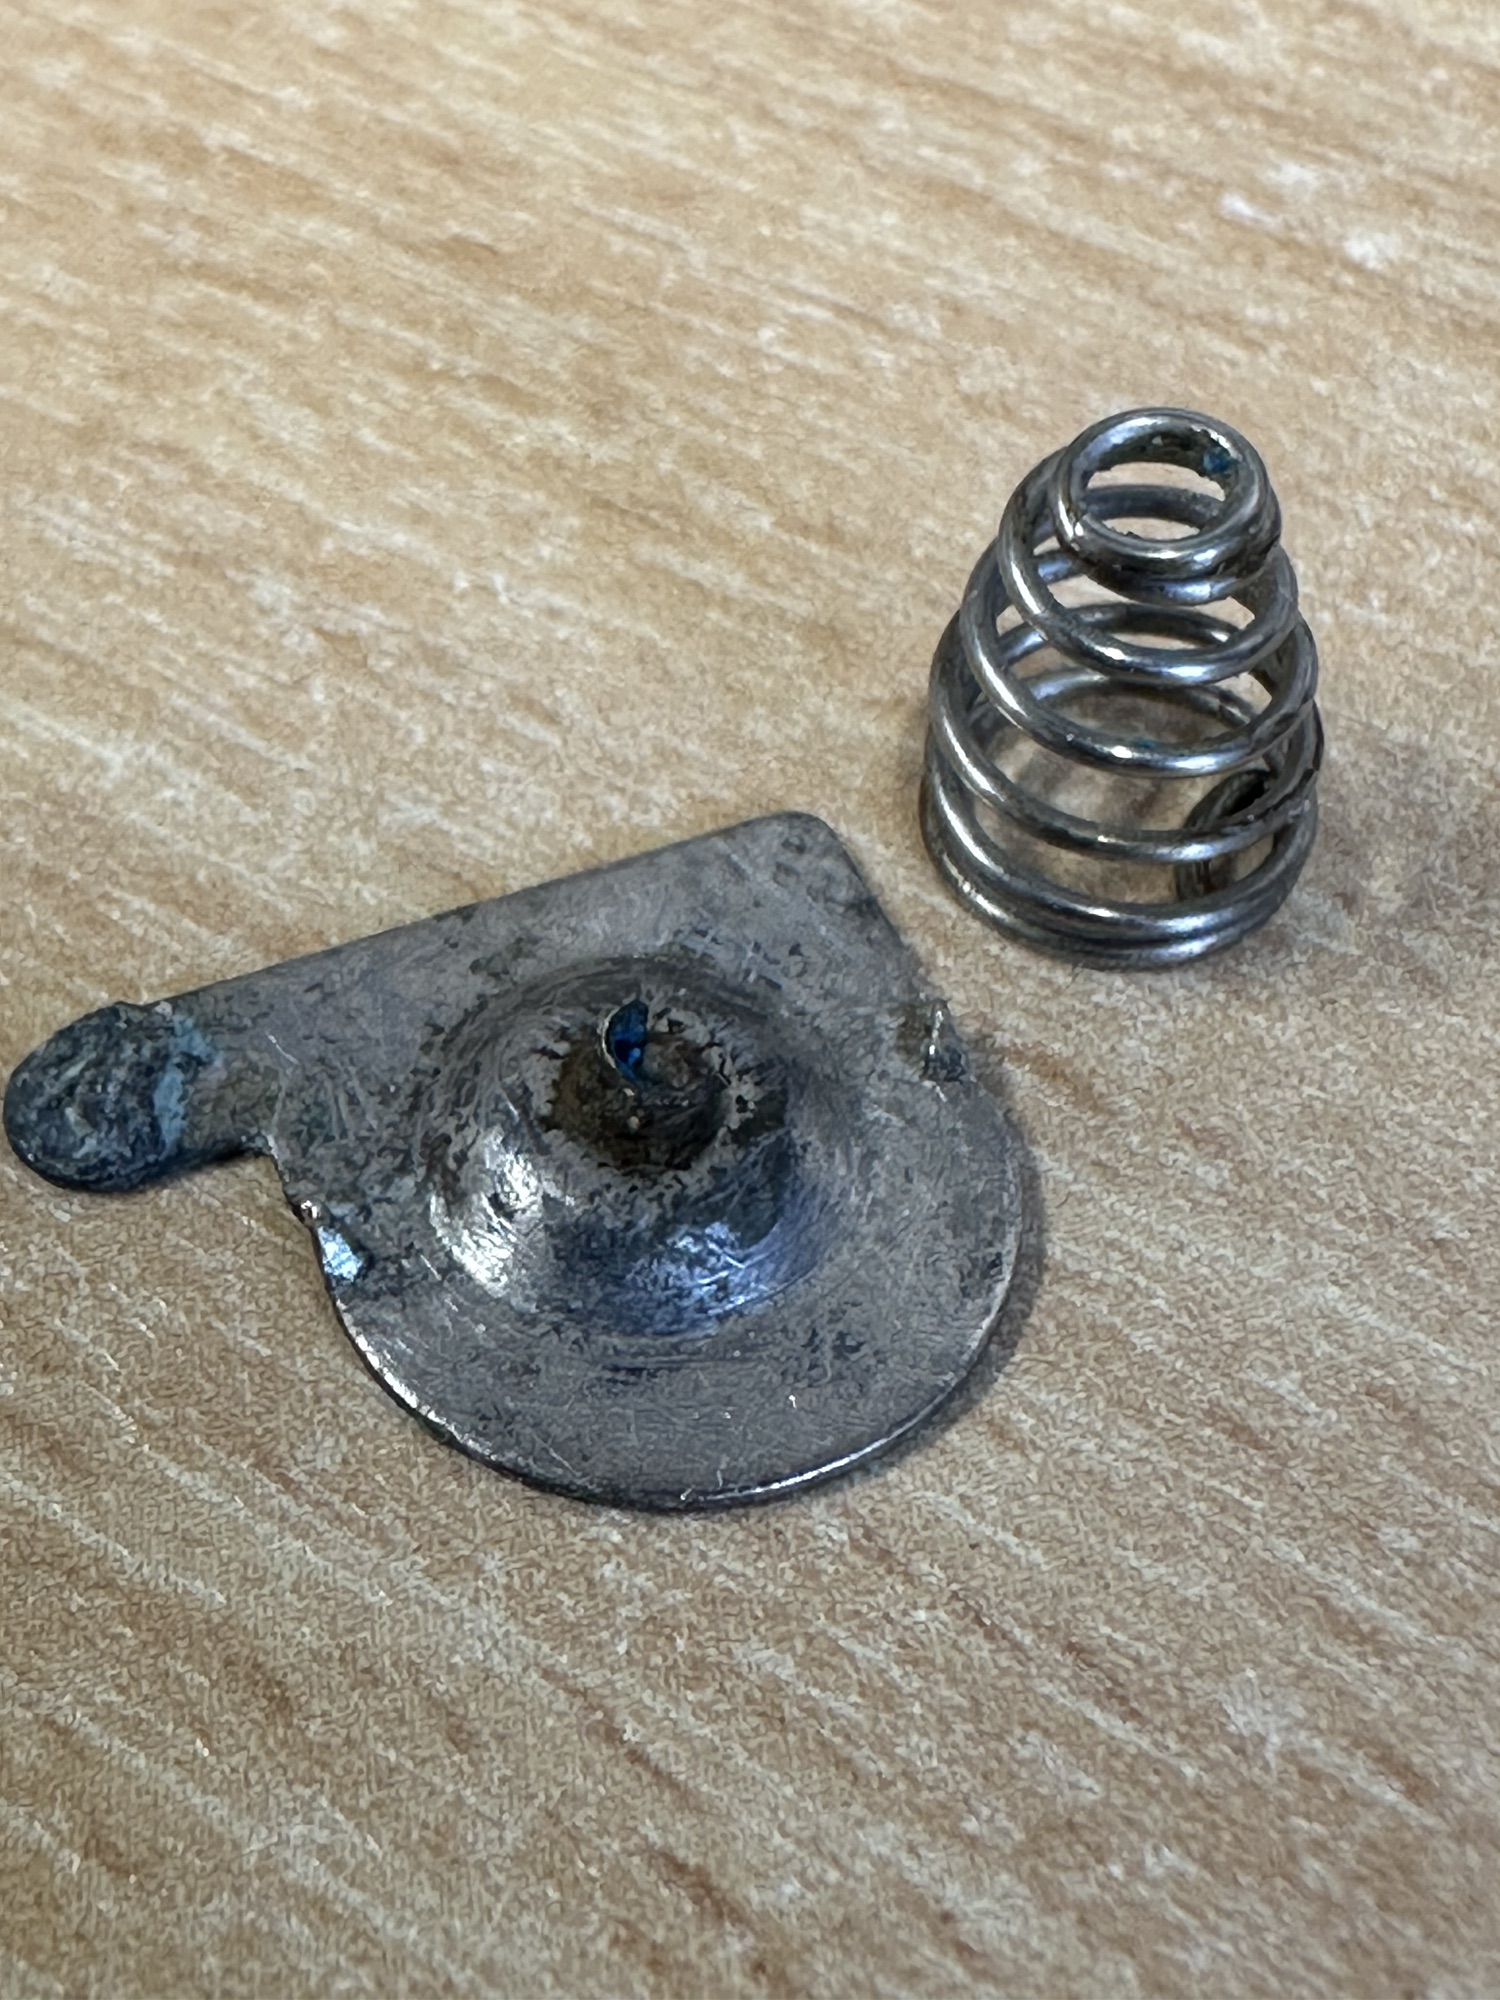
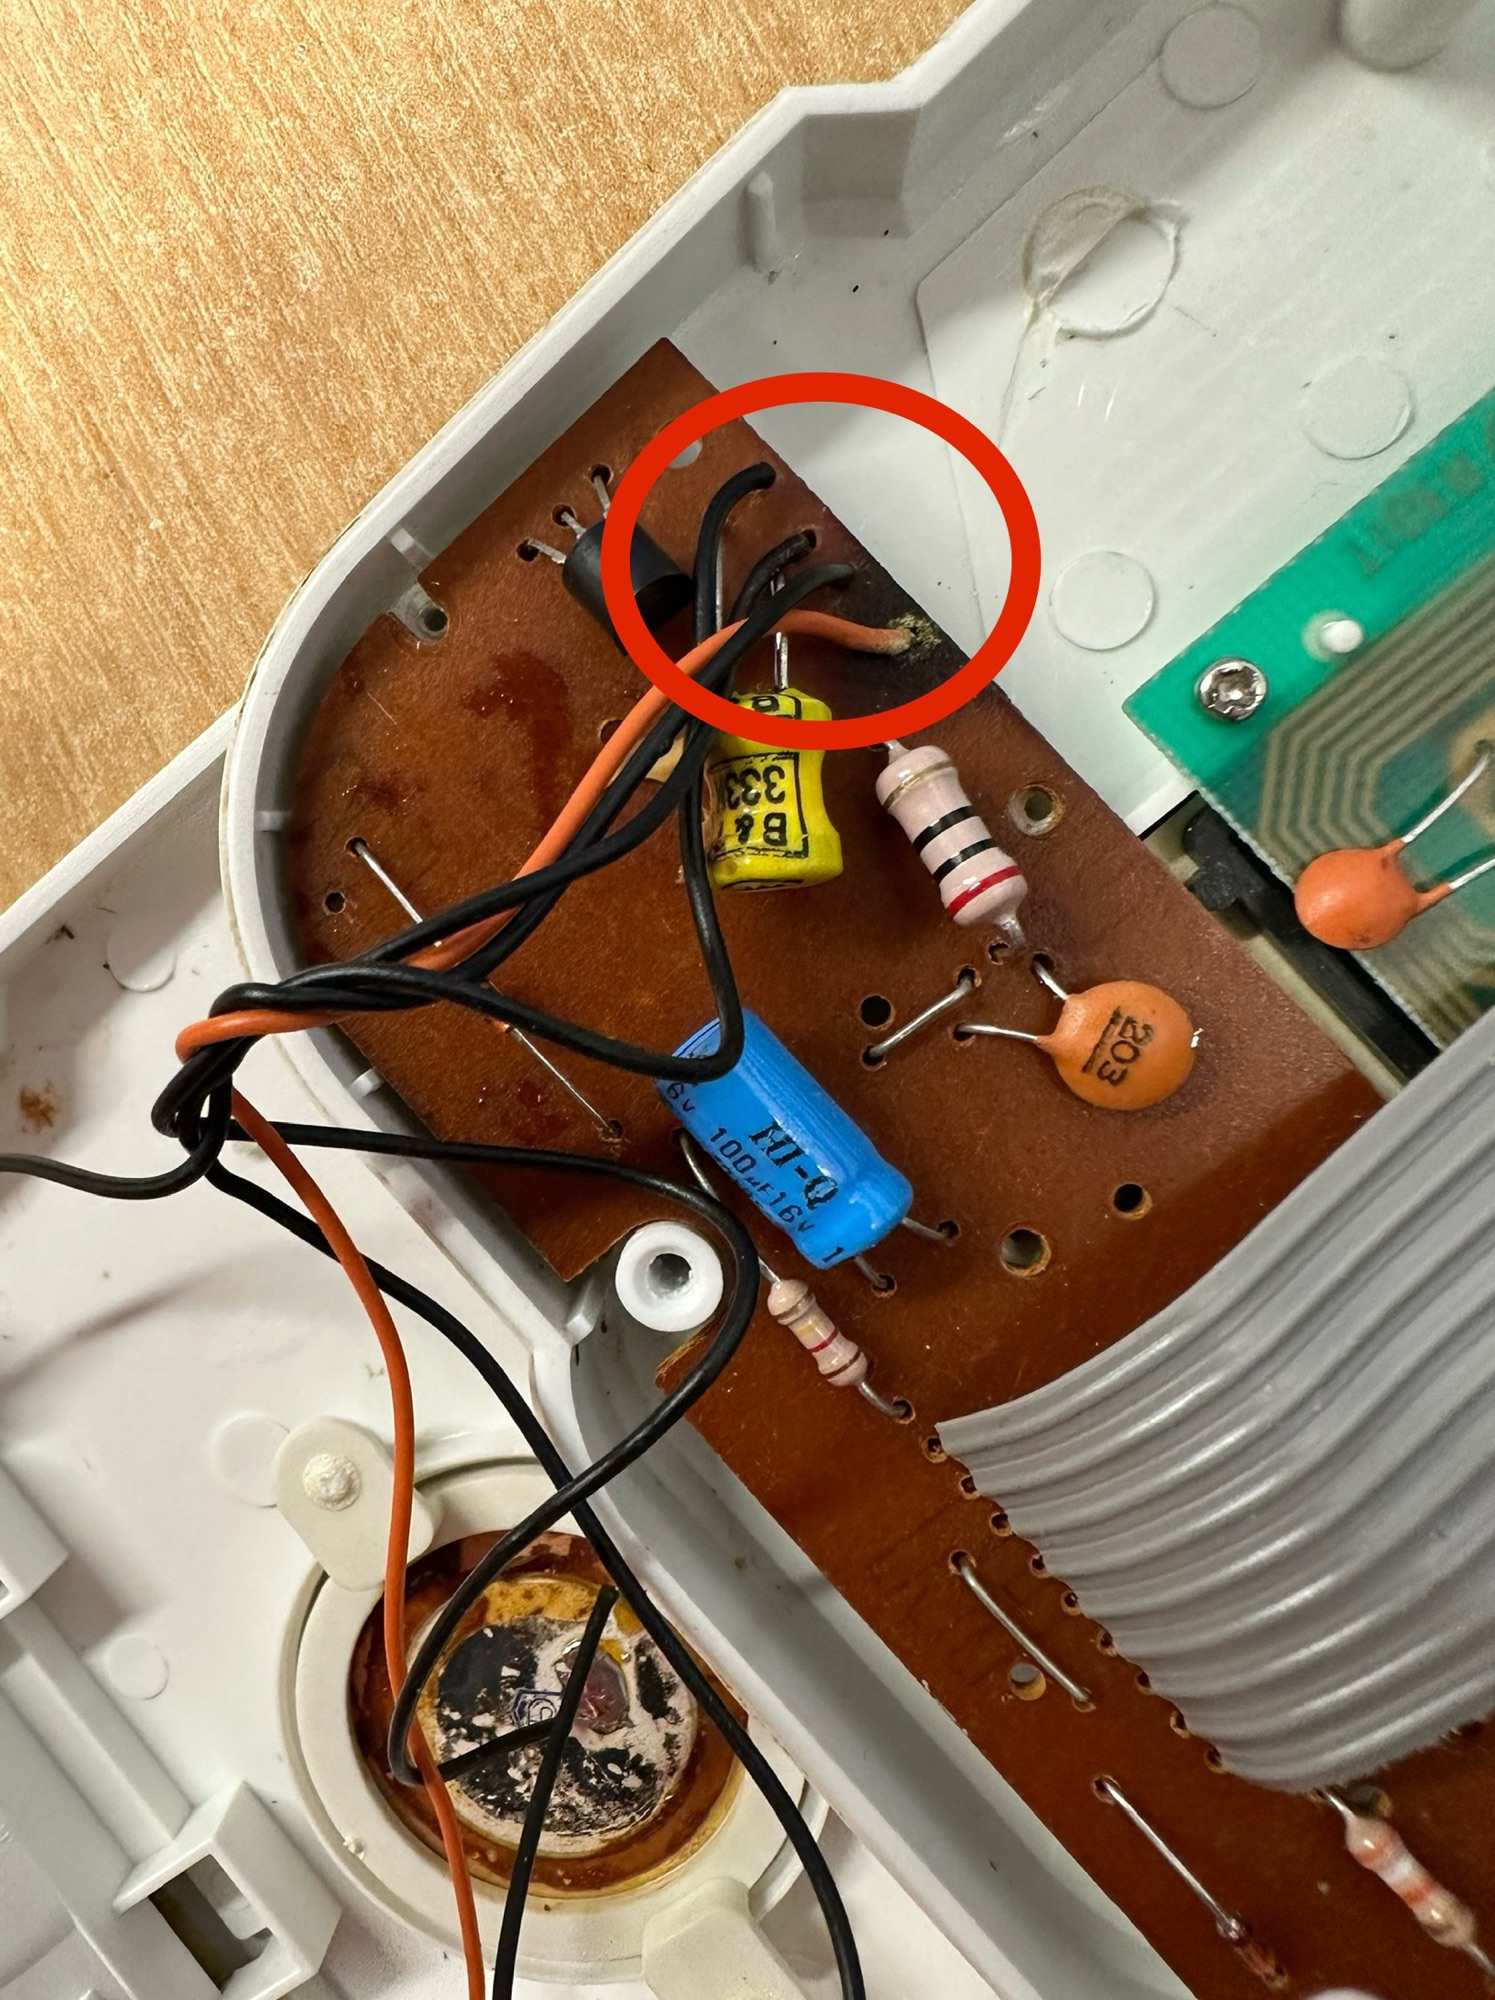
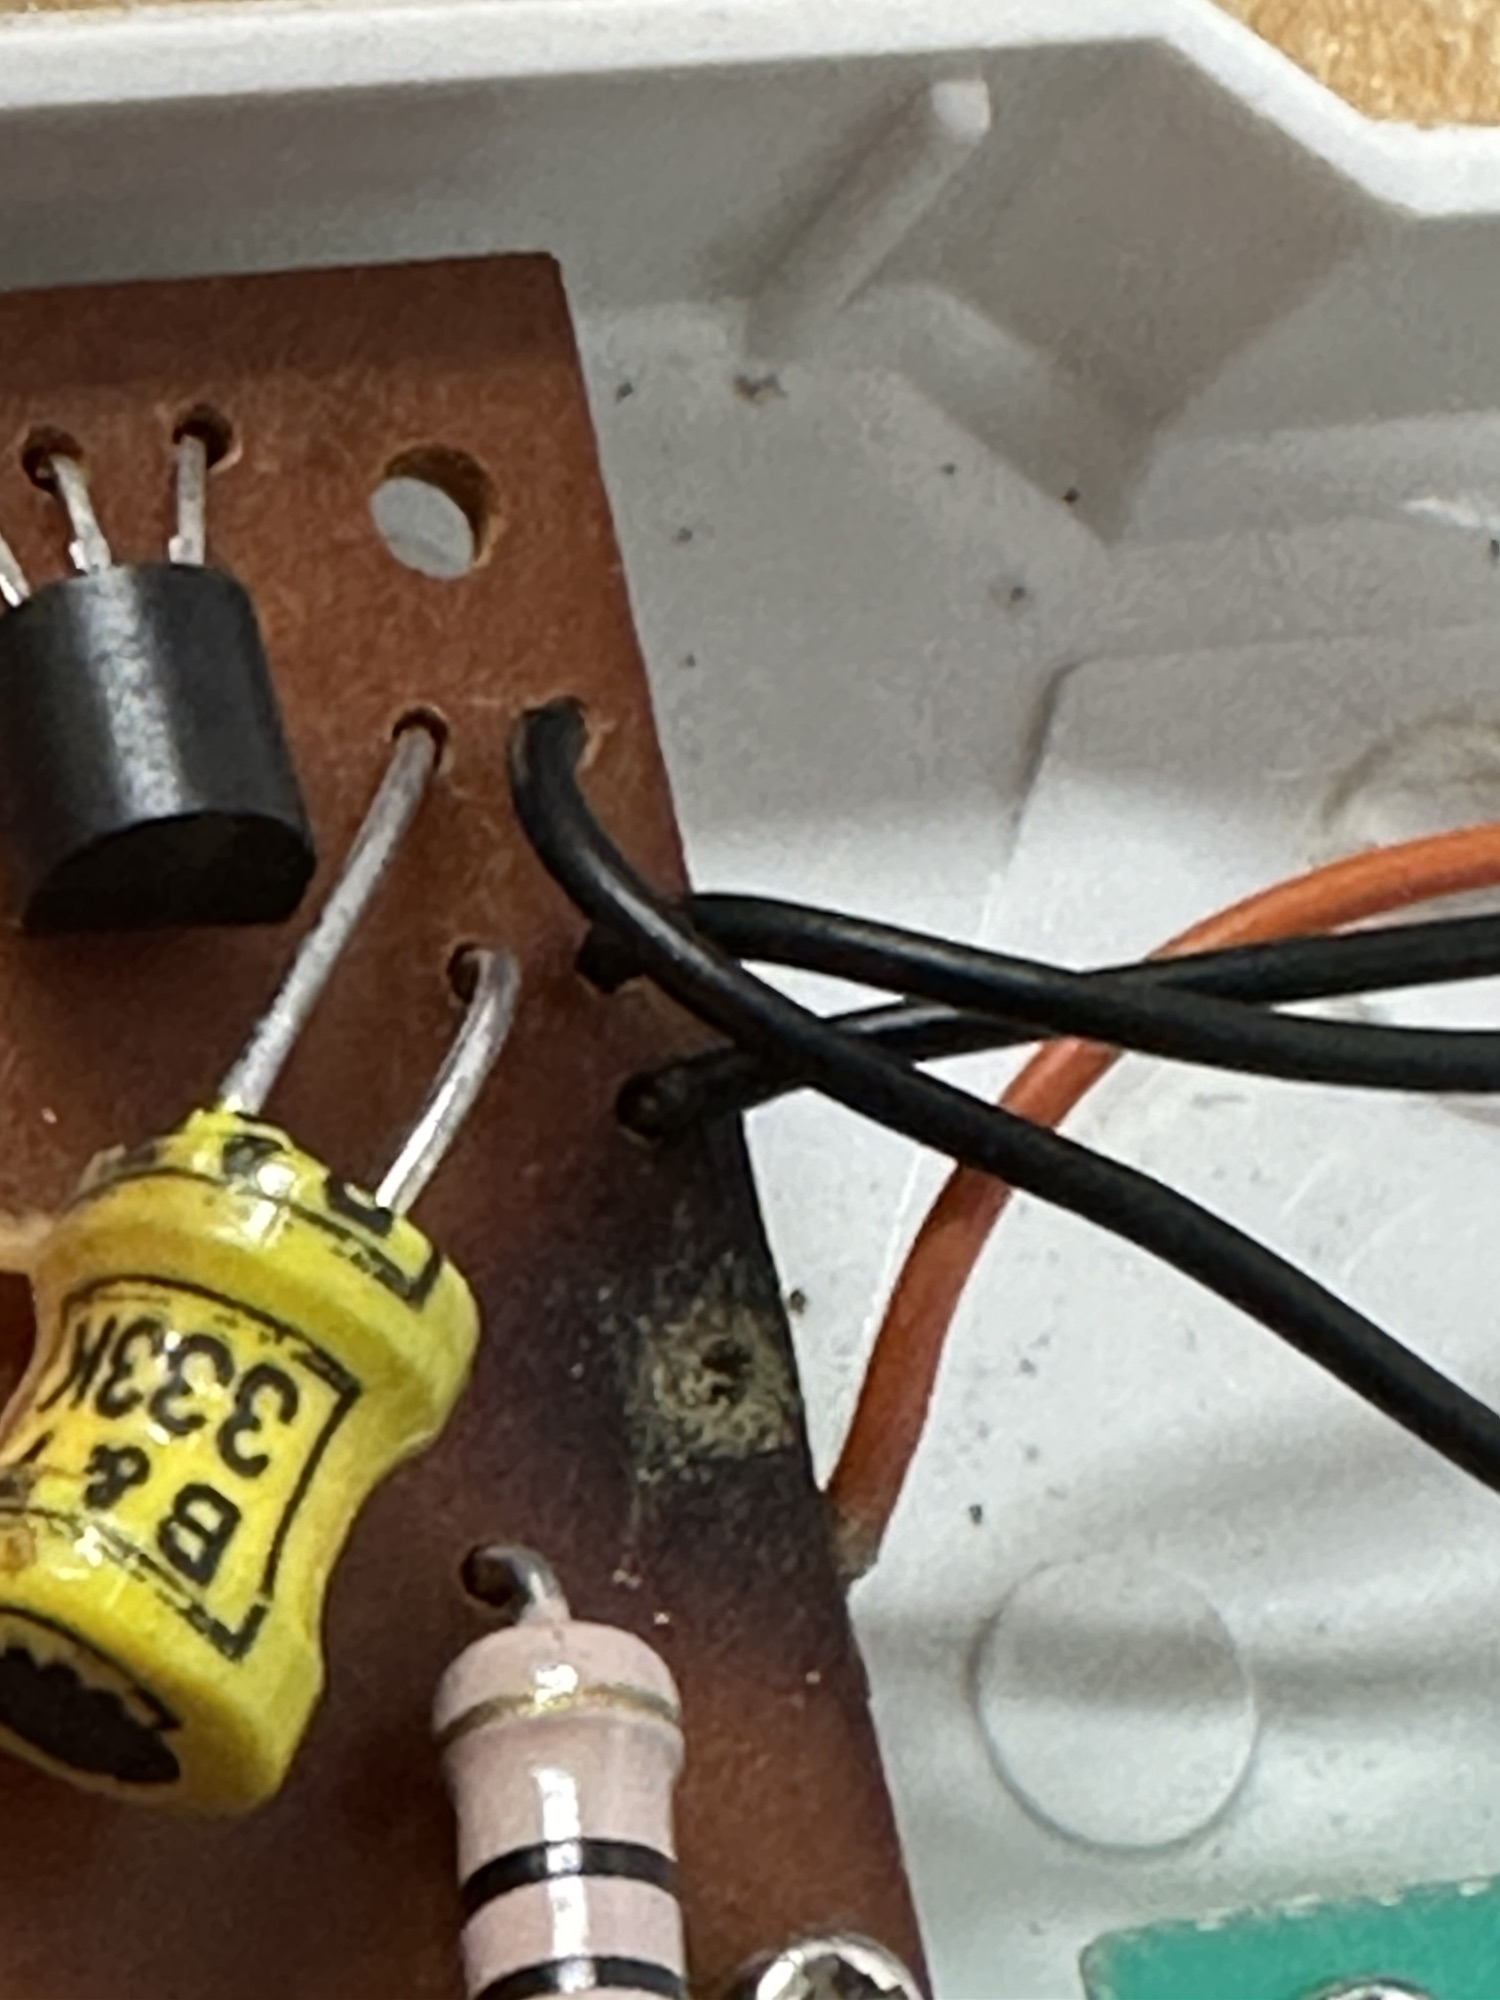
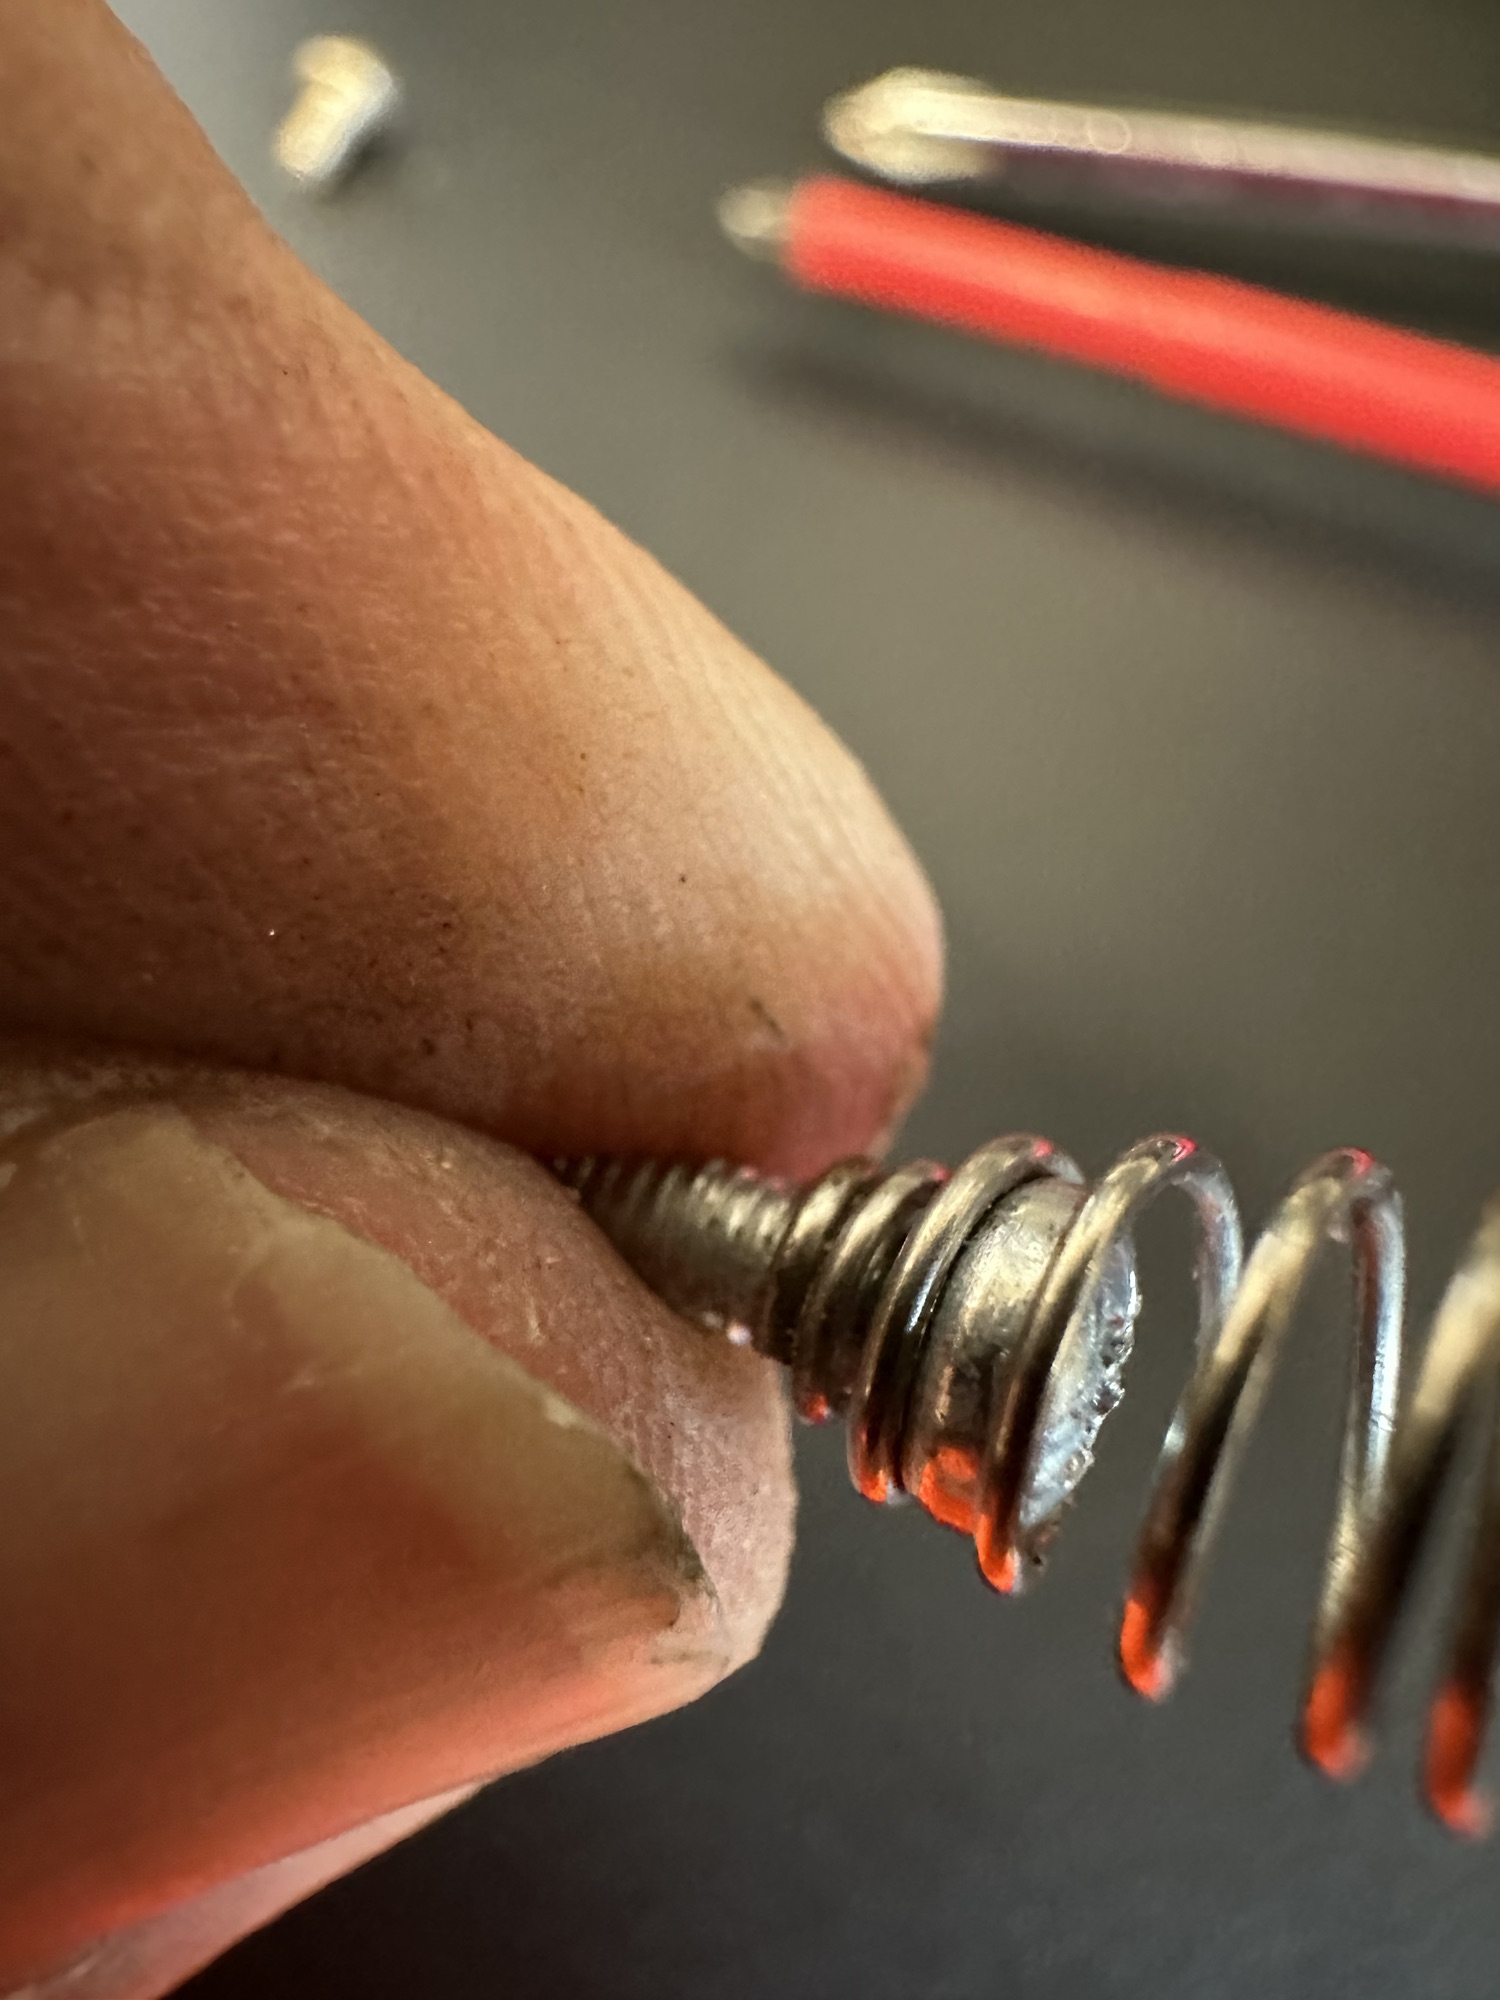
This particular unit is not an original, I’m still after one of those. This unit was a reissue in 2008 so it’s about 17 years old now. But I’m happy with that. And it works, and for me that’s unusual as I normally only buy broken ones to repair, maybe the original one I’m after will fit the bill, if I can find one that is not completely overpriced. The original unit ran off a single PP9 9v battery, these newer units have improved circuitry and operate off 3x AA type batteries using half the original power. I’ve said before retro electronics are rapidly become the antiques of tomorrow, and people are out of their heads with the prices they are demanding even for something that is completely wrecked. They all need a reality check for the prices they are demanding. The total I have paid for this one is £20:00 GBP and that includes the postage and batteries, so in all I think I’ve got a bargain if it matches the actual listing.
I’m actual going to record a video of learning how to play this unit, just to see how easy or hard it is, and this creation will also be the subject of a later post, Here: You were warned
In the meantime prepare your ears for an assault to the auditory system as someone with no ability to hold a tune tries to play a toy/instrument from the 1970’s, you are truly blessed 😂
You lucky people 😂


You must be logged in to post a comment.