These cameras were produced from the mid 50s until the late 60s. I’ve done some research on this particular one and the lens number and case number tie it to the year 1966.
Werra 1 front
I tend to buy cameras I like the look of, I just wish that I’d read into them a little deeper to find out the issues. This camera was so good looking when up against the boxy cameras of the 60s, it was a trailblazer in that the winder for the film was incorporated into the lens. A quick flick of the wrist on the inner lens ring and the film was advanced. Impressive….when it worked and didn’t jam!
Werra 1 topWerra 1 base
You can find out more about this camera by visiting Camera Wiki.org by clicking HERE
This unit is in great cosmetic condition apart from a little age related tarnishing. It has some rattles, the lens needs cleaning and the view finder needs attention. The lens rings are stiff so a little lubrication may be required.
Werra 1 rearWerra 1 internals
When cleaned I will run a film through it to give a test, I may even reskin the camera to really bring some attention to it.
Please keep an eye out for updates as I will be commencing work on this really smart little antique very soon. It’ll give me a break from working on pesky Sony Discman players 🤦♂️
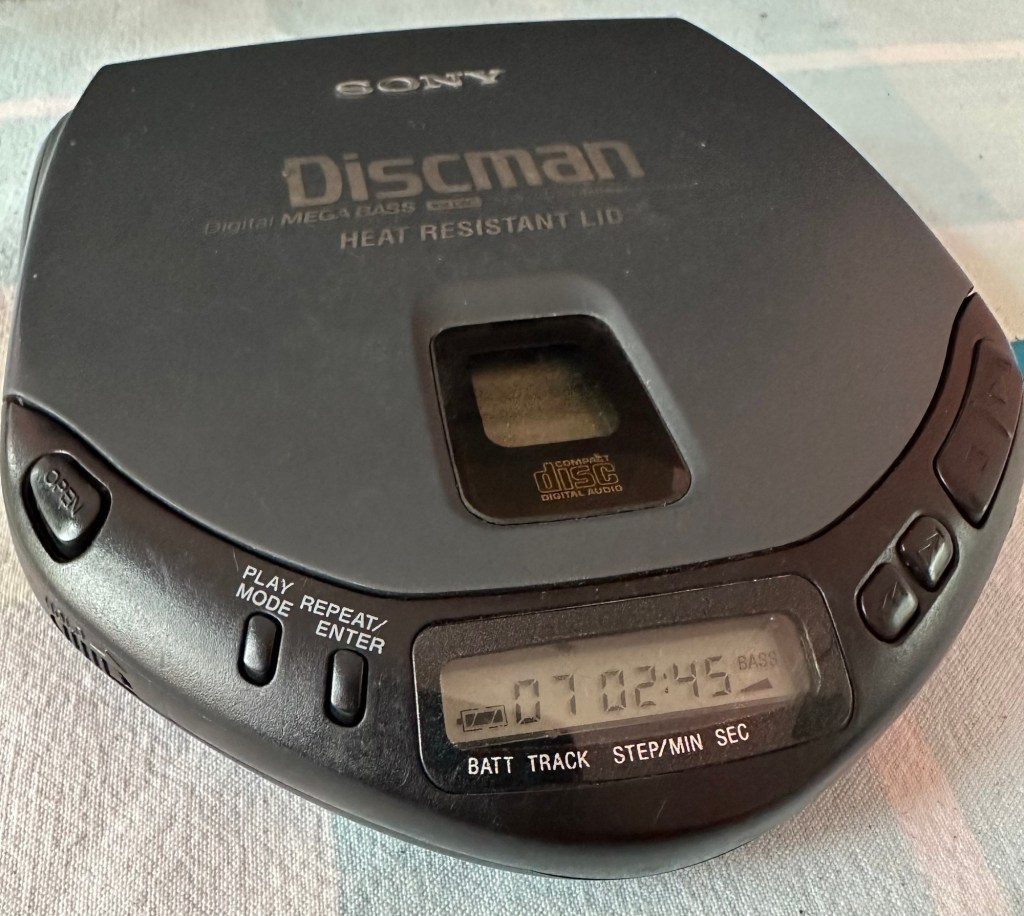
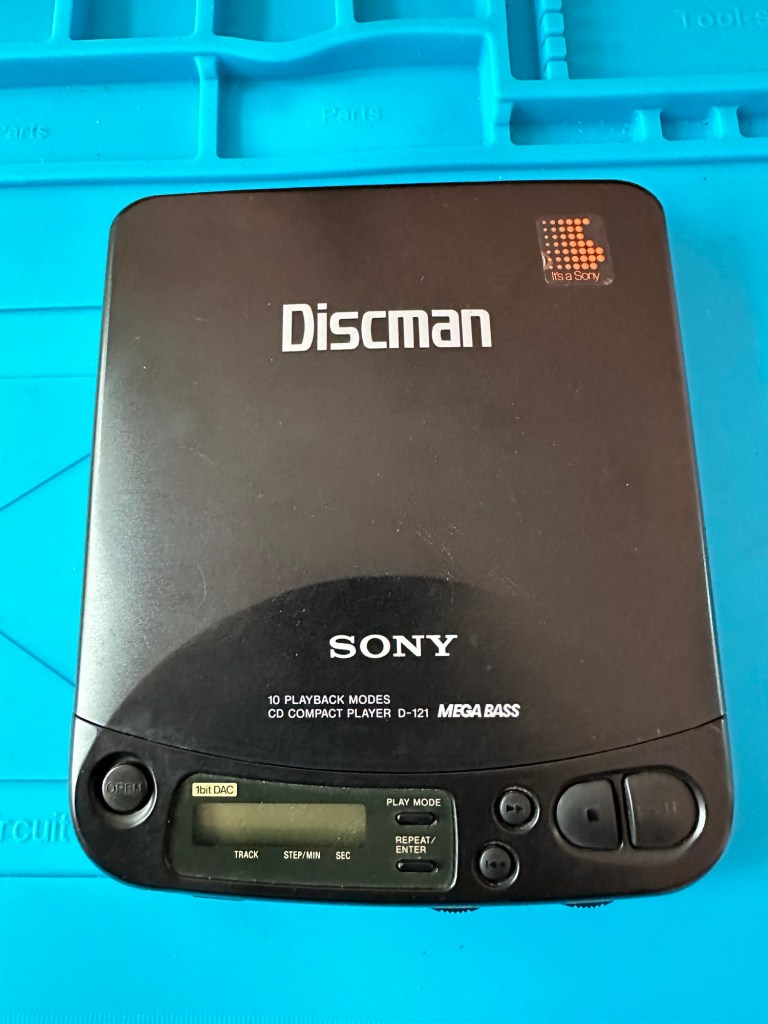
My latest purchase from EBay has arrived and god knows what is wrong with this one as the listing contained just one word “Untested”.
There is no one else to blame but me so let’s get this package open and have a look…here goes.
This unit is circa 1996, so there is a gap of 3 years between this and the D-121 that i recently attempted repair on that was badly affected by poor components. Hopefully technology has moved on slightly in those three years, and the plague of the past isn’t as prevalent in this unit.
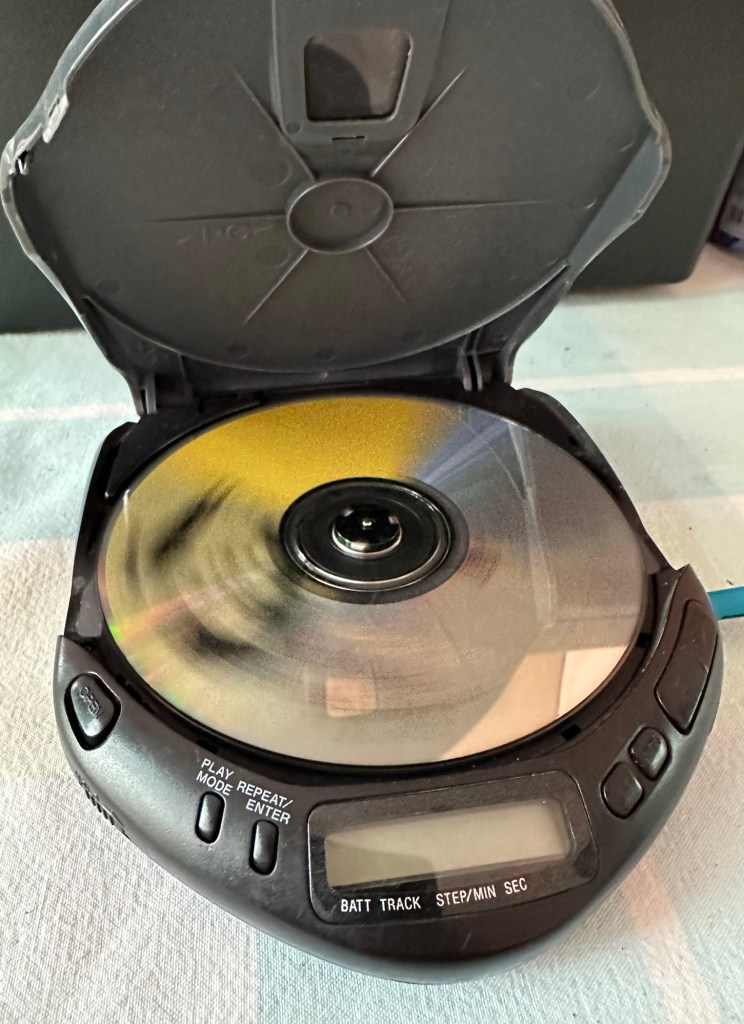
All powers up Spinning as it should
Well, once in your life you buy something that restores your faith in your fellow man, unfortunately EBay isn’t always that place and you have to take your chances when purchasing using that platform. Today is a good day. The package was minimal and I didn’t hold out much hope. The first thing I did was to open the tray, good it’s working👍
Next I held my breath and opened the battery compartment…. Excellent no corrosion 👍
Batteries inserted I chose an old Bryan Adams album, put the volume about mid way and turned it on.
IT WORKED 😳
Ok, if tapped it jumps, so I will give the lens a clean and will lubricate the worm gear and rail and see if that helps, if not I might test the laser output and make a tiny adjustment but I’ll avoid that if I can.
All buttons have been used, wiggled about and are working fine, all menus are displayed and basically it’s all working pretty much as it should be apart from some little adjustments. The shell is un damaged but a little tatty so a good clean up will assist here.
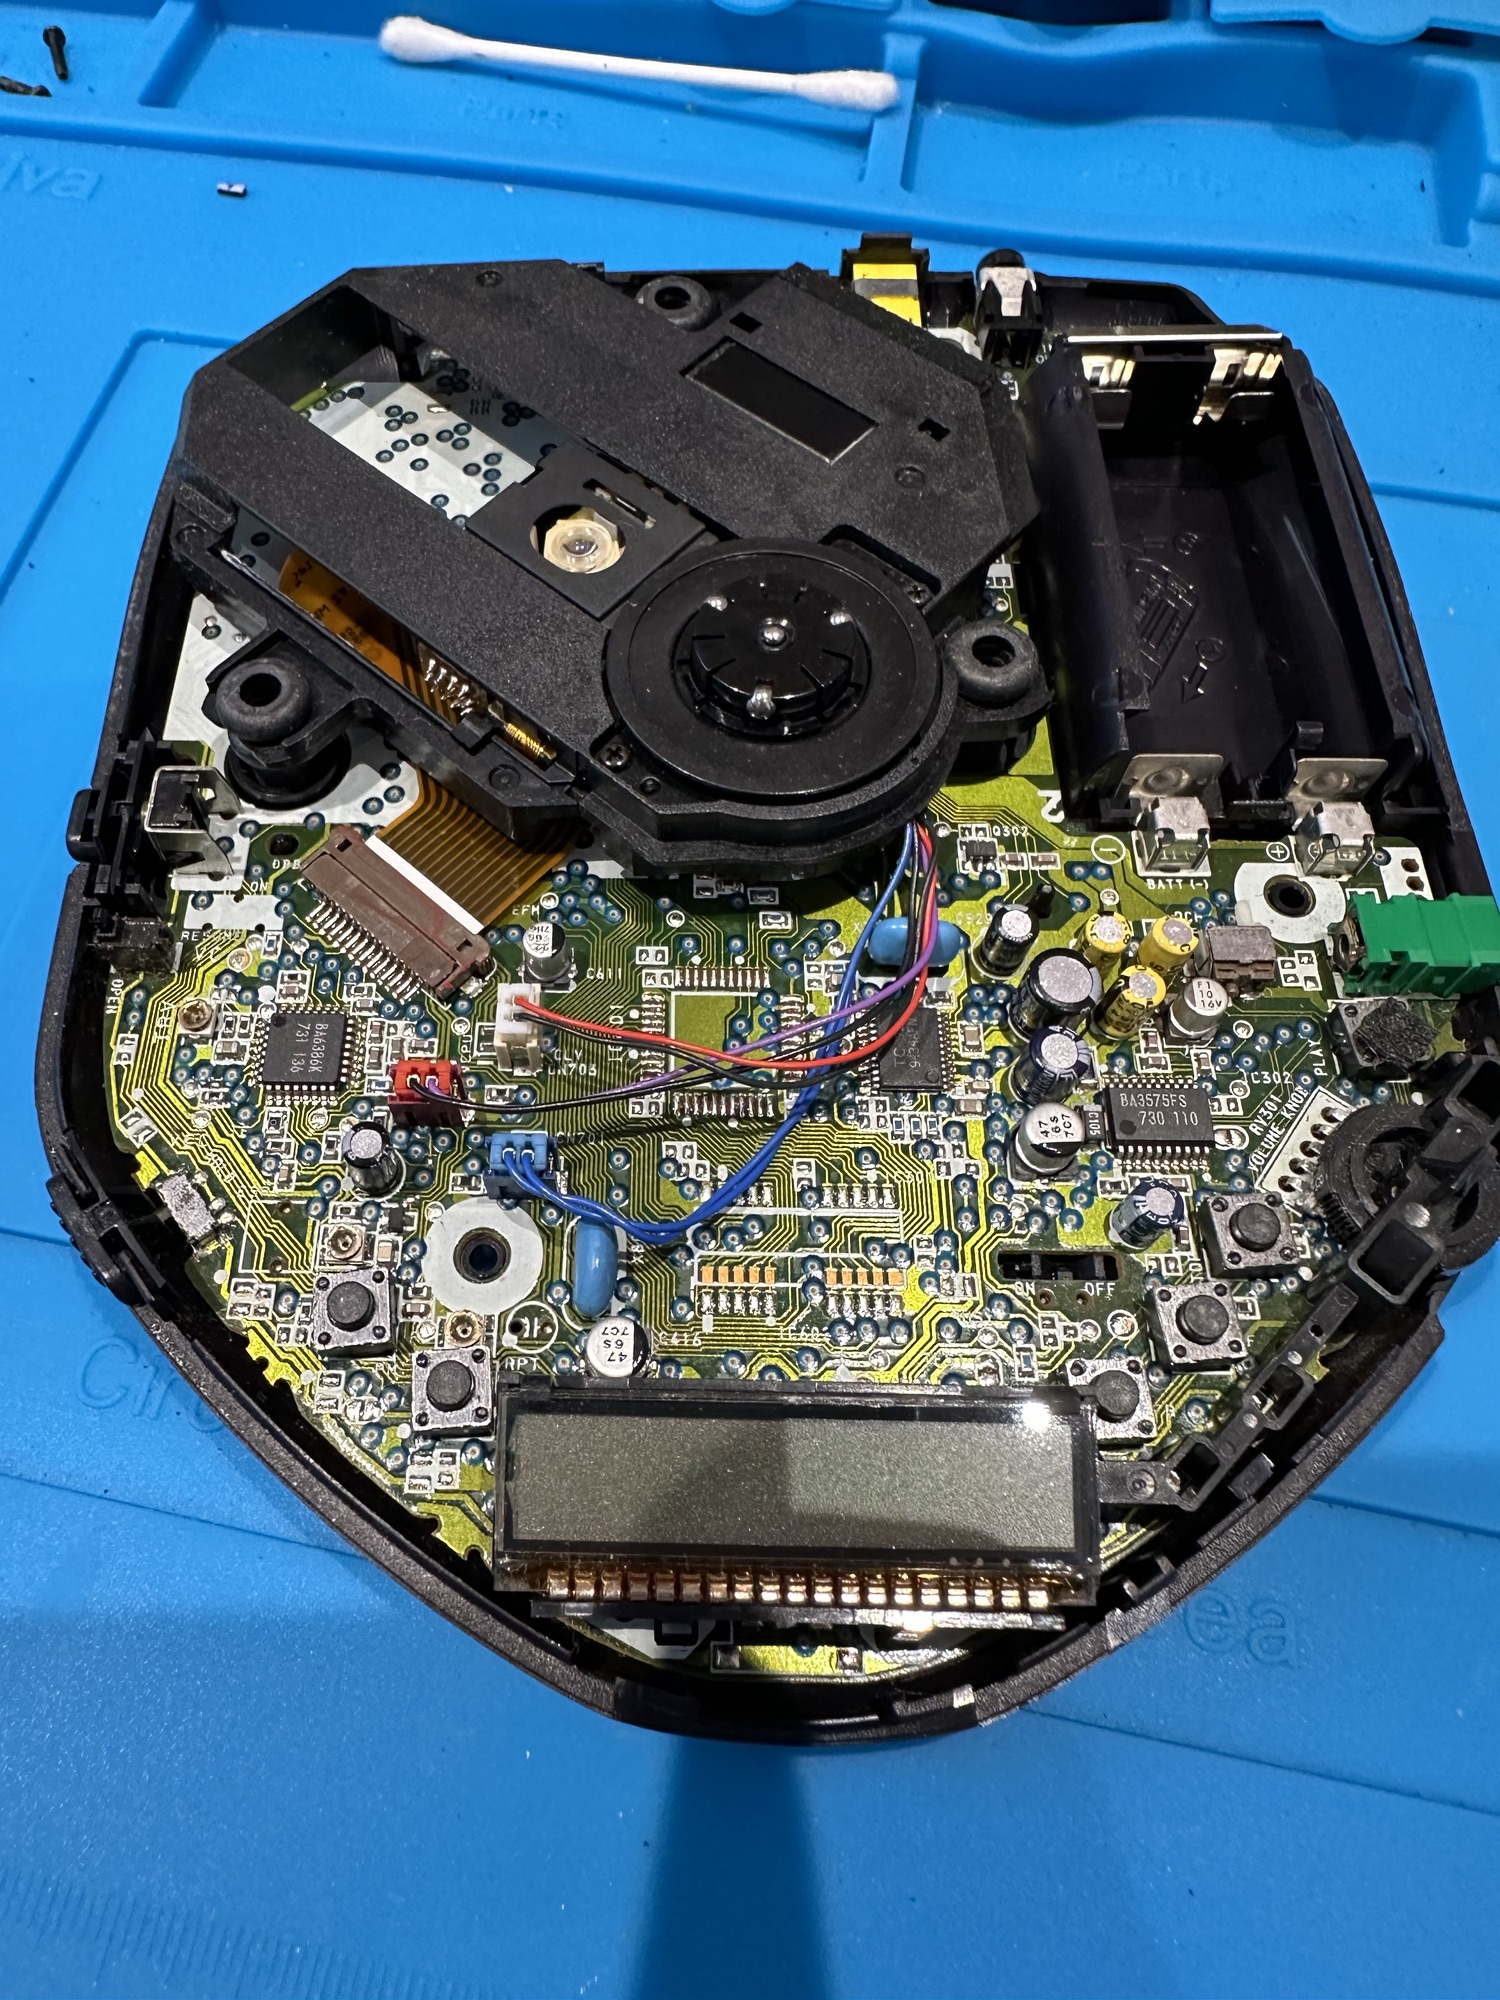
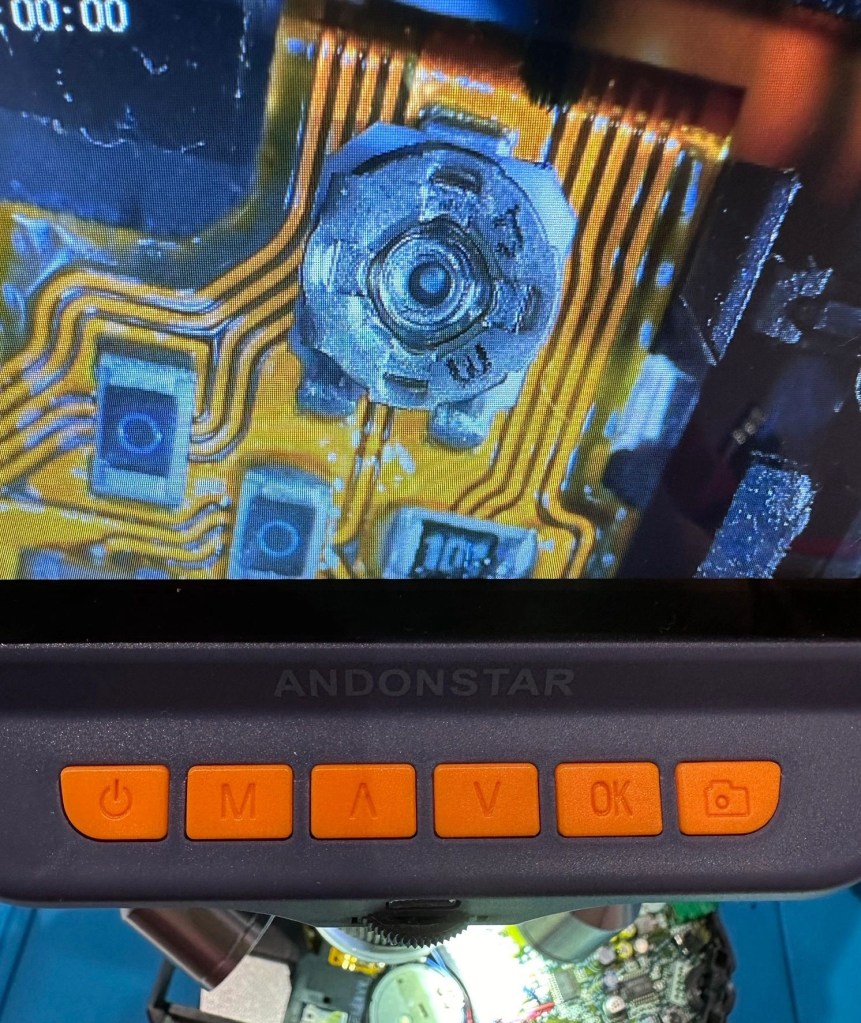
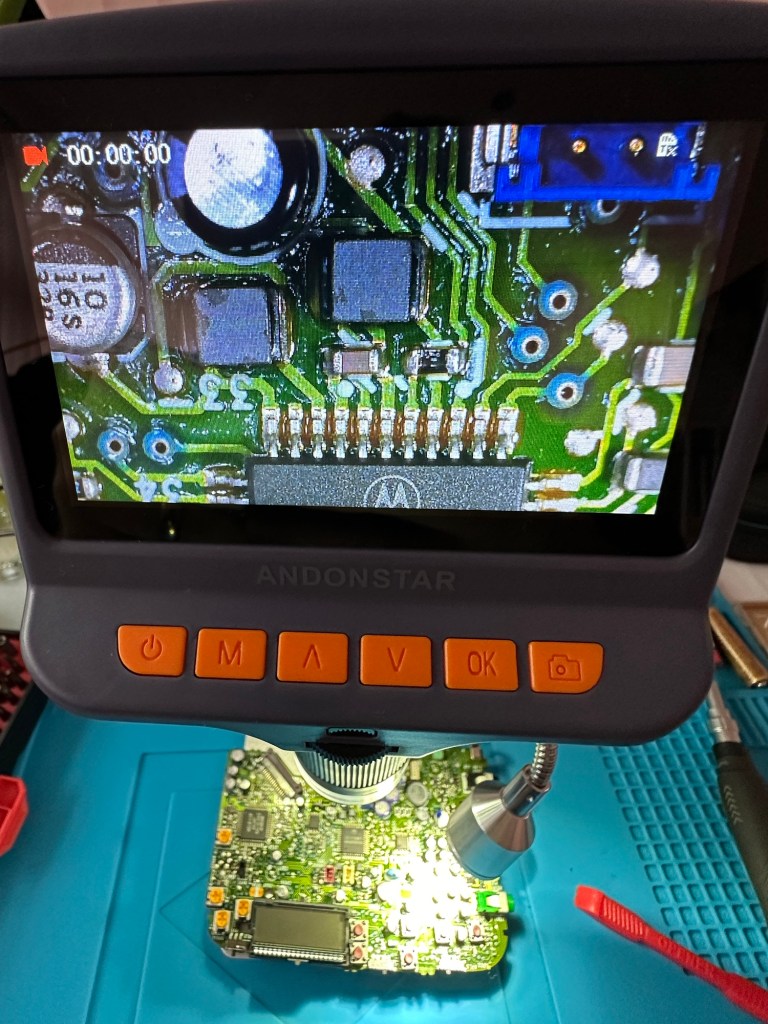
A lot less components this timeLaser pot under microscope Trimming the laser pot
When taken apart the thing that strikes you is the lack of capacitors compared to the last item I worked on that was only 3 years older. I put some fine lubricant on the worm gear and the laser guide rail and also cleaned the laser lens with some Isopropyl (IPA)
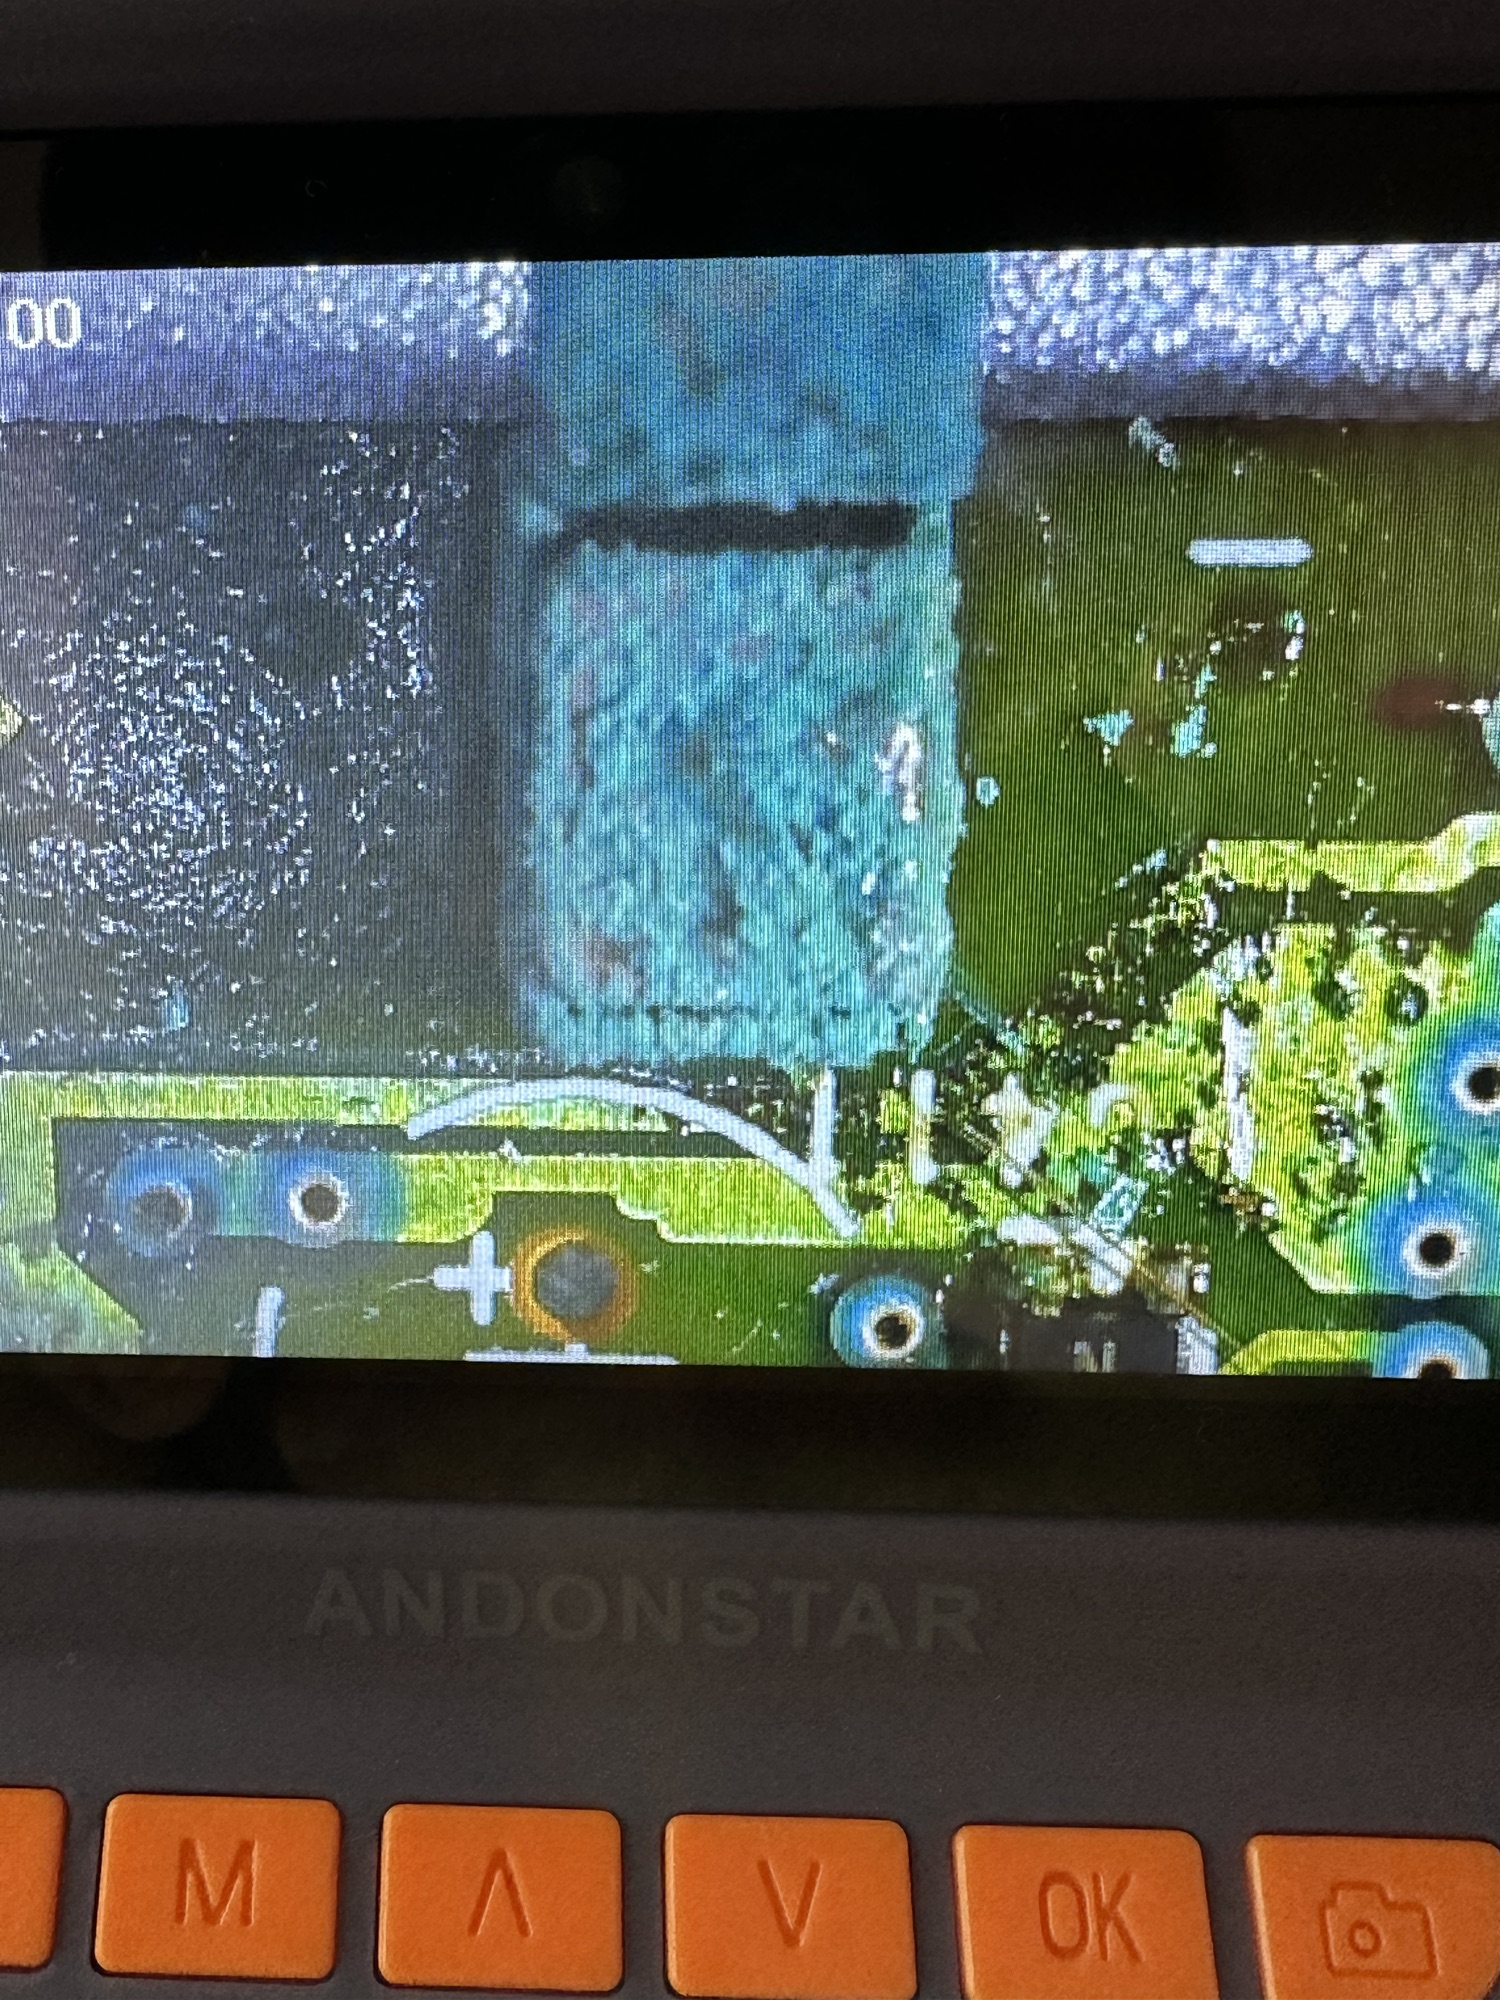
I made a slight adjustment on the laser strength by using the Multimeter to get measurements across the laser pot.
Cd in placeNice and clean
The reading was very low, to what it would have been when new so, I made an adjustment to the higher end of the recommended scale but the unit didn’t like it and refused to recognise any Cd, so I’ve reduced it back to what appears to be it’s operating maximum, after 28yrs I guess the laser is approaching the end of it’s useful life.
Testing the laser
The sound quality has really improved, the unit still skips if it is knocked or shaken but as I’m intending to use the unit on a table or other surface I’m not really that concerned. It’s not as if I’m going to go jogging with it, no chance. To be honest I don’t think the anti jog system that was introduced for this purpose really came in until about 2000.
Put back together, I’ve now cleaned and buffed up the exterior, this is a nice little example of one of the lower end Discman units, but I’ve enjoyed working on it and getting to know a little more about how it works and fits together. I can put this one to bed now as a successful restoration, it’s going in my locker at work for listening to my old Cd collection whilst I’m doing the tedious paperwork or a night shift.
Thanks for passing by, I have another Discman post coming soon.
My recent purchase of a Sony Discman D-121 from EBay has arrived. Just as described it wasn’t really working so I decided to give it a once over to check condition.
Cosmetically sound
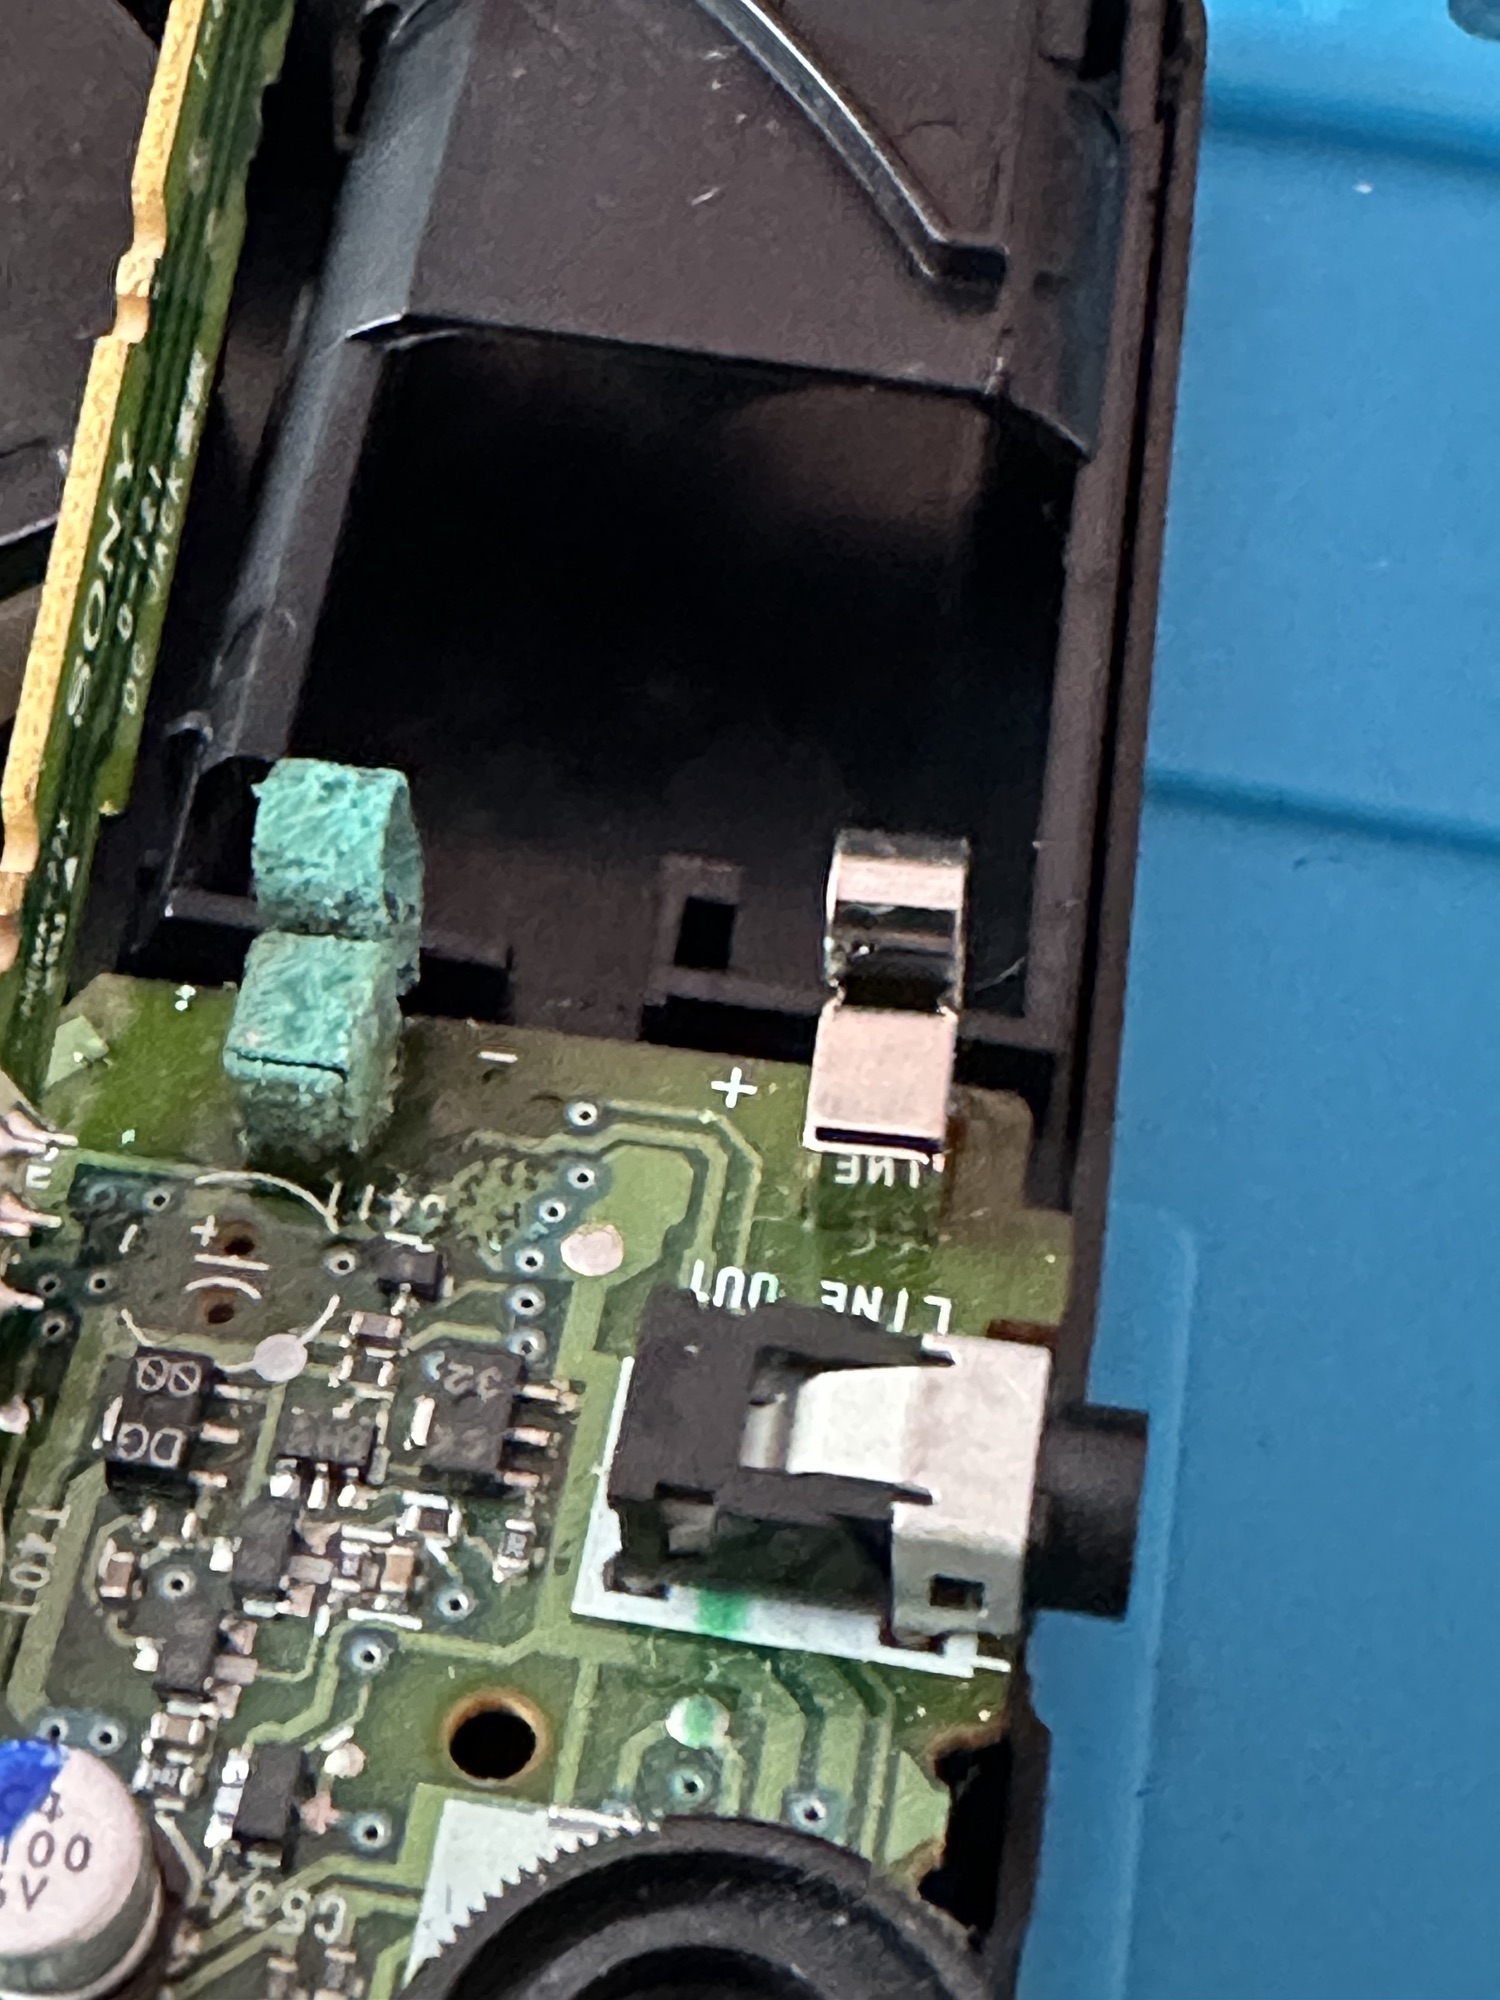
Cosmetically it’s in very good condition, open the battery compartment and it’s a different story, definite signs of corrosion and at this point I’m thinking the worst. I put two batteries in to check, the display comes on and shows some strange indication of “HI VOLTS” even though all I have are the two AA batteries in. Strange.
Corrosion on contactOn the board as well
I do manage to play one song but that’s it, any slight move and it skips and hops and shows a raft of other error messages that don’t Instil any confidence into me that this is going to have a good outcome. Then the CD drive motor breathes its last. That’s it….kaput.
Greasing the worm gearStrip down
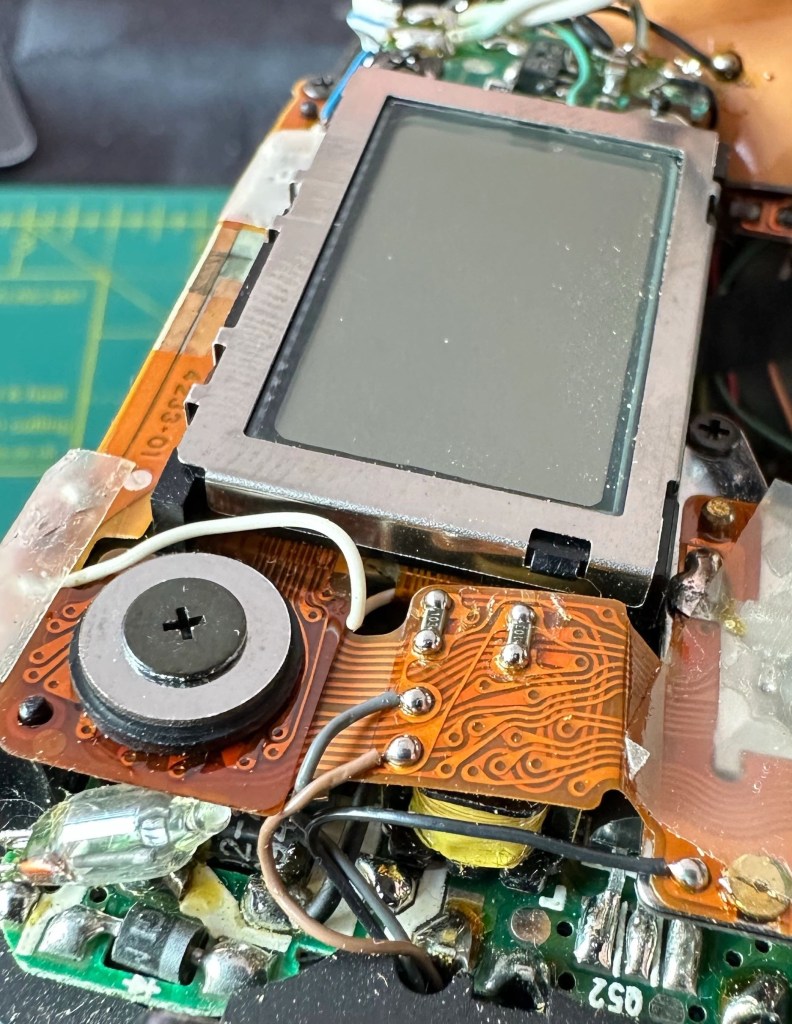
So I open up the unit, and put the circuit board under the microscope. The area around the corroded battery terminal has progressed on to the board and a couple of the circuit board tracks have been totally destroyed. A few components look to have issues and have some spurious test results. A check for continuity with the multimeter confirms that one track is dead and another is intermittent at the very least.
Under the microscope
I clean the offending section of the circuit board with IPA and this just confirms the issue, but at least it looks cleaner. If this had been the only issue I’d have happily soldered in a couple of thin wires to the undamaged track to ensure a reliable continuity.
Damaged tracksBad corrosion
A further look around the board, and there’s nothing blatantly obvious, but seeing this unit was produced in 1993 it’s now in its 31st year of use I also suspect the capacitors (of which there are many) may well be of that era of suspect capacitors I discussed on a previous post. Read here: Capacitor plague
The main drive motor is known to fail after time and a sure sign is if the CD jumps when moved off the horizontal, apparently this is due to bearings becoming misshapen due to use.
This unit therefore is beyond economical repair for me, and I’m not going to progress it any further. The good news is that I can use the unit for spares and as a number of these older units have interchangeable parts, I’m hopeful that as I have a few more units turning up later this week they may have a willing donor.
So the recycling goes on, and that’s always a good thing.
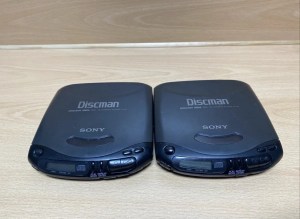
Anyone remember these? To say they were popular in my younger years is an understatement. Originally I had the Walkman (A cassette tape version) and I came to the Compact disc quite late in the 1990’s to be honest. Lately I’ve been looking at getting a Discman as I do still have an amount of discs at home and I like to listen to my old music whilst walking the dog. Yep I have my phone and Spotify so I guess I have access to pretty much everything there is out there but I just fancy trying a bit of retro and stepping back into my formative years.
Why not buy one that needs attention? I can kill two birds with one stone, get a repair on this site hopefully and the jobs a good one.
So off to EBay I trot and find this Sony Discman D121 that the seller agrees to sell to me for my offer of £10 GBP.
Sony Discman D121Sony Discman D121
I expect age related issues, as this particular model was produced sometime in the mid to late 90s. This one has an issue where the disc isn’t recognised and is intermittent. This range has a few known issues and to be honest I don’t think I will have too much trouble in getting this one going again (Famous last words 🤦♂️)
I’m expecting its arrival sometime in the coming week so I’ll come back to this post when it’s in my possession for an update on its condition.
Update: 9/3/24 23:11 – For some reason I’ve now purchased a damaged Discman D171 as well🤦♂️ I’m a glutton for punishment.
Sony Discman D171
Further update: 11/3/24 22:30 – Stop 🛑 🛑 just 🛑 😳
For some reason I’ve just brought another 2 faulty Discman. This time the D-141, two of them. That’s it I’ve got to stop now 😂 really I have to stop 🛑
I have tonight added a new gallery to complete the Halina A1 Reflex renovation I completed in August of 2023. The gallery can be found by using the links in the margin or by clicking HERE.
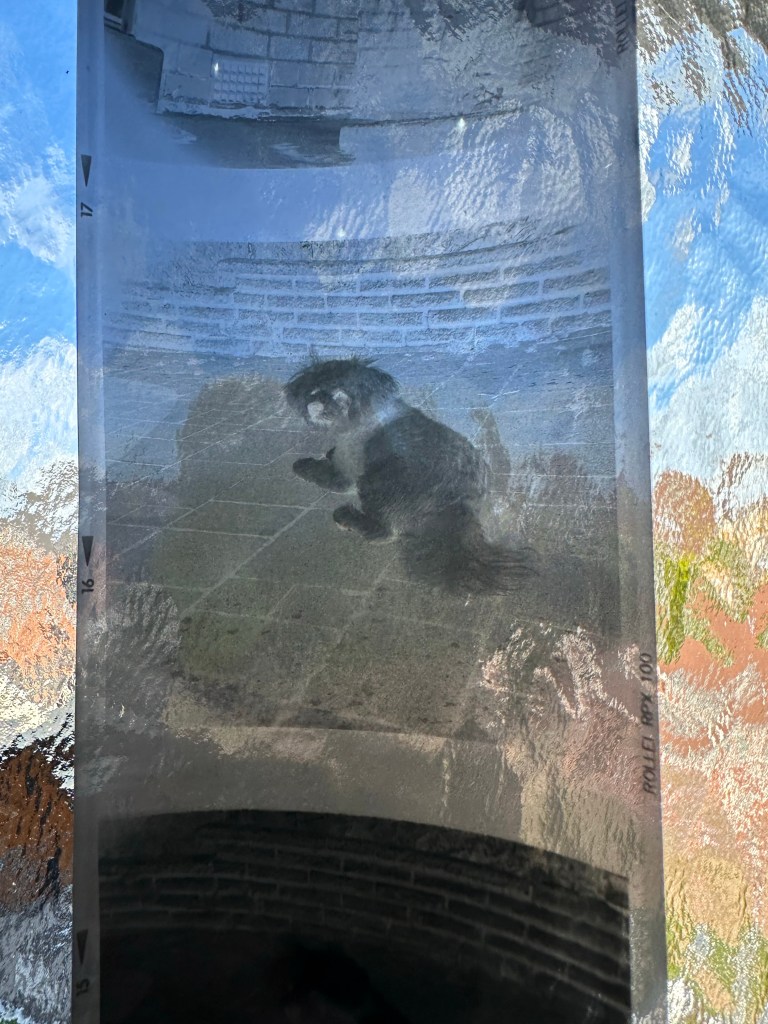
Negatives on light tableNegatives on light table
As I don’t have the correct mask for my scanner I have had to go about getting the photos on the site in a peculiar way. Firstly I take pictures on my phone and then invert them to get a positive image, an action that I discussed in a previous article that was posted HERE.
Please don’t expect anything too fantastic, it was a test roll and mistakes were made, but a lot of enjoyment was had getting the results.
For many this is old news and pretty much everyone involved in electronics is aware of this problem that swept through the industry in the mid to late 2000s. Chances are you may have such a unit in your home that has either luckily survived the issue to still be working, or may well be not working and assigned to that part of the house (Normally the loft) where it left until the day you move premises and visit the local tip.
Those of us that number a great many who like to tinker and repair old machines and equipment from this era are still seeing the back end of this issue to this day, its fairly easy to deal with and those that especially work with old computer motherboards and graphics card notice issues the most, its an interesting back story and ill try to cover it as best as i can in this post.
What is a capacitor?
A capacitor is a device that stores electrical energy by accumulating electrical charges on two closely spaced surfaces that are insulated from each other. It is like a little battery but thats where the similarities end, as a capacitor distributes energy in short bursts rather than a battery that is distributing power linearly. Originally known as the condenser, the capacitor is used within a circuit to add capacitance to that circuit.
Capacitance is the ability of a component to store an electrical charge – (Simple version)
What was the issue?
The issue was with Electrolytic capacitors produced between 1999 and 2007
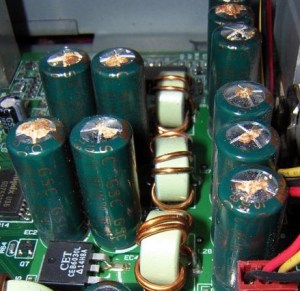
The origins of the issue was with the use of water based electrolytes developed during the late 90s. These capacitors using this type of electrolyte were found to be exceptional components when used in power supply circuits. The problem was that the water based caps produced aluminium oxide when reacting with the capacitor “Can” and that reaction was Hydrogen. The Hydrogen built up until the stamped vent on the top broke. Resulting in a failure within the circuit.
It was only in the mid 2000s when the plague really set in, some of these capacitors would have had hundreds of thousands of hours of use and even though they would have passed initial testing protocols they were doomed to fail, and that just so happened to be in the mid 2000s.
The Blame game
It was around this time with exceptional failure rates on certain items and claims being raised against major players in the electronics industry that deeper investigation took place.
Findings
The cause of the failures was due to a mis-copied formula, in 2001 a scientist working for a major corporation that made these type of capacitors stole a mis-copied formula for the capacitors electrolytes. He then took this faulty formula to another company. That same year the scientists staff where he previously was employed left that company, again with the stolen formula and started their own company in Taiwan producing immense amounts of faulty capacitor electrolytes.
No one was ever really brought to justice for the failures, no one company ever really came clean over the issue, the tech companies tended to absorb the cost of repairs and the end result was probably that the consumer paid in the long run…nothing changes there then!
When this started to occur, many individuals in the industry jumped on the band wagon to repair these items, many selling capacitor kits for certain brands to allow those who were willing, to make their own repairs.
Today the issue still occurs but it is not so prevalent, older circuitry does still throw up some classic blown capacitors and these are fairly simple to replace, some smell quite fishy as well, so sometimes a good sniff of a circuit board can alert you to a blown capacitor…very strange!
Following on from yesterdays post regarding fogging on negatives. If you remember I’ve lost the mask for my scanner so I’m currently unable to utilise this service.
The Negatives waiting to be scanned
However I had some time and took to the internet to find out if there was a way to view in the short term until I found the mask for the scanner. It appears the phone you have in your hand can more than likely do the deed without having to down load any apps.
Now I have an iPhone, however the same is also available on Android but I’ll stick to the iPhone route. It’s all about inverting colours
Firstly venture to settings, Accessibility, Accessibility shortcut and then choose classic invert. A tick will appear by your choice and then just come back out to the Home Screen. Now every time you triple click on the side home button the screen colours will invert.
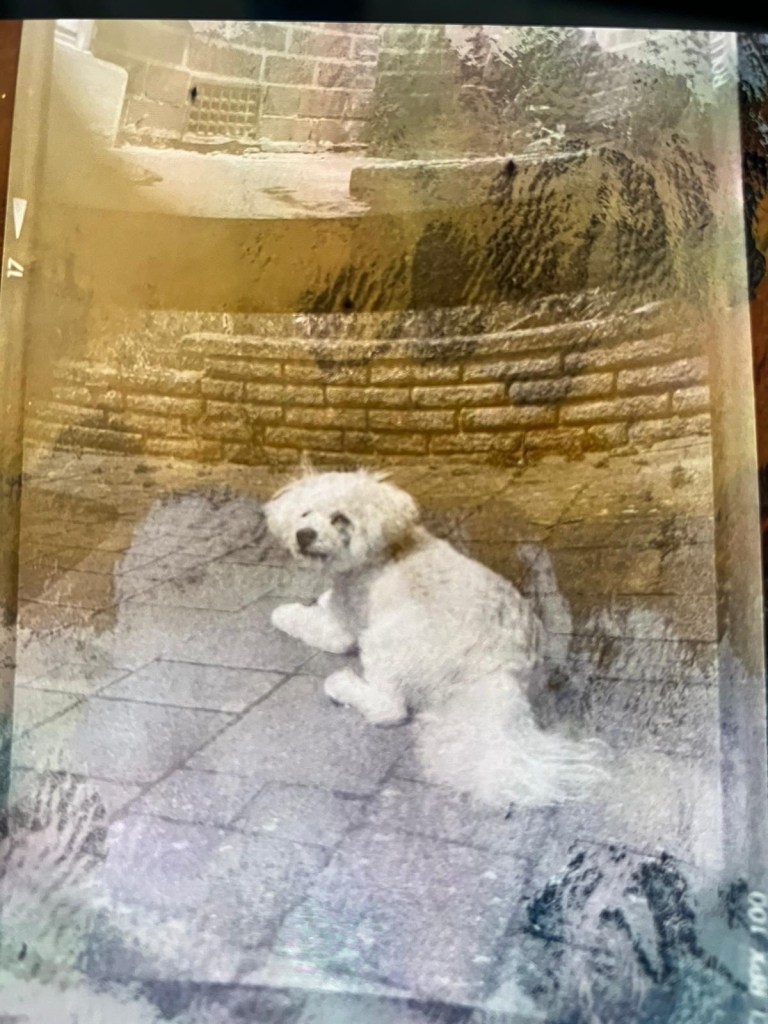
StandardInverted
Now if off you triple click again the colours go back to standard. Well I’ve tried this on the same negatives above from yesterday and it gives you a good idea of what you are going to get. These pictures are direct inverts of the negatives at the top of this post with no cropping or adjustments, I just wanted you to see the possibilities you have available to you in your hand. If you use a light box and some glass I’m sure you’d get quite acceptable results.
Negatives all inverted
Great little tool for those old negatives you have laying around that you were thinking of getting printed but weren’t quite sure.
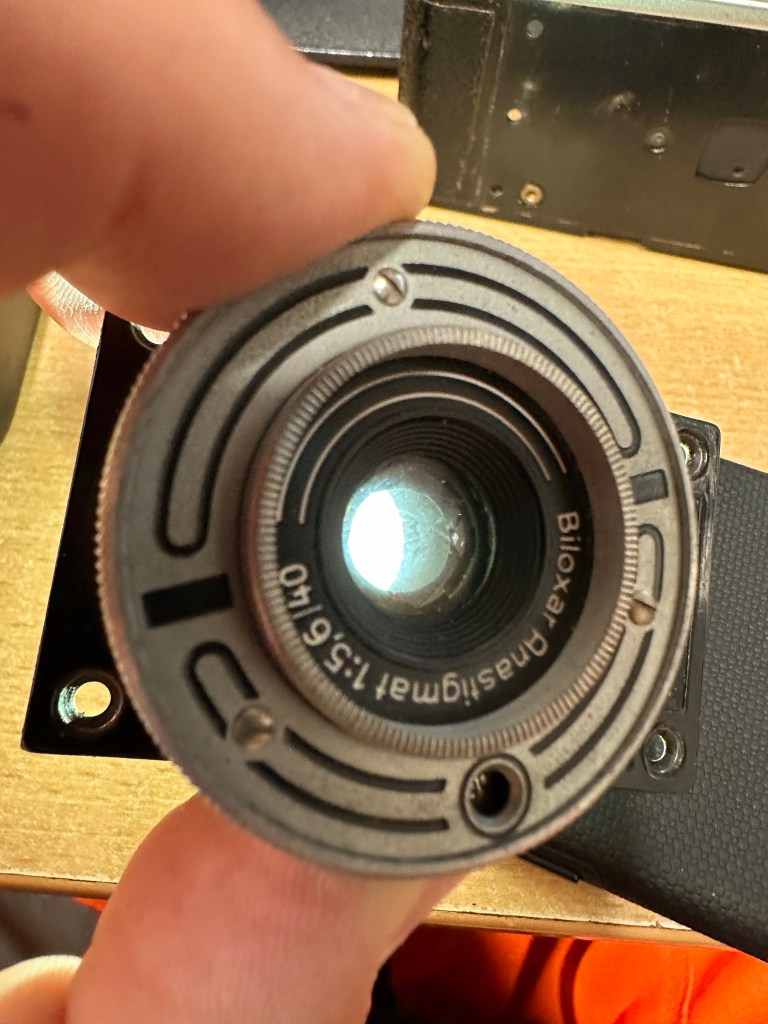
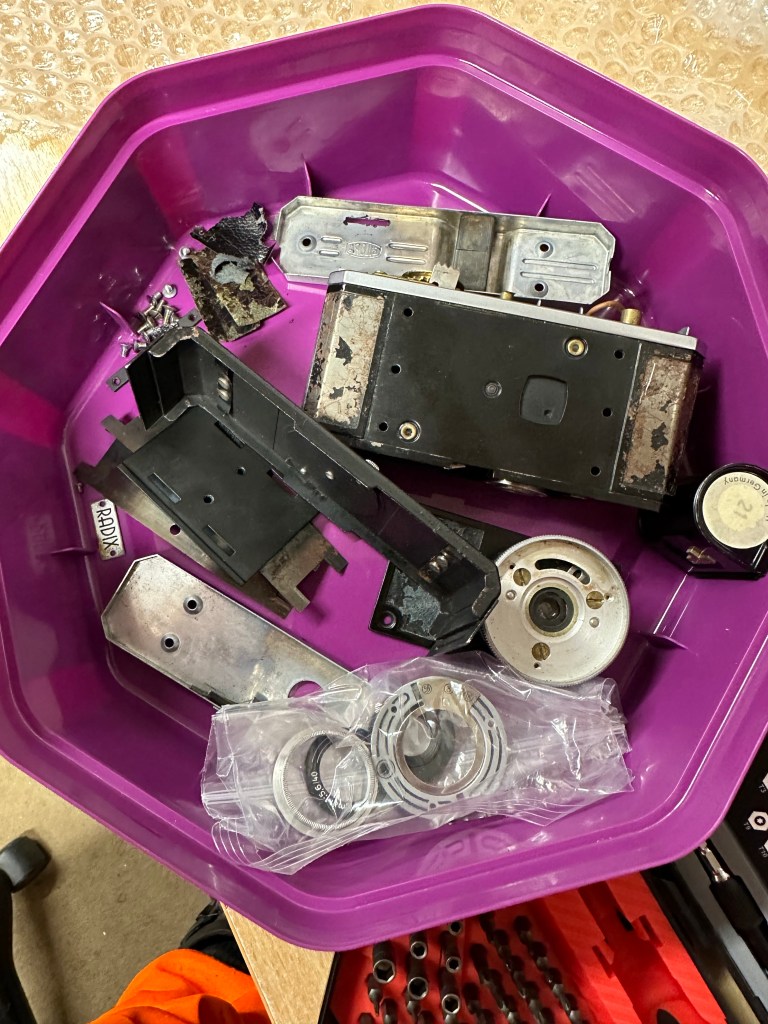
The Bilora Radix 56 camera circa 1950 has arrived today and the condition is for once very close to the original description that I read on line prior to purchase. Makes a pleasant change to be honest. No big surprises this time.
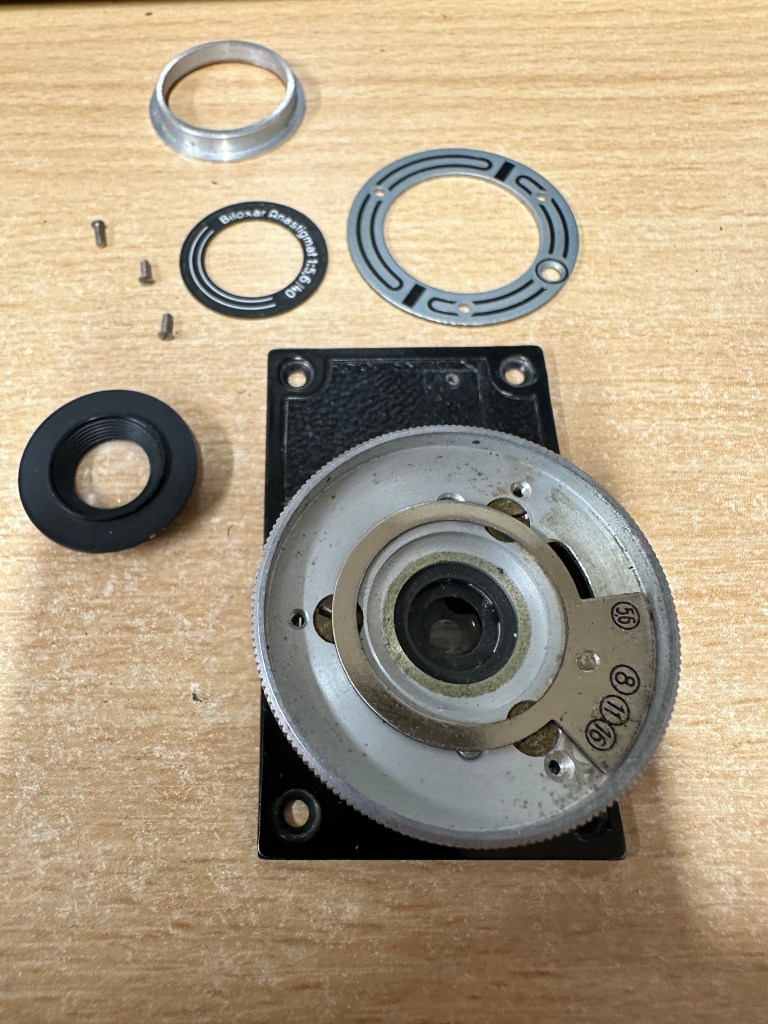
I’ve broken the whole camera down to its smallest parts, I love to do this as it gives a good insight into how the camera was originally put together. It’s lovely to see some good old mechanics instead of a plethora of electronic components. Only one piece of wire on this camera and that’s to the flash synch on the side of the body.
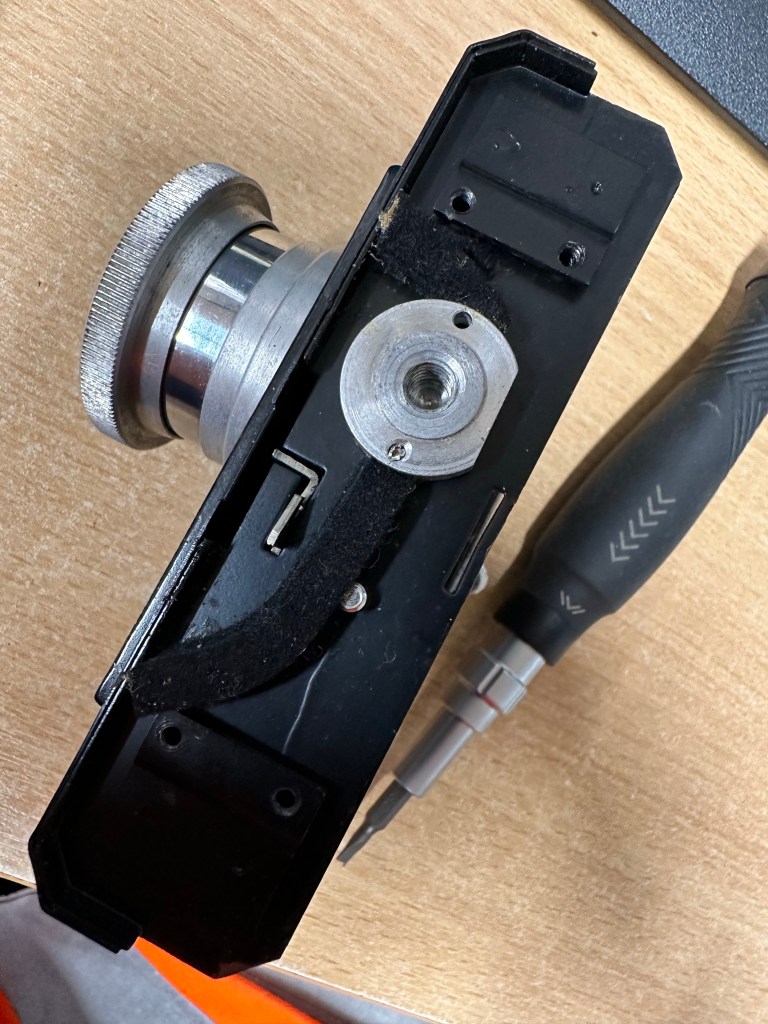
I’m going to clean the winding mechanism, get rid of the old oil deposits and re lubricate. I’ll also do this with the workings on the base of the camera that allow only one of two available exposure settings. That’s a “B” exposure or an auto exposure of 1/50-1/60 of a second. Not much use with the faster films that are available today. Focal length of the lens is 38mm 5.6 – 16.
The shutter works fine, I’ll probably maintain that with some graphite when I’m in there, the lens seems free of fungus but I will dismantle this anyway to clean the optics within.
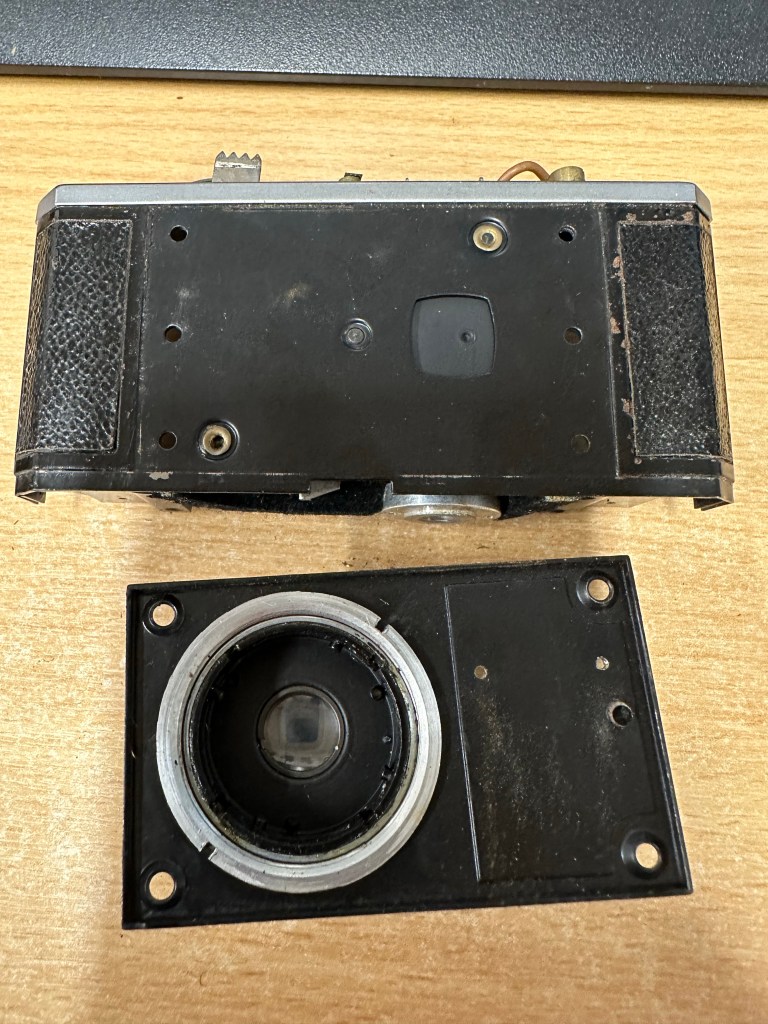
Radix 56 base workingsRadix 56 lens removal Radix 56 lens faceplateRadix 56 broken down in a sweet box
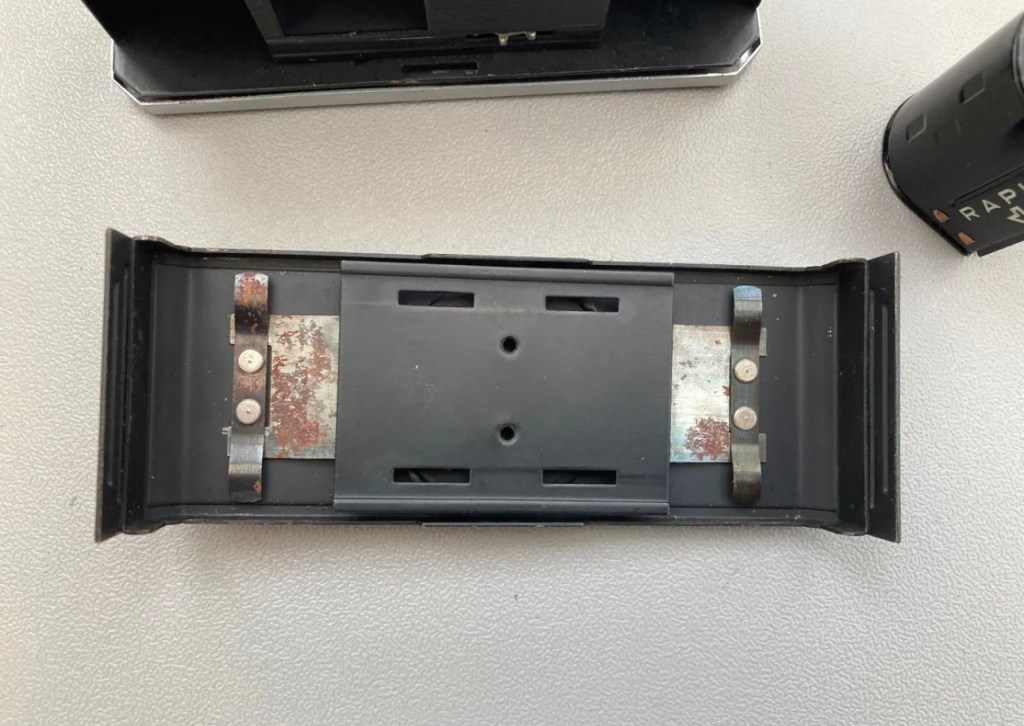
There is rust on the backplate, and this will need removing, I’m planning on sanding this down priming and repainting and a new skin will be put on the body. There are only 4 small pieces on this camera so this shouldn’t be an issue. Some lubrication, spotting and a good Polish will then hopefully complete this refurbishment.
I’m considering purchasing a second Karat cassette so I can sell this on as a complete camera. I may even try it out myself someday with a small length of black and white film.
Pop on back to see a post for each stage of the refurbishment.
Thanks for visiting, you know it is much appreciated. Thank you.
In my search for the unusual have come across this fine specimen that I have purchased for less than the price of a fish and chip dinner.
Remember the battle between manufacturers back in the days of Betamax and VHS? Well this is the film makers battle between Agfa and Kodak, with Kodaks 35mm winning out. The Agfa cassette (known as Karat) was 35mm without the spool and you needed two cassettes to use these cameras. I have one here and hope to be able to use it at sometime.
I like this example as the metal is not too pitted. There is rust but I can work on this, the covers are damaged but this can be replaced. I might go for a totally over the top refurbishment or may keep it as close to original as possible. I’ll make that decision once I can check the optics and shutter.
You can find out more about these cameras at the following link: Camera wiki .org
Phew, the donor camera arrived costing me the grand total of £3 sterling. It was badly damaged and I was doubtful that it would be any use due to its state.
Donor camera board
However the pcb area and the lcd screen looked ok and after much cursing and burning of the fingers whilst de soldering and re soldering I put the battery in and there it appeared as if by magic…all clicked and clunked as it should and the battery indicator appeared on the screen.
New pcb and screen Repaired Minolta Dynax 5000i
I put the case back together and secured all the buttons to the frame and then connected the lens. Turned it all back on and hey presto all working fine. Focus’s well, flash works as it should, all counters and indicators doing what they should.
I’m happy with this camera now, just going to give it a wipe over and I now have a super little SLR for my collection. Will run a film through it when I get the time.
I can now say this camera is complete and in perfect working order.
Job done👍
(As an aside to this repair, the original owner was so surprised I got it working that he has asked if he can buy it back? That would be rather cheeky of me so I’ve just asked him to refund the cost of the battery and the damaged donor camera. He wants to get back into analogue photography, everyone’s a winner here, and a camera destined for the bin gets a new lease of life.) I’m happy 😃 👍


You must be logged in to post a comment.