

To find out what I am trying to accomplish with this project please refer to my initial post: Bronica SQ-A Medium format camera
Task:
To build a usable, basic issue, medium format camera (Bronica SQ/SQ-A) from damaged items and spare parts, for as little outlay as possible and shoot one black and white, and one colour roll of film as proof of its successful completion.
Getting started:
Building a camera from damaged parts is no easy task when the name happens to be a high end brand and any parts that are available, are being snapped up by others to service their own stock or to break up for sellable parts. I’m going to keep a running total to try and build this as cheaply as possible, and to keep track of this total I’m going to use my trusty Psion Organiser II LZ from 1989 to keep a tally.
First purchase:
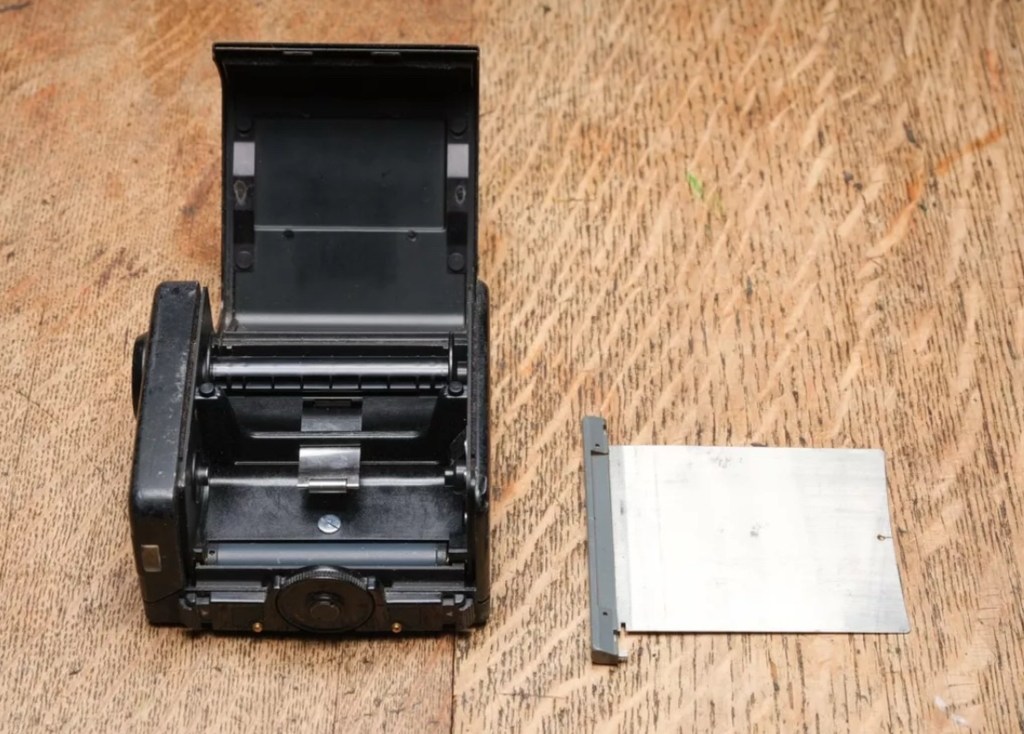
The first purchase has been made and it is for a 6×6 120 roll film back unit with dark slide. I think I’ve paid quite a good price for this item. This is the back piece that fits on the rear of the camera. Here is what the listing stated:
ZENZA BRONICA SQ 6X6 120 ROLL FILM BACK WITH DARK SLIDE Signs of wear, untested.
Uk Buyers Only PleaseEBay


And the total paid including all postage is £20:94GBP. Let’s now start the running total in the Psion II LZ.

All I can really check at the moment is cosmetic condition and this looks a little beat up, however I don’t really care how it looks externally, as long as it’s light tight, that is all that matters and I won’t even be able to check that until later on in the build. Cosmetically I will attend to it, if I feel so inclined at the end of the project, for now it’s ability to be light tight will be my major concern.
Assessment:
The unit has arrived and yes it has seen use, but not in a few years I suspect. The old smell hit me the second the package was opened, it’s kind of a reminiscent pong from the past, however I’ve got to see beyond this.
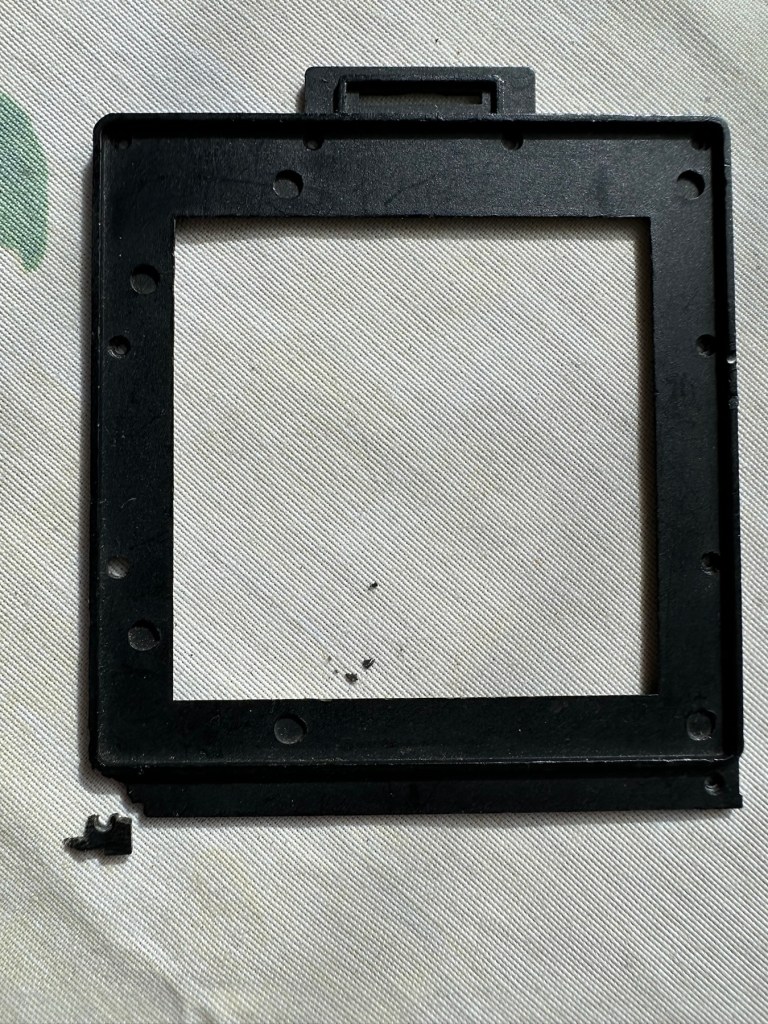
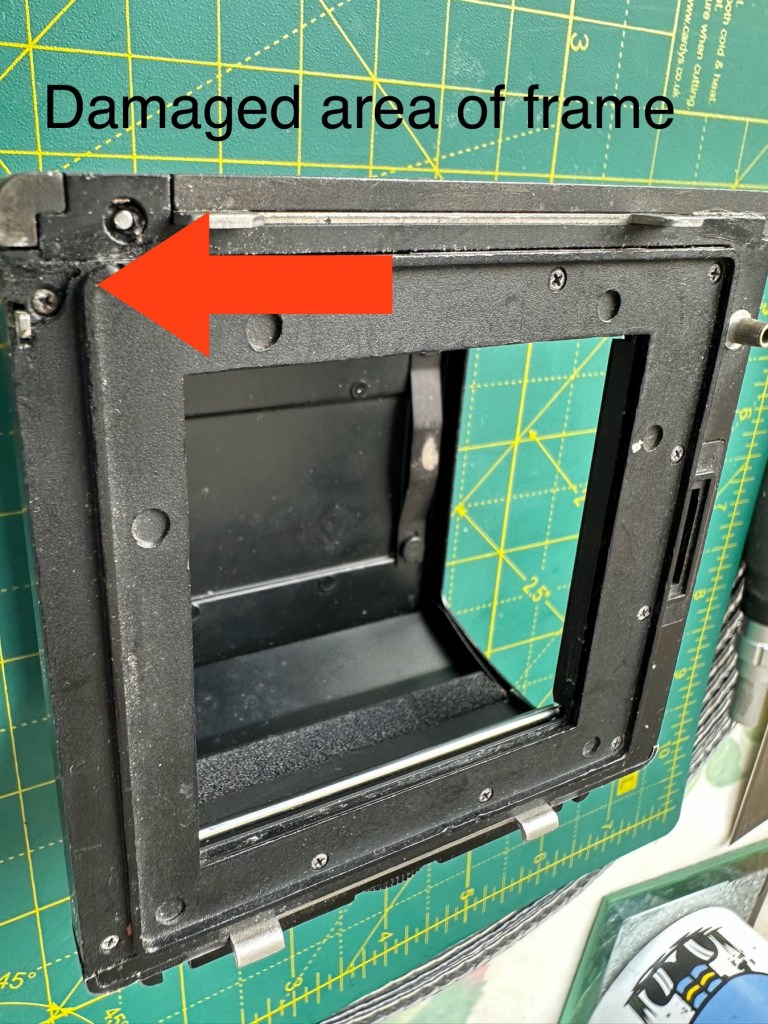
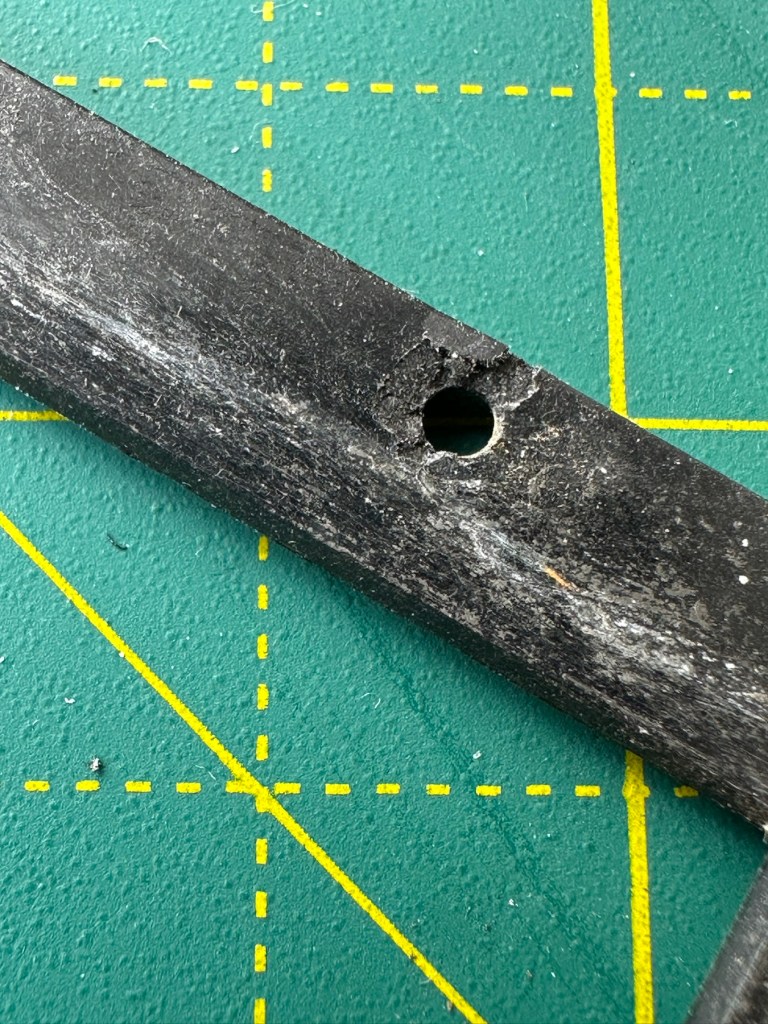
The light slide seems fine, however the surrounding frame has been bashed and a small bit of frame has gone missing. There is also a screw missing and I suspect the area that is missing the screw may well have been glued down. there are some slight rust spots on the exterior framework, however everything inside appears to be fine apart from some light seals that will probably need replacing. The rollers inside are grubby so a good overall clean is in order.
Annoyingly the ASA markings on the dial atop of the roll holder are missing. I will make something basic up to remedy this issue. Again it’s an exterior issue and I’m not too fussed at the moment.
Yes there is some work required, but there is no rush. And thankfully I don’t see anything that really scares me about it. I won’t really know how it stands mechanically until I find a suitable body to attach it to. I have that to look forward to in a future post.
Repairs:
The ASA dial. Simple solution here, until one becomes available sometime in the distant future, is to use some very small dymo labels I have printed. I will cut these down to size and put them in place where they should be on the dial. Quick and temporary solution a’la Frankenstein. No need to over manufacture things, this will do fine.

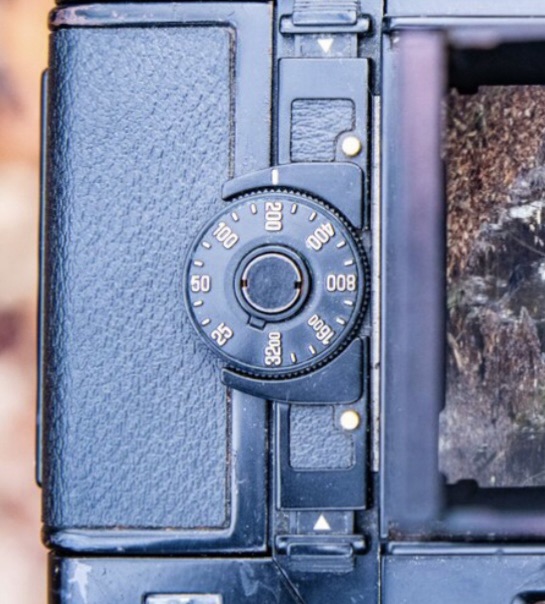

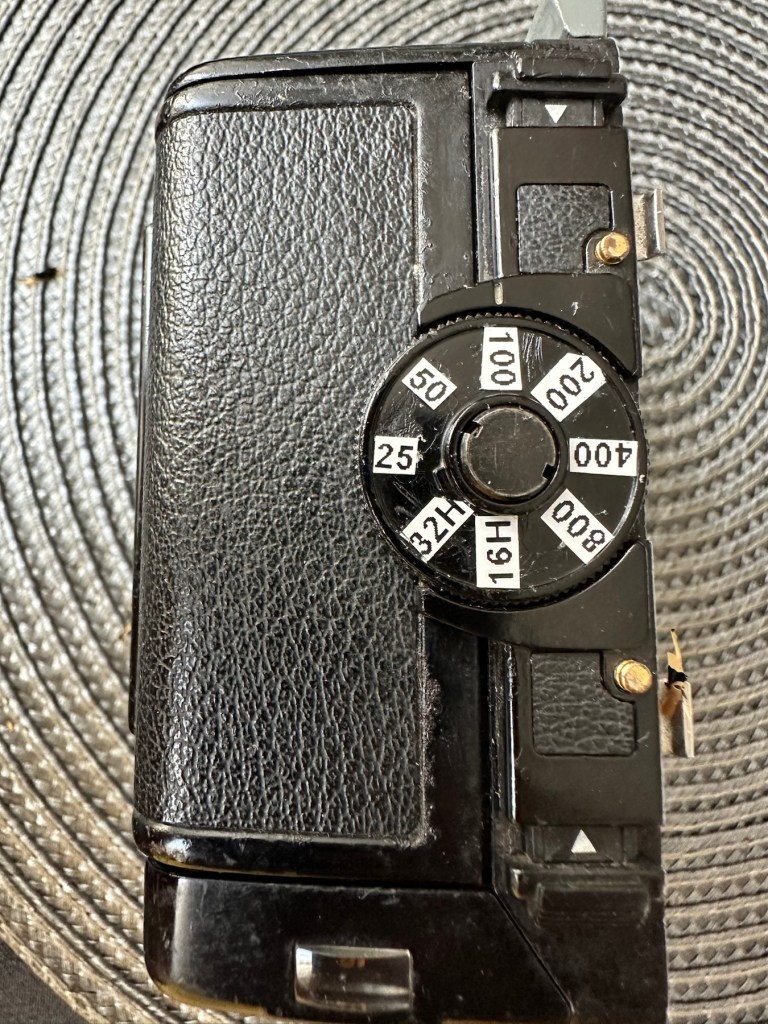
The old asa wheel has been cleaned to remove the original glue, and temporary stickers have now been applied. This completes this fix for the ASA dial, for now.

Edit: I’ve managed to obtain a damaged roll back for a grand total of £5:76GBP, absolute bargain and it also has a working ASA dial. So I’m hoping I’ll be able to use this donor to help in the repair of this item. I’ve used a combination of parts from this and the earlier roll back and I’m happy I have a good working unit. We now have a proper ASA dial off of the spare unit transplanted onto the old unit.
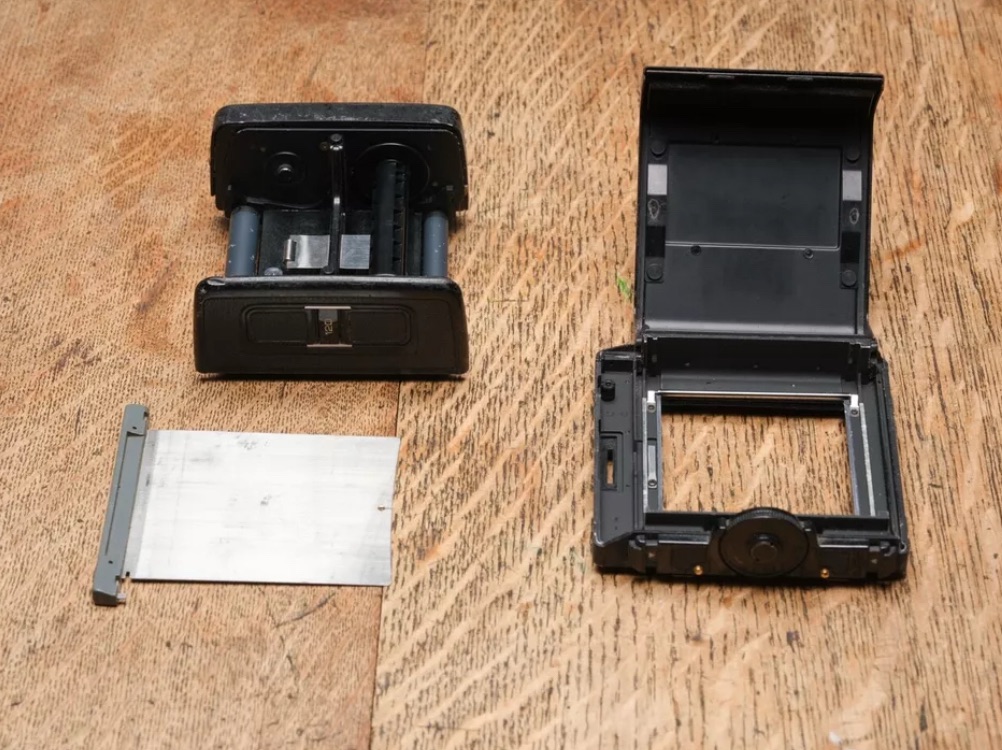
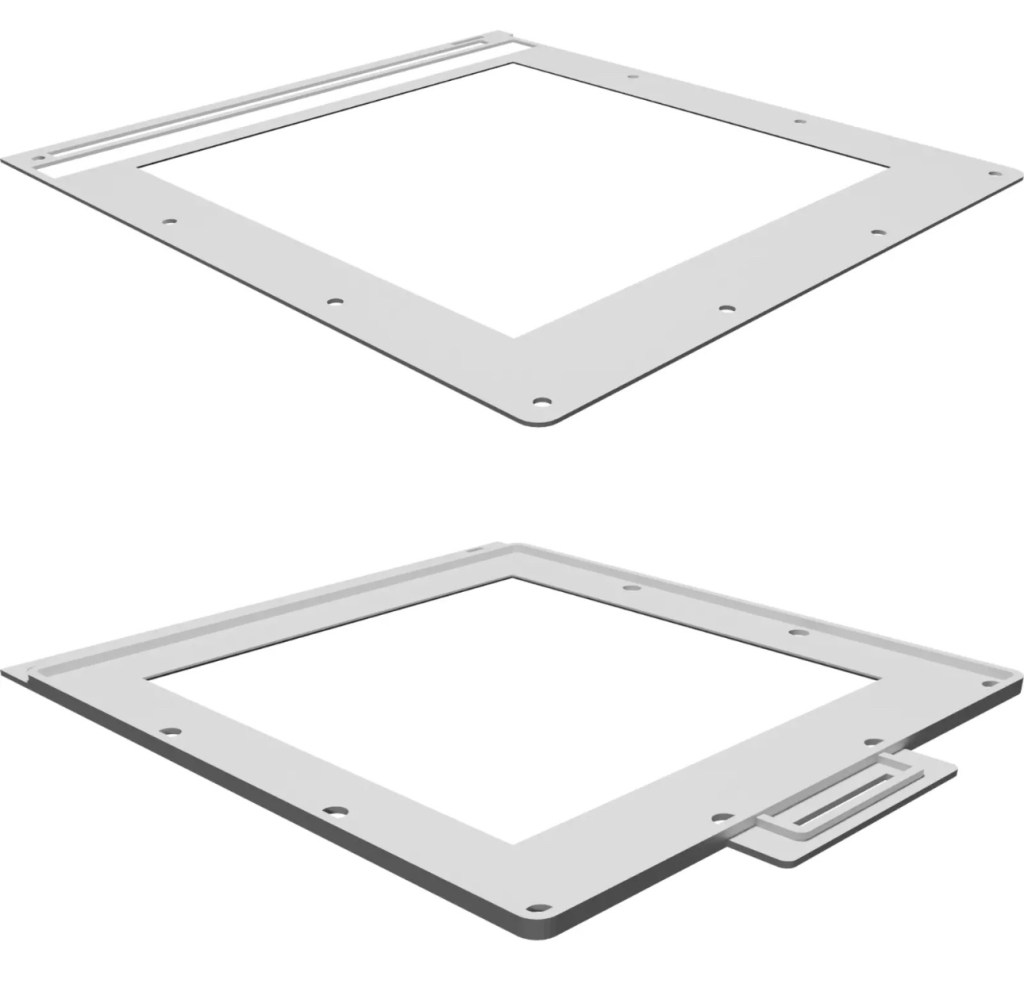
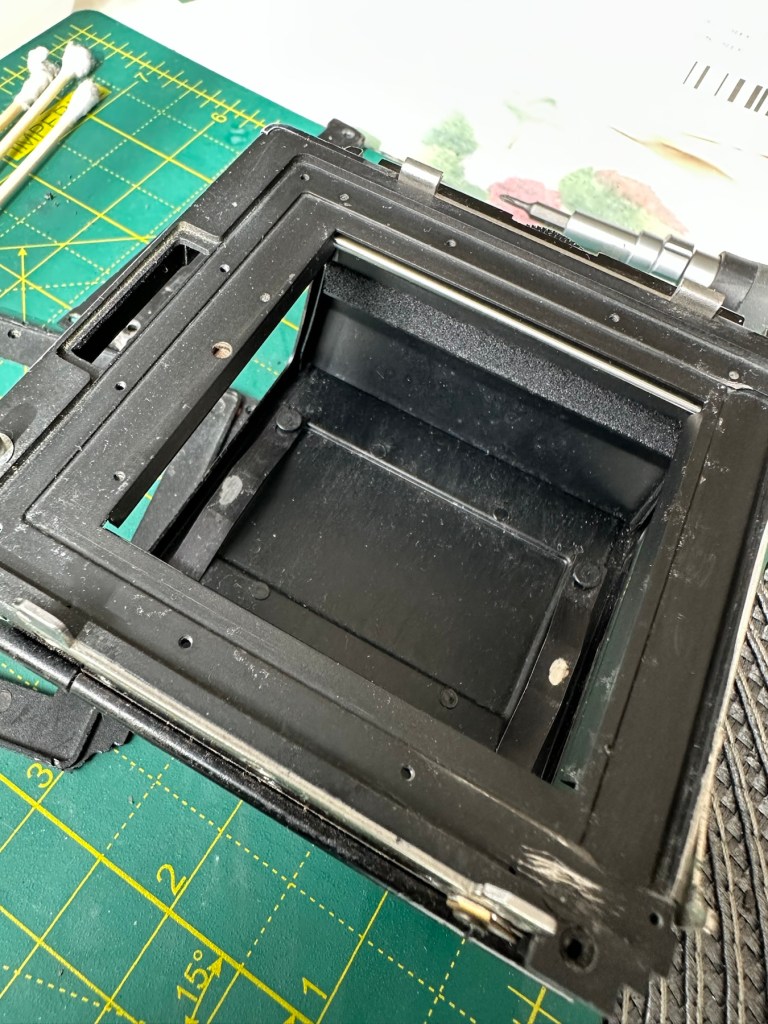
Front frame:
I’m taking this off to give the whole area underneath it a good clean. There are some film guides under this frame that are contaminated and that could cause a scratch on the film, I’m going to clean this whole area under the frame and will then reassemble. The cartridge slide is in a good condition and has just required a polish. Apparently this front frame is prone to breaking and the screw holes splitting, as it gets quite brittle. This has happened to this unit, and I’ve found a guy that 3D print’s replacement front frames and I have ordered one of these to ensure that the whole frame is secure and light tight, as currently one corner can be lifted and this could cause a fogging issue. At a cost include postage of £12:75GBP it’s a small price to pay seeing the only way to get one nowadays is by purchasing a donor unit at cost far exceeding what I have paid here.
There are a couple of screws missing of which I have plenty of spares so these will be simply replaced. I’m happy now that this portion of the camera is in a good condition and will soon be ready to be put to use.
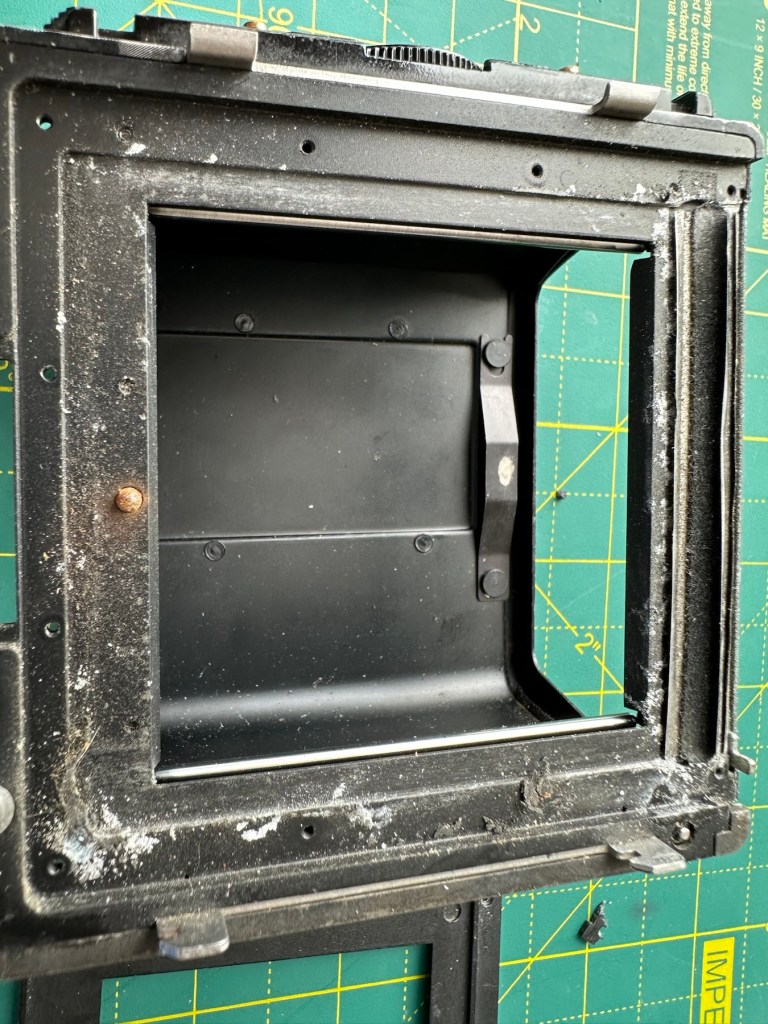
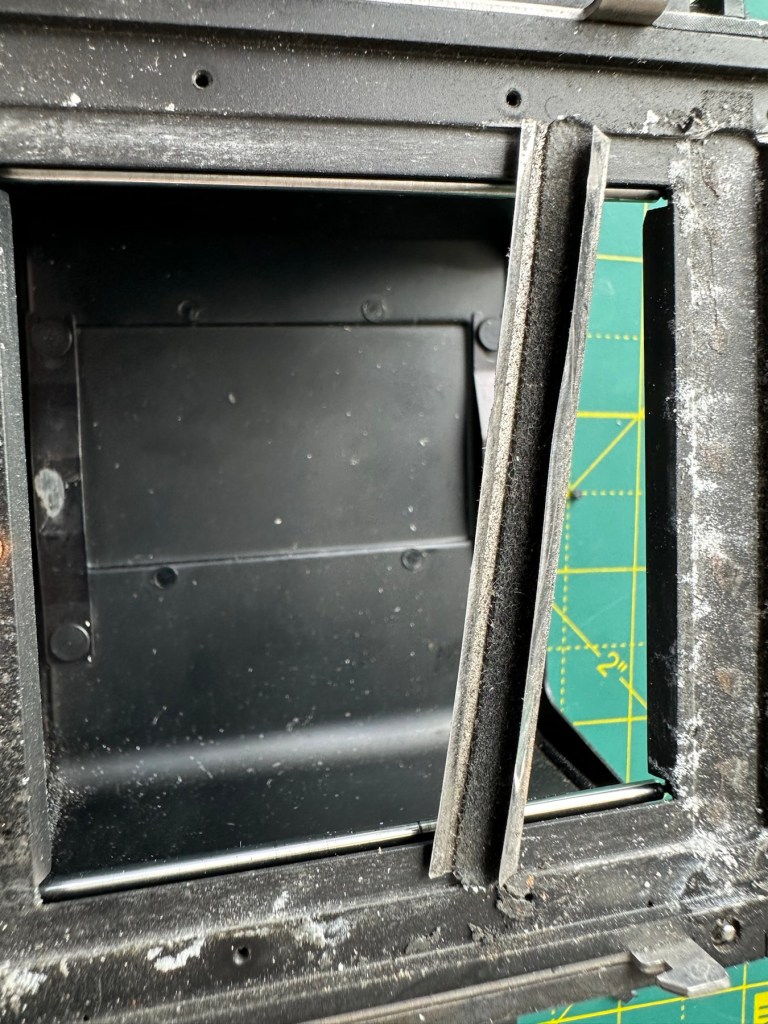
There was a lot of contamination under the plate when it was removed, I was quite amazed just how bad it was. This has since been cleaned prior to the new frame and seals being put back into place. When everything is re assembled there will be another clean, I will also be using compressed air to finally clear any remaining debris from the roll back. Edit: the 3D printed frame has arrived and to be totally truthful it’s not much good. The part where the slide goes in is not usable and I’m not confident this will be as light tight as first thought.
However the spare unit I purchased has a good front frame that just needed a tiny bit of adjustment to work, I’m now confident the roll unit will work as it should.
Light seals:
To be honest there are only two immediate areas of concern that I can see. All other light seals seem to be sufficient. I already have plenty of light seals material from where I fix other cameras so this should be simple enough to replace.

There were only two pieces that needed replacing, these were both on the roll film back. All other light seals were fine.
Rust spots:
These are purely external and there are no issues inside the cartridge. However I may just give them a very fine rub down and a quick spray with a black gloss to just make them look better. Then again I may not, and then I’ll attend to the cosmetics once I have completed the project. Edit: I’ve decided to leave this for the moment and will attend to this sometime in the future as it is not affecting anything at this stage.
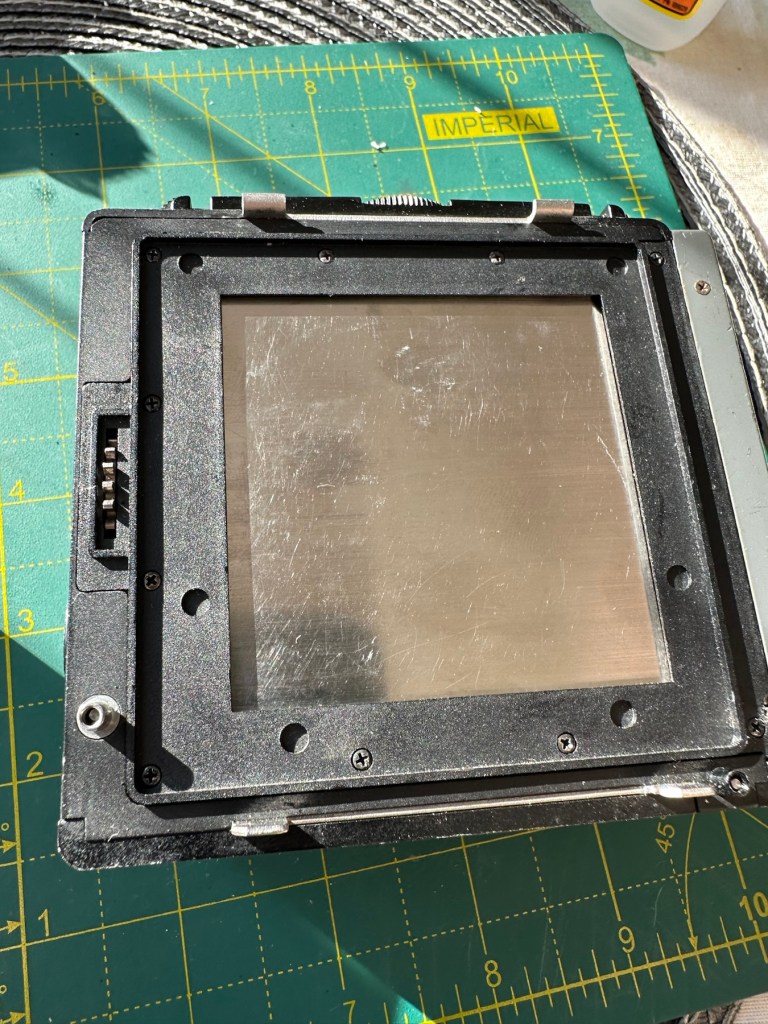
Film cartridge:
Again this has just been cleaned and some contamination has been removed from all rollers and guides within. I have adjusted the back plate pressure pad for the film and also given this a good clean to remove any contaminants. I’m happy the internal cartridge is in a good condition and only requires a light clean. This cartridge is superior to the one I have obtained as a spare so this will be the one i work with. I have replaced all the exterior screws to replace the original ones as they were all a little crusty and contaminated.

The whole roll section has been cleaned with tack cloths and compressed air to ensure all contaminants have been removed.
I’m going to store the whole roll film back, in a sealed plastic bag with some Silica gel packs to try and remedy the mustiness that I mentioned at the beginning of this post, though I must admit after all the cleaning and replacement of parts, the issue has reduced immensely. Some exposure to sunlight on a window seal usually helps immensely. That’s where it’s sitting for the moment. It’ll go in the bag with some silica gel, during the more inclement weather.
Outcome:
This part has been the most demanding part of this project so far. I’ve looked into the possibility of using 3D made parts, but I must admit defeat here. The items are about 80% ok, there are holes missing that should be there and as it’s a two piece fix you are then introducing glues, and potentially increasing the chances of light accessing the one area you want dark. Maybe in time they may perfect it. I was exceptionally lucky to obtain a spares unit for literally one pence. Yes one whole pence. It cost £5:75 to post making a total of £5:76GBP, but in many aspects some of its parts were far superior to what I already had. I am happy that this part of the build is now complete.
All good to go. Please keep an eye on the other blog posts that are coming regarding this project.

You must be logged in to post a comment.