Sticky, Rubber camera grips

Anyone who has had an 80s/90s/00s camera through their hands would have experienced this at some point. During this time period many if not all camera manufacturers went through the phase of putting rubber hand grips on their cameras. Aesthetically pleasing, and ensuring a good grip of your new “Expensive” toy. I guess, they thought they had got it right. But as with all these good ideas they often come back and bite you right on the bum at a later date.

My particularly sticky Nikon D70

Ok there were probably no recalls regarding this issue, it’s just affected the price of these goods on the second hand after market, and more than likely a perfectly good unit has most probably gone to landfill for no other reason than “Feeling sticky”

Let’s look into the reasons why this occurs.

It’s pretty much down to a process called Vulcanisation. Vulcanisation is a chemical process that hardens rubber by cross-linking polymer chains, making it more durable and elastic. This process, often using sulfur, heat, and other additives, transforms natural or synthetic rubber into a material with improved properties like resistance to heat, cold, and deformation. 

However after many years, the process begins to break down, this causes the rubber to become sticky and in some cases the rubber just breaks down causing traces of rubber dust all over the place. Add to that the normal oils from fingers and palms and the stickiness then becomes highly noticeable, and makes for a very unpleasant experience.

We can’t stop the progress of the degradation, we can however do something about the sticky state, maintain good quality and make the use of the item as pleasurable an experience, just as it was when first purchased. Many believe the stickiness is down to the way the item is stored, and it not being used on a regular basis, as there is plenty of evidence out there of similar aged cameras not suffering from the issue at all, as they are used daily, namely by professional types where these cameras are tools of their trade.

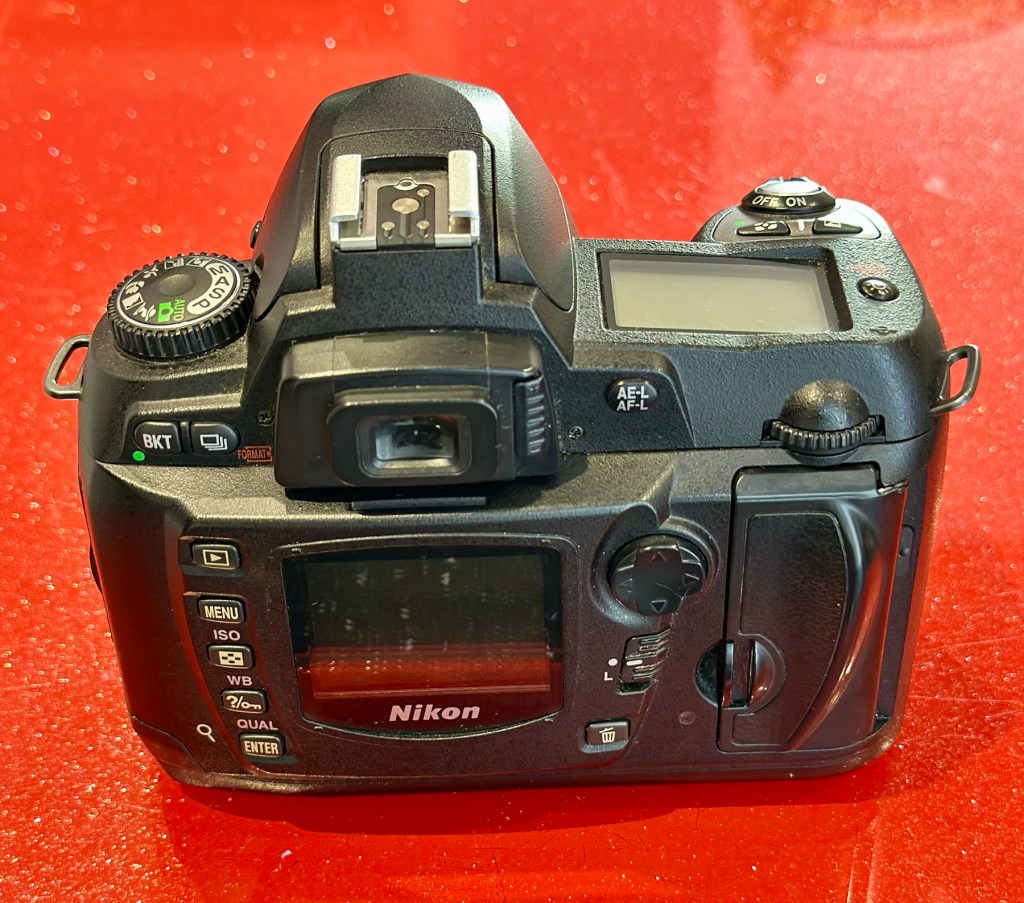
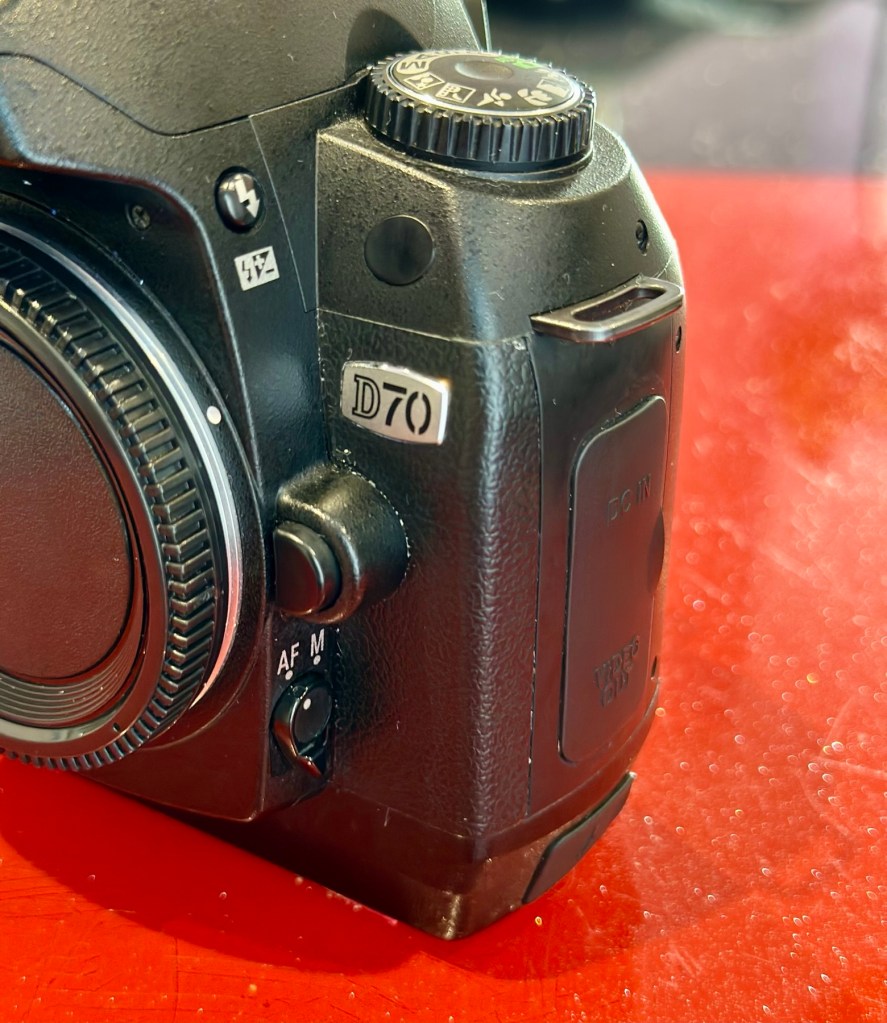
It involves some work, and patience. I am writing this post as I have 8 cameras that i am currently working on, all Nikon D70/D70S and they all have this problem, and they date from 2004.

A load of very sticky Nikons

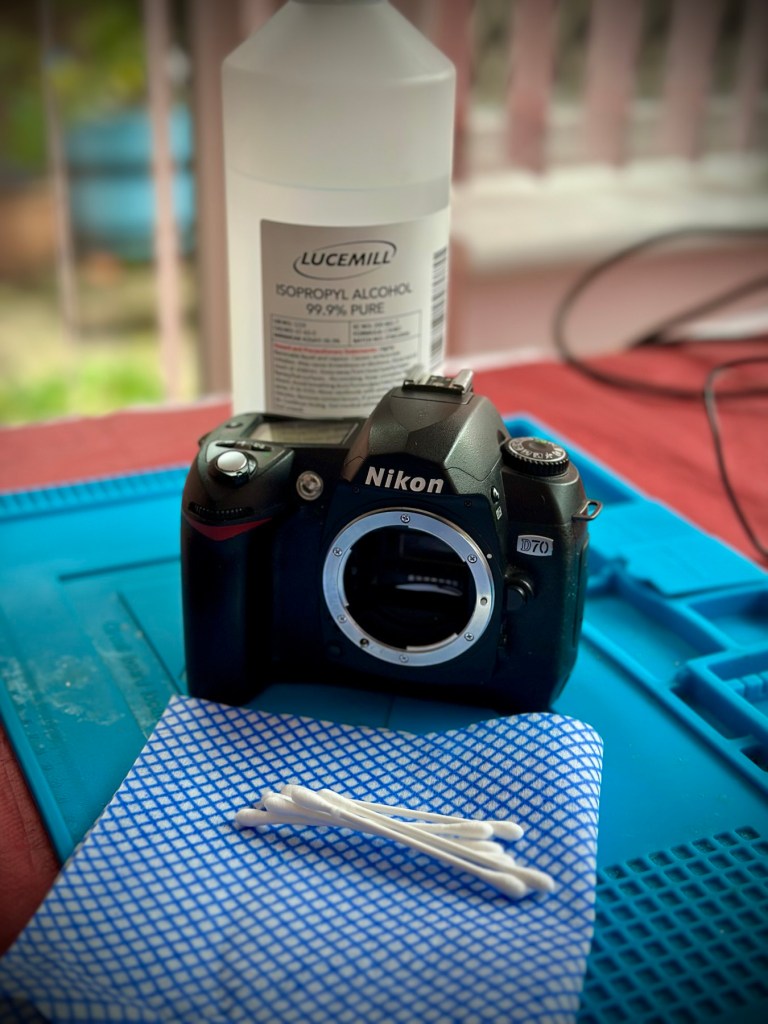
I use a process that you will easily find on line, the most simple process and it involves using a substance called Isopropyl Alcohol, my one is 99% pure, (also known as rubbing alcohol) I don’t think the purity of 99% is essential but i use it as i have plenty of it around, what with all the circuit board work i do, and the cleaning they also require.

Some people have had results just using a dry cloth and no chemicals, patiently rubbing and rubbing, some for a few hours at a time, until all the mess is removed. If that’s the way you wish to go then fine, i haven’t got the time for all that, i’ll be talking you through the way i do it below, with a chemical.

My technique is simple, lint free cloth and some cotton buds are all that i use, along with a tissue wipe (Such as armoral, or a car cockpit cleaner solution with a dry cloth) and a cocktail stick to finish. The reason for the wipe will become clear at the end.

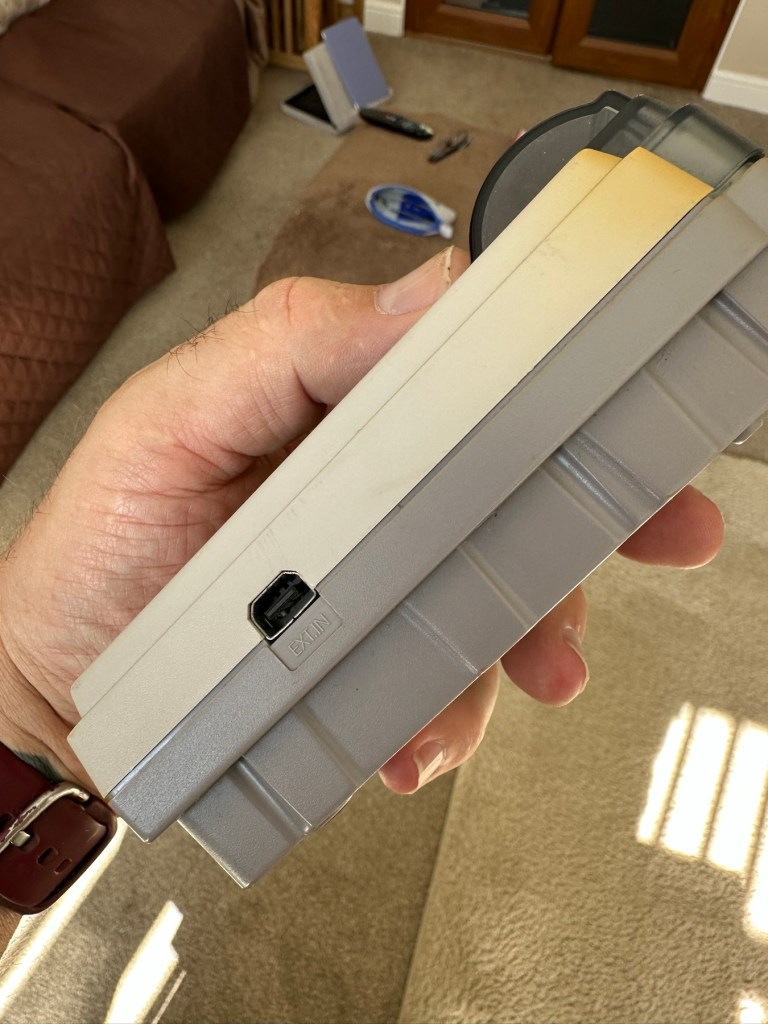
My Guinea pig for today is a Nikon D70 I have requiring repair. It is a particularly “Sticky” individual and will be a good candidate on how to deal with this sticky situation. This is the process I use on all my equipment that has rubber such as this as part of its structure. It’s worked for me for many years, some people say that it will need doing again after a short while, that’s never been the case for me, and there are a number of documented cases on line where six years after this treatment has been done, there is no repeat of the initial problem. The rubber remains good.

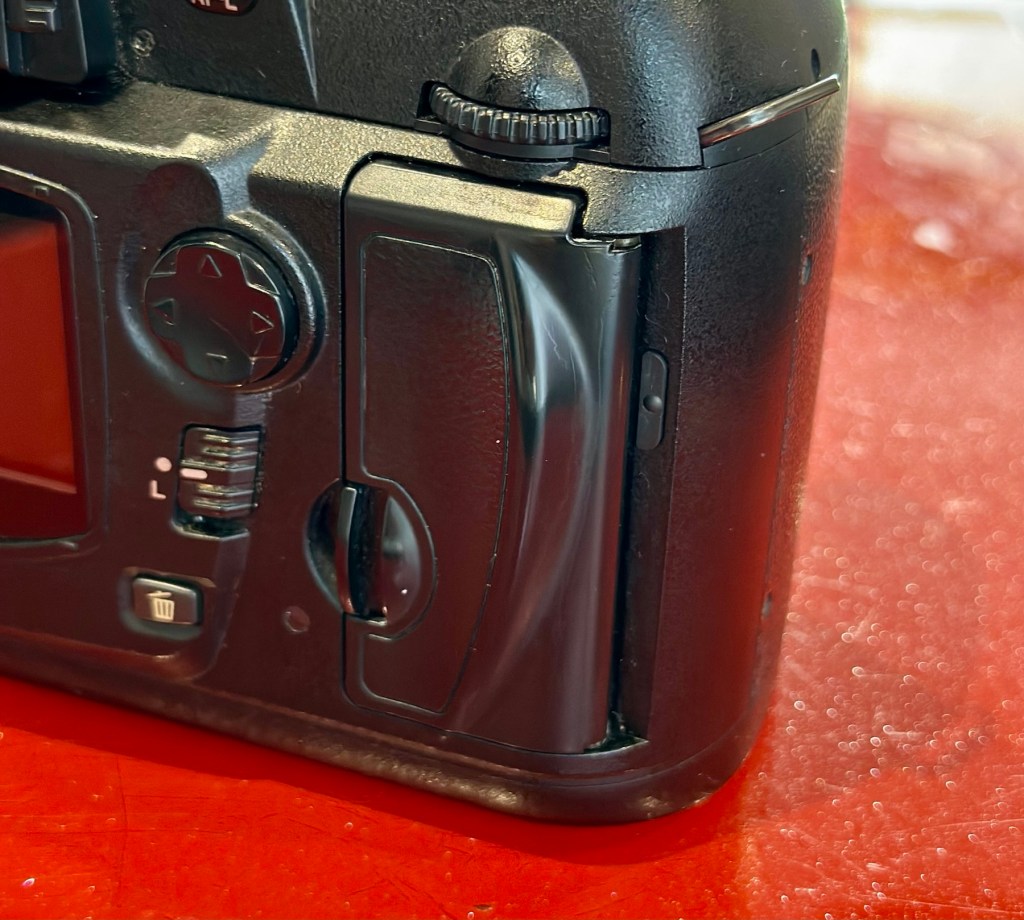
Using a small amount of IPA on a lint free cloth gently wipe the area of concern and you will see the stickiness start to lift, it looks like a glue.

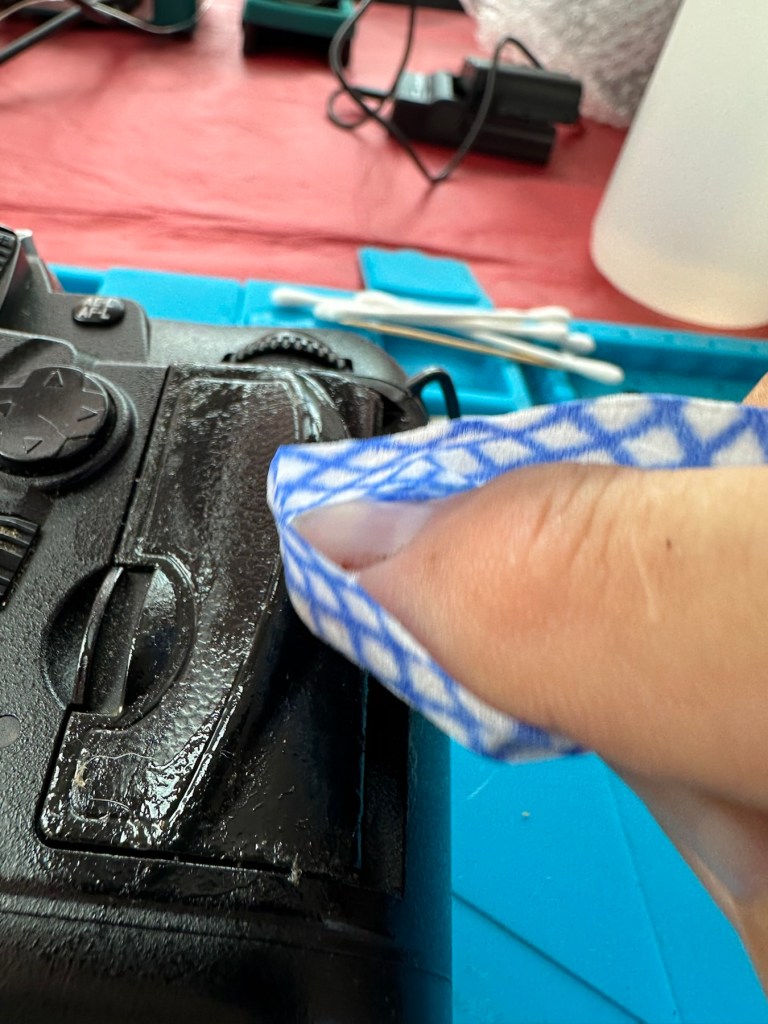
Make your way around the whole camera paying particular attention to those really sticky areas. The IPA evaporates really quickly so you get to see results really quickly. If after one try the stickiness remains then try another application. A good indicator is that when you use a fresh part of the cloth, you see less dirt come off with each application. When you put an application on and come away with a clean cloth, your job is done.

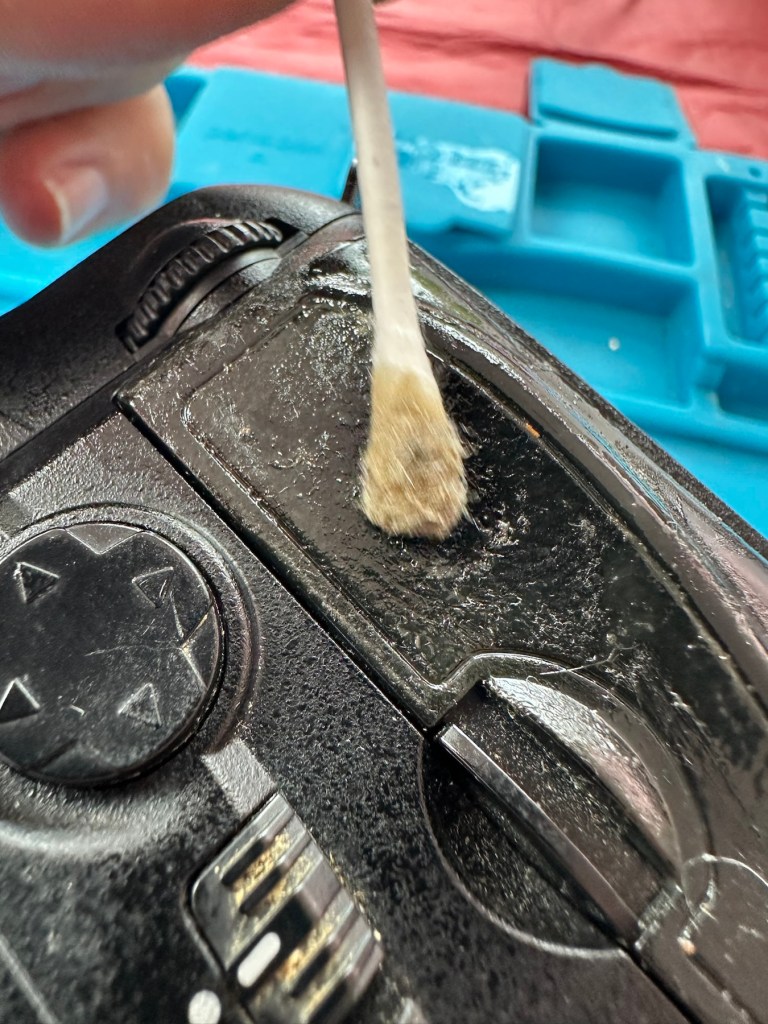
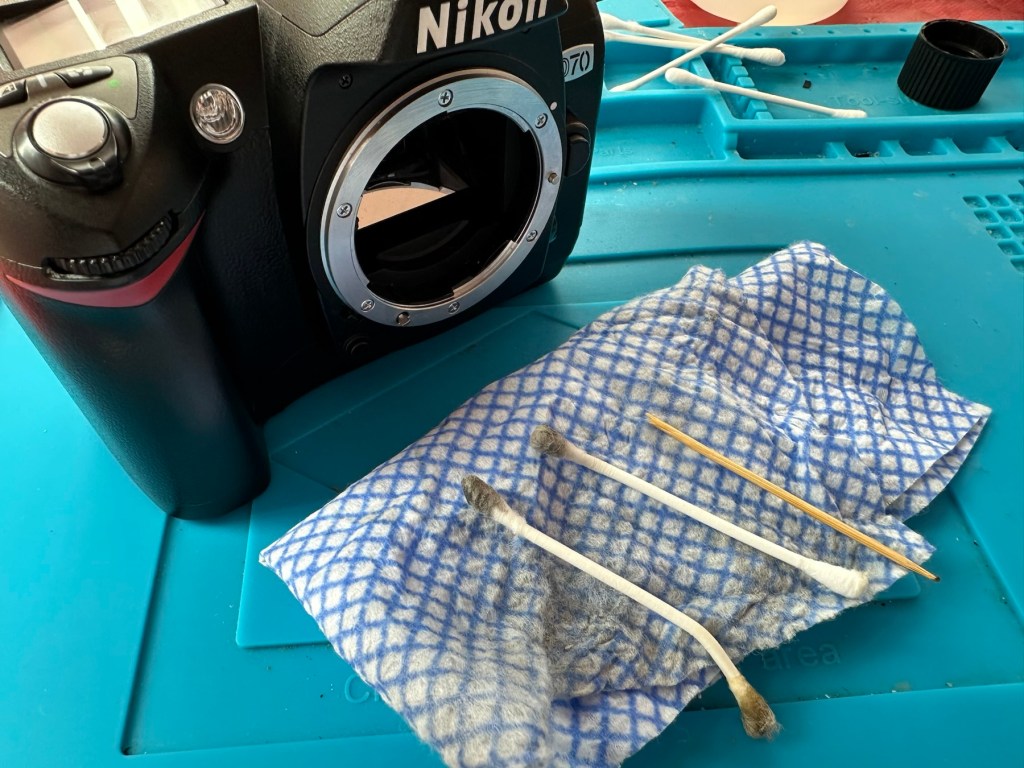
The cotton buds are used for getting into those inaccessible crevices you can’t get into with the cloth. As before as they stay cleaner and pick up less dirt your work is done. All this cleaning and moving about of dirt sometimes transfers the dirt into creases and joins between the rubber and the camera body, this is what the cocktail stick is for, to get into those small gaps and scoop the dirt and debris out. Complete with a final application of IPA in this area and the dirty work is now done.

Now earlier I mentioned about using Amorall wipes or a car cockpit cleaner. Sometimes this process can dull rubber, as you have just removed the layer that was providing the gleaming glory back in the day. You can’t have it all your own way but a good quality interior dashboard cockpit cleaner really does add some shine and life to that old camera and really does do a good job of restoring it. I use Auto Glym interior shampoo on a lint free cloth and apply this by gently applying all over the exterior of the camera. It is now exceptionally clean. A quick rub over with a dry cloth once this is dried and what more can I say? This is a different camera, looks stunning and has lost all trace of stickiness and dirt. Now it has that extra layer of protection as well, it’s now a pleasure to behold.

The finishing touch.

This little task probably took just over 20 minutes to achieve and gives so much satisfaction to me as you can see a cameras appearance change in front of your very eyes, and anyone can do it. No camera deserves to go to landfill just because it has this sticky exterior, it’s simple to do and can revitalise an old and much loved camera.

I hope this has helped with dealing with the stickiness issue, if you ever experience it. I have even heard reports that a good quality window cleaner can also give similar results, but I’ve never tried it, so there really is no excuse if you have a camera in your ownership needing similar attention.

Many thanks for passing by. You legend👍

First attempt at Retrobrighting

I’m currently deep into a repair project that I will be posting about on here shortly. However the shell of this project has aged so badly it has earned the right to be my Guinea pig for my first attempt at Retrobrighting, it deserves a separate post of its own, so it’s getting one. I have explained what Retrobrighting is in a previous post: Retr0bright – What’s that then?

The unit is a recently purchased and damaged Nintendo Gameboy printer from around 1998, it isn’t working and looks right ugly. It needs some attention to its fascia and battery base, so let’s get on to it.

I have taken the entire unit apart, separated the parts that need to be treated, removed all labels, and given the offending items a thorough wash in detergent before drying them off.

All stickers and other items removed. Shell thoroughly washed.

Next I’m just putting a 40 Volume 12% Peroxide cream solution into a small bowl, and I will then place the shells on a piece of cling film where I will liberally coat the offending items, using a brush, with the solution. When I’m happy with how this has gone, the treated surfaces will then be wrapped in cling film and placed in a sunny position for around 12hrs to allow the sun to do its thing. (UV lamps are sufficient if you have one available). I must reiterate it is important to wear protective gloves and eye protection when using this solution.

I’ve given a good coating of peroxide formula to all surfaces, but is it enough? I won’t know for at least a further 10-12 hrs, time will tell.

All wrapped and ready for some Sun ☀️

With the peroxide now applied, the fascia’s are now all wrapped in cling film and ready for 10-12 hrs or so of intense sunbathing. (Sounds just like me on one of our visits to Cyprus!). So let’s wait a while.

Patience

I’ve checked in and looked at the pieces outside, and after just 4hrs the results so far look amazing. I’m going to give it the full time though, so I’ll be back in around 6-8 hrs to check results. Hopefully we will have sufficient sunlight until then.

I’ve terminated the process at 9hrs as I have to go out and I’m impatient. Boy am I impressed at how it has turned out, it looks like a new shell.

Wow I’m impressed

Well I can honestly say that this treatment does work. I’m so impressed at the outcome, I just wish I’d attempted it earlier on some of my other products.

Before & After – Impressive improvement

Anything I’d do differently? I’d probably slap on a little more solution or maybe even reapply about half way through the process, the only reason for this is that there is the most minute tiny tinge of a yellowing on the side that had the heaviest contamination, possibly if I hadn’t been so impatient and left it for 3 more hours it would have been sorted, but then again it might not have! I do think a further application at the halfway point, especially when an item is so heavily stained as this unit was, would have done the job and made it look even more perfect.

Am I coming across as disappointed? Well I can assure you I am not. It’s my first attempt and I am so impressed. The total outlay for this process was £1:85GBP and that was just for the 75ml bottle of peroxide from a local supermarket, and I have enough left for another 3 applications, an absolute bargain. We only learn and improve from being persistent, and I’ve already learnt from what I have attempted today. And i am already a better, and more knowledgeable person than I was only a few hours earlier. You certainly can teach an old dog new tricks.

Edit: some 12hrs later I have decided to give a second treatment to see if this can improve on that slight yellowing I mentioned earlier. The results have greatly improved the look and there is now no visible sign of yellowing. I’d certainly recommend a second treatment for heavily stained items. It works, extremely well.

Watch out for my next post regarding the repair of this printer and its reconstruction: Nintendo Gameboy printer

Thanks for passing by. Always appreciated

Who are you? Peter Pan

The boy that never grew up. I guess that was intentional regression and not recreational regression on his behalf, however today in a supermarket whilst doing the weekly shop, my wife believed I was attempting to re enter my youth. I was accused of having a middle aged crisis!

No! You are not having highlights, are you having a middle aged crisis?

She was wrong, but I understand why she thought that way😂

Anyone who reads my posts will realise I have recently written about restoring old ABS plastic from the 80s back to life and removing the yellow hue that they acquire over time. Retrobrighting.

We were walking around the local supermarket doing the weekly shop, I asked where the hair care aisle was and she pointed me on the way. She did tell me that she already had my hair gel, but I said I was looking for something else. I could see the look of suspicion in her eyes.

When I returned from my little detour I asked her to scan the item in the picture above, a small bottle of 40vol 12% peroxide.

She looked at the bottle that says, “Blonde” and at this she’s instantly reverted back to when she first met me about 36 years ago, when I used to have highlights in my hair and changed its styling as often as the weather changed.

“No. You are not having highlights, are you having a middle age crisis or something?” This was her comment.

It took some skilful diplomacy to explain to her that it was required to complete a project I was working on. And I’m still not sure she quite believes me. I will have to show her what I will be doing for her to believe me.

Her parting comment before we moved into the washing powder aisle was, “Who are you? Peter Pan?” So I still don’t really believe she heard and understood my explanation.

I used to love those highlights though…..I wonder 🤔

Retr0bright – What’s that then?

It’s a process used to restore old Yellowed plastic back to its original state. Or at least it’s a way to try to. Read on and I’ll explain.

(Here is my understanding of the ABS plastic Yellowing process. There may be slight inaccuracies for which i apologise. Please do your own research on the subject. Further enquiries may be needed to satisfy your curious minds!)

Anyone who has any dealings with items built in the 80s/90s such as me will have come across an issue, especially related to anything built with ABS Plastic, and that would be the common phenomena of “Yellowing”.

If you own a game console or toy with white ABS there is the good chance that all or at least some of it will have turned a shade of yellow,

ABS plastic – otherwise technically known by its scientific name of “Acrylonitrile butadiene styrene” is a thermoplastic polymer. This means that it becomes pliable at an elevated temperature and solidifies on cooling. ABS was a flame retardant material that was regularly used as a casing for computers, gaming consoles and similar items just in case they were to overheat and catch fire. It was also used in Lego bricks for some reason, god knows how these were meant to catch fire though!

The yellowing issue lay with a chemical used in the manufacturing process called Bromine. When exposed to UV light or excessive heat this caused the photo oxidation of polymers within the chemical to break polymer chains causing the plastic to yellow and become brittle.

Come on then, tell us what retrobrighting is..

Retrobright or retr0brite as it is stylised by the guys who discovered the process, is an approach to removing yellowing from these ABS plastics, a kind of bleaching process if you like. The original recipe for Rerobright was discovered purely by chance by the CBM Museum at Wuppertal in Germany in March of 2008. I’m not going to go into the finite detail in this post, however you can read all about it here at the original Retr0brite project site: The Retr0brite Project.

The process can be a little hit and miss, however there are a lot of documented cases of it working very well. There is a downside that the yellowing can overtime return, as this process only really whitens the surface problem whilst those old polymers are still breaking down deep inside the plastic where this treatment doesn’t reach.

The process

I’m only going to touch on the process here, there are many other detailed explanations available on line, that explain the process far better than i could, here is one for example from the “How to Geek” site. How to clean old yellowed plastic on retro computers and game systems.

I will explain the process briefly below, but in no way do i accept responsibility for the way you approach the process. That is down to you entirely and i suggest you read up deeply on the subject prior to attempting this process. You have been warned!

What you need

  • The offending piece of plastic
  • Clingfilm
  • Paint brush or suitable application brush
  • Protective gloves
  • Eye protection
  • 40 volume oxidising cream (Hydrogen peroxide, salon hairdresser strength.
  • Sunshine (Hard to find here in the UK) or a UV lamp

For starters make sure the item you want to brighten is clean. Make sure you have eye protection and gloves on as the peroxide can cause skin burns and the last place you want it is in your eyes, believe me.

Lay down some cling film. Place your subject matter on the clingfilm. Apply some cream onto the object you want to lighten and smear it around ensuring the whole item is covered in the peroxide solution, failure to do this can cause blushing and streaking. When you are happy that the subject matter is fully treated, cover the whole item in the clingfilm ensuring there are no holes where the solution can evaporate from.

Next place the item where the whitening can take place. Out in direct sunlight and leave it there for the entire day. Indoors a UV light lamp can also be used. The UV rays that originally caused the yellowing will now react with the Peroxide to reverse the process. This does take time though and in some cases where the yellowing is particularly bad a second or third treatment may be required.

Remove the clingfilm after a sufficient UV exposure and ensure the subject matter is washed thoroughly to remove all traces of the peroxide developer. Again, ensure you have gloves on until all traces of the chemical are removed.

Dry the subject matter or allow it to dry naturally. Hey presto! Job done. And thats basically it.

I’ve covered this subject, as it is something i will be attempting over the coming months. I will address the process in individual posts relative to the item i will be working on at the time.

Thanks for passing by, it’s always appreciated.

Halina A1 Reflex – Test roll, it’s foggy out !

Hey hey, I’m back. Well, after my previous rant I thought it best to get back to normal or as normal as can be achieved so here we go.

If you remember a few posts back I took on an old Halina A1 Reflex cheapo camera from the 60s. It was in a bit of a state and had seen better days. It had a full refurbishment with lens fungus removed, shutter mechanism repaired and a new leatherette finish put in place to tart it up. It looked quite nice and I was quite pleased with the outcome.

Halina A1 Reflex and exposed 120 film

However that is all well if you want to use it as display piece or a bookend, but I wanted to see it work.

Over the last few weeks I’ve had a roll of 120 B/W film (Rollei 100 RPX) sitting in it using it once in a while whenever the weather was right, and light conditions sufficed. Seeing that I’d replaced the light seals I wanted to check whether there were any issues there and as a result of todays development of the roll this could be an issue.

Paterson tank

When exposing I’ve forgotten to wind on a couple of times, but in general i seem to have got it right. The wind on is ok and the displays in the window are visible. Barring some double exposures the settings on the lens seem to have done their job, I seem to have set both lenses up correctly so I’m happy with that.

The film has an over all visible darkness that points to fogging. I think I might be responsible for this to be honest, I was a bit too impatient to get the roll loaded into the Paterson tank, I had a duvet over my head but the strong summer light was evident for the first time in ages in the East Midlands, and I shouldn’t be able to see the developer spiral….but I did briefly. Not good.

That being a problem I really do need to run another film through the camera to 100% check the light seals and then develop in the appropriate conditions.

I was silly here but another lesson learned. Be patient, don’t rush things and just do things properly.

I’m pleased the camera works, I’ll be able to get some pictures off the negatives and what I can see through a Lupe looks promising.

My 120 mask on my scanner has gone missing, so the pictures might be a little while before they make an appearance. I have another roll of film though so I’ll get that in the camera this week and get busy, and when it’s dark I’ll develop the film….properly

Have a wonderful day everyone thank you for passing by, stay safe and smile it uses less muscles than a frown 😂

Chemistry….

I have used many brands of film processing chemicals over the years, mixing batches of over 500 litres right down to the smaller amounts used with Patterson tanks for home processing and that’s where I am today.

For the next few films I process at home I will be using a set of chemicals I’ve not really used before however I have heard some good things about them so I’m willing to give them a try. If it doesn’t work I can always default to my previous plan of using my old reliable setup I’ve used in the past.

Thinking of processing your own film? Check this link below at Digital truth to see process times for all kinds of films in all kinds of developers – it’s an incredible source of information for photographers of all abilities.

Digital truth – Massive Dev Chart

I batch mix my fixer a litre at a time as it stores well in collapsible bottles and I should be able to do a good few films and reuse the chemicals, you just need to monitor the time it takes for the fixer to clear the film as this indicates if it needs replacing or not. General rule of thumb is it should clear almost instantly on fresh chemicals, however give it at least 4 minutes to clear the film, and as the time increases to take between 8 – 10 minutes to achieve the same result, then it’s probably worth mixing a new batch. Disposal of spent chemicals should always be done responsibly following local guidelines.

Collapsible film chemical bottles

I’m not too concerned if the new setup doesn’t get the desired results, I’m using some old film to test the old cameras I’ve fixed, so I’m happy to go back and reshoot some pictures if I have to, it’s a classic case of suck it and see.

The developer I will be using is Bellini Hydrofen, (comparable to Kodak D76 or Ilford ID11) I mix this as and when needed in quantities of around 300ml (for a single 35mm film) as it doesn’t store, and needs to be used on the day as such. I don’t usually use a stop bath as such I just use some water. I will also be using their photo flow as a uniform drying solution but to be honest this isn’t really necessary.

New processing chemicals

The fixer I will be making in a 1L batch is Adox Adofix P, it’s a simple enough mix so I’ll quickly go through it with you.

Developer

  • Mix is 1-39 so if I need 300ml I just divide that figure by 40 (300 / 40 = 7.5) so I know I need 7.5ml of solution and then just top up to 300ml with water in the measuring jug. Simple – that’s the developer made. Just ensure it’s at 20 degrees centigrade temperature wise.

Stop bath

  • Simple, just water – let’s move on

Fixer

  • Again this is easy. I have a pouch of powder to make 1L of solution. Put approx 700ml of water at a temperature between 20-26 degrees Celsius in your measuring jug, mix in the powder and when this has dissolved just top up with water to the 1L mark. Simple – then decant into your storage bottle and the job is done.

So that’s the chemistry done, now to put it all into action to process the first film I have used to test a recent camera I have worked on. The camera is the Olympus 35 ECR and the film will be a roll of Kentmere 100 B/W that expired about 4 years ago. I will cover this in a later post. Thanks for browsing my ramblings 👍