

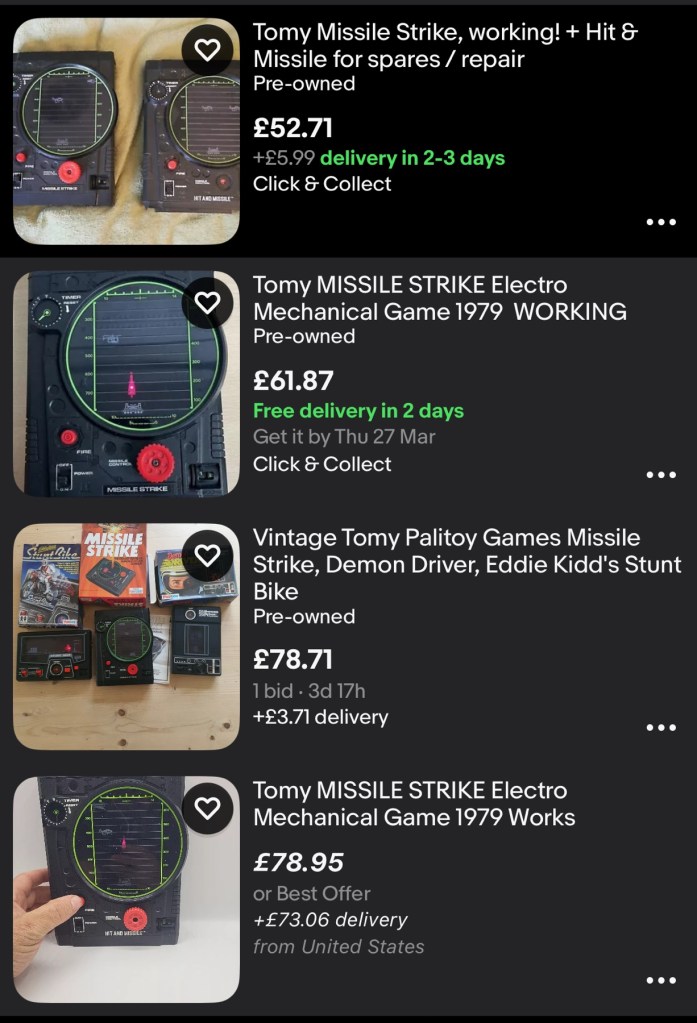
What the listing stated:
UNTESTED
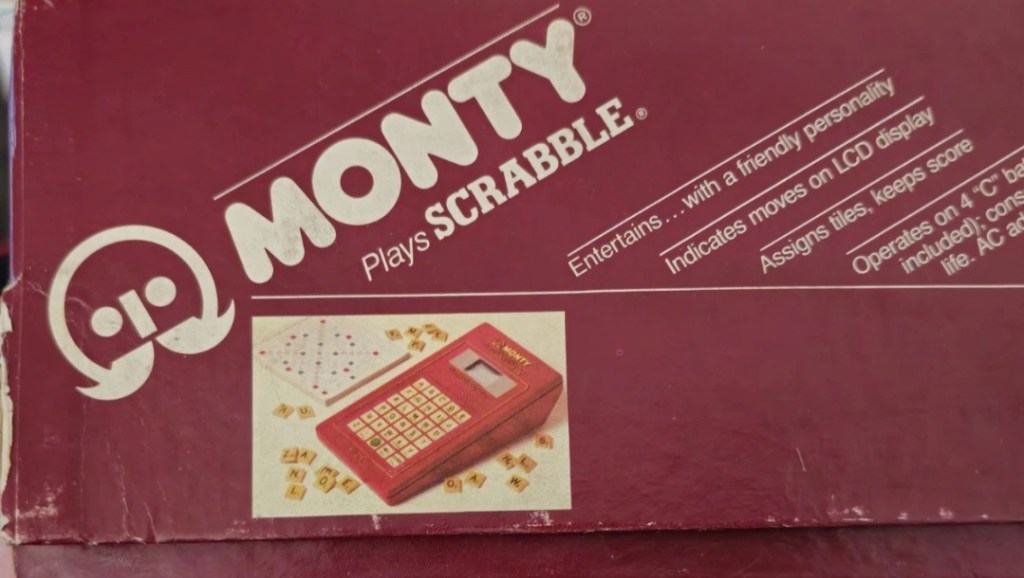
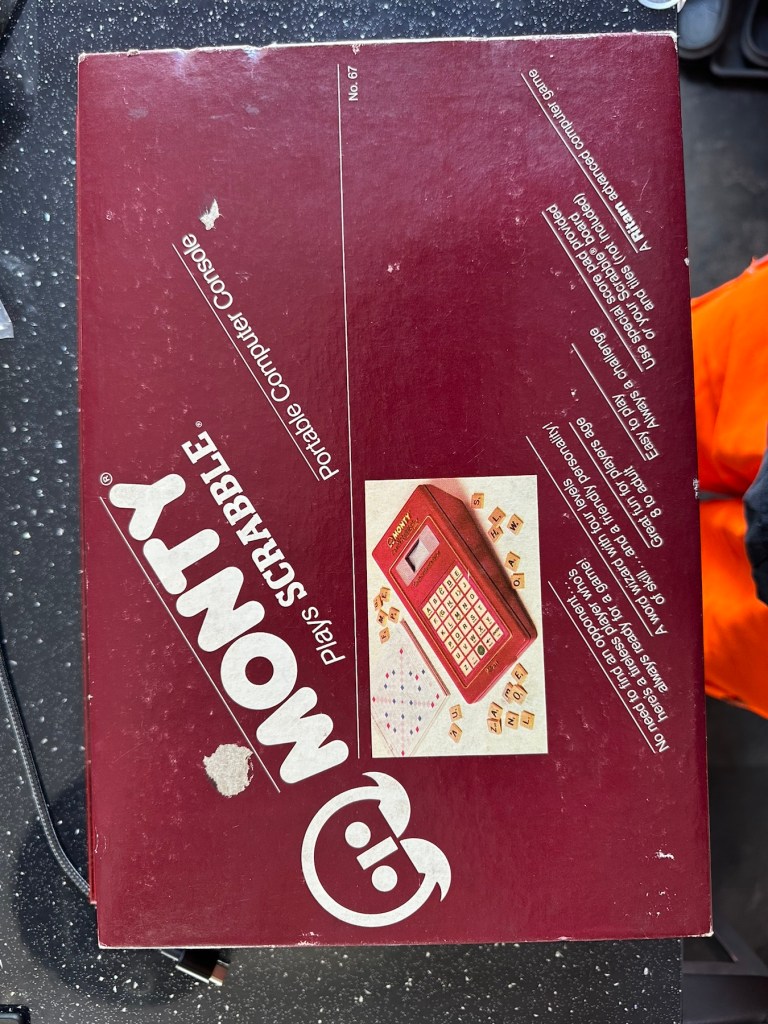
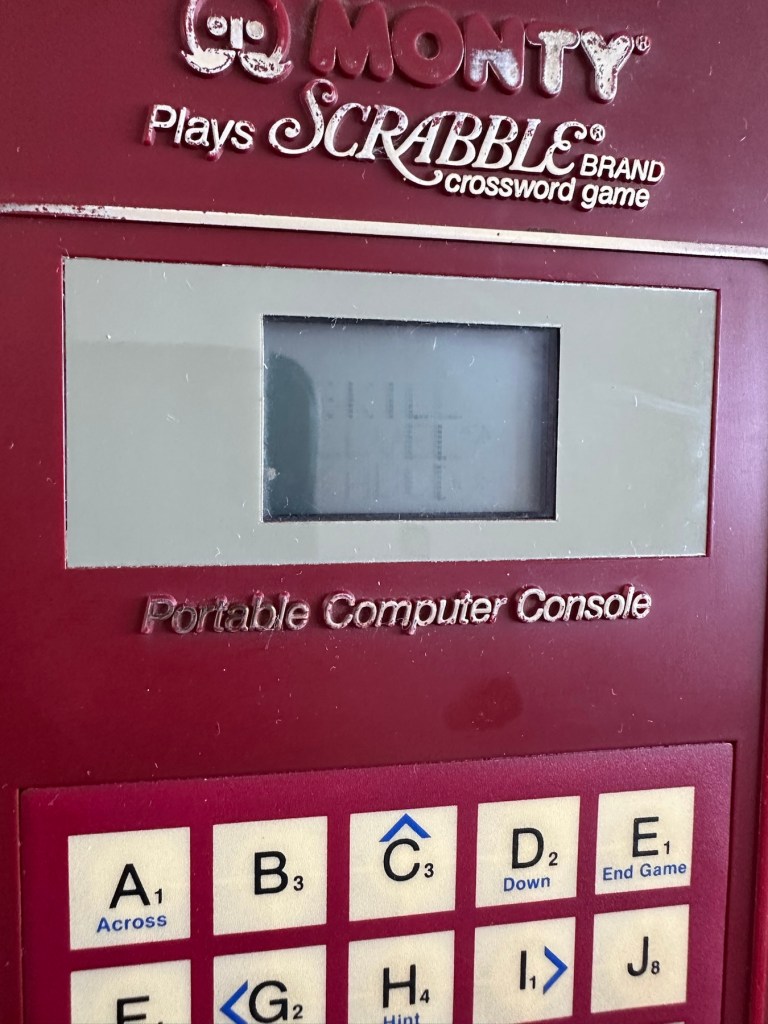
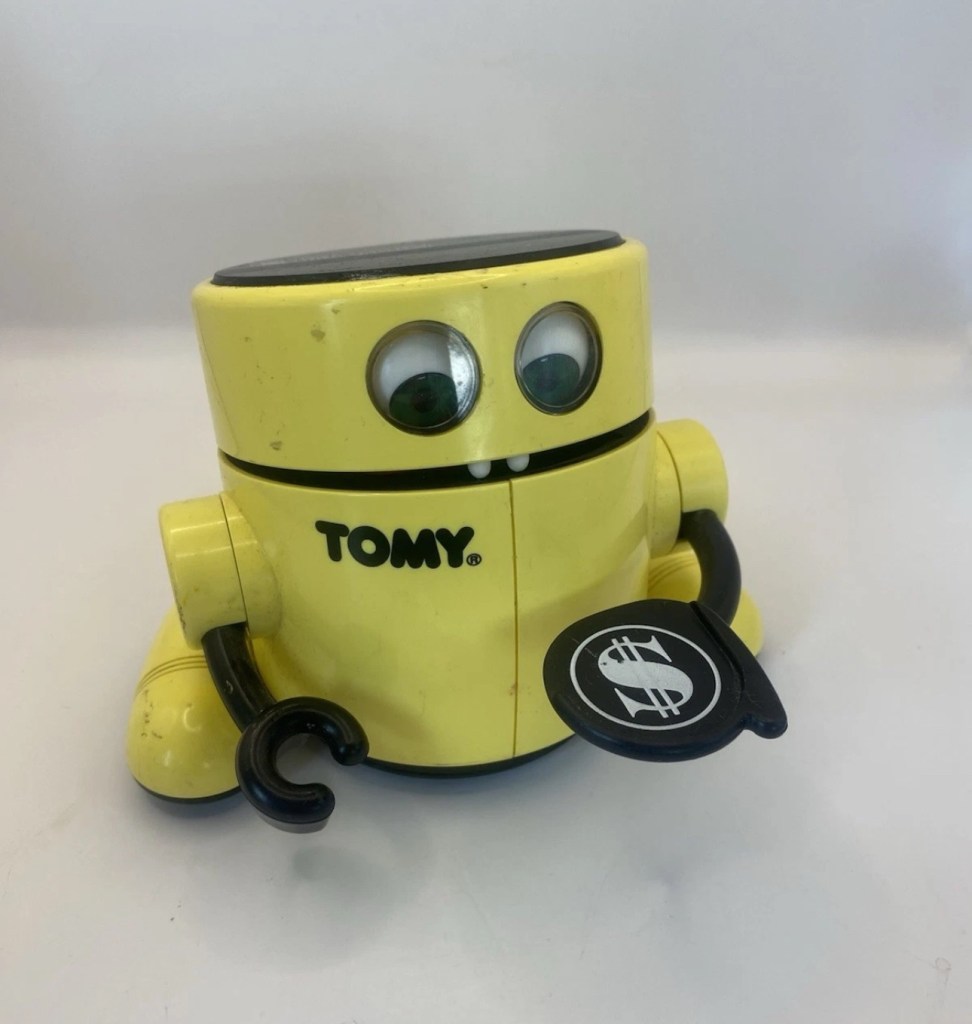
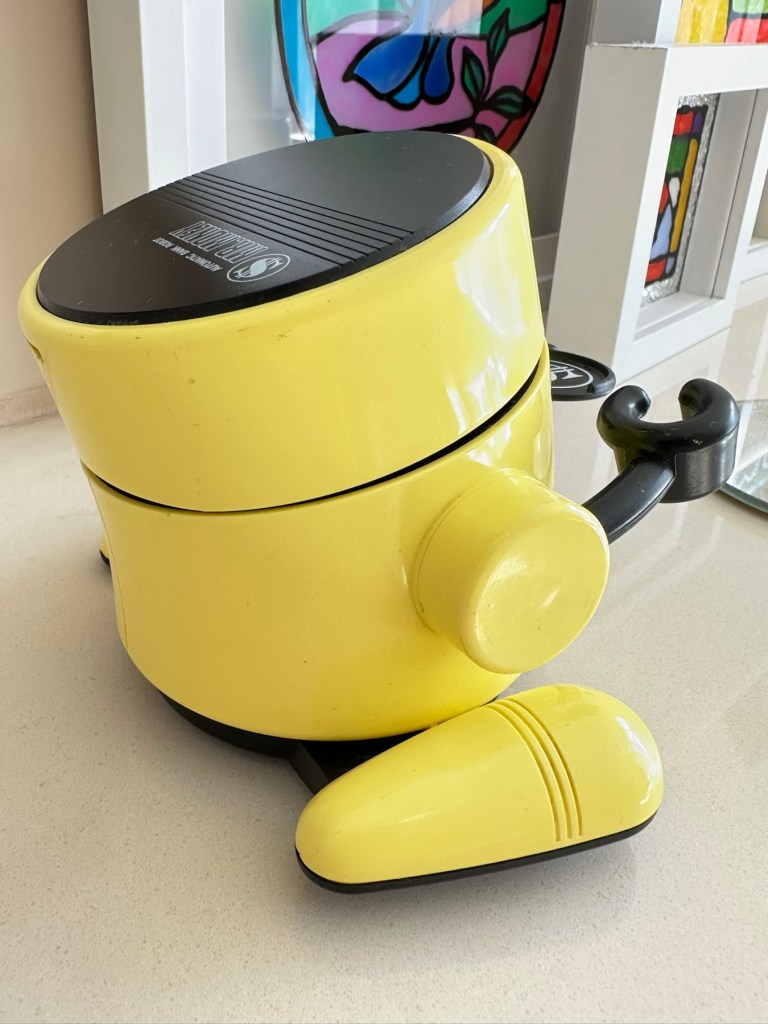
The product is a vintage Scrabble game titled “Monty Plays Scrabble,” released in 1984. It is a rare find and comes in its original boxed packaging. The game is a portable computer console version of the classic Scrabble game, making it unique and collectible. Please note that the functionality of the game is untested.
EBay
Why did i buy? I don’t know, maybe because its from 1984 and fits my modus operandi. To be truthful i looked at it, saw the wear and tear on it and thought to myself that i can make it look better. It also states it’s a rare find….its not. In good old EBay style its “Untested” which probably means they have put some batteries in, it doesn’t work, so let us use the get out clause of selling it as untested. I could however be very wrong, and just be using unnecessary sarcastic commentary, i suspect it’s very much the latter.


Here’s a little history:
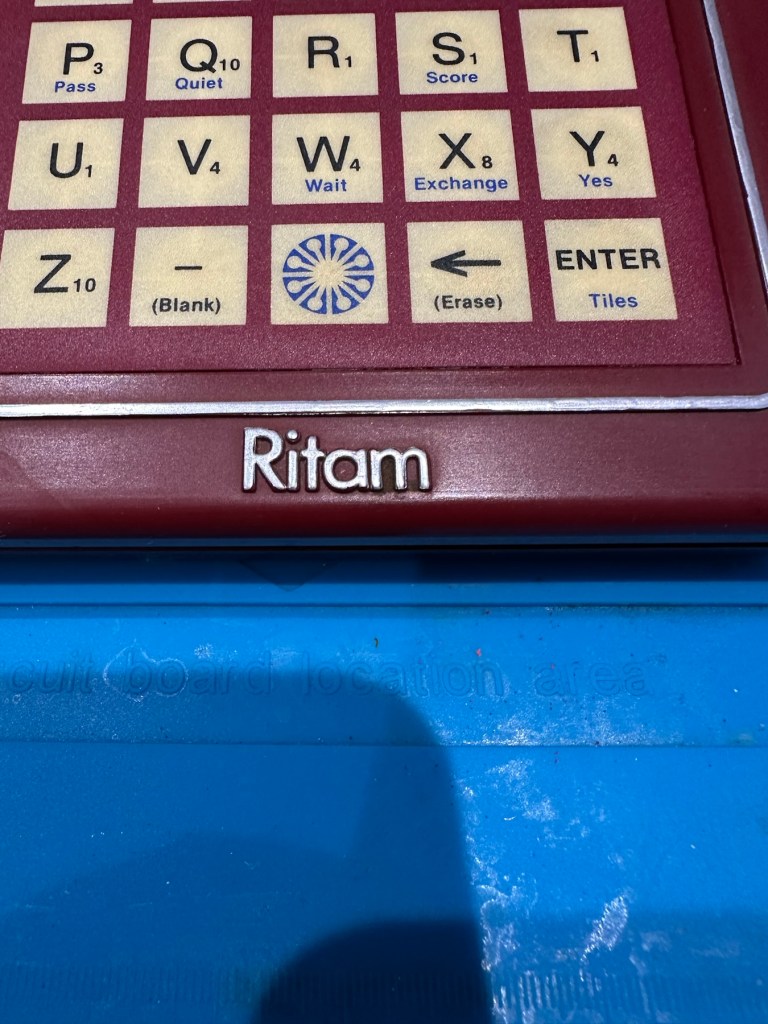
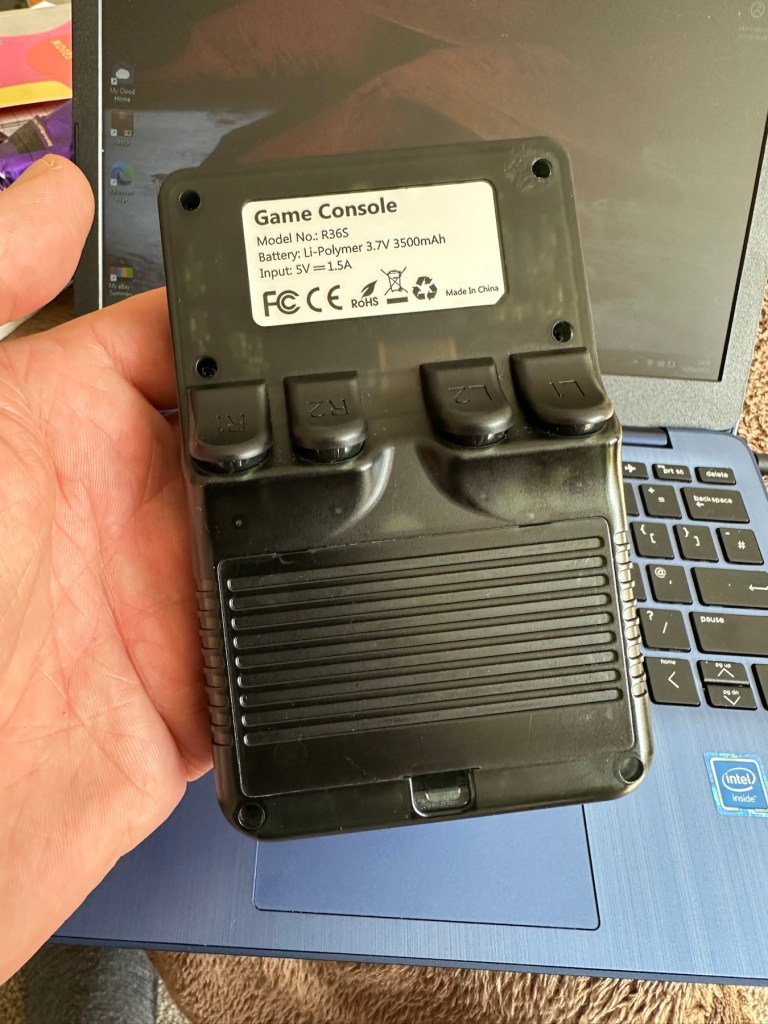
Manufactured by Ritam Corp, under licence from J.W Spear and sons PLC 1984
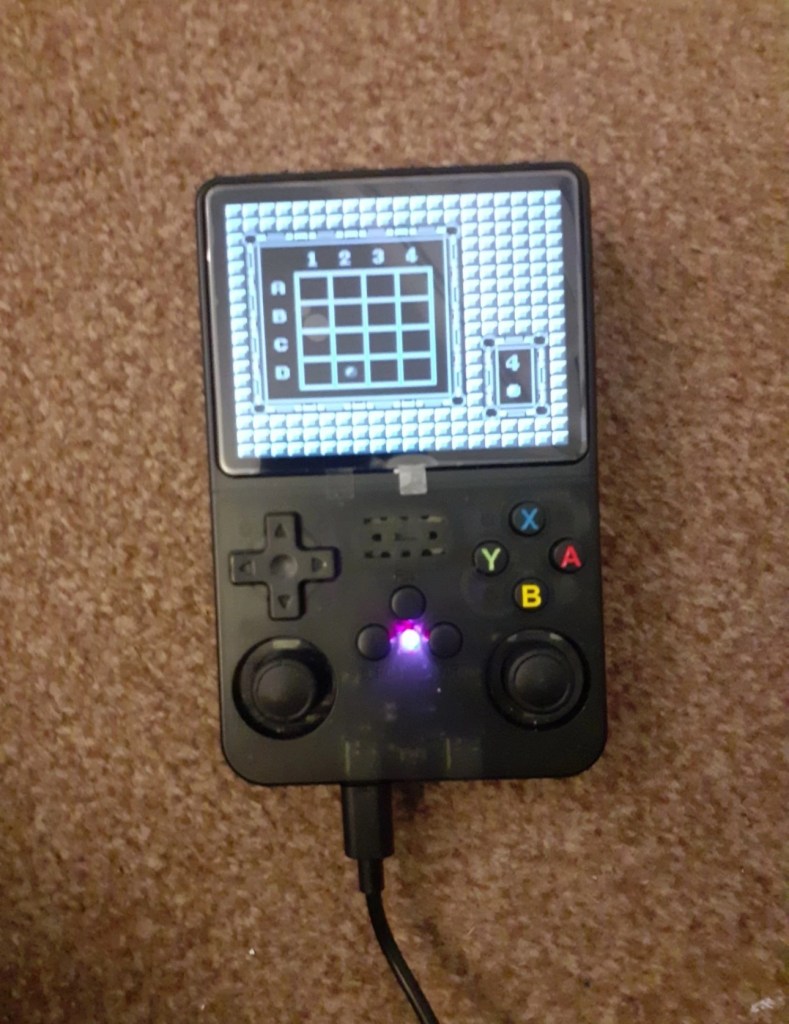
A portable electronic device that plays a competent game of Scrabble. Up to three players may challenge the device. Each player enters one’s own name and subsequently the turn order in which they will play. The players can decide to draw their own tiles or let the device do the randomizing. If the device assigns the tiles, the players may ask the device to suggest a play by using the “Hint” option.
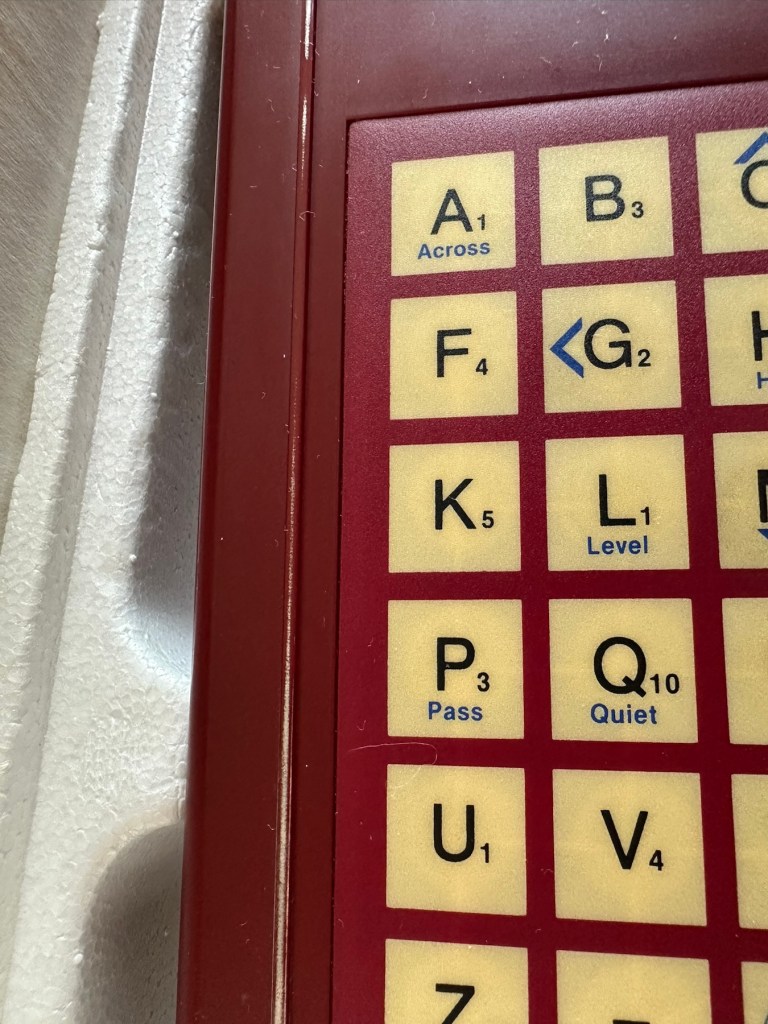
Players keep track of the gameboard using the paper pad provided or use their own gameboard. The device has a LCD readout that is only eight characters by four characters and cannot display the entire board. Players use the arrow keys of the membrane keyboard to scroll around.
All standard Scrabble rules apply. The device will challenge any word played that is not in its 12,000 word vocabulary. The human player is final arbiter however.
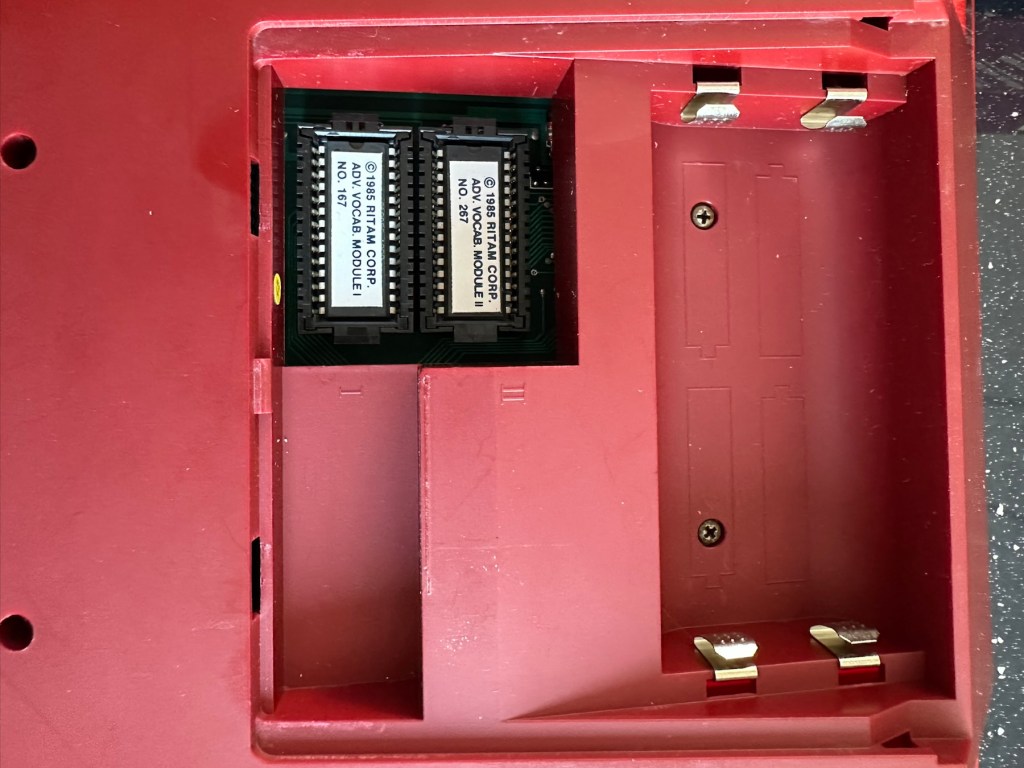
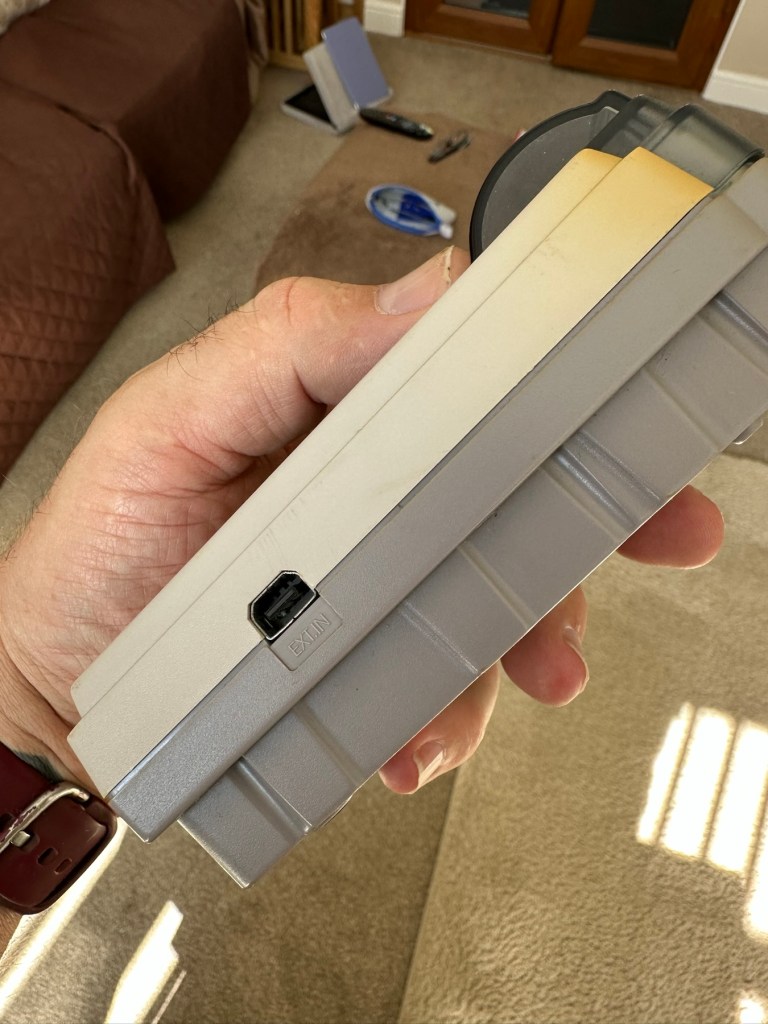
The device is powered by four “C” batteries or an AC adapter. Two Advanced Vocabulary Modules were available. Each module added 16,000 words to the machine’s vocabulary to bring the total to 44,000.
Boardgamesgeek.com
And I’m fortunate to have those two advanced vocabulary modules already installed, so this unit has the full vocabulary range of 44000 words. Lucky me. Apparently the unit is able to do 2 million calculations a second, but can take up to 3 minutes to make a move! With a vocabulary built in of 12,000 words that must mean it does a lot of questioning of itself prior to making a decision. I love a computer system that constantly doubts itself, it’s such a human trait.
Anyway, what’s arrived and how does it look. And is it working?
Assessment:
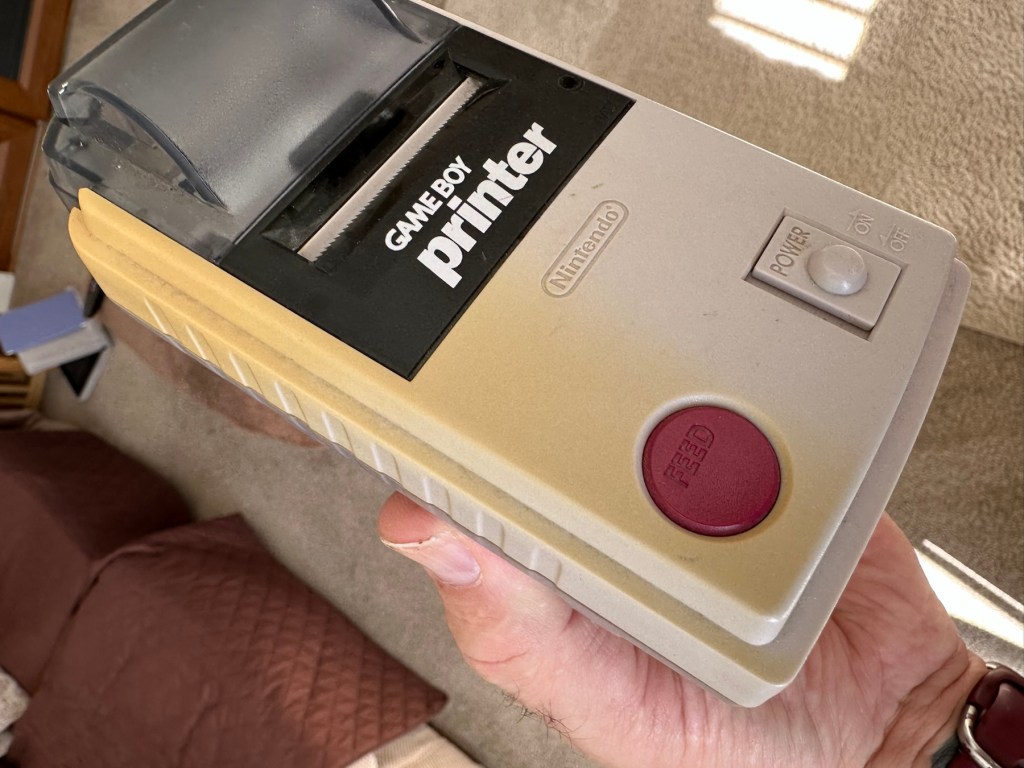
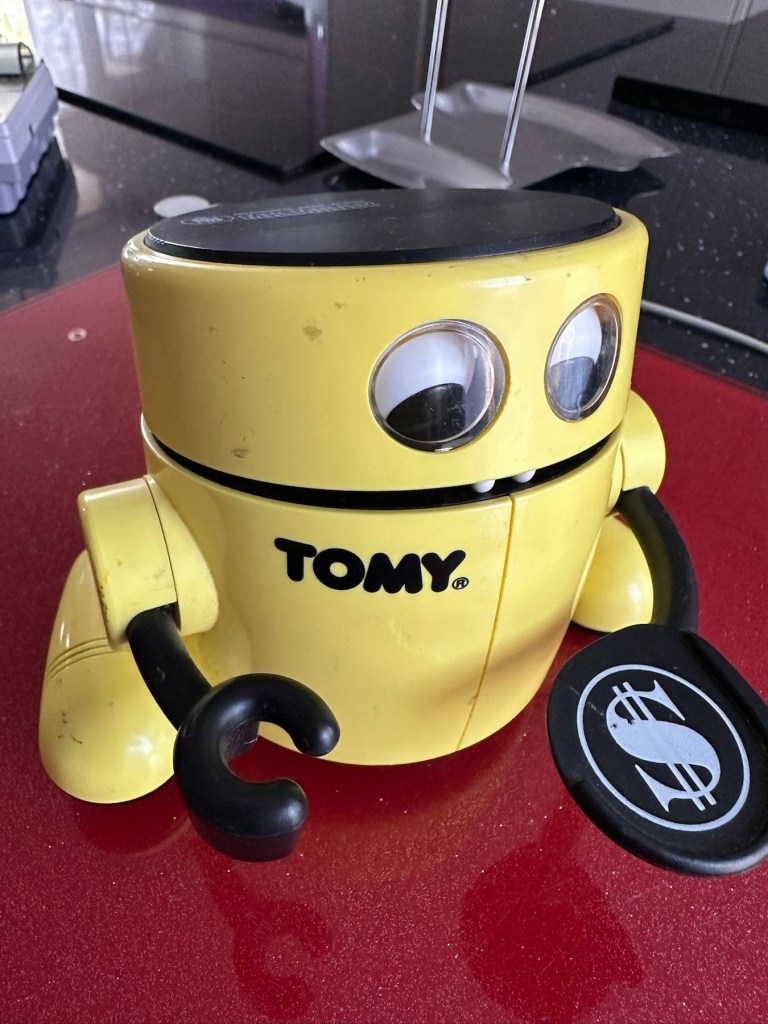
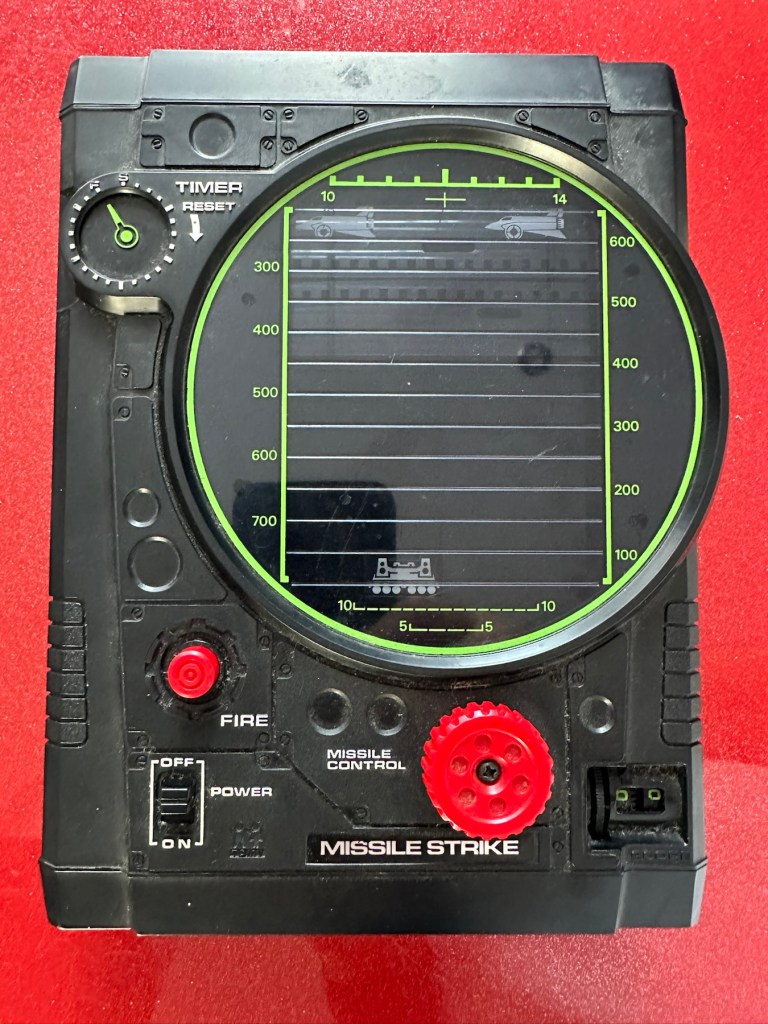
The parcel has arrived and been unpacked.


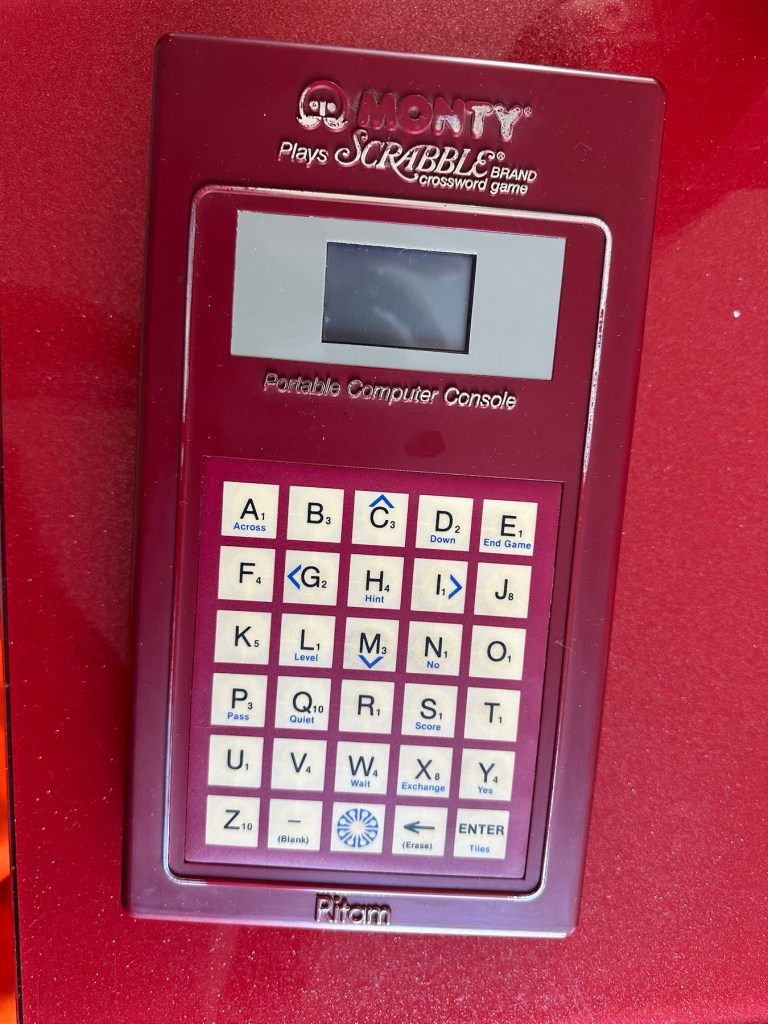

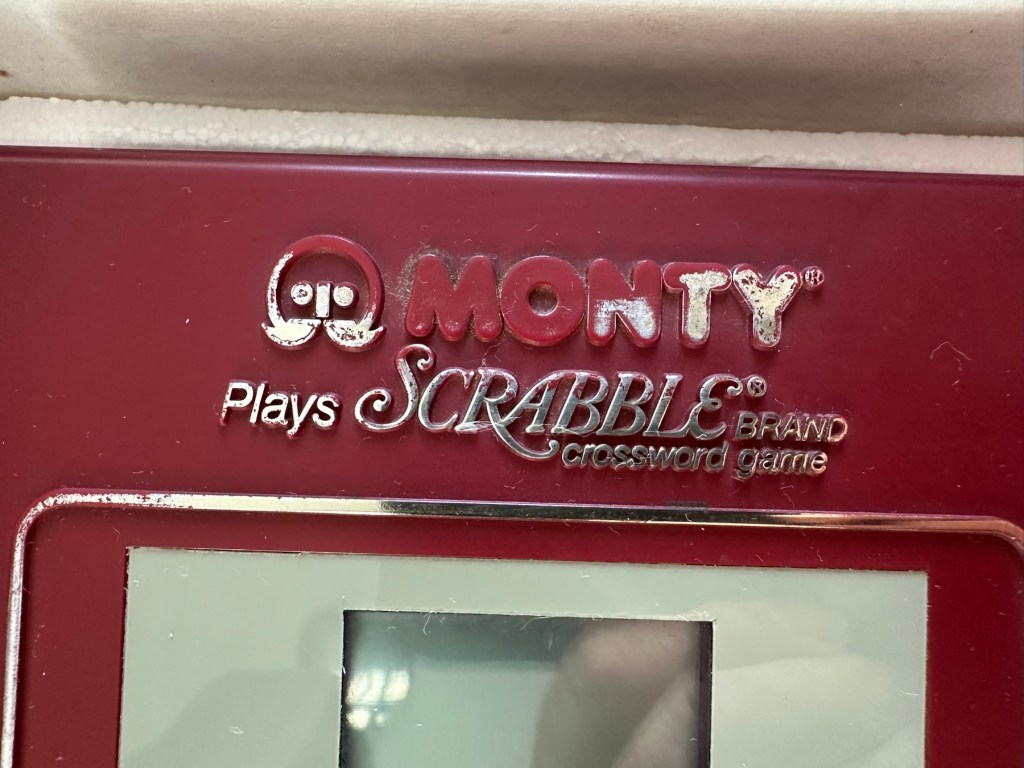
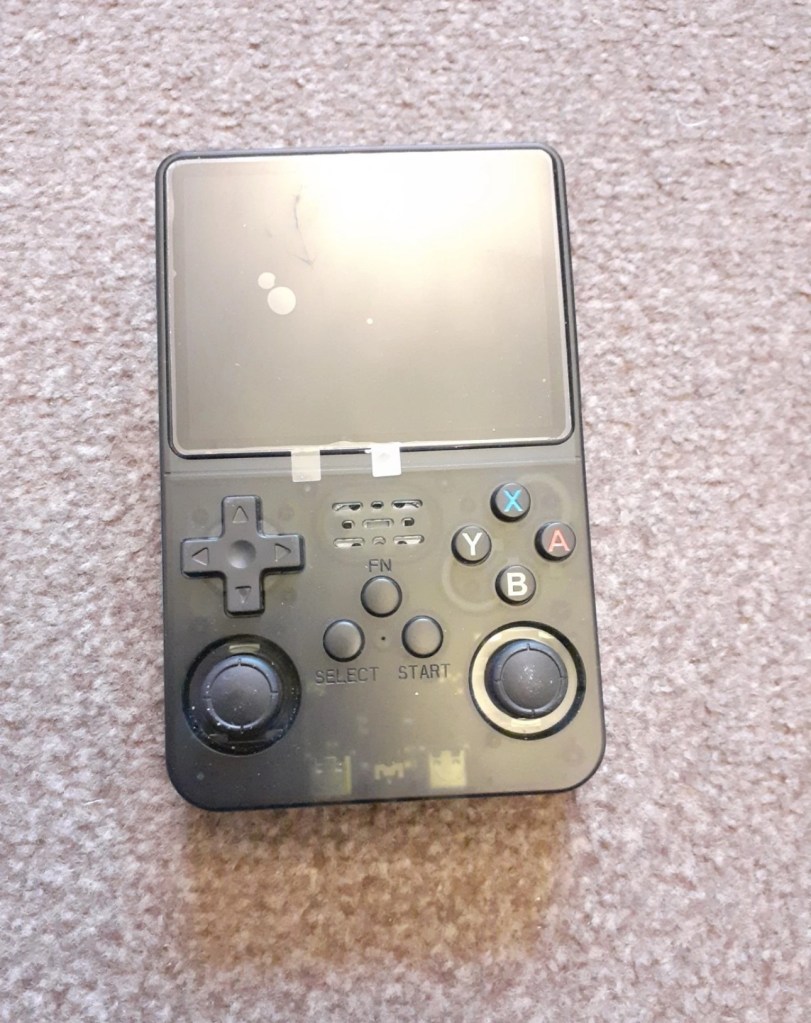
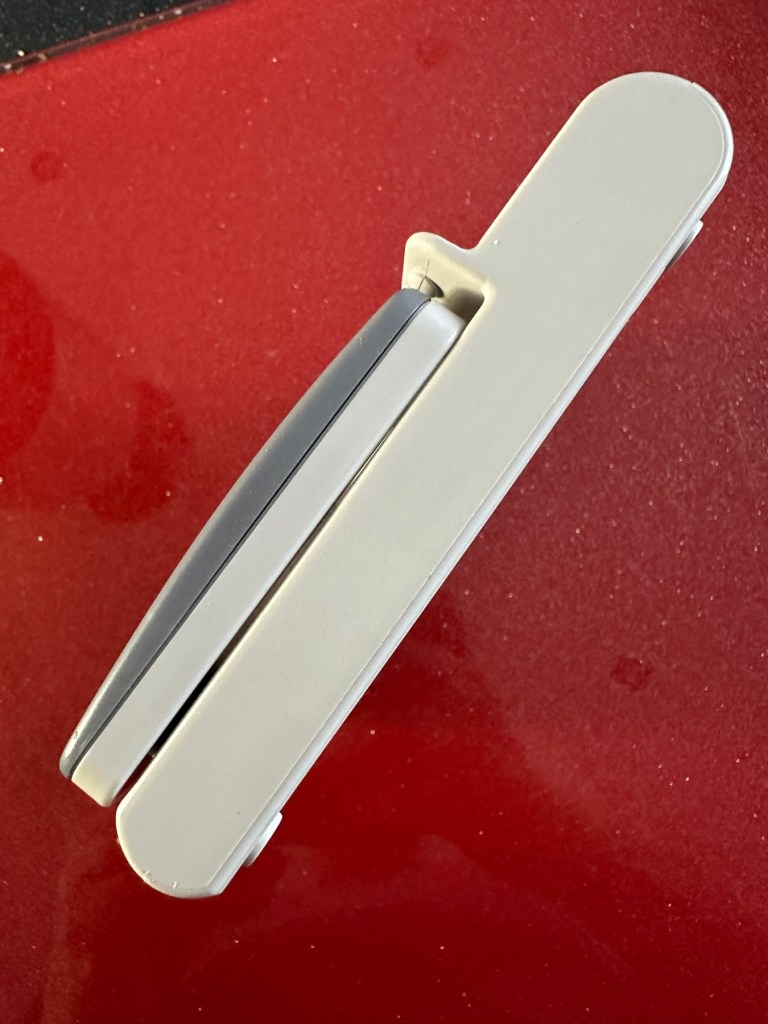
On taking the unit from the box there is no damage cosmetically, the keyboard is a bit dirty and the silver lettering and edging has worn a little.
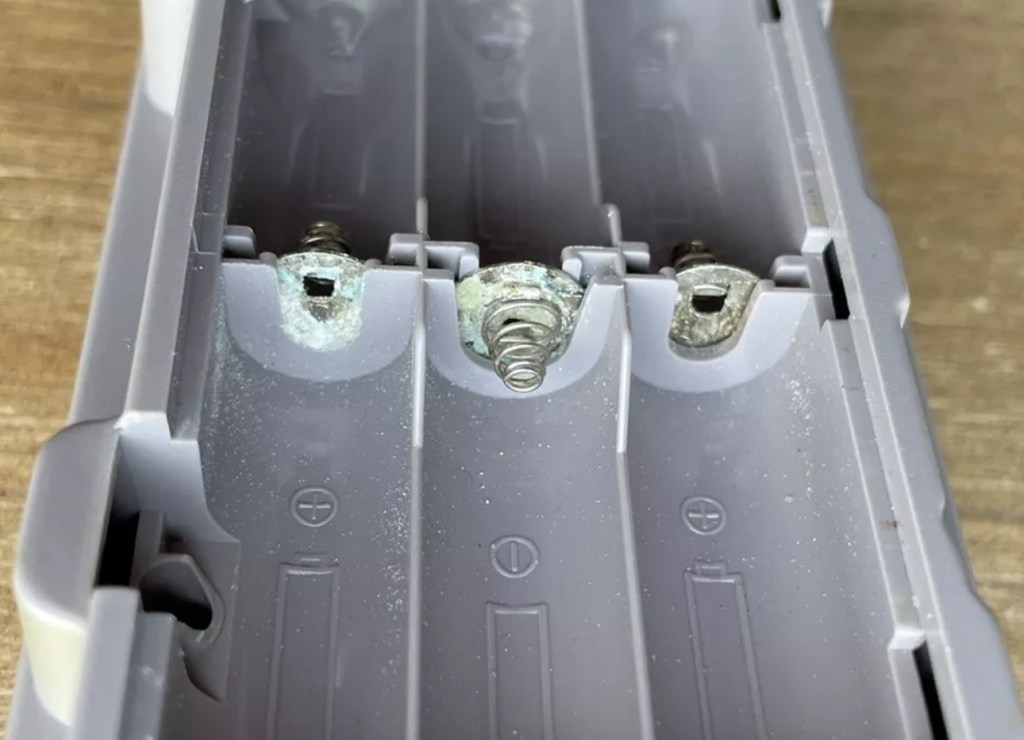
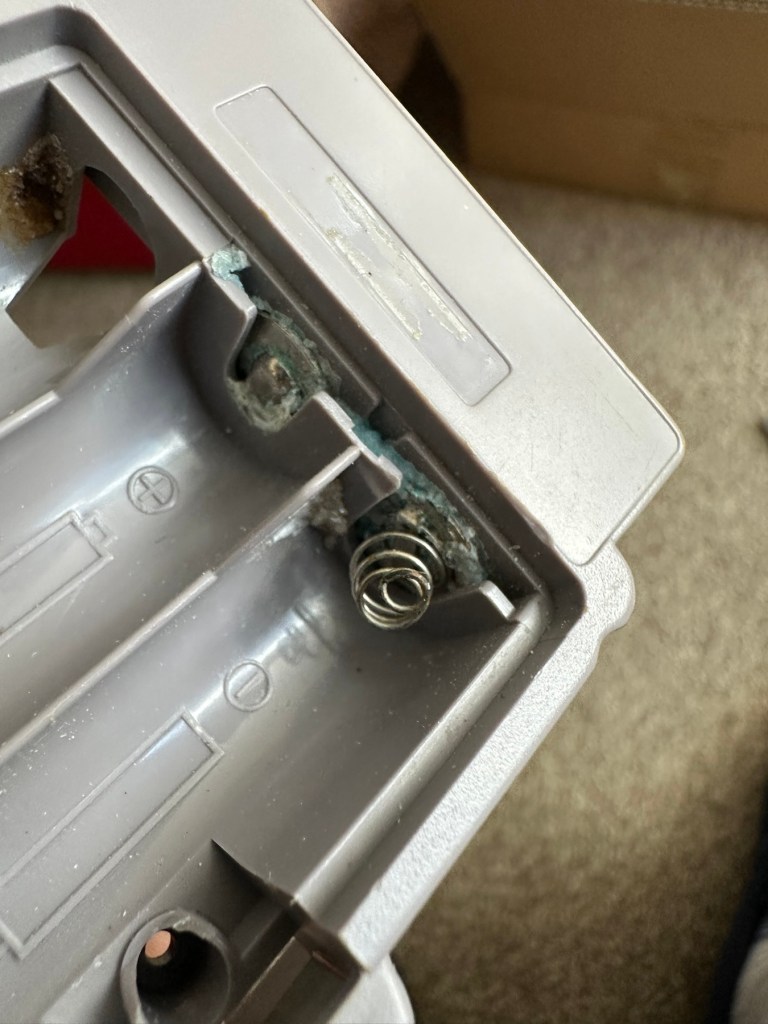
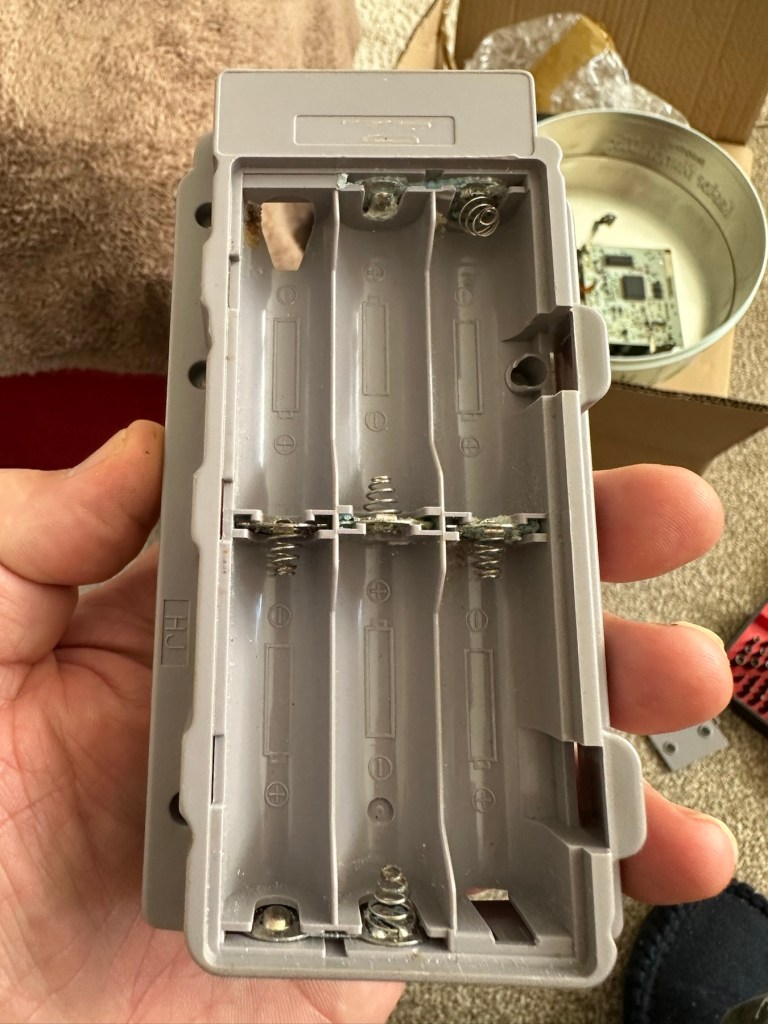
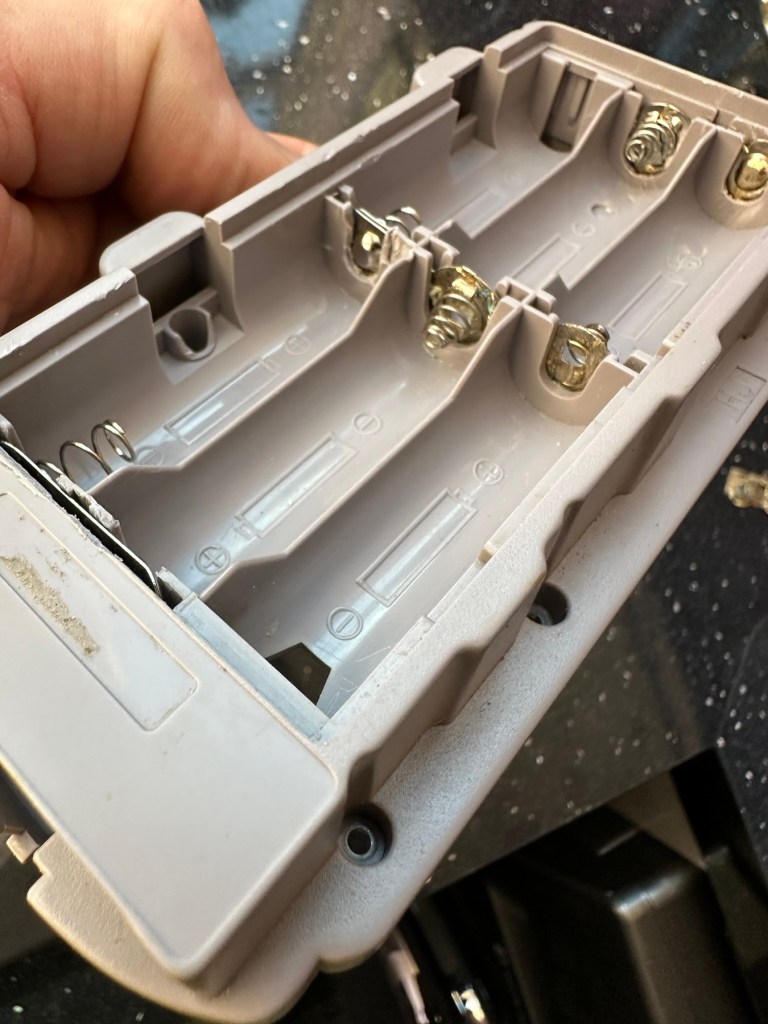
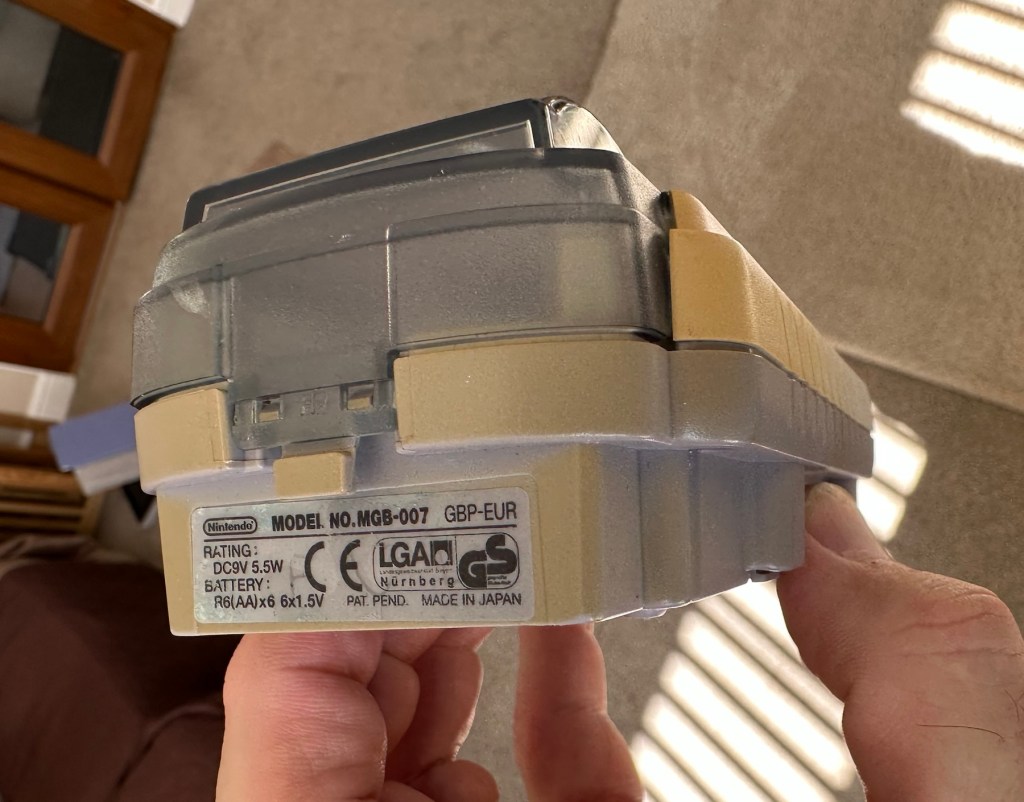
Great news is that the battery contacts are in a perfectly clean condition with no sign of corrosion

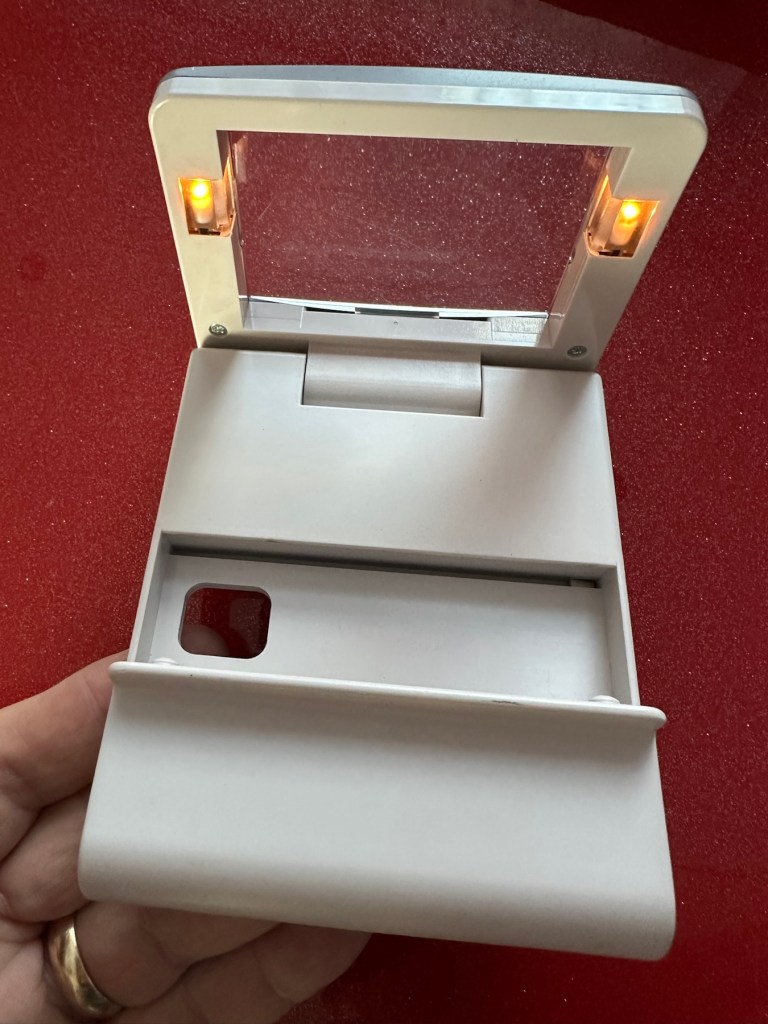
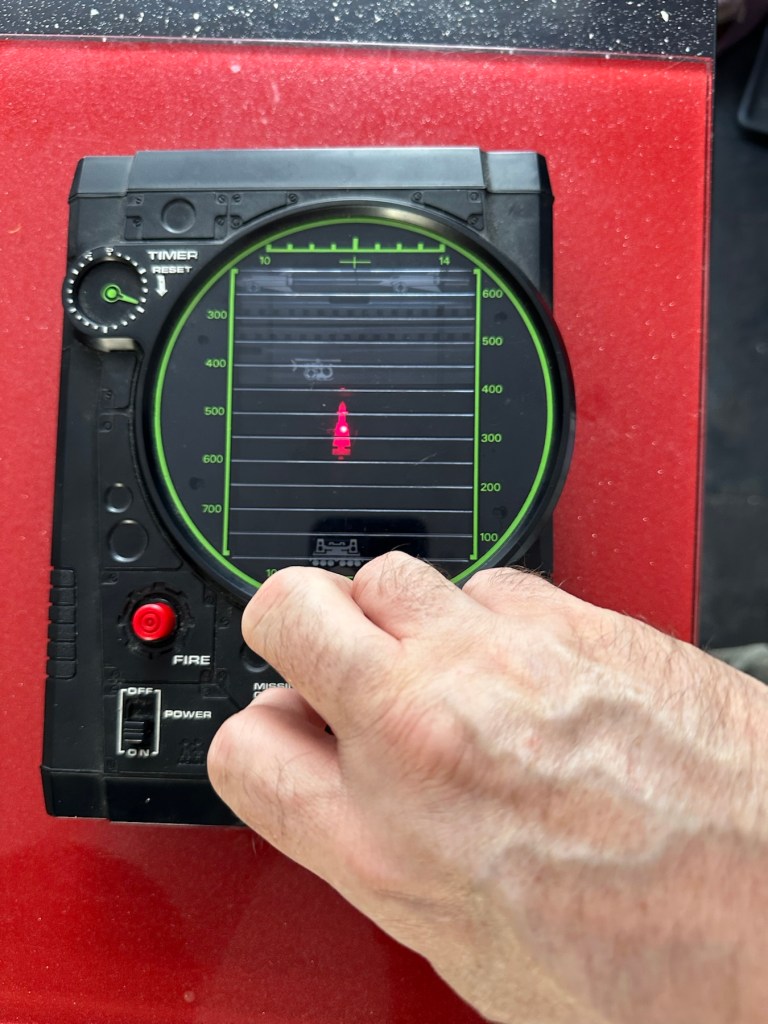
With no corrosion visible, I put some batteries in. I switch the unit on and it makes sound, great. Looking from directly above it looks as if there is some writing on the screen but this doesn’t become visible until you move to about 60 degrees away, a bit closer to the base of the unit.
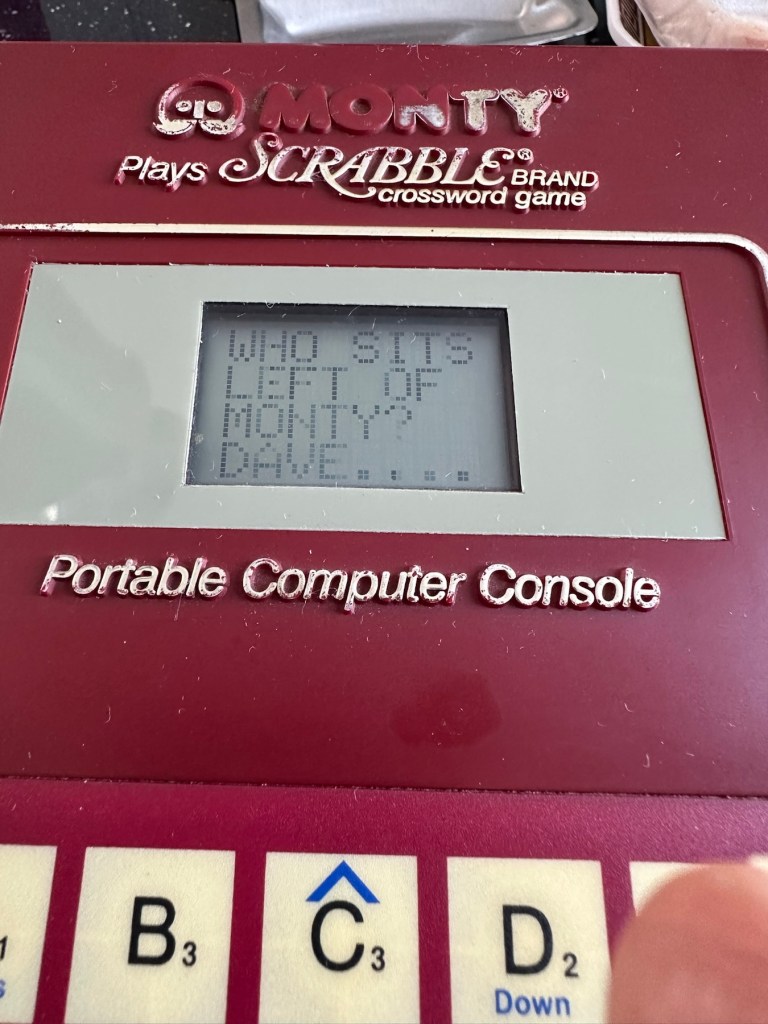
So the pleasing thing is that it works. In general it is in a very good condition, coming with instructions and playing sheets. As always with items such as this from this time period, there is the expected smell of age induced mustiness, and there isn’t a great deal I can do about this. But I do seem to have a working unit that just requires a little maintenance and cleaning.
Repair:
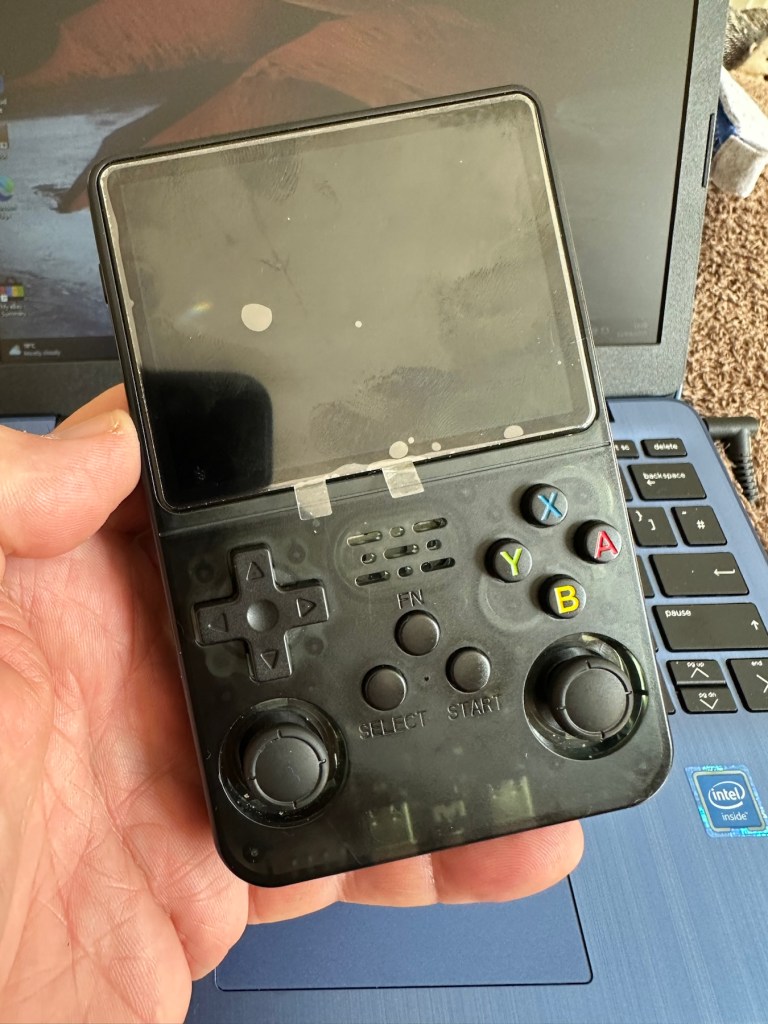
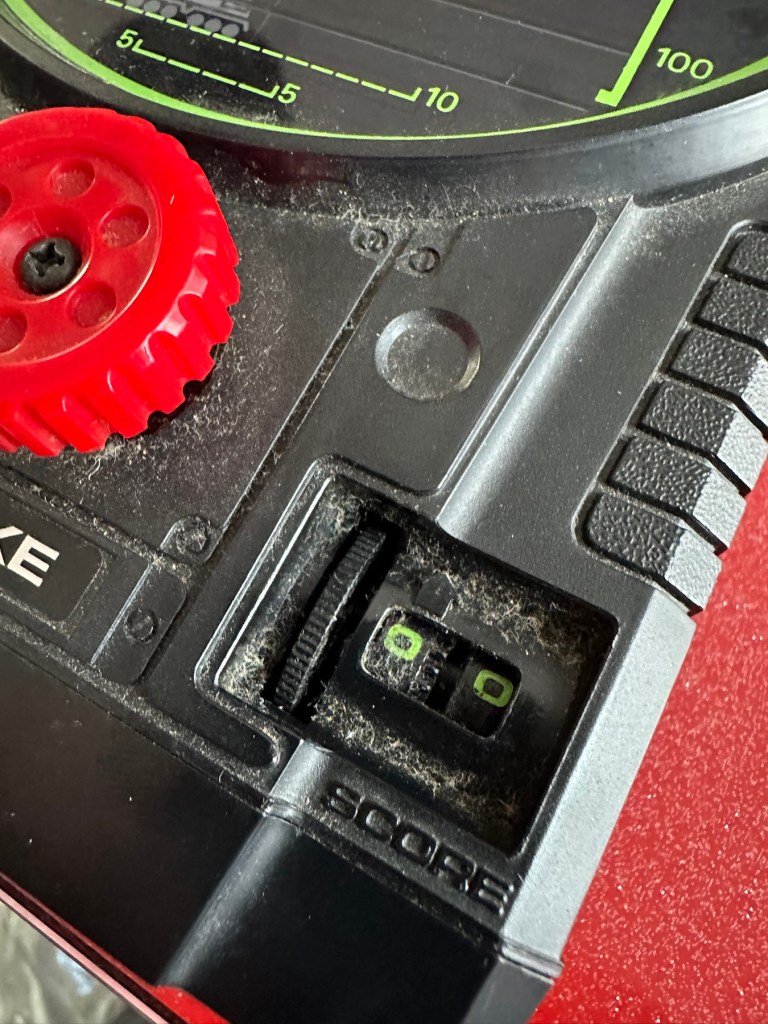
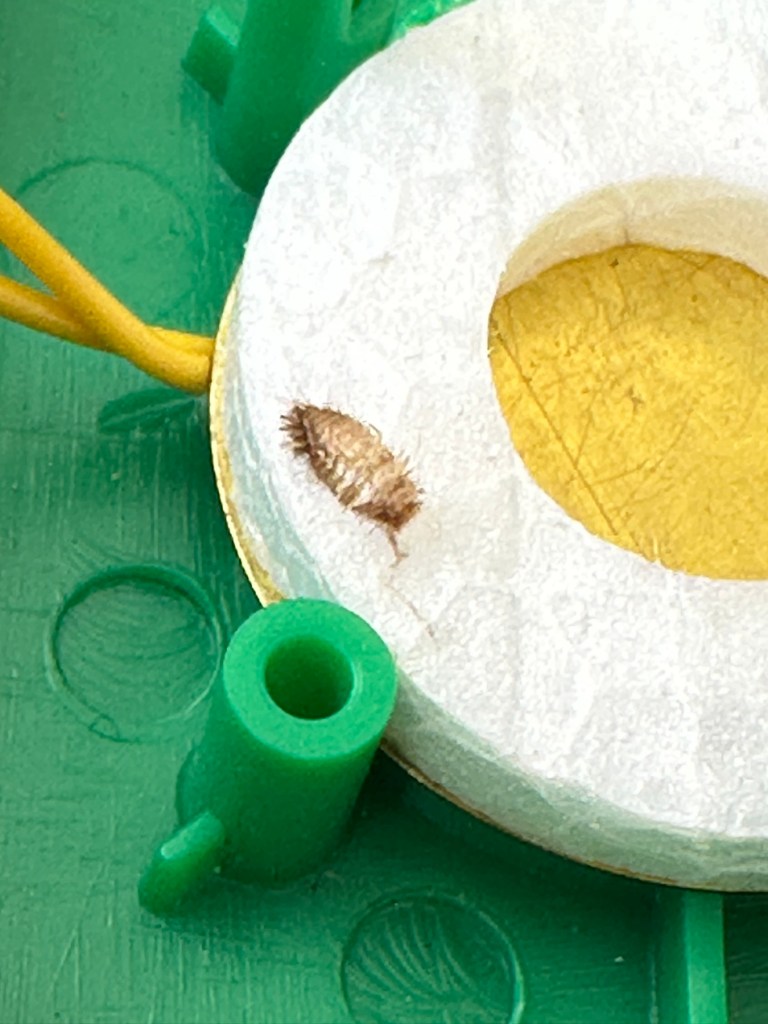
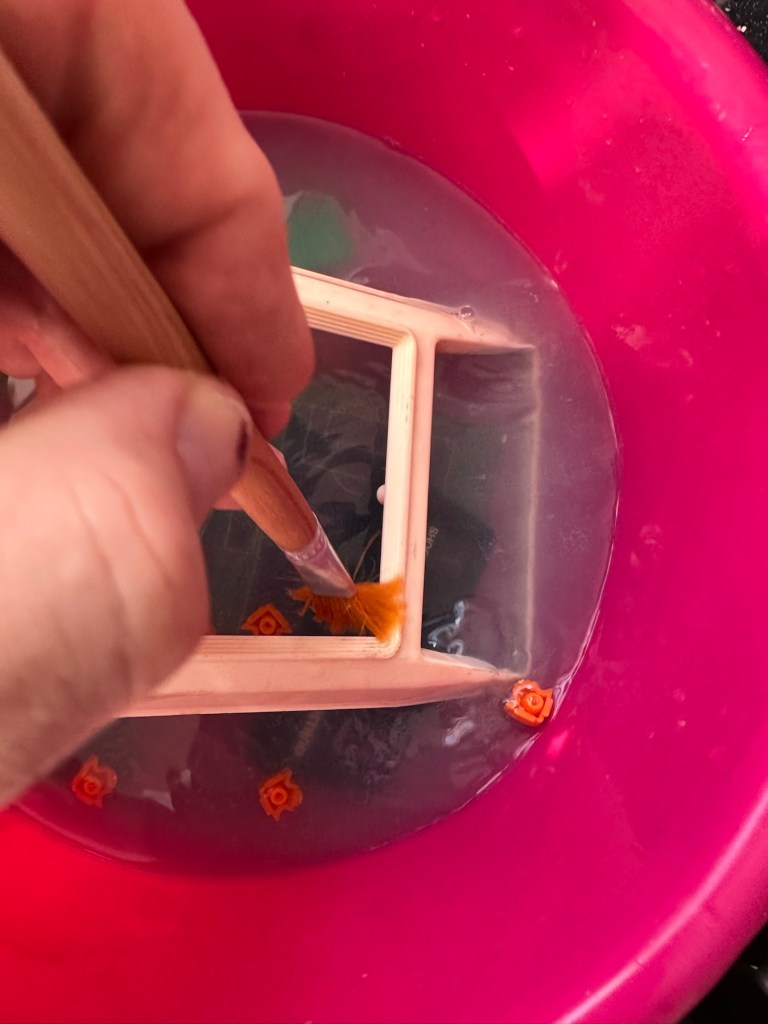
I’ve had a quick clean of the front keypad and it was quite dirty.

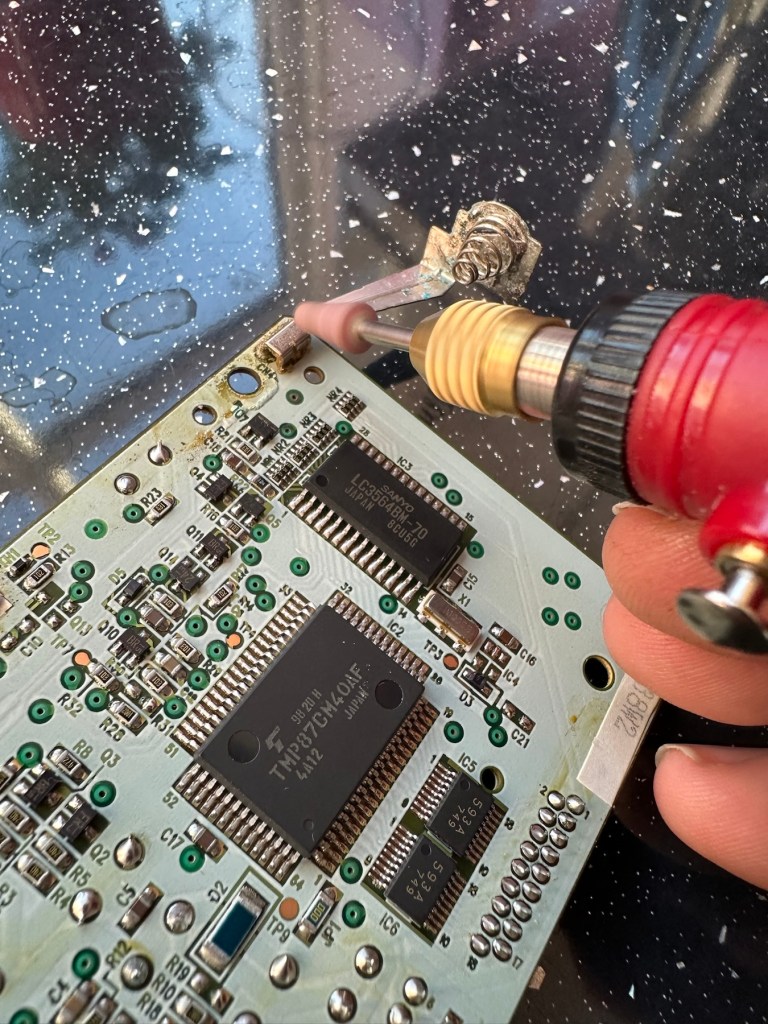
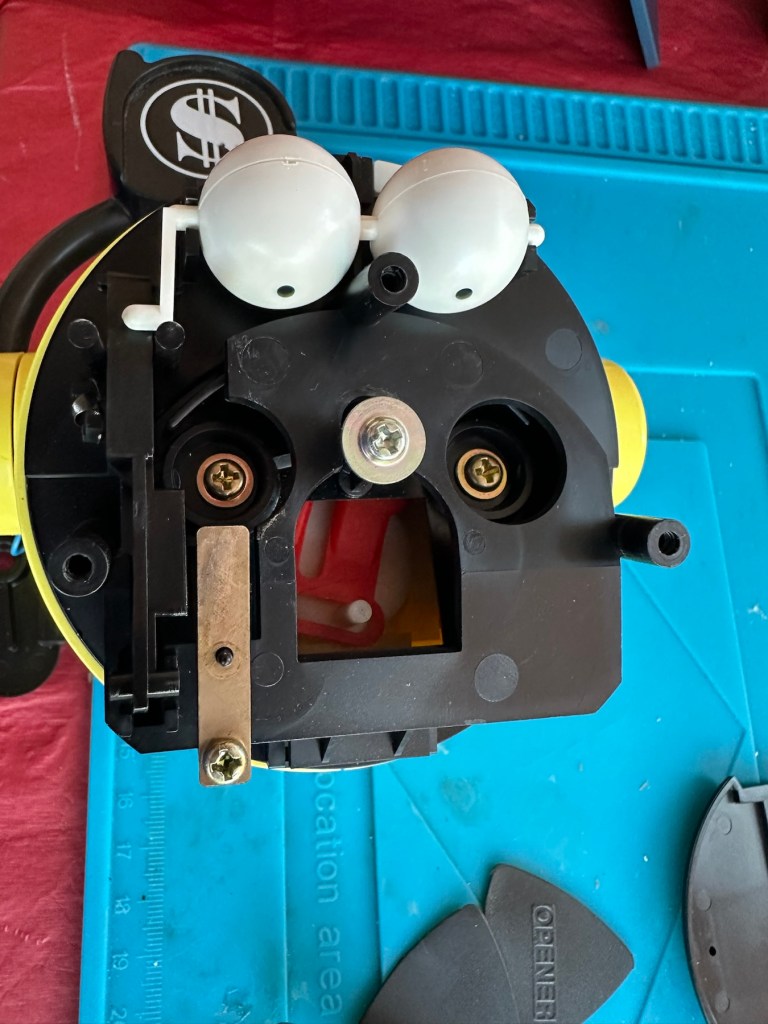
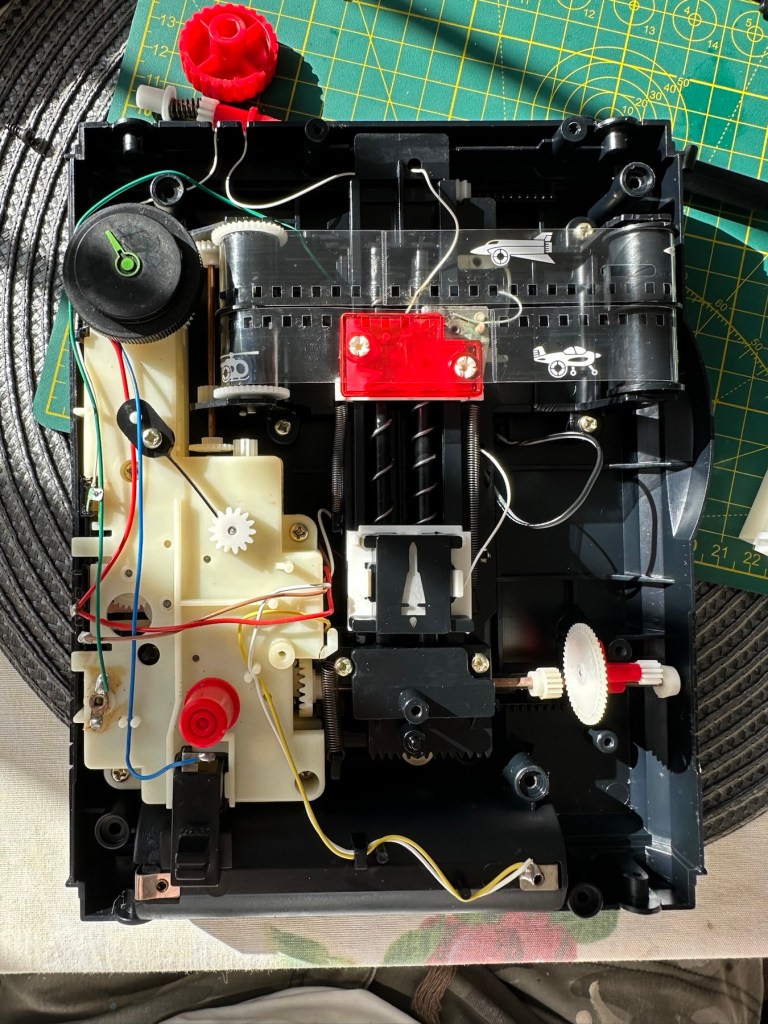
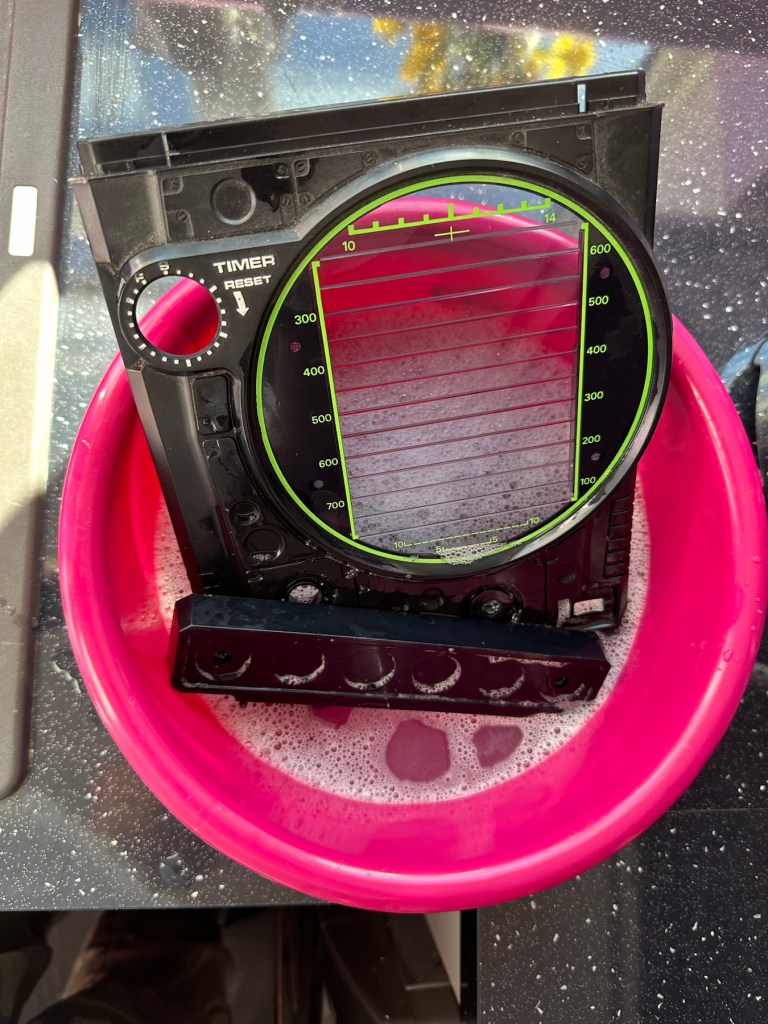
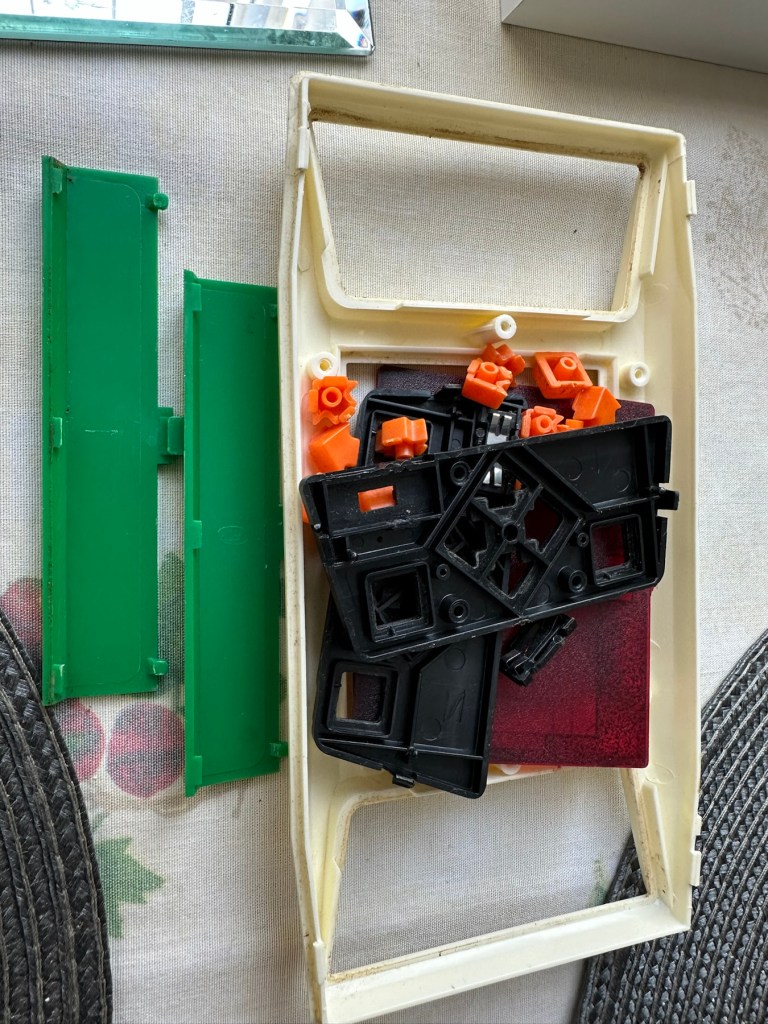
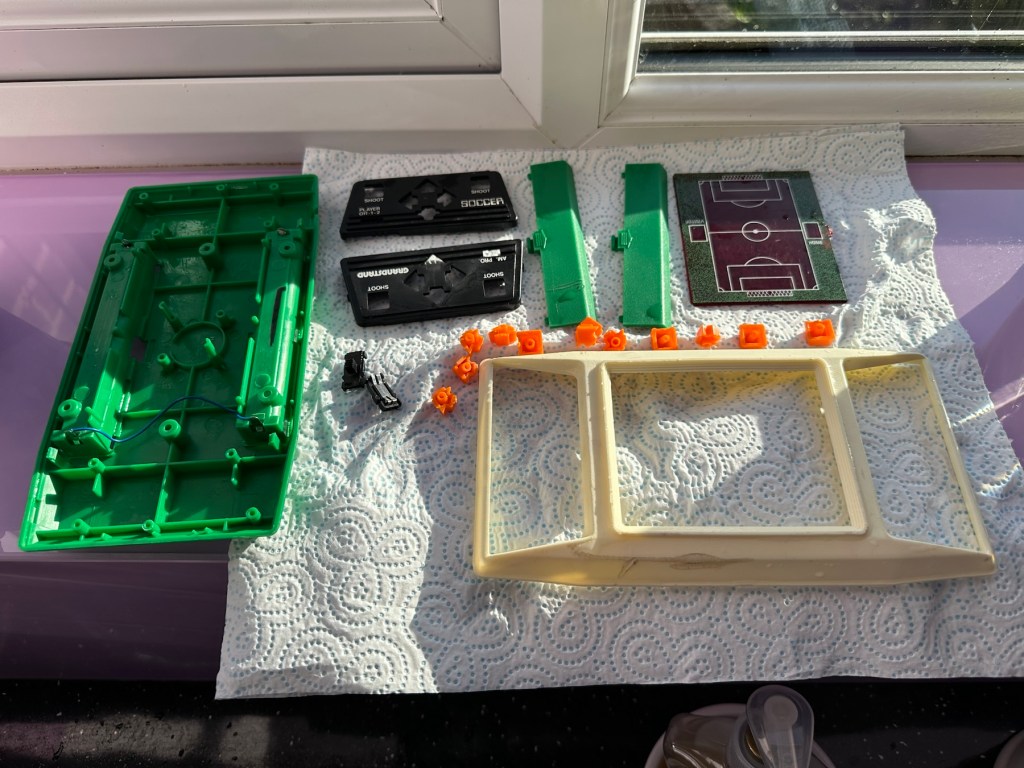
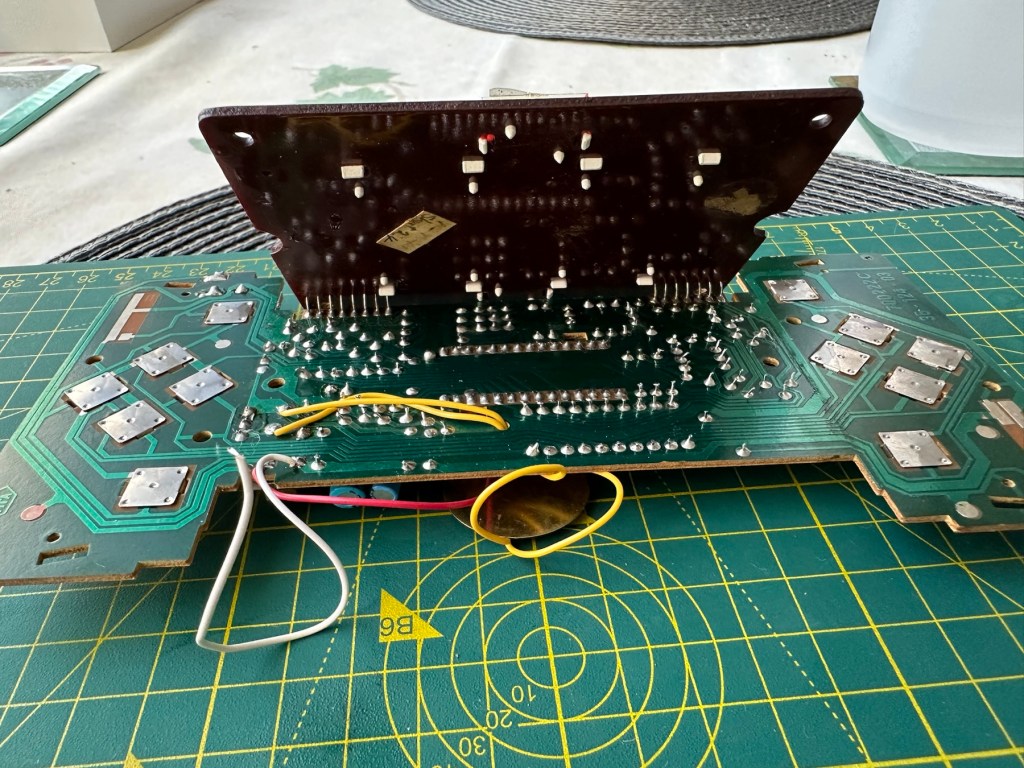
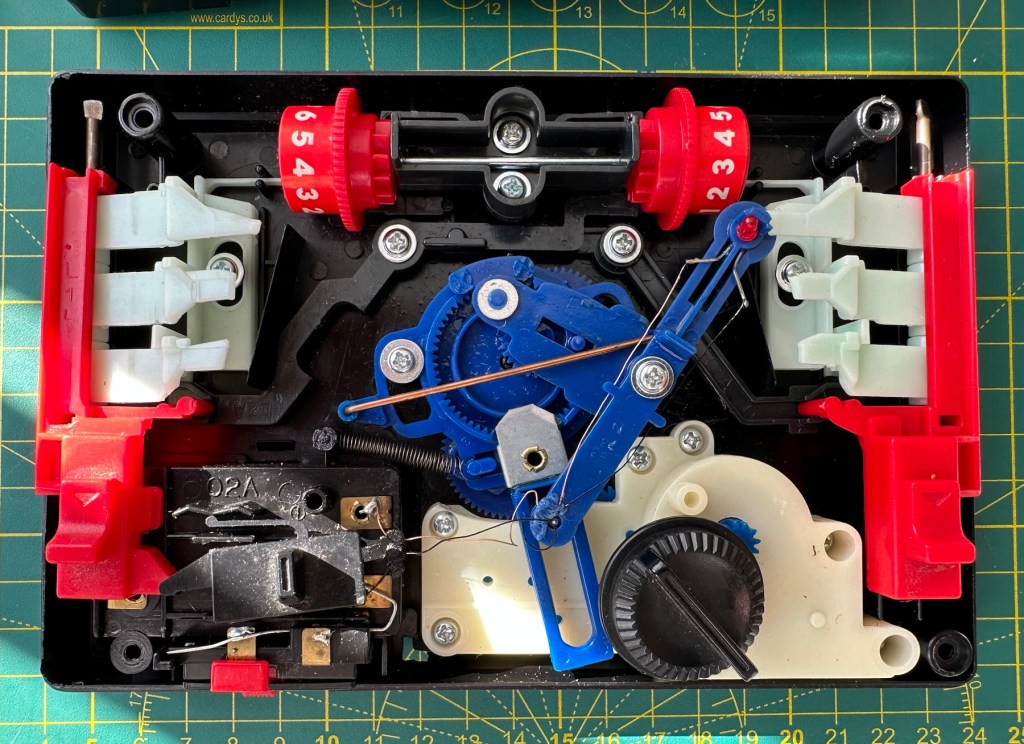
I’m not sure but I might open up the unit and give it a proper wash, I’ve got to have a look at the screen inside as I suspect the screen quality might be improved by replacing some old electrolytic capacitors that I suspect may be around that area. I could however be wrong. Let’s get it opened up then.
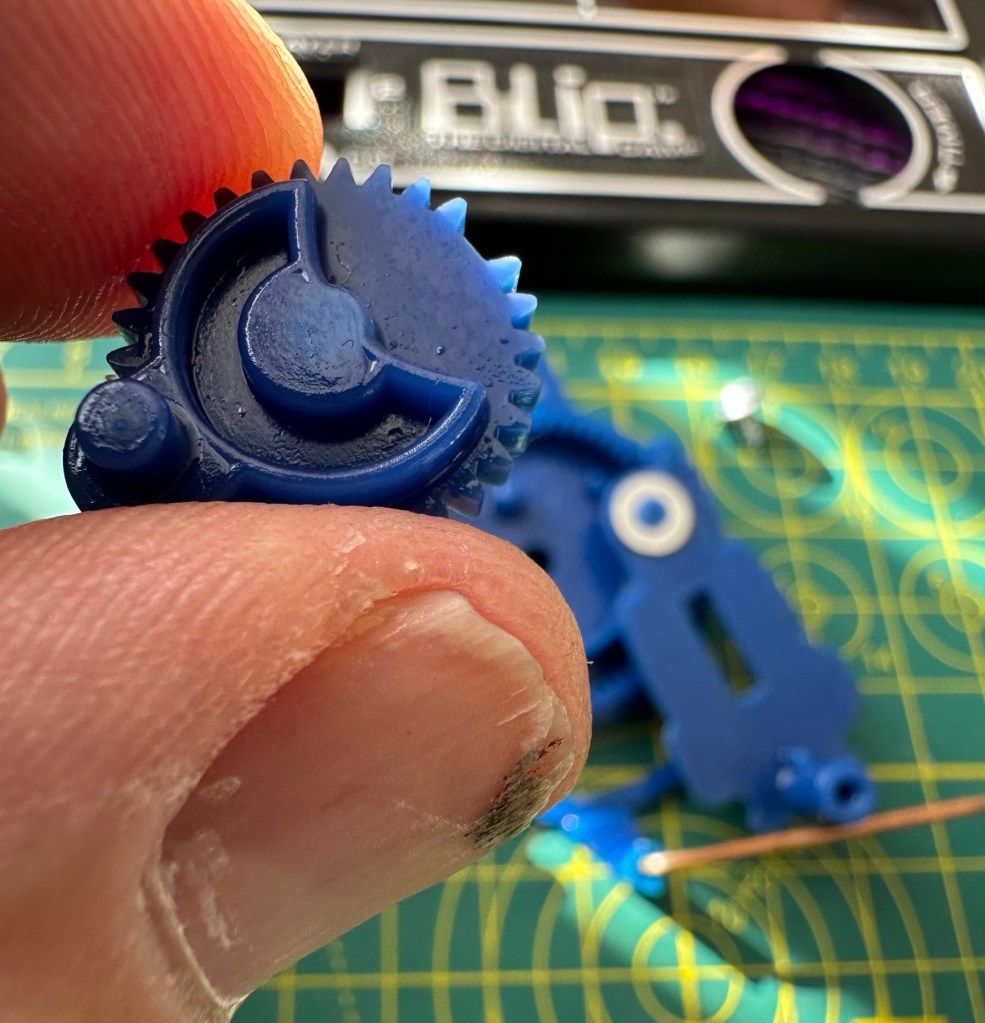
The board looks really clean on both sides, all capacitors (and there were only three of note) look good.

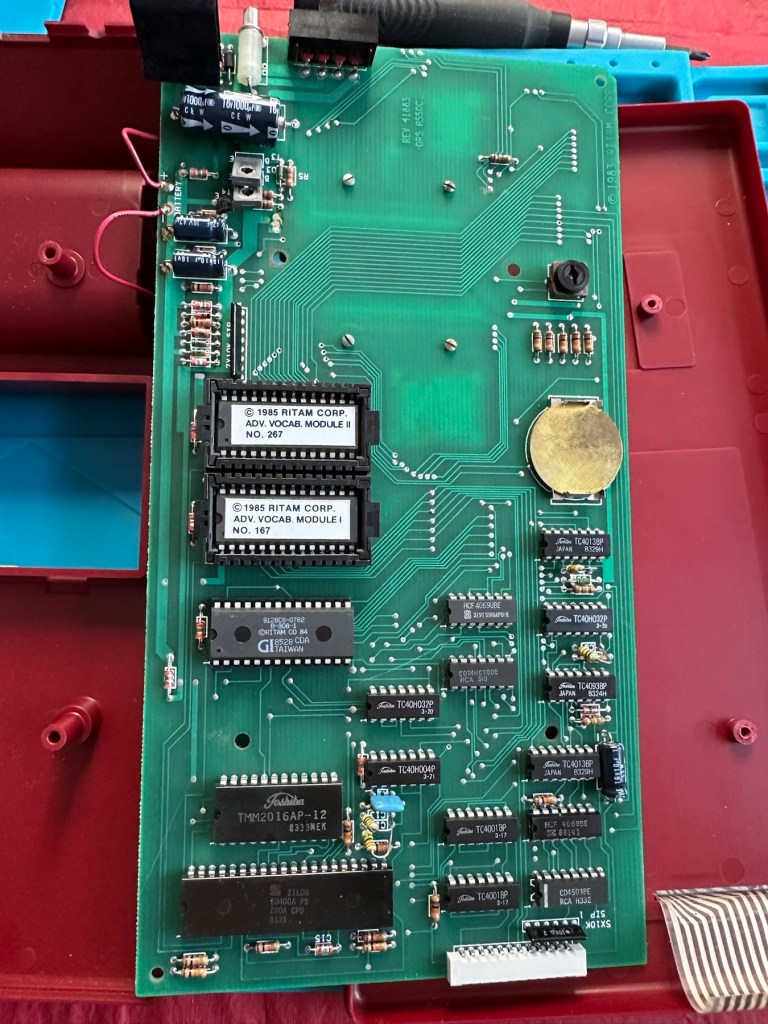
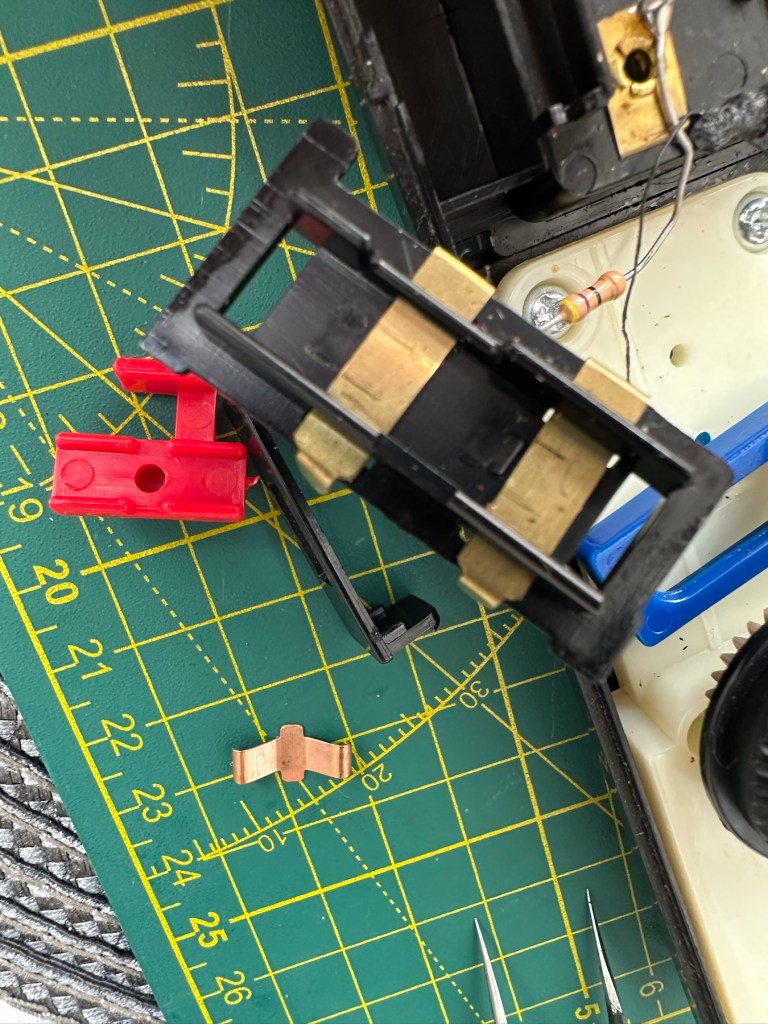
I have taken all three capacitors in the immediate screen area off, I’ve measured them out of circuit and they are all within the 10% tolerance of their indicated ratings so in my eyes there is no issues here. They are working fine.


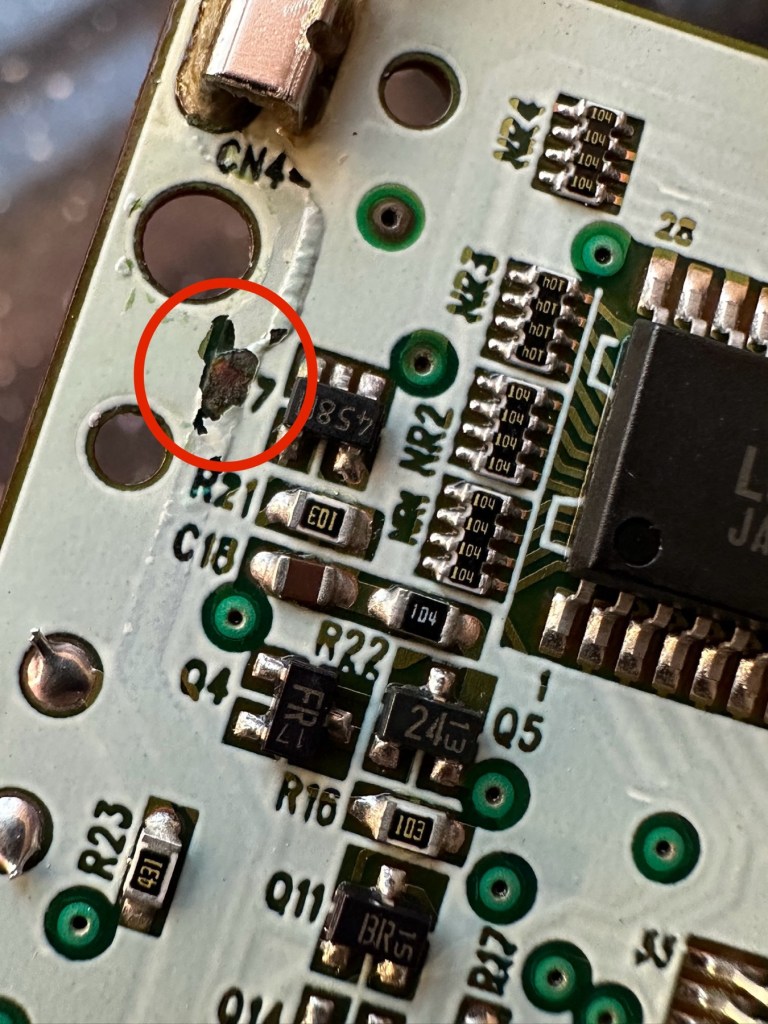
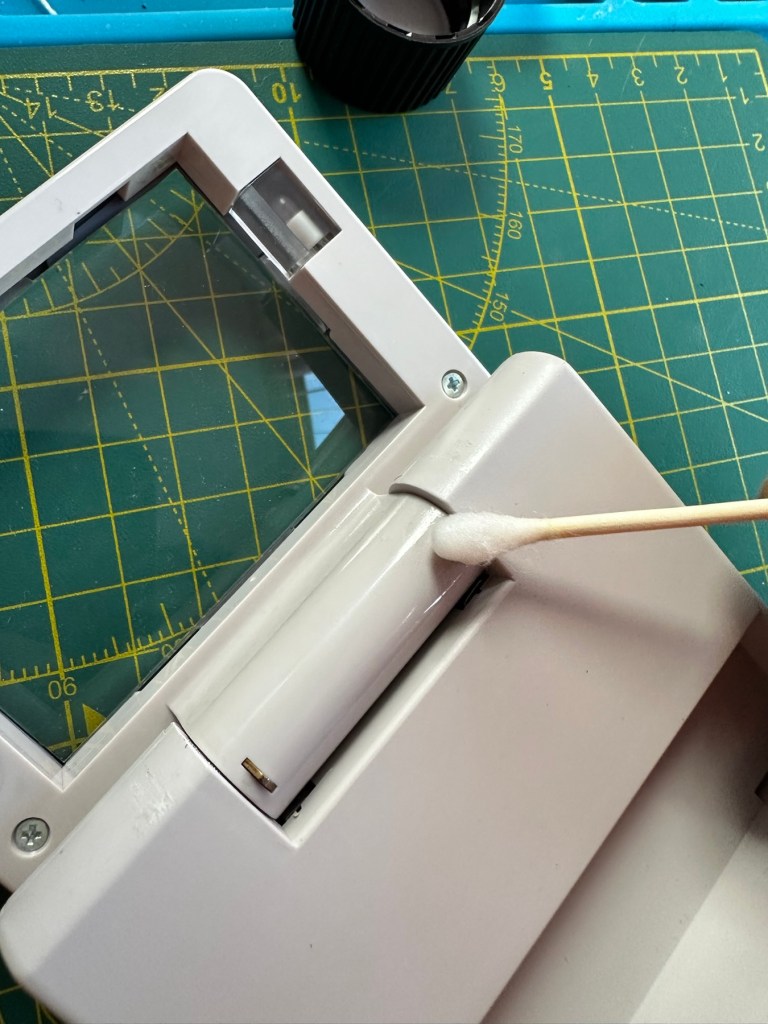
On the rear of the board behind the display is a small variable capacitor. I turned this slightly to the left whilst under power and the screen quality has improved sufficiently be able to view the display from a more natural position. It can’t be adjusted any more though so it is now at its limits, probably a result of its age and limits of performance being reached for that particular component.


To be honest I’m satisfied everything inside the unit is fine, and the slight improvement to the display is more than adequate, I’m now going to close the unit back up and will concentrate on the exterior.
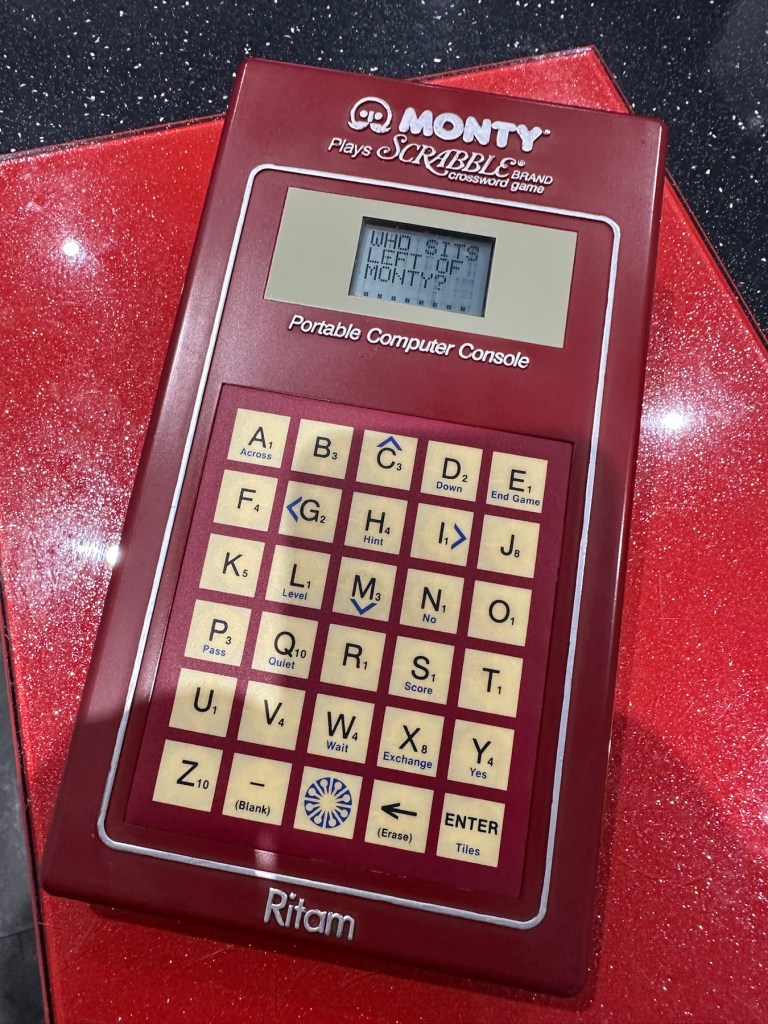
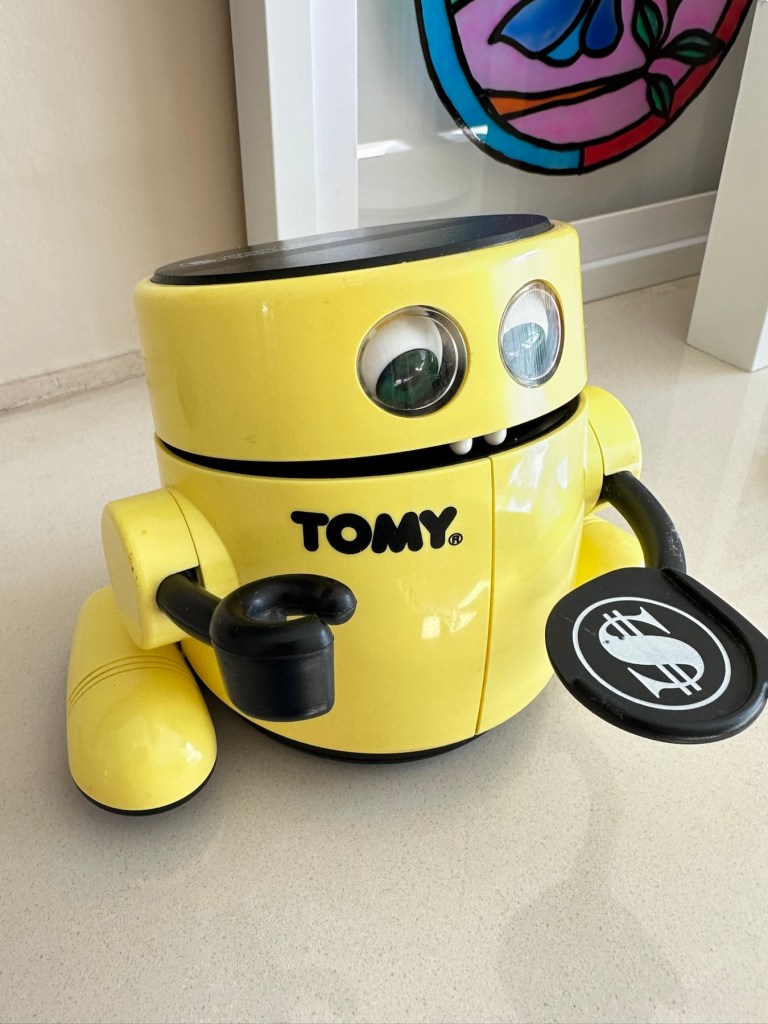
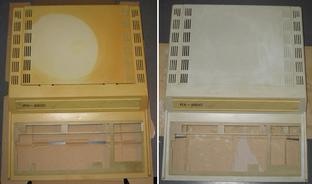
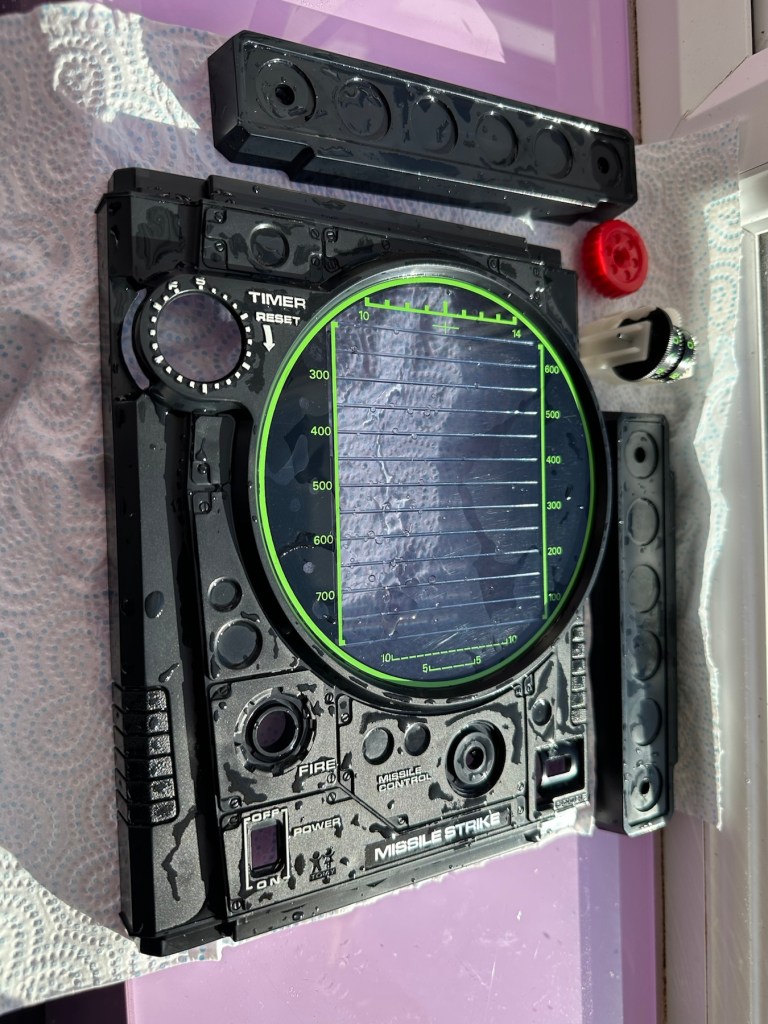
I’ve given the exterior a good polish, and then in my art box I have a silver permanent marker that will be great for touching up the worn out lettering and surrounds, so I will use this just to make the unit look a little more aesthetically pleasing.


And boy has that made it look better

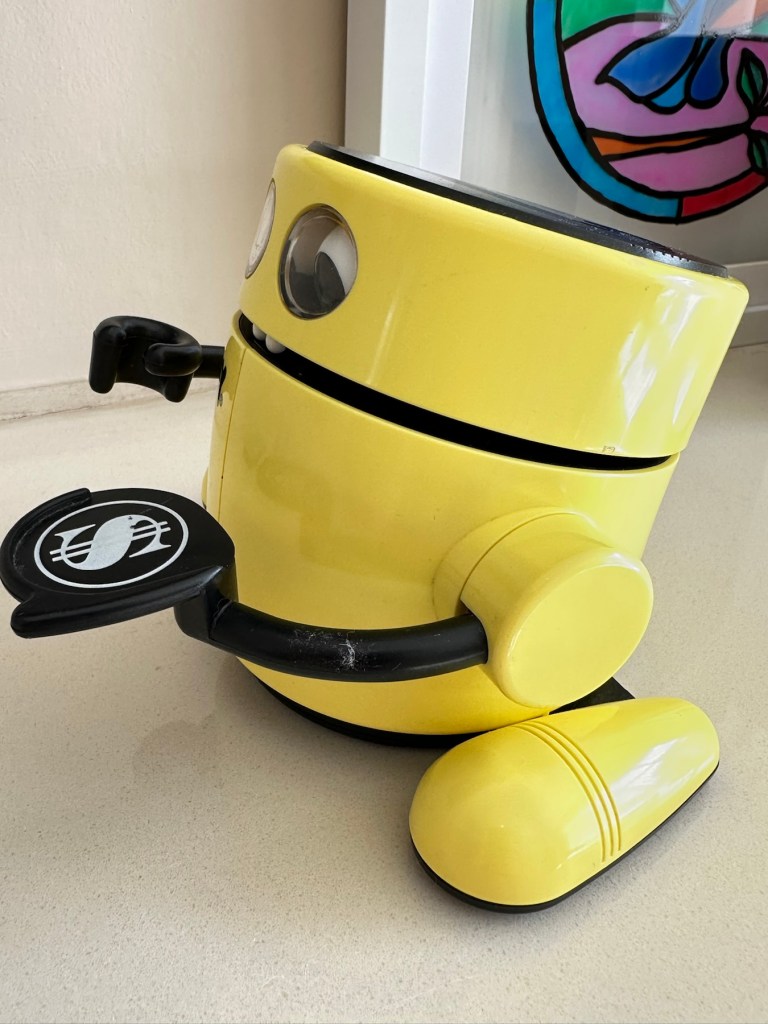
Looking good as new, and with that result we can say the repair is complete.
Result:
We now have a good looking fully restored and fully working unit. It looks as good as the day it was sold and still does what it was made to do. The screen is at its limits but should last a good while yet. A smart looking 41 year old unit that has been saved from the scrap heap and will be around for a good time yet.
Here we have a small video of its basic operation
All in all another satisfying repair, and yet another item saved from landfill. If it’s damaged, 9 times out of ten it can be repaired and reused. We don’t need to be so wasteful.
Thanks for following the repair, it’s always very much appreciated.
Thank you 🙏


You must be logged in to post a comment.