

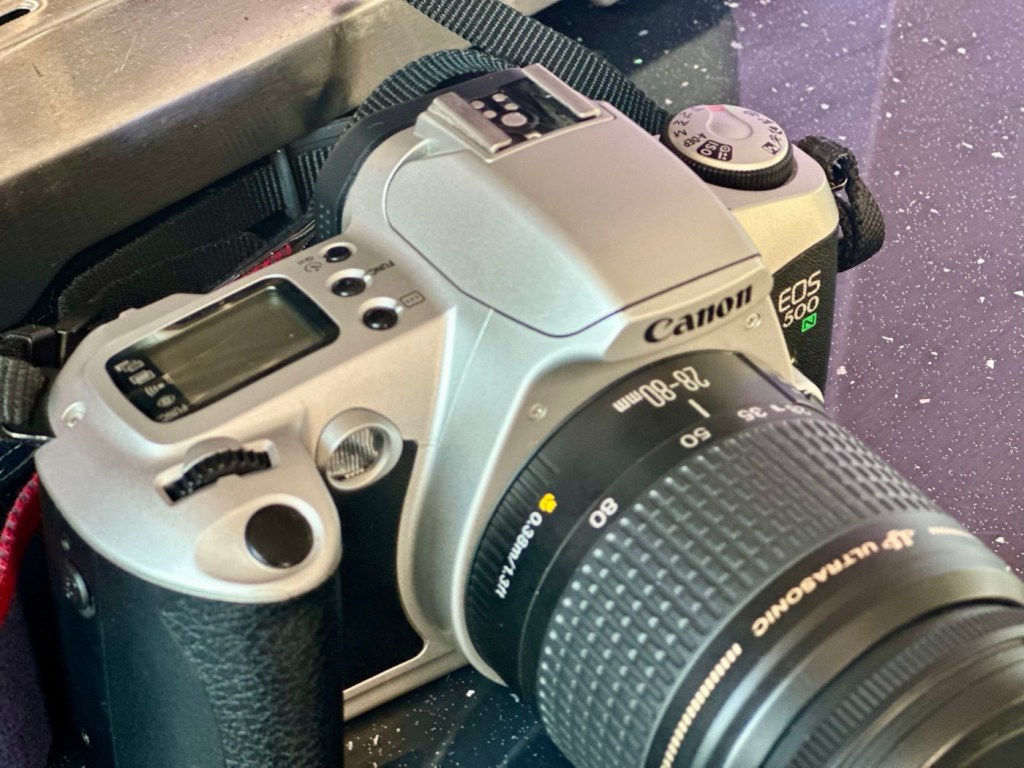
Here I have another basic, entry level camera made by Canon. Produced around 1999? this camera is probably around 26 years old. These cameras don’t have the traditional identification number printed within the film spool holder that the older cameras had, hence the precise manufacturing date is difficult to confirm.

This is a camera passed onto me by a good friend and professional photographer, Jon, as can be seen in this post: Cameras…i need more!
Here’s a little information about this camera:
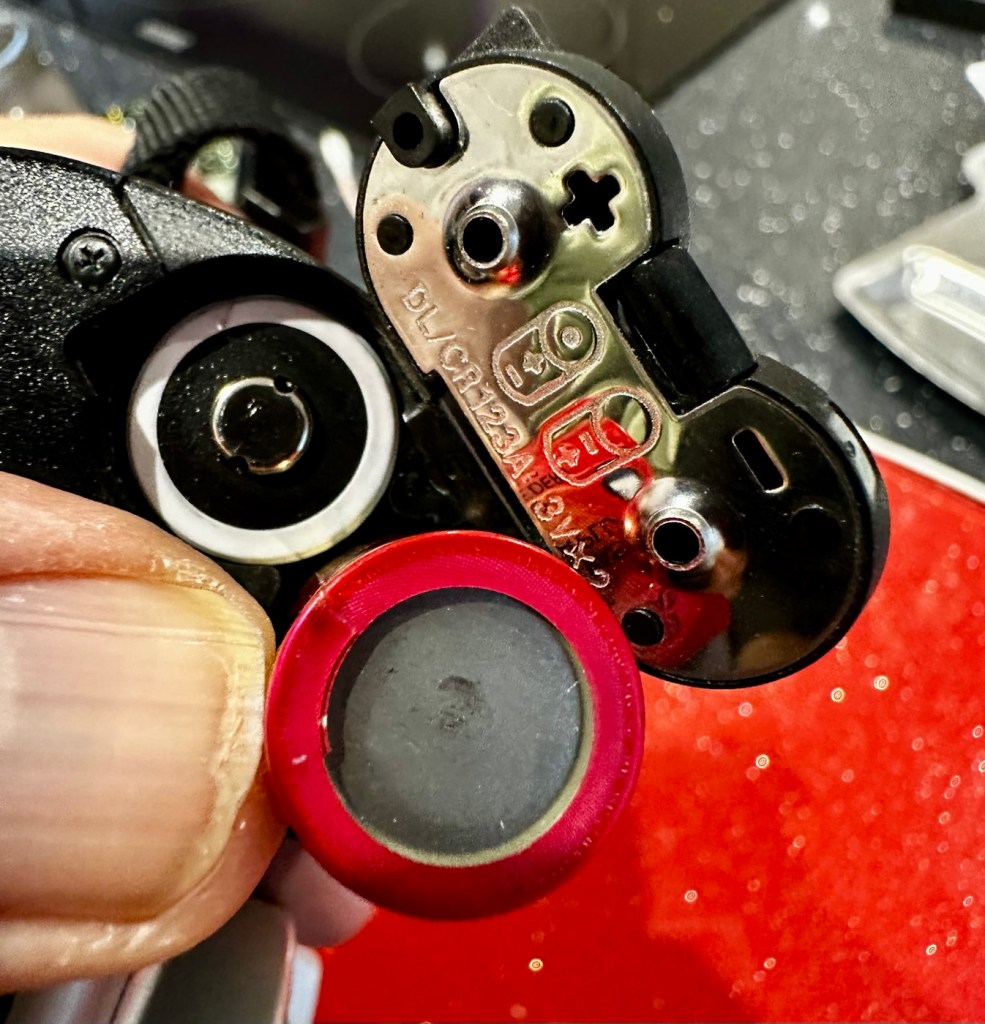
The EOS 3000 is an autofocus SLR for 35mm film introduced by Canon in 1999. It was sold as the EOS 88 in Asia. (It was not sold in the US.) The pentamirror viewfinder and manually-activated popup flash helped keep this a lower-cost model; but a full range of autoexposure modes were included, including off-the-film flash exposure setting. Film transport is motorized and the camera requires two 3-volt CR123 lithium batteries to operate.
A compact, lightweight, low-priced SLR camera. Successor to the EOS5000, but with greatly expanded basic functions. The camera incorporates the Mode Dial and most other basic features of the EOS Kiss/EOS REBEL XS/EOS500 and includes six-zone evaluative metering linked to three focusing points. In addition, the flash is linked to the measurement point so that during shooting the flash out-put level is constantly adjusted for optimum exposure control. For reasons of cost, the flash unit is manual pop-up/retractable head type. The EOS3000 is compatible with system accessories for the Kiss and New Kiss. The high-quality design has a feel of genuine elegance.
Canon/ Camera-wiki.org
This camera was pitched at a low cost to attract people into photography, and to encourage those who were just hobbyists to upgrade to something more than the traditional point and shoots/disposables available at the time.
There is not a lot wrong with this camera as far as I can see, let’s have a look and do some tests.
Assessment:
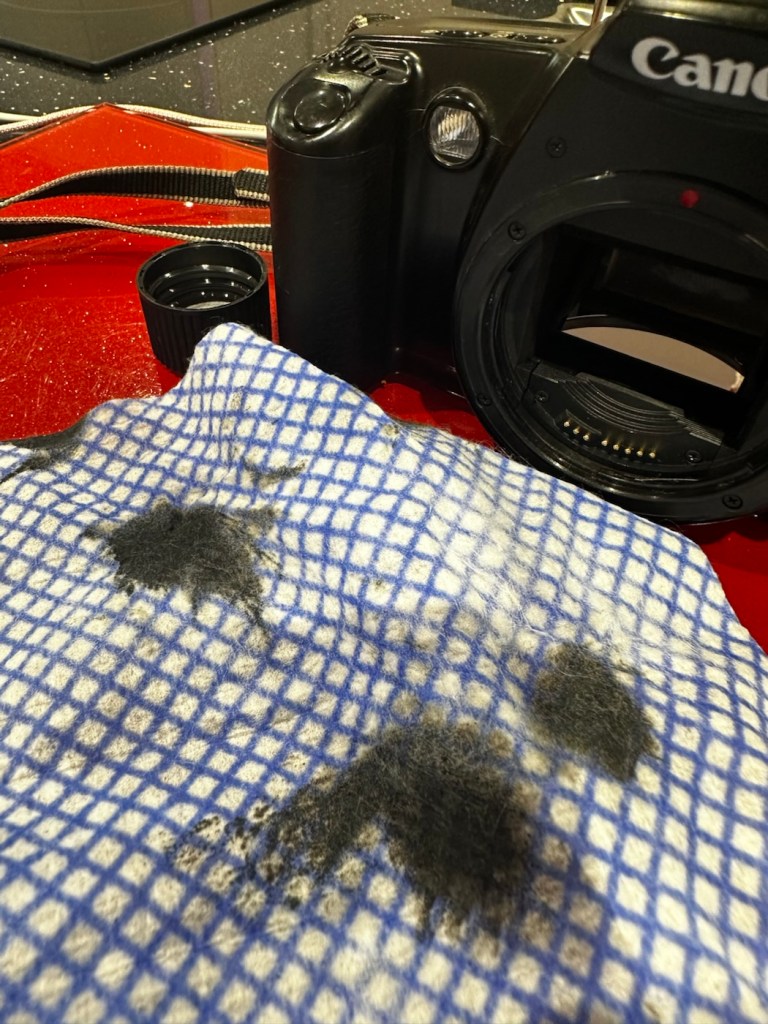
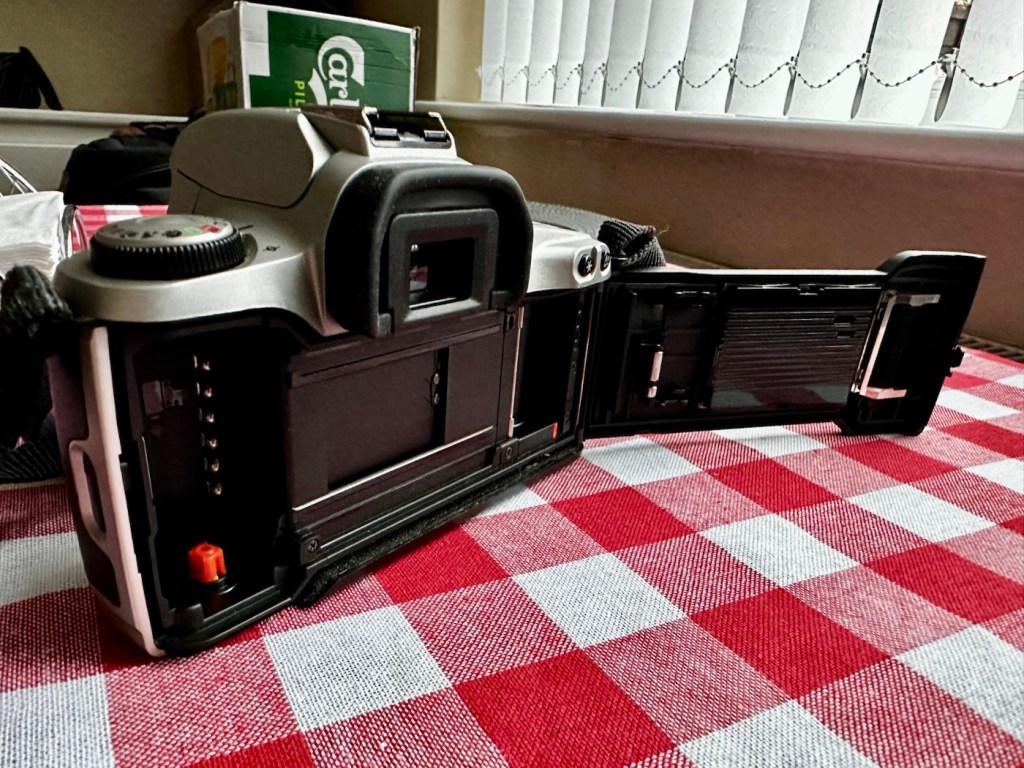
It has a grip that’s starting to develop the sticky issue so that will need cleaning. The mirror and prism are dusty and will need a cleaning.

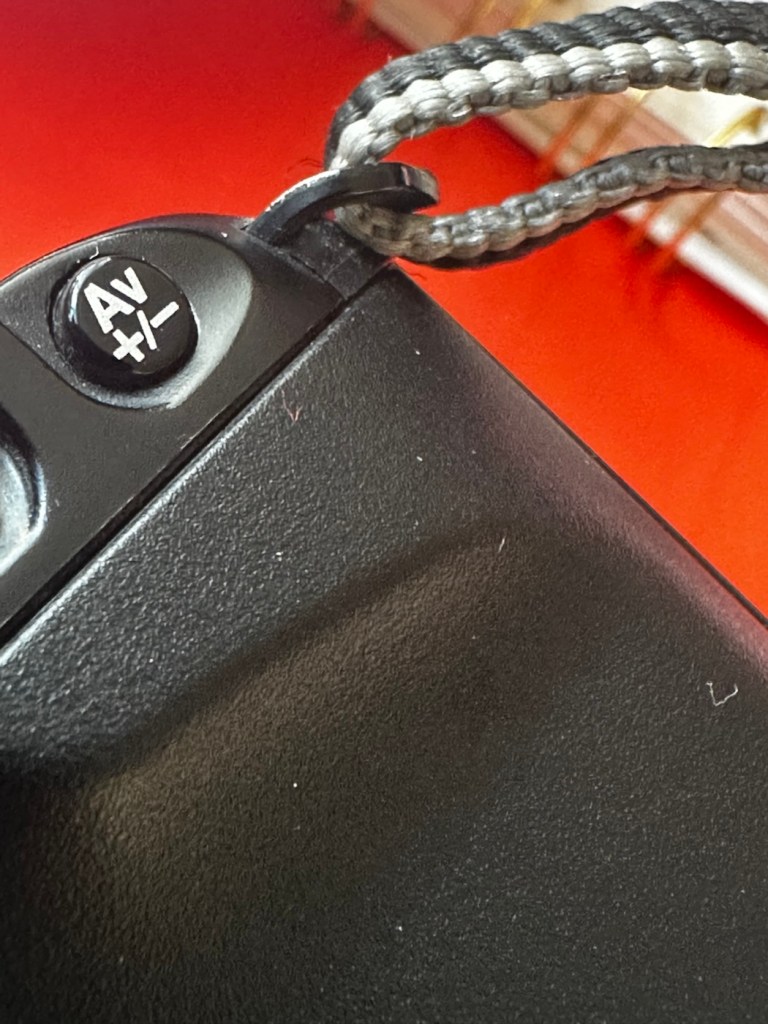
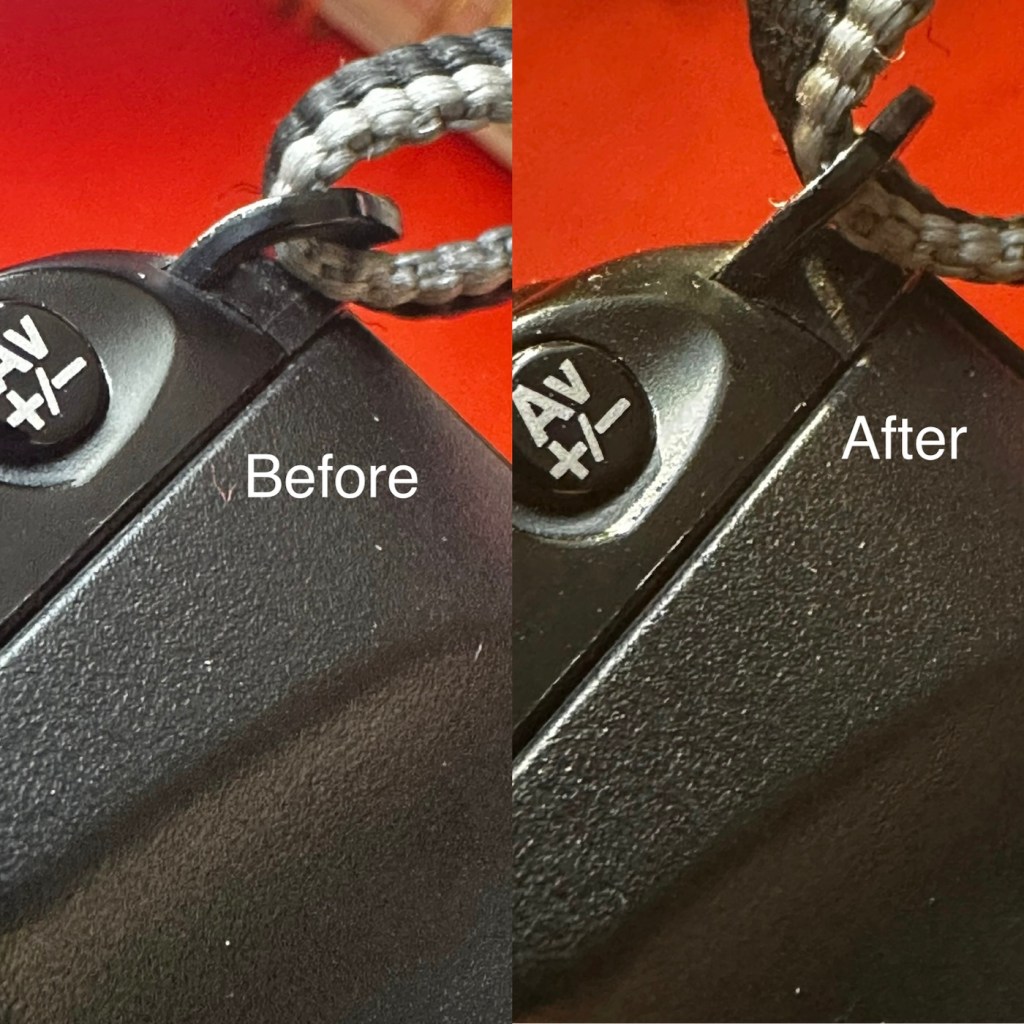
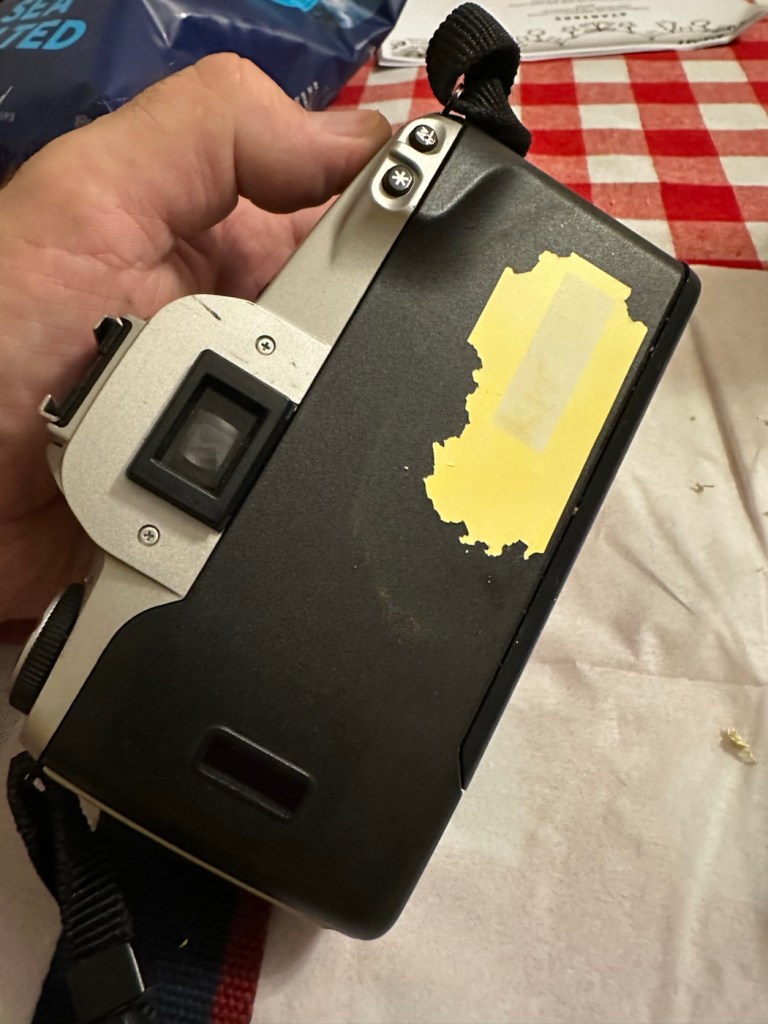
Overall the condition is very good, again this was a training camera, and seems to have had a quite low usage, as there is no scratches or marks. And only one dink as such. That dink happens to be the right hand strap holder that has been bent down to a point where the rear case does not open completely, it restricts its full movement.

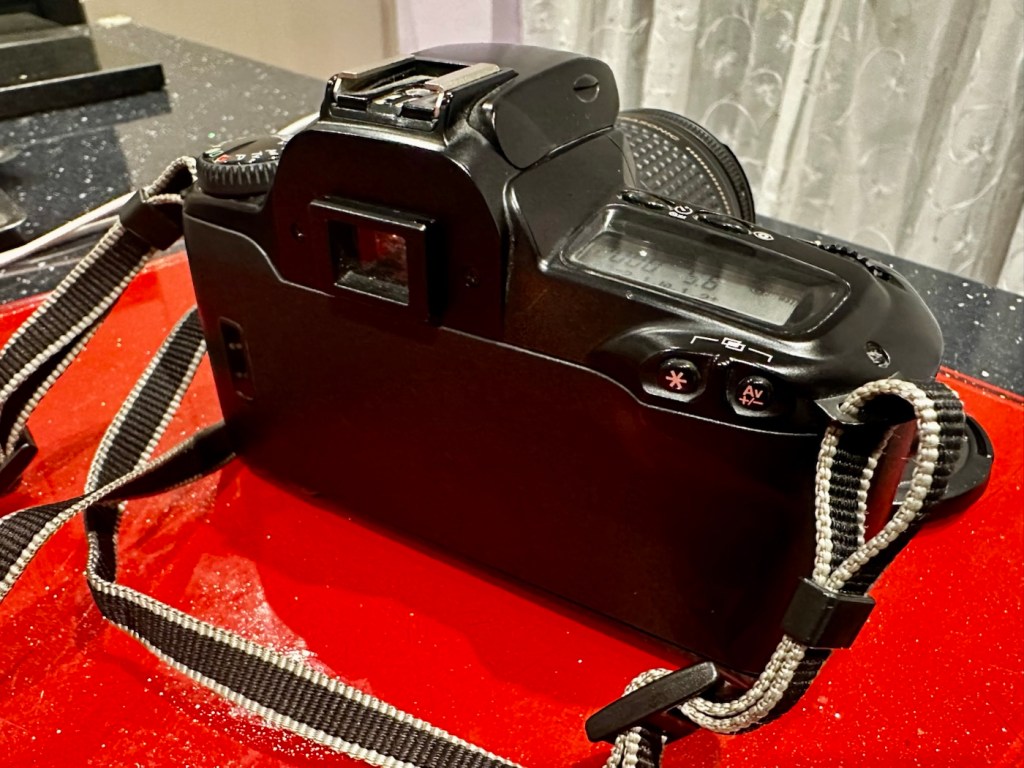
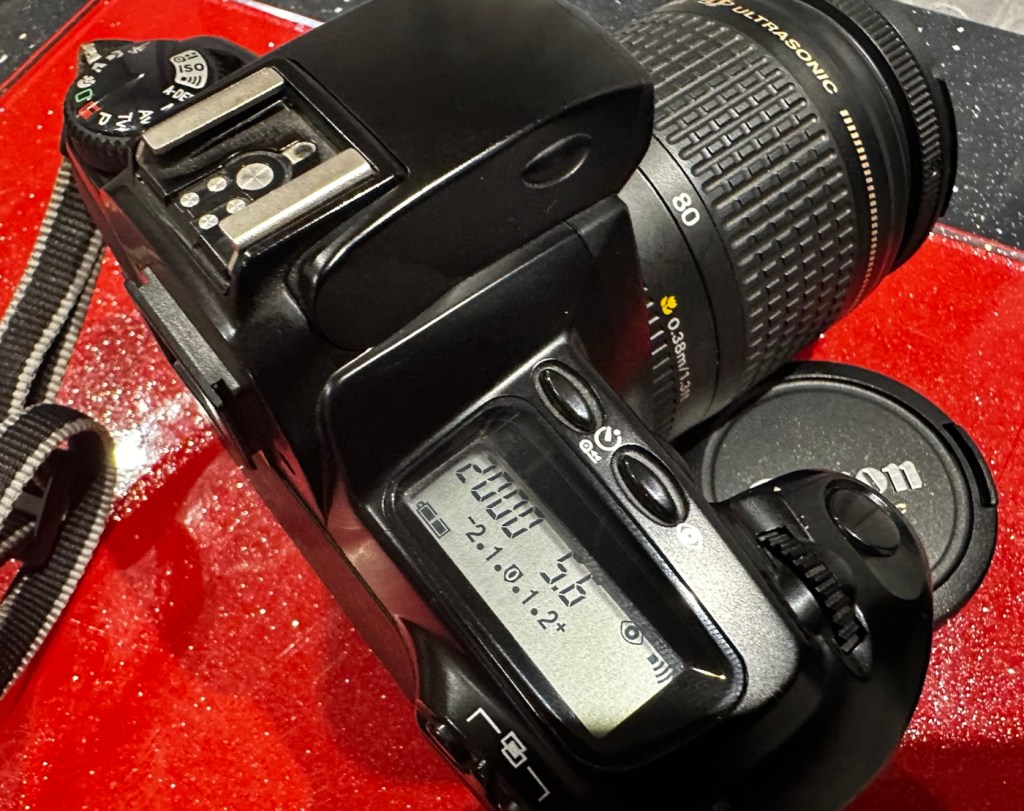
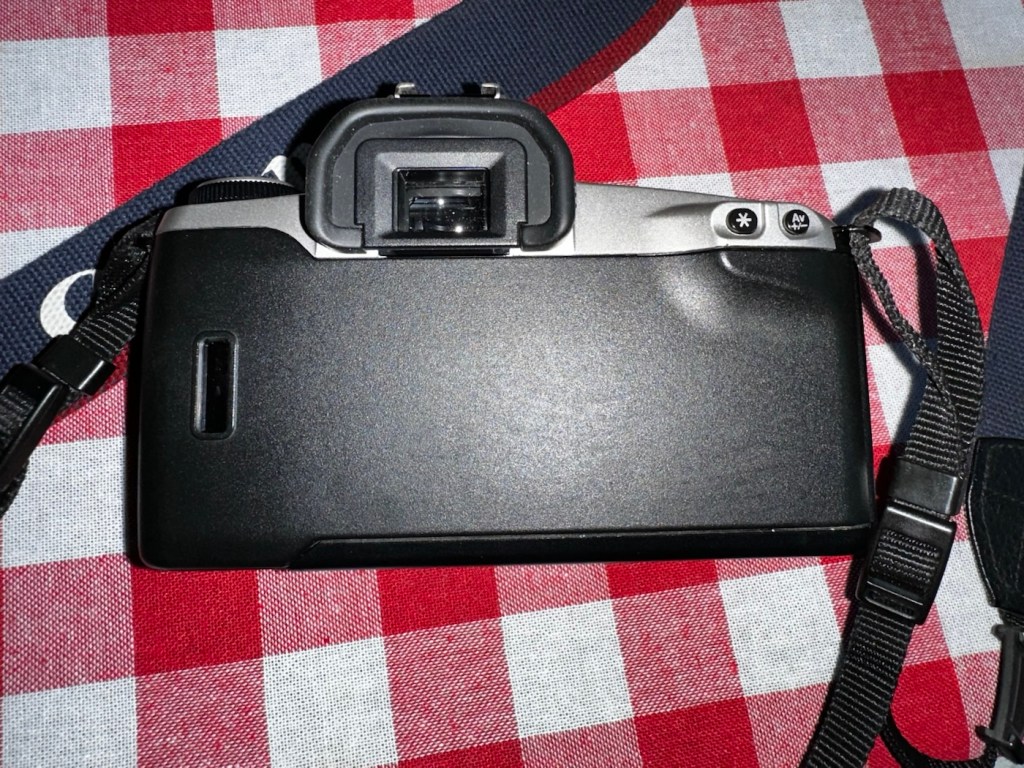
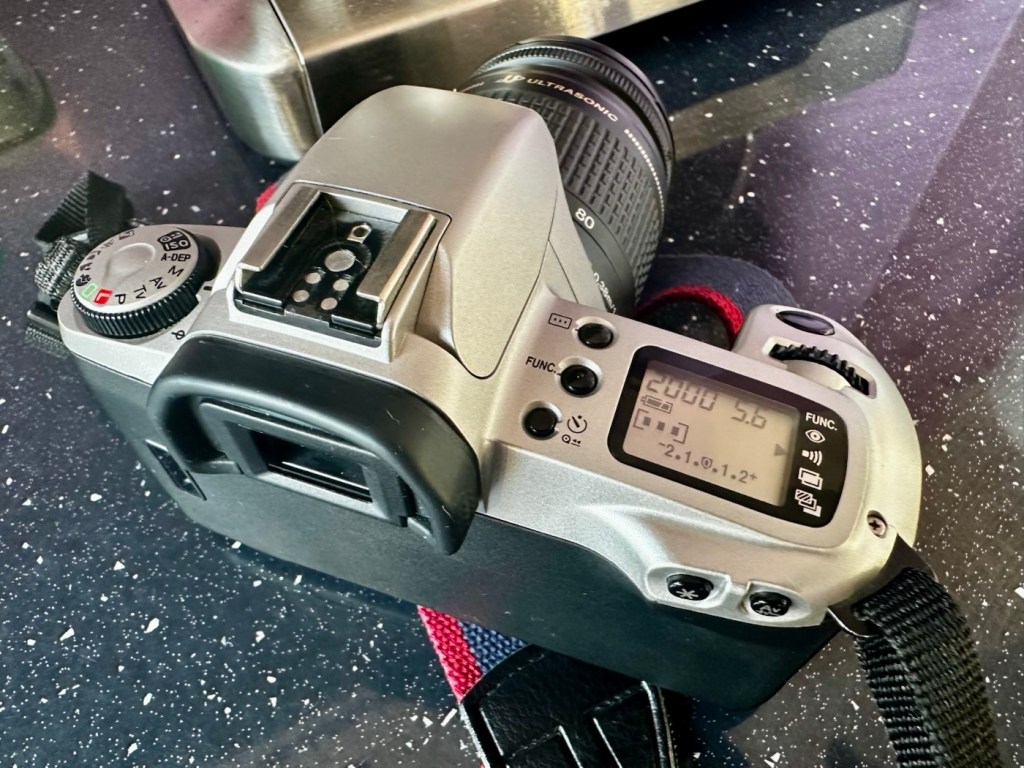
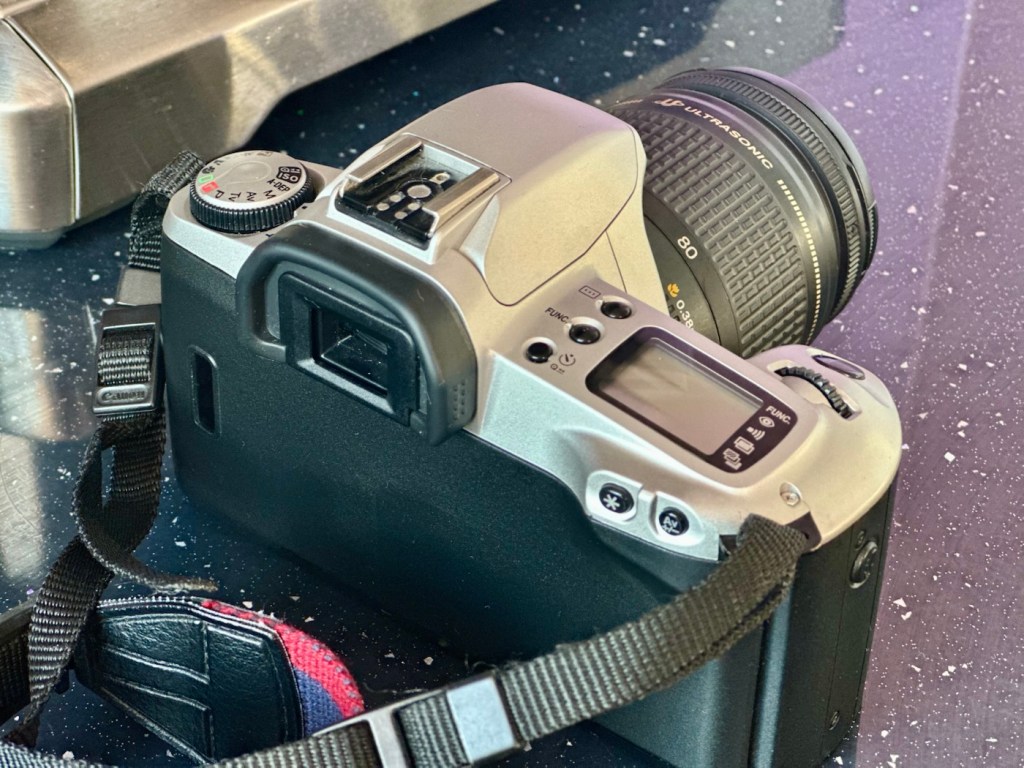
Top and bottom of camera look fine, no bleed on the LCD screen that is always a good sign

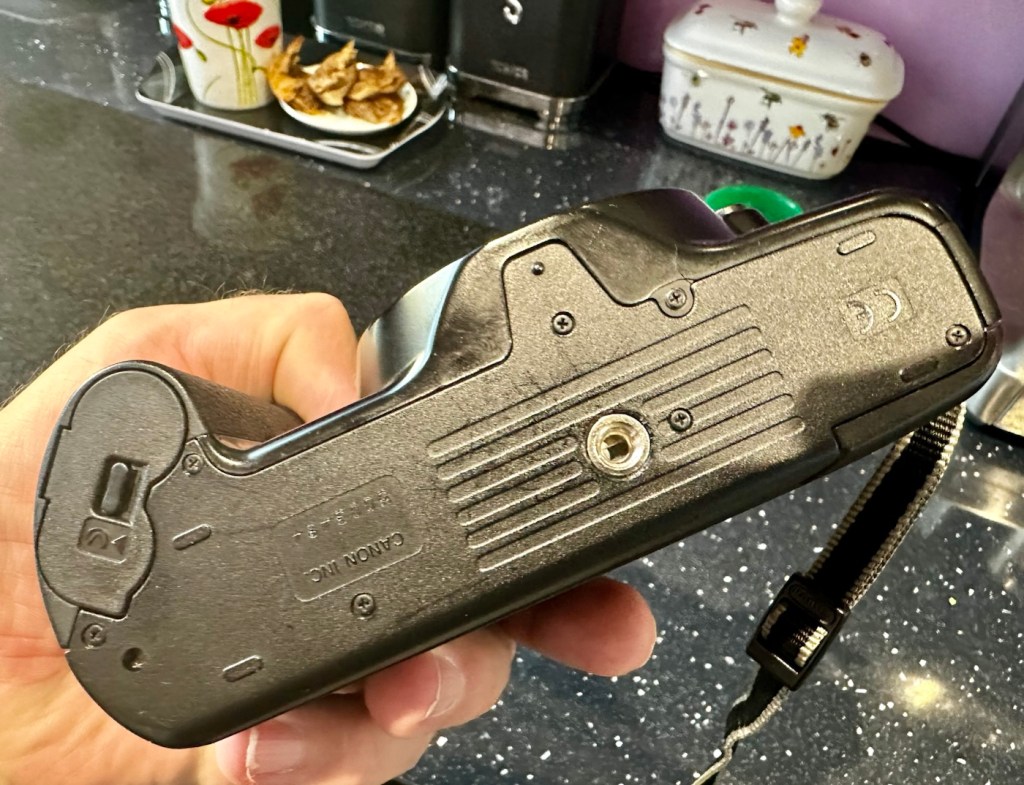
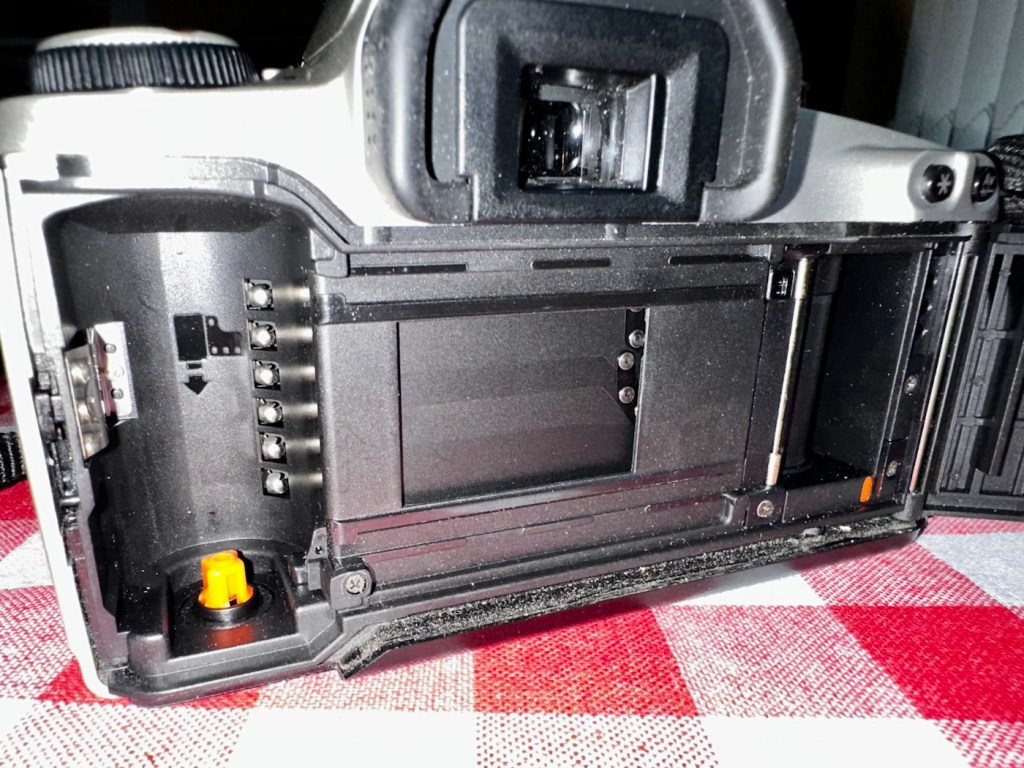
Battery chamber is clean and there is no contamination. This camera takes two 3v Lithium CR123A batteries. Let’s put two in to see if we have any life.


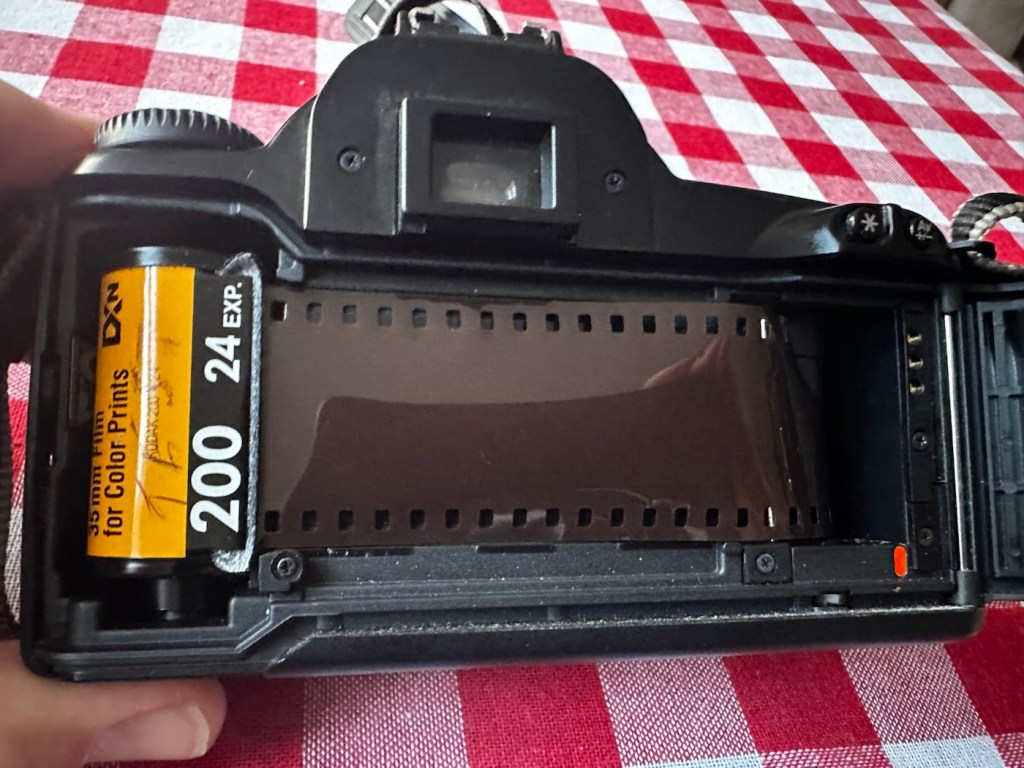
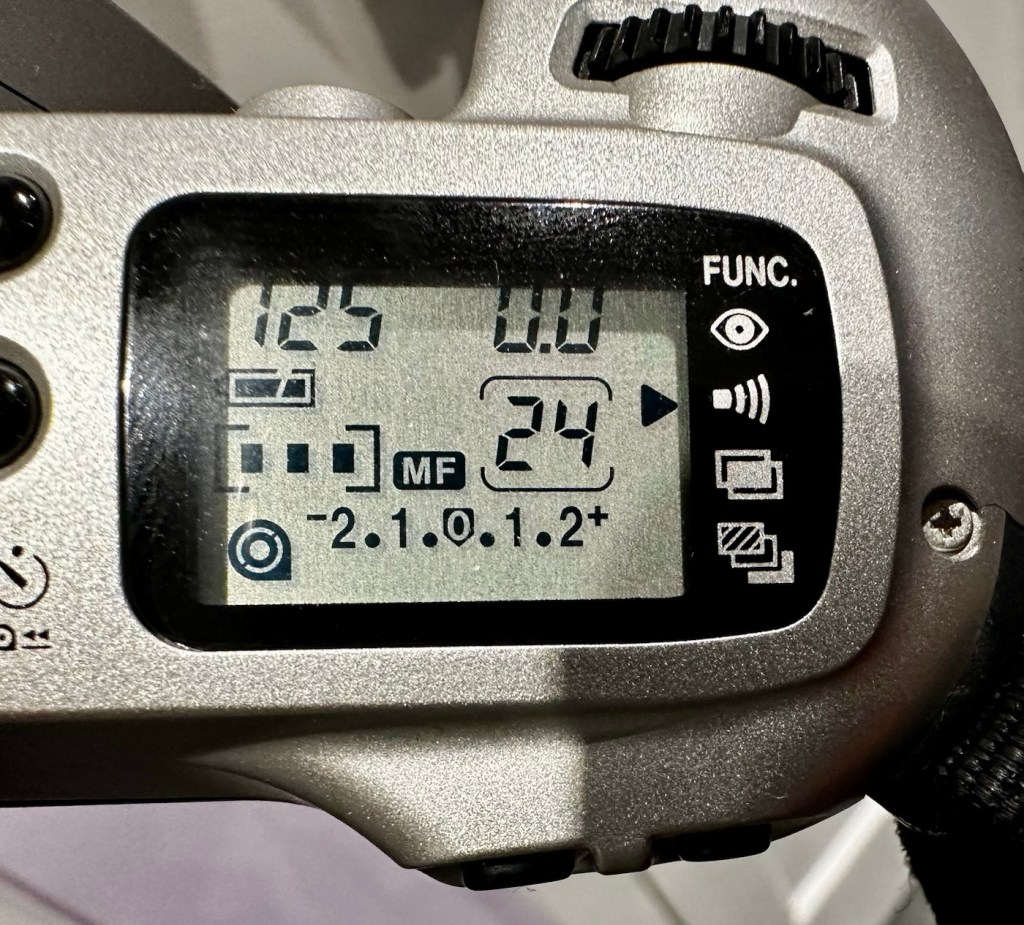
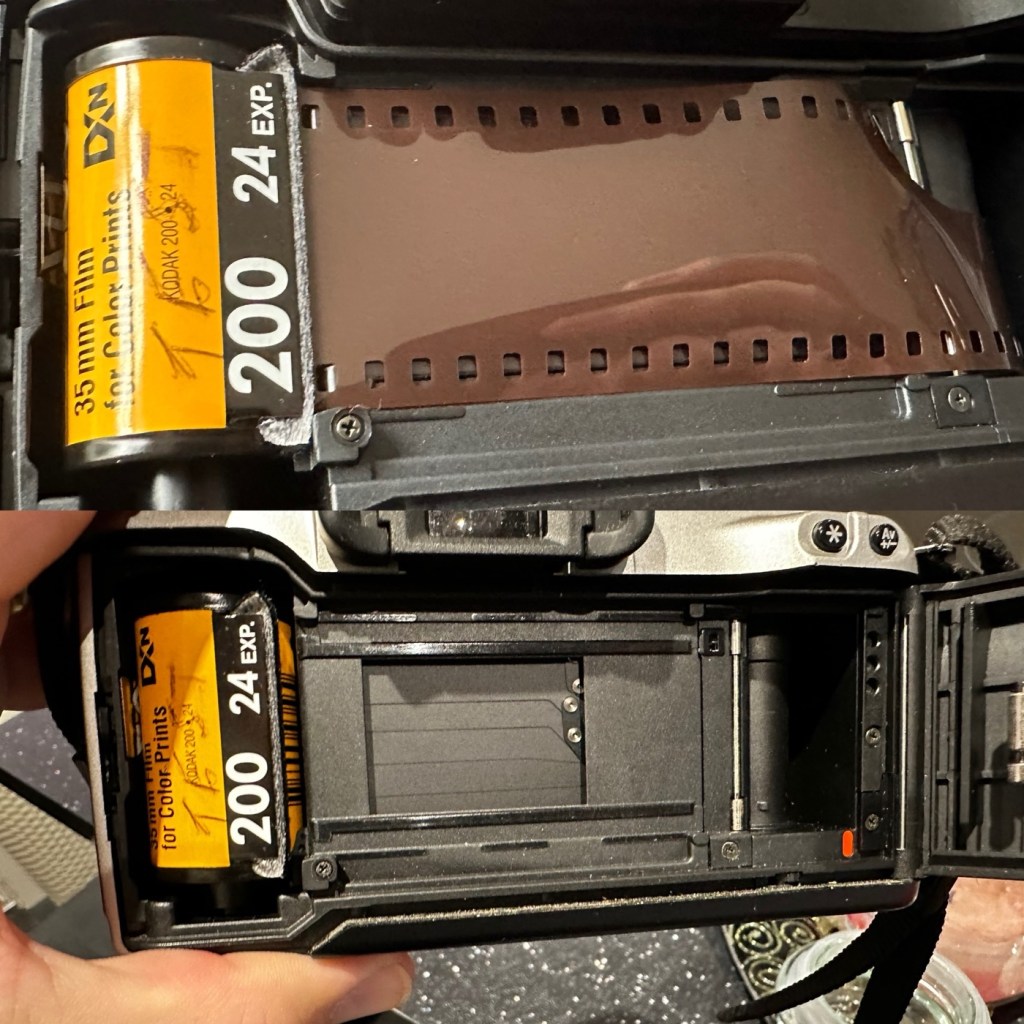
With the batteries installed we have a good display on the screen with no pixelation and it’s nice and clear. I install a roll of test film to see what happens. This camera winds the whole film onto the take up spool and winds back one exposure at a time. The take up when the door is closed works perfectly.

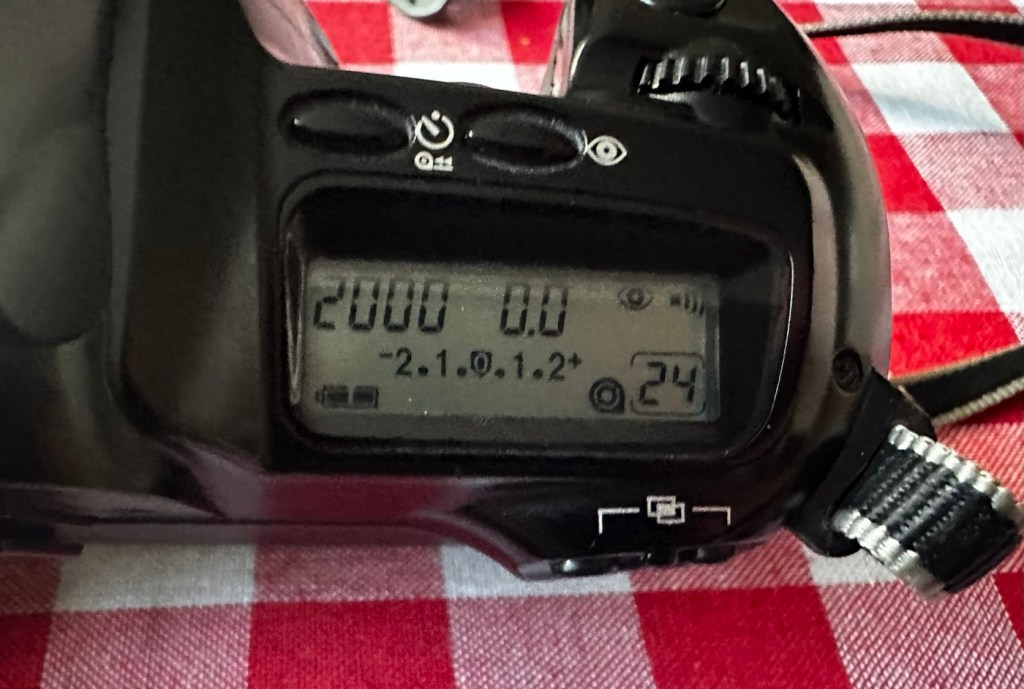
I then operate the shutter, to fire off the 14 exposures, all viewfinder indicators are good, with my 28-90 EF lens attached it focuses well and fires well. When the last exposure has been taken the film rewinds as expected with no issues. In reality the camera is working very well with no internal issues.
Repair:
First the dirty stuff. Let’s get that goo off of the sticky grip. I use my IPA and lint free cloth method that I posted about in a previous post here: Sticky, Rubber camera grips. This one is actually worse than I thought and has taken four applications to remove the deterioration on the grip. It feels a lot more pleasant though now that it is done.
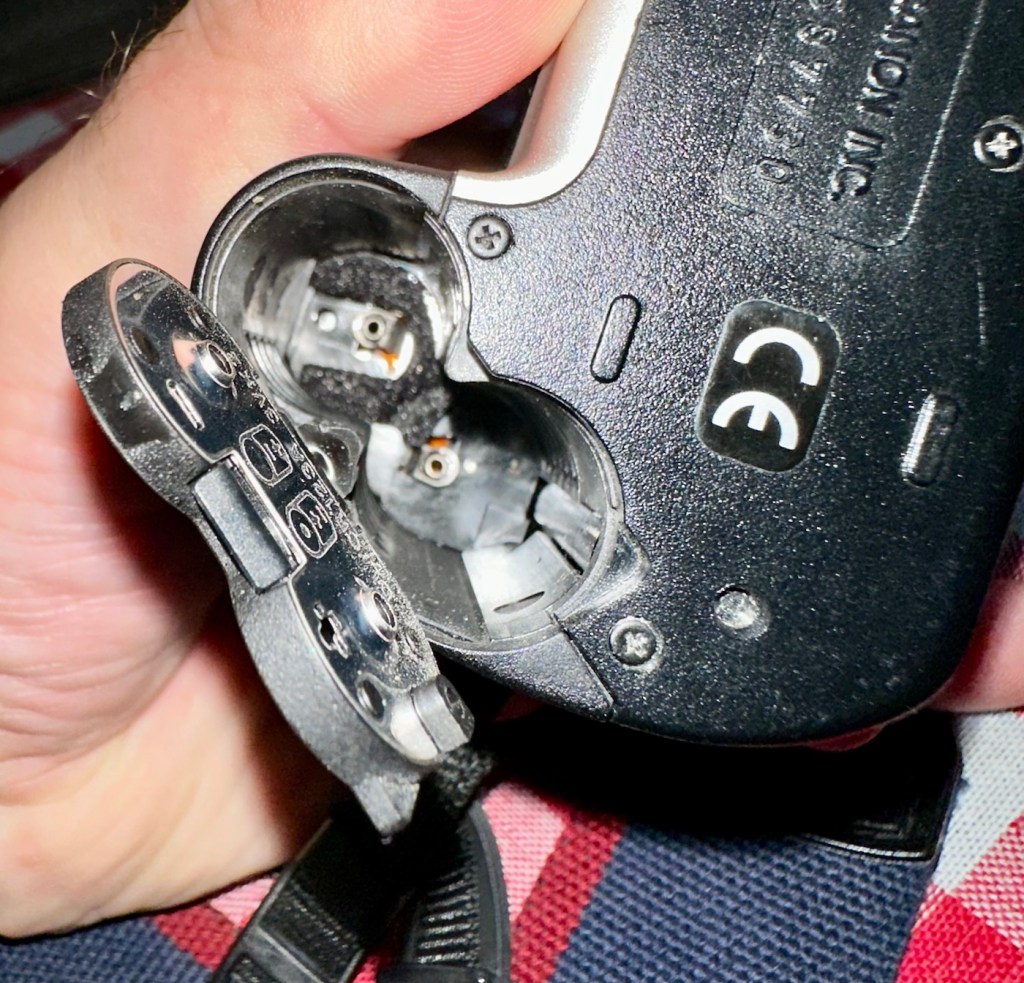
The issue with the strap lug restricting the door movement. Quite simply, a gentle movement with a pair of pliers was all that was required. Gently does it as these parts are brittle and easily broken. Don’t over do it, give up when it looks right.
I’ve checked the film pressure pad and this is fine, there are no sharp ridges and the light seals are good. I don’t expect them to be bad as in theory they are not that old, they are in a good healthy condition.
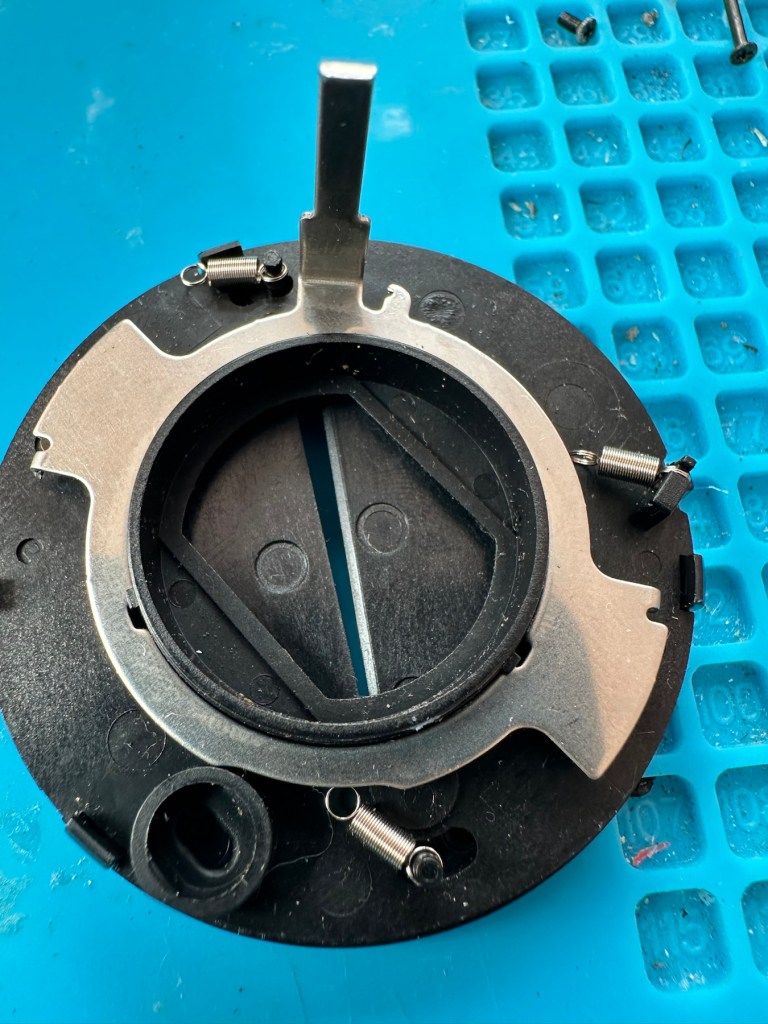
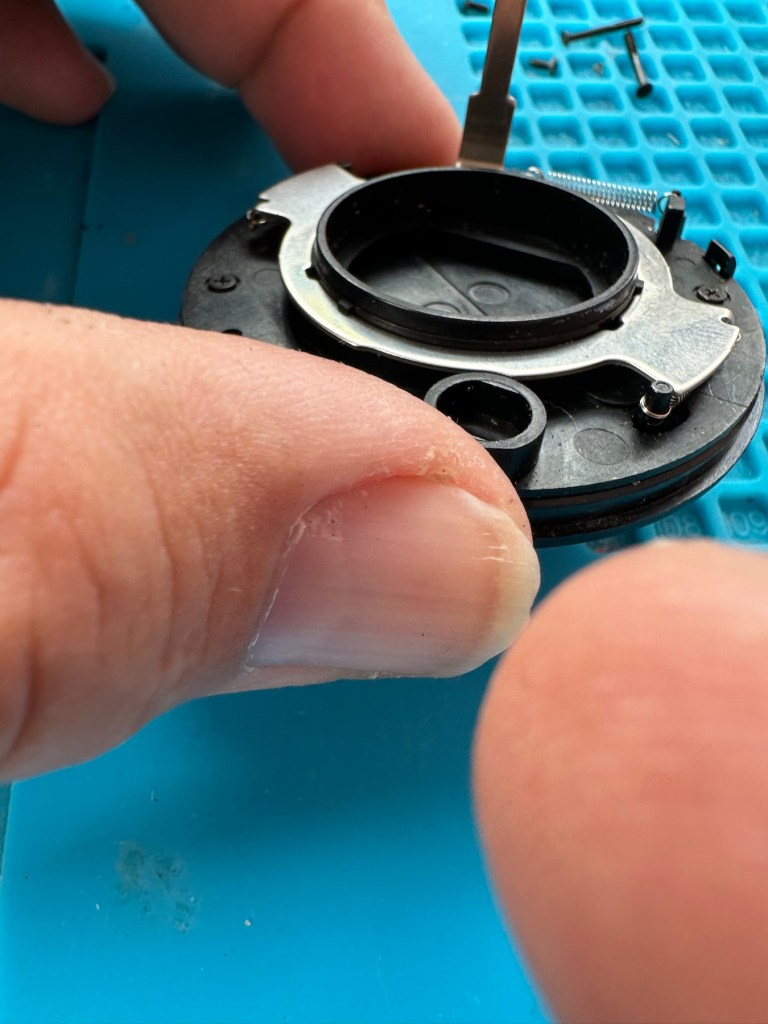
I have cleaned the prism and the mirror with a swab and they are now fine. Using a B setting I have opened the mirror and curtain and used some compressed air to clean throughout. A brush blower was used with the curtain closed to clean around the film spool area and back plate. A quick final blow of the mirror and the aperture is then sealed with a cap to insure no further dirt and dust gets into the internal parts of the camera.
The final action is to use some cockpit polish to finish off the exterior of the camera.
Result:
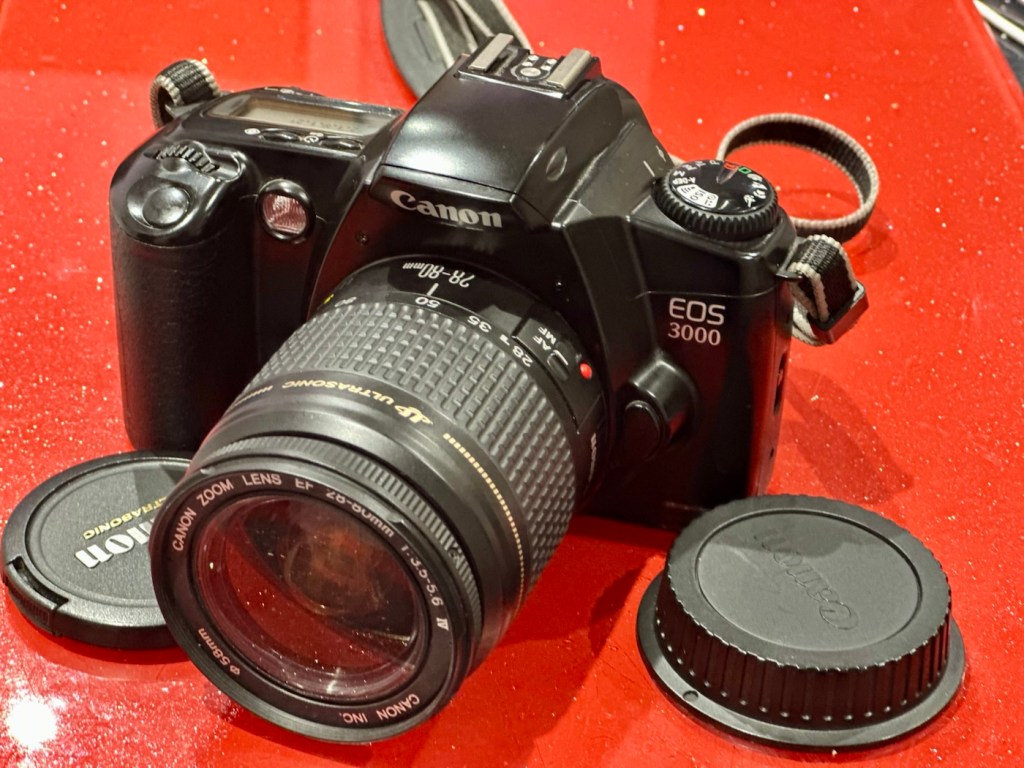
I’ve cleaned the exterior and used some ceramic cockpit polish to finish it off, I must admit it’s looking very good.
Here I have yet another nice little camera packed with features that will make a great camera for someone to learn the basics of traditional photography with. However, it’s remaining in my collection for the while.
It’s yet another camera that I need to test, another one that needs to have a film put through it for its final test, however I am 100% confident of it’s capabilities and the fact that it operates just fine and all its settings, buttons and controls are doing exactly what they should. When I do get to put a film through, I will link to it here.
Another successful restoration and return to use of another old camera that had been put to one side. Not that this one really required a lot of attention, just a bit of servicing and tlc.
Thanks for passing by. It’s always very much appreciated


You must be logged in to post a comment.