Canon Powershot S5 IS

What the listing stated:

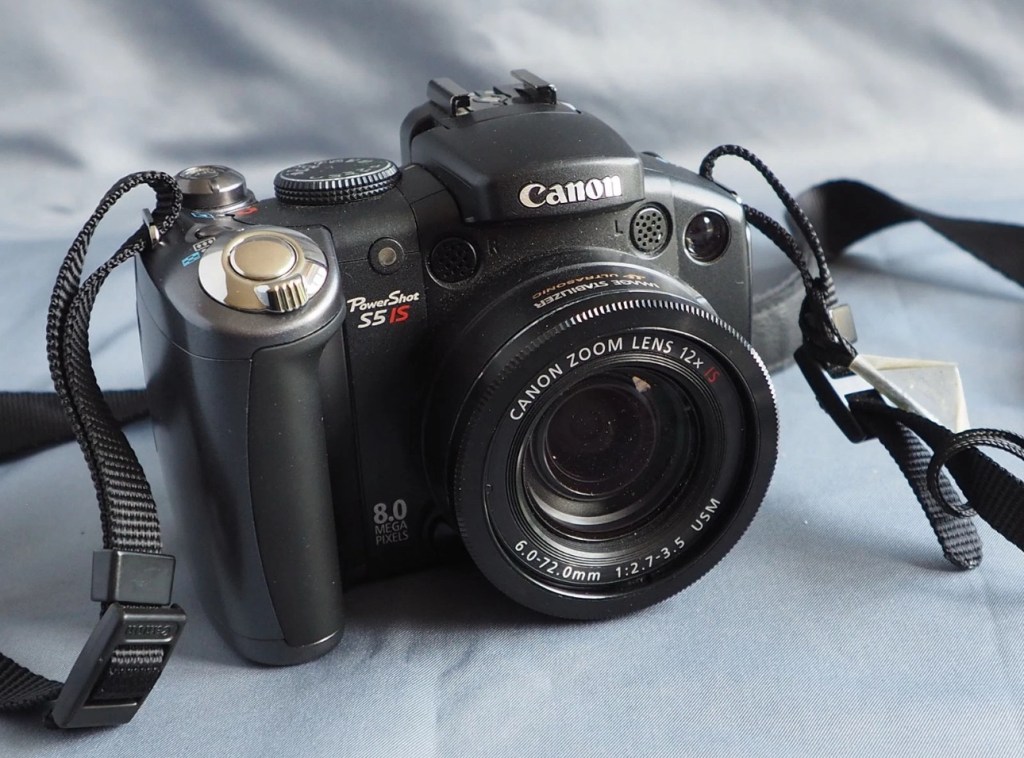
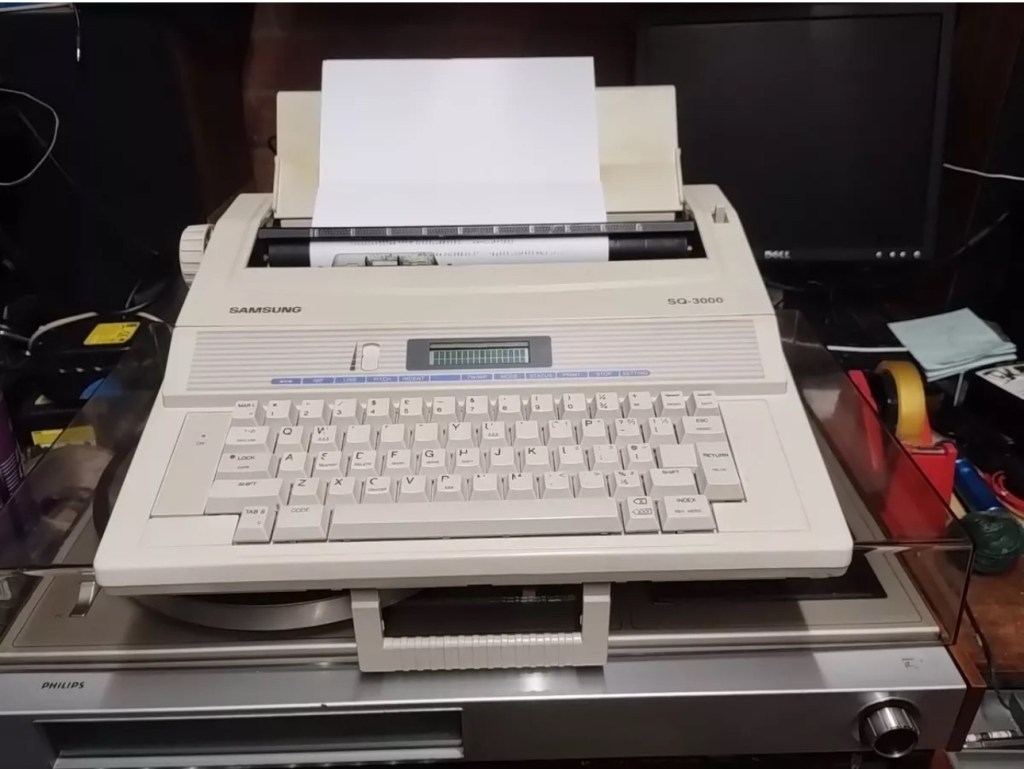
This is a Canon Powershot S5 IS Digital Bridge Camera which is faulty and sold for spares or repair only.

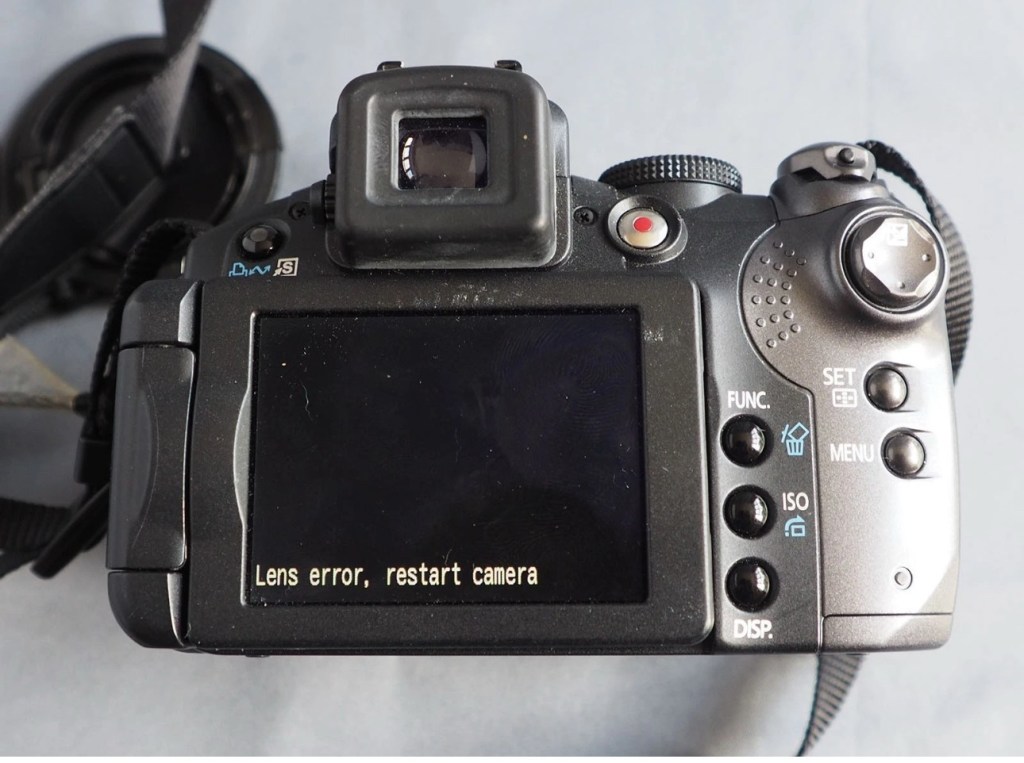
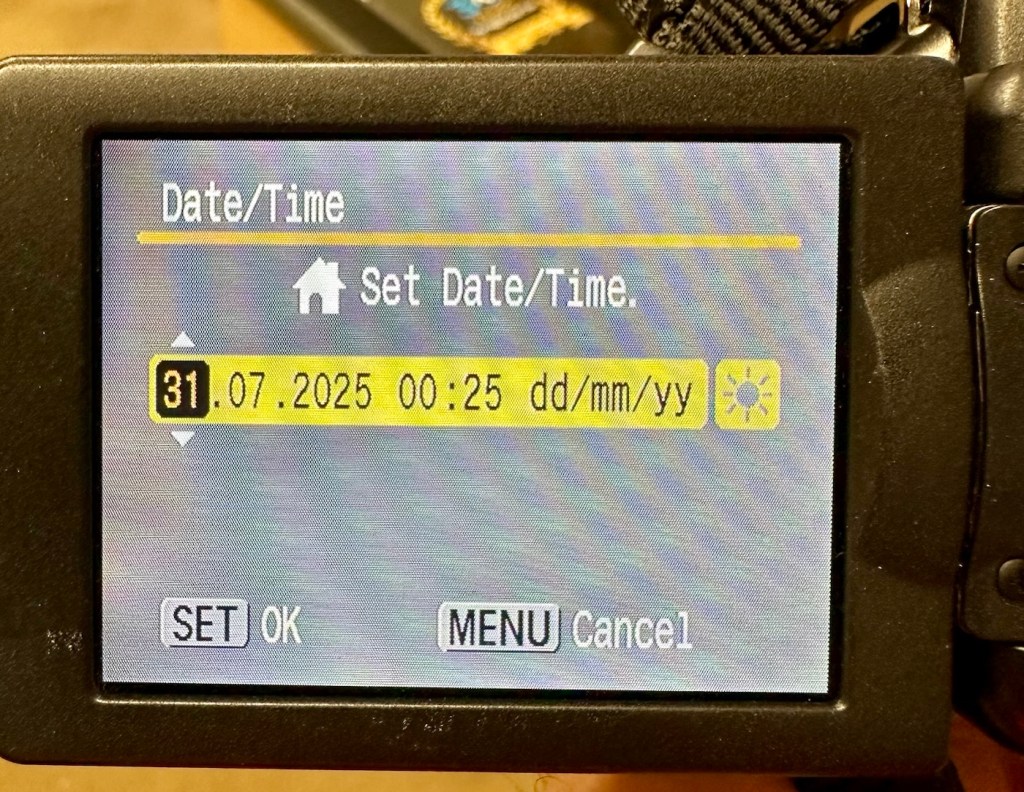
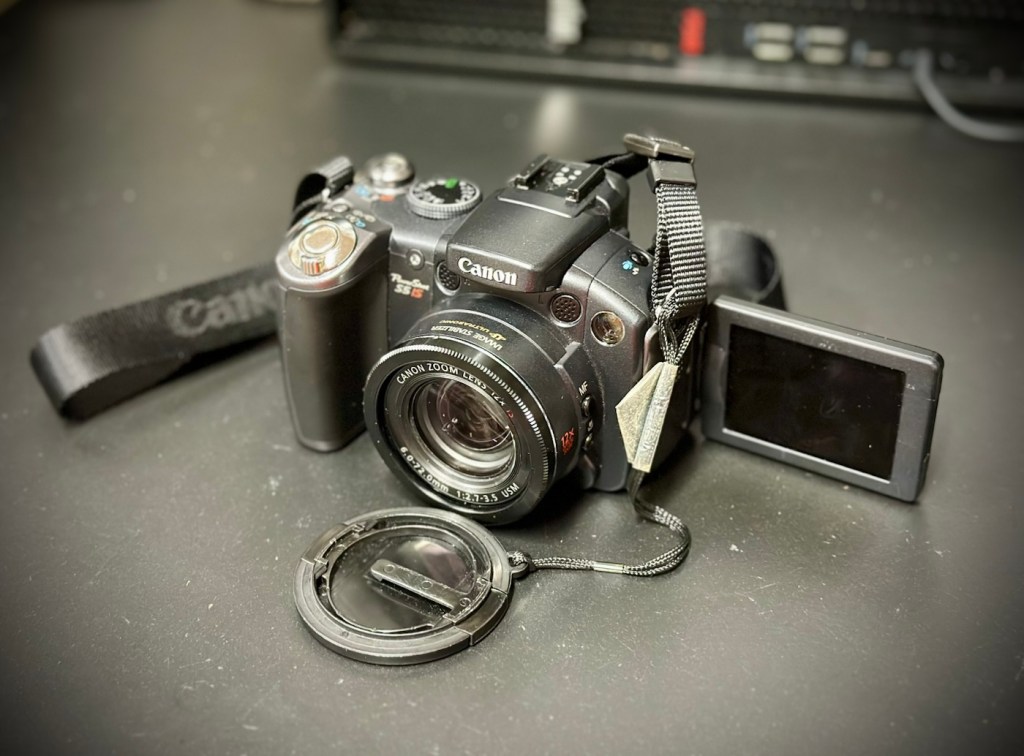
The camera is in excellent cosmetic condition but when switched on there is an error message saying lens error please restart camera (see photo).

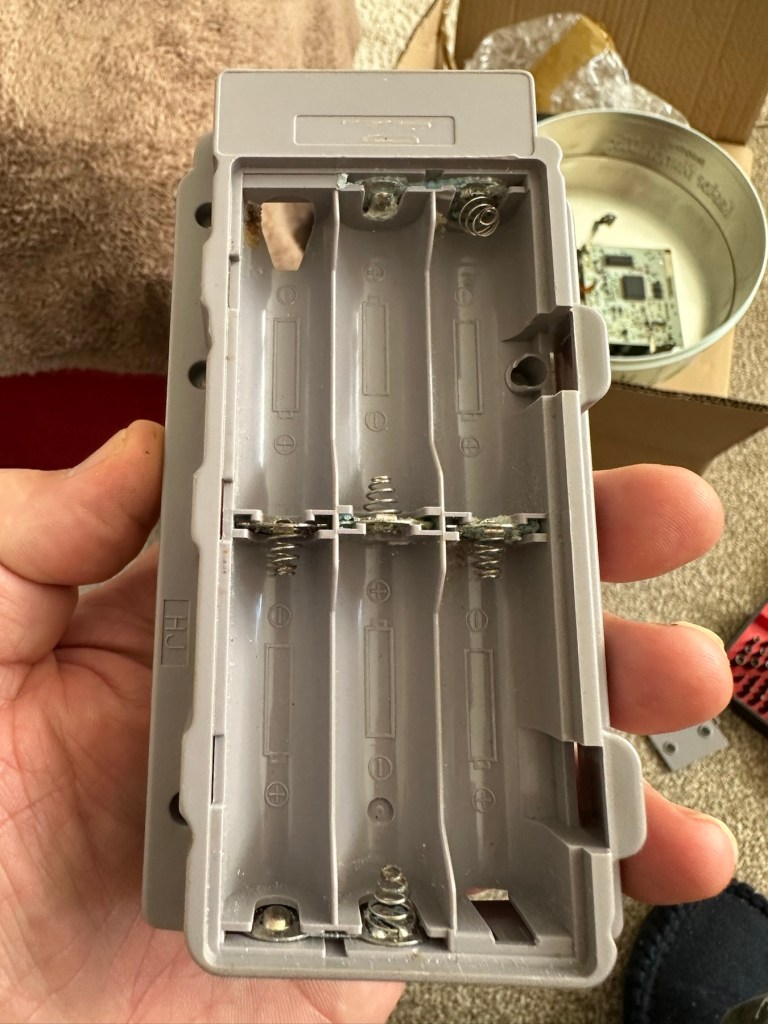
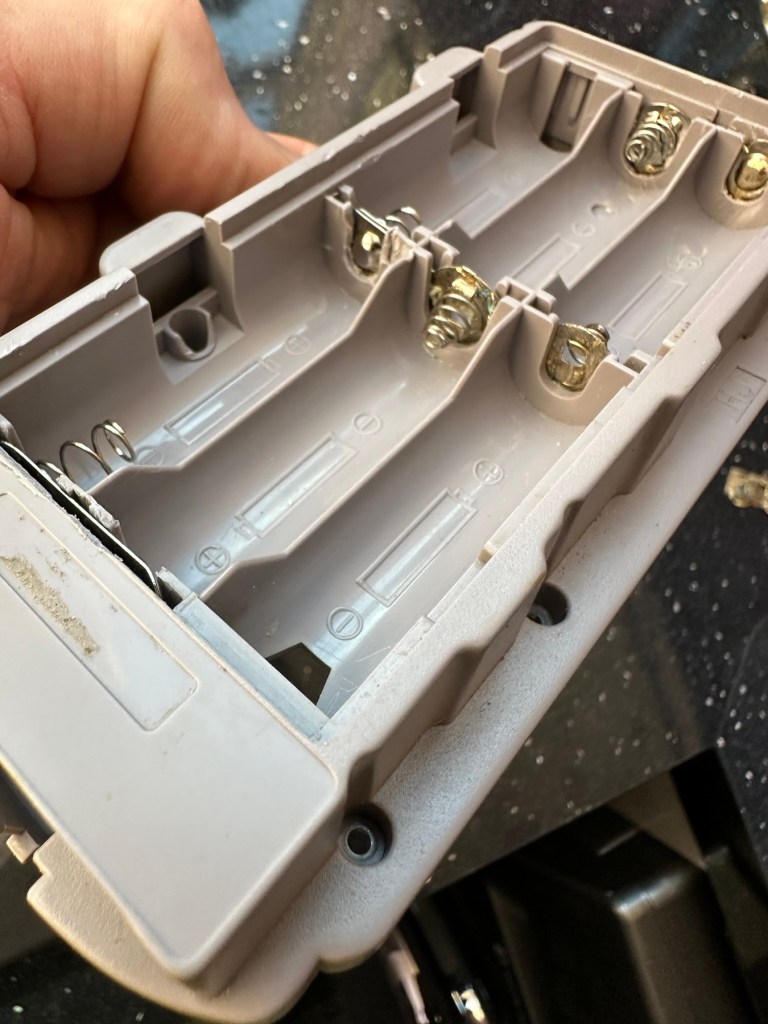
It takes 4xAA batteries and SD cards (not supplied)

A little bit about this camera:

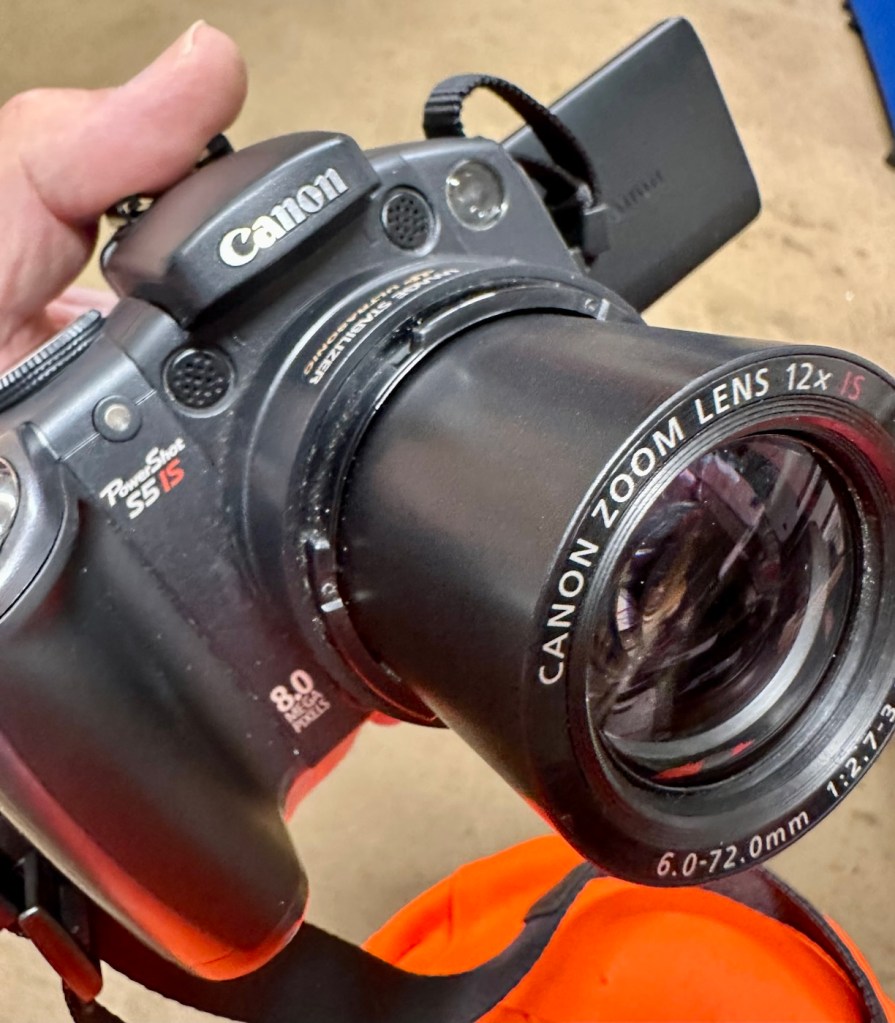
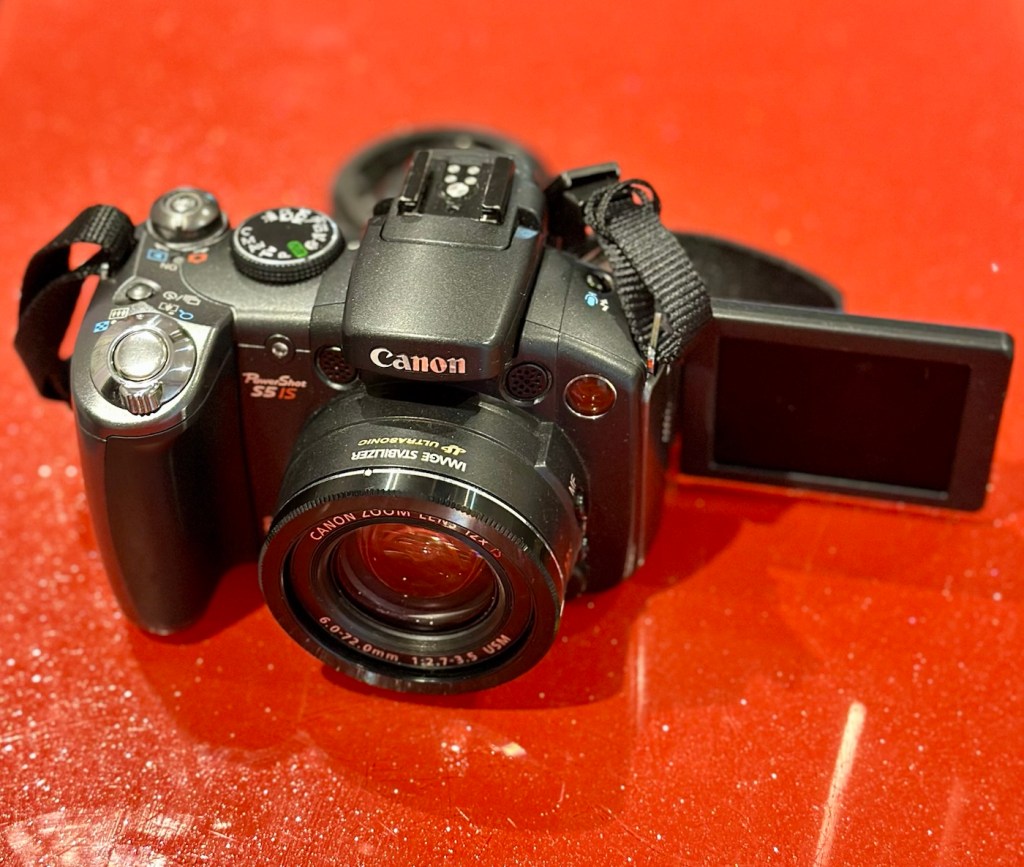
Released in June 2007, the PowerShot S5 IS is the successor to the S3 IS model launched in April 2006, which was well received for its optical image stabilization, high zoom ratio and ample movie-shooting capabilities. Like its predecessor, the high-function, high-performance S5 IS features a 12x optical zoom lens equipped with a lens shift image stabilizer and realizes fast, quiet zoom performance by means of a high-speed Ultrasonic Motor (USM).

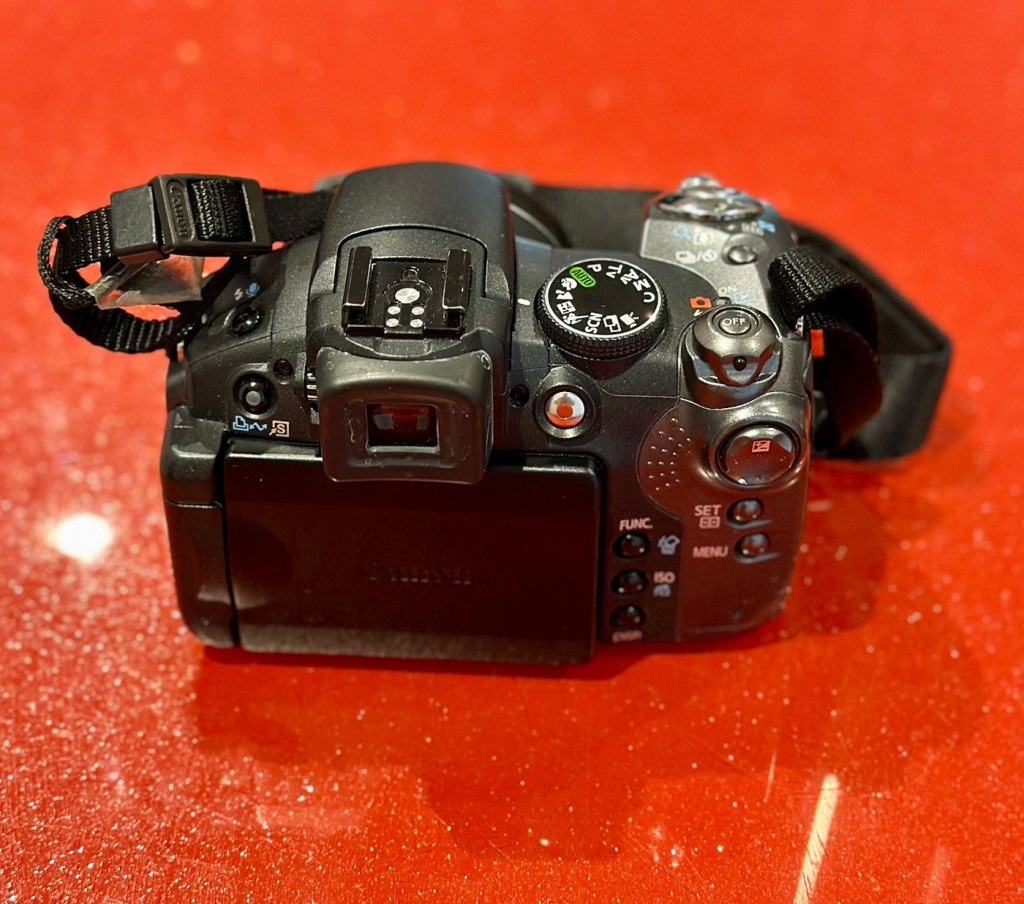
Compared with its predecessor, the PowerShot S5 IS delivers improved imaging performance through the incorporation of an 8.0-megapixel CCD sensor-increased from 6.0 megapixels in the S3 IS-and an upgrade to Canon’s high-performance DIGIC III image processor from the earlier model’s DIGIC II. Additionally, the S5 IS employs a 2.5-inch high-resolution (approximately 207,000 dots) vari-angle LCD monitor that offers a wide viewing angle to realize a high level of shooting flexibility, and includes a hot shoe for compatibility with Canon EX-series Speedlite flashes.

The new Canon PowerShot model supports the recording of high-quality movies by enabling users to make use of the camera’s optical zoom and Face Detection AF/AE functions. The S5 IS also offers an LP movie mode, which employs a higher rate of image compression to enable longer recording times for VGA movies, as well as high-quality stereo sound, and seamless transitions between the shooting of still images and movie recording.

Canon

I’ve been watching this one for a little while, it looks very good cosmetically and I’m surprised as I was the only one that bid on it. I’ve paid a total, including postage of £8:81GBP and I think that is an absolute bargain. An issue with these cameras has always been a motor/lens error. These motors within these cameras are an ultrasonic motor (USM) and to be totally honest they can be quite delicate and are known to give up as such, if even a grain of sand was to get stuck in the lens gear mechanism. They are delicate souls that don’t really like hard work 😂

A good clean is sometimes all that is needed to get these cameras working again, however I’m not going to get ahead of myself here, as I just don’t know what kind of pain the previous owner has inflicted on this camera. I just hope they have not been too brutal.

Assessment:

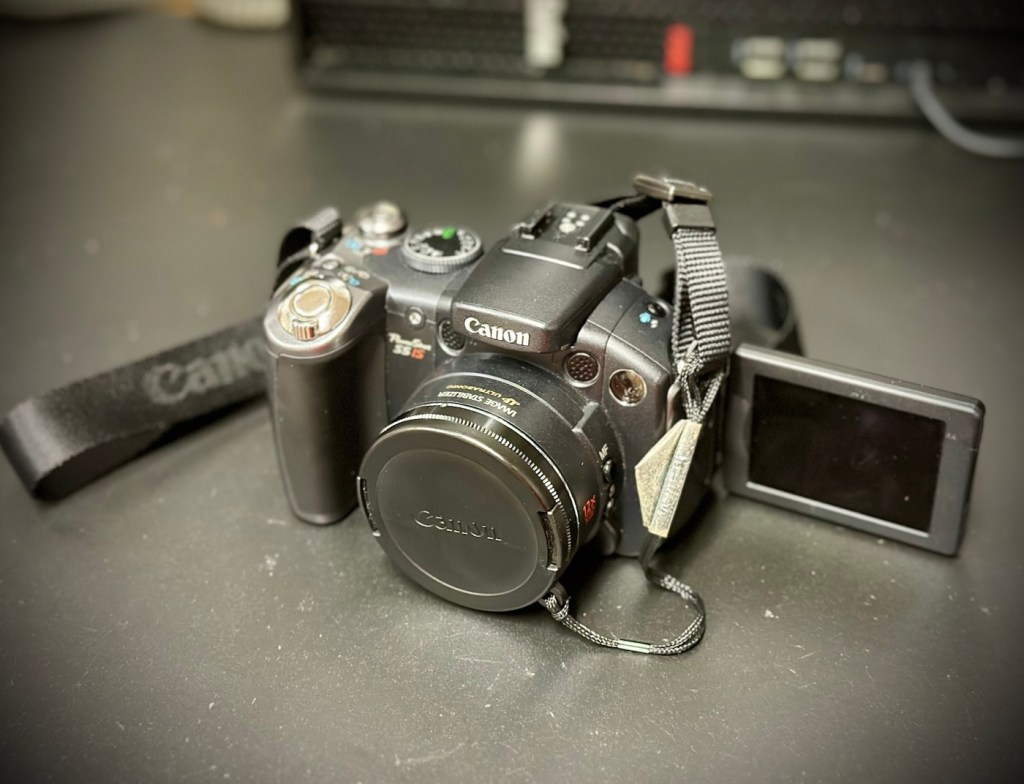
Now this is an absolutely beautiful looking little camera in pristine cosmetic condition. The previous owner has in fact been extremely careful and treated this camera very well.

The elephant in the room

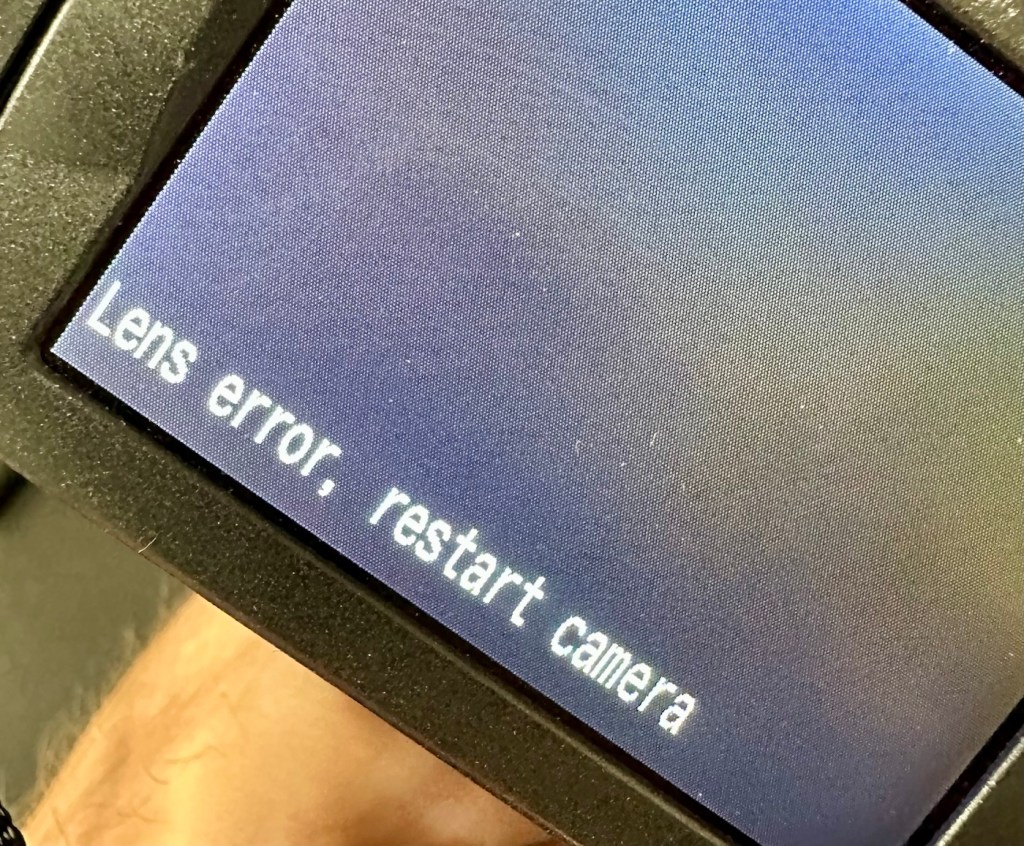
The only issue that I can see is the one that flashes up on the screen, continuously when to turn on the camera. Even moving the telephoto/wide switch when starting up does not clear the fault. I really need to get the lens extended to see what’s going on. If I can do that without getting the screwdriver involved then that is even better.

Repair:

The lens remains stuck in the closed position despite there being movement with the lens iris, all other actions are as expected, just no extension of the lens turret. It does sound as if something is trying to move inside.

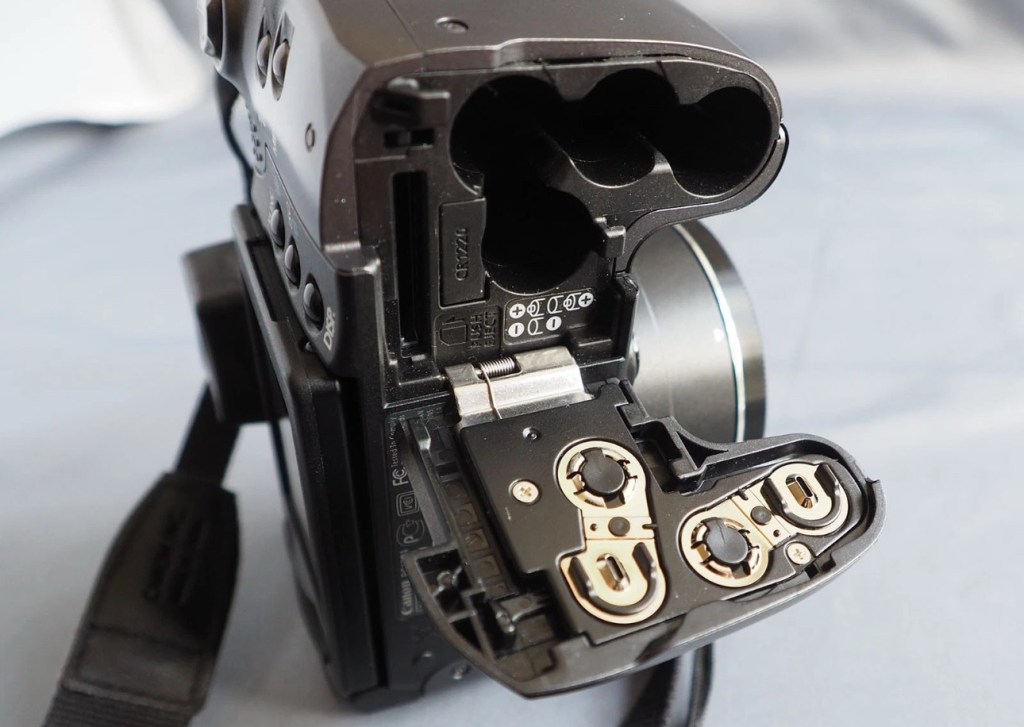
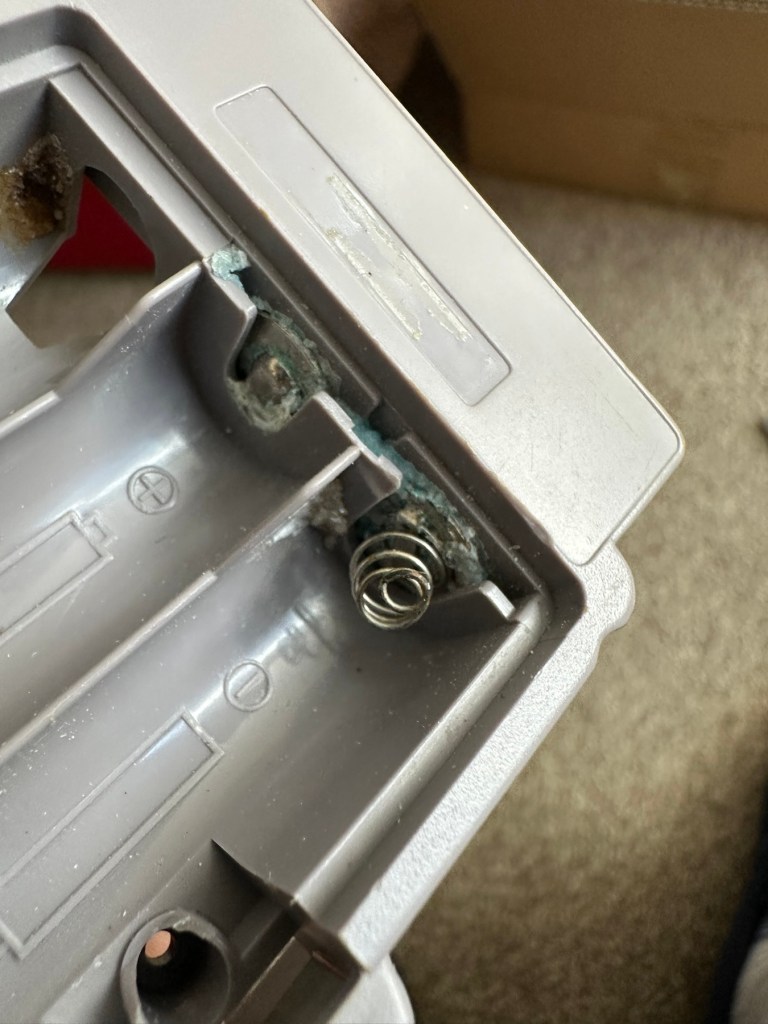
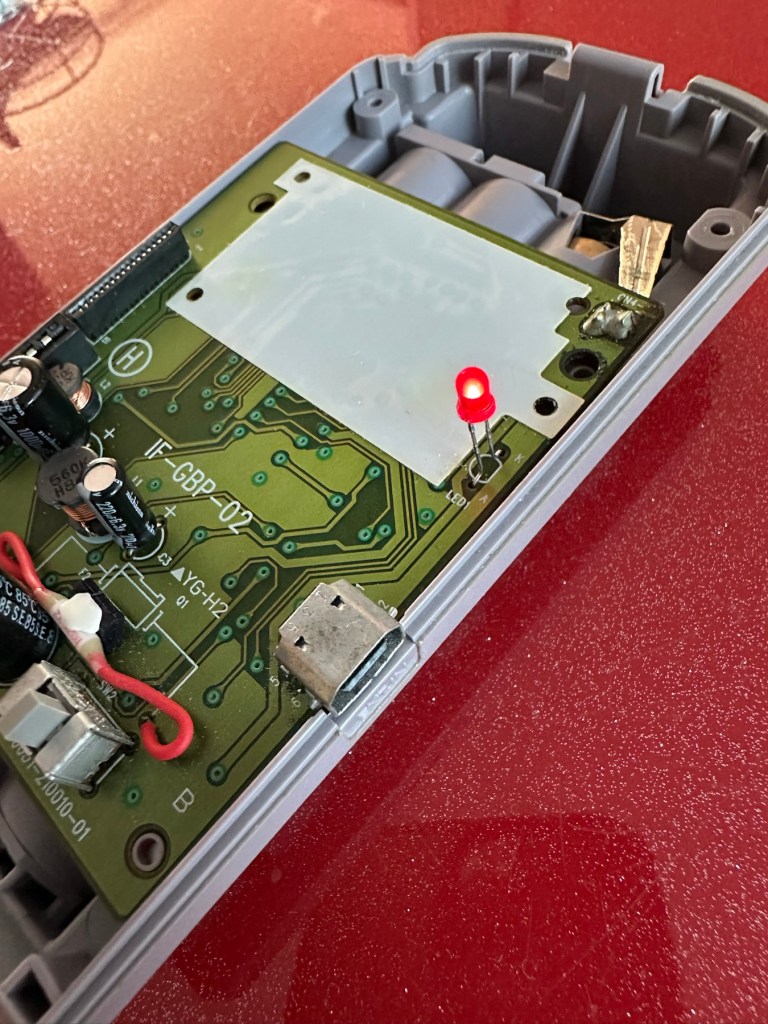
I’ve tried resetting and going back to factory defaults with no joy. I have been noticing though that when i put in a time and date, it is resetting every time i turn the camera off and then back on again. This is usually a sign that the small internal memory battery is dead, and as it’s probably been in the camera since 2007 it’s probably a good idea to change it. If I can find it. That is.

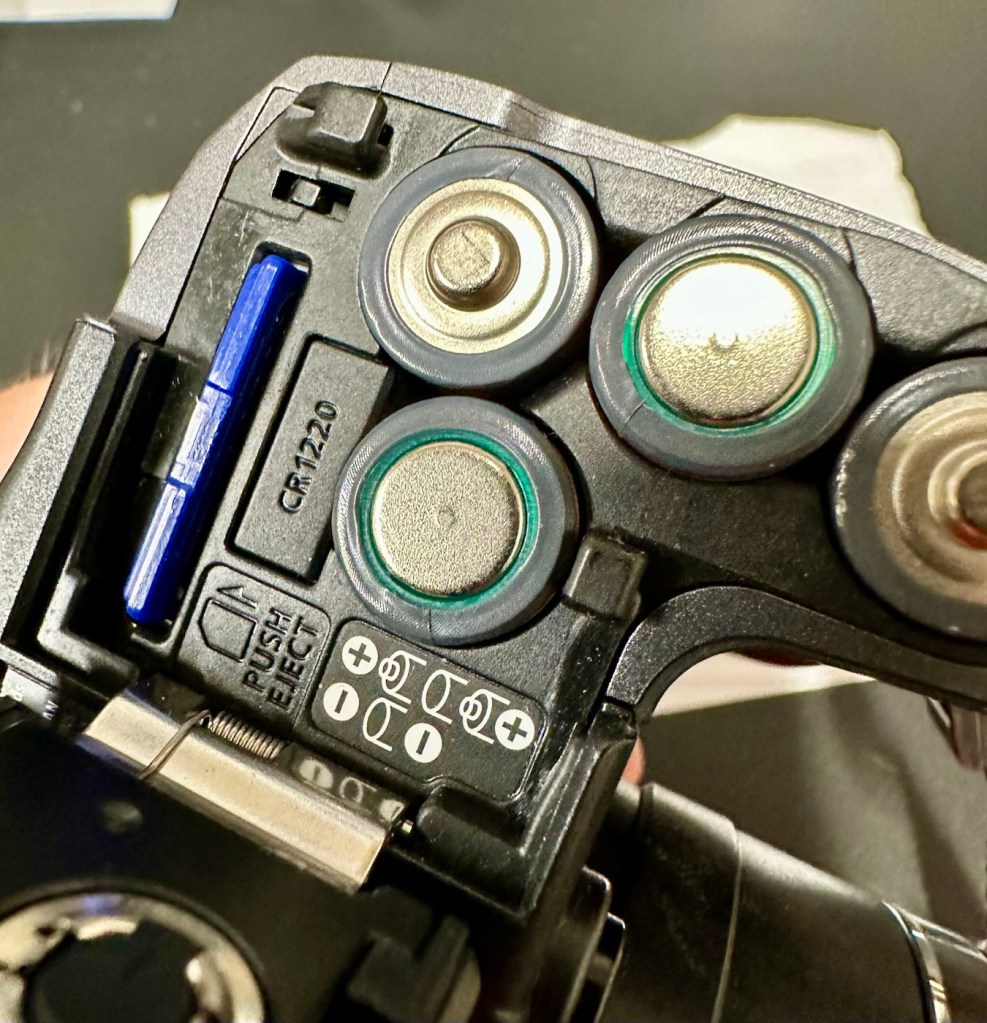
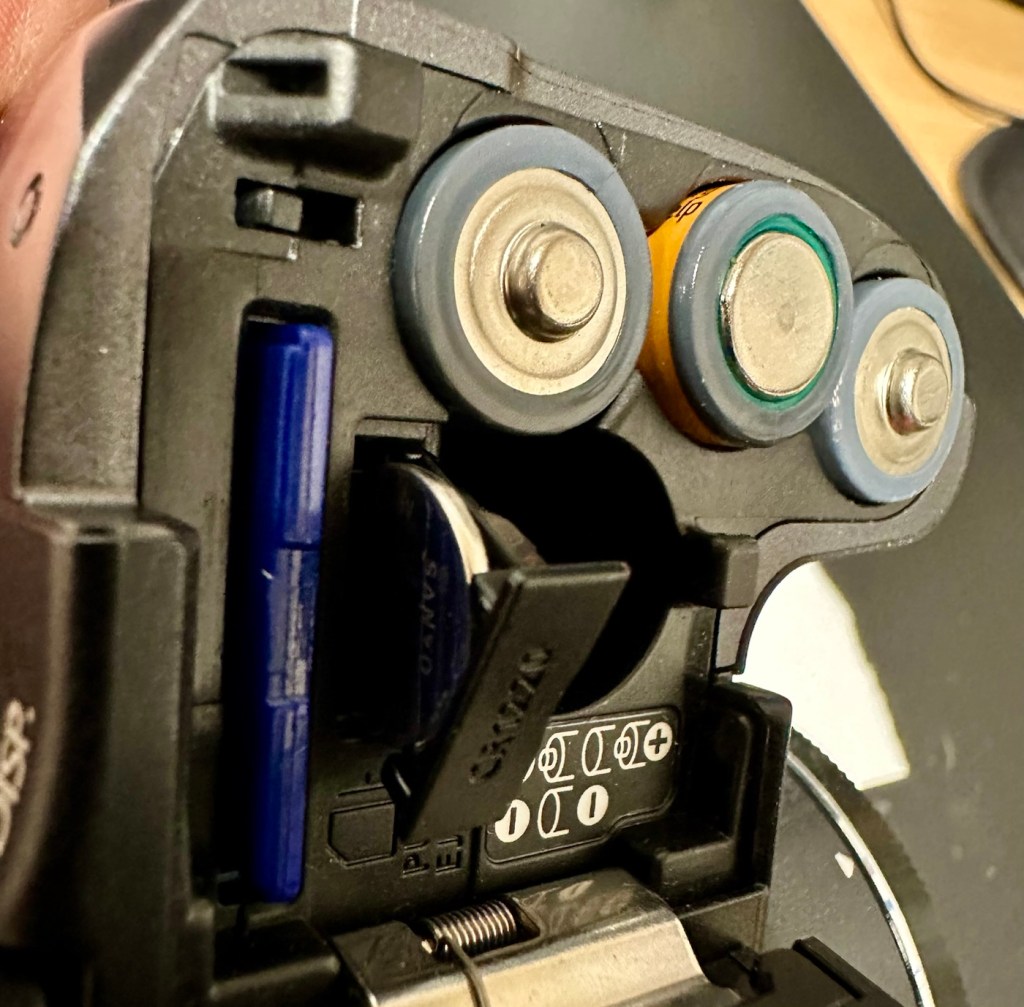
Panic over I have found the memory battery (CMOS) it was located in the battery chamber beside the SD card slot. It’s a small CR1220 coin battery and I have one of these in my battery box, so this will be replaced as soon as I get it home, now replaced all is working as it should be.

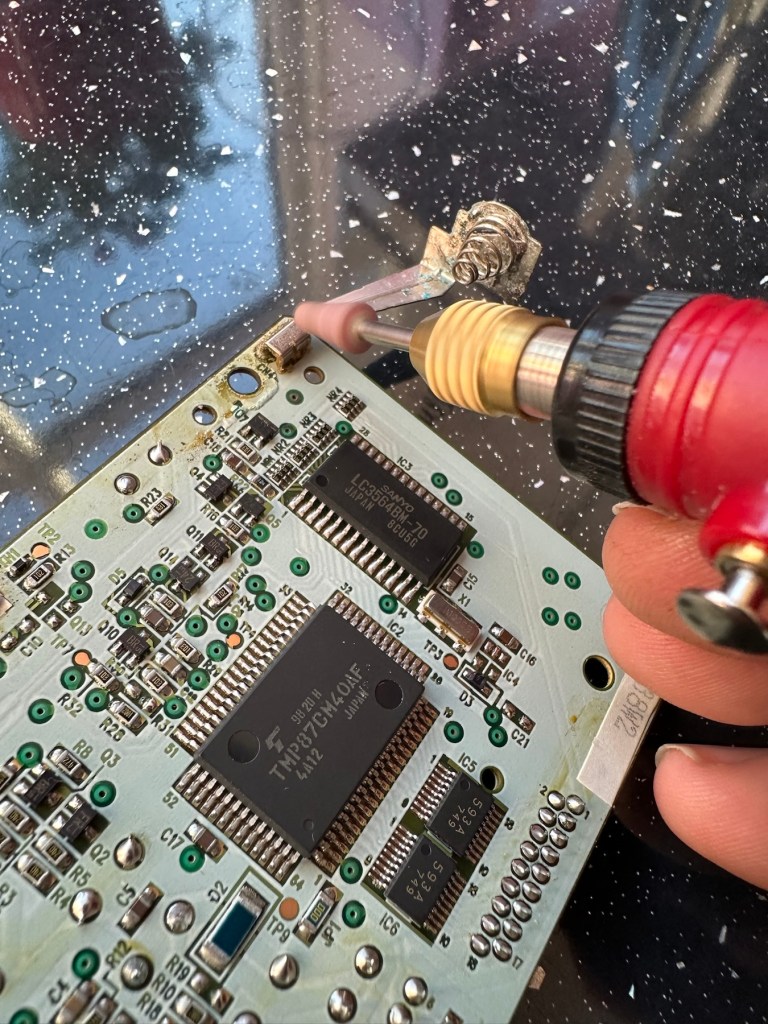
Back to the error. The error is more often than not caused by something, even a grain of sand getting in the turret area and catching in the workings, as these cameras are so delicate. We have to somehow get into the turret area to see if we can dislodge whatever is causing the problem.

I’d advise against using canned air here, as doing so would most probably dislodge the obstruction, however the route down the turret leads directly to the image sensor and you don’t want debris on that. Careful is the buzz word.

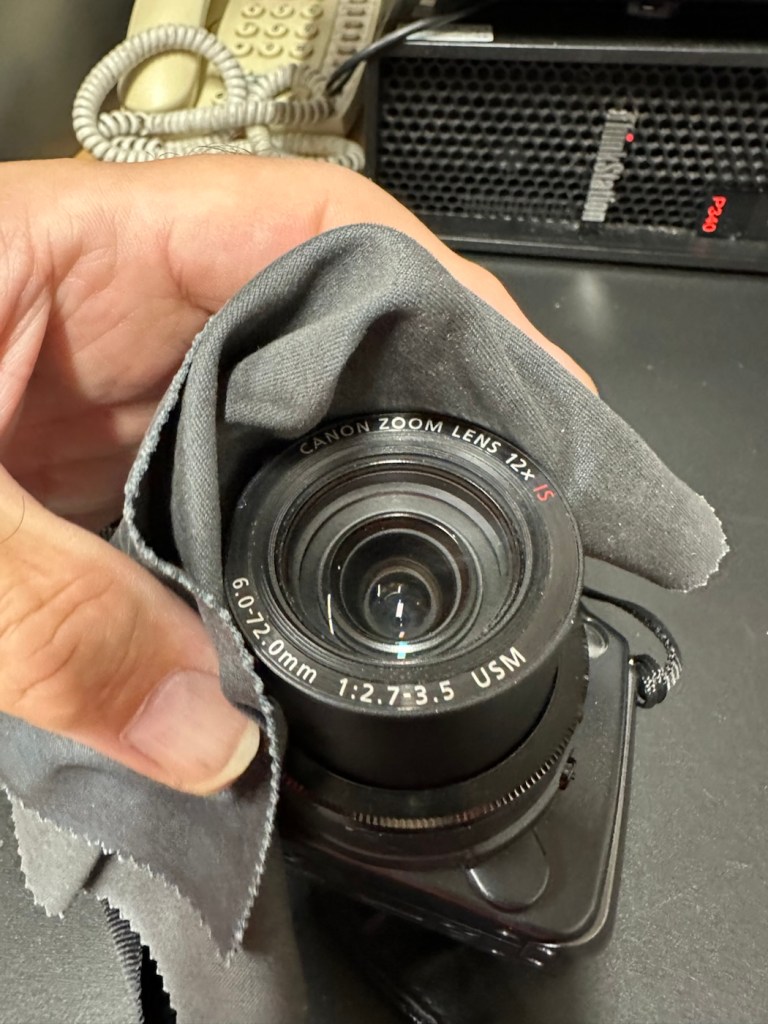
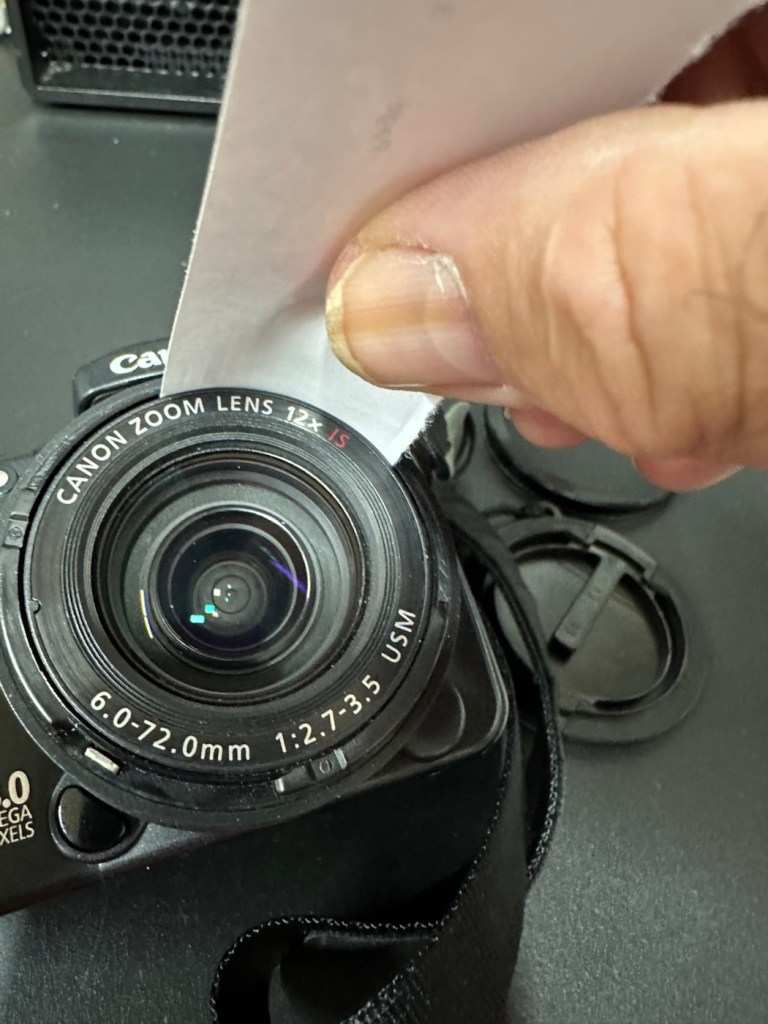
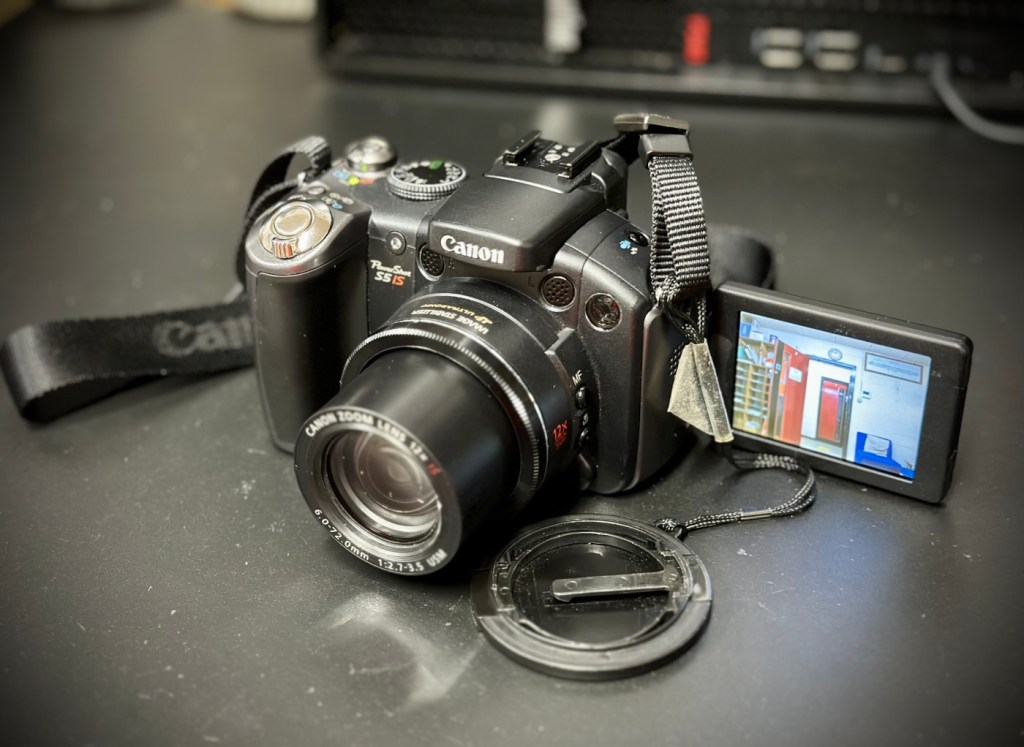
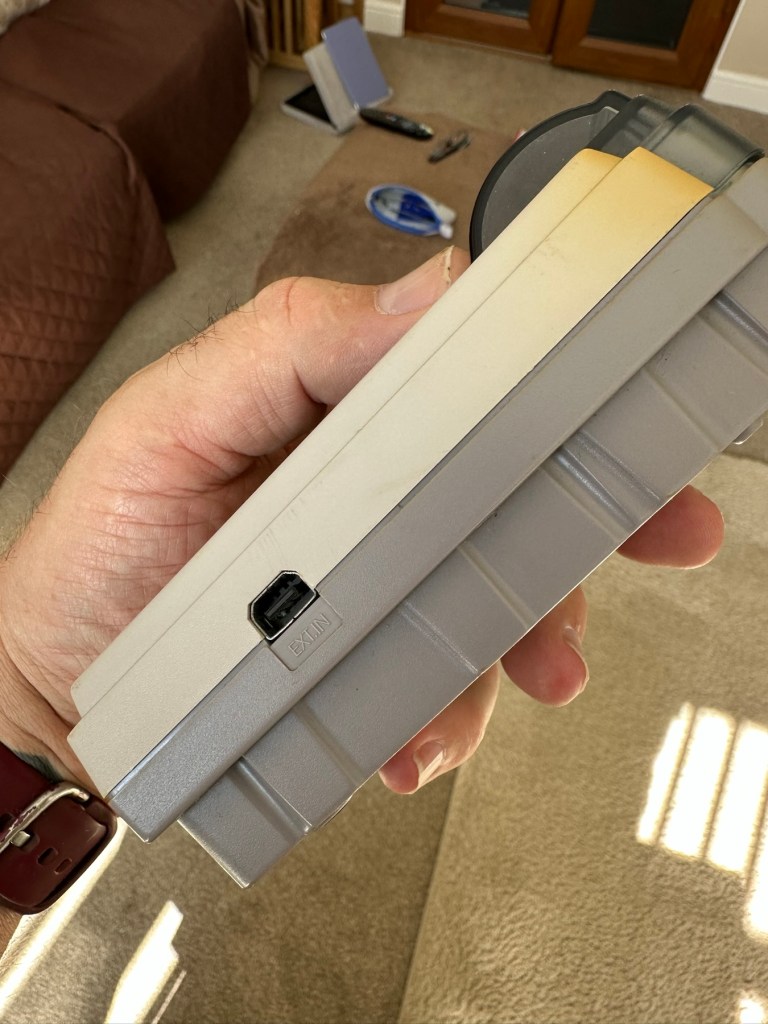
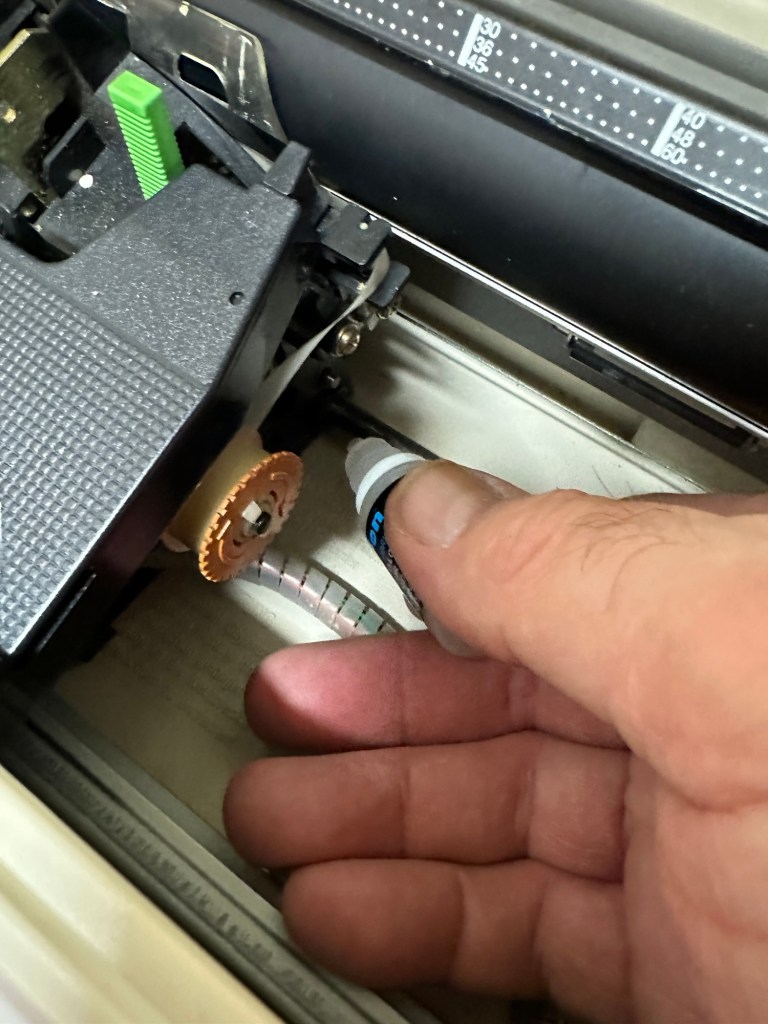
I cut a small strip of paper and feed this down between the tiny gap between the lens and the body. I manoeuvre this around the full circumference of the lens, and as I do I can feel some slight resistance as if something is there. I go around again and that resistance has gone. I turn the camera on and still there is no extension of the turret. At this point I put the mode dial on the camera into video mode and then turn it on. Straight away the turret extends and what looks like some grains of dirt fall from the lens area, at last we have the lens extended and there is an image on the LCD screen.

I clean the lens turret with an optics cloth and you can see it was very dusty inside, there had definitely been some debris enter this area causing the issue.

I operated the on off button a number of times to ensure the turret motion was smooth, and it was. There are no further obstacles in this area, causing the mechanism to seize.

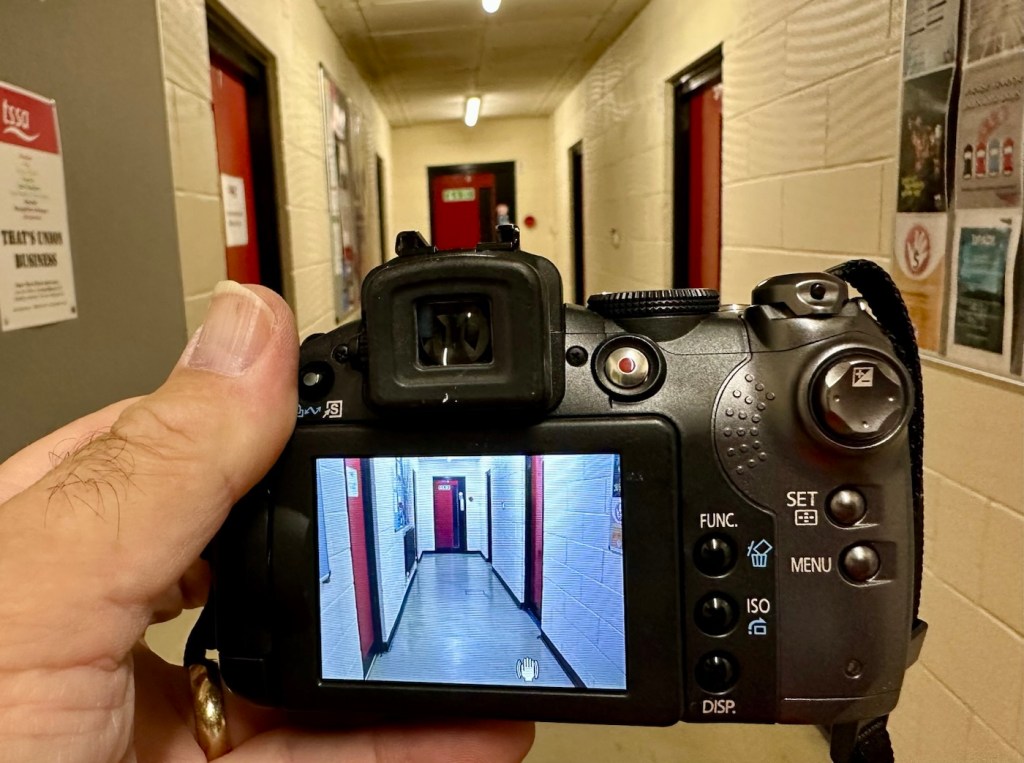
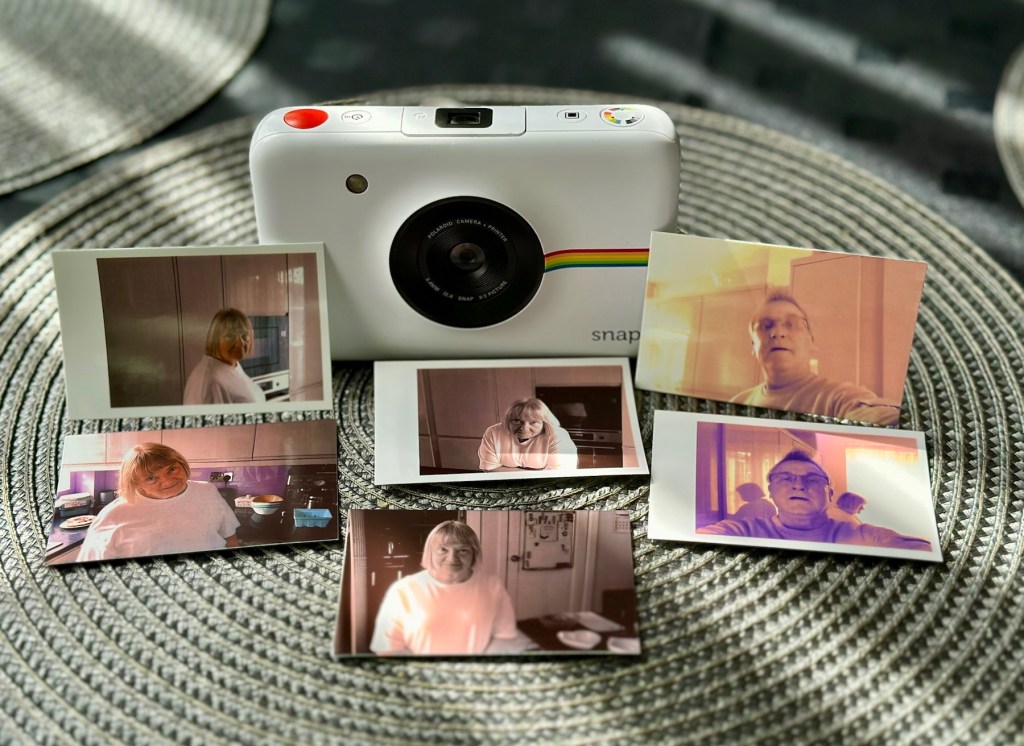
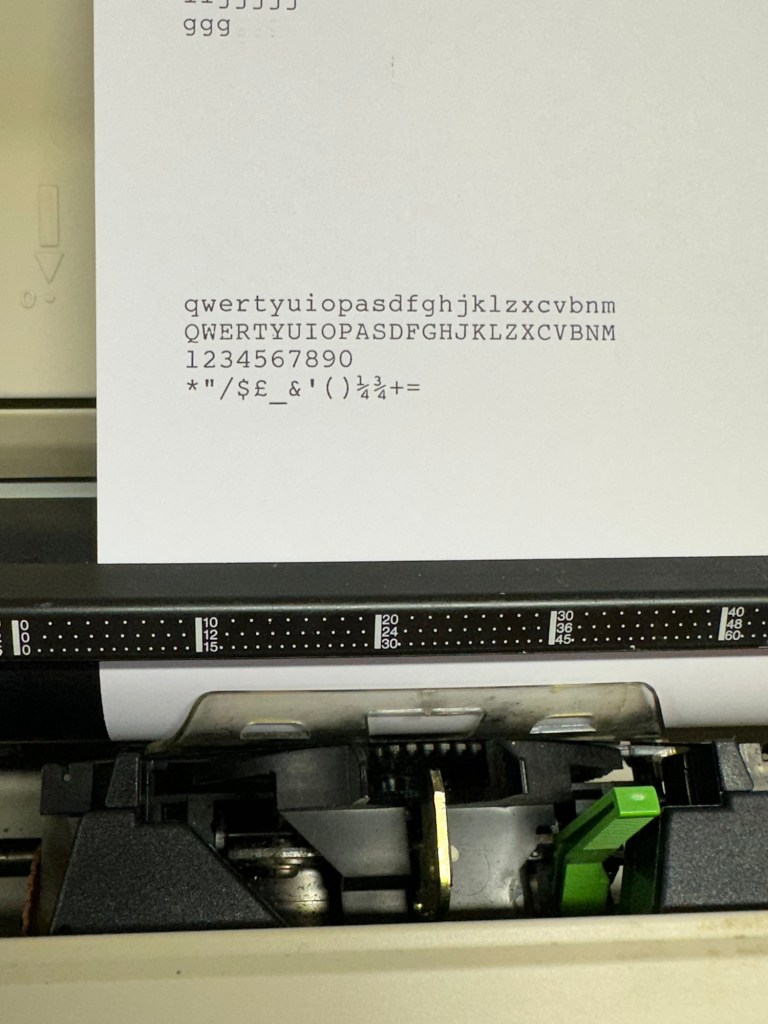
I have taken a number of test photos trying out all modes and features and the camera is just perfect.

The camera operating as it should

I’ll show a few more photos below, once I have been able to download them.

Result:

This camera is simply a little beauty. It is probably one of the best looking of the later generations of bridge cameras but maybe not the best photo quality wise at 8mp. But who cares though, when you are as good looking as this?

The camera is pristine in my eyes, and for just over £8GBP this is a bargain. These fixes do not always involve a total dismantling of the item, sometimes it is so simple it’s unbelievable. Here I used a piece of paper and a lens cloth, that’s all. Now a camera destined for an old box in the loft and then the tip has been saved to carry on taking photos for a good few years yet. In fact here are a few photos that I have taken randomly around work, and around my garden.

I’m probably going to use this camera with its pivoting screen to construct videos to display on this site regarding future repairs, I’m going to ensure it gets good usage under my ownership.

Did I tell you how much I love this camera and how handsome it is? Oh, I did, sorry about that, I get really carried away with these older cameras, I just wish everyone else could get as excited as I do, and maybe so many of these wonderful machines wouldn’t then, just get thrown out with the bath water.

Thanks for passing by. It’s always most appreciated.

Polaroid Snap camera

What the listing stated:

Untested

EBay

Hmm….EBay untested, the number one way to try and flog knackered crap without accepting any responsibility. Caveat emptor as they say “Buyer beware”. Hey, I’m a rebel it might even work…who knows?

About this camera:

The new Polaroid Snap camera attempts to recapture the fun of instant photography, but with a modern, digital twist. 

The Polaroid Snap prints out 2×3 inch photos straightaway using ZINK (Zero Ink) technology, and can even store a back up of the photo you’ve just printed on a memory card. The ZINK paper also has an adhesive backing so you can also use each print as a sticker if you wish. 

You don’t however get a rear screen, or an electronic viewfinder. There’s also relatively few changes you can make to settings. The Polaroid Snap is available in four different colours, with one of its unique selling points being a relatively low price (£89 in the UK). 

This cost doesn’t take into account the price of supplying it with the paper which you need to print your, er, prints though. 

The Polaroid Snap has a 10 million pixel sensor, and a fixed length lens. It was designed by the Ammunition firm, which has made its name working with the likes of Beats by Dre, Square, Lyft and other big brands.

Amy Davies – photography blog

The fact this camera has gone at such a low price speaks volumes to me. I suspect it has numerous issues. I have recently been working on a number of these “Instant” cameras namely the Fujifilm Instax range that are quite good to be honest on a similar photo output size of 3×2 inches. I’ve decided to have a look at the original Polaroid-range and this Snap camera became available. I believe these cameras came out circa 2016. The difference between this and original Polaroid cameras is that this one uses a 10mp camera and uses an additional SD card. With this camera you can also frame your shot using a number of different add ins and print using Polaroids Zink paper. The paper is a thermal type, and the picture quality is not all that brilliant if what I have read is to be believed. This camera is a bit more “advanced” than the basic Polaroid of the 70s, hence there is a bit more that can go wrong with it.

It originally retailed at £89GBP and is now discontinued. Current prices are between £20-£40GBP and I’ve purchased this one with postage for a total outlay of £10:94GBP. Film prices are similar to that of the Instax range.

Now we can do an assessment of what has arrived.

Assessment:

This camera is dated inside as November 2016, so it is currently a youngster at only 8.5 years of age.

It’s arrived and it’s a nice little unit. A little unclean but this will buff up ok. The battery is dead, but once I plug in a micro USB it’s charging ok.

Charging indicator

The port looks fine so there is no issue here. I open the back and whoops! There is some film inside but I hope this doesn’t fog! This is a film that uses a thermal printing process, but does still have its sensitivities. And in the SD card slot is an 8GB card, so for the price I’ve paid for this unit the card is a superb bonus.

And as I’m impatient, I switch the camera on after a short charge and I take a photo, after adjusting a few settings the printer kicks into life and a picture starts to appear.

There were only two film pieces inside and I suspect they have been in there a few years as they are yellowed through age and this is noticeable on the rear where they are very yellow. I’ll have to get some new film to test for real.

So, at the moment it’s all looking very promising, the picture isn’t brilliant quality but that has always been an issue with these units, however I believe a copy is saved to the SD card so you’d always have a reference. The printer is a bonus I guess, for printing out those special moments that you want to see instantly just like good old Polaroids. As for repairs I suggest at this point there is very little wrong with this unit. I do though have to explore its functionality and settings and do some reading up on the basics. When I’ve done that I’ll have a better idea.

I’ve checked the SD card and can confirm it is taking pictures without the need for paper and saving to the SD card as it should. It did also contain 110 pictures of what looked like holiday photos from the original owner. I have contacted the previous owner and they have stated the photos aren’t required so i have reformatted the card. There lies the security issues with selling such items and not checking prior to sending off to strangers, it really is basic security folks, delete and format before selling anything to anyone.

The only items that seem to be missing from this unit are the charging/transfer cable of which I have quite a few, and a magnetic lens cover that really isn’t necessary. Other than that it’s a complete unit.

Repair:

The battery has been left to charge, and this has been achieved with no issues at all. All indications are as expected.

All charged – no issues there

The unit has been cleaned and this has come up lovely, I know the actual camera works as viewing the results on the SD card confirms this, and for a 10mp camera the results aren’t all that bad.

I now just need to get some film to check out all the features that are available, only then can I really say the camera is working.

There are only really six options available here on the camera, via the dial on the top you have the choice of black and white, sepia effect or full colour, and on the next button you have a choice of with or without the Polaroid type frame, hence that is your six possible options. I’ll show some examples of each below.

Result:

What a cracking little unit.

And it’s working

As basic as basic can be but a great fun item all the same. Nothing technically wrong with it and sold as untested just because the owner couldn’t be bothered to charge it and check it over. Their loss is my gain to be honest, and I inherited an 8GB Sd card as well, one of those rare occasions that you buy such an item and it falls in your favour. I deserve one of those moments to be honest, most of my purchases are faulty junk. This makes a pleasant change.

Im keeping this, for the while. There may be another youngster in the family interested in this one. I’m looking at obtaining the next one up in this range to see the differences, and the advancements that they have incorporated. (It must be broken of course 🙂)

Thanks for passing by, as always much appreciated.

Nintendo Gameboy Printer

What the listing stated:

Listing for a FAULTY Nintendo Gameboy printer unit.

The printer is FAULTY, it has a lot of battery leakage in the battery compartment, so doesn’t currently power up. Some of the terminals look like they should clean up pretty well, but i cannot guarantee. 

As it doesn’t power up, i haven’t been able to test it. So can’t guarantee thats the only issue.

The casing has some discolouration, marks and other imperfections here and there.

I haven’t attempted any repairs and cannot guarantee it is fixable. 

SOLD AS FAULTY/spares/repairs.

EBay

Here are the supplied pictures:

I think I’ve got my work cut out with this one. It’s another piece of unloved technology from 1998 looking for a new life. I’ve paid a total of £19:89GBP including postage for this item, probably at the higher end of what I’m comfortable with for an item in this condition. It has some serious corrosion issues that could go a lot deeper than just the battery contacts. There is a definite issue with discolouration, however I’m happy with that as it will be my guinea pig for my first attempt at retrobrighting, this process i discussed in this post a few days back: Retr0bright – What’s that then?

My plan of attack for this unit is to completely dismantle it, give it a thorough clean, retrobright the casing and then attend to the electrical / component issues.

Here’s some history about the printer unit:

The Game Boy Printer, known as the Pocket Printer in Japan, is a thermal printer accessory released by Nintendo in 1998 which ceased production in early 2003. The Game Boy Printer is compatible with all the Game Boy systems except the Game Boy Micro and is designed to be used in conjunction with the Game Boy Camera. It also prints images from compatible late-generation Game Boy and Game Boy Color games. It runs on six AA batteries and uses a proprietary 38mm wide thermal paper with adhesive backing, originally sold in white, red, yellow and blue colors. In Japan, a bright yellow Pokémon version of the Game Boy Printer was released, featuring a feed button in the style of a Poké Ball.

Wikipedia

If I manage to get this into a working state it will be added to my GameBoy collection.

I just need a suitable lead to connect between the console and the printer, and a small roll of 38mm wide thermal paper. I’m currently sourcing these.

Assessment:

Well it certainly has the yellowing issues and I will cover that in a separate post where I will have my first attempt at Retrobrighting the unit. With batteries in place, the unit is very dead and no matter how many times the switch is operated, it remains dead. Battery terminals are a mess and there is a lot of evidence of battery leakage and corrosion.

The board inside hasn’t been that badly affected by the corrosion, however one track from the battery terminal was showing signs of decay and will need attention. There are parts of the board that will need reflowing as there are some dodgy looking solder joints.

I’m happy that all the issues have been identified and I do actually have the items to carry out the repair. I will focus on the external issues such as the yellowing before dealing with the contacts and main board issues. Stay with me now, the repair begins.

Repair:

The Retrobrighting process for the shell assembly can be found in a separate post here: First attempt at Retrobrighting.

Wow

Needless to say the results are fantastic and I shall look at incorporating this method into more of my future projects. I have since given the case a second treatment and it is pretty much perfect with no sign of discolouration.

As you can see in the pictures above, the battery compartment suffered from some severe acid contamination. Using a grinding pen and a lot of cleaning solution, three of the five contacts were saved but two were beyond repair and I had to replace these with new contacts.

I then loaded the battery compartment with new batteries and then checked the two terminal ends to assure continuity, this was confirmed and continuity exists throughout. As a result the battery issues and power supply have now been resolved.

I mentioned that one of the tracks on the main board was showing signs of corrosion. I filed this down, cleaned it, and then brushed the board down with IPA and checked the continuity and this was fine. All suspect solder joints have also been reflowed, they are all looking good and new.

I had previously removed the motor from the board to assist with cleaning, as i didn’t wish to damage any of the ribbon cables. I then reconnected the cleaned and freshly repaired board, to the restored battery compartment to see if anything lit up. It sure did.

We have a light

This was pleasing as it now showed that we had continuity from the battery compartment to the board. I then added the motor back in and we also had some movement.

Movement restored

This again was very pleasing as everything we have done so far seems to be working. However it proves nothing yet until I can get the correct cable and some correct sized thermal paper to see that it actually does print, or even advance the paper. Those items are being sourced, and I don’t want to jump ahead of myself just yet as there could still be a number of yet to be addressed issues that may arise. It’s very much a fingers crossed period until we can test the unit properly.

Let’s clean all the other plastics whilst we await all the other items to be attended to.

All washed and drying out

Now we will commence reassembly.

All restored, working and looking pristine

Now all assembled the motor moves into position when turned on, the feed button also works. The paper rolls for these units are at the moment extortionate and selling for about £10GBP for the tiniest of rolls, and I’m not paying that. I have a thermal printer at home and I have cut some of this paper to size to test the transport, and this works just fine. Just awaiting the cable to connect the GameBoy to the printer. Fingers still firmly crossed.

Result:

I’ve just found out that if you hold the feed button whilst turning on the unit you get a test message. I’ve done this and I’m pleased to say the unit is fully working.

It’s working perfectly

I’ve also connected it to my game boy and the game – Pokemon pinball, and was able to print off the high scores. It truly works.

High scores

I’m just so pleased how this project has gone. It has been a complete refurbishment, clean, and I have even managed to reuse the original stickers. The unit looks pristine and really is a nice piece of kit. This goes into my GameBoy collection and has many more years of good use left in it.

And to think this would have probably ended up in landfill. Scandalous. The cost of repair to me has been less than £2GBP and the majority of that was for the peroxide solution to do the Retrobrighting.

Great result. Very happy with this.

I can now uncross those fingers. All is fine.

Thanks for passing by, as always most appreciated.

Samsung SQ3000 electronic typewriter – assessment & repair

This is the follow up to a recently obtained electronic typewriter that was purchased in January 2025, the initial post can be found here: Samsung SQ3000 electronic typewriter.

Samsung SQ3000 electronic typewriter

The following post will deal with the assessment on its arrival and what I am going to try to do, to get it back working again, as close as possible to its original state.

I’ve downloaded an instruction I manual, I’ve had to download one for a Smith Corona Wordsmith 200, it is in theory the exact same unit, just under a different manufacturers branding.

Assessment

It’s arrived and apart from a little age yellowing it looks ok. There is a PAT testing sticker that says it was last electrically tested back in 1998 and is due a retest in 1999. This corresponds with my date estimate of mid 90s.

I will retest and renew the safety checks when I’m finished working on it. I have noticed that the paper bail/release rail is broken on the left hand side so I will have to add that to the repairs, this shouldn’t be a major concern.

Before I took the roller out to get to the paper bail I did start the machine up. Everything went as expected and when I tried to type I was getting some weird reactions to the keys I was pushing. All kinds of characters were appearing.

Before

I checked the daisy wheel and there was a click. It wasn’t sitting right. I reset the machine using the two reset buttons and the machine then went through its reset programme, pretty much the same effect as turning it off and on again. (Not much changes in the way of tech there then)

After

Well that’s worked fine, I have tried every combination on the keyboard including the erase function and this is now fully working. It really was quite simple. My next job is to try and fix this paper bail.

Paper bail removed for fixing

There is quite a bit of dust and dirt inside that needs removing. And whilst I’m at it I will lightly re grease the areas that need it. Let’s be honest it’s not been done in the last 30yrs so now is as good a time as any. Inside will get a light hoovering and a bit of a tart up, I’m not going to go mad. I will clean the outside and all knobs and buttons and try to get rid of some of the yellowing, but to be honest as long as it’s clean I’m not too worried about age marks.

The keyboard has lost a few of its letters. I will remove what is left of some of them and use some keyboard decals to replace the missing ones. This will be one of the last jobs I do.

Well that’s the assessment done and apart from a few small issues and requiring some basic maintenance I don’t think we have an immense amount of work to carry out. We know it now works. Let’s hope I don’t cause any further carnage whilst working on it.

Let’s get to work.

Repair

Right it’s straight onto the paper bail to try and fix the snapped end. Firstly I’m just going to use some superglue to get it in place. When this is dry I’m going to create two “Doublers”, place one either side of the damaged part and glue these in place to create a stronger repair and to add some stability to this area.

I’ve got some black semi rigid plastic. I’ve created a small template from a tracing that I did of the good right hand side of the bail.

I now have two doublers cut from the plastic that I will use as explained above.

Two doublers

It doesn’t matter that they are not perfectly shaped, however they both fit perfectly well into the profile of the bail arm, and this portion of the arm is hidden in the typewriter housing anyway, so the part will not be visible, but it will now be strong.

The Doublers have been put in place using a quick set epoxy resin, I will leave this to dry for a good few hours before I tidy it up, with a light clean, and then I will try to get it back in place.

Bail arm repaired, installed and working.

Now that’s done i’ve gone inside and there were a nice couple of spider webs around the transformer that are now history. I’ve secured the cable in the rear of the unit that never had any tension restraint, so that there will be no issues, should anyone now give a good yank on the cable lead. This is a safety addition I have made that was never on the original unit.

Cable restraint screwed to base to prevent strain on internal wires in and around the transformer bay.

I have also tightened all screws and checked the wiring and this all seems ok. Plug and fuse have been checked and all is looking good. I’ll carry out a PAT test once I’ve finished the clean up.

I’ve cleaned the main roller with alcohol, and removed all the old grease and dirt from the platten adjuster switch and the roller advance knob. I have removed the platten plate as well as the six mini rollers that are here. I’ve cleaned them all and re assembled/installed them.

I have cleaned the daisy wheel as well as in and around the printing head unit.

Inside the unit I have given a good hoover as well as a light clean and again removed more old grease. I have given the exterior plastic a preliminary polish, this has removed some of the yellowing and made it look “cleaner” I am not going to worry too much about the yellowing as it isn’t that bad, and I don’t really want to venture into carrying out a “Retrobrite” on this unit. It would take too long and there would be no benefit for this project.

I’ve now added very small amounts of a watch lubricant to those areas that i have previously cleaned and removed the old grease from.

The unit has been reassembled and I’m pleased to say it is still working fine. It’s running smoothly and all aspects of the unit seem to be working just fine. To be honest it seems to be printing clearer to me.

Daisy wheel and print quality is perfect

I don’t know how long the print cartridge has been installed but I suspect it may have been a few years back. It’s almost finished, and I do have a replacement on order. I’m sure a fresh cartridge will make the print stand out even more.

Next I’m going to have a go at replacing some, or even all of the keyboard letters. It all depends how it looks when I start replacing them. I’m going to gently rub off the lettering that is left and clean the keys using a 95% pure Isopropyl alcohol solution (IPA).

All damaged and missing key decals removed in preparation for replacement new decals. Others may have to be removed dependant on how the new ones look when in place.

These are the replacement key decals I will be attempting to use.

Qwerty keyboard decals

I’ve replaced the damaged key decals. The ones I’ve used are a lot brighter than the original ones and really accentuate the yellowing. I’m not troubled by this as it keeps its “Old” look. I would have to scrape and wipe for hours to remove all the other keys and to be honest it would look just like someone had gone abroad to have a bright white set of dodgy veneers installed, it would look quite out of place, and in your face. Just like a Cheshire Cat smile.

New veneers anyone?

It serves a purpose and just allows the unit to be usable again.

The final product:

Fortunately a lot of the equipment and parts I have used, I was already in possession of, so there are no additional costs for this project. Below you can view the total costings for this project as they currently stand:

  • Purchase inc postage £13.14
  • Cable restraint £0.25
  • Keyboard decals £1.25
  • Total cost of project £14.64

Again I have managed to save a fantastic 90s retro item from landfill for very little cost, and that is a fantastic result. It has years of use left in it, as long as the consumables remain available, and of that I am confident that they will be available, for at least the next few years. The unit is clean, I’ve just carried out an electrical PAT test and it is electrically sound.

Believe it or not I’m going to go back in time and will write some traditional typewritten letters to friends and family. I’m looking forward to doing that and it will certainly surprise them, it will be totally unexpected.

When all that is done, i will donate this unit to our local LOROS Hospice shop so they can sell it on and raise much needed funds. They deserve it. Edit: This was done in March 2025 at their shop in Hamilton Leicester. I hope it gets them a good price.

Watch the brief video for the final words on this restoration. All 13 seconds of it.

And that’s it folks..

Thanks for passing by.

River scene Charcoal on paper

River scene charcoal on paper

A simple river scene, first time attempt with charcoal.