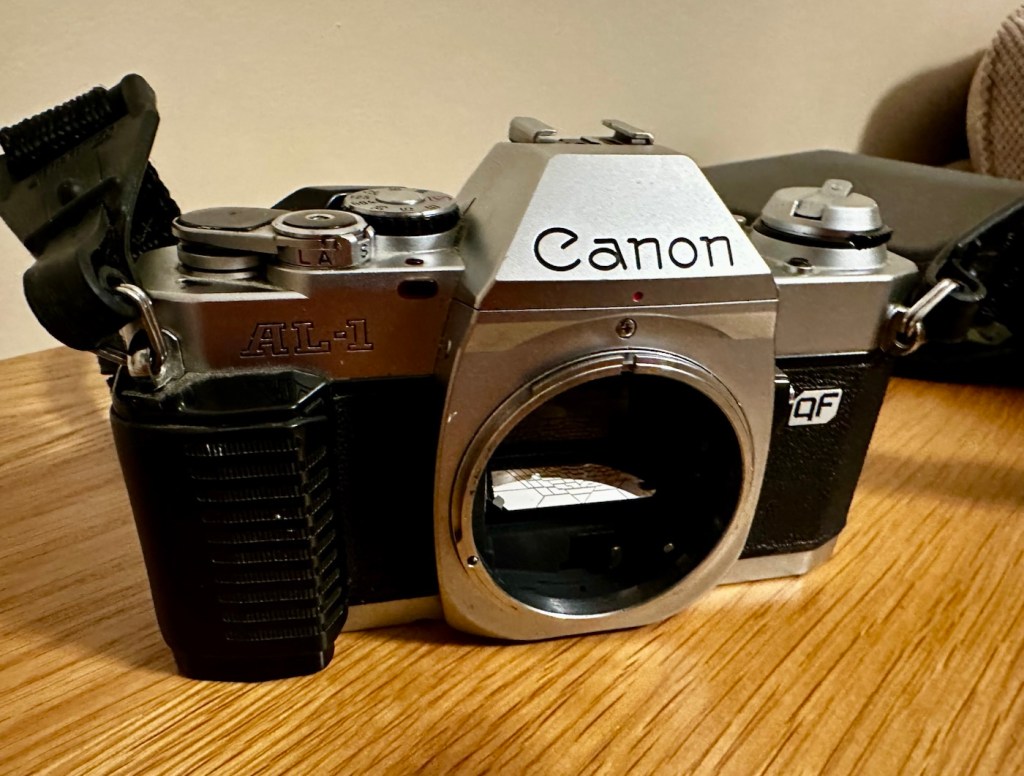
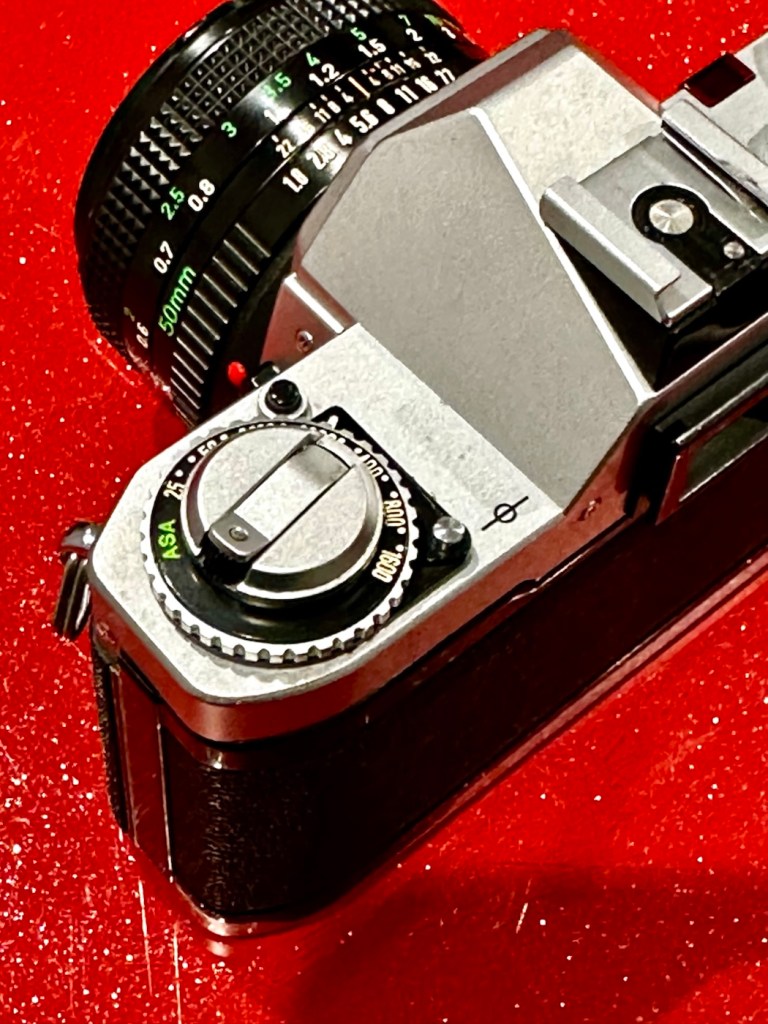
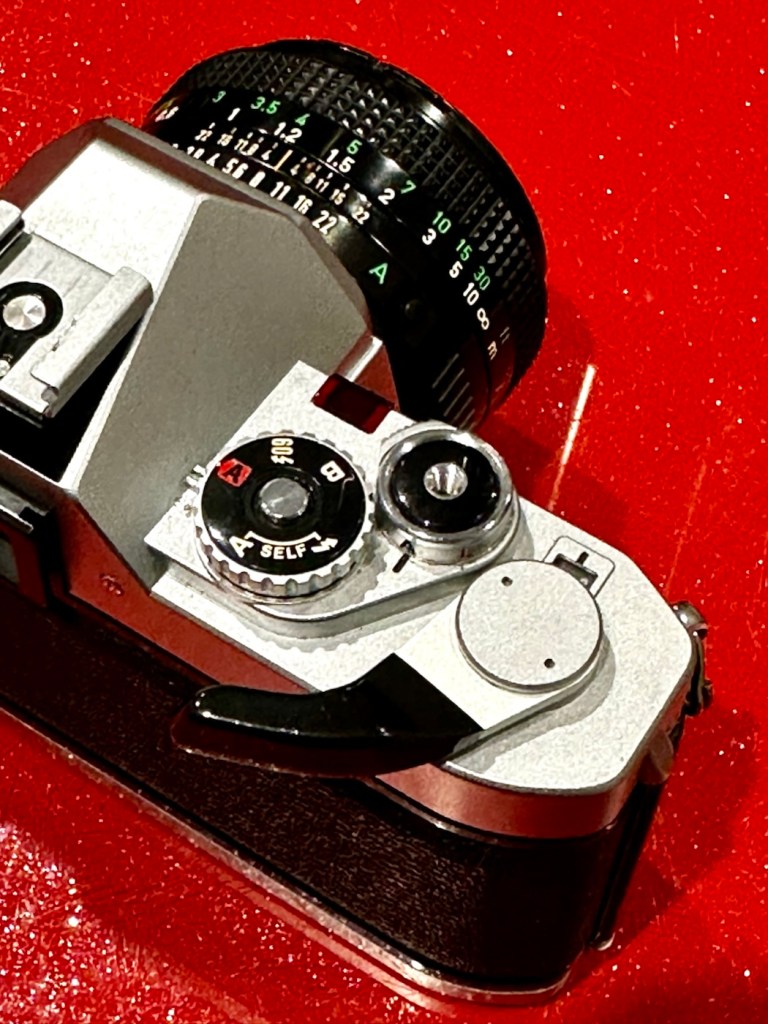
Canon AL1 QF

It wouldn’t take a rocket scientist to understand why this camera isn’t working.

What the listing stated:

This camera is untested, I put batteries in but it did nothing but to be honest, I have no idea what I’m doing with this anyway. For that reason I’m selling as spares or repairs. For its age, it is in really good condition, please look at the pictures carefully and message with any questions. 

EBay
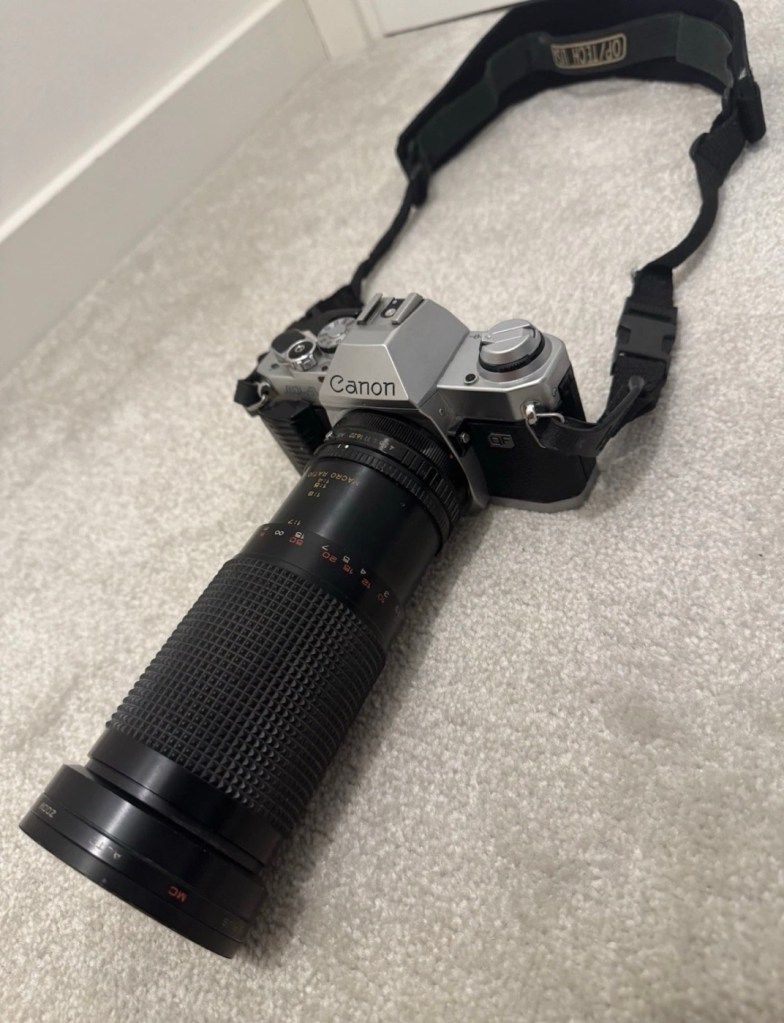
Hmmm, the seller put batteries in and wondered why it wouldn’t start up…I wonder 🤔

By the way, the QF stands for quick focus. Read on to find out more.

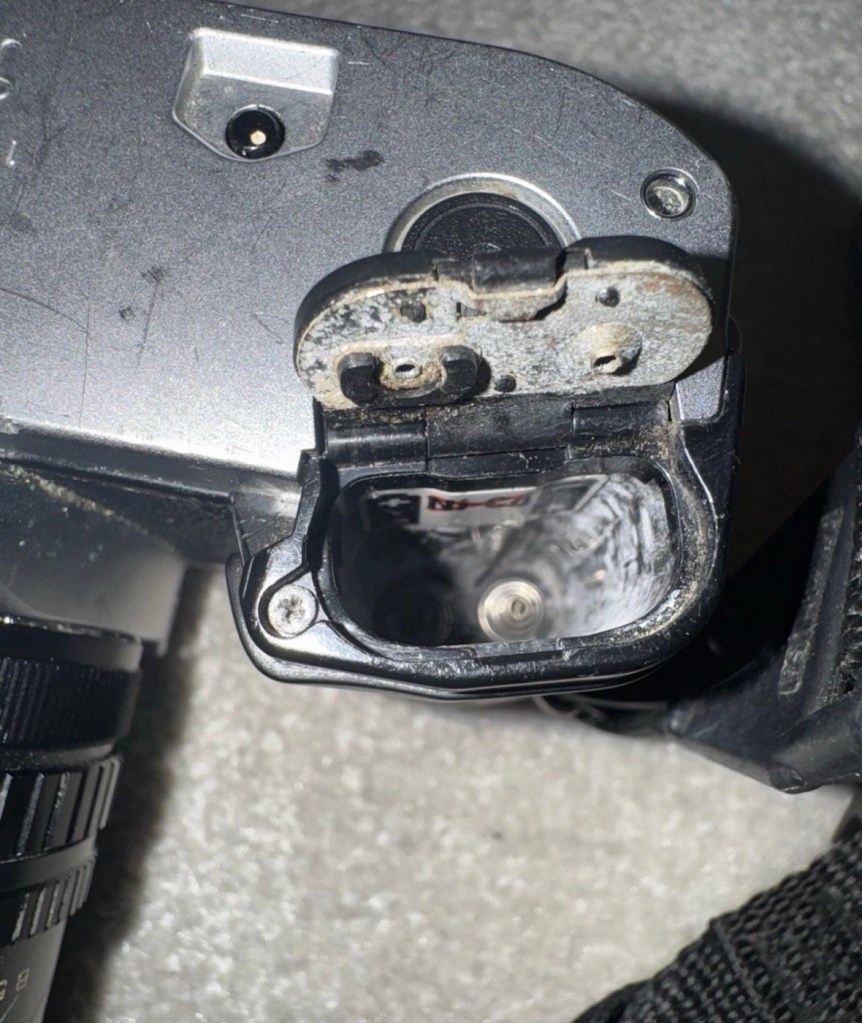
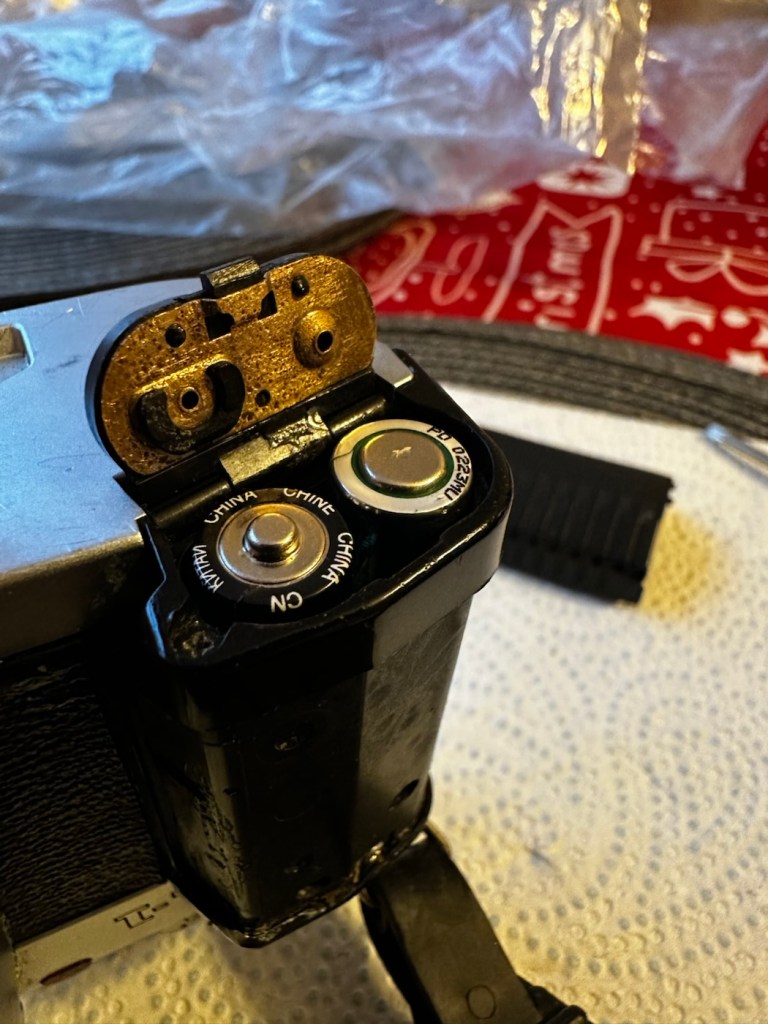
I’ve purchased this camera, paying a measly £12:00GBP, as I move ever closer to collecting the full range of the Canon “A” series cameras. This will be my fourth of the range with only two more to go. As usual I have purchased damaged or faulty candidates to repair via my site. This one is no different, and from what I can see the battery barrel and battery door have been exposed to corrosion and neglect. this will require a lot of attention, and hopefully the corrosion hasn’t made it into the internal components.

I believe it also comes with a yet unidentified large lens, that I very much suspect will be riddled with lens fungus if the battery chamber is anything to go by.

Here’s a little history about this Camera:

The Canon AL-1 was an FD mount, 35mm single-lens reflex camera introduced in March 1982. Its main feature was the “Quick Focus” focus-assist system that was aimed at those who had trouble focusing through the viewfinder – either novices, or those with poor eyesight – and was intended to head off competition from the first full-autofocus cameras from other manufacturers, such as the Pentax ME F.

As a lower-end camera, the AL-1 did not offer a long list of features. Instead, Canon focused on providing core functionality and lowering price. The AL-1 provides focus-confirmation, aperture-priority autoexposure (controlled by a through-the-lens silicon photocell), manual shutter speeds from 1/15 to 1/1000 of a second, and a 10 second self-timer. It also added a larger grip, and the convenience of using of AAA cells for power. However the battery door is one of its weakness as most of the cameras that are found today on the market have a battery door that is broken or has been replaced. Its body was constructed from a special polycarbonate that was then painted to imitate metal. An ISO hotshoe, A-series power winder connections, and cable-release socket provide an acceptable level of compatibility with accessories. It was also the last Canon SLR to use the Canon logo, which resembles the Japanese romaji font used on Canon cameras since the 1960s on a pentaprism.

The camera uses Canon’s breech-lock FD mount, and so users could choose from the wide variety of Canon FD lenses, as well as those from third parties. Users could also utilise Canon R and FL lenses, but with some limitations.

In 1987, Canon abandoned the FD mount in favour of the EF mount along with the EOS camera system, which uses the same concept as the T80 but with a new and incompatible mount designed around an all-electronic interface.

Wikipedia

Assessment:

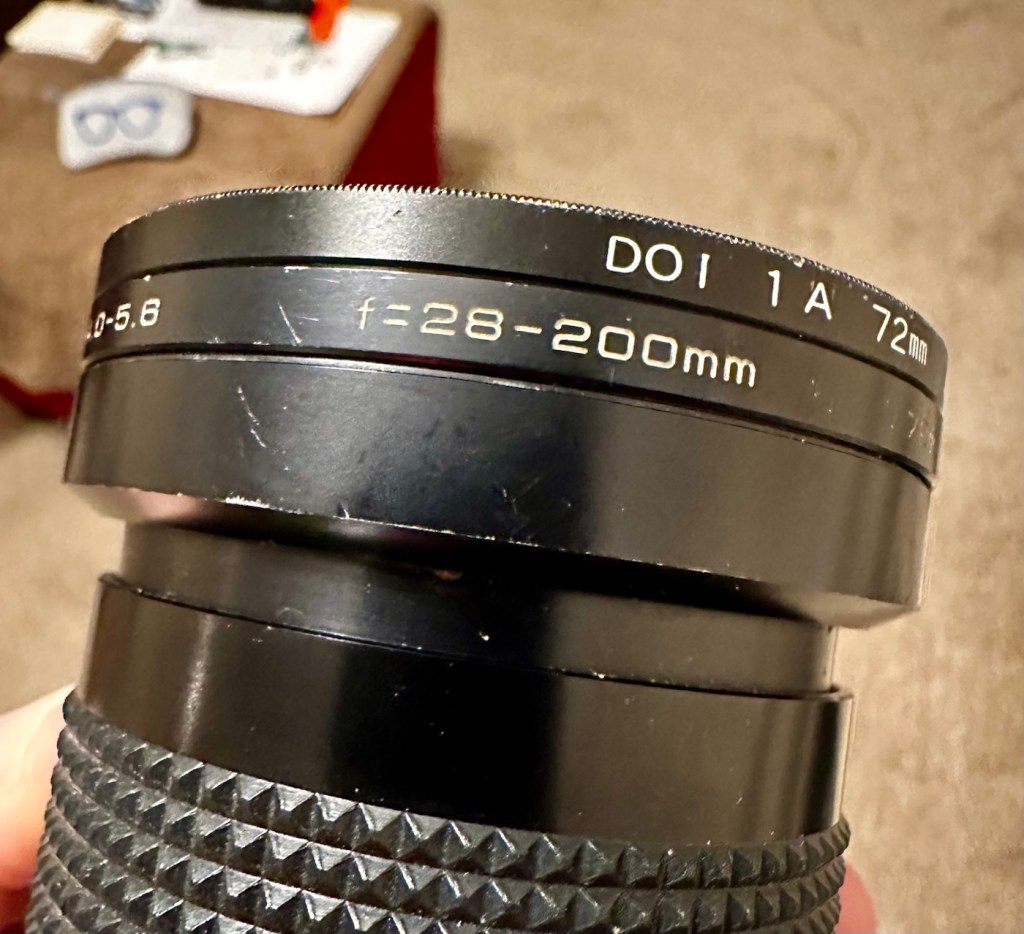
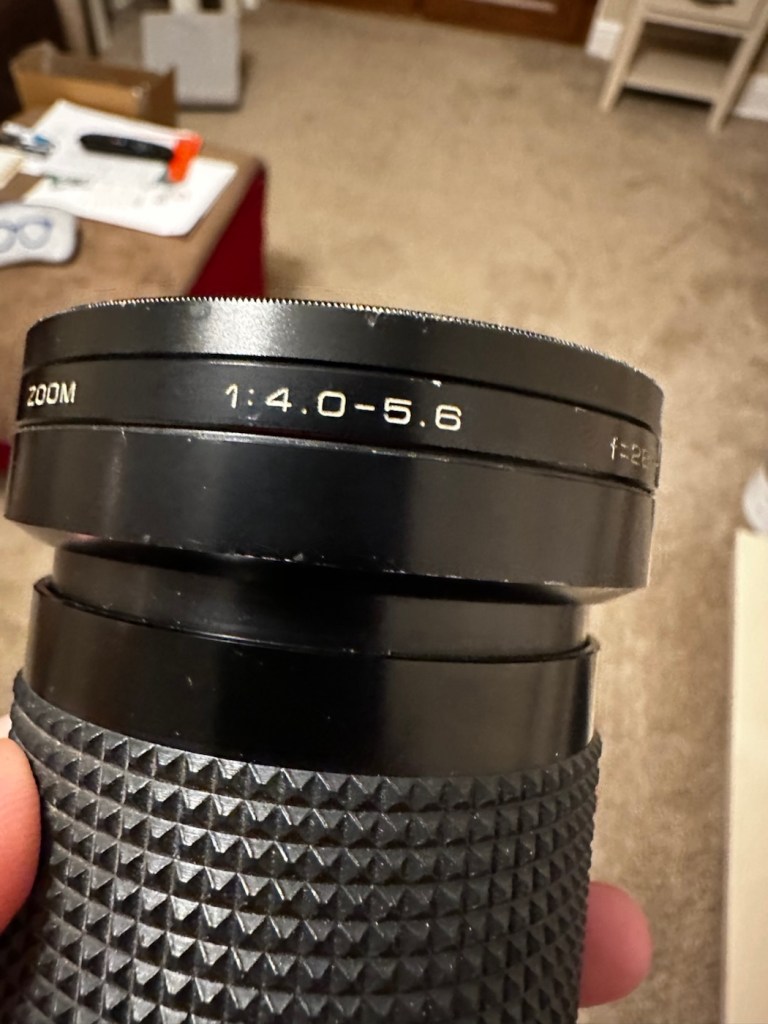
The camera has arrived. The lens that came with it is a canon mount “Sirius” 28-200mm 1:4.0-5.6. It does have signs of fungal infection and I’m not going to do anything with it at the moment, as I have a few stock 50mm lenses I can use for testing. I may get around to cleaning the lens in the mid to near distant future, if I get the time or to be totally honest, if I can really be bothered. It will probably become another post of the future.
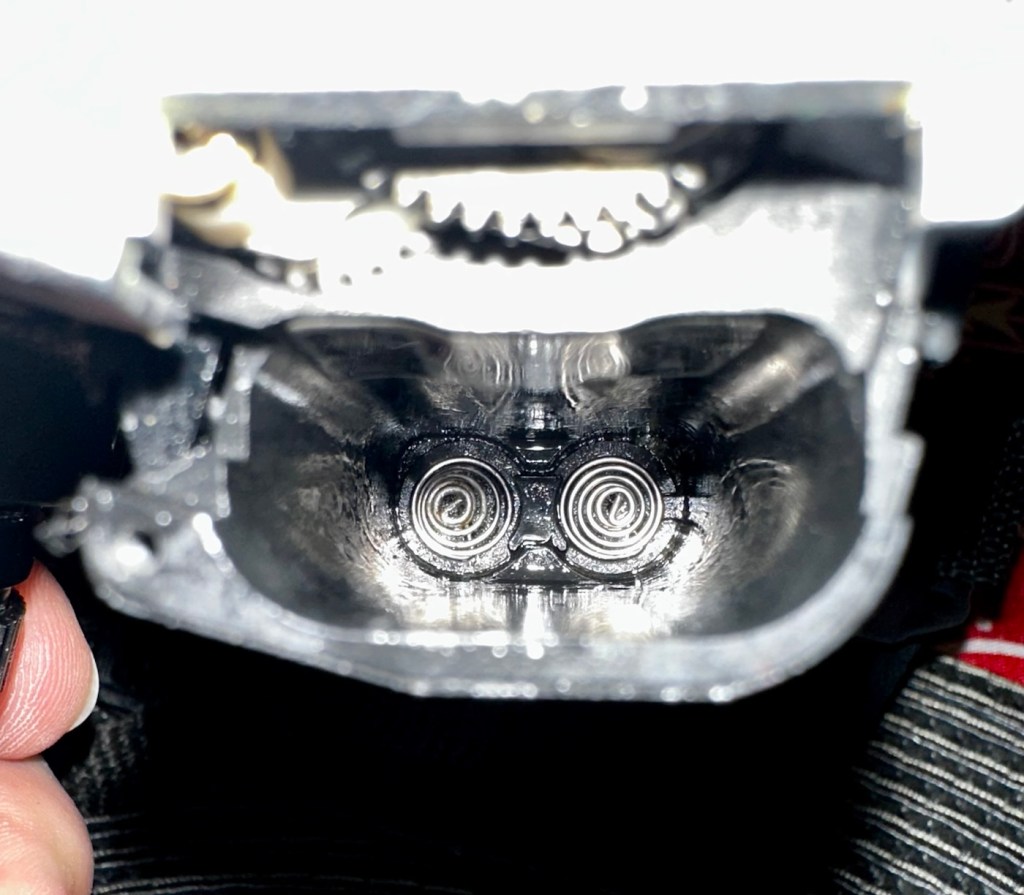
On opening the battery door you can see that the contacts are quite oxidised, and definitely require a clean. The battery chamber also needs a clean as do the contact springs at the base of the battery chamber, we need to do this as we require electrical continuity to check the cameras operation.
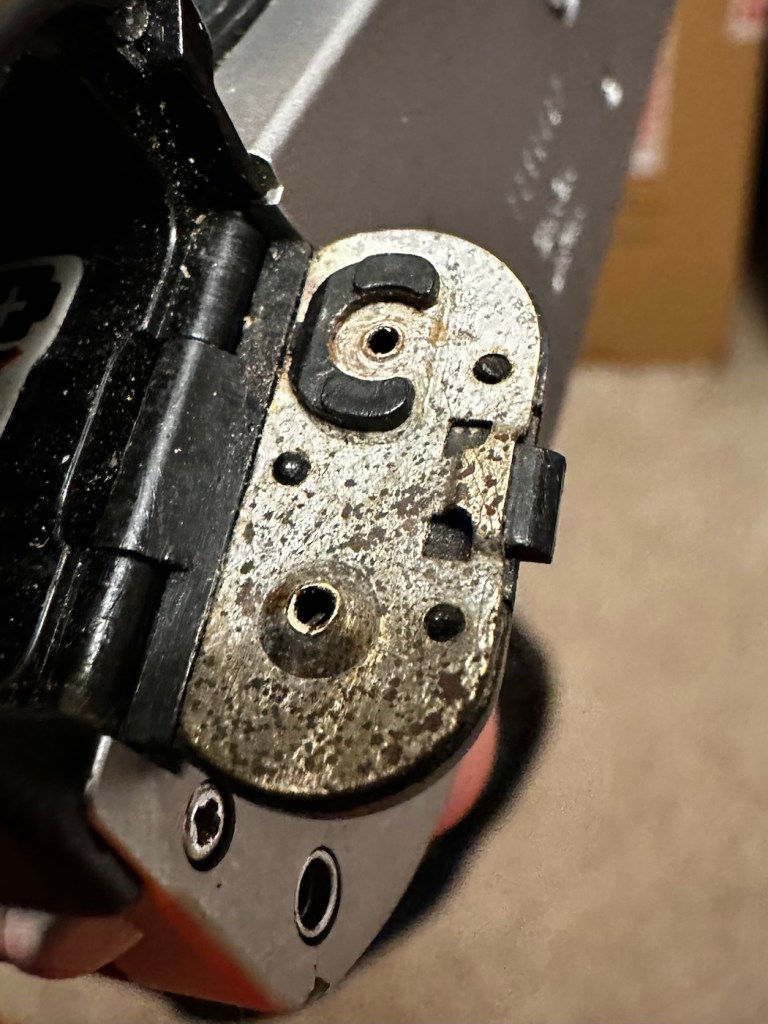
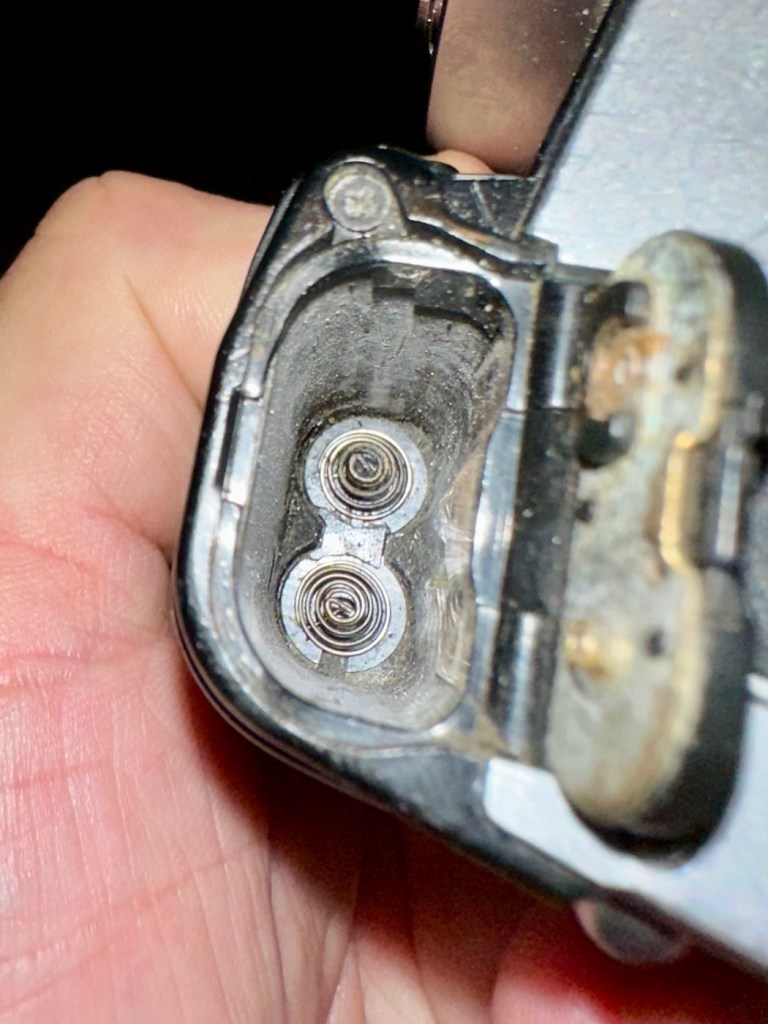
I have tried inserting a couple of AAA batteries after first giving the door contacts a quick rub, however I had no luck, and no power was getting through to the camera, and that’s what we need to be able to attain, just to be able to do the basics on this unit. So it will need quite a considerable clean prior to putting in new power cells.

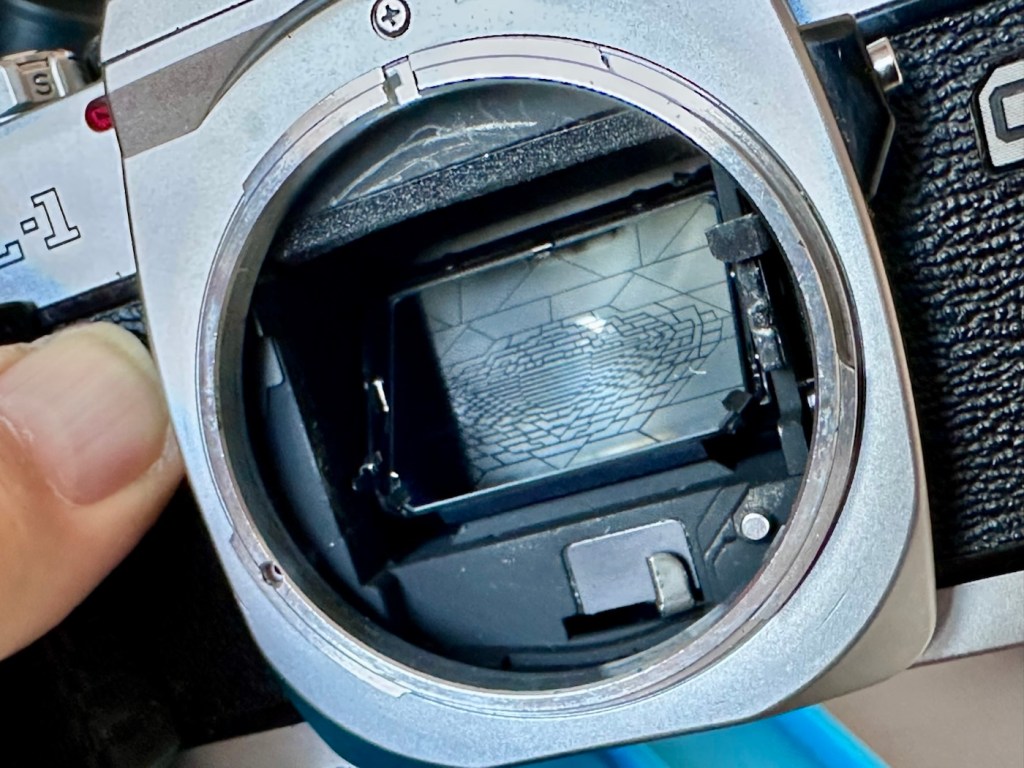
Inside the lens barrel when you first glance the mirror it looks as if it has shattered, however this is a special etching on the mirror that allows light through to a sensor placed behind the mirror that supplies information to the QF (Quick focus) system built into this camera.
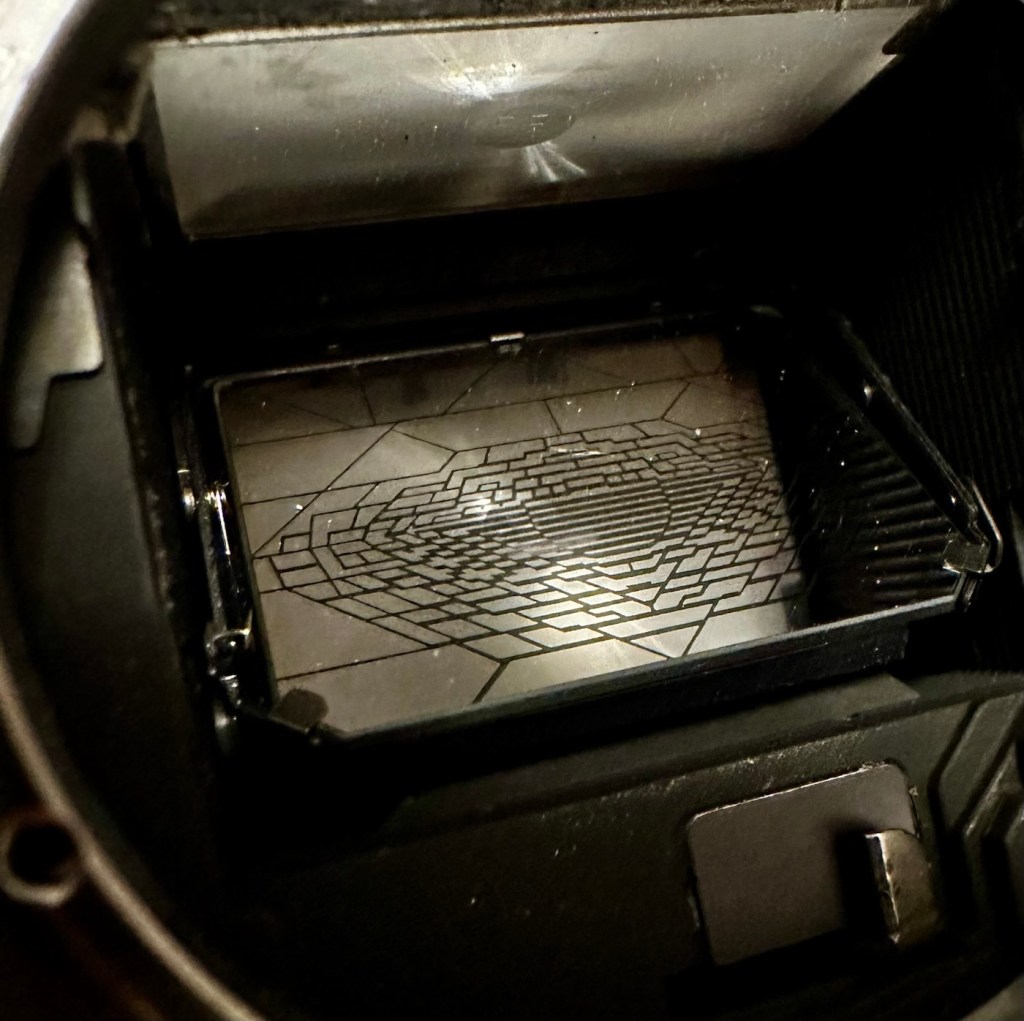
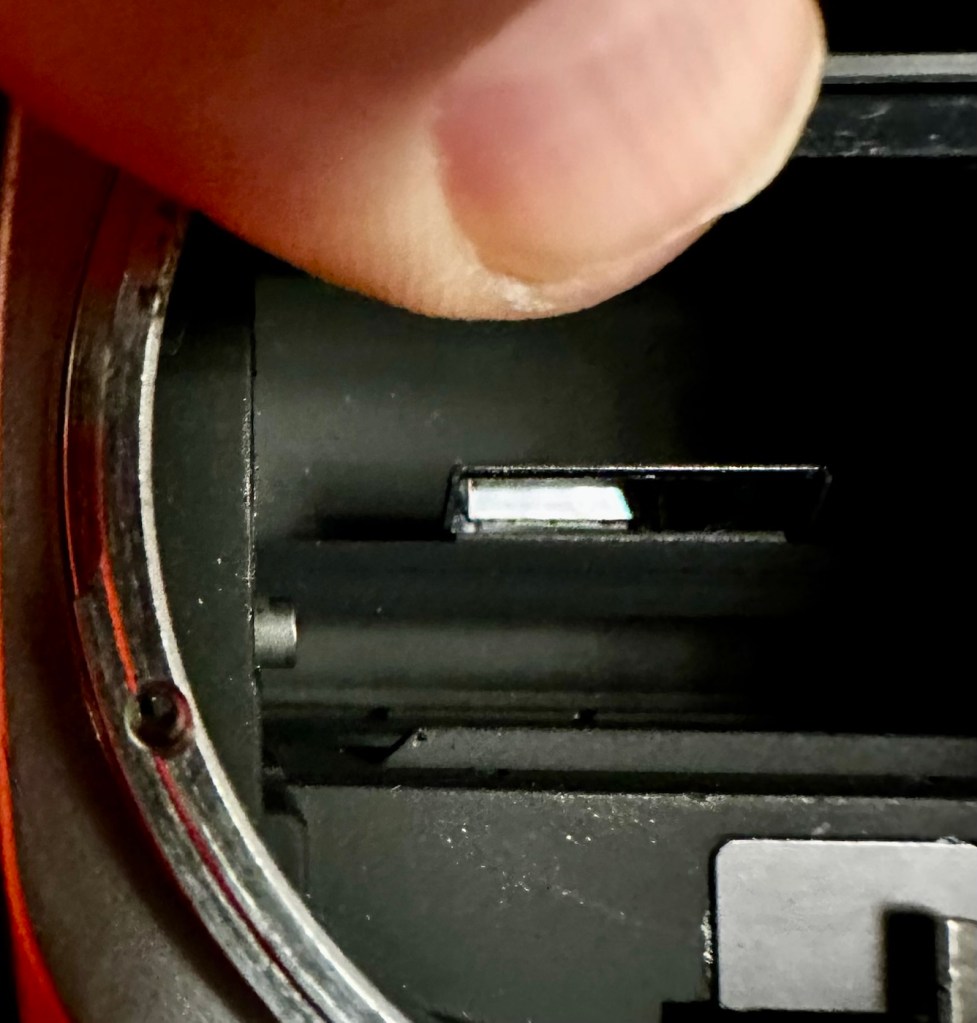
This camera does not have the typical split screen focus you find within most cameras of this age. All it has is a small rectangular two piece shape on a ground screen and that is it. This is where the QF comes in to play. You have to depress the shutter button down half way as you focus. As you focus, the viewfinder will display the exposure ratings to the right hand side of the viewfinder.
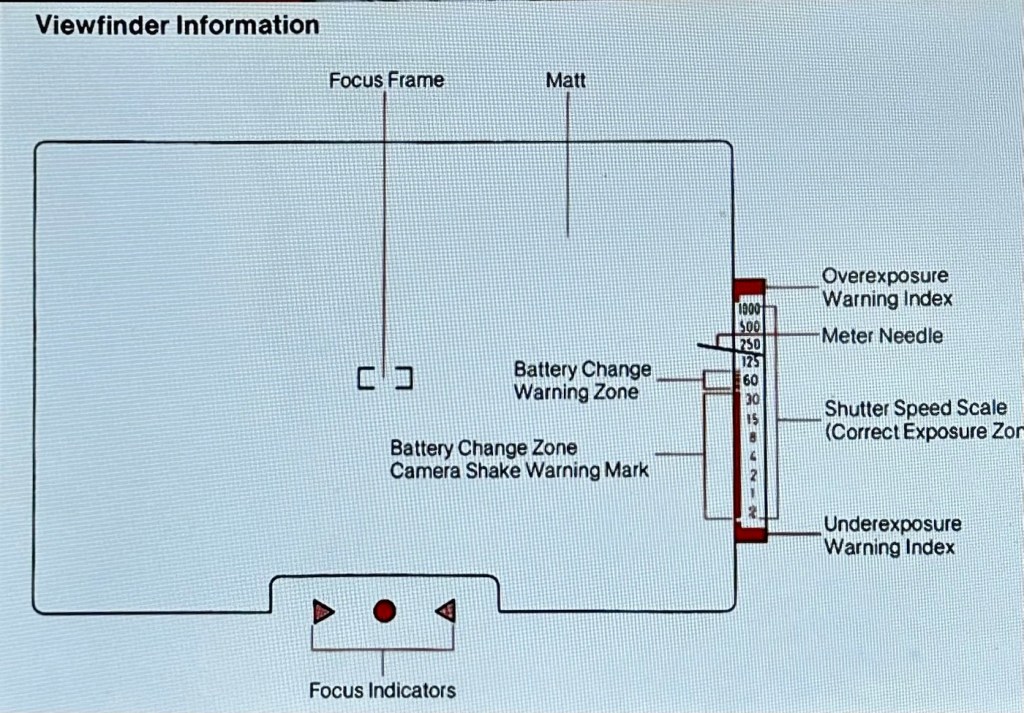
Viewfinder display info

At the bottom of the viewfinder screen is where the QF is calculated. As you focus you will see either one of two red arrows indicating that you focus the lens in the direction to which they are pointing. When the arrows extinguish and a green circle illuminates, that means the correct focus has been achieved. If you are happy with this and your shutter speed is not too slow and sits within the correct exposure zone, then go ahead and take your photo. it really is quite simple. A great system for those wearing glasses or for those with eyesight problems.

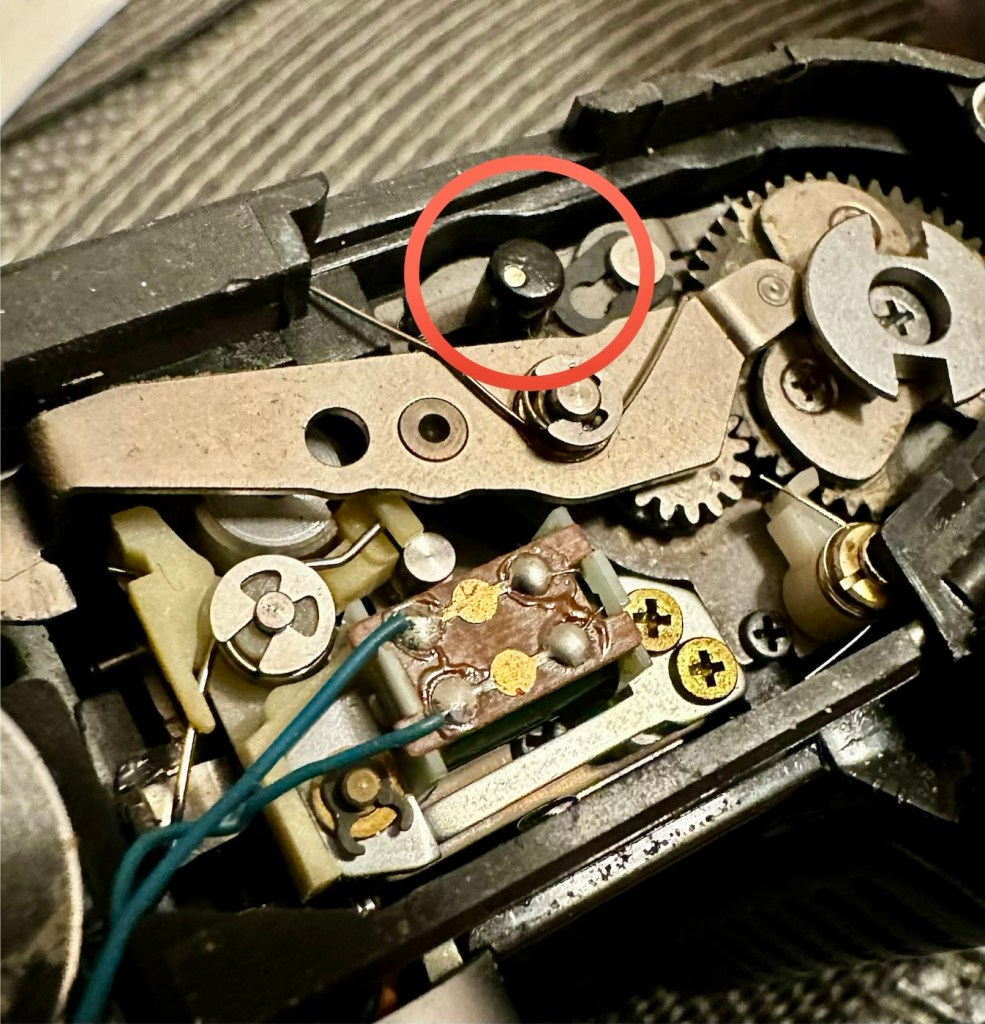
I have also noticed whilst testing the advance lever and shutter, that the take up sprocket moves freely in either direction, and this shouldn’t be occurring. The sprocket will wind the film onto the film collection point and then remain set, not allowing film to roll back and maintaining a taut film base across the rear of the shutter. It appears the rewind button at the base is pushed in permanently, and this would allow free movement of the sprocket whilst rewinding the film after use. There is an issue here that needs addressing.
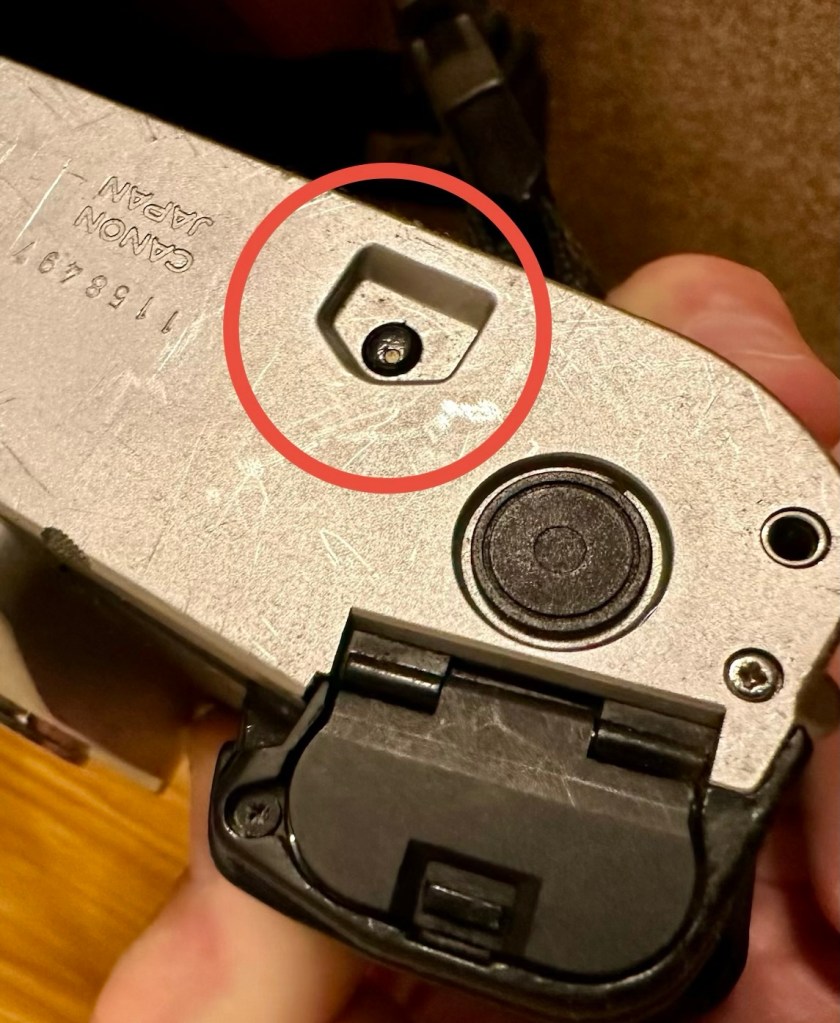
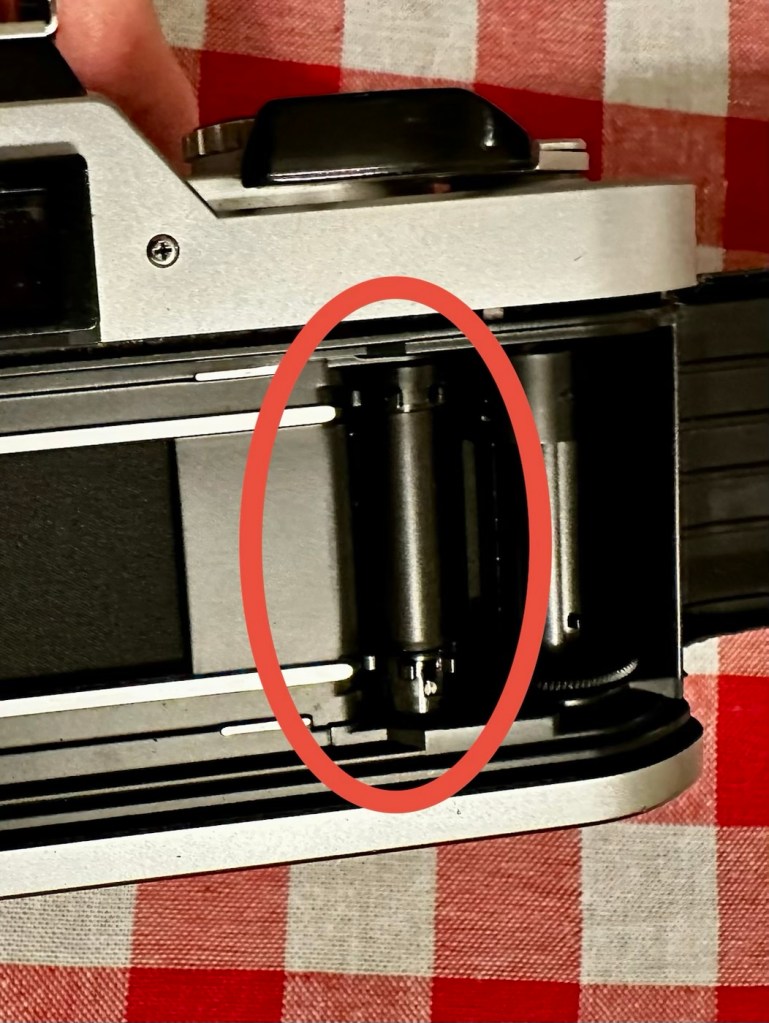
The camera itself is in a good condition cosmetically and considering its age, approx 43 years old, its condition is quite acceptable.
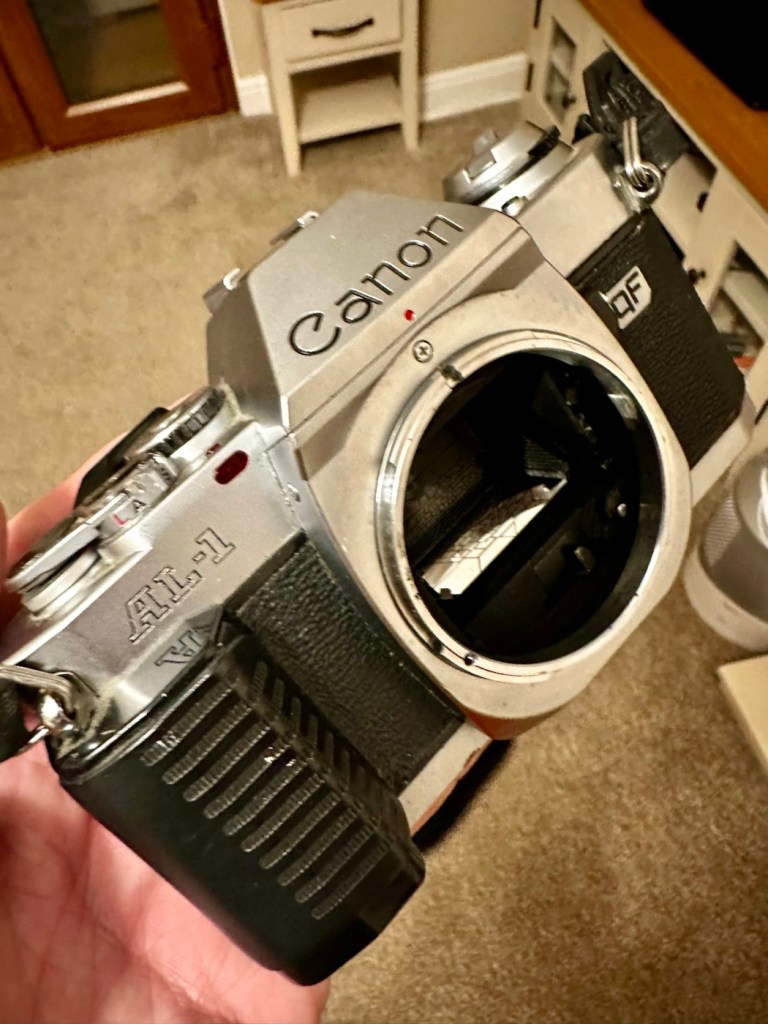
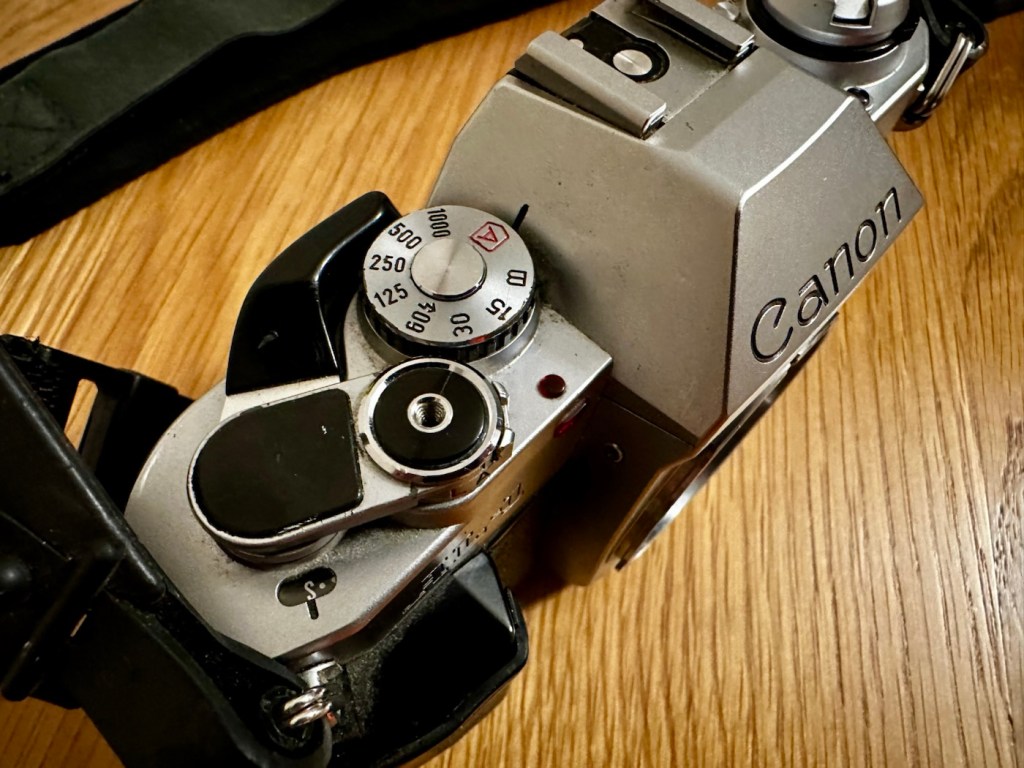
It is however very dusty and dirty and will need quite a deep clean.

I shall be leaving that big lens to one side for the purpose of testing, and will be using a standard 50mm FD stock lens for ease of movement.

Repair:

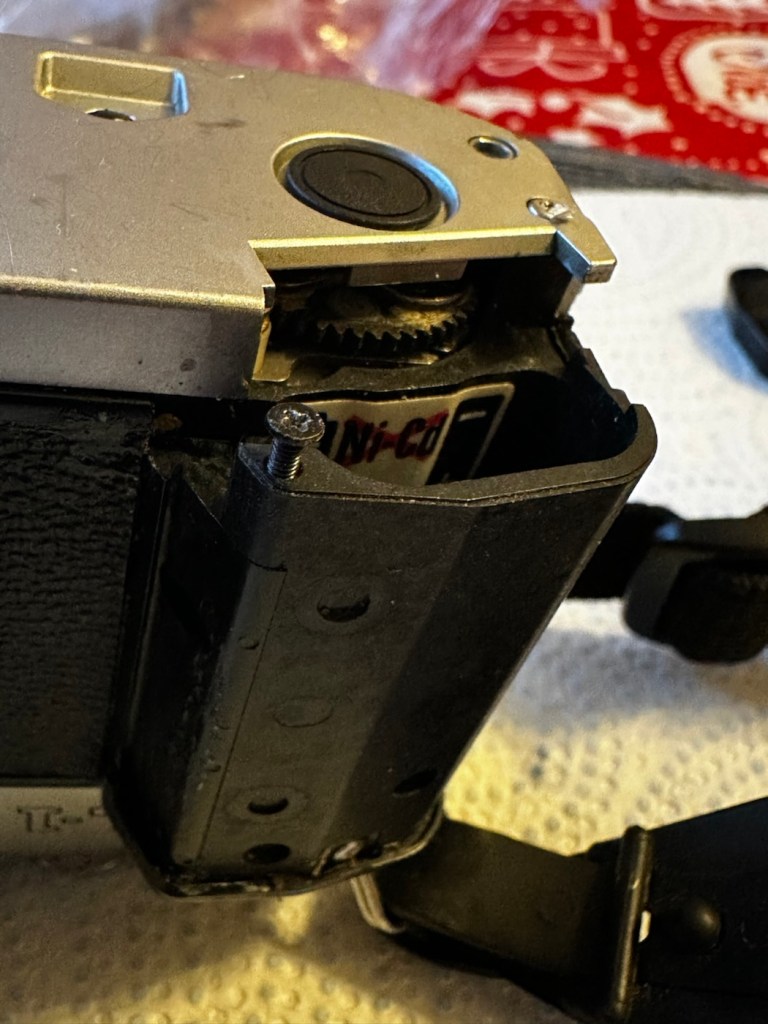
As we need power before we can do anything, my only option is to head straight for the battery chamber. I’m going to have to take the base off of the camera as there are a couple of issues that require its removal. The first will allow me a good unhindered access into the battery chamber and allow removal of the battery door that is contaminated with either battery acid or oxidisation. The second will allow me to attend to that take up sprocket issue and the depressed rewind button. I may even do some light cleaning and lubrication within this area.

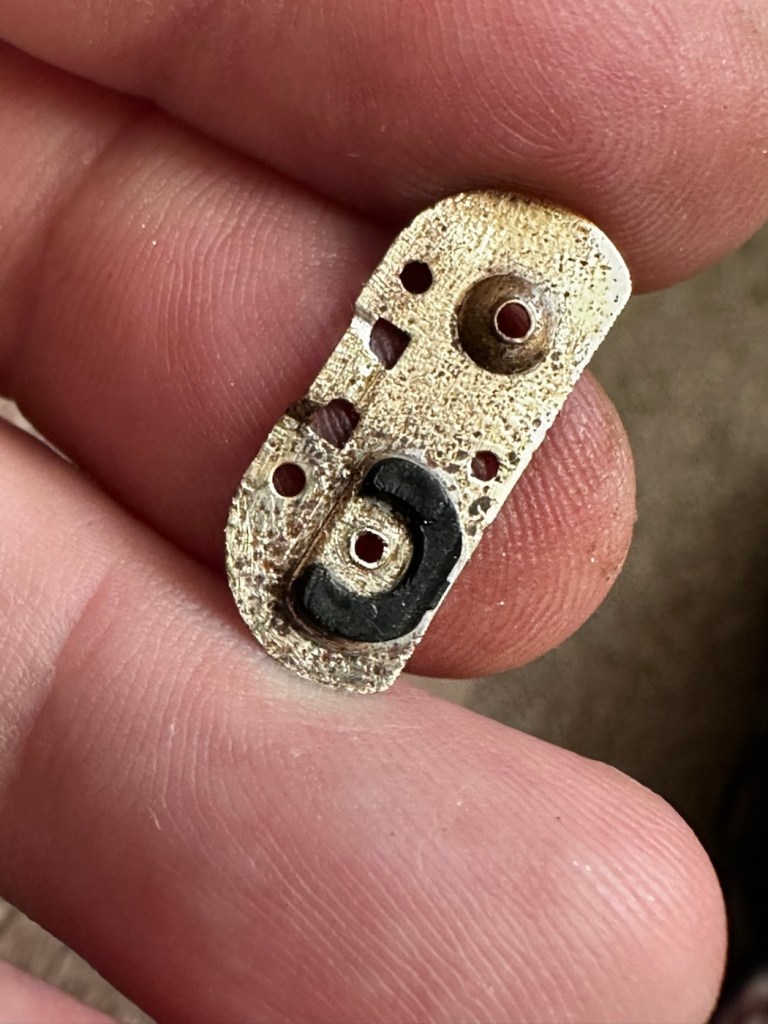
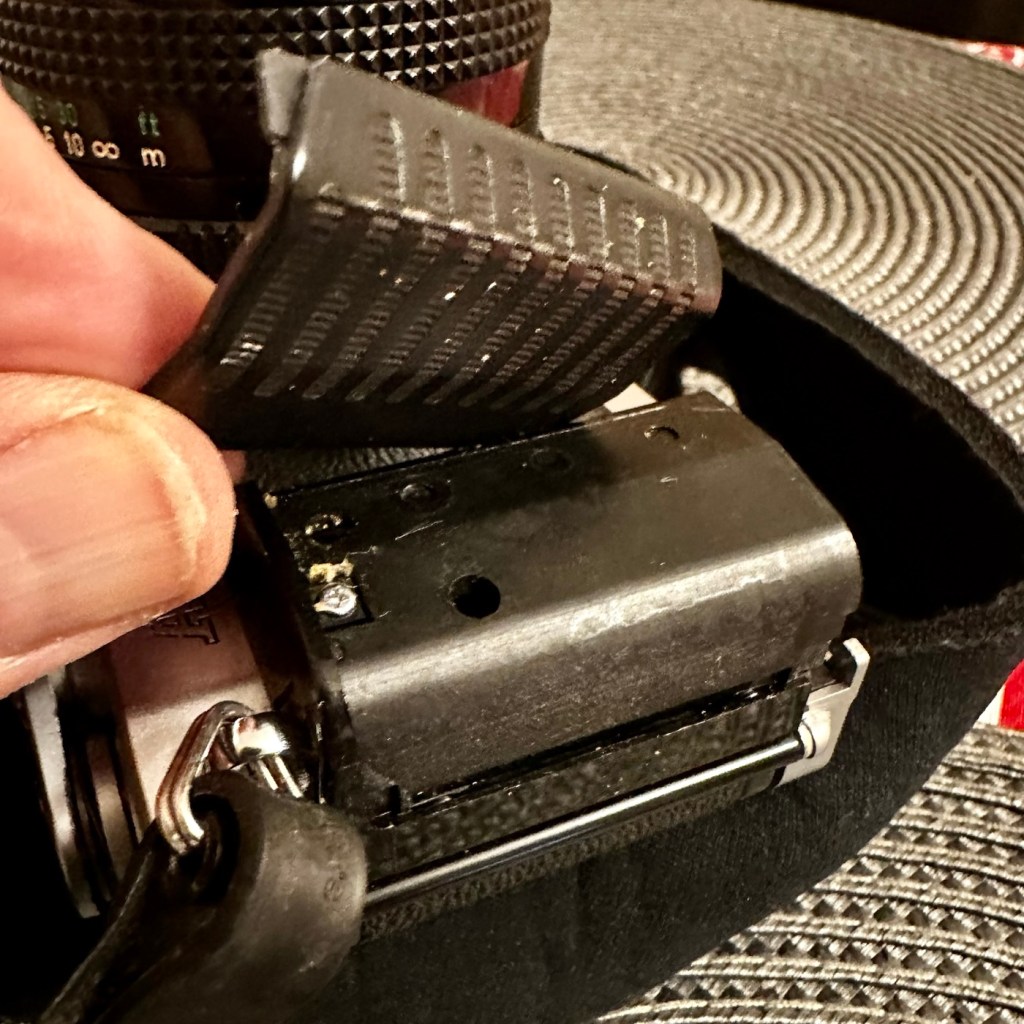
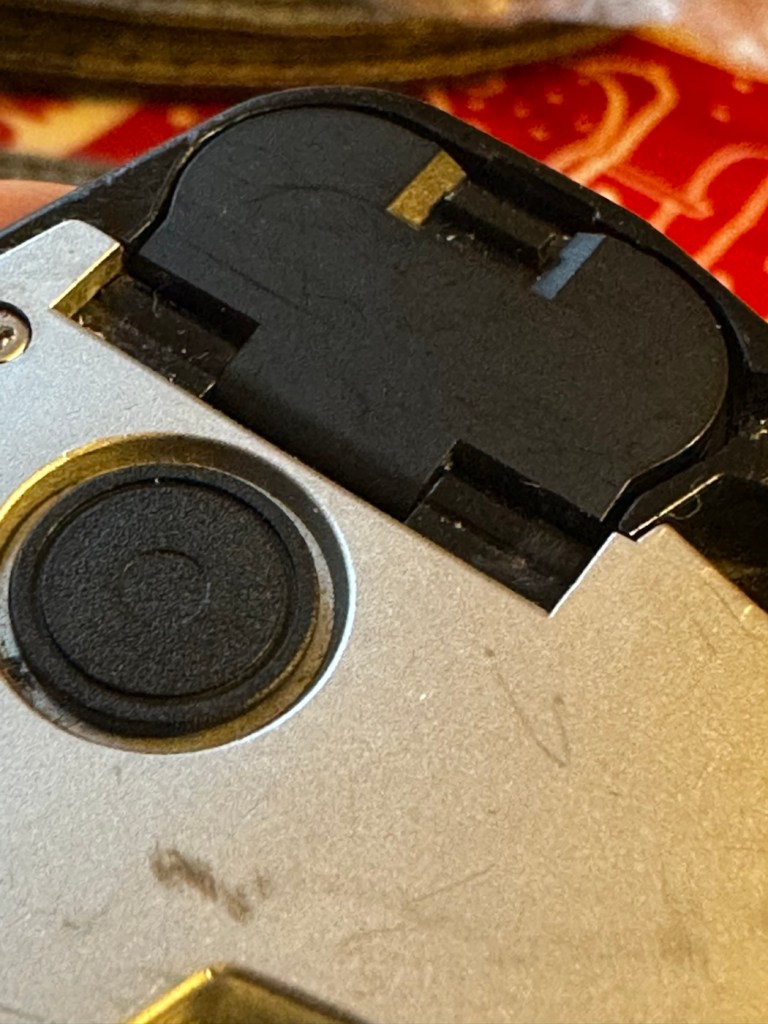
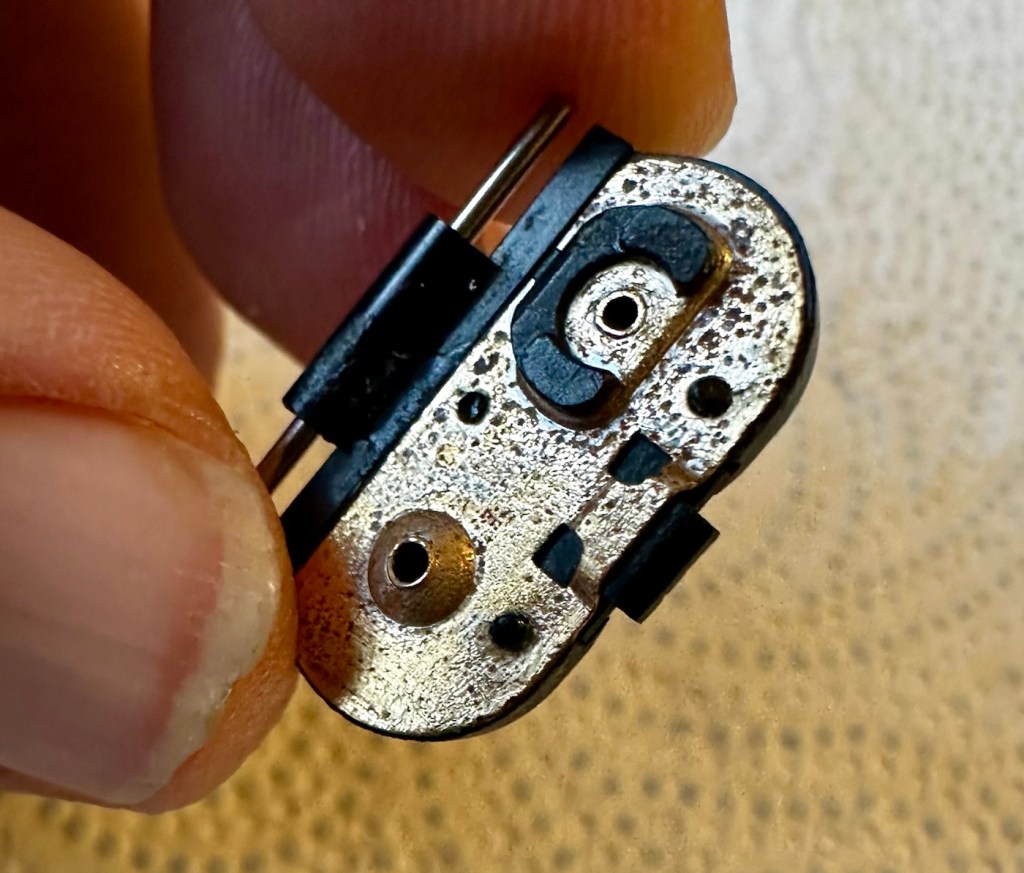
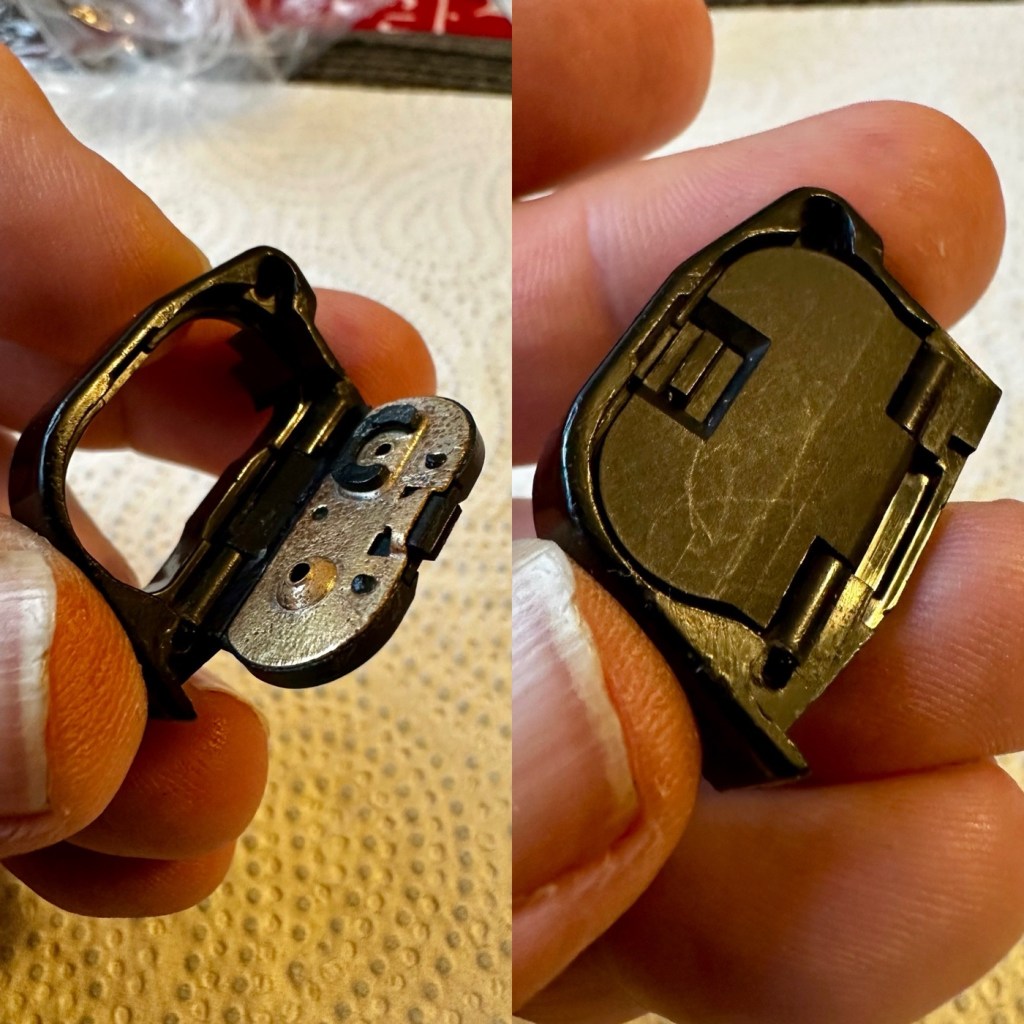
These cameras are notorious for the issue around the battery door failing. It has always been a problem around the latching mechanism, it fails and there are then a number of options to secure it ranging from elastic bands to custom made pieces of metal to sit on the base. There is a German company offering a 3D printed option for a replacement but it comes at a price in the range of three times the amount that I paid for the camera, so I won’t be venturing there. My battery base door does seem to be ok at the moment, the latch appears to be ok, the only issue being that the metal contact plate has come off the plastic door frame, as it was only held on with three plastic welds. It does allow me to clean the plate somewhat, however I now have to consider how I put it back into place, either I reweld, glue or screw. I could always use a Canon power winder that would also solve this issue. If I had the space at home and could set up my own 3D printer that I have had at home since my birthday earlier in November, boxed up in the corner of the living room, then maybe I could print my own? Either way I need the door free from the camera so as not to cause any further damage to it.
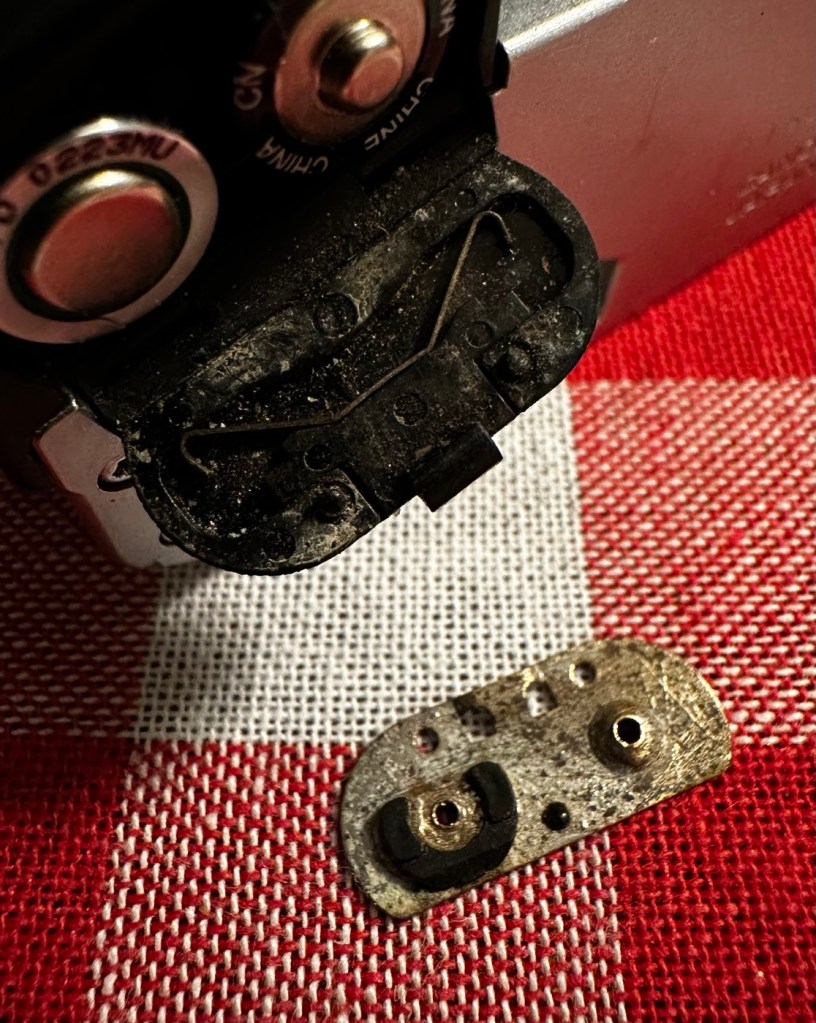
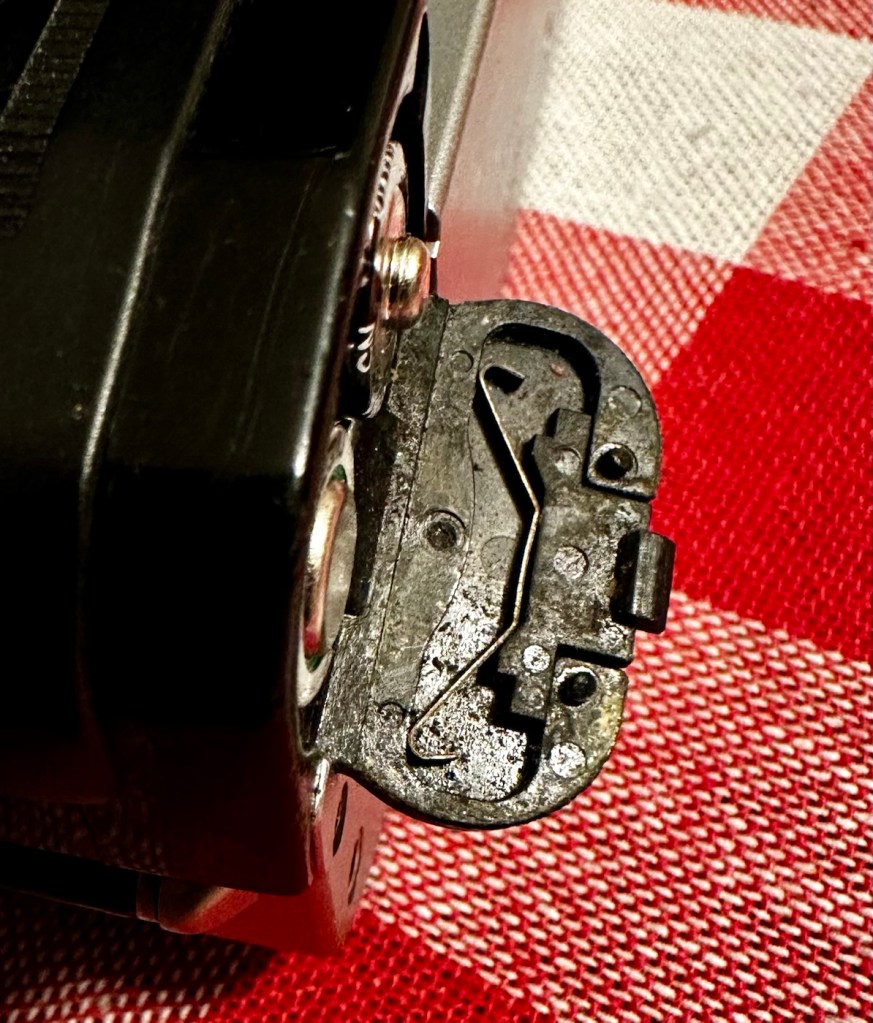
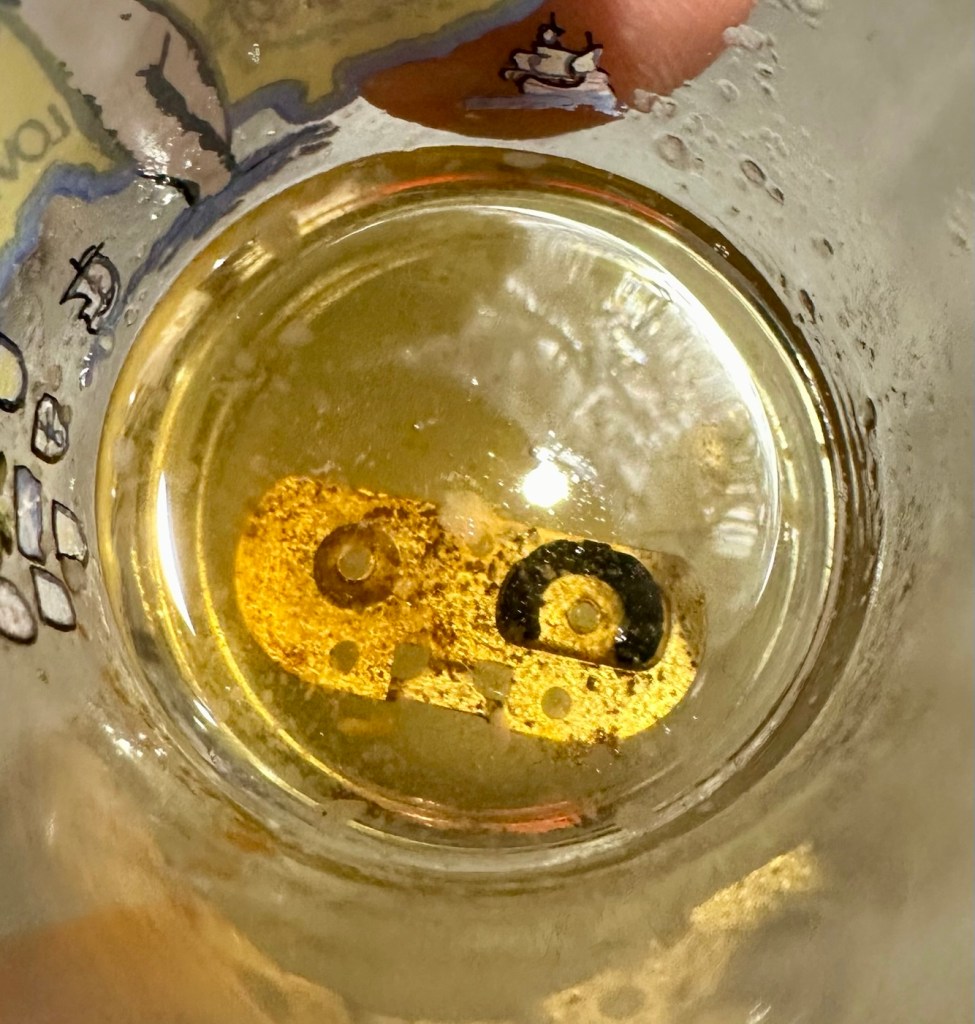
I have given a clean to the oxidised plate, by soaking it for a few hours in vinegar, that has lifted a lot of the dirt and oxidised material. I have cleaned it with IPA and then tested its continuity with a multimeter and the plate does have a good continuity across most of its surface. I’m going to just give a final buff with some fine sandpaper to improve its appearance and to ensure continuity across its surface is as good as it can possibly be. When I have achieved that, a good clean of the inner door and latch and spring will be carried out prior to its reassembly.

I’ve had the base off of the camera so I can carry out some maintenance to the battery rewind button and the top of the battery chamber. The battery door has been removed, cleaned and will shortly be reassembled and put back into place.
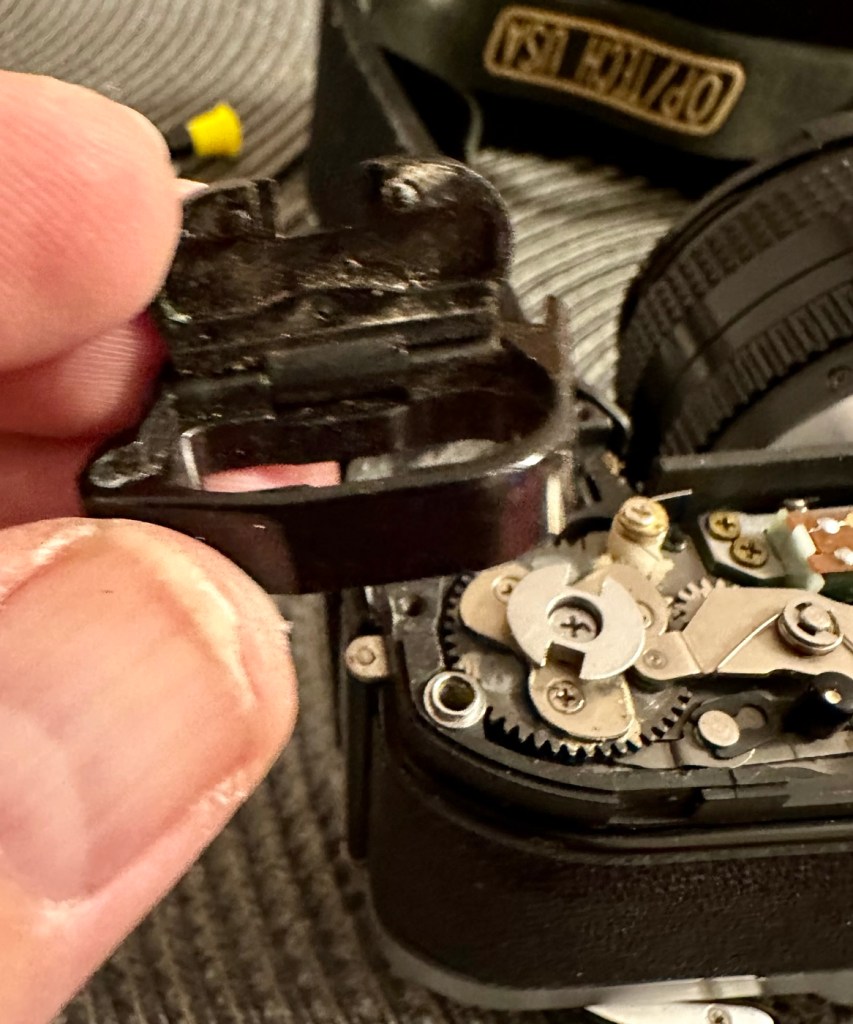
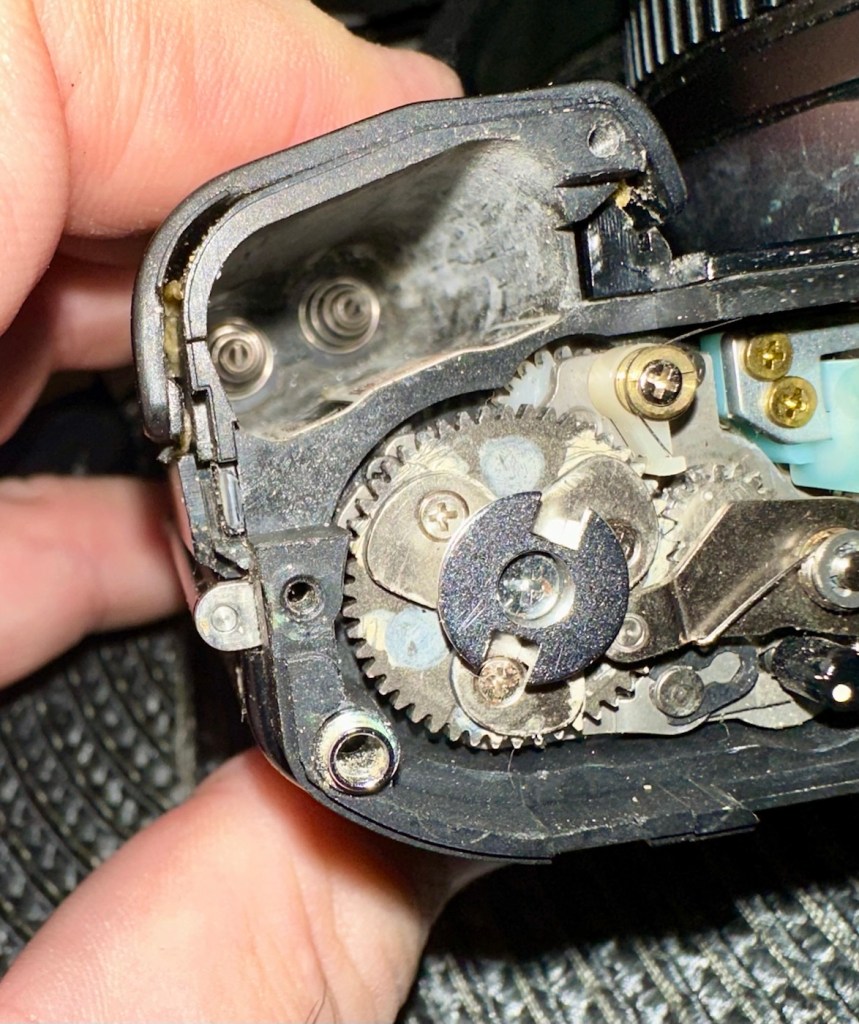
The rewind button is confusing me as it looks as if nothing is wrong, but I’m sure it is. I have made some minor adjustments to tension screws and the spool rewind without any improvement. I’ll come back to this later.
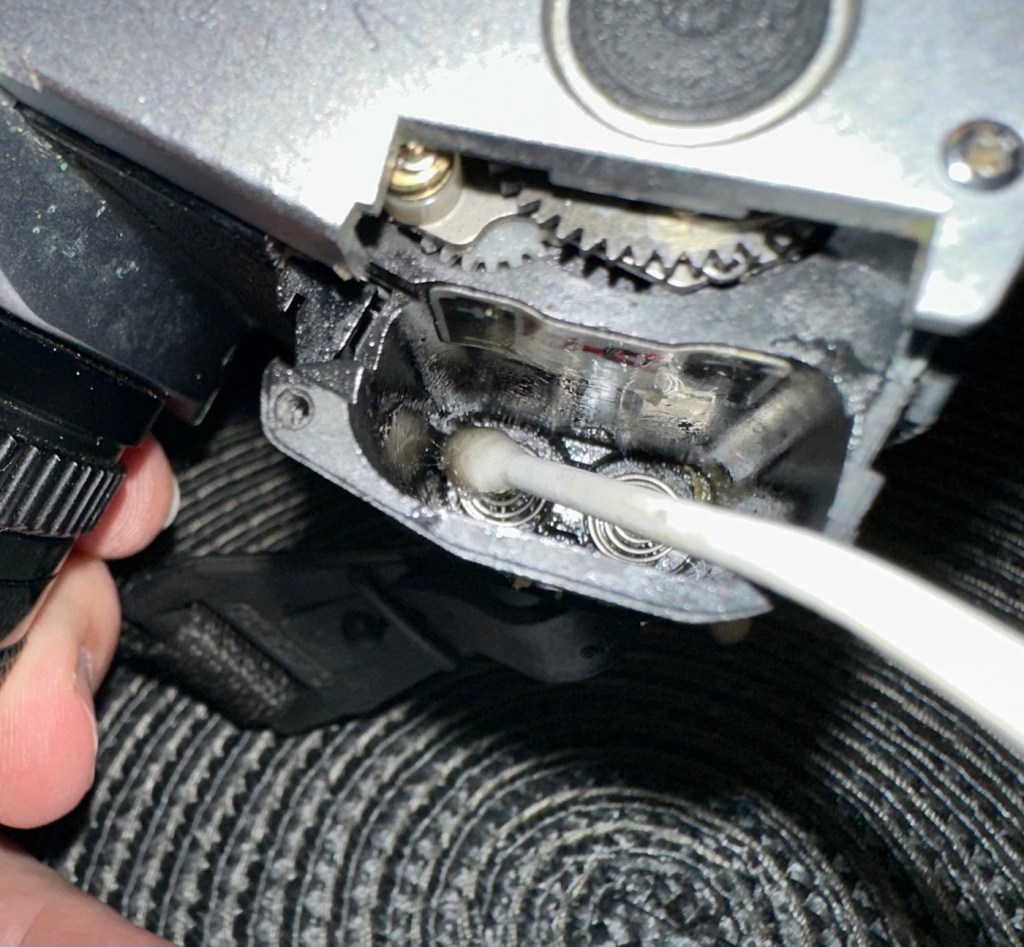
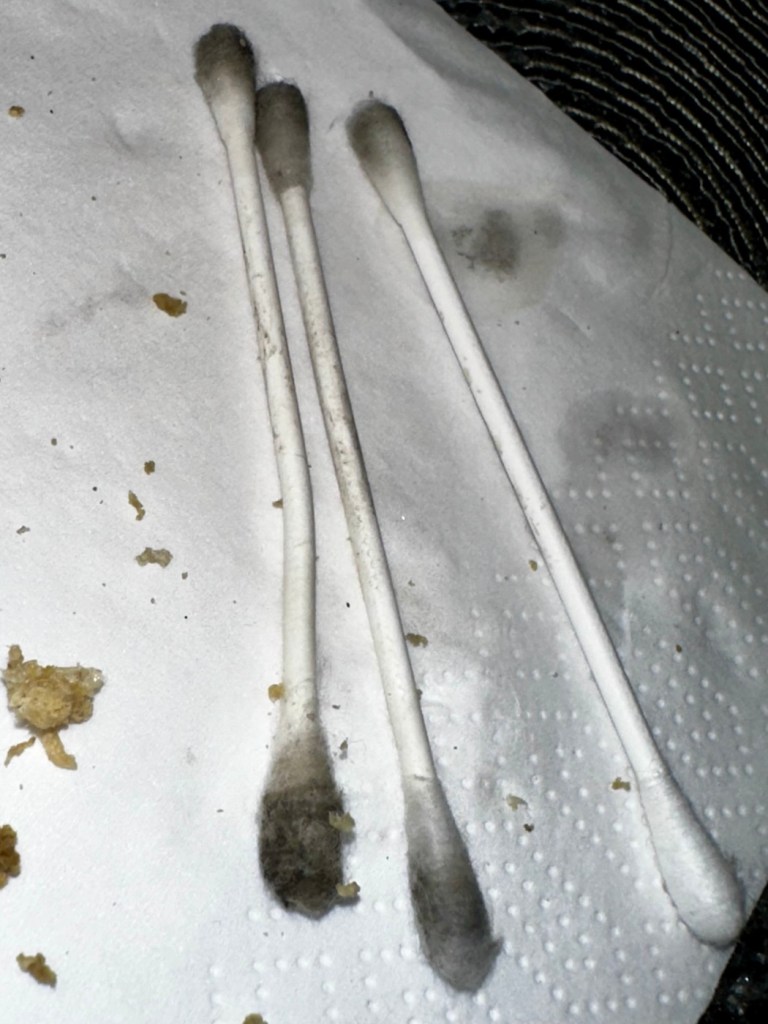
I have affixed the metal battery plate to the battery door using a small amount of superglue. I have bent the door latch spring a little to give it a bit more strength allowing the door latch to click into its stop position a lot more securely, hence the batteries will not be able to force the door open as they did previously.
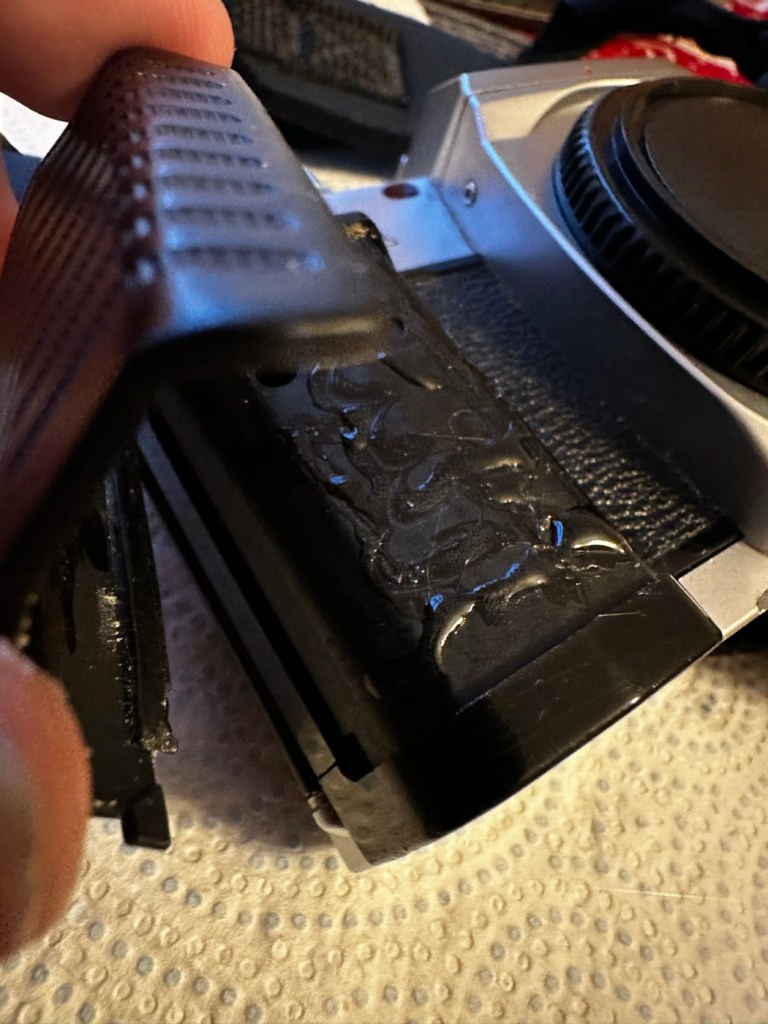
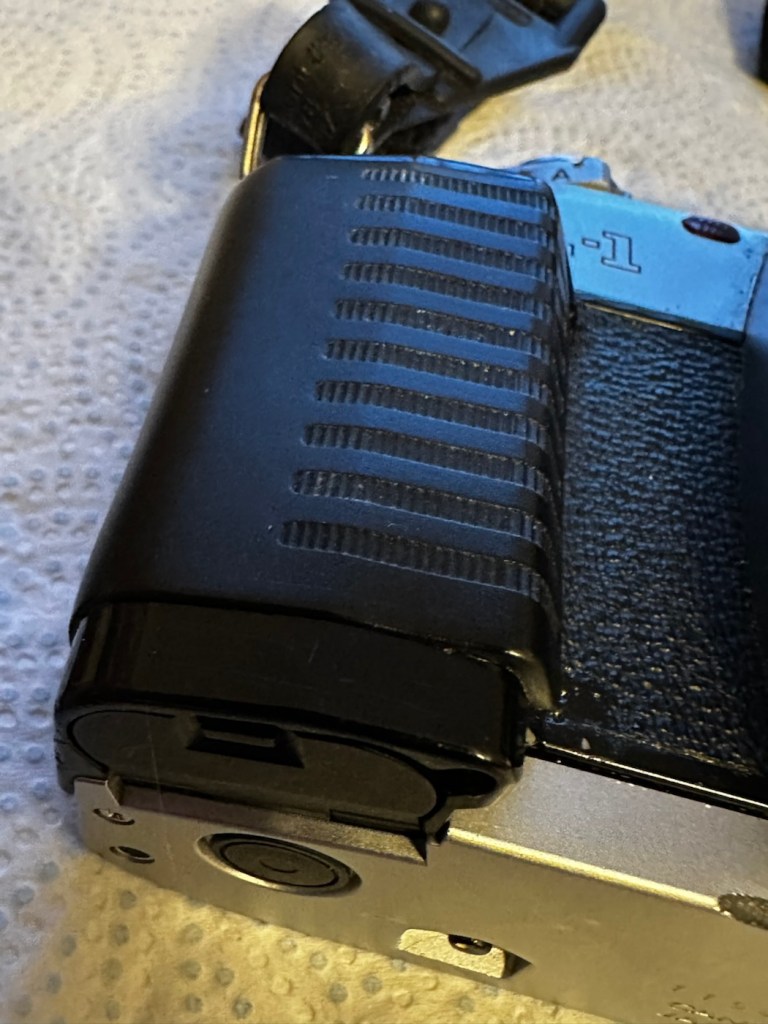
Next thing is to get the rubber hand grip back in place. For this I have used some contact adhesive.
I’ve rechecked what I thought was an issue with the film rewind button, and it isn’t a problem, it is working absolutely fine and as it should be.
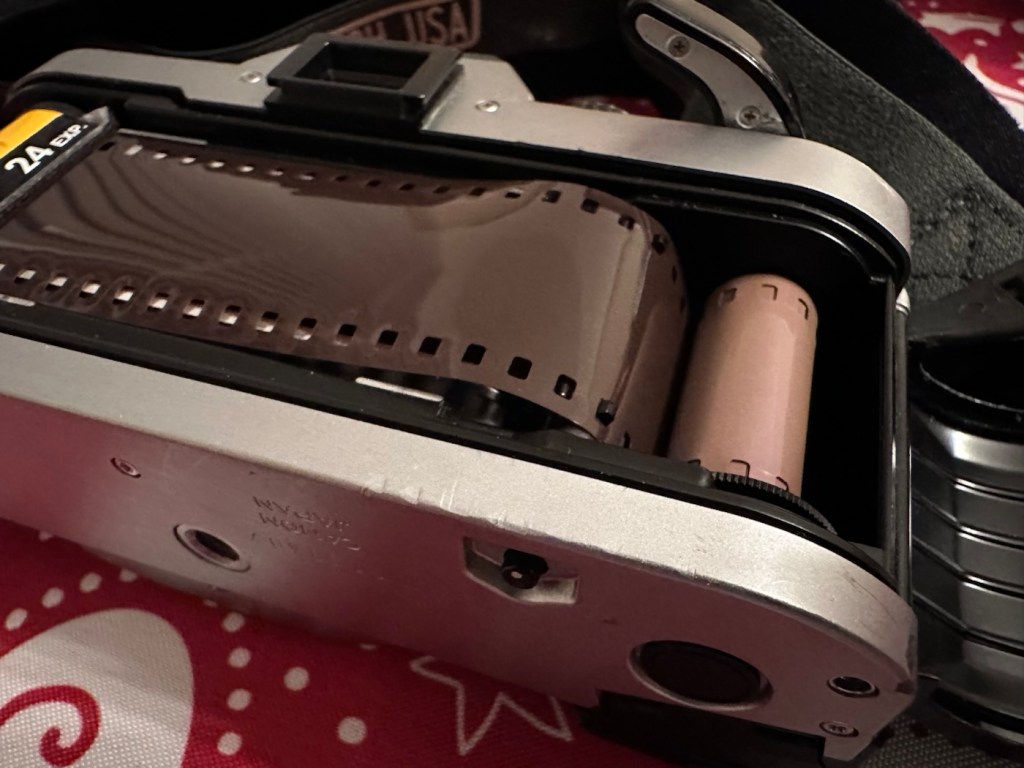
Test roll to prove rewind works

I’ve used an old test roll of film and as soon as the film is in place and winding, the bottom button pops out In theory locking the rewind spool so that it only winds towards the take up spool. When the base button is depressed, it clicks and allows you to rewind the film back towards the spool, it is working fine and was never an issue.

So the final job to do on this camera is to replace what is left of the light seals. There are eight pieces that need replacing on this camera, first I will hook the old seals out with a cocktail stick, I will then do this again with IPA to clean and remove the remaining bits, prior to cutting and installing the new seals.
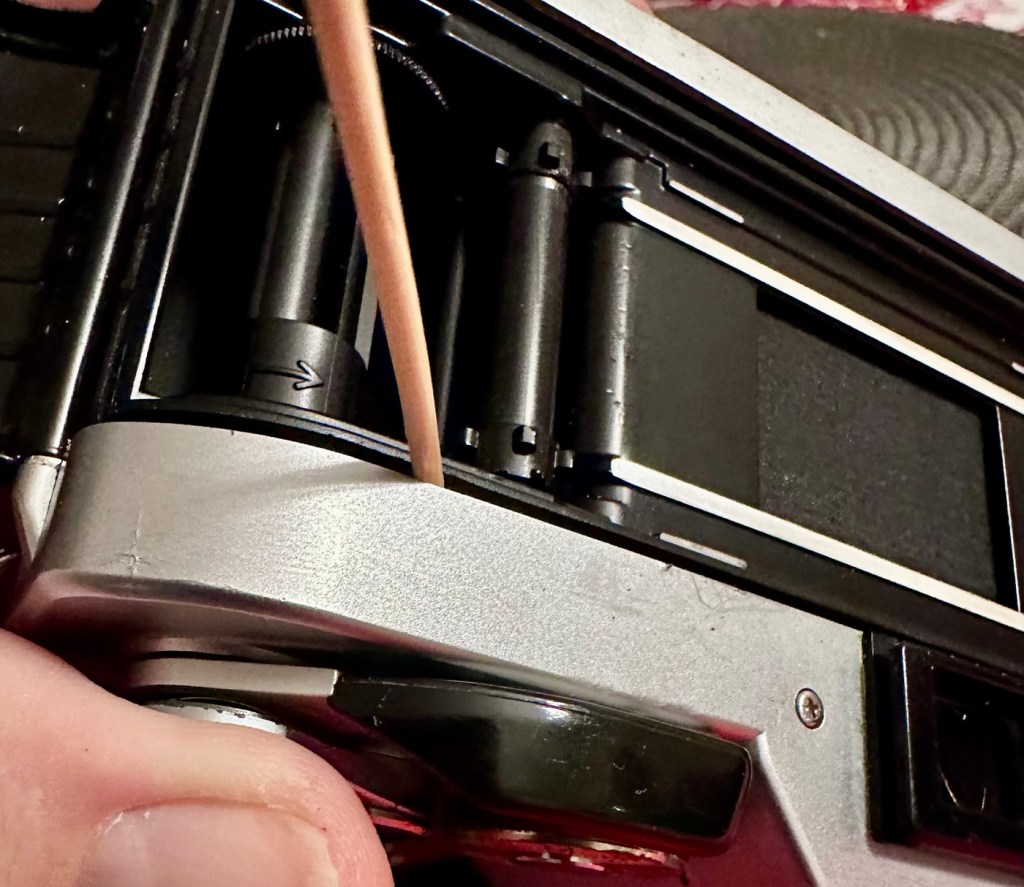
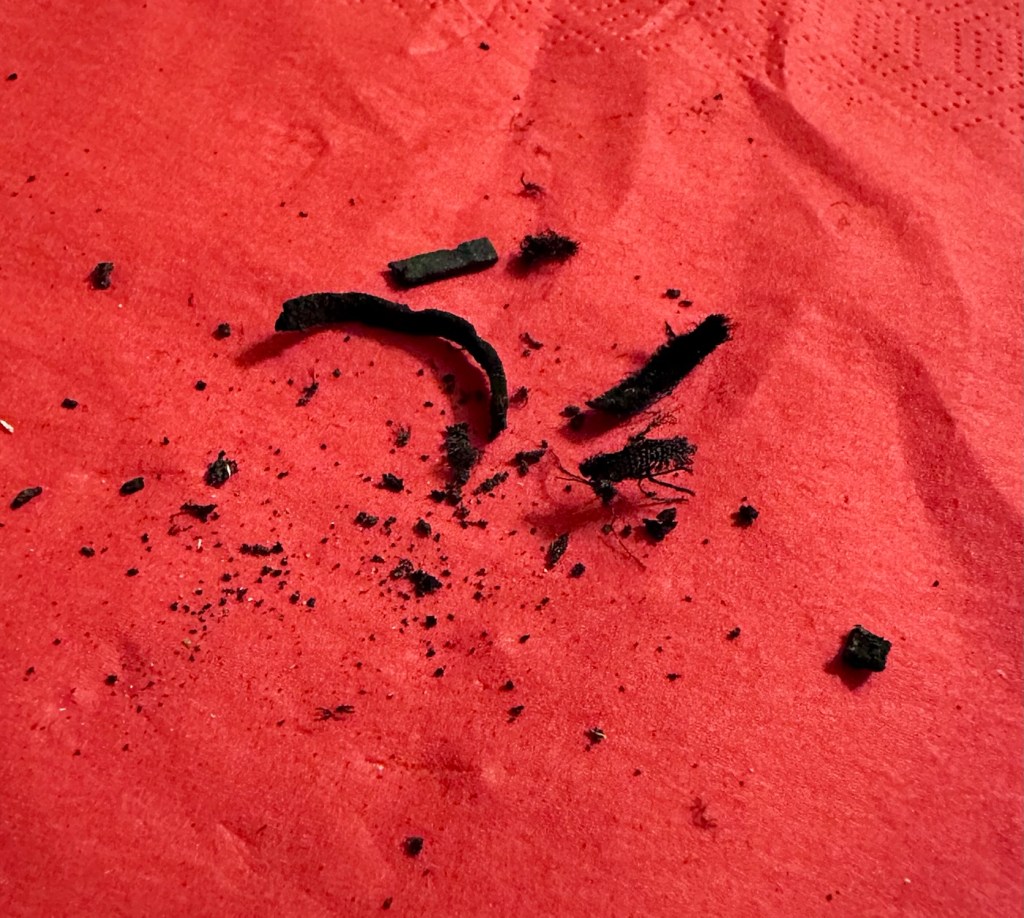
The light seals have all been replaced.
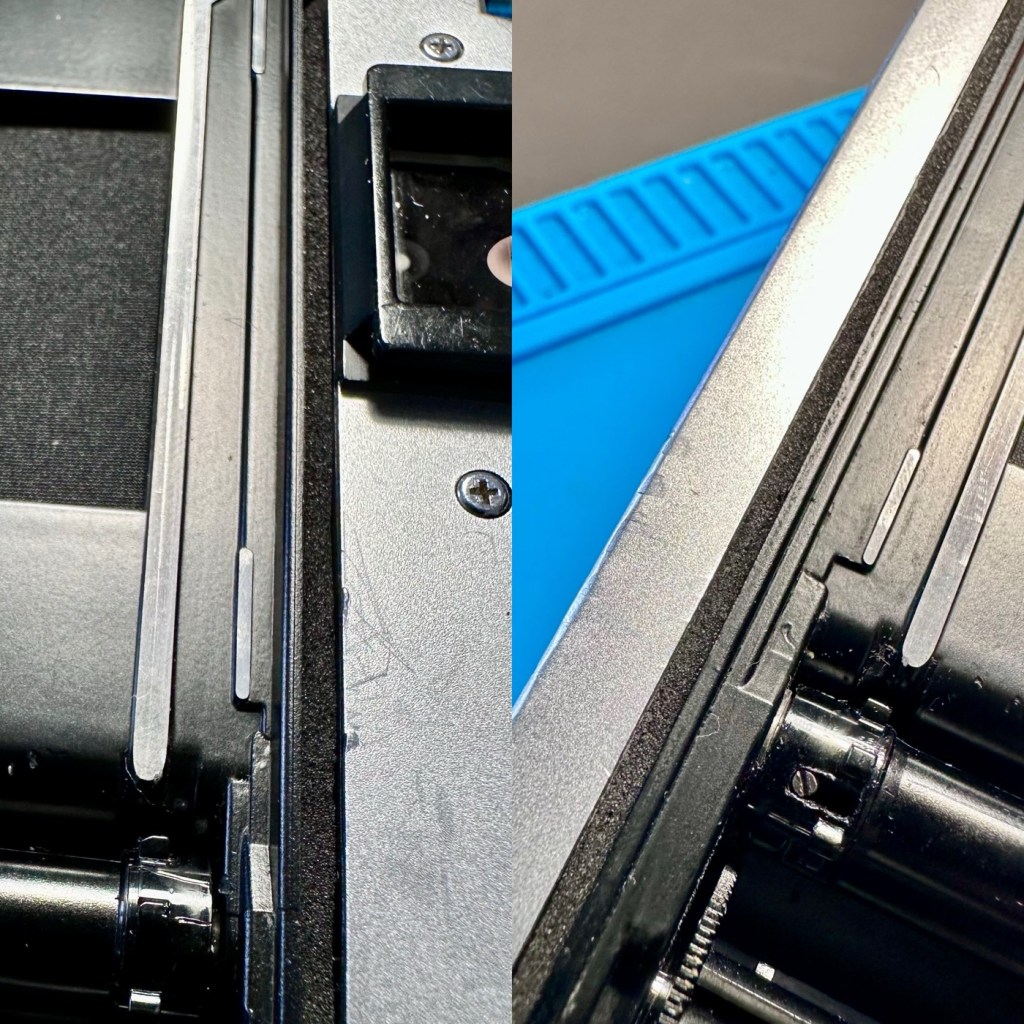
New light seals installed

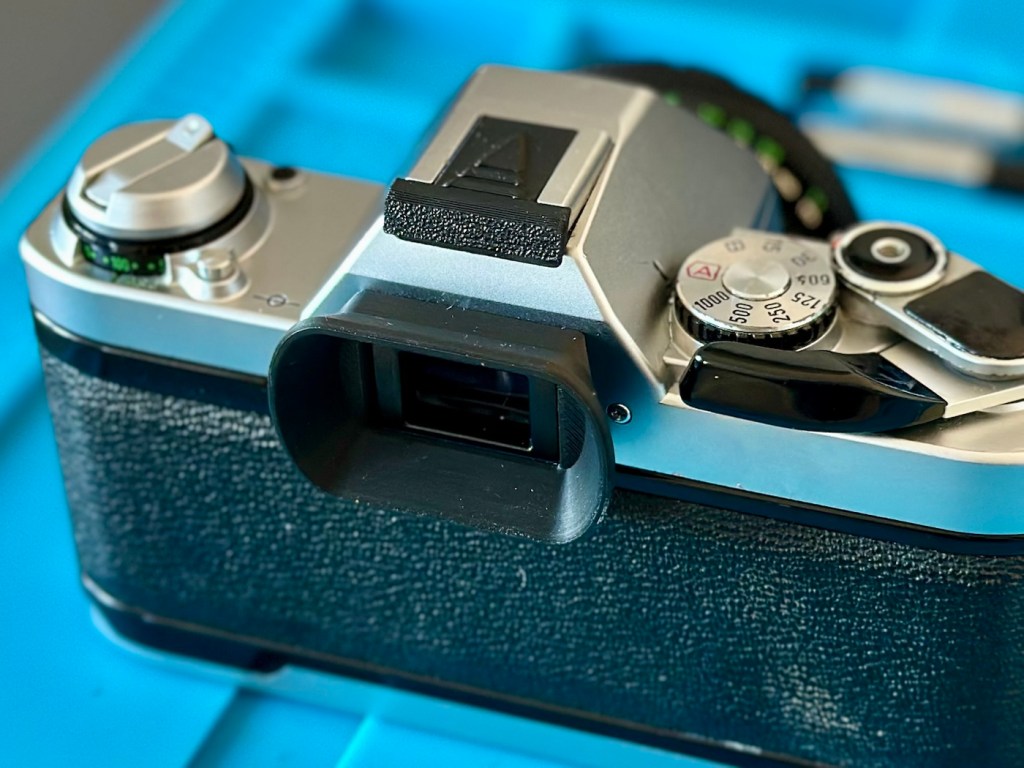
To add a little bit of a finish, I have also 3d printed a hot shoe cover and an eyepiece. It tidies things up a bit.

This camera is now repaired.

Result:

I love the quick focus on this system as there is no split screen focus. Just focus in the direction of the arrows in the viewfinder and when in focus you get a green circle 🟢 brilliant. I just love seeing the development of new systems that were being used in these old cameras that today are just taken for granted. There was so much invested into R&D in those days.
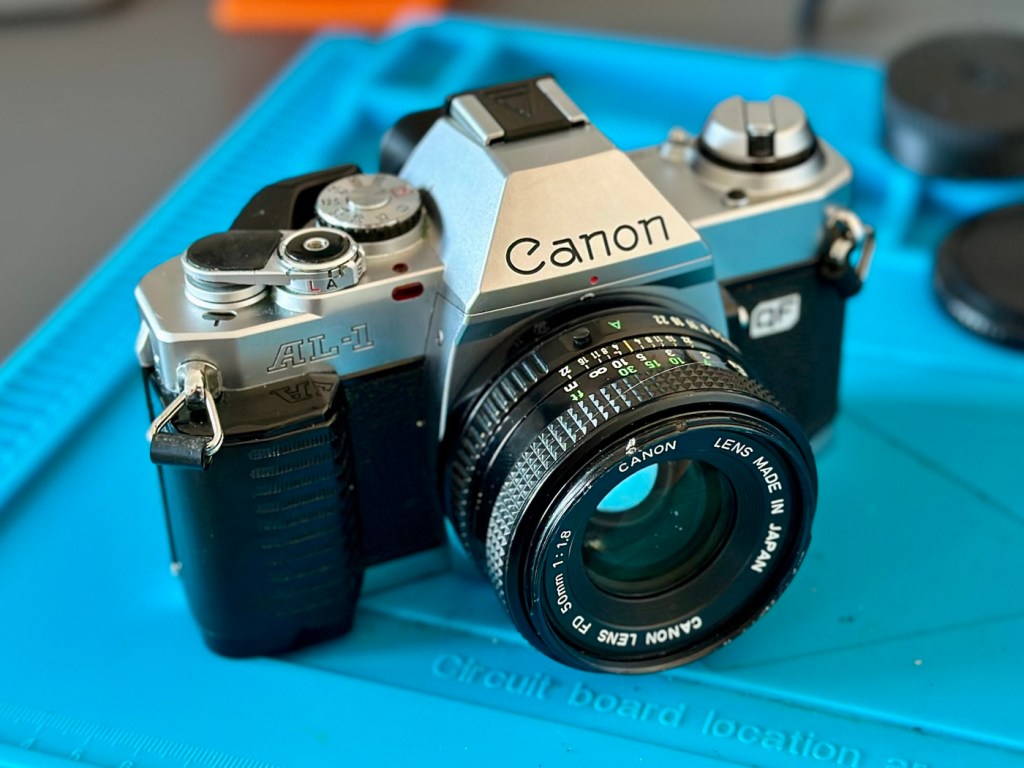
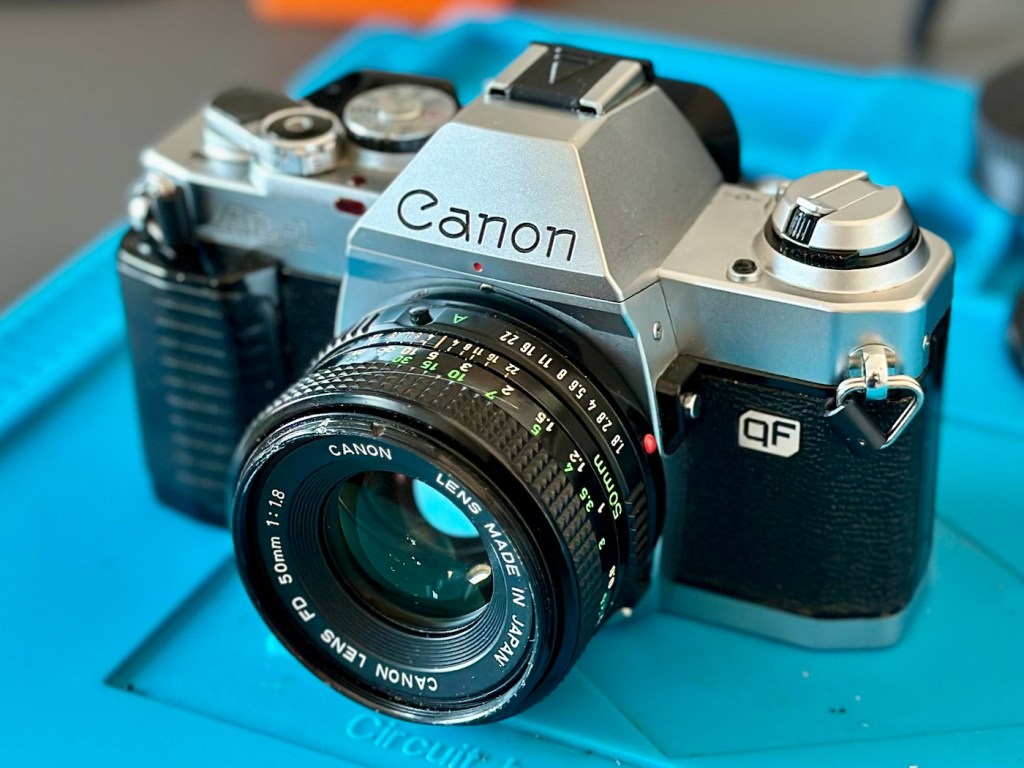
Another old timer from the early 80s given a fresh lease of life. Another one out of landfill and back into use doing what it was built to do. I love these old cameras.

Many thanks for passing by. Always very much appreciated.
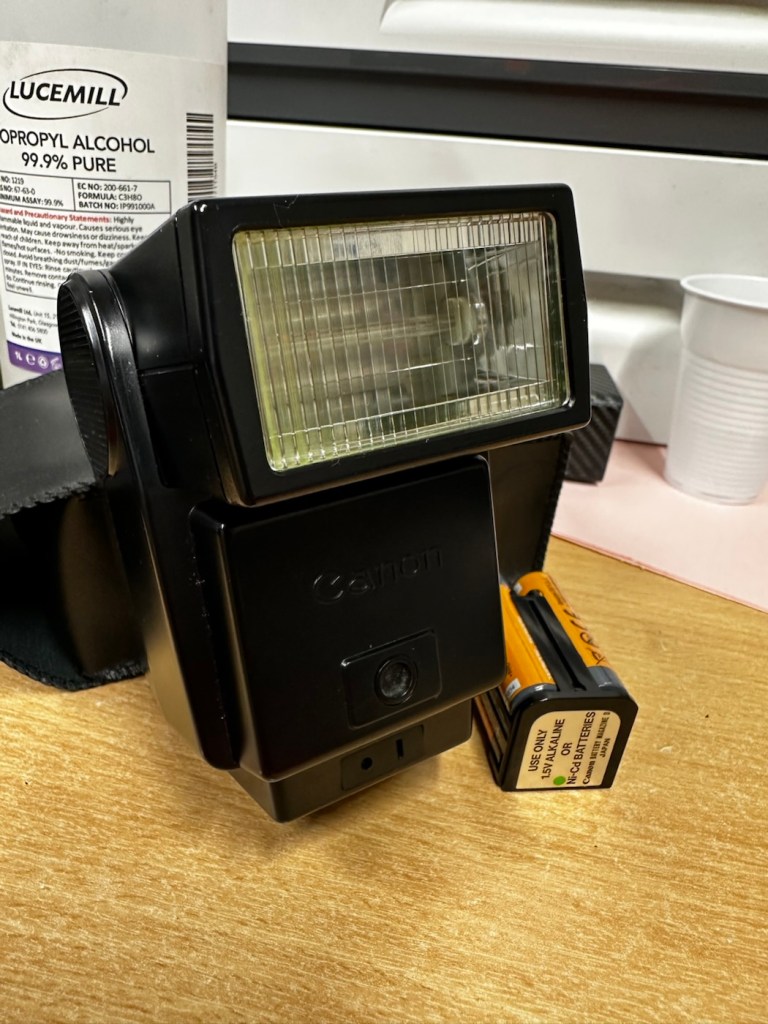
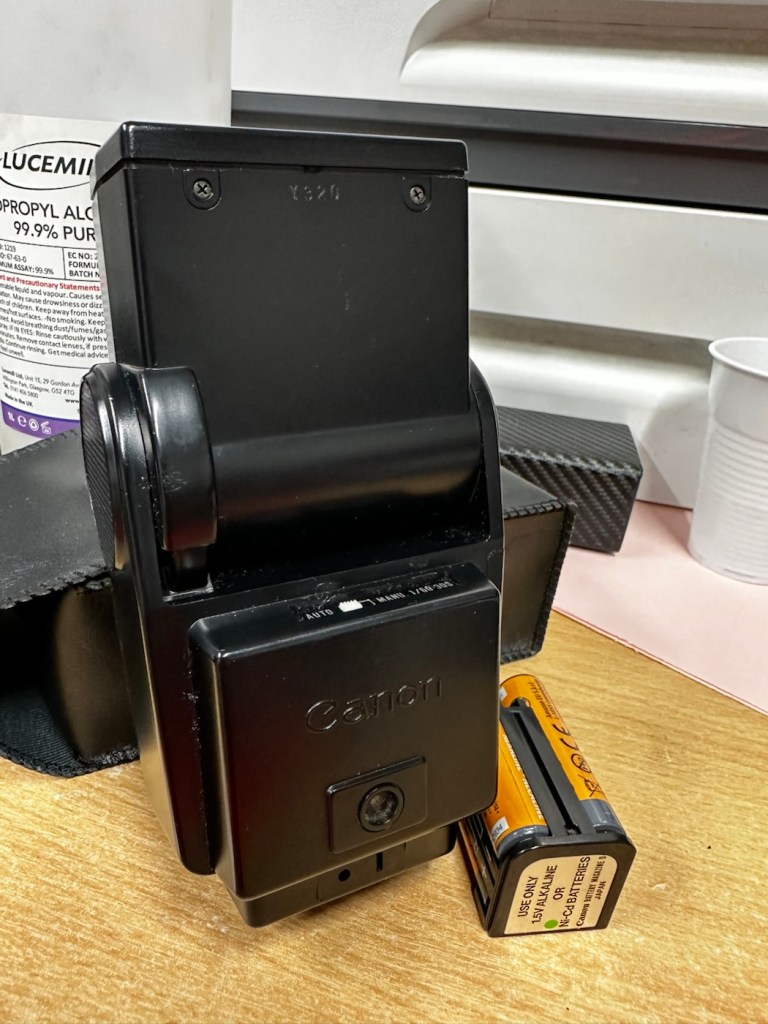
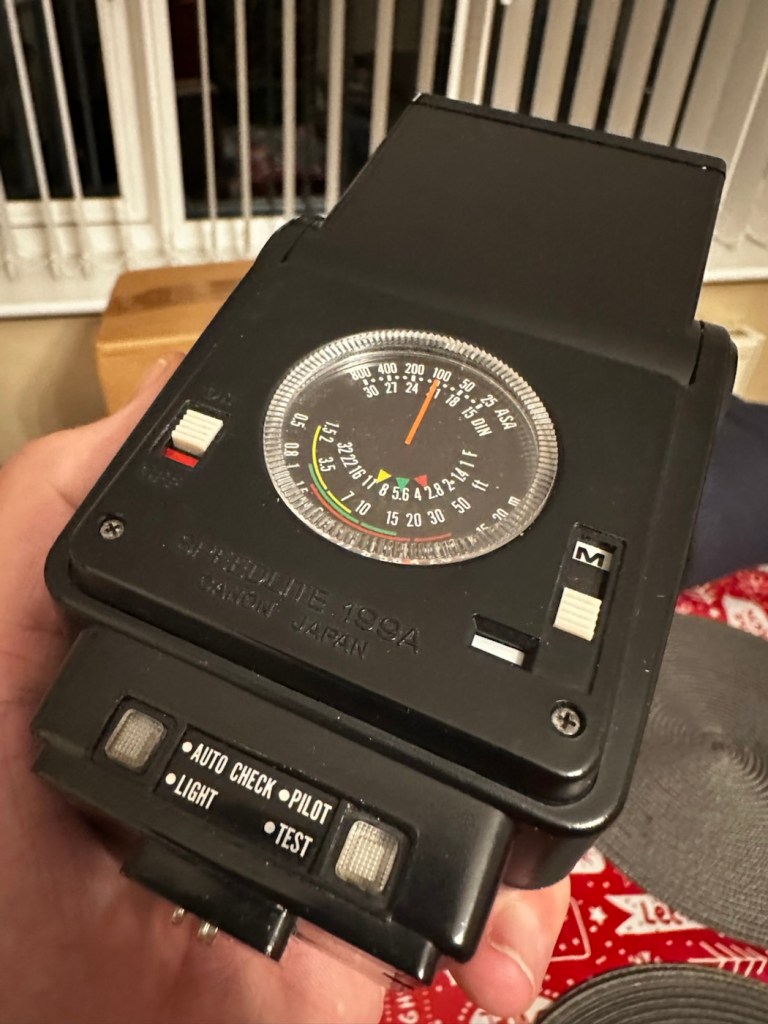
Canon Speedlite 199A flashgun

Can I bring a dead Canon 199a flashgun back to life? You betcha!

I love working with flashguns, but believe me they are highly dangerous and potentially deadly pieces of kit, once you get under the skin otherwise known as its protective casing. I inherited this one from a good friend of mine who is a professional photographer, the post regarding what he passed on to me can be found here: Cameras…i need more!

Now please do not go delving into the back of these things unless you know what you are doing. Yes they might only be powered by 6-9v of power from your batteries, however in the process of getting to the point where they unleash a lightning flash for your photographic opportunity, they have passed through a component called a flash capacitor, this component greatly amplifies the voltage from that measly 6-9v from your batteries up to what is now between 3-400v for the flash. Yes, you read right right, 400 VOLTS.

That can kill, and if it doesn’t, you have been very fortunate, but you will probably bear an entry and exit burn where you made contact with that very component. If it goes across both hands it’s probably going to go right through that pump in your chest that keeps you alive – your heart, and that can be fatal. You have been warned – take heed!

I must admit I’ve done something here I don’t usually do, and that is clean before searching for the problem. This unit had two or three old company stickers on it that I have now removed. I then gave it a quick clean and a buff and I must admit it has come up very well. I will give it another clean when i have finished, as well as a final polish with some cockpit cleaner.

Production of this flash unit commenced in 1978 for use with the Canon “A” range of cameras that were being produced around this time. It can also be used with some other camera ranges. Before we get into exactly what is wrong with this specific unit, let’s look at some information regarding the spec of this flashgun:

The Canon Speedlite 199A is a dedicated, thyristorized flash unit designed for operation with Canon “A” series cameras. The Speedlite 199A features a high Guide Number of 98 with ISO 100 film, three automatic flash ranges plus Manual and automatic bounce flash capability. The most powerful shoe-mount Speedlite in the Canon line, the 199A is recommended for use with the Canon A-1 or any “A” series camera with motor drive or Power Winder A due to its high power and very rapid recycling time.

Technical Specification: –

Type: High-powered shoe-mount flash; automatic, thyristor type
Guide Number: 98 (ISO 100, feet), 60 w/wide adaptor
Recycling Time: 10 seconds with Alkaline-Manganese batteries 6 seconds w/Ni-Cd batteries
Number of Flashes: 100- 1000 w/Alkaline-Manganese batteries 50-500 w/Ni-Cd batteries
Auto Flash Ranges: 3
Auto Apertures: (ISO 100) Red-f/2.8 Green-f/5.6 Yellow-f/11
Bounce:Yes
Flash Coverage: For 35 mm format, covers angle of view of 35 mm lens; covers 24 mm w/adaptor
Color Temperature: Daylight
Power Source: 4 “AV size Alkaline or Ni-Cd batteries
Dimensions: 3-1/8 x 3-1/4 x 4-1/2 in.
Weight: 1 lb., 1-5/16 oz.

Mir.com

Asssesment:

As you can see in the photos above, and as I stated at the beginning, I’ve gone arse about face on this one and cleaned it prior to diagnosing what the actual issue is. Please forgive me as I was in a cleaning mood at the time, and if I’m in that mood everything gets cleaned.

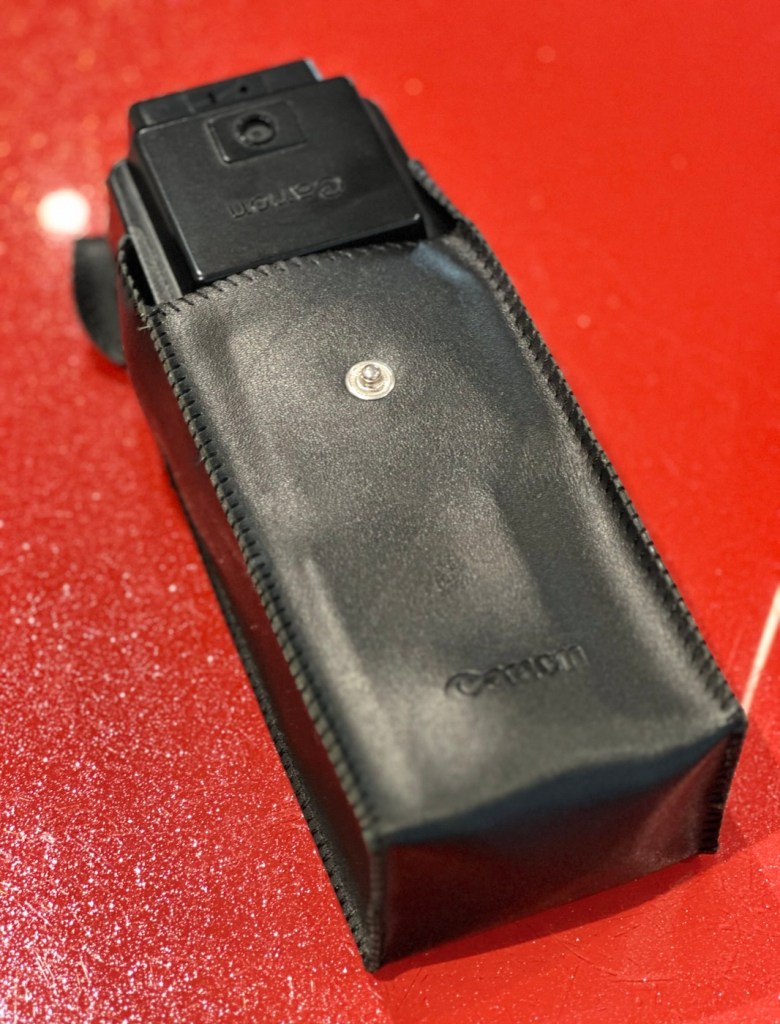
It runs off of four AA type batteries that fit in to a cassette that sits in the side of the unit. All contacts are clean and there is no sign of any battery leakage. You can see the cartridge in the photos above. The flash unit comes in a Canon branded leatherette pouch that is in absolutely perfect condition. Inside the pouch is a diffuser / wide angle lens that slides over the actual flash head. The whole unit looks fantastically clean and tidy, with no signs at all of any damage or wear.

Put the batteries in though, and turn on the switch. And nothing. It’s dead. Kaput.

With these old flash units you were always used to hearing that family high pitched whistle when you turned it on. That was the system telling you that the capacitor inside was taking a charge and getting ready for business. Over time, the capacitor can loose its effectiveness, it semi retires if you like, and on occasions it retires fully, it dies a death. I very much suspect this is what could possibly have happened here, I just hope ours is in a deep sleep and can be woken up.

So as we move on to what we are going to do, the only issue here is that it’s simply not accepting a charge, and we will then discuss the two options on how we may now breathe life into this geriatric flash gun.

One thing that always annoys me when I search for possible ways of approaching the repair, is the attitude of people who have grown use to us all being consumer driven, the attitude stinks. These units can be purchased for very small amounts now and they loudly advise,”Just buy a cheap replacement and throw that one away!” This annoys me as you well know, because that’s not what this site is about, if I can repair something, no matter how inexpensive it is, I will. There is no need for this continuous throw away attitude. It’s a good way to learn just how things work.

Rant over, let’s move on….

Repair:

One of the easiest and least invasive, and therefore safest ways to start investigations, to look for a remedy, is to first get a nice fresh batch of alkaline batteries. With these in place within the unit, turn the flash power switch on and just leave it like that for anywhere between 2-8 hours. It has been known in the past, to act like a trickle charge as that flash capacitor has not been active for god knows how many years, it kind of revives it. It sometimes works, more often than not it doesn’t. But it’s worth giving it a try. So here goes. If this doesn’t work then our only other option is to get the unit opened up and to replace that beast of a flash capacitor.

I’m just coming off of a night shift and will shortly be heading off to bed, what better time to try this method out. So I’ll see you in a few hours 👋

And so the wait begins. Fresh batteries in place and turned on at 06:20….

I’ve arisen from my pit about five hours later, and what do you know….

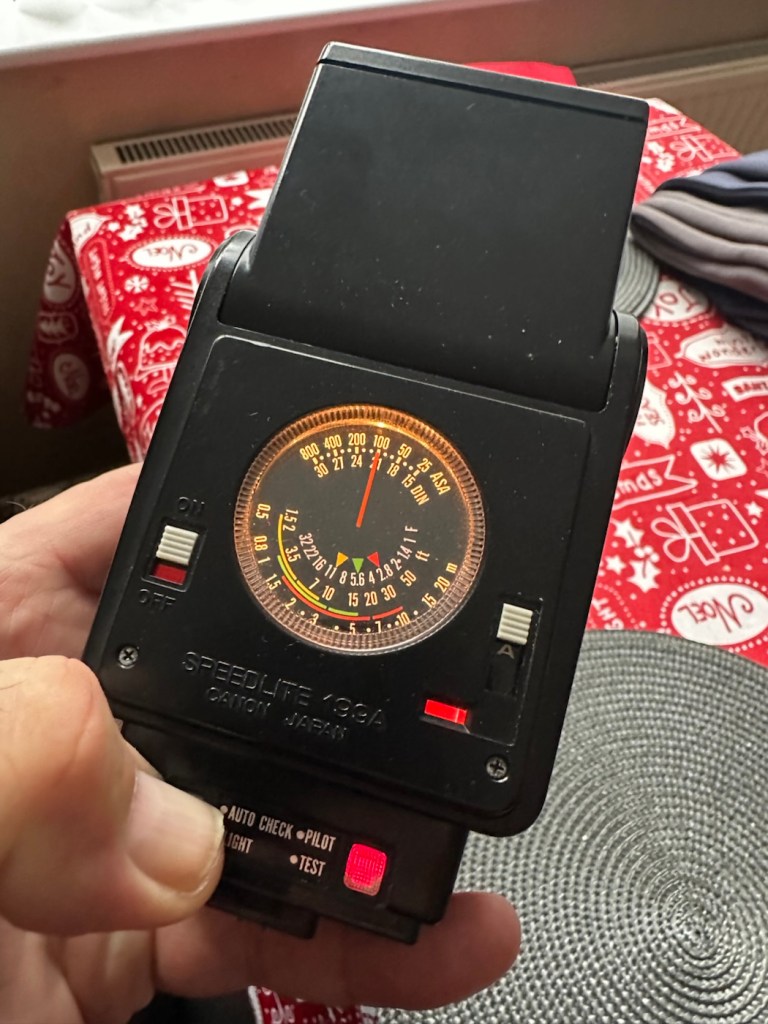
Well, it’s only gone and bloody well worked hasn’t it?

And 5 hours later….it actually works

Sometimes it’s the simplest of procedures that can bring old equipment back to life, and when the fix is non invasive, going no where near those dangerous internal components, it can only be a good thing can’t it? And to think this was just placed in a box for disposal. Well it’s got a new lease of life now.

It really is working

I’m really pleased with this so let’s move on to the final stages and get this little beauty polished and presented.

Result:

And yes it is a result, a result of patience and perseverance and thinking outside of the box as they say, in office inspired corporate management speak.

In a number of these “repairs” it’s best to exhaust all other options prior to getting the screwdrivers out, just like a surgeon explores all options prior to getting the knives out. I’m in no way comparing myself to a surgeon, you wouldn’t want me anywhere near you with a scalpel! I’m just using it as a pretty poor comparison, so I guess it’s best I shut up now and just get on with whatever I’m supposed to be doing.

So that’s another little repair put to bed, and another piece of electrical detritus pulled from the arms of the scrap man. I always feel a great sense of accomplishment when I mange to get these old bits of kit working again. It frightens me to think just how much salvageable tech equipment gets discarded when it could quite easily have its life extended with the minimal amount of intervention.

My plan is to add this flash to my Canon “A” series collection as that is what it was originally designed for. And I may well add a link here, when I get to use it whilst testing any new “A” series cameras that just happen to come my way, as they invariably do, that require my attention.

As always, thanks for passing by. It’s always most appreciated.

Canon AV1

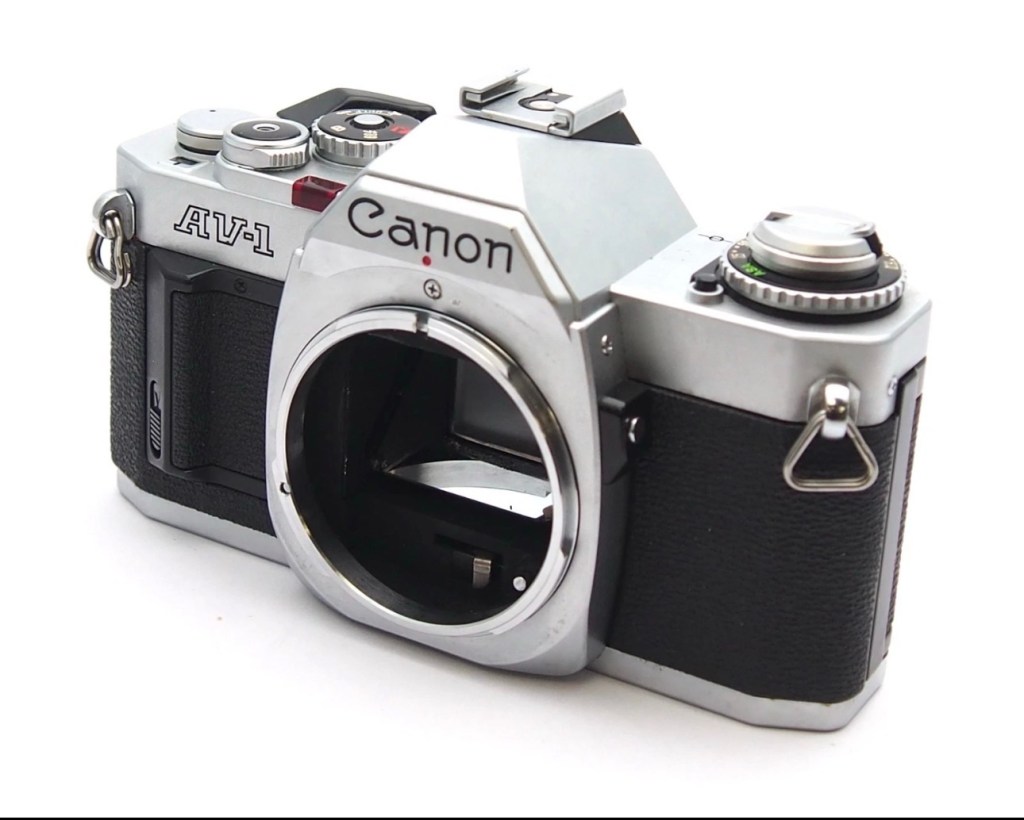
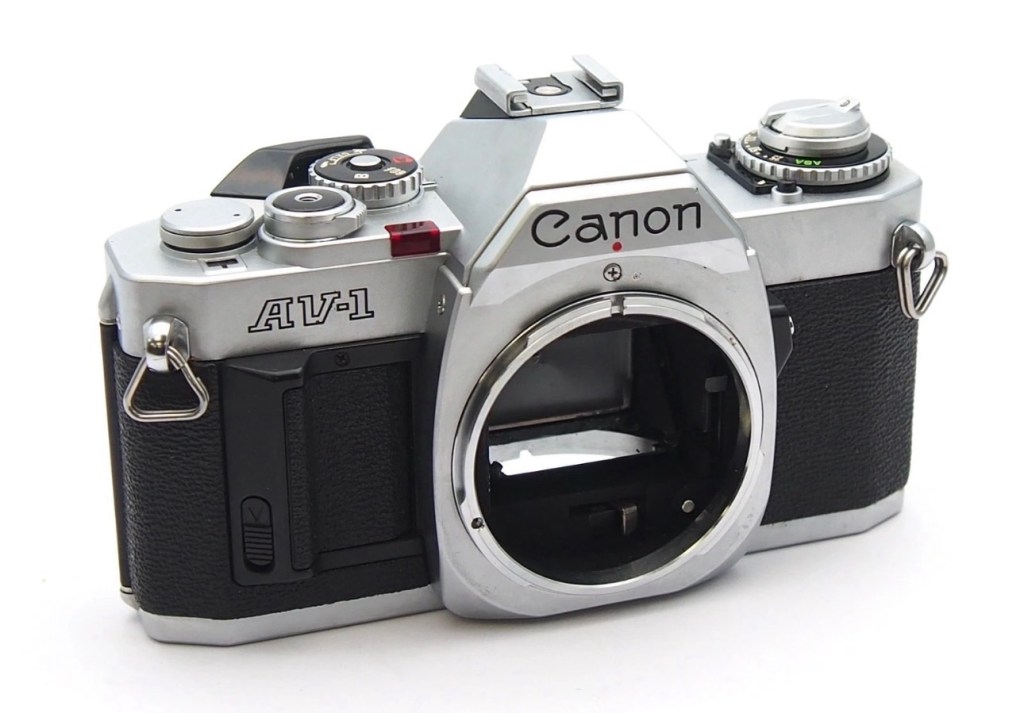
I now have a Canon AV1 with a shutter problem. Can I fix it? I’ll have a good go…

What the listing stated:

This camera is in very good overall condition. Some light signs of use but this is generally minor. The light meter is responsive when you press the shutter button down. However, the shutter will not fire. Spares or repairs only.

EBay

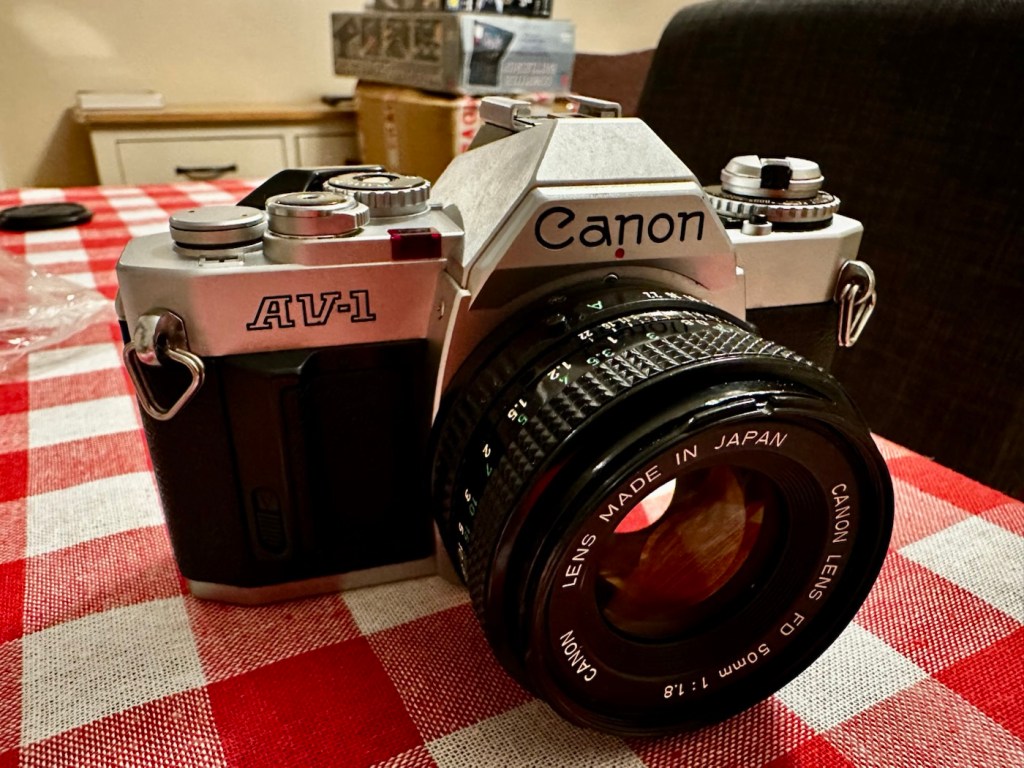
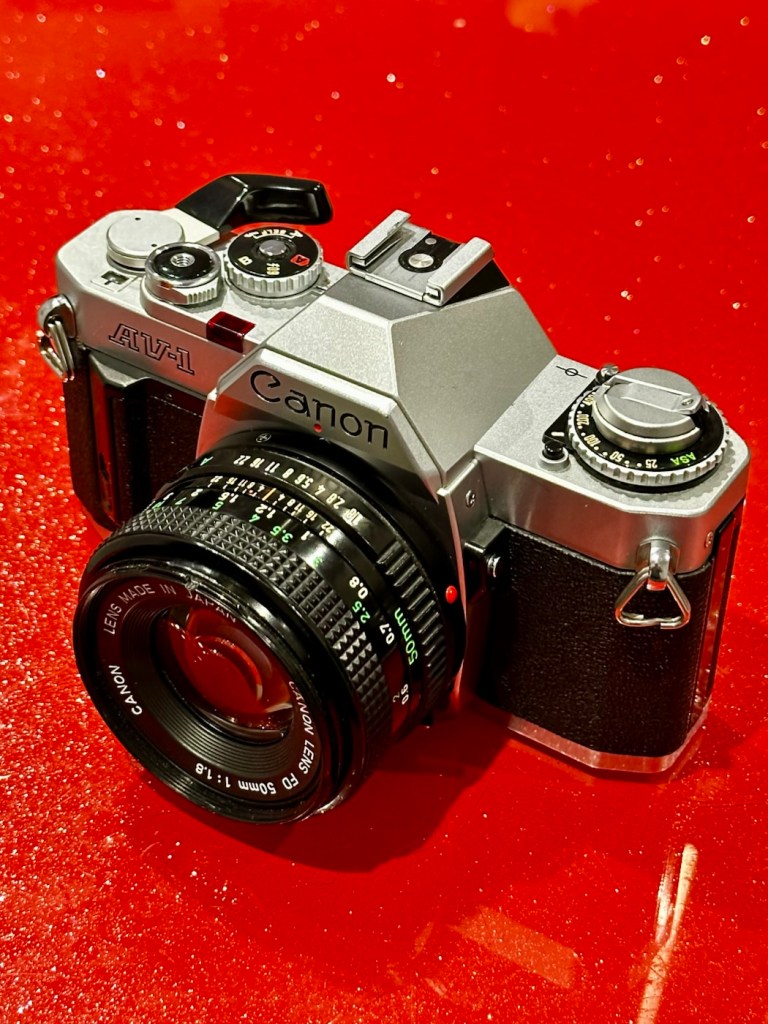
I’ve just paid £8:98GBP for this camera, and I believe this is a great price for a piece of camera history. The AV was introduced due to there being a demand for aperture priority at the time, whereas its Sibling, the AE1 was purely shutter priority. Later cameras would come to incorporate both systems. This one has a known problem with a stuck mirror – it won’t fire and I think I can easily sort this problem. Well I hope I can.

Here’s a little information about this camera:

The Canon AV-1 is a 35 mm single-lens reflex camera with an FD lens mount, introduced by Canon Inc. in 1979.

The AV-1 is very similar to the 1976 AE-1 but provides aperture priority autoexposure rather than the AE-1’s shutter speed priority AE. The camera is not capable of fully manual exposure. Canon’s international distributors, particularly in the United States, had clamored for such a camera because competing brands offered mostly aperture-priority cameras and some preferred it. The AV in the name referred to the type of autoexposure; Av (Aperture Value) is a common abbreviation for aperture priority.

When this camera appeared, a new range of FD lenses was introduced, with instant mounting/unmounting of the lens. This is called the New FD mount and does away with the older type of mounting ring which was fitted on to the rear of the lens and was awkward to use and needed two hands, to a newer, easier system whereby the user lined up the red dot on the lens, with the red dot on the camera and simply turned the whole lens clockwise until it clicked into place.

All the other AE-1 accessories fit the AV-1.

Wikipedia

I’ve decided to collect all of the Canon “A”Series of cameras, and this adds to my current collection that consists of an A1 and an AE1. There were I believe, six cameras in this range and this current camera will be my fourth. Here’s a list of the “A” range of cameras below. I have highlighted with an asterisk all that I currently have at the date of this blog post being published:

Assessment:

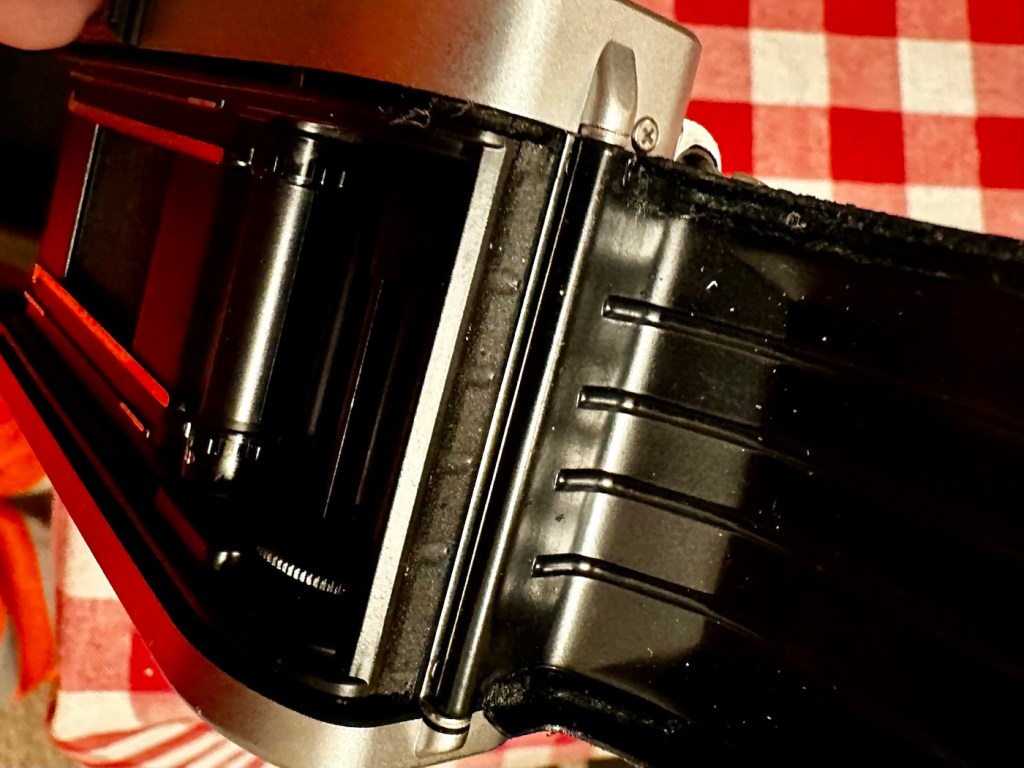
The original listing description does not match the issues that I have found. It originally stated that the light meter is responsive, it isn’t. It also stated that the shutter does not fire, it does when a battery is installed. The battery level indicator in the viewfinder does work when the check button on the camera is depressed. However when you focus the camera and half depress the exposure button to get a meter reading, the needle in the viewfinder doesn’t respond, this is the only real issue I can see, I guess the seller must have been looking at another camera as he wrote the listing for this camera.

Battery level reading in the viewfinder

All settings appear to be working as they should, the “B”setting allows me to scroll through the “f” stop settings to see the aperture leaves working as they should. All “f” stop settings appear to work on the auto setting.

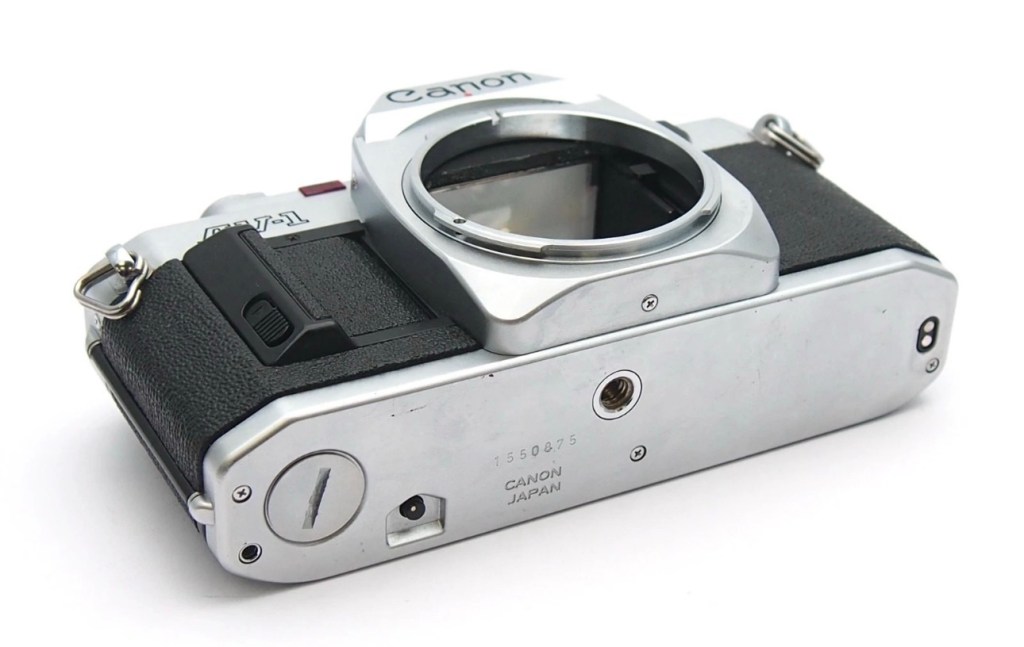
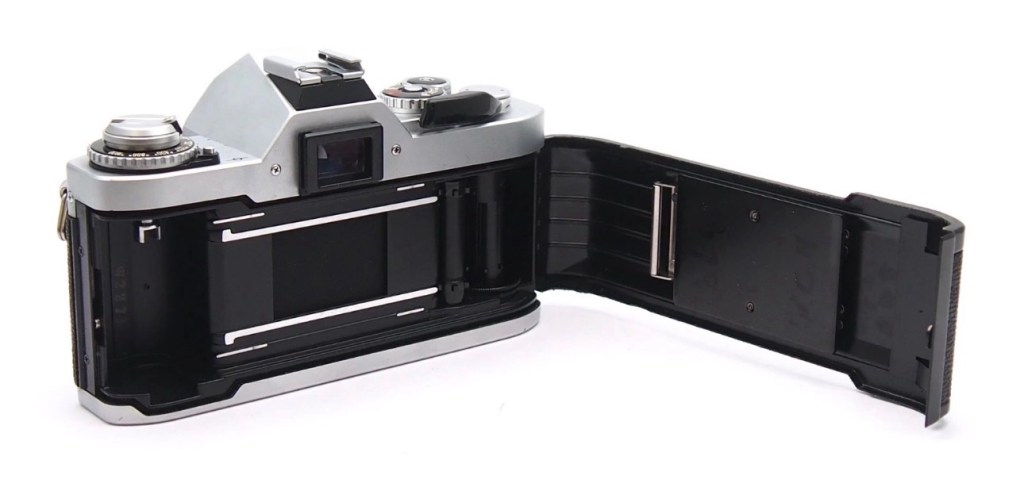
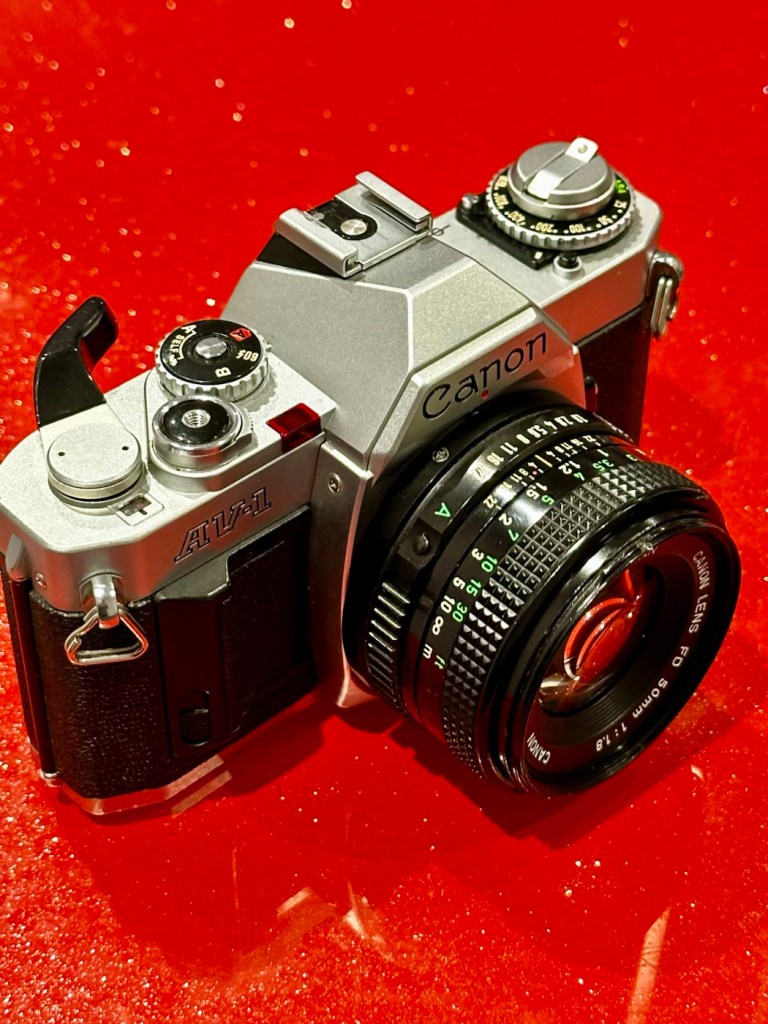
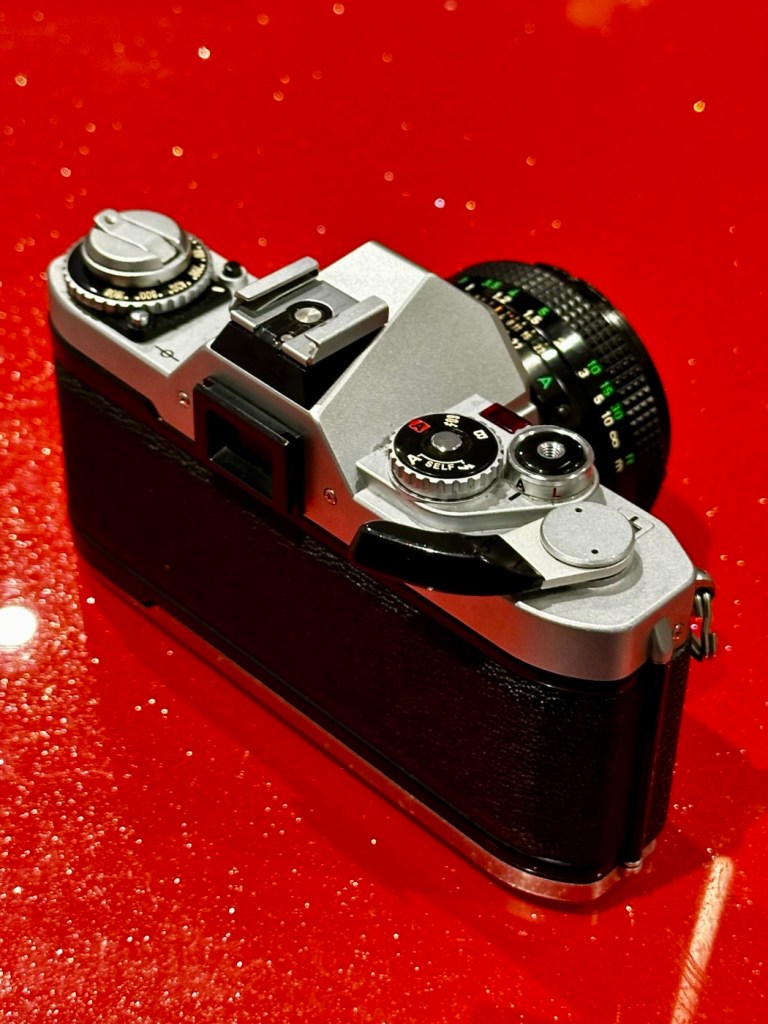
It’s a smart little camera, this a tidy example of this version with no dents, dinks and just some very fine scrapes on the base as you’d expect from a camera fast approaching 46 years old (1979-2025). It’s a bit dirty and needs a good clean inside and out, the light seals are in a good state and not requiring replacement or repair just yet, however the mirror bumper has deteriorated and this will need replacement.

Mirror bumper needs replacement

The shutter curtain is in a good and untouched condition.

I’m going to research issues with the exposure indication, and I will incorporate my findings within the repair section.

Repair:

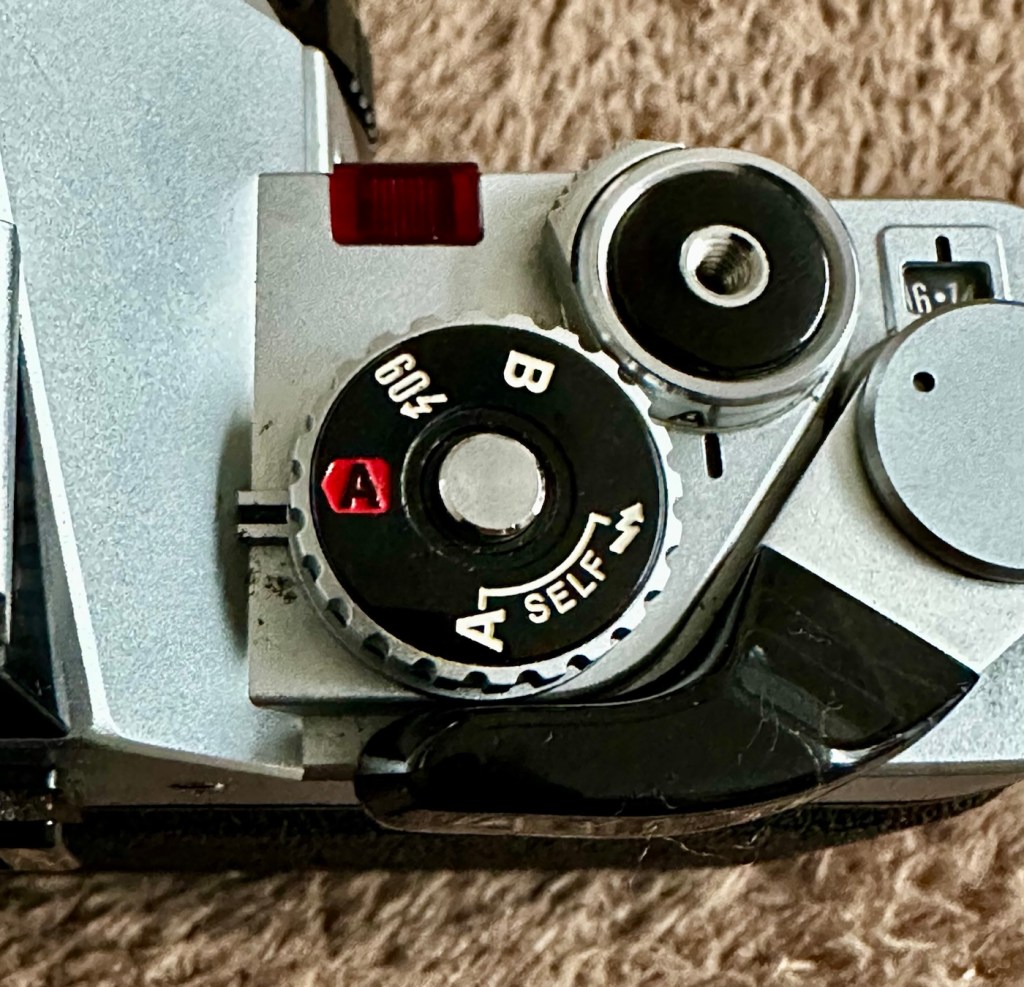
I thought, perhaps the camera is suffering from lack of use? It certainly is probably some considerable time since this camera was last used. Firstly I’ll try exercising all the controls that affect the exposure reading, including the mode dial, film speed dial, aperture ring, etc. I’ll work them backwards and forwards a few times to see if this helps to clean the variable resistor tracks inside from any surface contamination. When the FD lens is attached you must be mindful that the “A” setting on the lens is not used and that the f stop settings are used in a manual manner, lens auto is not a function on this camera.

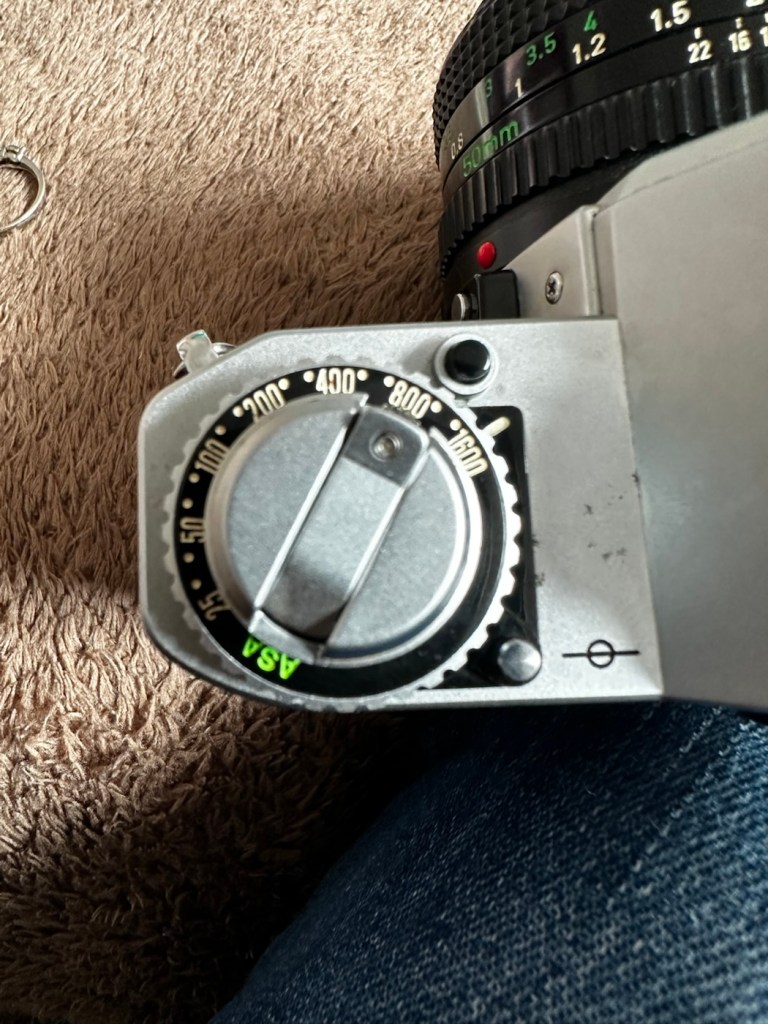
To be honest, this did seem to work sort of. The needle has moved off the bottom a bit. The ASA setting was on 100, so I put it up to 1600 as it is quite a dark day and the sensitivity of the light sensor would be reflected better at this setting. It moved a bit but I wasn’t totally convinced that this indication in the viewfinder reflected the true light situation.

I set a higher ASA for testing

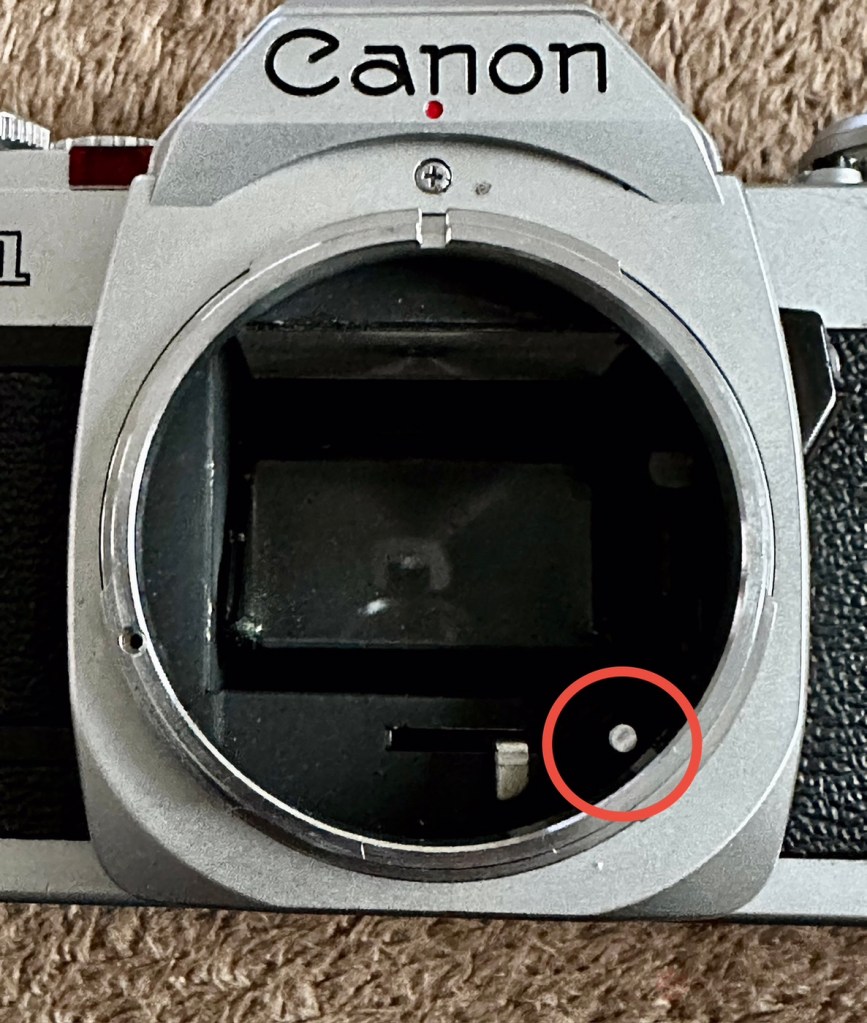
There’s also a small, silver push-button just inside the lens mount at about the 4-5 o’clock position. If you press this in and release it a few times for the same reason, as exercising the dials as I did above, it is just like exercising a body part and keeping it supple. Leave items like this, designed for high usage redundant for a while and they soon seize up. it has also been known to assist with getting the needle indication working after a long lay off.

That silver button, highlighted

(A little bit of trivia here – this button is normally used for the lens to inform the body of the lens’s maximum aperture. This information isn’t needed on the AV-1, but Canon included it anyway for some reason, and it doesn’t affect the exposure.)

And combining these actions, moving the settings dial and the button inside the lens mount seems to have revitalised the light meter and I’m now quite confident that it is working as intended. It was just lazy due to low use and needed a bit of non invasive intervention to get it working again. And non invasive intervention is always a good thing. So with the setting back to 200ASA I was able to show the meter working in this very short and basic video below.

A brief video showing the meter needle moving

I’m confident that the metering issue is now sorted so let’s get that new mirror damper installed.

A lot of dirt came off of the area where the replacement damper had to go, it had completely deteriorated and took quite a bit of cleaning.

Now in place it has silenced the mirror movement somewhat, and will provide some longevity as it moves into the twilight of its years. It will be good for many more rolls of film yet. Whilst in the lens area I have cleaned the mirror and prism, and given the area a good blow through and put the lens back in place to seal it all up. It is now clean internally. I have a couple of body caps on order that will assist with storage when the lens is removed.

Just a final clean with some cockpit cleaner, and this camera has come up lovely, I’ve tested it on a Power winder “A” as well and it sounds just so good and “retro”. It’s perfect.

Result:

Well. I now have another lovely example of one of the Canon “A” range of cameras to add to my collection. This brings my current total to four out of the six available, two of which are still currently under repair. For less than £10:00GBP it is so easy to own a piece of photographic history. I have been lucky here that the work that had to be done was non intrusive, and to be quite honest was just basic everyday maintenance. The only real work of sorts was installing some mirror damper felt, of which I have plenty of stock. Cleaning was quite intensive but the overall result is amazing.

I will eventually run a roll of film through for a final quality check, however I have such a backlog it will take me a while. When I do however run that test roll I will post a link here:

Really pleased with this repair, and the fact that another lovely old camera has been saved from the scrap heap and been given a new lease of life.

Thanks as always for passing by. It is as always, very much appreciated.