

What the listing stated:
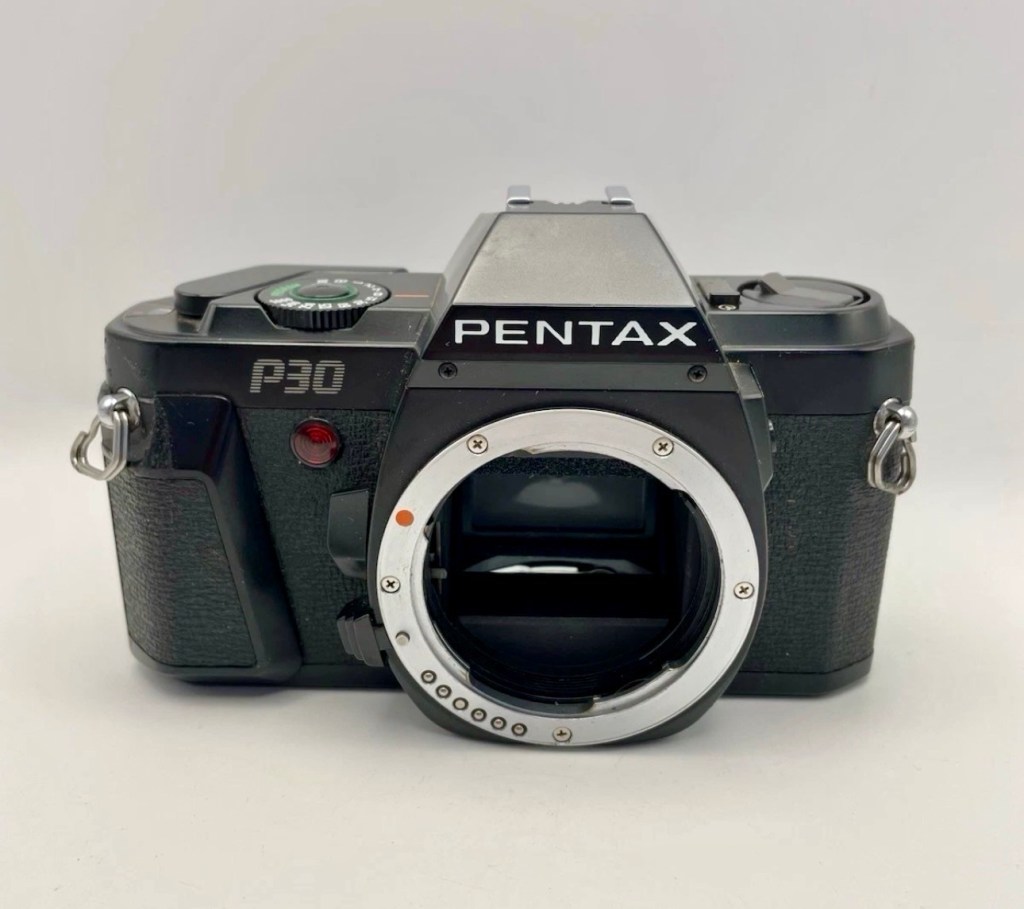
Pentax P30 35mm SLR Film Camera Body – Spares/ Repairs
The camera appears to be unresponsive upon testing.
EBay
Here’s a little bit about this camera:
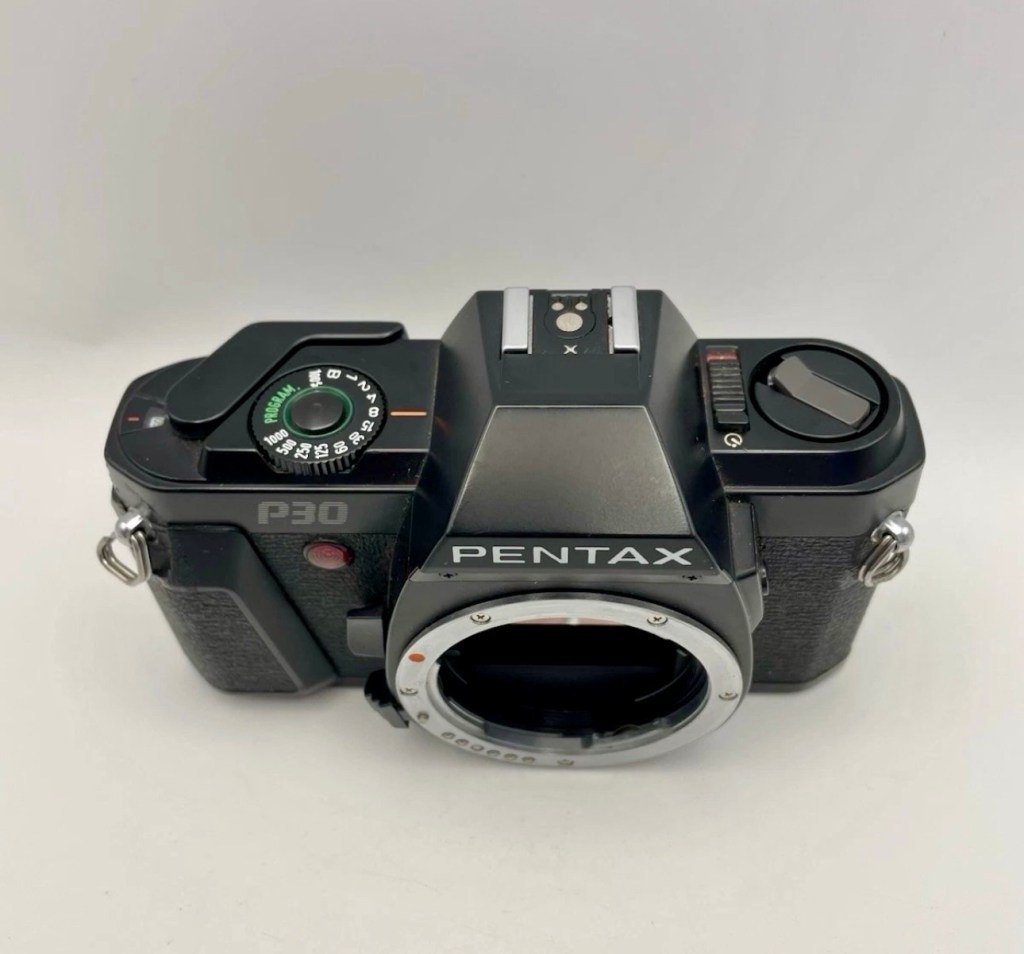
The Pentax P3 (US), P30 elsewhere, is a 35mm film SLR released by Pentax in 1985. The plastic body was a departure of the lineage that produced the ME and Super A; with a more amateurish camera. The P3 was a departure of the P5/50 as it returned to a speed dial instead of buttons.
It uses the KA-mount bayonet to convey aperture information and have P mode (Av when M or K series lenses are used) and can use any manual focus lens up to the FA series.
- Viewfinder covers 92% of image with 0.82x magnification. Split-image matte focusing screen (horizontal)
- The P3/30 uses a classic manual film advance lever with 130° throw.
- It has program, manual, X and B exposure modes on a dial with speeds of 1 to 1/1000 sec. However on P mode exposures up to 8s have been observed. The X mode provides automation with some Pentax flashes. No exposure compensation is available, but the camera has an Exposure Lock button.
- The meter is a center-weighted type with a range of 1 to 18 EV. A scale of speeds is shown in the viewfinder and LEDs show the selected and recommended (blinking) speeds.
- Film speeds can’t be set manually, the P3/30 uses DX Encoding film with a ISOrange of 25 to 1600. There is a plastic window in the film door.
- Self timer is in the main power switch for ~12s.
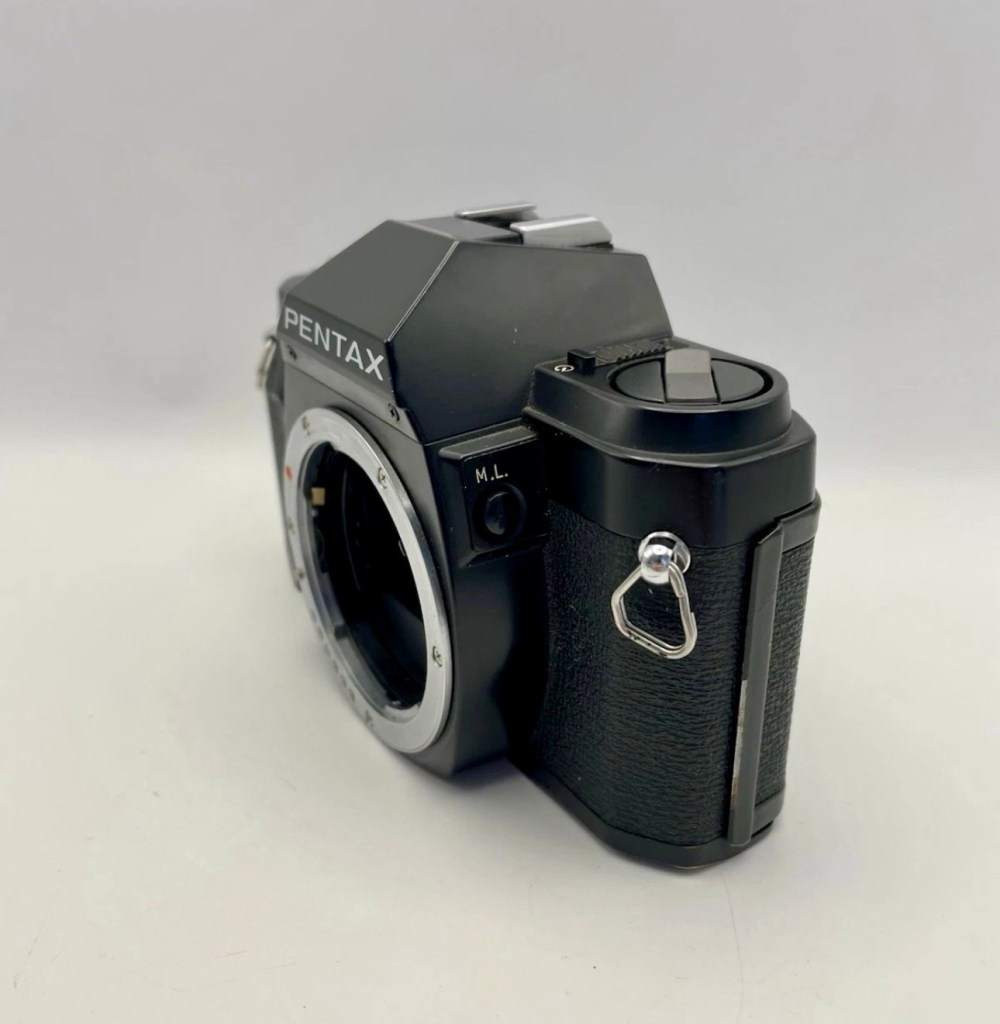
- DOF Preview lever is located above the bayonet lock.
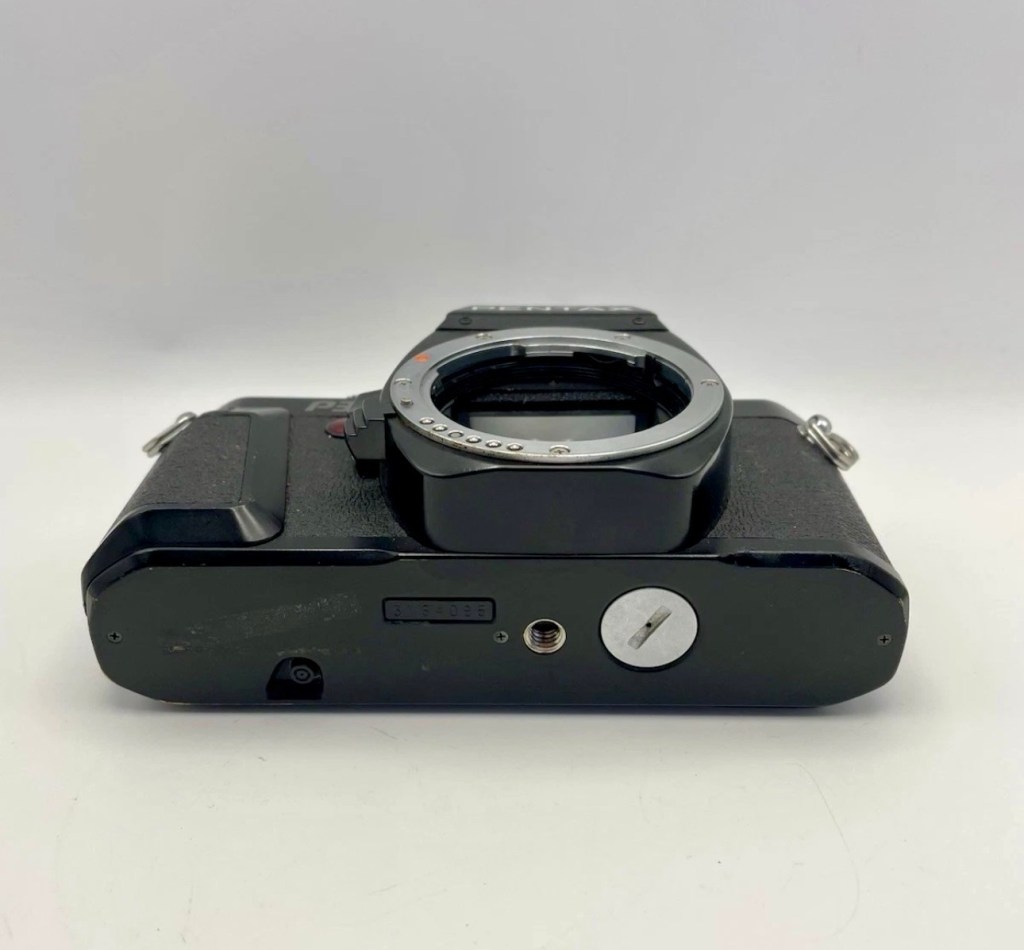
- It uses two 1.5v SR44 or LR44 button batteries.
- The US version is all black, while in the rest of the world it was dark gray
There are two revisions of the body, early versions can’t use a cable remote release, while late versions can.
A similar improved Pentax P30n/P3n/P30t became available three years later. This camera incorporated Aperture Priority exposure, and a diagonal focusing screen (P30t)
Camera-wiki.org
Another camera from the 80s – this one was 1985 when the manufacturers went plastic and the styling of the earlier cameras was starting to decline. Cameras were starting to look decidedly cheap and nasty, and this is probably the one that single-handedly punished Pentax, with a totally amateur looking camera, horrendous feedback at the time, and previously happy photographers were deserting Pentax for other manufacturers, who were offering better packages and capabilities at the time.
However this camera did have its fan base, and a lot of amateurs learnt their trade on these units due to their cost, and relatively low price for associated add ons such as lenses and flashes.
I never had one until now. I suspect the guy I usually buy from threw this in my direction, due to knowing he’d probably have issues selling it on. I’ve paid a total of £3:75GBP for this one. I think it’s worth it.
It’s the second “K” mount camera I’ve brought in two days. And guess what? I don’t have one of those lenses. Looks like I’m going to have to purchase one for my collection and for testing purposes.
Anyway, let’s await its arrival so we can assess its issues.
Assessment:
First things first, I’ve printed out a body cap on the 3D printer for when i complete the clean, allowing me to protect the mirror, shutter and lens chamber area.
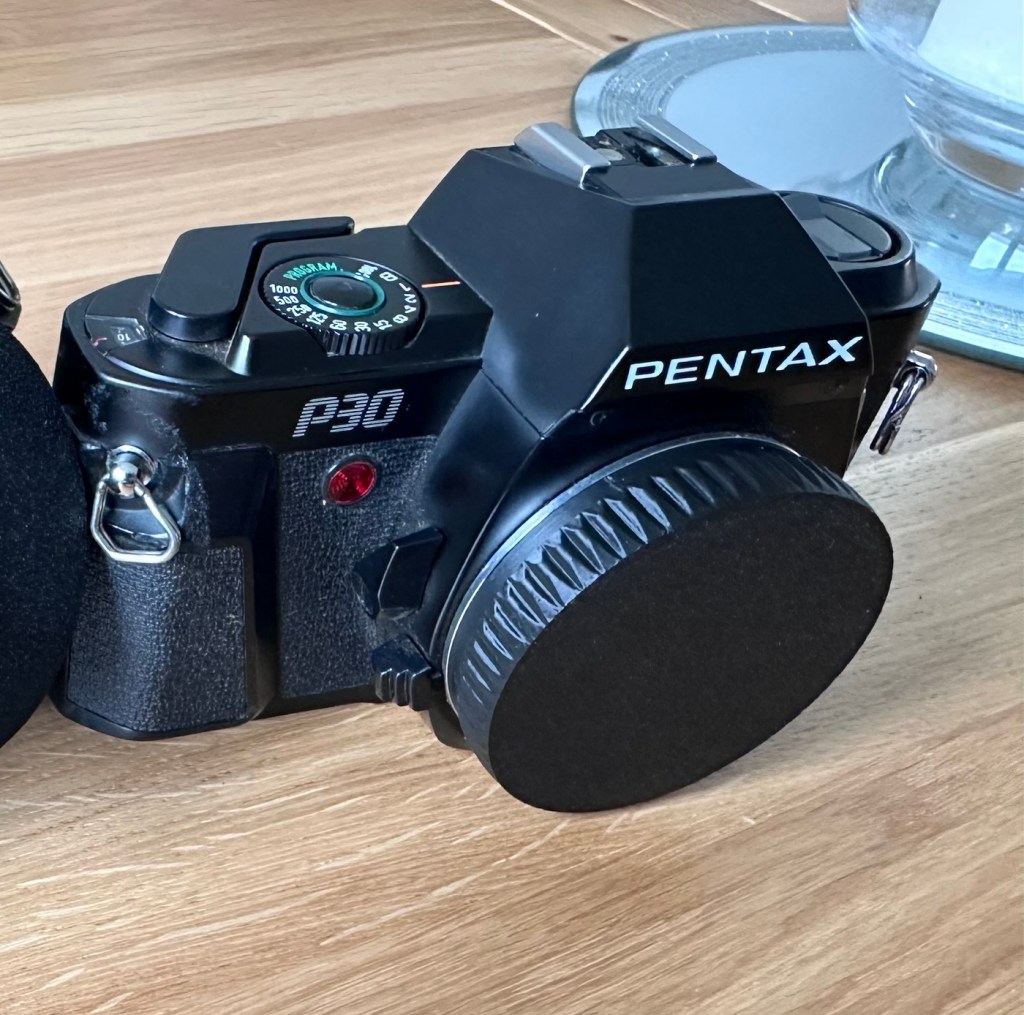
Overall the camera looks used, it’s in one piece meaning that everything is there that needs to be there but it does show signs of being a little bruised, battered and dirty.
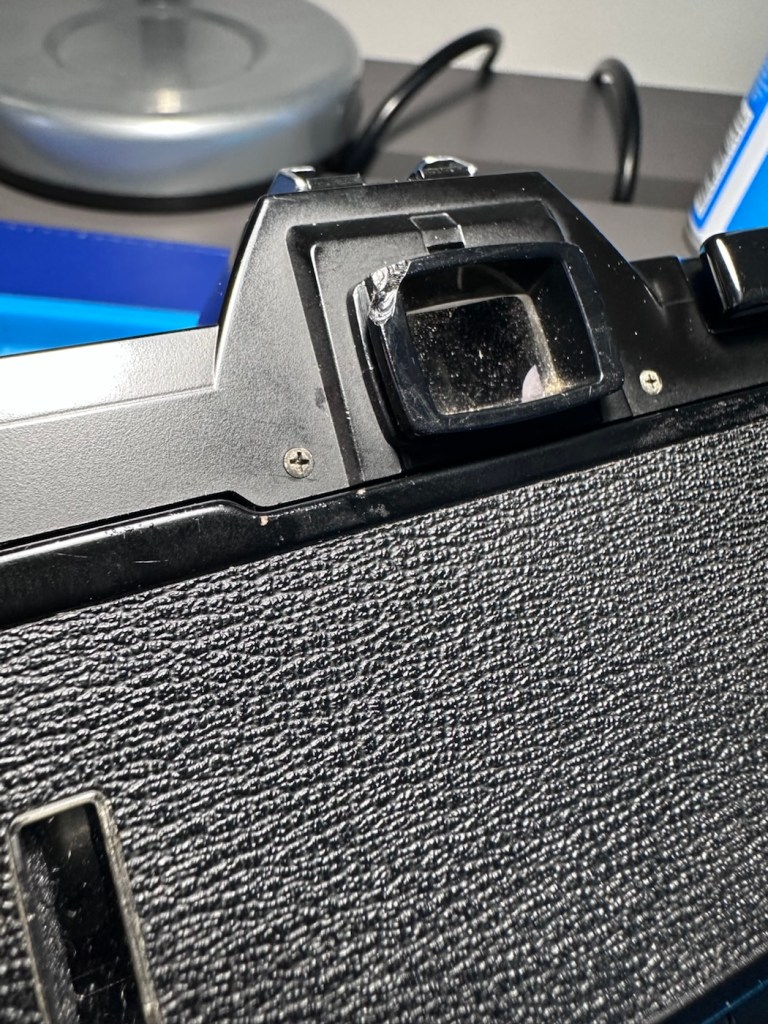
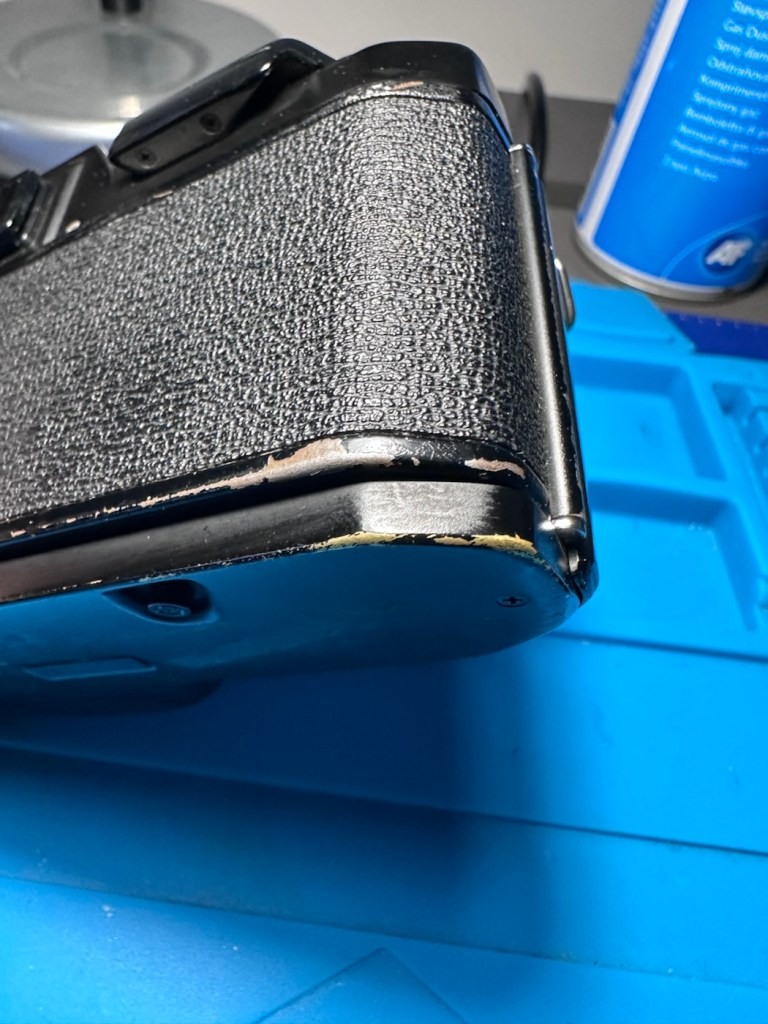
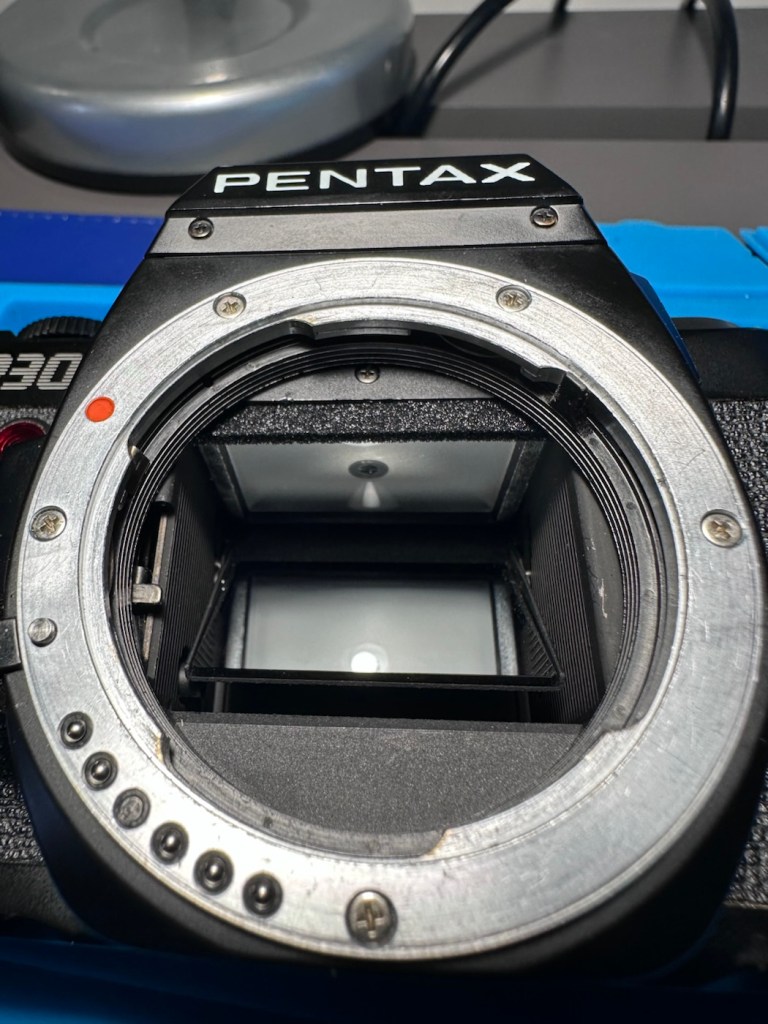
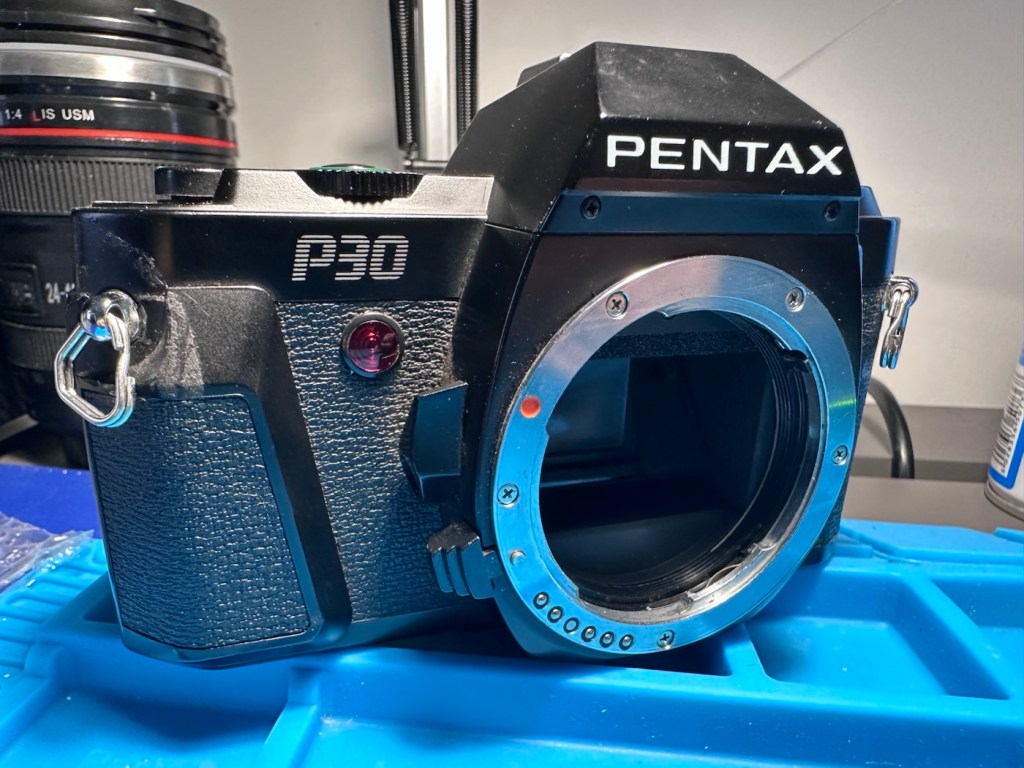
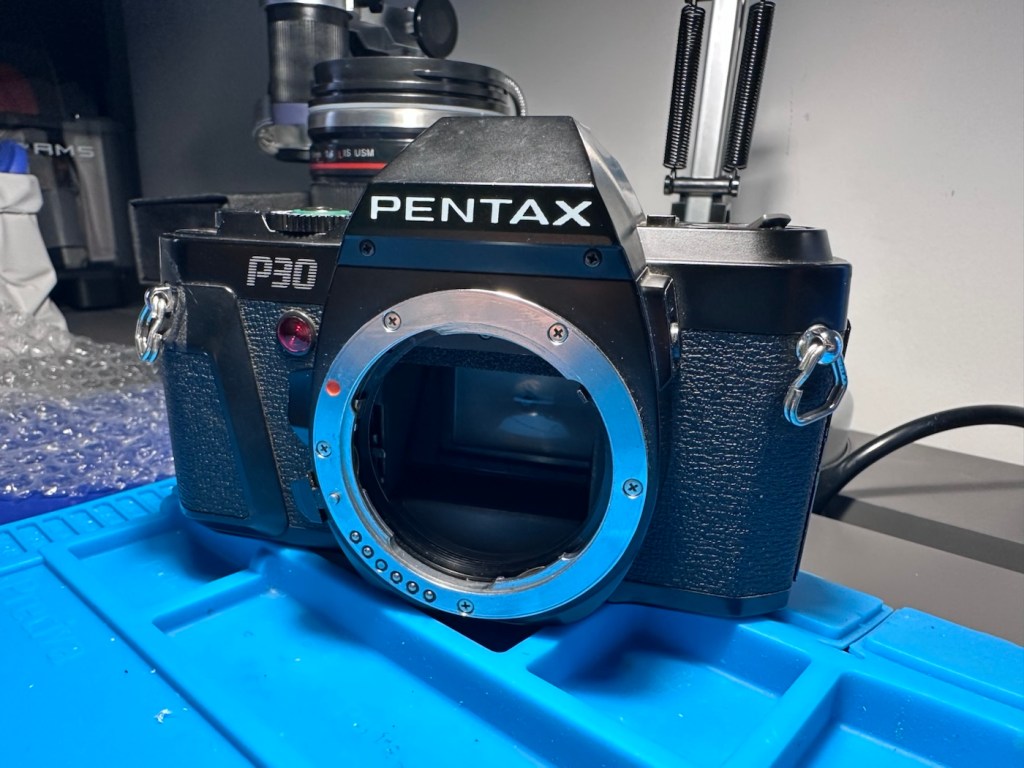
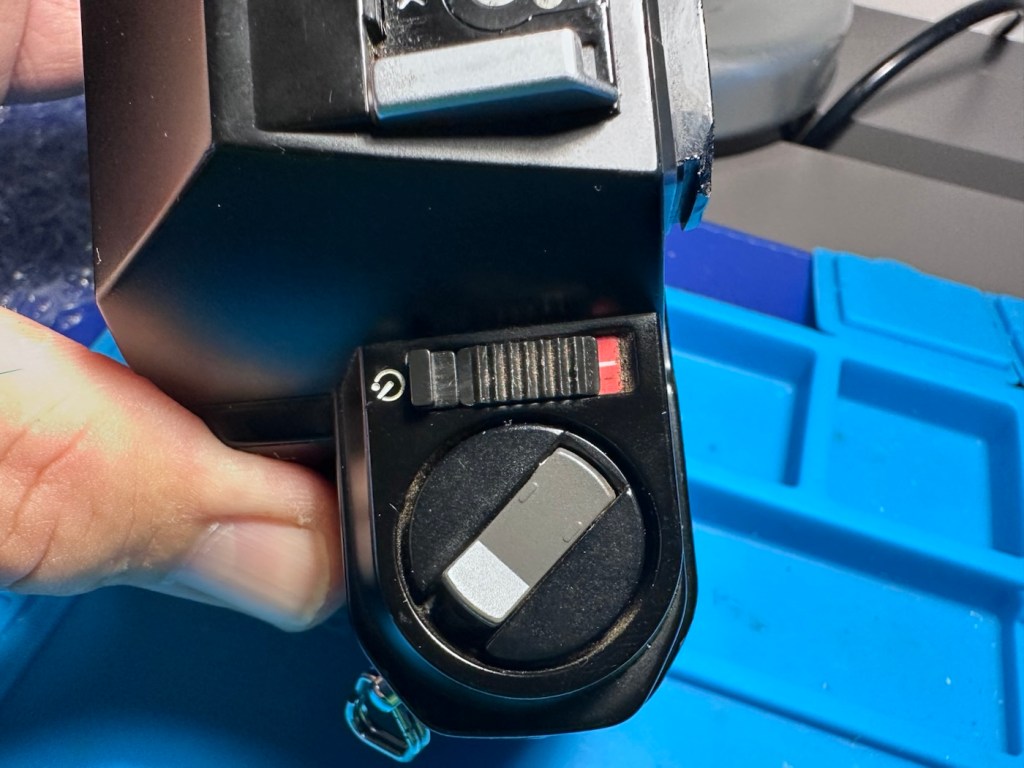
All seals appear ok, the mirror bumper felt is in a good condition as well, and the film chamber is clean. Shutter appears to be operating just as it should.
The only real issue I can see is a build up of dust and dirt behind the viewing lens, though this won’t affect any pictures being taken, a clean would help the photographer get a clearer view of what they are focusing on.
Repair:
The description has stated that the camera is unresponsive. Well I’ve put batteries in place, switched the camera on and it is dead. But I can see an issue. The battery cap appears tarnished. A quick attack of the tarnishing with the grinding pen and a good wipe over with a cotton bud soaked in IPA soon sees to the tarnished battery cap. Hey presto, life is restored when batteries are put back into place. The meter inside is fine, and showing lights and indicating as it should, the light that flashes when the self timer operates is also ok. To me everything is indicating just fine. That’s all that was causing the unresponsiveness, the dirty contacts.
The next step didn’t really need to be done, however me being me I just couldn’t let it go. There is quite a bit of build up of dirt behind the viewing glass and I will have to get into the camera to access this. There is no other way.
Removal of the top of the camera requires the removal of six screws, the winder handle and a couple of securing bolts, you can then carefully lift the top clear being careful not to damage the two hot-shoe cables in the prism area.
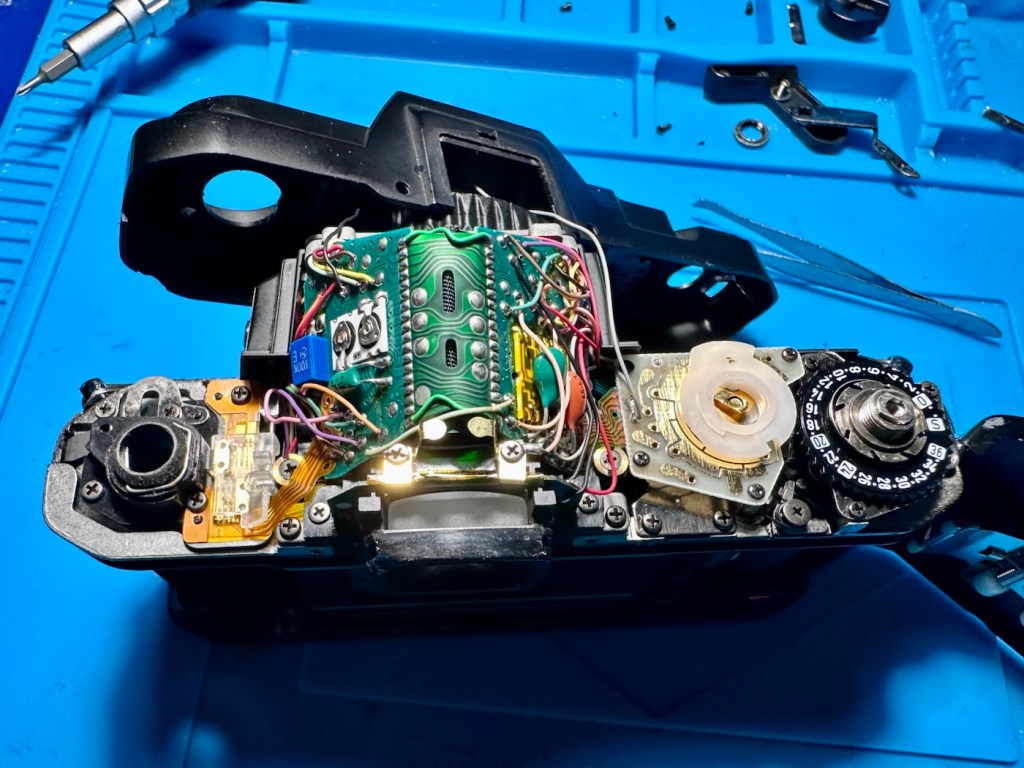
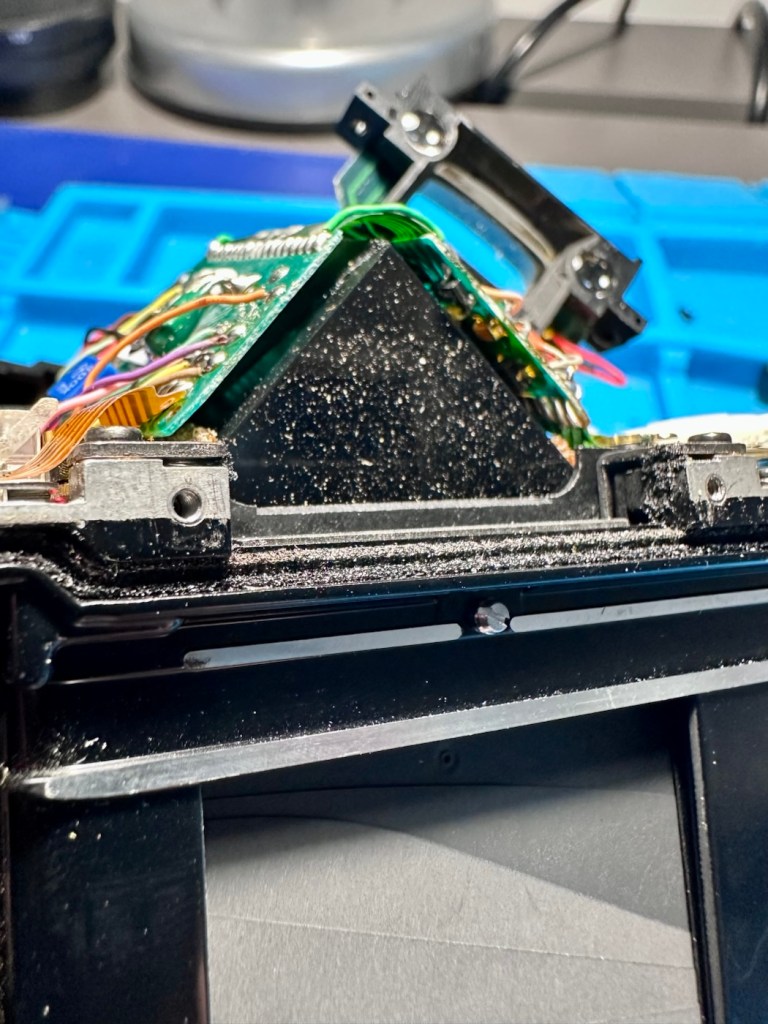
With the top off, a couple of more screws holding the viewer in place require removing to detach the viewer from the prism area. This then reveals a very dirty filtered triangular prism that has collected over forty years of airborne detritus. A simple clean with a swab is sufficient, followed by a good air blast to finish off. The small viewing lens has a similar clean and then the camera can be reassembled.
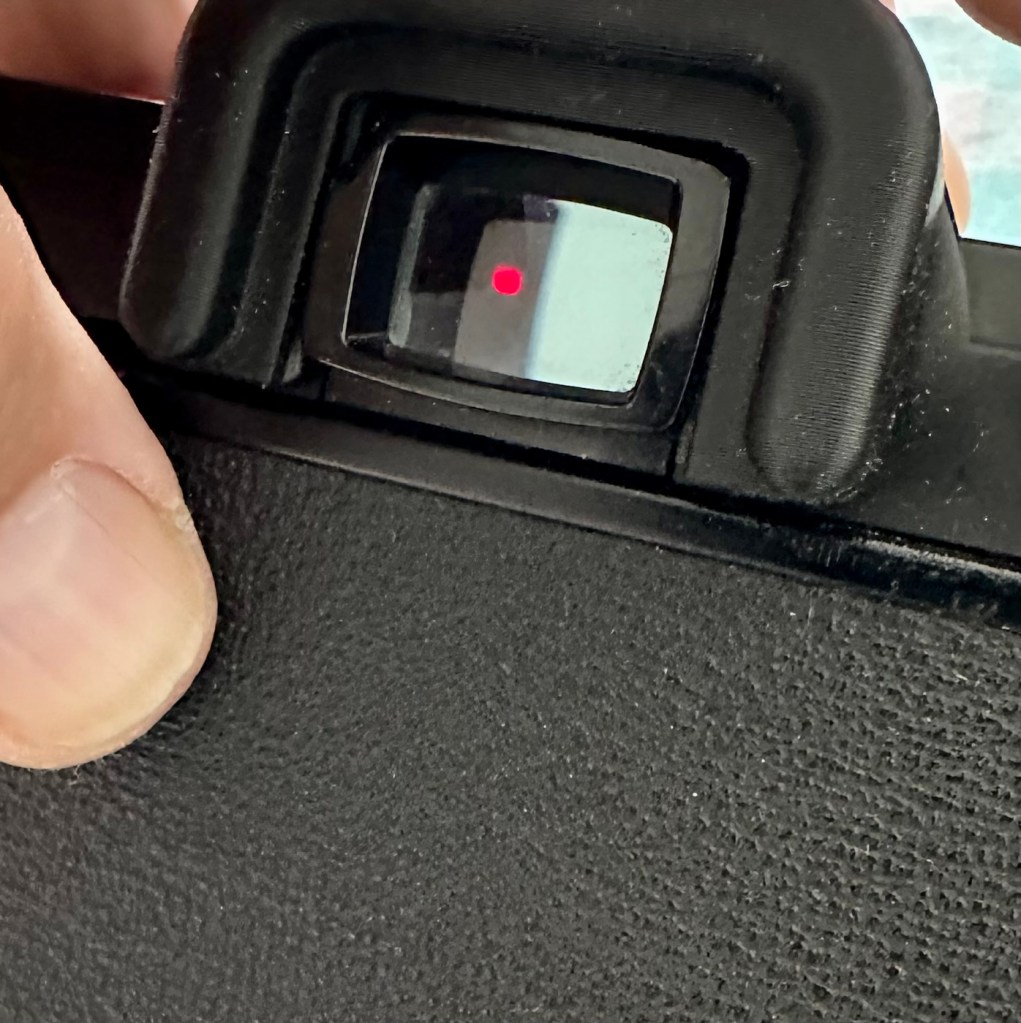
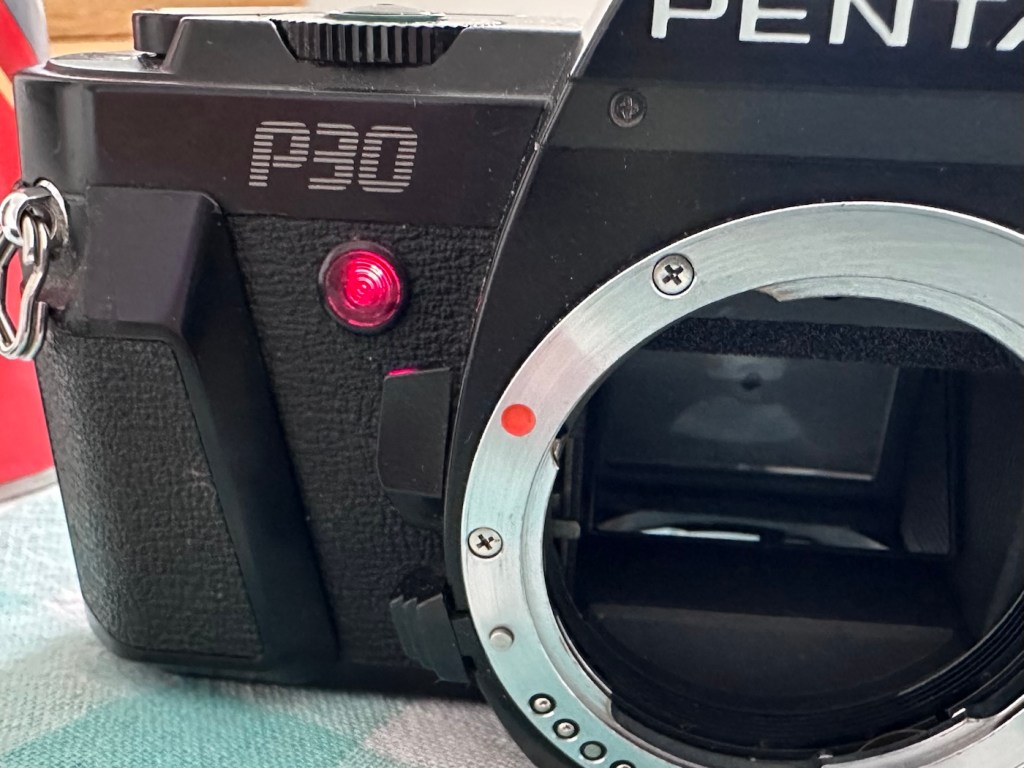
I’ve printed an eye cup to cover up that damages around the eyepiece, again it’s not really needed but just tidies the area up a bit.
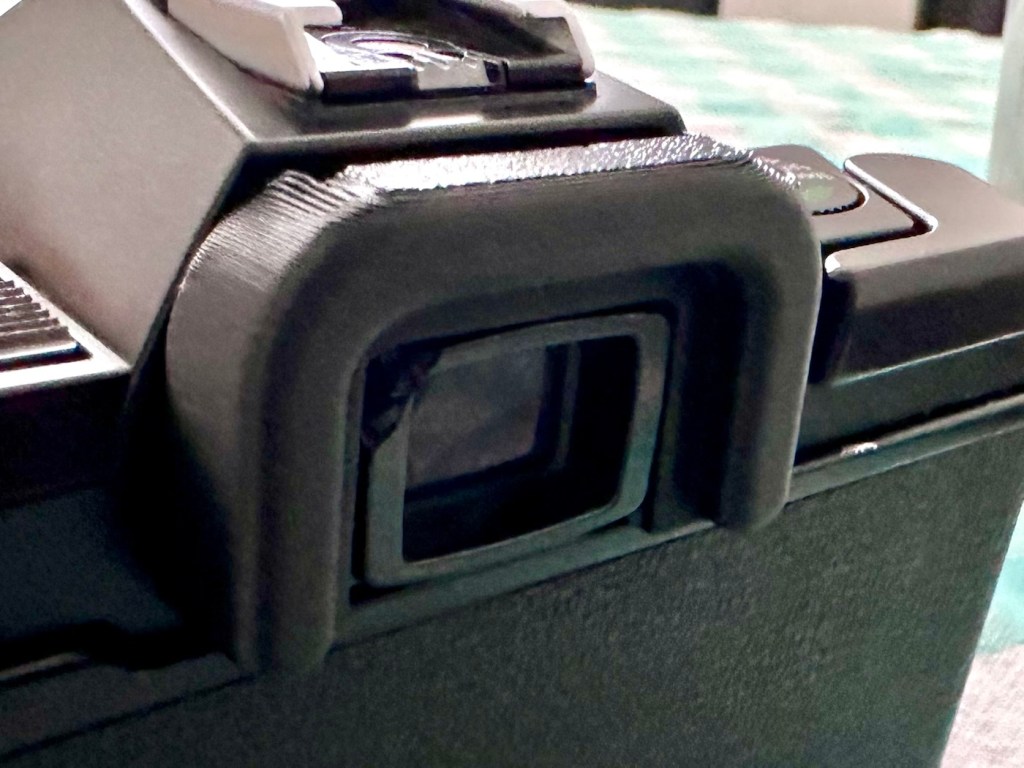
Just print a hotshoe cover for the top and that’s it all done.
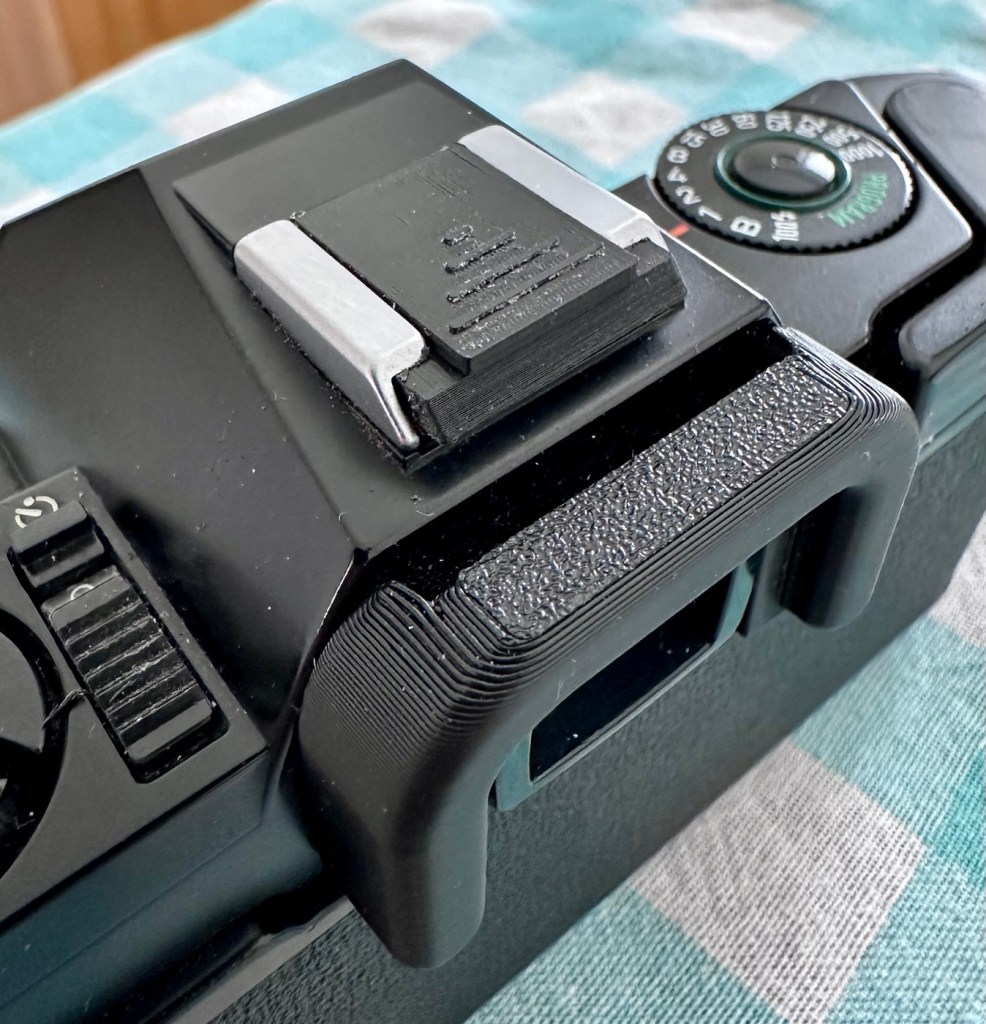
Finally it’s time for a good cleanup.
Result:
For an outlay of £3:75GBP this is a period and usable camera. Will I use it though? Probably not, I’ll probably pass this on to the hospice to get some money from, as to be quite honest I doubt I’ll be able to sell it on.
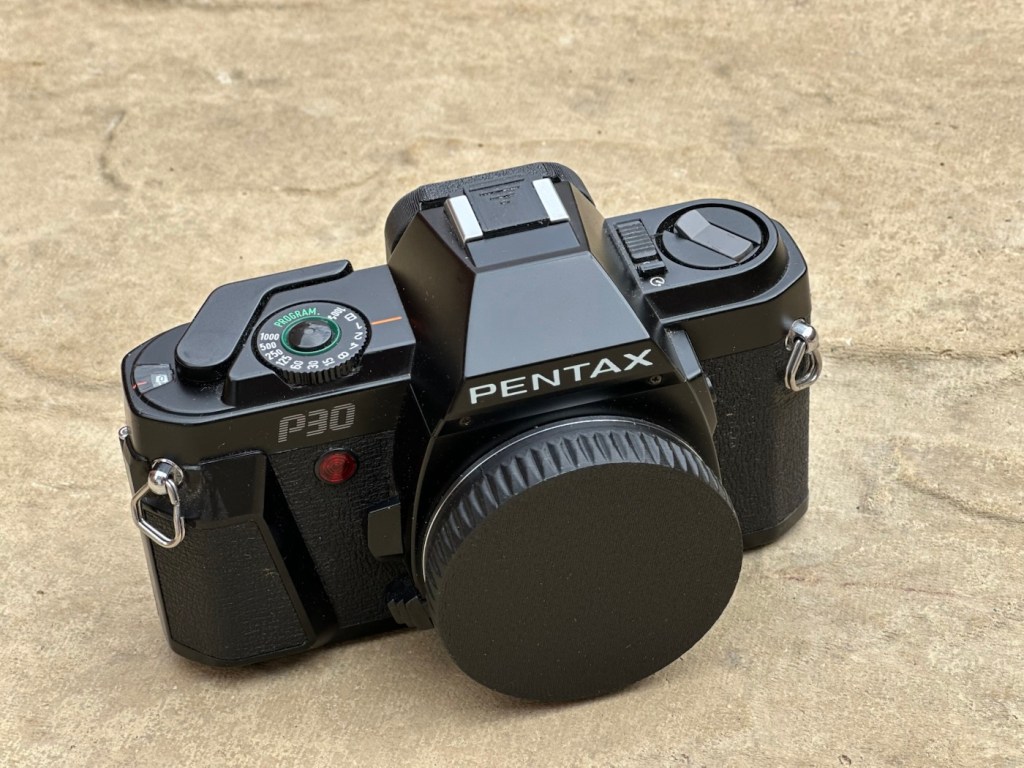
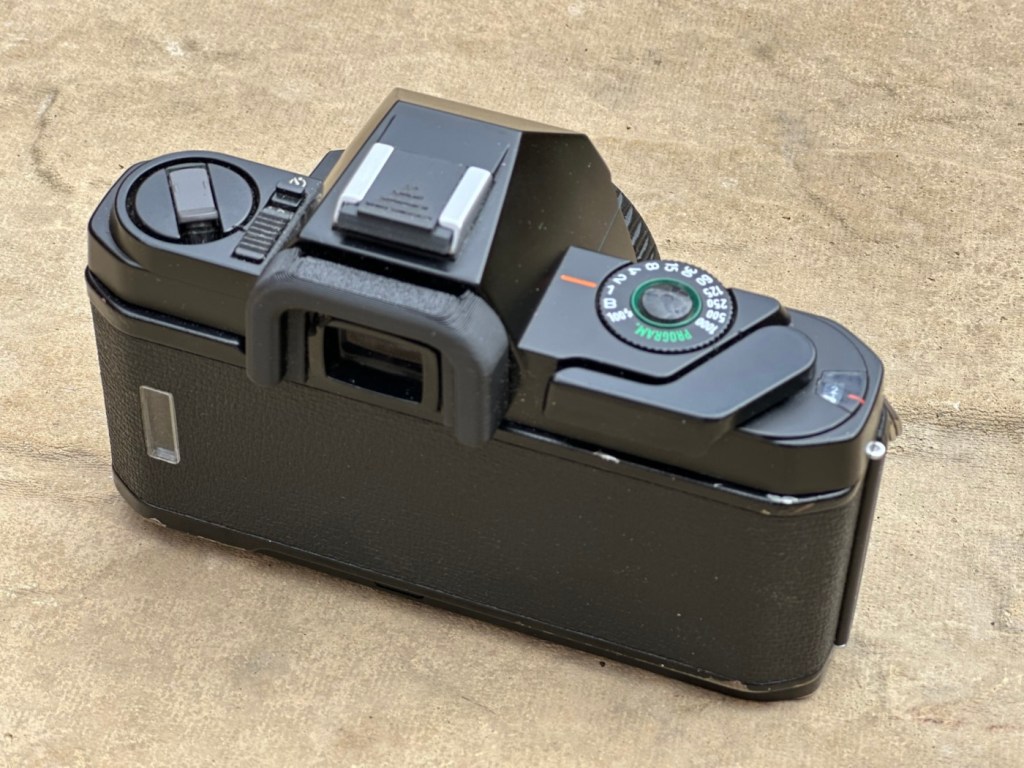
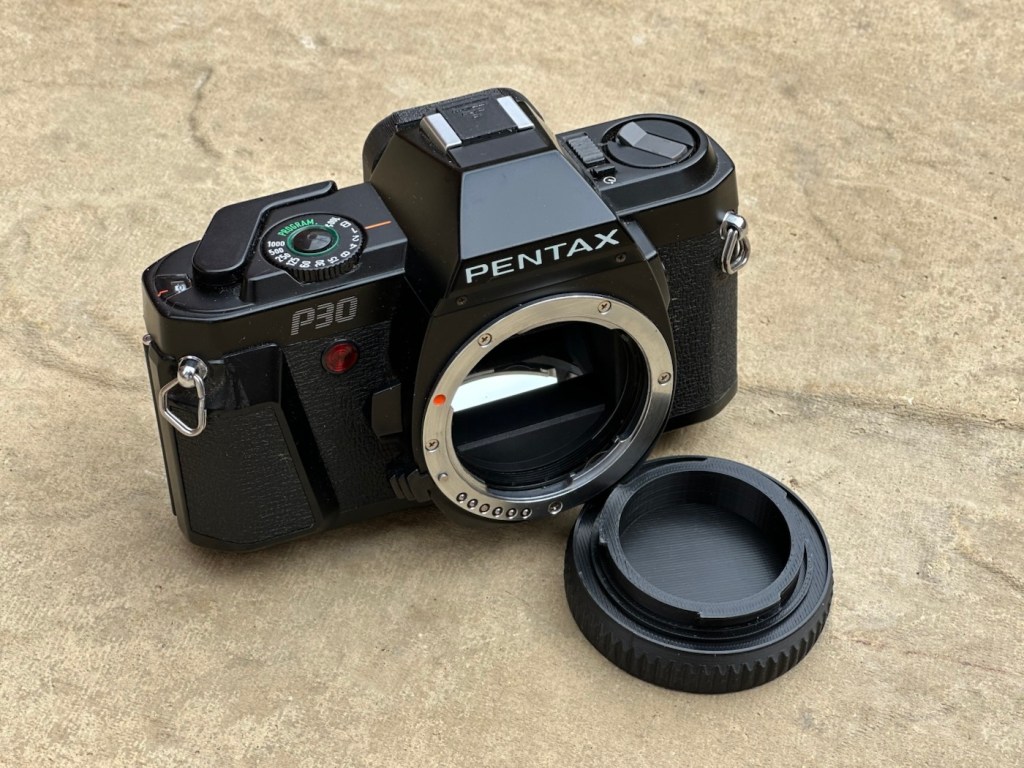
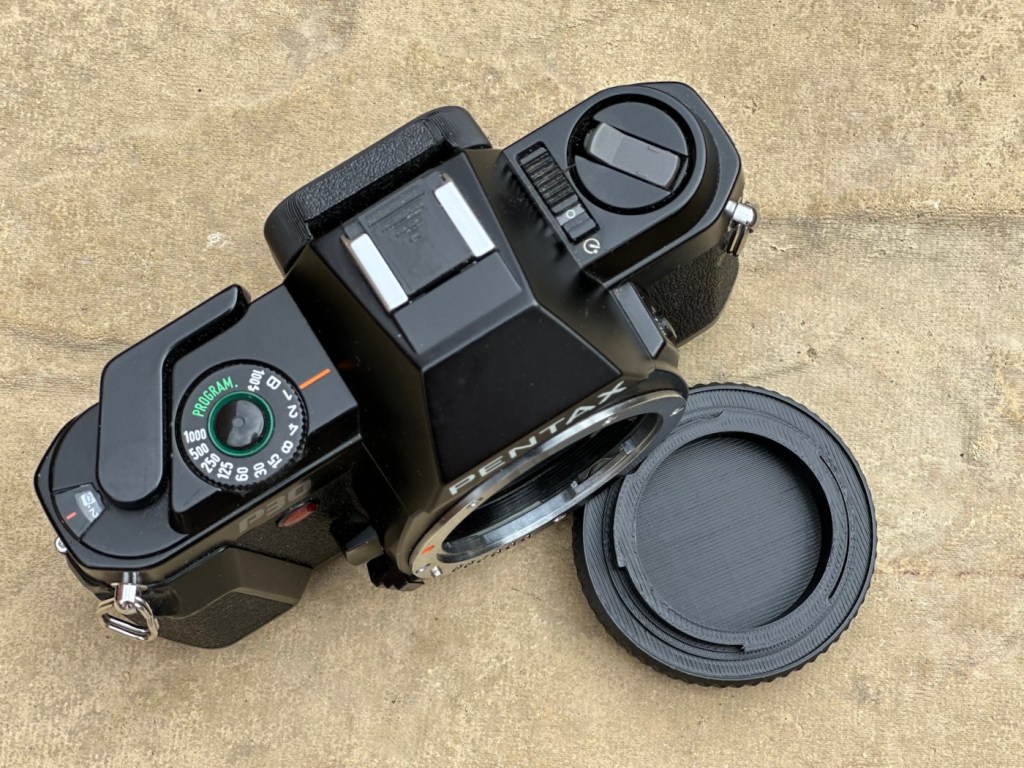
It’s a nice little learning camera, looks smart after a clean up, and has now had its life expectancy extended due to the easiest of repairs. I’ve said it before, how many similar units have just been disposed of due to only requiring a quick clean? Scandalous really.
Anyway, this one lives on. Someone will have a nice little camera what with the resurgence of film stock currently enjoying a second coming.
One more saved from landfill, small goals, small results.
Thanks for passing by, as always it is always very much appreciated.



 Foxes Den
You must be logged in to post a comment.