

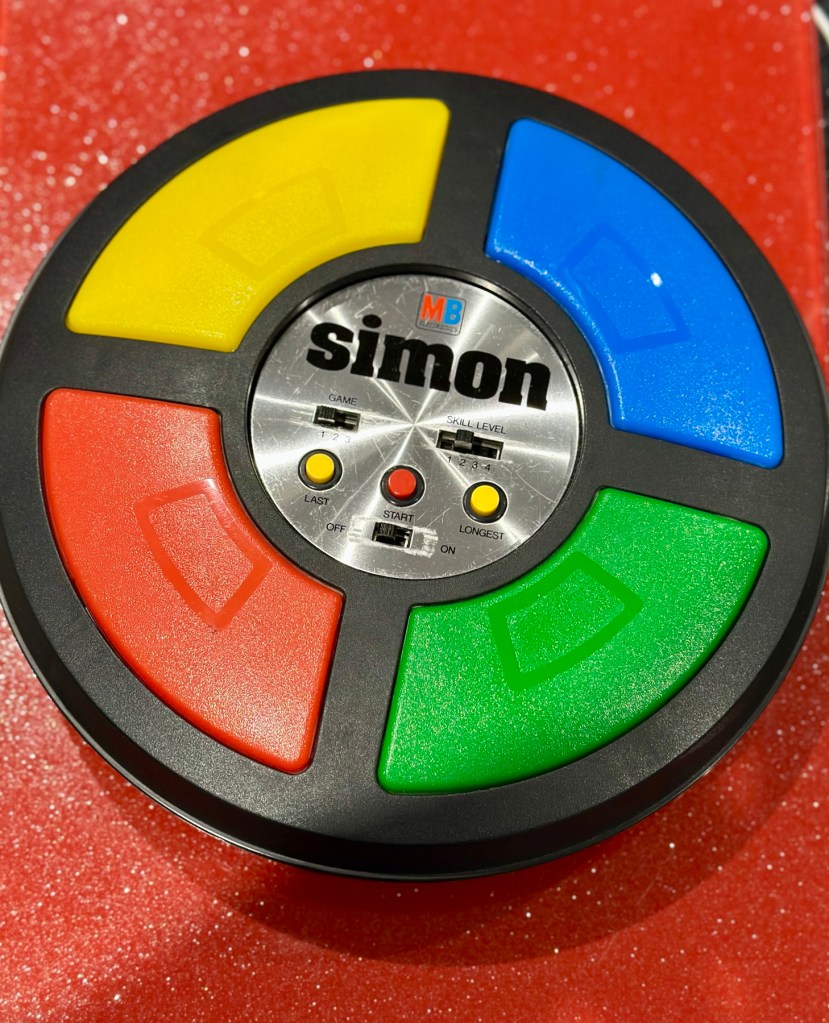
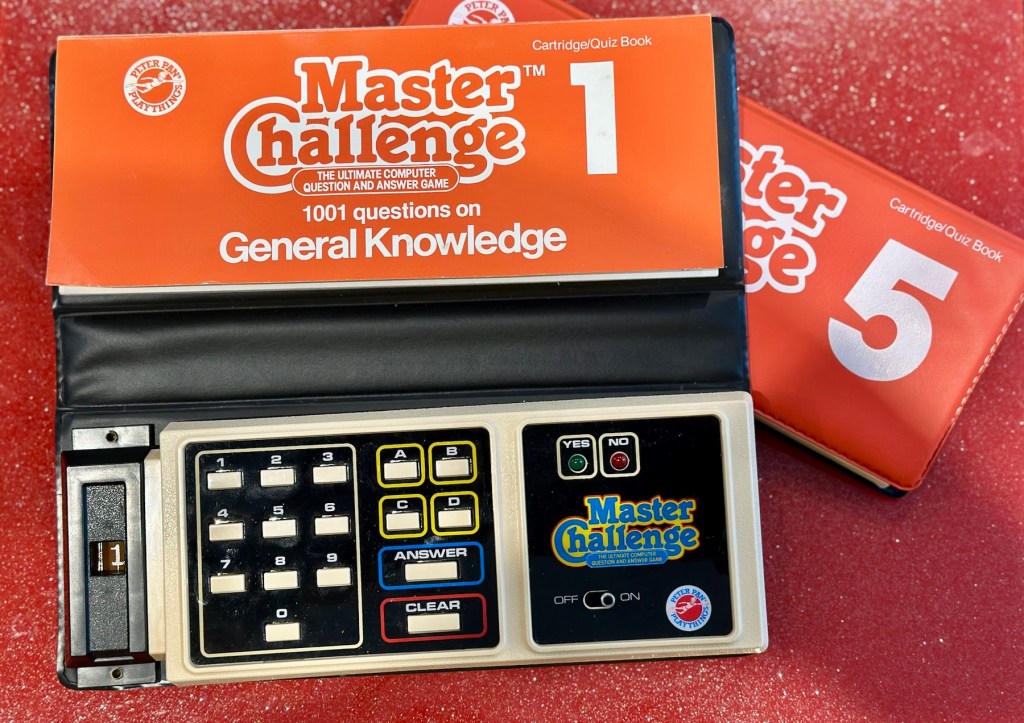
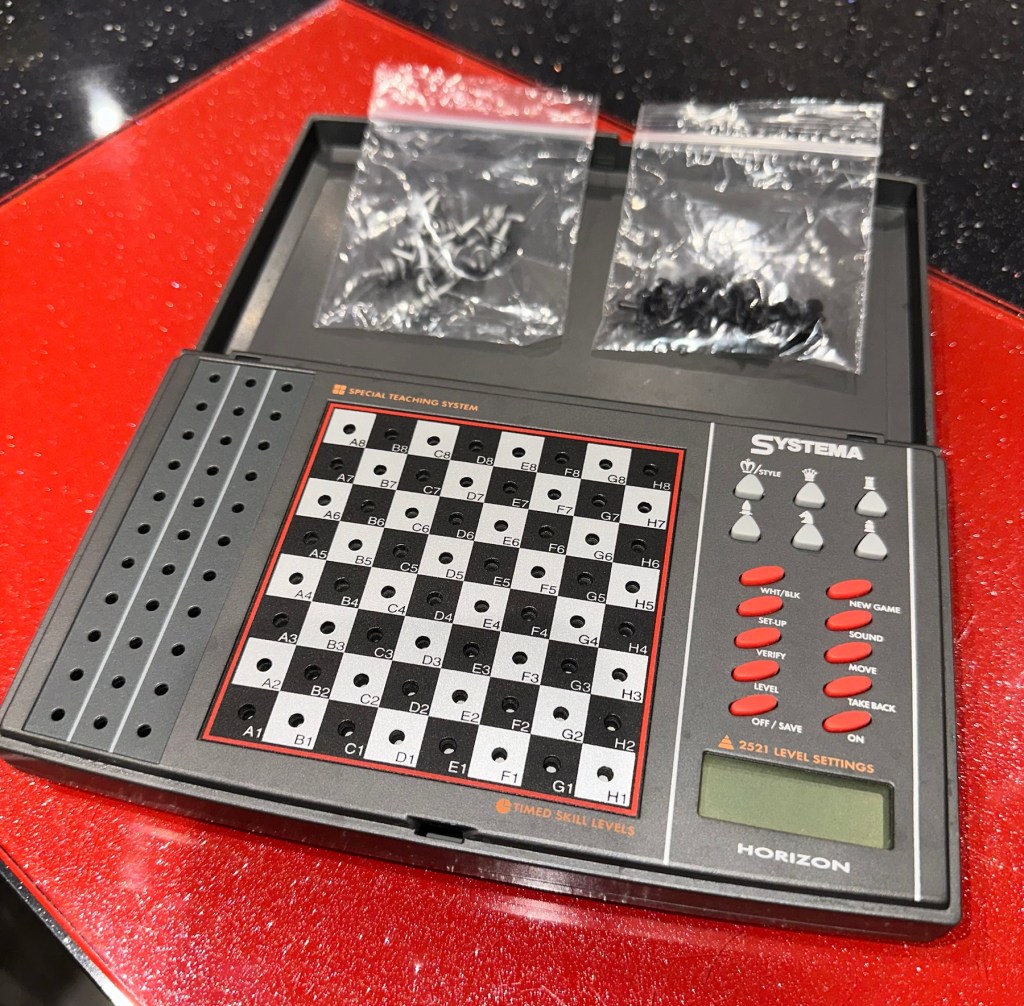
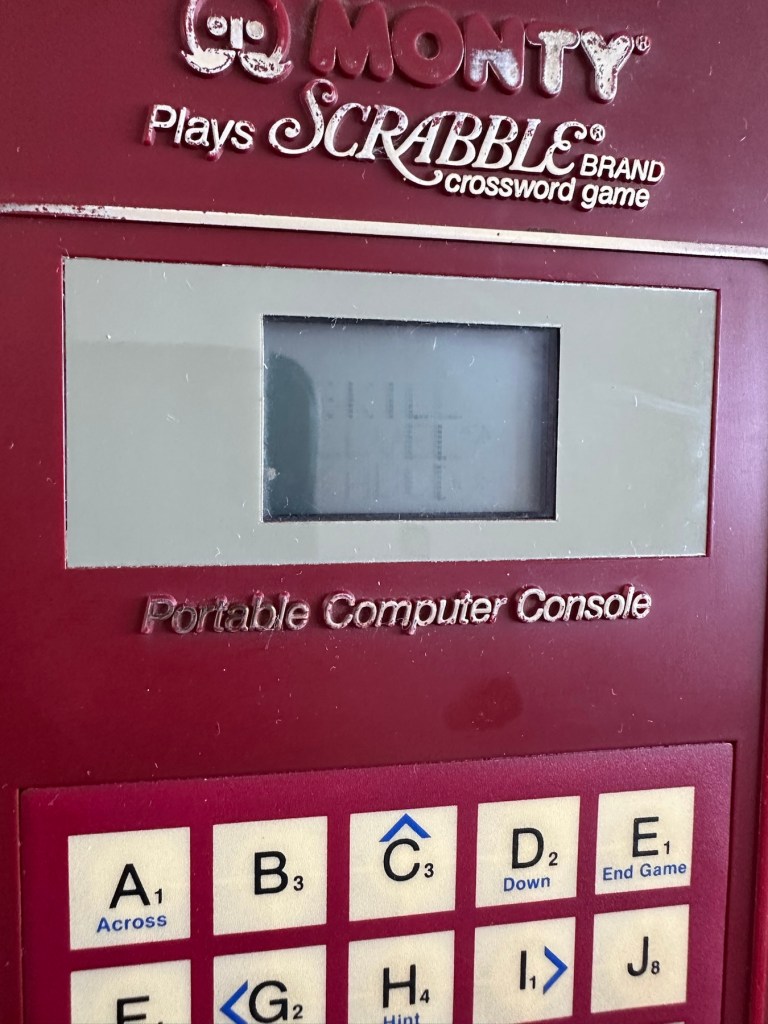
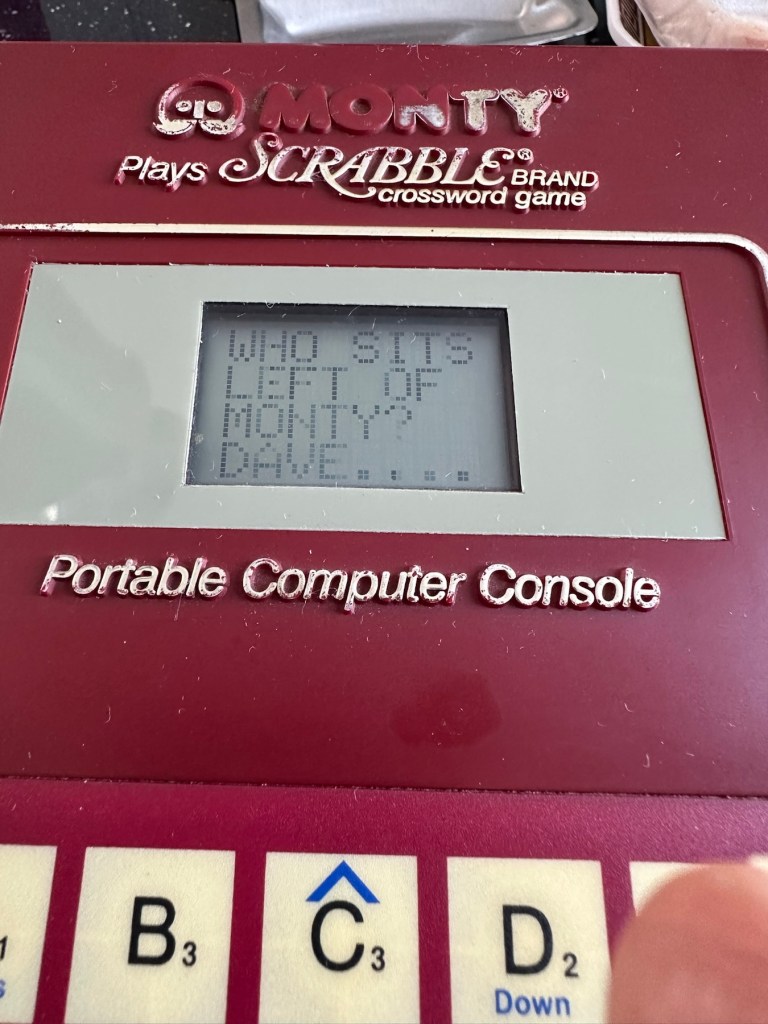
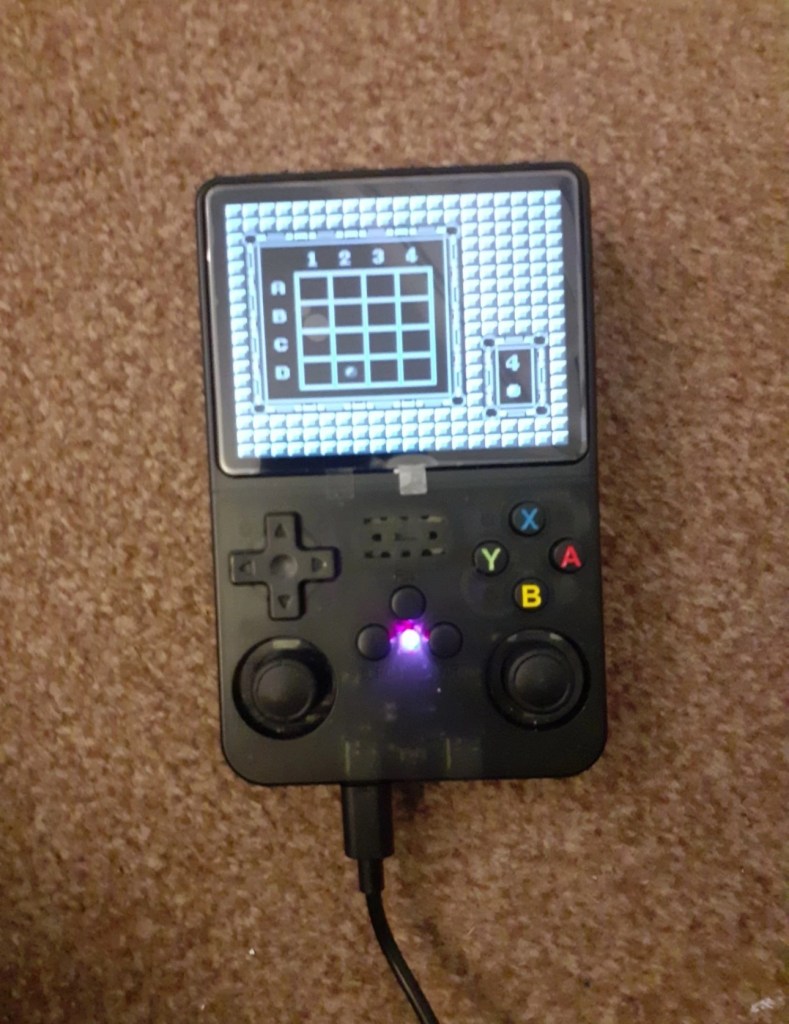
Remember this? Everyone had one around 1978 apart from me that is. Well, now I’ve got one, only 47 yrs late and it doesn’t work. But hey that’s what this site is all about, and that’s how I roll. Always late to the party, and even then you’ll probably find me in the kitchen 🥳
What the listing said:
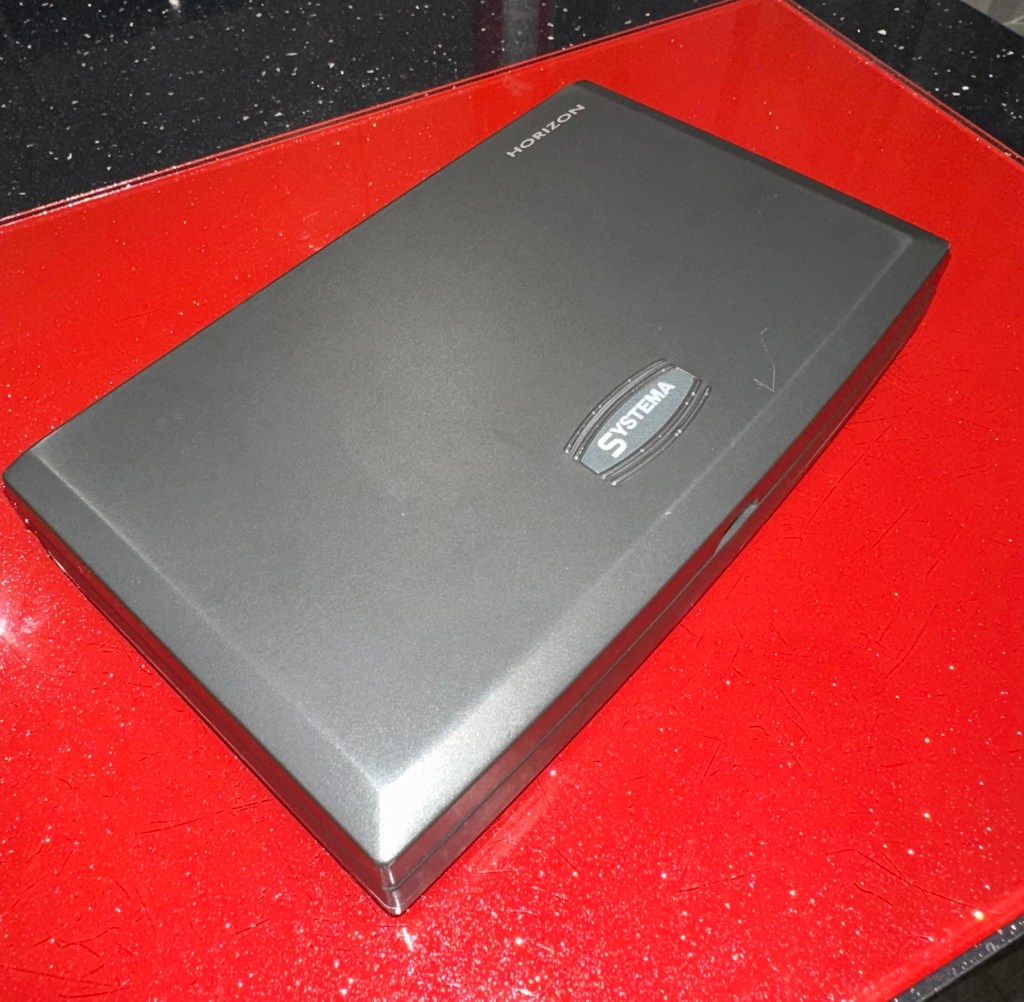
Cosmetically in very good condition but does not work. Please see attached pictures to judge condition for yourself.
EBay

The guy was after £17:00GBP and that included postage, but I put in a cheeky bid and managed to get it with postage for £9:80GBP. Anything under a tenner is good in my eyes.
Here’s some history:
Simon is an electronic game of short-term memory skill invented by Ralph H. Baer and Howard J. Morrison, working for toy design firm Marvin Glass and Associates, with software programming by Lenny Cope. The device creates a series of tones and lights and requires a user to repeat the sequence. If the user succeeds, the series becomes progressively longer and more complex. Once the user fails or the time limit runs out, the game is over. The original version was manufactured and distributed by Milton Bradley and later by Hasbro after it took over Milton Bradley. Much of the assembly language code was written by Charles Kapps, who taught computer science at Temple University and also wrote one of the first books on the theory of computer programming. Simon was launched in 1978 at Studio 54 in New York City and was an immediate success, becoming a pop culture symbol of the 1970s and 1980s.
Wikipedia
From what i can see in the pictures the item seems good, cosmetically. I may be able to see just a little contamination around the battery contacts but I can’t be sure. It worries me when i see a picture that shows a screwdriver alongside the item you are buying, it just screams at me that the seller has been in side and is not being truly honest about its issues. Let’s just wait until it arrives to do a full assessment. I’m genuinely excited about getting this working, as my age veers ever closer to the higher numbers. I need something to stimulate my mind, what’s left of it. 😂
Assessment:
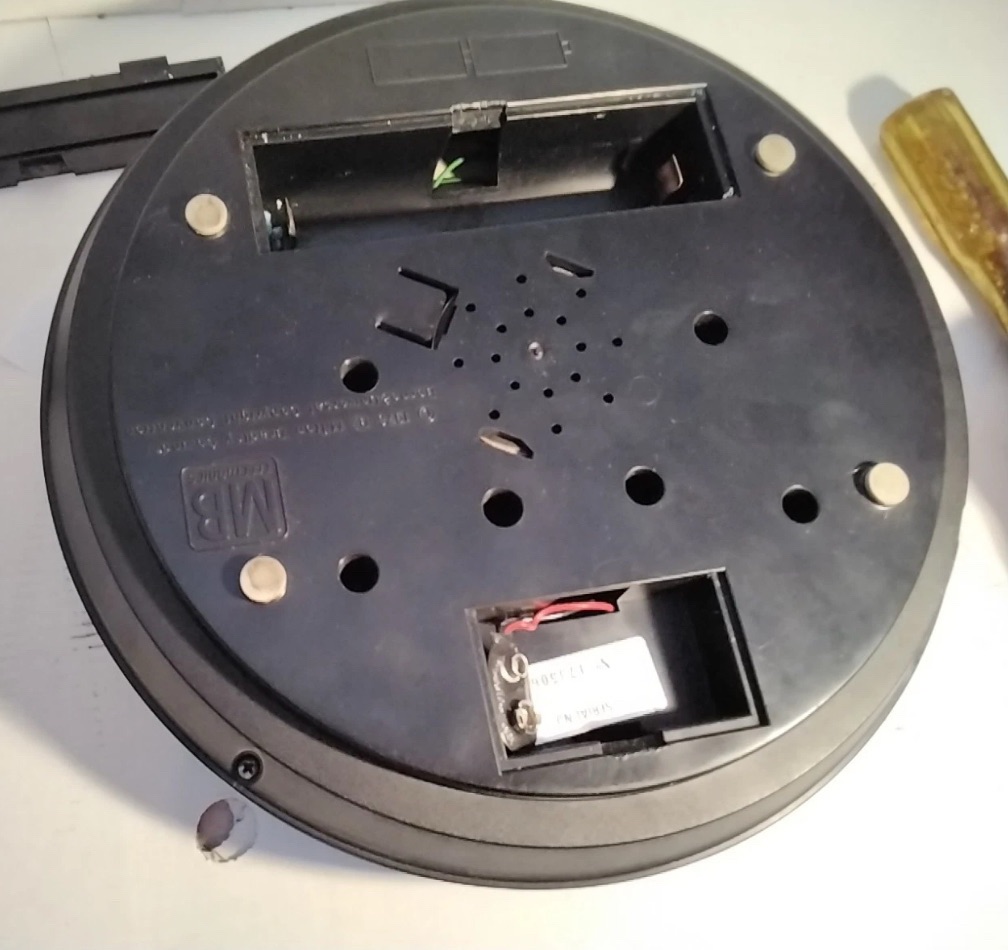
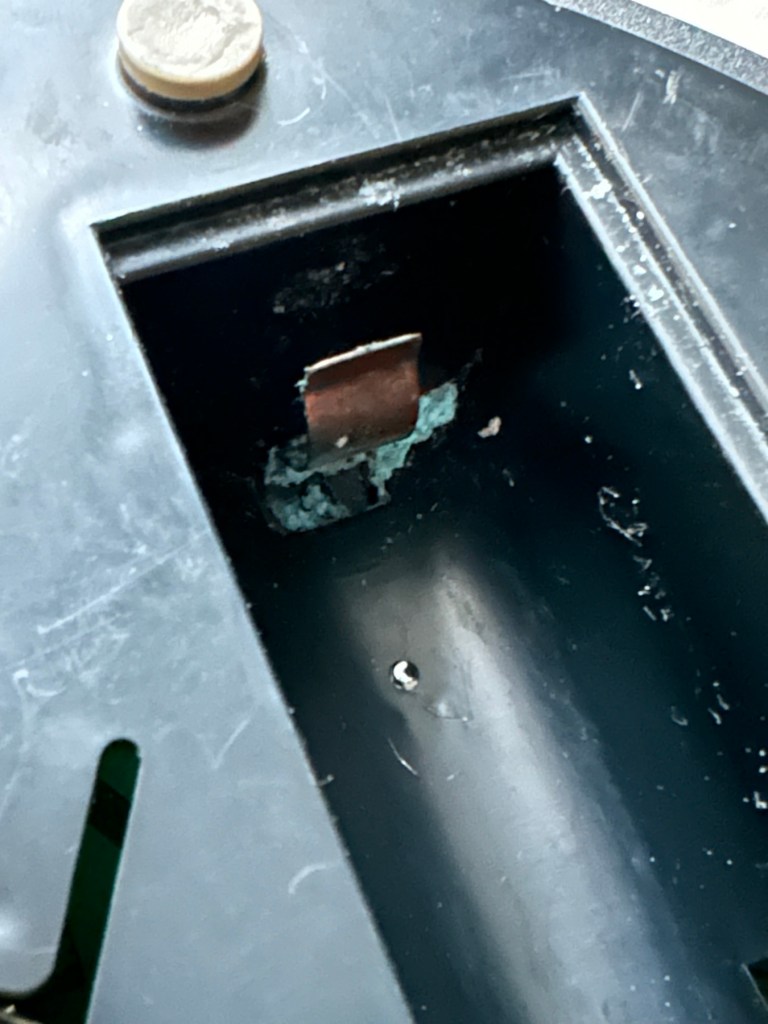
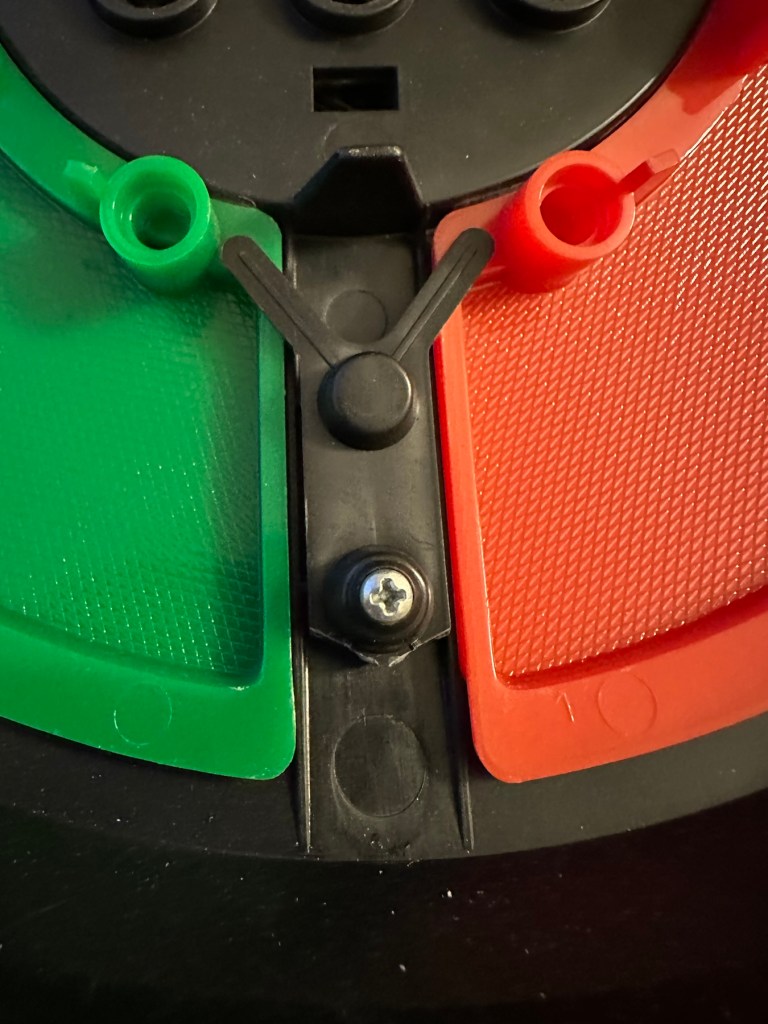
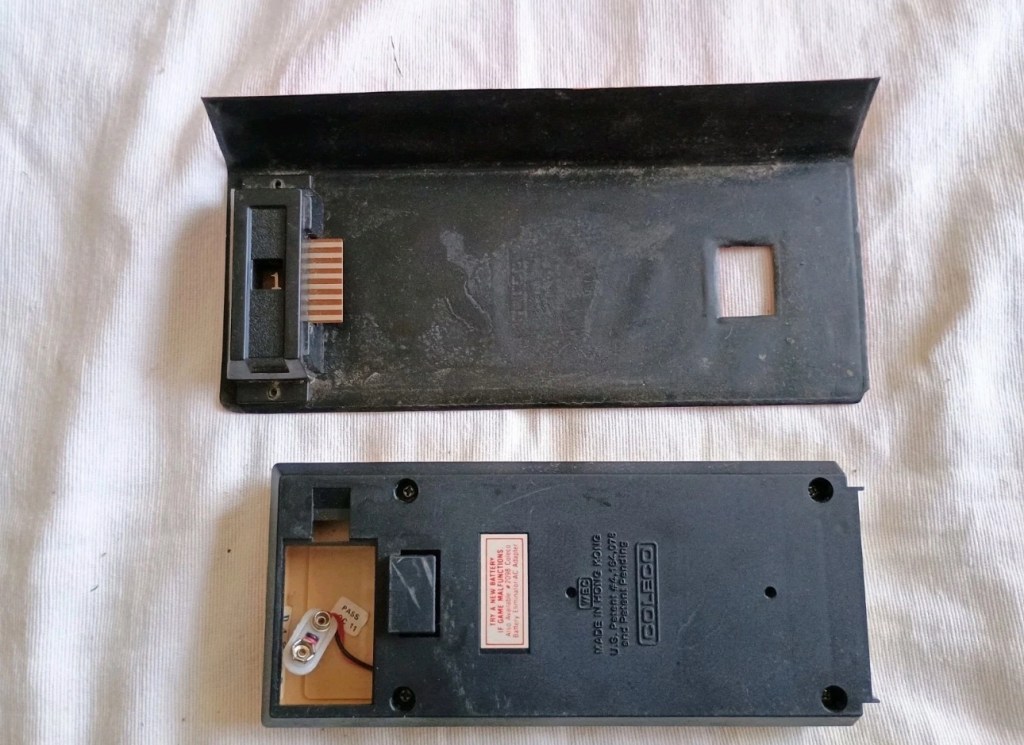
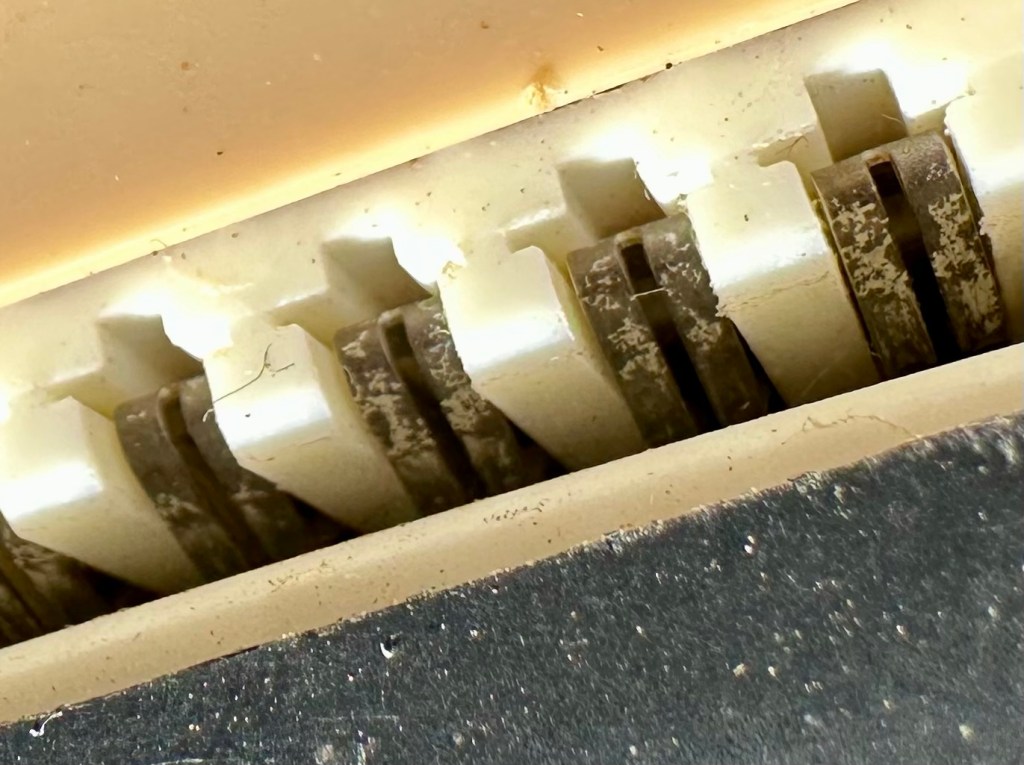
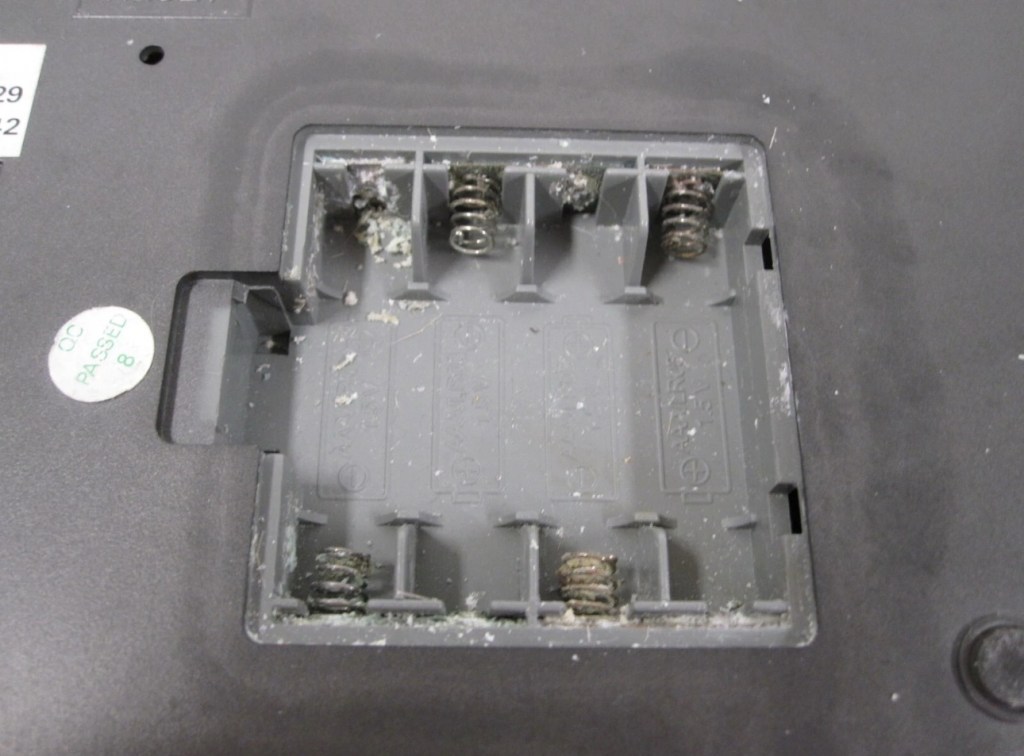
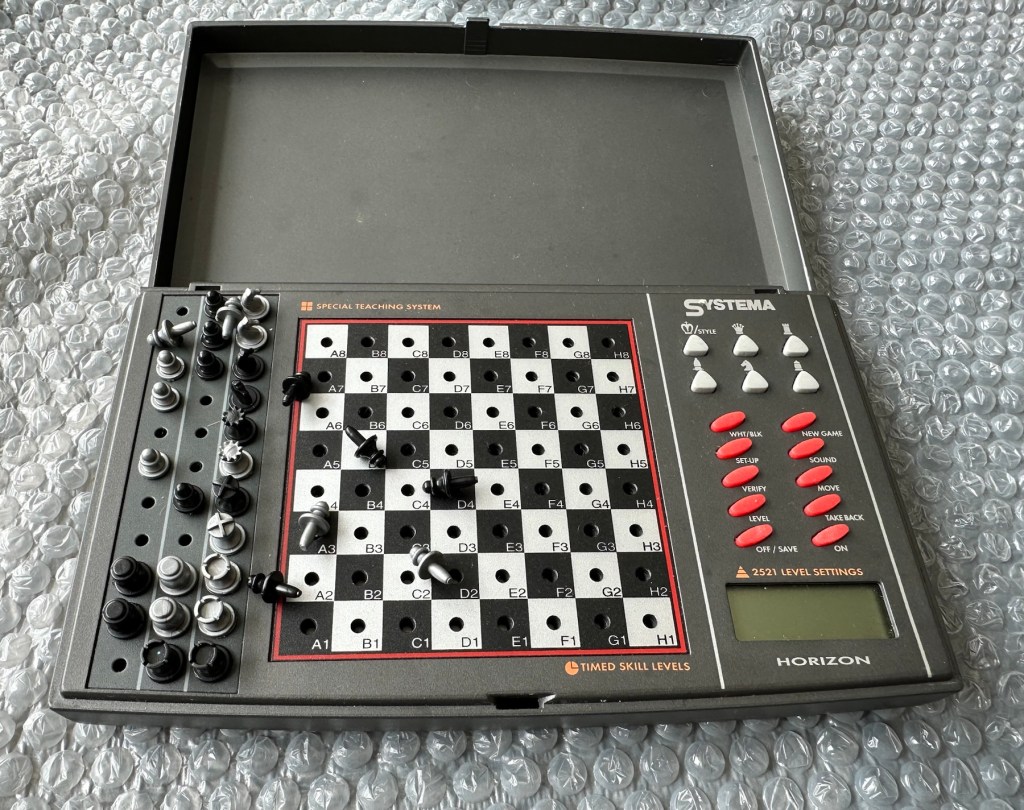
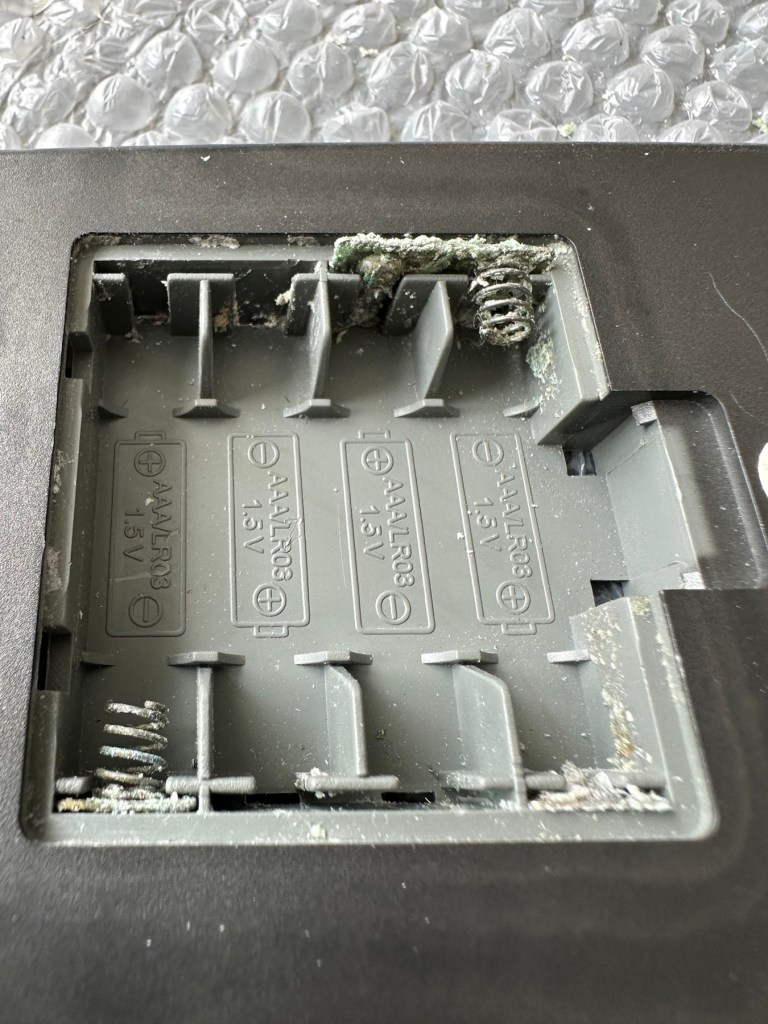
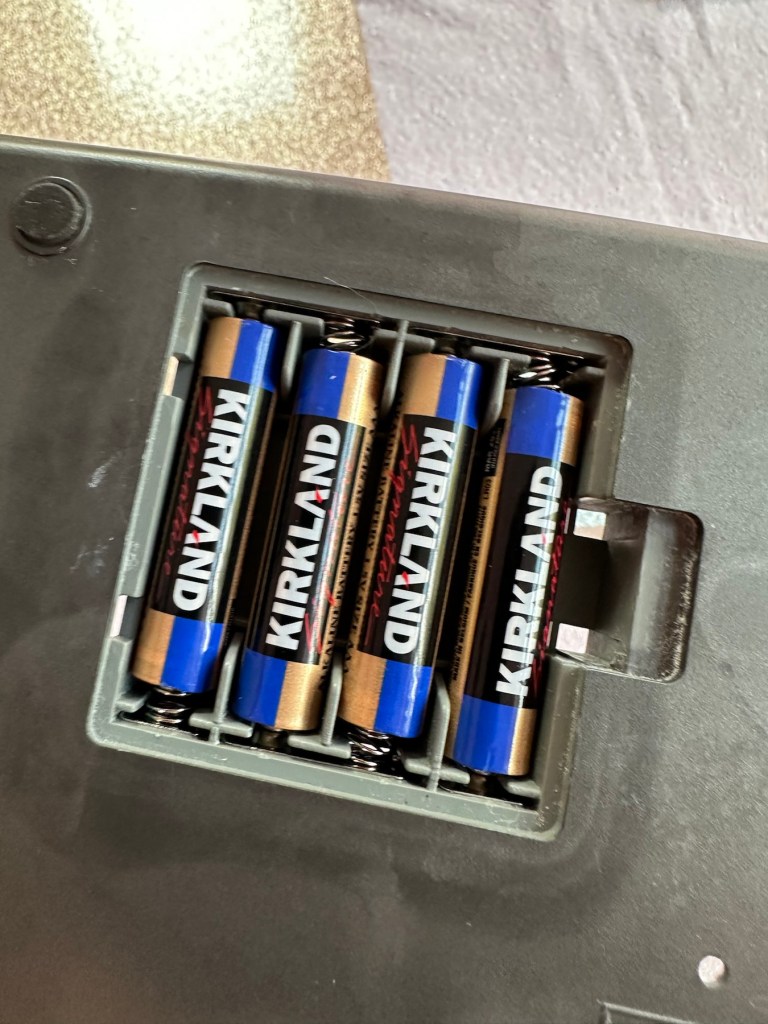
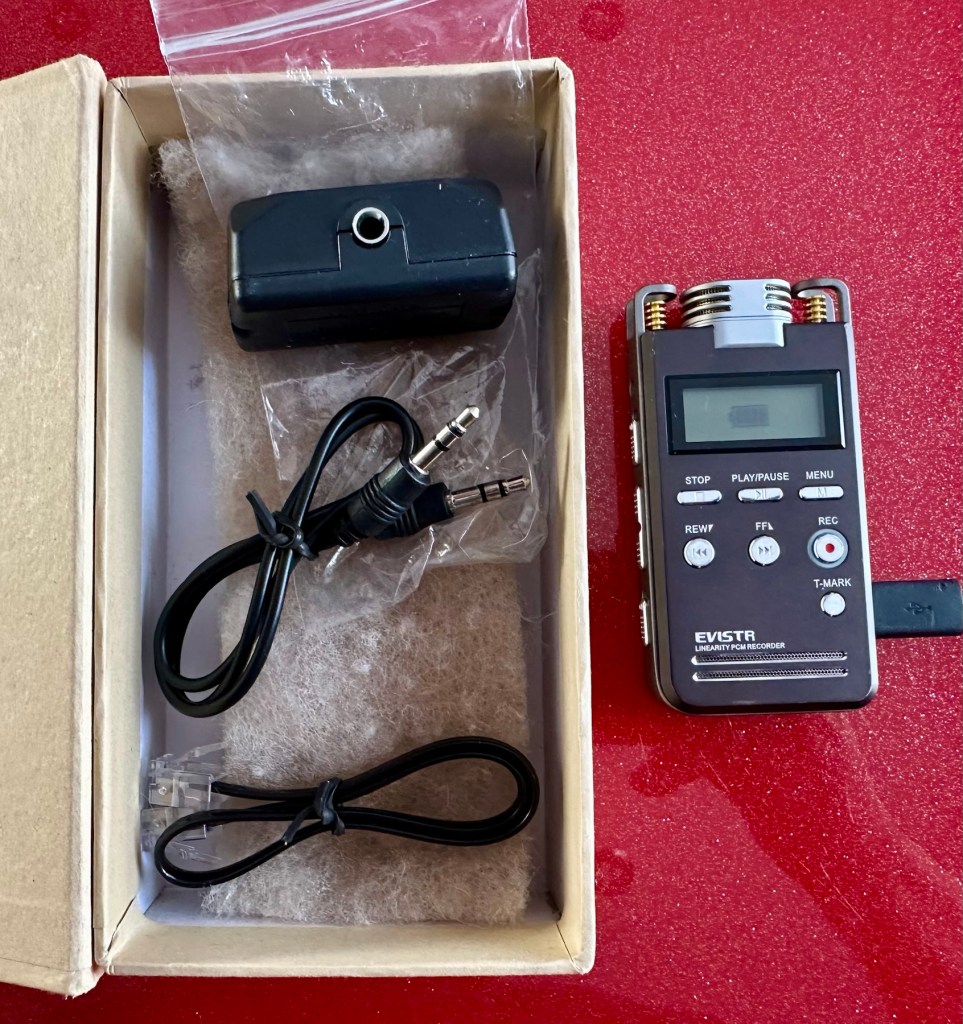
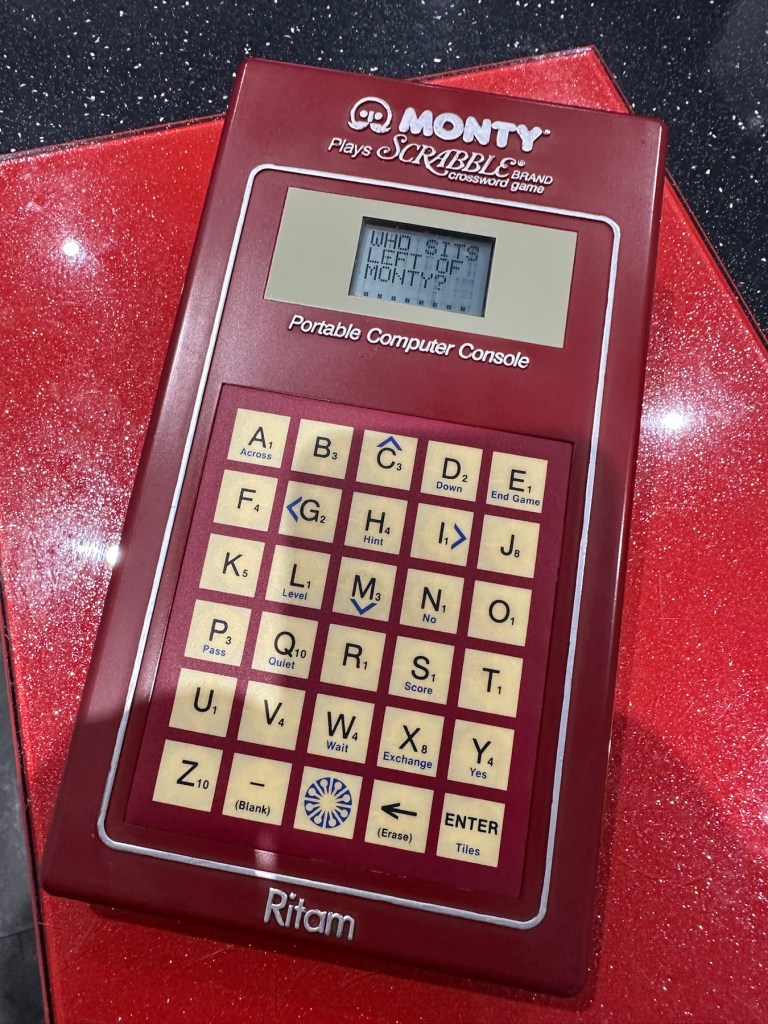
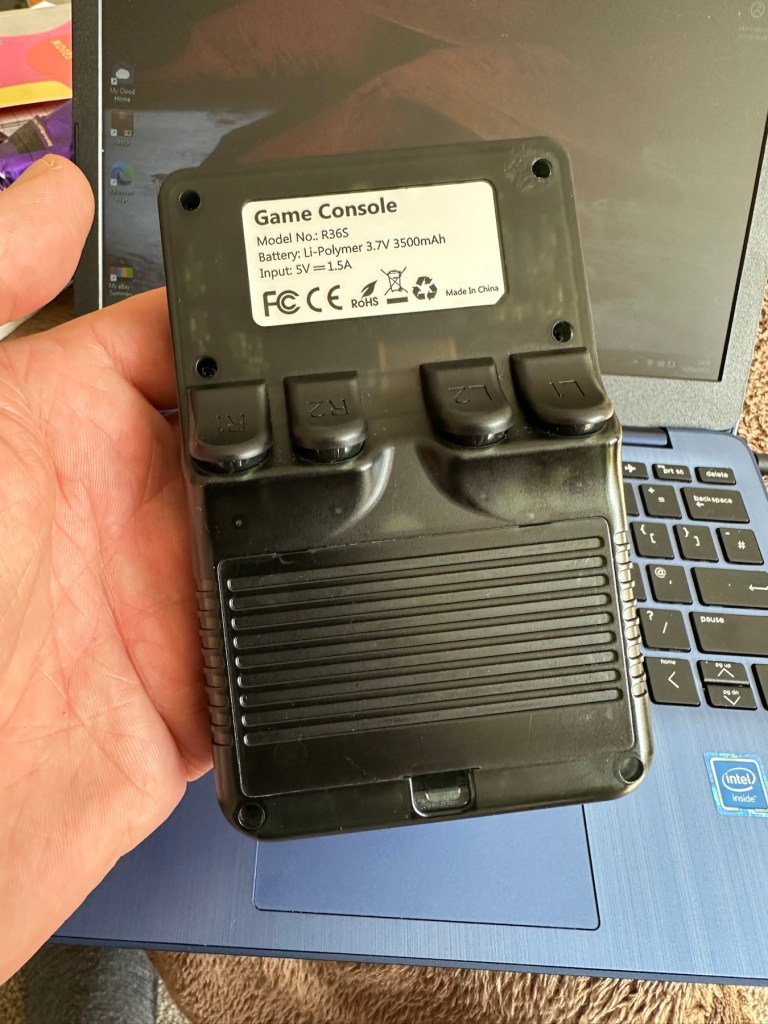
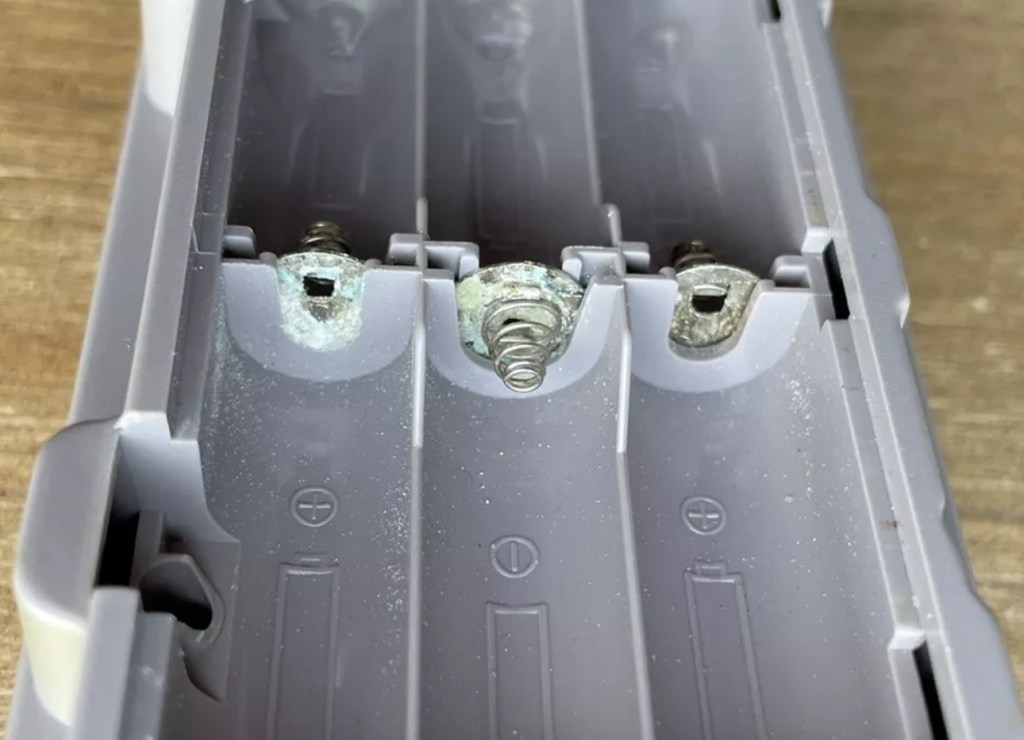
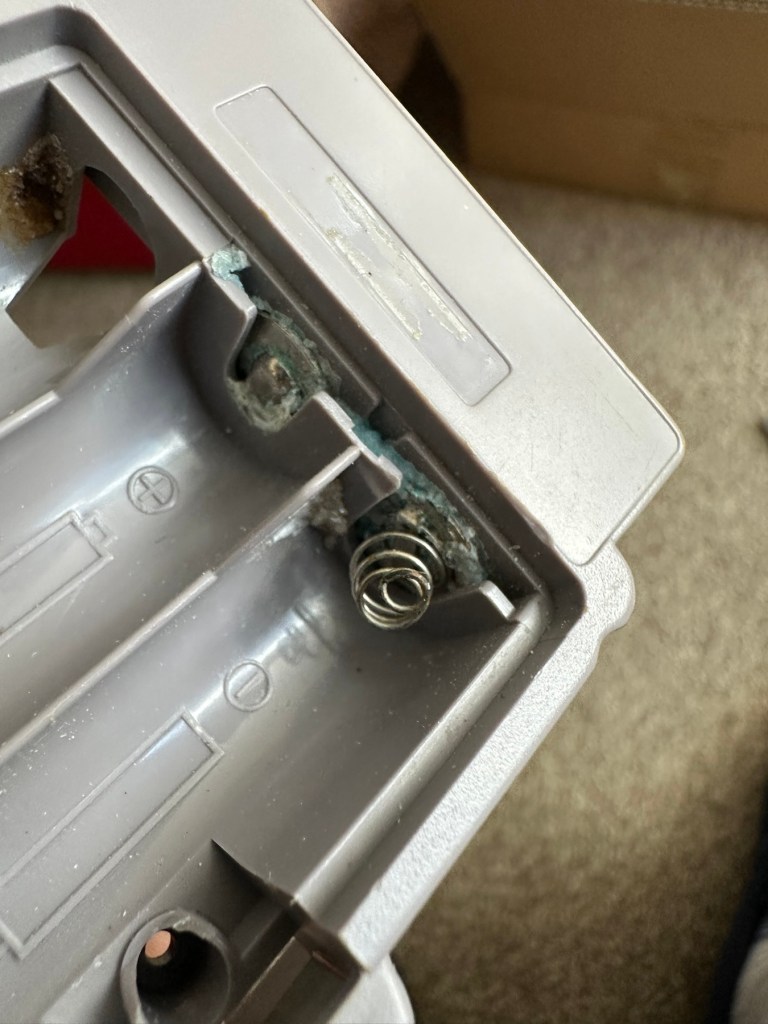
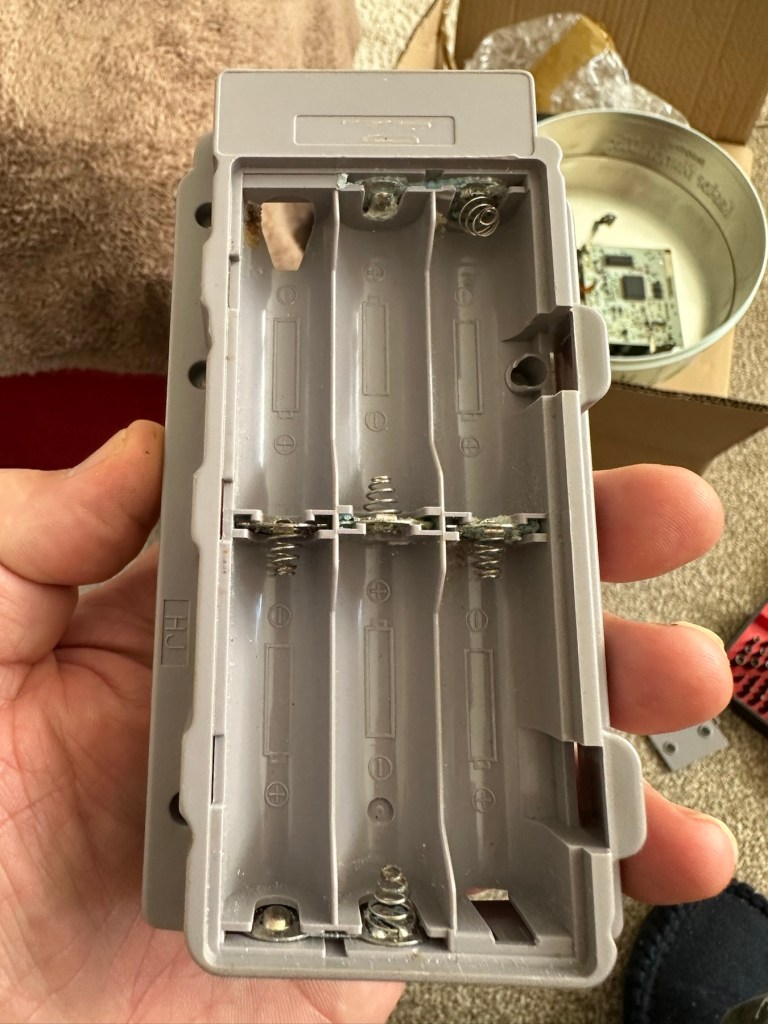
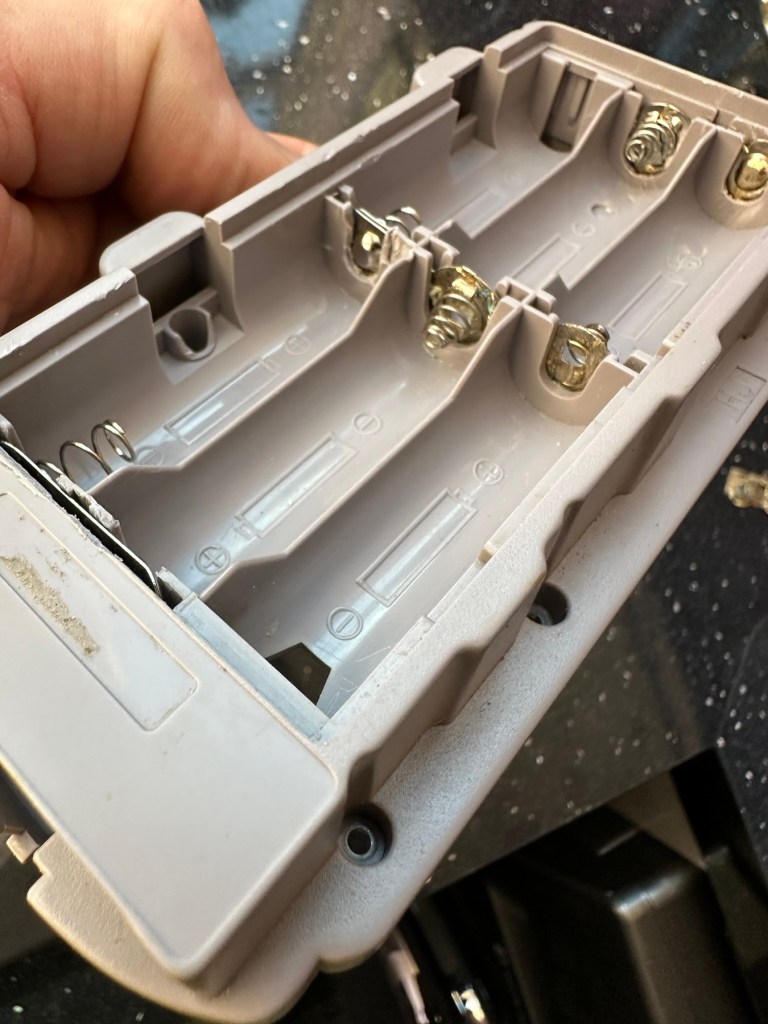
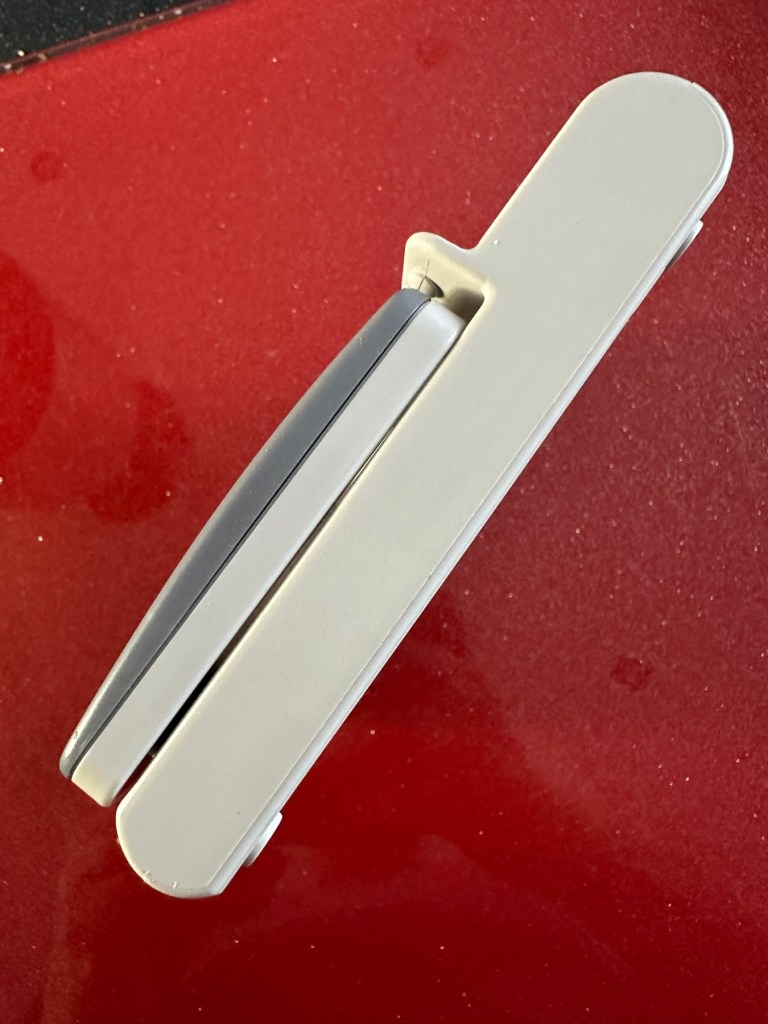
The unit has arrived and on first impressions looks clean and tidy cosmetically. The pads are not very responsive and the battery contacts are seriously corroded. The unit is a power hungry beast, taking two ”D” cell 1.5v batteries and one PP9 9v battery. The unit does not work with its batteries in place, and i’m not surprised really, and to round it all off two screws are missing from the case, and one screw mount is broken. All four plastic springs that sit under the coloured pads are broken, and just to clarify someone has already been in here and it doesn’t bode well. My previous concerns of a screwdriver being in the original photos have been confirmed. It’s been tampered with.


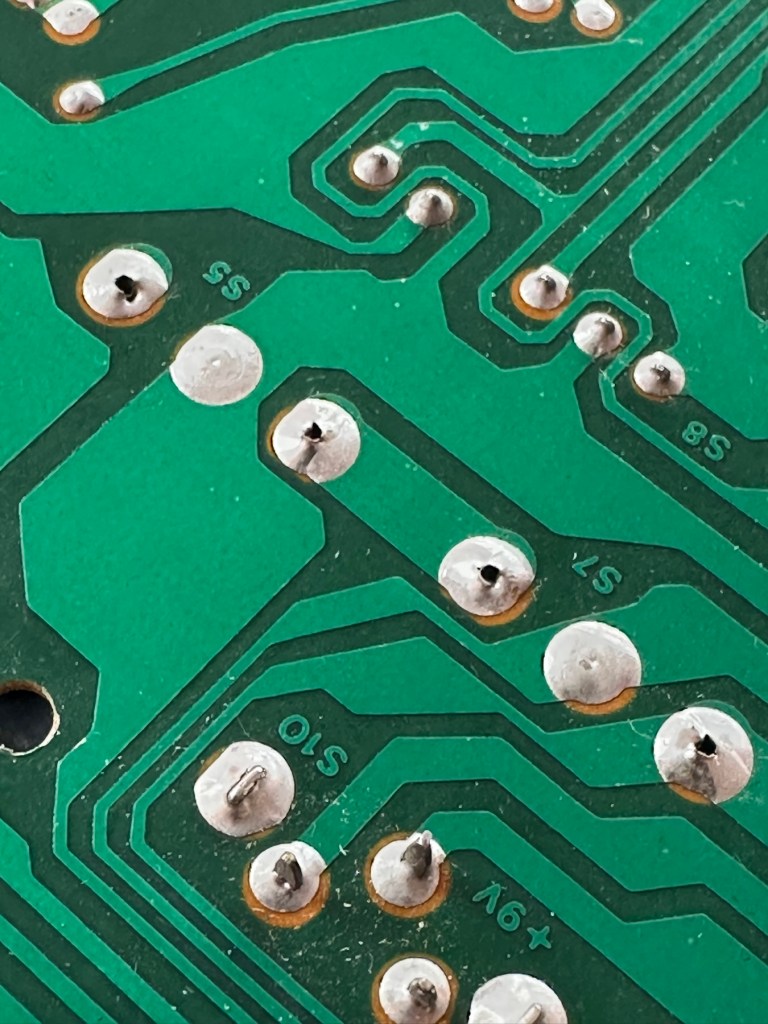
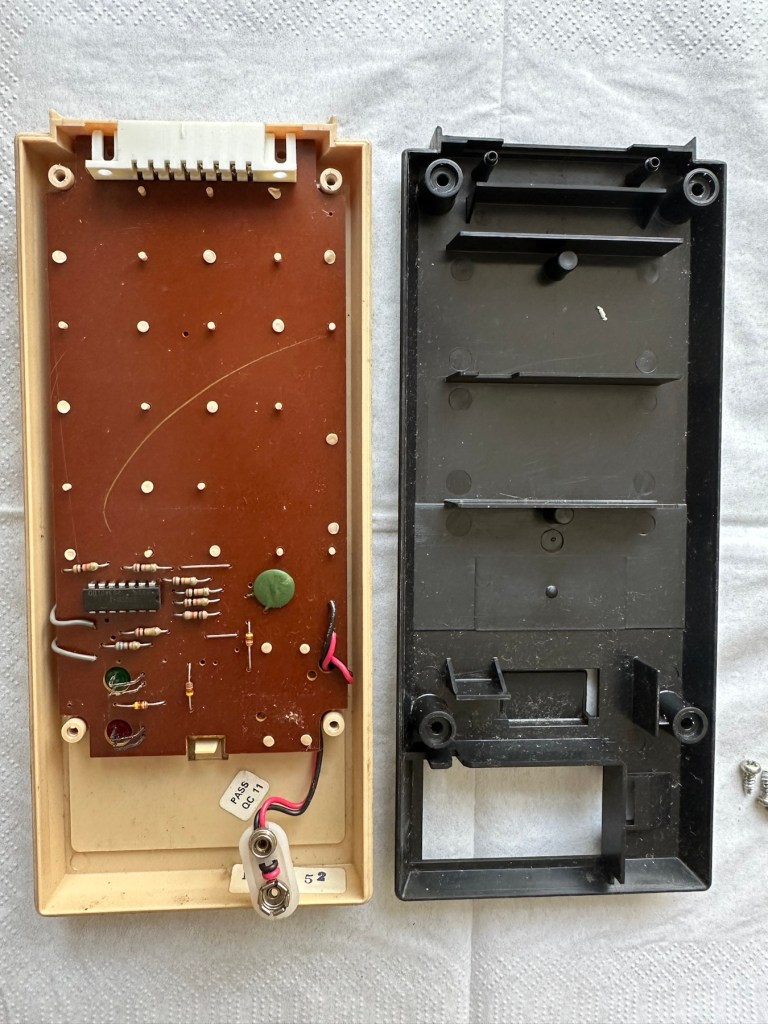
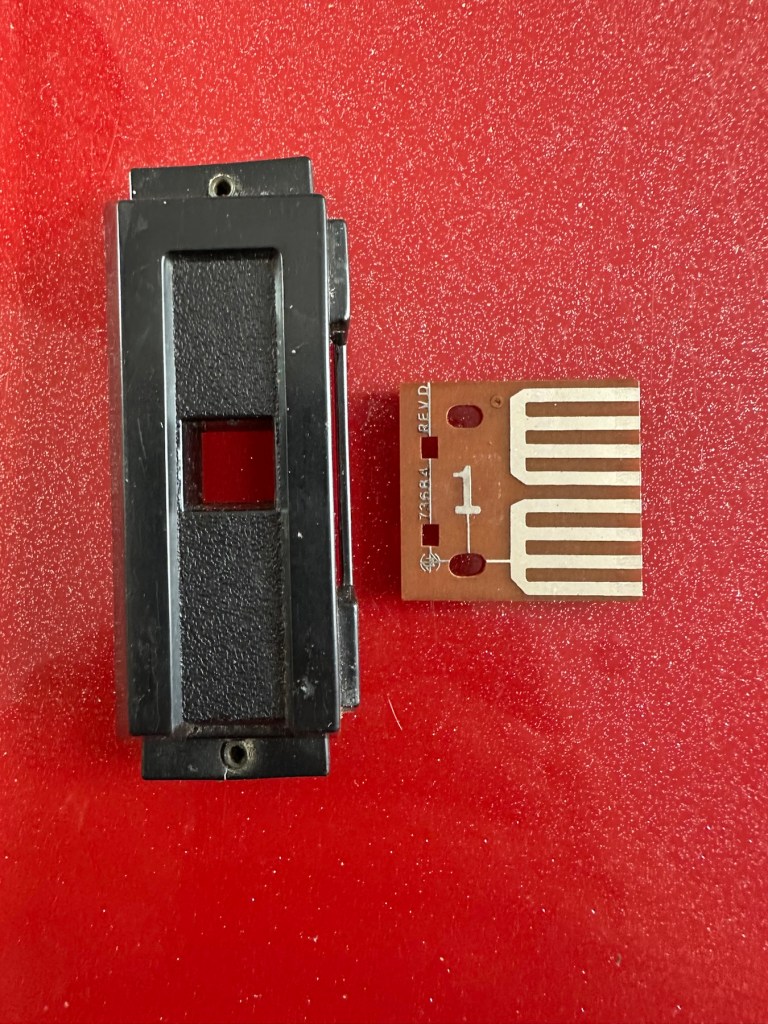
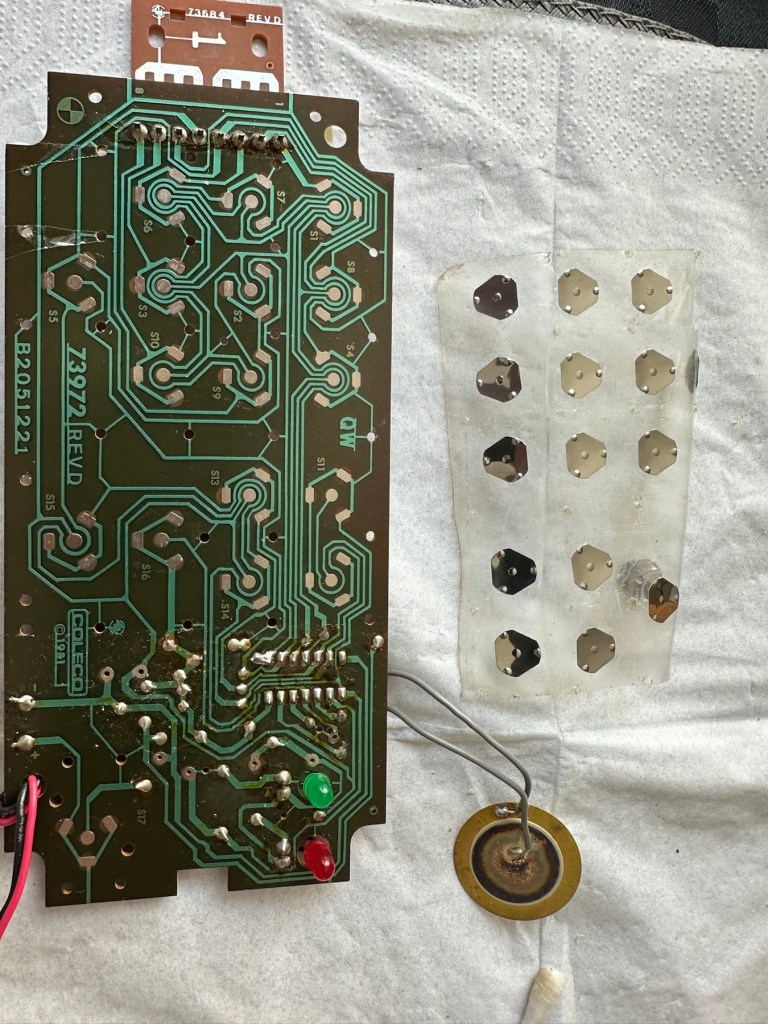
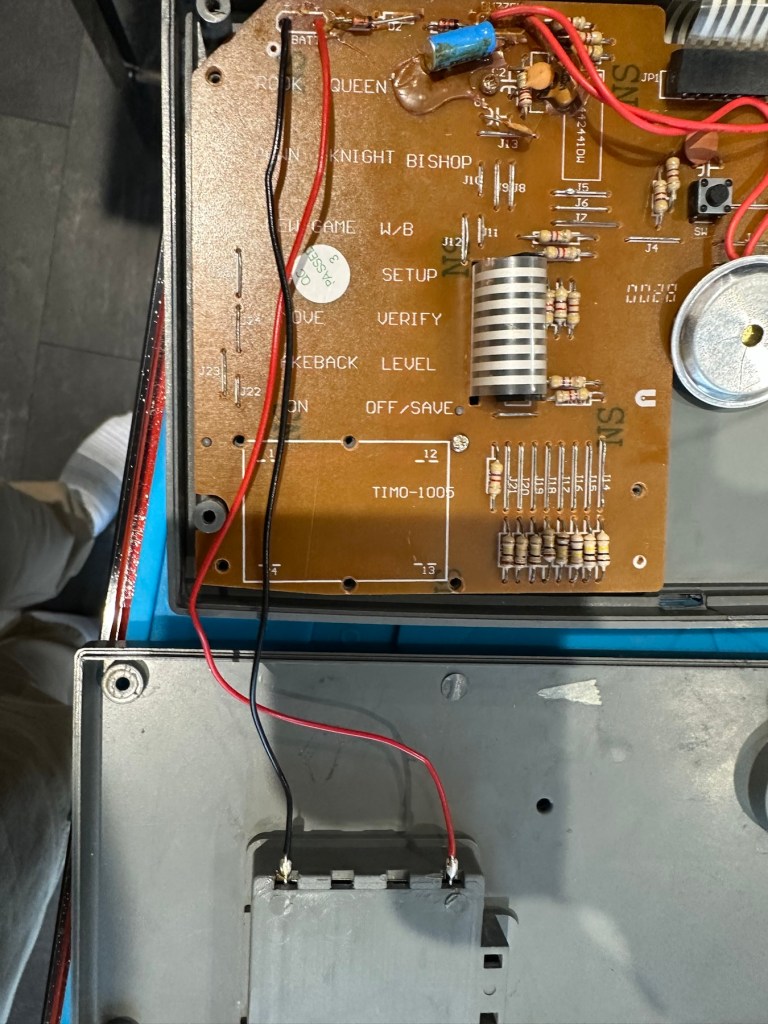
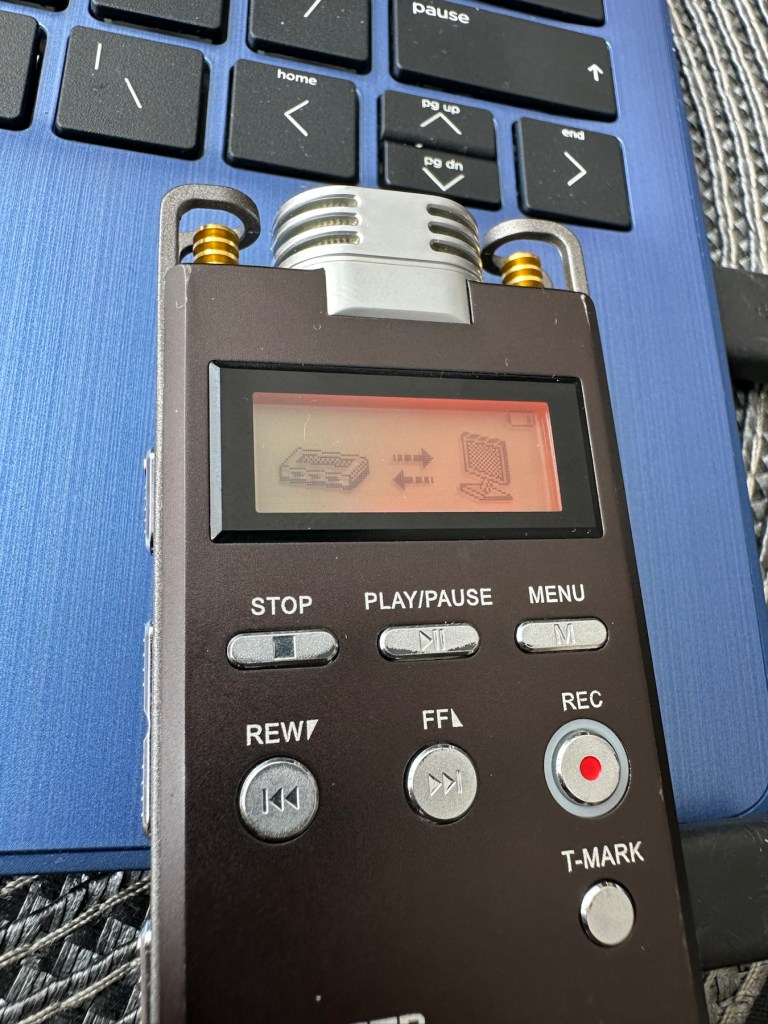
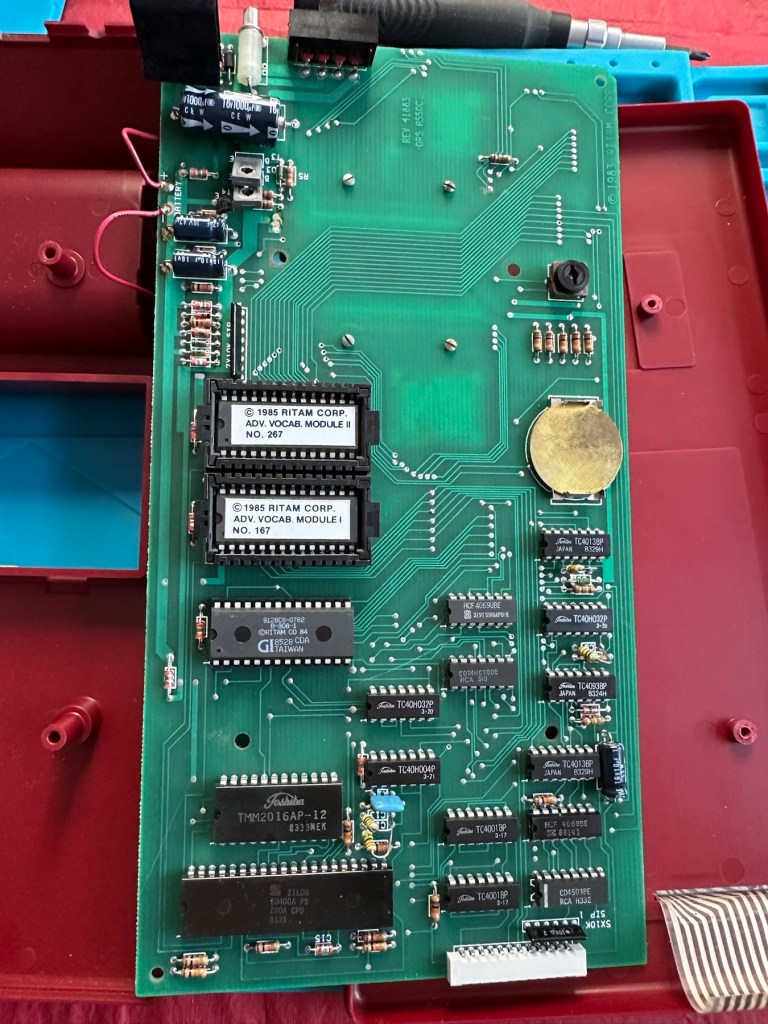
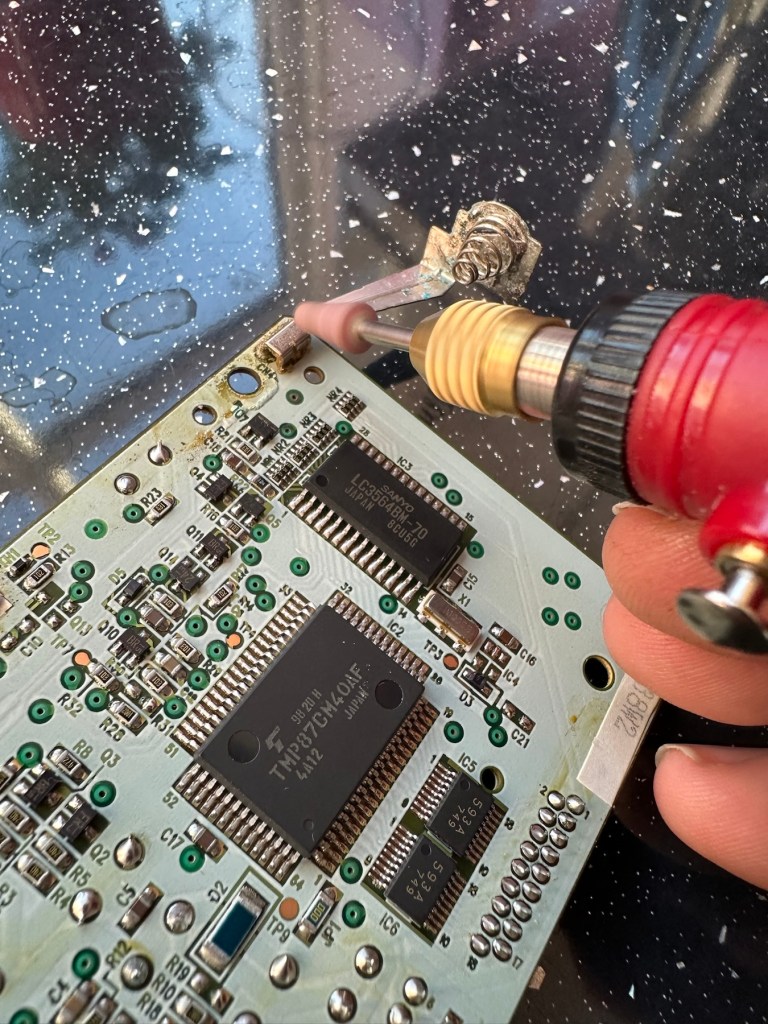
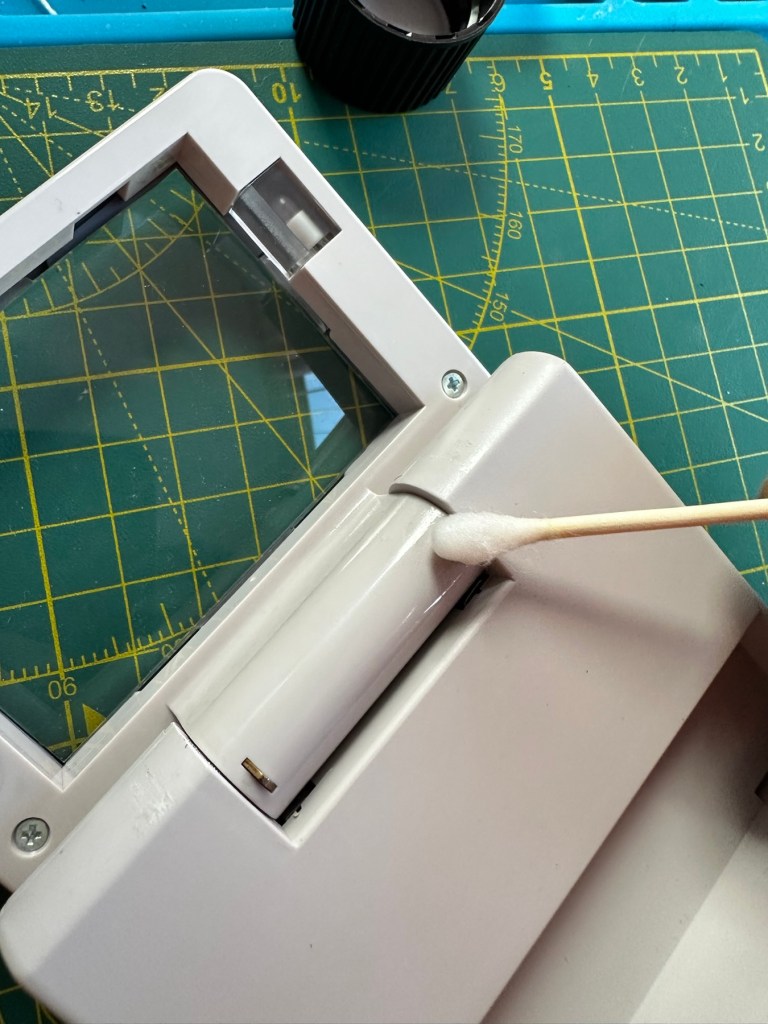
The board is a typical of many circuit boards from this era that were produced for MB. I had a similar circuit board on this item here: MB – Computer Battleship


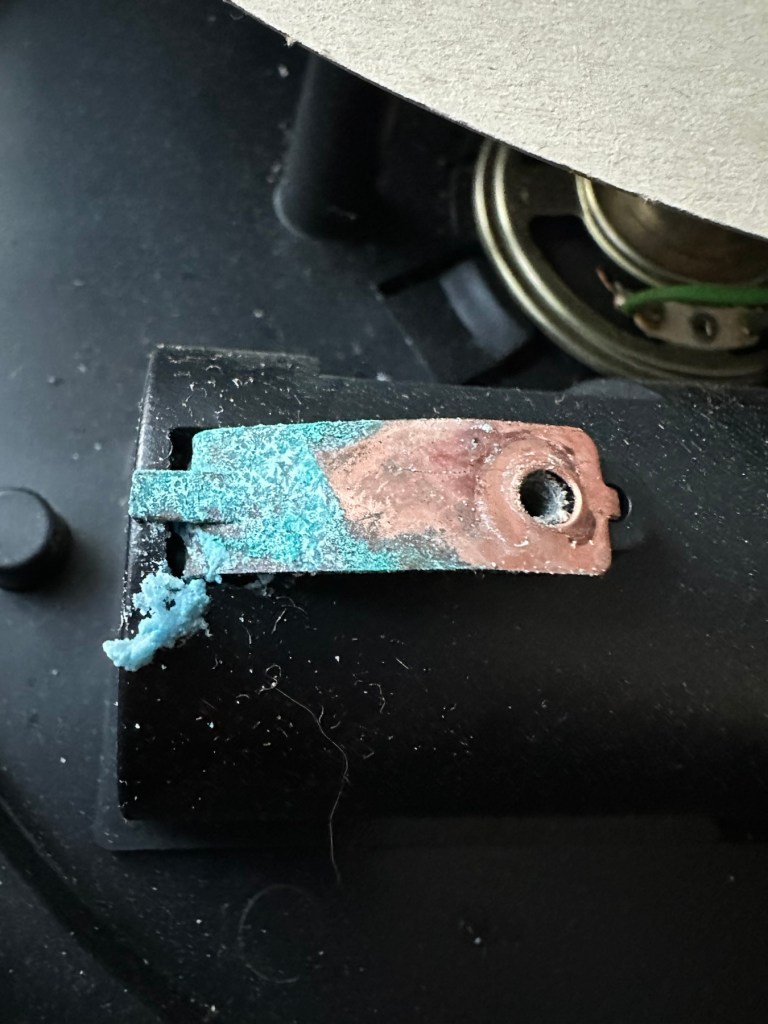
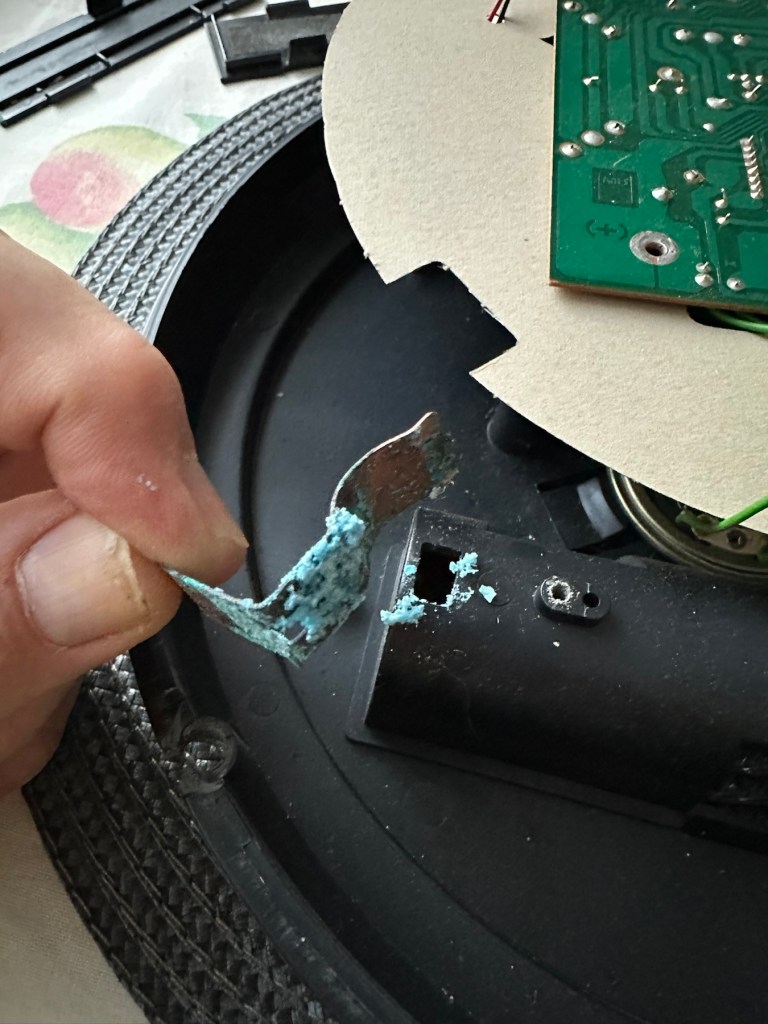
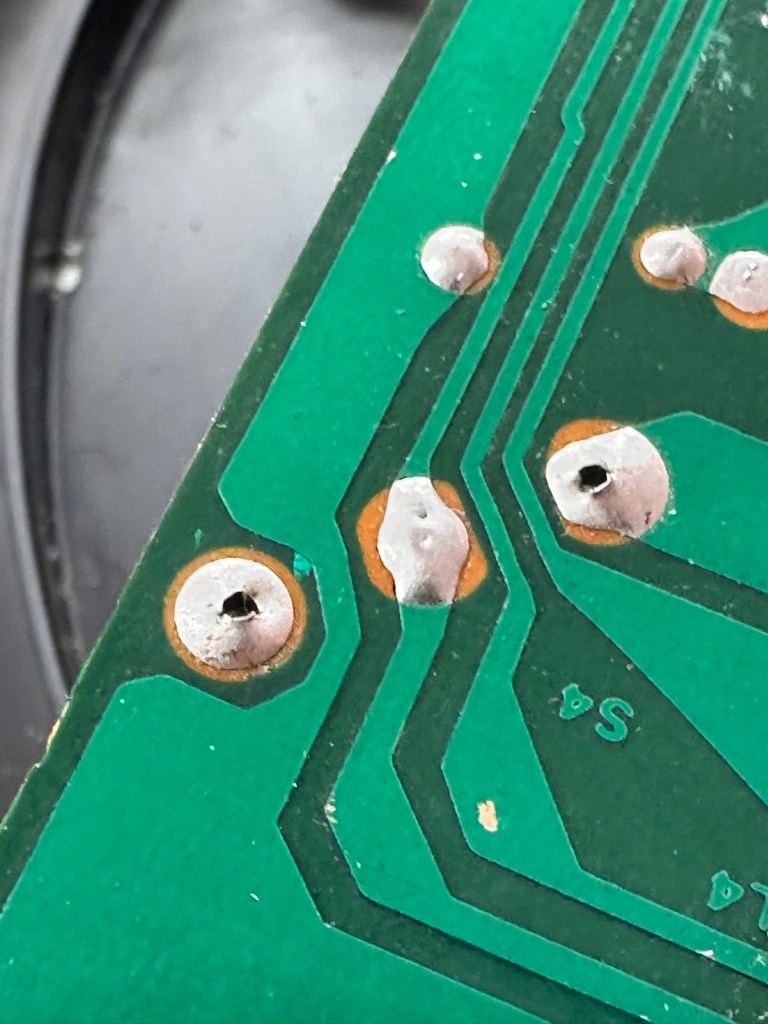
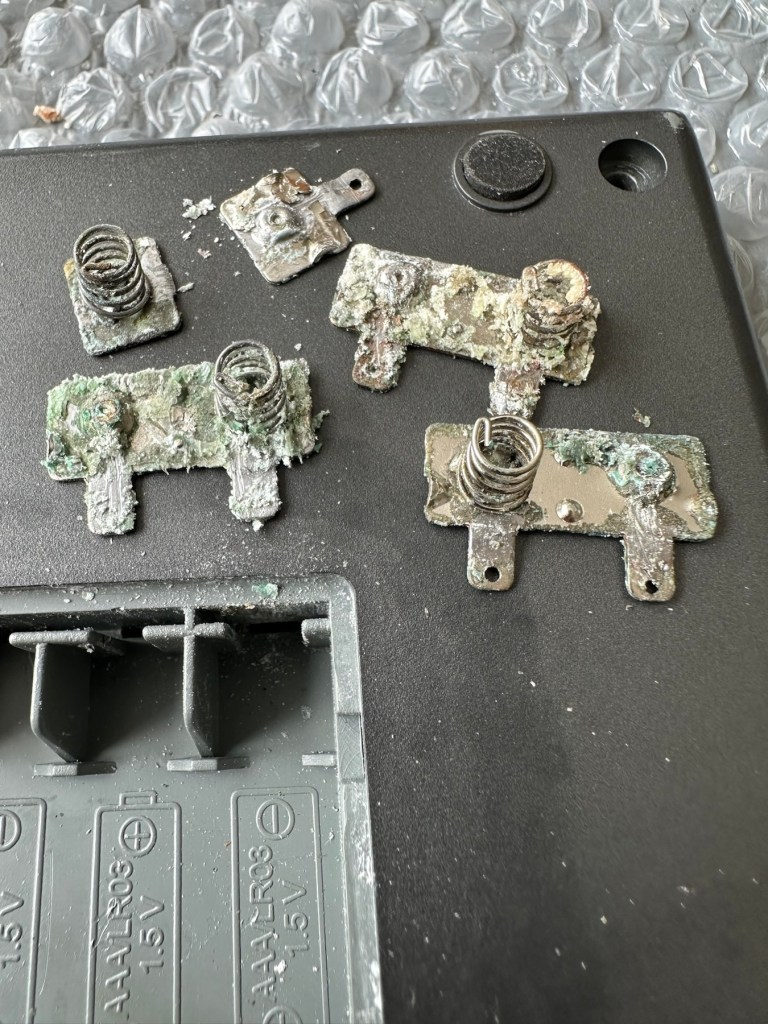
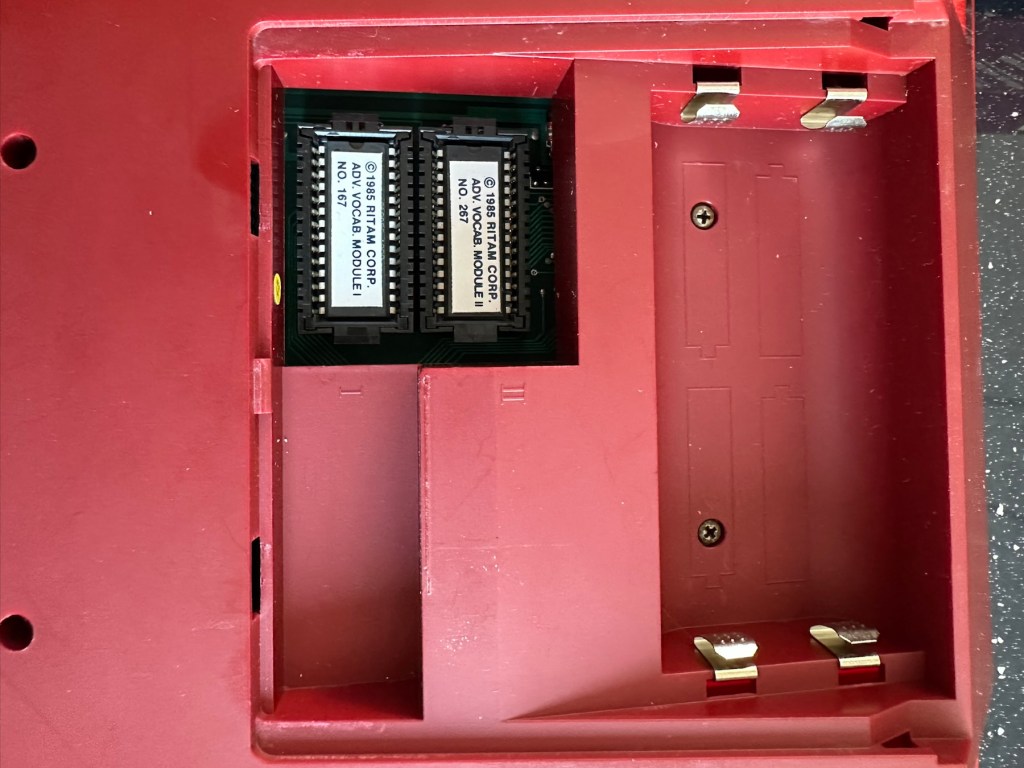
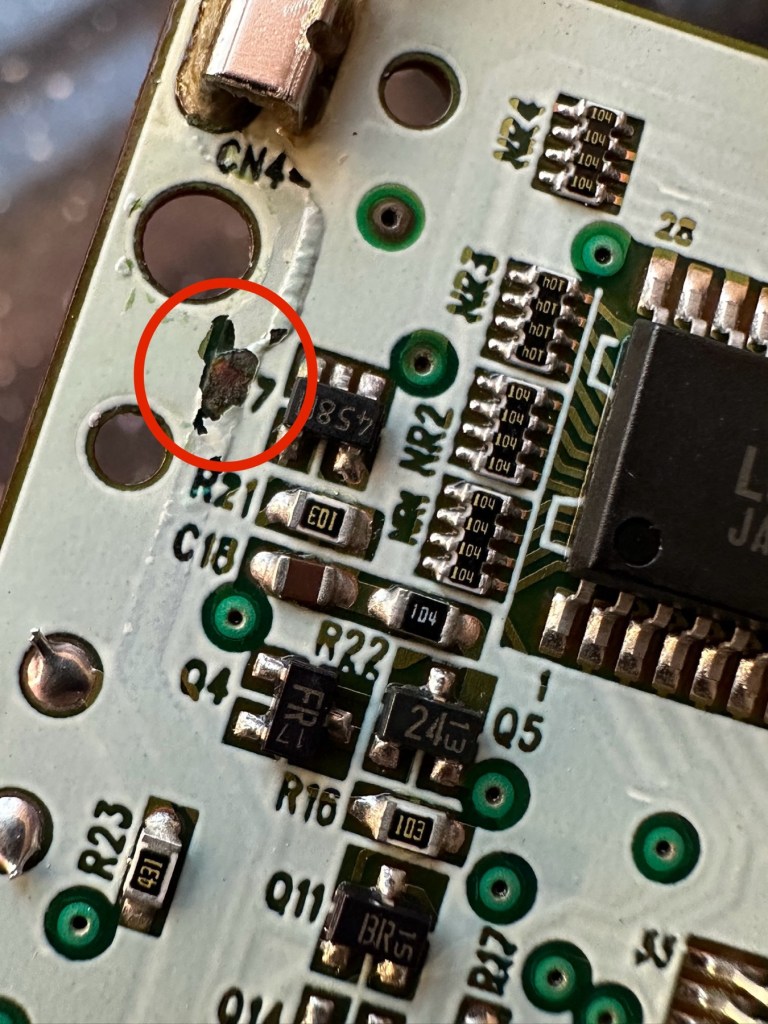
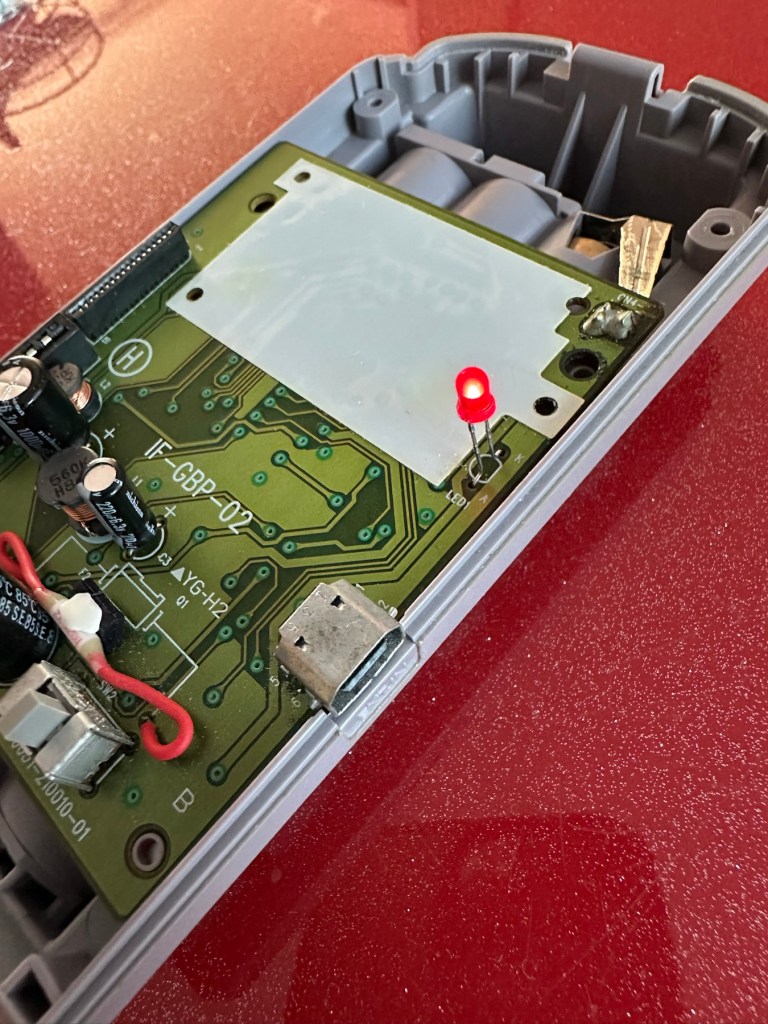
In the picture above you will see two arrowed points. These points are the power contacts that make contact with the two seriously corroded battery contacts you can also see above. No wonder there is no power getting to the board. I suspect this might be the cause of our electrical problem.
Repair:
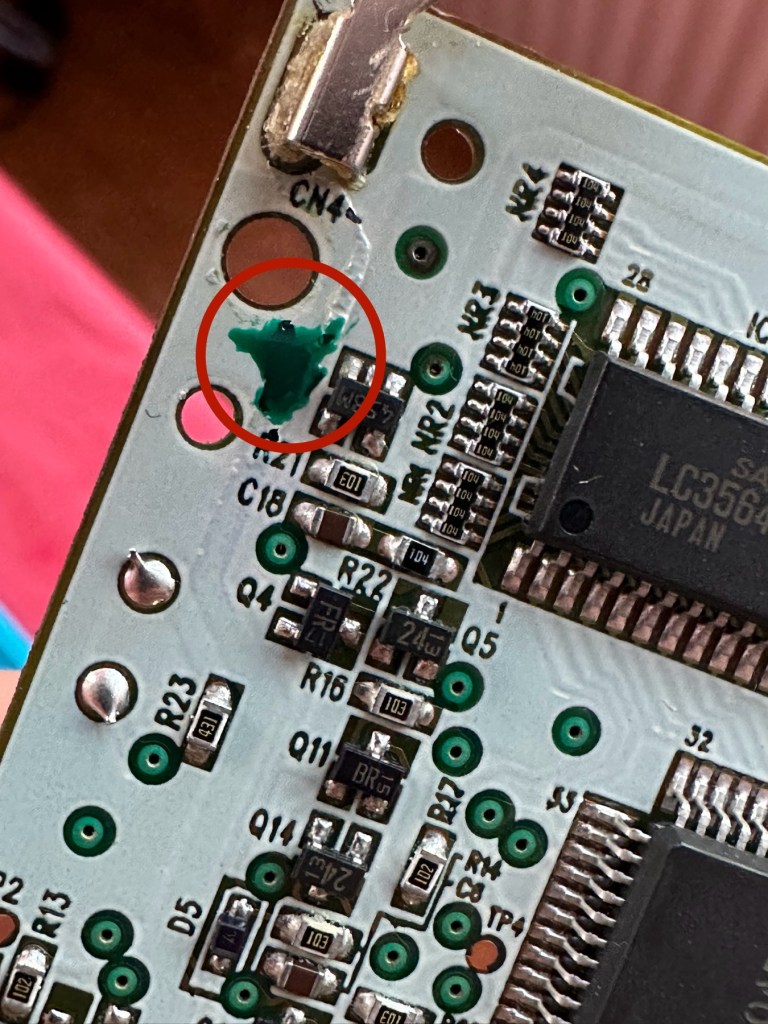
First thing to do is to get those battery contacts cleaned, as well as having a good clean of the main board. This has now been done. I’ve repaired the broken screw post by simply using a rubber washer that has been sufficient for this repair.

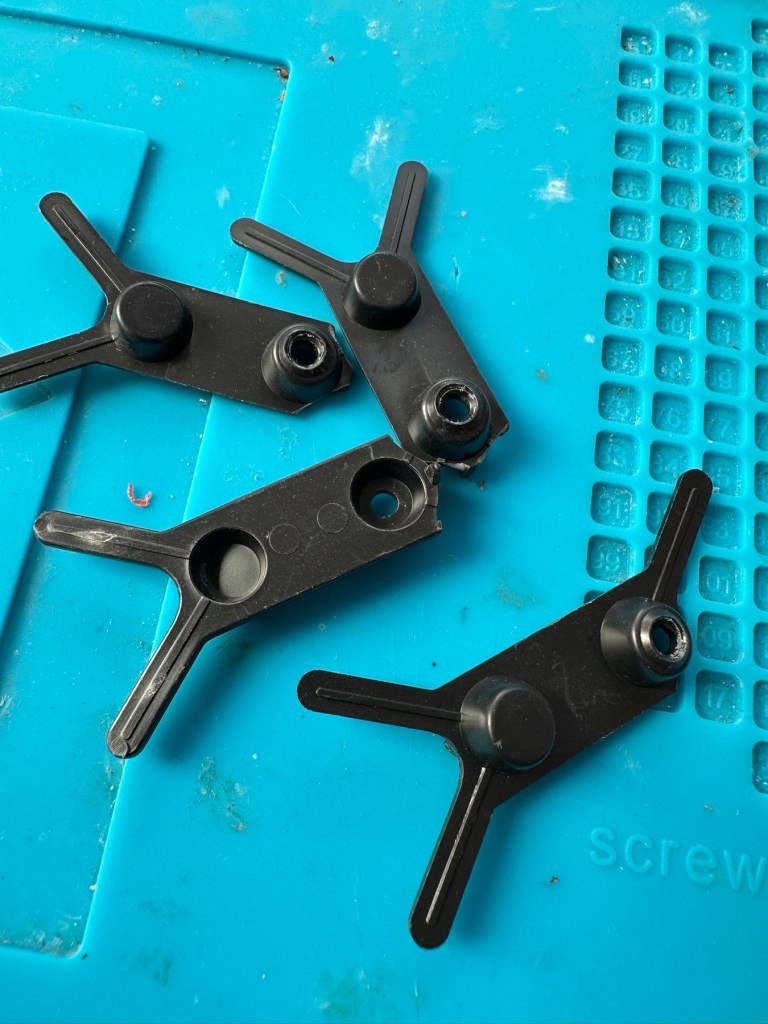
A friend of mine has kindly offered to print me off four of the “Double Y” springs to replace the ones that are already in place and broken. He owes me a favour or three and needs some subject matter to run through his new 3D printer so I’m very pleased to help him, as pending the outcome I may well buy one myself, as I have been threatening to do so for a while now. This should sort out the issue of the unresponsive pads, first found in the assessment of the item. He’s panicking that they might not be smooth and beautiful, I’ve told him not to worry as they are hidden inside anyway.
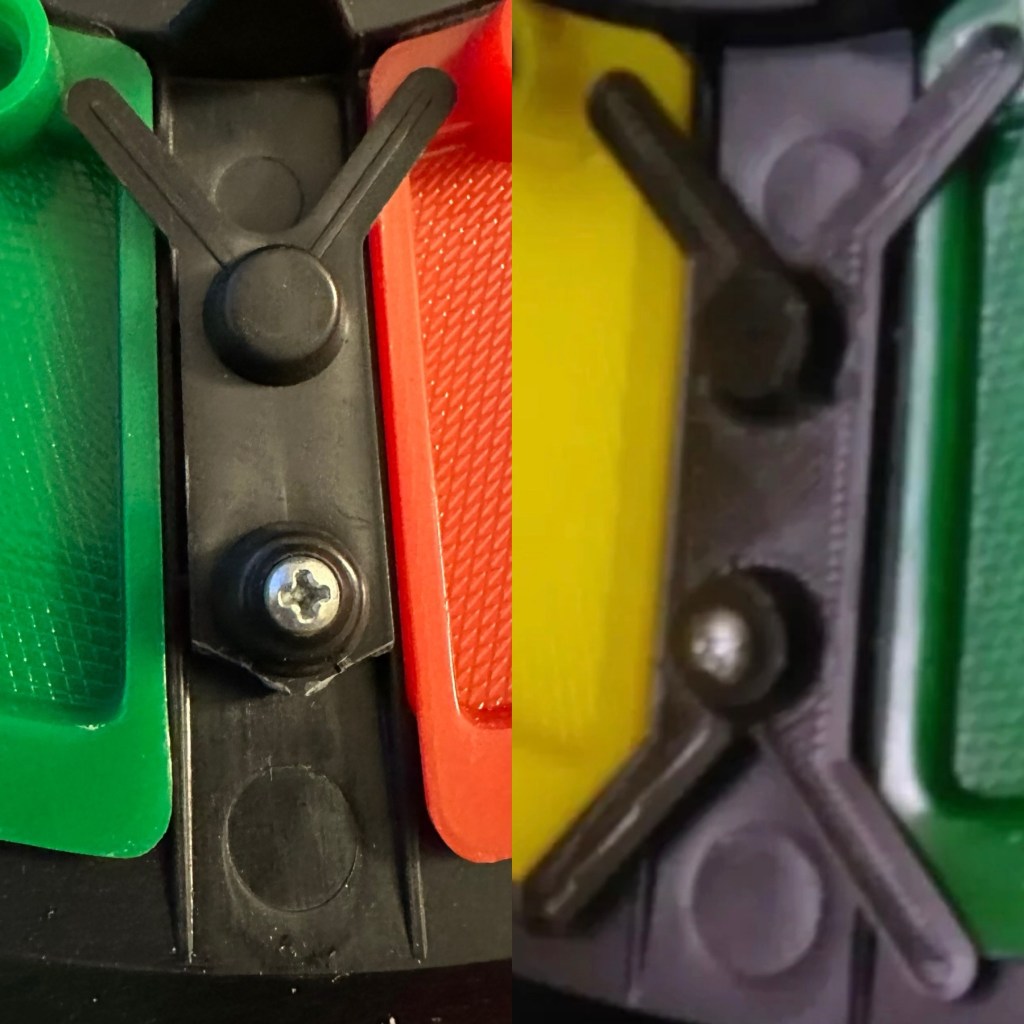
He’s just supplied me with five double “Y” pieces just in case one is damaged in some way. Let’s get these put in place to see the difference these make.

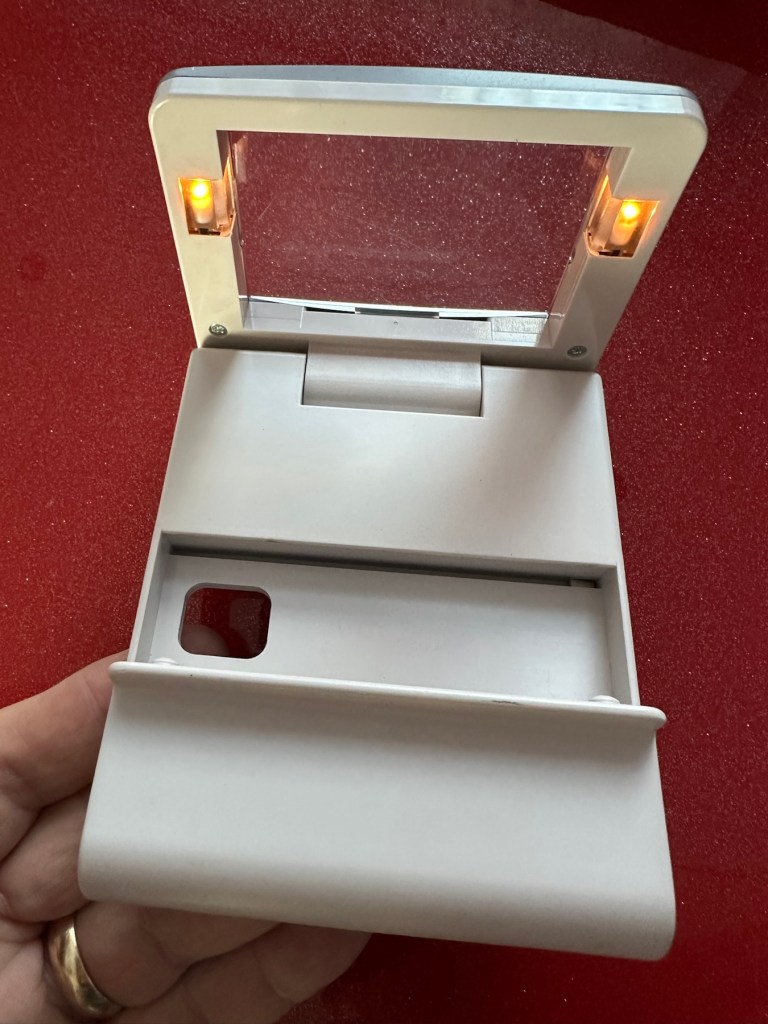
With the new springs in place the pads are working as they were originally designed to, now with some springiness in their operation. The battery contacts have now also been put back in place.

When assembled, the buttons are a little erratic and not always responsive so I decide to look into this further. A quick Look at the board shows that the solder contacts on the board for all of the button connections are worn, the solder has failed so I decide to reflow all these solder joints to improve the contacts. This appears to have worked as the unit when reassembled, now has uninterrupted operation. This is an age related issue. A simple fix.
Result:
Another 47 year old saved from the scrap heap, it’s been an interesting and sometimes confusing repair and I thank my friend who stepped in to save the day by utilising his 3D printer to make some parts. Without his assistance this repair would not have been achievable.

It’s just another old piece of retro history to add to my ever growing collection and much to my wife’s dismay. Bless her.
Thanks for passing by, as always it’s very much appreciated.


You must be logged in to post a comment.