

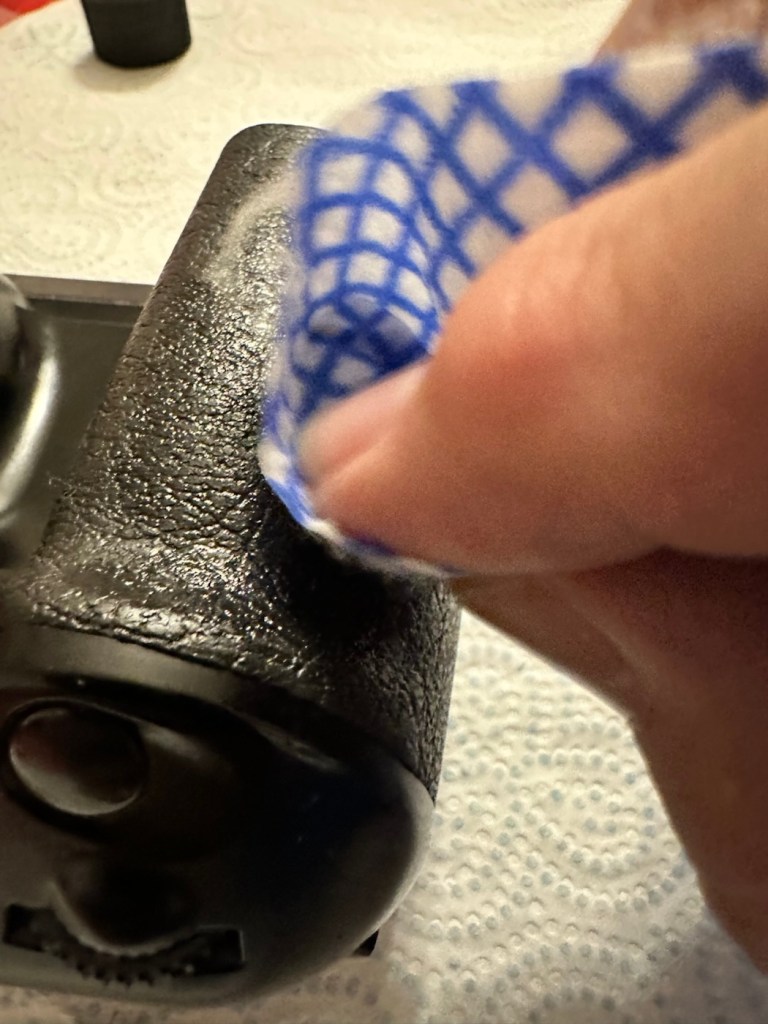
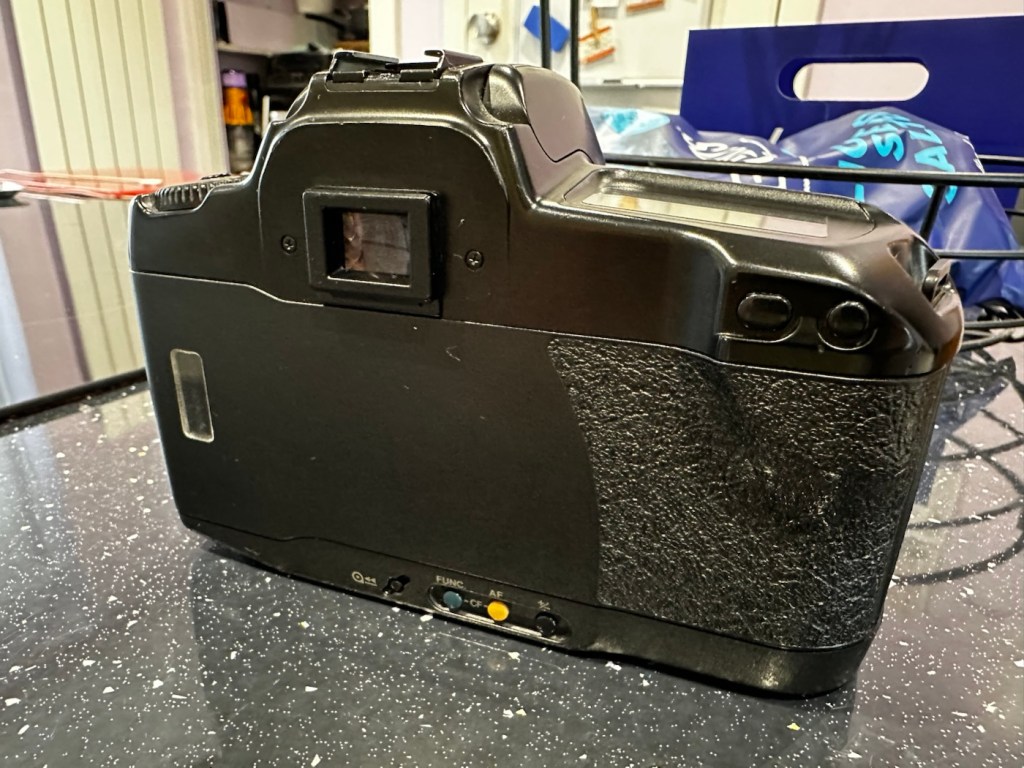
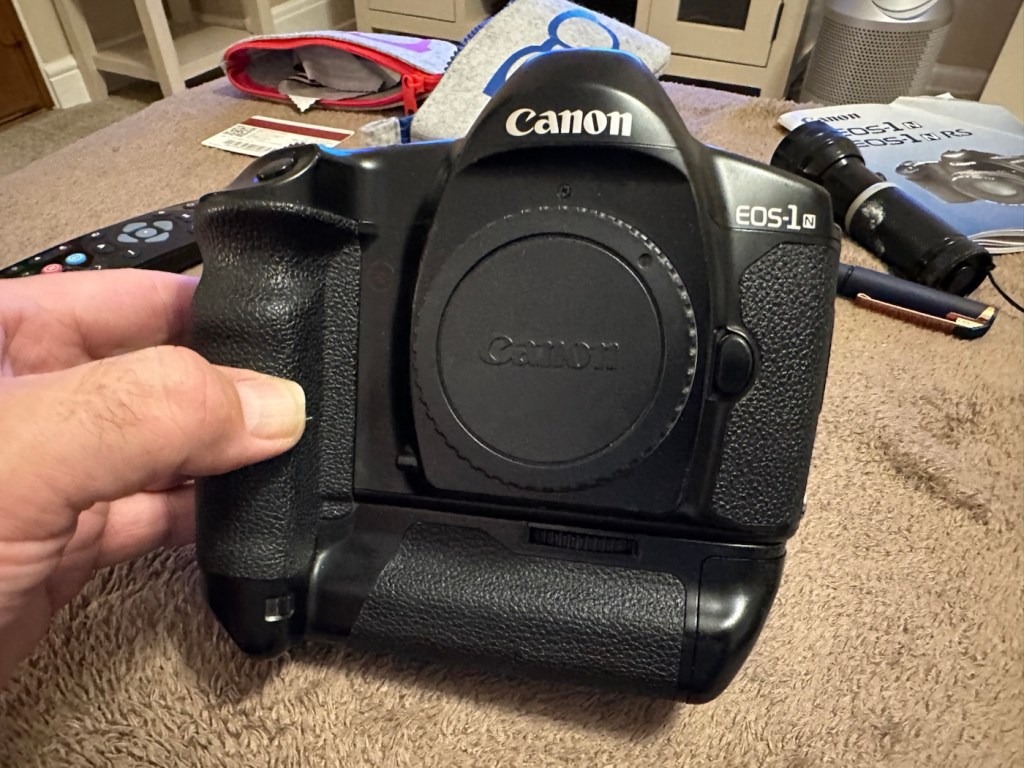
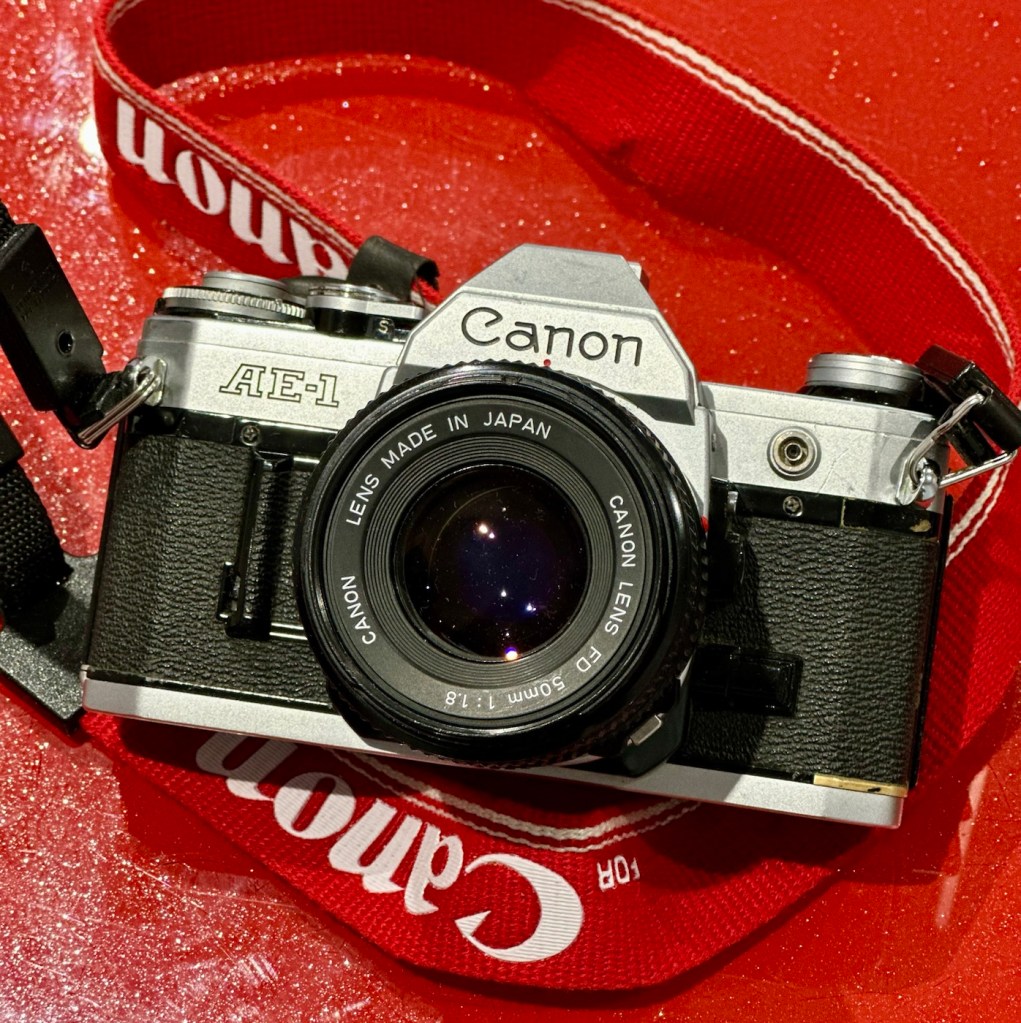
I’m calling this camera my EOS Dirty, it really is suffering a bad case of the sticky rubber syndrome that was widely experienced on cameras of this era, where the Vulcanised rubber used in its construction, had a falling out with its own internal polymers, and they then decided to part company. Creating a sticky mess. This camera is currently 25 years old, originally manufactured in the year 2000.
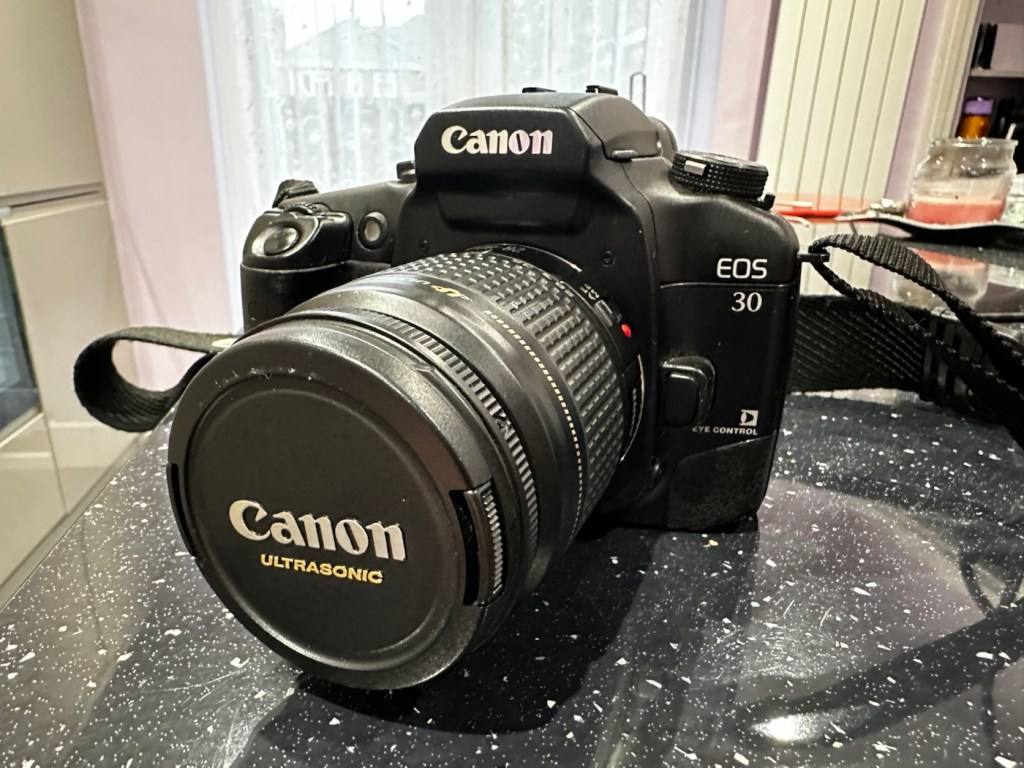


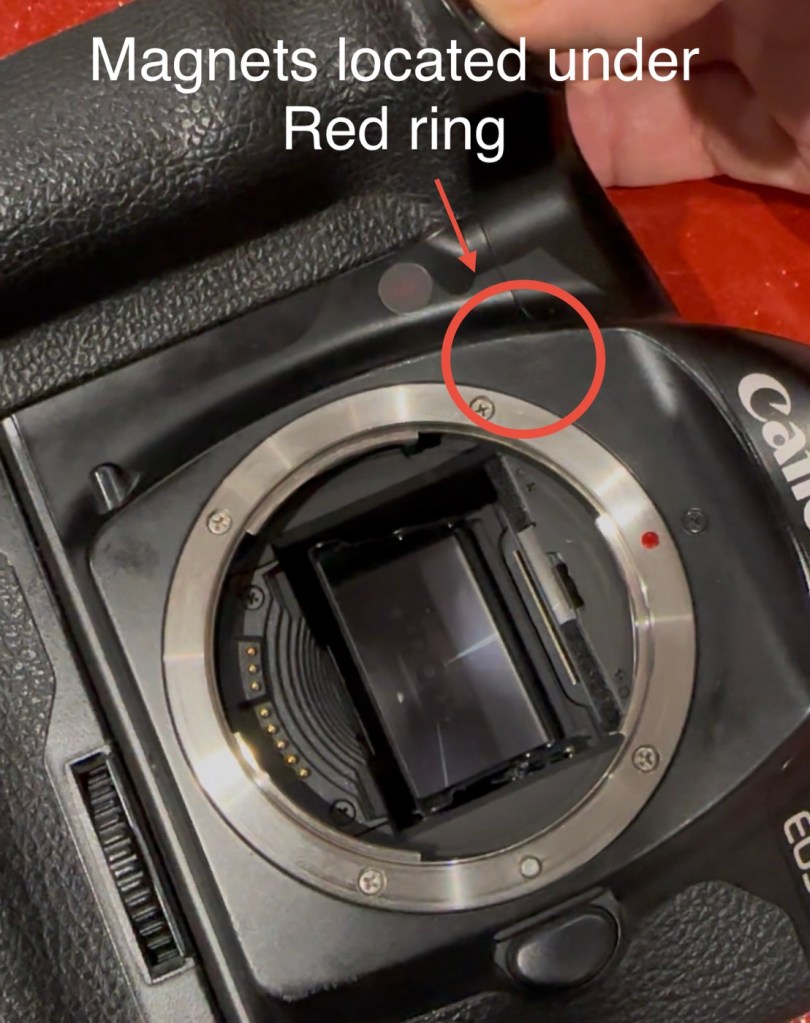
That said, it’s a lovely camera with a lot of features, this was pretty much one of the last 35mm cameras that Canon produced, and they threw a lot of R&D into these units prior to producing its “D” Digital offering, hence it was packed with lots of pre “D” technology. It has “Eye” control, the Eye Control focusing feature makes selective focusing quicker for many. It uses IR to detect eye movements to determine focusing areas. Up to 5 eye presets can be stored for different users. I wonder if that still works?
Here is some information, about this camera:
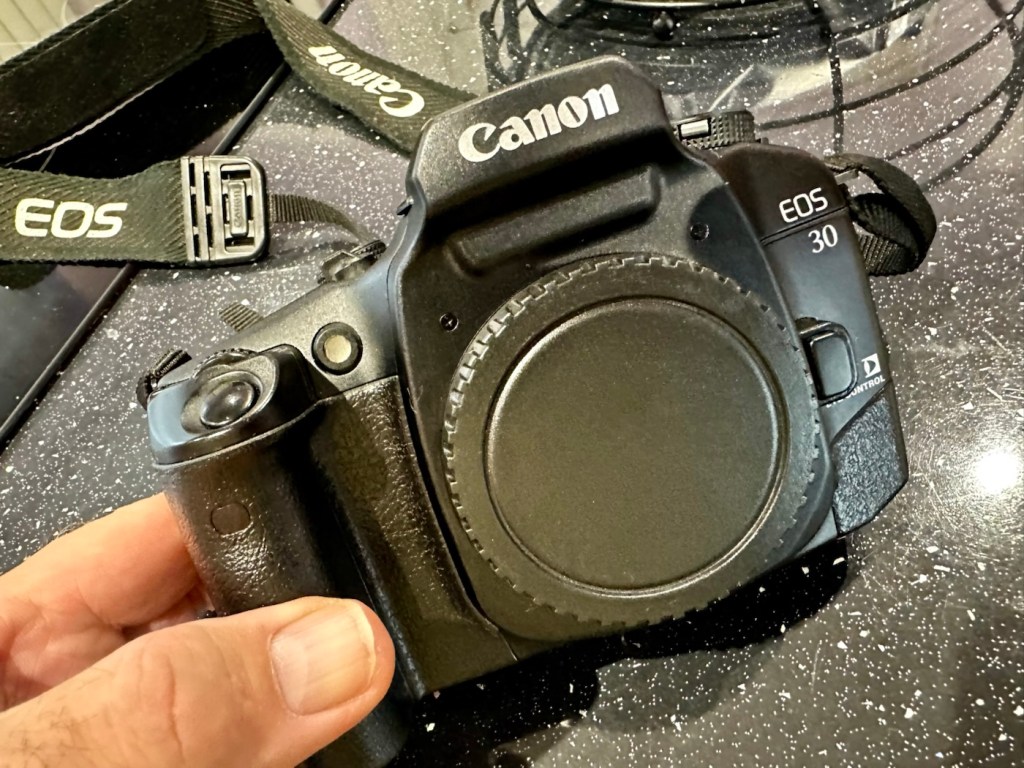
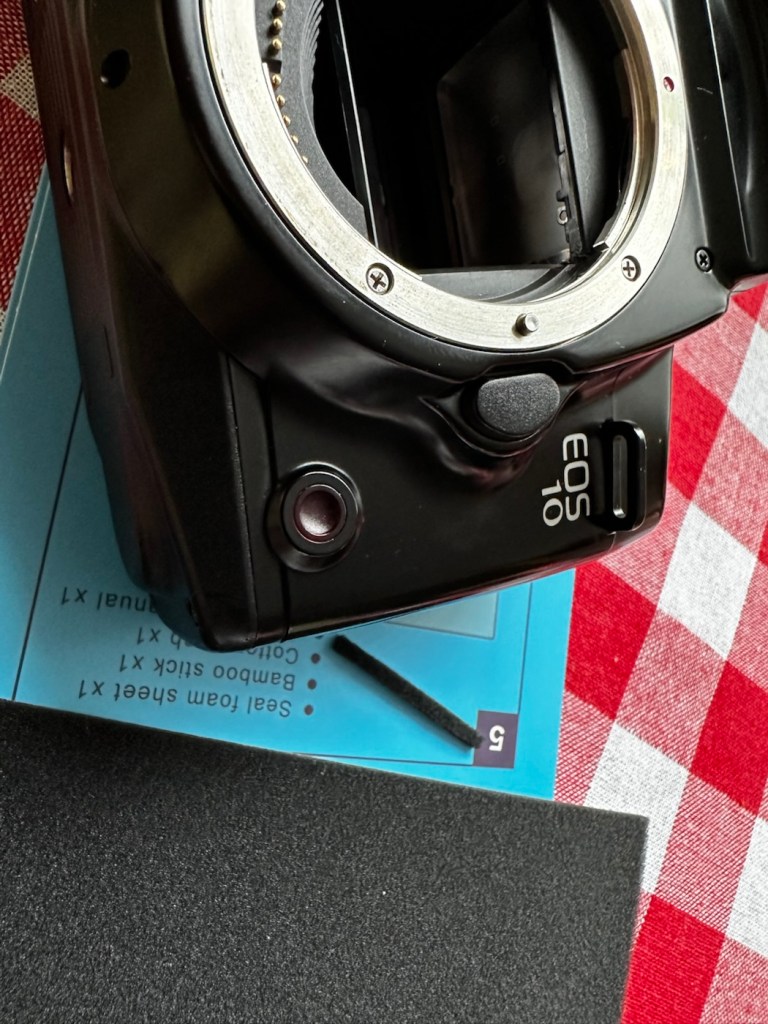
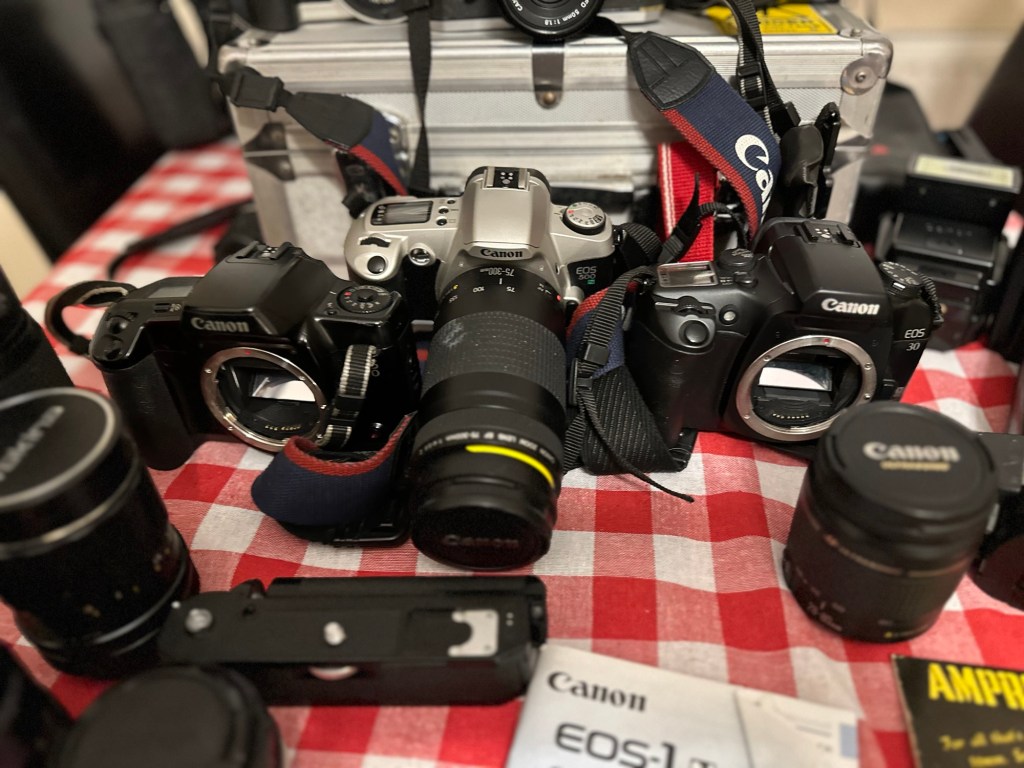
The EOS 30 (or Elan 7 / Elan 7e / EOS 7 / EOS 33 in different global markets) is a Canon autofocus 35mm SLR camera that uses the Canon EF lens mount. The camera was introduced in 2000.
There are three main auto focusing modes. Automatic, manual selection focusing, and Eye Control (EOS 30, EOS Elan 7E). It was given the 7 name because it has 7 auto focus points in manual selection mode. The Eye Control focusing feature makes selective focusing quicker for many. It uses IR to detect eye movements to determine focusing areas. Up to 5 eye presets can be stored for different users. Some users with corrective lenses may experience problems using this feature. The shutter speed ranges from 30 sec. to 1/4000 sec. in 1/2-stop increments with bulb. X-sync at 1/125 sec.
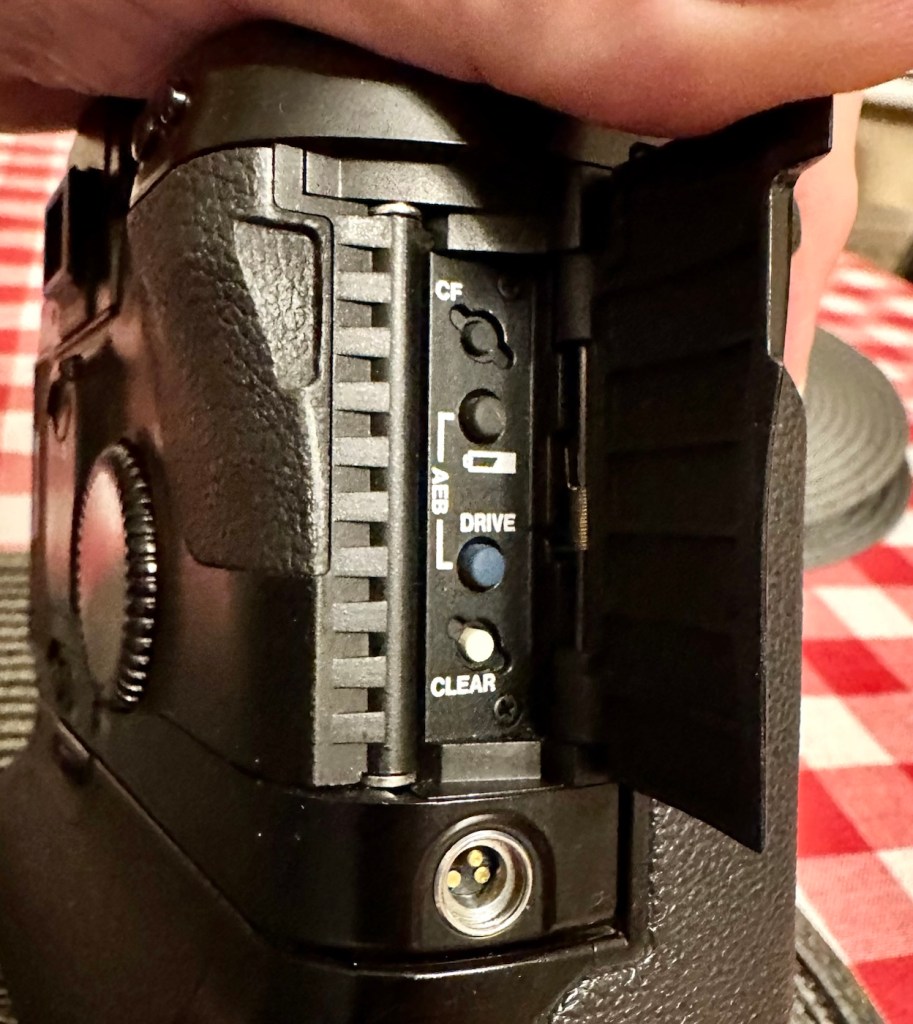
Metering modes use a TTL max. aperture metering with a 35-zone silicon photocell. The included modes are evaluative, partial and center-weighted averaging metering. The measurement range is from 1 to 20 EV (at 20-degree with 50mm f/1.4 lens, at ISO 100). The ISO can be set automatically with DX-coded film at ISO 25 to 5000. Exposure compensation can be adjusted from +/-2 stops in 1/2-steps.
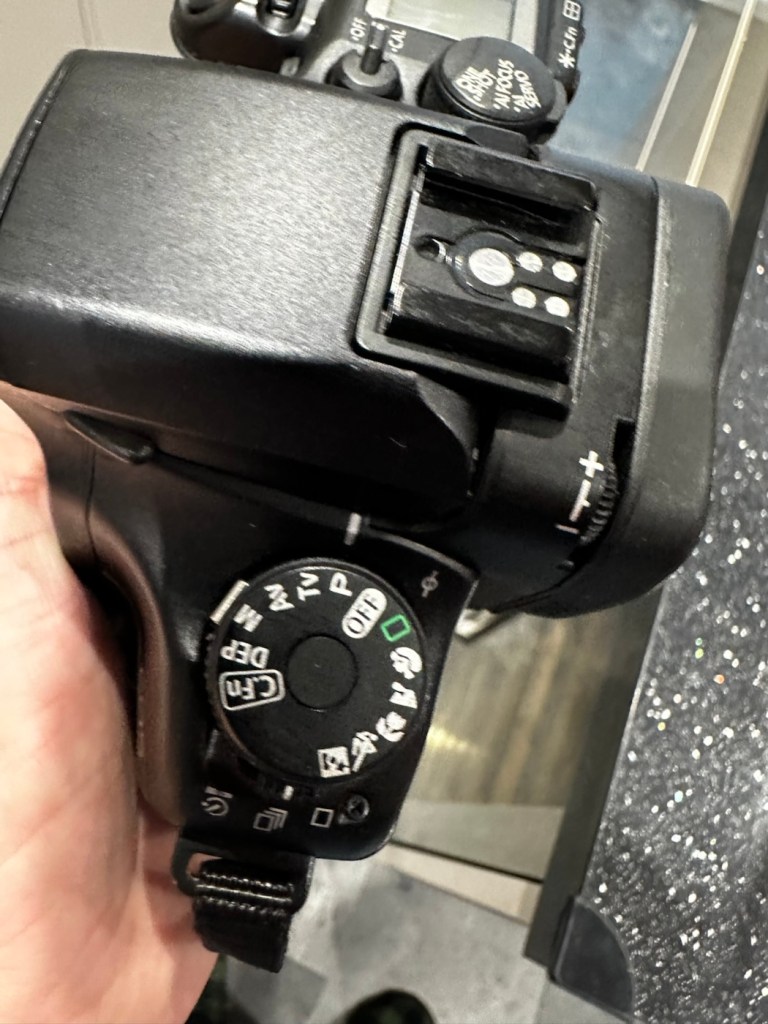
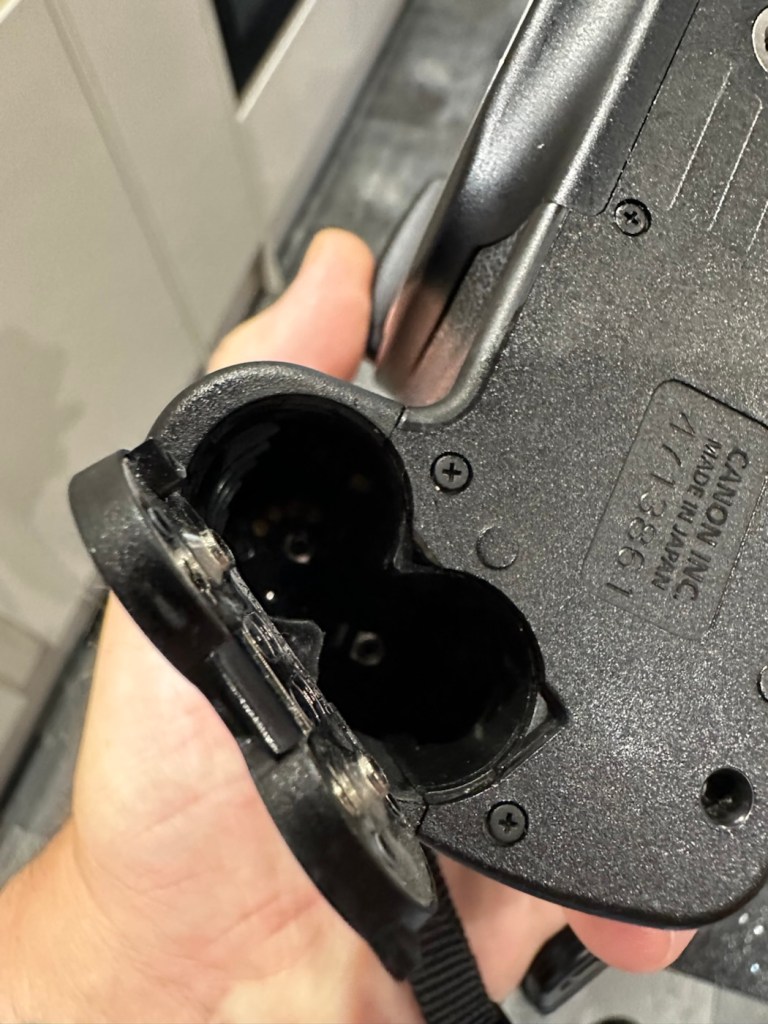
Exposure modes available include Program mode, shutter priority, aperture priority, Depth-of-field, Auto, scene modes with (Portrait, Landscape, Close-up, Sports, Night Scene), manual exposure and bulb mode. Flash exposure includes modes for E-TTL, A-TTL and TTL program flash modes. The motor drive is capable of up to 4 fps. The finder has dioptre adjustments built-in with settings from -2.5 to +0.5 dpt. Two CR123A batteries power the camera.
If equipped, the QD (Quartz Date) / Date back require the use of one CR2025 coin type battery. Imprint display modes include M/D/Y, D/M/Y, Y/M/D, D/H/M and off. The last date the unit can imprint is Dec. 31, 2019
Camera wiki.org
Assessment:
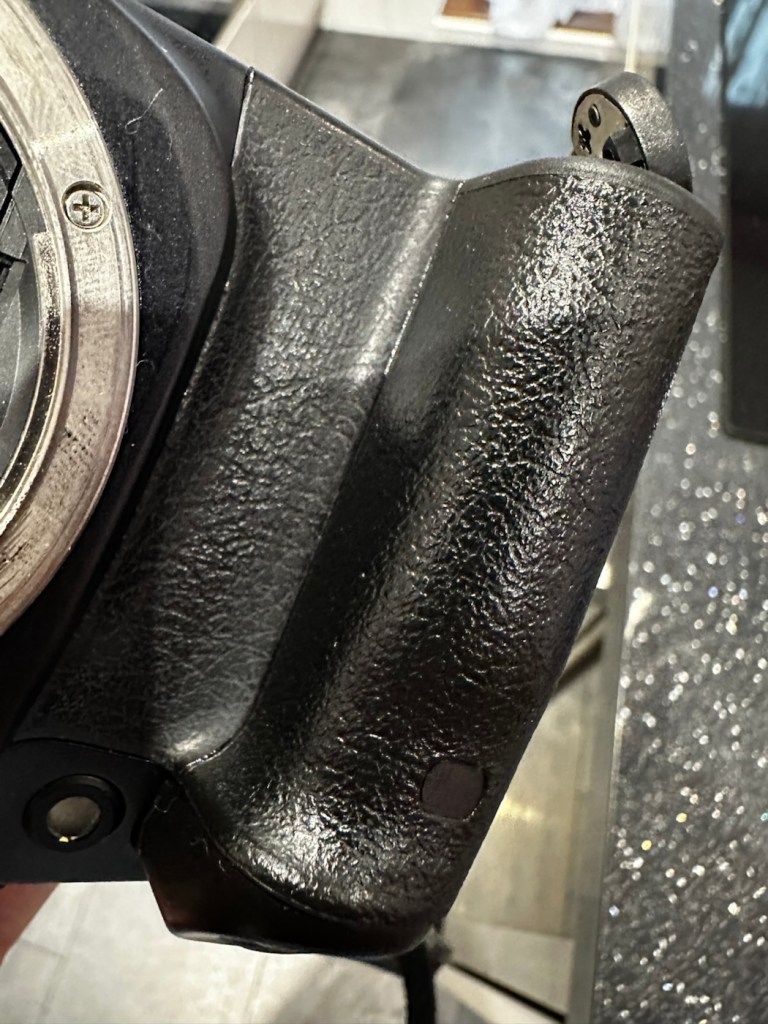
As stated in the sections above, the biggest problem with this camera is its stickiness, and to be honest that is not really a problem. I have cleaned many of these in the past and this one will be no different. Here’s a post I wrote a while back about sticky camera bodies: Sticky, Rubber camera grips
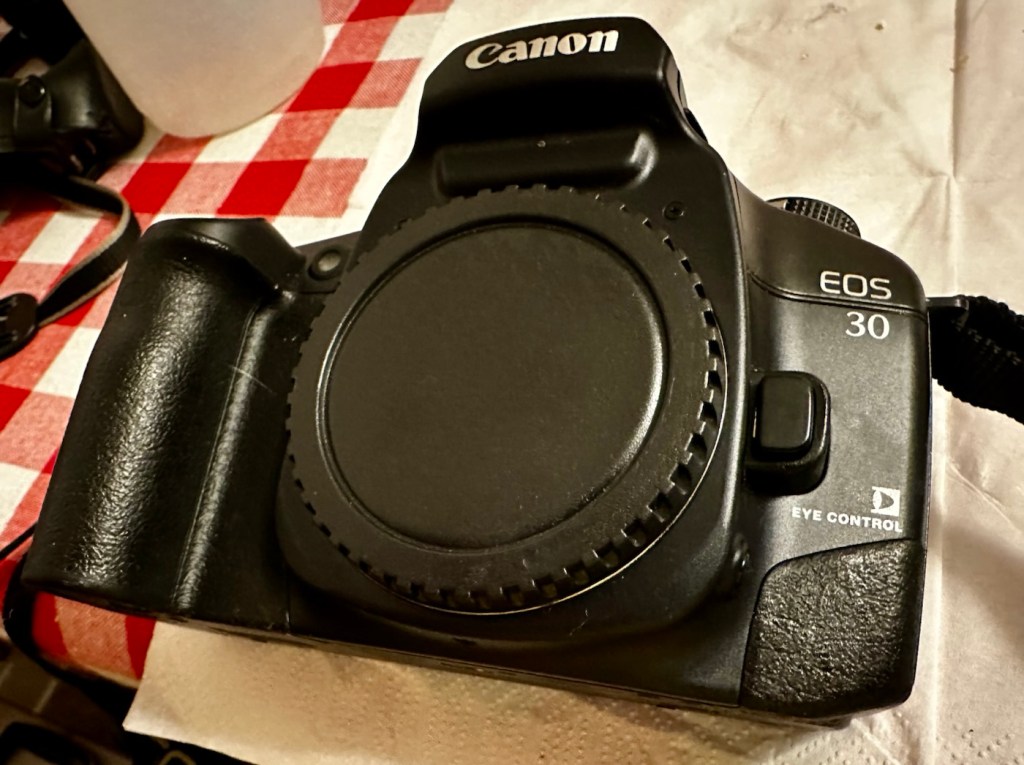
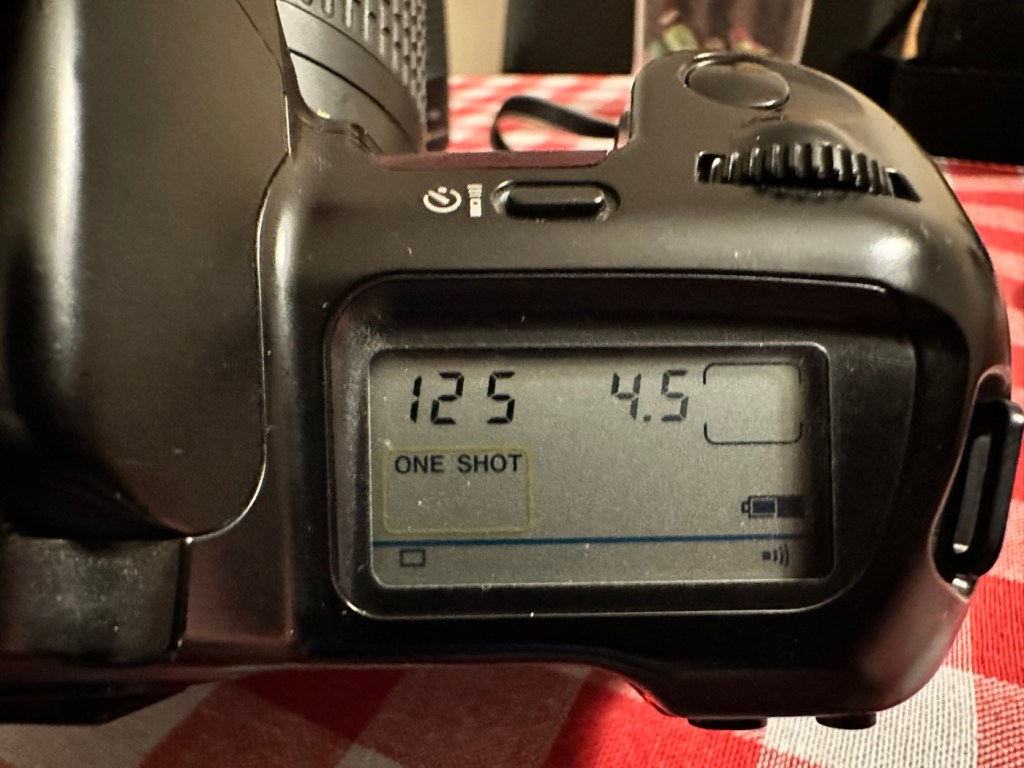
This really does feel like a lot of camera. You can see the digital “thought” that the development guys introduced into this camera in preparation for the arrival of its “Digital” brothers and sisters, I’m going to have to do a bit more reading up on its full operation and capabilities. This camera is in very good condition, no dinks, dents and very few scuffs, all doors are functional and when a battery is installed (a 2CR5 – 6v lithium) everything lights up, and appears to do what it should. I will check this thoroughly though later.


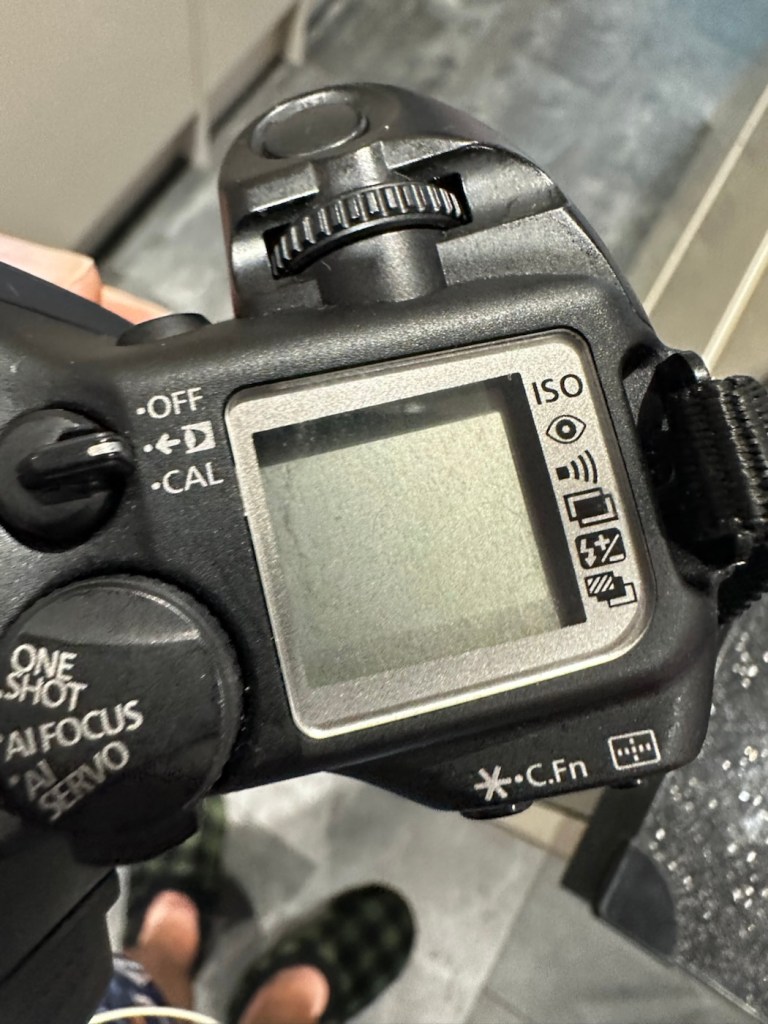
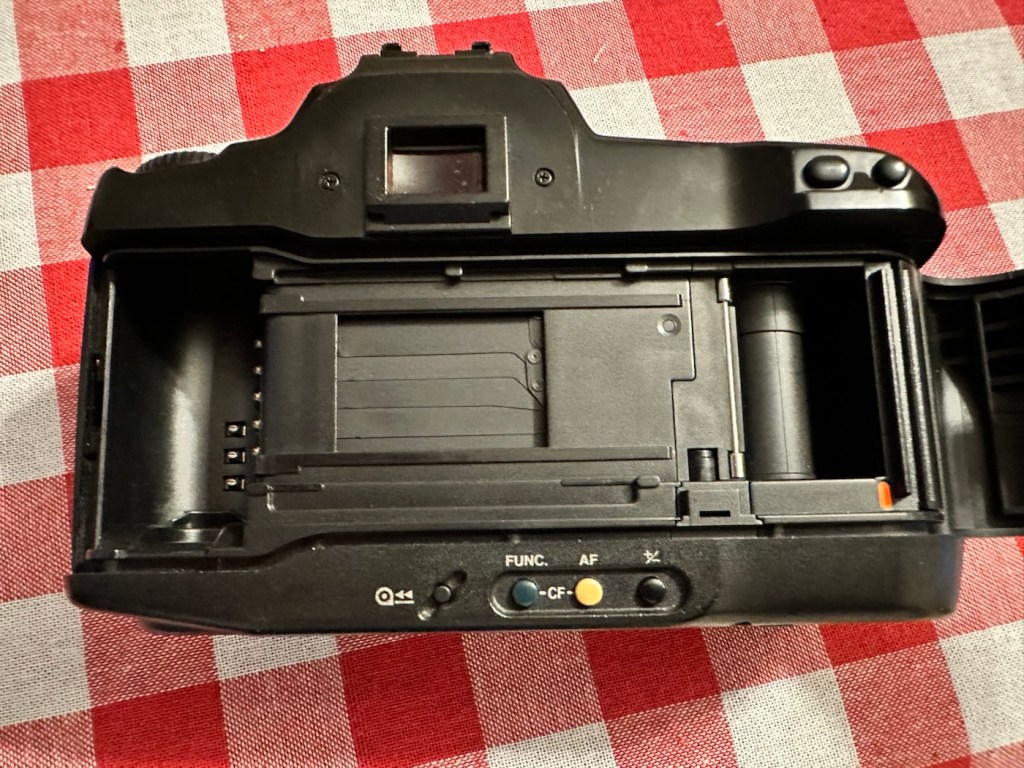
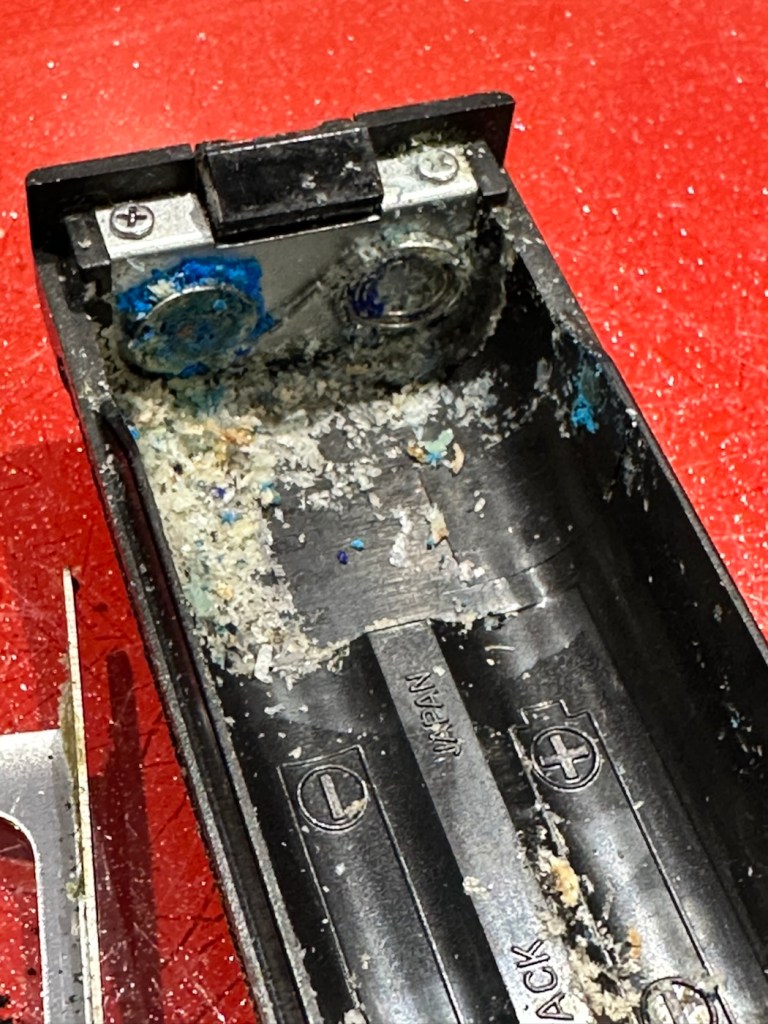
The battery chamber is clear of any contamination, and looks nice, the mirror will need cleaning and the area within it will need a blow through, the shutter curtain seems to be working well at this stage. I will test it more after the clean.

So. Let’s get on with the repair and maintenance.
Repair:
I’ve started the clean of the rubber and it is filthy. The amount of black that came off on the first clean has required me to get another cloth as it really is that bad. Another two applications and the cloth is a lot cleaner, it has removed a massive amount of goo and dirt and feels a lot better to the touch, and my hands are staying clean and that’s a good sign. I will give a final clean with the car cockpit polish that should finish it off nicely.


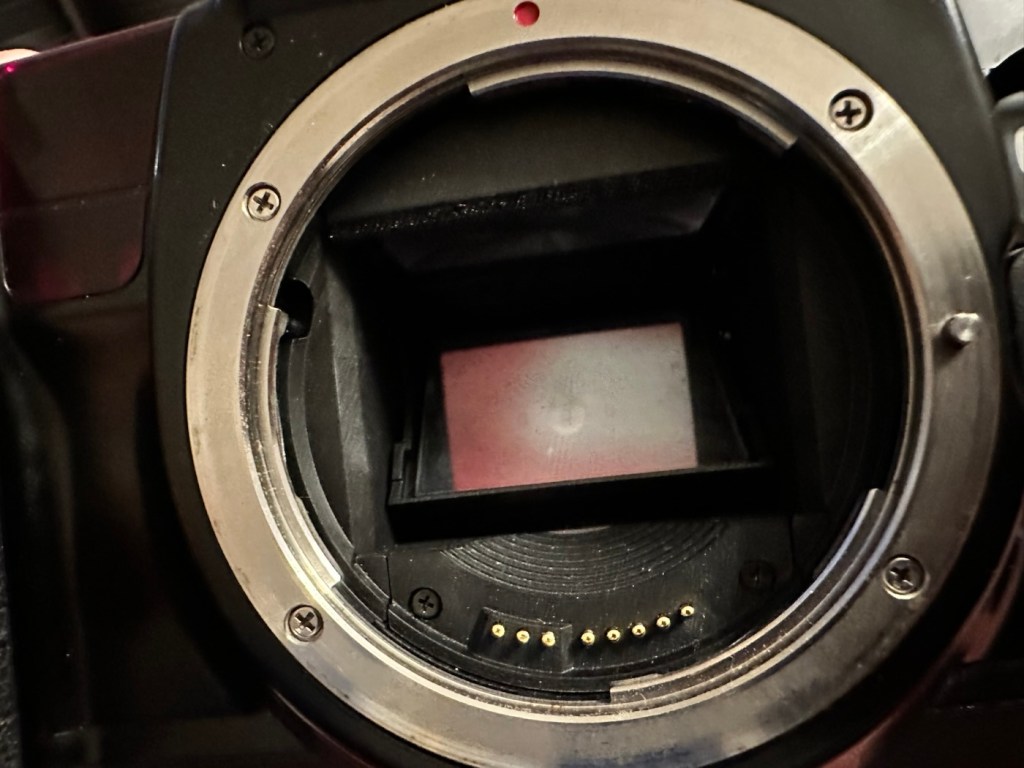
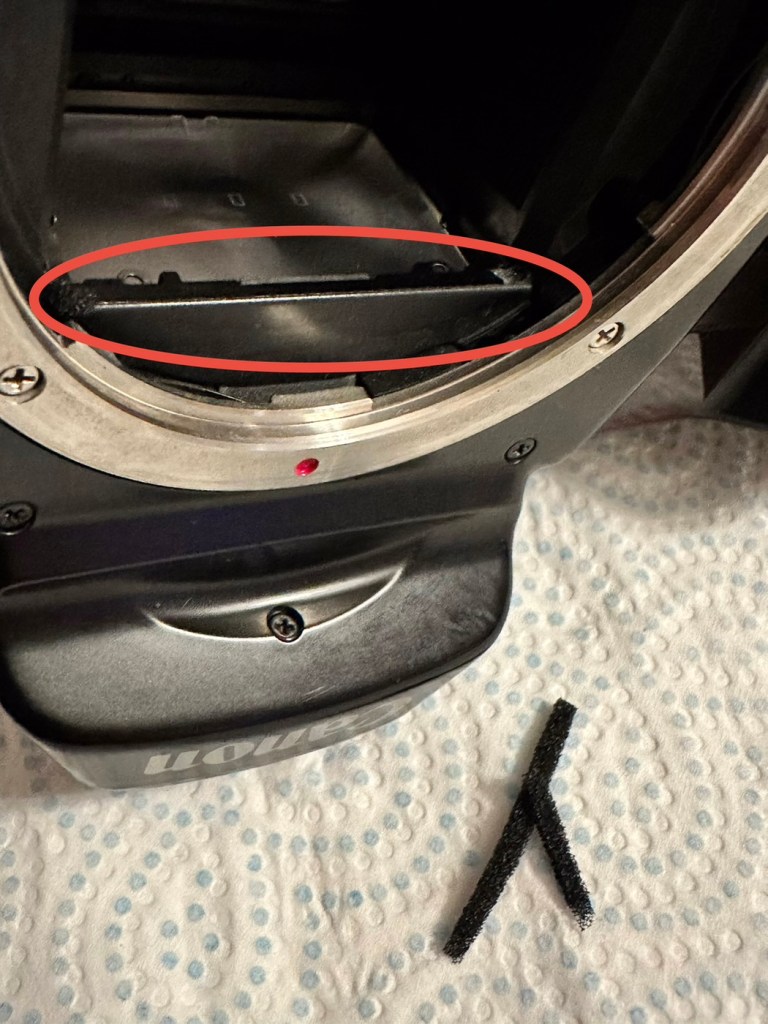
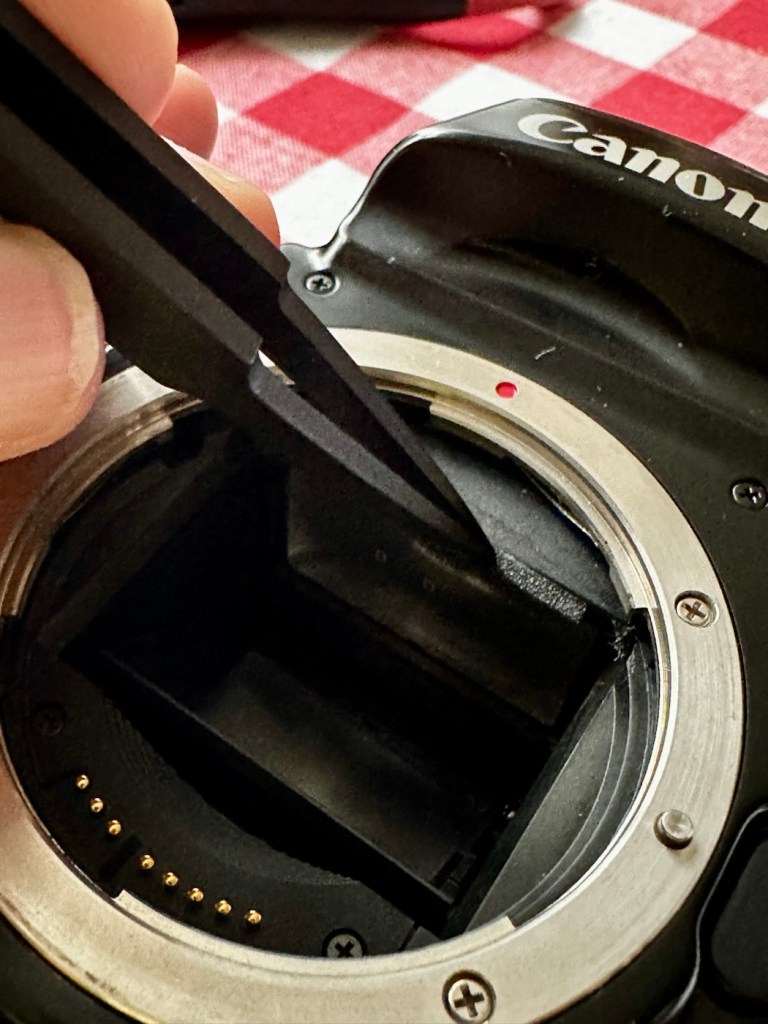
I’ve cleaned the mirror and prism above using a swab and the effect is instantaneous, there was a lot of dust here. Opening the curtain in a “B” setting I gave the whole interior a good blast with compressed air that has left the chamber as free of dust and contaminants as I can get it. With the curtain back down, a bulb blower and brush is all that was needed to complete the task. A lens mount cover is now in place to prevent anymore dirt getting in.
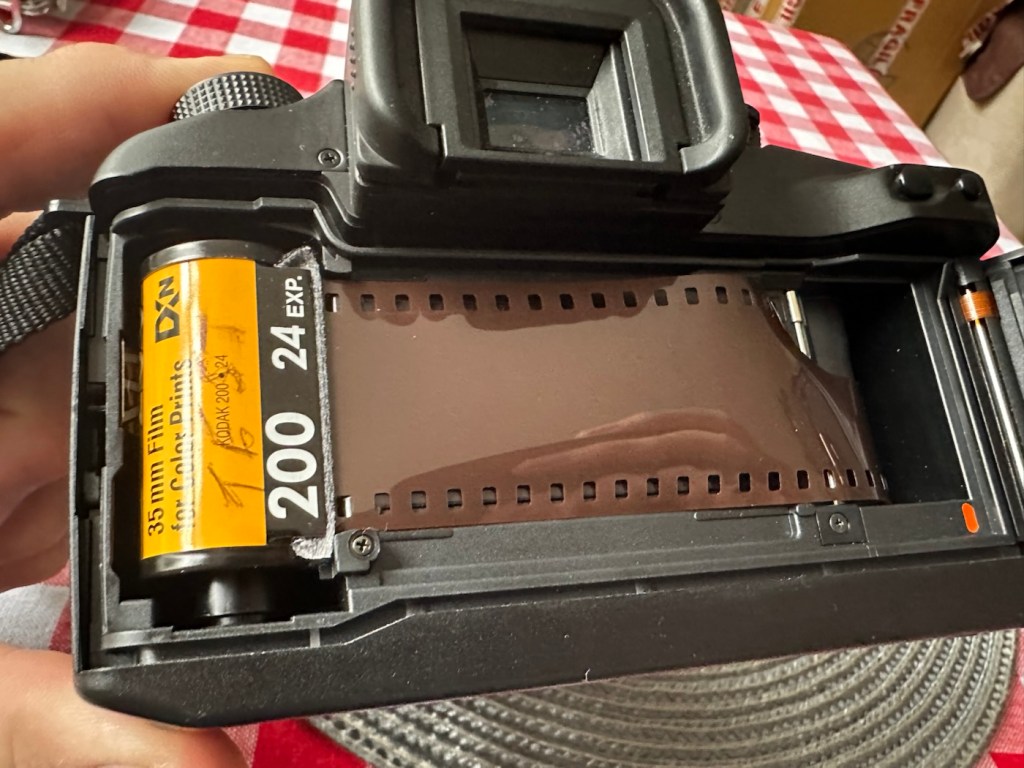
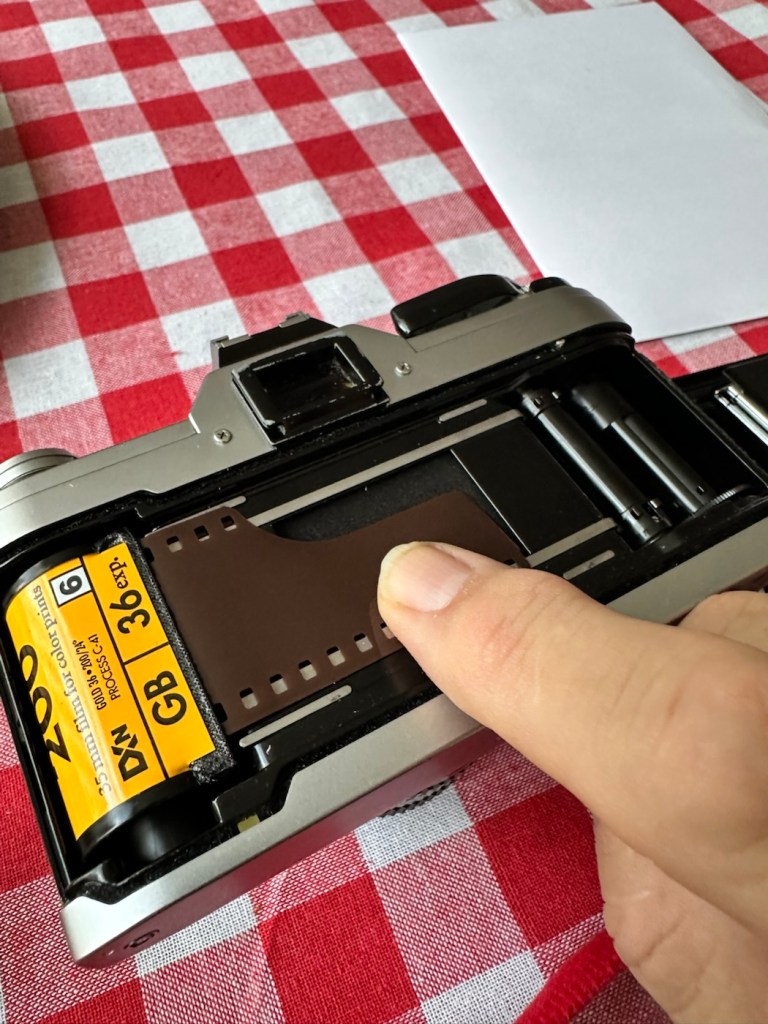
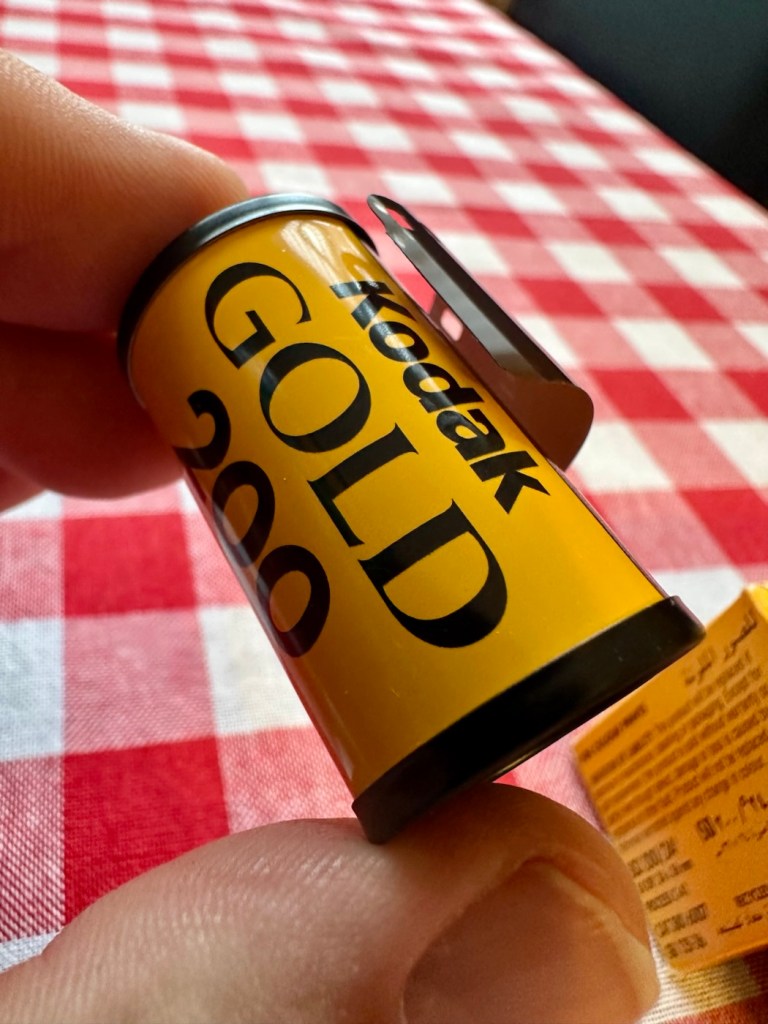
I’ve put in one of my old test films to check the camera’s function, and it’s transport & rewind, and I’m pleased to say this works just fine. At a shutter speed of 4000 I’ve never heard such a sweet sounding camera. This really feels like a lovely camera that I can’t wait to take out and run a film through.
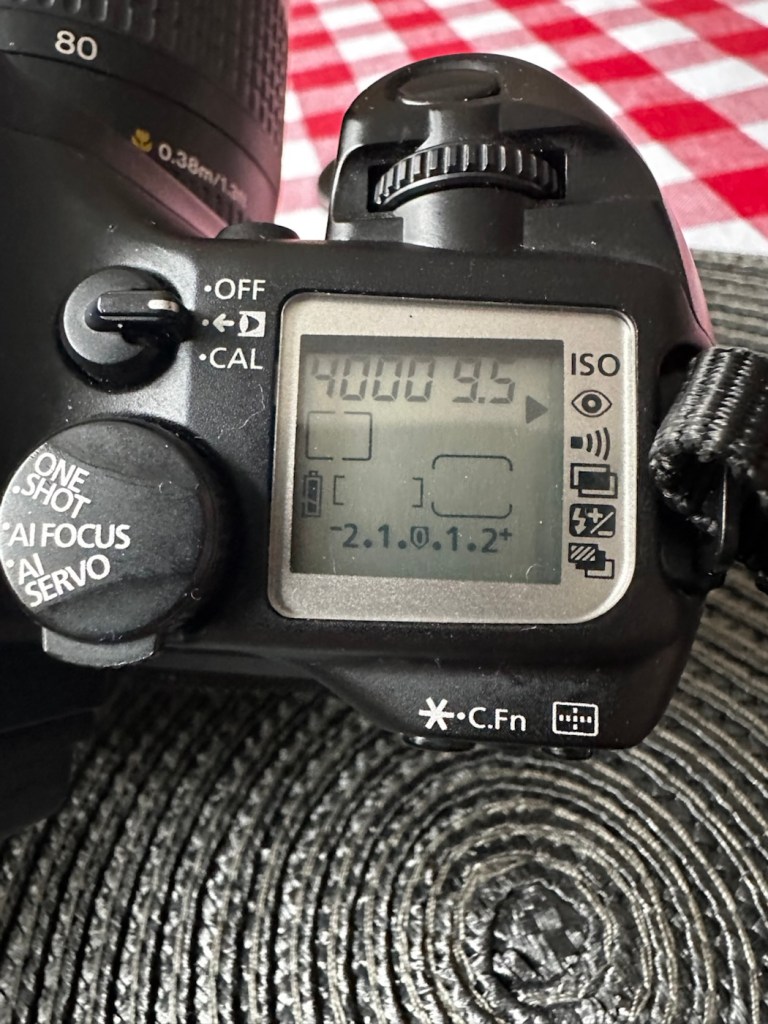
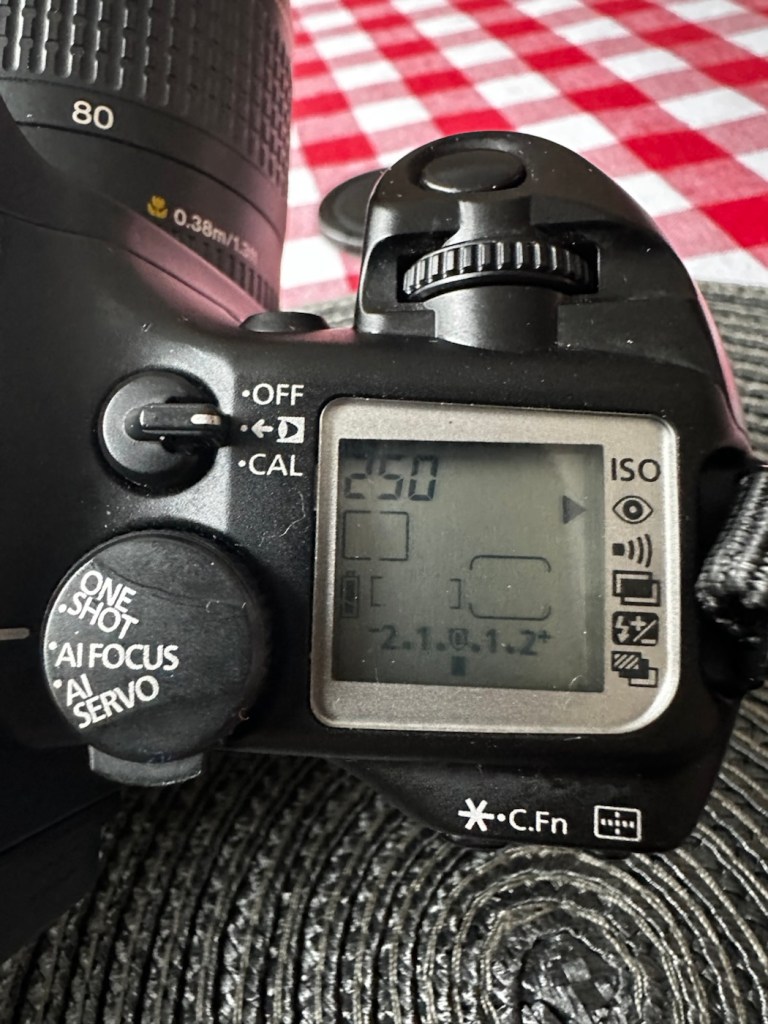
Going through the function screen, there are no bad pixels and all options are available. I have tested the eye control function and programmed my own profile into the camera, it does seem to be working, it might be a little hit and miss, I programmed it very quickly so maybe I just have to read up on it more, just to tweak its use as such.

All sub menus on the rear of the camera are operable and all buttons and dials are doing what they should. This camera is ready to go, and is in a perfect working order.
Result:


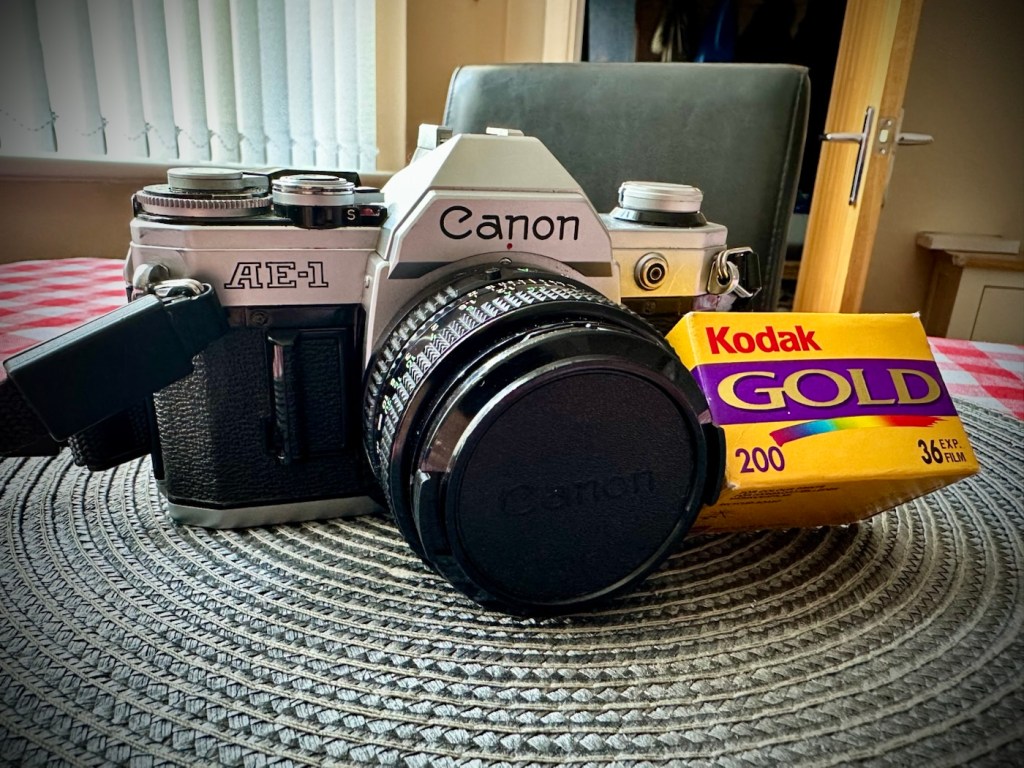
This camera was probably discarded to one side when the sticky grip problem started to rear its ugly head. It really is a shame that this happens, it’s such a simple problem to eradicate. This is an absolutely superb camera and packed with technology that would eventually have gone on to be incorporated into the soon to appear professional digital offerings from Canon. For 35mm photography this was a perfect swan song, 35mm photography had peaked with this range of cameras and Canon had perfectly produced cameras that in effect had pushed this theme of photography to its highest level. It was the best of the rest at the time.
This camera deserves some respect, it feels superb in the hand, looks good, sounds terrific and performs exceptionally well. There will always be the haters out there, there always will be. But as you will have gathered, I don’t really report badly of any of my cameras as I truly love them all. They are superb items of modern and semi modern technology that have captured history. They just deserve to be preserved and protected and most of all enjoyed.
I will shortly be posting some pictures from this camera that can be found here:
Thank you for passing by, as always it is very much appreciated.


You must be logged in to post a comment.