Straight to the point. I think it doesn’t work. 🤷♂️
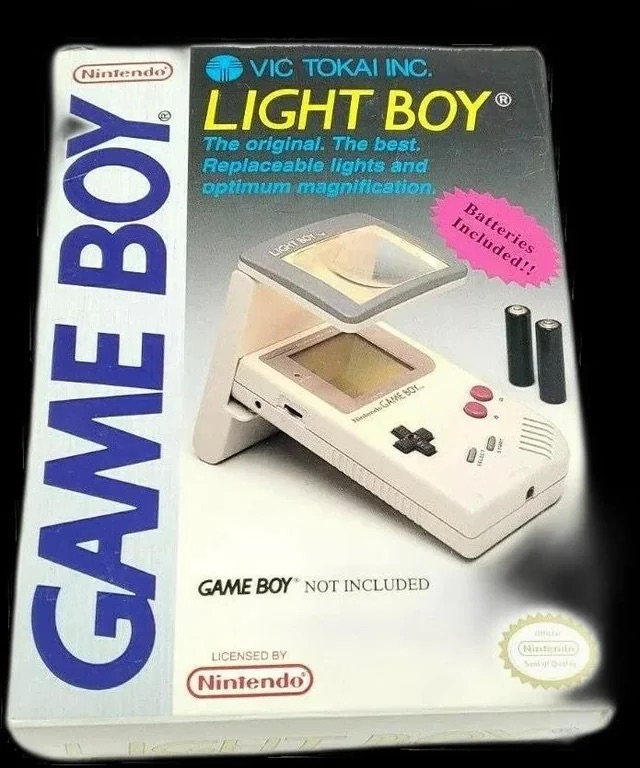
The original Light Boy
My original Light boy, for the Nintendo Game boy
Ive got a Game boy, I love it. However the biggest issue has always been as soon as it goes dark you’re stuffed. As the screen was never back lit you either had to tape a torch to your head or sit under a bright light. The Nintendo Light Boy went a little way to eliminating the need for the torch by incorporating a light and a magnifier within a unit that connected to the console.
This one doesn’t work though, which is good for this blog. I paid a good price of £14:95GBP considering original ones like this are selling between £40-£90GBP. There are cheaper alternatives, but hey, why?
Shouldn’t be the hardest fix I’ve ever attempted, but it will be a great addition to my Game Boy collection.
Assessment:
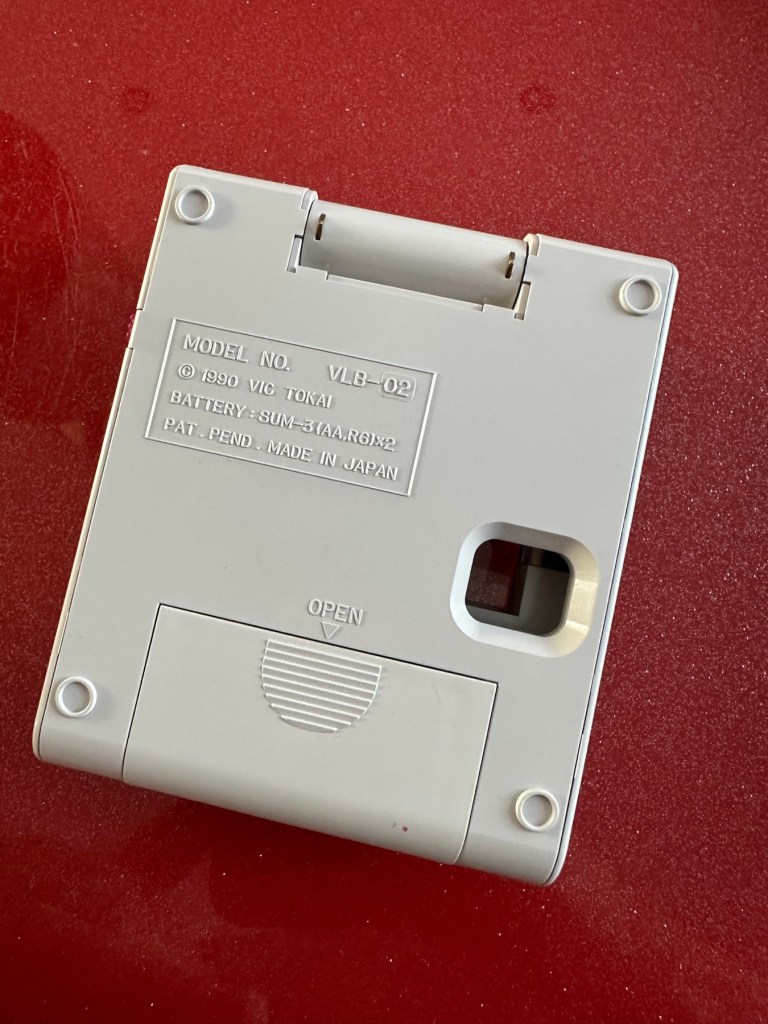
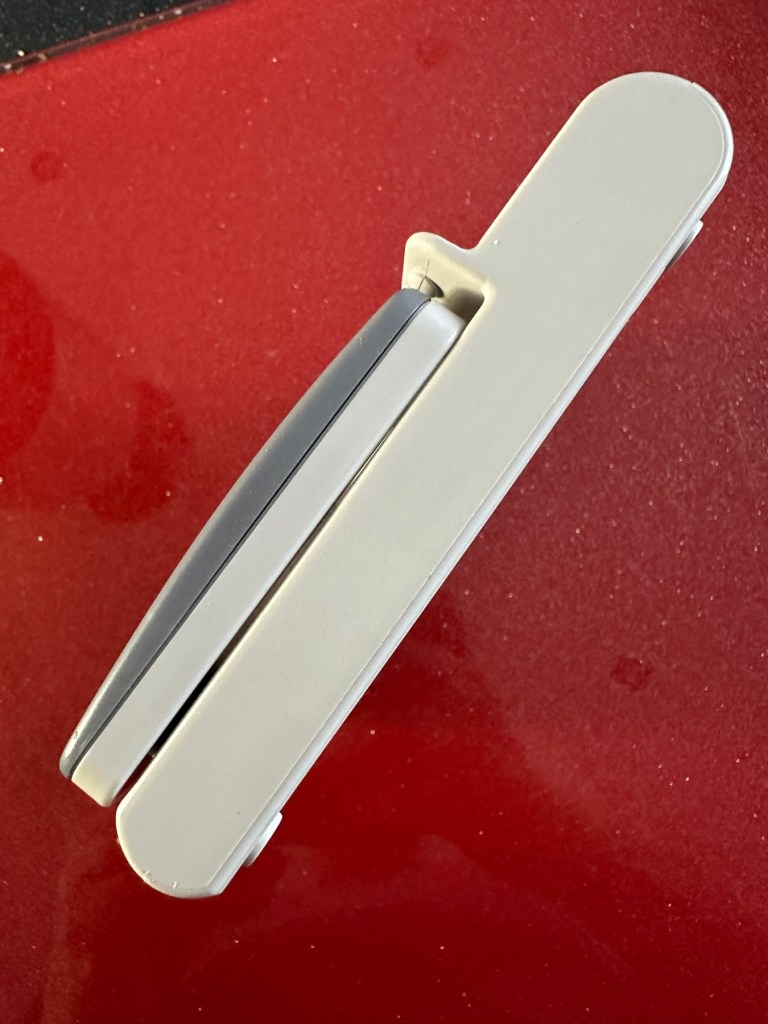
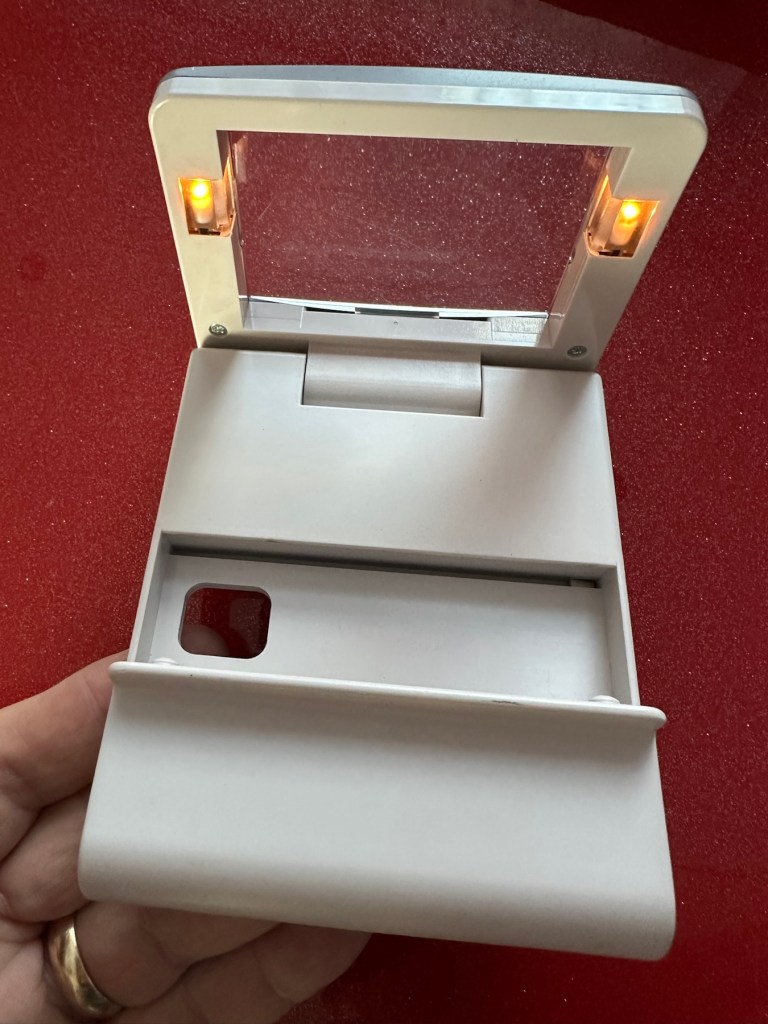
The unit has arrived and is in a very good cosmetic condition with only a few slight scuffs and marks that should polish out. Two AA batteries have been put in and switched on and true to the description in the sale, it doesn’t illuminate. Glass lens is in good condition and the screen folds as it should.
Looks tidy, just light not workingSome small marks. Nothing too bad or permanent
Repair:
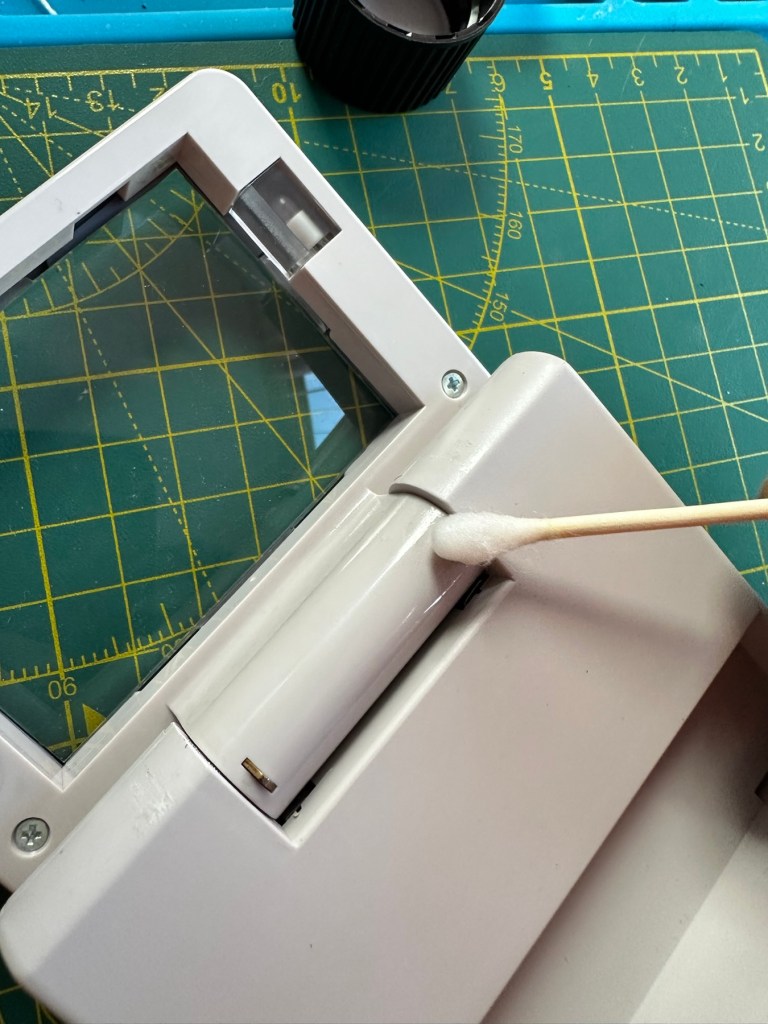
This is a really simple circuit to be honest. Two batteries, two lights and a switch. That’s about it. The screen pivots and on here there are two teeth that make a contact with two small plates on the main unit when the screen is at 90 degrees to the console. When the switch is on, the lights should illuminate at this angle, and when closed contact will be lost and the lights extinguish.
Teeth on the screen hingeTeeth connection with plate turning on lights.
When I put batteries in there was a very dim intermittent flicker, aha I thought, dirty contacts and they sure were.
I cleaned the switch and the contacts using some IPA and removed a fair amount of old dirt from the contacts. The switch was operated 30 or 40 times to really get to anything that was deep in the switch, and this worked.
A good clean with IPA was all that was needed.
Batteries back in and unit at the correct angle, switch to the on position, and hey presto we have a constant uninterrupted supply of light.
We have light. It’s working.
The little marks and scuffs on the shell were all removed with a little cleaning solution. This item is now in a perfect state of repair and looking right handsome!
Result:
This is undoubtedly the easiest repair I have had yet but I’m not complaining. It always amazes me about the sellers on these platforms. I purchased this as spares and repairs damaged, when there was absolutely nothing wrong with it, well at least it only required a tiny bit of maintenance. They could have done this themselves and easily have charged a price at least three times what I paid for this unit. Fools 😂
All assembledWorking as intendedAll assembled, cleaned and working
Anyway their loss is my gain as they say, I now have a perfectly good item in perfect working order and now looking as good as new. And all it needed was a clean and some TLC.
Sometimes it all goes so well. Today is one of those days.
Thanks for passing by. It is always most appreciated.
This is our third visit to Iceland and today has been a long one due to us travelling for the most part of it. However I’d like to share these little snippets with you.
Last night was special we witnessed the Aurora Borealis right over our heads in the centre of the city. Quite a spectacular show. Aurora Borealis – Northern lights, Iceland
We also did a few touristy things and here is some of what we saw and did.
A bicycle for four
Some fantastic paintings
The old parliament buildings looking out towards the mountains. Looks so different without the snow that normally adorns the area
We popped in a local bar to watch a game of football and to grab something to eat and drink. The beer – local IPA was nice, the brand name was questionable though 😂
And I don’t mean Carlsberg 😂
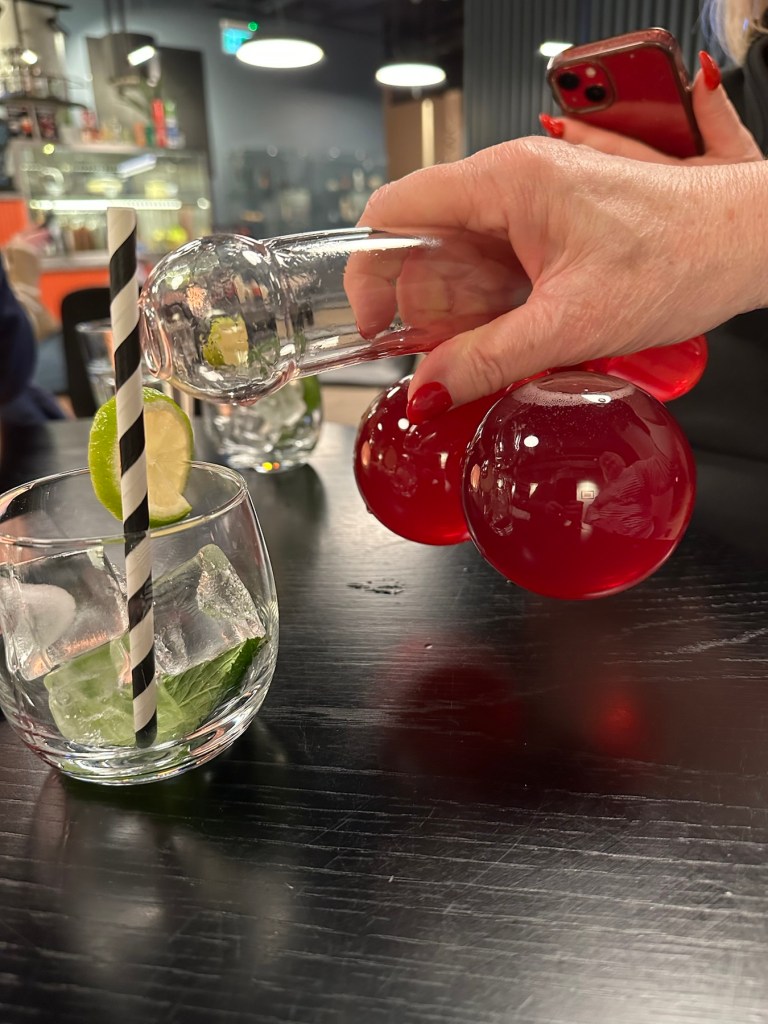
And did you know what the third most popular tourist attraction in Reykjavik is? it’s probably not what you think but it is, the Icelandic Phallological Museum otherwise known as the museum of the Penis. Stay with me now…it’s quite an experience.
The museum is a collection of “Penis’s” from animals around the globe and every mammal on the island is represented. It all stems from the curators fascination with the form from an early age and this collection was formed as a result. That said there are also “representative” examples of creatures from folklore such as “Trolls”. Just have a look at the link I posted above to find out more yourself.
However the cafeteria and bar area is quite something itself with tee shirts, gifts and food a plenty all in keeping with the subject of the museum.
Phallic shaped wafflesPhallic shaped wine decantersEntry sign into the museumThe Big Cock ale was a nice pint….believe me.
The food and drink is of a very good standard, the surprising fact is that a massive 60% of all visitors are female. That is the very hing that strikes you as you walk in, just how many women work there and are also there as visitors. You do hear an awful lot of laughing and it is all mostly tongue in cheek fun. A day out. It’s worth popping your head in the door and having a visit though. I’ll save pictures of the exhibits for another day, as waking up to a barrage of penis pictures doesn’t feature high on everyone’s daily agenda.
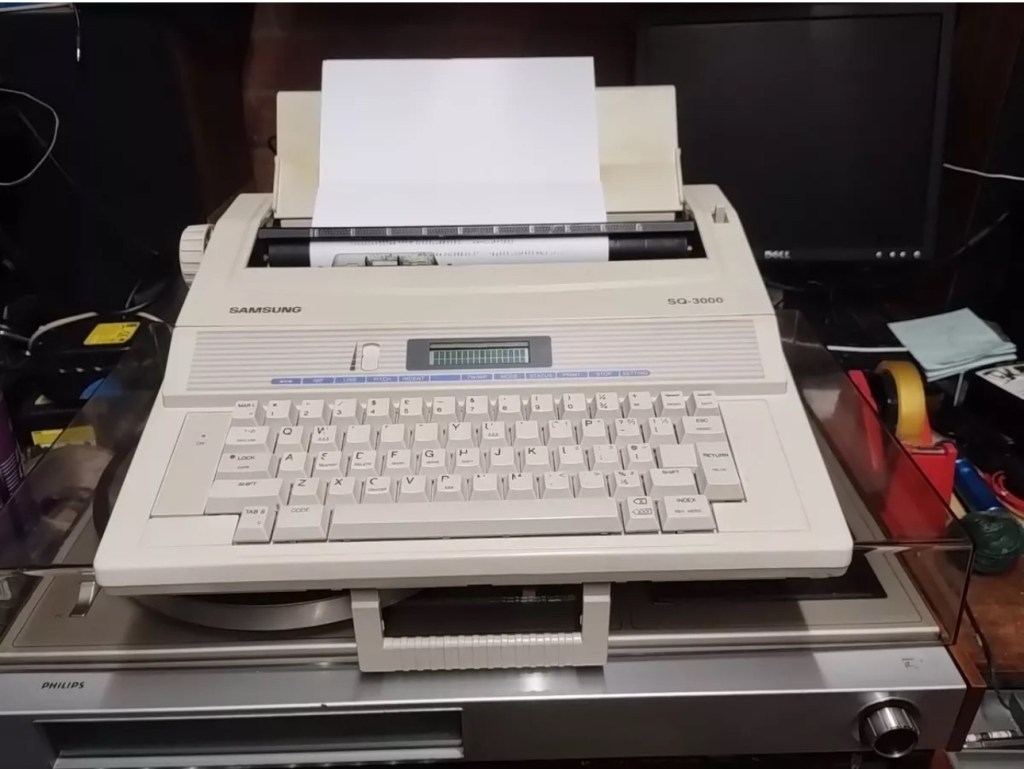
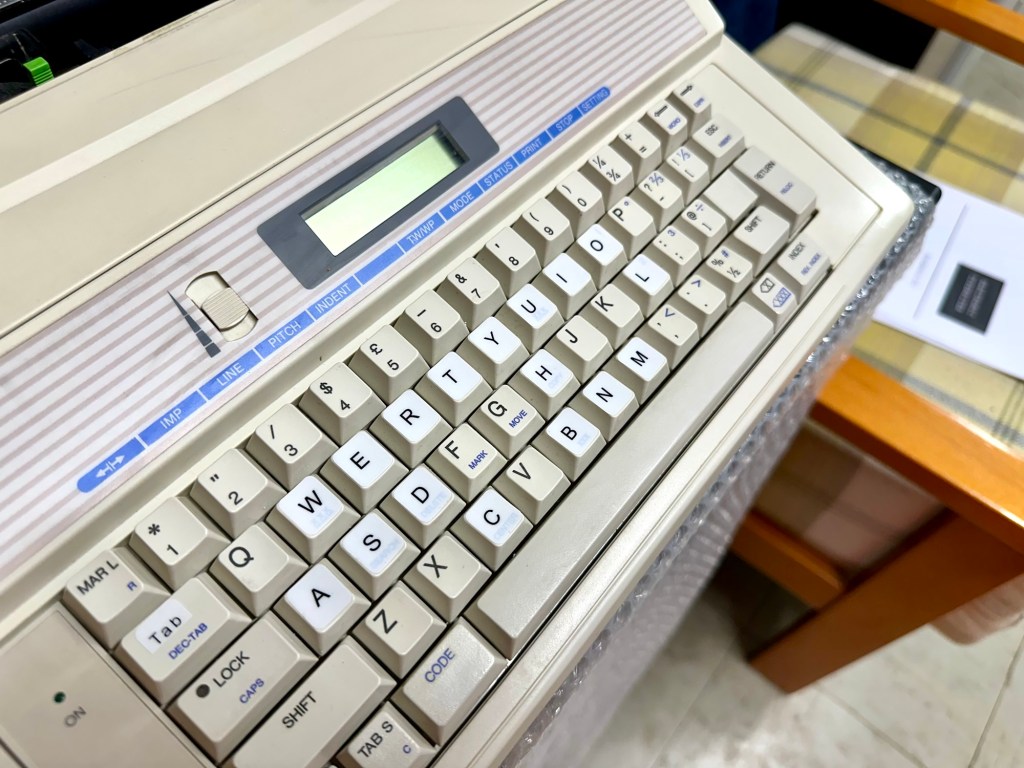
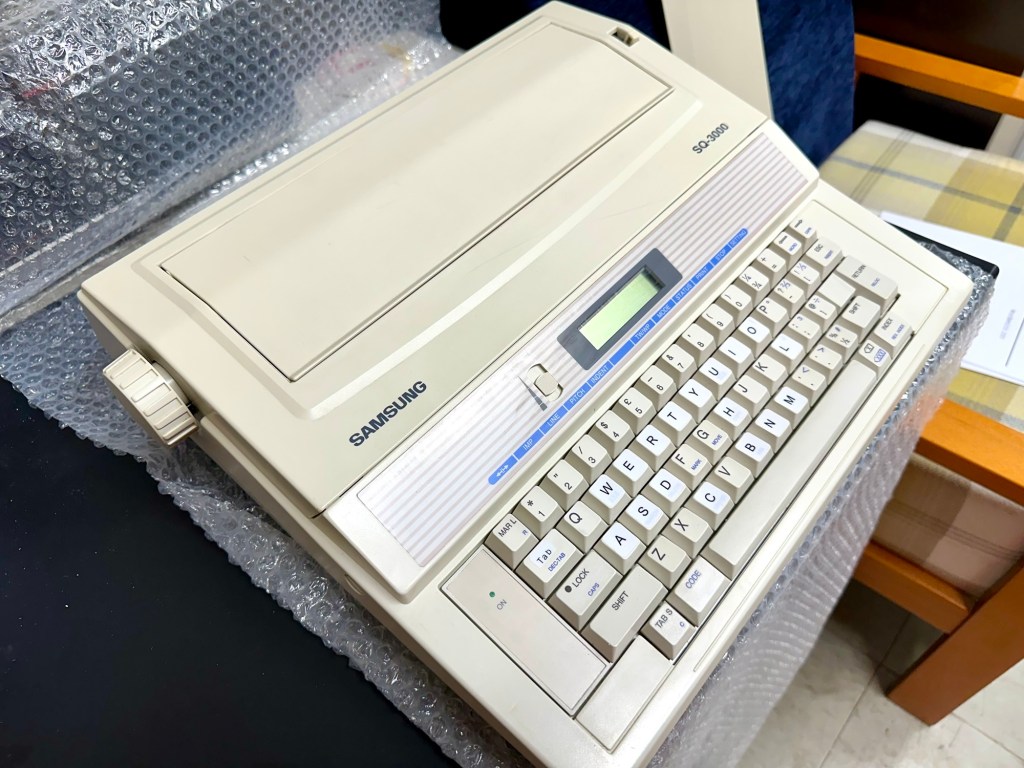
This is the follow up to a recently obtained electronic typewriter that was purchased in January 2025, the initial post can be found here: Samsung SQ3000 electronic typewriter.
Samsung SQ3000 electronic typewriter
The following post will deal with the assessment on its arrival and what I am going to try to do, to get it back working again, as close as possible to its original state.
I’ve downloaded an instruction I manual, I’ve had to download one for a Smith Corona Wordsmith 200, it is in theory the exact same unit, just under a different manufacturers branding.
Assessment
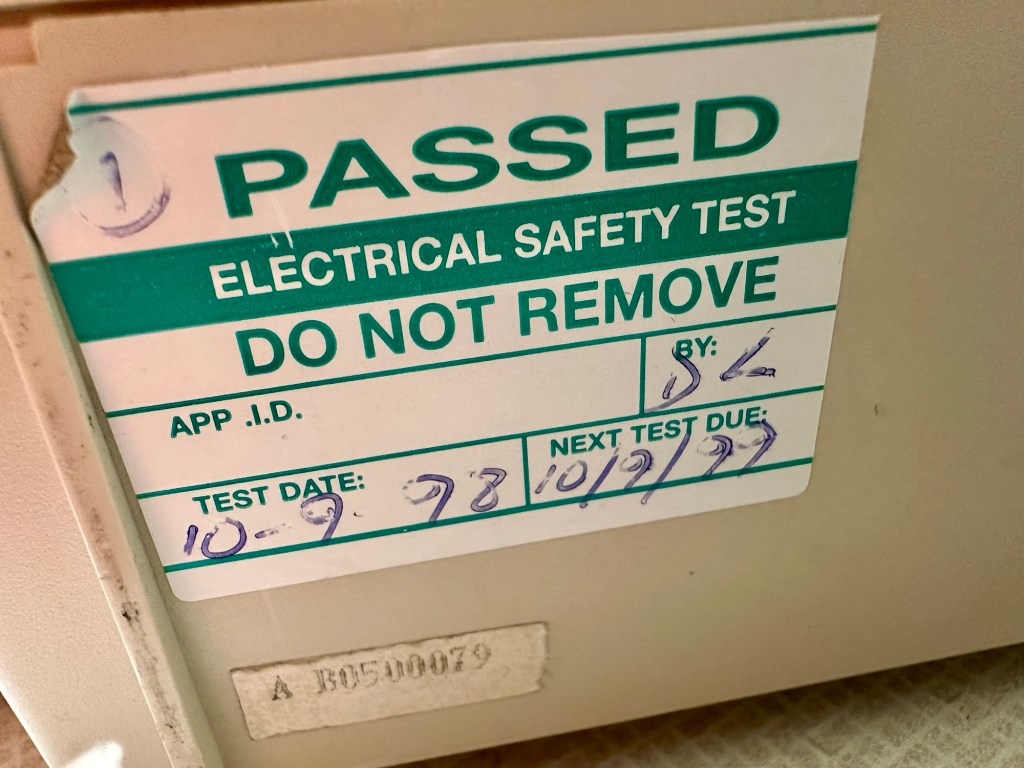
It’s arrived and apart from a little age yellowing it looks ok. There is a PAT testing sticker that says it was last electrically tested back in 1998 and is due a retest in 1999. This corresponds with my date estimate of mid 90s.
Yellowing Pat test date
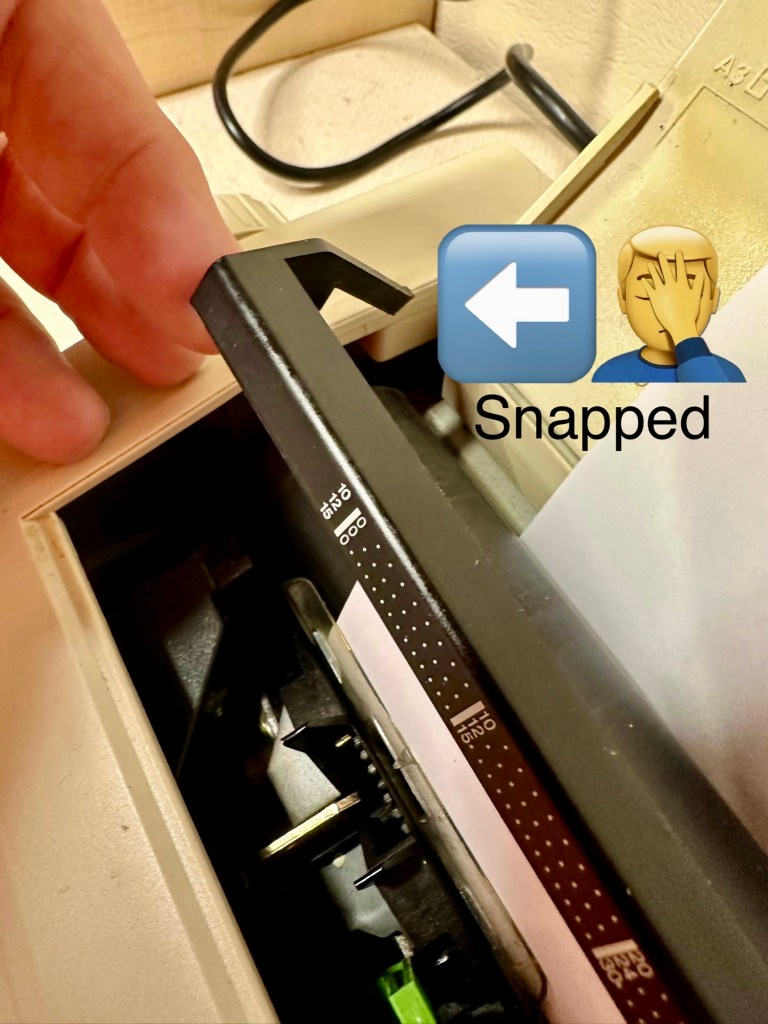
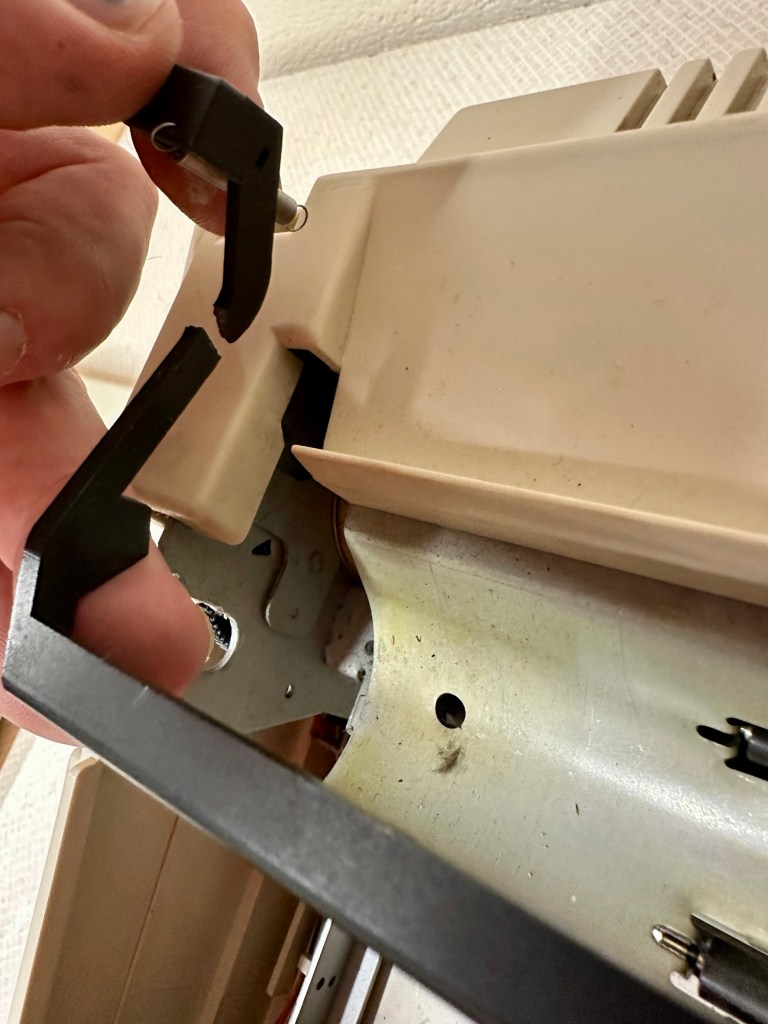
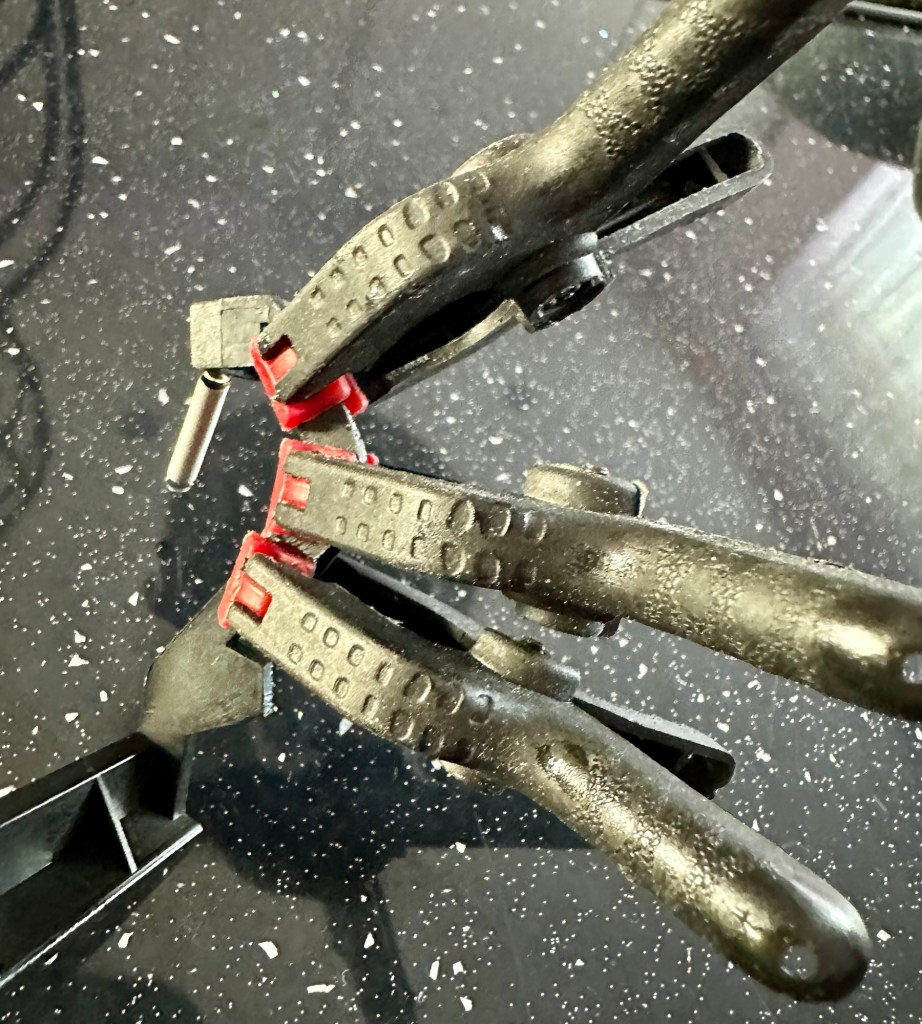
I will retest and renew the safety checks when I’m finished working on it. I have noticed that the paper bail/release rail is broken on the left hand side so I will have to add that to the repairs, this shouldn’t be a major concern.
Paper bail snappedBroken piece recovered
Before I took the roller out to get to the paper bail I did start the machine up. Everything went as expected and when I tried to type I was getting some weird reactions to the keys I was pushing. All kinds of characters were appearing.
Before
I checked the daisy wheel and there was a click. It wasn’t sitting right. I reset the machine using the two reset buttons and the machine then went through its reset programme, pretty much the same effect as turning it off and on again. (Not much changes in the way of tech there then)
After
Well that’s worked fine, I have tried every combination on the keyboard including the erase function and this is now fully working. It really was quite simple. My next job is to try and fix this paper bail.
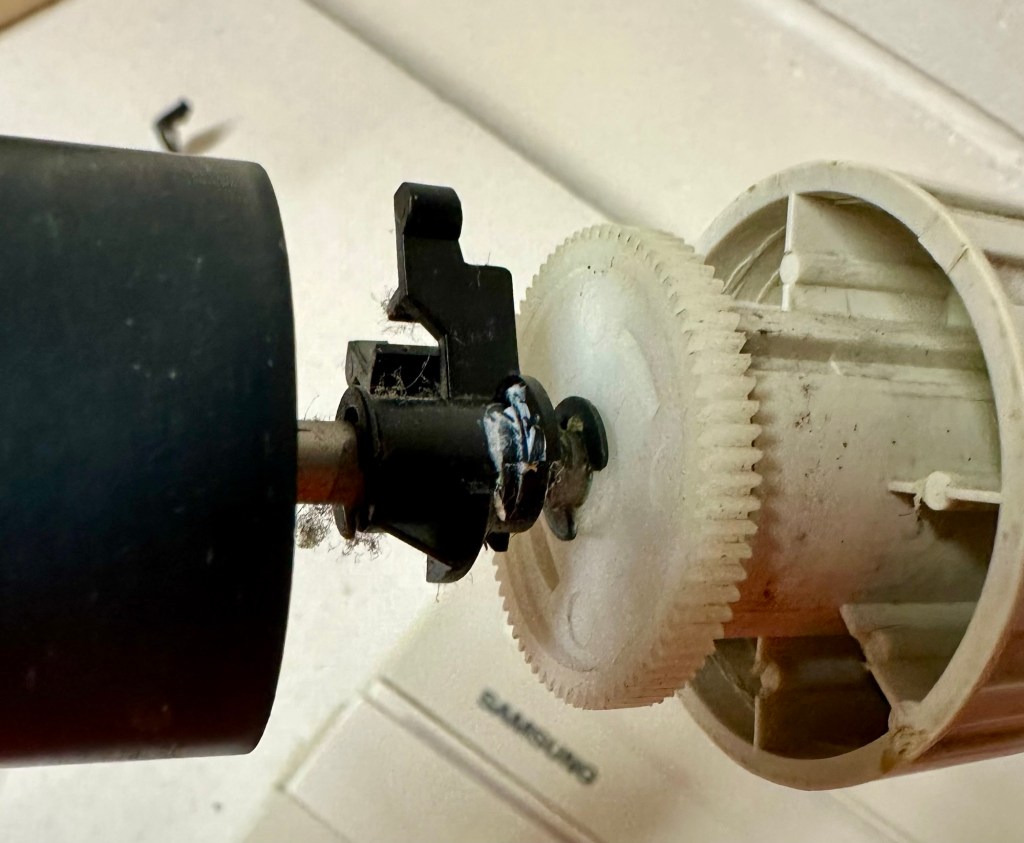
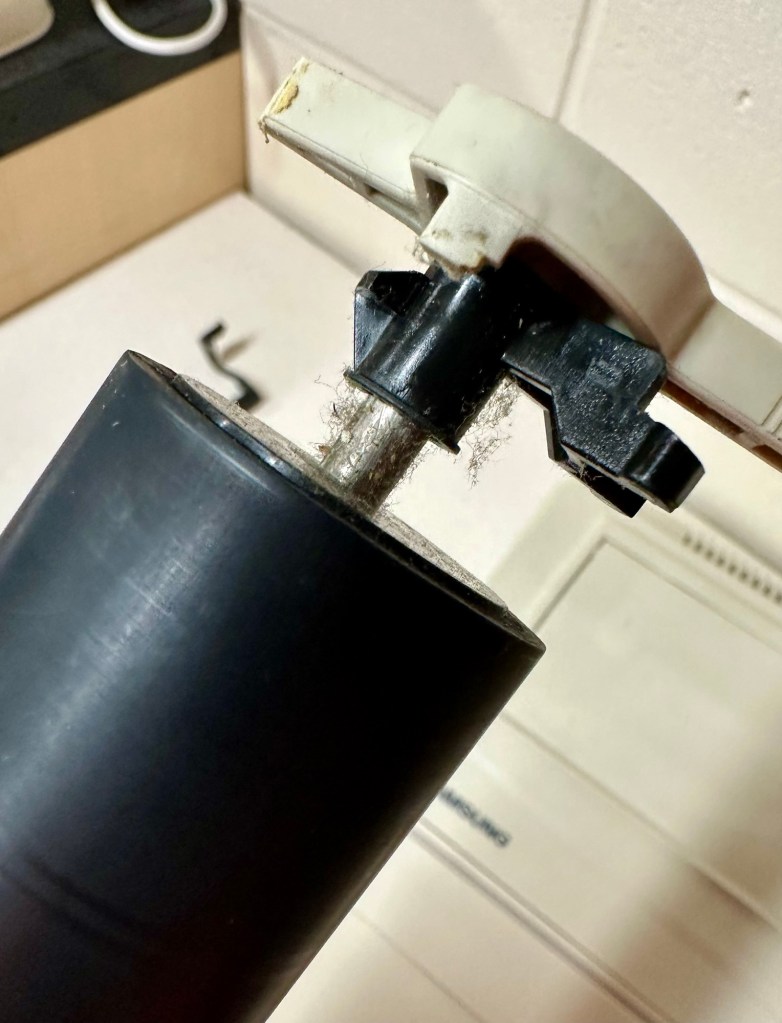
Paper bail removed for fixing
There is quite a bit of dust and dirt inside that needs removing. And whilst I’m at it I will lightly re grease the areas that need it. Let’s be honest it’s not been done in the last 30yrs so now is as good a time as any. Inside will get a light hoovering and a bit of a tart up, I’m not going to go mad. I will clean the outside and all knobs and buttons and try to get rid of some of the yellowing, but to be honest as long as it’s clean I’m not too worried about age marks.
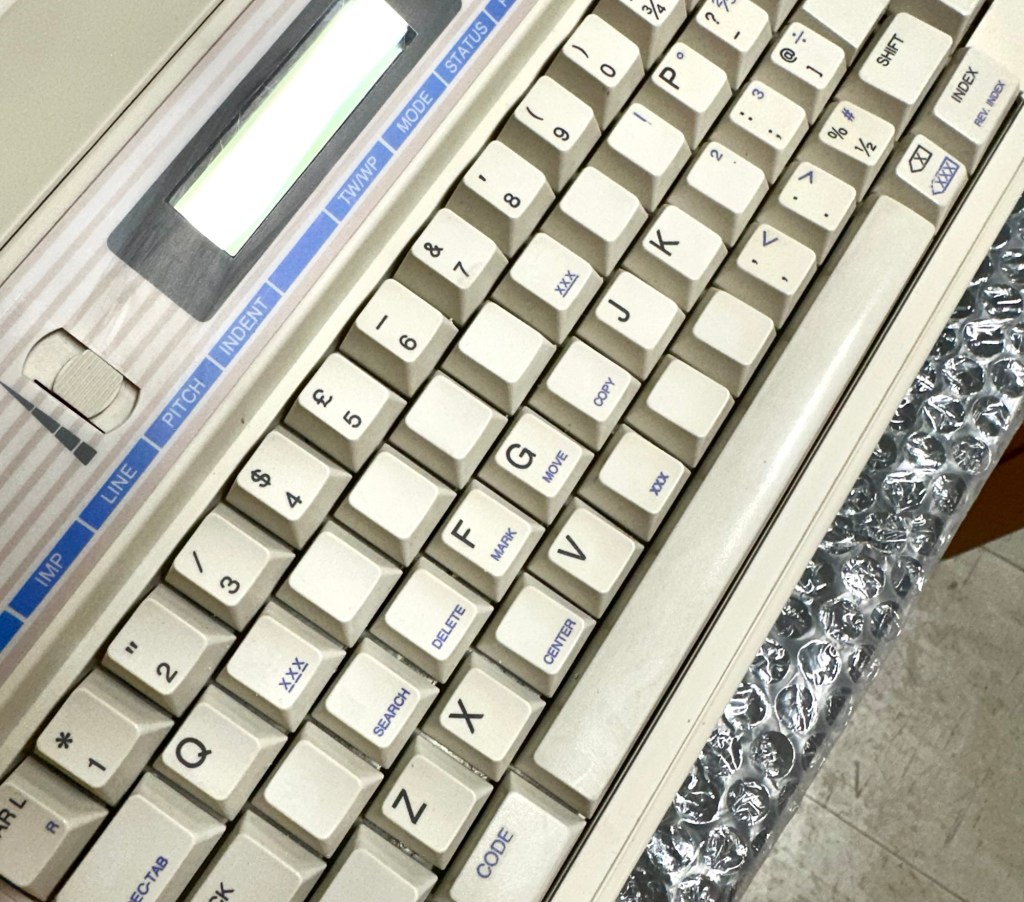
The keyboard has lost a few of its letters. I will remove what is left of some of them and use some keyboard decals to replace the missing ones. This will be one of the last jobs I do.
Characters missingKeyboard
Well that’s the assessment done and apart from a few small issues and requiring some basic maintenance I don’t think we have an immense amount of work to carry out. We know it now works. Let’s hope I don’t cause any further carnage whilst working on it.
Let’s get to work.
Repair
Right it’s straight onto the paper bail to try and fix the snapped end. Firstly I’m just going to use some superglue to get it in place. When this is dry I’m going to create two “Doublers”, place one either side of the damaged part and glue these in place to create a stronger repair and to add some stability to this area.
I’ve got some black semi rigid plastic. I’ve created a small template from a tracing that I did of the good right hand side of the bail.
PlasticTemplate
I now have two doublers cut from the plastic that I will use as explained above.
Two doublers
It doesn’t matter that they are not perfectly shaped, however they both fit perfectly well into the profile of the bail arm, and this portion of the arm is hidden in the typewriter housing anyway, so the part will not be visible, but it will now be strong.
SupergluedDoublers in place and clamped
The Doublers have been put in place using a quick set epoxy resin, I will leave this to dry for a good few hours before I tidy it up, with a light clean, and then I will try to get it back in place.
Bail arm repaired, installed and working.
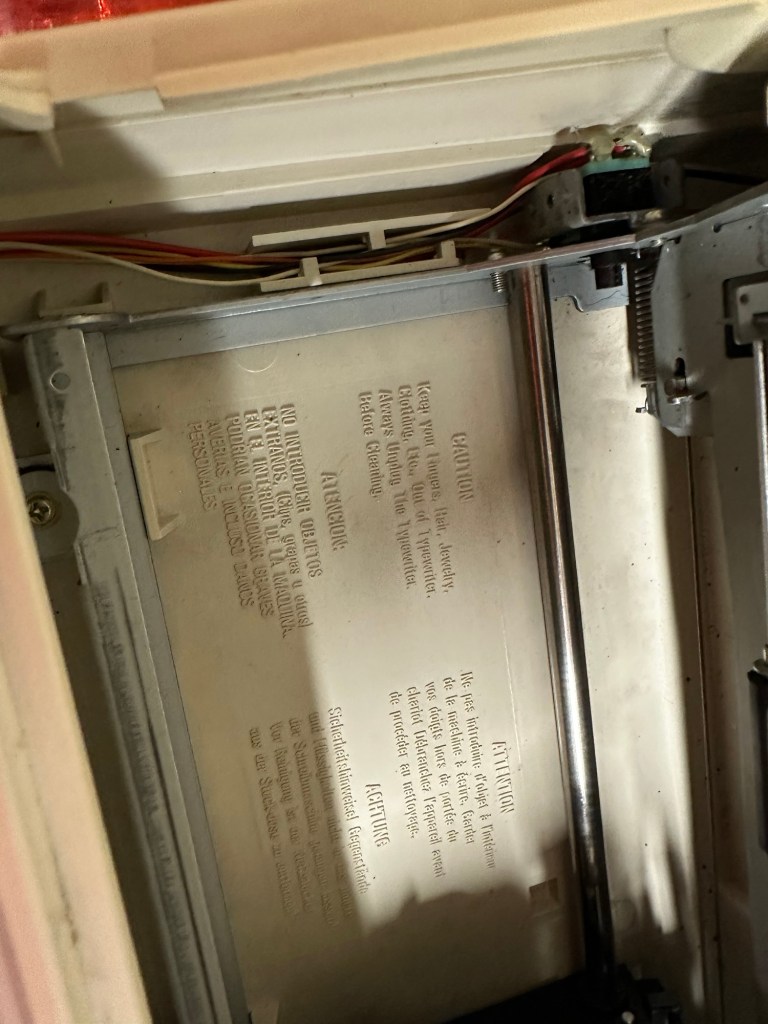
Now that’s done i’ve gone inside and there were a nice couple of spider webs around the transformer that are now history. I’ve secured the cable in the rear of the unit that never had any tension restraint, so that there will be no issues, should anyone now give a good yank on the cable lead. This is a safety addition I have made that was never on the original unit.
Cable restraint screwed to base to prevent strain on internal wires in and around the transformer bay.
I have also tightened all screws and checked the wiring and this all seems ok. Plug and fuse have been checked and all is looking good. I’ll carry out a PAT test once I’ve finished the clean up.
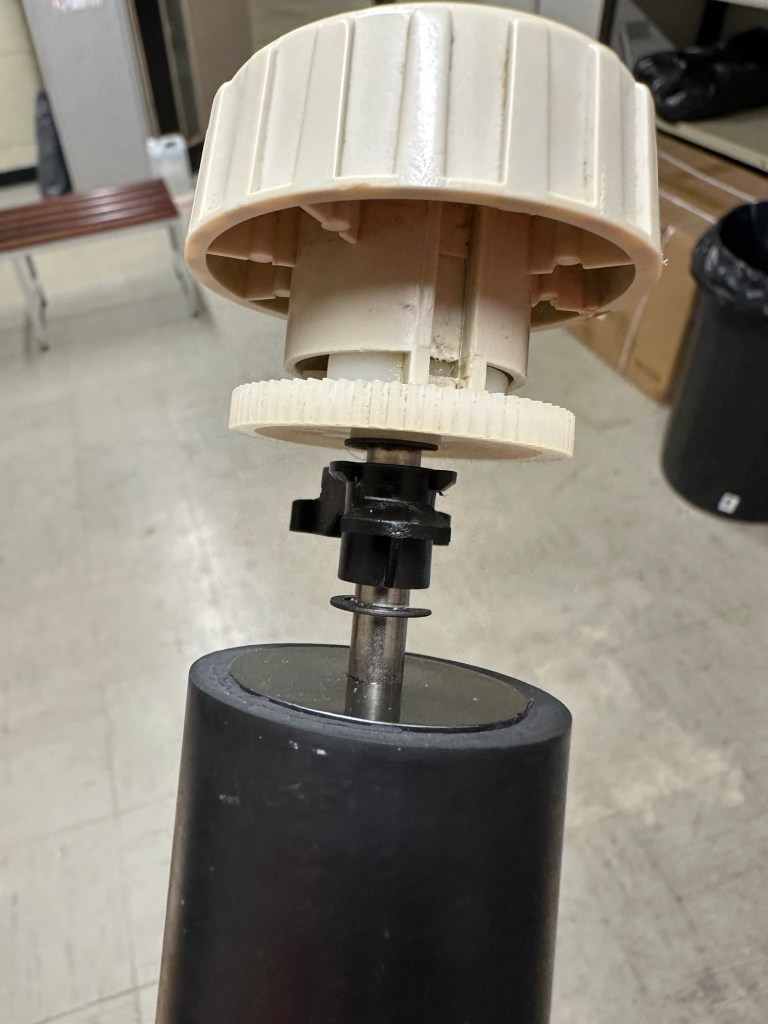
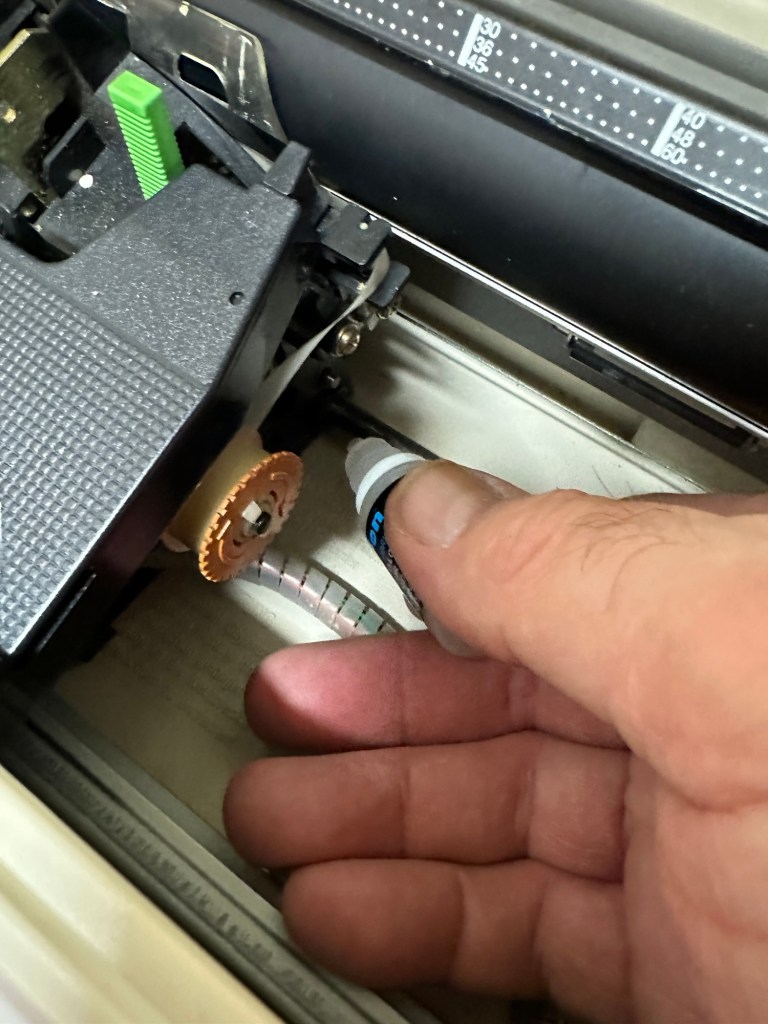
Roller cleaned and degreased Platten switch cleaned
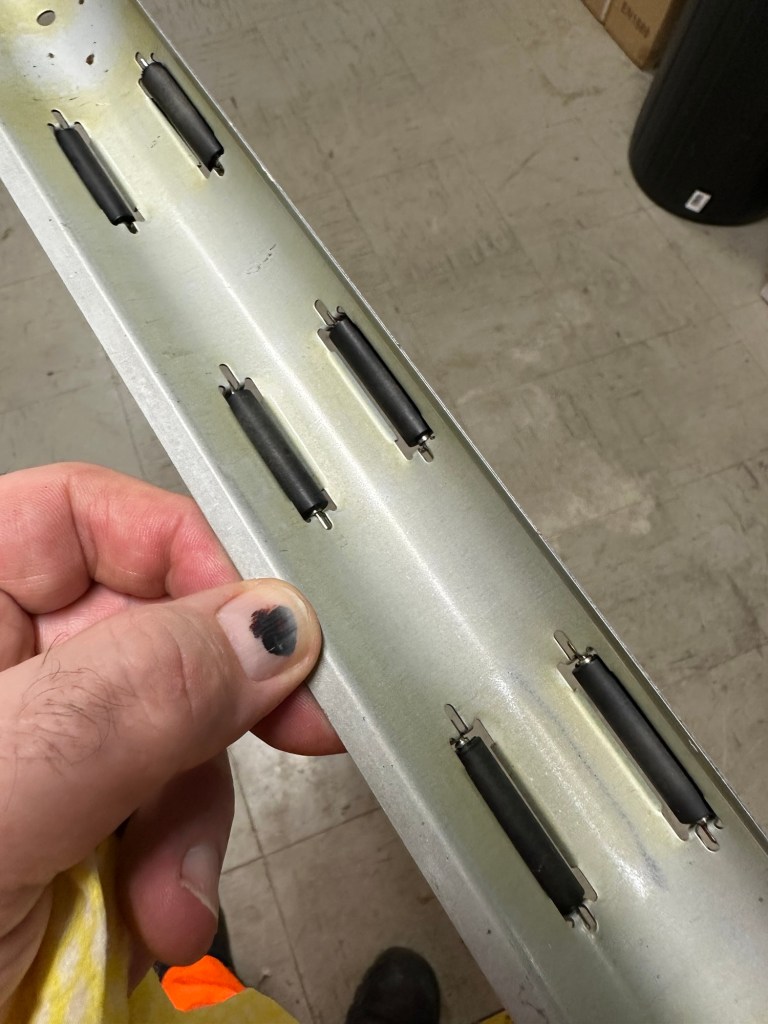
I’ve cleaned the main roller with alcohol, and removed all the old grease and dirt from the platten adjuster switch and the roller advance knob. I have removed the platten plate as well as the six mini rollers that are here. I’ve cleaned them all and re assembled/installed them.
Platten platePlatten rollerRollers installed and platten complete
I have cleaned the daisy wheel as well as in and around the printing head unit.
Clean insideDegreased
Inside the unit I have given a good hoover as well as a light clean and again removed more old grease. I have given the exterior plastic a preliminary polish, this has removed some of the yellowing and made it look “cleaner” I am not going to worry too much about the yellowing as it isn’t that bad, and I don’t really want to venture into carrying out a “Retrobrite” on this unit. It would take too long and there would be no benefit for this project.
I’ve now added very small amounts of a watch lubricant to those areas that i have previously cleaned and removed the old grease from.
Light lubricantMain transport lightly lubricated
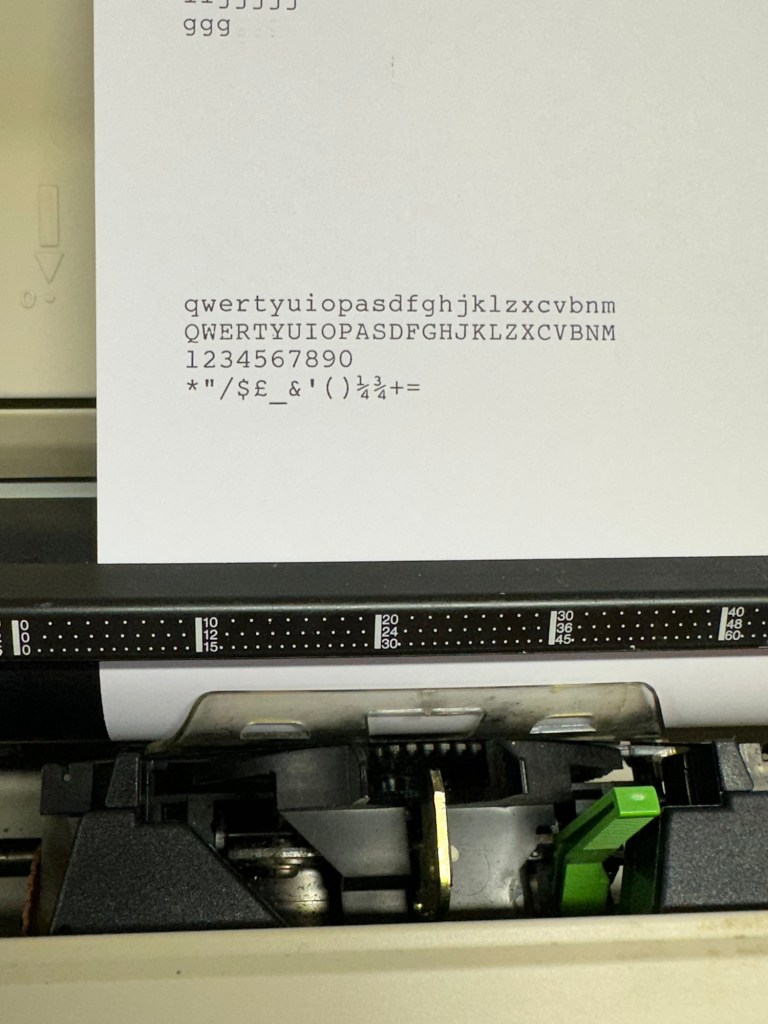
The unit has been reassembled and I’m pleased to say it is still working fine. It’s running smoothly and all aspects of the unit seem to be working just fine. To be honest it seems to be printing clearer to me.
Daisy wheel and print quality is perfect
I don’t know how long the print cartridge has been installed but I suspect it may have been a few years back. It’s almost finished, and I do have a replacement on order. I’m sure a fresh cartridge will make the print stand out even more.
Next I’m going to have a go at replacing some, or even all of the keyboard letters. It all depends how it looks when I start replacing them. I’m going to gently rub off the lettering that is left and clean the keys using a 95% pure Isopropyl alcohol solution (IPA).
All damaged and missing key decals removed in preparation for replacement new decals. Others may have to be removed dependant on how the new ones look when in place.
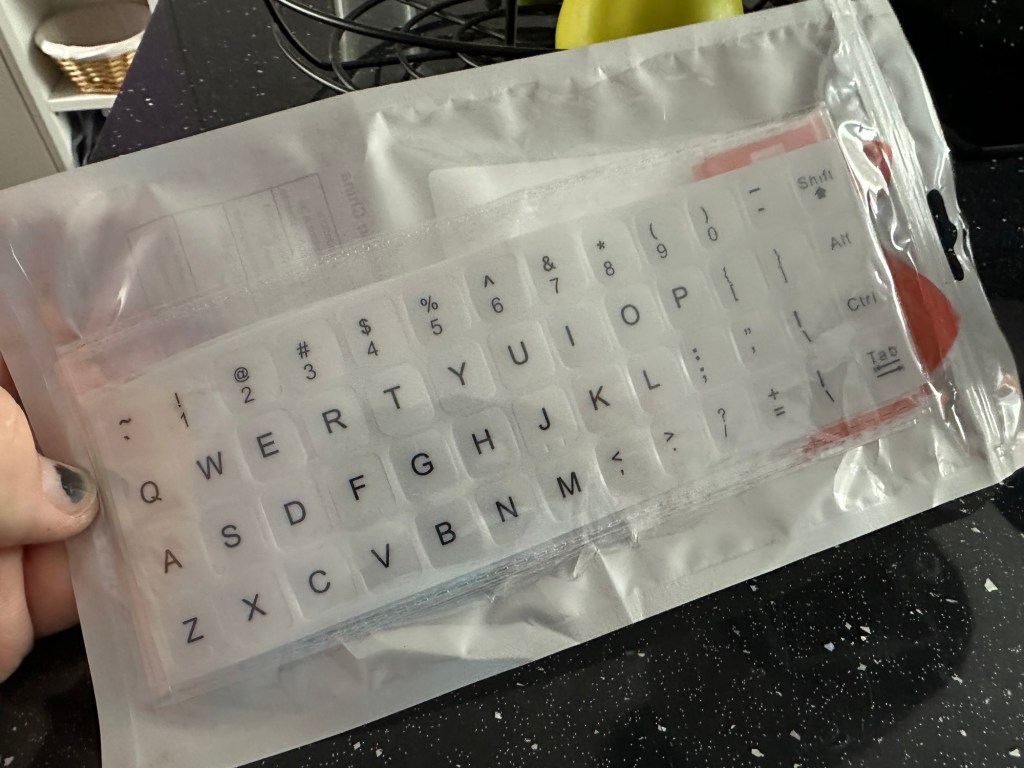
These are the replacement key decals I will be attempting to use.
Qwerty keyboard decals
I’ve replaced the damaged key decals. The ones I’ve used are a lot brighter than the original ones and really accentuate the yellowing. I’m not troubled by this as it keeps its “Old” look. I would have to scrape and wipe for hours to remove all the other keys and to be honest it would look just like someone had gone abroad to have a bright white set of dodgy veneers installed, it would look quite out of place, and in your face. Just like a Cheshire Cat smile.
New veneers anyone?
It serves a purpose and just allows the unit to be usable again.
The final product:
Looking damned fine if I say so myself
Fortunately a lot of the equipment and parts I have used, I was already in possession of, so there are no additional costs for this project. Below you can view the total costings for this project as they currently stand:
Purchase inc postage £13.14
Cable restraint £0.25
Keyboard decals £1.25
Total cost of project £14.64
Again I have managed to save a fantastic 90s retro item from landfill for very little cost, and that is a fantastic result. It has years of use left in it, as long as the consumables remain available, and of that I am confident that they will be available, for at least the next few years. The unit is clean, I’ve just carried out an electrical PAT test and it is electrically sound.
Believe it or not I’m going to go back in time and will write some traditional typewritten letters to friends and family. I’m looking forward to doing that and it will certainly surprise them, it will be totally unexpected.
When all that is done, i will donate this unit to our local LOROS Hospice shop so they can sell it on and raise much needed funds. They deserve it. Edit: This was done in March 2025 at their shop in Hamilton Leicester. I hope it gets them a good price.
Watch the brief video for the final words on this restoration. All 13 seconds of it.
Yep that’s it. The good old EBay untested. Anyone who buys from here knows that this can mean anything from working to totally wrecked, or even should have been binned because a good portion of it is missing.
But I try to remain positive… some people call it stupid.
Cheap, probably broken
Here I have purchased two of the same games for the grand total of £1.49 GBP. About 75 of your finest British pennies each. My suspicions are such as the guy who posted is selling a couple of “tested” game cartridges (the same game) for a considerably higher price. I just don’t understand how he couldn’t test these two. I suspect they are knackered to coin a phrase.
Anyway, let’s await the mailman.
I’ll apologise in advance for how easy this fix was. They arrived and both game cartridges looked ok. I then loaded them into the unit and one worked and one didn’t.
Both Cartridges tested
I decided to just clean the contacts on both cartridges with a bit of IPA and hey presto. Two working game cartridges for next to no cost.
2nd cartridge up and working
So again, I apologies for the simplistic fix, I was hoping I would at least be opening the cartridge and doing a bit of trace repair, but sometimes that is all it takes. I’ll keep one, and the other i will move on with another unit that I’m currently repairing.
But most importantly they are not off to landfill. Result.
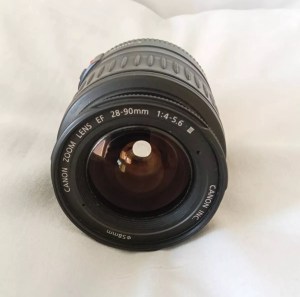
Canon EF 28-90mm Lens Working Then Produces Err99. Reduced to sell at a bargain price will be easy fix
EBay
Canon EF lens 28-90mm
The dreaded err99. It’s a general error code that seems to annoy many Canon owners, and can be a simple fix or a tedious one. I wonder what it will be for me? I’ve seen a good article on Improve Photography’s website that explains some of the steps that can be taken to remedy this error, you can read that article HERE.
I now have the lens in front of me so here is what I can see. Overall the lens is in good order for its age and mounts to the camera ok. All manual focus and zoom works and the lens is clean with no sign of fungus or haze so I’m happy with that. I’m still waiting for the camera battery to arrive so I can’t really comment yet on the error code. I’m not cleaning anything just yet as I want to see for myself if the error shows on one of my cameras, if it does then i’ll start the process of cleaning the contacts which is what I would of attempted first off.
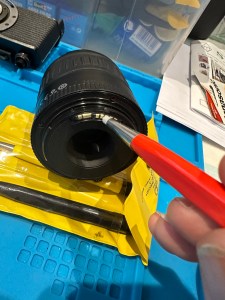
The battery has now arrived and I have now commenced further testing. I have placed it into auto mode and all seems well. I have tried the lens in 4 different camera bodies and have had no sign of the Err99 error code. The only issue I have noticed that may not be contributed to the lens is that when connected to an Eos5 body there is a fair drop in battery power. Again this has been noted in the past as something than can be connected to dirty contacts on the lens, so as a precautionary measure I shall be using some IPA and a fibre glass scratch pen to clean those up.
Using a fibre glass scratch pen
I’m unable to recreate the advertised fault as everything about this lens is working fine as far as I can see. I’m going to wrap this one up as complete now.
I’ve really enjoyed working on these two cheap damaged lenses that I originally purchased just to test my old SLR kit. They are now both working fine and i believe the invested effort shows in the end result.


You must be logged in to post a comment.