

I’ve had this camera sitting around since March 2023, when I first wrote about its purchase along with a couple of other cameras here: New old stock 📸

I’m not sure what I paid for these cameras but it wouldn’t have been a great deal. I love the Ful-Vue due to its looks and the kind of Art Nouveau feel it has about it. It’s a very basic mass produced camera of its time and It is an old 120 film camera, and the bonus is that this film type is still readily available, in fact I still have a few rolls in my fridge at home today.
The shutter is an all mechanical, spring loaded system which swings a piece of metal over a hole to create the exposure. The approximate timing is 1/30th of a second and that’s slow. It is understandable when taking in to account that ISO 400 wasn’t that common in the 50s and would have produced very noisy results. It was far more common to use ISO 50-100 film and that would’ve required a slower shutter speed at the approximate f11 of the lens of this unit.
I obviously want to get it back into full working order. And want to do as sympathetic a restoration as possible. It’s a 120 roll film camera with a 6cm x 6cm frame inside, it was a cheap and cheerful camera of its day, sold as, “Easy, even for a child to use.”
In the meantime, here’s some history about this little camera:
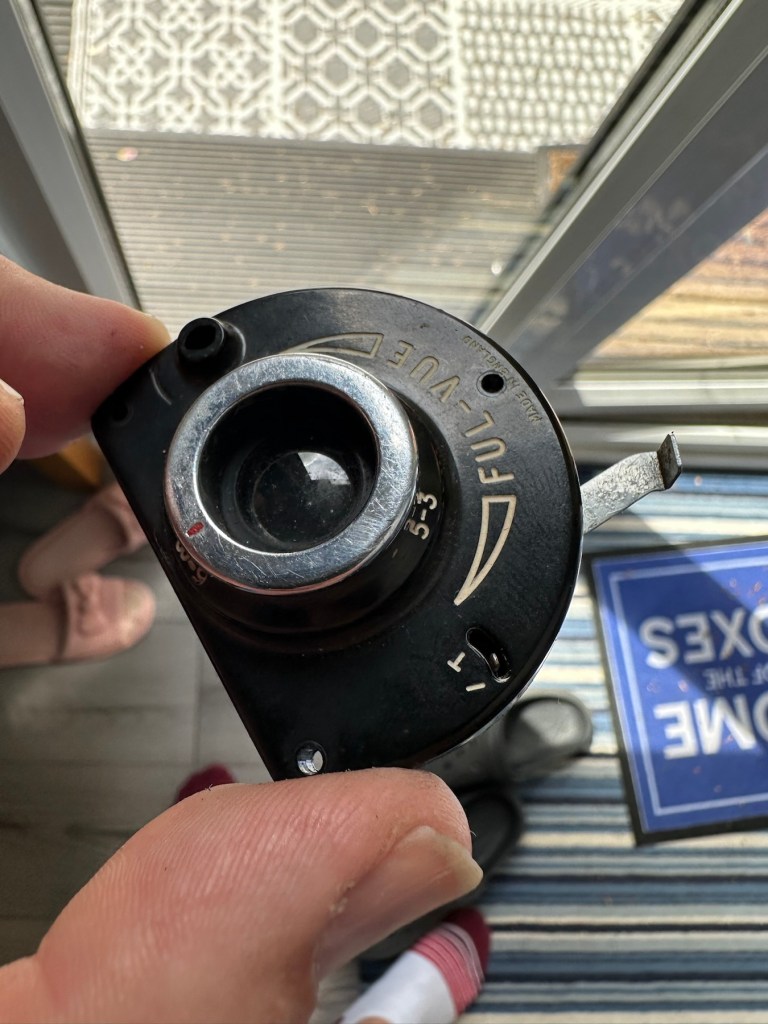
Barnet Ensign Ross Ful-Vue II
Originally released in its initial form in 1939, this version was introduced in 1950 after further improvements were made. The new flash synchronised shutter, the turn-able lens barrel allowing three different distance settings instead of two, an all-plastic front panel, and an optional flashgun. The improved version was called Ful-Vue II. Pictures were 6×6cm on 120 film. It has been stated that colored models (red, white and blue) were sold in 1952-3, to celebrate the coronation of Queen Elizabeth II; However, no other evidence for these cameras has been seen: in particular, the Ful-Vue is not mentioned in a coronation advertising supplement to the BJP Almanac of 1953. Colored Ful-Vues were advertised as ‘Ful-Vue à la Mode’ in late 1952. Examples of the regular Ful-Vue II, repainted and presented as the colored model, have been seen in online auctions.
Camera wiki.org
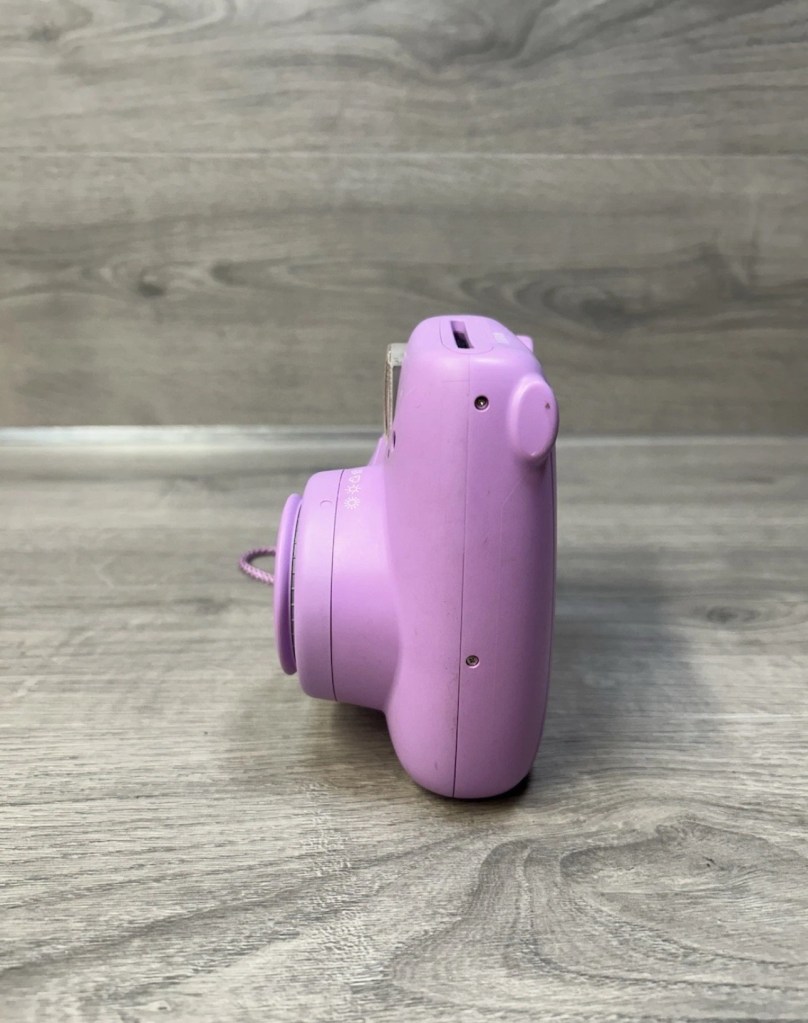
So I estimate this camera to have been produced sometime between 1950-54 when this particular model had its production run, just prior to yet another version becoming available. Making this particular camera approx 70+ years old. Let’s have a look at the unit that I am now in possession of.
Assessment:
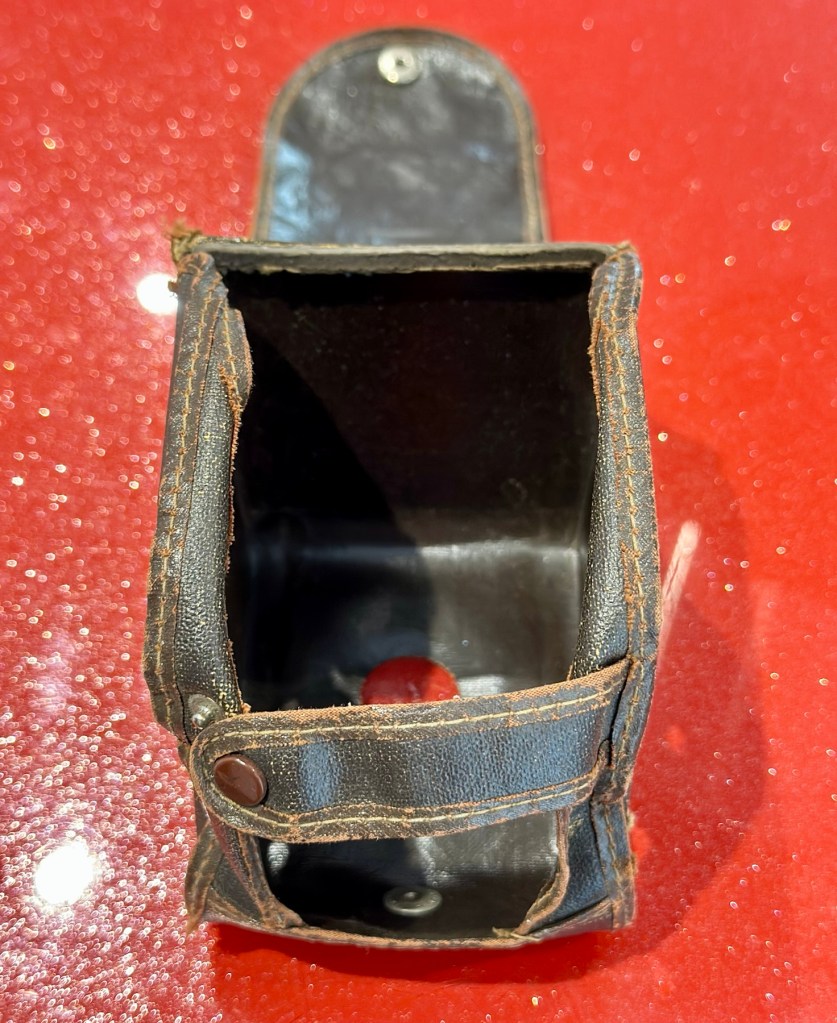
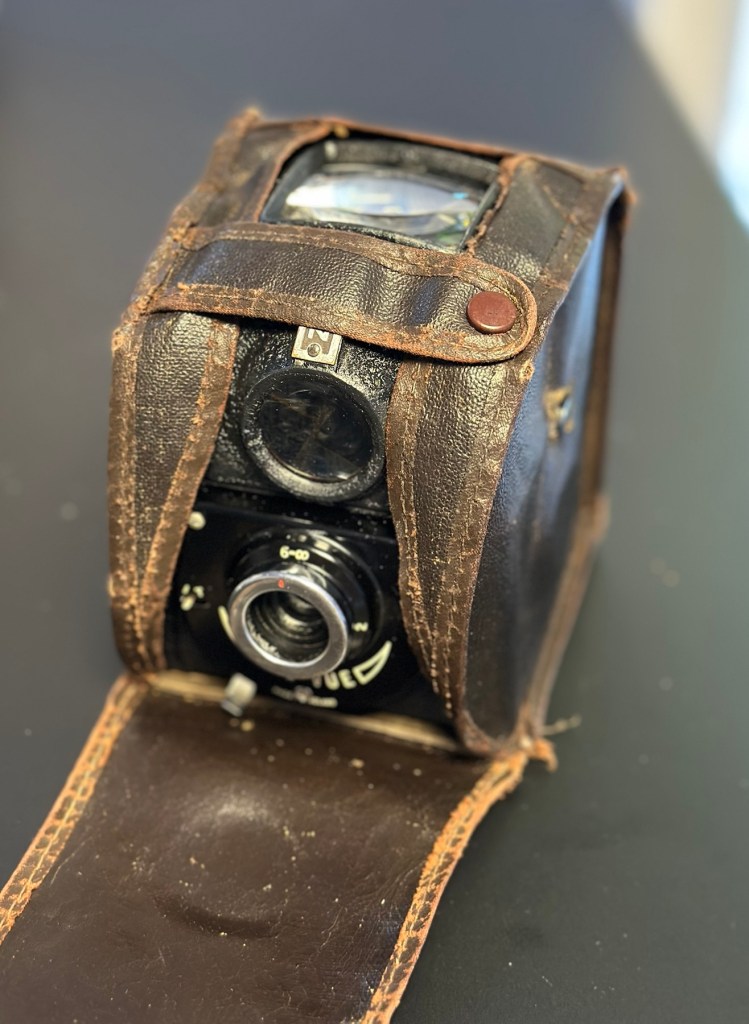
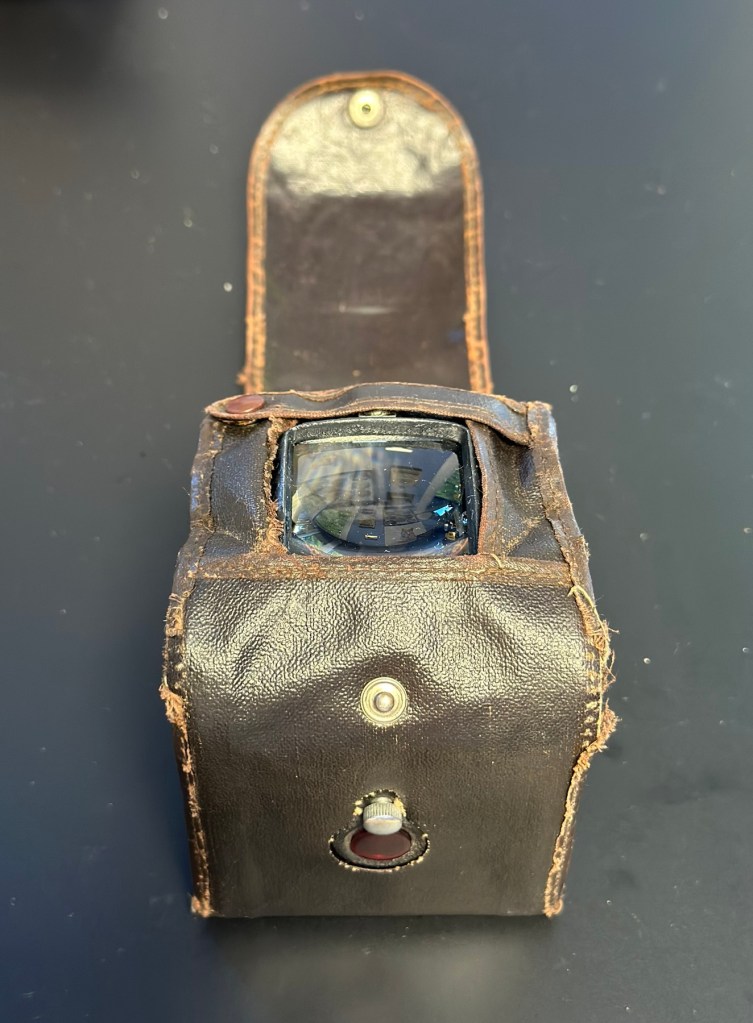
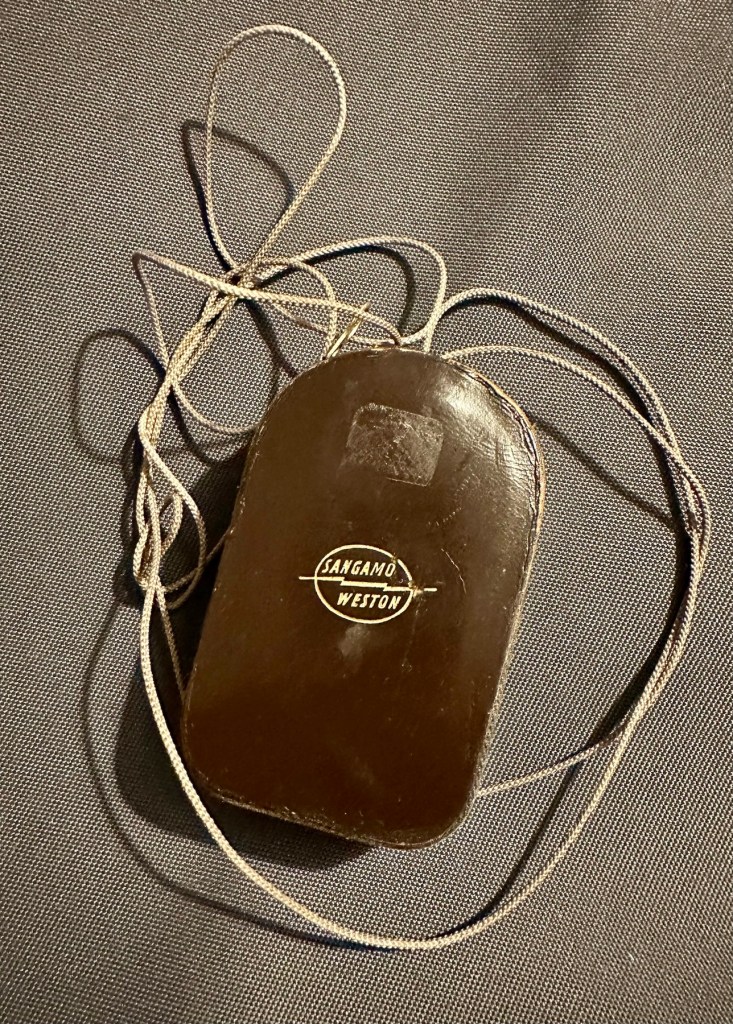
The case is leather and is very dry and brittle, it’s complete, so I may well look at revitalising this one just as I did to an old Kodak camera in this old post: Kodak Brownie reflex. If I do, I will cover its repair in the following section.


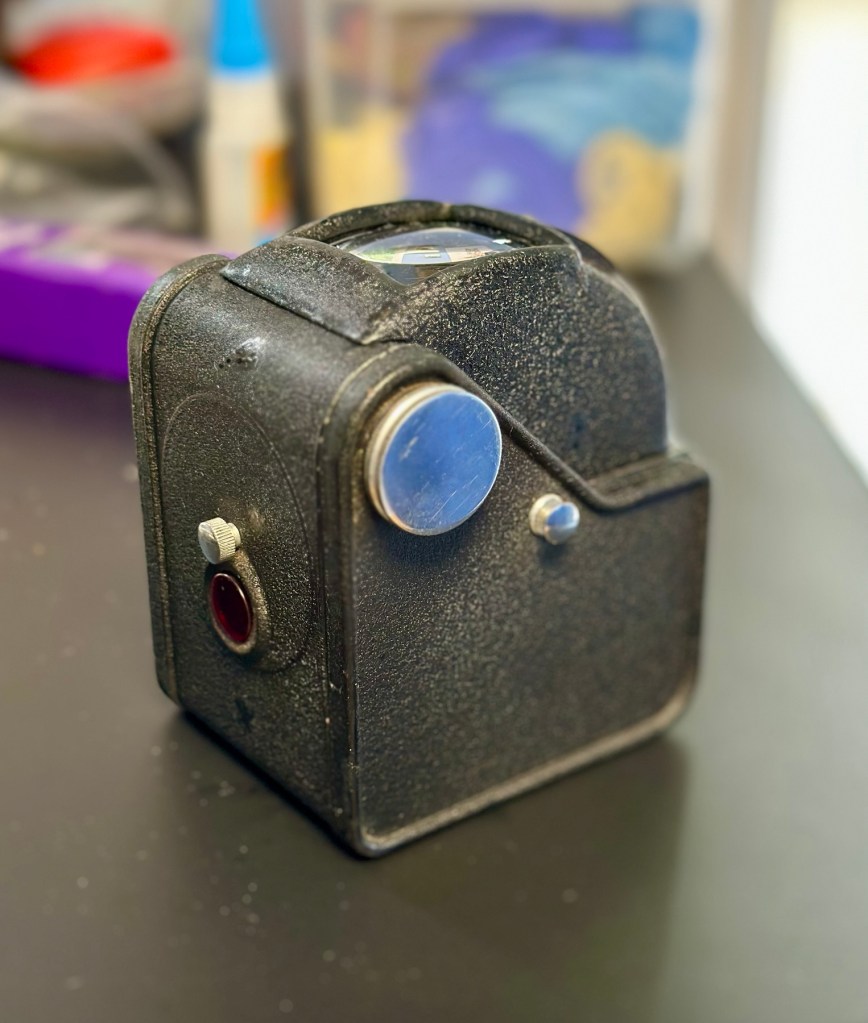
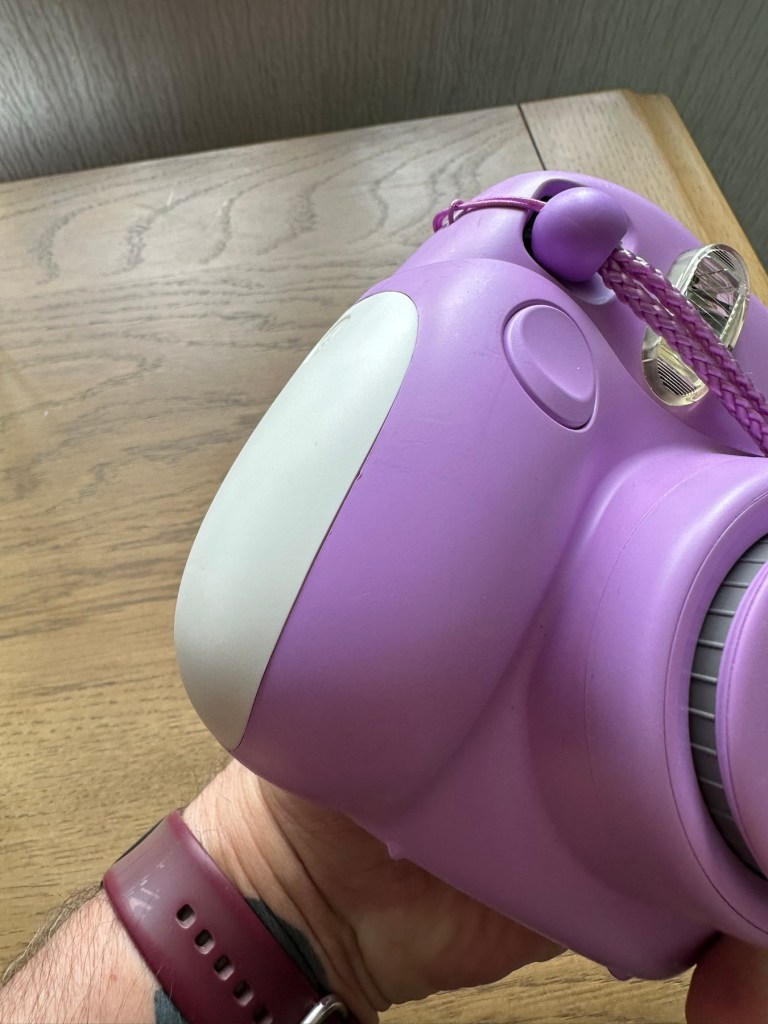
The camera itself is in quite a good condition cosmetically, it has chips off the paint and a little wear and tear that will require some attention. There appears to be a screw missing on the front plate, this will be replaced.
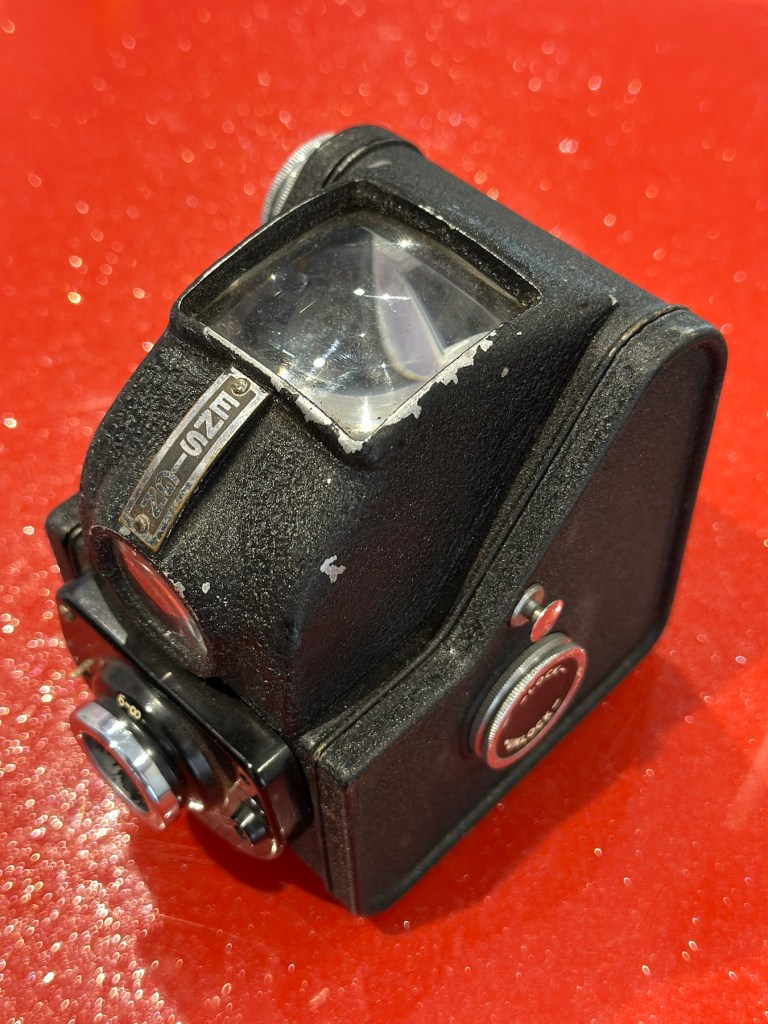


The mirror inside the viewfinder seems to have moved and will need reseating, all glass and mirrors appear quite foggy and need a good clean, all workings within the camera inside appear ok. Light seals appear ok but may well need replacing purely due to their age.


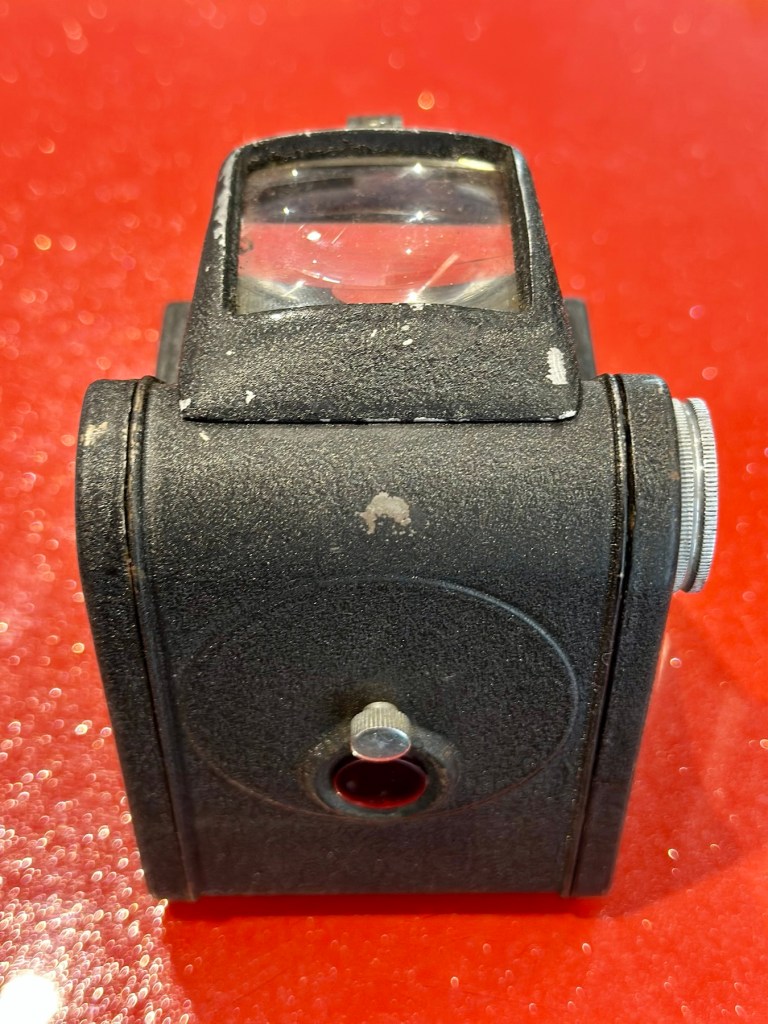
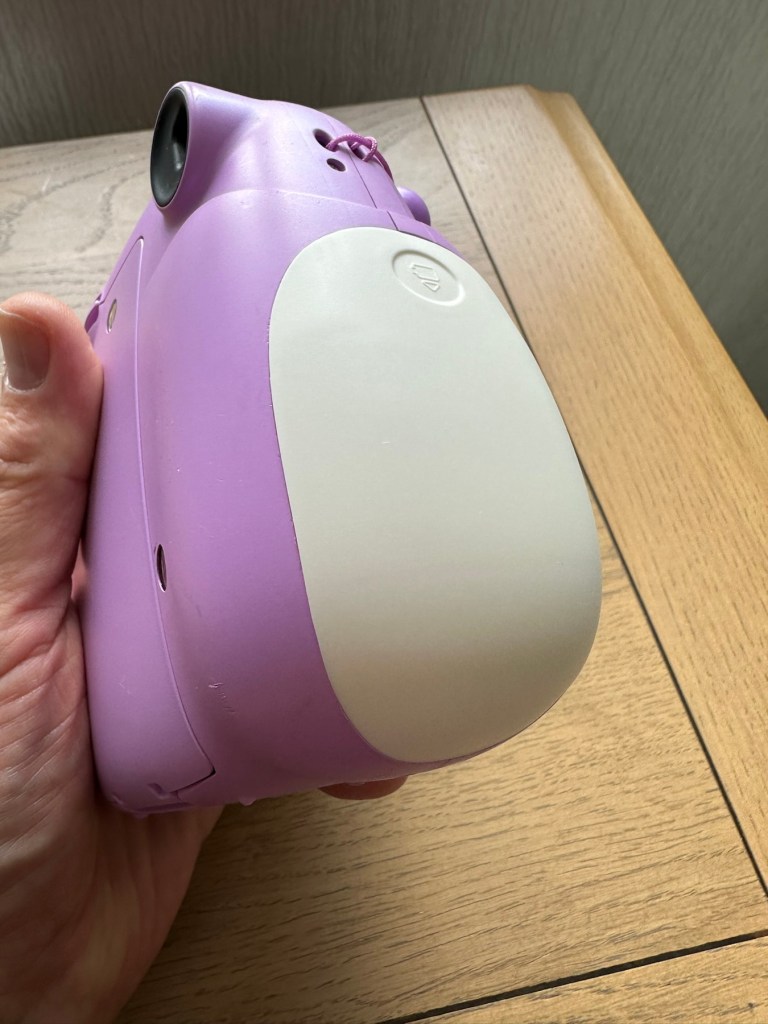
The lens barrel and shutter mechanism will be checked over to check correct operation, however at first glance, all seems to be ok. There is a little red window on the rear panel where you can see the film exposure numbers. A little thumbscrew can be turned to blacken this window out, this will be very handy for when we try to install a colour film to prevent any fogging issues.
Repair:
I want this to be a sympathetic restoration, so I will endeavour to keep the look and feel of the unit as original as possible.
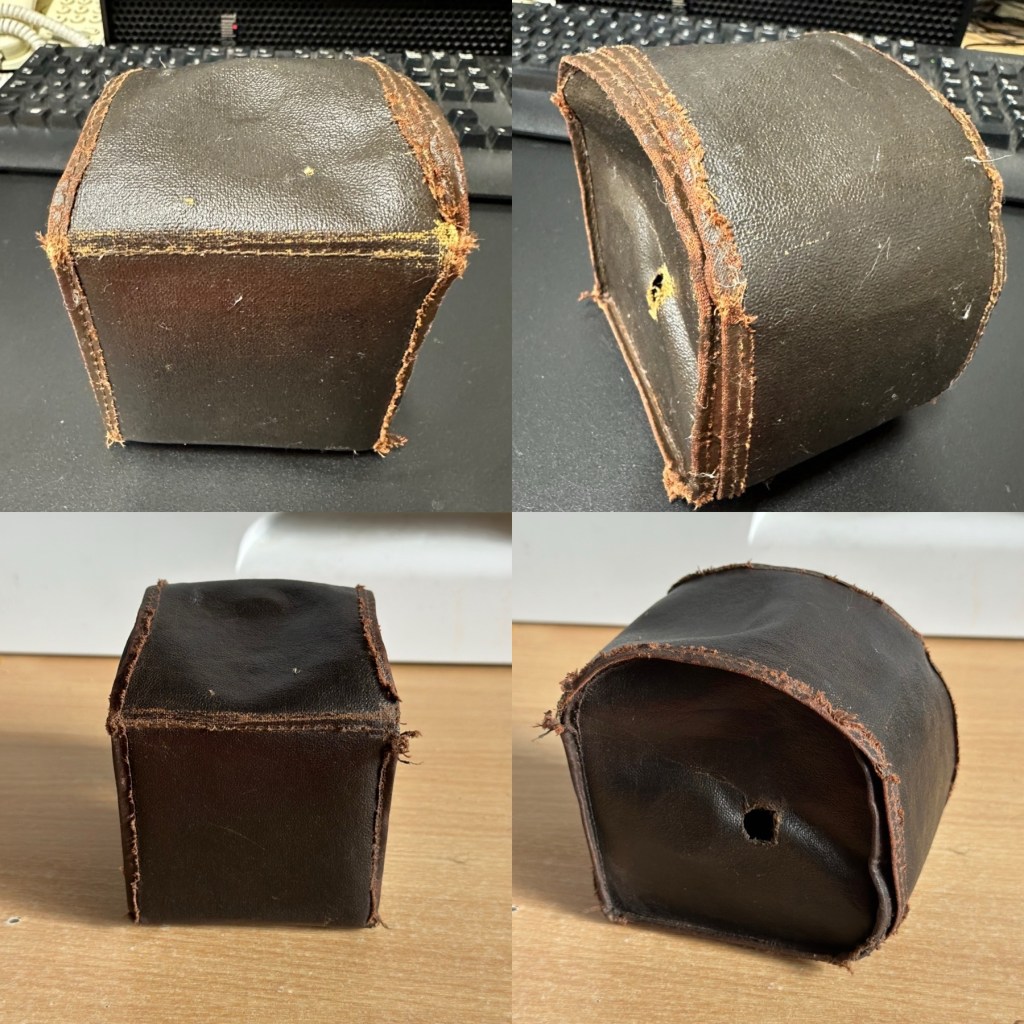
The case:
I’m starting with the case as this is probably going to be the most time consuming and will require numerous periods of drying and moisturising, it’s probably about 70 years old now and to be honest has probably had no care taken of it during that time.

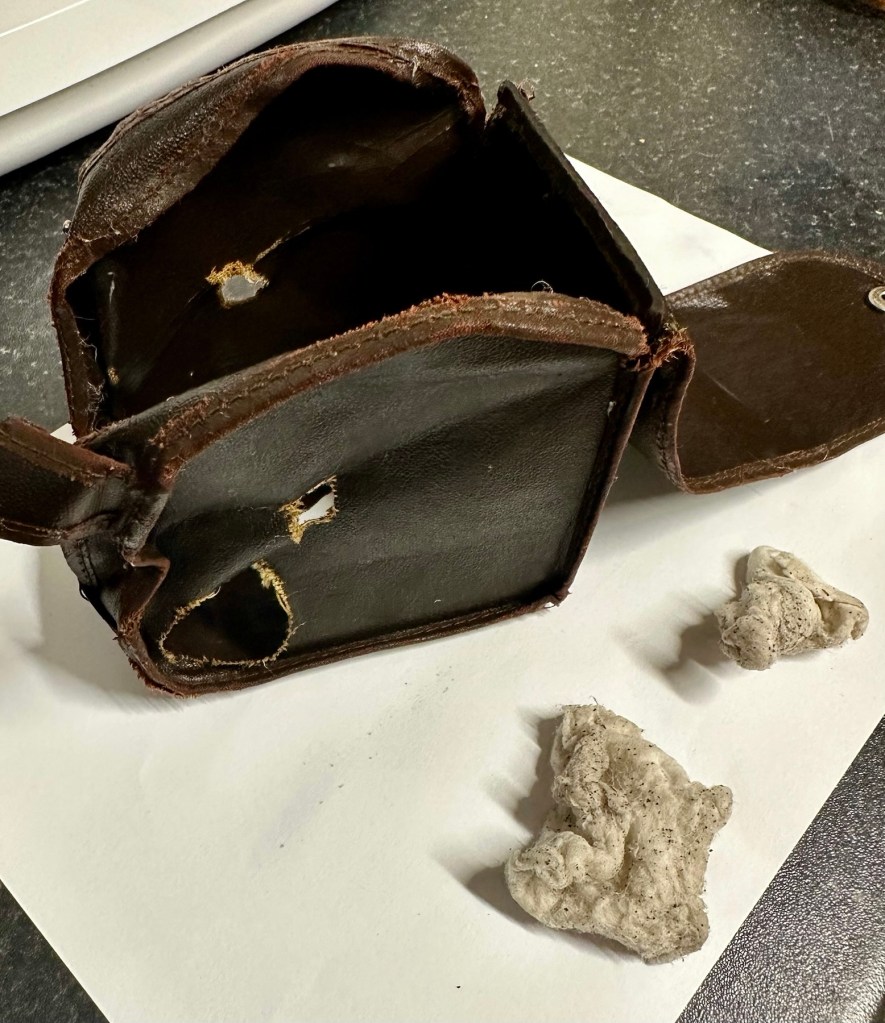
Using some mild detergent, but just the soap suds on a cotton pad I have gently wiped all over the case, paying special attention to any old folds in the material. This has had a dual purpose of removing ing a lot of age related dirt (As you can see in the photos above, that show the dirty cotton pads) as well as adding a little bit of moisture but not too much. I want to do this in stages to minimise any more damage. I will now let this dry for 24 hrs and I will then do the same again.
24hrs later I have cleaned the case again, in exactly the same manner. let’s leave it another 24hrs and then apply a little polish to give it back some colour and a little bit more moisture. I’m keeping it as low cost as I can, no doubt a brown shoe polish will suffice for the result I’m looking for.
I’ve treated the leather and polished it twice using a black shoe polish. The third coat I have given is a tan regimental high gloss polish. I’m leaving this for a few hours and then I will buff the case up. I’m not repairing stitching or holes as I want it to retain age and it’s old look. I just want the leather to look healthier, last a while longer and to get some moisture back into what was a very brittle leather case.
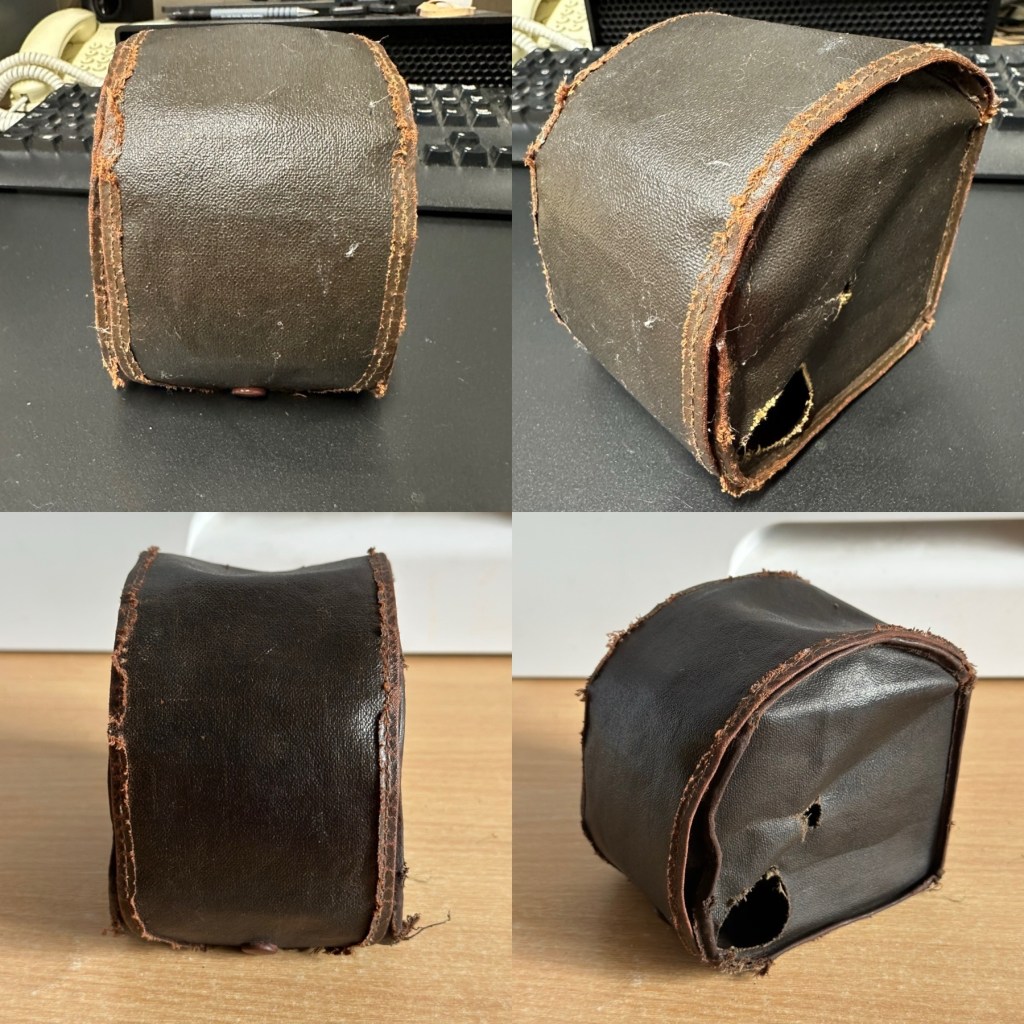
I have today buffed the case up after all the treatments of the last couple of days. The case feels lovely and soft and much more pliable than when I first started on it. I’m now going to bring this part of the repair to an end as that’s as far as I wish to take it at this time. I want it to still carry its signs of age. Without further a do, let’s move on to the camera.
The camera:
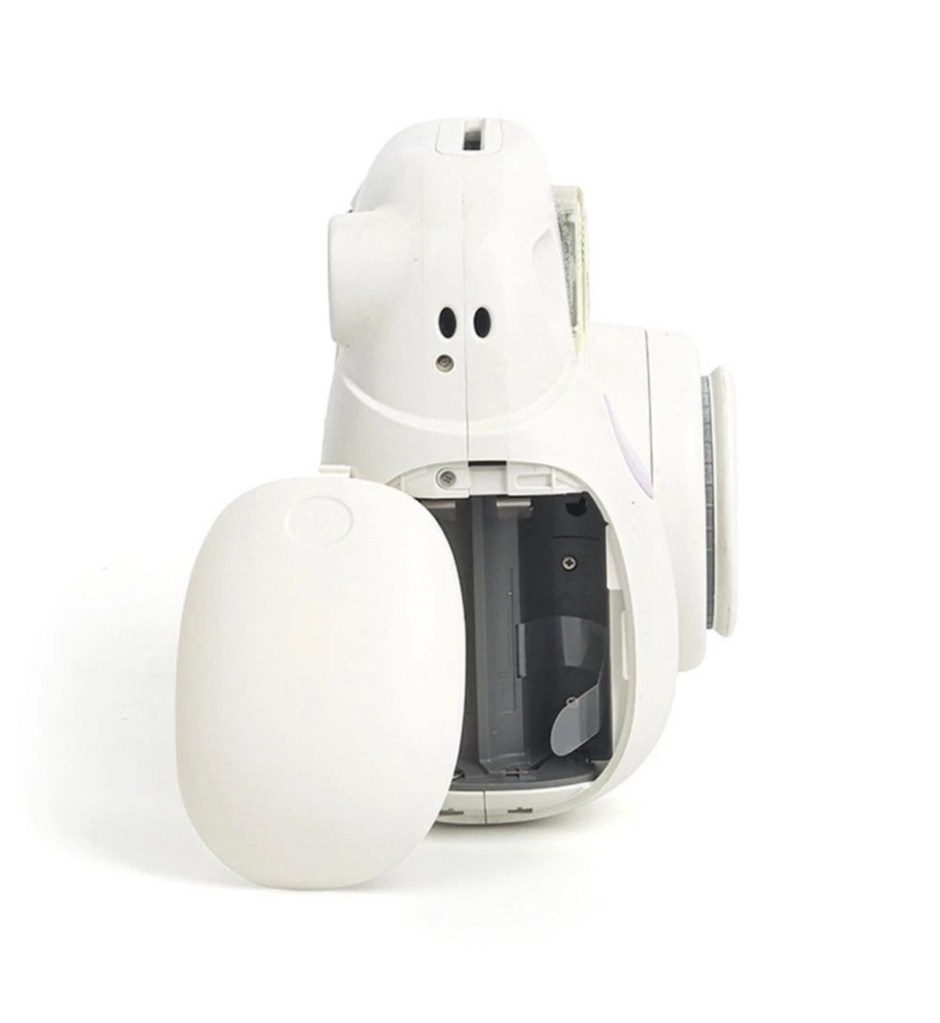
I have decided to totally dismantle the camera and work on it bit by bit. In this case there is not a great deal to dismantle.


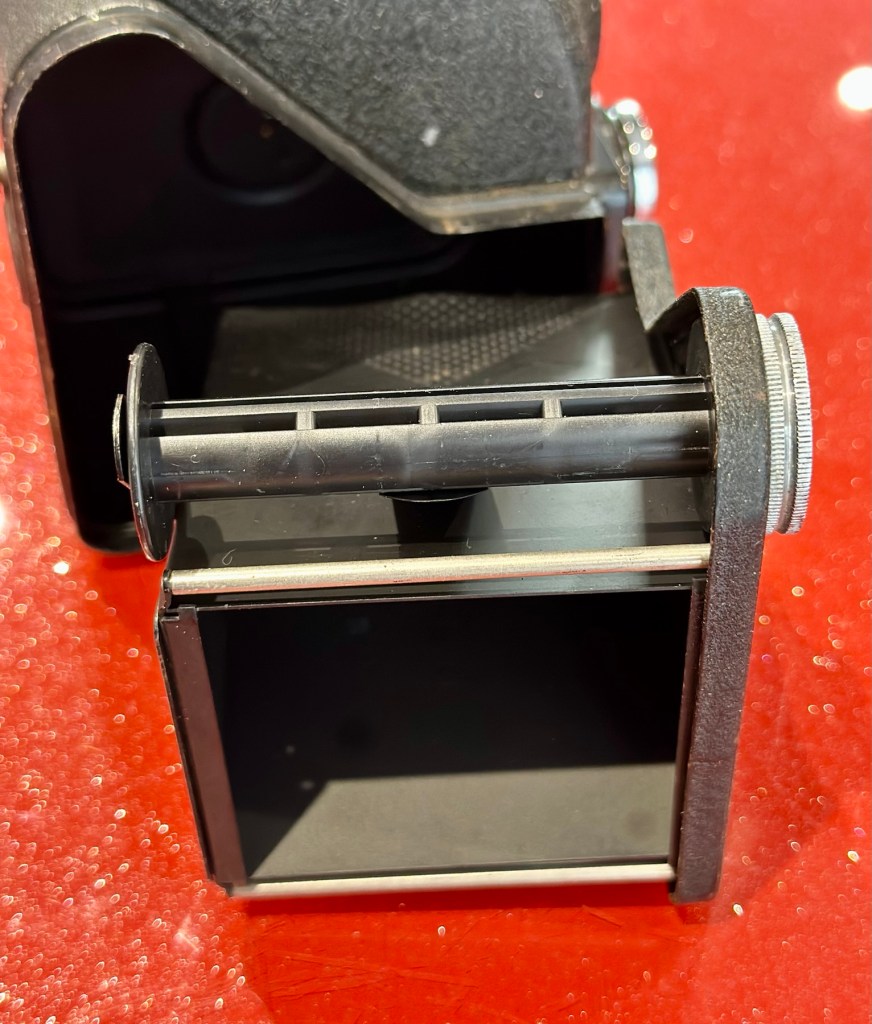
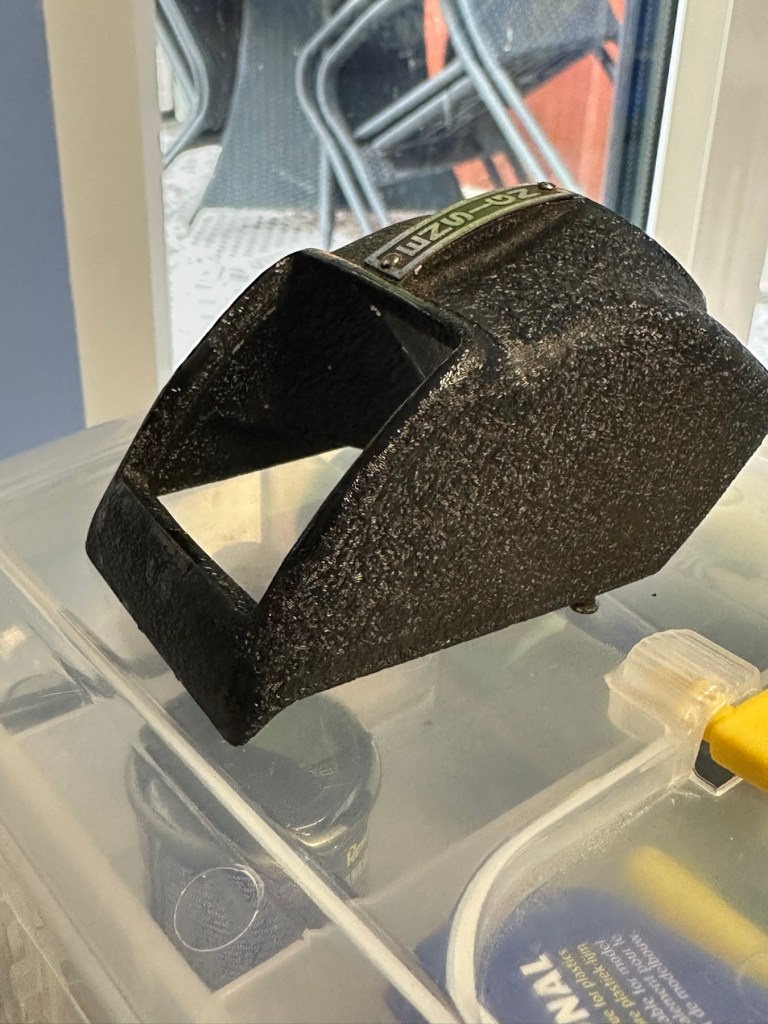
Firstly I release a retaining clip inside of the main body and this releases the “Viewing head” on top of the camera. This part of the camera contains the mirror that has become detached, and two glass optics that complete the viewer section of the camera. There is a single spring structure that holds both pieces of glass in place, release this and they just fall out. Easy.


I’ve started by placing the three optical items above in a mild warm detergent soak. I will leave these there for about an hour, in hope that a soak will help in cleaning that muck off the back of the mirror. The two other optics are in great condition and I’m sure the soak and then a final rinse will be all that they require. This treatment worked just fine, and now onto the next part.
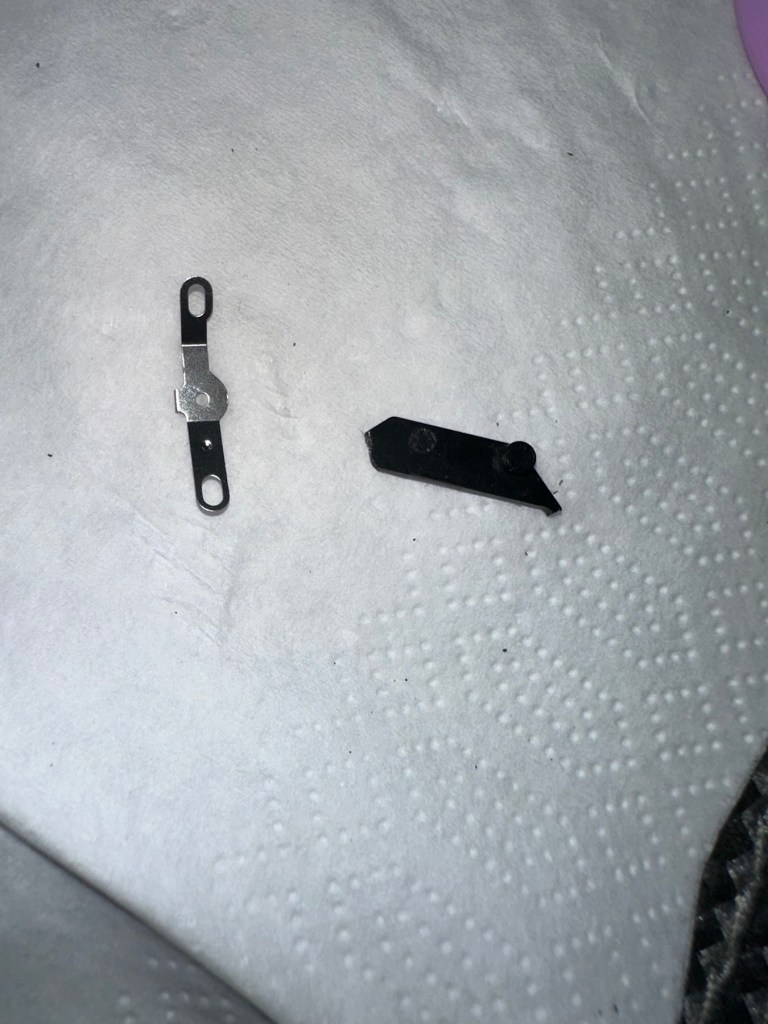
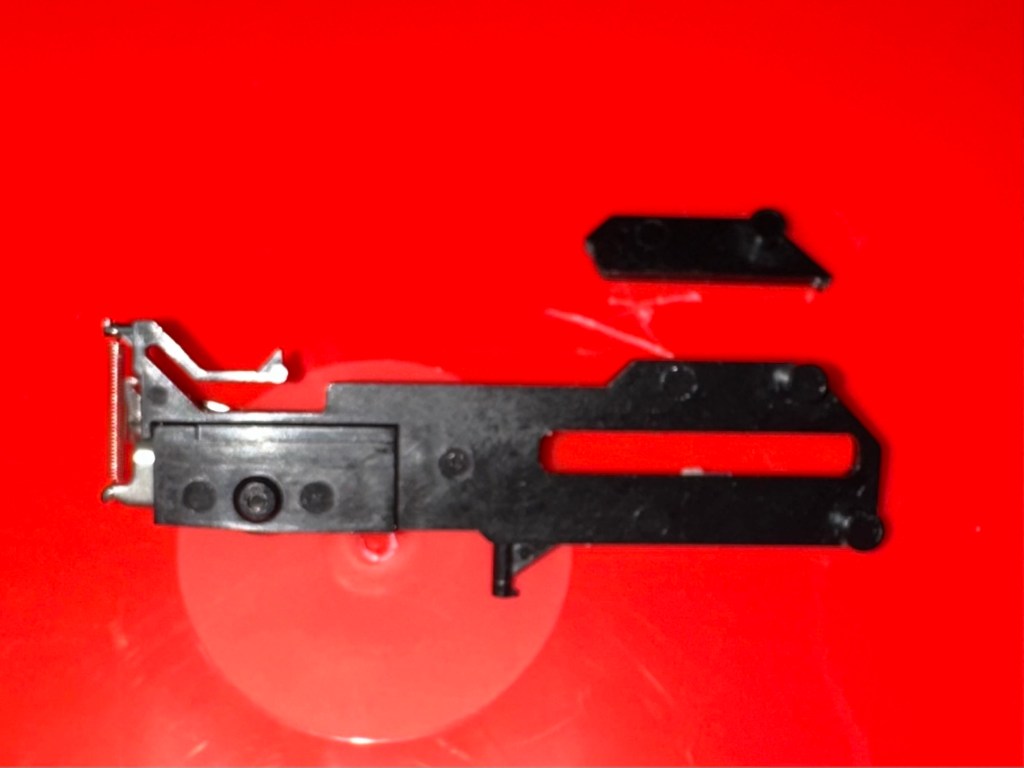
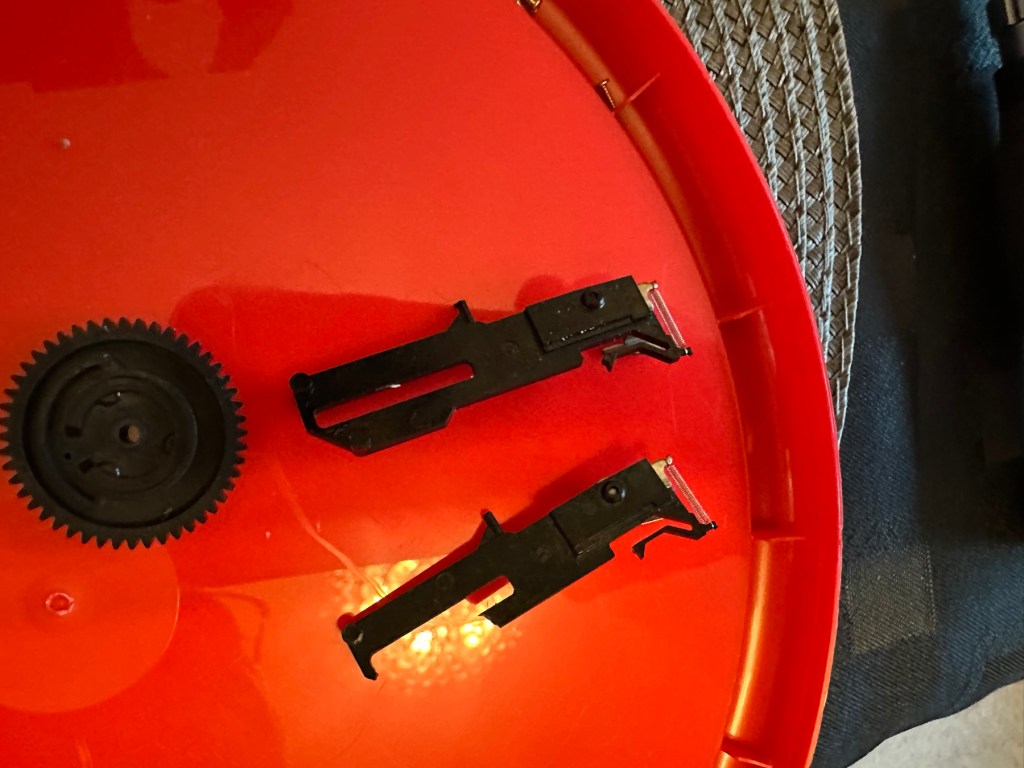
Next I’ve removed the shutter mechanism from the camera body.


A The mechanism is beautifully simple and is such a lovely piece of work to look at. To think im probably the first person to look in here in the last 70 years is special. All I’m going to do here is very carefully get rid of as much old ingrained dirt as possible and very gently clean the shutter leaf. I will use a minuscule amount of clock oil on the mechanism only, I will use some fine graphite dust on the actual leaf part of the shutter.


The lens and mechanism have been cleaned now and reassembled, all tested, and working as expected.
The body work is fine apart from some small chips and paint flakiness. I’m going to retouch these missing areas with some enamel paint and a bit of thickener to enable me to obtain the stipple effect of the original paint job. Then I will finish with a nice black polish.

Let’s now get the mirror back in place and the head back on the camera unit.


And that’s it. Apart from a little polish we are now done here

Result:
I’ve put quite a bit of work into this little camera. Some people will ask why bother as it was only a cheap mass produced camera? Well, I like it, it’s a lovely little camera and it deserves to be displayed. Now, as it’s also working it’s a big bonus. It gives me something to do, and it’s how I relax, as I’ve been shoulders deep in DIY at home recently and doing my shifts at work, so this is a welcome distraction for me.


So that’s another one saved from scrap. This camera will now go into storage where I will vacuum pack it with some silica packets to prevent it from getting damp. I’m surprised just how good this camera “smells” considering its age, there is no mustiness at all compared to some cameras I get from this era.
Many thanks for popping by, you know it is always very much appreciated.
Have a super day.


You must be logged in to post a comment.