Fujifilm Instax Mini 8

What the listing stated:

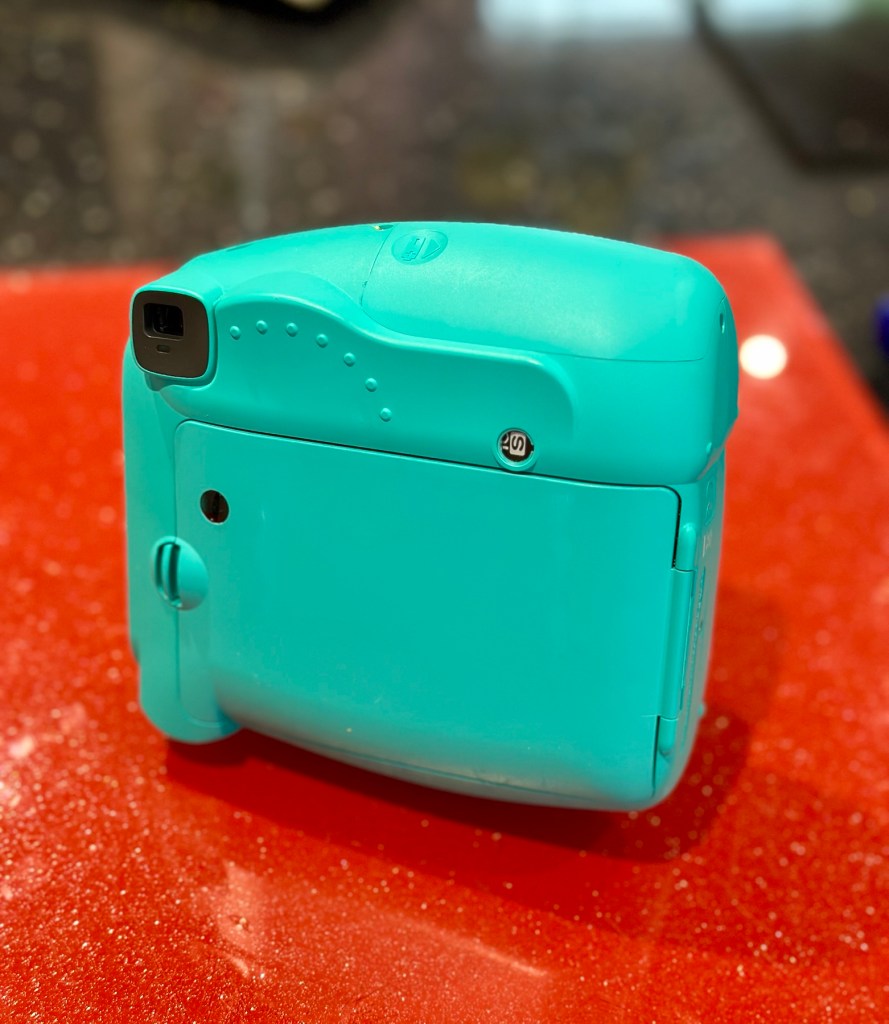
Fujifilm Instax Mini 8 Instant Camera Teal Blue Spares & Repairs

Please see photos for condition this will be the item you will be receiving.

The camera will not turn on.

Thank you for looking!

EBay

It’s about time I started to get back to repairing some cameras, I have a mountain of them to get through but they can wait a little longer. These little Fuji units are really popular with the younger generation, and in my view anything that gets youngsters interested in, and involved with photography is a good move. We have some youngsters in our clan, and I have this earmarked for one of them if I can get it working. We had some conversations during our family gathering over Easter, and the subject of photography, and this particular member of our family came out. Seeing this auction today, I acted and purchased as this is a perfect little starter unit for her. My total outlay for this unit was £11:45GBP and considering the current costs are around £30-£40GBP for a working example, this is not too bad an initial outlay.

Here’s some history on these cameras:

Instax is a brand of instant still cameras and instant films marketed by Fujifilm.

The first camera and accompanying film, the Instax Mini 10 and Instax Mini film, were released on November 10, 1998. The “Wide” film and first accompanying camera were released the following year. The Instax Square film and accompanying camera were released in 2017.

The formats of Instax film give an image size of 46 mm × 62 mm (1.8 in × 2.4 in) for the Mini, 99 mm× 62 mm (3.9 in × 2.4 in) for the Wide and 62 mm× 62 mm (2.4 in × 2.4 in) for the Square. The Instax colour film is available in Mini, Wide, and Square formats and the black and white Instax Monochrome is available in Mini and Wide formats.

Wikipedia

For anyone that was around in the 70s, these cameras are an extension of and an advancement of the then Polaroid instant photography system. Nearly every household back then had access to Polaroid cameras. If you look back at any photo album or collection from that time, you will invariably find some Polaroid photos stored within that collection.

Here is a typically over enthusiastic review produced by a very pleasant chap when it came out about 8 years ago. Sums up in a few minutes just what it can do, and just how easy it is to use.

A very enthusiastic review

This unit looks to be in quite a nice condition but as always we will never truly know until it has arrived and can be assessed, never forget, this is EBay that we are purchasing from 😂

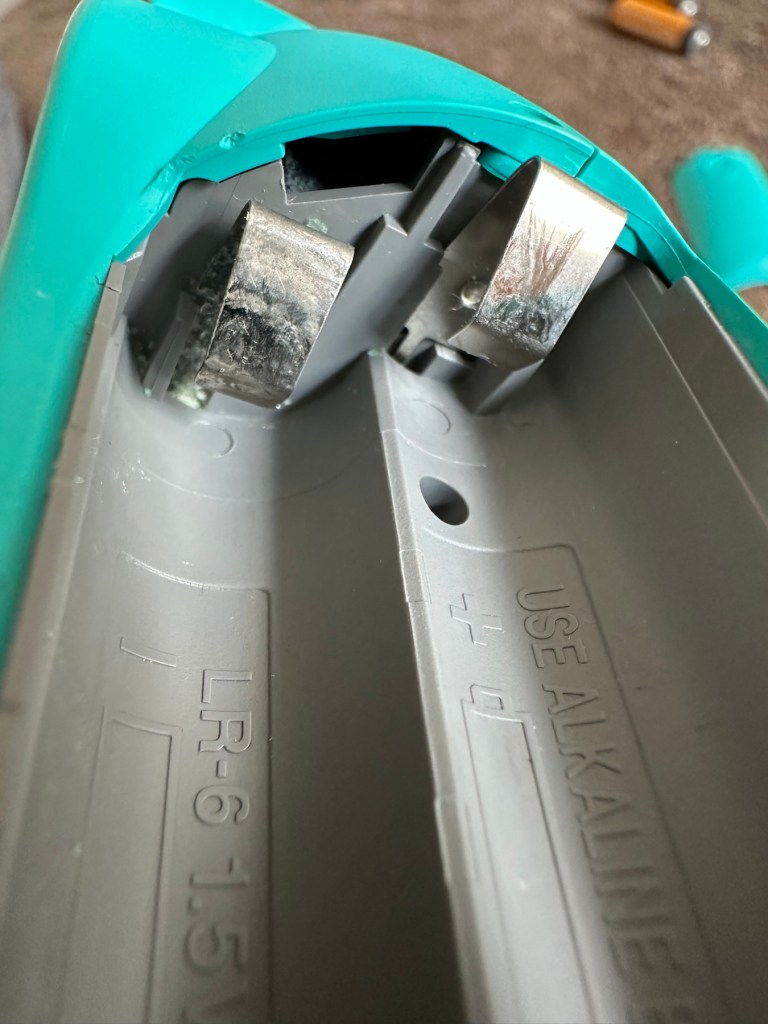
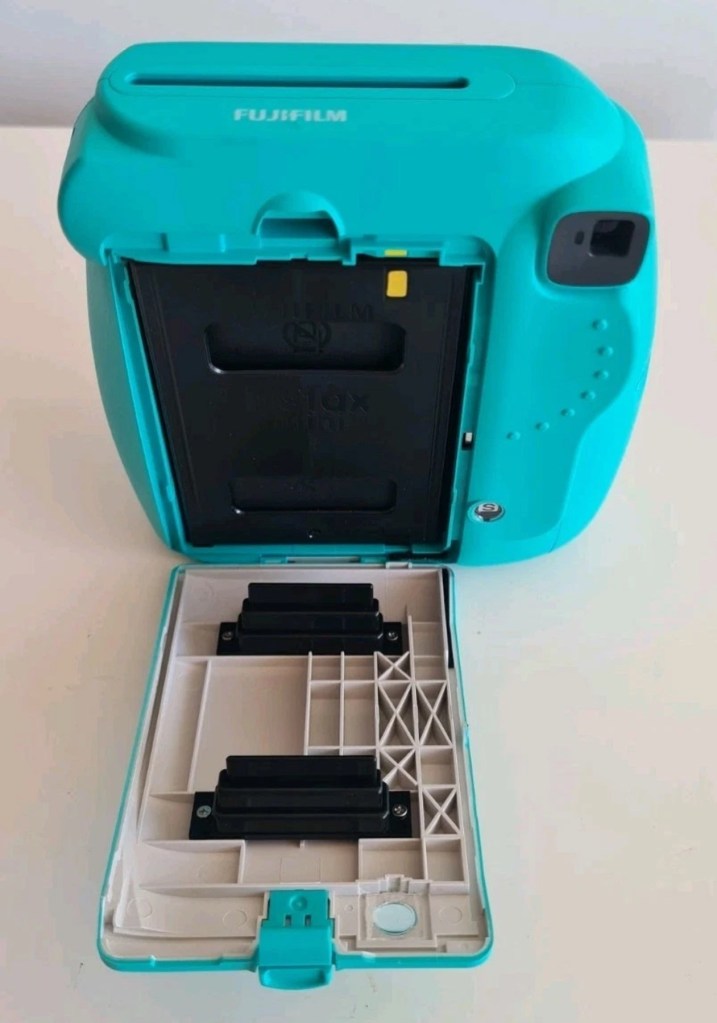
Battery compartment…suspicious!

Something looks suspicious in the battery compartment. There seems to be contacts missing, they might be fine I just don’t know. They just don’t look right to me. There may well be some minor signs of corrosion as well. Who knows, I’ll just have to wait until the unit arrives. So let’s just be patient until then.

Come on Mr.Postman!

Assessment:

I’ve downloaded the instructions and they consist of just half of one sheet of A4. To be honest they are about as basic as are needed I guess, but in technical quality they are about as much use as an ashtray on a motorbike! And those contacts I mentioned above, look just as they were from the factory. What a strange design.

On arrival the camera appears to be in a really good cosmetic condition, there is even an old film cartridge still inside that I suspect is well fogged by now. However this will be of use if I can get it working, as it will prove if the film transport works.

The battery connectors are exactly as they were when the unit was assembled, so my earlier suspicions have come to nothing. However there are small indications of battery leakage on the outside that are always concerning, because they can always hide a greater issue occurring inside the camera. When batteries are put in place the unit is totally dead, just as advertised.

So no more to it, I have to open the unit up and see what I can find inside. Before doing that though I have connected a bench power supply to the contacts and there was still no draw on the power at all. It is definitely dead.

Repair:

On opening. Oh my word. What the heck is that? I have never seen contamination around a battery terminal like that before, the battery contacts have been totally consumed.

Under that crystallised mess is what is left of a battery terminal, and that thing that looks like a biscuit on the left is the main motor. Totally crusted up

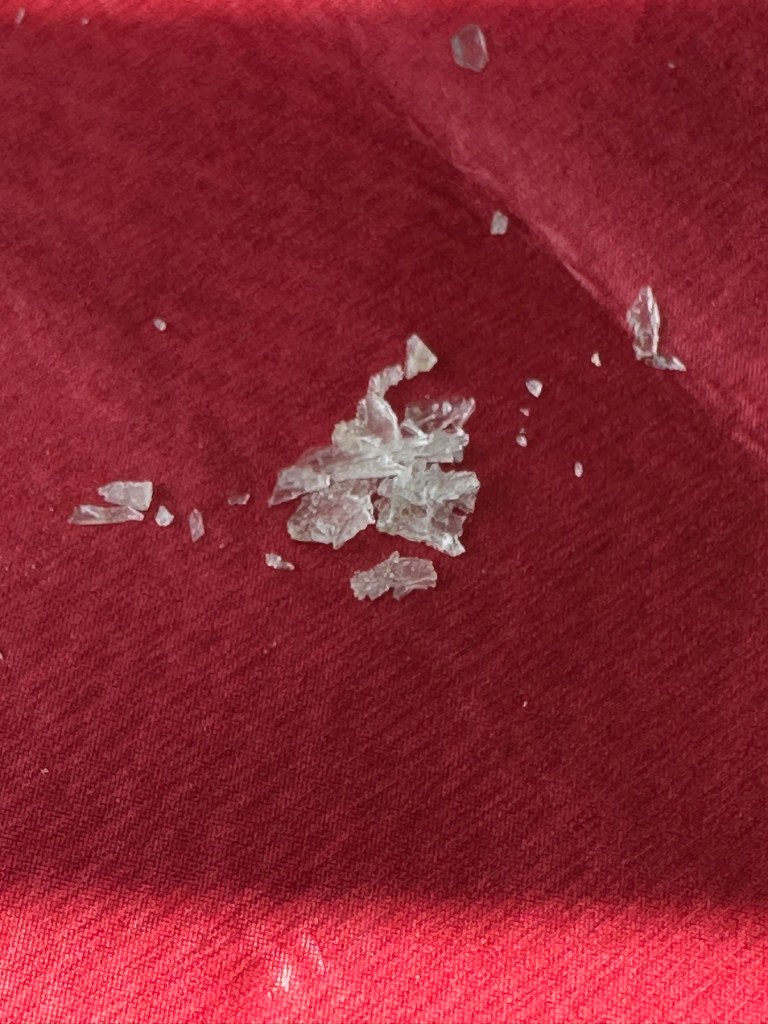
I could hear some rattling around inside the case and thought something had worked itself loose. No. It was what looked like broken glass, but it wasn’t, it was crystals of contamination, this camera has more stalagmites than Wookey Hole! The motor was badly contaminated and every part of the working mechanism had signs of this contamination, it was everywhere.
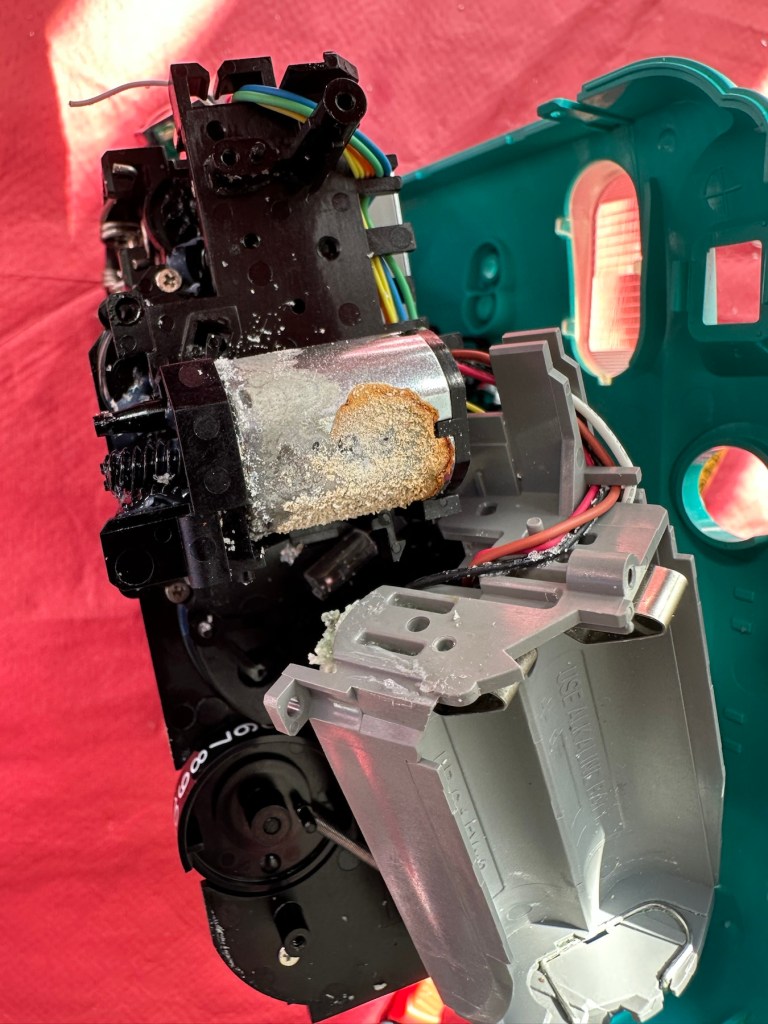
First things first, the issue with the power supply is purely at the point of that big mass of battery contamination on the battery terminal, there is no continuity here and this needs removing and attending to.
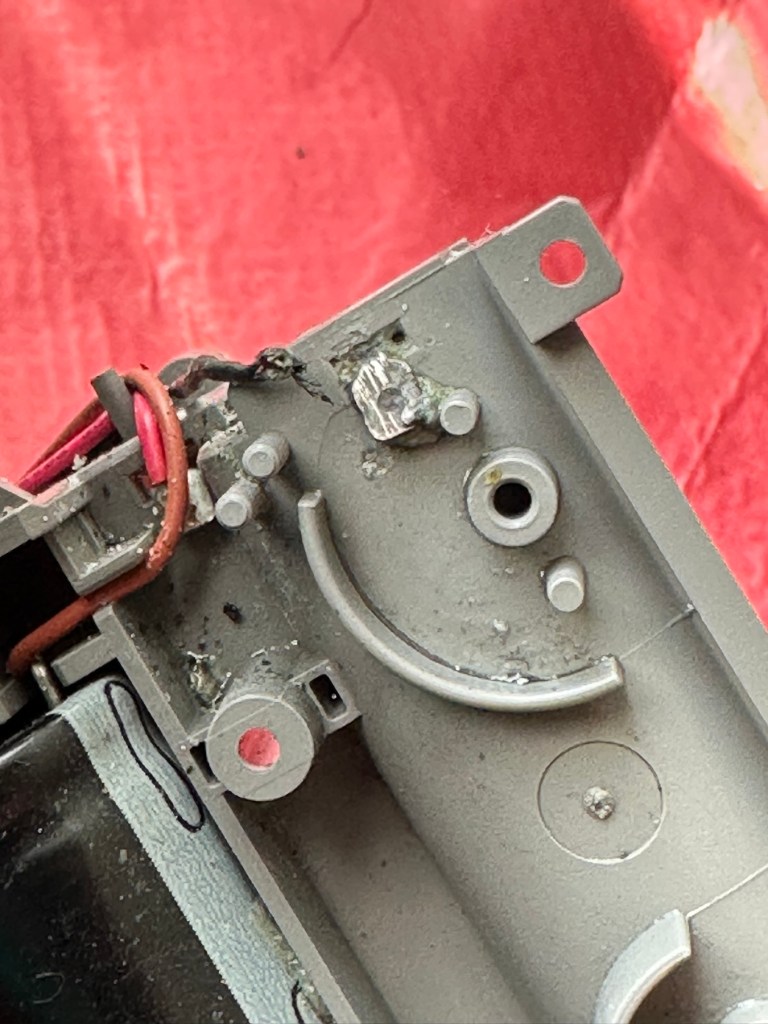
Using a combination of alcohol to break down the contamination, and a grinding pen, the offending crust was eventually removed. It had eaten through the wire at the battery terminal and was being held in place by the mass of crust that has built up around it. I was able to cut back the wire and re solder the terminal to make it good. There was contamination everywhere and this all had to be removed, if left in place it would cause more problems in the future. It had to be eliminated completely.
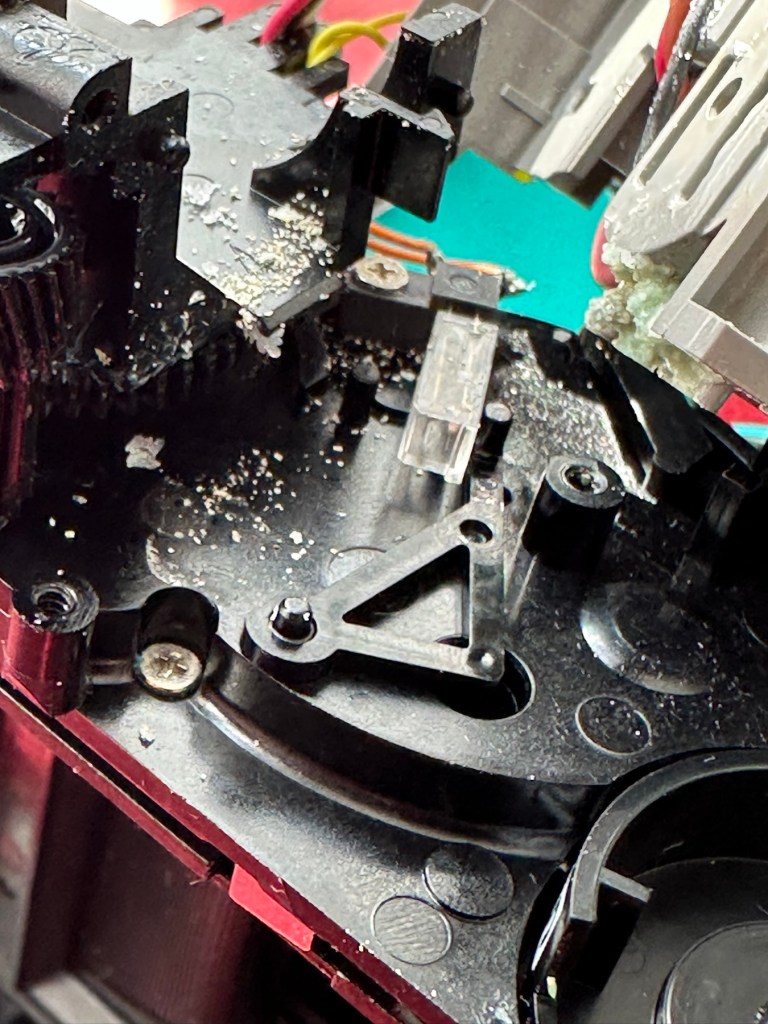
Contamination everywhere, what a mess

I removed the motor, and used a contact cleaner to free up its motion, I constantly turned it back and forth for about 15 minutes and I could gradually feel it freeing up. A wire had broken off from the led light on the viewfinder, this was soldered back into place and we were now ready to test. I put the batteries in and flipped the switch. I could hear the flash capacitor charging and all lights came on, I switched the unit off and began preparing to re assemble the unit, not before accidentally touching the flash circuit and taking a quick 300v shock in the hand. It’s a big capacitor as all flash units usually are. I’m an idiot, it was a school boy error. And I had a capacitor discharge unit sitting right beside me. Fool!

Ok. I’ve stopped cursing myself and the reassembly continues, and I manage to complete this with no further issues.

It seems to be working.

I’ve loaded in that old cartridge it came with and can confirm that it was all fogged film. However it has proved that the film transport system and flash are working as you can see in the video above. I’m now going to have to source some fresh film for a true test. Before that I’m going to open up the unit again and give it a good blast with compressed air and a final check to make sure I’ve got all of that contamination. It’s just the OCD coming out in me.

That said, the flash has now ceased working even though I can hear the capacitor charging up. I suspect the flash bulb has failed, so I need to get back inside anyway. Oh well, here we go again!

Like the idiot I am, I realise I have not been using sufficiently powerful batteries and the flash capacitor and flash unit are both in fine working order. I’m just going to make a small adjustment on the shutter opening switch though, and also the power contacts connected to the lens internal focus ring.

I’ve removed an unnecessary spring that was on the aperture ring, it was causing the aperture ring to sit in an opposing position to the light indicator on the side. The two of them have to match to ensure the correct exposure. The spring was pulling down on the ring, and moving it to a lower position on the indicator. Thus causing an exposure issue. I’ve removed it, it is not needed and is now working better. I have also cleaned the circuit board as I found another small patch of crystallised contamination. It’s now cleaner than when it departed the factory.

The lens aperture ring, and indicator

And here we have a picture where I’ve captured the flash unit working.
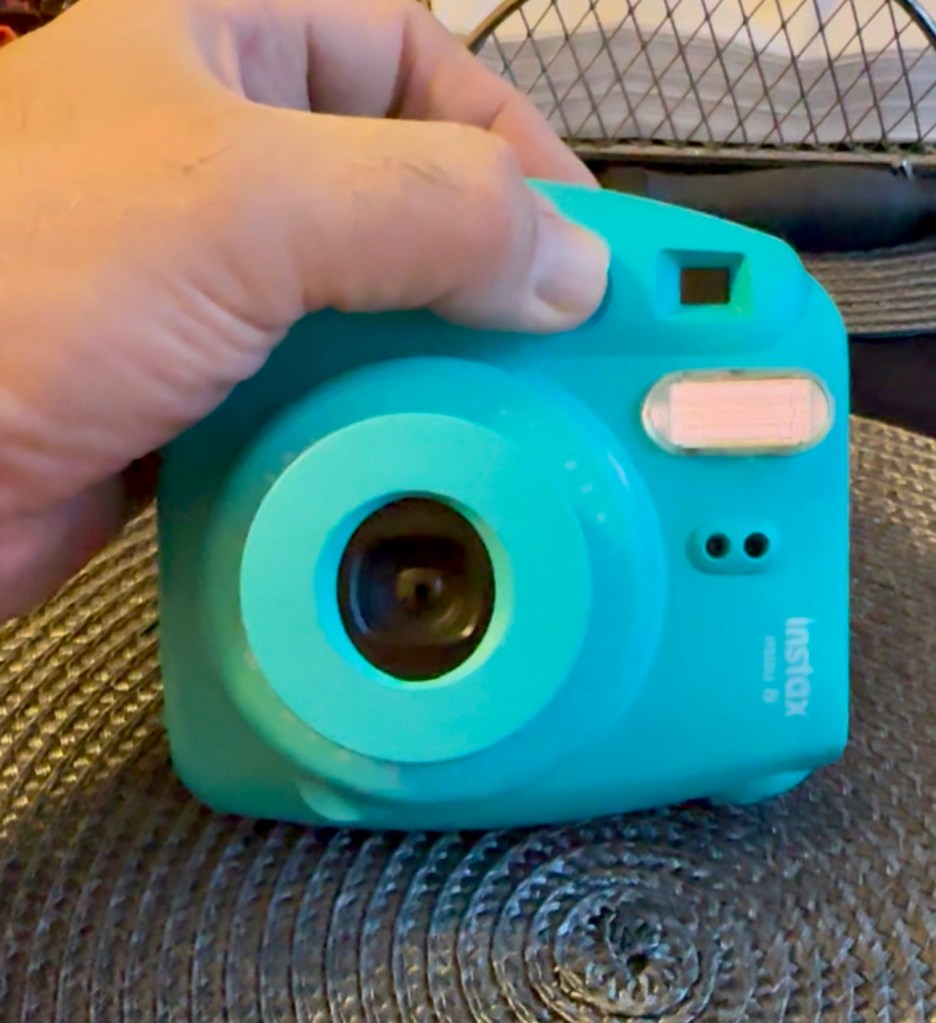
Flash captured working

Now all back fully assembled I’m confident that the camera unit is in as good a condition as it could be. Fully serviced, clean and operational just as it should be. The next real test will be when I get some film inside of it to carry out some realtime tests. I’m hoping I’ll have the film within the next day or two.

Result:

I dont know why but I really love this little camera. I’ve enjoyed the challenge, the issues thrown up by it, and have gained immense satisfaction in getting it back into a working order. I don’t know if it’s the size or just the pure simplicity of having a picture to hand that is fully developed in about 15mins. The excitement of watching a picture form in front of your very eyes and even the fun factor is incredible. It’s what is needed in photography today, a step back to the 70s world of Polaroid, it’s true that back then they really knew they were on to something big, but I bet they didn’t think that it would now be having such a resurgence with the younger generation 50 years later. Instant memories preserved right in front of your eyes. The Japanese photographic industry, are so up there with modern photographic trends and demands. If only some of the now defunct big players such as Kodak who I used to work for, had gleaned such future insight, things may have been very different.

This unit as was stated earlier, is promised to a younger member of the family and that is where it will be going. I think I’m probably going to buy another damaged one to fix for myself, because I just love these little packages of fun and instant memories.

My film arrives within the next 24hrs and I’m really looking forward to getting some pictures taken.

Now all polished and cleaned and looking splendid.
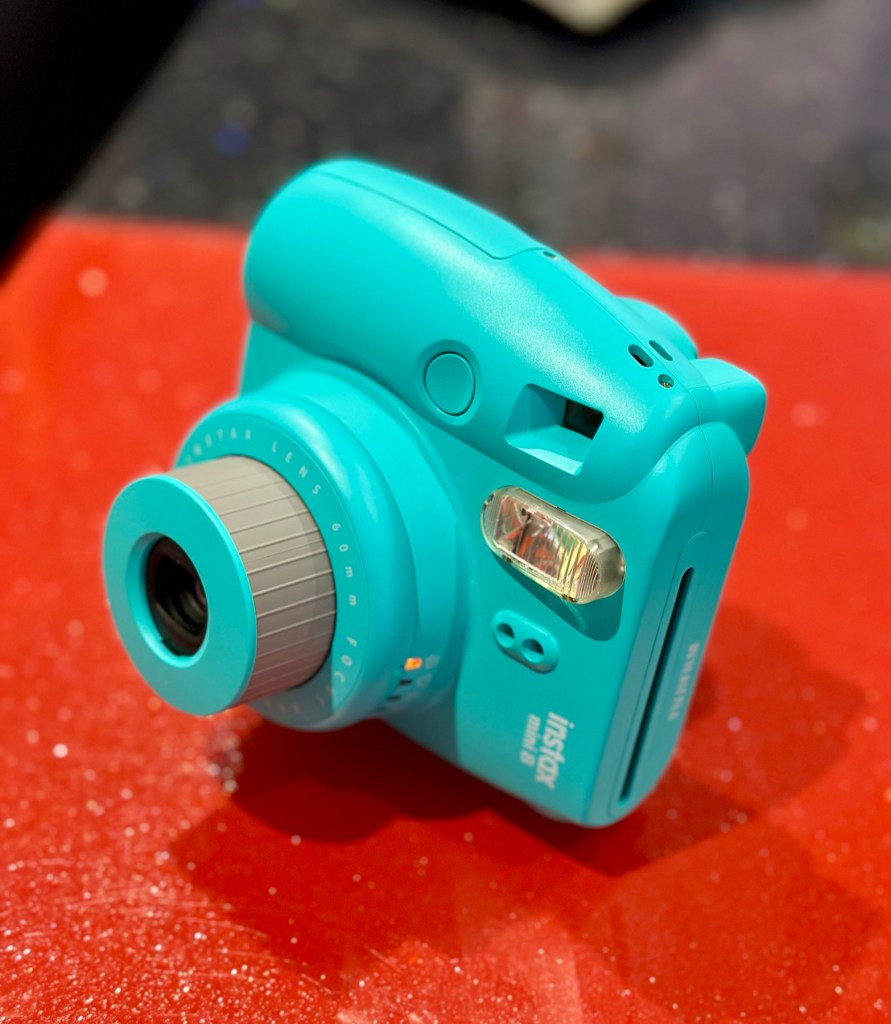
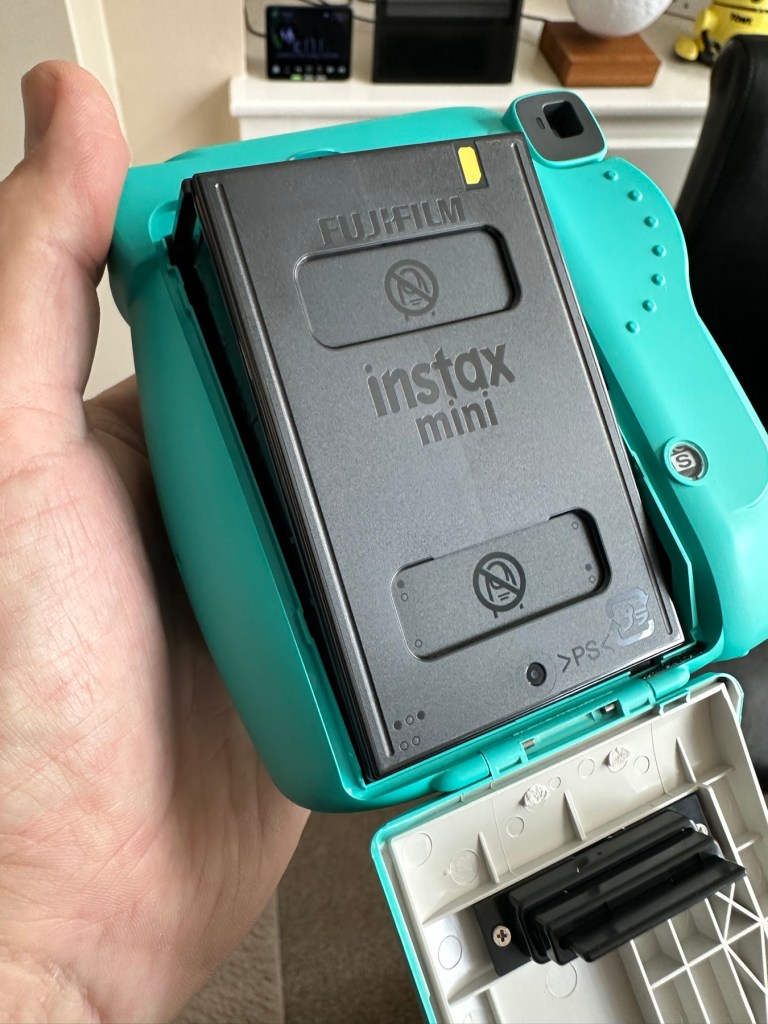
The film is here and I’ve put in new batteries and tested the unit prior to putting the film in. Anyway, film installed let’s take the first picture that will remove the cover off the film cartridge within.
Now to find some subjects without wasting too much film. Picture one was of another Instax camera i am working on, bit close to be honest but there is at least an image, the camera is working. Second one is in the corner of the kitchen this comes out well. Third one is of the feral cat “Tabs” who owns our garden. She wasn’t too happy that I’d disturbed her sleep but that said it was a good photo.

First three trial photos

Overall I’m exceptionally pleased with the results. Closer examinations shows some repeating white spots up the right side of the photos, no big deal but this probably points to some contamination on the film roller. I can’t clean this now without fogging the remaining film, so I’m happy to leave this until this cartridge has been used. I’m happy that this is the only minor issue after all the other problems this camera had.
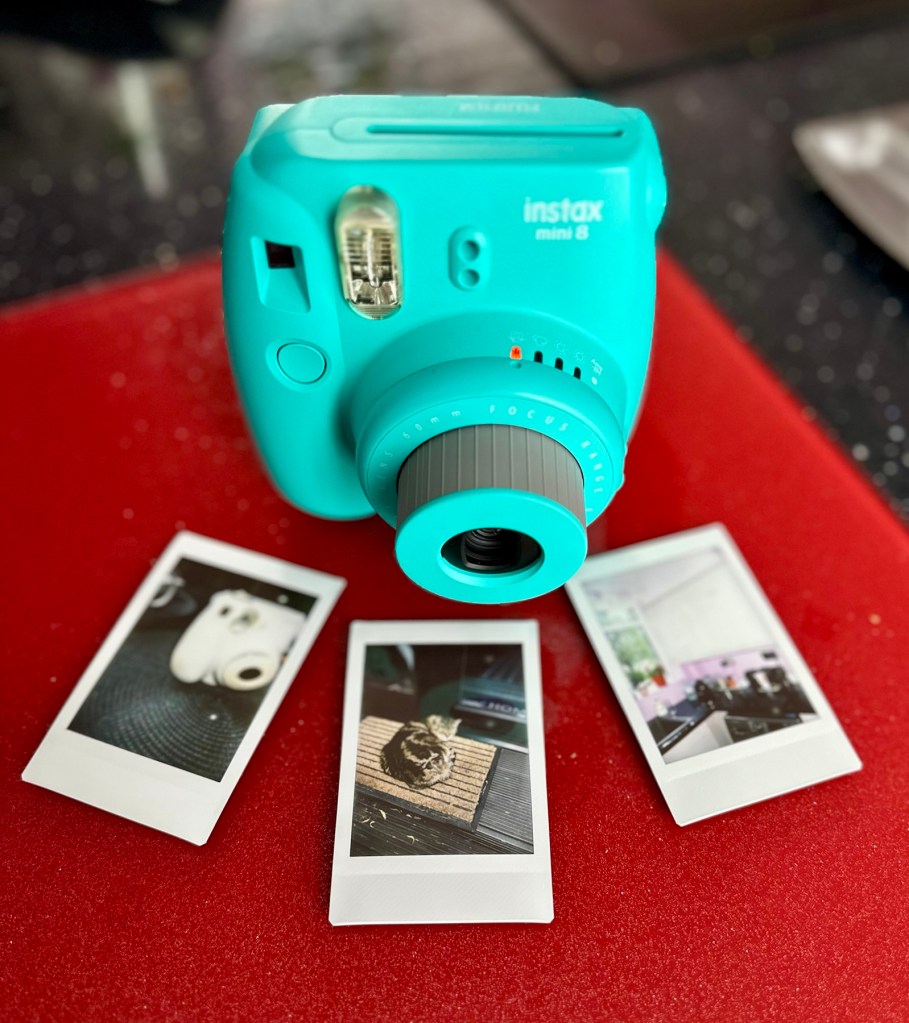
Working perfectly and looking great

Been a great little project that I have thoroughly enjoyed working on. These little units are great fun and the little lady that is going to get this camera is going to have a great time with it.

Another one of mass manufacturings victims, revived, and repaired and now facing a much longer and rosier future. Another one successfully kept from landfill. A winner in every sense of the word.

Many thanks for passing by, as always it is very much appreciated.
More cameras to keep me busy

Did I overpay?

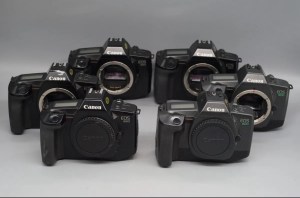
I have just purchased 6 untested ( probably the polite way to say totally useless) cameras from the late 80s.

I ended paying out the equivalent of £6:17(GBP) per unit. That’s inclusive of delivery and costs as well, not too bad really and if I can repair (if needed) I should still be able to move them on at a small profit. But I may also be passing these onto a local charity that teaches photography to youngsters and disadvantaged people in Leicestershire.

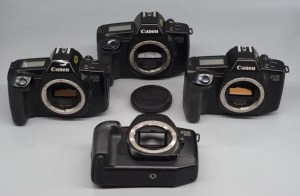
Canon Eos SLR bundle

I have purchased a job lot of Canon Eos 650/600 cameras from quite a reputable seller who specialises in old film cameras.

Canon Eos 600

I have 2 Canon Eos 600 units that date from 1989. These have motorised film advance and rewind, and are able to reach 5fps in one shot Af mode. Shutter speeds range from 30 sec to 1/2000 sec, with B mode. X-sync is at 1/125 sec. Powered by 1x6v 2CR5 lithium battery.

Canon Eos 650

I also have 4 Eos 650 units.

The Eos 650 is the camera responsible for the first photograph used on the World Wide Web when a photo of the band “Les Horribles Cernettes” was taken on 18th July 1992 by photographer Silvano de Cennaro.

This camera was produced in 1987 and was the first of Canons Eos (Electro-Optical System) ushering in a new era for Canon cameras. The shutter is electronic, vertical metal focal plane capable of 30 sec to 1/2000 sec exposures as well as having 1/125 sec exposure with a flash. Also powered by 1x6v 2CR5 lithium battery rated for up to 100 36 exp rolls.

Both types use the Canon EF mount.

I’m happy from the pictures and knowing the sellers reputation that these units are cosmetically tidy, fingers crossed they don’t need a great deal doing on them but you never know. When they arrive I will do an assessment of both cameras and create a post accordingly.

Until then stay happy, stay safe and take care.

Neat little trick – Viewing negatives on a smartphone.

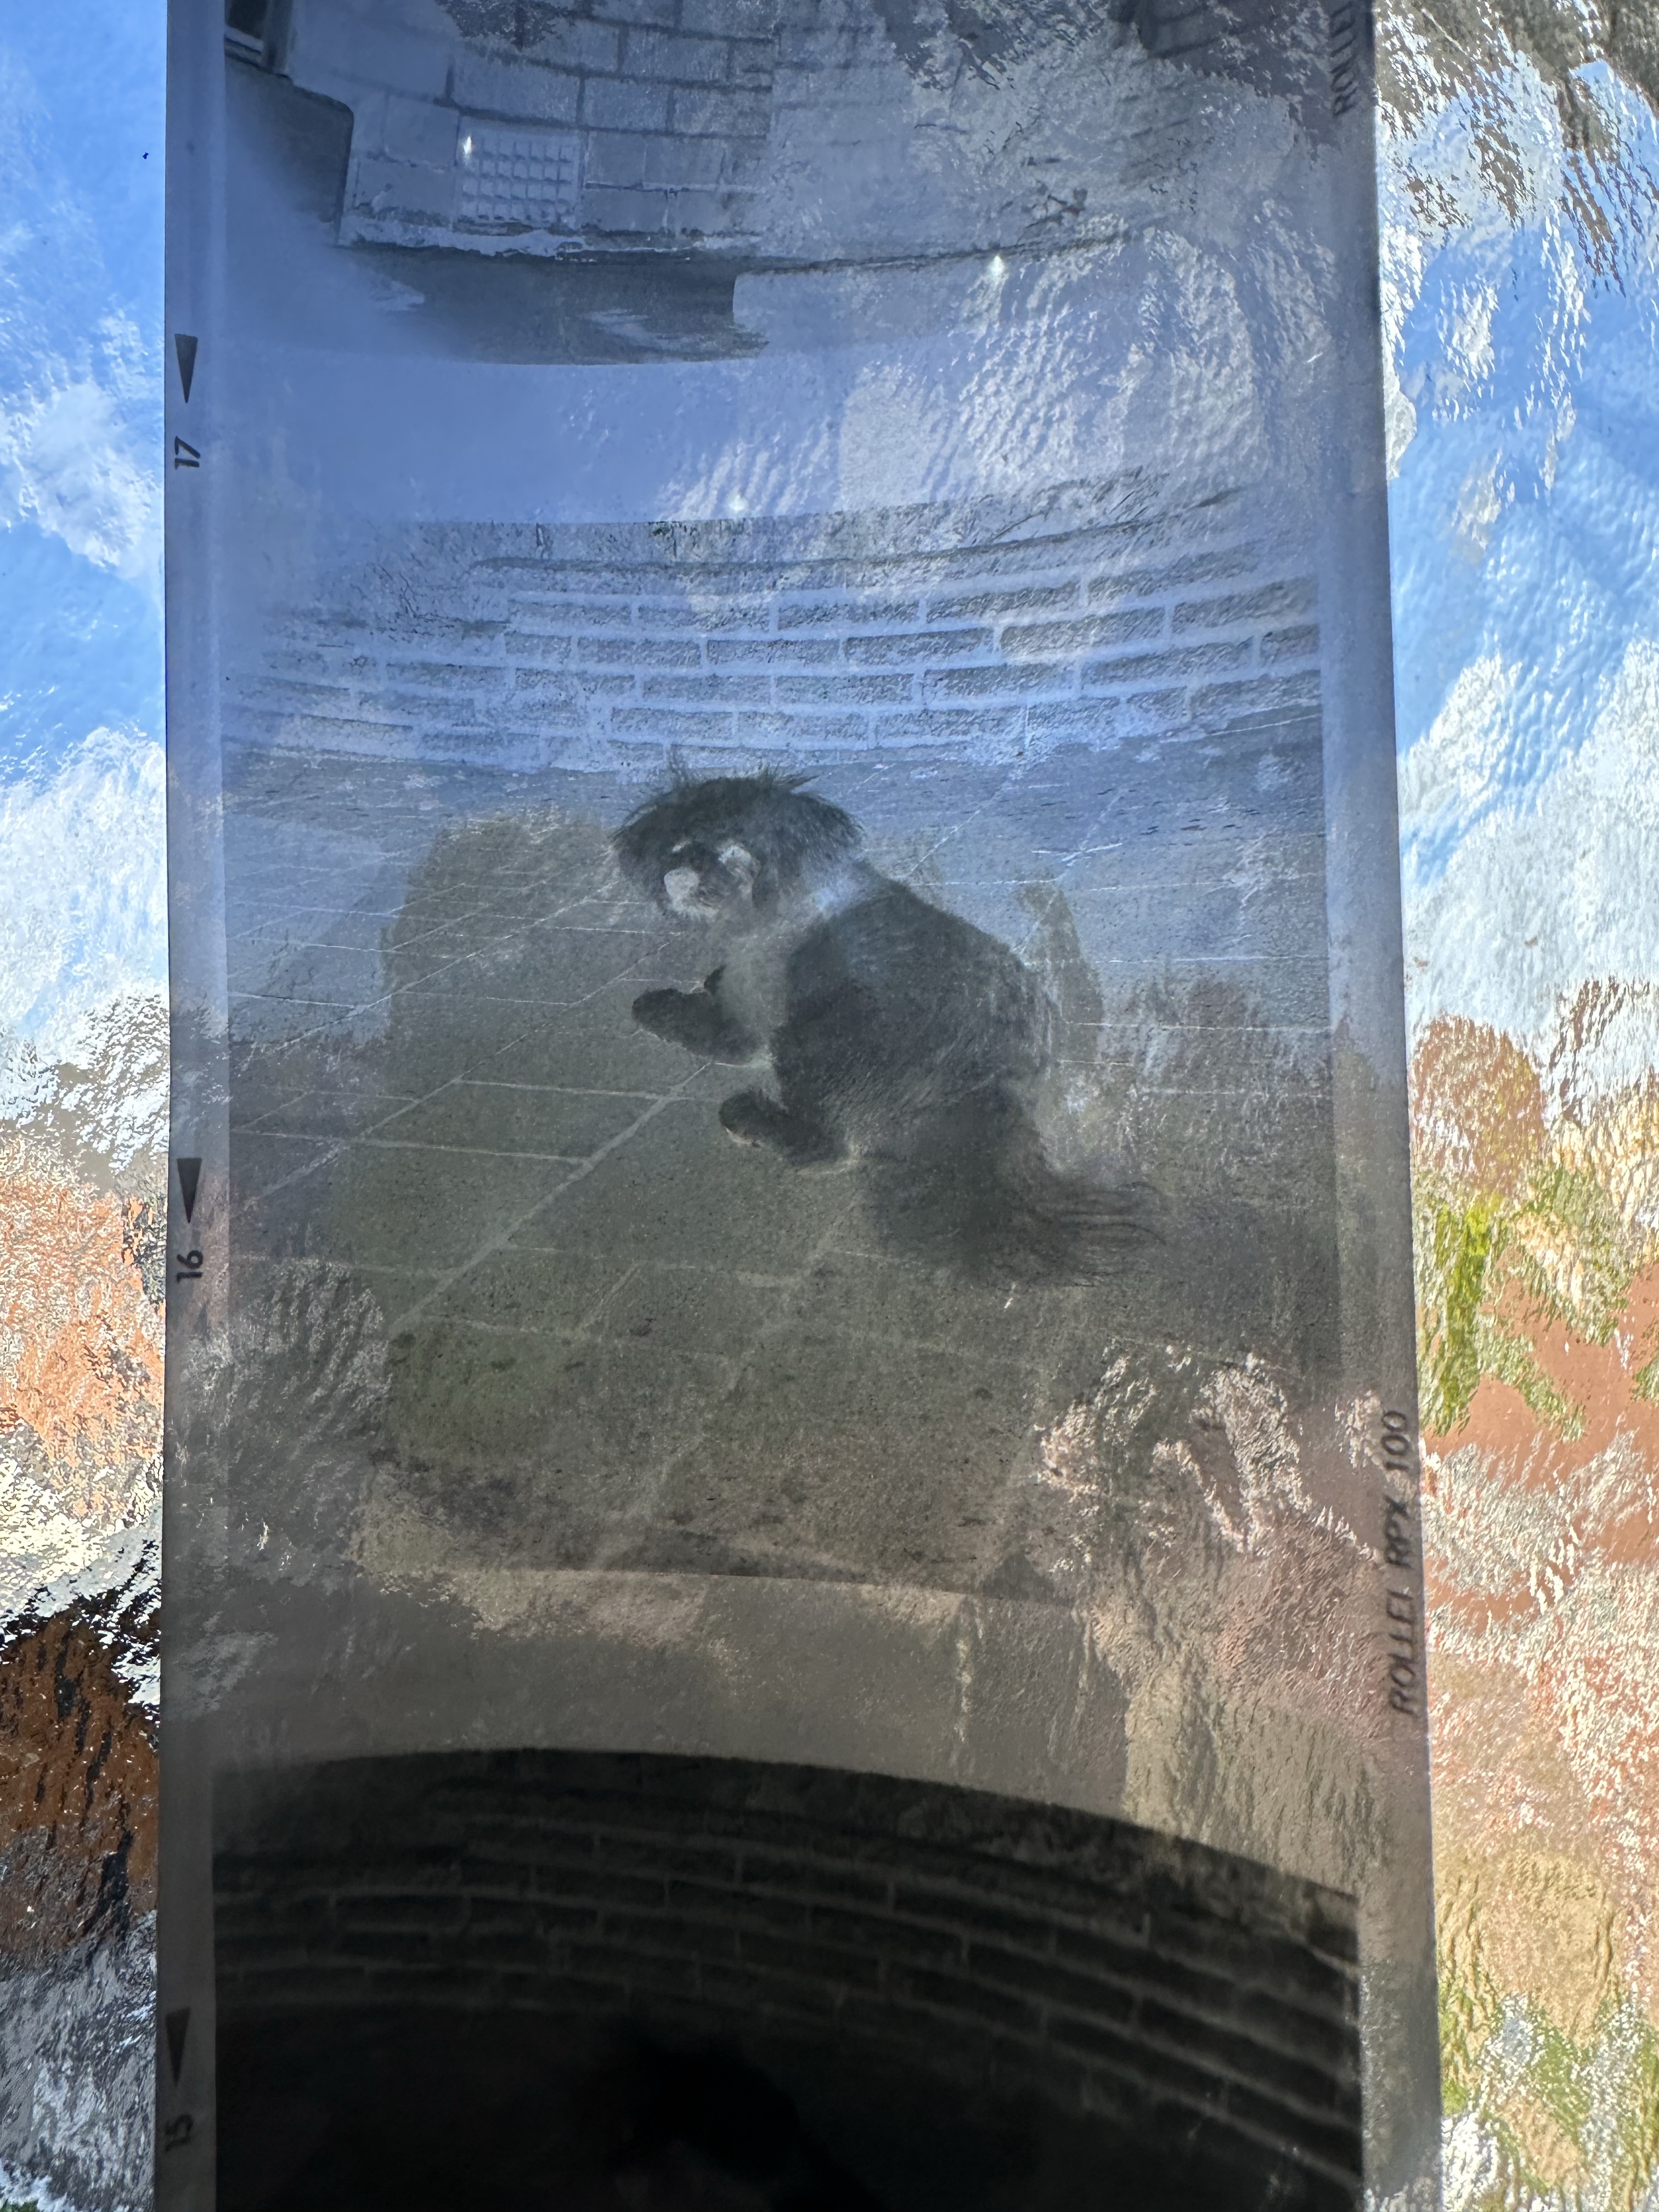
Following on from yesterdays post regarding fogging on negatives. If you remember I’ve lost the mask for my scanner so I’m currently unable to utilise this service.

However I had some time and took to the internet to find out if there was a way to view in the short term until I found the mask for the scanner. It appears the phone you have in your hand can more than likely do the deed without having to down load any apps.

Now I have an iPhone, however the same is also available on Android but I’ll stick to the iPhone route. It’s all about inverting colours

Firstly venture to settings, Accessibility, Accessibility shortcut and then choose classic invert. A tick will appear by your choice and then just come back out to the Home Screen. Now every time you triple click on the side home button the screen colours will invert.

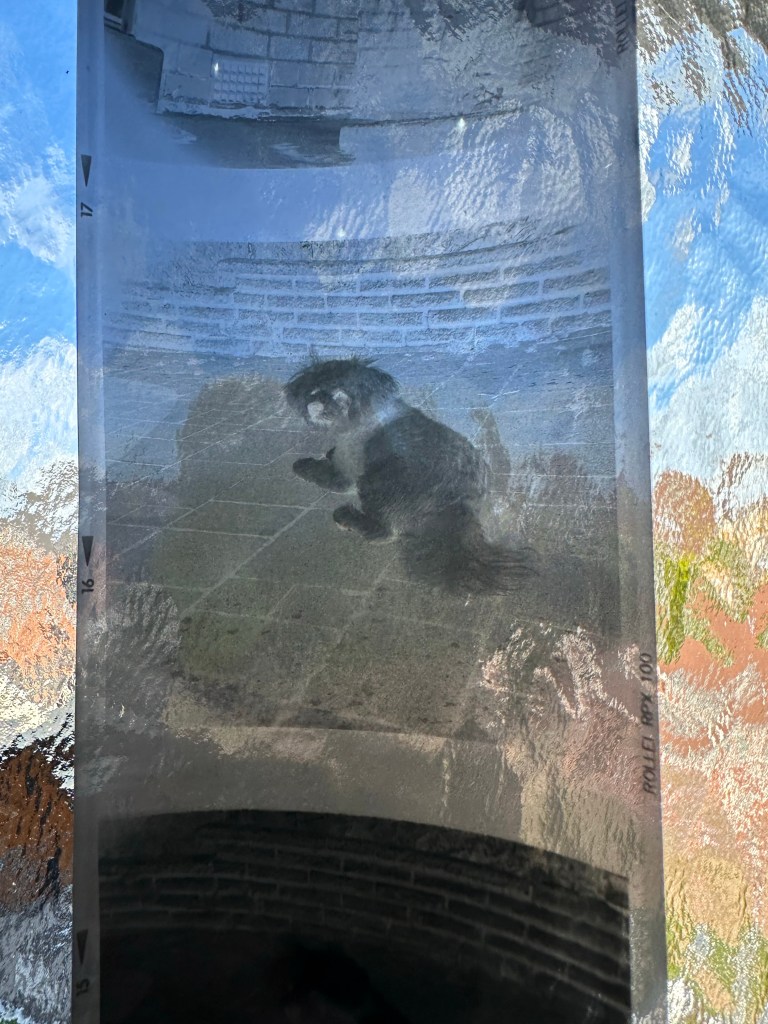
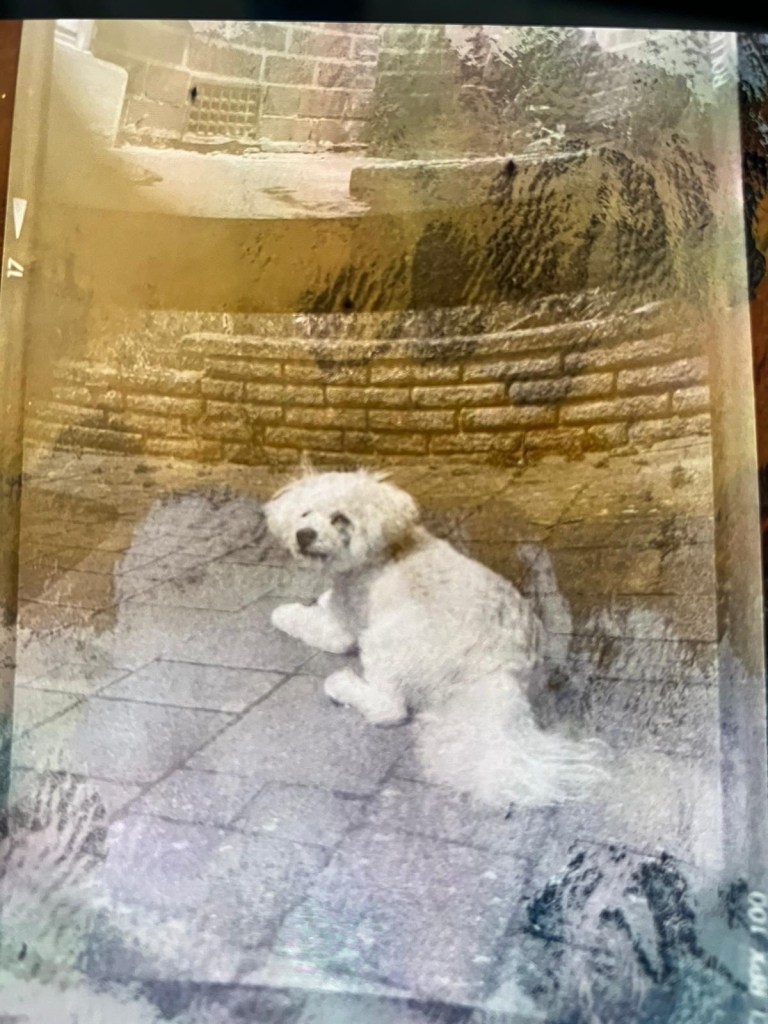
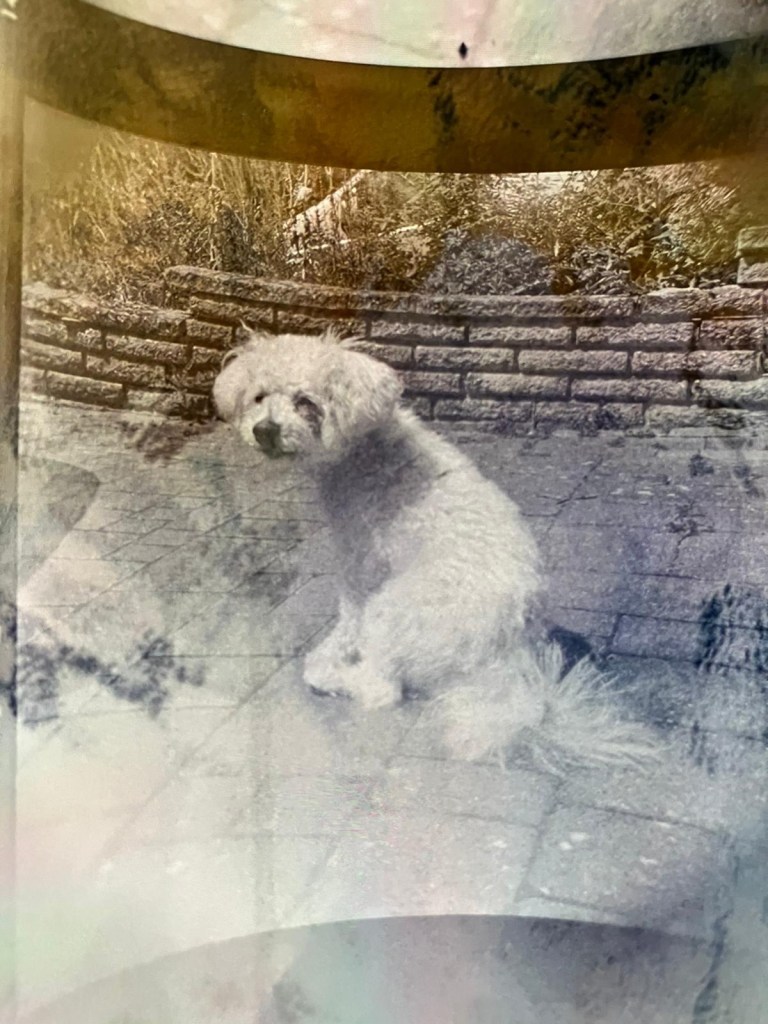
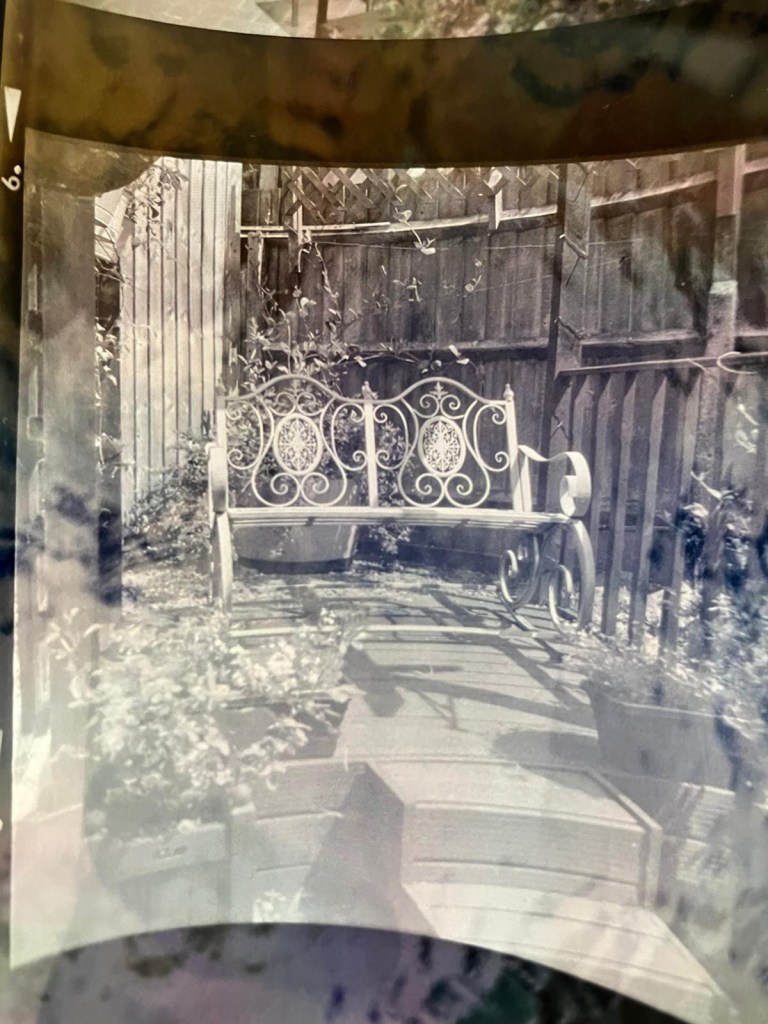
Now if off you triple click again the colours go back to standard. Well I’ve tried this on the same negatives above from yesterday and it gives you a good idea of what you are going to get. These pictures are direct inverts of the negatives at the top of this post with no cropping or adjustments, I just wanted you to see the possibilities you have available to you in your hand. If you use a light box and some glass I’m sure you’d get quite acceptable results.

Great little tool for those old negatives you have laying around that you were thinking of getting printed but weren’t quite sure.

Have a lovely day, thanks for passing by.

Halina A1 Reflex – Test roll, it’s foggy out !

Hey hey, I’m back. Well, after my previous rant I thought it best to get back to normal or as normal as can be achieved so here we go.

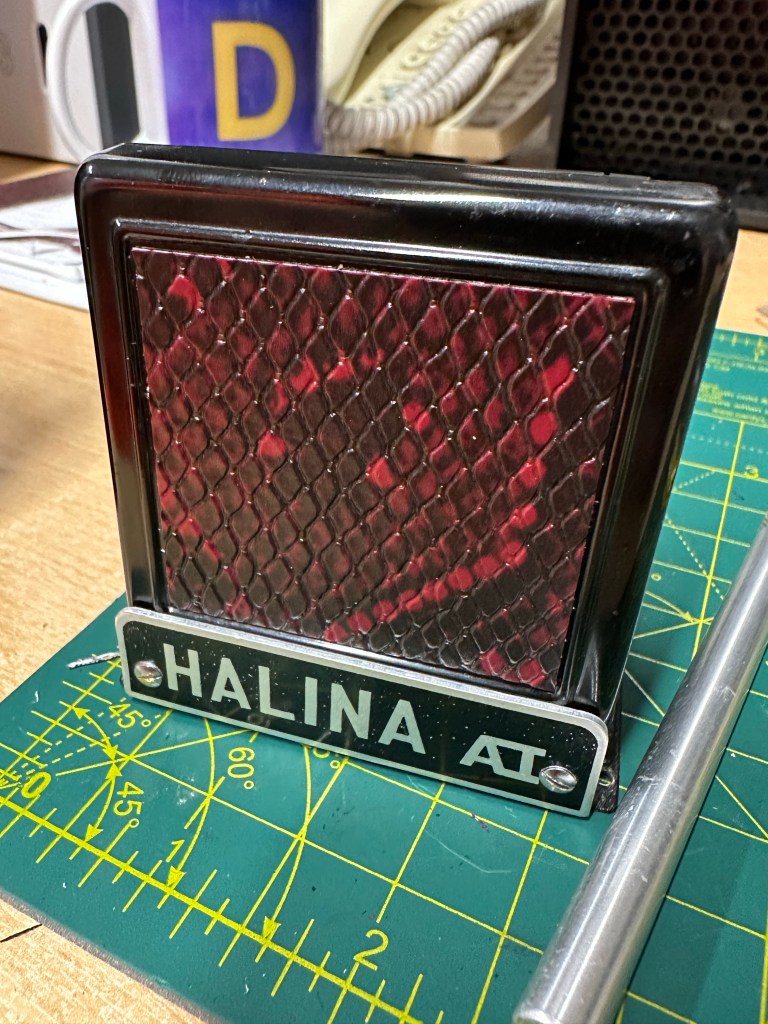
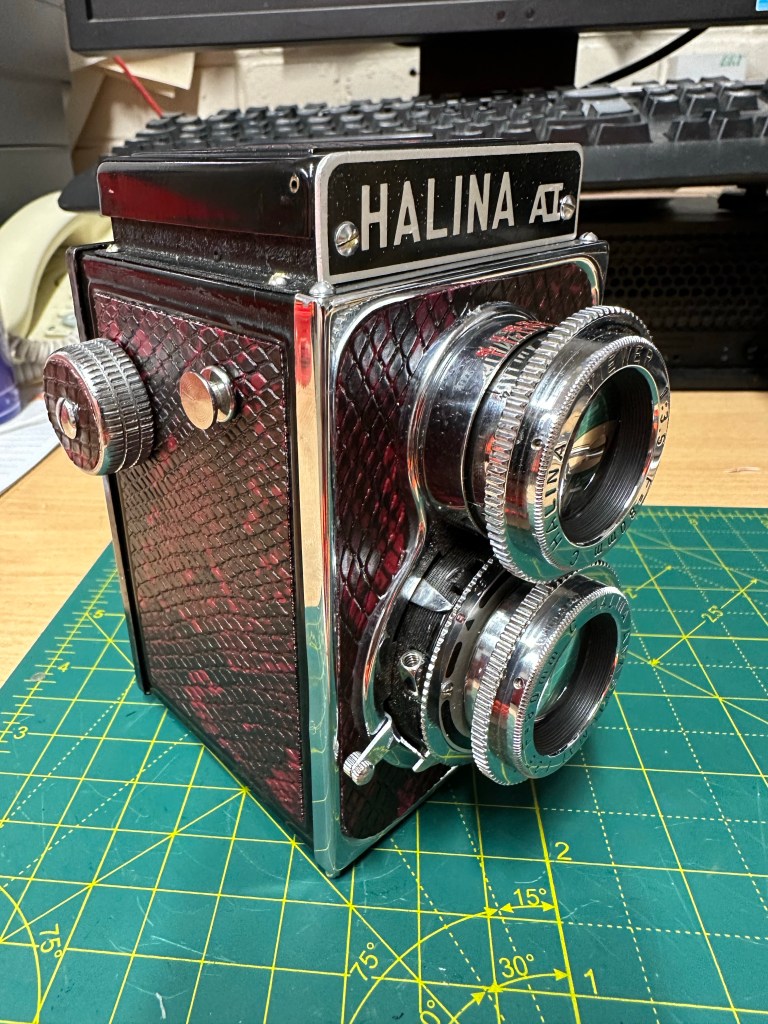
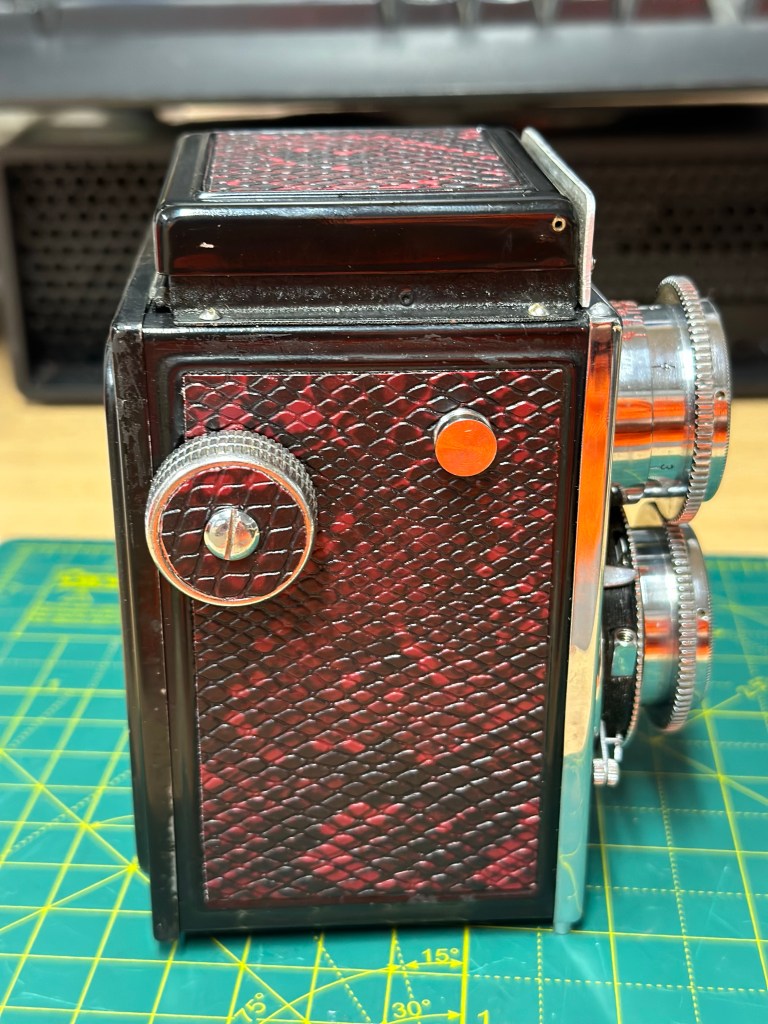
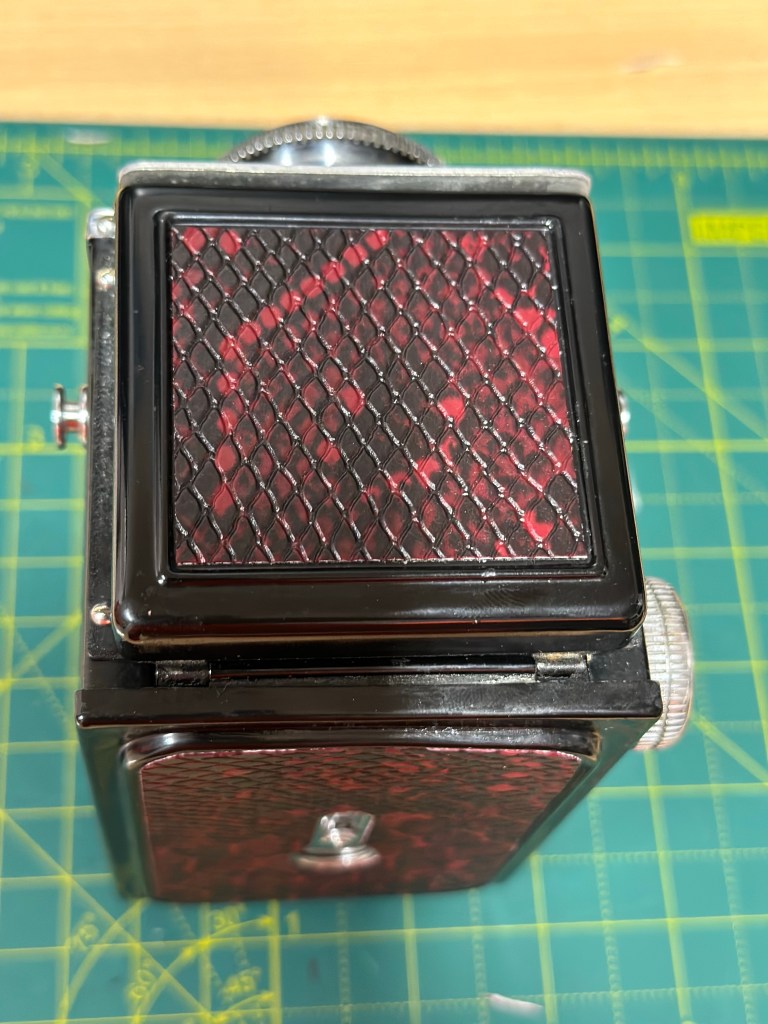
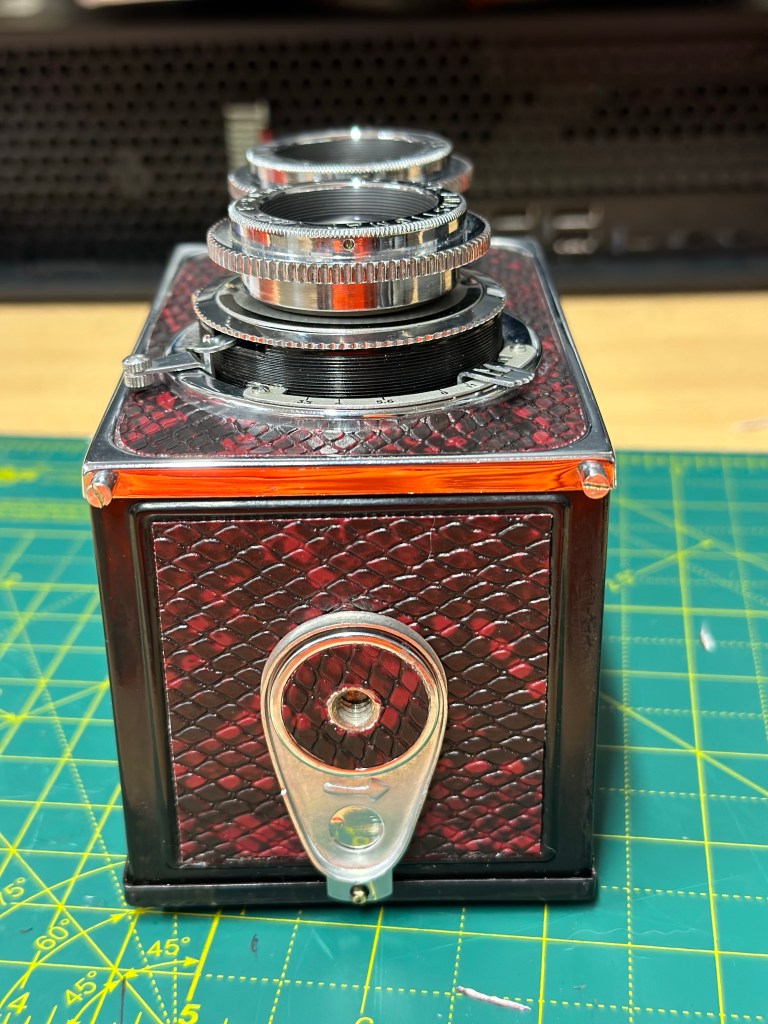
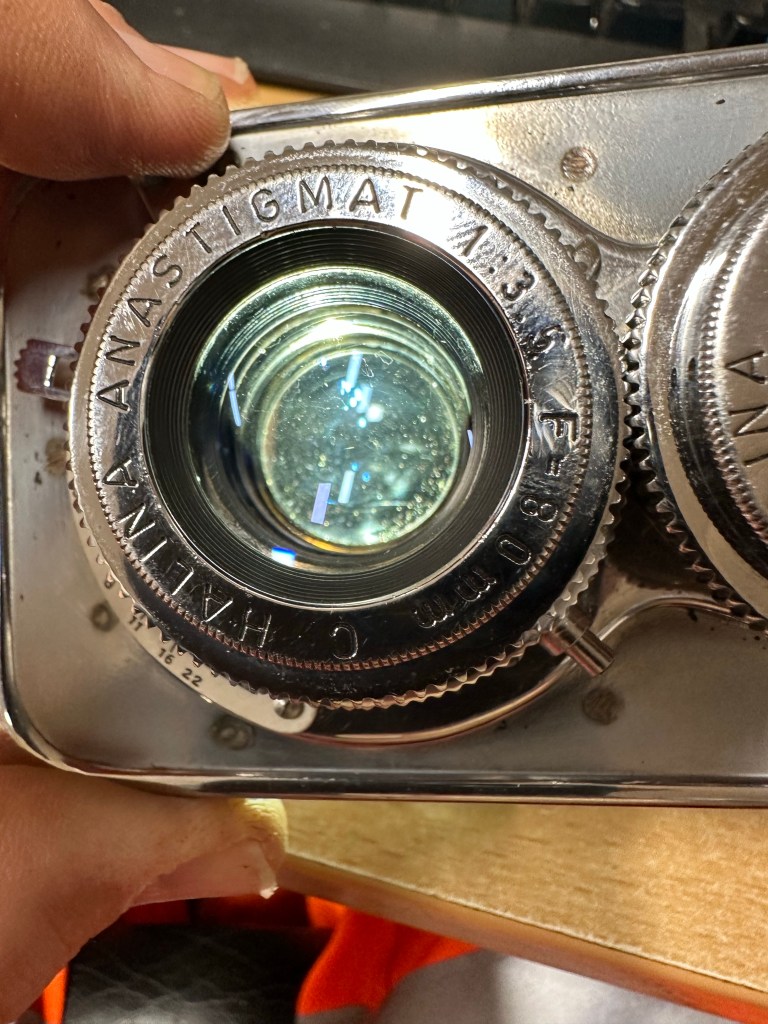
If you remember a few posts back I took on an old Halina A1 Reflex cheapo camera from the 60s. It was in a bit of a state and had seen better days. It had a full refurbishment with lens fungus removed, shutter mechanism repaired and a new leatherette finish put in place to tart it up. It looked quite nice and I was quite pleased with the outcome.

Halina A1 Reflex and exposed 120 film

However that is all well if you want to use it as display piece or a bookend, but I wanted to see it work.

Over the last few weeks I’ve had a roll of 120 B/W film (Rollei 100 RPX) sitting in it using it once in a while whenever the weather was right, and light conditions sufficed. Seeing that I’d replaced the light seals I wanted to check whether there were any issues there and as a result of todays development of the roll this could be an issue.
Paterson tank

When exposing I’ve forgotten to wind on a couple of times, but in general i seem to have got it right. The wind on is ok and the displays in the window are visible. Barring some double exposures the settings on the lens seem to have done their job, I seem to have set both lenses up correctly so I’m happy with that.

The film has an over all visible darkness that points to fogging. I think I might be responsible for this to be honest, I was a bit too impatient to get the roll loaded into the Paterson tank, I had a duvet over my head but the strong summer light was evident for the first time in ages in the East Midlands, and I shouldn’t be able to see the developer spiral….but I did briefly. Not good.

That being a problem I really do need to run another film through the camera to 100% check the light seals and then develop in the appropriate conditions.
I was silly here but another lesson learned. Be patient, don’t rush things and just do things properly.

I’m pleased the camera works, I’ll be able to get some pictures off the negatives and what I can see through a Lupe looks promising.

My 120 mask on my scanner has gone missing, so the pictures might be a little while before they make an appearance. I have another roll of film though so I’ll get that in the camera this week and get busy, and when it’s dark I’ll develop the film….properly

Have a wonderful day everyone thank you for passing by, stay safe and smile it uses less muscles than a frown 😂

Minolta Dynax 5000i – Dead in the water

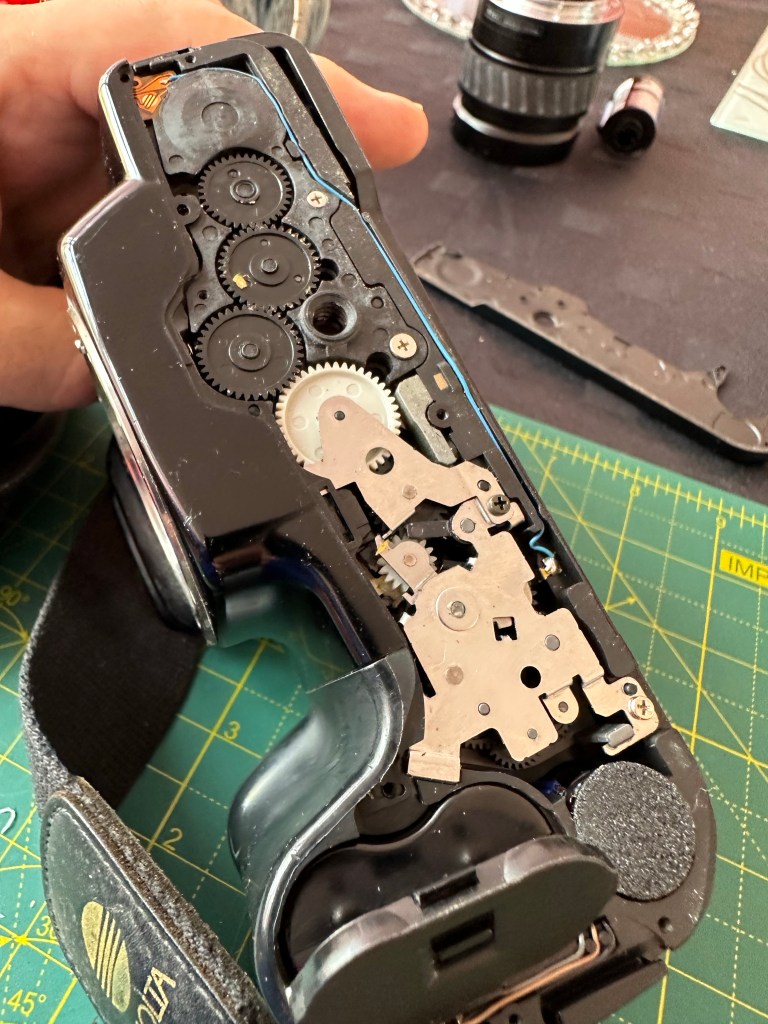
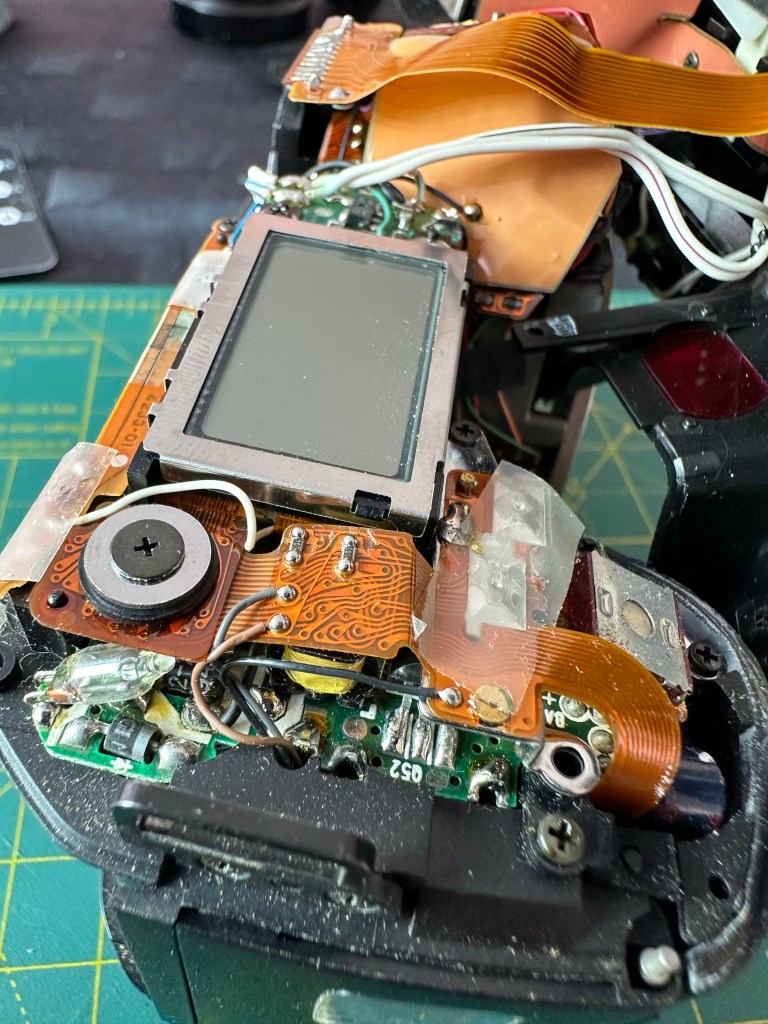
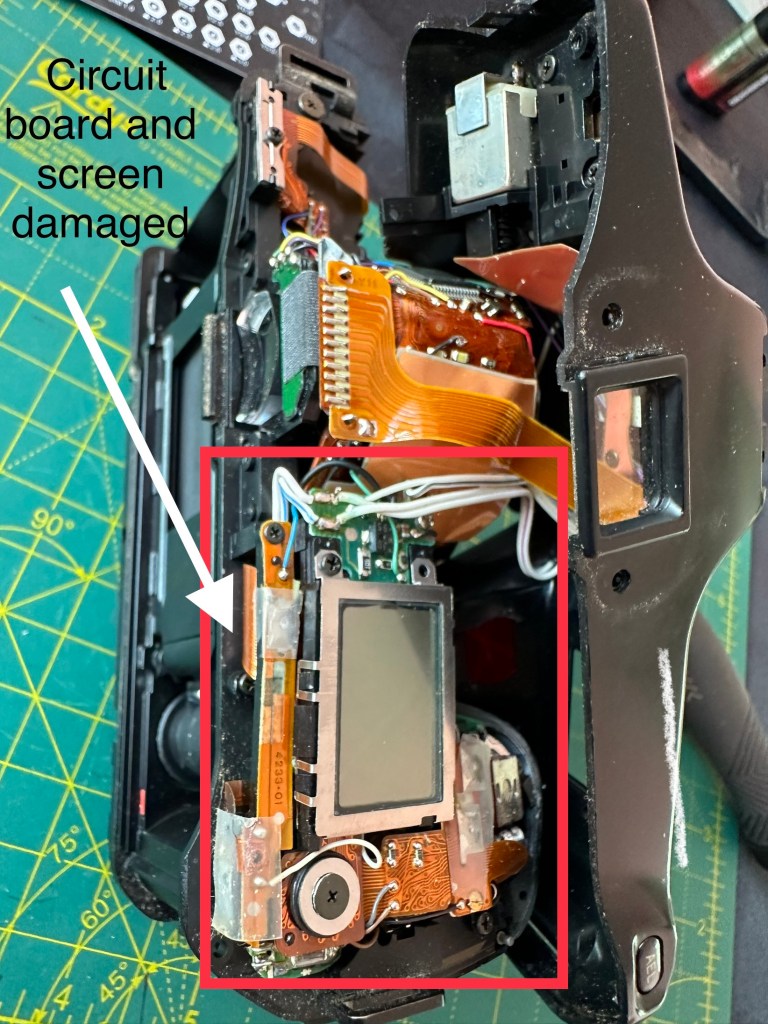
Well that’s annoying. I’ve stripped down the Dynax 5000i and found a terminal diagnosis for the power PCB and display screen.

There is a short circuit, severe corrosion from an old battery as well as the display screen being damaged where some of the fine contacts are destroyed rendering the unit useless at this stage.

Ok. I can strip down to individual parts, gain another 150 or so new screws and some parts that I may be able to use or sell on – or I can be a total numpty. I’ve decided to head down the numpty route and purchase a donor camera to repair this one. I’ll still get a load of spare screws following this route.

Faulty board and screen

I’ve purchased a unit, it has cost me next to nothing and fingers crossed I can get one of them working and gain some spare parts for future use. I didn’t really want to pay out more but I take issues like this as a challenge and I’m committed to get this up and running.

My wife calls me gullible, what would she know bless her 😂

I’ll let you know exactly what arrives when the postman pays a visit.

Stay safe 👍

Halina A1 Reflex – New Leatherette

Today I watched a program on TV and a guy actually restored an old camera, he fitted some new leather to an old Kodak camera and it seemed relatively easy. Now I always try to do things the difficult way and look for perfection in every thing I do, that’s my down fall at times as I can sometimes set my personal barriers too high. Perfect is good but not always achievable, sometimes you just have to do your best, what more can someone ask of you?

What I’m getting at here is that this is a task I have been putting off, putting more time into planning what I’m going to do rather than just getting on with it. As I’ve stated a number of times on this blog, you only learn by your mistakes and as this is my first time doing this task, I’m just going to do my best and learn – knowledge is king 👑

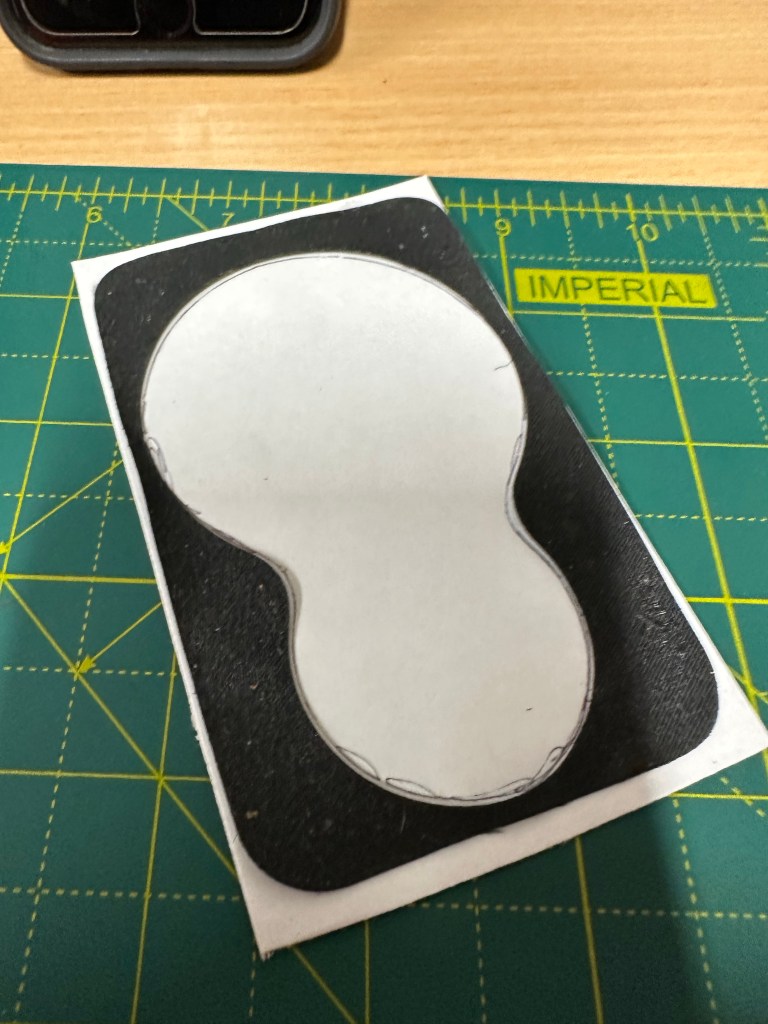
After removing each old worn piece of leather, I made a template. Using a glue stick I was able to position the templates on the leatherette trace around it and then cut out using a craft knife and scissors.

I shouldn’t have worried as the whole process went really well, the leatherette was easy to manipulate and cut well. The one learning point is that in the future I will source a punch to do the circular pieces that went on the external wheels as it’s a bit cumbersome trying to cut perfect circles with scissors, though not impossible.

I am really pleased with the new leatherette, it’s totally changed the look of the camera. The fact it is clean and lenses are functional and shutter works as it should is testament to the hard work I’ve put into this camera. I plan to run a film through it shortly as I do have a couple in the fridge at home for this purpose.

Today I’m looking at cleaning the case and polishing it up. I doubt I will do much more than that and then I can put this project to bed. Once the case is done I will put final pictures up here on the site.

A quick run through….

Once again thanks for dropping by. You know it’s greatly appreciated 🙏

Minolta Dynax 5000i – Not working

If you remember back a couple of weeks I had this camera given to me by a family member. Not used in about 20 yrs still had a film in it as far as they were aware there were no issues with it.

I beg to differ…..

In lay man’s terms I think the term that should have been used is that it’s knackered (not working, kaputt a non existent camera)

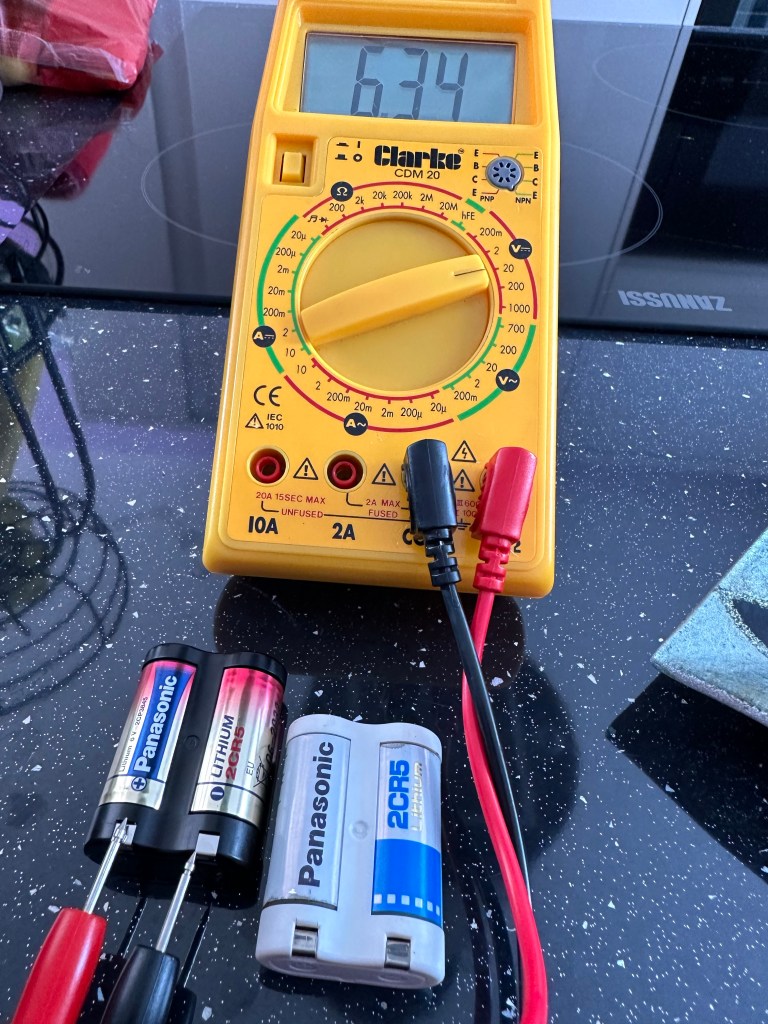
I purchased a new 2CR5 6v Lithium battery from a well known supplier named after a rain forest. Motor buzzed, but no display or any other operation was available, first thought was to test the battery was not a dud, using the multimeter I proved this was not the case compared to the old battery.

So. What to do?

General census of opinion is to ditch this as mass produced tat and get another one on eBay for a couple of quid, the electronics are a known issue for many models of cameras from the 80s.

However, this site is not about just dump and run, I’m going to dig in and look to see if I can remedy the problem. I like a good electronic problem and hopefully I can sort this. If not, I’ll recycle the parts I’m definitely not throwing it away.

It’s a learning opportunity, and knowledge is king.

Thanks for passing by. You know it’s always appreciated 👍

Halina A1 Reflex rear door repair and new light seal

Just a couple of little jobs tonight.

The loose hinge on the rear door has tonight had a two part epoxy resin glue put on it and is clamped for the next two hours to ensure it is sufficiently secured for usage. Fingers crossed this should work.

Door hinge repair

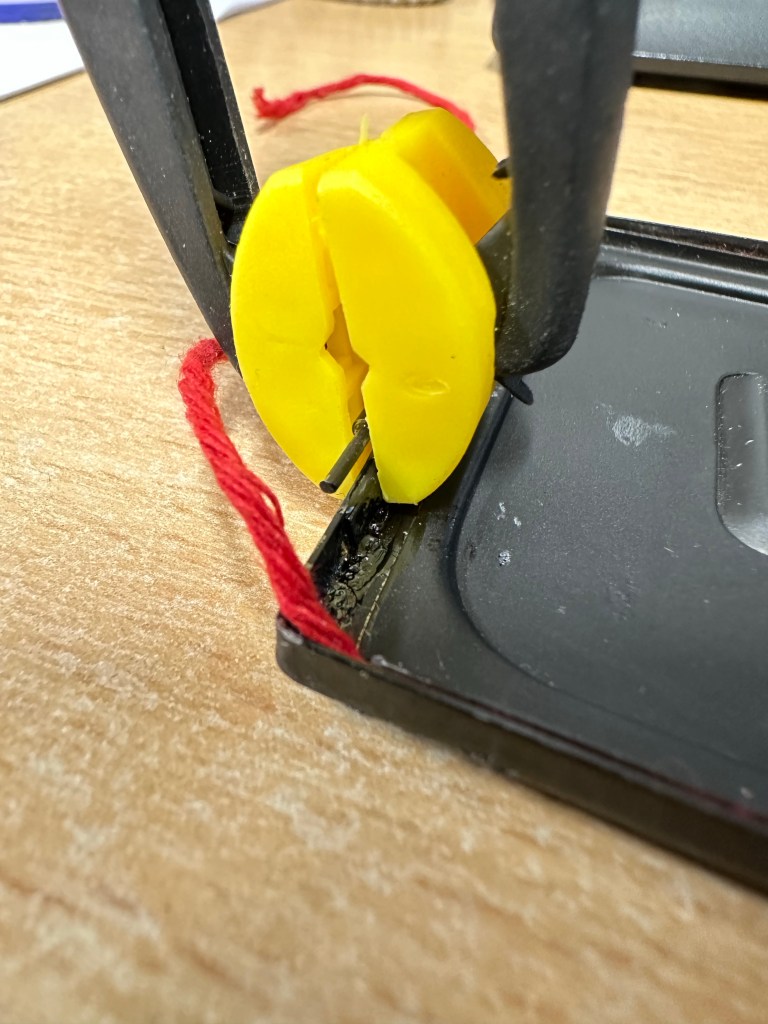
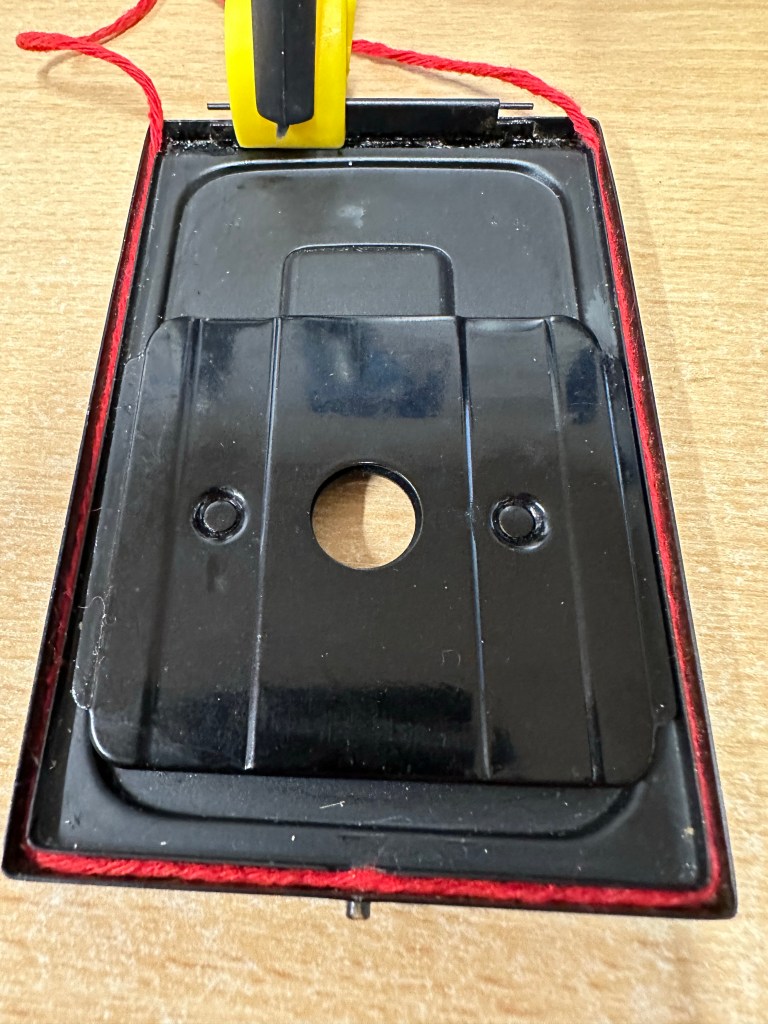
Also the original light seal on this camera was simply string. It was black originally but seeing I have no black available and in the interest of recycling what I already have I have replaced, in keeping with the original design like for like. Yep it’s red but it’s not going to be seen anyway, is more than up to the job and the new skin will have red on it anyway so it will be complimentary in that aspect of the renewal.

I don’t have anymore to do tonight, if this all works out well and the hinge is sufficiently strong enough then I can start reskinning and reassembly.

Thanks for popping by, always appreciated 👍

Halina A1 Reflex fungus clean

So tonight I have brought my smallest set of screwdrivers and other tools in to work to continue work on the old Halina project I have been immersed in. Tonight between jobs I intend to deal with the fungus issue on the taking lens.

I have previously removed the camera faceplate and the two lenses are connected to this. On the rear of the faceplate is a brass connector that when removed allows you into the back of the taking lens into the shutter curtain and aperture curtain.

This allowed me to dry clean as such both curtains and I used a little graphite dust (tiny tiny proportion) to lubricate both curtains and finally after many years allowing the shutter to work as it should. A good blow with some compressed air dealt with any remaining dust.

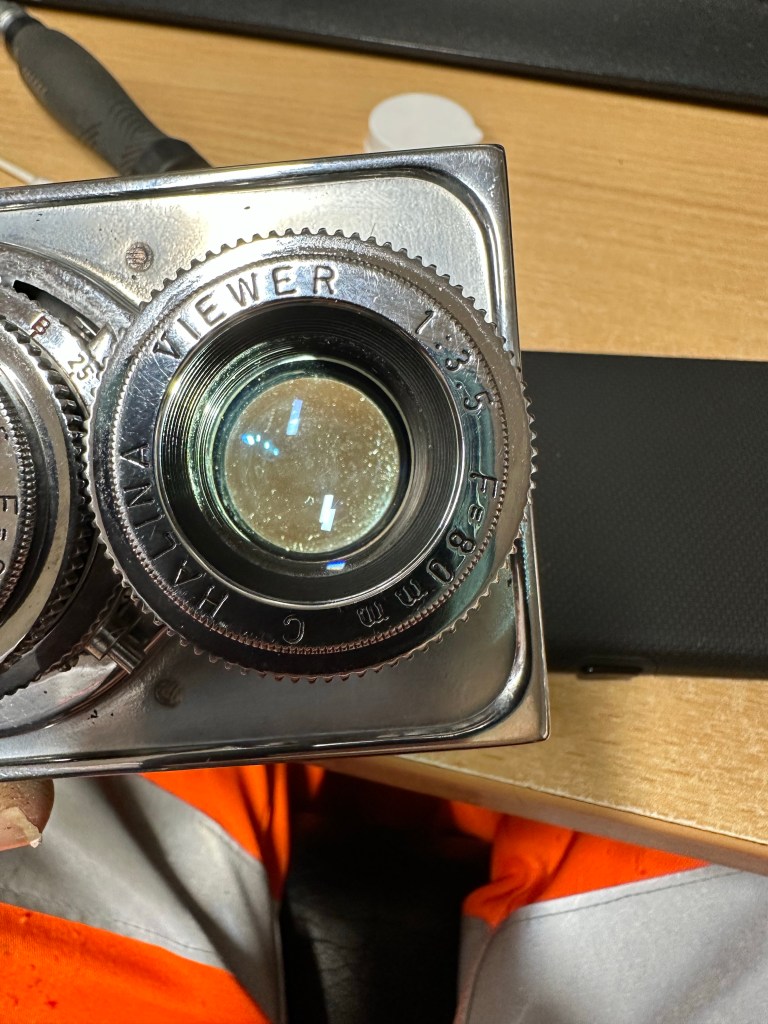
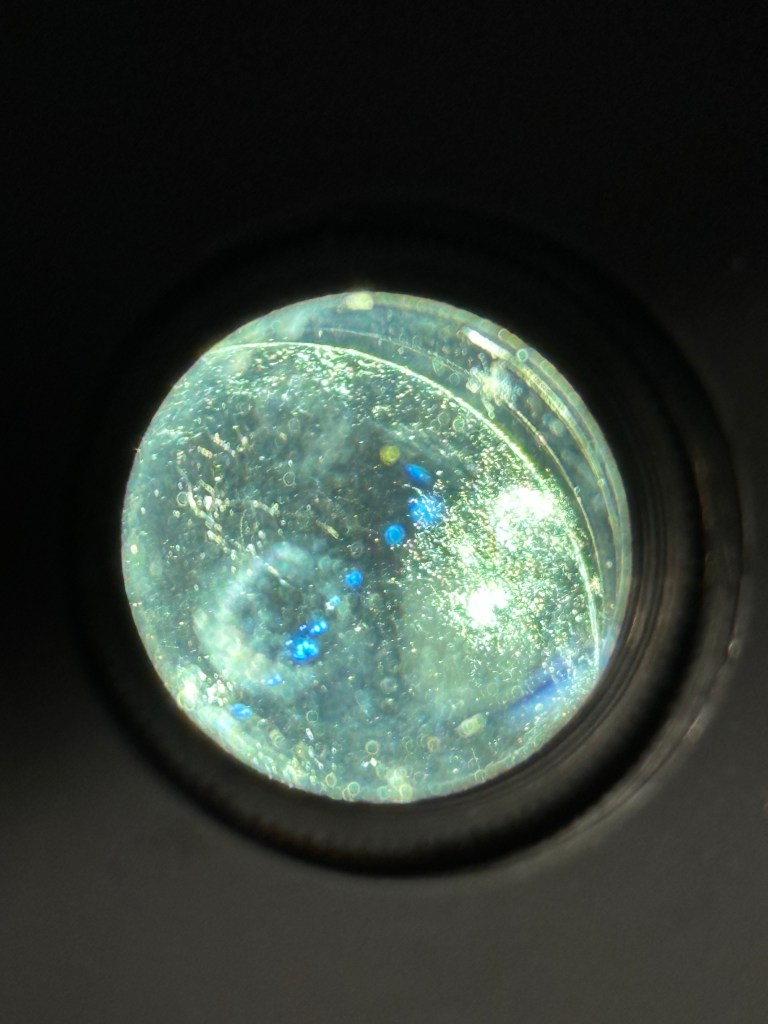
With the setting on “B” I was able to access the lens element in front of the curtain, this was cleaned with a 50/50 mix of peroxide and distilled water to remove the offending fungus. I allowed this to dry and lightly polished the element with a cotton bud when dried. Again compressed air was used to finish.

I repeated the above for the other two elements of the lens (this is a three element lens) and then did the same with the viewing lens.

When reassembling it’s important to ensure the elements are fully dry. The elements were all wiped over before reassembly and given a last blow prior to being resealed and checked with a bright light.

Fungus removed from Halina A1 Reflex

This was the job I was most concerned with but thankfully it went well and I am pleased with the outcome. The fungus issue has now been eradicated and hopefully it will stay away. Just a couple of little jobs to do now prior to reassembly of the camera and we can then put the new leatherette on the body.

Thanks for passing by, always appreciated 👍

Halina A1 Reflex paint touch up

Working tonight, and between jobs I’ve managed to do a few of those little tedious jobs that still need to be done on this camera.

I’ve cleaned pretty much all the parts again, used some isopropyl to really get the old ingrained dirt away and have retouched with either a gloss or Matt paint depending on what part of the camera needed touching up.

I’ve also replaced some light seal and still have a bit to do on the roll film door. I’ve also reassembled the mirror assembly after each little part of it has been thoroughly cleaned.

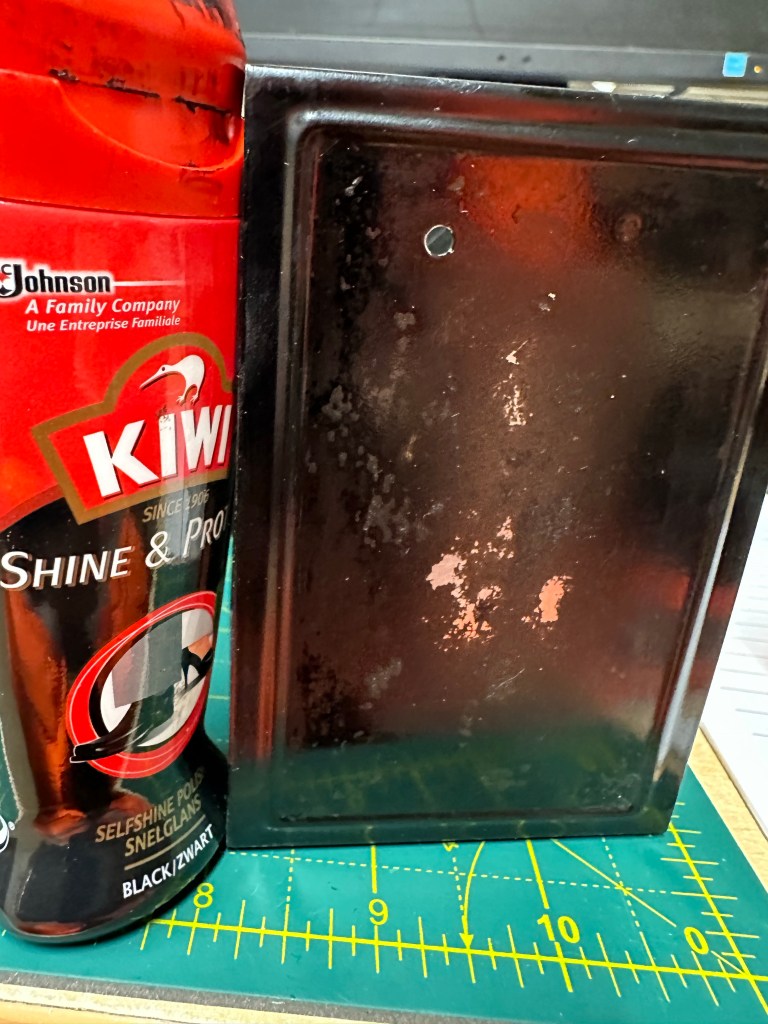
The smell of age that has always been an issue with this camera continues, however I have had a bit of a breakthrough today with the camera itself, it’s a strange one but it seems to work. Once the painting has been done I’ve used a cloth soaked in black shoe Polish to coat all metal areas of the body. Once this dries I buff up with a dry cloth and hey presto not only does the retouched paintwork come up lovely it now has a polished smell that has taken the dank smell away from the bodywork. Hopefully fingers crossed this can be used to combat the years of damp smell that has accumulated on this piece.

Finally I have taken every shiny piece including screws and cleaned these as well, I must say the cleaning works and these parts have all come up lovely.

The case still needs attention, I’m fighting years of damp and staleness with that and hopefully will have an acceptable solution for it soon.

I still have to get into the lens and sort the fungus issue out, there is a hinge on the roll door that needs fixing and I then need to use the templates I created last week to cut out the new leatherette for the camera. Still a small amount to do, but I hope to be able to reassemble very soon.

Have a lovely day and thank you for passing by.