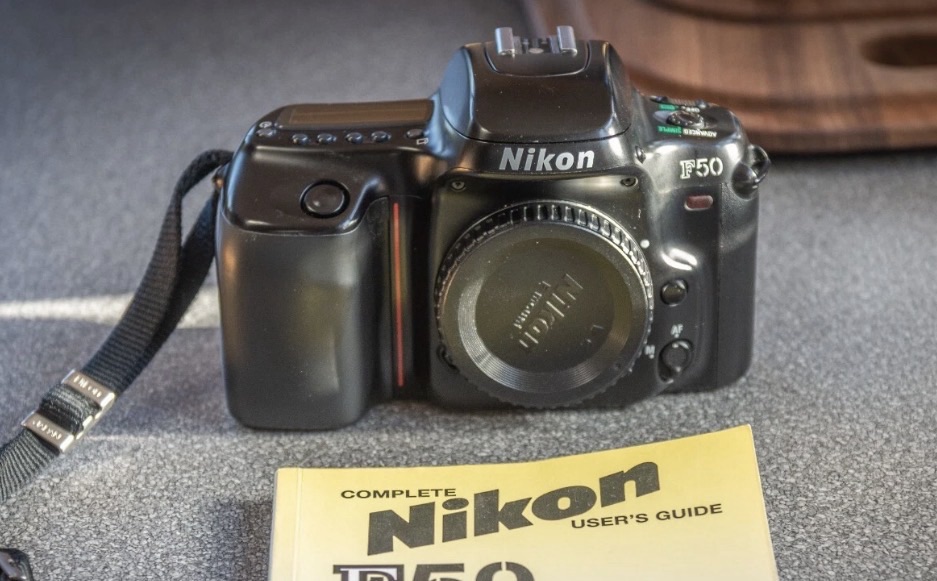
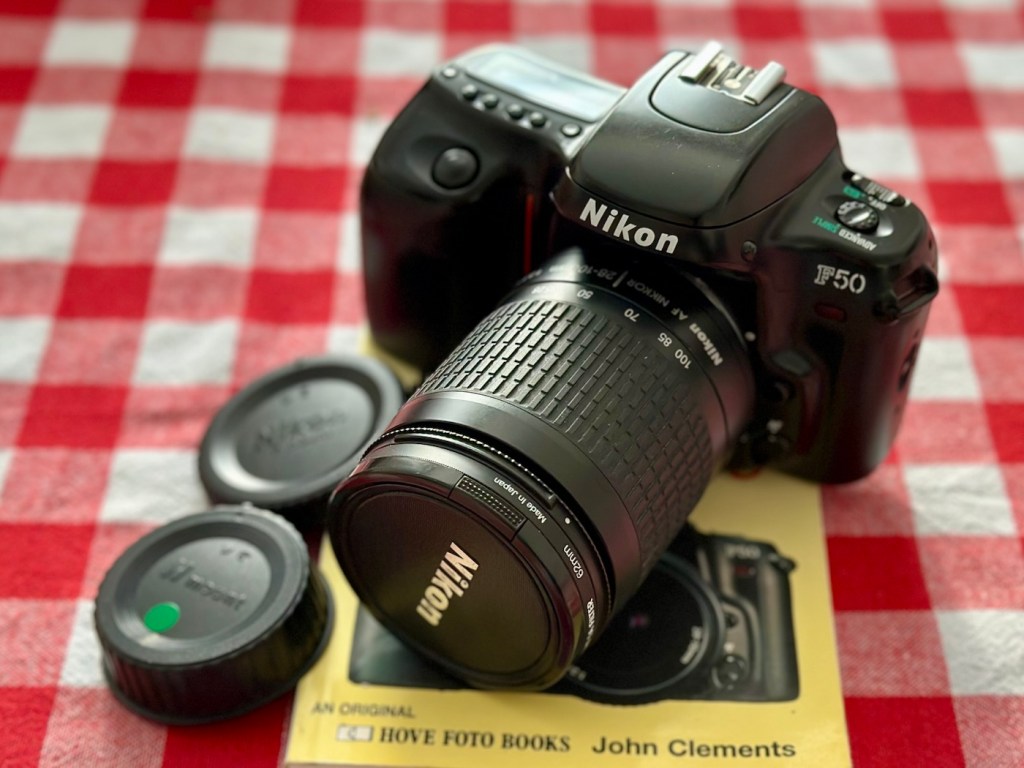
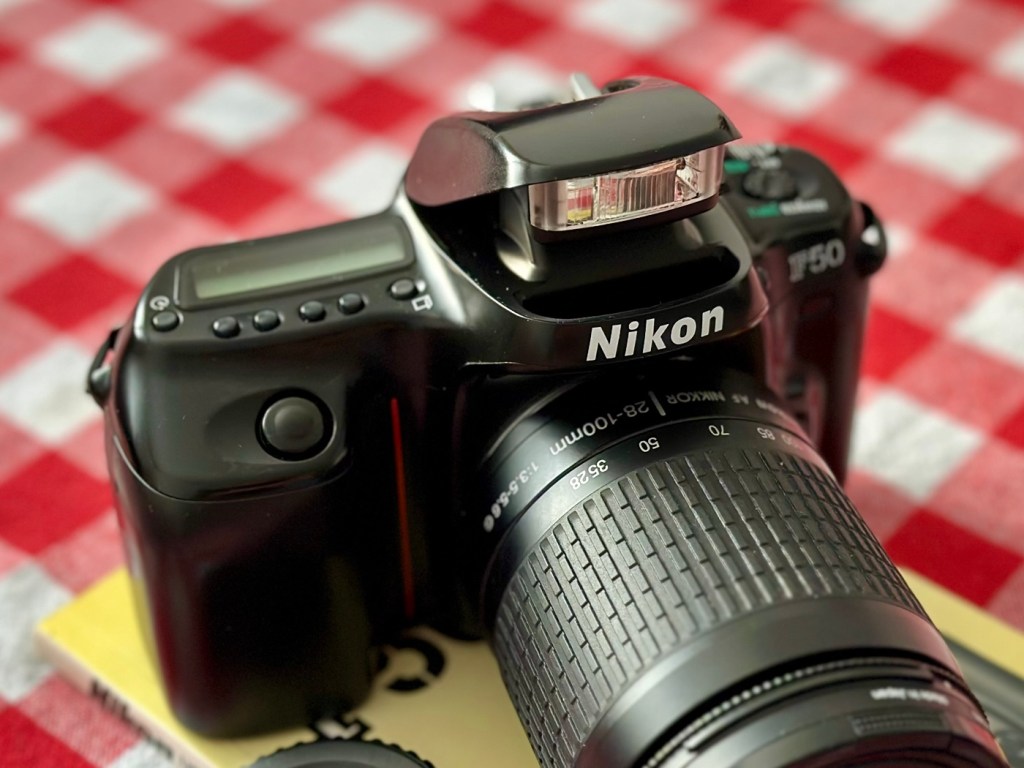
Nikon F50

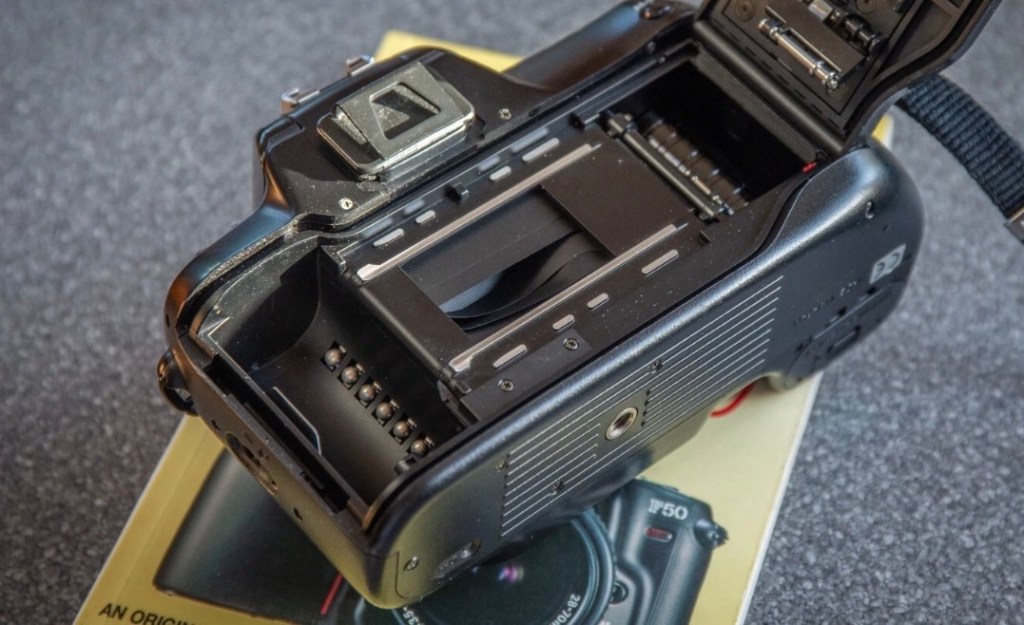
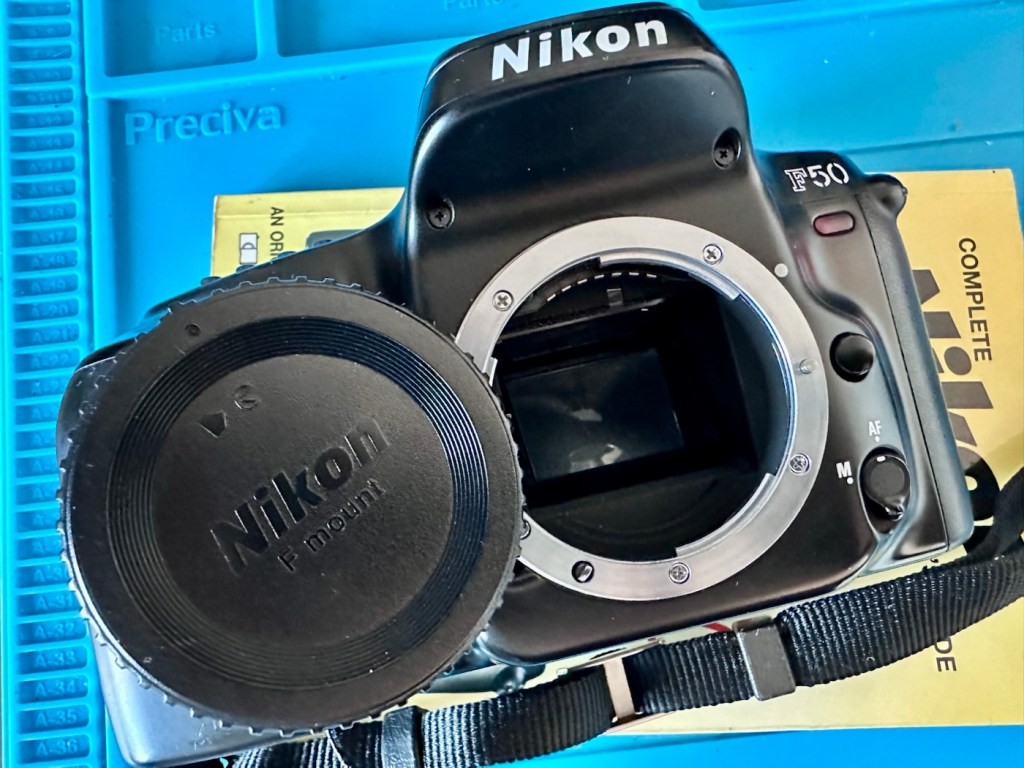
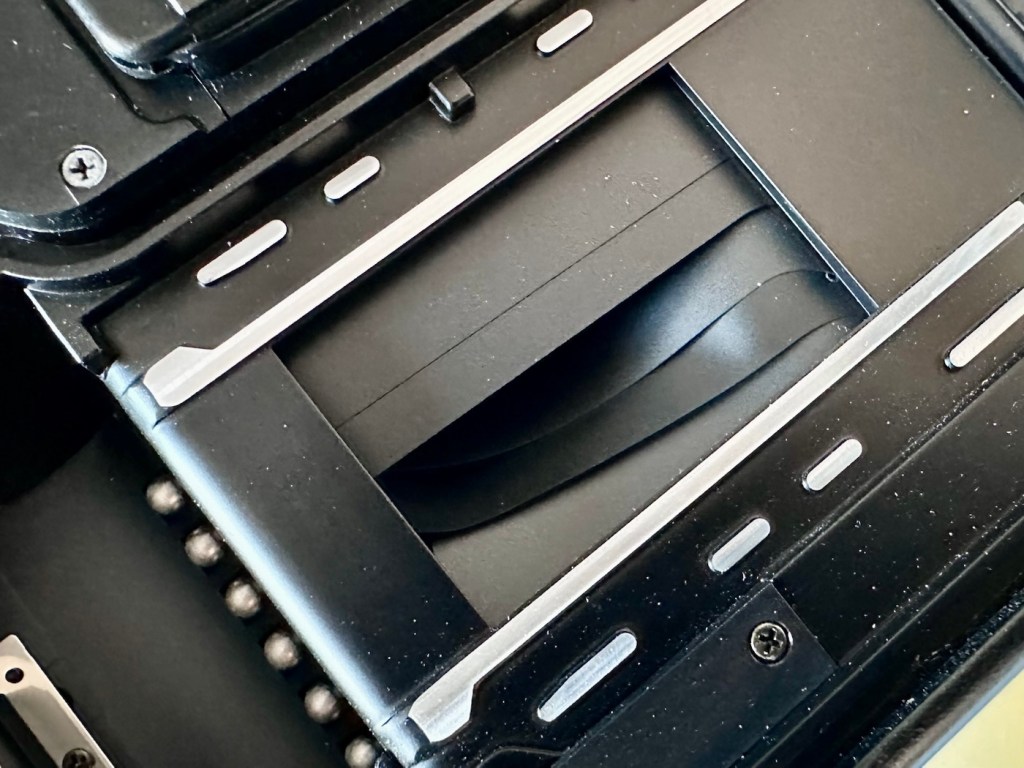
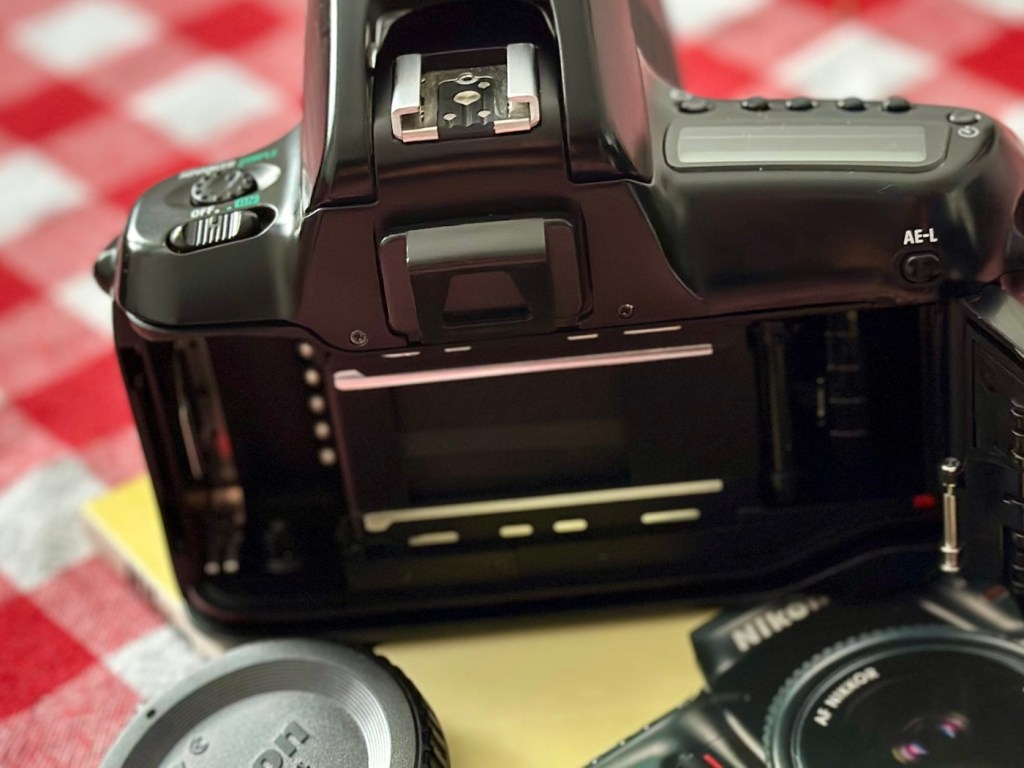
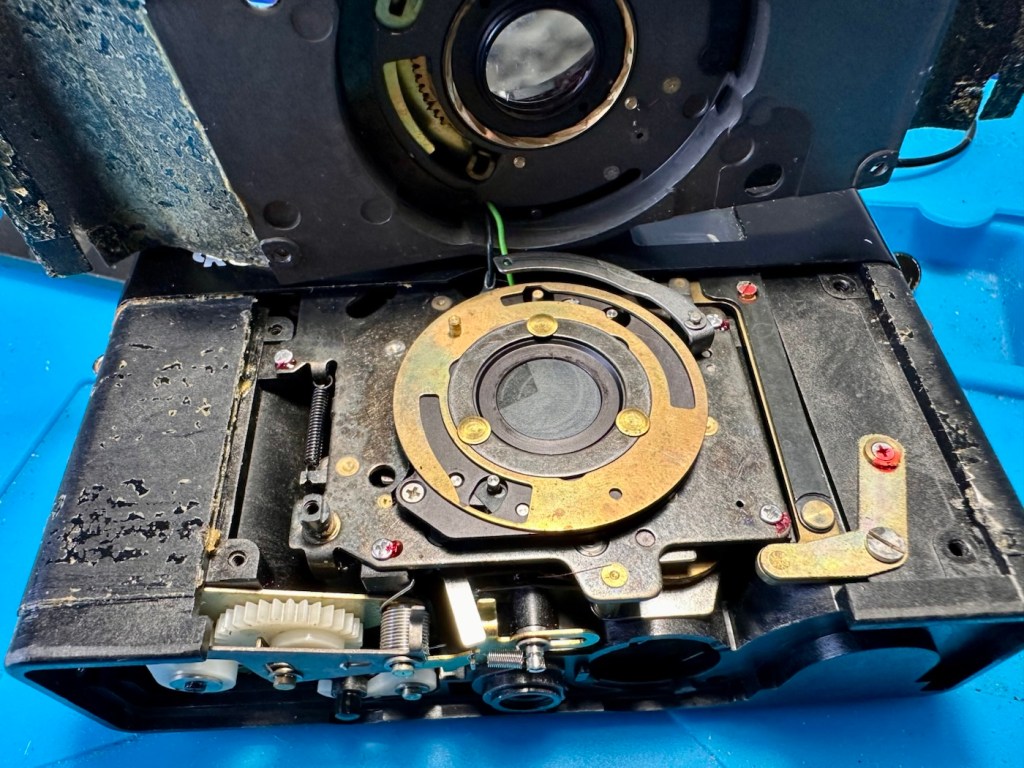
A learning camera for me, with a fault I’ve never dealt with before. Damaged shutter curtain blades. Can I fix it?

What the listing stated:

NIKON F50 UNTESTED FOR SPARES OR REPAIR. SEE IMAGES. THE REAR SHUTTER RIBBON APPEARS TO BE LOOSE – I AM UNFAMILIAR WITH OLD FILM CAMERAS SO THIS COULD BE A QUICK FIX OR NOT AN ISSUE. ALSO HAVE A FRONT BODY CAP AND STRAP – COULD BE A BARGAIN FOR SOMEONE. SOLD AS SEEN.
+
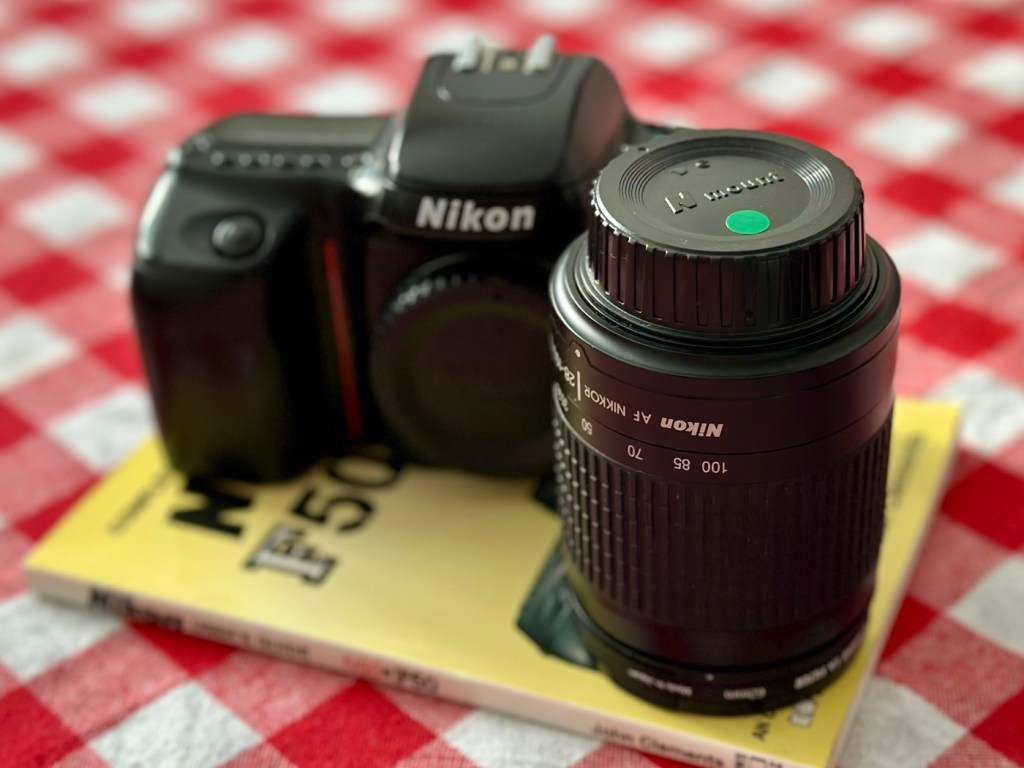
The “Complete Users’ Guide: Nikon F50/N50” by John Clements is a comprehensive textbook published in 1994 by Newpro UK LTD. This paperback book, with 140 pages, provides detailed information on the Nikon F50/N50 cameras from the 1990s. Written in English, this guide is a valuable resource for photographers looking to enhance their knowledge and skills in using these specific camera models. The author’s expertise and clear instructions make this book a must-have for Nikon enthusiasts.

EBay

As you may have already gathered, and much to the dislike of my wife, I spend a lot of time trawling the sales for cameras. I don’t particularly look for anything high end, one of my main reasons to purchase is purely for learning purposes. So why not buy a lower end mass produced camera and fix it? That’s what I tend to do. It’s a good way to learn, and if you cause even more irreparable damage it’s no problem, you will still have a selection of usable parts. Damage someone’s pride and joy though and not only do you lose reputation, you would probably be severely out of pocket financially.

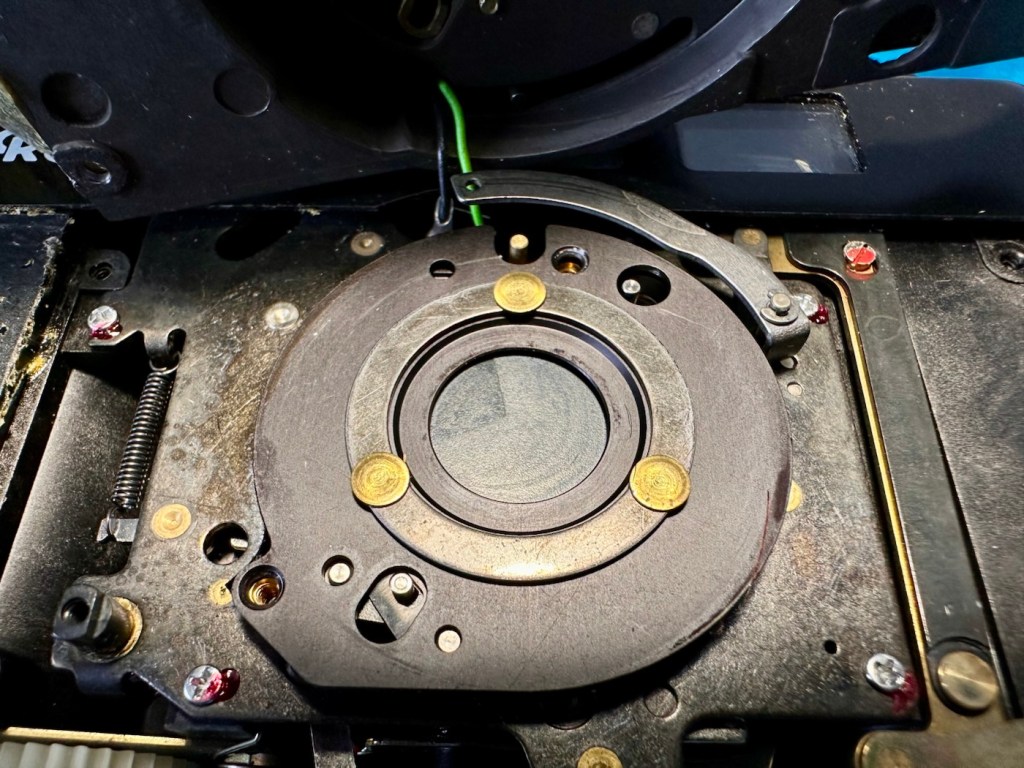
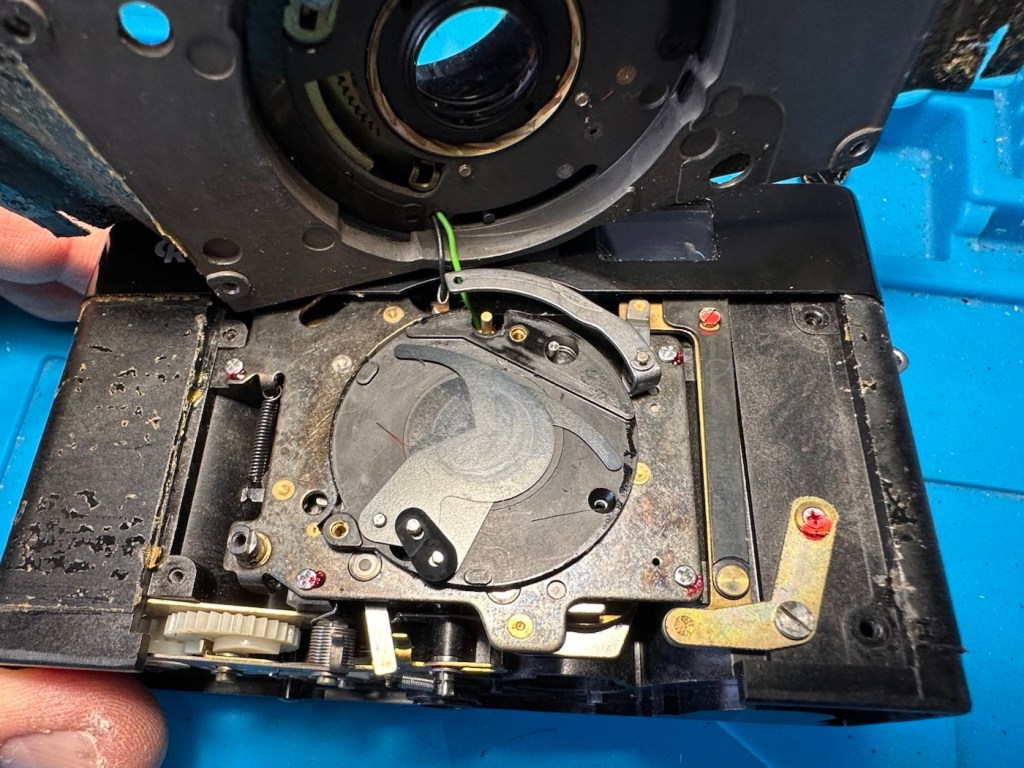
So I look for cameras with issues that I have not yet dealt with, and this camera has such a fault. It’s shutter blades have become detached from the frame in which they are set, it can be fixed if conditions are met, and one of those conditions are that the blades should not be creased. And I have my fingers crossed that this is the case. I’ve never fixed this issue before, so for me this is a learning camera. The bonus for me is that I get a body cap, a strap and an informative 140 page book on how the camera operates. And I paid the sum of £7:77 for this complete package.

Here’s a little info about the Nikon F50:

The F50 (or N50 as it is known in North America) is a 35mm film SLR camera which was introduced by Nikon in 1994. It was aimed at the lower end of the amateur autofocus SLR market.

The F50 features autofocus, TTL light metering and various “programs” (ranging from manual operation to a highly automated point and shoot mode). It could not however meter with non-CPU lenses.

It was replaced by the similarly-priced F60 (also known as the N60) in 1998.

The F50 body was made from polycarbonate and metal, and available in both “champagne silver” and black.

Notable omissions include depth-of-field preview and any form of remote shutter release.

Wikipedia

I’m now awaiting the arrival of the camera so I can carry out an in depth assessment. And prior to its arrival I’m reading up, and seeking advice on how to deal with such an issue as this shutter curtain damage.

Assessment:

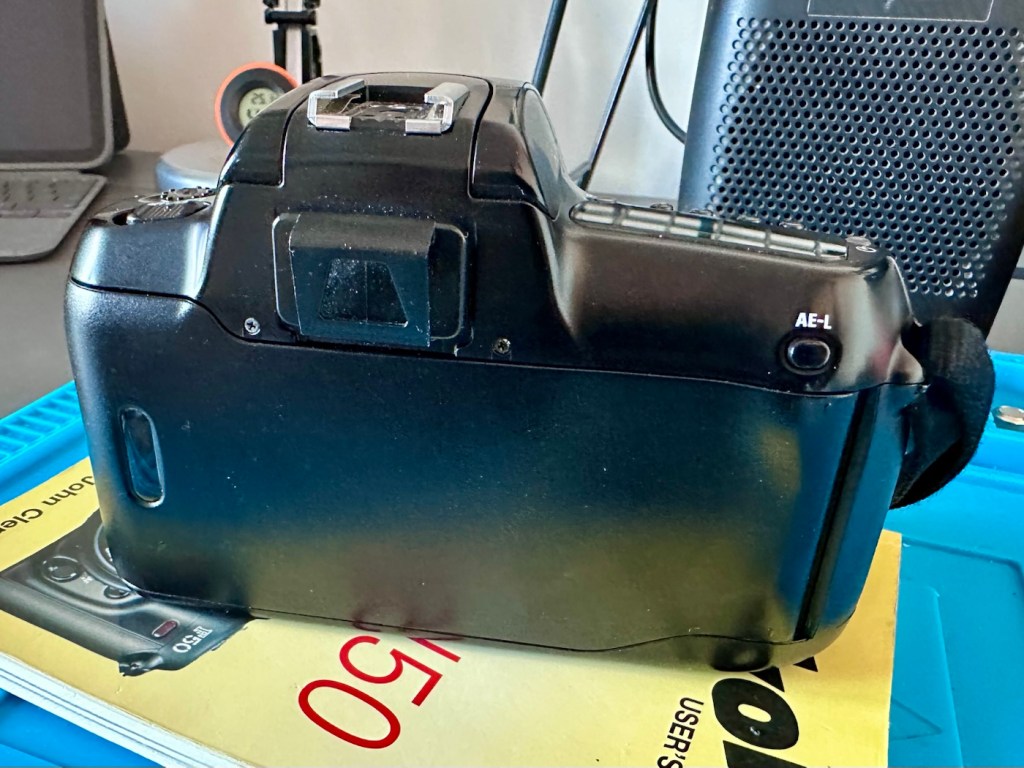
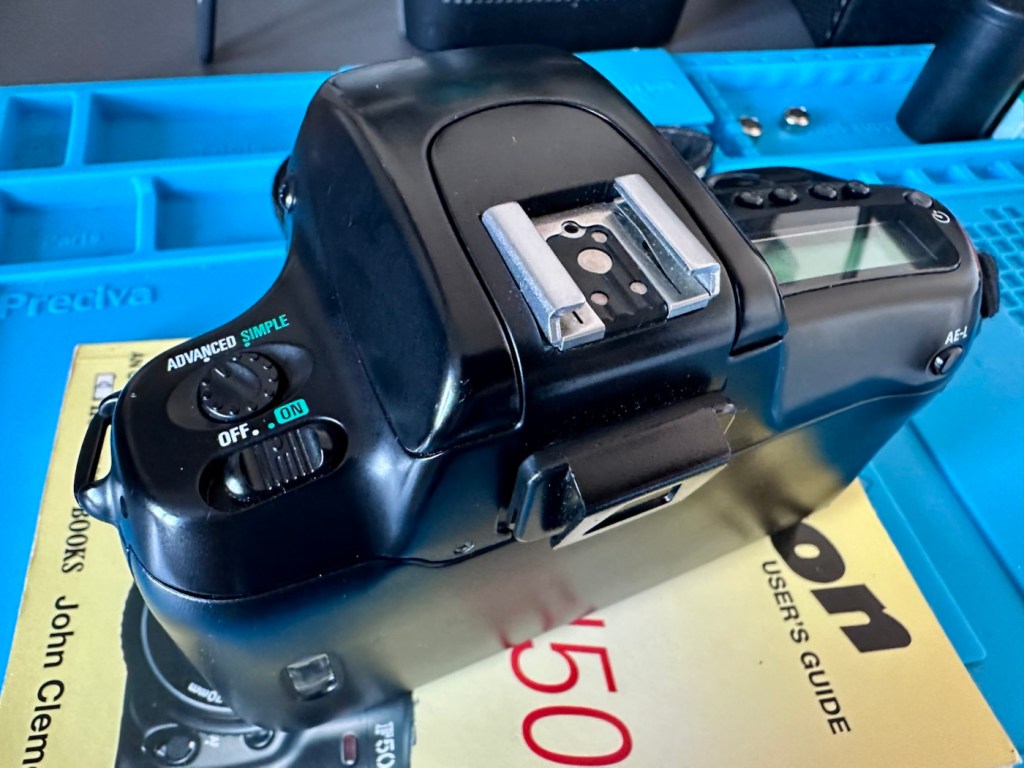
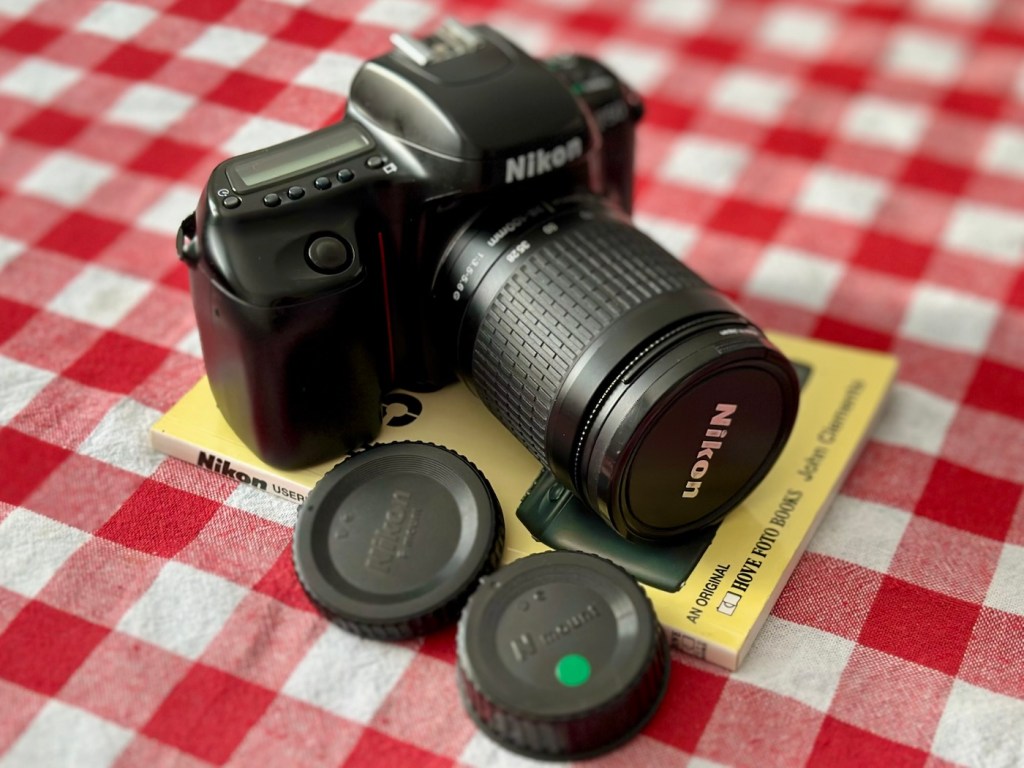
On arrival it is quite clear that prior to its shutter blade damage this camera has been very well looked after. It has no damage, scratches or signs of wear across the entire camera. It has an original Nikon body cap and narrow strap. There is even a DK-5 viewfinder cap that is a rare thing to see on a second hand unit. Battery contacts are clean and contaminant free.

And the users guide that was also received is an absolute gem of information.
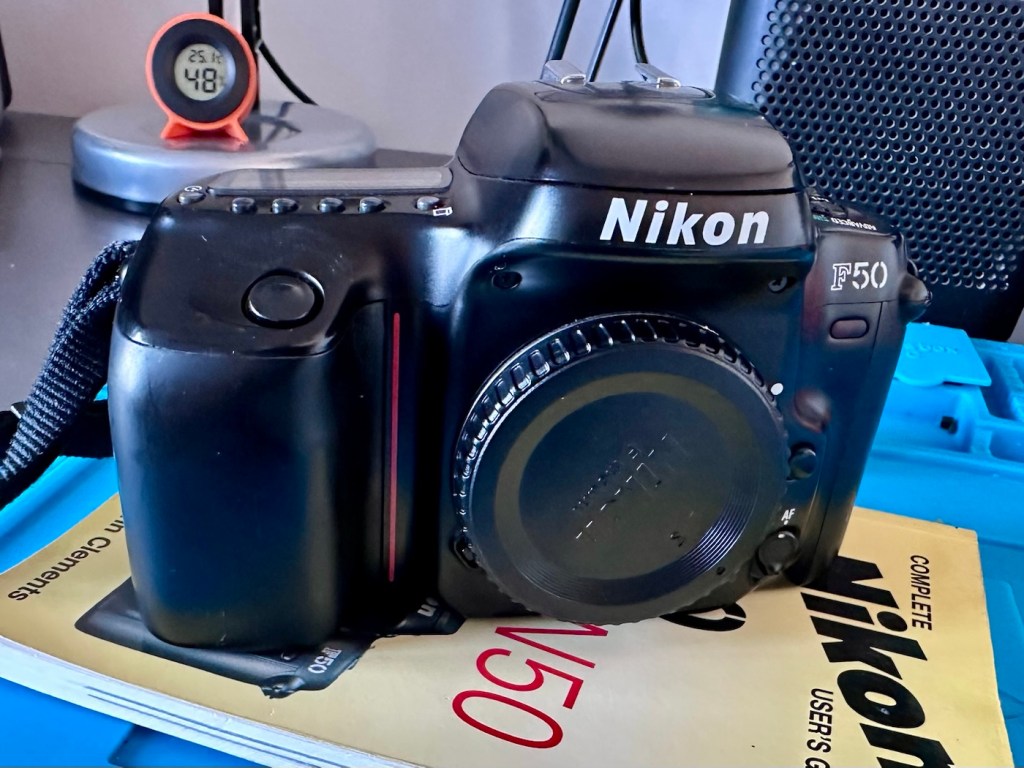
Testing beyond this is not possible at all, as the last thing I want to do is insert a battery and cause further damage. I will have to try to sort the shutter blades before I can test any further.

So let’s get straight on with trying to sort out that mess in the lens barrel.

Repair:

Whilst awaiting the cameras arrival I’ve been seeking advice on how to approach this issue, as this is my first attempt at such a fault. And after a while, looking around I found this video tutorial that first came out in 2014. I have decided to follow the advice within this video.

Fix old cameras – shutter repair

The first thing I have to do is to modify a pair of tweezers that I will be using for this repair. Firstly I have to bend them at an angle.
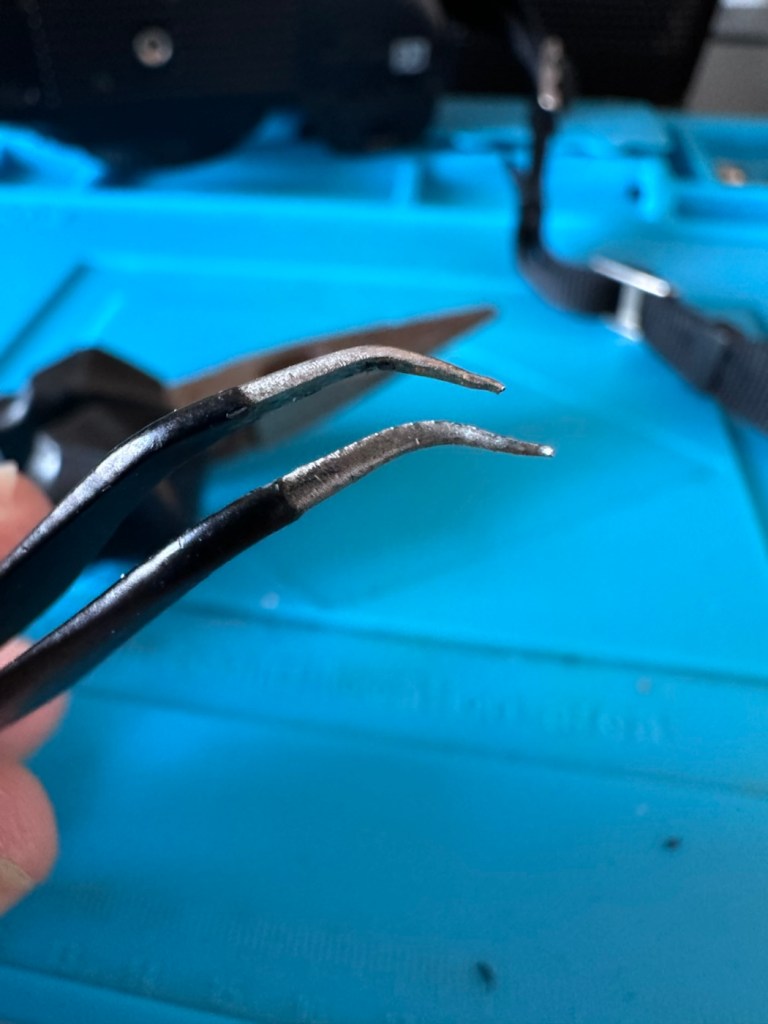
Bent accordingly

Secondly I have to put some shrink tubing over the points, heat them so they adapt to the outline of the tweezers, and whilst warm just flatten the tips as this will be the surface that handles the blades.
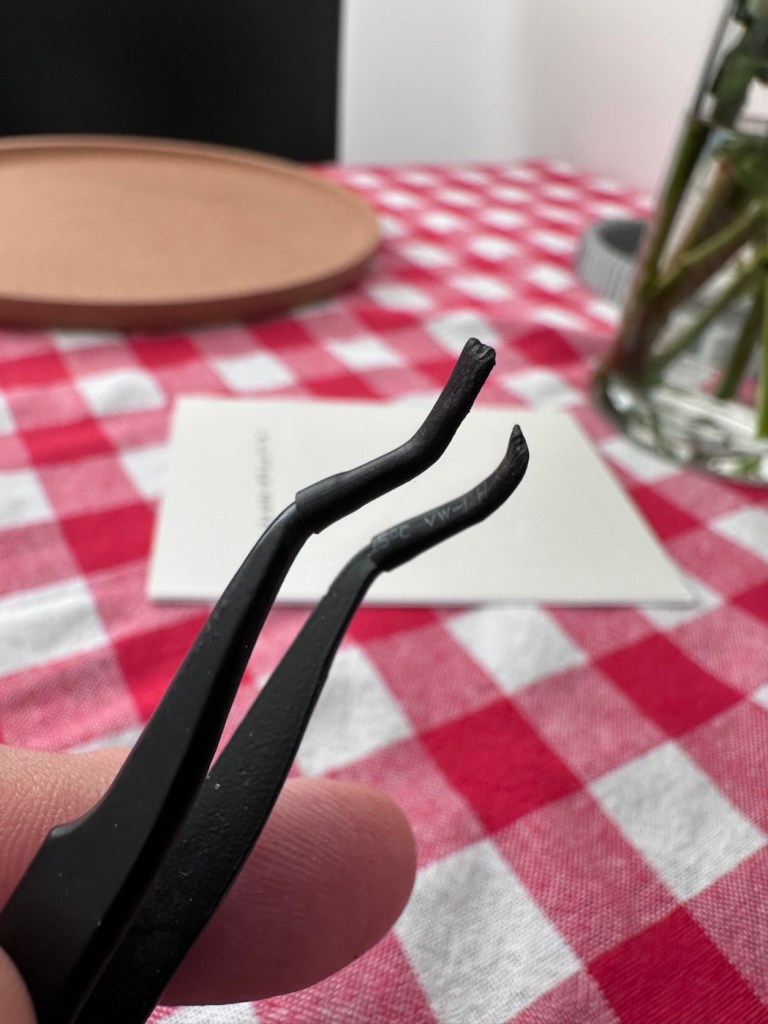
Shrink tubing added and shaped

And to be honest, once I started it took all of less than 20 seconds. Here’s the proof

It worked, and the camera works

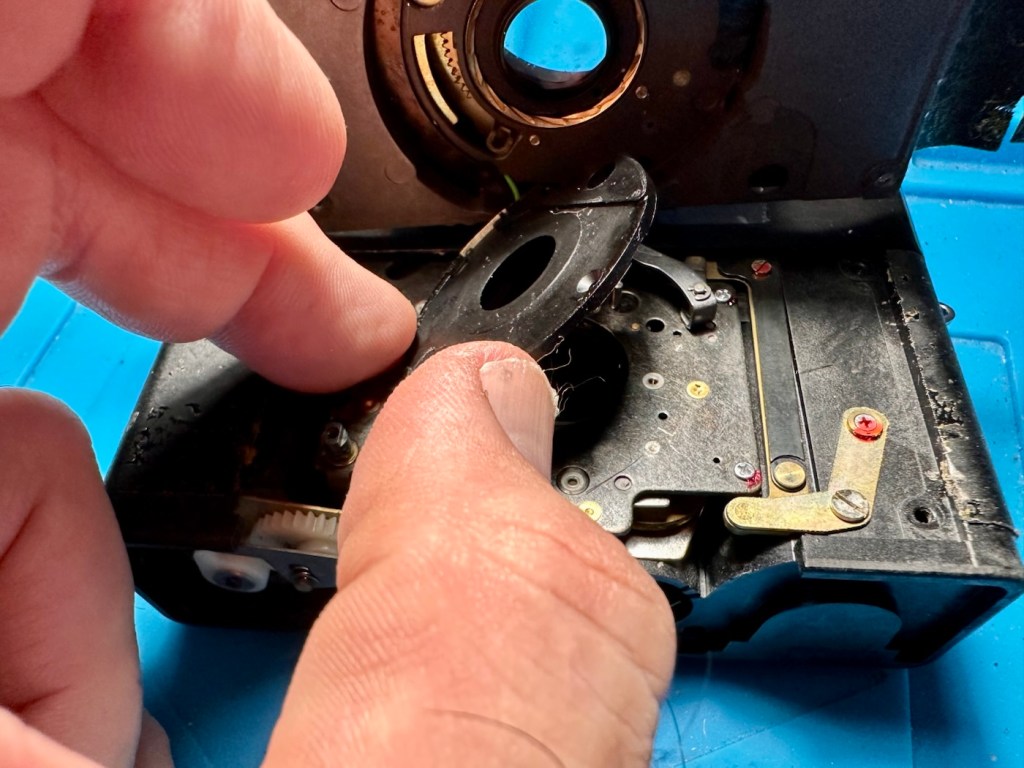
You may well be looking and thinking ooh! That looks dodgy, but believe me it works just fine. It’s been severely beaten up and it fell back into place quite easily. It doesn’t look pretty but I have tested the chamber with a very bright light and the front and the rear curtains are working well with each other and there is, or appears to be no light leakage. I will have to run a film through the camera but I am very confident that there will be no further issues.

With the 2CR5 battery in place I have been able to carry out the tests that were not possible earlier, and I’m pleased to report there are no other issues and this shutter blade fault was the only problem. This camera is now working just fine, all settings, buttons, dials and switches are working as they should, as is the self timer.

With a lens connected all focus indicators in the viewfinder are good, the flash operates as it should and the info screen is clear and readable.

This camera is good to go.

Result:

In the end this turned out to be a twenty second repair, my first of this type and it went exceptionally well. A camera of this quality for just £7:77GBP with a guide book as well. is exceptional value, and I’m sure someone is going to love and cherish this camera for years to come. I’m going to run a film through it first just out of curiosity, however, I am supremely confident that there are no issues with it.
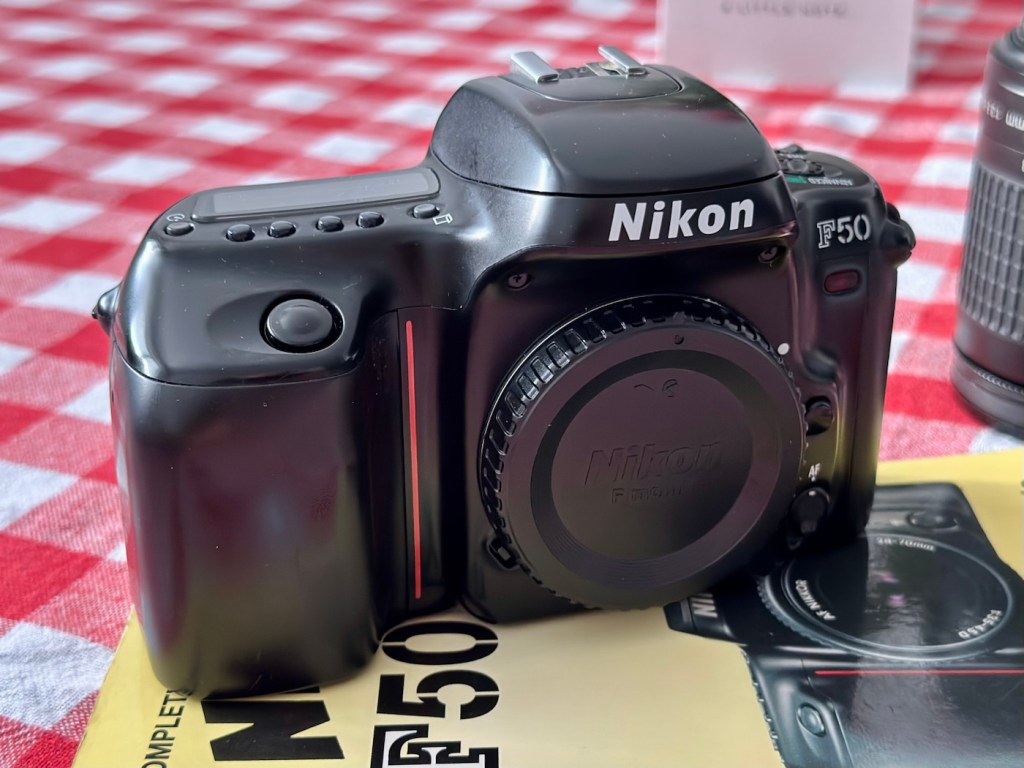
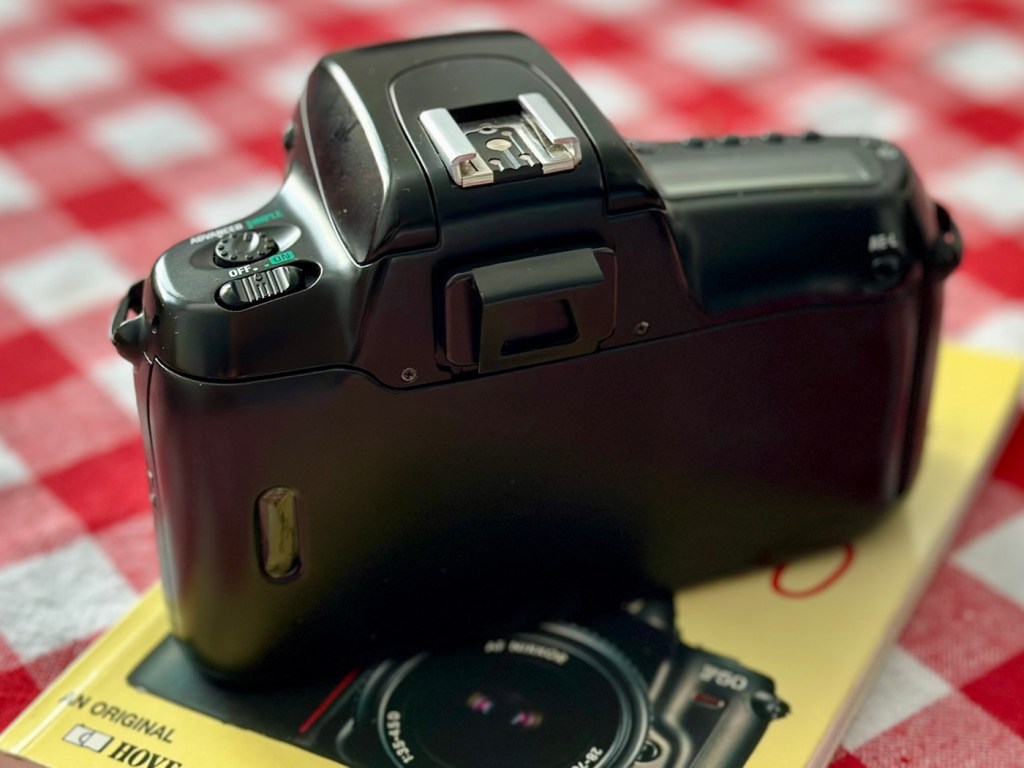
Again we have a classic case that shows just how 30 seconds of activity can bring a camera back to life saving it from the scrap heap. And a lovely looking camera it is too. Once I have run a film through I’m going to pass this on, it’s a good beginner’s camera and I’m sure it will get a lot more use, and that’s always a good thing. If Nikon produced in excess of 150,000 of these units, then I wonder how many others have suffered a similar fault and just been tossed into landfill.

Scary thought… though this one has been given a pardon.

Thank you as always for passing by. It is always very much appreciated.
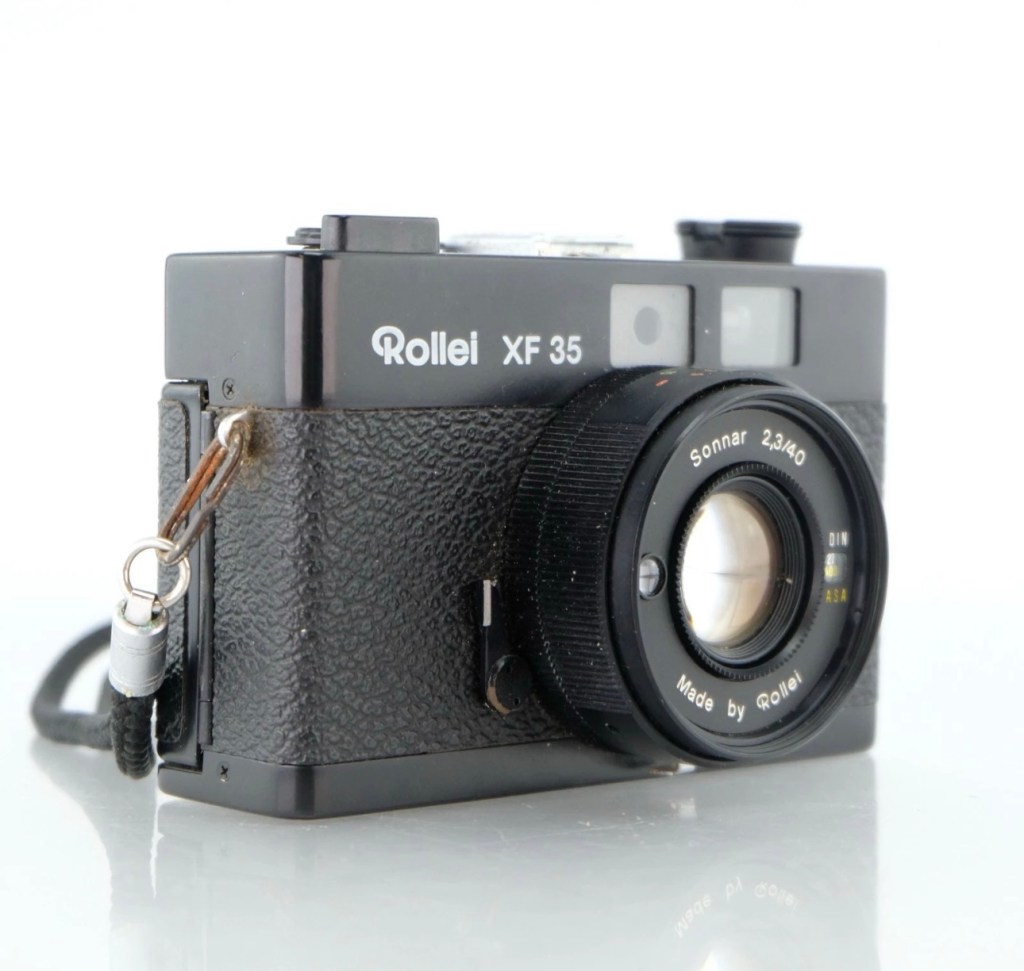
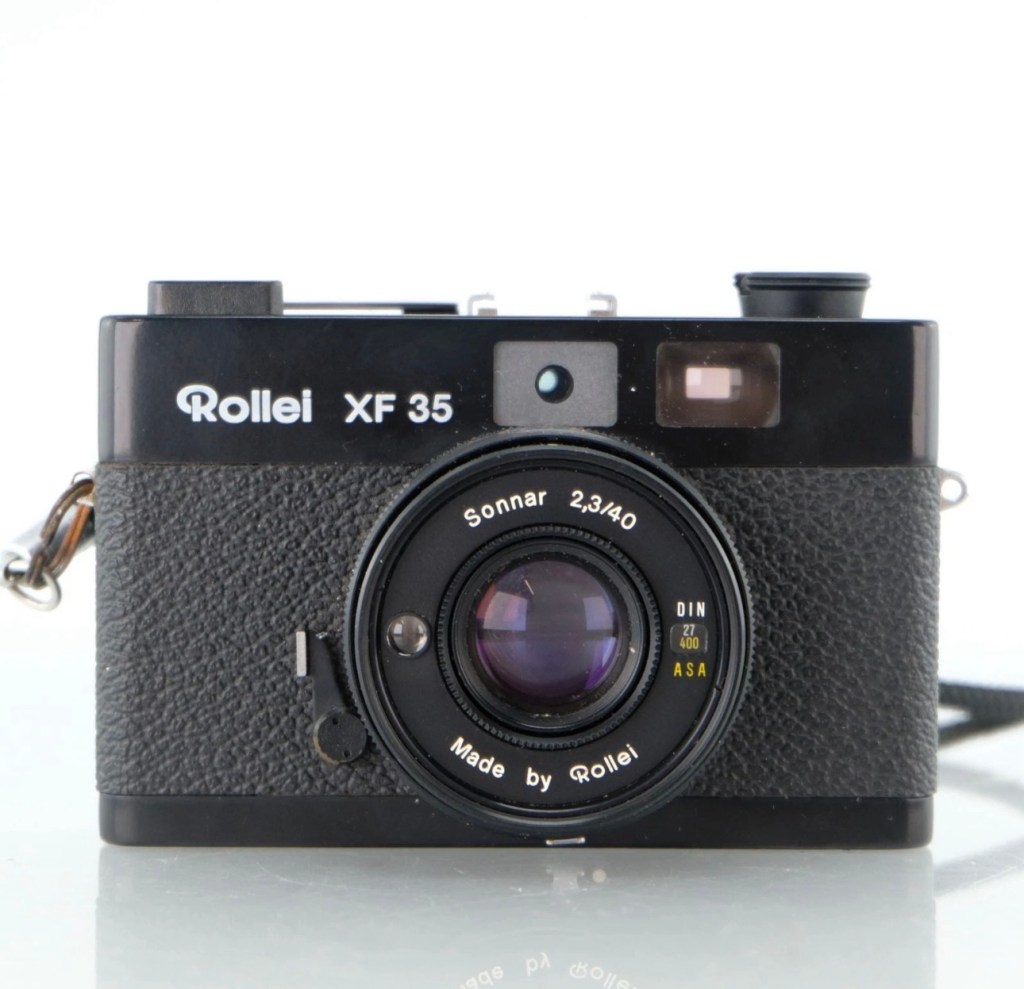
Rollei XF 35 35mm Rangefinder Film Camera 

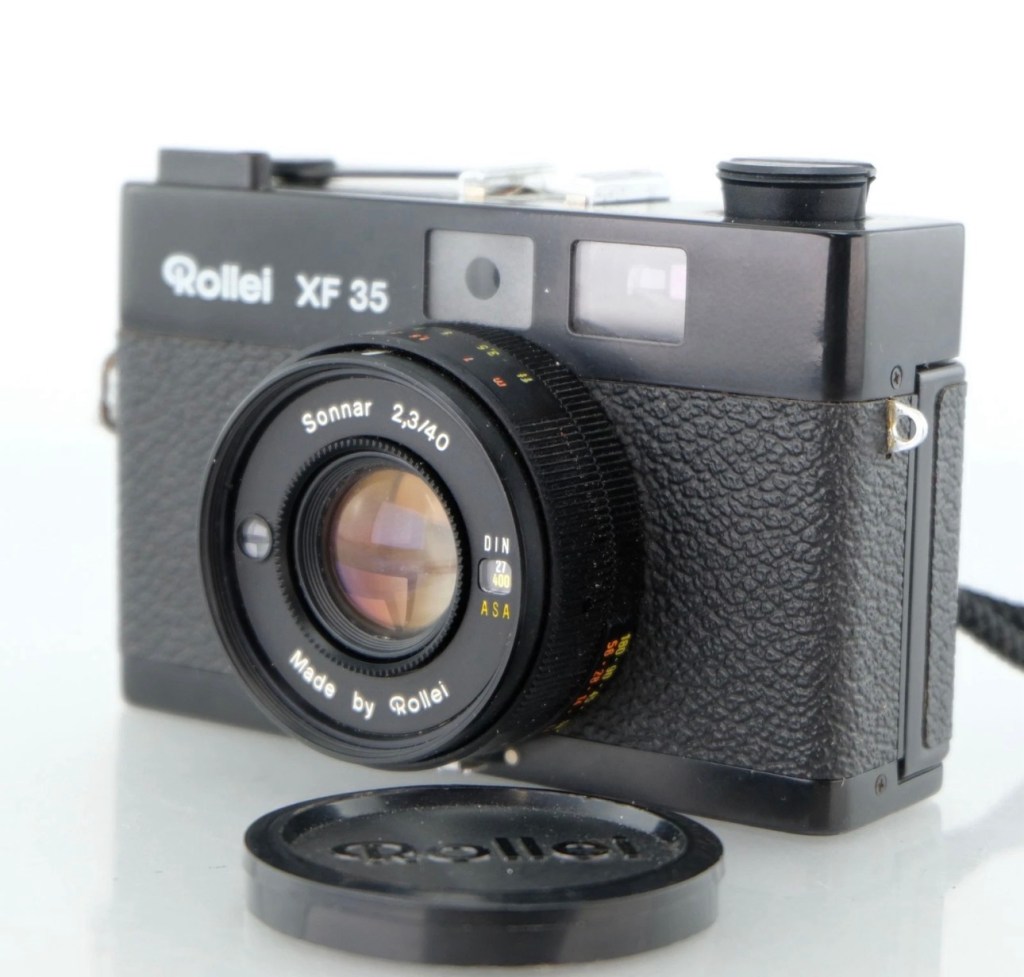
I’ve just purchased an old Rollei 35 XF rangefinder from around 1974. It doesn’t work, so let’s see if we can get it working again.

What the listing stated:

The Rollei XF 35 is a compact vintage 35mm rangefinder film camera made in Germany, known for its classic design and portability.

This camera is being sold as spares or repairs and does not power on. It has not been tested with film and is not in working condition; functionality of the shutter, meter, and other features has not been confirmed.

Cosmetically, the camera shows typical signs of age and use, but no major damage is visible. Please note this item is intended for parts or restoration and is not guaranteed to function.

Accessories included: wrist strap and lens cap.

EBay

I like these little point and shoots. I’ve always wanted one, and ideally I would like an original 35, but in the meantime I’ll settle for this one. Not working, only £17:00GBP, this was a bargain price for an old camera with a lens that has a superb reputation for having good optics. It’s a bargain basement price for a camera that has a lot of potential if I can get it working again. I have purchased from this supplier before and they are a good bunch of guys and girls, so I don’t believe I am being ripped off in any way. This camera dates from from around 1974.

Here’s a little bit about this camera:

The Rollei XF35 is a small 35mm full frame Rangefinder camera released by Rollei in 1974. The same camera can be rarely found under the brand Voigtlander: in this case it’s called VF135. 

This camera provides only a programmed exposition, with a CDS cell powered by a small 1,35v PX 625 mercury battery. A ring around the lens must be set to the right ASA/DIN value.

The shutter is a small Copal central type one, that also works on relative aperture.

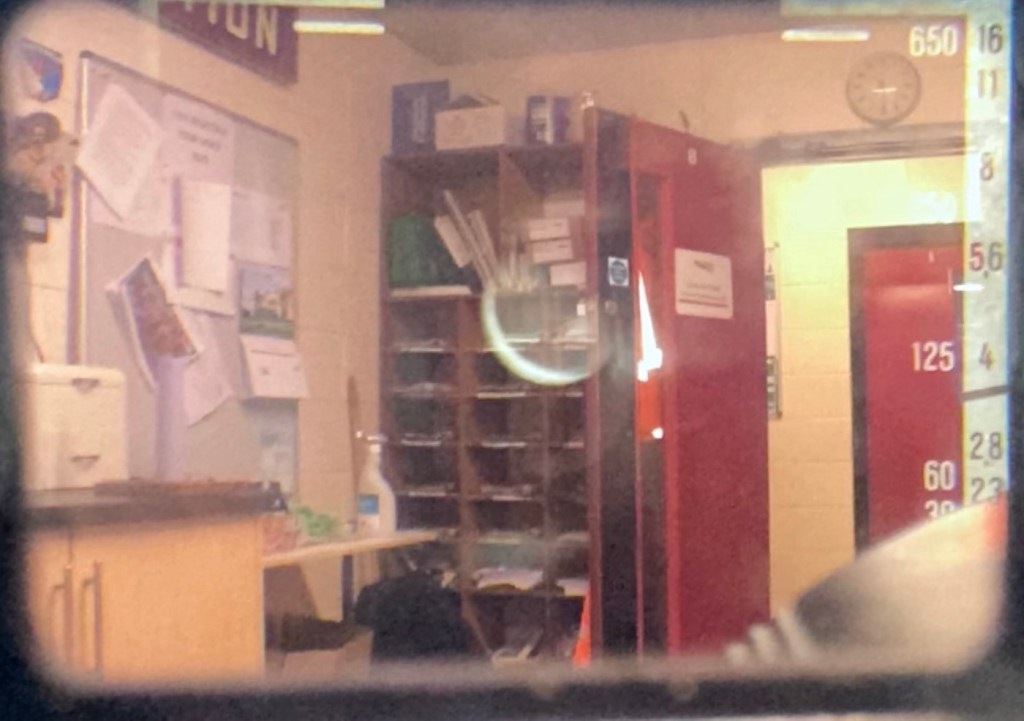
The lens is a Carl Zeiss Sonnar-derivation, built under license by Rollei. It’s a 40mm f2.3, with focus from 1 meter of distance. The viewfinder has a small frame that indicates the f-stop and the speed of the shutter that the program will use. At the center, two small yellow and red circles must overly to obtain focus on the subject.

Shutter speeds go from 1/30 to 1/650s, including bulb mode (only at f2.3). Copal shutter closes up to f16, so Rollei reccomends max 400 ISO/ASA films.

There’s a hot-shoe flash slot and the camera also includes a self-timer (circa 10s of delay). Under bulb mode, this timer can fire the shutter to a speed of circa 5 seconds.

Camerapedia

I’m expecting the camera shortly, so in the meantime I’m off to read the manual and to also look for replacement batteries that replace the now defunct PX625 batteries this camera used to have to maintain a sufficient power supply. When it arrives we can carry out a full assessment.

Assessment:

On arrival it’s a nice tidy little camera, with slight signs of use and that slight mustiness of being in storage for a few years, though I have smelt worse.

It needs a little clean, the strap buckle is a little rusted however that is easily replaced.

Inside, the camera is clean, the winder works and the exposure button works, however the shutter doesn’t fire. This could be one of a couple of issues, the battery inside that appears to be an original PX625 Mercury battery could be below power, and if it is an original this could well be the case. However the light meter is working and this is a welcome bonus, so there is a little life still in the battery that should be 1.35v when at full power.

Light meter is functioning

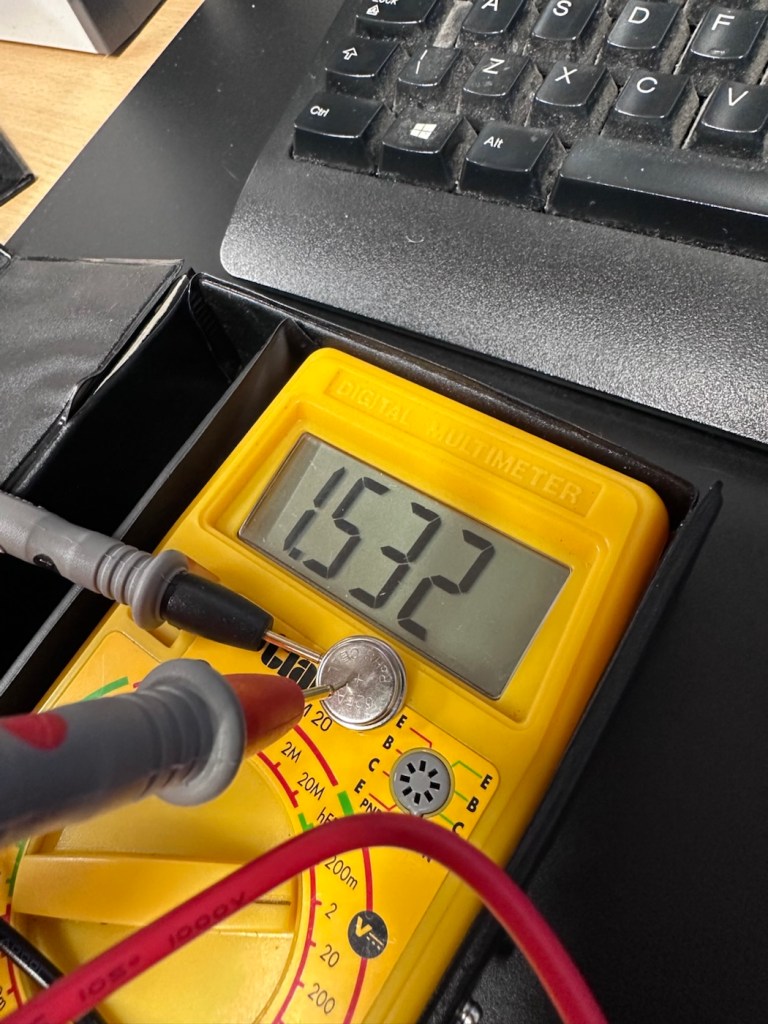
Let’s check this with the multimeter, before purchasing a new battery, and I can confirm the battery power sits at 1.53v?

A fully charged 625A battery

I was mistaken, it’s not an original PX625 it’s actually a 625A alkaline replacement. These alkaline batteries are 1.5v rated against the original that was 1.35v. These batteries are commonly used with these older cameras as a suitable alternative to the original battery. The only issues that are sometimes reported are that the metering can sometimes be off by about +2stops, however some people report no issues at all so it is all a little bit and miss to be honest. I guess it’s all down to trial and error with your own film stock and the camera, B&W film would probably be more forgiving. So, in this case it is not a power issue. We need to then move on to another option.

The other related issue could be sticky blades on the shutter mechanism, and that is more than possible if the camera hasn’t been used in quite a while, the old lubricants dry out over time and the shutter blades get stuck, this means I would have to carry out a service of the shutter mechanism, not a major issue just quite time consuming.

Repair:

I have liberally coated the shutter blades from inside with some isopropyl alcohol as that’s all I had available at the time. This has removed some old black gunk that appears to be old oils of some kind, however the shutter still does not operate when activated, even though all the noises are there to suggest the mechanism is actually working.

I have used a compatible tool to tempt the shutter blades open, this initially worked but they did not fall back into place with any urgency. I suspect there is residue on the opposite side of the shutter blades, so it looks as if this will have to be a full CLA – Clean, lubricate and adjust, requiring a partial disassembly of the camera.

Boy I wasn’t wrong, this is probably the deepest I have gone into a camera for quite a while, this camera really does have to be dismantled. These cameras have always been renowned for having issues deep into the cameras workings, it’s probably what has gained them a poor reputation, somewhat unfairly, but not everyone is prepared to dismantle a camera at these prices, when they can just chuck it and get a new one. However that’s not what I do here.

Let’s stop the chat and get on with it.

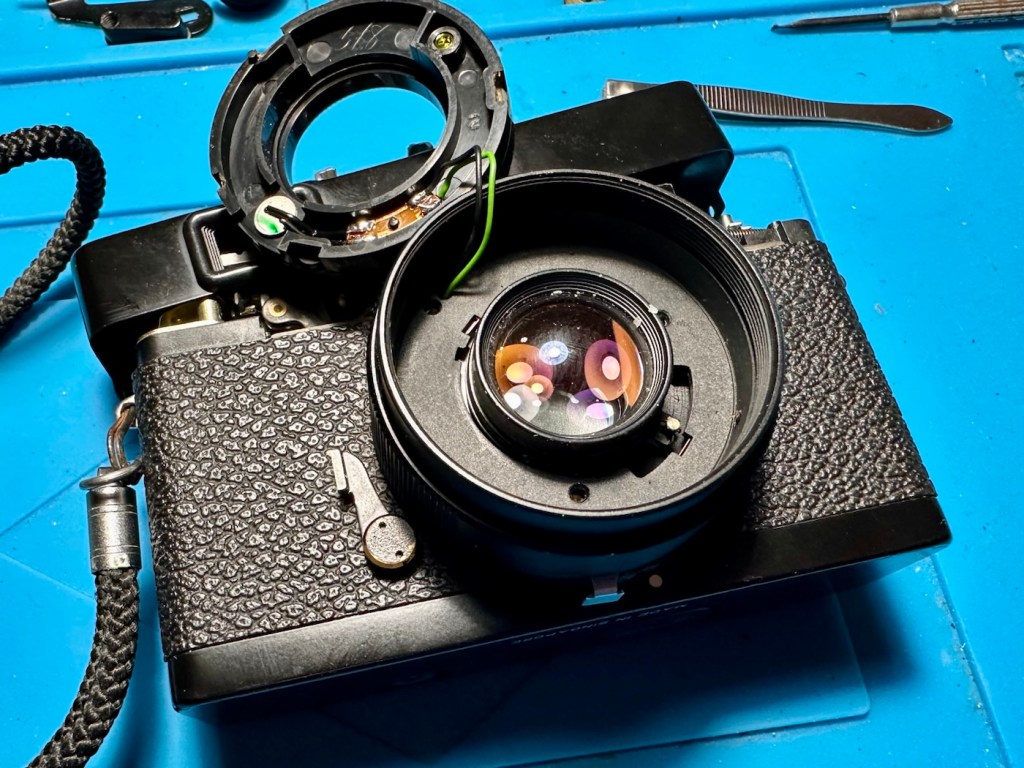
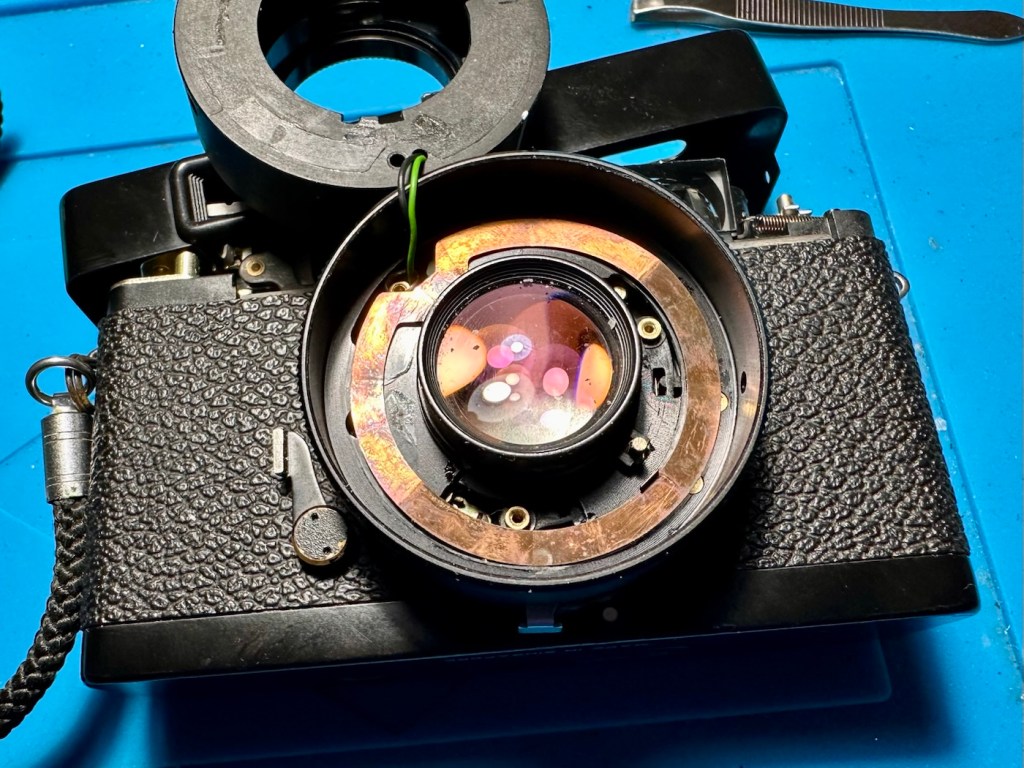
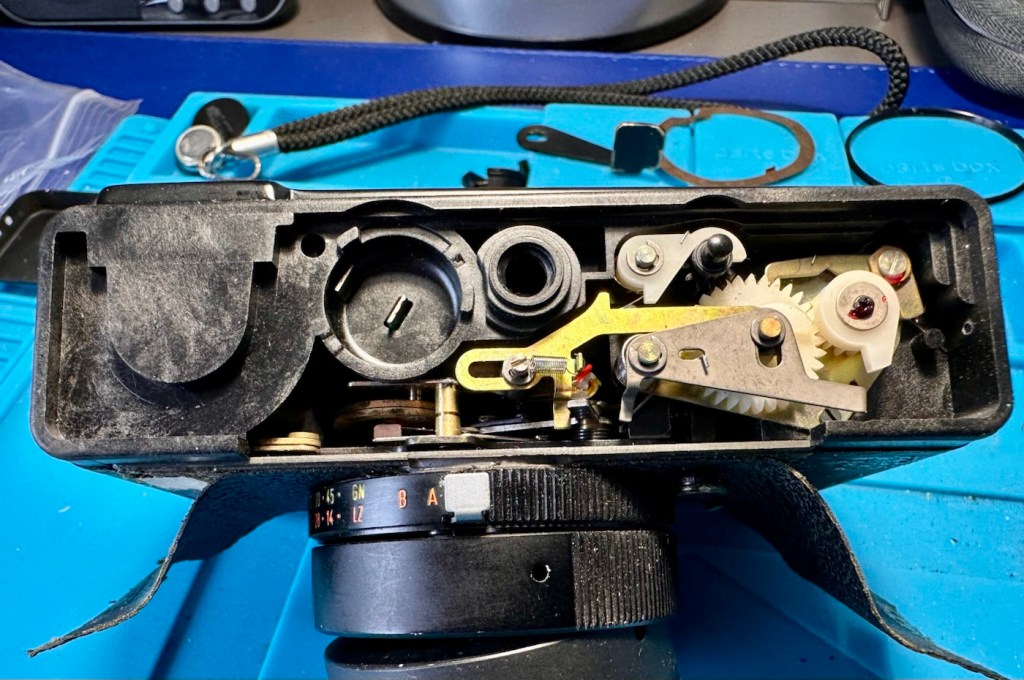
So we need to get inside, and the best plan of attack is from the front through the lens turret, so first thing we do is remove a retaining ring on the lens. This allows us access to the insert that controls the ASA, and where the CDS cell is located. Remove with caution as there are small wires present.

Three screws under the ASA/CDS module then allow you to remove the focus ring where there is a small brass plate. This is removed and then the rest of the barrel loosens, but cannot be removed….strange.

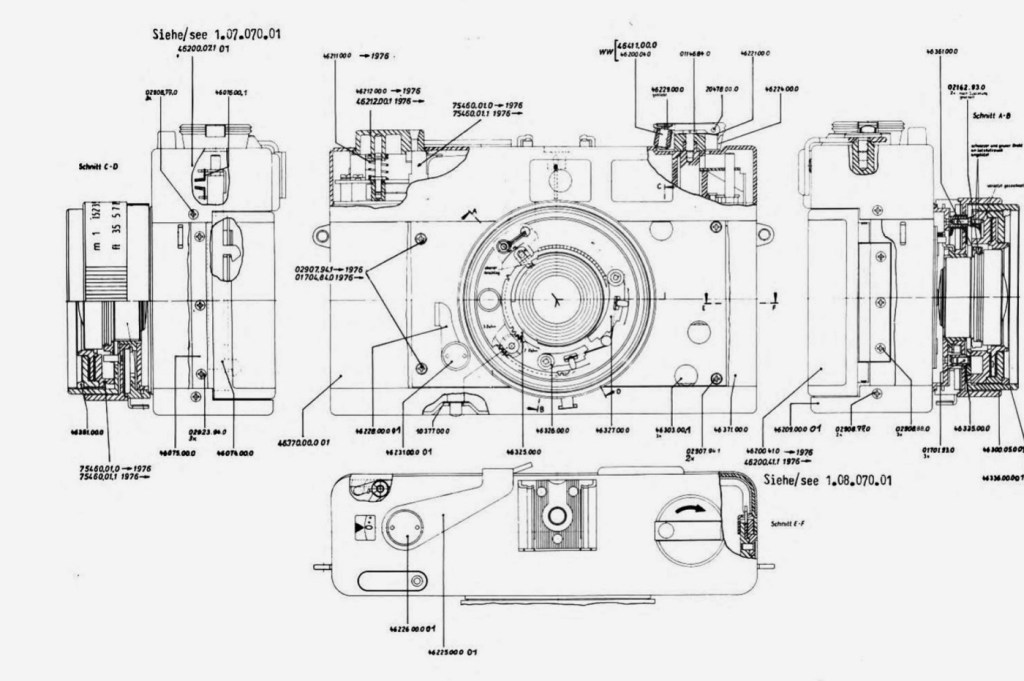
At this point I had to do a little research and source the maintenance manual and refer to it to see what I had to do next.

Maintenance manual courtesy of Rollei

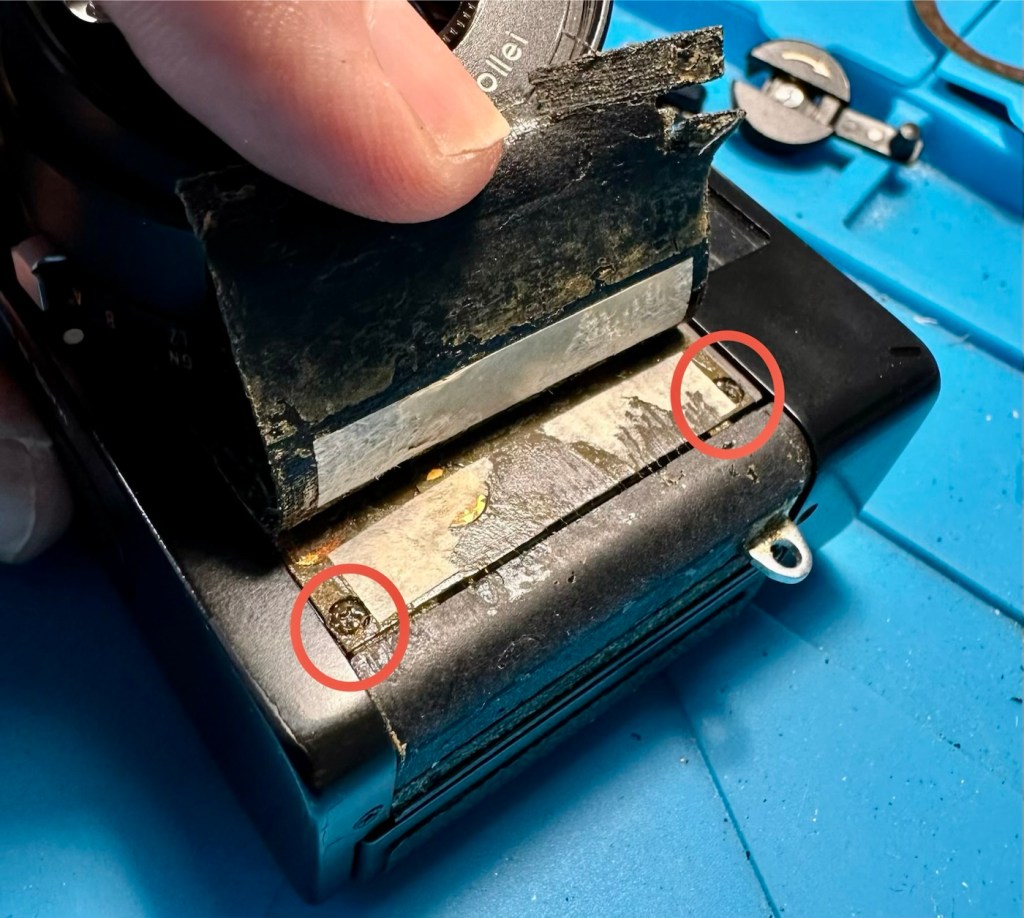
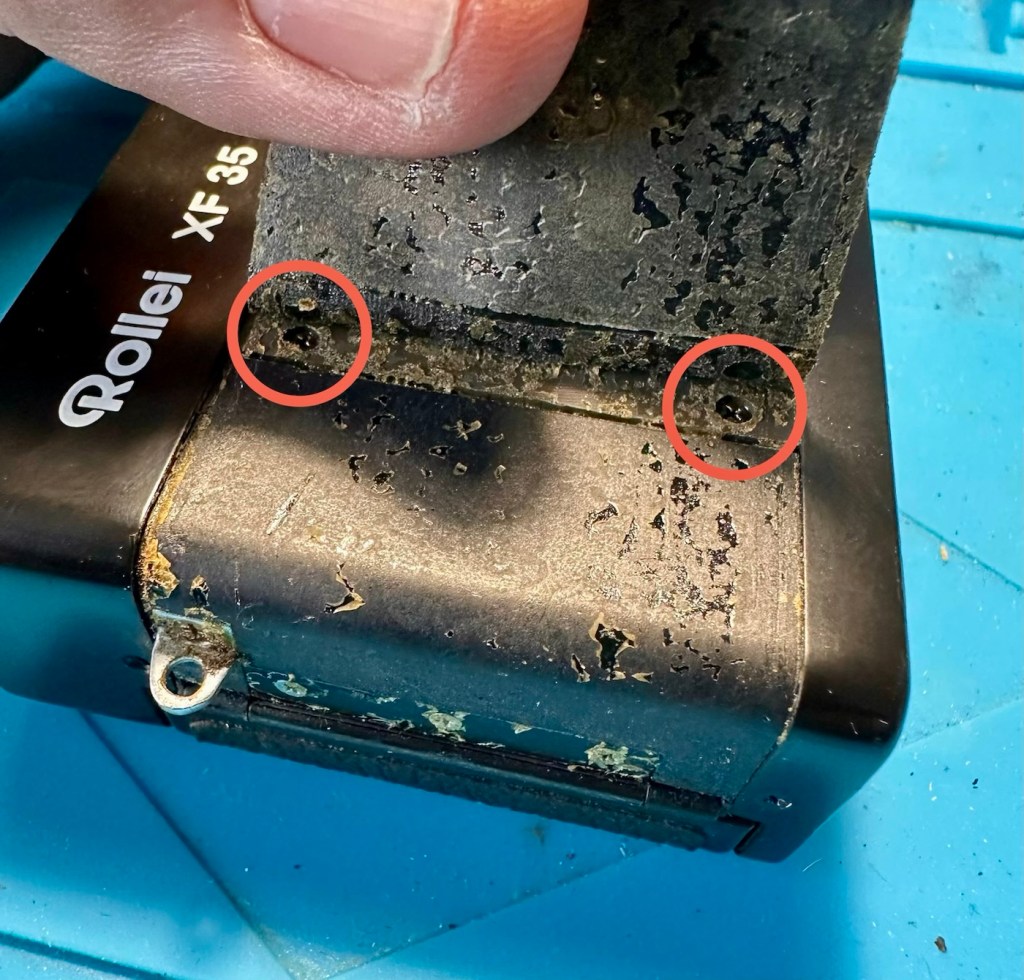
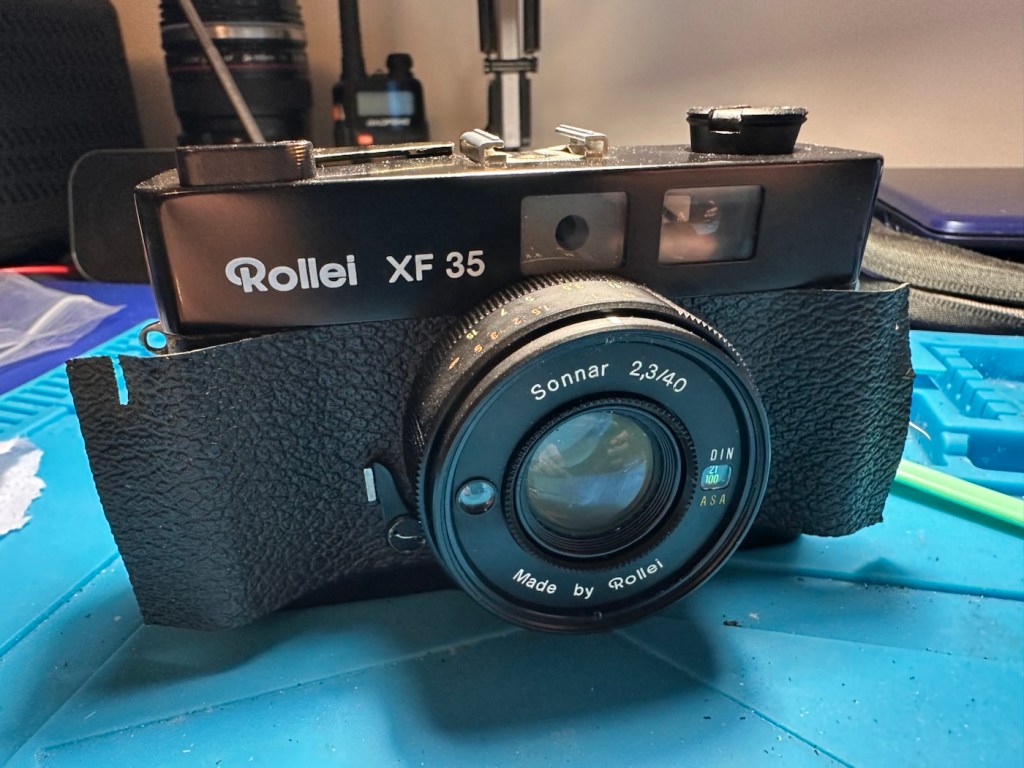
After reviewing the manual it appears there are another four screws requiring removal before we can access any deeper, however these are situated under the camera “Skin” and this needs to be peeled back slightly to access.

With these four screws removed, you now have to remove both the top and bottom parts of the camera, five more screws to allow the front plate and lens to be removed.

Base of camera removed exposing winder workings

With the lens plate now movable, again I carefully move it aside being wary that there are also wires here, and not a lot of room for manoeuvring. A slight twist of the brass aperture control plate and it can then be removed. The plate below this, with the three brass dots, just clips out and exposes the thin shutter blades below.

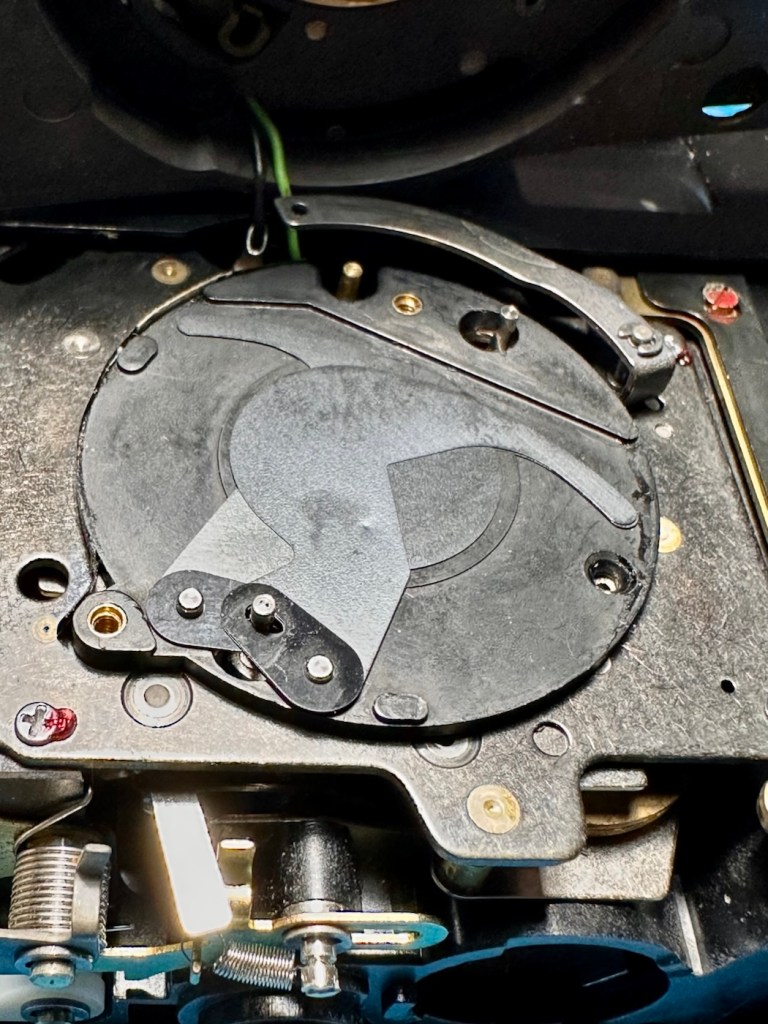
Just looking at the shutter blades I can see there is a small link missing, this was sitting loosely to one side, it could have come off as I was dismantling the blades, who knows. Carefully put to one side the blades are placed individually in preparation for a clean. Lastly the bottom plate of the shutter mechanism, lifts out and beyond this point is the camera back, we have just a hole as the whole shutter and lens mechanism has now been removed.

All parts removed have now been cleaned with an IPA solution to remove any grease and dirt, and there was quite a lot of both. These have all been put to one side and will be cleaned once more prior to reassembly.

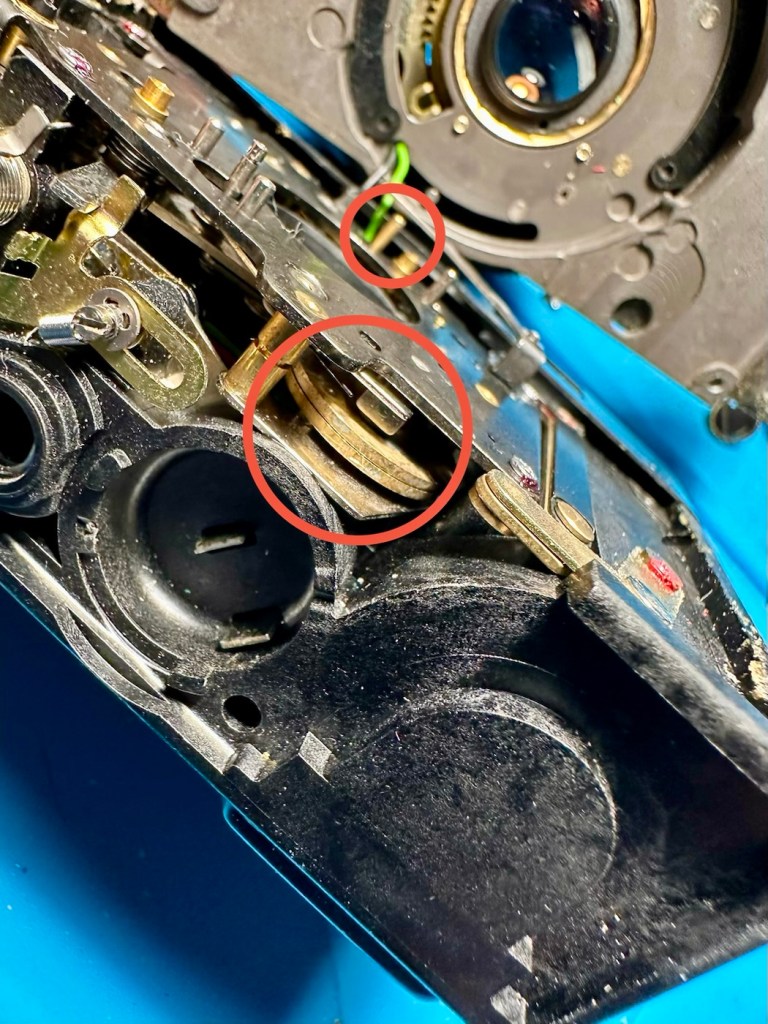
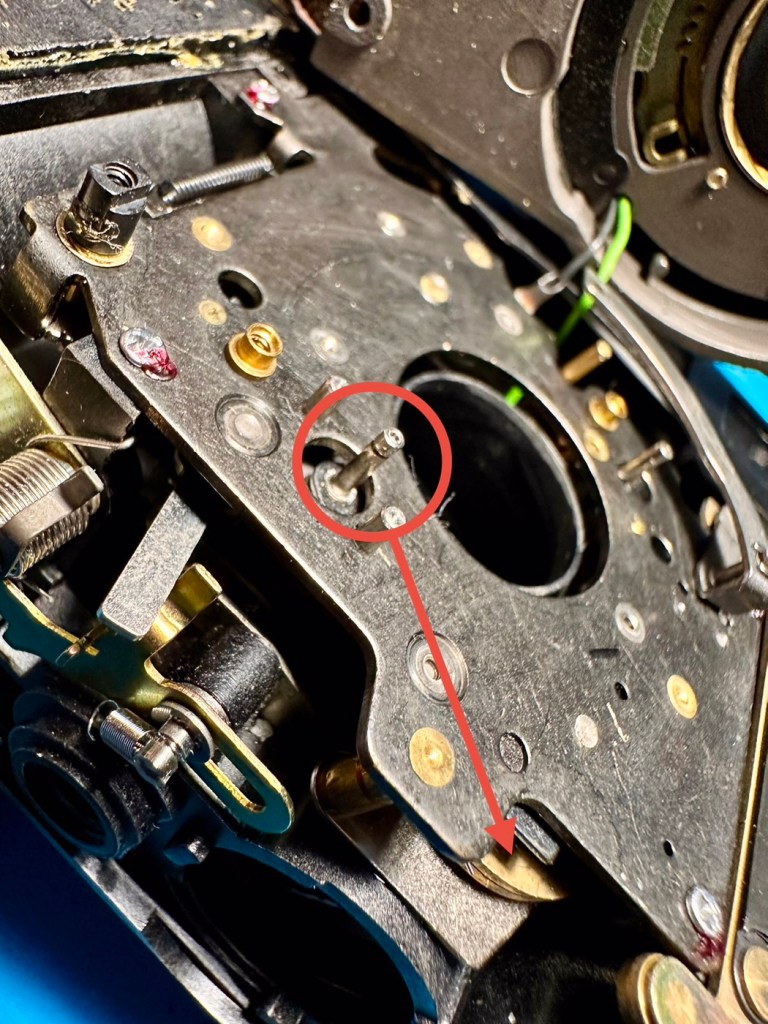
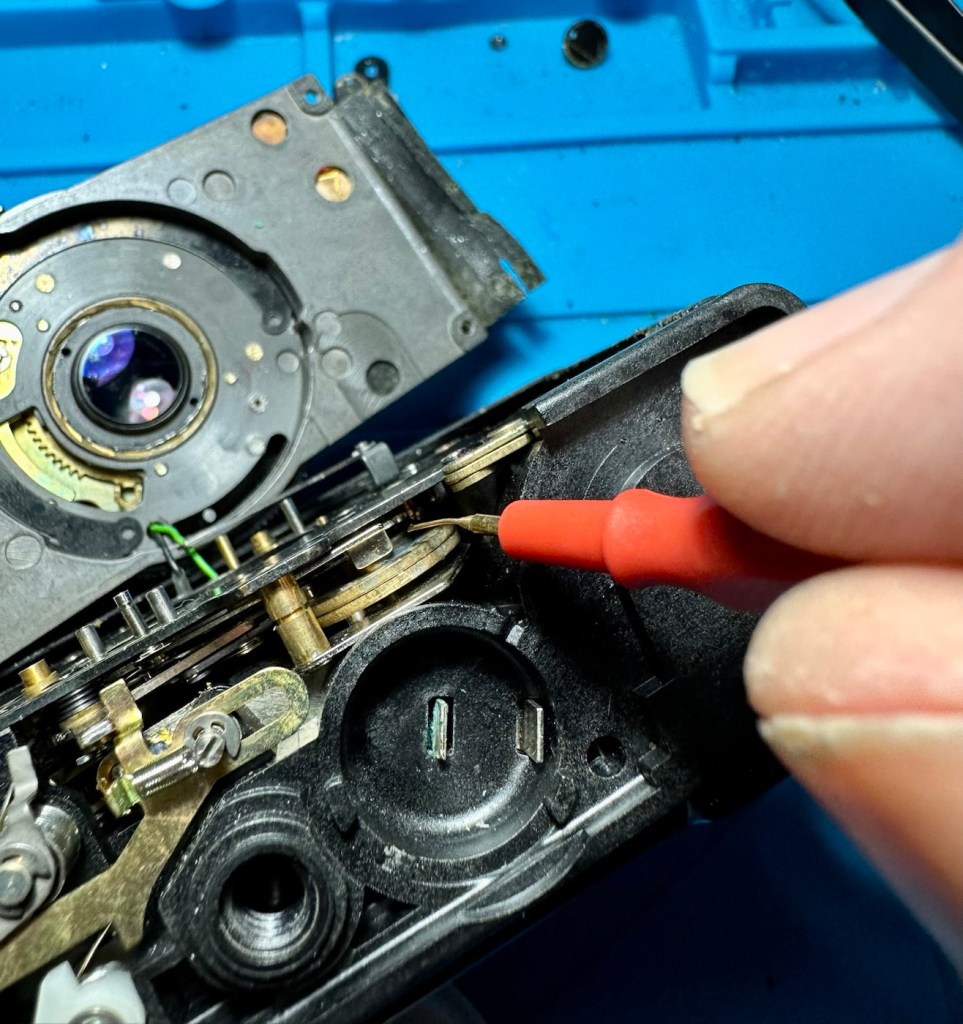
A period of time was spent just watching and observing whilst I continued to prime the camera and fire the mechanism to see if I could see anything obvious that was of concern. After a while I could see the issue, there is a small flywheel that was not moving, and as a result the connected shutter mechanism could not move.

The flywheel controls two parts of this mechanism. Firstly the shutter mechanism to move and work the shutter blades, and secondly there is a small brass pin at the top that also moves relative to the aperture setting, if this is in the wrong position, the shutter fires but will not close, this wheel is where the issue lies.

Using some IPA I get into the gearing from the base area, and give all the gears that I can access a good clean, I activate the camera numerous times to get as much grease and dirt away from the workings as possible.

Then using a very fine camera oil, very sparingly, literally a drop on top of a needle applicator, I place oil onto the cogs paying special attention to the offending fly wheel.

I have three shutter blades that are super thin and delicate that need a final clean, dry and a dry wipe prior to reinstalling. I get this done and then put both links in place, after installing the blades in the correct order.

Shutter blade reinstalled, with both links
A small video showing the shutter working

The re installation of all other parts is just a reverse action of how they were taken out, each part was cleaned as it was put back, so in theory the camera is an awful lot cleaner and free of contamination than it was a while ago. Before I put the lens plate back on the camera I check the shutter’s operation and it is all fine. Just a final calibration of the aperture settings, a check of the focus range, and just ensuring all wires are routed sufficiently, and the lens plate is ready to attach to the rest of the camera. This done, the base and top fascia plates are attached after first cleaning the focus window and light meter window. The camera is now fully assembled, it now just needs the camera “Skin” to be re glued where it was earlier removed for access.

Reassembled and just needs gluing

The skin is now glued into place.

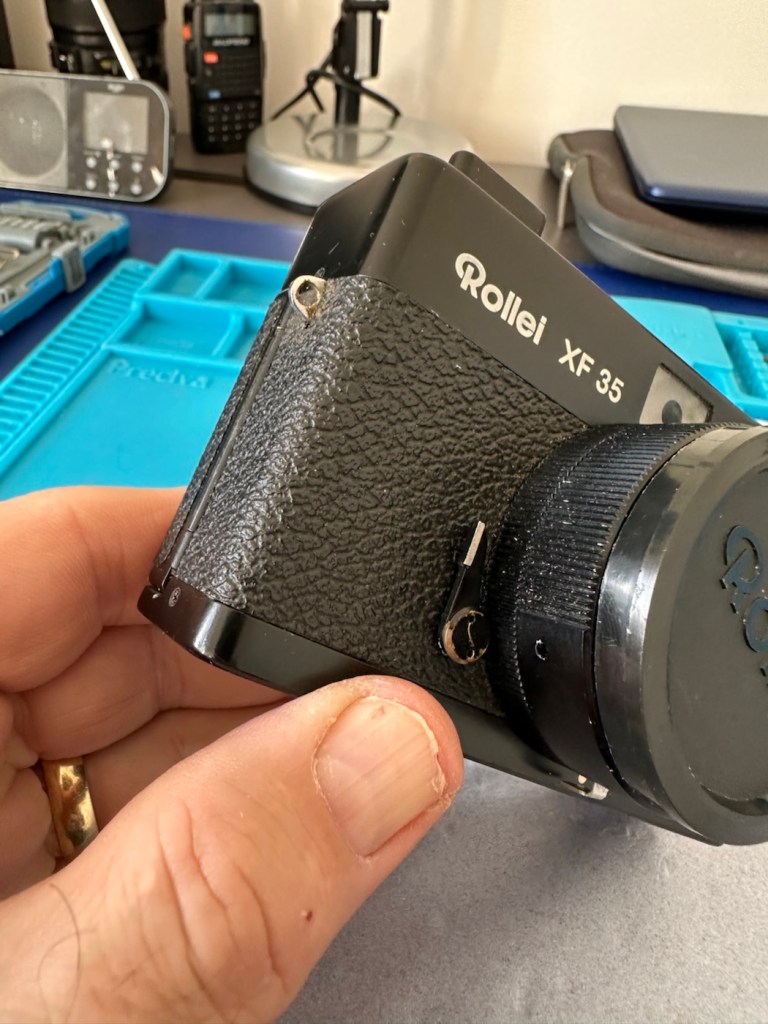
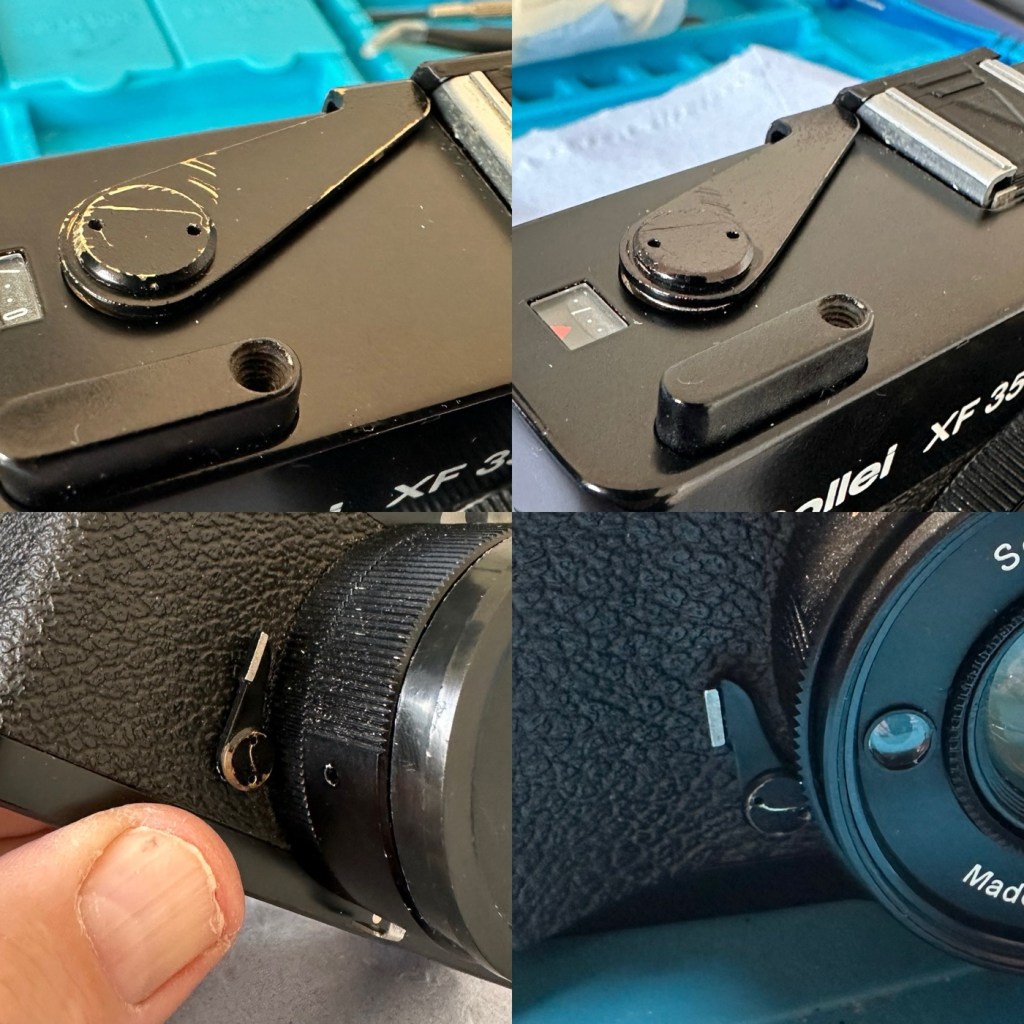
Now I’m outside the camera I’m just going to touch up some of the scuffed areas with some permanent marker, it’s not worth stripping down, priming and repainting, to be honest I’m quite happy just doing a touch up of the scuffed areas and that is what I have done. Once it gets a clean and polish it will appear much improved, compared to when the pen is first applied, it will blend in.

Before and after pen applications

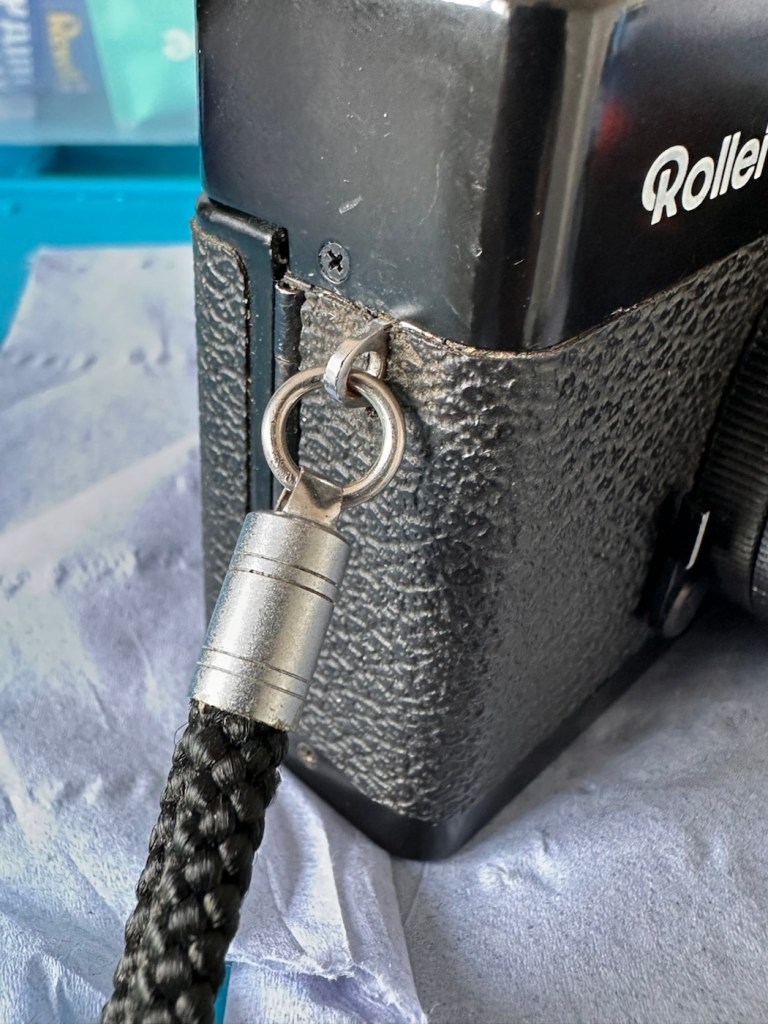
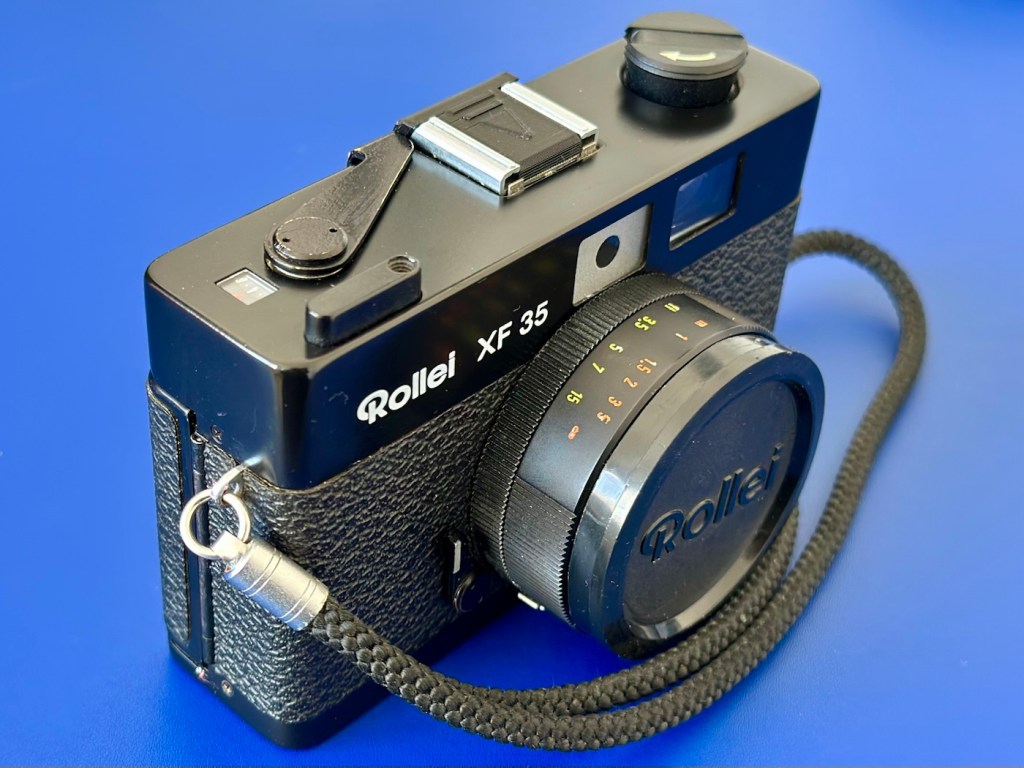
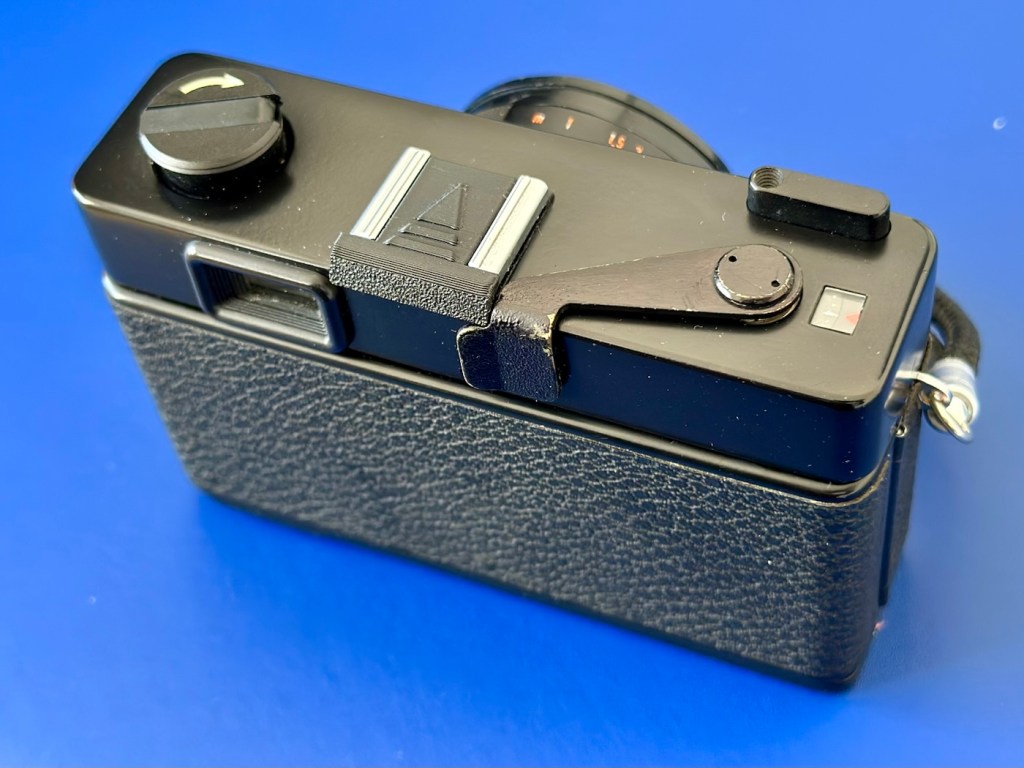
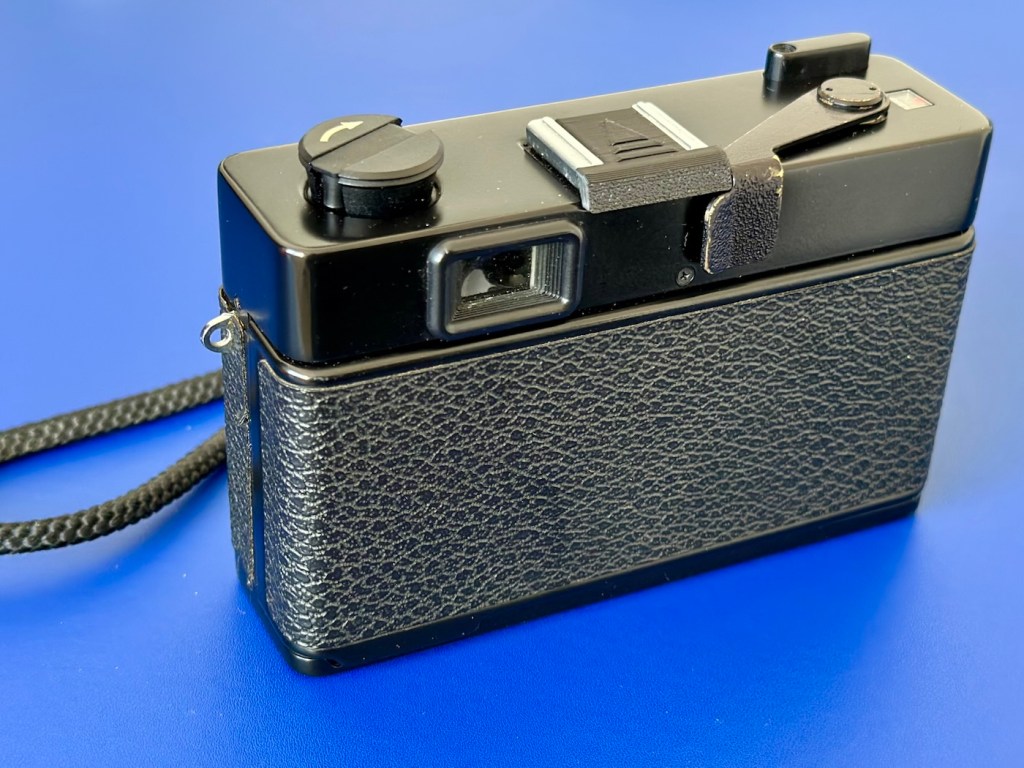
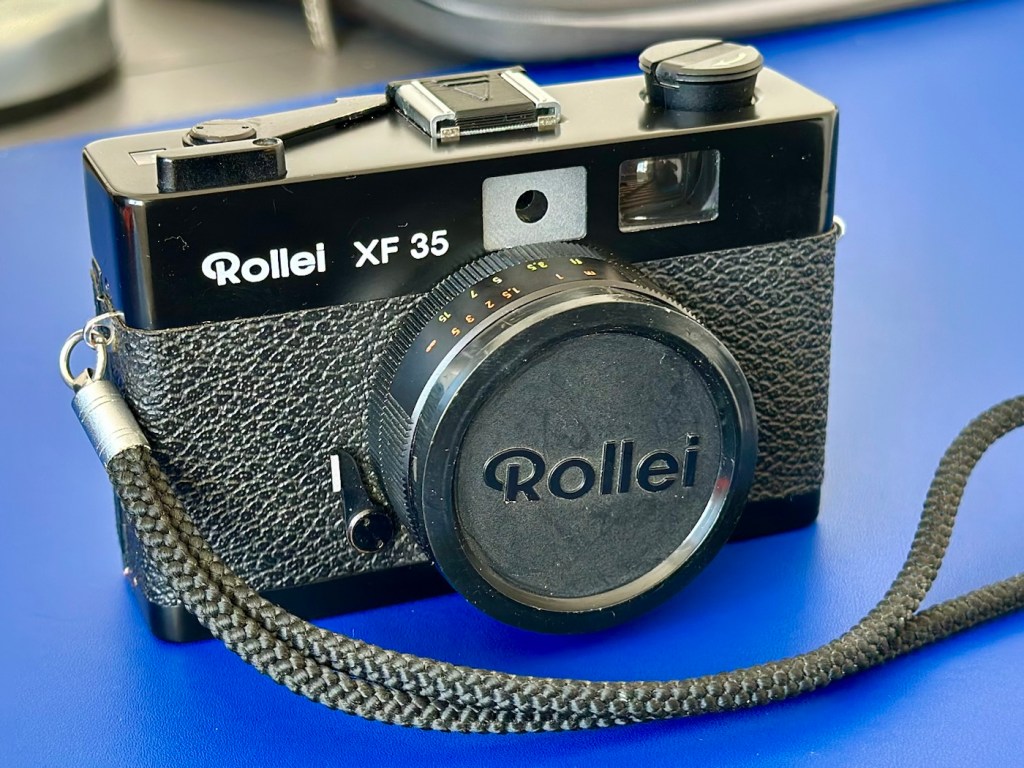
I’ve taken the old strap buckle off as that was rusted, I’ve just used the original strap ring to connect to the camera lug, I think it looks good. I’ve also added a cover for the hot shoe connector that I’ve printed off on the 3D printer.

Original ring

And that completes the repair, the last thing to do is get this camera cleaned and polished.

Result:

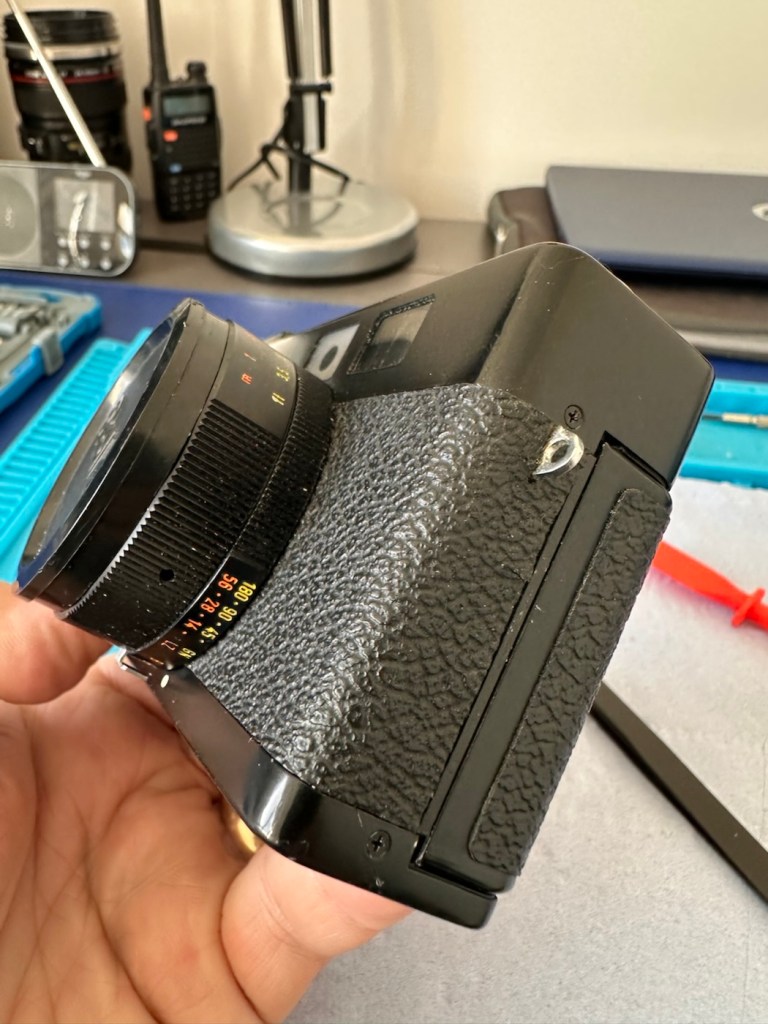
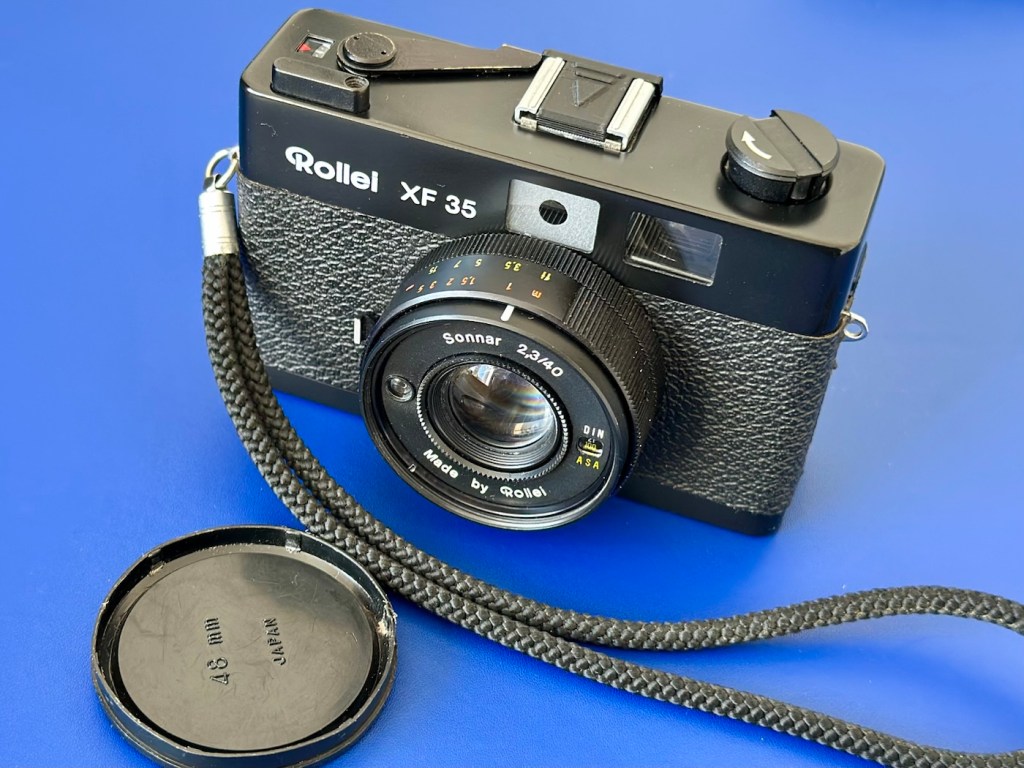
With a good clean and polish, this little handheld has come up looking superb.

With all the extra touches, we now have a superb working, resurrected camera that was heading for landfill. This has taken a lot of time and patience, something I don’t have a great deal of if I’m honest, but I was determined to get this project finished. And it is. It looks good, works good and has years of life left in it. Currently sitting at 52 years old, it has a long life ahead of it.

This camera probably rates as one of the most fulfilling and pleasing projects I have ever started upon and completed. It’s been a very delicate and time consuming job, and that I will not deny. It’s only a cheap low cost camera but it’s taught me a great deal. It’s the first complex project I have undertaken, in my new workspace, I don’t think I would have been able to complete it with my old set up. It’s been an achievement, one I am considerably proud of, an occasion when once again, it doesn’t matter how old you are, you can still learn a lot. A big positive for me.

Anyway, enough about me.

Thank you most sincerely for passing by and giving me your time. It really is, very much appreciated.