

Here’s what the listing stated:
Please review all photographs carefully as the images form part of the item description and provide the best representation of the items cosmetic condition & any included accessories Any significant flaws or relevant information will be shown below if applicable. Camera, lens and power winder are tested and working. Body and power winder show scuffs, scratches and paint wear to edges and base. Film rewind crank is damaged/loose and sits high on its spindle at a angle Light seal foam around the film door shows ageing and residue. Lens glass is clear with light dust only. Supplied as camera body with fitted 50mm f/1.7 lens and PW-545 power winder only; no caps, strap, batteries, film or manuals included.
Brand: Chinon
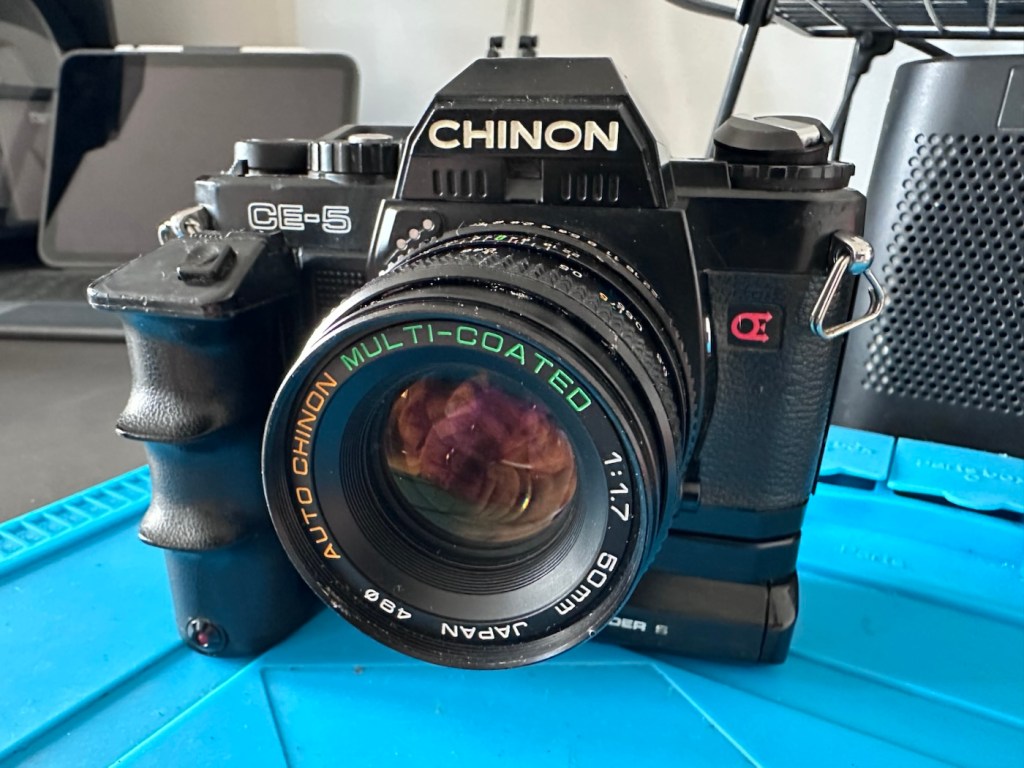
Model: Chinon CE-5 35mm SLR film camera.
Colour: Black metal and plastic body with black leatherette grip panels and matching black power winder.
Type: Manual focus 35mm SLR film camera with pentaprism viewfinder and built-in light meter.
Format: Uses standard 35mm/135 film cartridges loaded via the rear-opening film door.
Lens: Auto Chinon Multi-Coated 50mm f/1.7 prime lens with aperture and focusing rings plus 49mm filter thread.
Focus: Manual focus operation through-the-lens optical viewfinder with focusing aids.
Exposure: Auto exposure and manual exposure modes with selectable shutter speeds and aperture control.
Features: Built-in light meter, hot shoe for external flash, self-timer, ISO/ASA speed dial and compatibility with electric drive units.
Power: Designed to be powered by batteries for the camera electronics and PW-545 power winder (batteries not included).
Included: Chinon CE-5 35mm SLR camera body, Auto Chinon 50mm f/1.7 multi-coated lens and Chinon PW-545 Power Winder S motor drive only; no caps, strap, batteries, film, case or manuals are included.
Country of origin: Camera and lens marked Japan.
Keywords: Chinon CE-5, 35mm SLR film camera, Auto Chinon 50mm f/1.7, PW-545 Power Winder S, manual focus, auto exposure, Japan
EBay
Probably one of the most descriptive listings I’ve encountered on EBay. This alone gave me some confidence in making this purchase, as rather than the standard “Not working” non descriptive listing, I actually have a good idea as to what the problems are here, and they can also be seen in the photos in the listing.
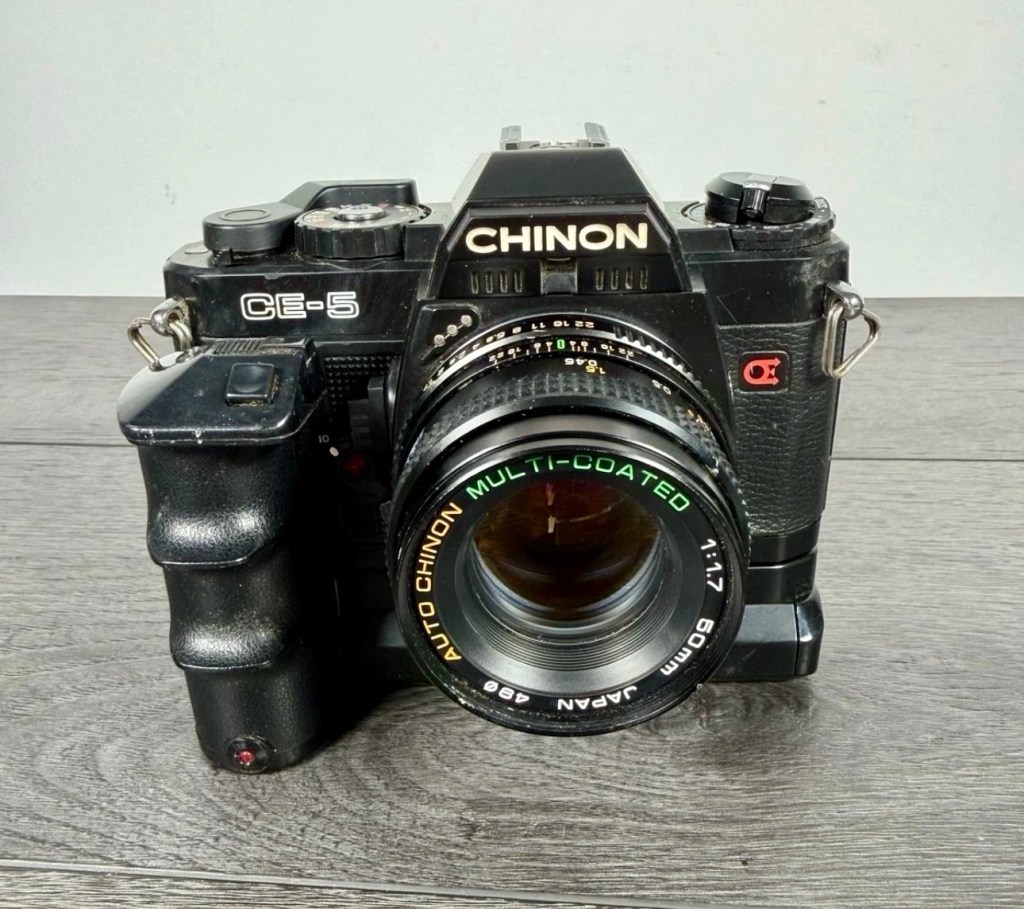
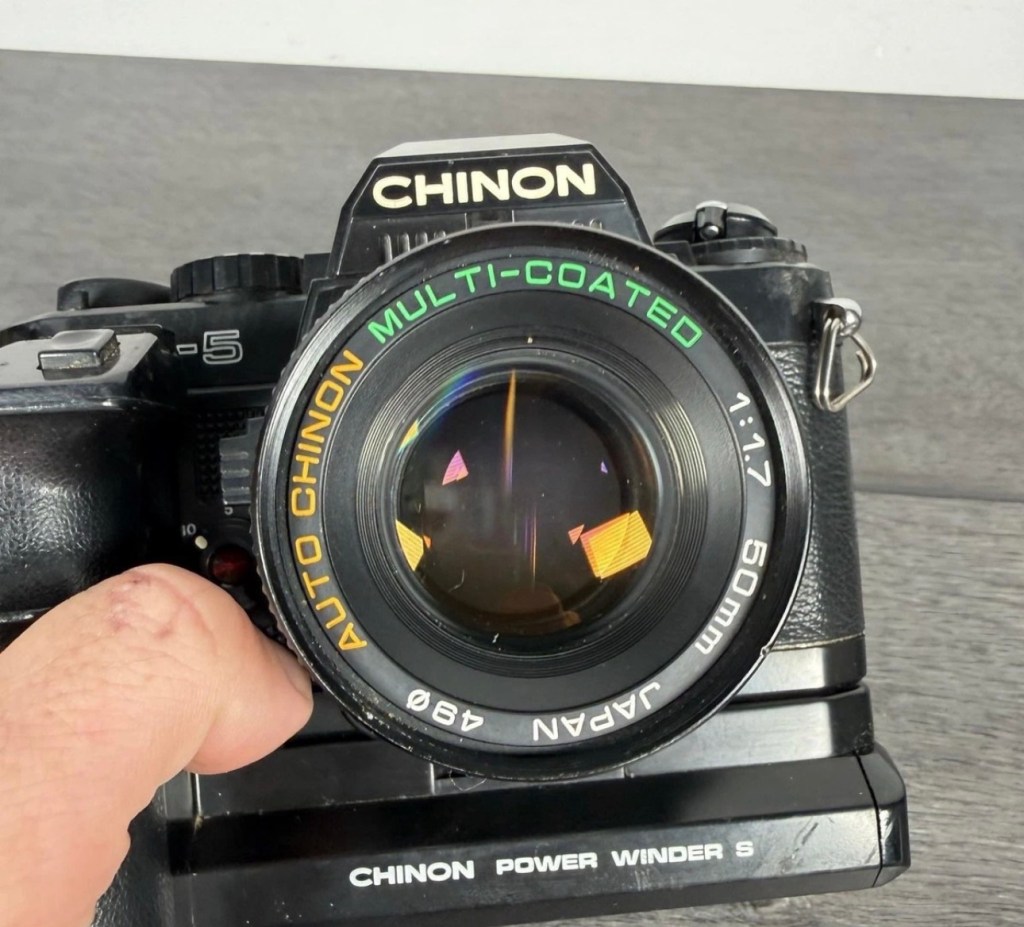
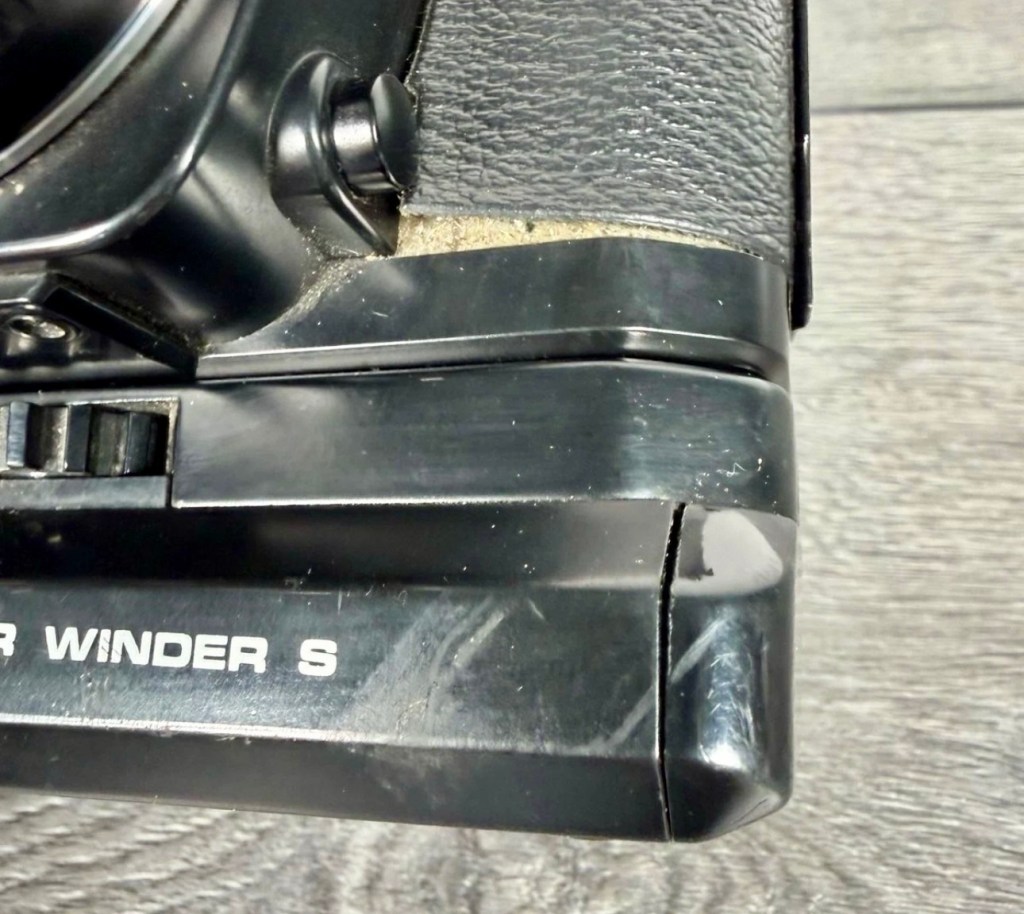
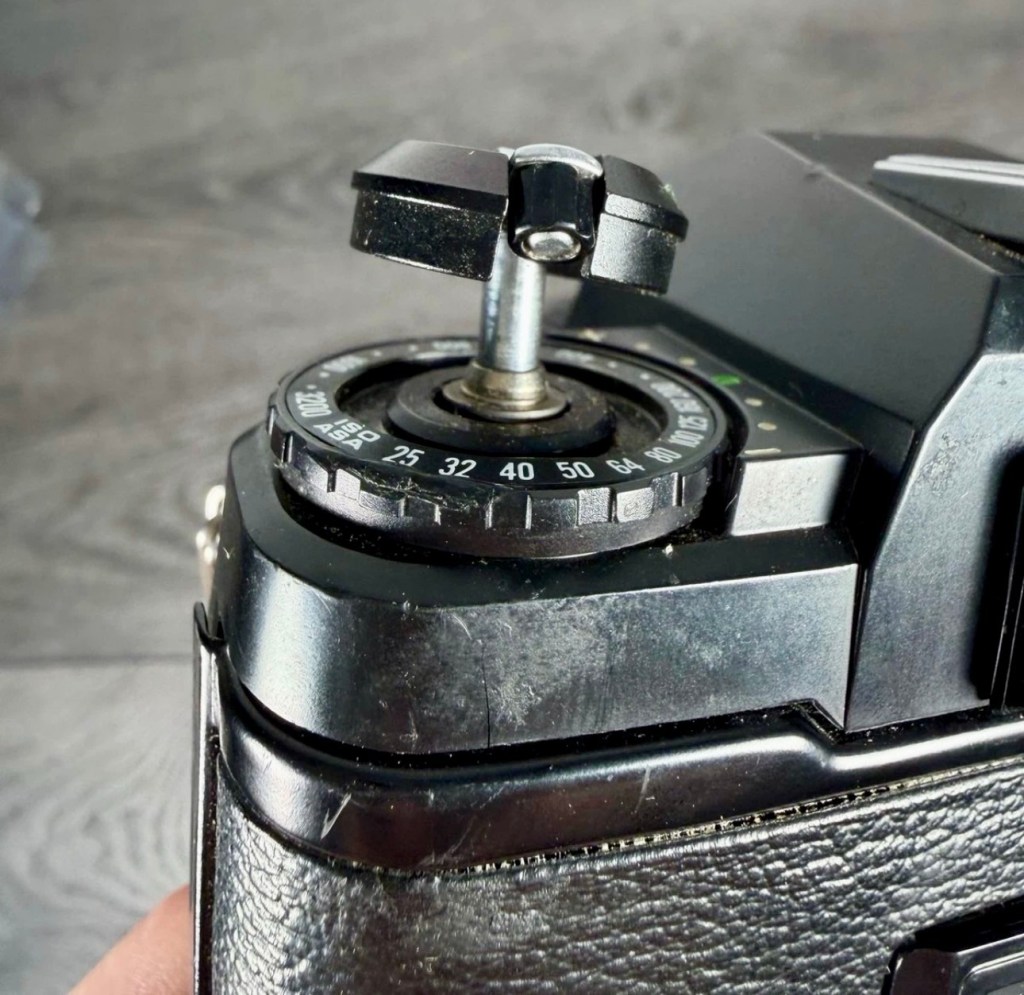
These units were on sale between 1981-82 in the Uk via the electrical goods store – Dixons. As a result, sales of this camera were probably not as good as if Chinon had gone out on a limb and promoted their own product. There was a lot of snobbery in the photo trade, and cameras from electrical good stores were looked on as “cheap” alternatives. However, they couldn’t have been more wrong as the quality was very high, maybe just a bit more plastic than some would like, and the lenses were equal or more advanced than a number of other lens brands available at the time.
I was just starting out in photography, I had my first job in 1982 at a colour laboratory in Bushey, Hertfordshire Uk at this time, and saving my money meant I was able to purchase this very combo I have purchased today for a total of £28:00GBP with free postage, after negotiating down the sellers original asking price of £39:00GBP.
Back in 1981-82, i believe the package for the lens and camera was about £110:00GBP with the winder coming in at about £40:00GBP. A total outlay of about £150:00GBP at the time. Considering I was probably only earning about £300:00GBP per month back then, it was closer to the end of 1982 that I purchased my combo, and by that time it was near to the end of its production run in the UK. There were AF lenses that were available as options that were so big they actually dwarfed the camera. The lens in this combo is the standard 50mm lens that it used to ship with. That said I loved the camera, it was easy to use, no fuss and the auto focus on the camera was way ahead of its time, even though I didn’t have the AF lenses to use. So far ahead of its time that it actually beat all the big players to the finish line. The big names caught on though and very soon they were flooding the market, the snobs were happy once again.
I had to offload that camera after I’d given it some good usage. Computers were appearing on the scene and the money I made from selling it went towards my first computer purchase, a Sinclair ZX81.
I wish I’d kept the camera…..
No panic though as I now have another one to revisit those heady days of 1981-82. It just needs some attention.
Here’s some info about the CE-5:
The Chinon CE-5 was a 35mm SLR camera produced by Chinon, that was one of the first cameras to have autofocus-capable lenses produced for it. It was produced for about 12 months between 1981-1982.
Specifications
The camera had a Pentax K mount (addressed to in the specifications as the Chinon “universal mount”) with which its lenses were mounted. 3 autofocus pins were present upon the top-left of the mount, which the autofocus lenses interfaced with. These autofocus lenses were rather heavy and depended upon their own large, lens-mounted motors.
The camera had two modes: aperture-priority and full manual. The shutter speeds ranged from 4 to 1/2000 seconds (stepless) in aperture priority mode and 2 to 1/2000 seconds in manual mode, in addition to a “bulb” mode. The shutter was controlled electronically in both modes; and was a Seiko electromagnetic metal focal plane shutter. A multiple exposure switch was also incorporated into the camera, alongside a 5 or 10 second self-timer.
The CE-5 was shipped with a full ground glass screen along with a split image range finder and a microprism collar to aid focusing. Other screens were made available.
An “X sync” flash hotshoe was incorporated, with contacts especially for the Chinon range of dedicated flashes.
The camera had the dimensions 135.5mm width x 88mm height x 50.5mm depth and weighed approximately 490 grams without batteries and lens.
Wikipedia
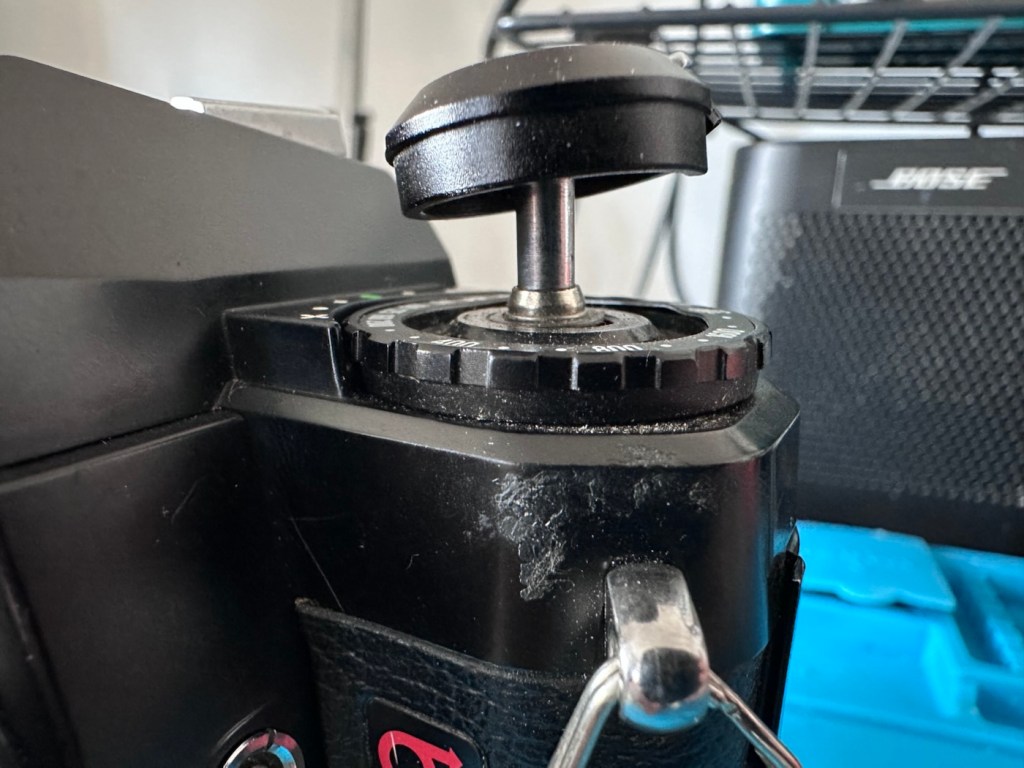
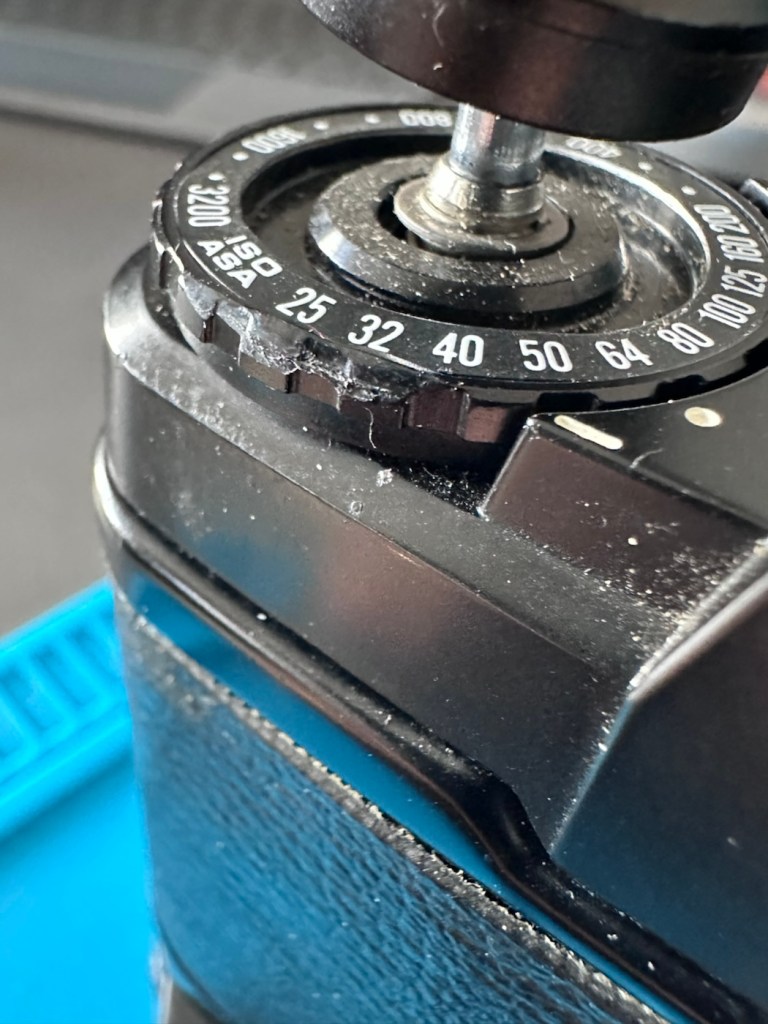
I very much suspect that this camera has been dropped at sometime. Just looking at the sale photos tells me this. It appears the corner where the rewind capstan is situated has a cracked body top, the capstan pin is also bent, the ASA counter also appears to have some damage, its fair to say this camera has suffered impact damage to that very part of the camera.
Ok so I need to now wait for the item to arrive to carry out a full assessment. The good thing is that I do already have a non working donor available in my spares box to carry out a little bit of a Frankenstein operation if I need to, and i think that operation may well be required.
Assessment:
The camera arrived and I must admit I’d forgotten just what a hefty lump it is. It is quite a weighty beast. The camera is pretty much as described apart from missing one major issue. There is an issue with the shutter mechanism timing, but I’ll come back to that later.
The top of the rewind crank is out of alignment and there is slight damage to the ASA ring beneath it. There are scuffs and scratches all over as described but in general it is not too bad cosmetically.
When I load two LR44 batteries into the camera base everything appears to work ok, the self timer works in the 5 second and 10 second mode, all indications work through the viewfinder and the shutter fires. However even though it fires it is at a slower, probably 100th of a second speed no matter what setting you have it in, Auto, 1/2000, or B setting it’s all the same. The B setting does not work at all, when the shutter is depressed the shutter springs open as it should, however it doesn’t shut when pushed again as it should, it remains open and you have to move the shutter speed ring to another setting for it to close again. There is a definite shutter speed fault that I suspect is as a result of this camera being dropped on one edge. Hence the damage to the area around the rewind capstan.
The lens is in a fantastic condition, showing no damage, it’s clean and free from mist and fungus.
The power winder is dead. It’s in a good cosmetic condition, but a quick look inside the battery chamber shows signs of battery contamination, hopefully I can resurrect this item.
The top case is cracked.
Repair:
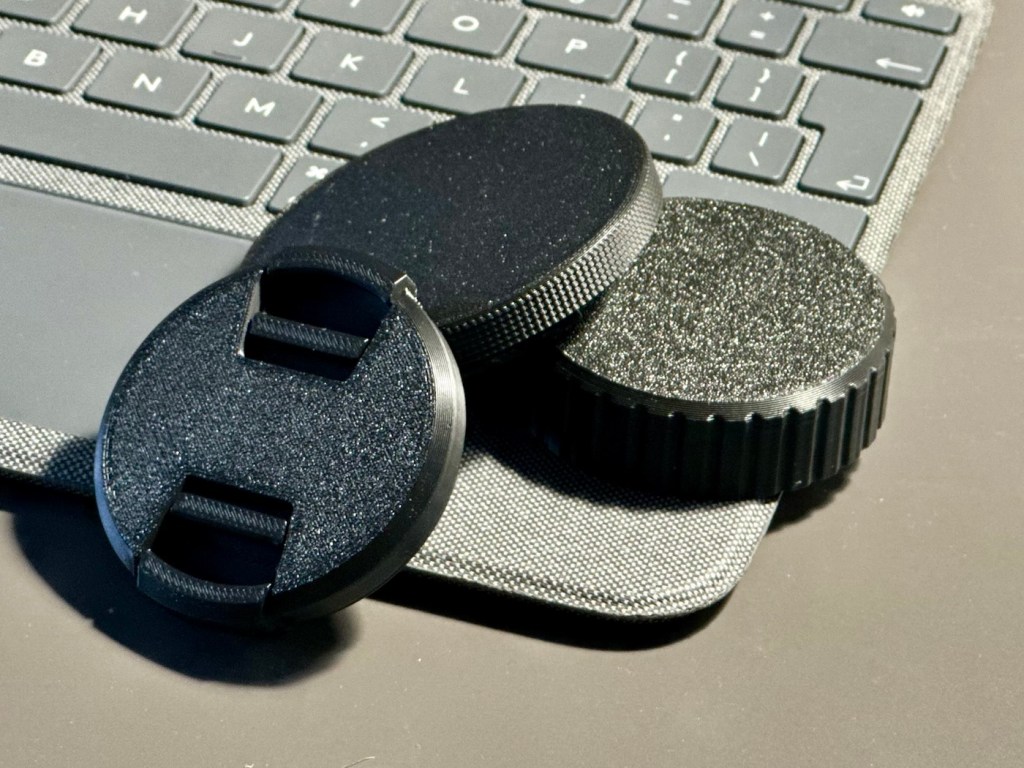
First. I’ll print off a body cap to protect the lens barrel when cleaning, I’ll also print caps for the front and rear of the lens as well, that way everything is protected from any further disturbance.
I’m going to start with the power winder as I now have it separated from the camera. There is a cartridge that inserts into the winder base that holds 4×1.5v AA batteries. The output therefore should be 6v but when the multimeter is used there is no voltage making its way through the cartridge. One of the cartridge contacts is tarnished and requires a clean. A quick buzz with my grinding tool cleans the contact and then a wipe over with a cotton bud soaked in IPA finished that clean. Batteries re installed and we now have continuity with a healthy 5.97v being supplied at the terminal ends.
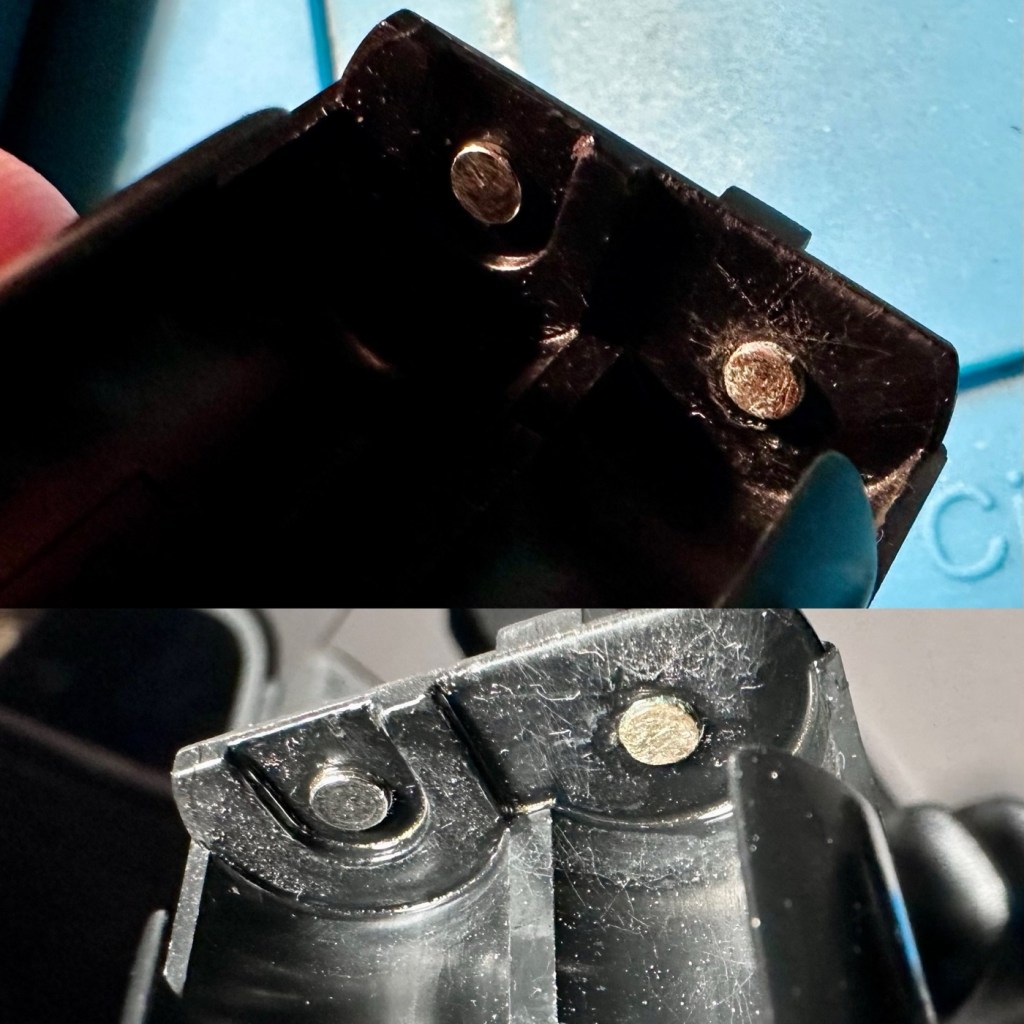
However when installed in the chamber the winder is still non operational. A look into the battery chamber reveals further contamination on the contact inside that would mate with the contact I have just cleaned on the battery cartridge.
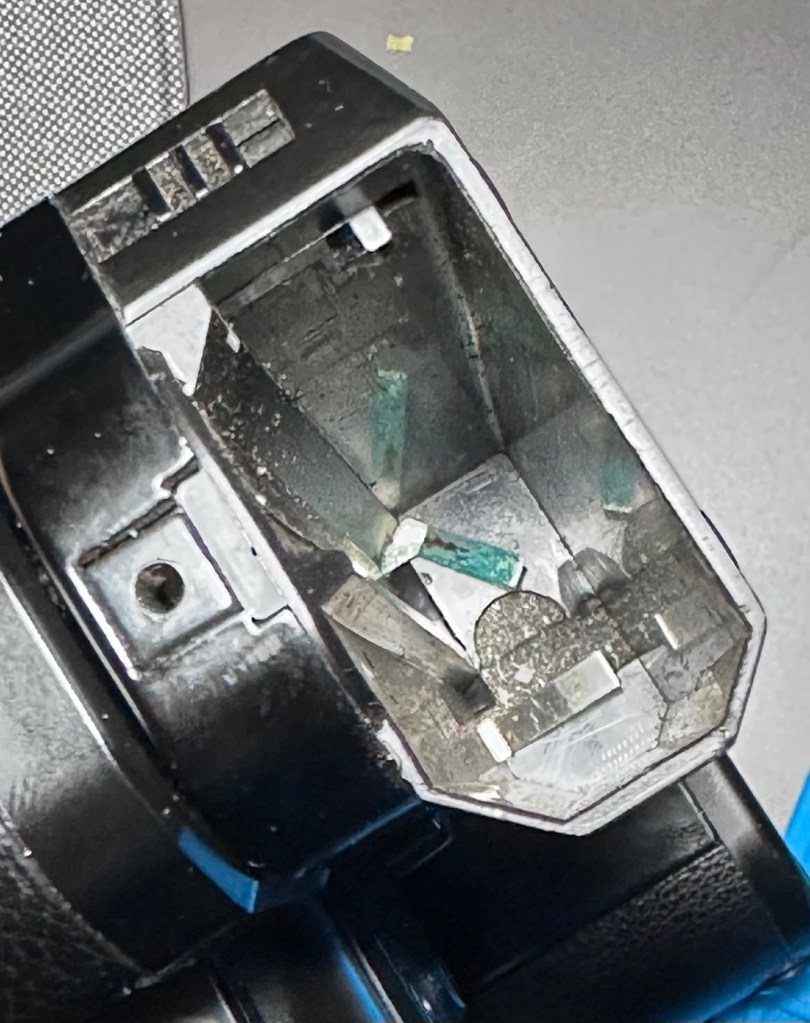
The power winder has to be dismantled quite considerably to access the contacts inside. You could probably do a clean without dismantling, however you will never know if any of the contaminants have gone beyond the contact. I tend to get into the machinery of things for piece of mind, and today I’m pleased I did as I was able to confirm that the contamination was only on the battery contacts.
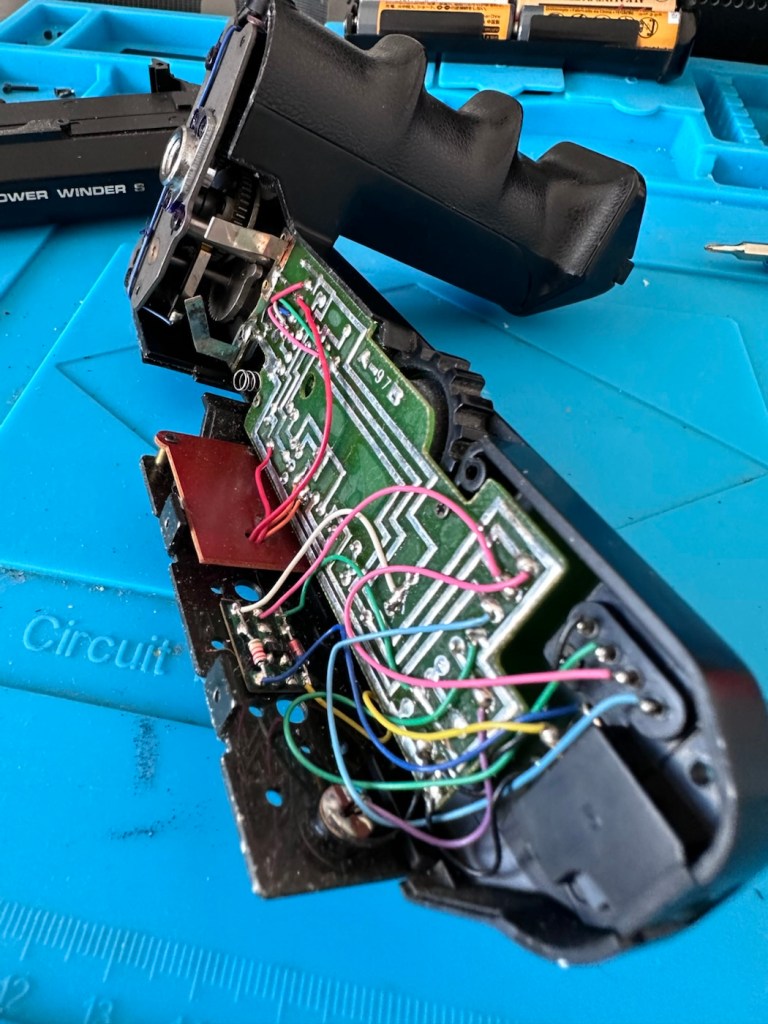
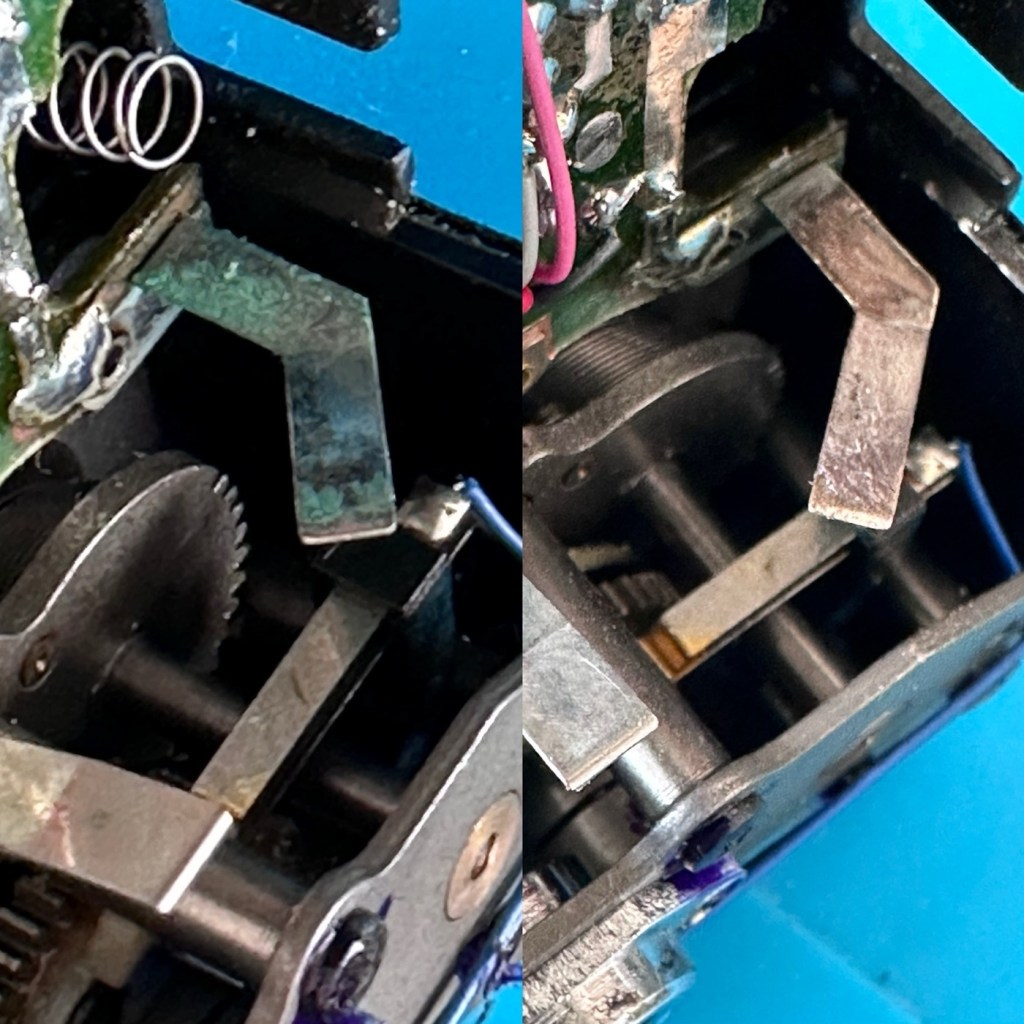
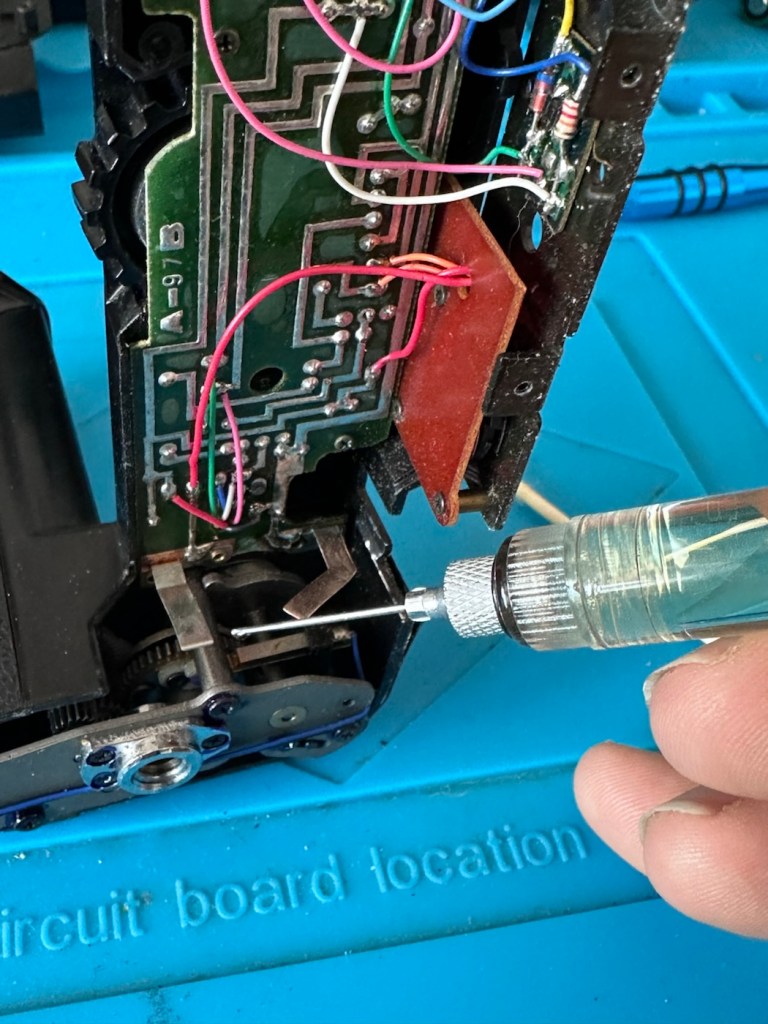
I cleaned the contamination with a grinding pen and then cleaned the contacts with some IPA. A blow through with an air gun removed some old dust and debris from the handle area, and whilst in here I lightly oiled all the cogs and gears in the handle area.
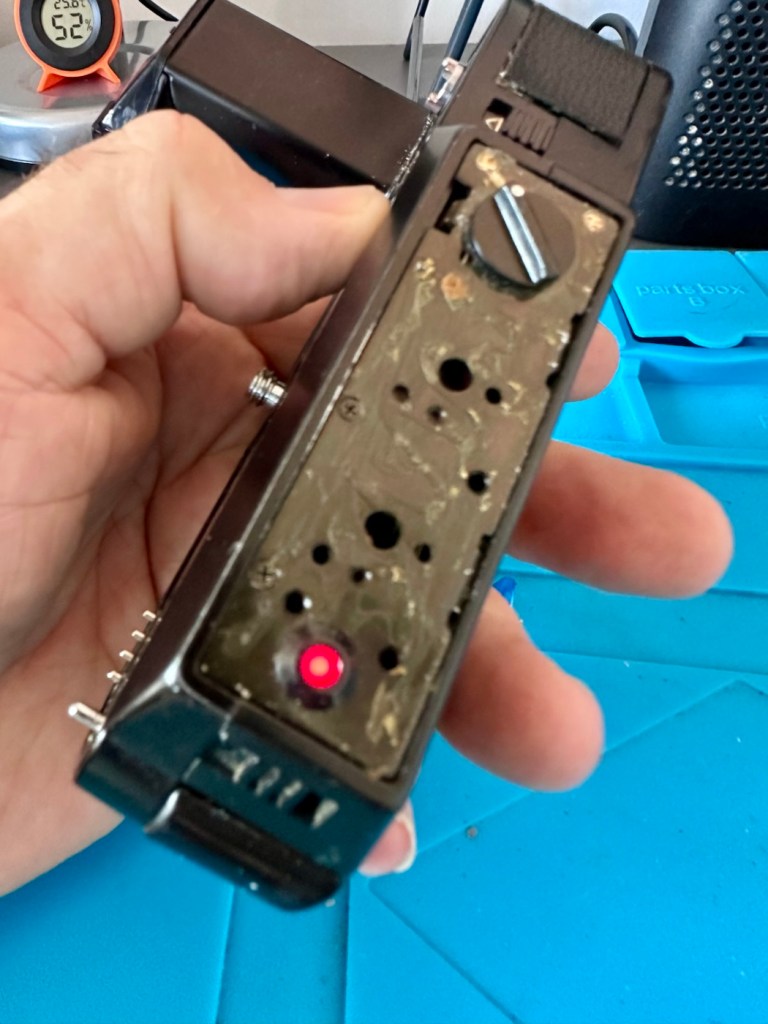
I’ve partially reassembled the winder and put the battery back in place and we have power lights when switched on. I connect the winder to the camera and it works just fine. There are two settings (S) single shot and (C) continuous shot that fires a frame every two seconds approximately. All are functioning well and working as they should. I now clean the outer of the winder of old glue and adhesive, re glue and put all skins and label back into place. This repair is now complete. Onto the camera now.
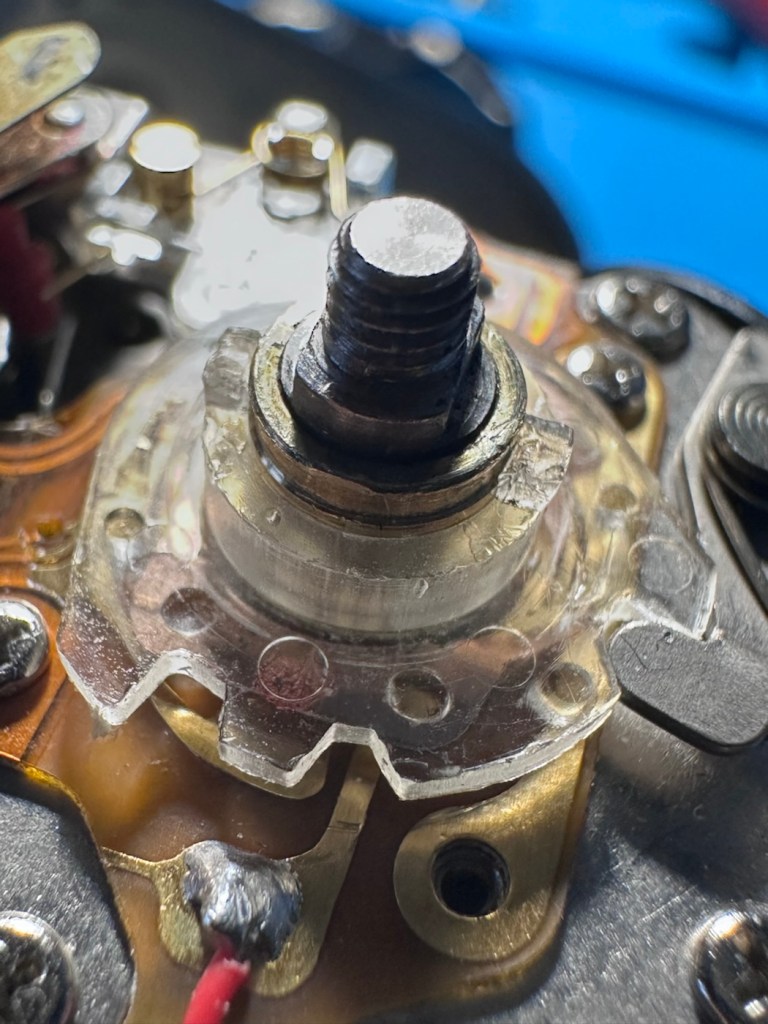
With the camera the first thing I am doing is checking the rewind capstan. When unscrewed the screw and spindle are straight, the actual damage is with the plastic cap that is bent out of shape and split on one side. As I stated earlier I do have an old donor camera so I have taken the ASA dial and the rewind capstan off of that to replace the damaged items on this side of the camera. I will also replace the cracked top as well. I must admit it looks good and appears to be functioning at this point. I’ll have to have it all off again when I investigate the shutter speed issues. But for the meantime it’s a needed job completed.
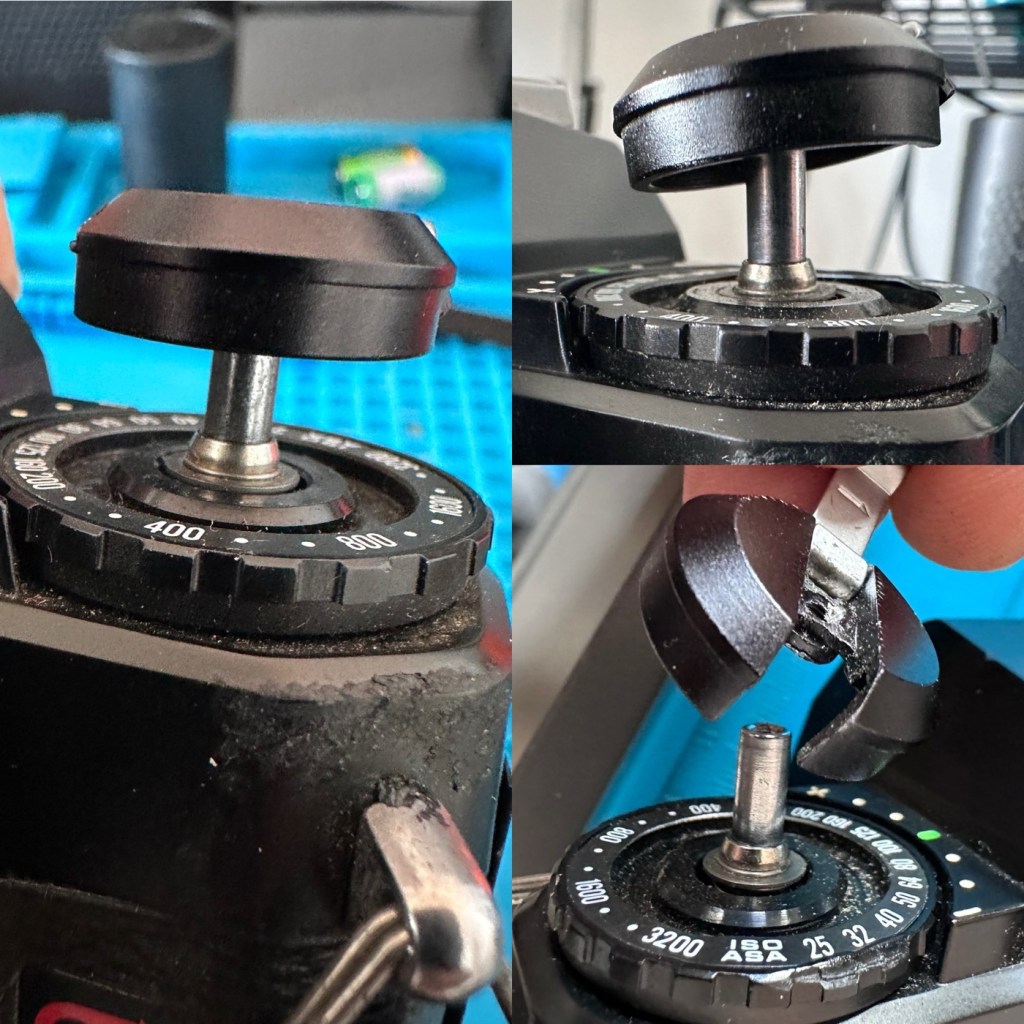
Now we need to look at the shutter timing issue.
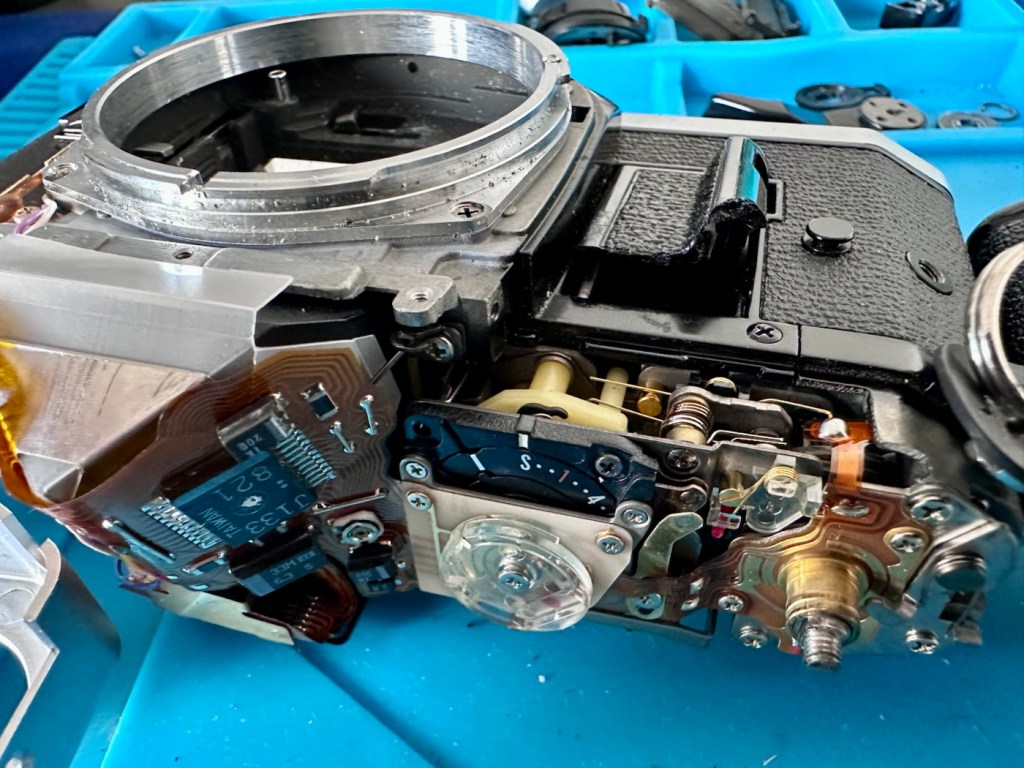
It took a time to get the top off due to there not being a lot of information available about breaking these units down. However I now know how to, and this took the best part of an hour for me to achieve, I’ve replaced the cracked top with the one from the donor camera.
As soon as the top was off there were three issues that welcomed me, I suspect these all occurred as a result of that drop that damaged the ASA dial and the rewind capstan.
Firstly above the prism area there were what appeared to be three detached wires.
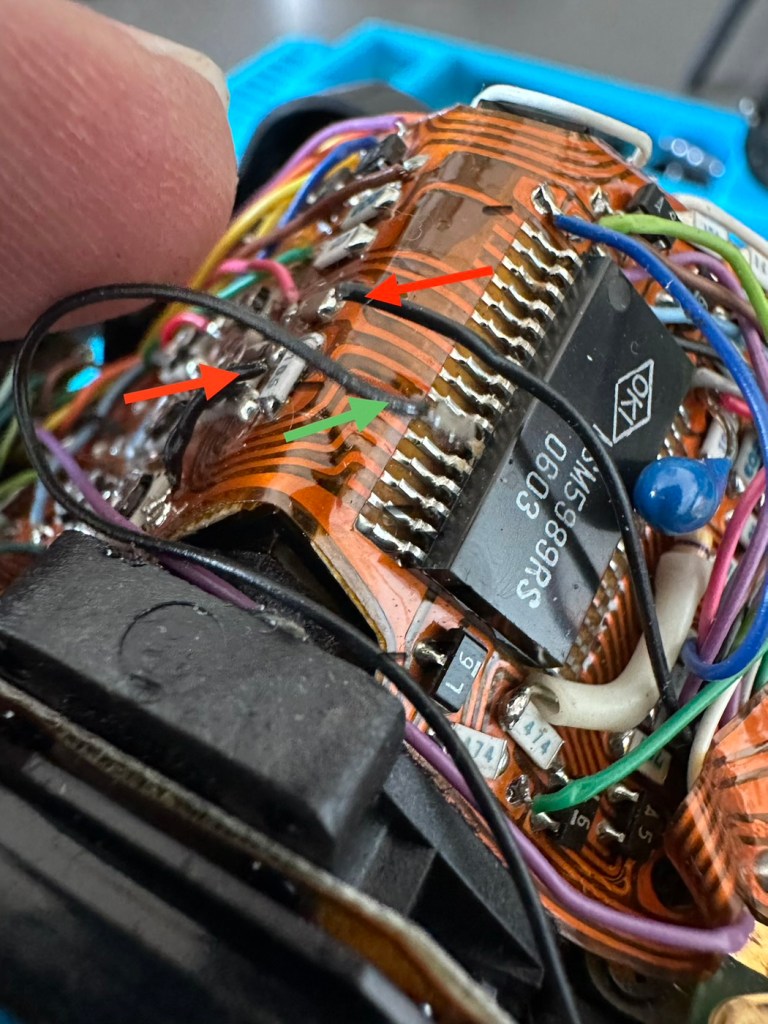
In the photo above, you will see two red arrows. These wires they point to were once upon a time a single wire, somehow this wire has snapped. The wire that is indicated by a green arrow is a rogue earth wire that should be connected to the hot-shoe in the prism roof.
There was no way I was going to be able to route a new wire as it originated deep inside the body, and I just didn’t fancy going there today. Instead I melted the two ends slightly to expose some wire, I then used some multi core solder to tip the ends and as I had some room to move the wire slightly I joined the two ends back together with a solder joint. Once soldered I used some conformal coating to stabilise the joint, then covering it with a small piece of Kapton tape to ensure it was secure and not interfering with any other metal/components.
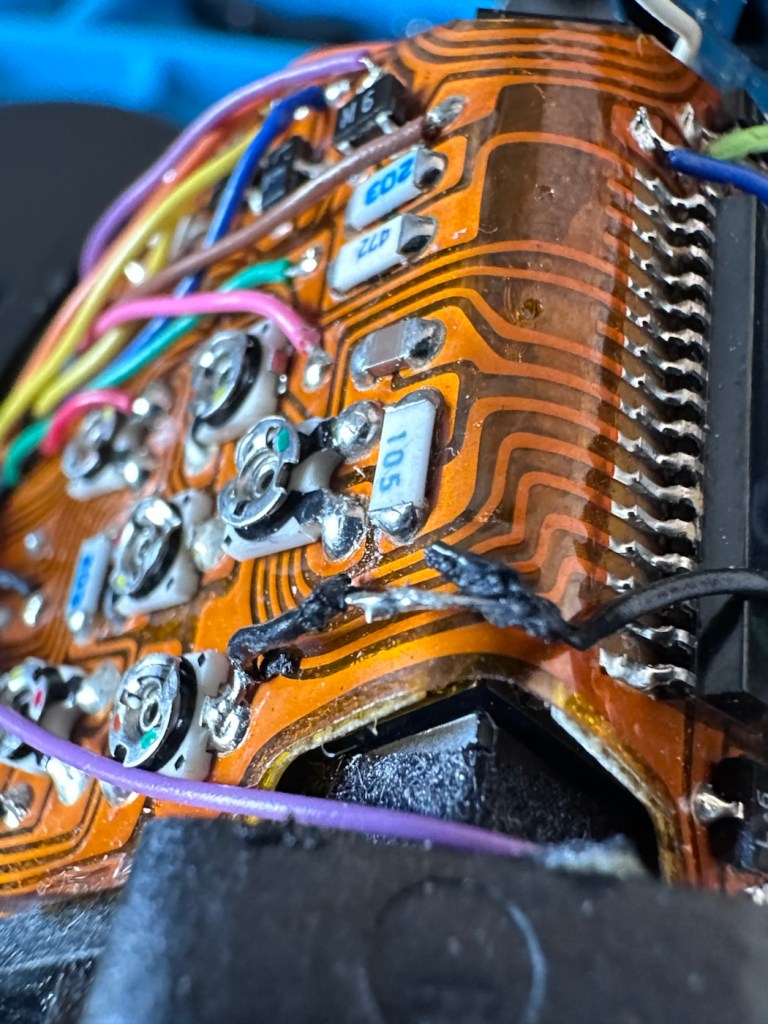
The rogue earth wire was then soldered back into place in the roof of the prism housing.
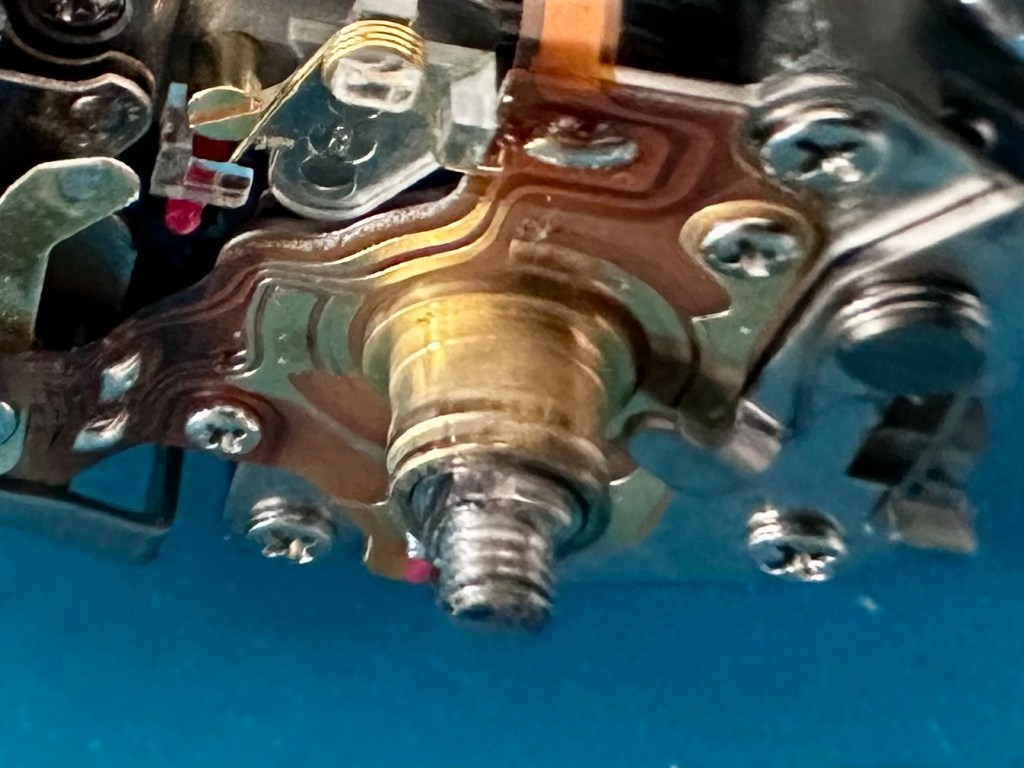
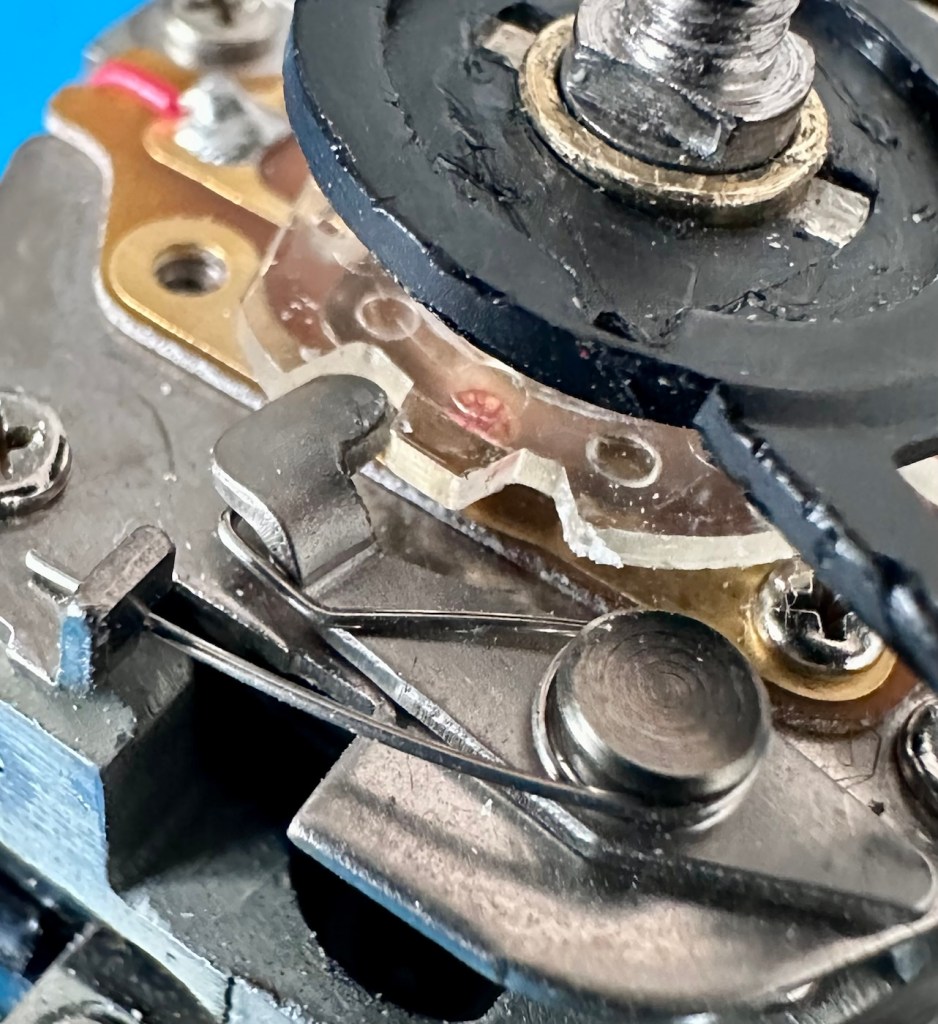
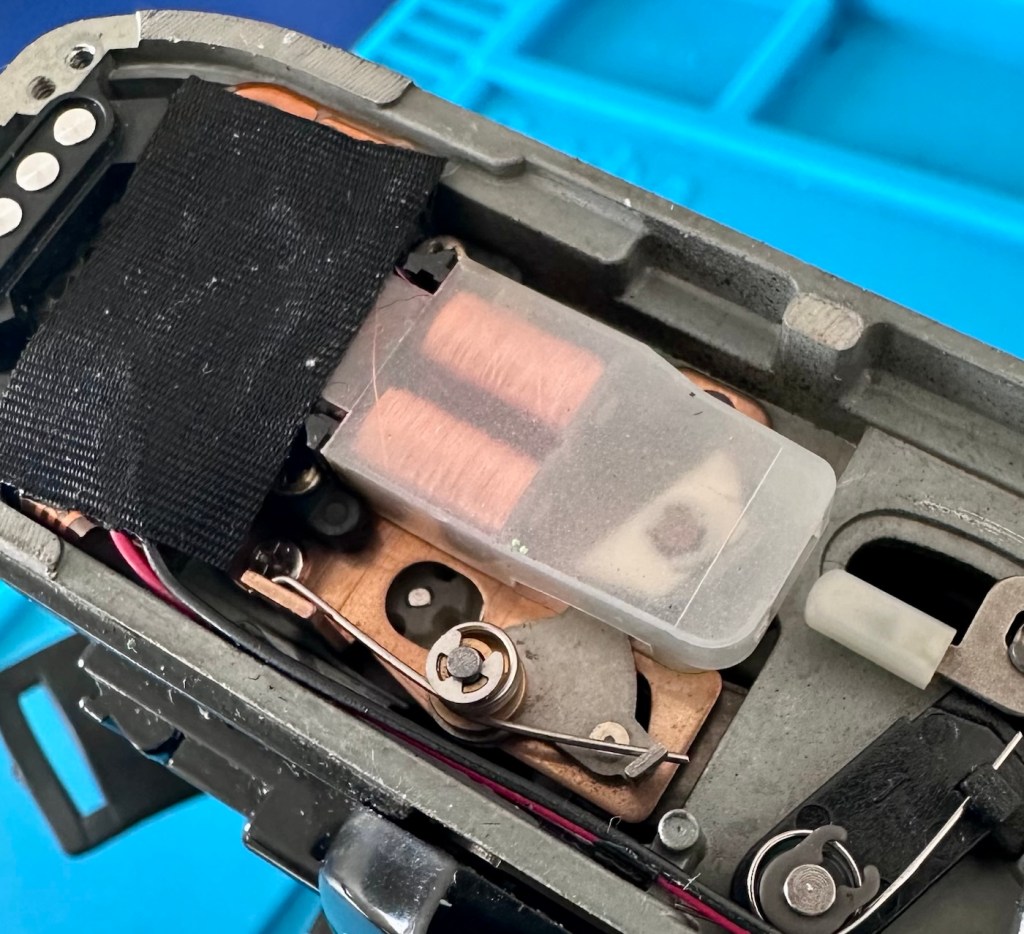
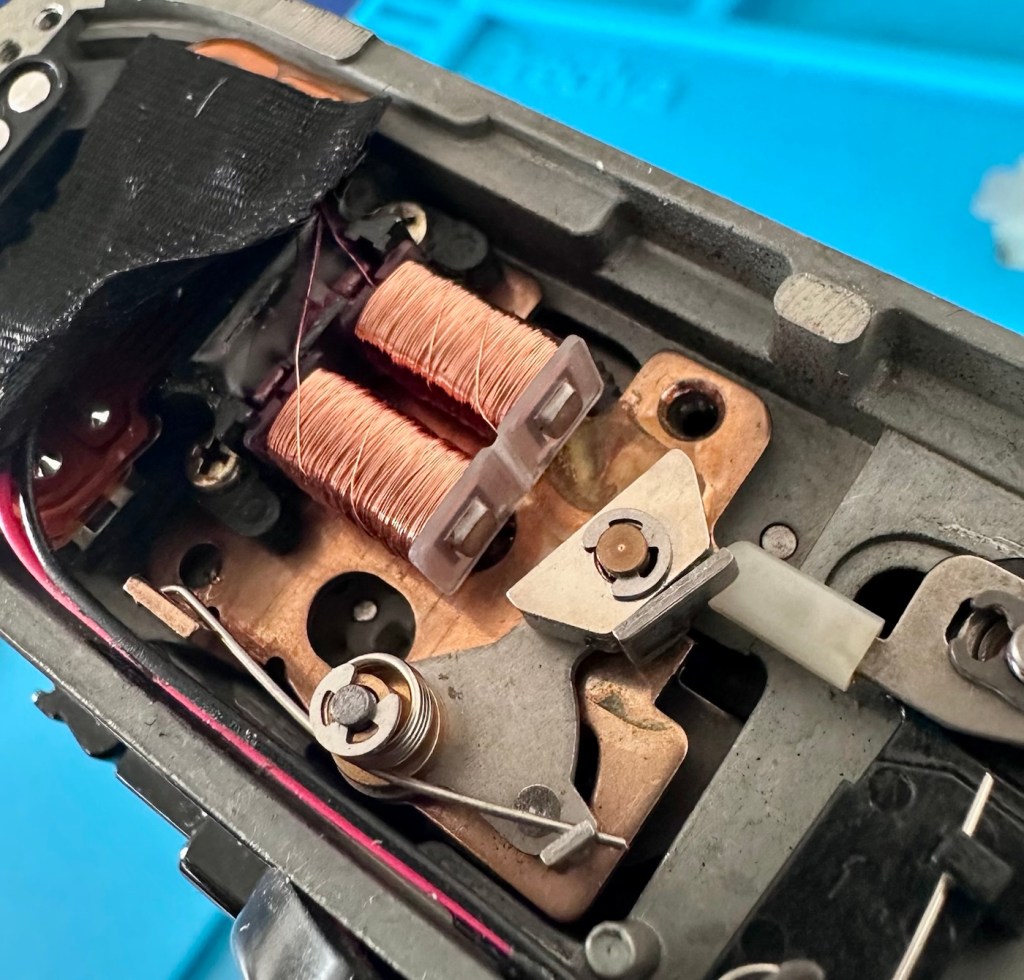
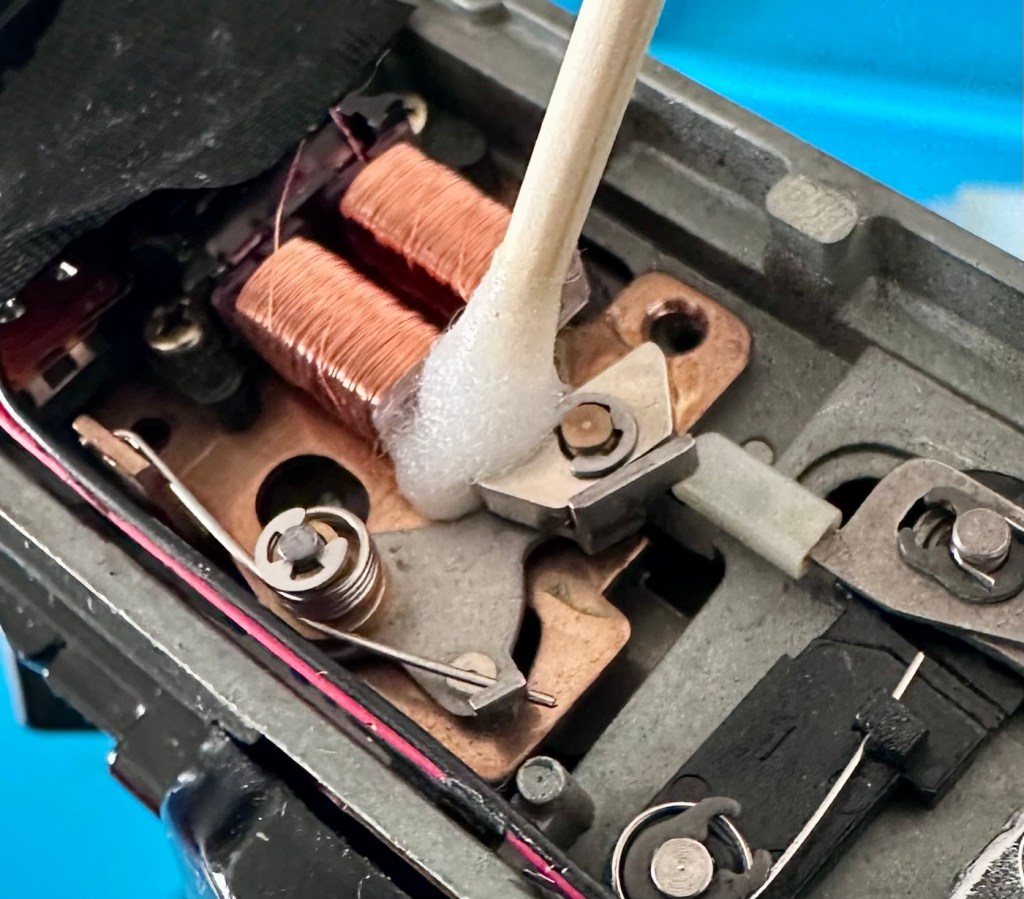
The issue with the speed settings appears to be as a result of disturbance, again related to that drop that caused the other issues. When the speed dial is removed you are left with a set of tracks with very fine copper contacts. One of these contacts is specifically for the “B” setting, it should sit shy of a contact point until it is required however from what I could see it was permanently activated, it didn’t look right so I adjusted it to sit properly, now when the dial is operated it switches in and out as it should. I don’t know how this affected the earlier tests that showed we only had one available speed, I can only presume the issue is a culmination of all the issues so far experienced.
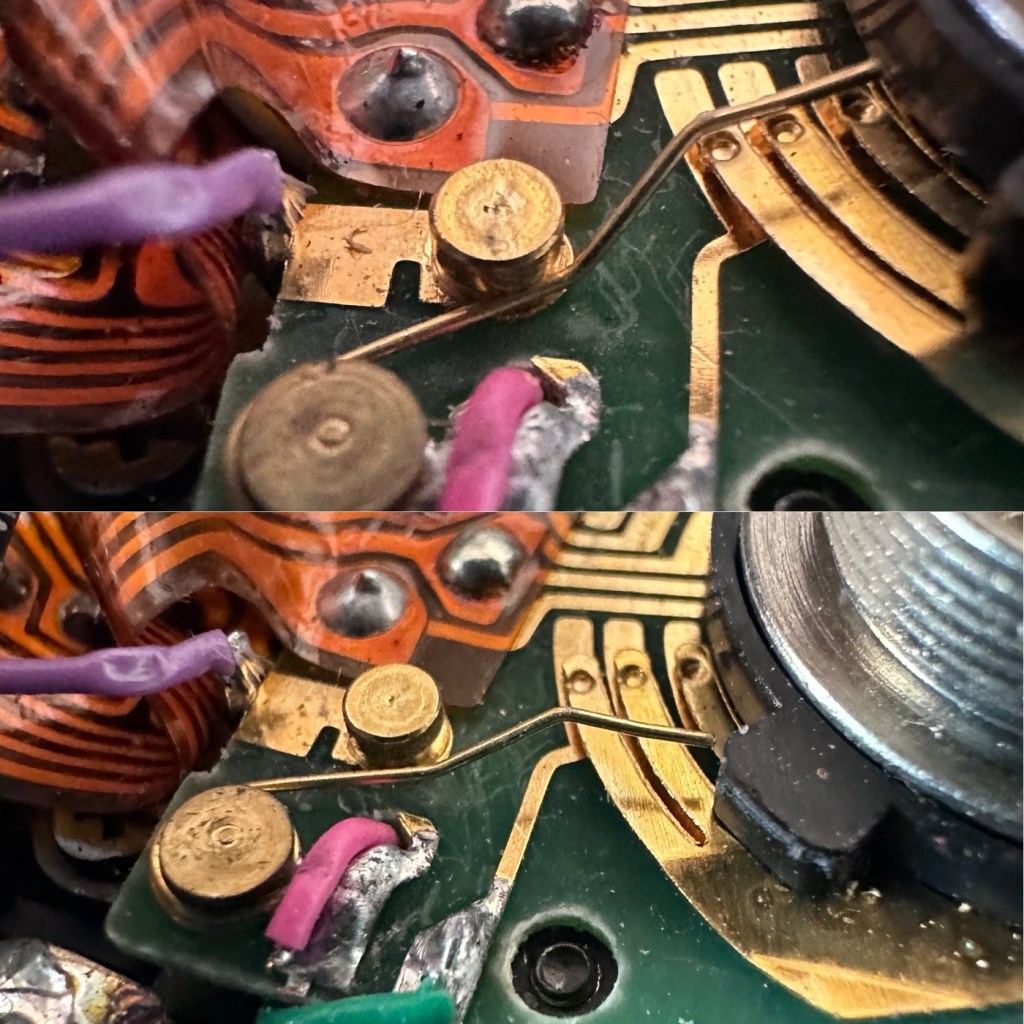
I have now commenced reassembly after giving a good blow through and a light clean of the contacts.
Batteries have now been installed and I’m reluctant to switch the camera on. But I have to, so I do. So far so good. I rewind the lever all good. I set the shutter to 2s and activate the shutter, it opens and then it shuts again about 2 seconds later, I move through the shutter settings and all appear to be reacting to their relative speeds, 125 sounds right, 2000 sounds very quick, they all are giving different speeds which is superb. And the “B” setting is now operational. This is fantastic. All indications in the viewfinder are as expected, and with the winder attached all systems are go. I think I’ve fixed it. Wow. I’m shocked.
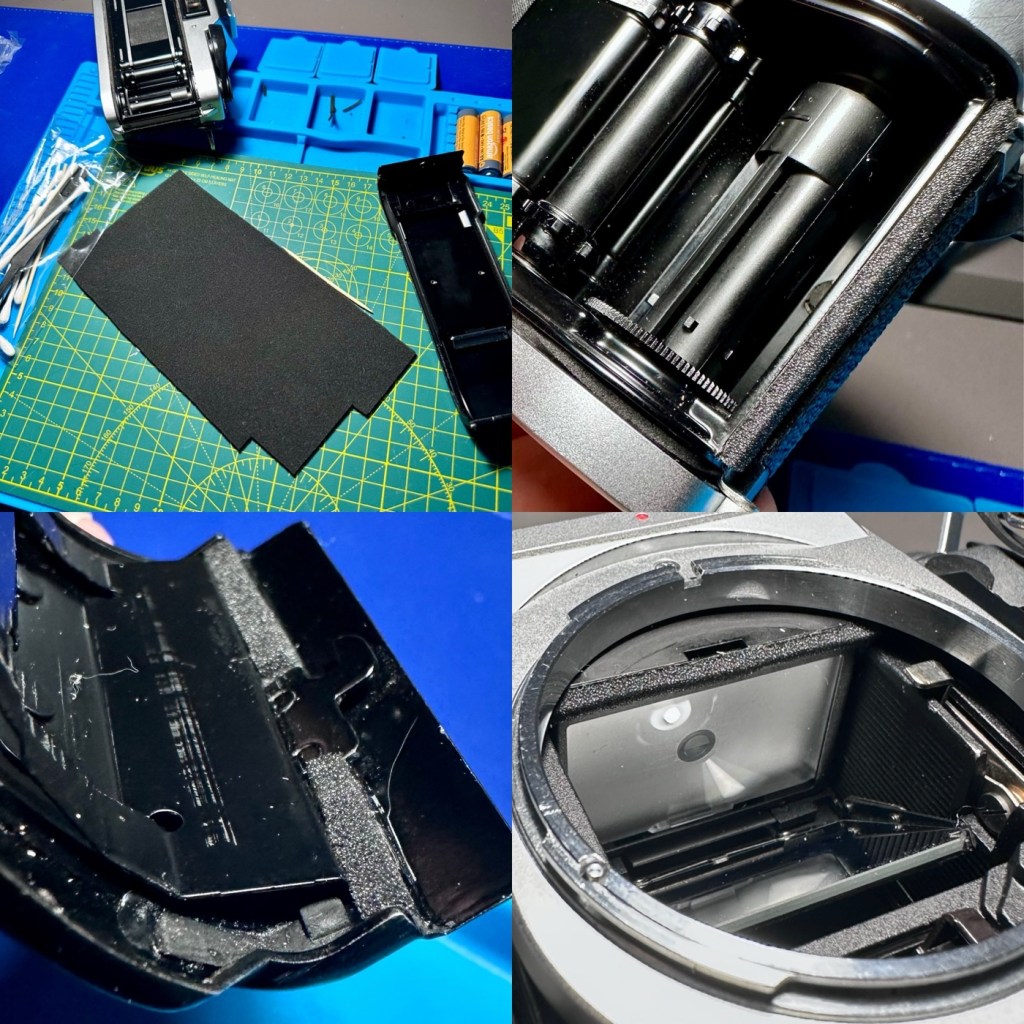
Let’s get the light seals and bumper felt replaced now.
Bumper and light seals have now been replaced, an awful lot of felt came out of those grooves, I thought it would never stop coming
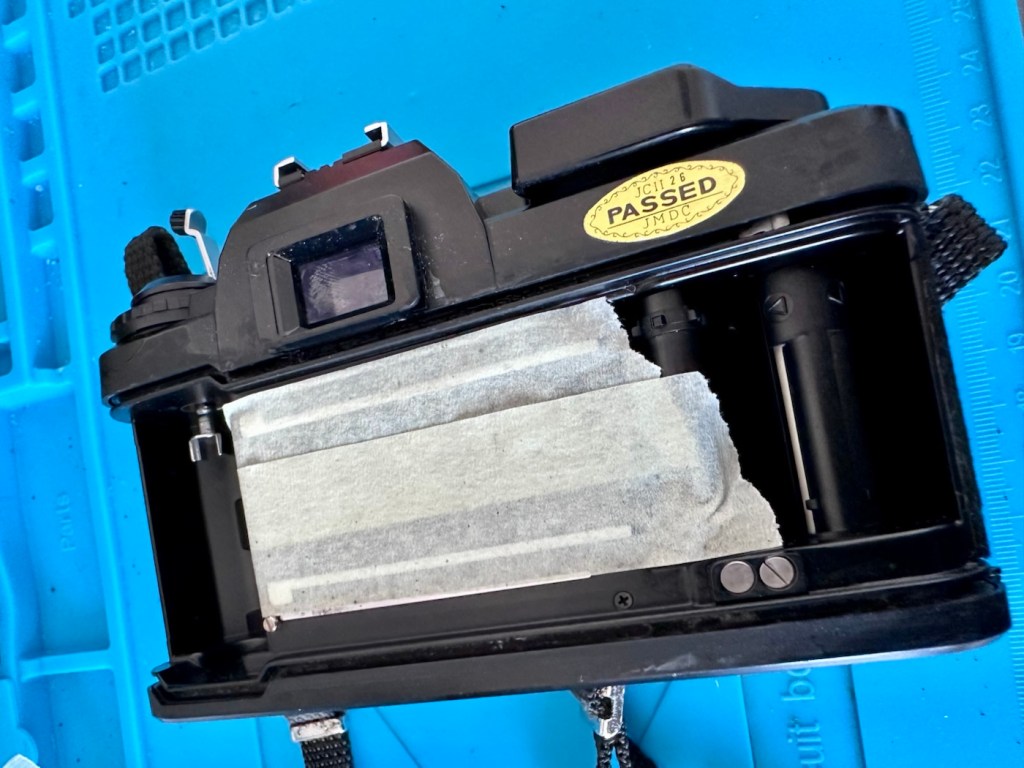
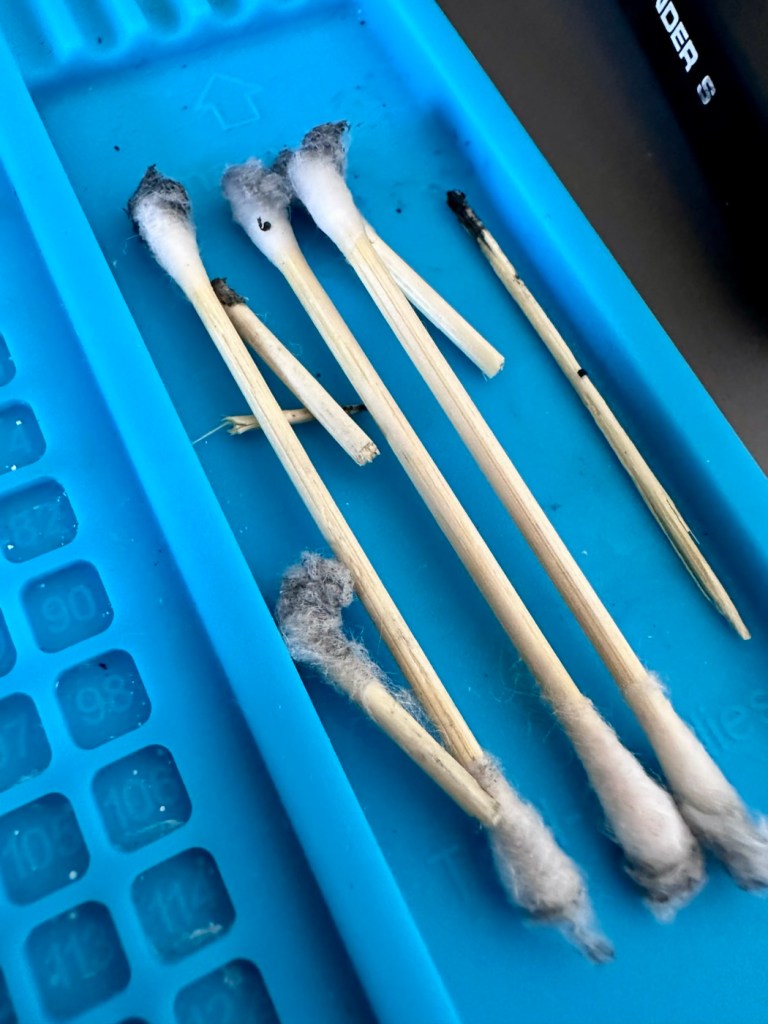
I always apply light seals slightly dampened on the adhesive side as this gives you a few minutes to reposition the felt, prior to it setting and drying. I’ve got it down to a fairly quick process now, I’m not perfect but I’m improving with each new set of seals.
So this camera is now complete.
Result:
We now have a perfectly good operating camera and power winder with a nice clean 50mm stock lens for a reasonable layout of £28:00GBP. It had an awful lot wrong with it, but thankfully having a spare unit to harvest parts off has helped with this repair immensely.
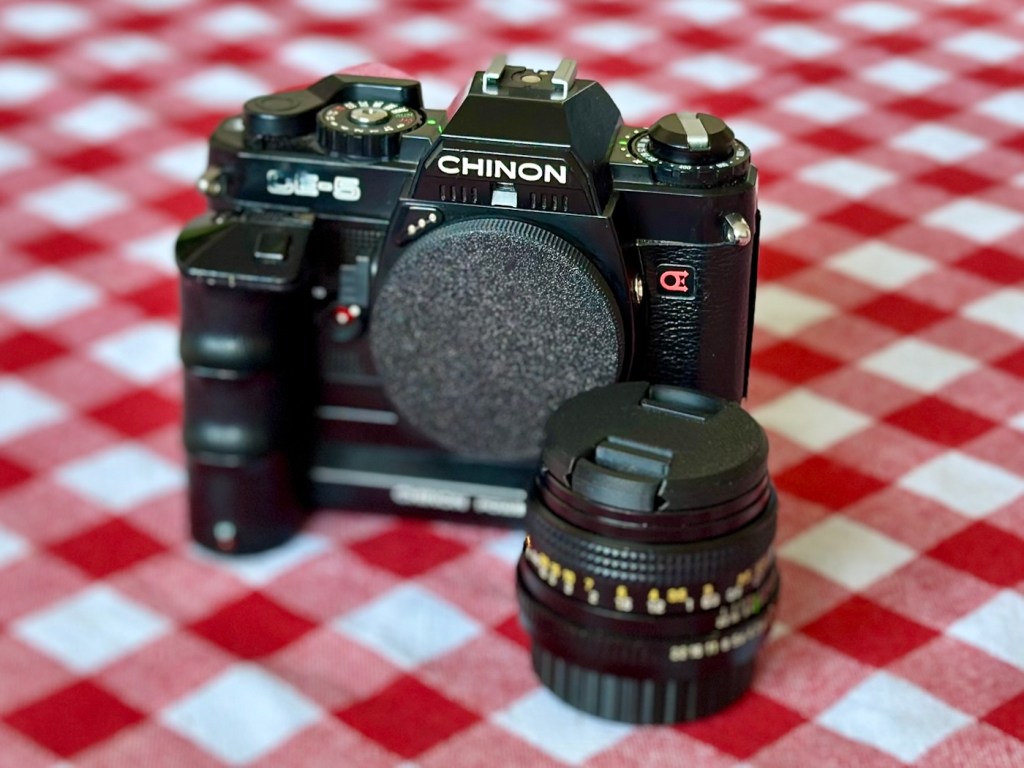
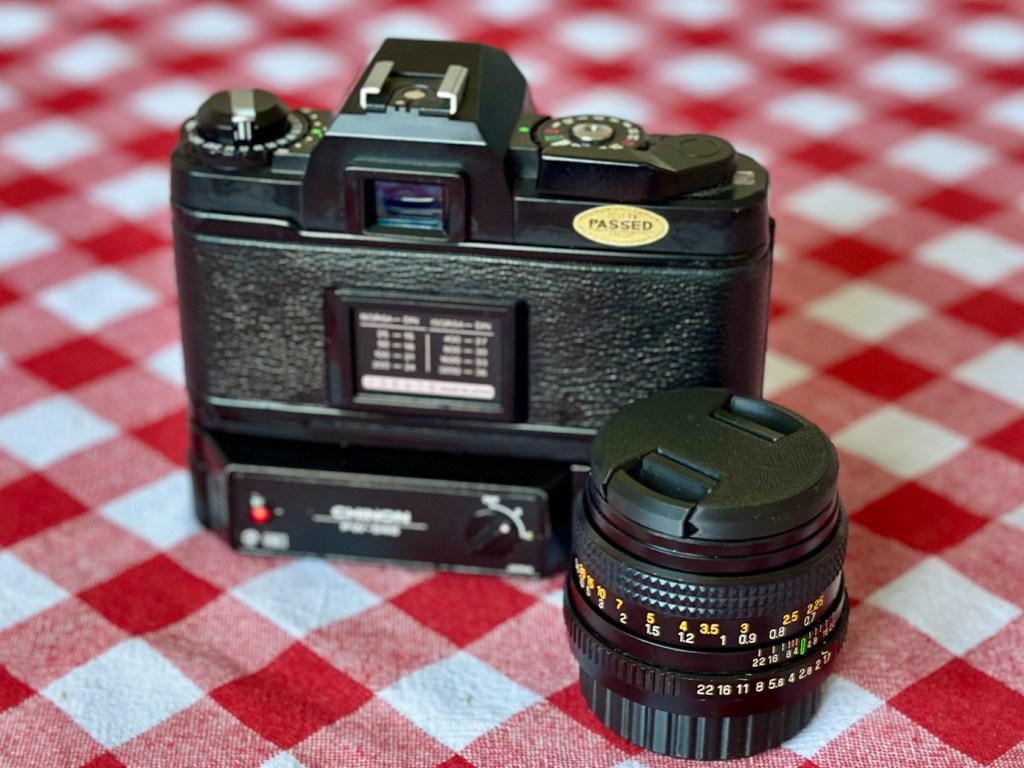
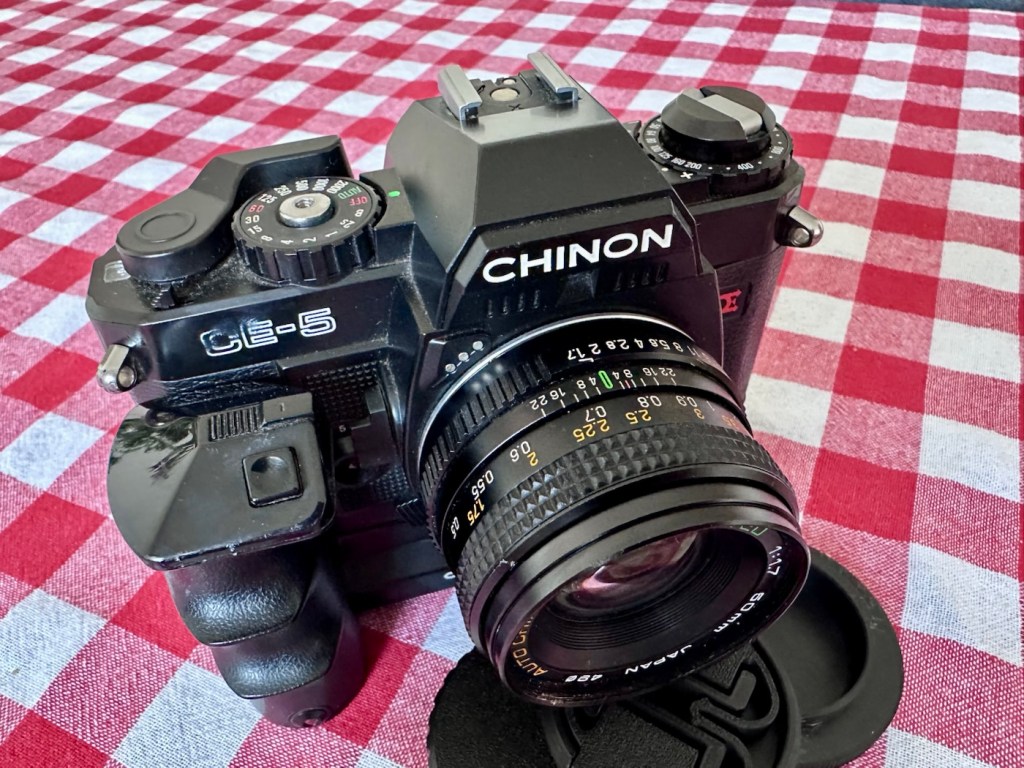
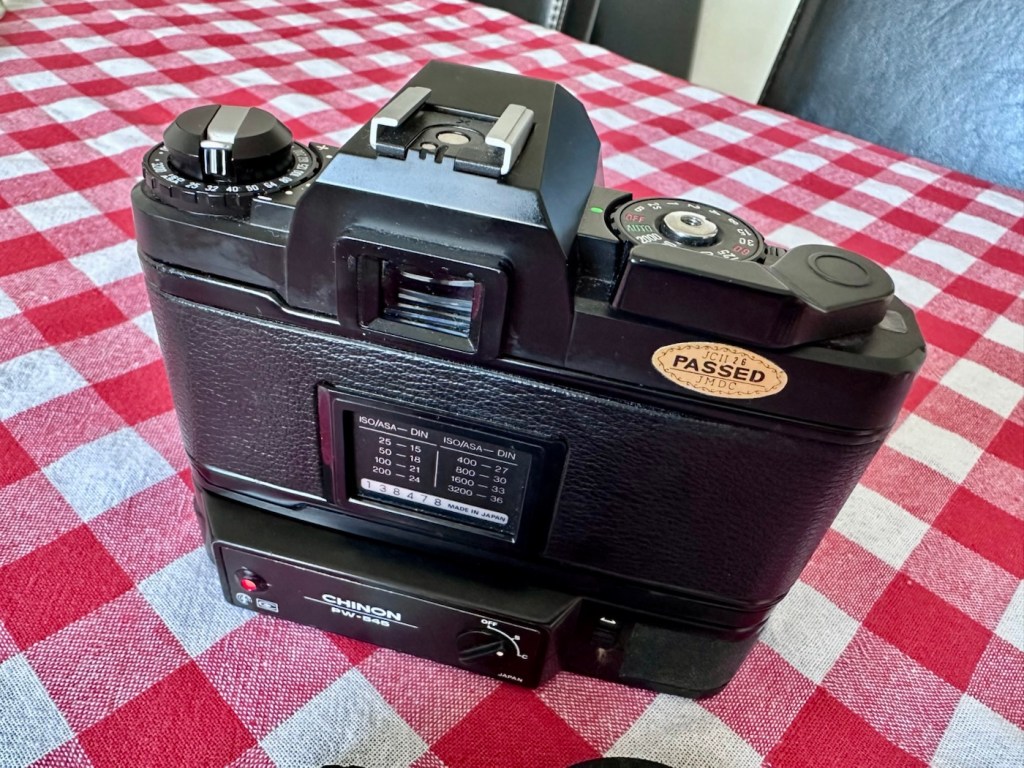
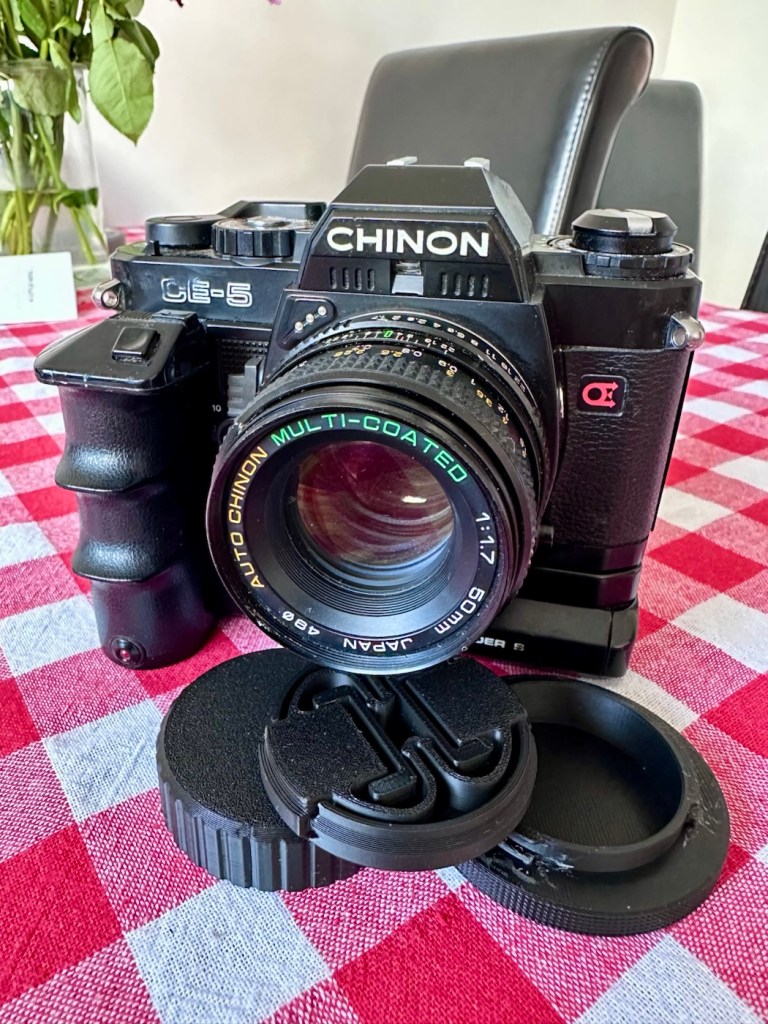
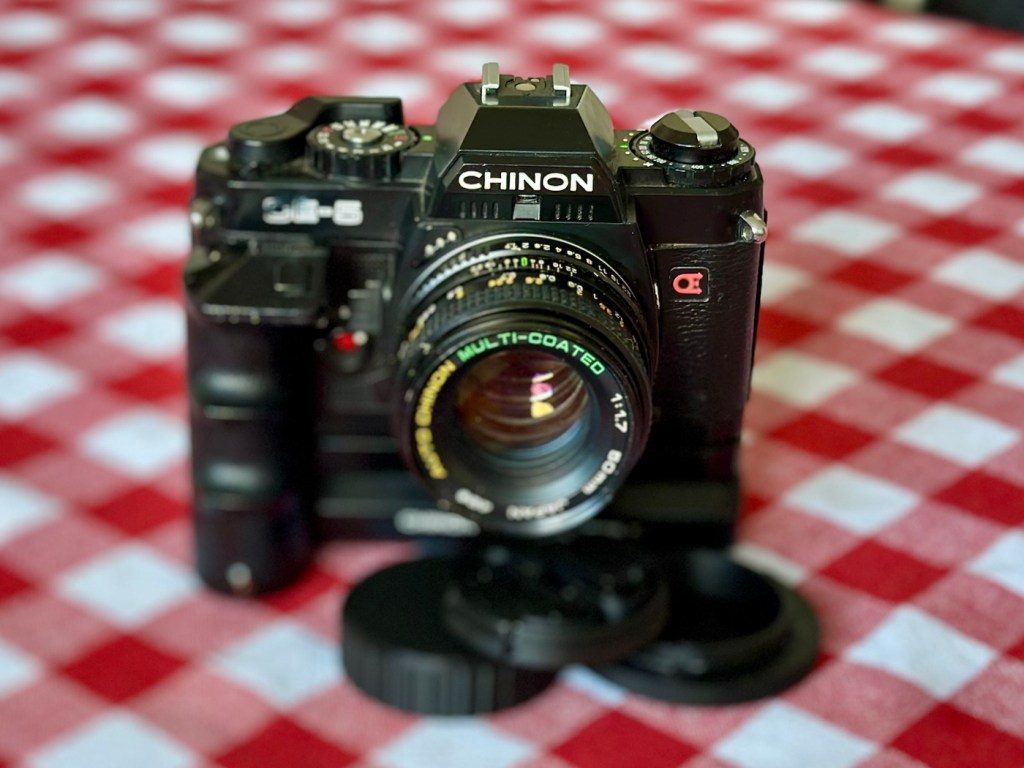
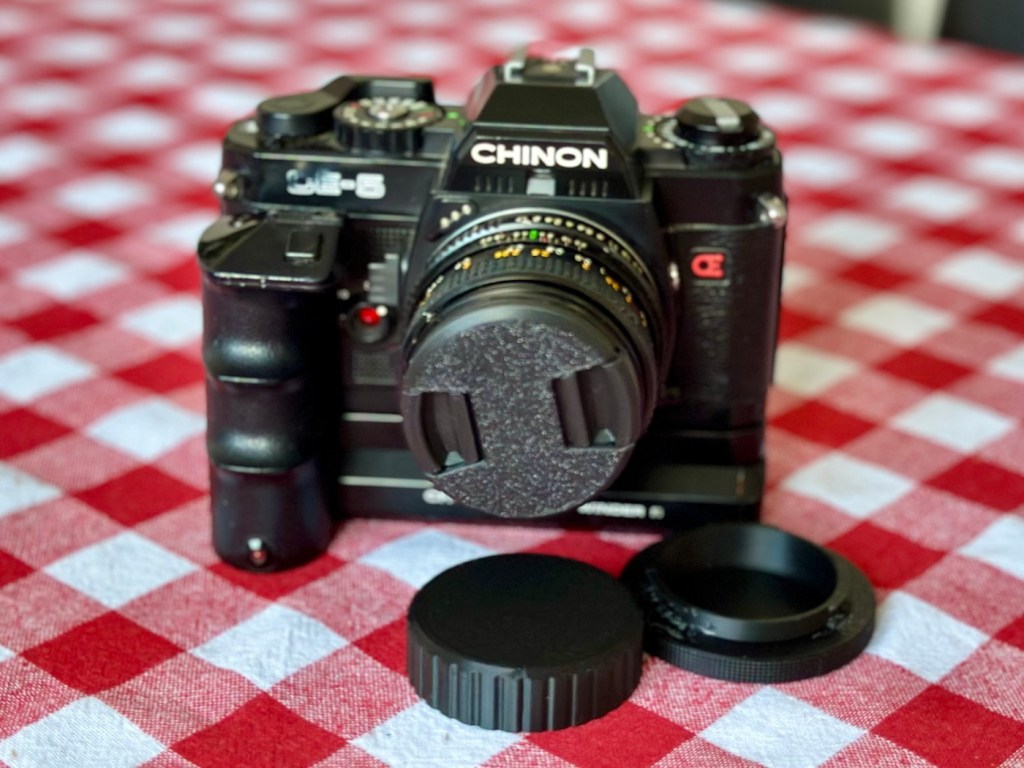
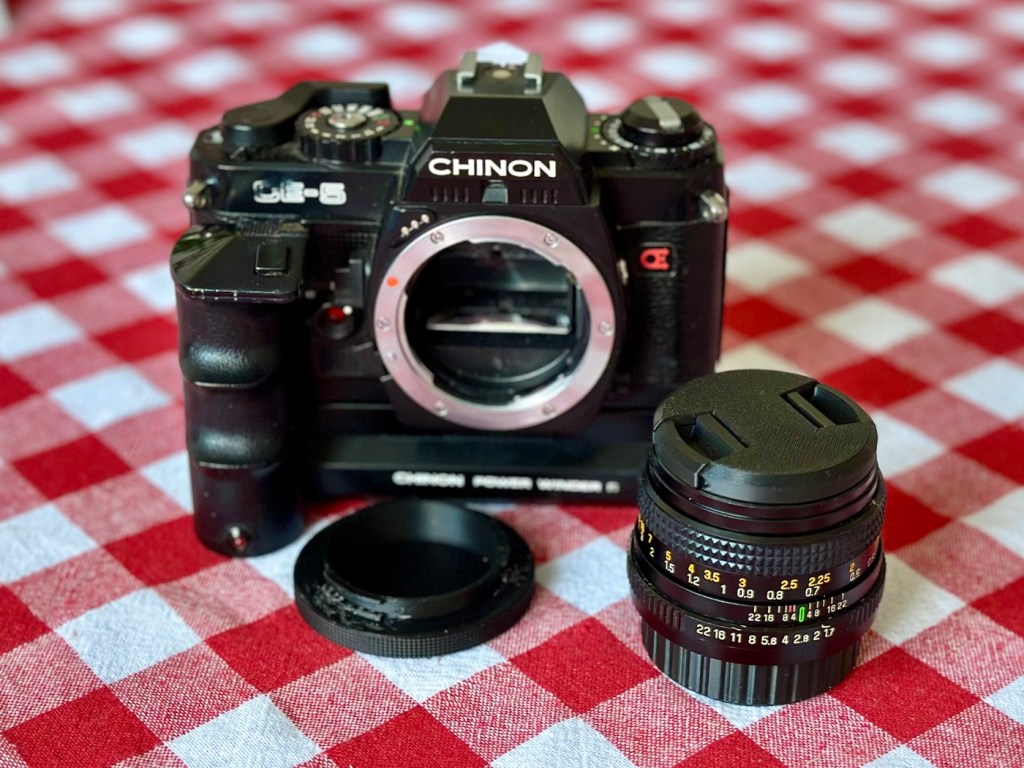
A lovely camera, much maligned from the early 80s now working as good as it did from the box. I just can’t wait to get a roll of film through it to show just how good a camera this was and still is.
It weighs a ton, but that’s how I love and remember my old cameras, they are such beasts but have immense character and original design appeal that modern cameras just don’t have today.
Another camera saved from landfill. A good result.
Many thanks for passing by, you know it is always very much appreciated.



You must be logged in to post a comment.